Crisis Core Final Fantasy VII: Reunion
Steam Achievements
| Service: | |
|---|---|
| Total: | 51 Achievements |
| Rarest: | My Living Legacy (15.80% Rare) |
| Icon | Achievement | Rarity | Score | |||||||||||||||||||||||||||||||||||||||||||||||||||||||||
|---|---|---|---|---|---|---|---|---|---|---|---|---|---|---|---|---|---|---|---|---|---|---|---|---|---|---|---|---|---|---|---|---|---|---|---|---|---|---|---|---|---|---|---|---|---|---|---|---|---|---|---|---|---|---|---|---|---|---|---|---|

|
My Living LegacyUnlocked all achievements. |
15.80% Rare | - | |||||||||||||||||||||||||||||||||||||||||||||||||||||||||
|
This is the trophy/achievement you unlock for getting all others. Overall, the game isn’t overly difficult, but there are plenty of missables along the way. If you miss something, you will either need to revert to a previous save, start over, or do New Game+. You will probably be looking at something in the 30-40 hour range, in order to do everything the game has to offer, in terms of trophies/achievements. |
||||||||||||||||||||||||||||||||||||||||||||||||||||||||||||

|
Good Match For AerithTold by Bruno that you and Aerith "make a good couple." |
17.90% Rare | - | |||||||||||||||||||||||||||||||||||||||||||||||||||||||||
How to Increase Aerith’s AffectionThis Trophy/Achievement is one of the easiest missable ones to make a mistake in so you’ll want to make a hard save after you enter the market and your wallet is stolen, so you can reload if you don’t get the desired result. To get the Trophy/Achievement, your goal is to raise your affection with Aerith to a high level by the time you finish the Market scenes and go to the Park with Aerith. The number for this is actually hidden, so you’ll have to rely on Aerith’s reactions to determine if you’ve got the best outcome for all of the activities.
Visiting the ShopsWhile Zack is on his own looking for Bruno, you need to look around the market for any signs of him. Be sure to interact with each of the three shops here as this will come into play when you have Aerith with you later. You’ll get +10 to Aerith’s affection from each of the three shop visits. The young boy (without Aerith)When you speak to the young boy, he’ll reveal himself to be a broker of sorts and asks for a Potion in exchange of information. The information is nothing but stalling for Bruno, but you’ll get +2 to Aerith’s affection. You can do this five time for a total of +10 to Aerith’s affection. The young girl (without Aerith)When you speak to the young girl in the market, she’ll ask you to wait there while she goes to find him. After a short time, you’ll get the option to keep waiting, select this and repeat it 10 times to get +10 to Aerith’s affection. Speaking to AerithOnce you’ve exhausted all the possible avenues for affection, return and speak to Aerith and you’ll eventually corner Bruno. You’ll soon get a choice, answer with “I’ll buy the medicine for you.” to get another +10 to Aerith’s affection. Market ActivitiesThe last of the affection you can get for Aerith all takes place during your time in the market once you have your wallet back. You can interact with each of the three shops and play the mini-games there. Not only can you get a Trophy/Achievement for each of them, but you’ll also get Aerith affection.
You will get the Trophy if Bruno says you and Aerith make a good couple. Once you finish the section in the market, Bruno will approach you and hand over the Steal Materia while also remarking how you and Aerith are as a couple. If he says “You and Aerith make a Good Couple”, congratulations, you’ll obtain the Good Match For Aerith Trophy/Achievement, otherwise reload your save at the start of this process and try again. |
||||||||||||||||||||||||||||||||||||||||||||||||||||||||||||

|
SOLDIER of LegendCleared the game in Hard Mode. |
19.70% Rare | - | |||||||||||||||||||||||||||||||||||||||||||||||||||||||||
|
When you first start Crisis Core Reunion, you will have the option to choose between Normal or Hard difficulty. Hard Mode isn’t really any different than Normal, except enemies will have more HP on Hard. None of the other stats are different, so enemies will just take longer to defeat. In order to get this trophy/achievement, you just need to complete the game on Hard difficulty. While you might think to do an entire playthrough on Hard, it’s not needed, as there is a trick you can do. All you have to do is change the difficulty right before the final boss to Hard, defeat it, and you will unlock this. |
||||||||||||||||||||||||||||||||||||||||||||||||||||||||||||

|
Waterfall ChaserCollected ten chests coming down the waterfall in the hills of Gongaga. |
20.50% Uncommon | - | |||||||||||||||||||||||||||||||||||||||||||||||||||||||||
How to Collect all Ten Chests at the Gongaga WaterfallBefore you can even start the mini-game, you’ll have to do the process of triggering it, and it’s a tedious one. You must first run around this area and win at least seven battles; this can sometimes take longer than it needs so be sure to run up and down the full length of the area while moving Zack from side-to-side. Run up and down the area to get into at least seven battles to trigger the mini-game. Once you’ve managed to finish seven battles, go to leave the area (near the waterfall) and Zack will spot a chest come down the waterfall, prompting whether you want to see if more will come down. Choose to do so to begin the Waterfall Chaser mini-game! The goal is a simple one, chests will come down the Waterfall and you have to run into them with Zack to collect them. To make matters more complicated, enemies will come down from time-to-time and should you come into contact with them, you’ll become paralyzed for a short time causing you to miss chests that come by. To get the Trophy/Achievement, you must collect all 10 chests that fall so if you come into contact with an enemy, this particular run is over. You can retry the mini-game, but you’ll need to leave the area and return, then win the battles again to trigger the mini-game. The chests (and enemies) will always fall in the same order, as noted below:
Now, the main difficulty in this mini-game is in how Zack moves. It’s very tough to do slight movements with Zack so it can be hard to position him in the center and avoid touching the enemies. If any part of Zack comes into contact with them, he will be paralyzed, and you’ll need to try again. (1 of 4) Stand in the middle to collect the first chest Instead, once you grab the first middle chest, run toward the screen and out to the left to avoid the left enemy. You can then sweep back in and grab the left and right chests without coming into contact with the enemies and repeat the process. It may take a few attempts to learn how the chests and enemies come down, but after that, you should be able to score all 10 chests easily. As a reward, you’ll get 3,000 Gil, Goblin Punch, Hi-Potion, X-Potion, Elixir, and the Waterfall Chaser Trophy/Achievement. |
||||||||||||||||||||||||||||||||||||||||||||||||||||||||||||

|
Mission CompletionistCompleted 100% of all missions. |
21.00% Uncommon | - | |||||||||||||||||||||||||||||||||||||||||||||||||||||||||
|
In order to unlock this trophy/achievement, you will need to complete all of the optional Missions in the game. You will unlock a majority of the missions by simply progressing the main story and completing other ones, but there are some that require speaking to specific NPCs during the main story. These are missable, so if you keep going with the story, you will either have to revert to a previous save, start a new game, or play through New Game+. The following table is a list of all missable Missions in the game:
|
||||||||||||||||||||||||||||||||||||||||||||||||||||||||||||

|
Fan Club AficionadoJoined every fan club. |
21.50% Uncommon | - | |||||||||||||||||||||||||||||||||||||||||||||||||||||||||
How to Join the Angeal Fan Club, Keepers of HonorThese first two Fan Clubs you can join in any order, and in fact, you’ll find the two of them right next to each other. You must first reach Chapter 2 and soon after, you’ll gain the ability to explore Sector 8. Head to the Fountain area and go south (if you open your map, you’ll see two yellow “!”) to find a a woman with short hair in a dark top and white skirt. Speak to her and you’ll be given the option to join the Keepers of Honor Fan Club, accept and you’ll get your first Mail from the club. How to Join the Genesis Fan Club, Red LeatherAs mentioned above, you’ll find the representative for Genesis’s Fan Club, Red Leather, in the same place as Angeal’s. The woman you want to speak to here is the woman dressed all in white. Speak with her, accept her invitation and you’ll soon be a proud member of Genesis’s Fan Club and receive your first Mail from the club. (1 of 2) You can join both the Angeal and Genesis fan clubs near the fountain in Chapter 2 You can join both the Angeal and Genesis fan clubs near the fountain in Chapter 2 (left), head to LOVELESS avenue to join the study group fan club. (right) How to Join the LOVELESS Fan Club, LOVELESS Study GroupThere’s one more Fan Club you can join in Chapter 2, but you’ll have to go elsewhere to find the representative. Leave the fountain area to the north to reach LOVELESS Avenue and go up to where you see the theater, standing in the alley to the right is a woman wearing a suit. Speak with her to join the Fan Club and receive your first Mail from it. How to Join Sephiroth’s Fan Club, The Silver EliteIt will be some time before you can join Sephiroth’s Fan Club, the Silver Elite. You must first progress the story to Chapter 5 and eventually, after the Market scenes with Aerith and Bruno, you’ll be able to enter the Park to the east of the Market. Inside, you’ll find a woman in a suit standing there (the only adult in this area). Speak with her, and she’ll mention that she’s the leader of the elite Sephiroth Fan Club and they only open registrations a few times a year. Just your luck, then, that there is an opening now, but you’ll have to answer a few questions about Sephiroth first. Answer the following:
Answer all three questions correctly and you’ll gain the invitation to the Silver Elite and get your first Mail shortly after. (1 of 2) Go to the park in Chapter 5 to find the Sephiroth representative Go to the park in Chapter 5 to find the Sephiroth representative (left), we don’t know how this woman know’s Sephiroth’s ultimate attack he’s yet to use. (right) How to Join Zack’s Fan ClubZack, once he’s promoted to SOLDIER 1st Class, gets his very own Fan Club, and it’s by far the easiest one to miss if you’re not careful! The first step on joining this Fan Club is by progressing the story to Chapter 6, where you’ll find yourself in Junon. Continue on until you complete the mini-game needed for the Immovable Object Trophy/Achievement. At this point, you’re supposed to continue east to the airport but ignore this directive for now. Instead, return to the west and you’ll spot an elevator you can take up (look at the map for a yellow “!”). In Upper Junon, you’ll run into Cissnei and learn a little more about her, who also happens to mention that Zack has fans back in Midgar. (1 of 3) Go back on yourself instead of to the airport in Chapter 6 Continue with the story until you gain access to Midgar in Chapter 7 and return to the Shinra Building. At the entrance, go over to the reception and speak to the woman on the left there to join the Zack Fan Club and get the Fan Club Aficionado Trophy/Achievement in the process. |
||||||||||||||||||||||||||||||||||||||||||||||||||||||||||||

|
Precise RestorationAchieved 100% recovery with the Mako Recovery Unit. |
21.50% Uncommon | - | |||||||||||||||||||||||||||||||||||||||||||||||||||||||||
|
As you progress in Chapter 4, you will leave the Sector 5 Slums and head back to the Shinra Building. You will eventually end up in a research lab and be forced to protect Professor Hojo. There will be multiple machines with which you can interact in the lab, which all do different things. The one to the left of Hojo is the one you want, with it being labeled the Mako Recovery Unit Prototype. You will receive a warning that the counter on this machine is malfunctioning, so keep this in mind, as it’s very important to the actual trophy/achievement. Basically, you will be interacting with this Mako Recovery Unit machine and throw the switch when prompted. The machine will begin counting down from 5, but the display will stop counting at 3. You will then need to time the button you have to press when it reaches zero, but you won’t know exactly when to hit it. While you can keep track mentally, this can sometimes cause you to stop short, which will reward you with a lesser amount of SP. If you did it right, then you will receive 100 SP, as well as the Precise Restoration trophy. (1 of 4) Three will be the final number you see There seems to be a little trick that might work a little better, though, in counting down for this trophy/achievement. Whenever you see the five appear on your screen, you just start counting down from there by saying 5 one-thousand, then 4 one-thousand and so forth. When you reach 1 one-thousand and finish saying it, press the designated button and you should hopefully hit it right on the nose. Just make sure you don’t say the above too fast, uttering each phrase right after one another, like normal. |
||||||||||||||||||||||||||||||||||||||||||||||||||||||||||||

|
DMW MasterAchieved 100% progress for all DMW. |
21.80% Uncommon | - | |||||||||||||||||||||||||||||||||||||||||||||||||||||||||
|
When you take a look at the DMW menu, you will notice there is a % next to each of the Images, these are in relation to how many memories you have seen. Before you start your DMW grind, bear the following in mind:
With this in mind, it’s best to wait until you reach the final Save Point in Chapter 10 so that you can ensure that you have every possible memory available. After that, it’s merely hoping the DMW is kind to you, the best way we’ve found to grind this particular Trophy/Achievement is by making use of the best way to level Materia trick. That is to say, go into M1-1-1, leave one enemy alive and then leave the game on while you go do something else. It’s tedious, but there is no better way of doing it. There is, however, one thing you can do to make life easier for yourself. DMW MateriaAs you progress through Crisis Core Final Fantasy VII: Reunion, you’ll come across DMW Materia, in the name of their Limit Break such as Rush Assault and Octaslash. The purpose of these Materias is to boost the chances of getting that particular Limit Break in the DMW. You can then, in theory, equip the Materia of the Image you need a lot of % for and go into M1-1-1 and have a greater chance of hitting them all. The late-game shops offer Materia that boost your chances of getting specific Limit Breaks. These Materia may seem very rare for most of the game, but by the time you reach that final Save Point in Chapter 10, you have the means of unlocking the following Shops which will sell all of the DMW Materia:
This is the best you can do to give yourself the best chance of completing the DMW as quickly as possible. As a reward, beyond the Trophy/Achievement, you’ll also obtain the Genji Armor for getting 100% on the DMW. |
||||||||||||||||||||||||||||||||||||||||||||||||||||||||||||

|
Genji EquipmentCollected all Genji equipment. |
23.10% Uncommon | - | |||||||||||||||||||||||||||||||||||||||||||||||||||||||||
|
If you’re only following the story, it’s highly likely that you’ll never come into contact with the fantastic Genji Equipment but delve into the many optional Missions that Crisis Core: Final Fantasy VII: Reunion offers and you’ll need to seek out these fabled pieces of equipment if you wish to take on the toughest challenges. There are four pieces of Genji Equipment to track down, each with varying degrees of difficulty. Where to Get the Genji Helm
The Genji Helm is a great one to go for as it will allow all of your Materia, be it Magic or Command, cost zero. Having Libra always active is the cherry on top for this fantastic Accessory. In terms of finding this Accessory, the Genji Helm is the easiest, all it requires is Gil. You will need to unlock the Online Shop Shade, which can be done by completing Mission 9-5-4 which features some of the tougher monsters in the game. With that in mind, you won’t be reaching this until you need it anyway. Once you unlock the Shop, you can purchase it for 1,000,000 Gil, this may seem a lot but you can get a lot of that Gil by selling a lot of the Golden Rolling Pins and multiple copies of Accessories that you earn while unlocking the way to the mission in the first place. Where to Get the Genji Glove
The Genji Glove is a powerful one, as it can replace your Brutal as a way to break the damage limit but also grants you the Critical status (which you may have seen from Cisnei’s Limit Break). To grab the Genji Glove, you’ll need to continue to progress through the M9 series of missions until you unlock M9-6-4, another Rank 10 Mission. From the start of the Mission, go left at the first intersection and you’ll find the Genji Glove in the chest at the end. Just remember you’ll need to clear the Mission if you want to keep it after. Where to Get the Genji Armor
This is another useful Accessory as not only will you break the HP limit, but also gain Endure and !Regen. Endure will make it so you no longer get knocked back when getting hit and !Regen will offer constant HP regeneration. This is one of the trickiest pieces of equipment to gain in Crisis Core: Final Fantasy VII: Reunion as you’ll need to 100% every image of the DMW. This means tracking down all the summons and then seeing all of their memories. You won’t get the final DMW Image until Chapter 8 which is Phoenix (and is missable), but you’ll still need to see the majority of the story to be able to get every character’s memories. As such, you’re best served waiting until near the end of the game (Chapter 10) to go for this. The best way to do this, unfortunately, is by following the same tactic for Leveling Materia easily. How to Get the Genji Shield
The final, and by far the trickiest piece of the Genji Equipment is the Genji Shield. When equipped, this Accessory will allow you to Absorb all elements along with giving you a constant Wall (Barrier and MBarrier) buff making it a great defensive piece. Acquiring the Genji Shield, however, is a lengthy process with multiple steps. You’ll need to first make sure you have the Magic Pot Summon and then head into Mission 7-6-6 to try and encounter another. Like with the Summon, you’ll need to use the following Materia on it: Gil Toss, Costly Punch, deal 99,999 damage, and the Octaslash Limit Break. Below, you’ll find out how to get these Materia: Gil TossThis is the easiest of the bunch and you’ll most likely have a few copies of this by now if you’re hunting Genji Equipment. You can get it as a reward for completing M4-4-4, in a Chest in M7-4-6, M8-6-3, M9-5-3 or by Fusion using a mastered Mug + Libra. Costly PunchUsing !Costly Punch is one of the most effective ways of dealing 99,999 damage in Crisis Core Final Fantasy VII: Reunion so if you’re hunting Genji Equipment, you’re most likely utilizing it already. Still, if you want to get your hands on it, you can get it by fusing it easily by using any Punch Materia + a DMW Materia. You can get Goblin Punch as a reward from M4-5-4 and the Rush Assault DMW Materia as a bonus for 30% total Mission completion. Deal 99,999 DamageAs mentioned above, if you’re braving the later missions in M9 category, you’ll most likely already be using Costly Punch to deal 99,999 damage. Ensure you are breaking both HP and Damage limits and use Costly Punch when your HP is above 20,000 to deal 99,999 damage. Octaslash Limit BreakBy far the toughest part of this whole process and one that requires you to rely on the randomness of the DMW. As you may glean from the name, you’ll need to use Sephiroth’s Limit Break, !Octaslash to complete the request. You can make the DMW work a little more in your favor prior to coming into the battle, however. Once you reach Chapter 9, you can find the Research Dept. QMC+ Shop in a chest in Gongaga. Here, you can purchase the Lucky Stars and Octaslash Materia. Go into a battle with Lucky Stars set to hopefully get the !Lucky Stars Lv 5 Limit Break and put your status into Heavenly, this will cause Limit Breaks to happen more often. Now, go into the battle with the Magic Pot with the Octaslash Materia set, this will increase the chance that said Limit Break will be !Octaslash. Outside of this, you’re at the mercy of the DMW. |
||||||||||||||||||||||||||||||||||||||||||||||||||||||||||||

|
Zack the SniperDid not allow a single gun bull head to escape while sniping. |
23.30% Uncommon | - | |||||||||||||||||||||||||||||||||||||||||||||||||||||||||
How to Prevent Gun Bull Heads from EscapingThe goal of this mini-game is to work your way down the hill, using each sniper rifle to take out a number of gun bull heads in the distance. The main difficulty with this comes from the fact that there are eight sniper sites and no checkpoints in the middle, if a gun bull head escapes at any time, you’ll need to load a previous save and try again. To make life a bit easier, you get Kill Points for defeating robots with both your sniper and on foot in-between sites. You can then use these points to upgrade the gun to make this a much easier experience. Sniper Spot #1Aim for the head in the first sniper spot. Just a single Gun Bull Head to get you started and used to shooting with the sniper rifle. Until you’ve fully upgraded the rifle, you’ll want to aim for the heads for an instant kill and these stationary ones make life easy. Sniper Spot #2Another robot that is stationary at the second sniper spot. Head down the path a little and you’ll find the second sniper spot on your left. Like before, just a single stationary gun bull head so use this as another opportunity to get used to sniping the heads. Sniper Spot #3(1 of 2) You will find the third sniper spot near the fence You will find the third sniper spot near the fence (left), one of the robots here is moving. (right) Head down the hill now and the third sniper spot can be found by the fence overlooking the water. This one is a little trickier, as you’ll be dealing with one moving, and one stationary gun bull heads. As a general rule, once you take your first shot, other gun bull heads will be alerted so you’ll need to be quick. Upgrading the Sniper RifleAt this point, you’ll want to take a break from the sniper rifle and focus on grinding the enemies on foot to fully upgrade the sniper rifle. Between the third sniper spot and the fourth just up ahead, you can run backwards and forwards and keep battling two different groups of gun bull heads. (1 of 2) Run between the third and fourth sniper rifles to grind kill points Run between the third and fourth sniper rifles to grind kill points (left), then use them to fully upgrade the sniper rifle before continuing to the fourth spot. (right) This can get you anywhere between 2-4 Kill Points a battle and they should be easy enough for you to dispatch quickly at this stage of the game. Sparing 5-10 minutes to repeat this process can allow you to earn all the Kill Points you’ll need to fully upgrade the sniper rifle and purchase a Smart Bomb. This will mean that you can deal enough damage to take out the gun bull heads by sniping at their shields instead of their heads, useful in certain sniper spots. Sniper Spot #4You will find more moving robots in the fourth spot. The next sniper spot is just beyond the third and you should make sure you have the fully upgrade sniper rifle at this point. You’ll be dealing with three moving gun bull heads this time around, so consider taking out the middle first, then the left, and finally the right. Sniper Spot #5(1 of 2) Go right at the first intersection to find the fifth sniper spot Go right at the first intersection to find the fifth sniper spot (left), shoot the barrel to take them all out at once. (right) This sniper spot is easy to miss as you’ll need to head right at the intersection. You’ll have to take out three stationary gun bull heads and if you look carefully, you’ll spot a barrel you can shoot. Do so, and you’ll take all three out in one fell swoop. Sniper Spot #6(1 of 2) Make sure you have a Smart Bomb ready for the sixth sniper spot Make sure you have a Smart Bomb ready for the sixth sniper spot (left), three headshots to the left and a smart bomb to the right robot will see you through here. (right) Return to the intersection and take the other path now, and you’ll come across the sixth sniper spot and if you haven’t done so already, make sure your sniper rifle is maxed out and you have a Smart Bomb available. You’ll be up against a BIGGS and a WEDGE gun bull head which are far sturdier than any of the others. Begin by firing three shots at WEDGE’s (left) head and quickly turn around and use the Smart Bomb against the BIGGS robot to the right. Sniper Spot #7(1 of 2) Go left at the second intersection to find this sniper spot Go left at the second intersection to find this sniper spot (left), you will need to be quick so fire away at the bodies with a fully upgraded sniper rifle. (right) Another sniper spot that is easy to miss, this time go left at the intersection to find the rifle. The gun bull heads will look to try and flee after you take the first shot so after a headshot on the first, consider just firing away at the bodies for the other two gun bull heads before they can flee. Sniper Spot #8(1 of 3) Follow the main path and purchase another Smart Bomb This is the final sniper spot, and you’ll find it by going right at the intersection. Make sure you have a Smart Bomb available and then take aim at the barrels to deal with the left gun bull head, use a Smart Bomb on the middle and then snipe away at the remaining robot on the right. You’ll have to head to the bottom of the hill before you get your results and the Zack the Sniper Trophy/Achievement. |
||||||||||||||||||||||||||||||||||||||||||||||||||||||||||||

|
Missions Completed: 75%Completed 75% of all missions. |
24.90% Uncommon | - | |||||||||||||||||||||||||||||||||||||||||||||||||||||||||
|
Missions are the optional content in Crisis Core Reunion, with there being 300 Missions you can do across the entirety of the game. You only need to do 75% of the Missions to unlock this trophy/achievement. See the Mission Completionist trophy/achievement for more information on this. |
||||||||||||||||||||||||||||||||||||||||||||||||||||||||||||

|
Limit Break CollectorObtained all DMW images. |
25.10% Uncommon | - | |||||||||||||||||||||||||||||||||||||||||||||||||||||||||
|
The table below will give you a handy list of where to find them all and you can click on each one to get more in-depth information on how to get them:
Collecting all of the Images will unlock the Limit Break Collector Trophy/Achievement and allow you to start focusing on getting 100% for them all. |
||||||||||||||||||||||||||||||||||||||||||||||||||||||||||||

|
Divine Rule BrokenDefeated Minerva |
26.20% Uncommon | - | |||||||||||||||||||||||||||||||||||||||||||||||||||||||||
|
Minerva is the superboss of Crisis Core Final Fantasy VII: Reunion. Minerva Boss GuideOnce you’re ready to get down to business, select Mission 9-6-6 to get the ball rolling. Minerva has a massive 10,000,000 HP (which becomes 77,777,777 HP on Hard Mode!) so you’ll be in for a long battle, even with Costly Punch dealing 99,999 per hit. You should always have a Phoenix Down active, if you need more, Mug them from her. Minerva has three distinct themes to her battle, which go something like this: Elemental/Physical attacks such as Thor’s Hammer > Ultima > Judgment Arrow Her elemental and physical attacks all hit hard, and some, like Krysta will freeze Zack in place and make him vulnerable to follow-up attacks. Still, these can mostly all be easily dodged and healed through. Ultima, on the other hand, bares special mention as it’s the main reason you’ll want 99,999 HP. You should always have a Phoenix Down active for this very reason. Even with Wall active, Ultima hits hard and each successive time she uses it will increase the damage it does, no matter what you do, until it hits for 99,999 damage, this is where the Phoenix Down comes in play as you won’t survive the attack. After it hits for 99,999, the next Ultima will hit for the lowest amount again. Judgment ArrowJudgment Arrow is Minerva’s special ability. The final piece of the puzzle is Judgment Arrow, you’ll want to aim to get the Ability gauge to at least 75% before she casts it while also making sure you have max HP. Not only will Judgment Arrow deal heavy damage, but it will also drain your MP/AP (which is no worry here due to the Genji Helm) and more crucially, strip you off your buffs. This means that even your Raise status from the Phoenix Down will be removed along with Wall. Immediately use another Phoenix Down (always make sure you have at least one, so you don’t have to worry Mugging another without Raise) and recast Wall. (1 of 2) Try to get the gauge to 75% while making sure you have max HP Try to get the gauge to 75% while making sure you have max HP (left), Judgment Arrow will deal heavy damage and strip all buffs including Raise! (right) Keep hitting Minerva with Costly Punch, remembering to pop an X-Potion once your HP drops below 50% HP. You can use Aerial Drain to close the gap and even avoid some of the attacks such as Krysta by using it just before the impact while restoring some HP. Your Limit Breaks will help chip away at her HP too, especially useful ones such as Rush Assault and Octaslash. So long as you keep Wall up, Raise active (with at least another Phoenix Down in supply) and remember to refresh them after Judgment Arrow, it’s hard to lose to Minerva. Just be prepared for a long battle and you’ll get there! |
||||||||||||||||||||||||||||||||||||||||||||||||||||||||||||

|
Fan Club SaviorHelped every fan club continue their activities. |
27.70% Uncommon | - | |||||||||||||||||||||||||||||||||||||||||||||||||||||||||
How to Help Every Fan Club Continue Their ActivitiesGenesis FansYou should have been receiving Mail from each of the three fan clubs as you progress through the game and you will have particularly noticed the animosity between the LOVELESS Study Group and Red Leather fan clubs, both being related to Genesis in one form or another. Once you reach Chapter 7 and gain the ability to explore Midgar for the final time, head to the Fountain area in Sector 8 to speak with the Genesis Fan (the woman in the suit to the south) to learn that they’re on the brink of closing the fan club due to losing the funding from Genesis’s parents. Zack will be given a choice on how the fan club could continue, choose “Merge with a rich fan club!”. (1 of 3) Speak with the Genesis fan in the fountain area The woman will mention that they were already the richest, and that they only have Apple Jewelry left to trade. This should serve as your clue, head to LOVELESS Avenue and speak to the woman who represents the fan club. Although she appears to be gloating, Zack will convince her that the trade for Apple Jewelry could be good for their fan club. Return to the first Genesis Fan near the fountain and deliver the good news. Angeal FanThis will solve the first issue, but there’s one more to solve before you can successfully keep all fan clubs running. You may have noticed that in place of the Angeal fan, a young boy is standing there instead. Speak with him to learn that his mom has gone missing and left a letter stating she’s gone on a journey. (1 of 2) Speak with the boy in the fountain area Speak with the boy in the fountain area (left), then speak with the Angeal fan at the station and choose this option. (right) You’ll need to track down the boy’s mother, who just so happens to be the Angeal Fan. You’ll find her at the Sector 1 Train Station (go up the stairs near the fountain and exit to the east), standing against the wall. Speak with her, and, when given the choice, choose “A mother without honor is nothing but a monster.” to convince her to not flee and return to her son, unlocking the Fan Club Savior Trophy/Achievement in the process. |
||||||||||||||||||||||||||||||||||||||||||||||||||||||||||||

|
Shop CompletionistUnlocked all shops. |
28.00% Uncommon | - | |||||||||||||||||||||||||||||||||||||||||||||||||||||||||
|
There’s a total of 16 shops in Crisis Core Reunion, some of which are missable. You will only unlock two of the shops during the course of the main story, with the rest coming from completing specific Missions.
|
||||||||||||||||||||||||||||||||||||||||||||||||||||||||||||

|
Missions Completed: 50%Completed 50% of all missions. |
29.00% Uncommon | - | |||||||||||||||||||||||||||||||||||||||||||||||||||||||||
|
Missions are the optional content in Crisis Core Reunion, with there being 300 Missions you can do across the entirety of the game. You only need to do 50% of the Missions to unlock this trophy/achievement. See the Mission Completionist trophy/achievement for more information on this. |
||||||||||||||||||||||||||||||||||||||||||||||||||||||||||||

|
Seven Wonders ExpertLearned about all of Nibelheim's Seven Wonders. |
29.30% Uncommon | - | |||||||||||||||||||||||||||||||||||||||||||||||||||||||||
Seven Wonders #1The clue for the first wonder is that sometimes, the town’s drinking water sometimes comes out red and wants to know the reason why. This is the simplest wonder out of the lot of them, simply head over to the water tower in the center of the square and interact with it. Zack will climb up the ladder and discover a red Materia sitting inside the water. This will unlock the Phoenix DMW Image and is missable if you don’t get it during this section so be sure to snag it. Examine the water tower to solve the first seven wonder and score a Phoenix Materia. Seven Wonders #2You’ll need to head into the Inn first and go upstairs to find a painting of a girl in the room. Return to the boy to learn that sometimes, the girl disappears from the painting. Pay a visit to the room once more to see that the girl has indeed gone from the painting. Keep passing through the screen downstairs and upstairs until you see the man start heading up the stairs. Follow him into the room and you’ll catch him in the act. It appears that the painting is double-sided to help him remember he’s stashed some Gil in the wall. For keeping quiet about it to his wife, he’ll hand over 2,000 Gil. (1 of 2) Examine the painting of the girl Examine the painting of the girl (left), then wait until you see the man going upstairs and follow him. (right) Seven Wonders #3The clue for third Wonder is about Bombs on Mt. Nibel, the boy wants you to bring something back as proof. Head to Mt. Nibel by leaving the town and taking the northern exit out of the Outskirts. Once on Mt. Nibel, follow the path and continue on at the intersection and you’ll trigger a battle against three Bombs. If you’ve not been doing a lot of optional Missions to get powerful, then make sure you take out the bombs in the following order: Right, Left, Middle. The goal is to defeat them before any Bomb can explode and you’ll obtain the Gold Shard. If you fail, you can just exit the area and return to try again. (1 of 2) Defeat the right bomb, then the left, then the middle Defeat the right bomb, then the left, then the middle (left), you will get the Gold Shard if you defeat them all before exploding. (right) Seven Wonders #4The fourth Seven Wonder is perhaps the most challenging as you’ll need to solve the riddle of the Laughing Safe in the Shinra Manor. Every digit for the safe is random, and you can learn more about how to find each digit in our dedicated safe code page. Your reward for this Wonder is a Mastered Vital Slash Materia. Use the keyholes to determine the safe code. Seven Wonders #5You’ll have to progress the story by speaking to Sephiroth in the Inn and play through the events at the Mako Reactor. You’ll be back at the Inn following this, as Sephiroth has been couped up in the basement of Shinra Manor for days. Return to Shinra Manor and go down to the basement area from the hidden stairwell upstairs. Head to the upper corner of this first area (ignoring the ladder for now) and you’ll trigger a battle with a Sahagin, defeat it to obtain the Coffin Key. (1 of 2) Defeat the Sahagin on the upper level for the Coffin Key Defeat the Sahagin on the upper level for the Coffin Key (left), then use it on the right coffin in the southeast room. (right) Make your way down the ladder now and enter the room to the southeast to find many coffins. Open the coffin on the right and you’ll discover a man is sleeping in one of these coffins. If you use the key on the wrong coffin, you’ll need to go and retrieve another one from the Sahagin above. Seven Wonders #6Once you return to the boy to inform him about the previous wonder, you’ll learn the clue for the next, of which he has no inkling to what it could mean. You’ll need to progress the Chapter at this point until Nibelheim is burning and you find yourself outside the Inn. The boy will be there, outside of a house on fire and tells you that his mother is trapped inside, on the second floor (where you can see the window). Choose to go inside and you’ll have one minute to navigate to that window, all the while the camera will focus on the house from the outside. (1 of 2) You won’t be able to see where you’re running here You won’t be able to see where you’re running here (left), the boy will call this the sixth wonder. (right) The goal here, then, is to run at a direction until you can’t move any further and gradually work Zack up to that window and interact with it. As a general rule, run up as far as you can, then to the right and up again where you’ll find you can run upstairs by going left. You’ll need to come back towards the screen now and eventually work your way around anti-clockwise to reach the window. Once you reach the mother, you will need to retrace your steps back down and out the house. The boy will realize that his most precious treasure was his mother all along, and hand over an ATK Up++ Materia as way of thanks. Seven Wonders #7You’ll need to wait until Chapter 9 for the final Wonder, although it’s a simple one. As you leave the Shinra Manor with Cloud, you’ll get a mail from the Wonder Hunter which, if you’ve been making sure you get every mail, will be the last sender you need for the Mail Completionist Trophy/Achievement. The mail will mention that the boy and his mother has moved on from Nibelheim, but that he’s stashed something for you, calling it the final Wonder. (1 of 2) Head to the fence in the northeast in the Outskirts Head to the fence in the northeast in the Outskirts (left), you will find a Wall Materia and solve the final wonder. (right) In the same area, head toward the eastern entrance back to Nibelheim and search near the fence in the corner there. You’ll nab a Wall Materia and score the Seven Wonders Expert Trophy/Achievement in the process. |
||||||||||||||||||||||||||||||||||||||||||||||||||||||||||||

|
GodlikeRated to have "godlike speed" in collecting materia. |
29.30% Uncommon | - | |||||||||||||||||||||||||||||||||||||||||||||||||||||||||
|
Godlike is another trophy/achievement that can be gotten during Chapter 4, when you visit the Sector 5 Slums. Progress the story portion there until you get Aerith back with you, after which, you should see a bunch of orange exclamation points on your map. These are minigames that will help improve your affection, with the shops running them. One is for the Master Blender trophy/achievement, while another is for the Bingo! trophy/achievement. This is when you will be able to attempt the Godlike trophy/achievement. You’re looking for the shop run by the older man, who will allow you to start a little minigame, whenever you tell him you are quick on your feet. (1 of 3) This is the NPC that lets you do the collection minigame The minigame involves you going around the area and collecting all of the Materia on the ground as quickly as possible. The true objective on the minigame, in order to get the trophy/achievement, is to get them all in under 14 seconds. This is tricky, though, and will likely take a few tries, especially as you come to terms in trying to control the camera at the same time as doing the course. The reason for this is because you have to hit It’s a very good idea to run the course a few times to get the layout, since there’s no penalty for not getting the record time. Just remember that you need to approach the shopkeeper after collecting all of the Materia to officially finish. There is a setting that allows you to zoom out the camera a little bit, which might help some, but the camera will still be your biggest issue here. A big tip is that you can just push in the left analog stick to start sprinting, as opposed to pressing the dedicated sprint button. You might need to hold the controller in a way, so you can control the camera and pick up the Materia at the same time. This isn’t easy at all and kind of needs a bit of a “claw grip” for the controller. There’s a total of 20 Materia you need to pick up, by the way, without too much room for error on the time side. As already said, it may take a few tries to actually get the desired run, but the Godlike trophy/achievement will soon be yours! |
||||||||||||||||||||||||||||||||||||||||||||||||||||||||||||

|
Midgar Full of FlowersConstructed every flower wagon type |
29.60% Uncommon | - | |||||||||||||||||||||||||||||||||||||||||||||||||||||||||
|
You can build up to three flower wagons with Aerith in Crisis Core Reunion. Regular Flower Wagon PartsThis first set of parts shouldn’t cause you too many worries, since they can’t be missed and are required to progress the story. Still, you may get lost finding one or two of the parts, so you’ll find a handy breakdown here. Used ToolsThe Used Tools are the first part you’ll be required to collect with Bruno. This is a simple one, look through the junk to the left of the Church (when facing the door), you’ll find it on the southern side of the street. Old LumberMake your way to the Sector 5 Slums Market and go over to the green van to find some wood piled on the ground nearby. Examine it and you’ll need to answer the man’s question with “Seventh Heaven, paradise in Sector 7” to get the Old Lumber. Worn TiresReturn to Sector 8 for the next wagon part and enter LOVELESS Avenue. Head north to the parked car here and speak with the man to obtain the Worn Tires. How to Build a Wagon InstructionsWith all of the parts on hand, you’ll need to track down the How to Build a Wagon Instructions, which you may have come across in your search for the Used Tools. Return to the area just outside the church and search around the junk just outside to find a Shinra Helmet concealing the Instructions. Once you have all of the parts, return to Aerith at the Church to build the flower wagon and progress the story. Eventually, you’ll find yourself back at the Shinra Building speaking to Kunsel who asks if you have any unfinished business. Say Wait, I need a little time! so that you don’t progress beyond the point of no return. Be sure to choose to wait so that you can hand over the parts for the other two wagons. Cute Flower Wagon PartsThis is the first of the two optional flower wagons, and you’ll only have the opportunity to give them to Aerith if you haven’t progressed beyond Midgar’s point of no return. These parts can be found throughout Chapters 1-7 by completing the various sub-events around Midgar. Mythril ToolsThis is one of the trickier parts to unlock since, if you’re doing it as early as possible, you’ll need to speak to several different people in certain chapters. You can, however, do all of this in Chapter 7 before you set off for Midgar. You’ll need to speak to the following people to unlock the following Missions:
Once you’ve unlocked and completed all of these Missions, return to the Researcher in the Exhibit room to obtain the Mythril Tools. Walnut WoodYou’ll need to complete the Wutai Spies sub-event first available in Chapter 5 to score the Walnut Wood however you won’t need to complete the missions. Simply find each of the six spies and you’ll be rewarded with the Walnut Wood from the SOLDIER 2nd Class who asked for your assistance in the first place. Premium TiresFirst available in Chapter 3, you’ll be able to talk to a SOLDIER trainee in the Briefing Room where you usually speak to Lazard at the start of the Chapters. Speak to the SOLDIER trainee and you’ll unlock Mission 7-1-1 which you should then proceed to complete the whole sub-category. Once complete, speak to the SOLDIER trainee once more and you’ll obtain the Premium Tires. Craftsman Monthly InstructionsAs with the first flower wagon, you’ll need Instructions to build it. The Craftsman Monthly Instructions is the first optional wagon part you can earn in the game, available as early as Chapter 2. Make your way to LOVELESS Avenue and speak with the Shinra Trooper to unlock Mission 1-2-1. Complete the entire sub-category and then return to the Shinra Trooper to obtain the part. (1 of 4) Speak to the research again after completing the M2-1 sub-category to get the Mythril Tools Shinra Lunch Cart PartsThis is the second of the two optional flower wagons, and you’ll only have the opportunity to give them to Aerith if you haven’t progressed beyond Midgar’s point of no return. These parts can be found throughout Chapters 1-7 by completing the various sub-events around Midgar. Shinra Solder, Shinra Ceramic, Shinra Treads, and Shinra Lunch Cart SpecsThat’s right, all of the parts come from the same place, and you can earn them as early as Chapter 5. At the start of the Chapter, head into the Training Room and you’ll be able to take part in the Squats mini-game. Not only will you obtain the Shinra's Squats Champion Trophy/Achievement, but all four parts as a reward. (1 of 2) Press the button when Zack’s knees are bent Press the button when Zack’s knees are bent (left), you will get all four parts of this cart from this mini-game. (right) Squats themselves are far easier than in Final Fantasy VII Remake, you just need to time your button press as Zack has his legs bent. For the final opponent, you’ll need at least 52 Squats to win so retry if you make a mistake somewhere. Once you have all of the parts, hand them over to Aerith in the Church in Chapter 7 and if you’ve built all three wagons, you’ll obtain the Midgar Full of Flowers Trophy/Achievement. |
||||||||||||||||||||||||||||||||||||||||||||||||||||||||||||

|
Master BlenderBlended a perfume with the perfect amount of oil. |
30.60% Uncommon | - | |||||||||||||||||||||||||||||||||||||||||||||||||||||||||
|
You will need to blend the perfect perfume to increase Aerith’s affection in chapter 4. How to Blend a Perfume with the Perfect Amount of OilThis is technically the second missable Trophy/Achievement in Chapter 4 (although you’ll get it before the first) and it’s another easy one to miss as you can easily miss speaking to the person who triggers it. To get the Trophy/Achievement, your goal is to play the perfume blending mini-game and blend the perfect perfume to give to Aerith. If you’re going for the Good Match for Aerith Trophy/Achievement too, then you’ll need to execute this process perfectly anyway, earning this in the process. You’ll need to progress through Chapter 4 until you reach the Market and go through the events of obtaining your wallet back from Bruno. Following this, you’ll be with Aerith in the market and can take part in a number of mini-games. Head on over to the shop with the Shopping Paradise sign above it and you’ll be given the option to blend a perfume. The process is simple, you’ll need to count the number of drips of oil and stop the process with the
With this knowledge in mind, once the process begins, you’ll see the words appear on the screen and you’ll need to count them as they go along. Once you have counted the correct amount, hit the button to stop the process and blend the perfect perfume. (1 of 2) You can pause the game to give yourself time to count the drips You can pause the game to give yourself time to count the drips (left), the Attendant will respond like this if you get the perfect blend. (right) If you’re struggling to keep up with the counting, you can always pause for each line. If you look carefully, you can still see the text and can count it without the worry of it disappearing to quickly. If you manage to stop it at the target number, the Attendant will respond with “Wow! You got it just right! Mmm, it smells divine!”. Once Zack hands over the perfume to Aerith and you get her glowing response, you’ll obtain the Master BlenderMaster Blender Trophy/Achievement. If you’re going for the Good Match For Aerith Trophy/Achievement then you’ll want to blend the perfect perfume three times in a row without failing for the max affection you can gain from this activity. |
||||||||||||||||||||||||||||||||||||||||||||||||||||||||||||

|
Of Significant WorthJudged by Hojo to be a "SOLDIER member of significant worth" in the Fusion Chamber. |
31.10% Uncommon | - | |||||||||||||||||||||||||||||||||||||||||||||||||||||||||
|
Chapter 4 is just littered with Trophies/Achievements to earn, and this is another easy one to miss (like all of the Hojo related ones). You’ll have to progress through the Chapter until you return to the Shinra Building to protect Professor Hojo. You’ll find yourself in the Fusion Chamber where you can interact with many different apparatus, most of which lead to a Trophy/Achievement. For the Of Significant Worth Trophy/Achievement, you’ll need to interact with the fusion chamber itself. At this point, Zack will get locked inside and Hojo will only let you out if you answer a series of questions correctly: 1. A SOLDIER operative like Sephiroth. 2. State-of-the-art science and technology. 3. A person unafraid to challenge Shinra Answering all of them correctly and satisfying Hojo’s curiosity is enough to have him let Zack out of the fusion chamber and award you with the Of Significant Worth Trophy/Achievement. If you failed in answering any of the questions correctly, be sure to load up your Save (which should be in the same room as you are now). |
||||||||||||||||||||||||||||||||||||||||||||||||||||||||||||

|
Mail CompletionistReceived mail from all senders. |
31.40% Uncommon | - | |||||||||||||||||||||||||||||||||||||||||||||||||||||||||
|
Thankfully, you don’t need every single piece of mail there is to get in the game, instead, you’ll need to ensure you receive at least one mail from every sender. This is still a massive task that will span the entire game, and some of the senders are very easy to miss. Thankfully, we’ve broken it down by the groups the in-game menu has so that you can make sure you have them all covered. SOLDIER Senders
Only two senders in the SOLDIER folder, and Kunsel’s first mail is unmissable. Luxiere’s you will also get naturally as you go to-and-from the slums to the Church in Chapter 5. Shinra News SendersNo table this time around, just the single sender, Shinra News, for this folder. You’ll get your first email as part of the story in Chapter 1 after you complete the Mission tutorial (M1-1-1). LazardThe SOLDIER Director also gets his own folder to himself and as such, he’s the only sender in this folder. Yet again, you’ll get the first mail from him as part of the Story, the SOLDIER Responsibilities mail as you approach the Save Point at Mt. Tamblin’s Mountain Path. Friends Senders
This is the first category where it can be easy to miss a sender or two. Cissnei’s first mail, in Chapter 6, is an easily missable one, but you will still get another mail from her automatically at the start of Chapter 7. Meanwhile, Cloud and Tifa’s first mails cannot be missed, you’ll get them during the events in Nibelheim. The Last Wonder is arguably the easiest to miss in the game (outside of the Reporter) as it requires you to complete the first six Wonders of the Seven Wonders Side Quest. If you do so, when you’re escaping from the Shinra Manor in Chapter 9, you’ll get this mail from the Wonder Hunter as you approach the Save Point in the Outskirts area. This is also the mail that will trigger the Mail Completionist Trophy/Achievement if you’ve been collecting mail from all the senders. Shinra Truths - The ReporterOutside of The Wonder Hunter above, this is the sender that may cause you to miss out on this Trophy/Achievement, as it’s extremely easy to miss the chance to speak with him. Once you can explore Midgar freely in Chapter 5, head to the Fountain area and go upstairs, then follow the path south to find a man on the corner of the street. Speak with him and you’ll get a choice, choose to let him go and he’ll thank you, adding you to his list of contacts to send the truths about Shinra too. If you choose to report him, you will miss out on his mails and this Trophy/Achievement. KeepersJust a single contact here, from the Angeal fan club Keepers of Honor and like all fan club mails, all are missable. When you reach Chapter 2 and can explore Midgar freely, head to the Fountain area and go south to find a group of women standing around. Speak to the woman with short hair in a dark top and white skirt and you’ll be given the option to join the Keepers of Honor Fan Club, accept and you’ll get your first mail from the club. Genesis Girls Senders
The Genesis Girls folder has two senders, and both are fan clubs that can be missed. For the Red Leather Sender, head to the same group of women where you found the Angeal fan club woman and speak to the woman in the suit. To join the Study Group, make your way north of the Fountain to LOVELESS Avenue and speak to the woman standing to the right of the theater. Hero News Senders
Two Senders for the Hero News folder, and both are fan clubs that are highly missable. For the Silver Elite, the Sephiroth fan club, you’ll need to head to the Park in Sector 5 to find a woman. You’ll need to pass a test to join and shortly after, you’ll get the first mail. The Zack Fan Club, on the other hand, requires a lot more work. During the attack on Junon in Chapter 6, continue until after the mini-game. Instead of continuing, go back on yourself and take the elevator to Upper Junon where you’ll run into Cissnei. Triggering this will allow you to speak to the receptionist in the Shinra Building’s Entrance during Chapter 7 to join the fan club and get the mail. Spam Senders
All three Spam senders are, in fact, the same person (Yuffie), but each one does count as a separate sender. You’ll first unlock the Yuffie missions by approaching the ladder on your left after the Mako 5 Reactor cutscene in Chapter 3. Once you complete all of the M8-4 sub-category, you’ll get a mail from Anonymous which will unlock the M8-5 sub-category. Complete all of this sub-category to get a mail from the Yuffie sender. Shop NewsJust a single sender, but the Shop News sender is missable if you’re not careful. As early as Chapter 5, speak to the City Planning Executive in Shinra Building Entrance to unlock the M6-2 sub-category of missions. Completing the first mission in this sub-category will get you your first mail. If you miss this in Chapter 5, you have one final chance in Chapter 7 before you leave Midgar for good. |
||||||||||||||||||||||||||||||||||||||||||||||||||||||||||||

|
OverpoweredDealt 99,999 damage to an enemy. |
31.60% Uncommon | - | |||||||||||||||||||||||||||||||||||||||||||||||||||||||||
|
99,999 is the max damage you can deal to enemies with any attack, but you will need to do a few things in order to get to that number. When you first start the game, the damage cap is set at 9,999, meaning you will need to unlock the higher damage cap of 99,999. Visit the Break Damage Limit page to find out how to do this. Once you have out of the way, one of the easiest ways to deal max damage is with the Costly Punch Materia. Get your Max HP up high and use this attack to easily hit for 99,999 damage. If you plan to do everything in the game, then this will likely come naturally, since there are plenty of enemies where hitting for that damage is almost required. |
||||||||||||||||||||||||||||||||||||||||||||||||||||||||||||

|
Banora TreasuresCollected all items and arrived at Angeal's house before the Banora airstrike. |
31.90% Uncommon | - | |||||||||||||||||||||||||||||||||||||||||||||||||||||||||
Collect All Items before the Banora AirstrikeThis is the second missable story Trophy/Achievement of Chapter 2, and it plays out at the same time as the third, the Slicin' SOLDIER Trophy/Achievement. Once you set off on the mission to Banora, proceed through it as normal until you reach the village and you’re told to search for Angeal’s house. Ignore the house to the south for now, and look around for the first of the three treasures. You won’t be able to claim them for now, so remember where they are but you still must examine them first. You’ll find the treasures by examining the golden glow in the following locations:
You’ll then need to proceed through the rest of the chapter until you get the countdown after completing the Rocket Slicing mini-game. You’ll then have a 45 second countdown to go back to all the spots you examined previously to collect the items and dash to Angeal’s house. If you’ve successfully picked up all five items during this period, you’ll obtain an Ether, Soma, X-Potion, Elixir, and a Phoenix Down along with the Banora Treasures Trophy/Achievement. You’ll also get your rewards for the Rocket Slicing mini-game here in Gil, with 1,500 being the max. |
||||||||||||||||||||||||||||||||||||||||||||||||||||||||||||

|
Wutai's NemesisCaught all the Wutai spies that had infiltrated Midgar. |
33.50% Uncommon | - | |||||||||||||||||||||||||||||||||||||||||||||||||||||||||
Where to Find All the Wutai Spies in MidgarAlthough you can first access this Trophy/Achievement in Chapter 5, you’ve got until you leave Midgar for the last time in Chapter 7 to complete it. Make sure you have this wrapped up before speaking to the SOLDIER in the Shinra Building to set off for Nibelheim. The goal for this Trophy/Achievement is to locate all six Wutai Spies that have infiltrated Midgar and are in disguise. Each one you find, will also unlock a Mission, so you’ll need to make sure you don’t miss this if you want the Trophy/Achievement for 100% Mission completion. To get the ball rolling, head to LOVELESS Avenue in Sector 8 once you gain access to the Midgar and you’ll find a SOLDIER operative. Speak to him and you’ll learn about the situation, so agree to assist him and you can begin your search. The spies themselves are scattered throughout Midgar and you’ll learn how to catch each one below: Wutai Spy #1You’ll find the very first Wutai Spy in the same area that you accepted this quest, LOVELESS Avenue. You’ll see a man with a black jacket walking down the street near the parked car. Speak with him three times to catch him and unlock Mission 4-3-1. Wutai Spy #2Make your way to Sector 5 now (via the train station) and go back to the Market where you were with Aerith in Chapter 4. You’ll find a Shinra Patrol Trooper here walking around, speak with him three times to catch him and unlock Mission 4-3-2. Wutai Spy #3Return to Sector 8 for the next Wutai Spy and go into the Shinra Building. Once you find yourself in the entrance area, go up the stairs to the left and run over to the right to trigger a man coming out of the elevator. Speak to him three times to catch him and unlock Mission 4-3-3. Wutai Spy #4For the next Wutai Spy, make your way back to the Fountain area and head upstairs to find a man and a woman speaking to your right. Speak to the woman three times to catch her and unlock Mission 4-3-4. Wutai Spy #5Return to the Shrina Building for the next Wutai Spy. Head to the Exhibit room and you’ll find a man standing near the rocket exhibition. Speak to him three times to catch him and unlock Mission 4-3-5. Wutai Spy #6You’re looking for a child for the final Wutai Spy. Make your way to the Sector 6 Slums - Park (east of the Market) and you’ll find a child with a hat. Speak with him three times to have him magically transform into a Wutai Soldier and catch him, unlocking Mission 4-3-6 in the process. Once you’ve successfully caught all six spies, you’ll obtain Walnut Wood used in building the Flower Wagons later and the Wutai's Nemesis Trophy/Achievement. |
||||||||||||||||||||||||||||||||||||||||||||||||||||||||||||

|
Master Mako Stone MinerPrevented the Materia Room from being shut down. |
35.30% Uncommon | - | |||||||||||||||||||||||||||||||||||||||||||||||||||||||||
Preventing the Materia Room from Being Shut DownIn order to even get started on this, you will need to unlock the corresponding missions related to this trophy/achievement. Once you start Chapter 2, you will have to speak with Tseng in order to progress the main story. Ignore this and exit the Briefing Room to have a conversation with Kunsel, who will take you out of the Shinra Building and into Sector 8 of Midgard. As soon as you’re outside, go right back through the alley and inside the Shinra Building again. (1 of 3) You’ll need to step outside first to Sector 8 Once back inside, head to the back of the second floor and interact with the door with an orangish outline to head to the SOLDIER Floor. After a short conversation here, ignore the Briefing Room and find the save point in the area. Near it will be another door, labeled Materia Room. Go in here and speak to the Researcher with the orange icon to unlock Mission 8-2-1. Do this mission to unlock another, which will in turn unlock more. In total, there’s six missions to do here, although the later ones will get a bit tough, especially when you reach the 4 stars difficulty ones. Each mission will grant you a Mako Stone as a reward, but you need to do all six of them. One trick that stayed from the PSP version of the game is the ability to skip the normal enemy encounters by hugging the edges of the area. If you’re only going straight to the main enemy in each mission, then this allows you to skip the optional fights along the way. (1 of 2) Head inside the Materia Room Head inside the Materia Room (left), where speaking to this Researcher will unlock the first mission of the chain (right) The final mission in the chain, 8-2-6, is probably the toughest one, as you will face two Deathclaws at the end. They have quite a bit more HP than the other enemies in the previous 4-star mission, but they are weak to fire (both missions have enemies weak to fire). In fact, you can get a Fira Materia from one of the chests in the same mission, which can help things along during those final two missions. You can also just run around and try your luck with the DMW, hoping to get good rolls on it. However you do things, once you complete all six missions and have the six Mako Stones, report back to the Researcher to hand over each stone one-by-one to not only get some Materia, but also the Master Mako Stone Miner trophy/achievement. |
||||||||||||||||||||||||||||||||||||||||||||||||||||||||||||

|
Bingo!Guessed the exact number in the number-guessing game. |
36.30% Uncommon | - | |||||||||||||||||||||||||||||||||||||||||||||||||||||||||
|
During Chapter 4, you will visit the Sector 5 Slums and will have your wallet stolen by a kid named Bruno. Throughout this little adventure, you will want to do all of the objectives pointed out to you under the Good Match For Aerith trophy/achievement, since that one is also missable. The kid you talked to and gave Potions for information is the same one that will initiate the Number-Guessing Game. (1 of 3) This little boy is the one for the number guessing game Things can get a little tricky here, as the entire premise behind the Number-Guessing Game is to guess the number of kids that will walk by the area. The reason this minigame is just a little dumb is because you don’t get to see the action of the NPCs walking by until you put in a guess. However, there are some ways to trim the selection down, which is from one to six by the way. That comes with asking both Aerith, as well as asking the boy who starts this minigame. Normally, when you have the option to ask Aerith about her choices, she will likely pick three different numbers. However, if you have her affection high enough, then she will only pick two numbers. This is definitely important, especially when you have the boy pick some numbers, too. He will pick three different numbers and once he does, you will want to pay attention to the overlap between him and Aerith. If there’s only one number that is the same between the two, then that’s the one you choose. For example, Aerith chooses 2 and 3, while the boy picks 1, 3, and 5. As you can see, both chose 3, so the answer will be 3. (1 of 4) Aerith can tell you what she thinks will win Now, there’s a bit of a conundrum if the boy and Aerith both choose two different numbers that are the same. For example, Aerith picks 2 and 3, but the boy chooses 2, 3, and 5. As you can see, both 2 and 3 are the same between both parties, so either one could be the answer. You just have to make a choice should that situation arises, and hope you get it right. Thankfully, you can just retry if you guessed incorrectly, with absolutely no penalty, other than losing a tiny amount of Gil. For guessing correctly, you will win whichever Materia that the boy will be offering, although they all seem to be pretty low tier ones, plus also unlock the Bingo! trophy/achievement. |
||||||||||||||||||||||||||||||||||||||||||||||||||||||||||||

|
Master InfiltratorInfiltrated the mako excavation facility without being discovered once. |
36.60% Uncommon | - | |||||||||||||||||||||||||||||||||||||||||||||||||||||||||
|
Zack will have to be sneaky if he wants this trophy! For this trophy/achievement, you’ll need to progress the story until you reach a facility in Modeo Ravine. During the cutscene, you’ll tell Tseng that you’ll infiltrate the facility without being seen. Although you can continue the story if you are seen, you won’t get the trophy/achievement. Before you start your infiltration, head to your left, and save the game. If you get caught, you’re going to want to reload the save to try again. This is a lot easier than it looks, especially if you don’t care about the chests in there, of which there are five. Once you start the infiltration, you should see two guards in front of you. One will walk up and down while the second will walk left to right. Wait until they both meet up in the middle, and run left if you want the first chest containing a Power Attack materia. Now run over to the blue boxes, and crouch behind it, and wait until the guard walks past you. Quickly run behind him, and head to the right, and open the chest next to the skip which contains a Dispel materia. (1 of 8) When the guards meet up in the middle, you can run to the left to get a chest. From the chest, turn left, and run straight forward where you’ll find another chest containing some Sprint Shoes. Hide behind the wall here until the guard to your left has walked past, and walked back again. Leave the hiding spot, and walk forward towards the Facility entrance. Before you go in, open the chest containing a Pearl Necklace, then go through the open door to the right of it. When you go through the door, you’ll get the trophy/achievement. There is a temperature mechanic in this minigame where if your body temperature drops below 26.0 you will lose a chest. There isn’t anything special here, especially if you’ve been doing other side missions, but if you do want everything, you’ll need to perform squats to keep your temperature up. |
||||||||||||||||||||||||||||||||||||||||||||||||||||||||||||

|
Shinra's Squats ChampionAchieved victory against the SOLDIER 2nd Class in the physical fitness test. |
36.60% Uncommon | - | |||||||||||||||||||||||||||||||||||||||||||||||||||||||||
|
You will be able to do this minigame starting from Chapter 5 of the main story, but it’ll become missable once you get locked out of Midgar at the end of Chapter 7. At the beginning of Chapter 5, you will be inside of the Shinra Building, which is where you need to be. Head to the SOLDIER Floor and locate the Training Room, speaking to the one researcher inside. He mentions that they will be testing your physical abilities, so agree to participate to start the Squats minigame. (1 of 3) Head to the Training Room on the SOLDIER Floor When you first start, you will be facing the Trooper, who should be used to get accustomed to the timing of the whole thing. Basically, Zack will crouch down and perform a squat, and you have to press the designated button to continue doing squats. If you don’t press the button at the correct timing, then Zack will stop doing squats and he will reset his position. Your objective is to get more squats than your opponent, in the allotted time. Of course, there’s a bit more to it than that, as you will see below. For every five consecutive squats you perform successfully without failing, the camera will do a close up on Zack. While this is happen, Zack will auto-perform another squat without needing your input, and the tempo of the squats will increase slightly. If you fail during this time, Zack will reset and the speed will go back to the slowest setting. There’s three faster speeds over the initial one, where you might need to adjust the timing of your button presses a little bit earlier in order to compensate for the increased speed. That’s the basics of the whole squats minigame, with there being four different opponents you have to defeat, in order to unlock the trophy/achievement. Each opponent will get progressively more challenging, with the SOLDIER 2nd Class being the most difficult. To beat that opponent, you will likely need 54-55 squats, at least. If you don’t fail at all, you can get a maximum of 68 squats, so you are likely only able to mess up a single time before not being able to defeat him. Defeat the SOLDIER 2nd Class, the last opponent, to unlock Shinra's Squats Champion. |
||||||||||||||||||||||||||||||||||||||||||||||||||||||||||||

|
Cell RaiderChecked all cells on the 67th floor of the Shinra Building. |
36.80% Uncommon | - | |||||||||||||||||||||||||||||||||||||||||||||||||||||||||
|
During the course of Chapter 4, you will eventually return to the Shinra Building and be put on duty in protecting Professor Hojo in his lab. In his lab, you will find a myriad of machines that you can interact with, some of which are related to trophies/achievements. There is a machine to the right of Hojo that you can hit a button, which does some things. Hojo mentions the button you pressed released some test sample monsters onto the lower floor. These monsters are too ferocious to be of any use, as Hojo points out he was about to get rid of them. He puts you in charge now of getting rid of the monsters. (1 of 4) You can interact with the locked cells on your first visit to the floor To give some further incentive to do it, Hojo mentions that the keys to the locked cells on the previous floor are on the monsters. Also, Hojo has triggered a three-minute timer here, after which, tranquilizer gas will be released (you will fail). You will need the Steal Materia here, which you just got one from Bruno right as you were leaving the Sector 5 Slums. Make sure you equip this, as there is no other way to get the keys off of the monsters. To get this trophy/achievement, you will need to steal a key from each of the six enemies, then open each cell and loot the goodies inside, within the time limit. When you’re ready, take the elevator down to the floor with the monsters, where you will see them all split up. Go to each monster to initiate a battle, then use Steal on it until you get the Jail Cell Key. From there, you can defeat the monster and win the battle, then move onto the next one. Note that the timer doesn’t run while you are in the middle of battle, so you don’t need to be super powerful or rush while fighting. Four of the monsters will be in the main hallway, while the last two will be in the room with the locked cells. (1 of 3) Use Steal to grab each of the six keys from the monsters Once you have all six of the keys, open up each cell door one-by-one and loot the chests within them. There will be three chests in each cell and just to be on the safe side, loot the chests despite them not really containing anything of much value. Upon looting all of the chests in each of the six cells, hurry back to the Fusion Lab to finish before the timer reaches zero (you should still have plenty of time left, if you are pretty strong). If you did everything right, then you will unlock the Cell Raider trophy/achievement. |
||||||||||||||||||||||||||||||||||||||||||||||||||||||||||||

|
Cage OpenerOpened the path to the Cage of Binding. |
37.40% Uncommon | - | |||||||||||||||||||||||||||||||||||||||||||||||||||||||||
How to Open the path to the Cage of Binding in the Depths of JudgementYou must first progress through the area, and you’ll eventually reach a Save Point in the Depths of Judgement, this will serve as your go-to point to for the first part of this sequence. You’ll find three additional exits out of this area (on top of the one you used to reach here), with the entrance to the Cage of Binding in the Lake of Oblivion to the south. Don’t rush off to there yet, however, as there’s a small task you must take care of first. If you look to the right of the Save Point, you’ll see a tablet which, when examined, will have text from LOVELESS - Prologue. Your goal is to examine this, and three other tablets scattered throughout the area before you head to the Lake of Oblivion. Below, you’ll find a list of where you can find them all: (1 of 4) The first tablet can be found right next to the save point in depths of judgement LOVELESS - PrologueThis is a simple one, you should find yourself right next to this tablet if you’re at the Save Point in the Depths of Judgement. Examine it to read the text and then move on to the others. LOVELESS - Act IYou should arguably make this tablet your last one, since it sits outside where you need to go after. Regardless, you’ll find this tablet in the cave that leads to the Lake of Oblivion to the south. LOVELESS - Act IILeave the Depths of Judgement to the east to reach Howling Fang and you’ll find the tablet for Act II at the end of the path in front of you, by the locked gate leading to the !Behemoth King. Examine it and move on to the next tablet. LOVELESS - Act IIIThe final tablet can be found by leaving the Depths of Judgement to the west to reach the Portal of Severance area. Inside, you’ll find the tablet for Act III right in front of you. Lake of OblivionOnce you’ve examined all four of the tablets, enter the Lake of Oblivion found to the south of the Depths of Judgement. If you look closely here, you’ll see five areas here that has a crystal above and a slight glow on the water below it. You can interact with these and a G Lucifero will drop down. Defeat it, and the enemy will die on that glow from before. (1 of 2) you’ll find five spots in the Lake of Oblivion that you can interact with you’ll find five spots in the Lake of Oblivion that you can interact with (left), defeat the enemies in each one to open the path to the Cage of Binding. (right) Repeat this for all of the five glows in this area and you’ll unlock a new path to the Cage of Binding, an optional area of the final dungeon with plenty of chests to pillage. The Cage Opener Trophy/Achievement will also unlock at this point, which is the final missable story Trophy/Achievement in the game. If you’ve made it this far and got them all, give yourself a pat on the back! |
||||||||||||||||||||||||||||||||||||||||||||||||||||||||||||

|
Slicin' SOLDIERCut down every incoming shell. |
37.40% Uncommon | - | |||||||||||||||||||||||||||||||||||||||||||||||||||||||||
|
You need to hit all 10 shells to get the Slicin’ SOLDIER Trophy/Achievement. Cut down every incoming shell in Chapter 2This is the second missable story Trophy/Achievement of Chapter 2, and it plays out at the same time as the third, the Banora Treasures Trophy/Achievement. It will also impact the time you have available to you during that section, making it easier to collect the items around Banora Village. Once you set off on the mission to Banora, proceed through it as normal until you reach the factory. After the story events there, you’ll need to leave via the main doors so be sure to make a save here. After you deal with the enemies, you’ll find yourself outside the factory and Tseng will mention that there are Shinra shell coming your way, starting the rocket slicing mini-game. The goal here, is to slash at each shell as you see them turn red. The easiest way to tell when you need to slash the rocket is to look for the lock-on marker that appears over them as they get closer. This is the time to hit the attack button to successfully slash the shell. The game will try to throw you off with different timings, some shells will come at Zack quickly, while others will meander their way toward him. By far the most challenging one, however, and the one that will make or break you getting the Trophy/Achievement is the 10th and final one. The camera will change to a perspective facing Zack making it much harder to tell when it’s in the appropriate range. It’s never been better to time your slash based on the lock-on marker so wait for it and then press the attack button. (1 of 2) The final shell will change the camera to make it tougher to hit The final shell will change the camera to make it tougher to hit (left), you will get an additional 500 Gil for a Perfect combo. (right) You’ll get the Slicin' SOLDIER Trophy/Achievement after this sequence if you score a perfect combo, and you’ll get the maximum of 45 seconds to dart around the village after collecting the five treasures you should have examined earlier. Once you return to Angeal’s house, you’ll also get a Gil reward based on your performance, with 1,500 Gil for getting the Perfect Combo. |
||||||||||||||||||||||||||||||||||||||||||||||||||||||||||||

|
Everyone's HeroSaved everyone calling for help during the assault on the Shinra Building in Chapter 3. |
42.00% Uncommon | - | |||||||||||||||||||||||||||||||||||||||||||||||||||||||||
|
Everyone’s Hero can be obtained during the assault on the shinra building in chapter 3. Save Everyone Calling for Help in Chapter 3This is the second missable Trophy/Achievement in Chapter 3 and it’s another easy one to miss as you have to go against what the game’s main objective is asking of you. Proceed through the Chapter as normal and when you return to the Director’s Office after being promoted to SOLDIER First Class and unlocked Materia Fusion, you’ll start the Assault on the Shinra Building section as Genesis clones attack the headquarters. Director Lazard will instruct you to head for the entrance, but this is counter to what you actually want to do. Shinra BuildingAs you take the elevator down, it’ll get stuck and you’ll be presented with two options. Choose “Get off and look around.” to have Zack get off on the SOLDIER floor and run into the first person who needs saving. You’ll be immediately thrust into a battle against three Red Saucers that are weak to Thunder (!Thunder Blade is very useful here if you have it). Once you save him, look nearby for another SOLDIER on the ground, head over to him and examine him to be ambushed by another group of Red Saucers. Once they’re defeated, he’ll hand over an Ether and be on his way. (1 of 4) Choose to get off on this floor to begin your search There’s one more group of people to save before making your way to the entrance and you can find them by heading to the Training Room. Once inside, you’ll trigger a battle with another with six Red Saucers so make use of Thundara or !Thunder Blade to hit more than one at a time and don’t let them surround you. After the battle, you’ll be given a choice, choose “I won’t tell anyone.” and you’ll get a whopping 5,000 Gil for your silence. That’s all for the Shinra Building so finally head to the entrance, deal with the enemies at the lobby and you’ll eventually find yourself in Sector 8. Sector 8Once you have control following the scenes, there are two more people to rescue before you take off after Cisnei. To the right of your starting location are some people cornered by a Sweeper, once again Thundara and !Thunder Blade are your friends here and you’ll get an Amulet as thanks. (1 of 2) There’s a sweeper cornering people at LOVELESS Avenue There’s a sweeper cornering people at LOVELESS Avenue (left), while the final person can be found on the opposite side here. (right) The final person can be found at the opposite side, also being cornered by a Sweeper. Deal with this enemy and you’ll get some Earrings. If this is the final person you needed to save, you’ll have the Everyone's Hero Trophy/Achievement pop at this point. |
||||||||||||||||||||||||||||||||||||||||||||||||||||||||||||

|
Missions Completed: 25%Completed 25% of all missions. |
42.30% Uncommon | - | |||||||||||||||||||||||||||||||||||||||||||||||||||||||||
|
Missions are the optional content in Crisis Core Reunion, with there being 300 Missions you can do across the entirety of the game. You only need to do 25% of the Missions to unlock this trophy/achievement. See the Mission Completionist trophy/achievement for more information on this. |
||||||||||||||||||||||||||||||||||||||||||||||||||||||||||||

|
Immovable ObjectDefeated all enemies in Defense of the Junon Perimeter. |
44.10% Uncommon | - | |||||||||||||||||||||||||||||||||||||||||||||||||||||||||
|
Zack will need to stop the robots that !Hollander sends at him in Junon. How to Defeat all the Enemies in the Defense of the Junon PerimeterChapter 6 in Crisis Core Final Fantasy VII: Reunion is a short one taking place at Junon. That means there’s very little in the way of missable Trophies/Achievements and the Immovable Object is the only one of your main concerns outside of triggering the condition for Zack’s Fan Club. As you progress through the Chapter, you’ll eventually catch up to !Hollander in Upper Junon who proceeds to unleash a group of mechs to stop you from following him. Despite being billed as a mini-game, this is simply an exercise in defeating all of the enemies you see. The goal for this Trophy/Achievement is to ensure that none of the mechs reach the evacuation area, denoted with a purple line. If one of the mechs reach that line, you’ll want to reload your latest save and try again. To begin with, make sure you run over to where that purple line is and turn around to face the incoming enemies. This will ensure that you can see them all as they appear. The goal is to defeat 30 of these enemies, and more will spawn as you come into contact with one of the mechs on the screen. These all count toward the 30 total you need to stop the attack. (1 of 2) most of the enemies here are weak to !Thunder. most of the enemies here are weak to !Thunder. (left), Stand with your back to the purple line to spot all the enemies incoming (right) As for the enemies themselves, there’s nothing new here you haven’t already dealt with. As all of the enemies are mechs, you’ll find that all of them, like the Crazy Saw enemies, are weak to Thunder so having materia such as Tri-Thundaga, Electrocute (you may not have these if you’ve not been completing a lot of Missions), and other high-level !Thunder-based Materia at your disposal will make life easier. It also bears mentioning that the waves of enemies will stop while you’re currently in battle, so you won’t need to worry about trying to defeat the enemies as quickly as possible. Outside of this, there’s not much more to mention about this mini-game, it’s a simple one and so long as you have Zack near the purple line, you’ll be able to make sure you don’t miss any mechs coming your way. Once you defeat the 30th and final mech, the mini-game will come to an end and you’ll unlock the Immovable Object Trophy/Achievement. |
||||||||||||||||||||||||||||||||||||||||||||||||||||||||||||

|
We'll All Be Heroes |
48.00% Uncommon | - | |||||||||||||||||||||||||||||||||||||||||||||||||||||||||

|
First-Rate SOLDIERDefeated all virtual data in the Training Room. |
48.00% Uncommon | - | |||||||||||||||||||||||||||||||||||||||||||||||||||||||||
|
Be sure to always choose the first choice when answering Hojo’s questions. Hojo’s Questions in the Training Room in Chapter 3This is the first missable Trophy/Achievement in Chapter 3 and it’s an easy one to miss as you have to visit a room that you never normally need to go to. You’ll notice that you’ll get a mail from Kunsel as soon as you gain control speaking about Hojo and the Training Room. You’ll find yourself standing near the Training Room, so head inside and you’ll meet Professor Hojo. He’ll vaguely mention that he wants Zack to assist him with some data gathering in the Training Room and you’ll be given an option to respond to him after every battle. Always choose the top option to agree to undertake the training. What follows is a series of battles, none of which should be particularly challenging, especially if you’ve taken the opportunity to complete some of the many optional Side Missions that are on offer. Test Hojo’s virtual data?A simple battle against two Wutai Privates and a Foulander. You can most likely just hack and slash through them, but if you have access to the Blizzard materia or blade commands then use it against the Foulander. (1 of 2) Most of the enemies you fight are weak to Ice Most of the enemies you fight are weak to Ice (left), the final battle is against a Behemoth that is weak to Thunder. (right) Prove my mettle?Answer the second question with “You bet!” to start the second battle, this time against three Guard Hounds. Once again, the Blizzard materia or blade command will serve you well as all three hounds are weak to Ice. Fight another one?Answer the third question with “I’ll fight everything you throw at me!” and you’ll begin the third battle against two Blood Tastes. Once again, you can utilize Blizzard against them (starting to see a trend here?), otherwise, these are nothing more than slightly harder hitting Guard Hounds. The ultimate virtual data?Answer the final, ominous question with “Bring it on!” to take on the final battle. This is at least a challenge, unlike the other battles, as you’ll be facing Experiment No. 88, a tougher Behemoth. Thankfully, the battle plays similar to the one against the Behemoth in the prologue just dealing more damage with each of its attacks so check out our Behemoth Boss guide to learn how to deal with all of its attacks. Once you finish off Experiment No. 88, Hojo will rather menacingly mention a special relationship between him and Zack and you’ll obtain the First-Rate SOLDIER Trophy/Achievement. |
||||||||||||||||||||||||||||||||||||||||||||||||||||||||||||

|
Thanks to You, Zack |
48.30% Uncommon | - | |||||||||||||||||||||||||||||||||||||||||||||||||||||||||
|
This is a story-related trophy/achievement. You will get this for completing Chapter 10, the final chapter of the main story. There is one missable trophy/achievement during this chapter, which is the Cage Opener one. |
||||||||||||||||||||||||||||||||||||||||||||||||||||||||||||

|
I'll Come Visit |
51.10% Common | - | |||||||||||||||||||||||||||||||||||||||||||||||||||||||||

|
I May Abandon Shinra |
51.40% Common | - | |||||||||||||||||||||||||||||||||||||||||||||||||||||||||

|
Protect Your SOLDIER HonorCleared Chapter 5. |
53.50% Common | - | |||||||||||||||||||||||||||||||||||||||||||||||||||||||||
|
This is a story-related trophy/achievement, unlocked after completing Chapter 5. There will be a few missable trophies/achievements during this chapter. |
||||||||||||||||||||||||||||||||||||||||||||||||||||||||||||

|
Did Genesis Really Die? |
54.00% Common | - | |||||||||||||||||||||||||||||||||||||||||||||||||||||||||

|
Where Did Everyone Go?Cleared Chapter 4. |
57.90% Common | - | |||||||||||||||||||||||||||||||||||||||||||||||||||||||||
|
This is a story-related trophy/achievement, with it being unlock after completing Chapter 4. This chapter has a large number of missable trophies/achievements, so make sure you take your time during it.
|
||||||||||||||||||||||||||||||||||||||||||||||||||||||||||||

|
Got Materia Fusion DownPerformed materia fusion for the first time. |
59.40% Common | - | |||||||||||||||||||||||||||||||||||||||||||||||||||||||||
|
Upon reaching Chapter 3 of the main story, Zack will receive a promotion and unlock Materia Fusion. Accessible from the main menu, this allows you to fuse two Materia together to get a new one. If you wish to get a lot stronger, then you will need to utilize fusion, as it is one of the only ways to get stats on your Materia. For the purposes of this trophy/achievement, though, you only need to use Materia Fusion a single time, without worrying about the result. For more information, visit the How to Unlock Materia Fusion page. |
||||||||||||||||||||||||||||||||||||||||||||||||||||||||||||

|
Hero of the Wutai War?Received highest evaluation from Lazard for Assault on Fort Tamblin |
60.50% Common | - | |||||||||||||||||||||||||||||||||||||||||||||||||||||||||
|
Proceed through the mission as normal, up until you reach the Mt Tamblin – Mountain Path Save Point, the Assault on Fort Tamblin follows shortly after this. Your main goal is to defeat all of the enemy groups during your time in the fortress and thankfully, the game will keep track of this in the top left of the screen. If you go to leave and you don’t have all the green checkmarks, then go back and finish off any remaining forces. All Enemy GroupsBelow, you’ll find information on where to find each of the enemy groups, along with battle advice where applicable:
If you’ve successfully taken out every group, you’ll get a call from Angeal to inform you that you’ve managed to occupy the fort. Lazard RewardsYou won’t get your rewards until you actually proceed beyond the next point and defeat the boss. Following the battle, you’ll find yourself back in the forest and you’ll get a reward from Lezard based on how many groups you took out.
The Fire Armlet especially is a great accessory and will be immediately useful in the boss battle that follows. |
||||||||||||||||||||||||||||||||||||||||||||||||||||||||||||

|
Angels Dream of One ThingCleared Chapter 3. |
61.80% Common | - | |||||||||||||||||||||||||||||||||||||||||||||||||||||||||
|
This is a story-related trophy/achievement. You will unlock this upon finishing Chapter 3 of the main story. You will find two missable trophies/achievements during this chapter, which are: |
||||||||||||||||||||||||||||||||||||||||||||||||||||||||||||

|
We're Not MonstersCleared Chapter 2. |
74.00% Common | - | |||||||||||||||||||||||||||||||||||||||||||||||||||||||||
|
This is a story-related trophy/achievement. You will unlock this for completing Chapter 2 of the main story. There are also three missable trophies/achievements in this chapter, which are: |
||||||||||||||||||||||||||||||||||||||||||||||||||||||||||||

|
He Wouldn't Betray UsCleared Chapter 1. |
89.60% Common | - | |||||||||||||||||||||||||||||||||||||||||||||||||||||||||
|
This is a story-related trophy/achievement. You will unlock this for completing Chapter 1, which sends you on a Wutai-related mission. During this part, make sure you unlock the Hero of the Wutai War? trophy/achievement, as it’s missable. Once you make it to the end, you will end up fighting Ifrit, with the trophy/achievement unlocking shortly after the fight. |
||||||||||||||||||||||||||||||||||||||||||||||||||||||||||||

|
Embrace Your DreamsCleared the prologue. |
100.00% Common | - | |||||||||||||||||||||||||||||||||||||||||||||||||||||||||
|
This is a story-related trophy/achievement. You will unlock this after finishing the prologue. Once you defeat the Behemoth at the end, you will be finished with the prologue. |
||||||||||||||||||||||||||||||||||||||||||||||||||||||||||||

|
Come and Get ItWon a battle for the first time. |
100.00% Common | - | |||||||||||||||||||||||||||||||||||||||||||||||||||||||||
|
It isn’t an RPG without fighting enemies, and Crisis Core Reunion is no exception. You will be forced to fight a number of battles as you go throughout the main story, so winning your first battle will be a given. Thus, this trophy/achievement will unlock as you naturally go throughout the game. |
||||||||||||||||||||||||||||||||||||||||||||||||||||||||||||

|
Prove Your Honor to MePerformed a limit break for the first time. |
100.00% Common | - | |||||||||||||||||||||||||||||||||||||||||||||||||||||||||
|
The Digital Mind Wave, or DMW, is an integral part of combat in Crisis Core Reunion. This is the slots in the upper left corner of the screen, that will automatically spin as soon as you enter combat. During battles, you will undoubtedly run into situations where the DMW will have the same image lined up on the left and right slots, which will force something called a Limit Verge. Should the third slot, in the center, match those other two, then you will be able to perform a Limit Break. In the PSP version of the game, these would be performed automatically, but in Reunion, they are stored instead. Upon gaining a Limit Break, you will have to press the Triangle (PS)/Y (Xbox)/X (Switch) button to actually perform the Limit Break. As soon as you perform your first one, then you will unlock this trophy/achievement. Unless you purposefully ignore this mechanic, then this should unlock naturally. |
||||||||||||||||||||||||||||||||||||||||||||||||||||||||||||


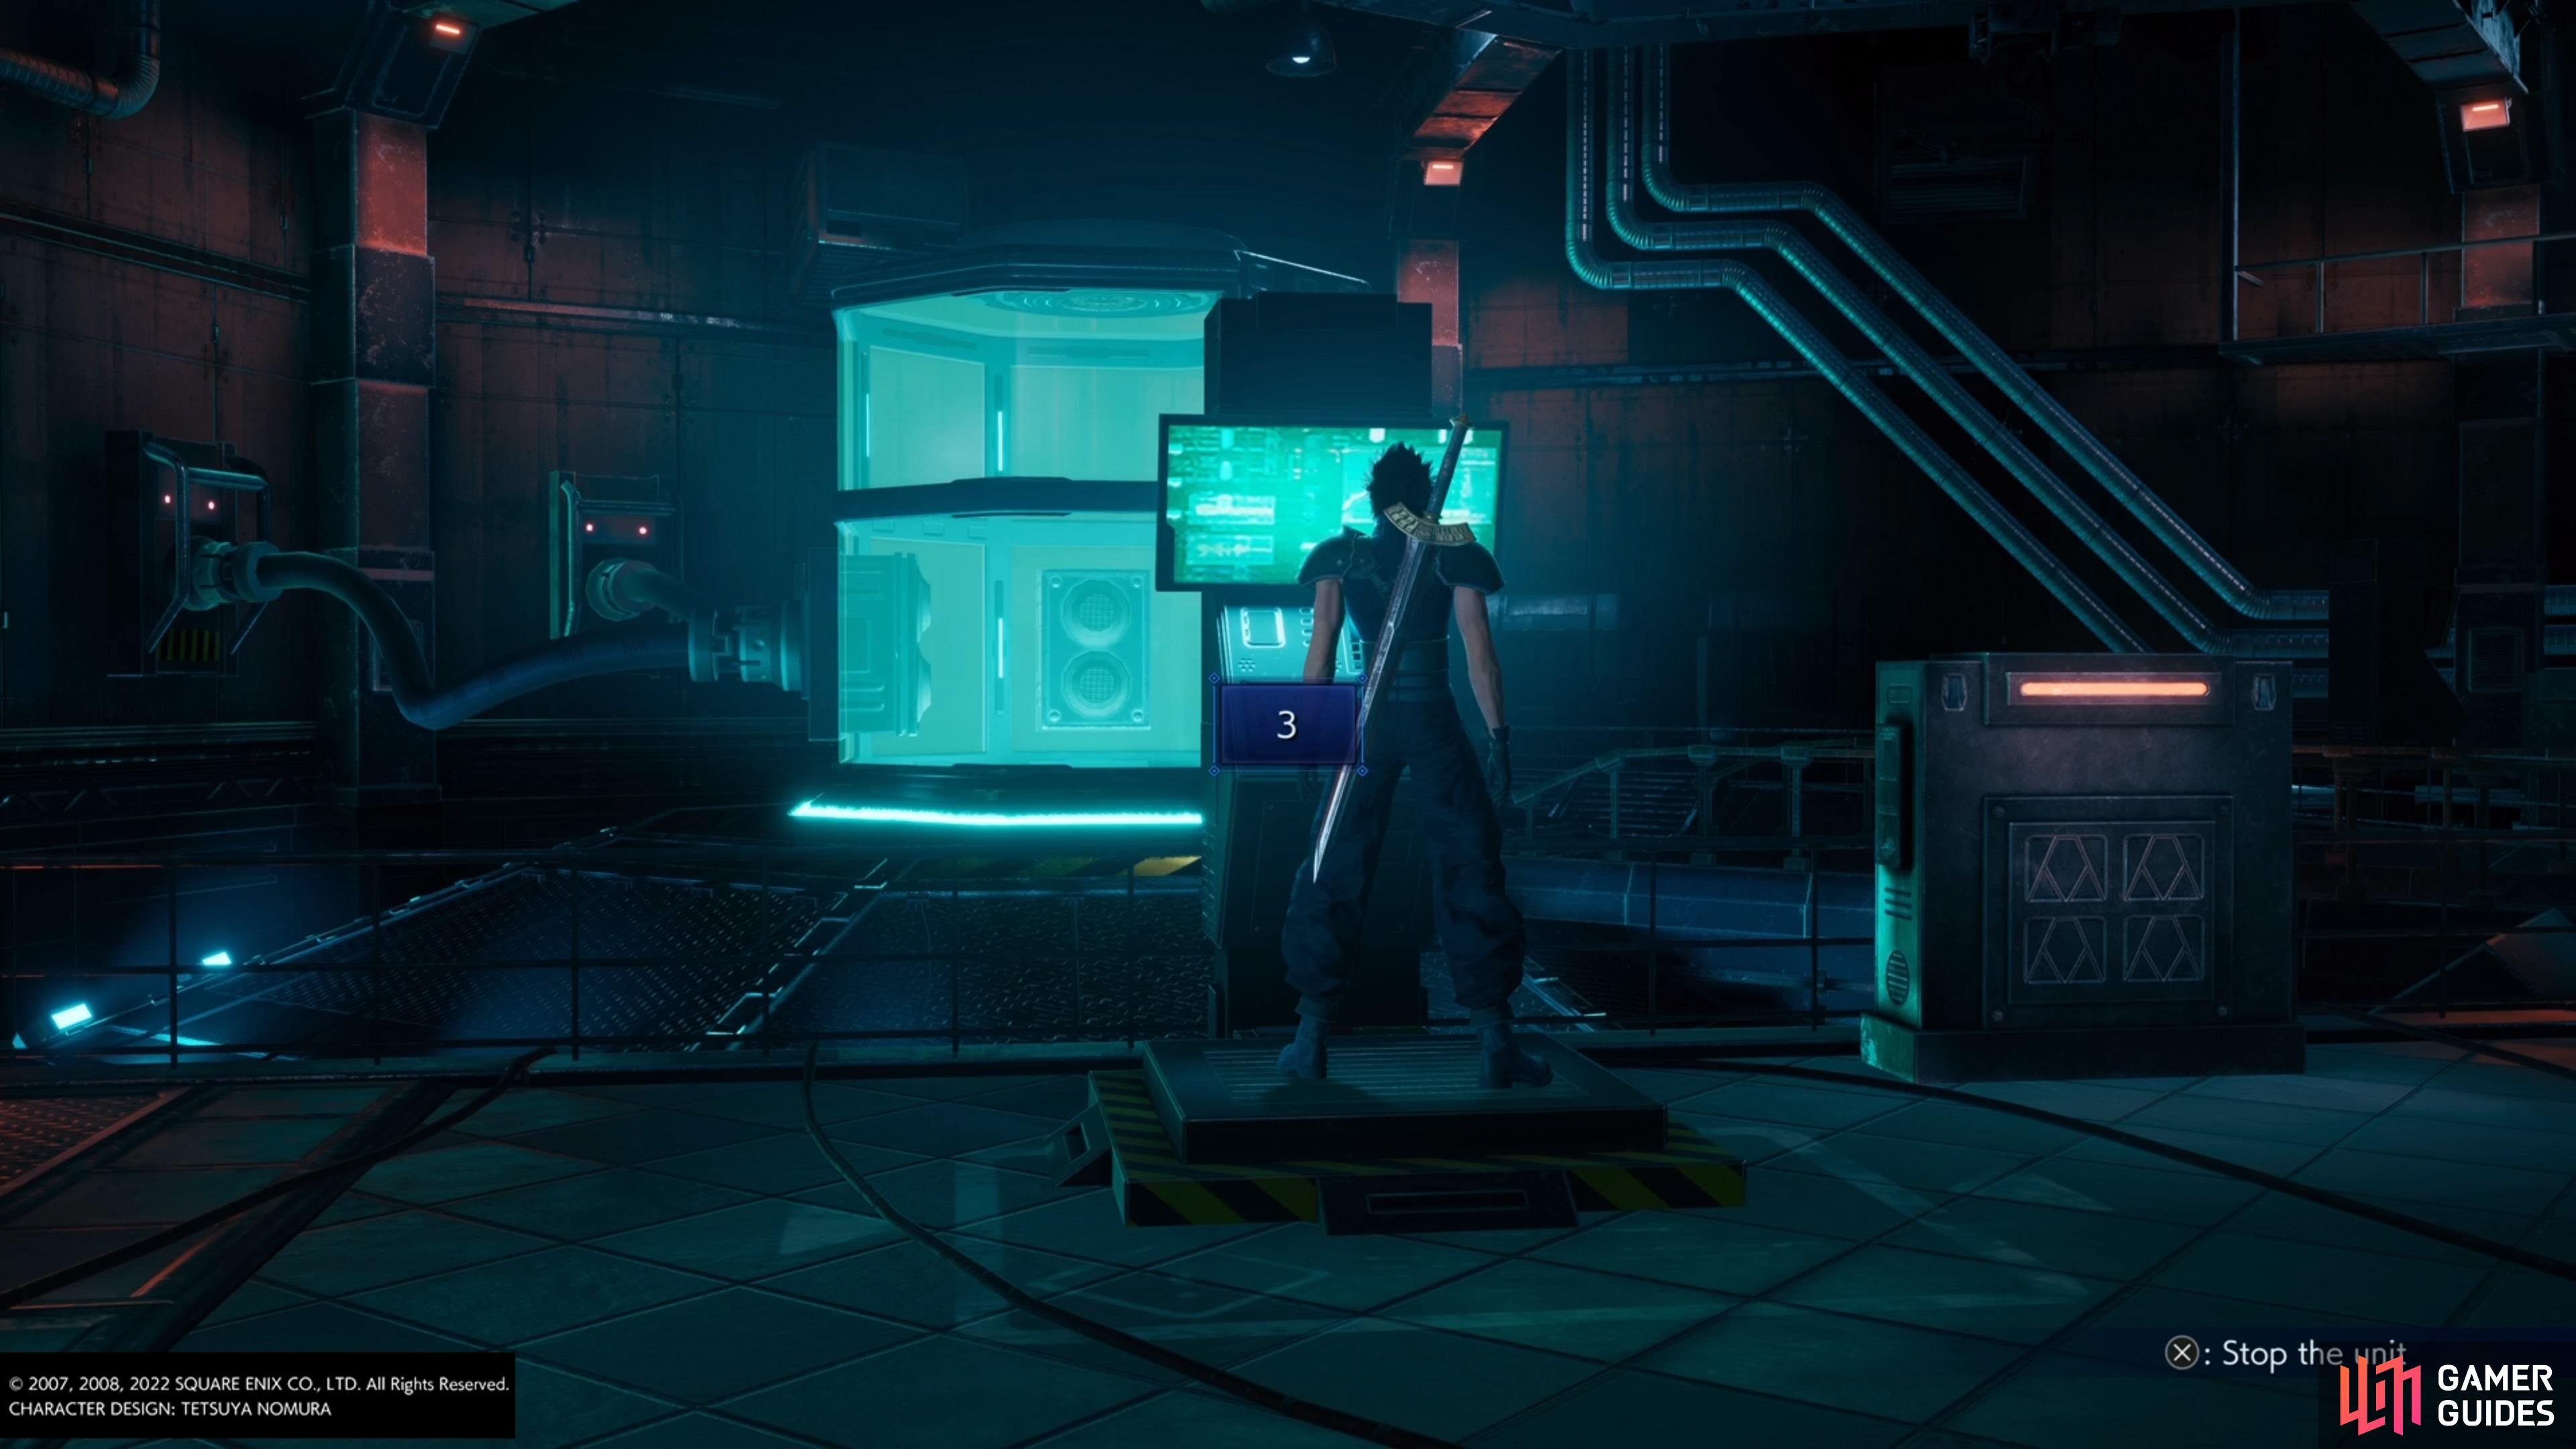
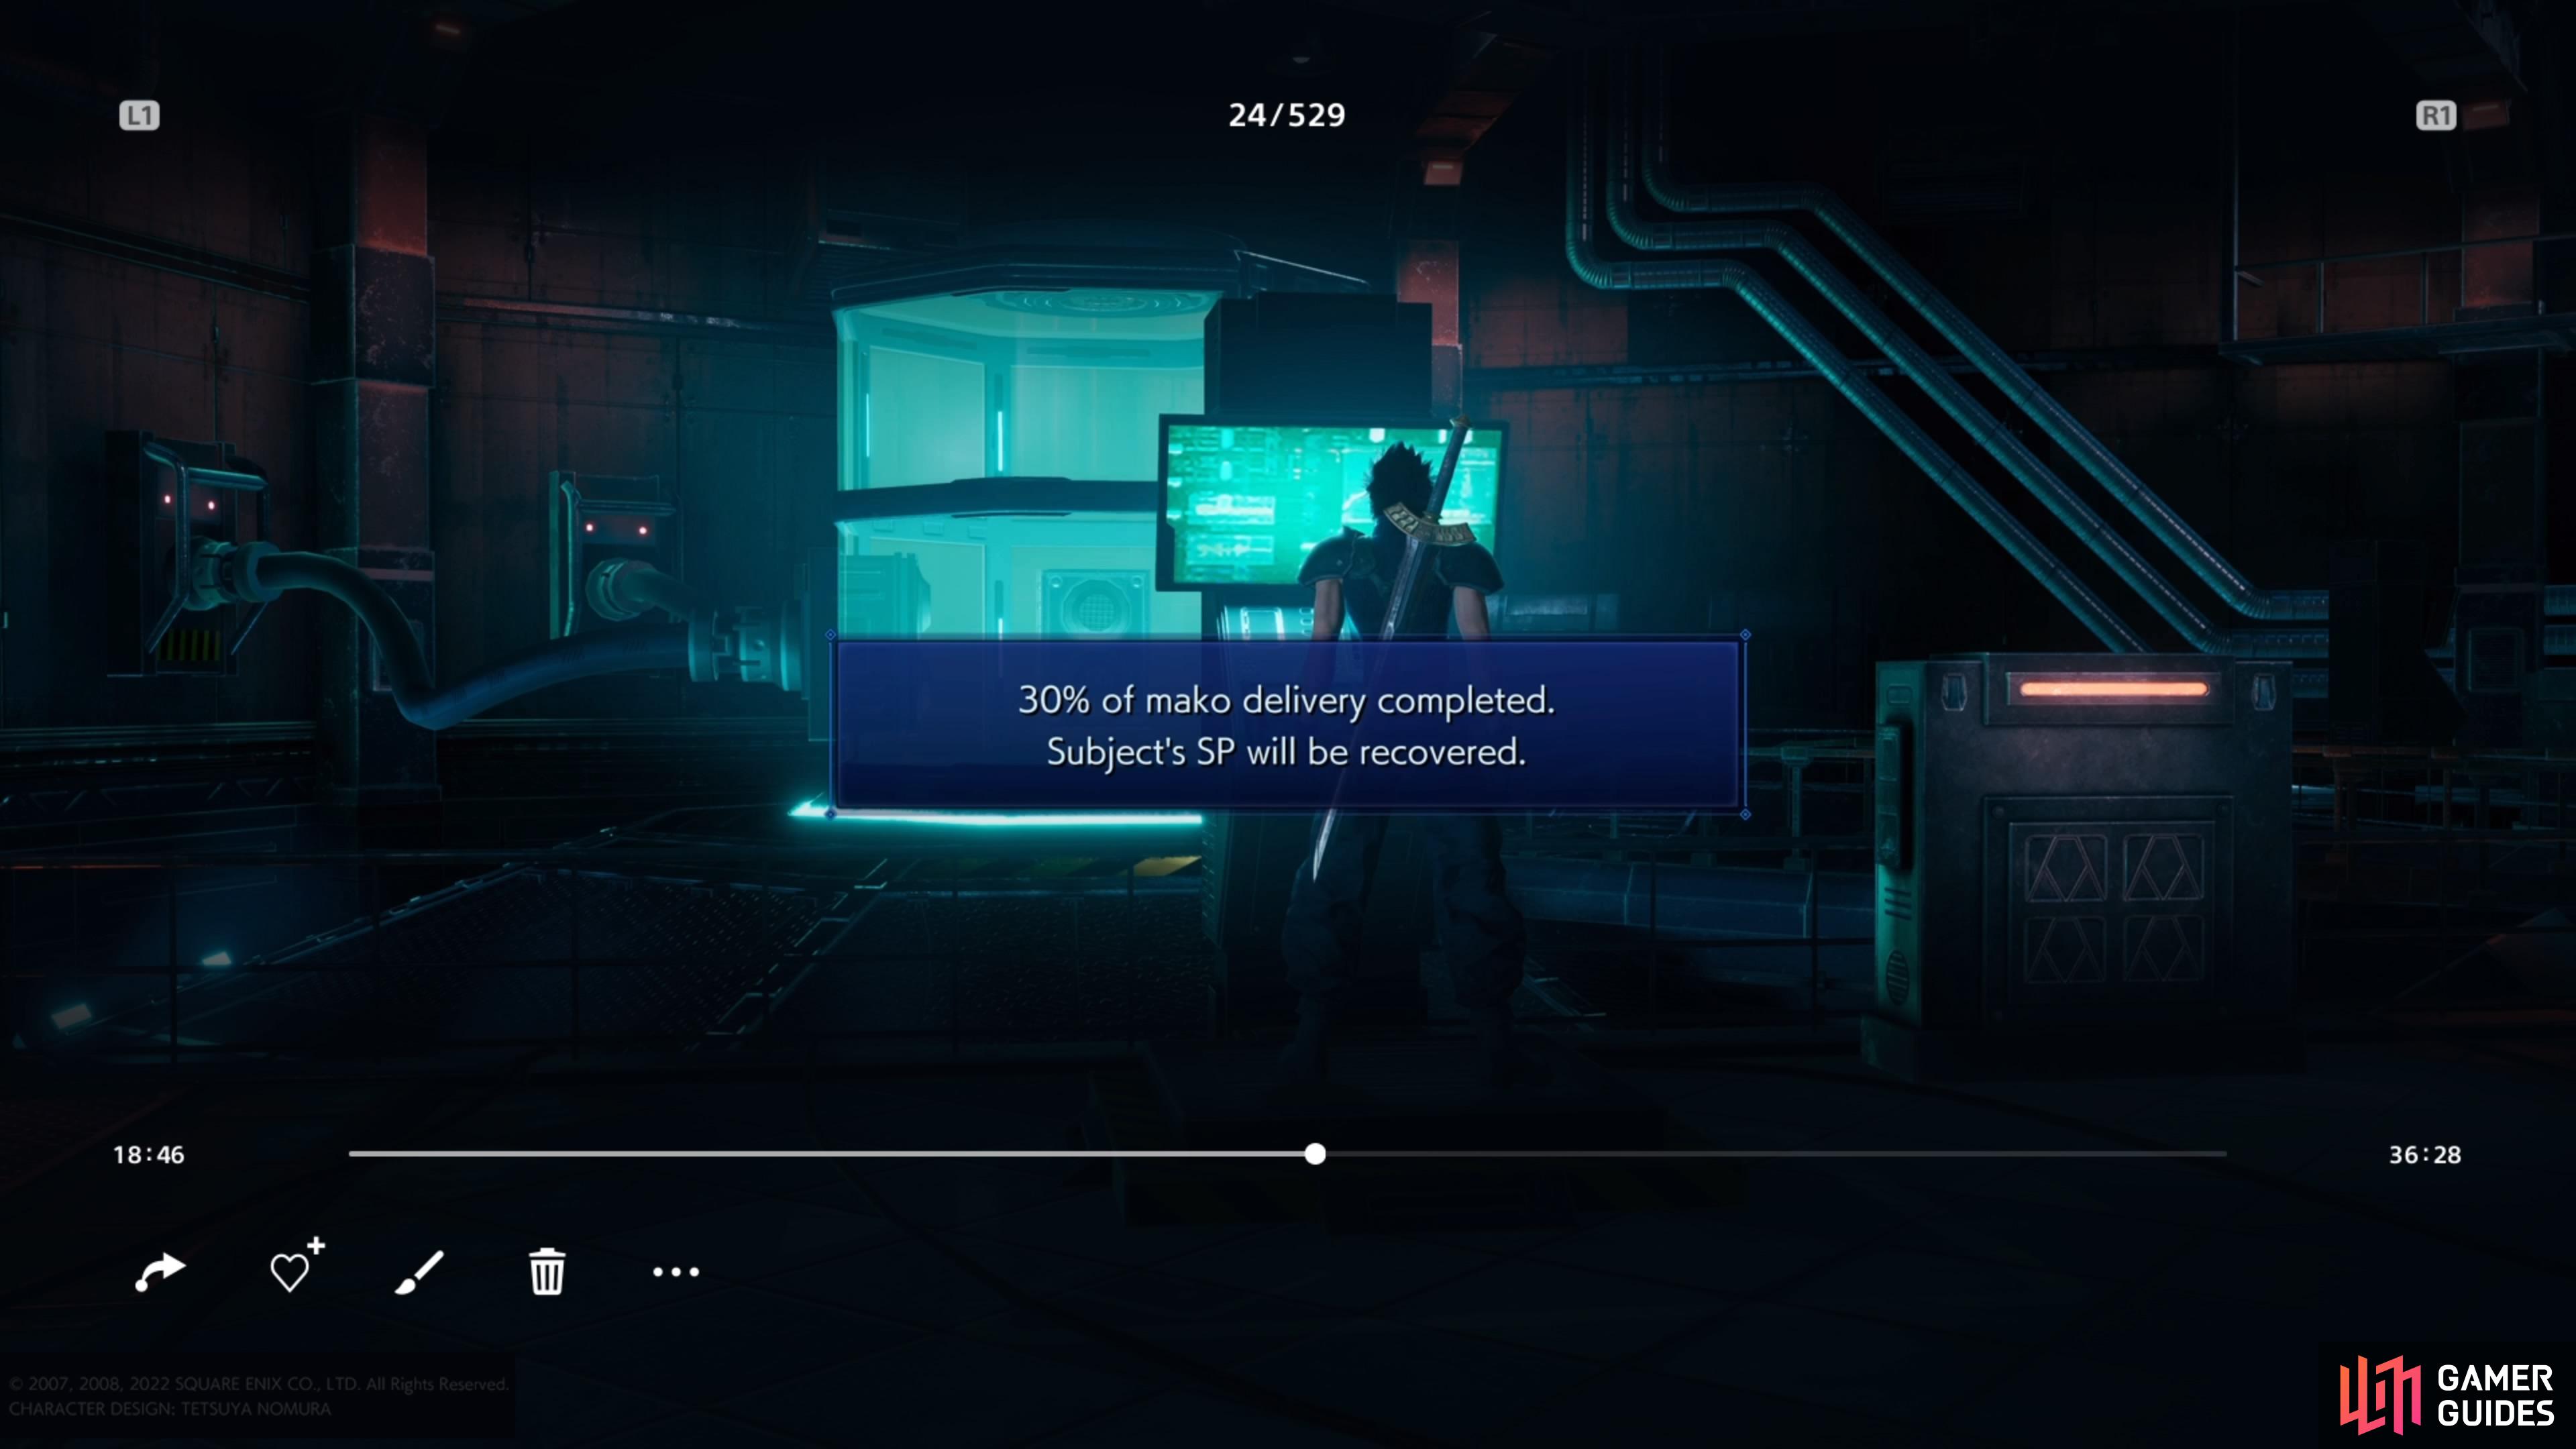
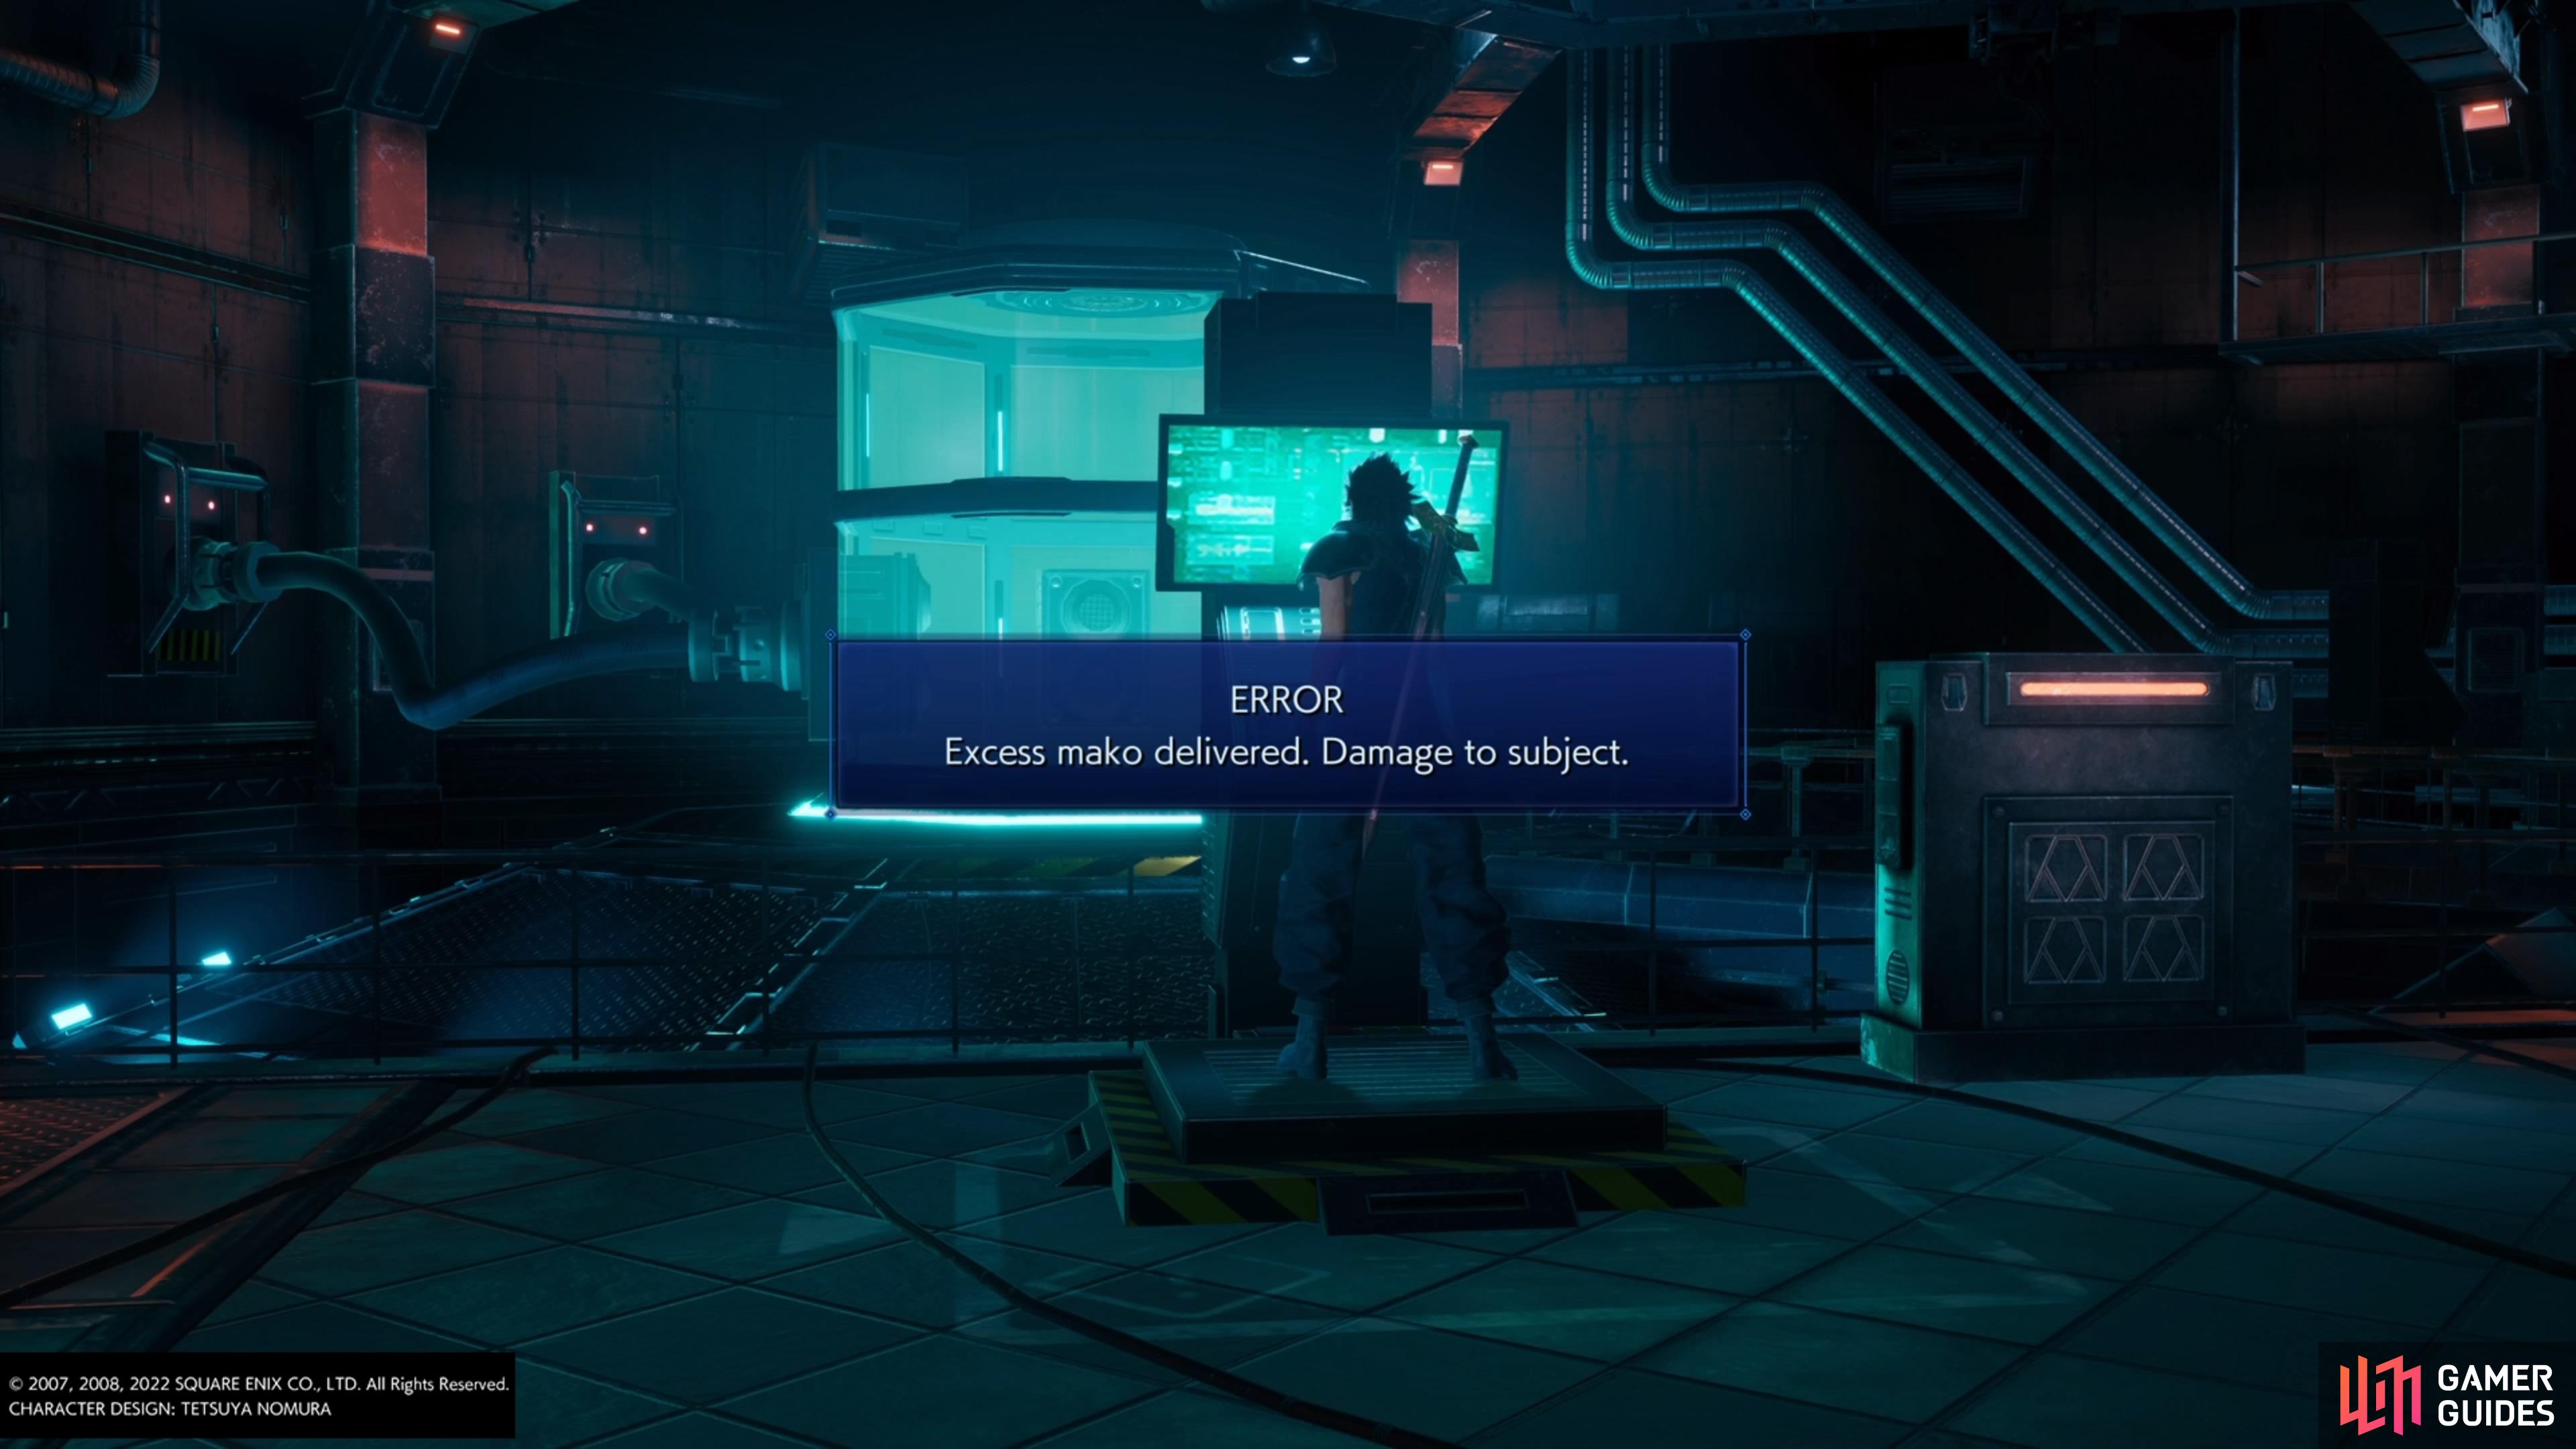
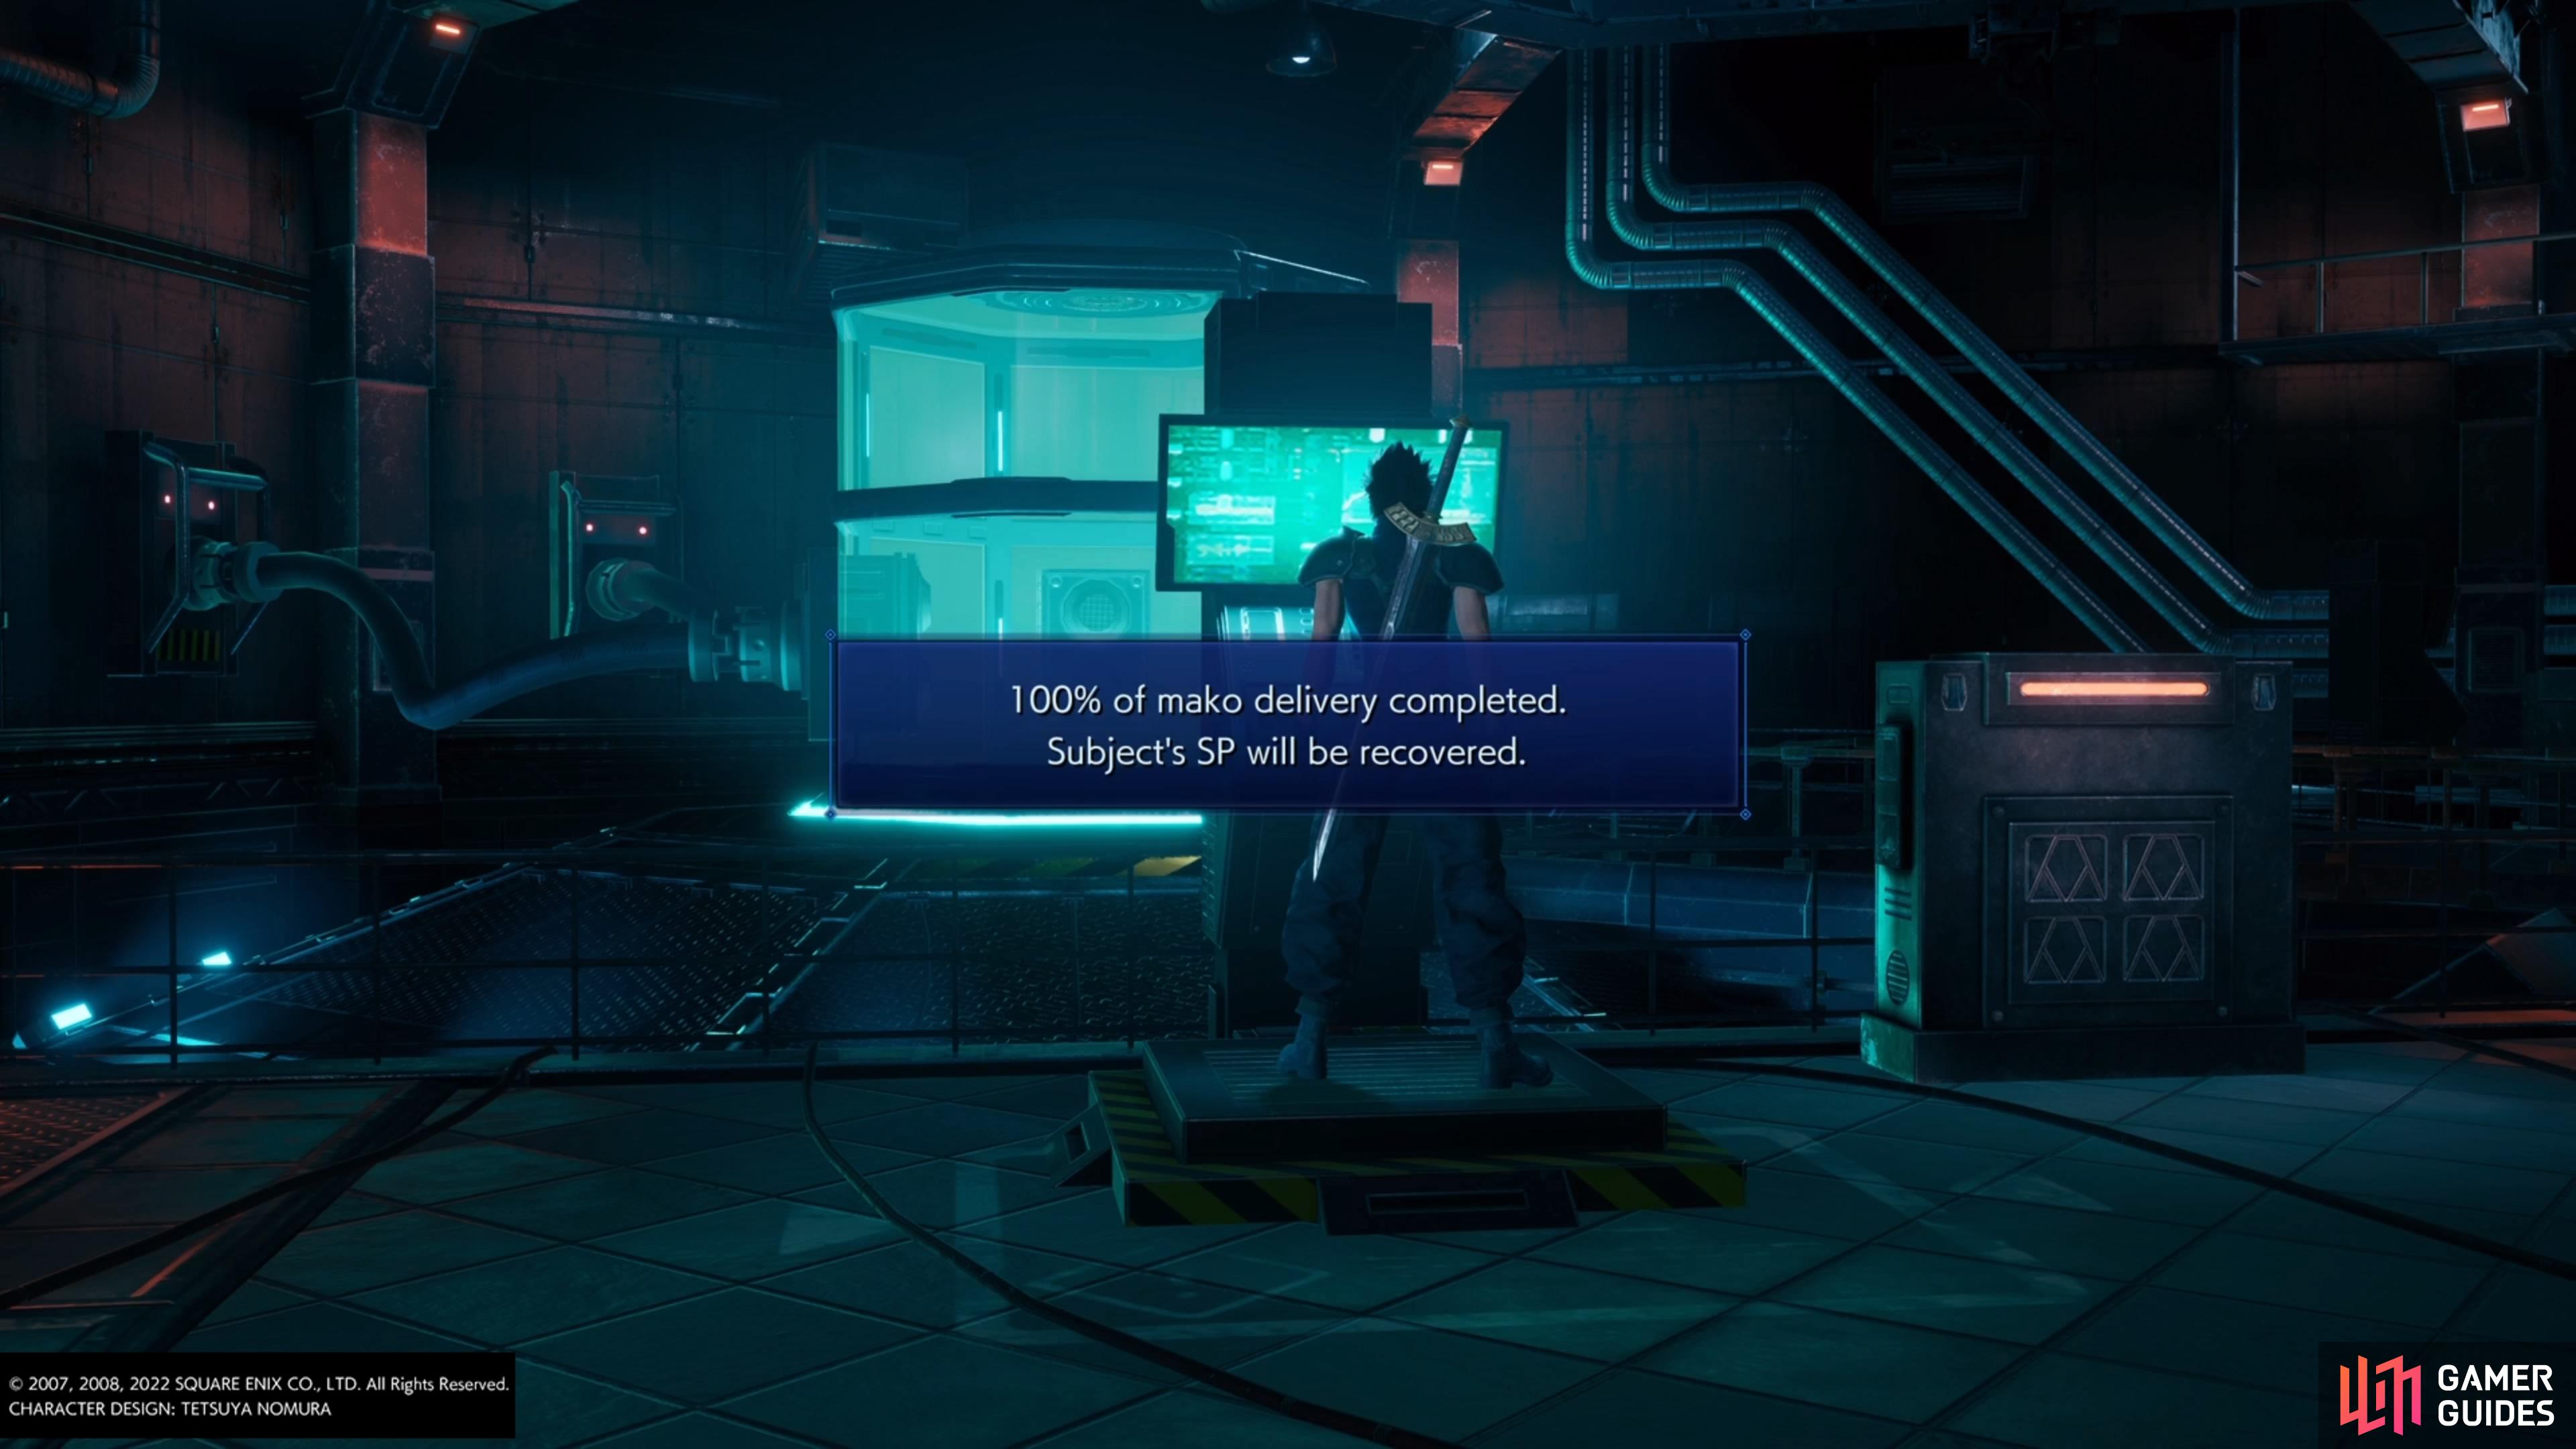




















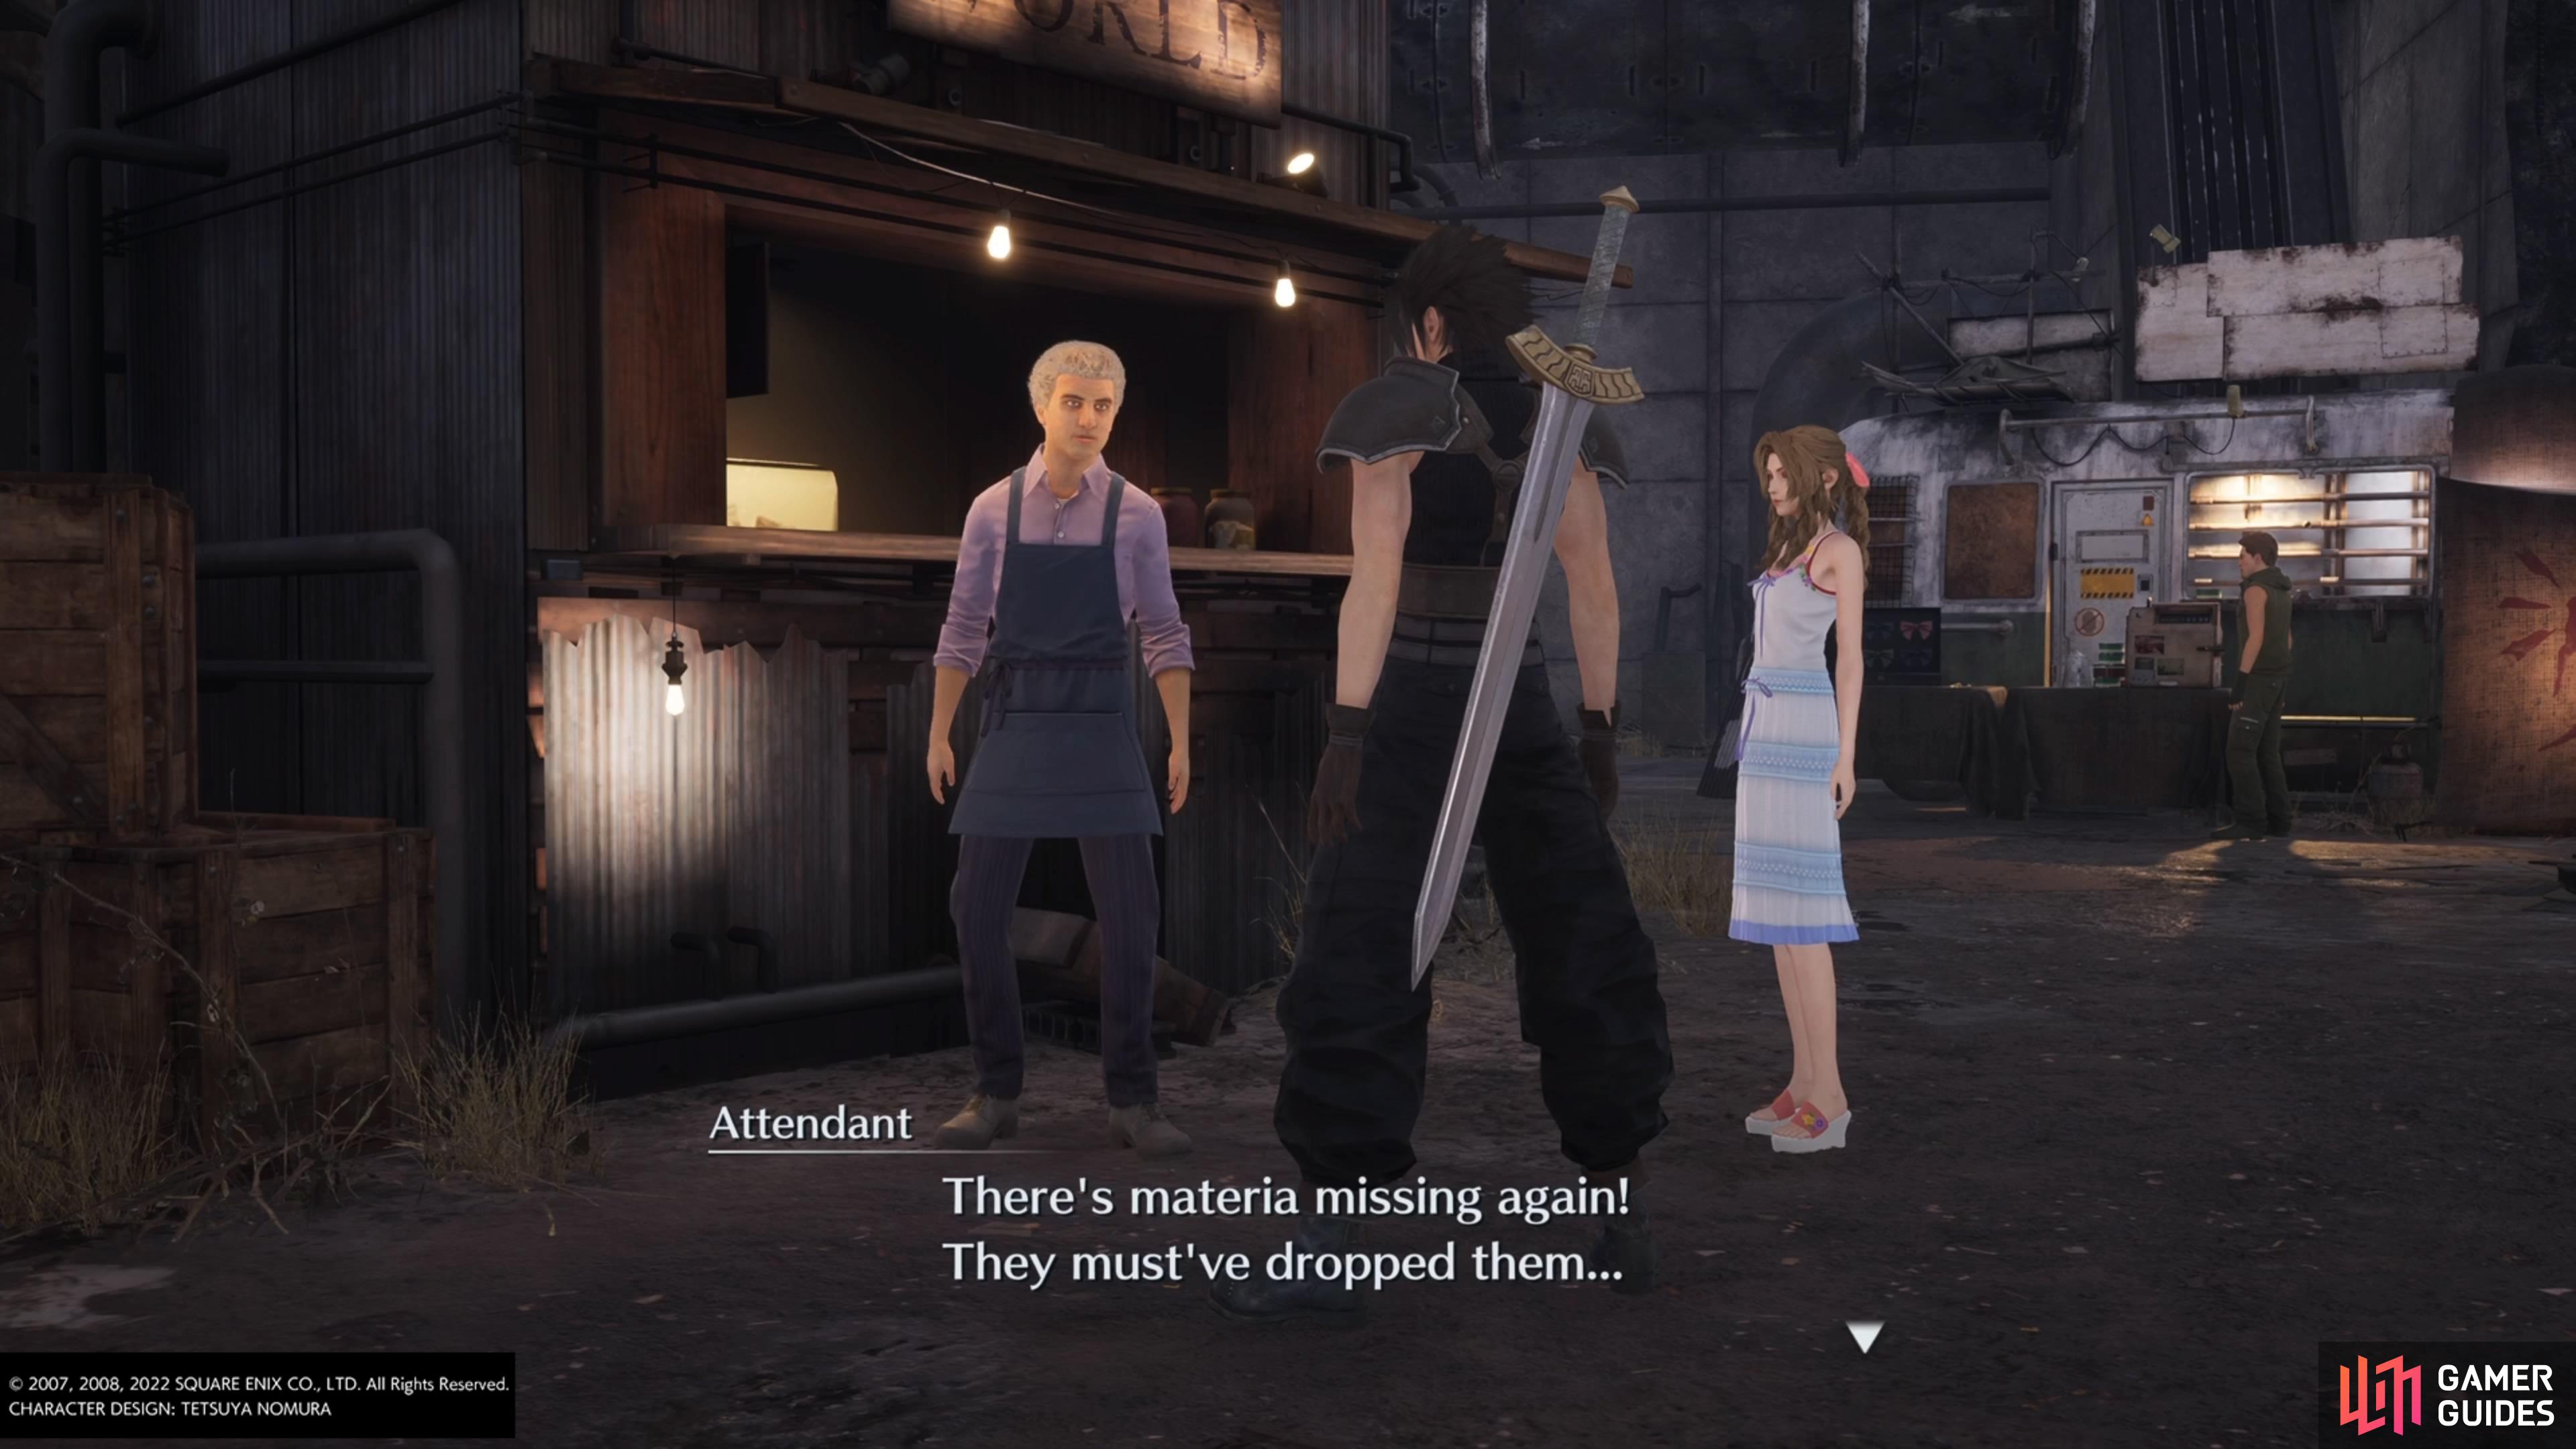
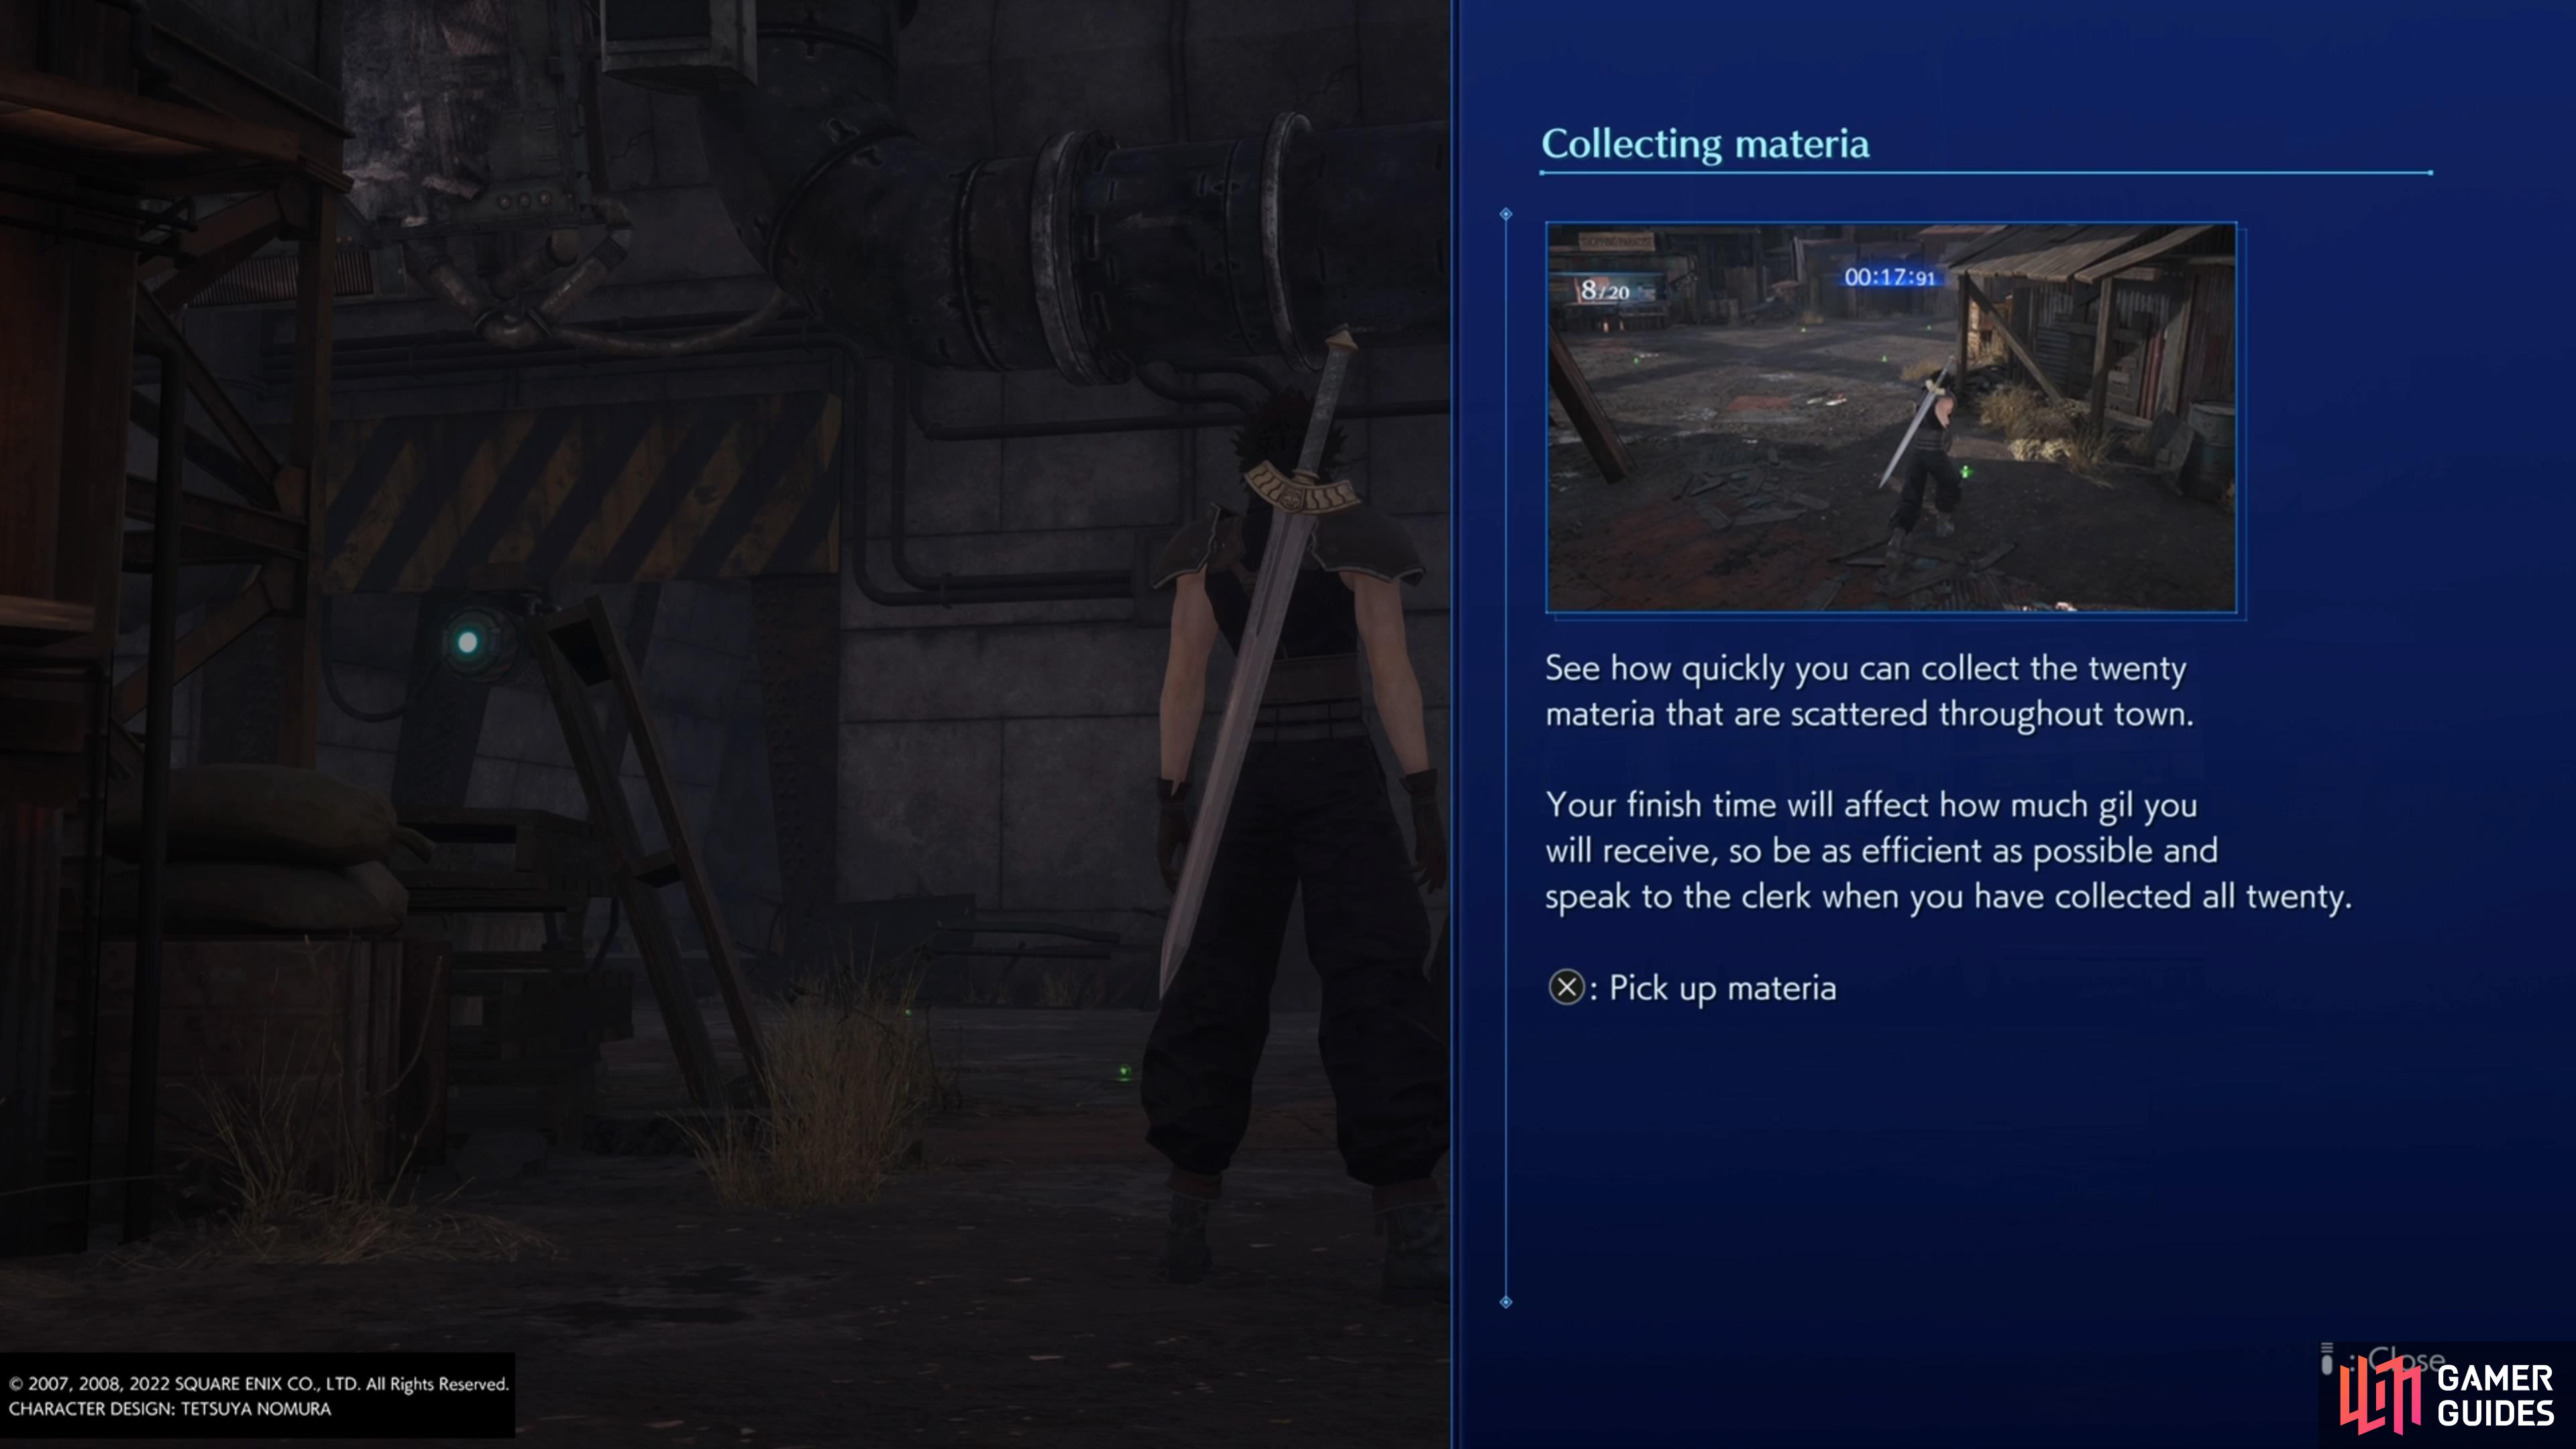

 /
/ (Xbox)/
 (Switch) to collect the Materia on the ground, and considering the endgoal of getting under 14 seconds, you will need to spam that button while going as fast as possible.


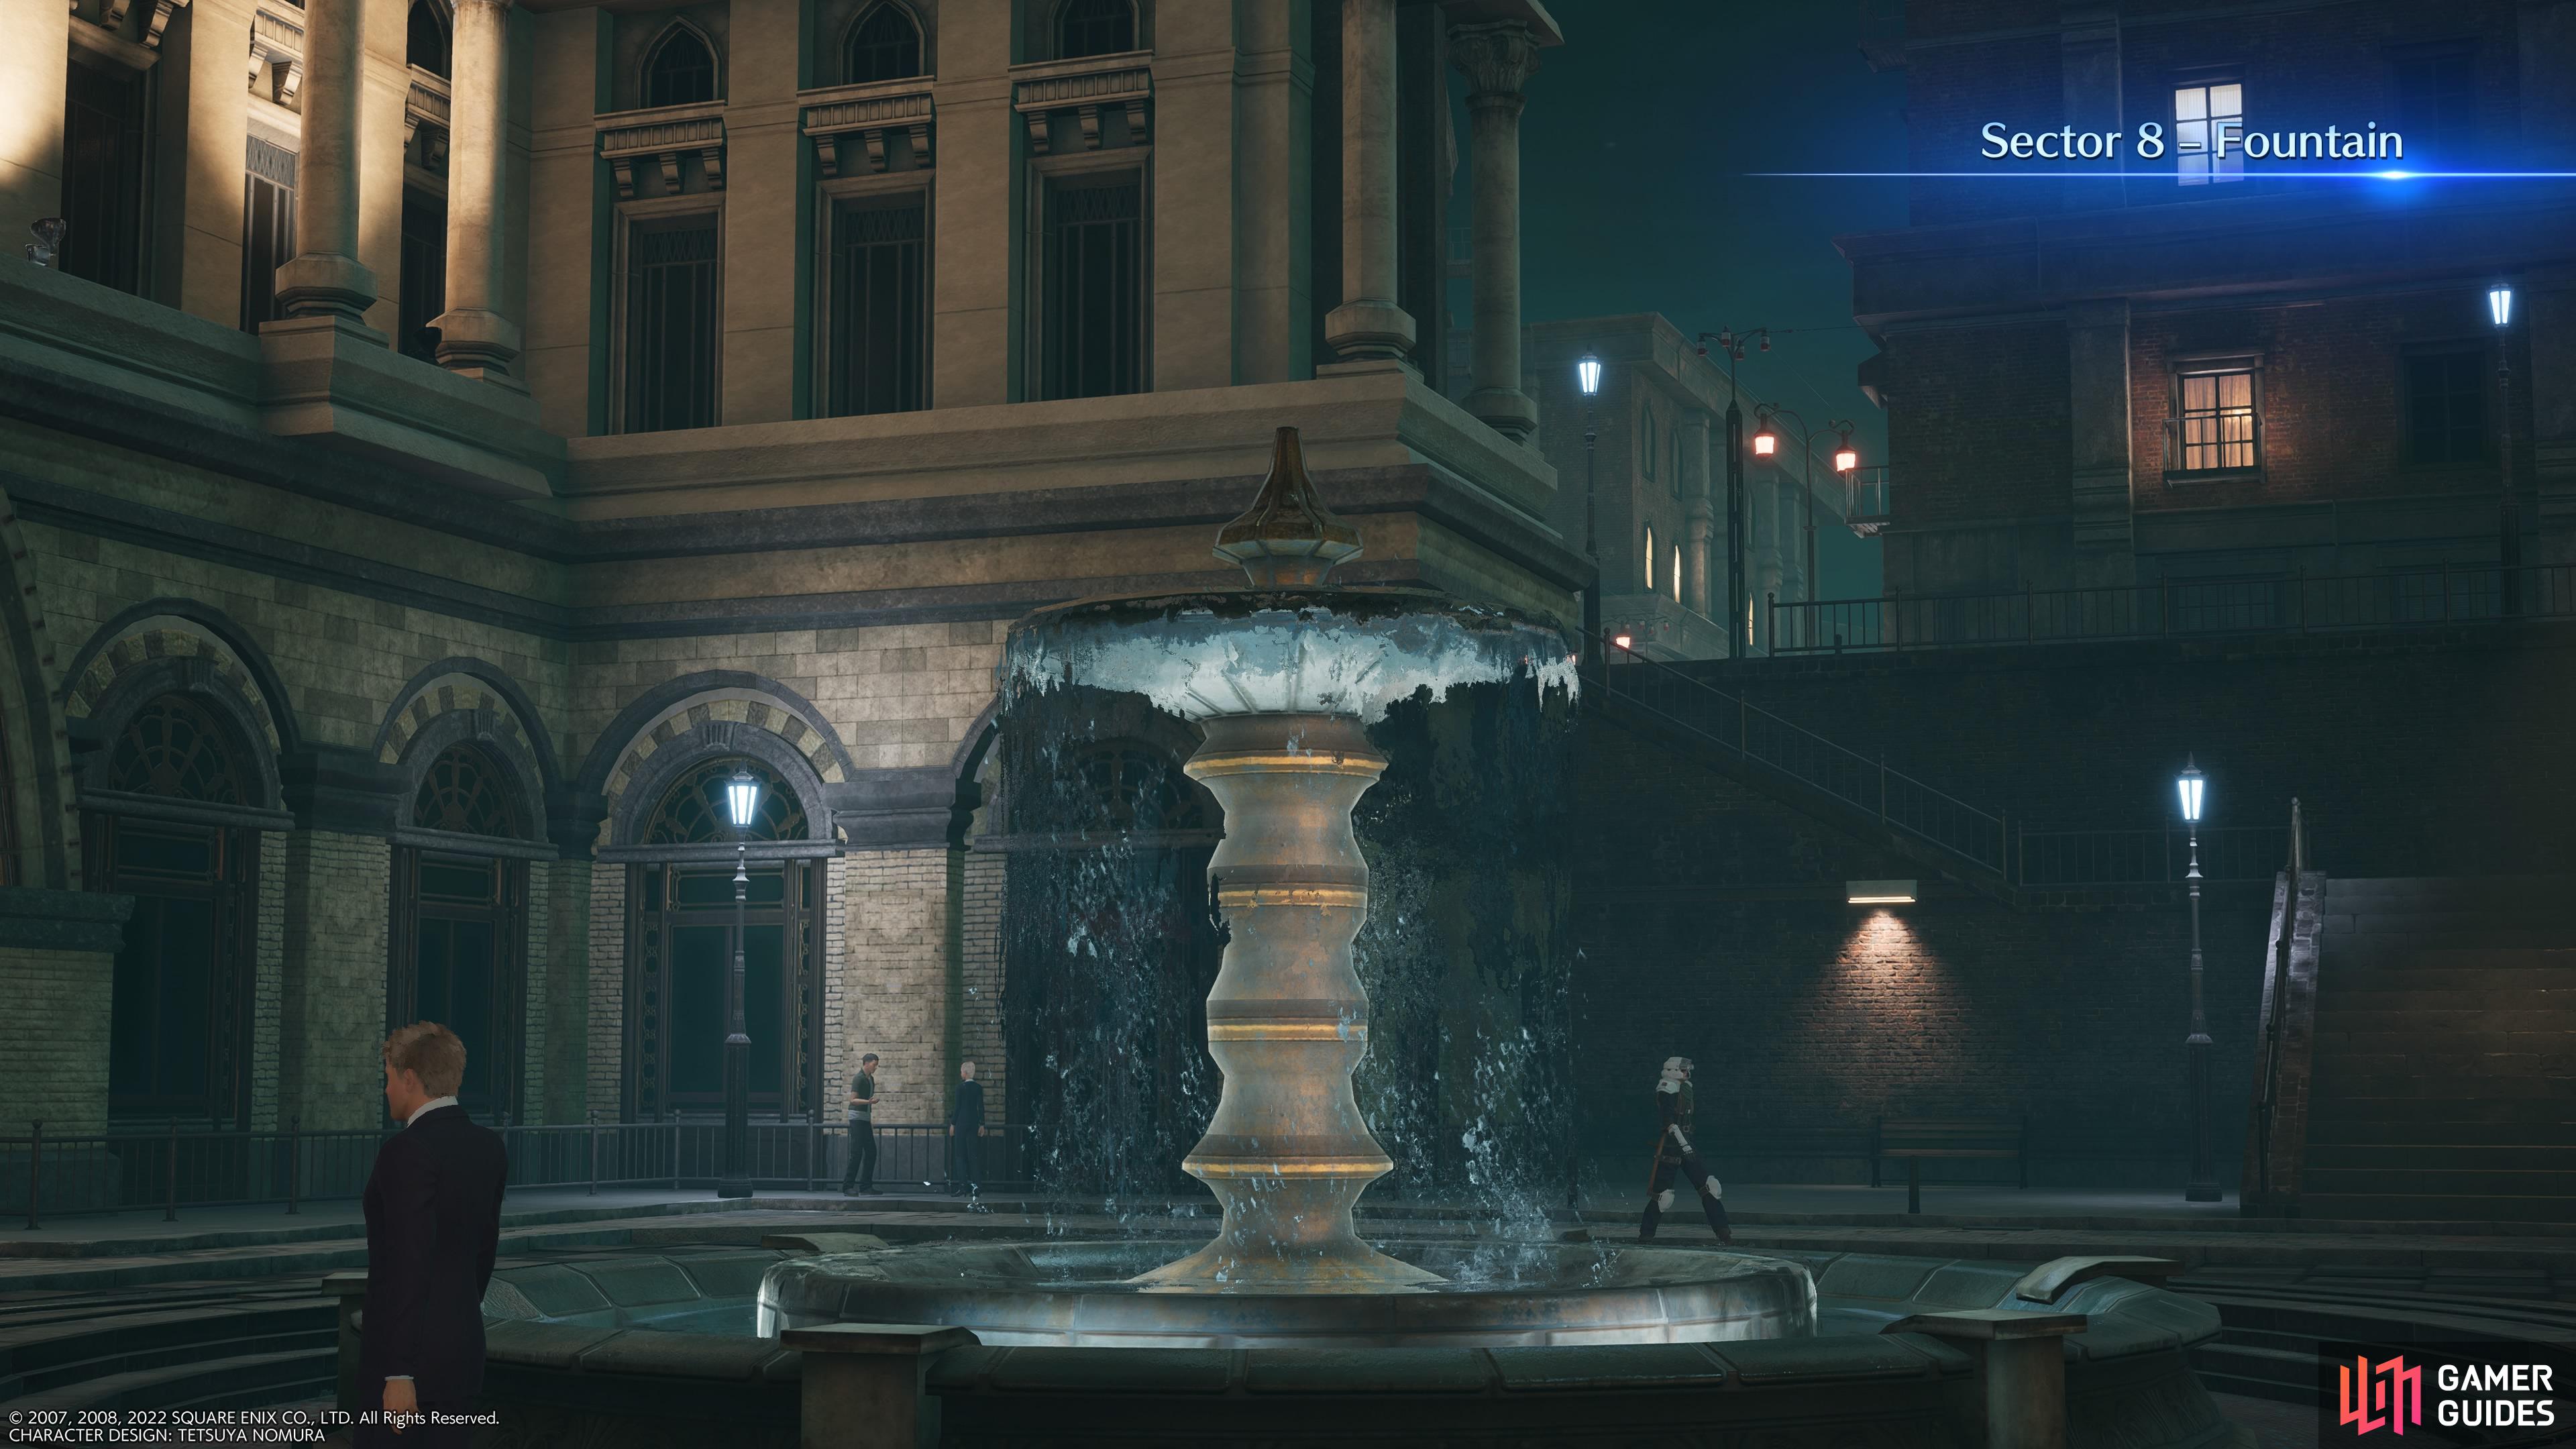
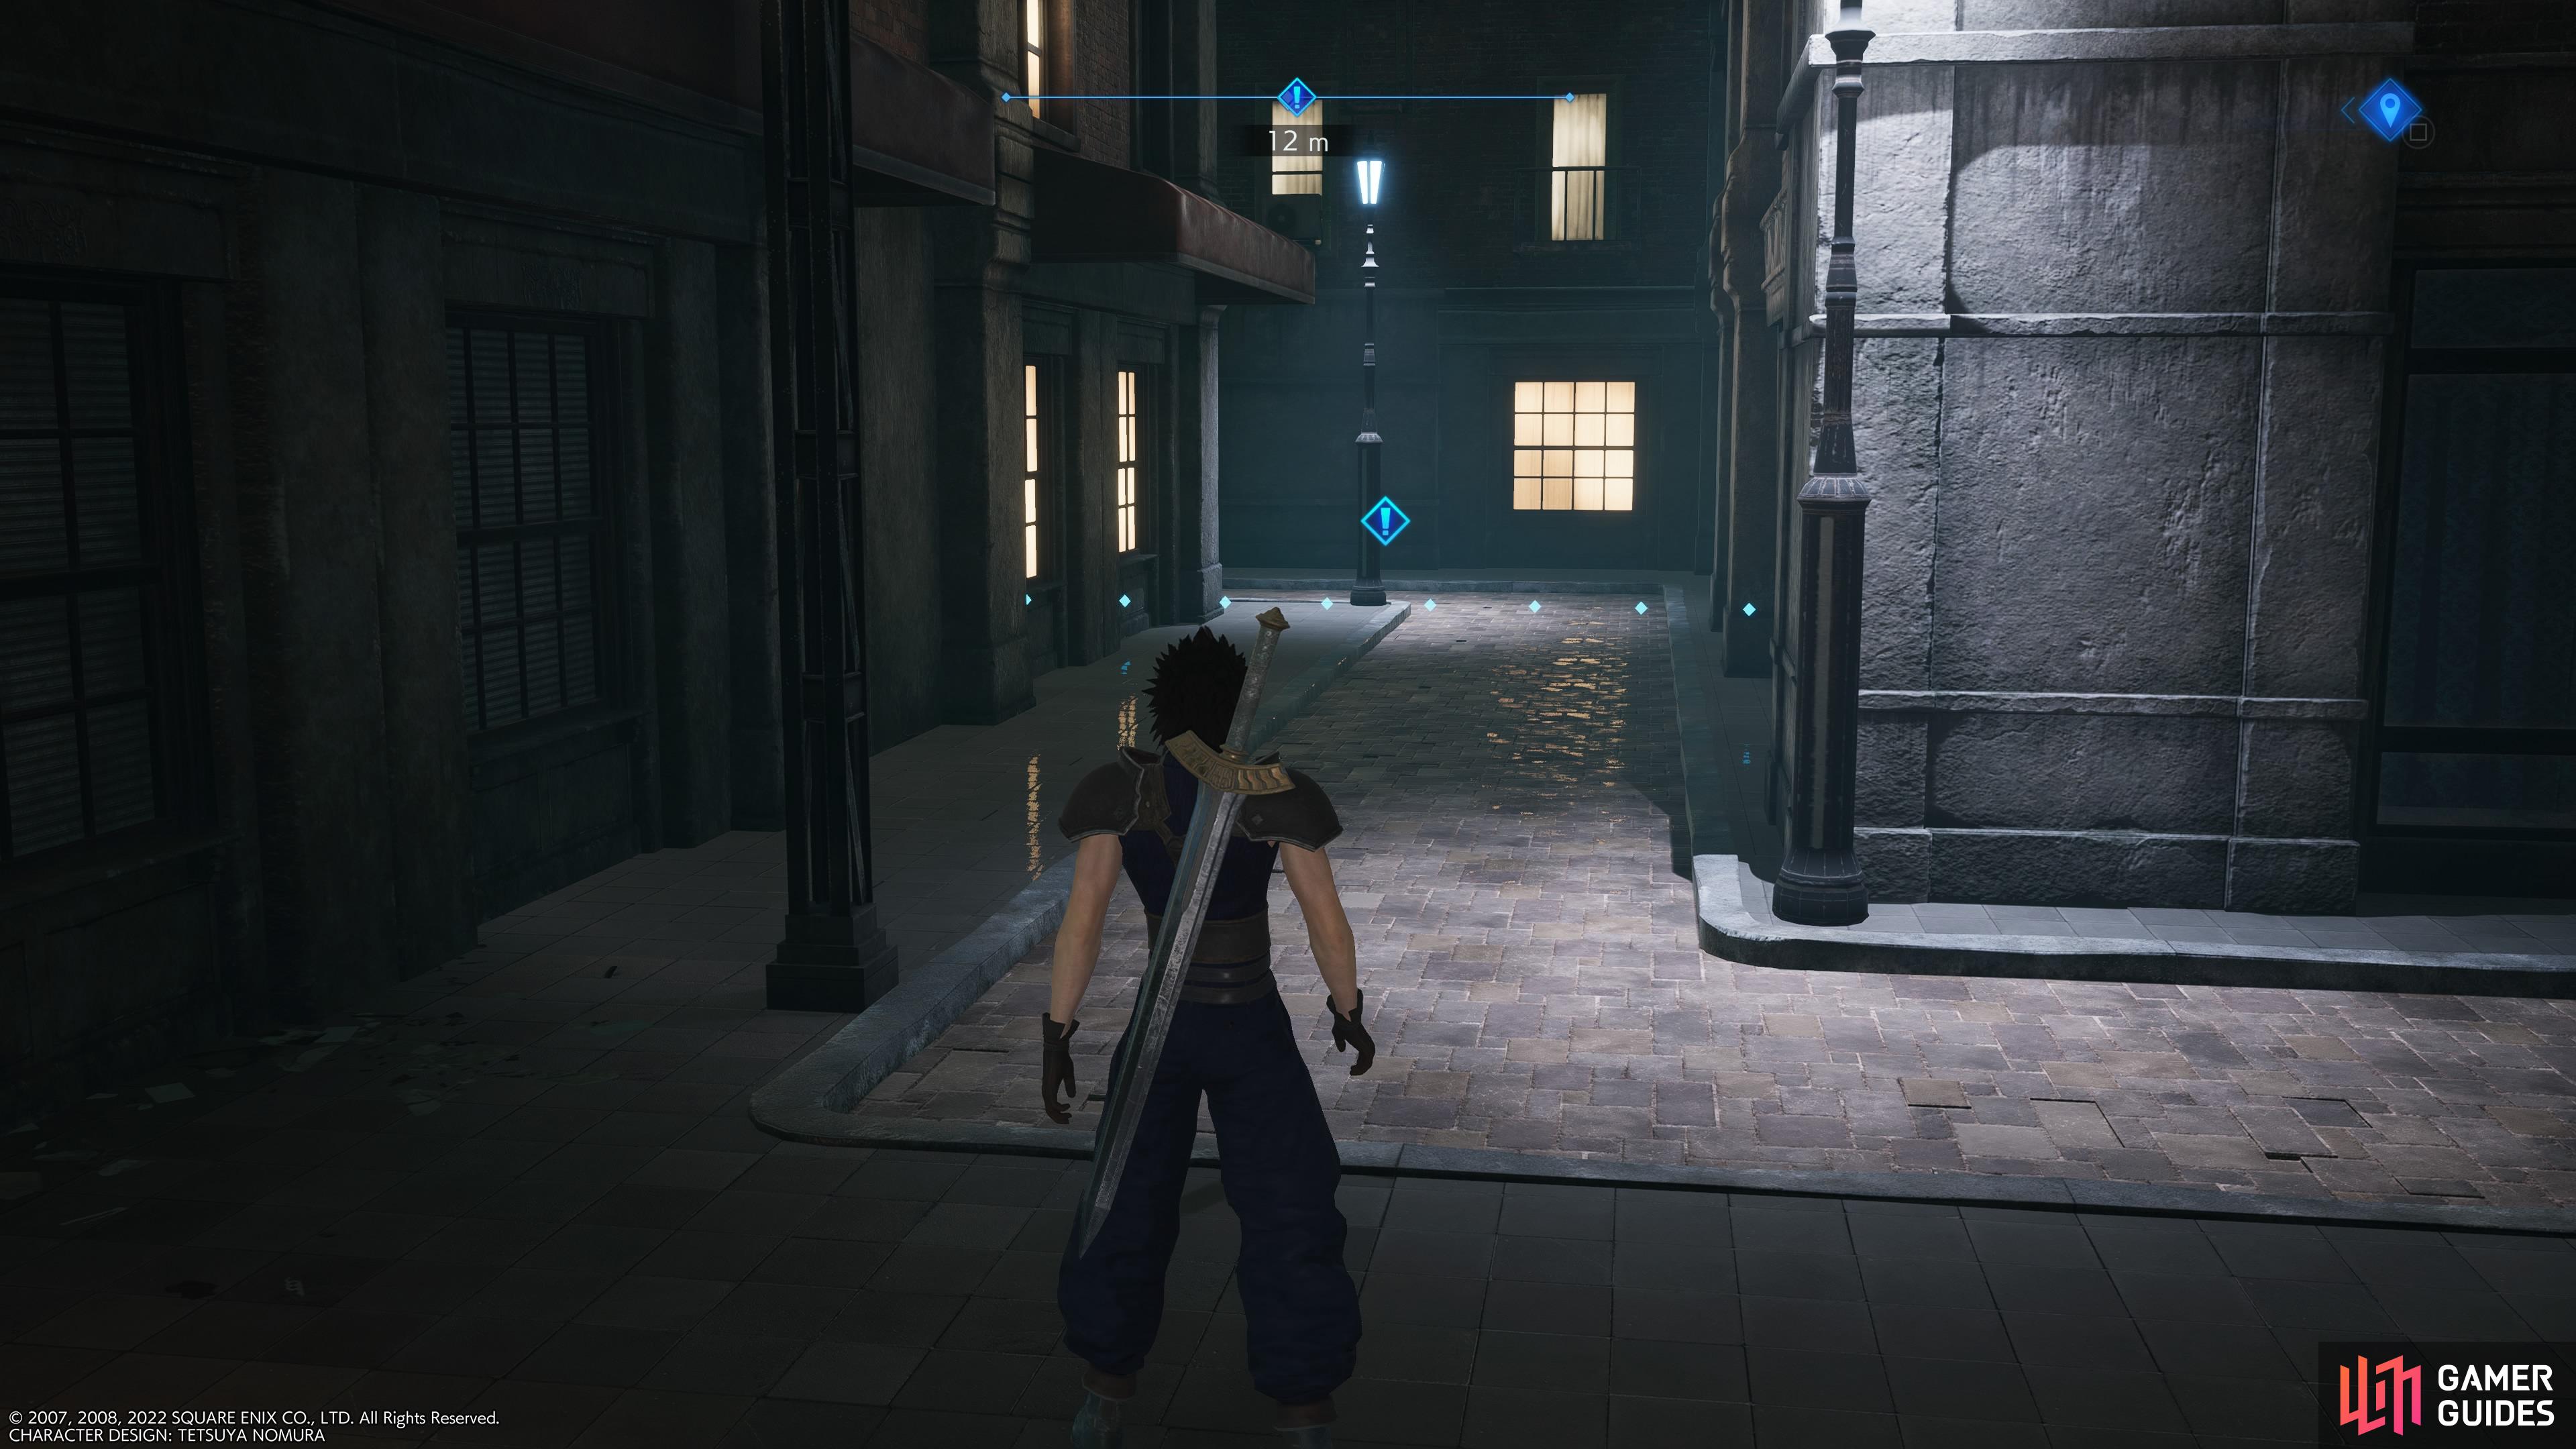
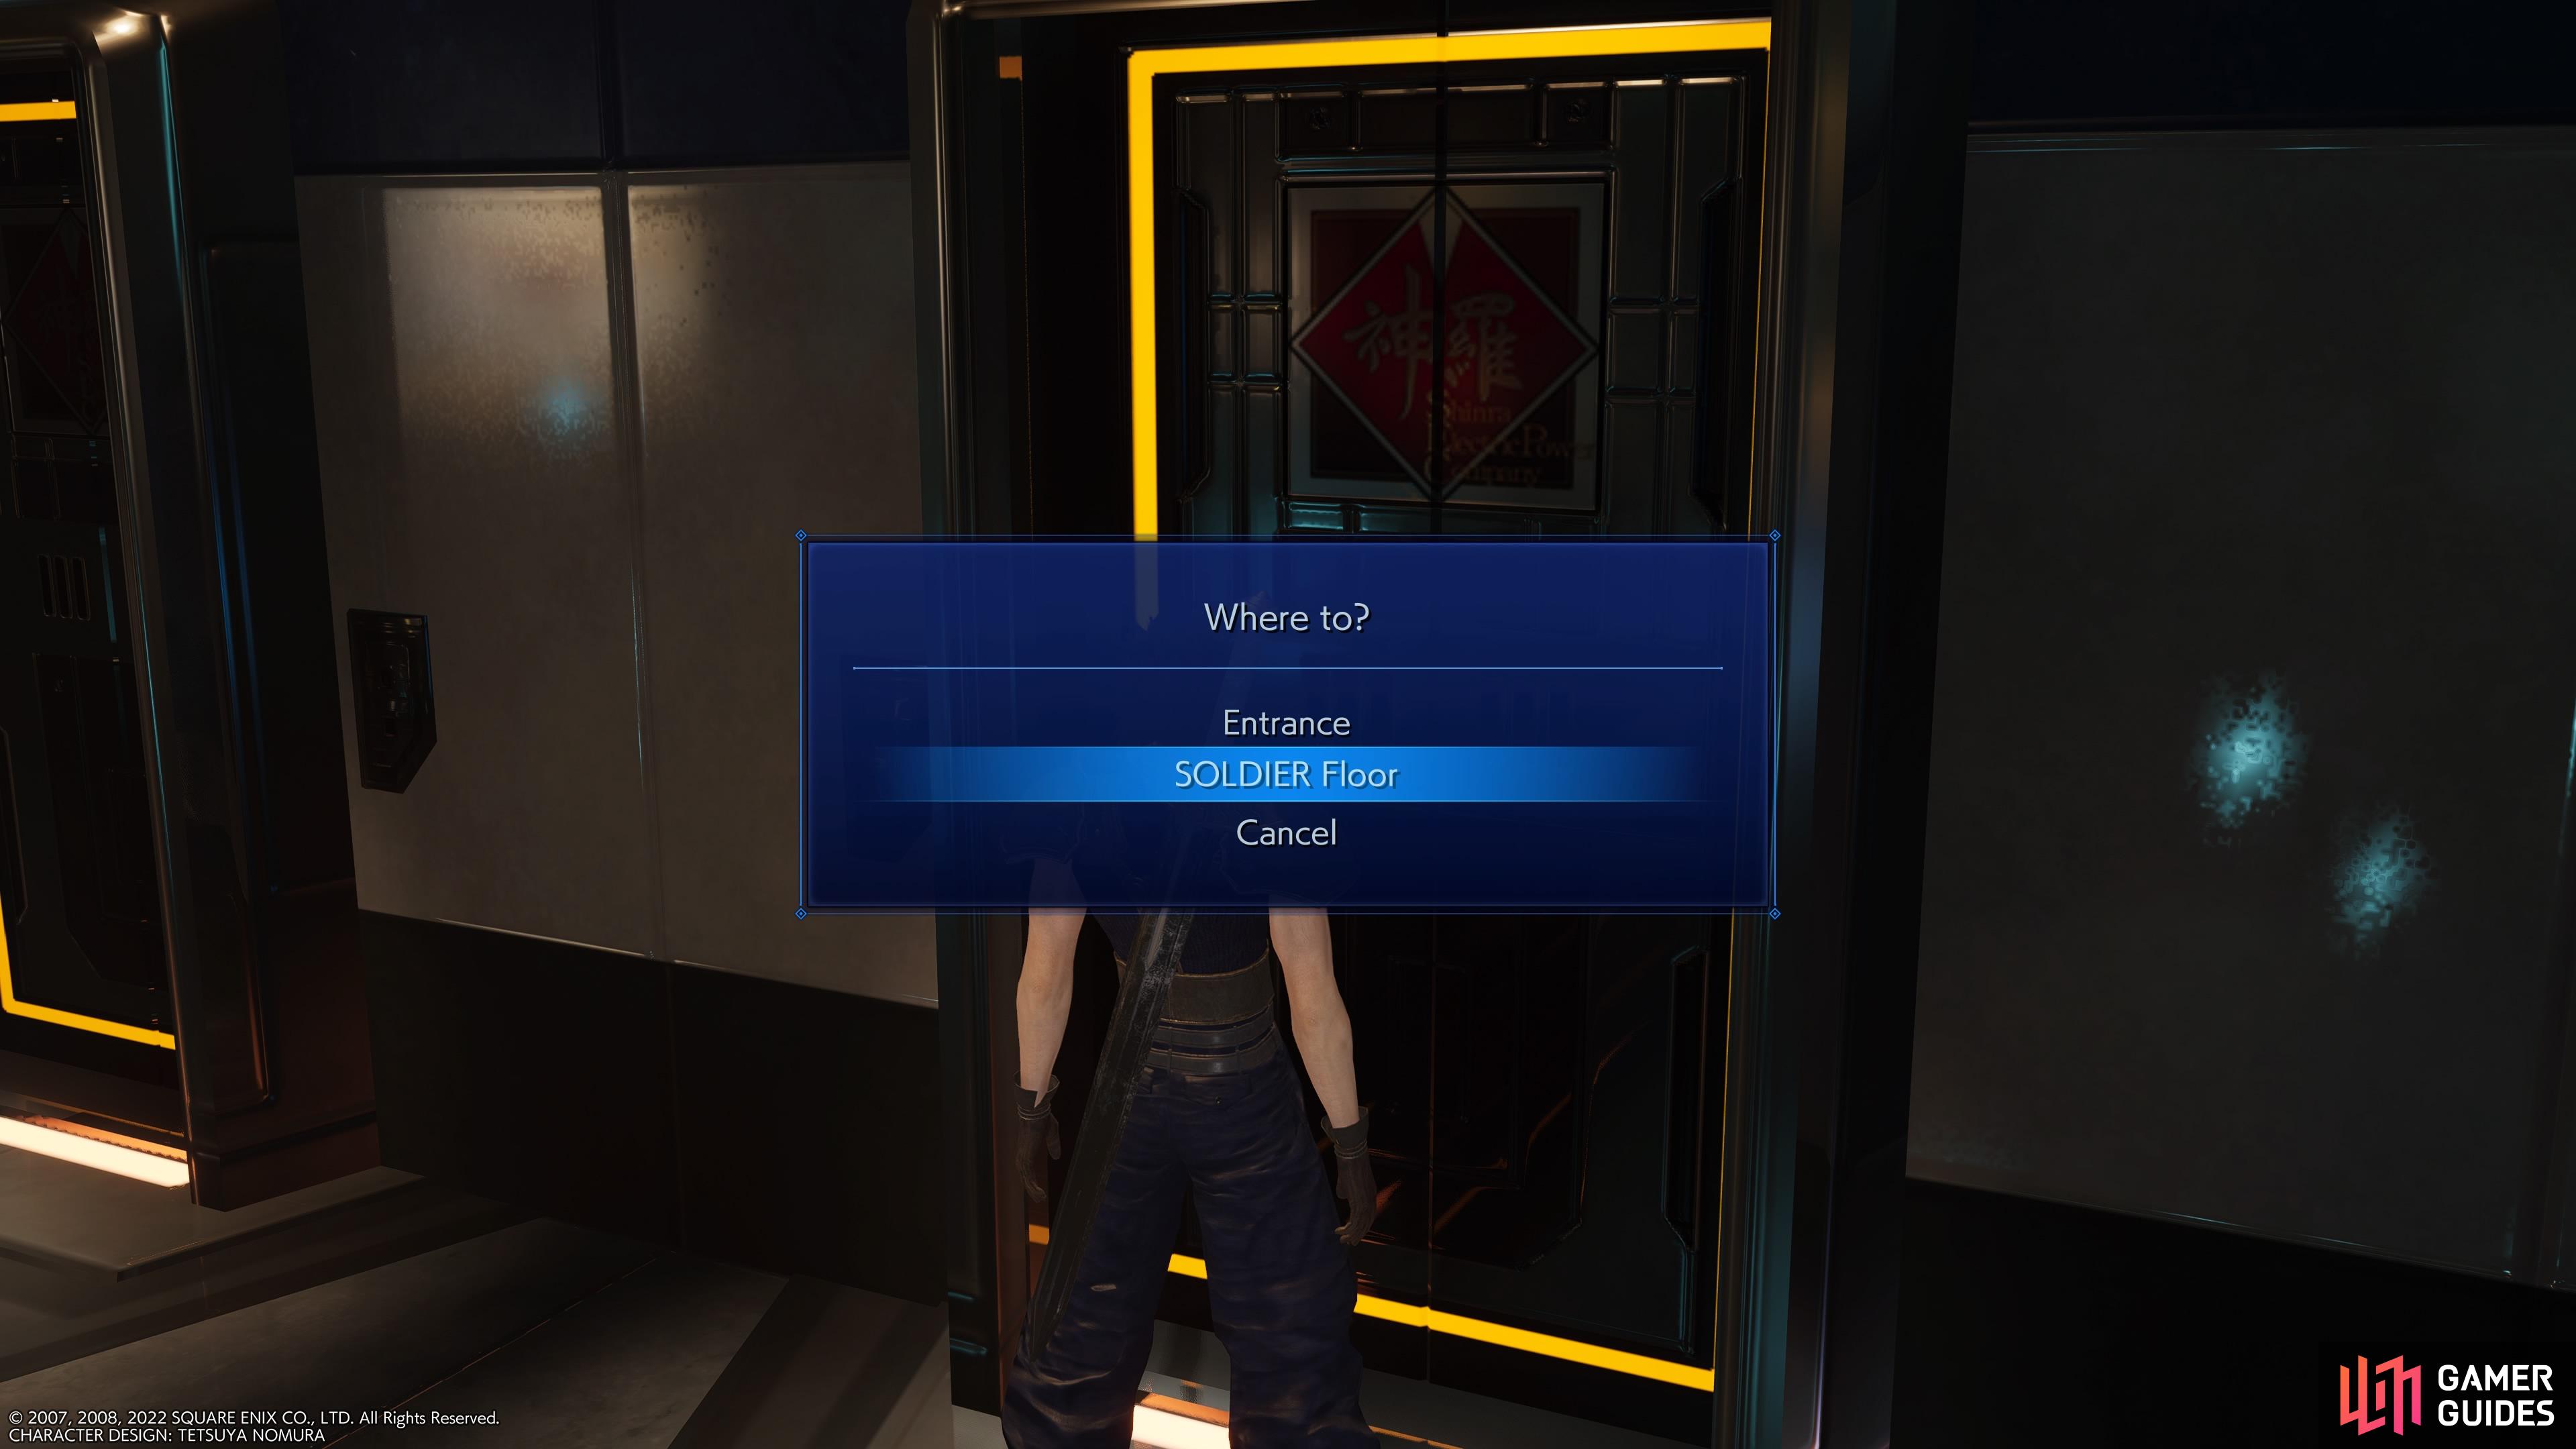
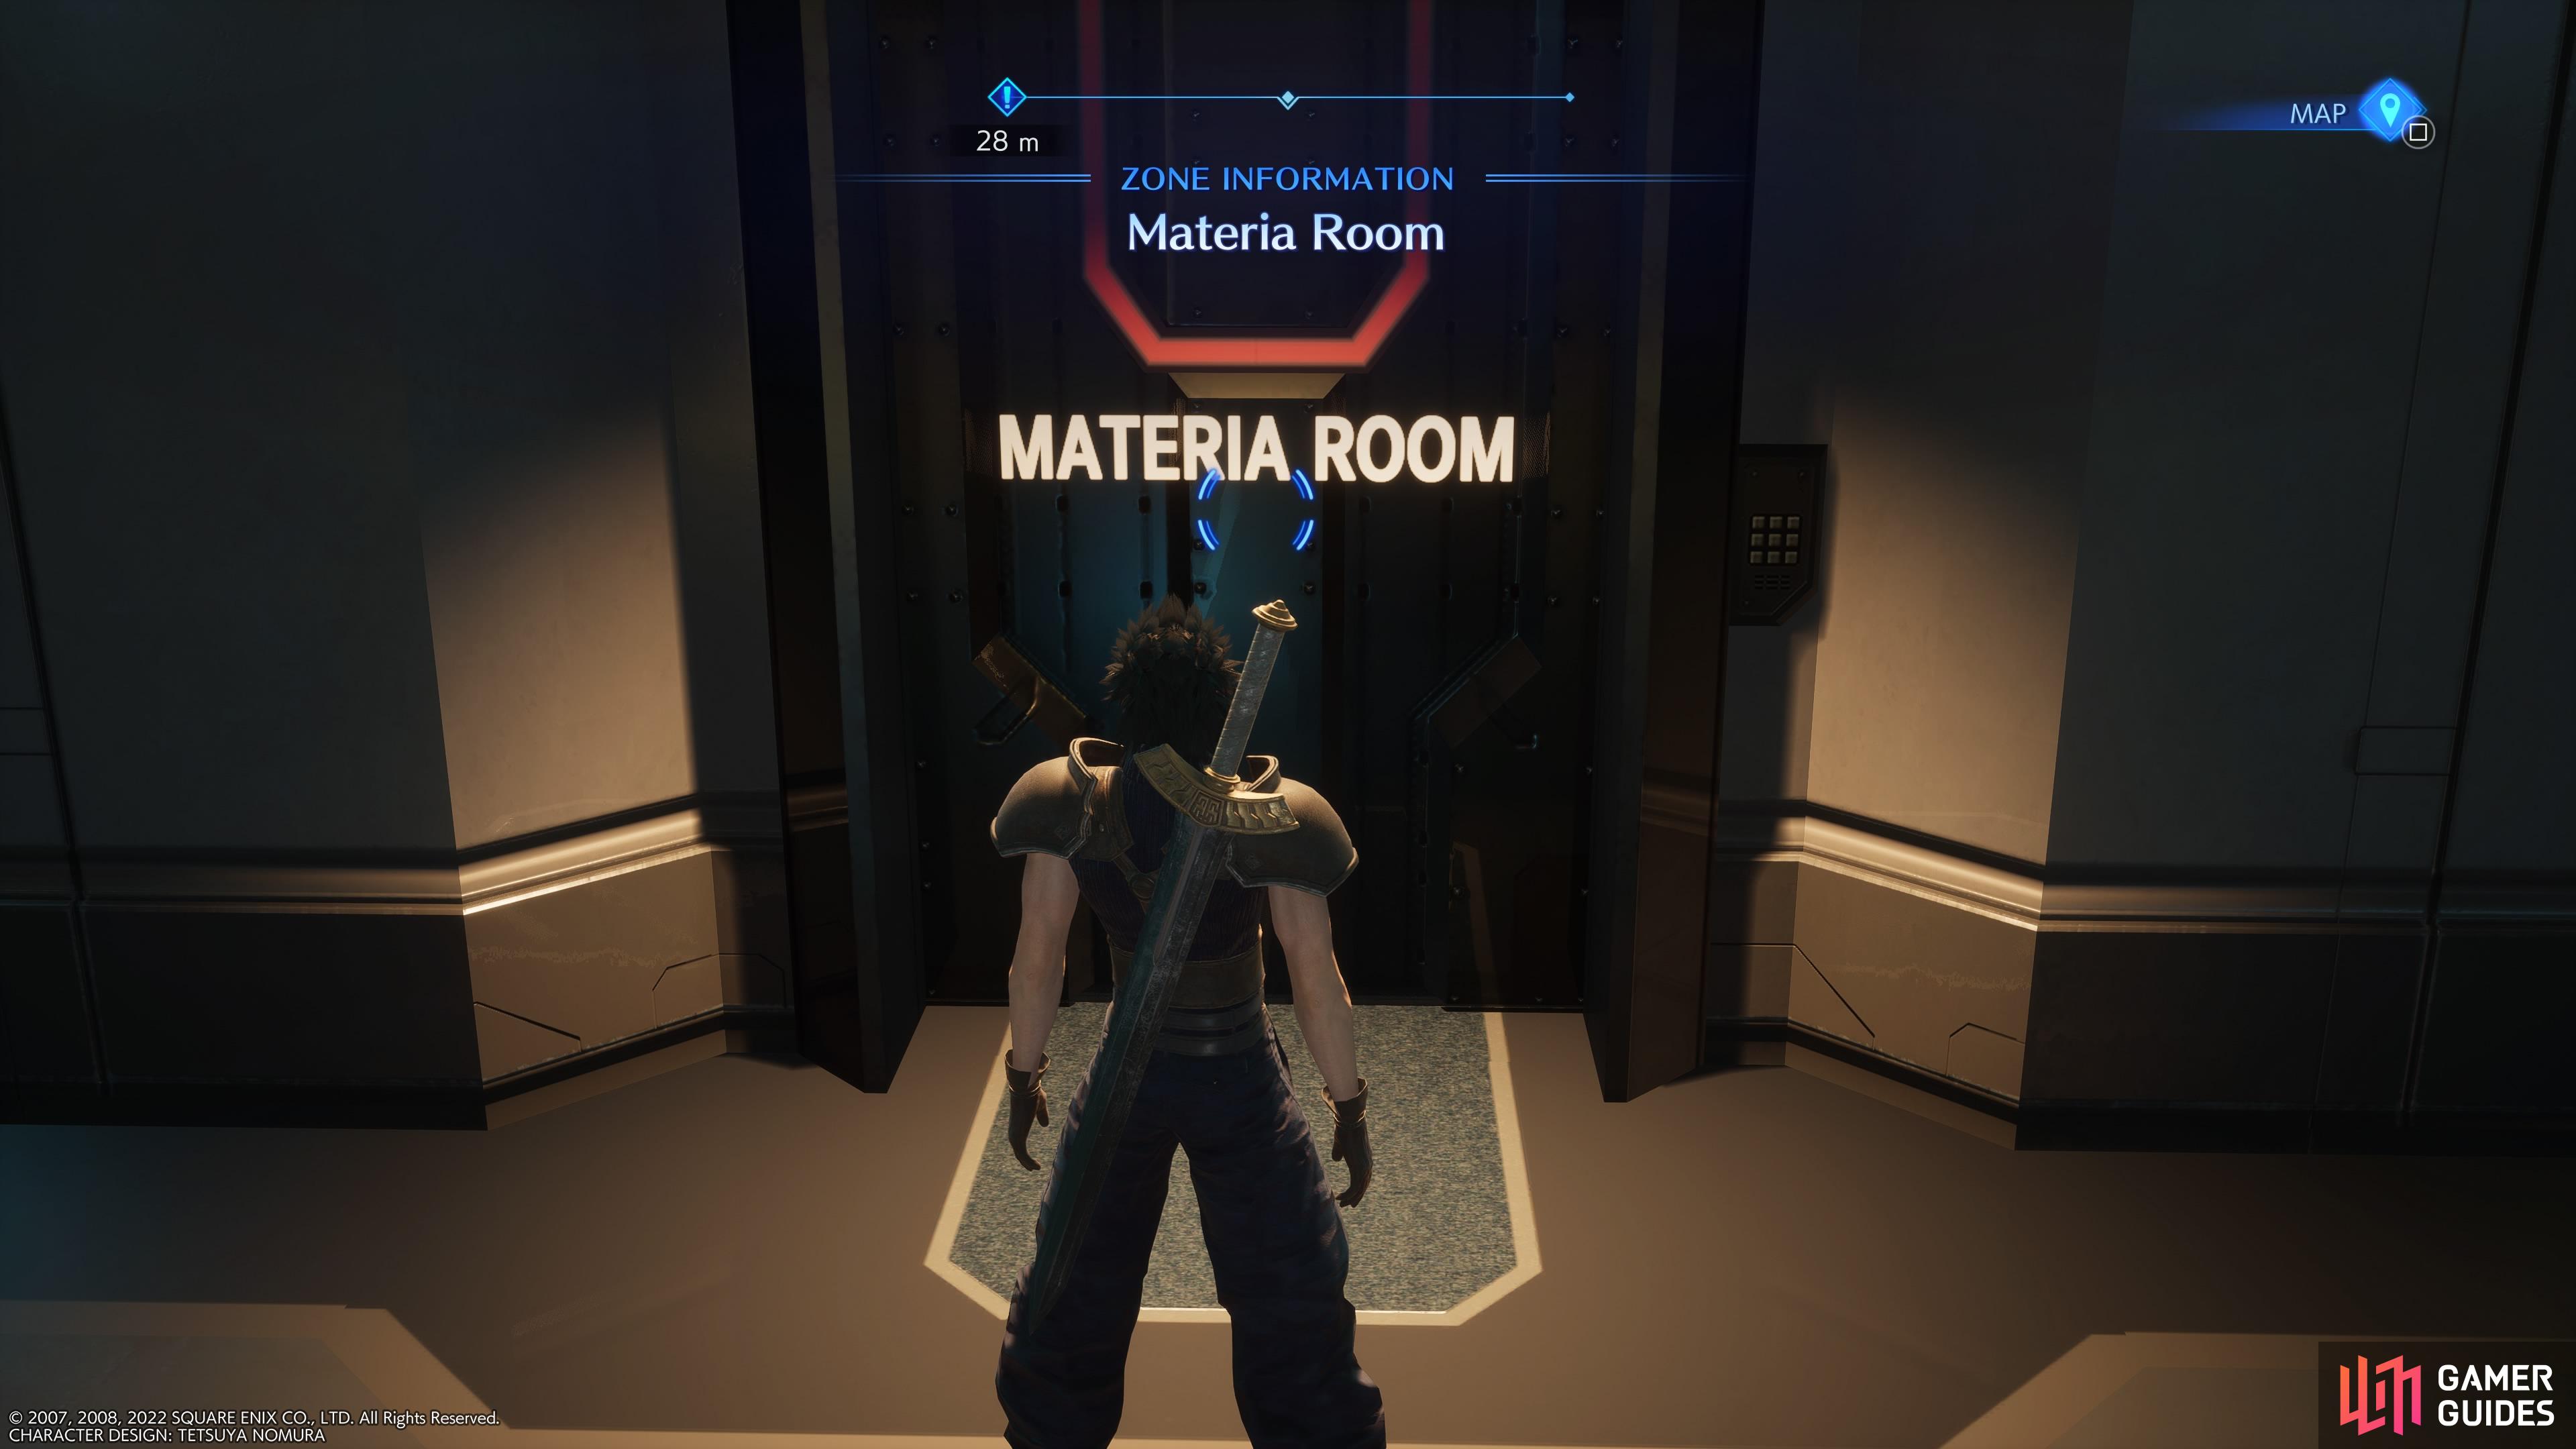


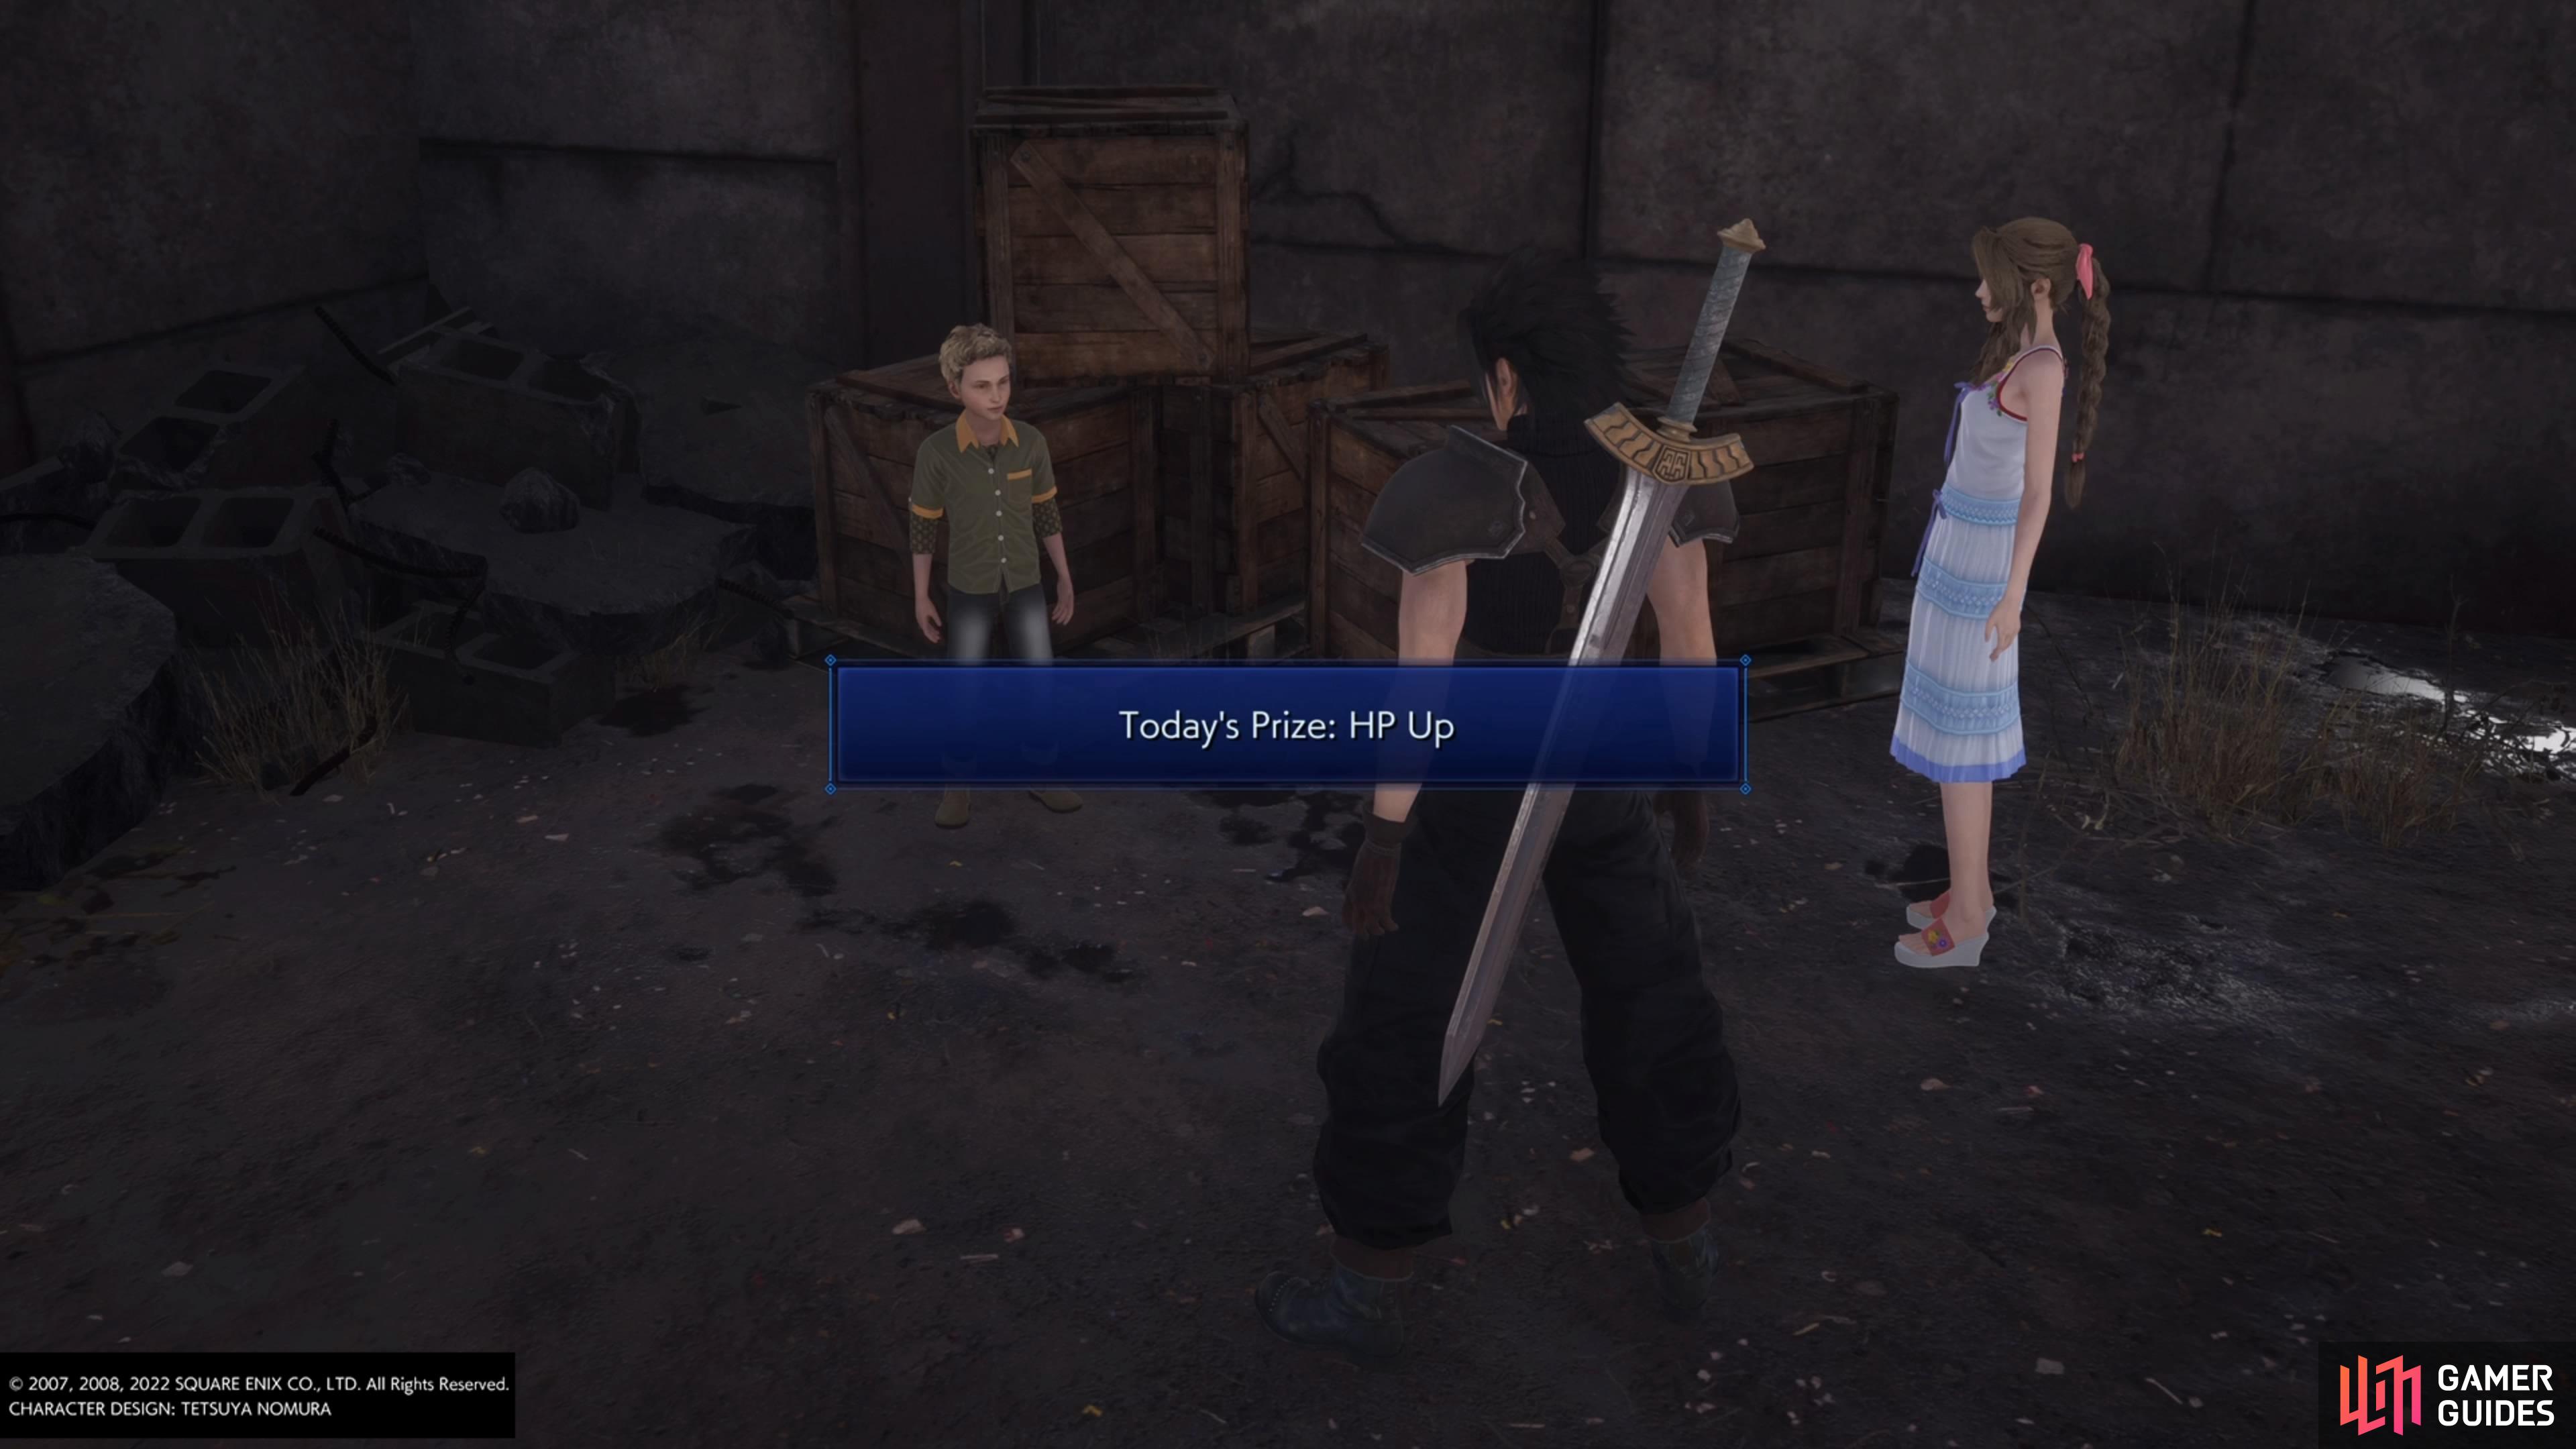
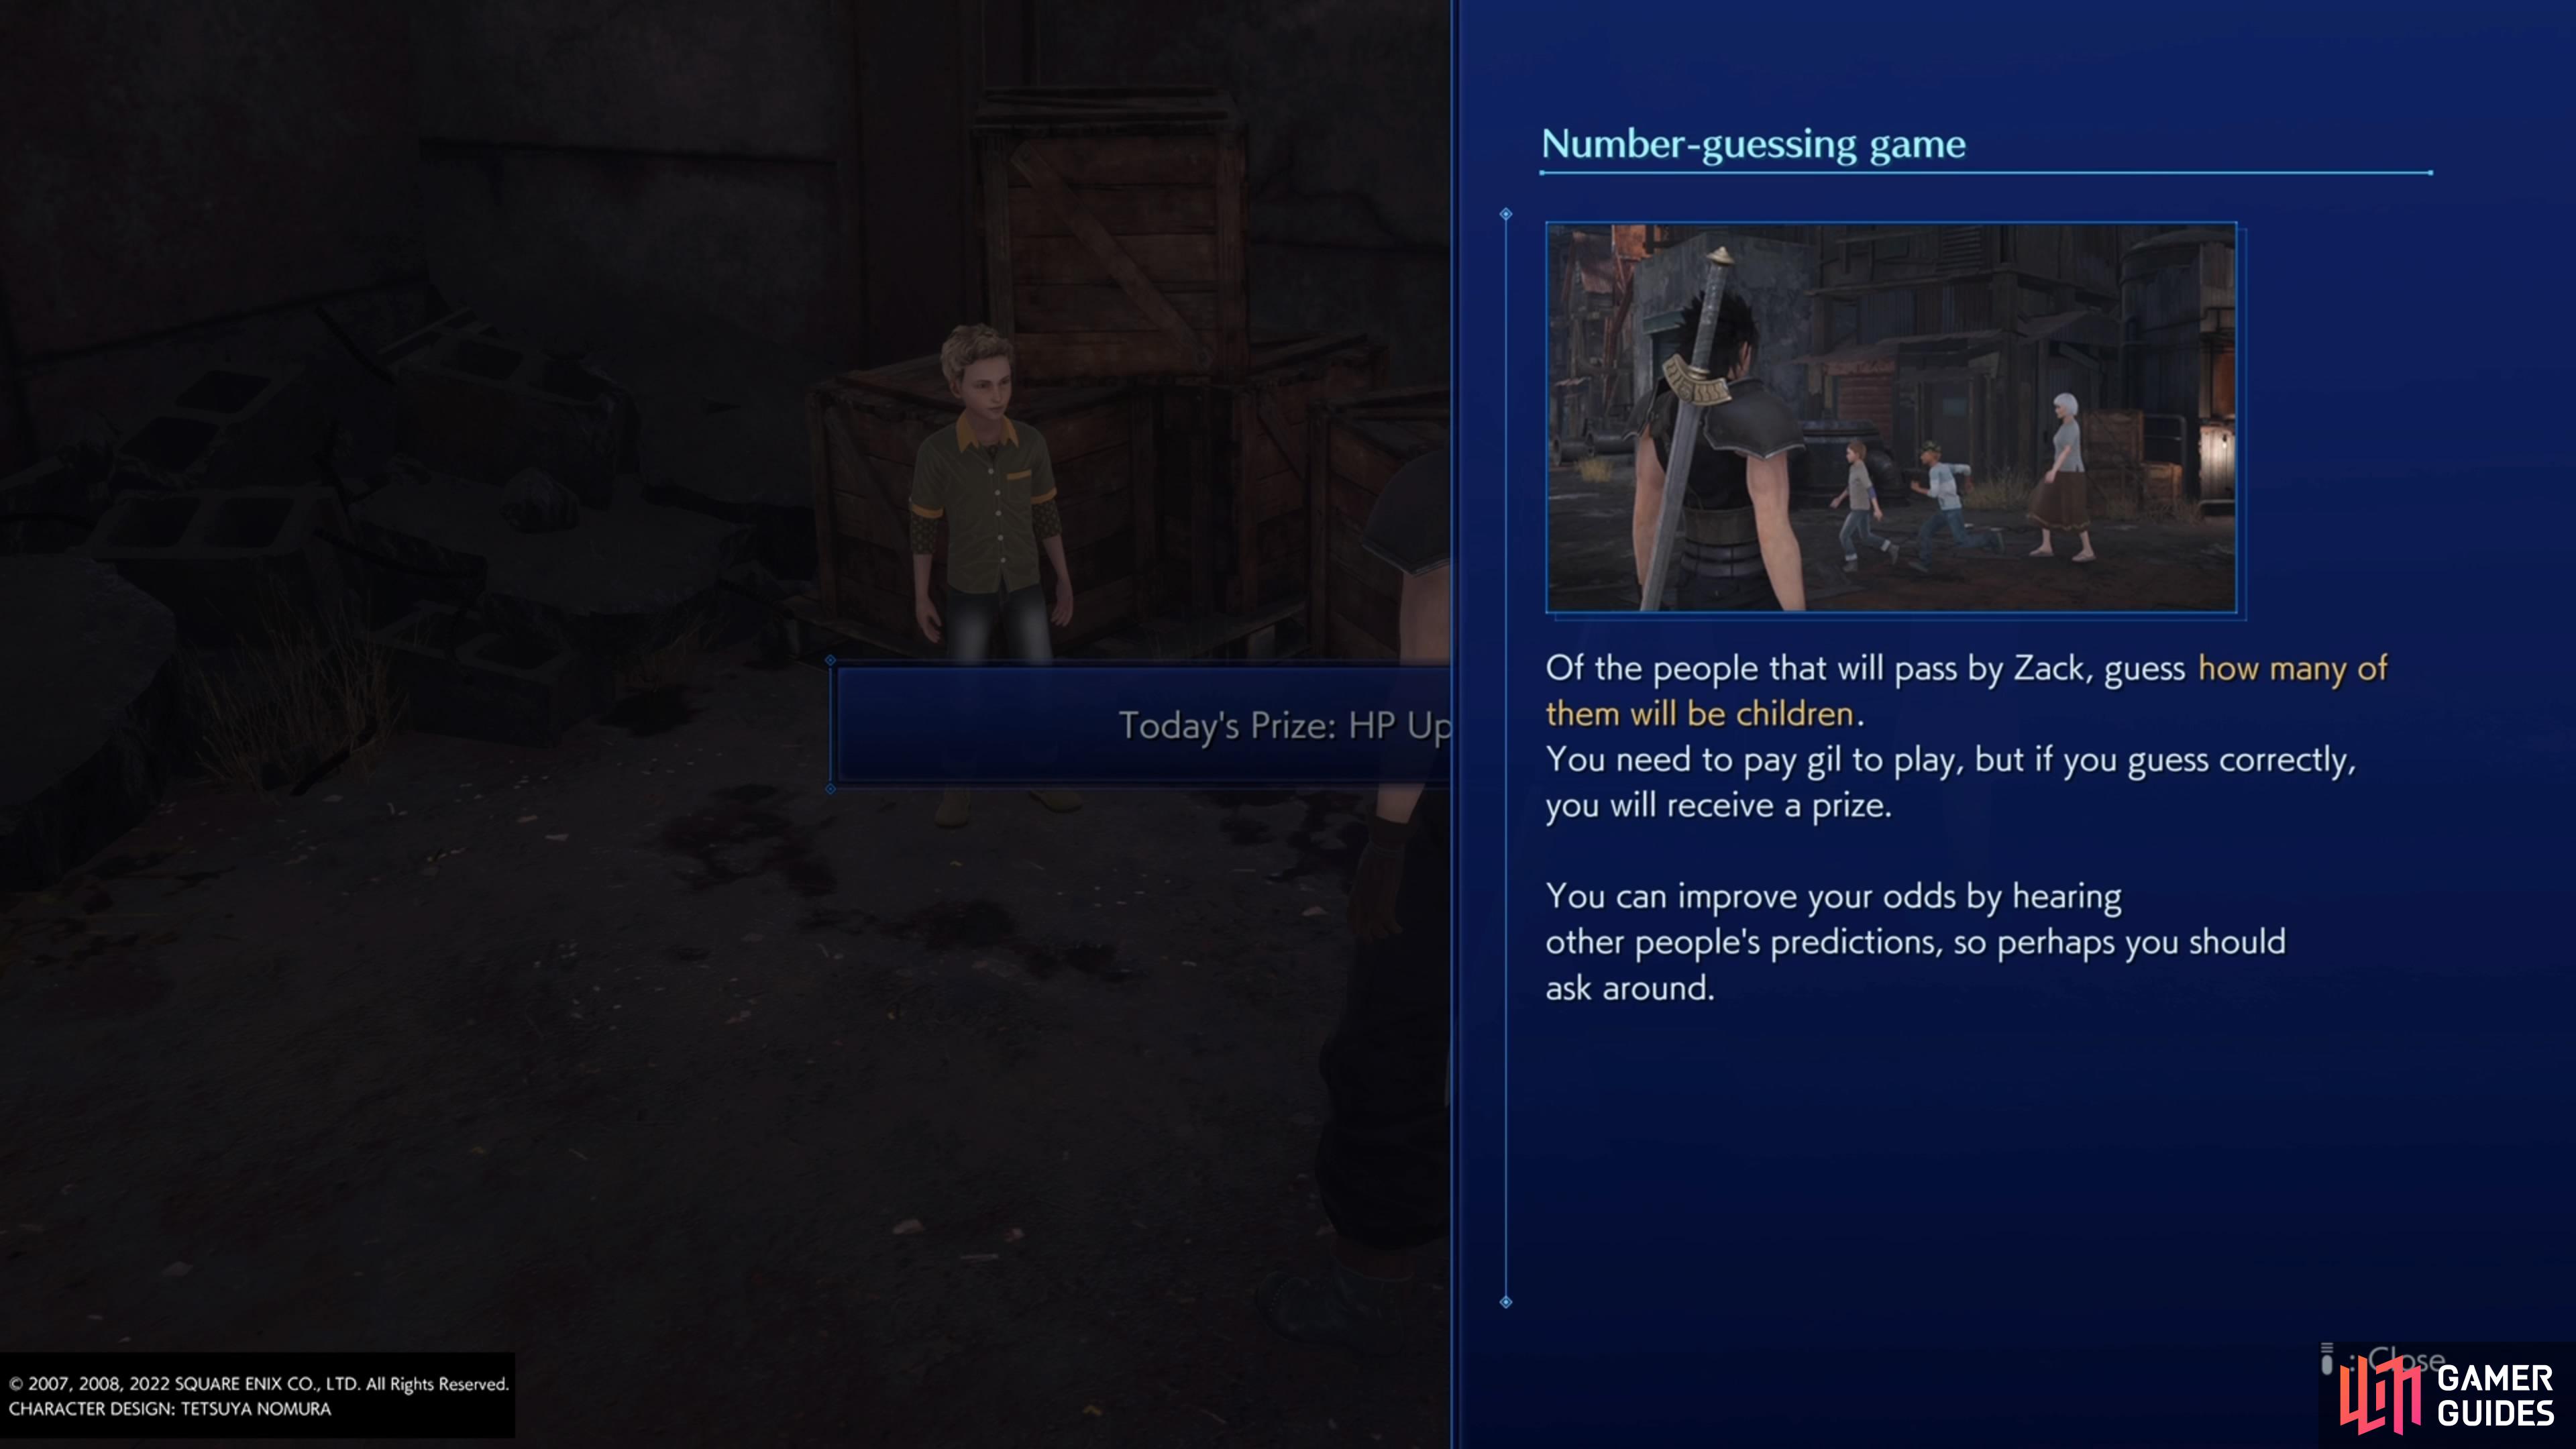
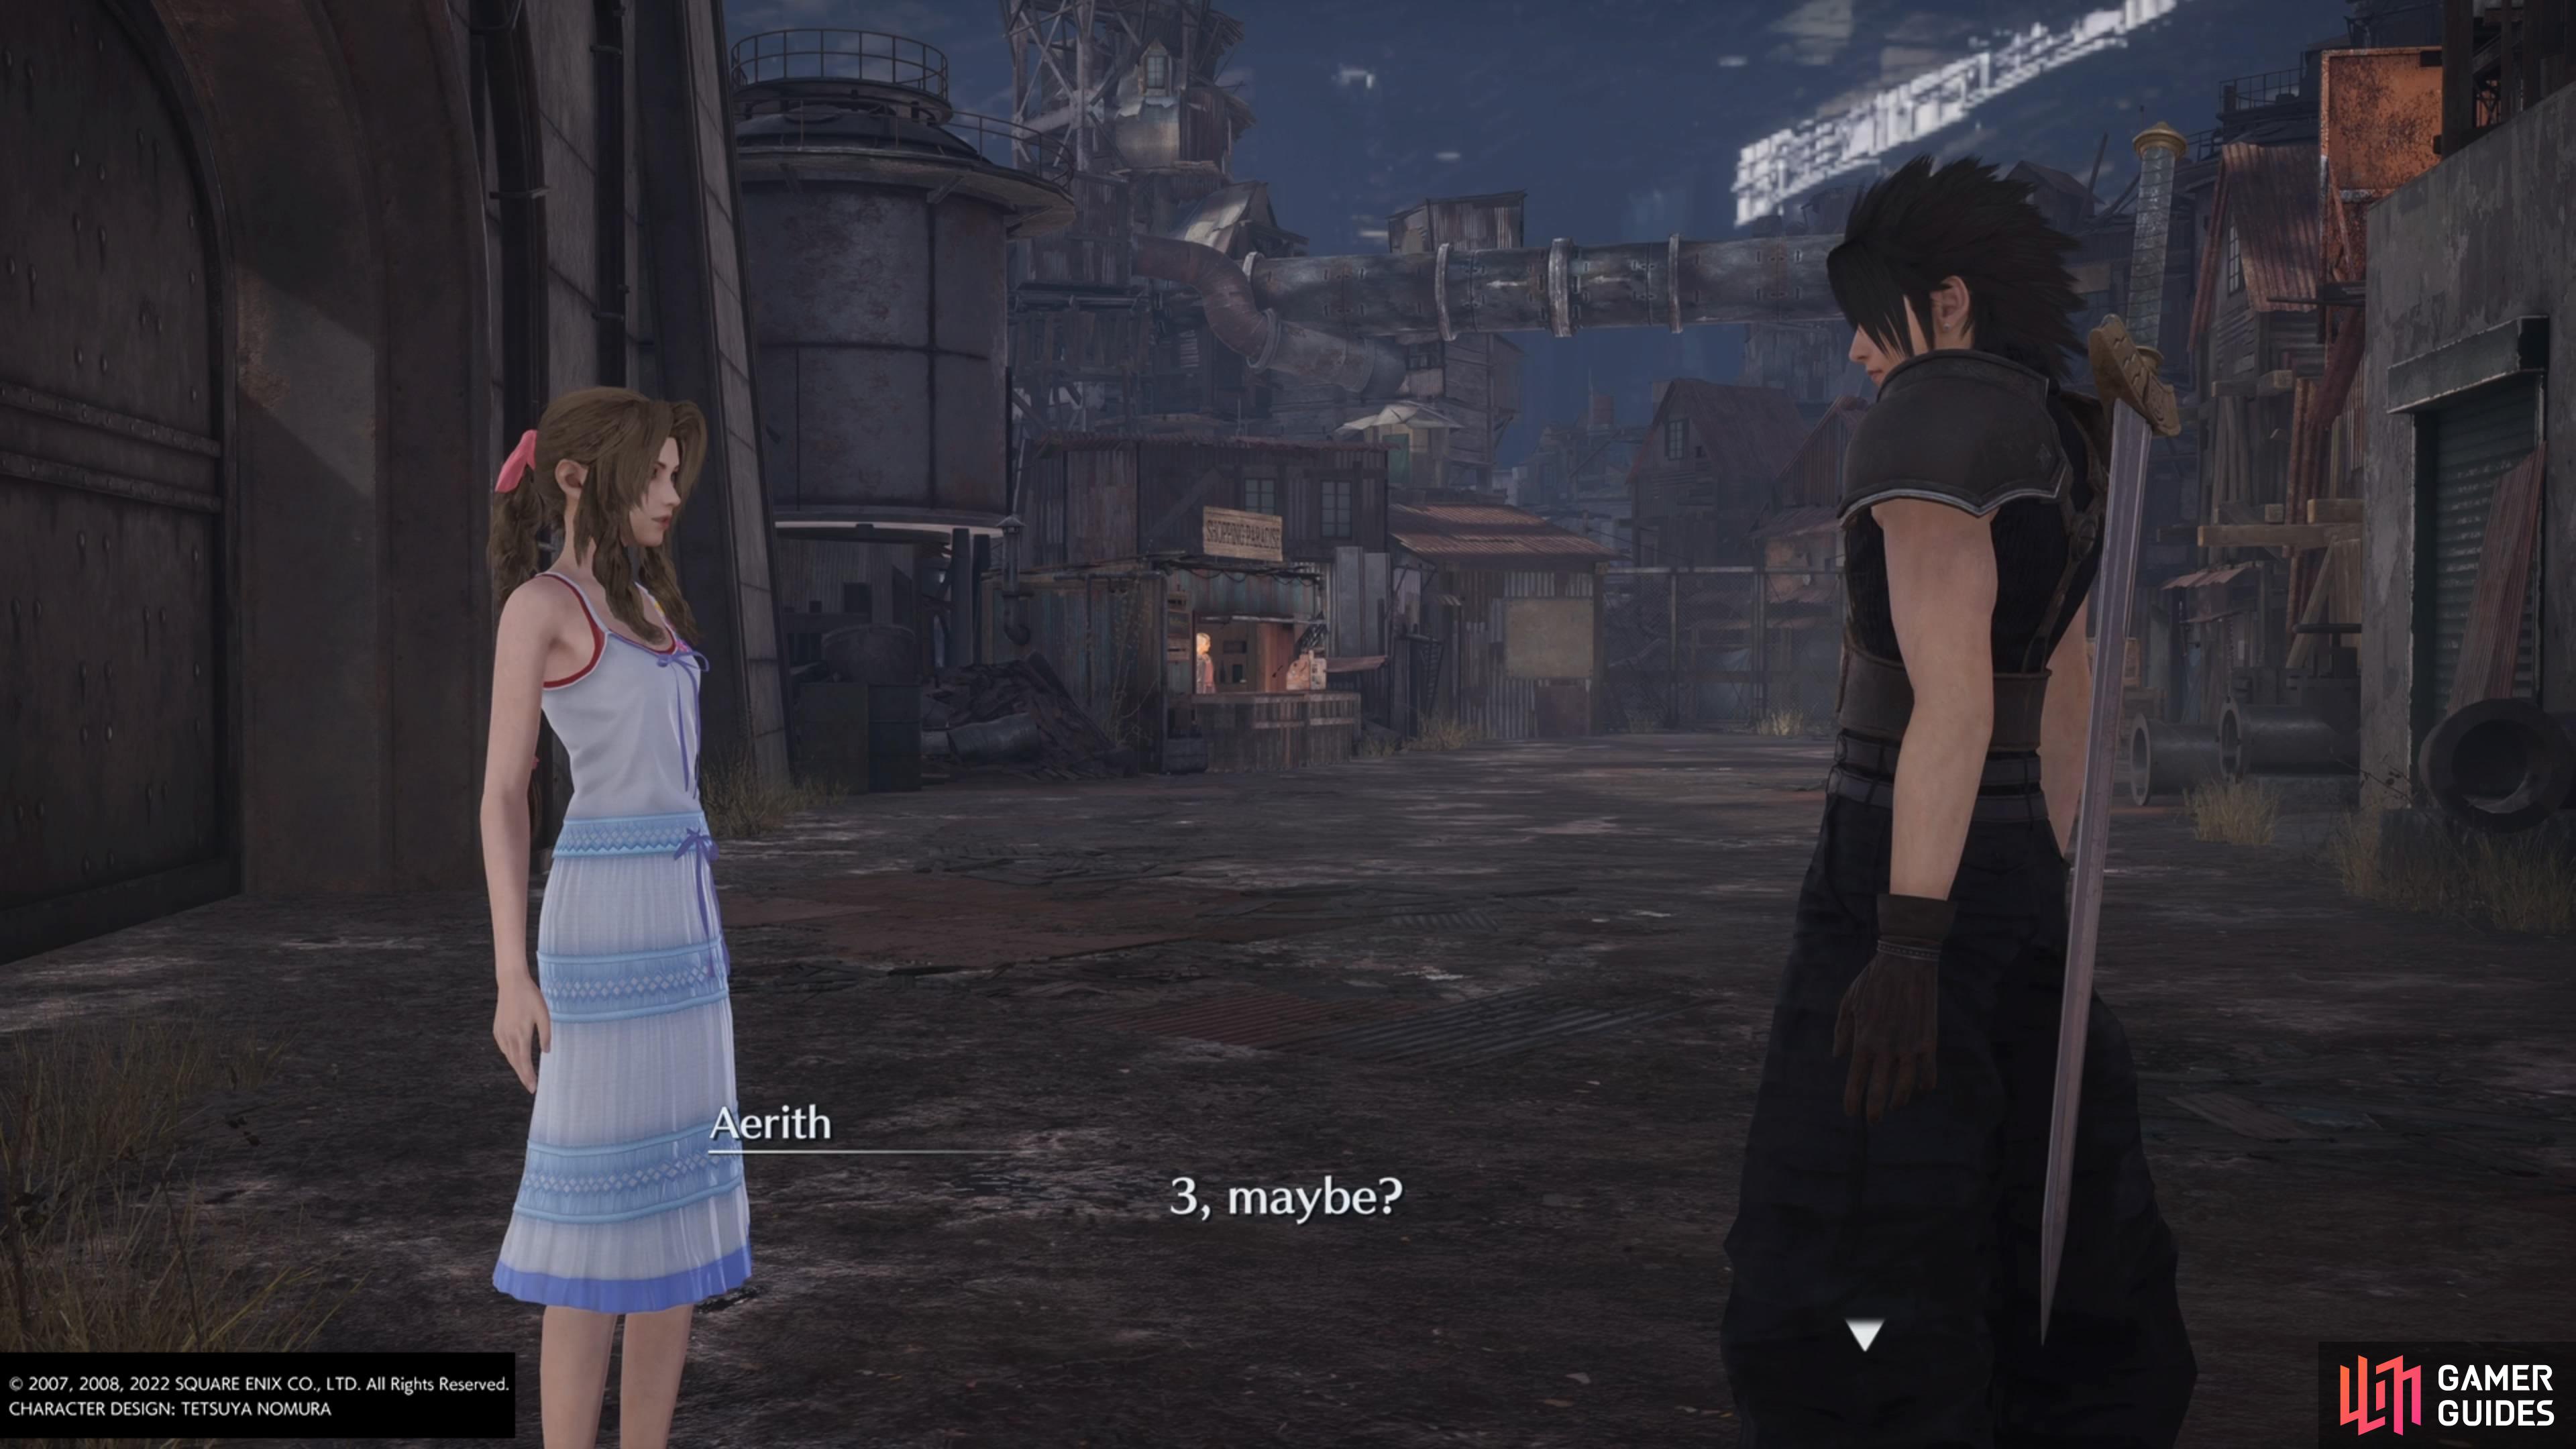


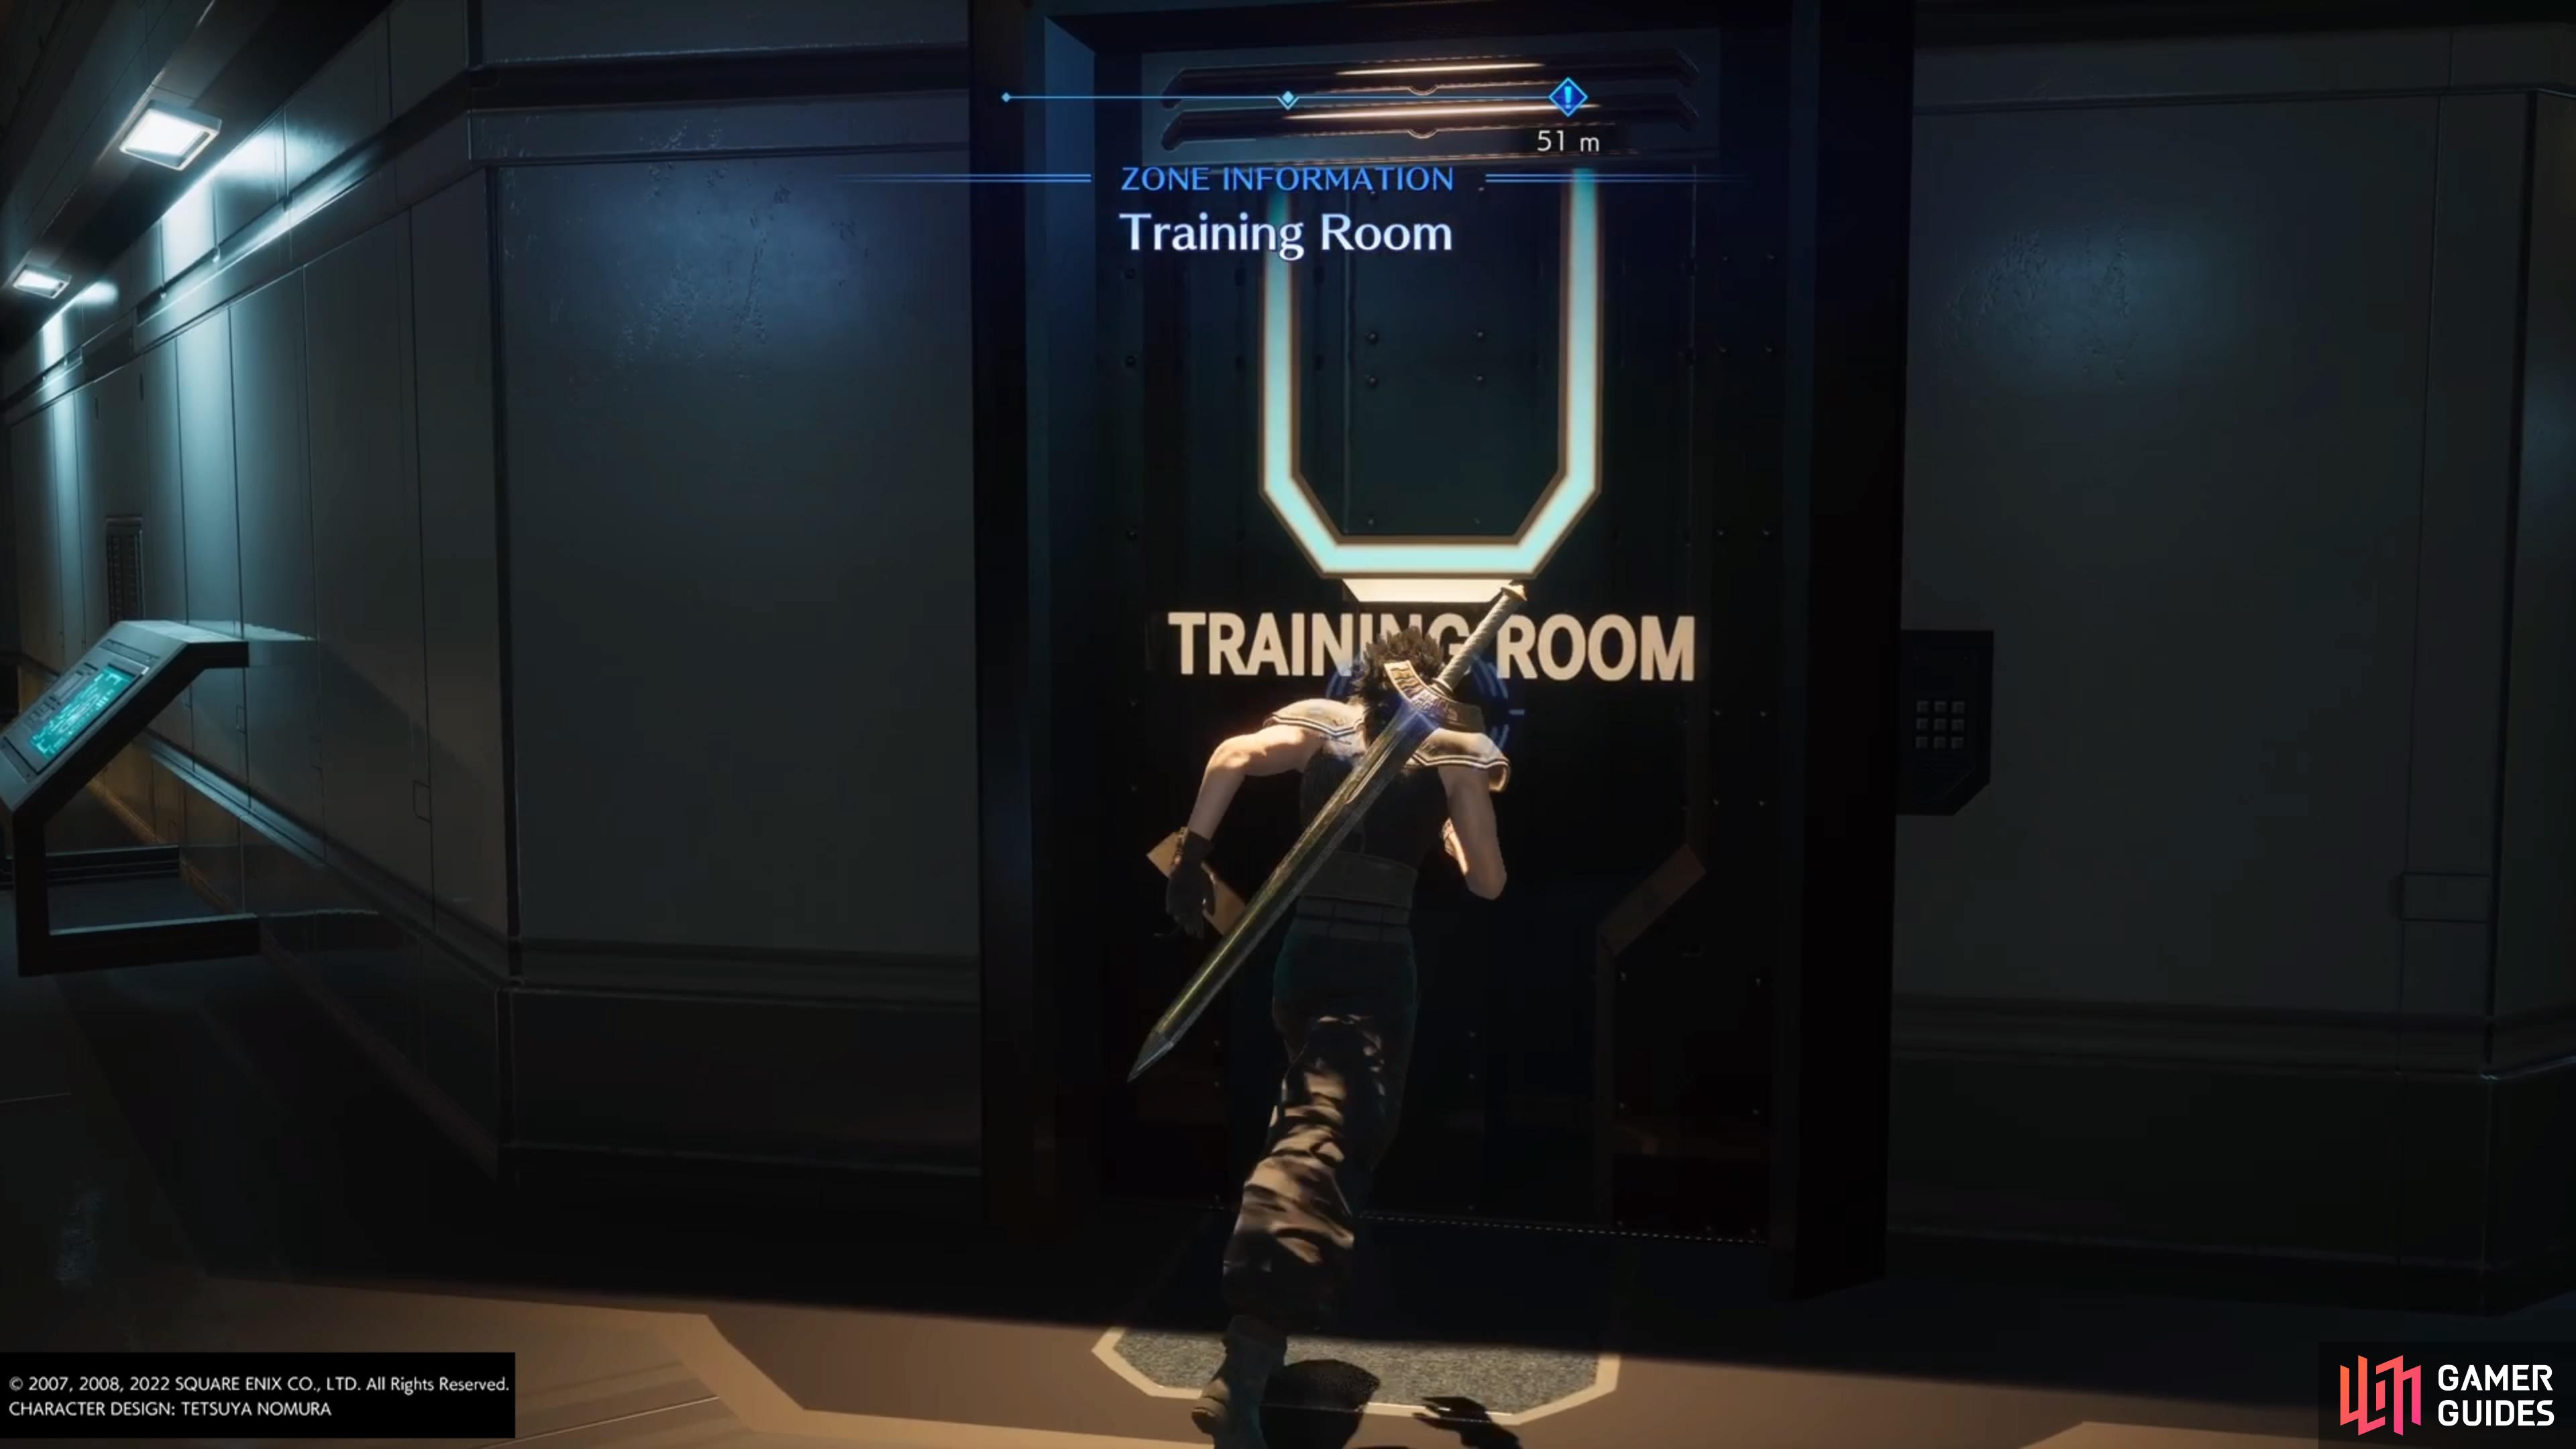
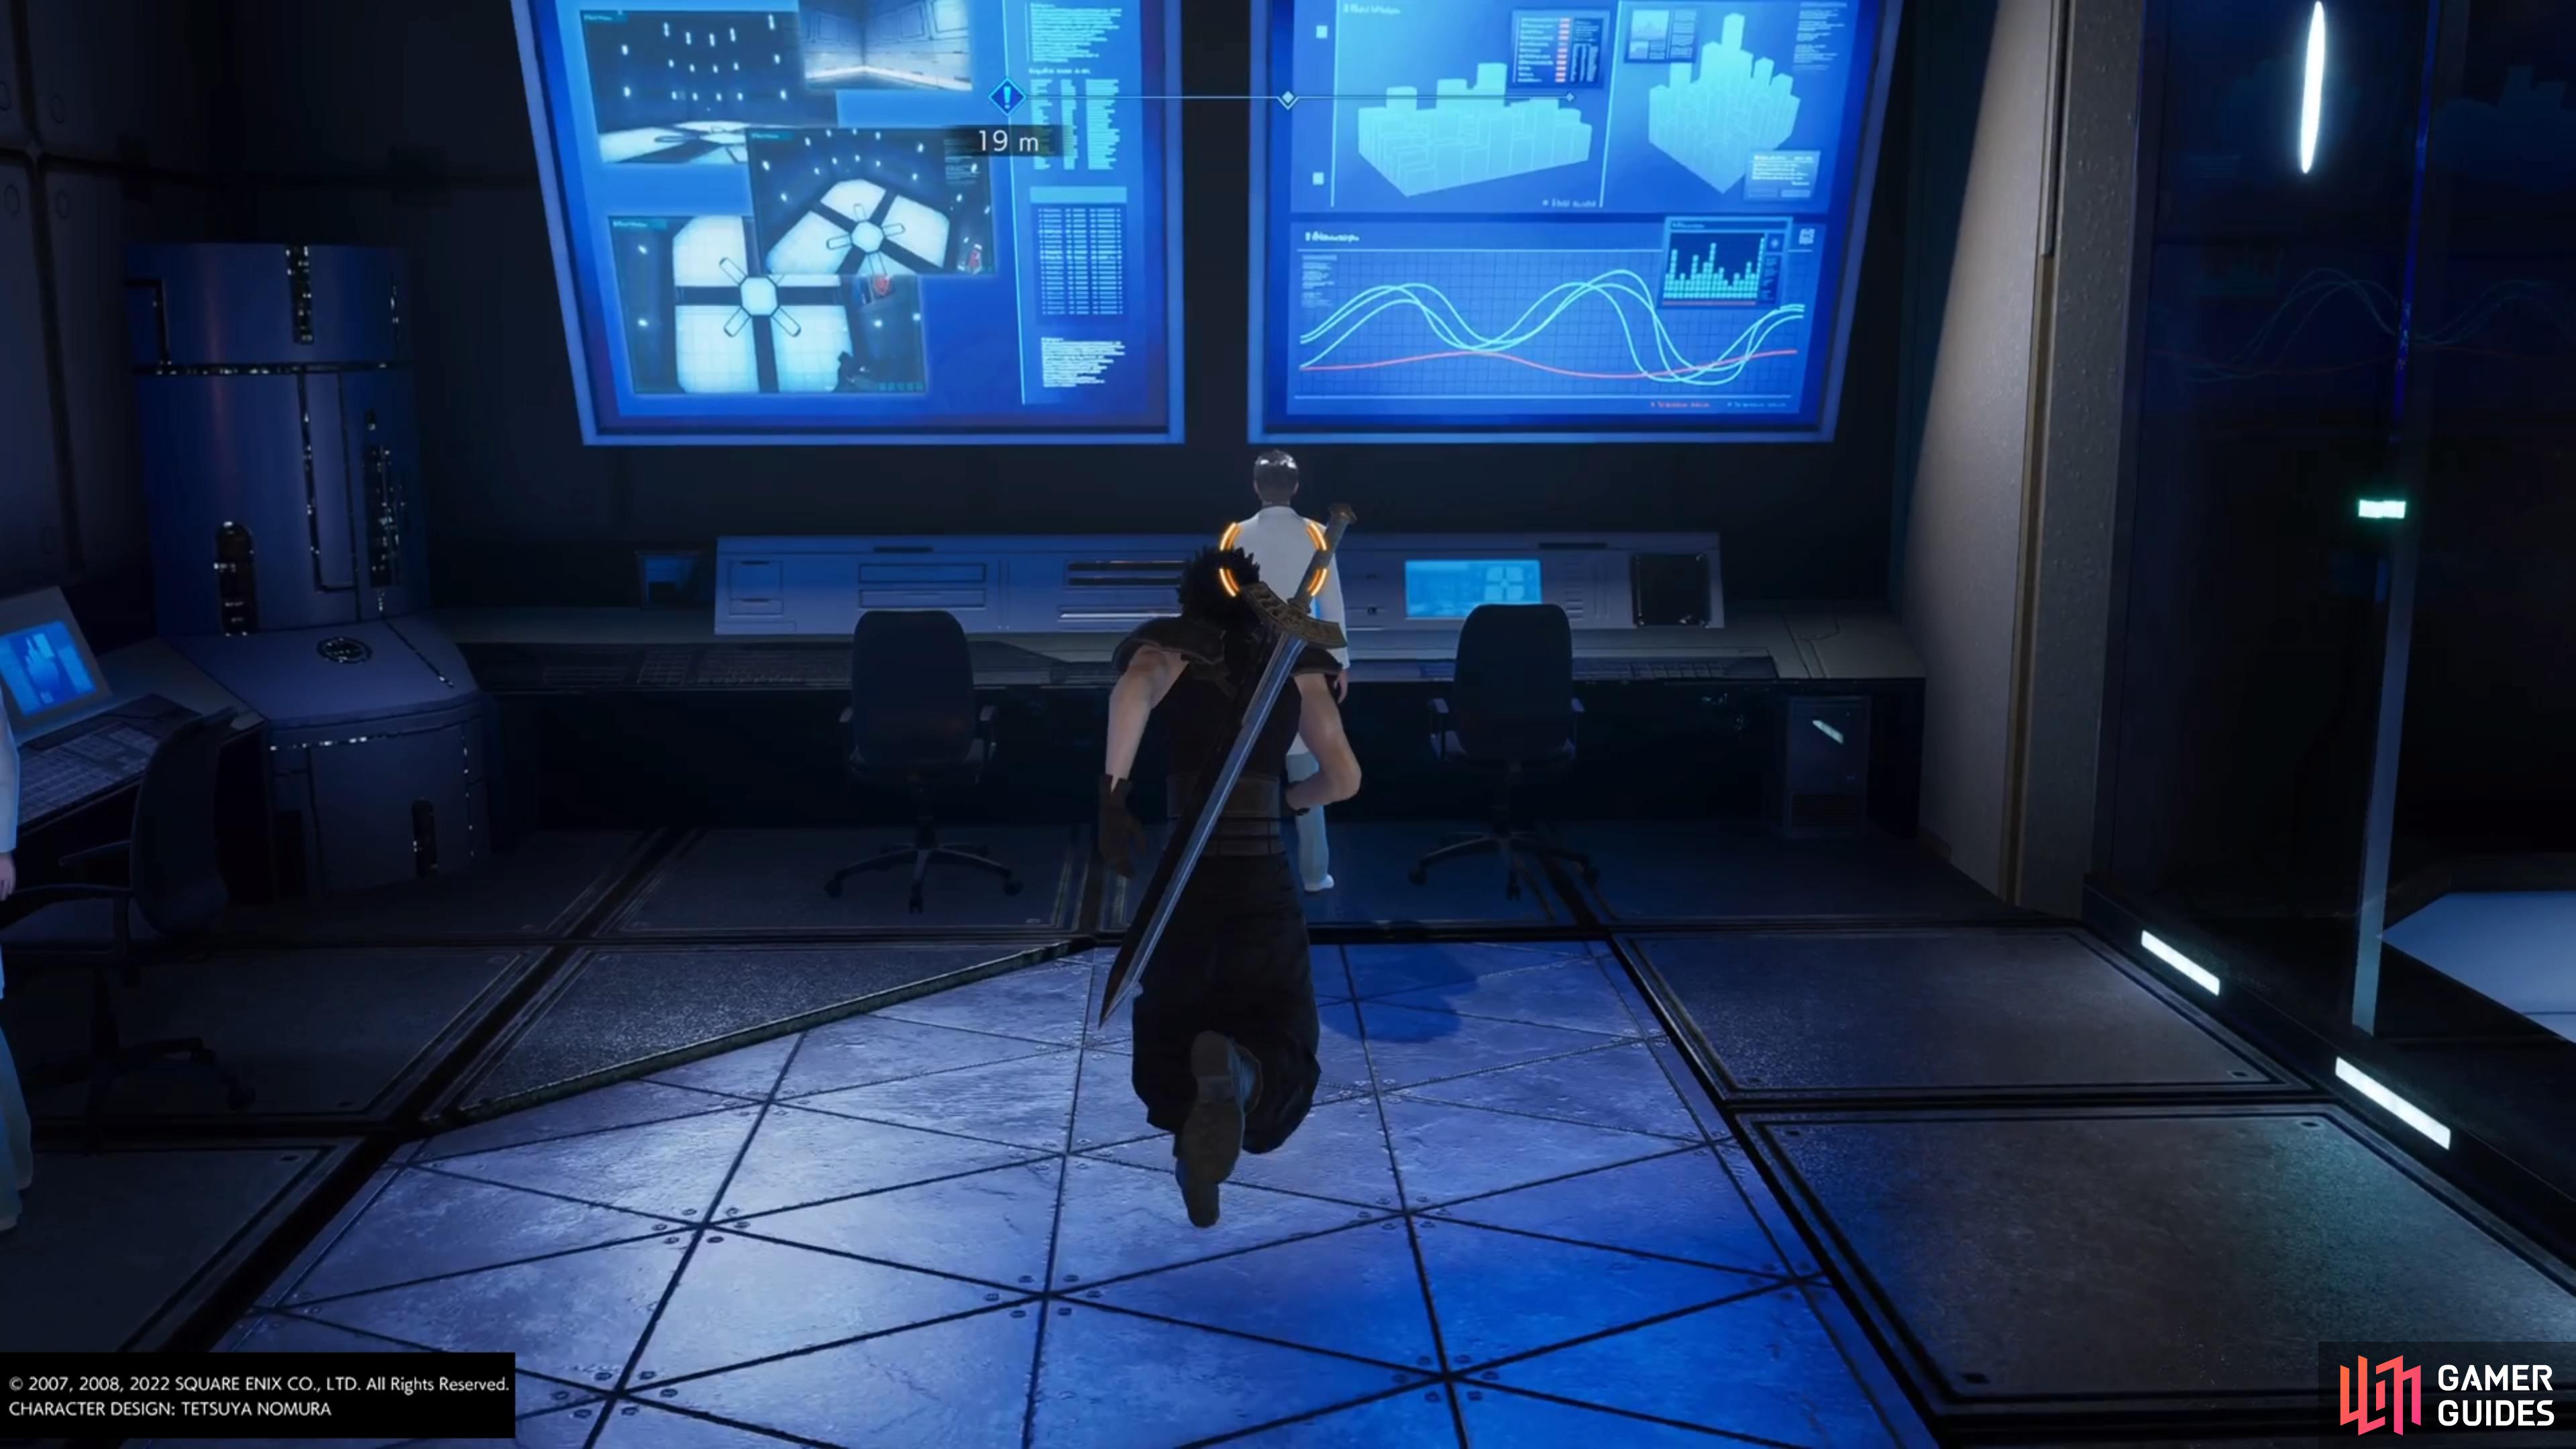
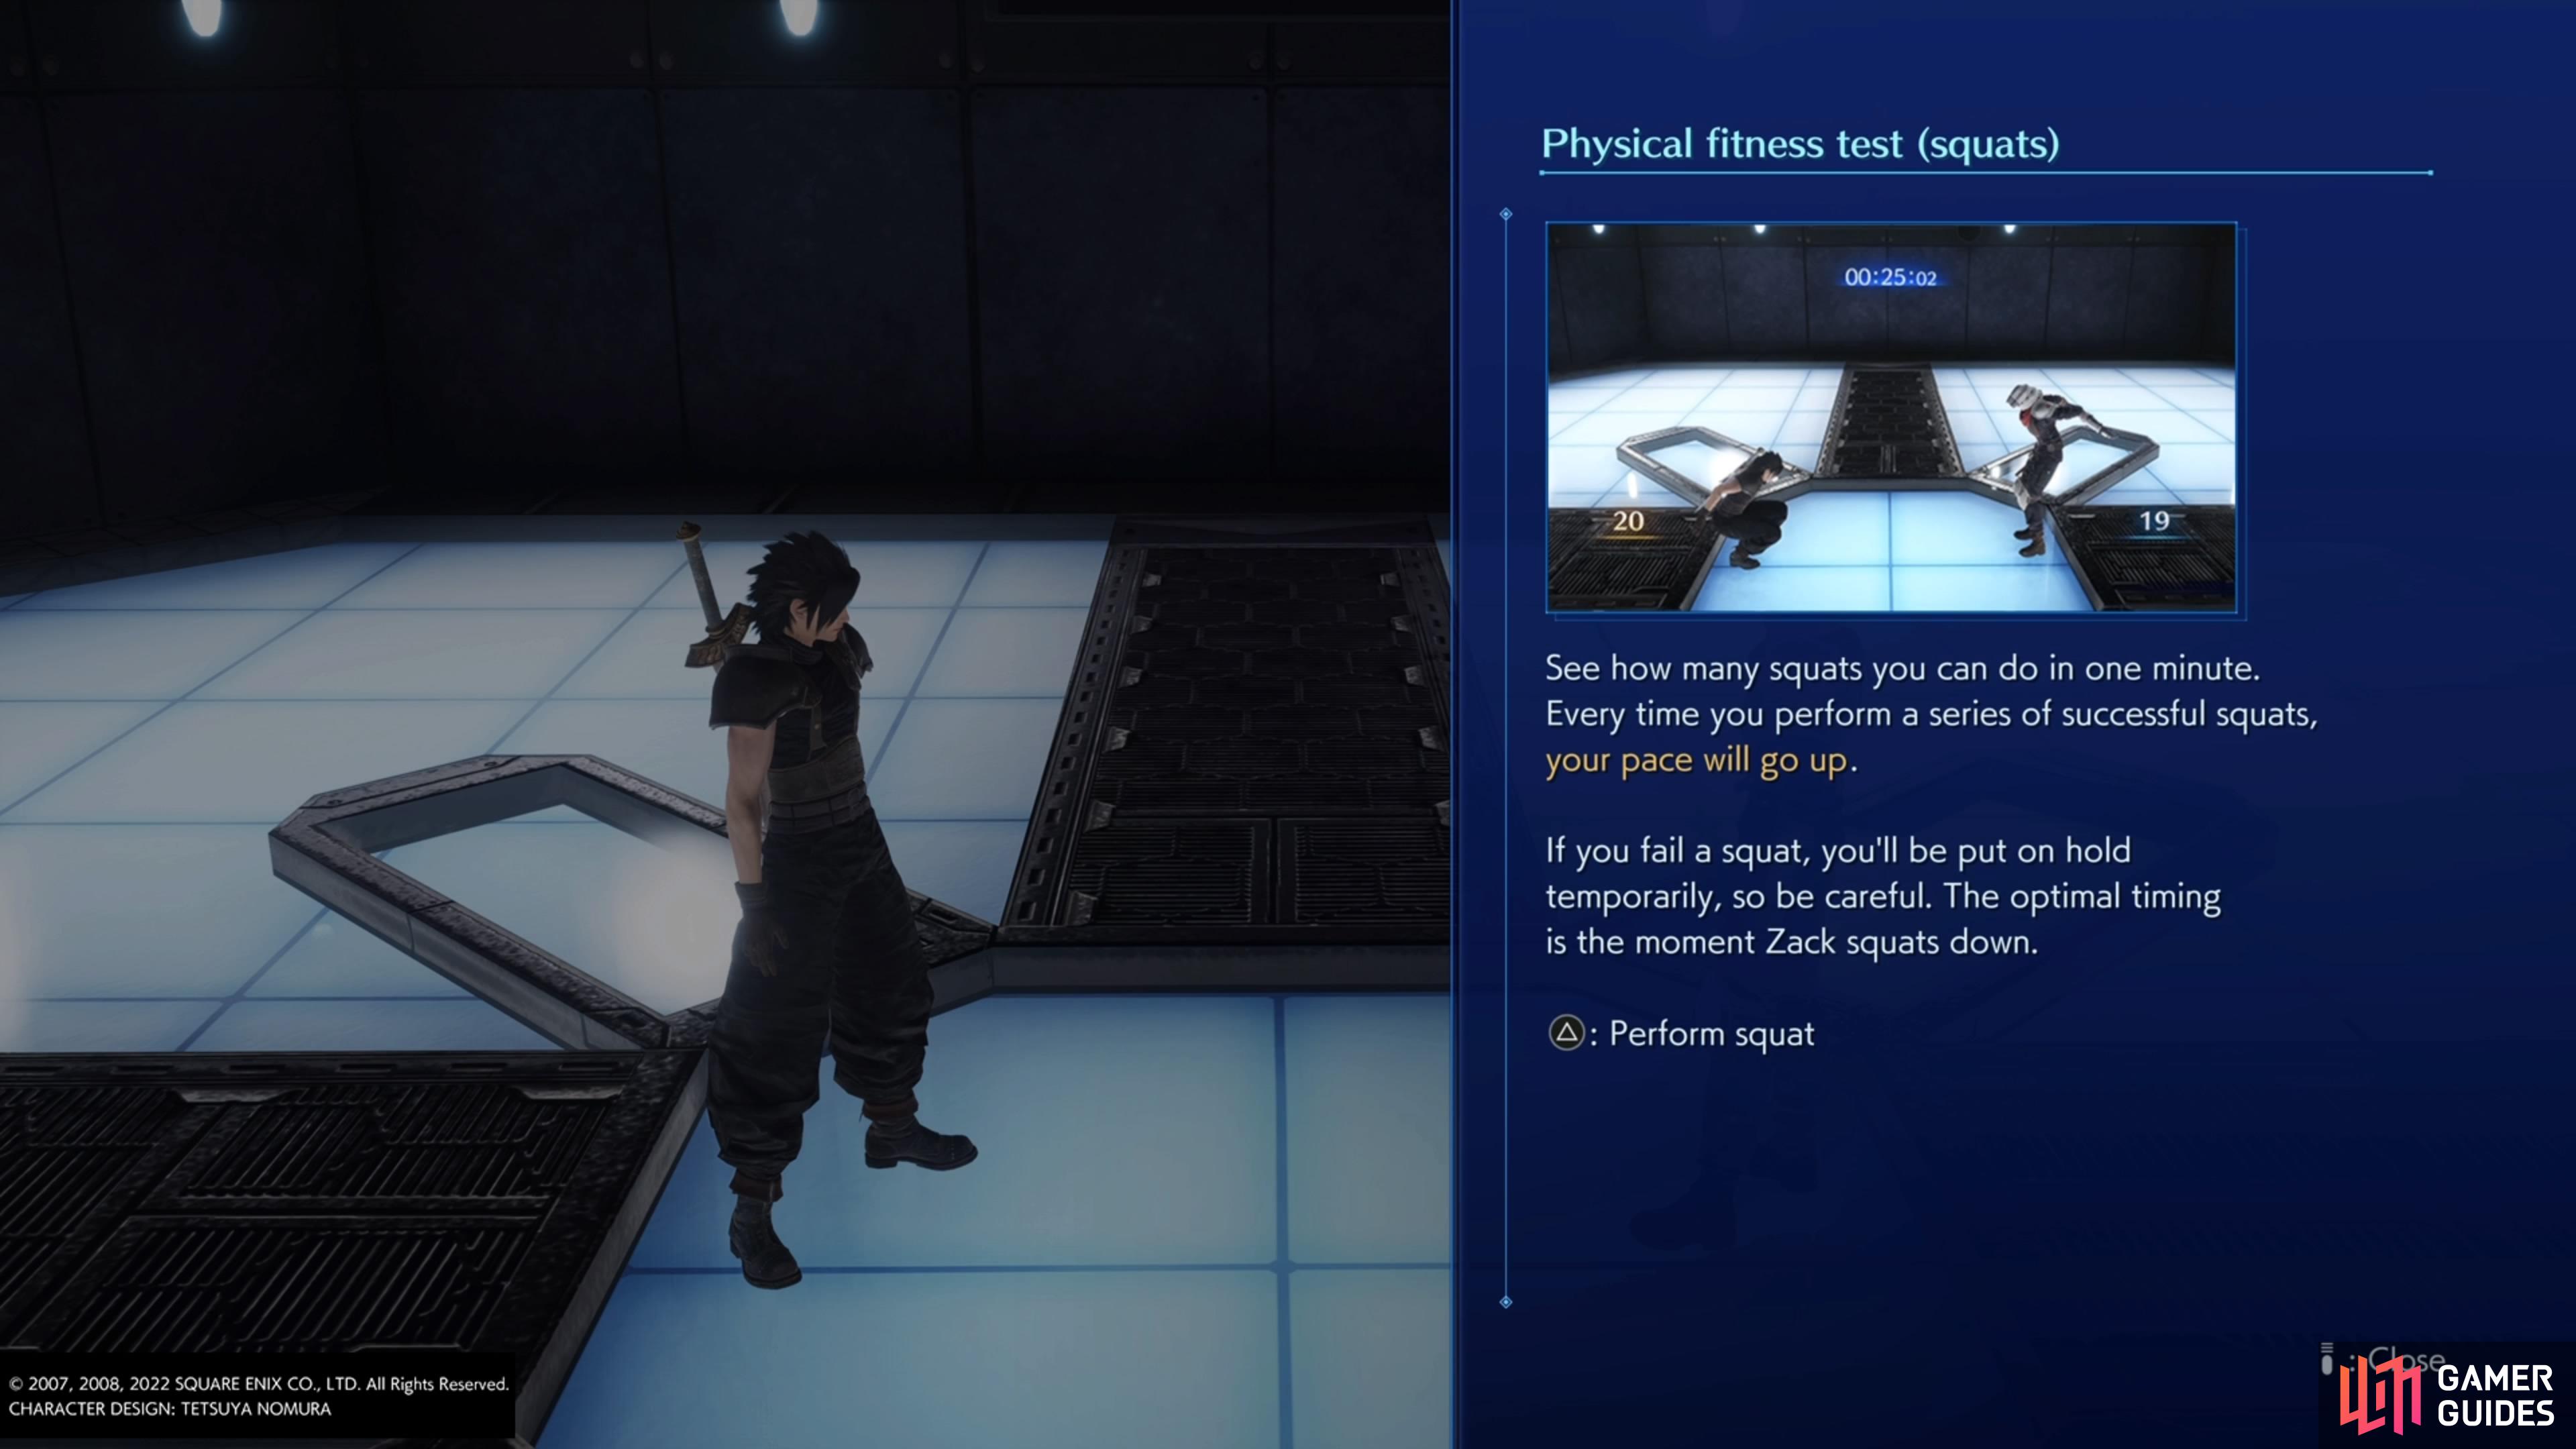
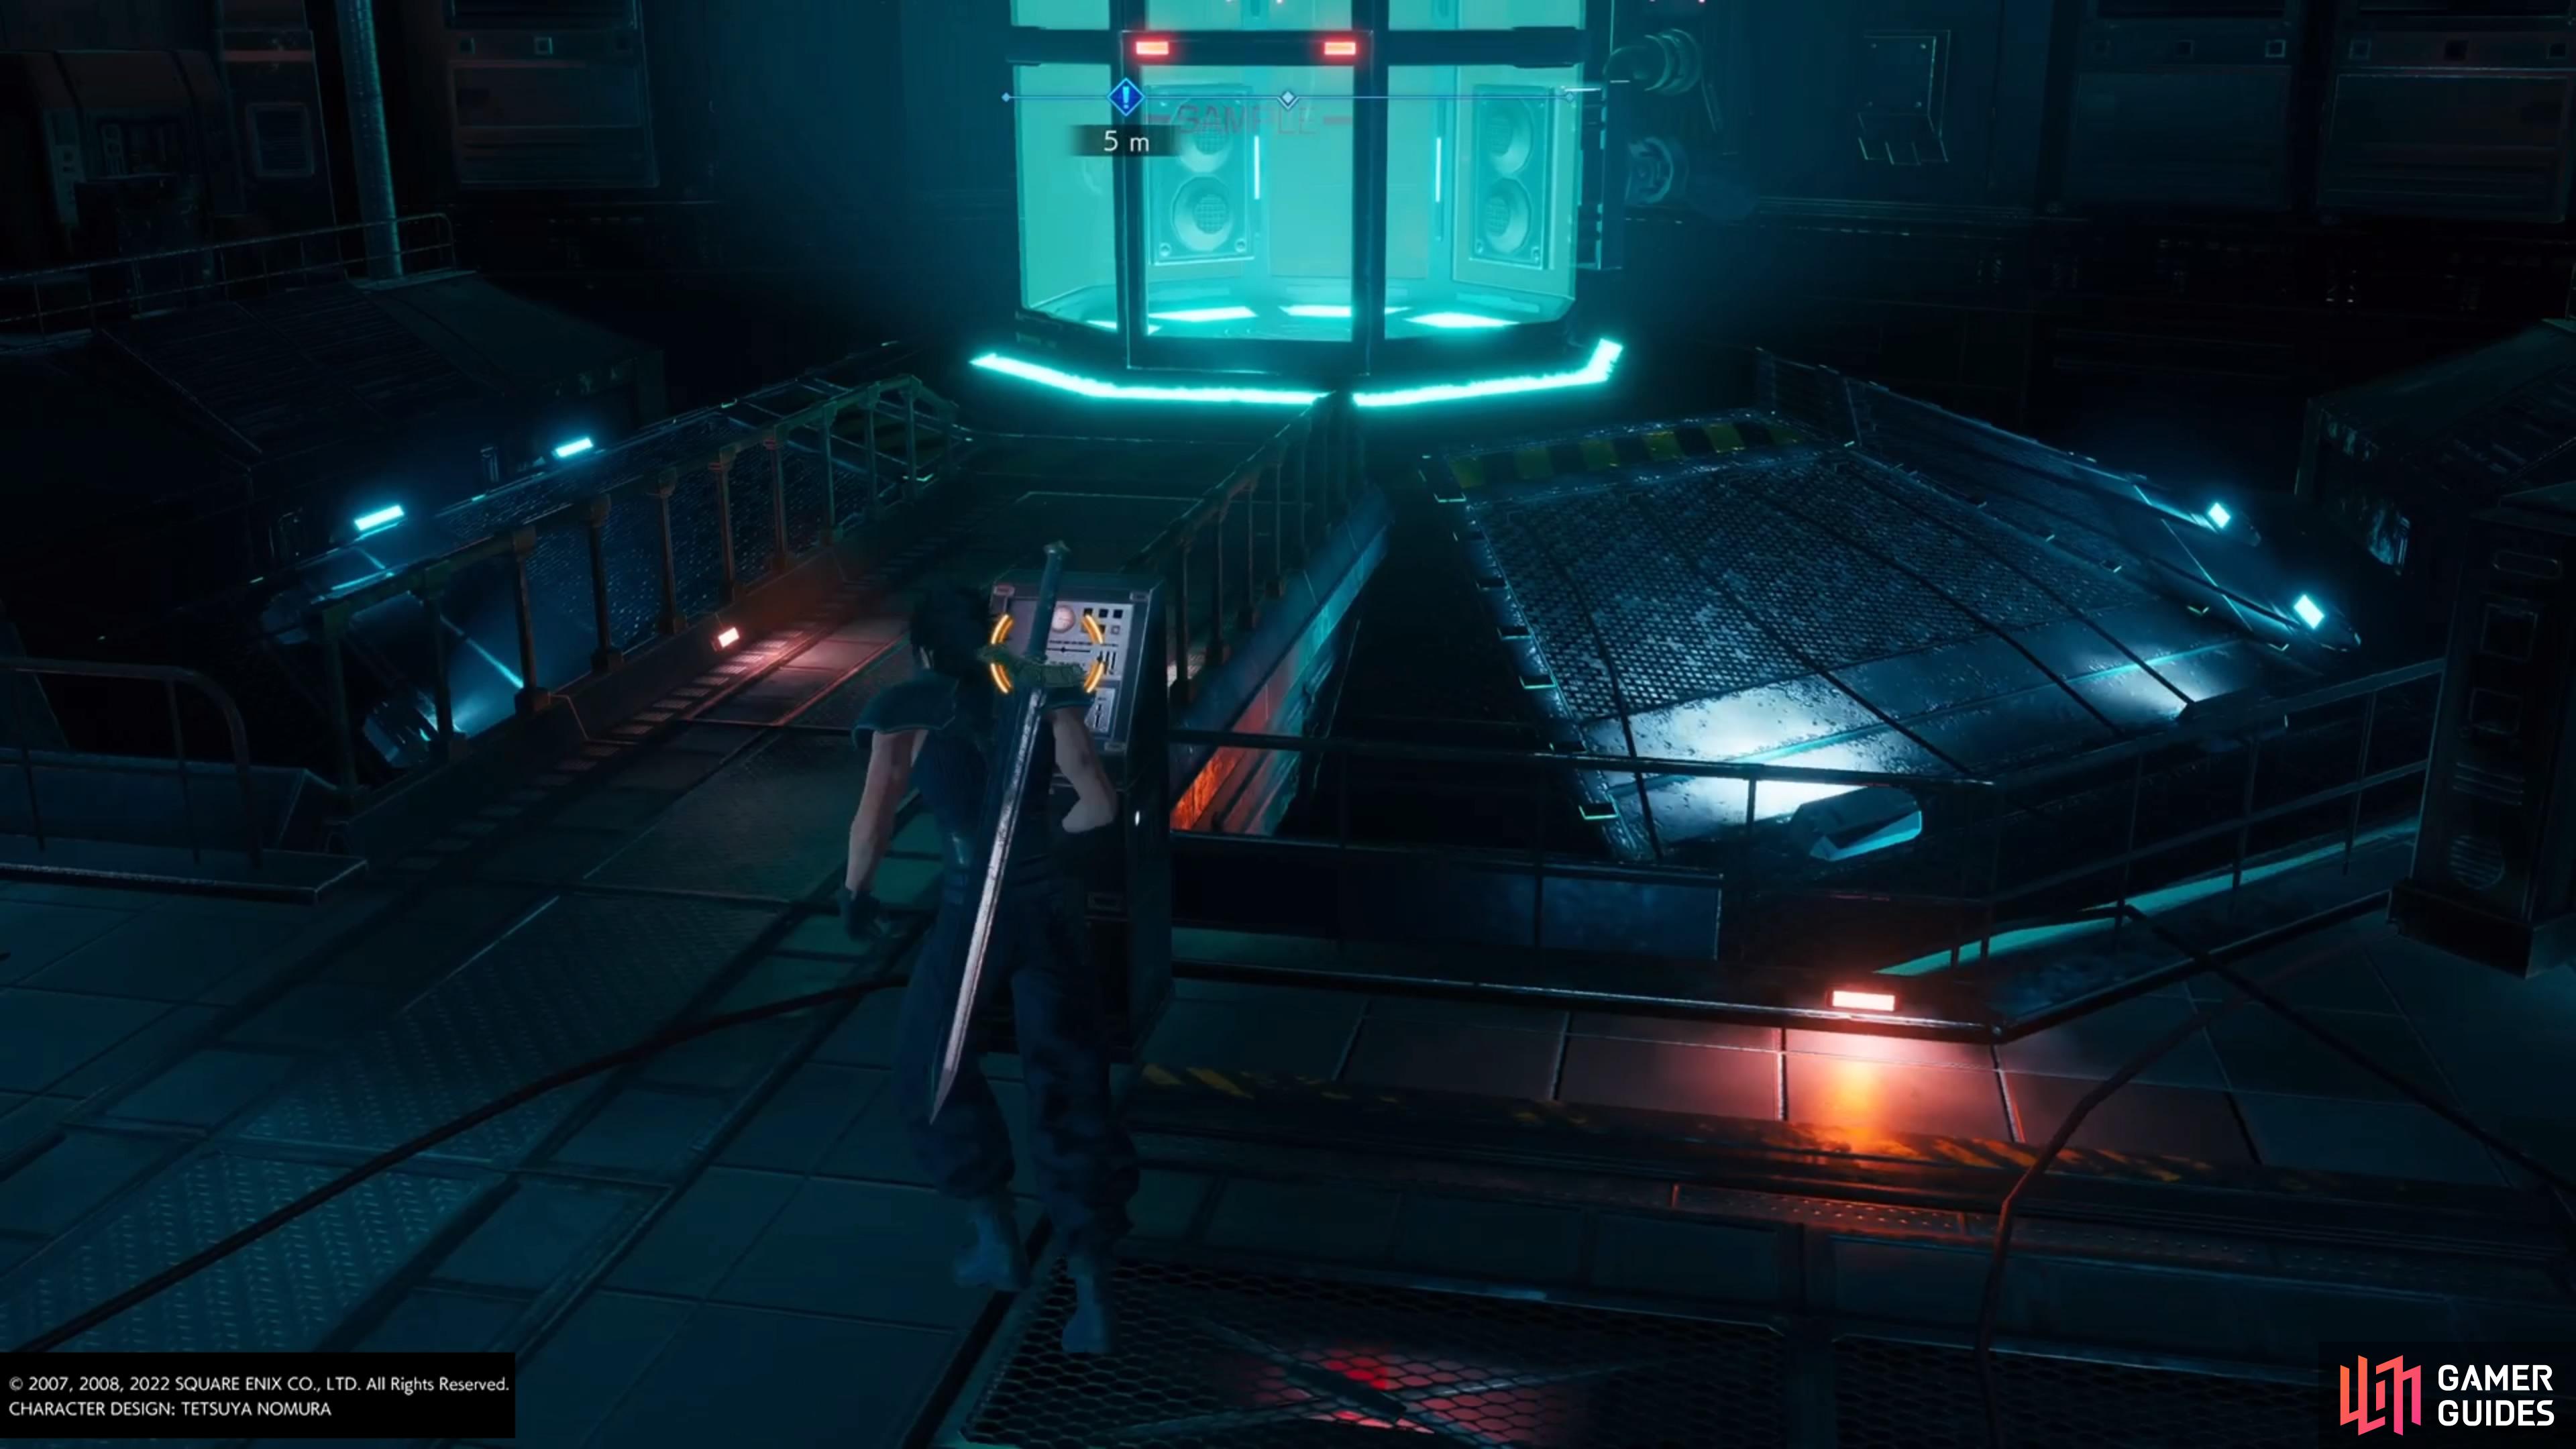
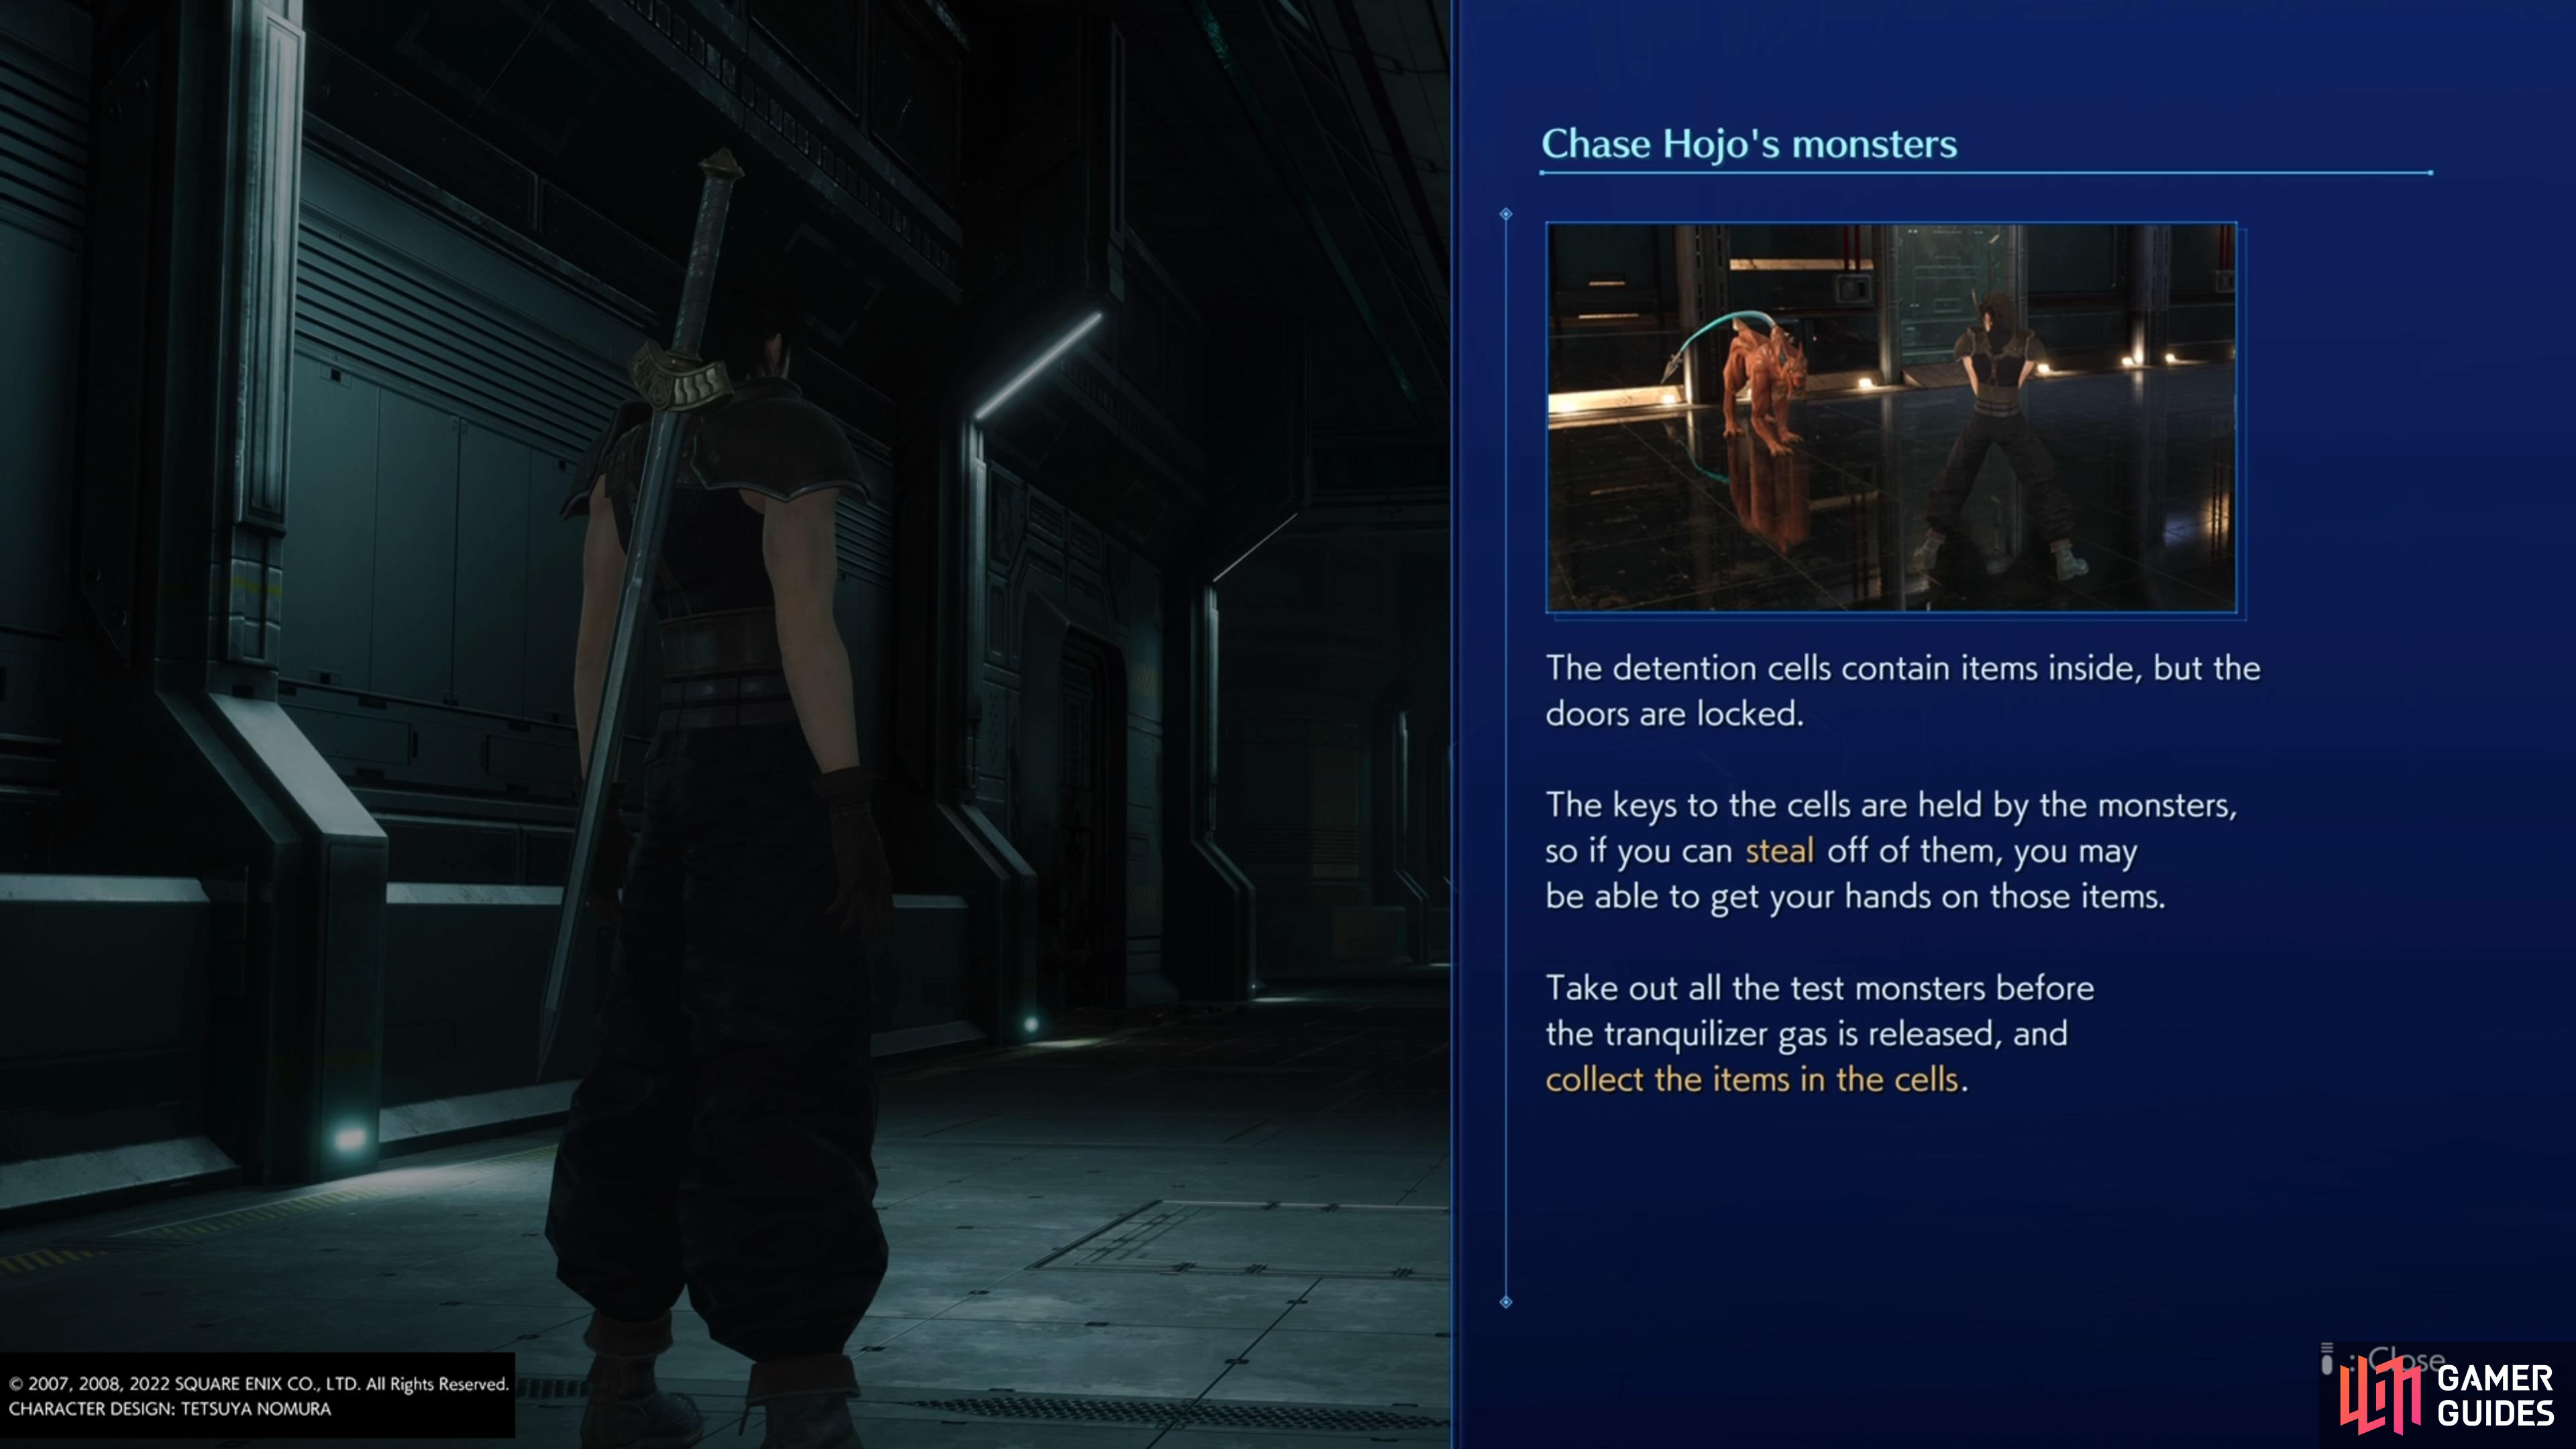
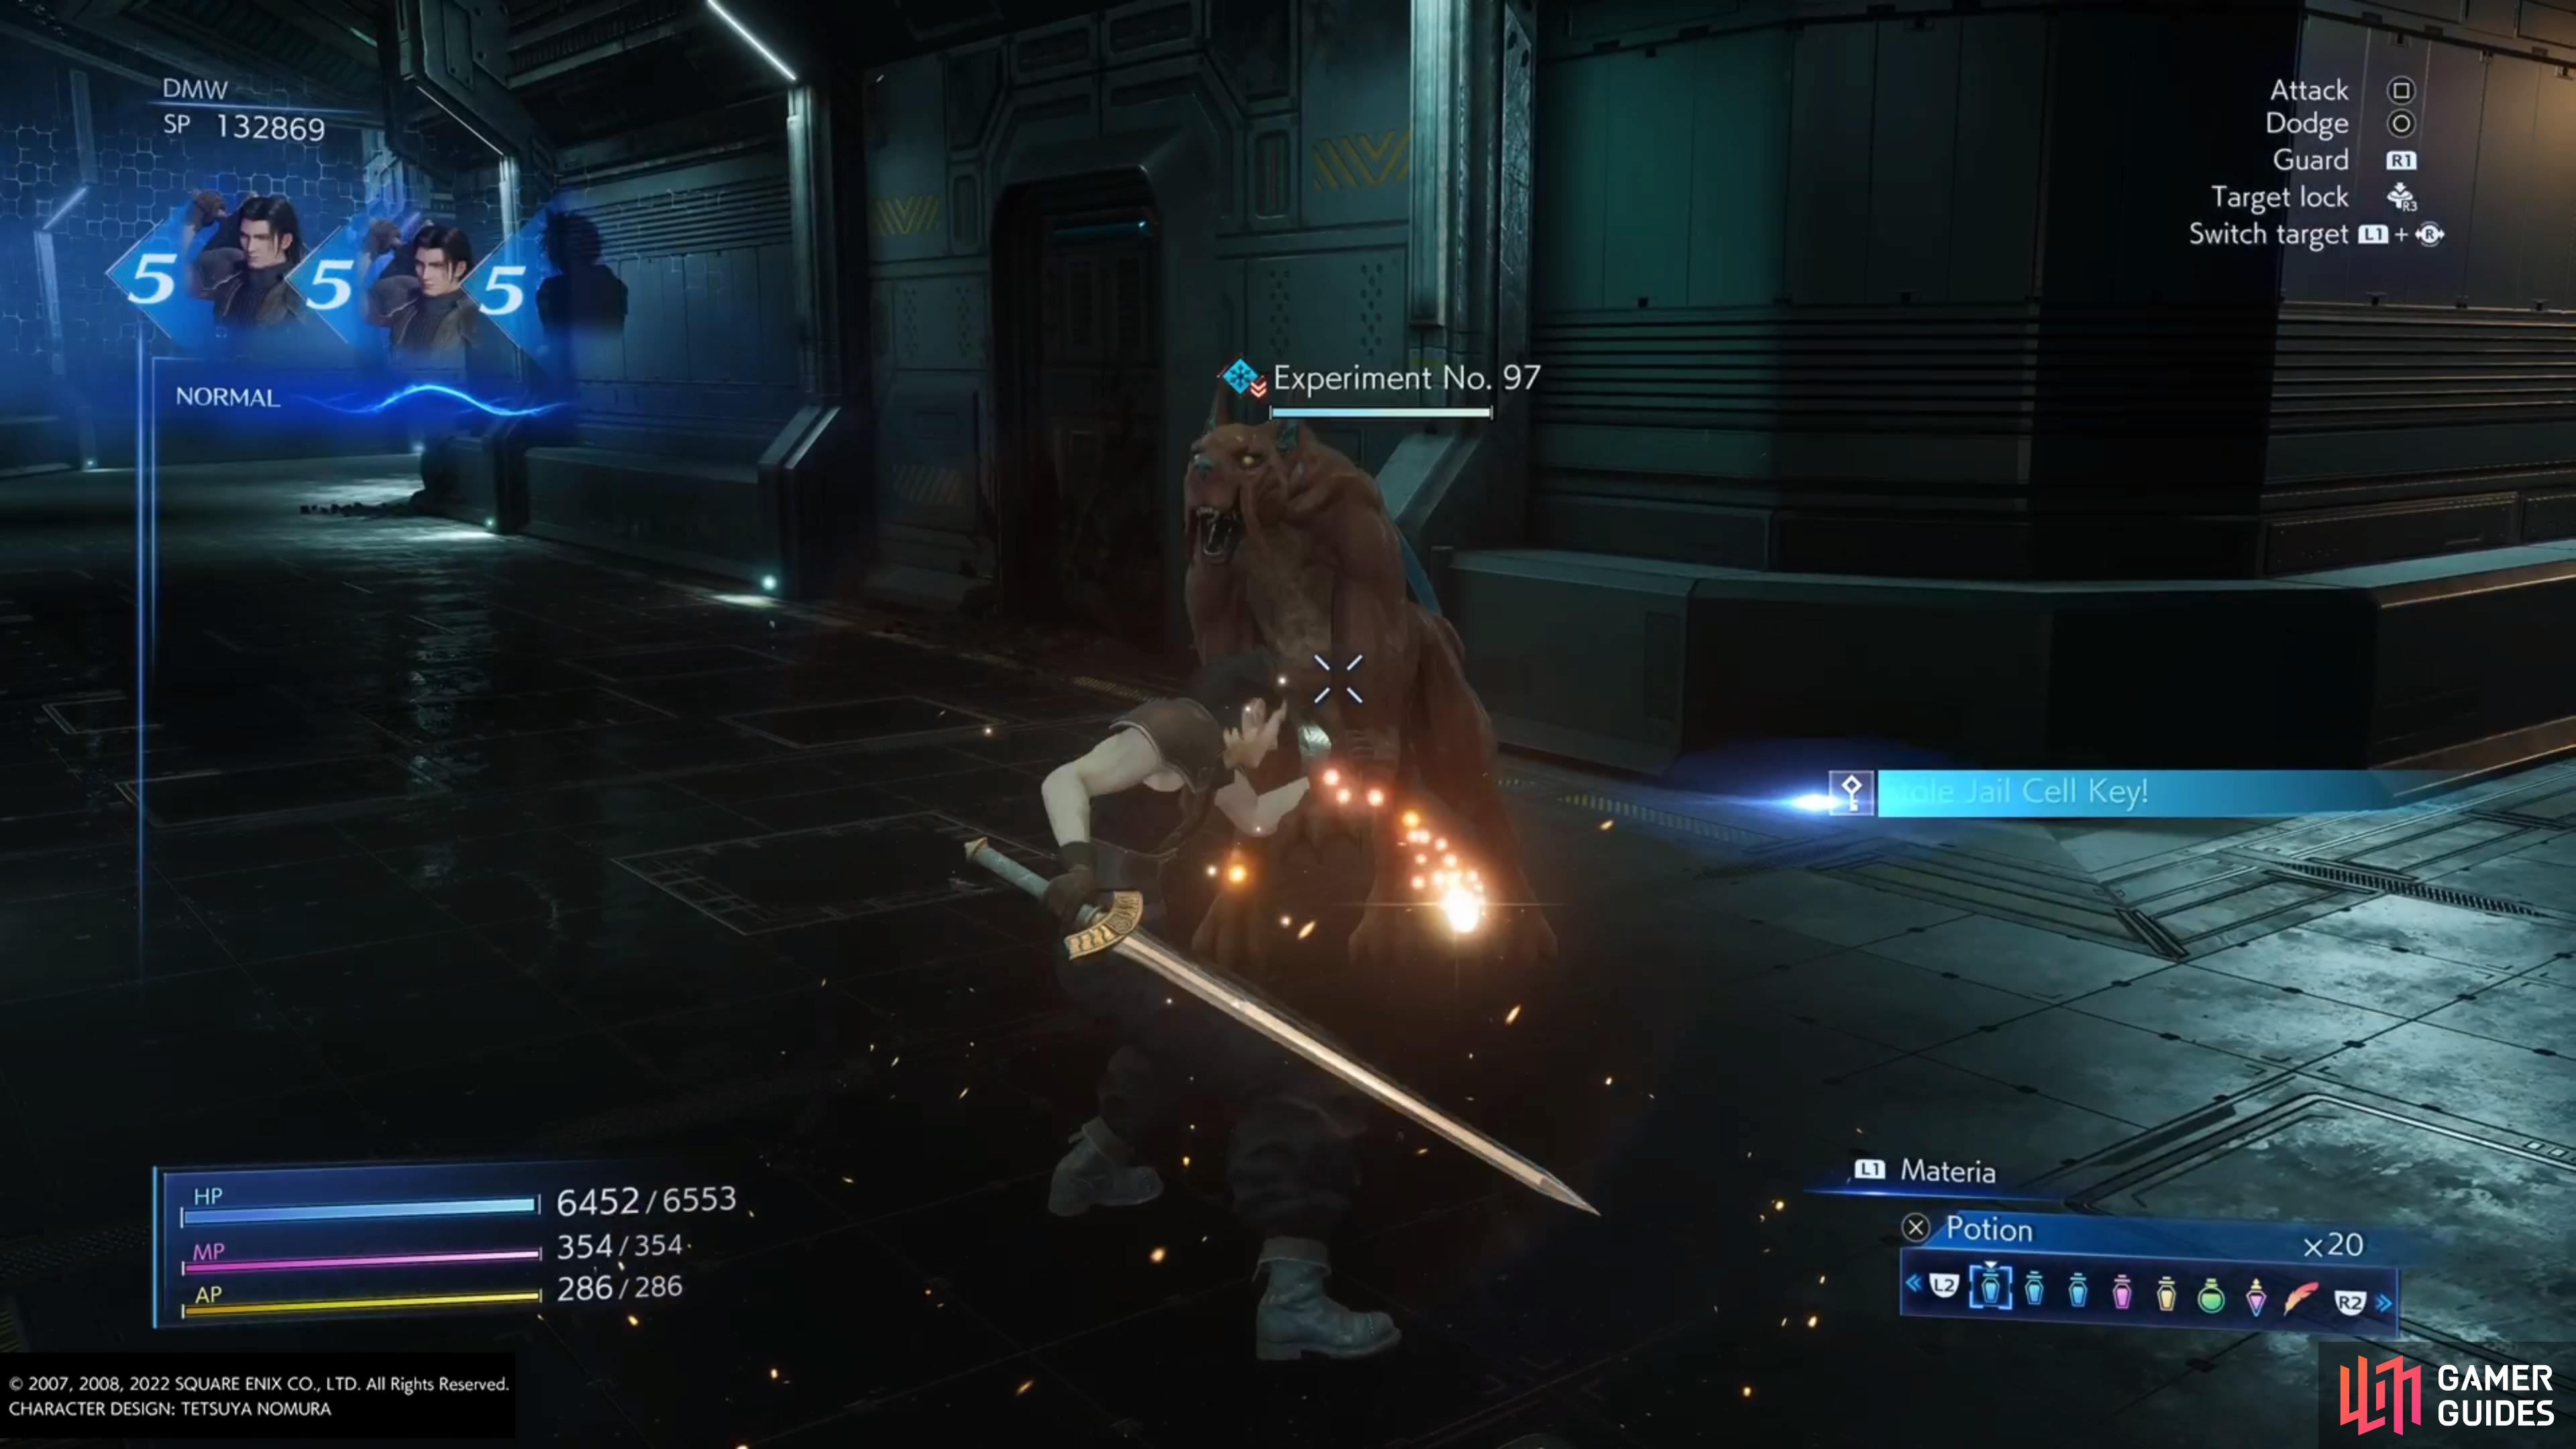
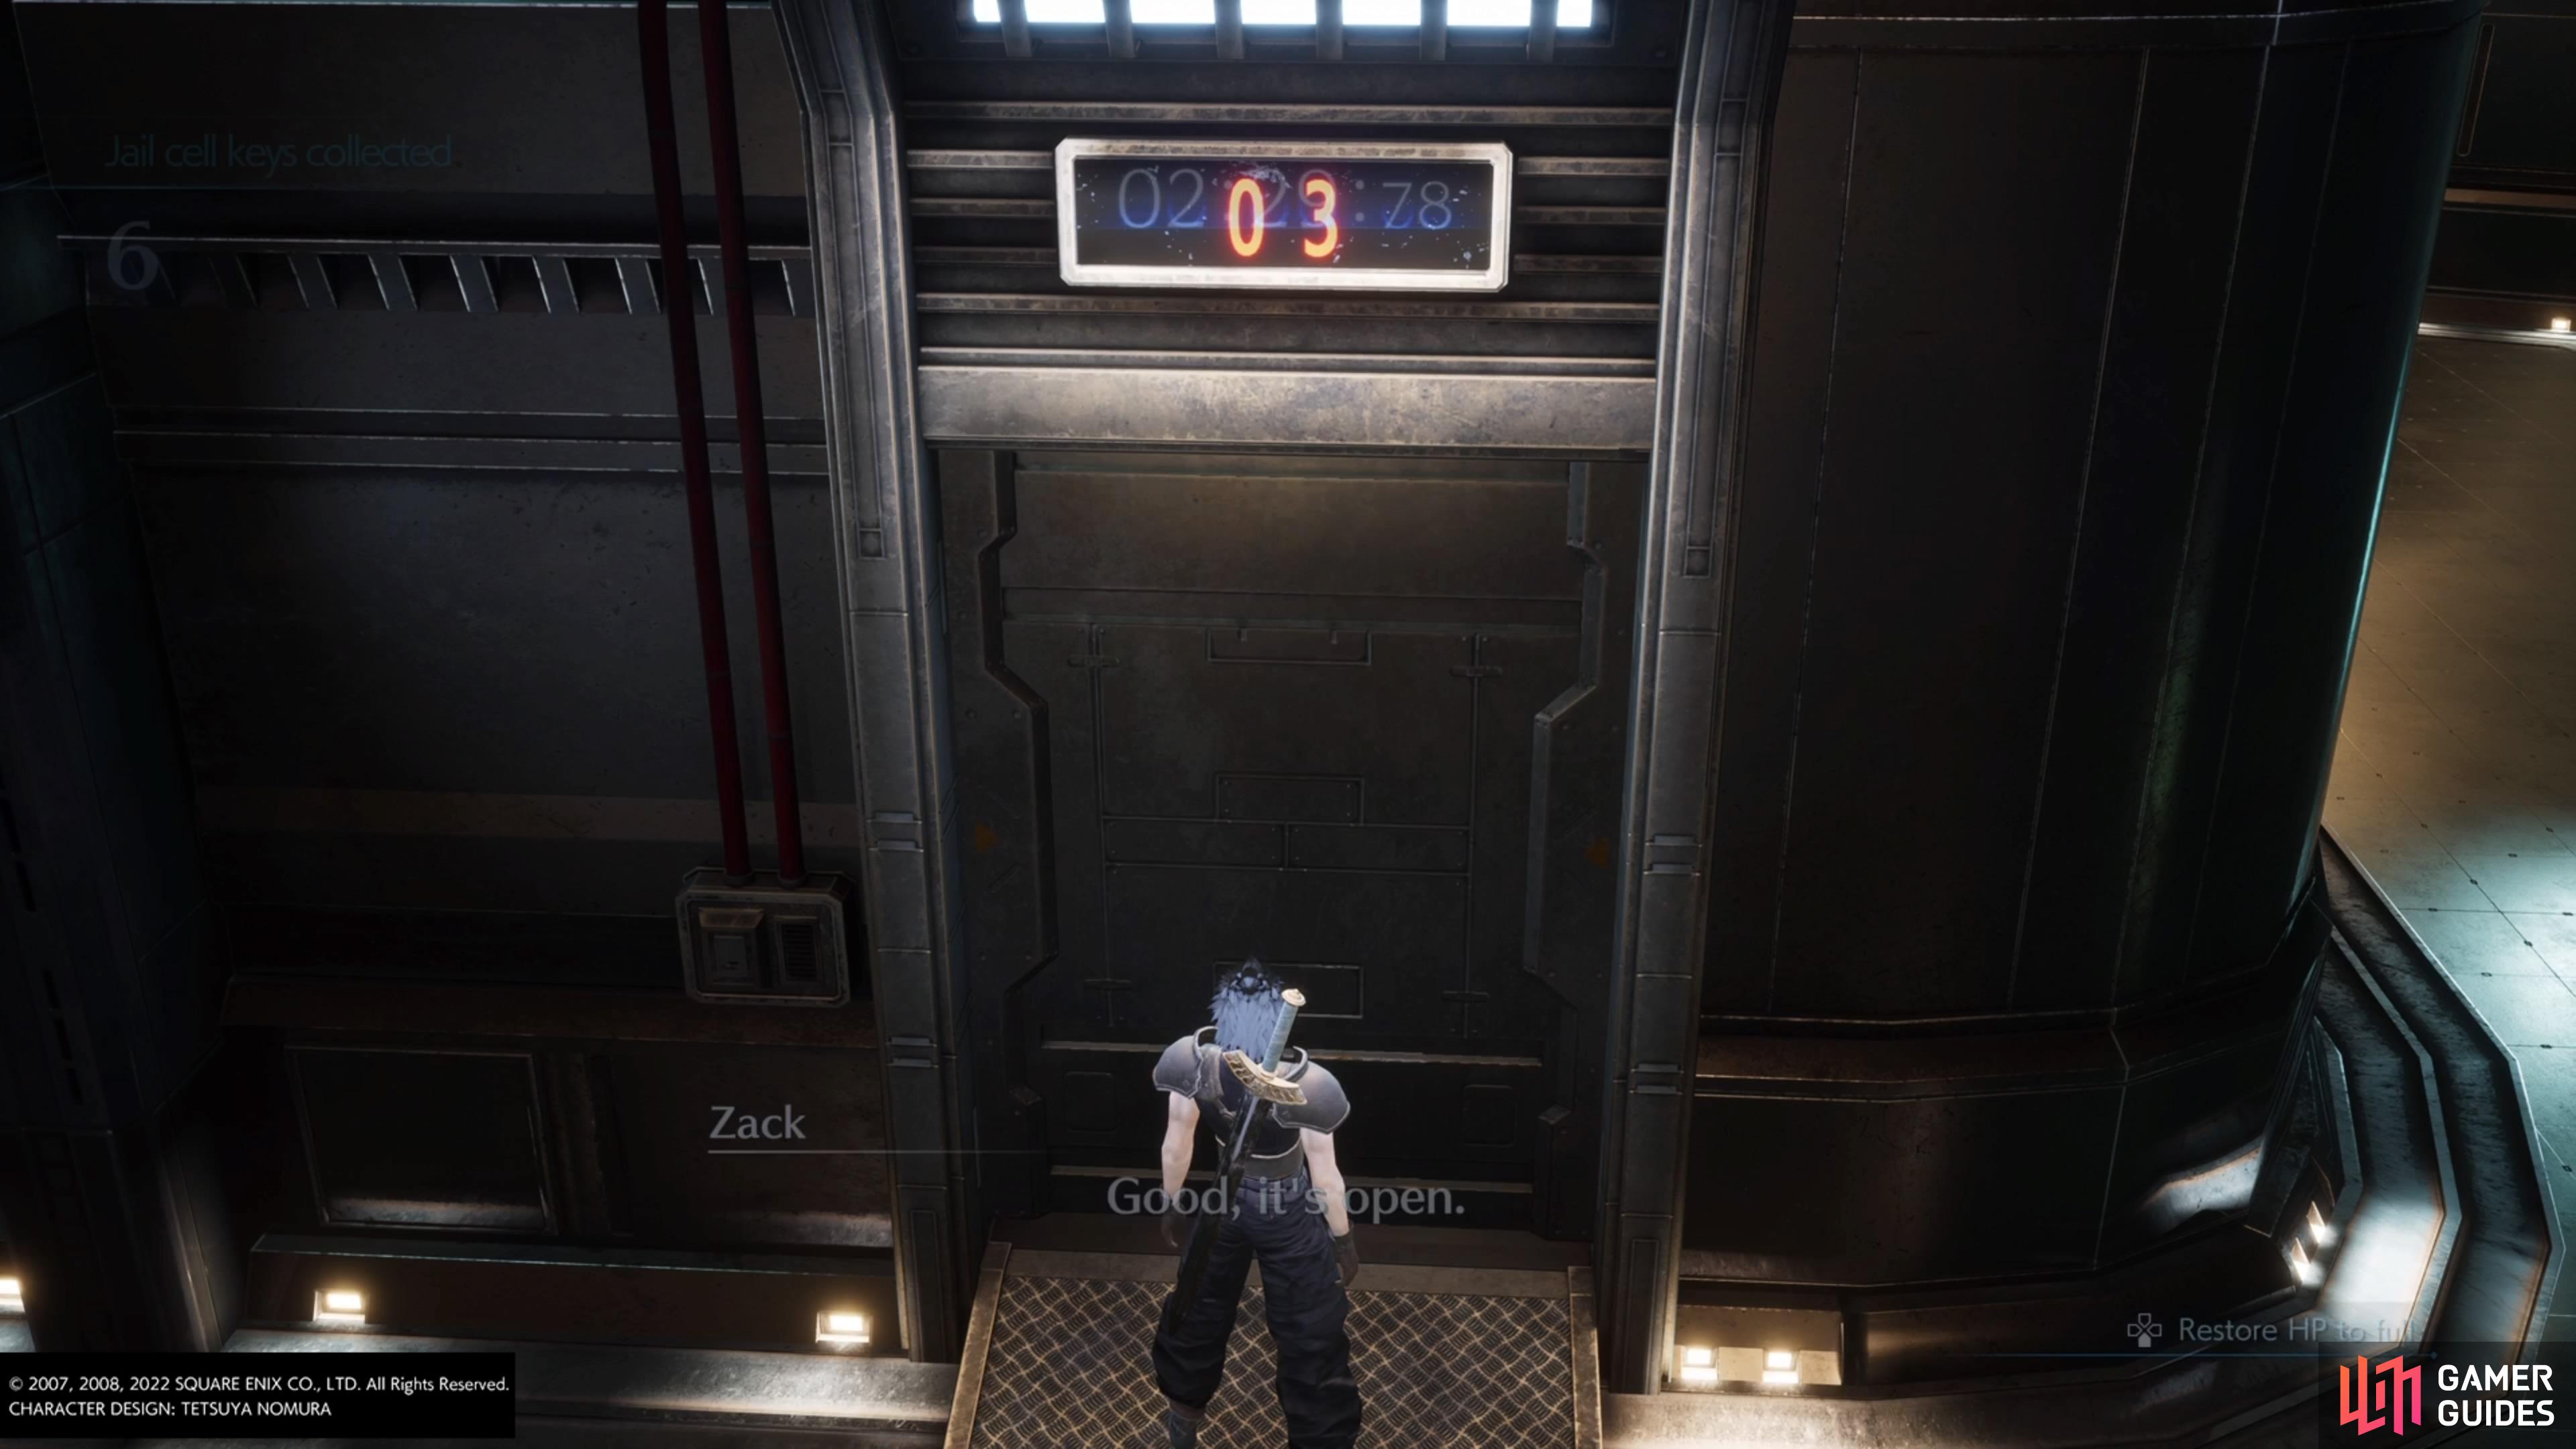
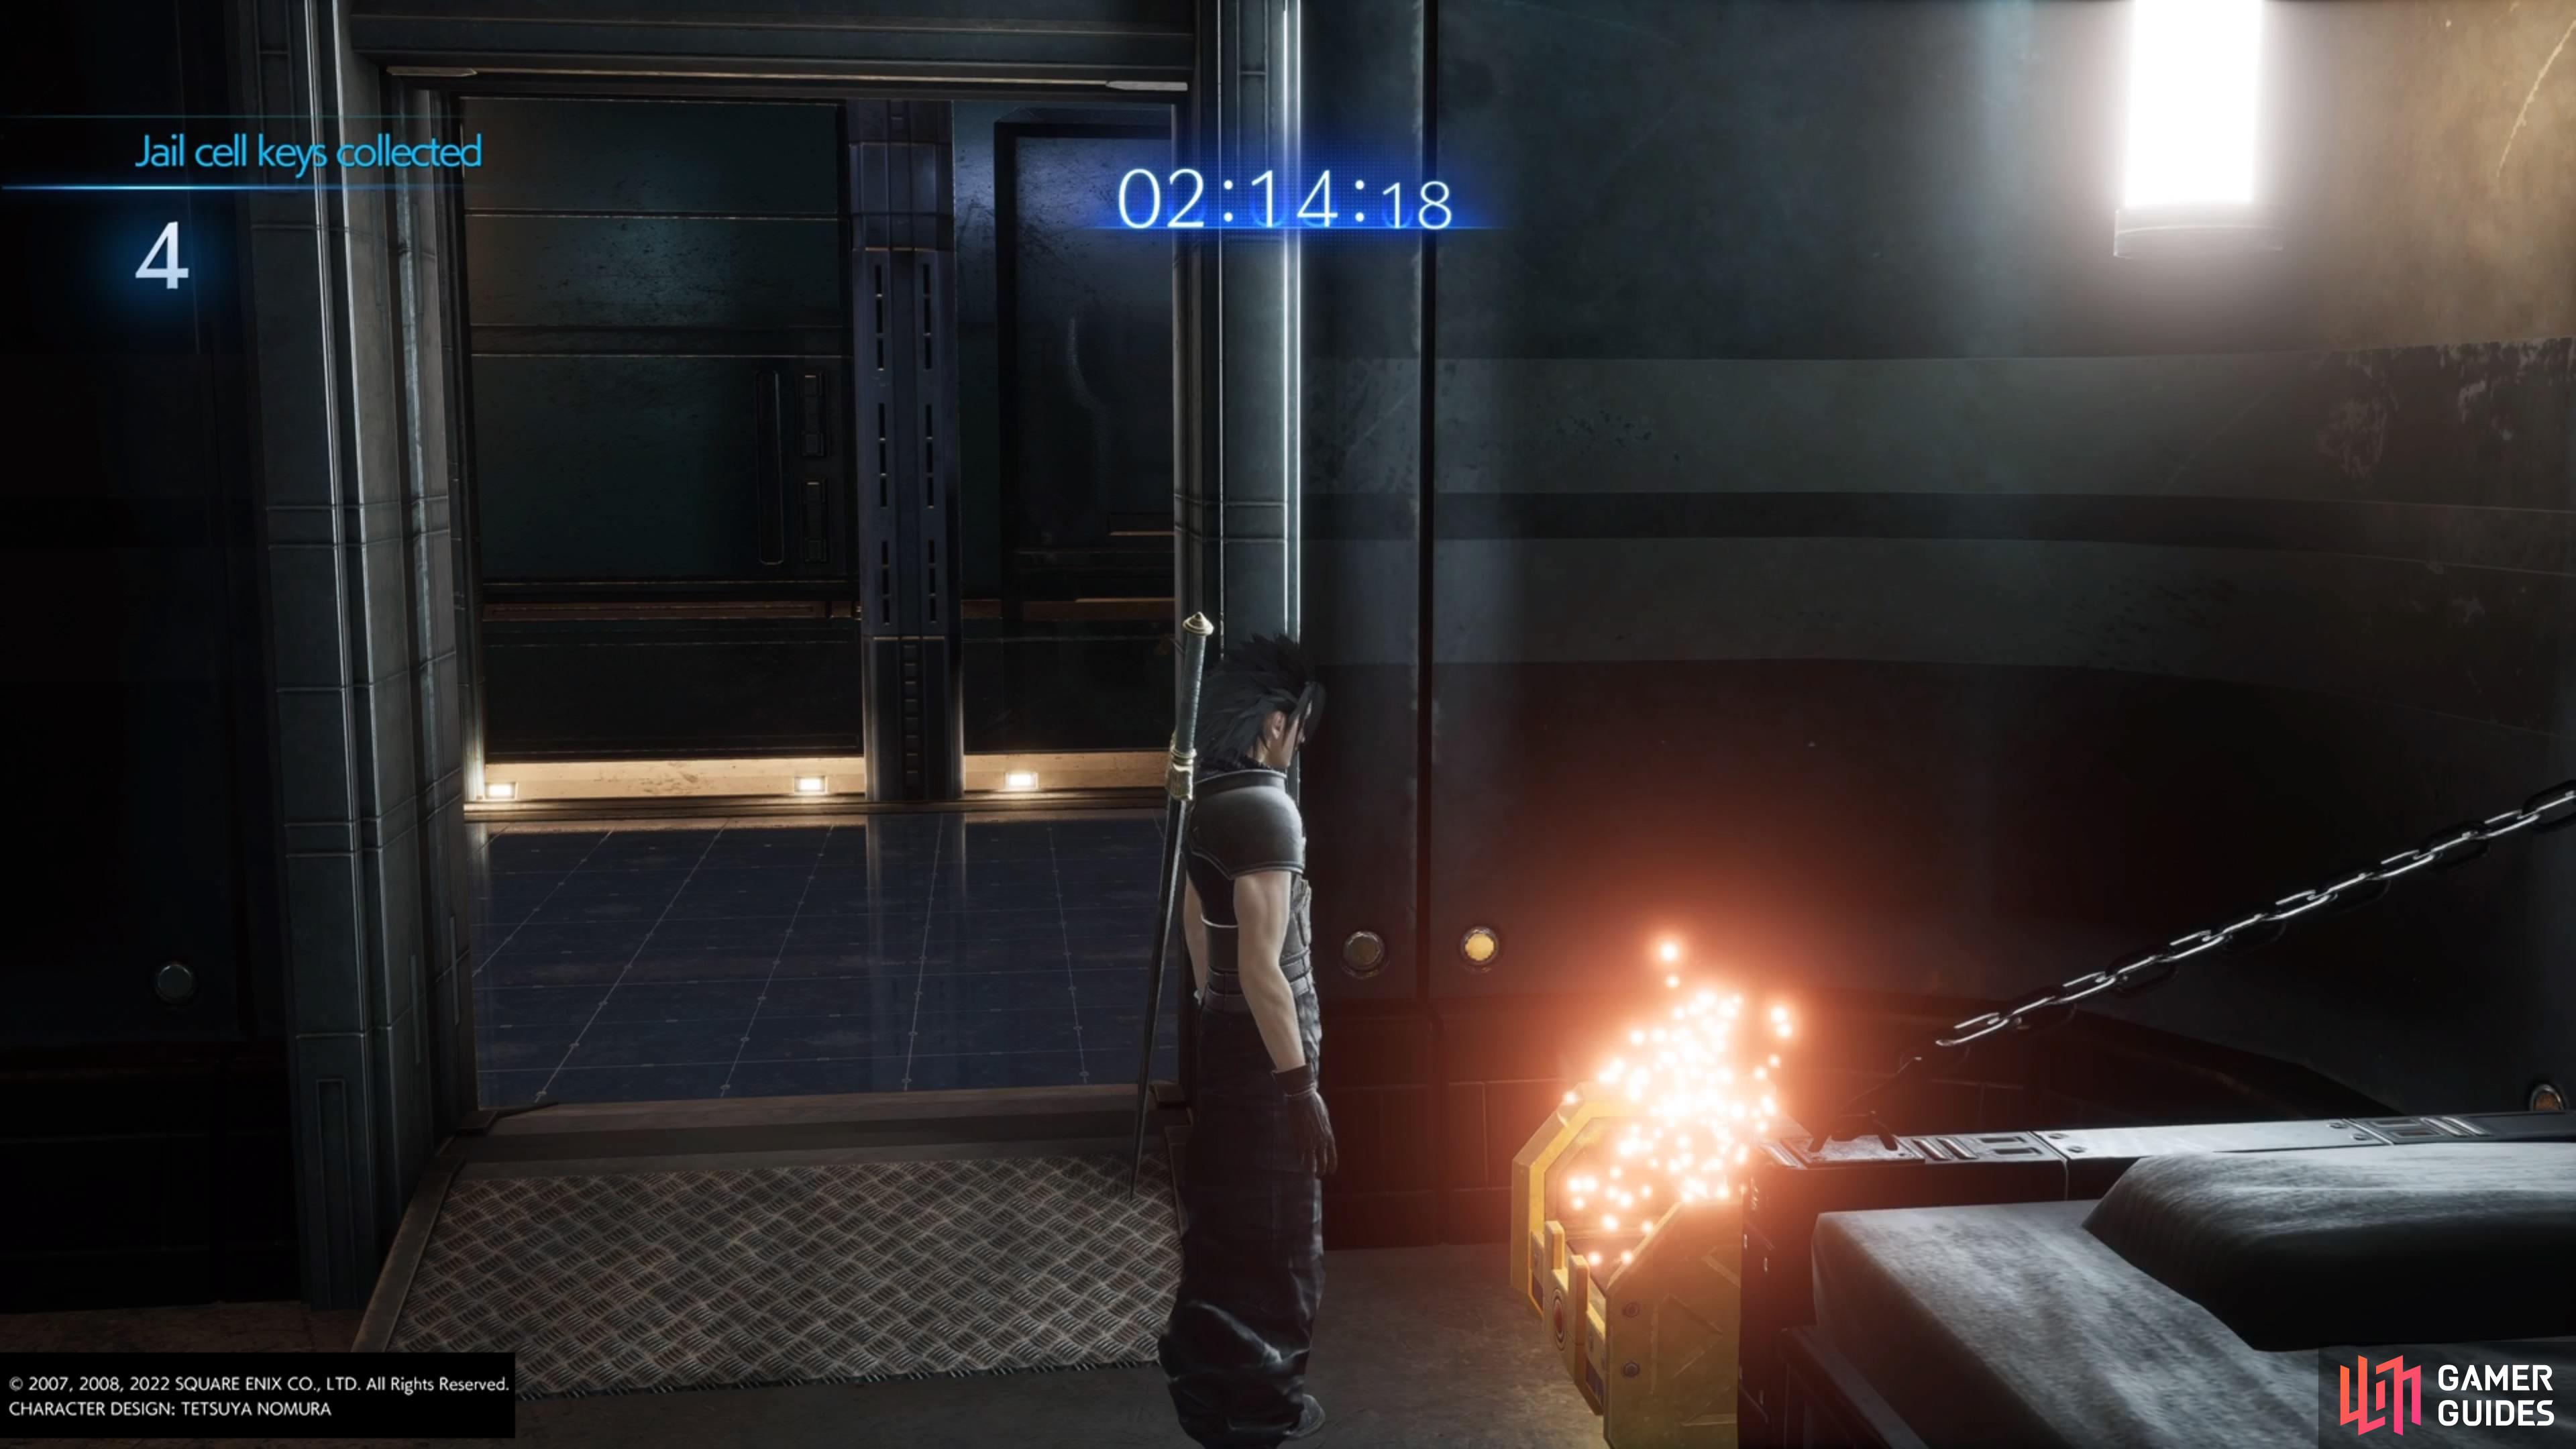


 Sign up