Head across the bridge and through the hallways here, fighting off the stingers until you reach a room with a locked door. Here you will be attacked by a pair of prowlers. Kill them. In this room you will notice the socket on the floor. We need a ball for that!
Head into the right hand room and use the blocks here to climb to the platform above. Grab the bomb here and hurl it across at the ball suspended on the other side of the room. Once it has been stuck, use your pistol to blow it down to ground level. Move the ball into the socket to open the door.
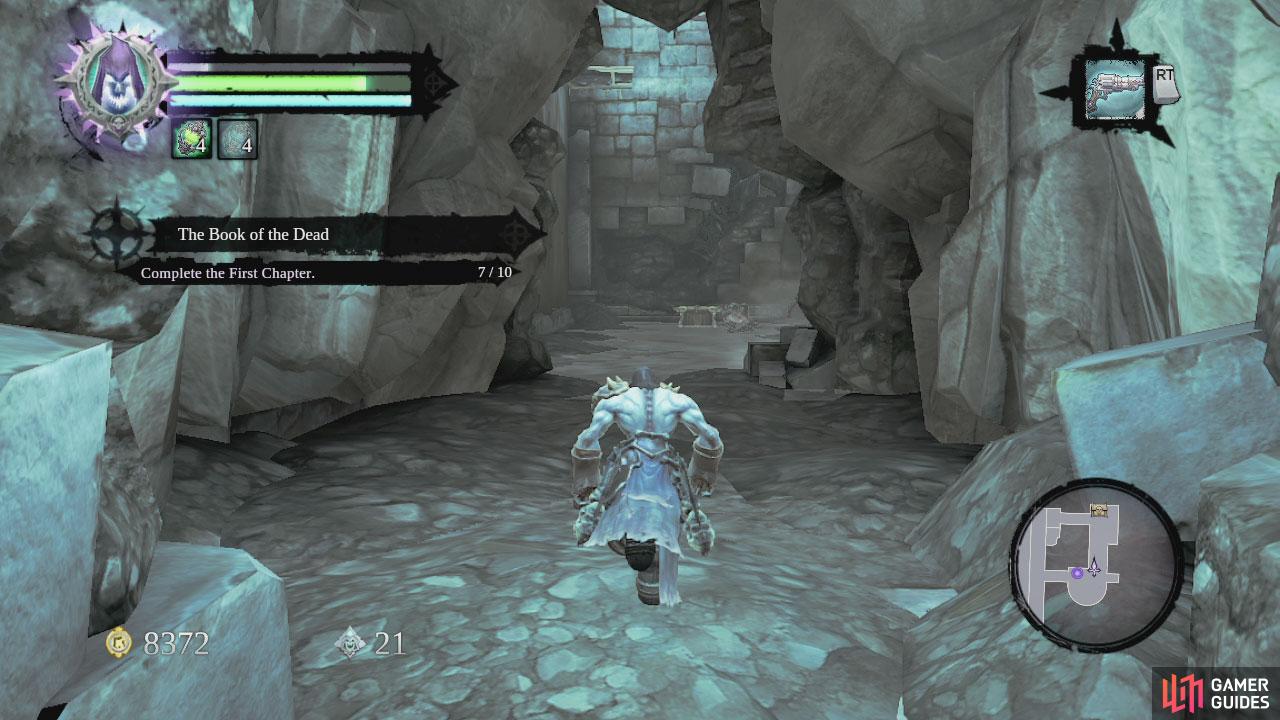
After entering and watching the short scene, turn right and look for a gap in the railing here. Drop down to the handhold here and then again to the one below. Wall run all the way to the right and drop down to the platform here for a Book of the Dead page . Turn around and jump to the platform with the giant statue. Below the giant statue here you will find a chest. Directly opposite the statue you will see a crystal we can shoot for a Stone of Mystics .
Drop down to the ground floor and head over to the East side of the room. Use the blocks and handholds here to climb up and kill the prowlers here. Next to the destroyed staircase here, you will find some more blocks and handholds allowing you to climb up and around the corner. Drop off here to grab the chest, and then climb up again and wall run over to the door shown during the intro to the room.
The next room consists of a waterway on the left hand side and a stairway on the right. Head up the stairs and into the first side area on the right for a chest. When you reach the door at the top of the stairs, turn left and jump across the canal for another treasure chest.
$$$item 1463
$$$item 1509
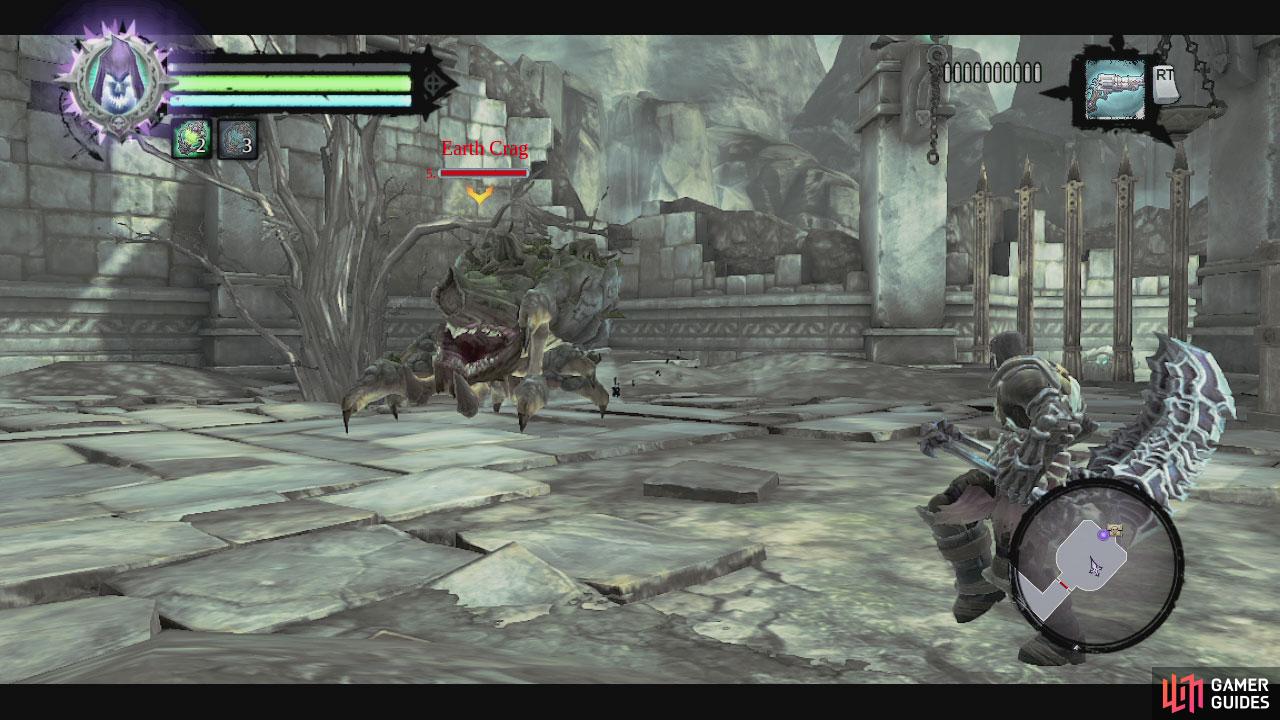
Let’s check out the room around to the right first. Head in here and you will have to fight off a group of stingers and prowlers. Once they are all dead an earth crag will appear. These things kind of remind me of the crystal spiders from the Iron Canopy in the original Darksiders.
They have a fair bit of armour and do a charge attack which you can easily side step and will also jump into the air to try and squish you, also easily avoided. Once it is dead, the gate at the back of the room will open allowing you to loot the chest there.
Return to the door at the top of the stairs in the previous room and head on through. Make your way through the long hallway killing the prowlers as you go.
You will exit into a large room with a statue in the centre, some stairs behind it, a blue ball sitting up on a ledge on the South side of the room to the right of a pool of water and a large portcullis to the North. First let’s head over to the South and go for a swim, dive under and follow the tunnel to find a treasure chest with some decent loot and gold in it. Exit the pool via the blocks and wall run your way around three walls to reach the platform with the blue ball. Push it down into the room below.
Return to the main room and this time mosey on over to the North side and climb the handholds here for a Boatman’s Coin . From here we can see the next room has another blue ball in the corner surrounded by yellow crystals. Ignore those for now and continue along the top of the portcullis and along the ledge here in the first room to grab the chest containing the Dungeon Map .
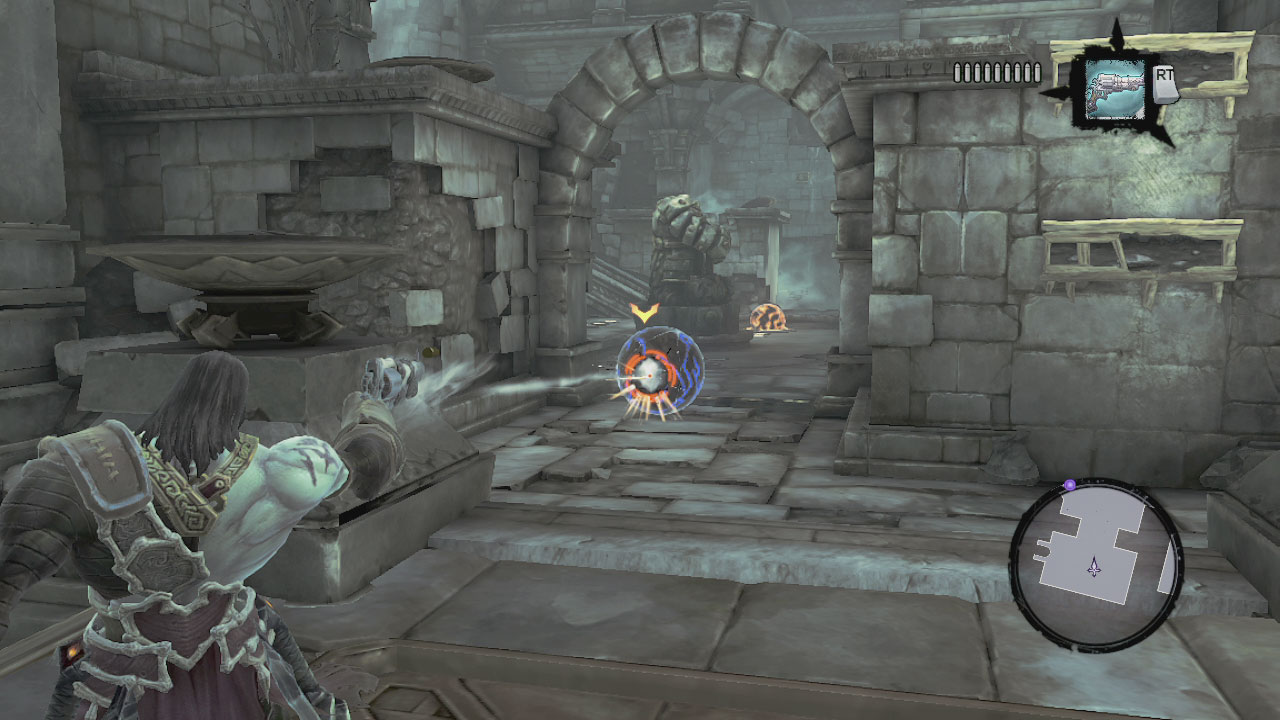
Return to the portcullis and drop down into the northern room. Check the South Eastern corner of this room to find an alcove containing a bomb plant. This bad boy is inert, so grab one and toss it down to the yellow crystals blocking the blue ball in the corner and shoot it with your pistol to detonate it.
Grab another bomb plant and drop down into the room, head to where the ball is and turn around – you should see another yellow crystal at the Eastern end of the room on a raised platform. Destroy this with the bomb plant/pistol combo.
Check out the area beneath the stone arches just to the East of the ball for a chest. Return to the ball and roll it over to the portcullis. Go and grab another bomb and stick it on the ball. Climb up to the raised platform in the centre of this room.
Here you will find a pressure plate that will lower the gate. Stand on the pressure plate and when the gate is down shoot the bomb to send the ball flying through to the Southern room. Roll it into the empty socket here to gain access to the door at the top of the stairs.
Continue through the hallway here and destroy the stingers nest at the end. Keep going through the door, kill the two prowlers here and then throw the switch (you should have destroyed the crystal using the bomb in the previous room – if not there is another bomb plant hidden in the corner). This will release water down that canal we passed not too long ago.
Jump down into the swift moving water and keep an eye on your map; you should see a treasure chest on the left after not too long. At this point jump to the left, Death should wall run up to a small ledge with the chest. Continue downstream until you can go no further and use the handholds to get out.
Exit through the door here to see that the main room has now been flooded. However, only one side has been activated – looks like we have to head into the Western side of the dungeon to get some water flowing from there too. From the balcony, drop down into the water. Find the tunnel down here and swim to the end to find another Boatman’s Coin.
Surface here and climb the walls. When you reach the highest handhold, wall run around to the left to find a small room with a chest, return back to the handhold and then cruise back to the right to climb the wall vine here and exit into the Western wing of the dungeon.
Move forward until a scene plays. You will now need to fend off a group of prowlers. Yay! Once you have killed a few of those, a stalker will show up. Once you have offed it, you will be able to access the door. Check out the debris in the corner to the left of the entrance to find a boatman’s Coin. Continue into the hallway here. You will come to a locked door on the left.
We will need to find a skeleton key to get in here. In front of this door is another lengthy hallway that runs alongside another canal system. Go down the first set of stairs and hop down into the empty canal, hop over the two drains here and into the room beyond.
You will find a hole in the wall here, cruise on through and kill the group of prowlers here. Open the chest for the skeleton key. Backtrack to where you dropped down from the canal and climb the wall using the handholds here. Head back to the locked door and use the skeleton key. Continue through the hallway here fighting off the stingers and prowlers as you go.
Enter the large room at the end. After a short scene, face the entrance and look to the right of the doorway. Remember those handholds as we’ll be using them to solve this room in a bit. In the meantime, let’s do a bit of looting first. Head to the North side of the room and enter the hole in the wall in the most North Western corner for a chest.
Exit and look to the left. Using a combination of the handholds and blocks that are conveniently placed here and a good bit of old fashioned wallrunning, we should be able to make our way around the room to the right and onto the balcony above the entrance. Here we will find a chest. Drop back down to the entrance to the room.
From the entrance, climb up the handholds to the right, cruise around the balcony and grab the bomb plant here. Use this on the yellow crystal below and shoot it to destroy the obstruction. Drop down and on the way down the ramp to the ball, check out the room on the left for a chest.
At the bottom; grab the ball and hit the trigger button to give it a good shove up the ramp and into the room. Put the ball into the socket and the wall in front will lower down. Climb back up and grab another bomb, return to stand on the lowered section of wall and throw the bomb at the blue ball. Shoot it to knock the ball out of the socket and ride the platform up to the doorway.
Enter the door way and traverse the hallway here destroying the stinger nest and pair of prowlers at the far end. When the coast is clear, feel free to head on through the door. Climb the stairs on the left and shoot the bomb with the crystals to destroy them. Pull the lever nearby to activate the waterworks. Jump into the canal and follow it down until the water stops.
Rather than going through to the main room, it’s going sideways into the room we picked up the skeleton key in. Follow the water to the left and rather than diving straight away, look behind the block on the platform straight ahead for a Book of the Dead Page.
Jump into the main pool, dive down and return to the skeleton key room. Thanks to the water level, we should now be able to reach the handholds to the right of the chest. Follow the handholds to the top and pull the lever here to put the stream on the right course and unlock the door to the main room.
Before doing anything else, do a quick 180 degree turn and look behind you to see a Boatman’s Coin floating above the room that held the skeleton key. Jump and grab that and then make your way back to the newly opened door for another scene.
Upon exiting the door, turn left and walk towards the back of the statue until you see the handhold below you. Drop down to the platform below this to find a Boatman’s Coin . Climb back up to the main floor and head through the door opposite the statue. Jump into the water here, paddle across and climb up. See the big circular room beyond? That can mean only one thing… Its boss time!
Upon entering the boss chamber, grab the ball here and use the trigger to send it hurtling into the green lump in the middle of the room, which just so happens to be the big baddie!
$$$item 1462
As a reward you will be granted a new weapon – Masher of Karkinos .
After killing him, the gate behind will open, cruise on through and pull the lever here. Congratulations, you have completed the Drenchfort! Fast travel back to Tri-Stone and tell Alya the good news.
You will also recieve a new item – the Maker’s key and a new objective. Whilst you are here, talk to Alya for a new side-quest - The Hammer’s Forge and ask about activating the construct and the side-quest Silent Stone will be updated.



 Sign up
No Comments