

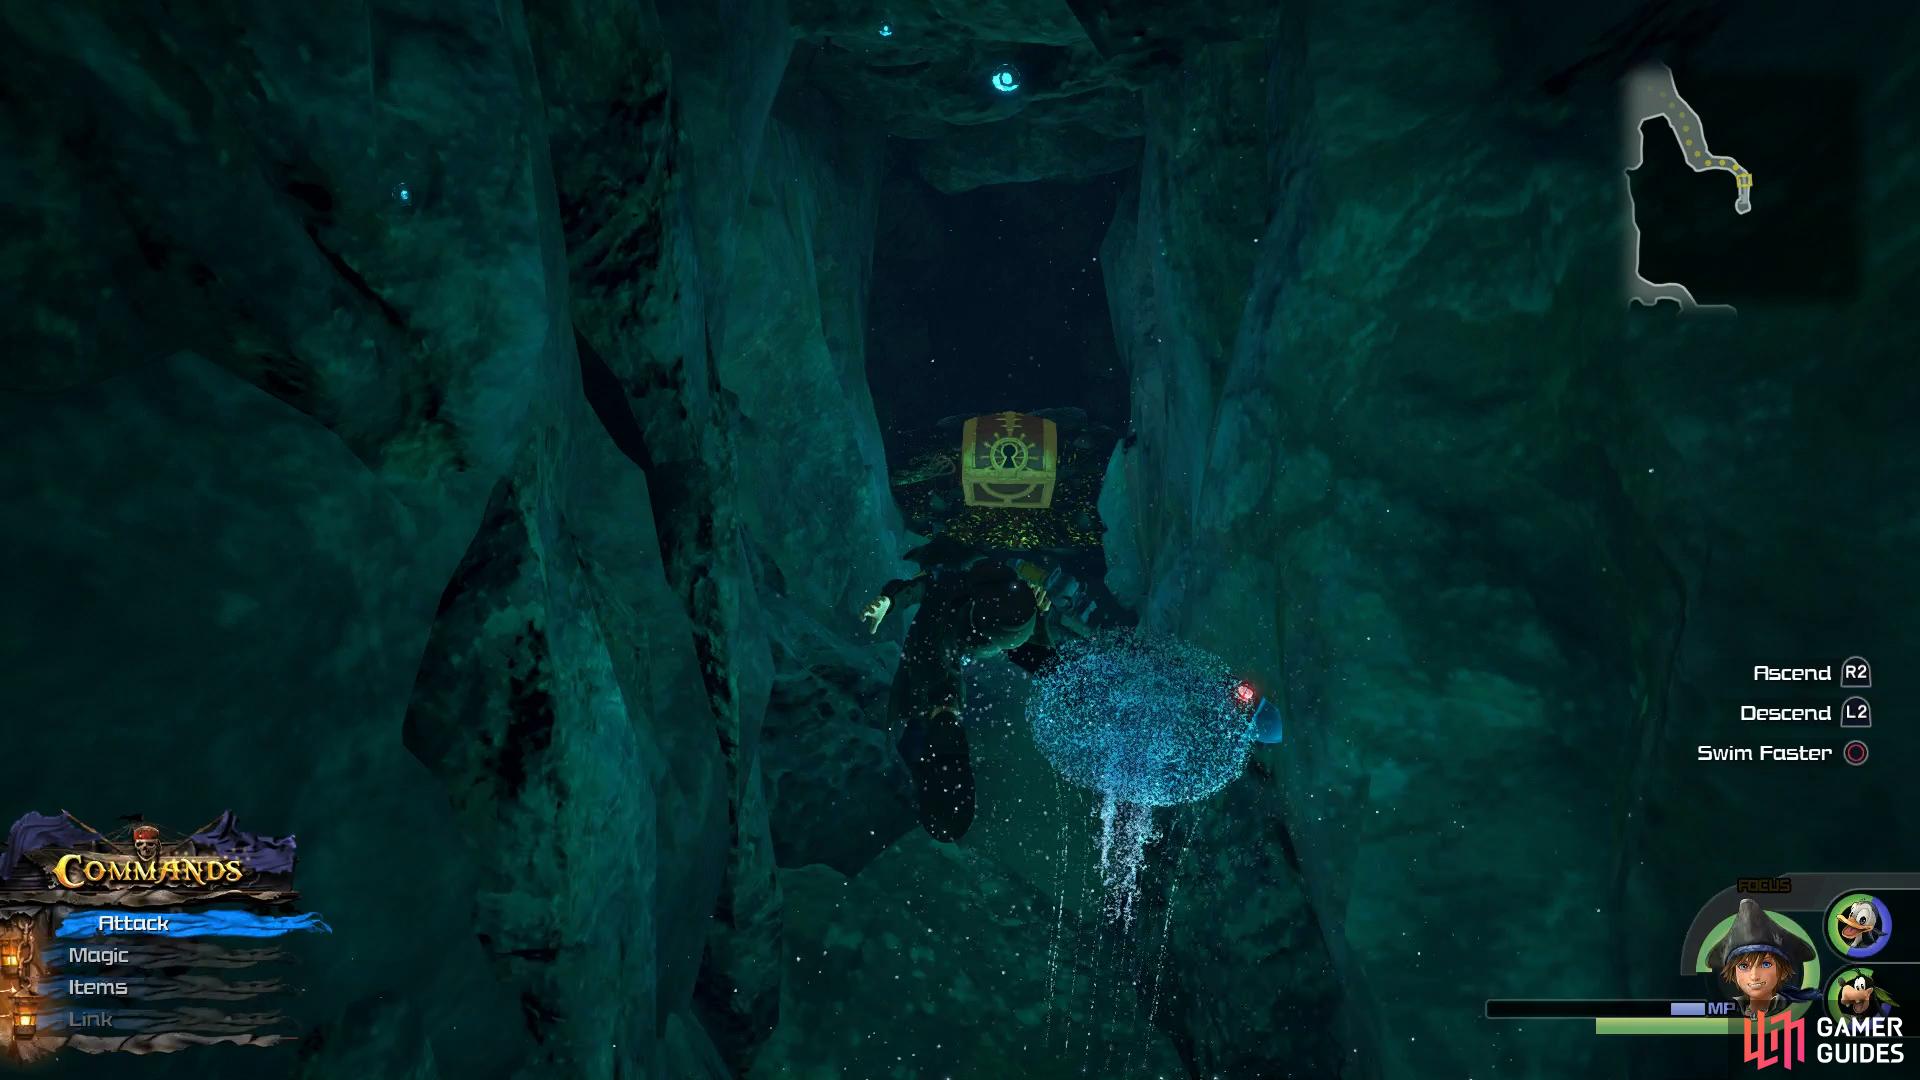
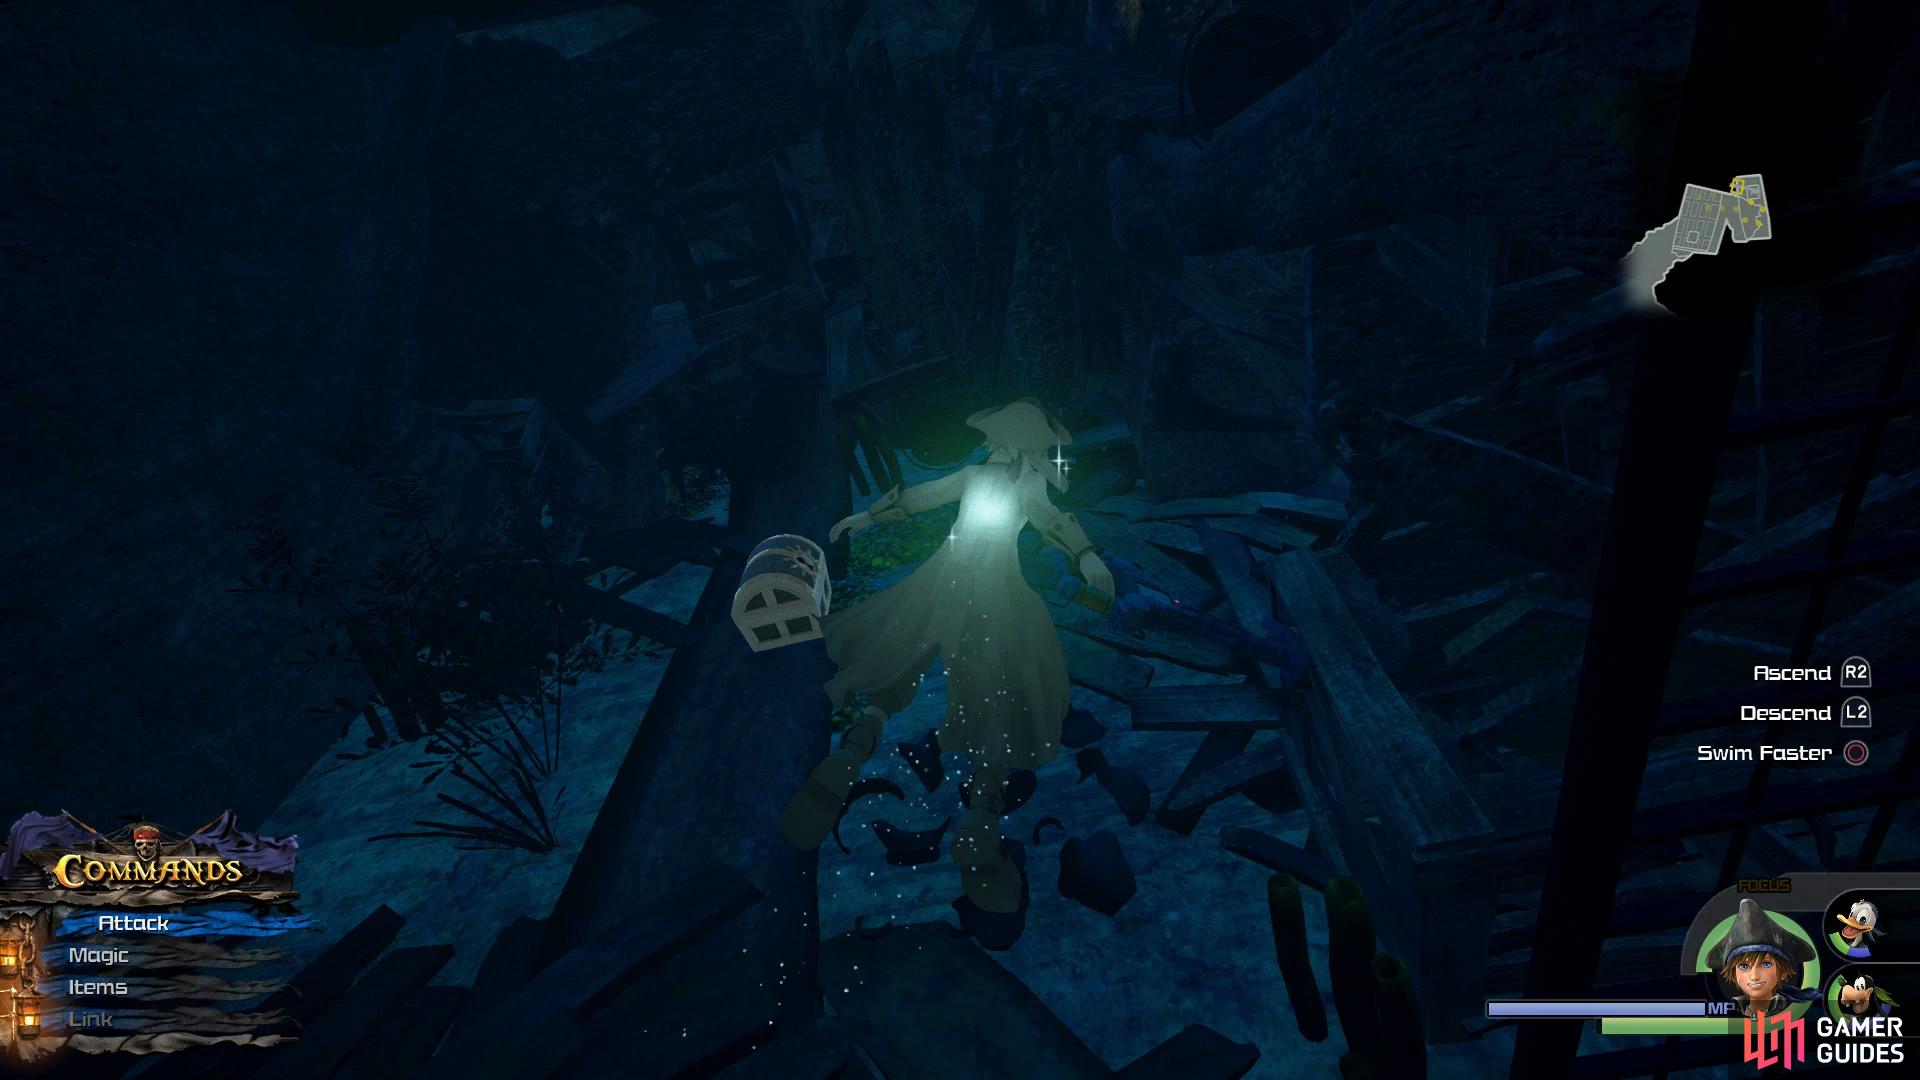
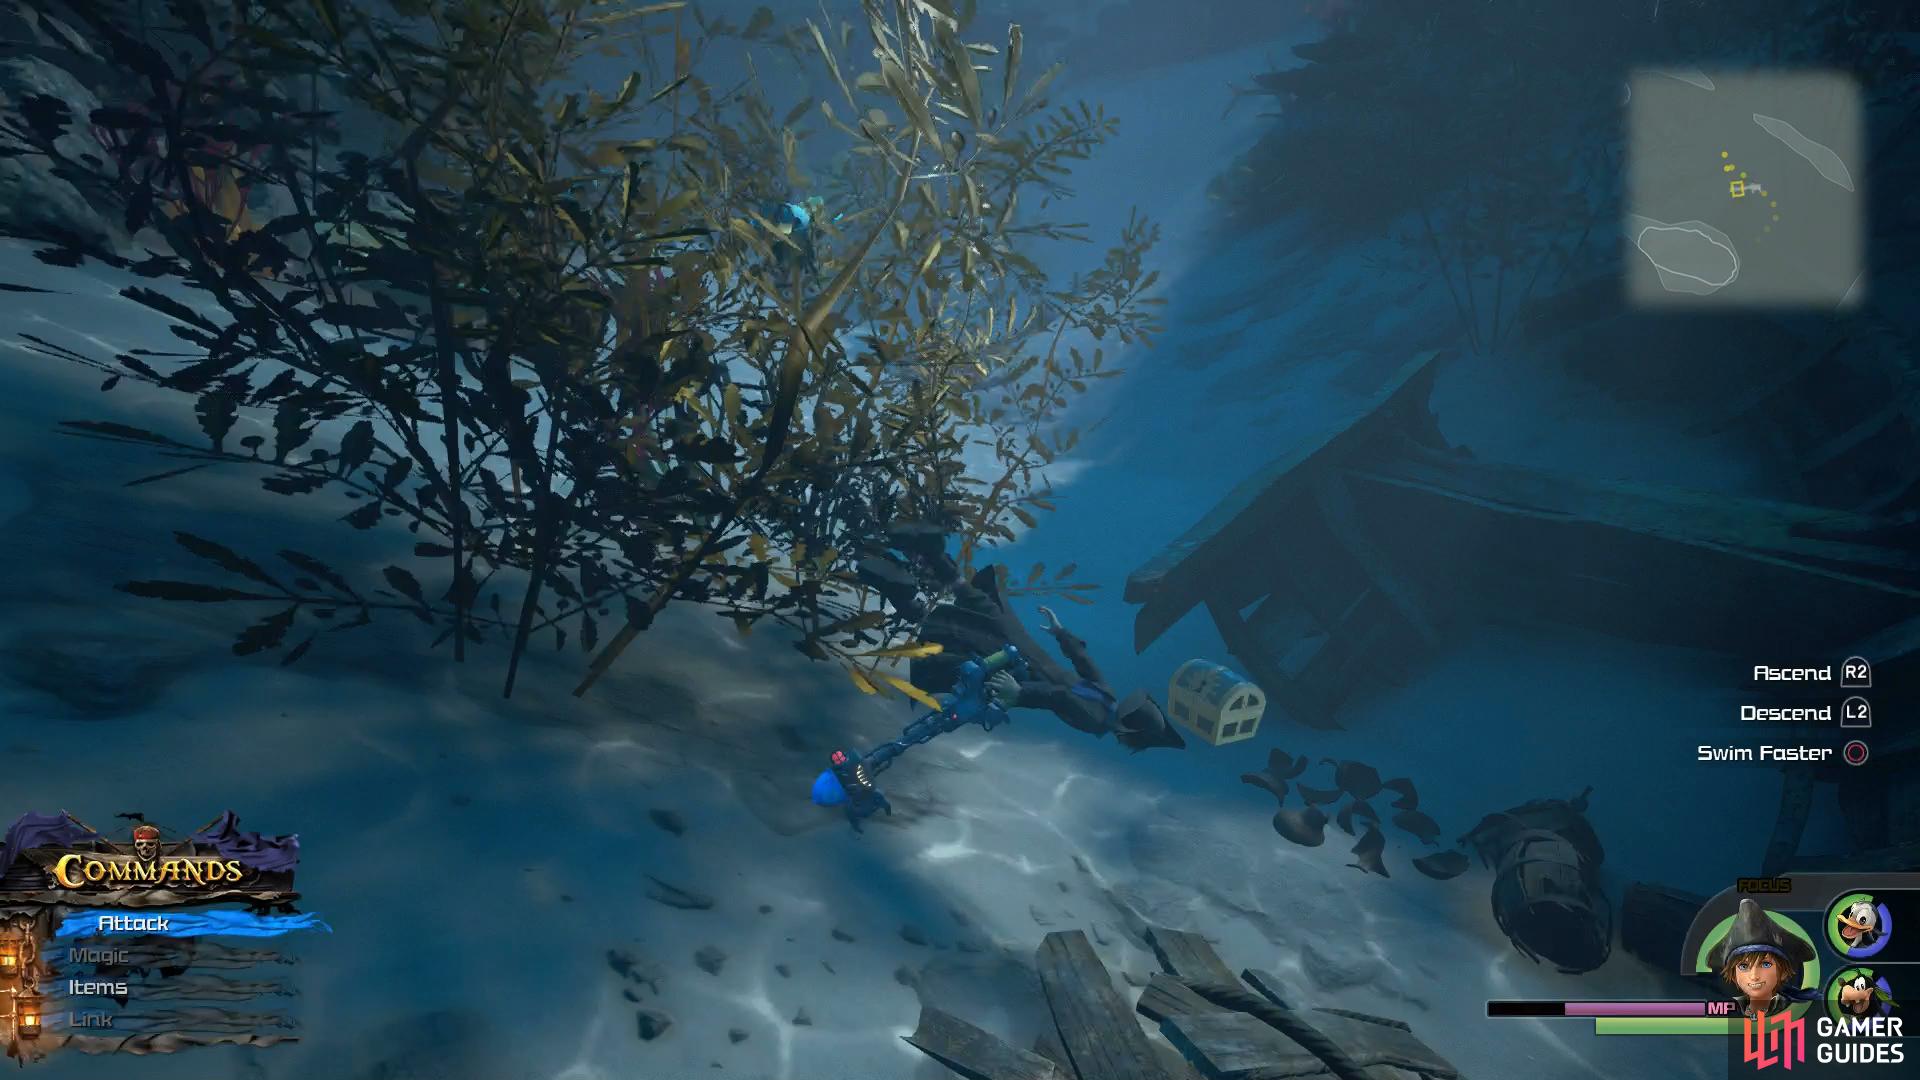
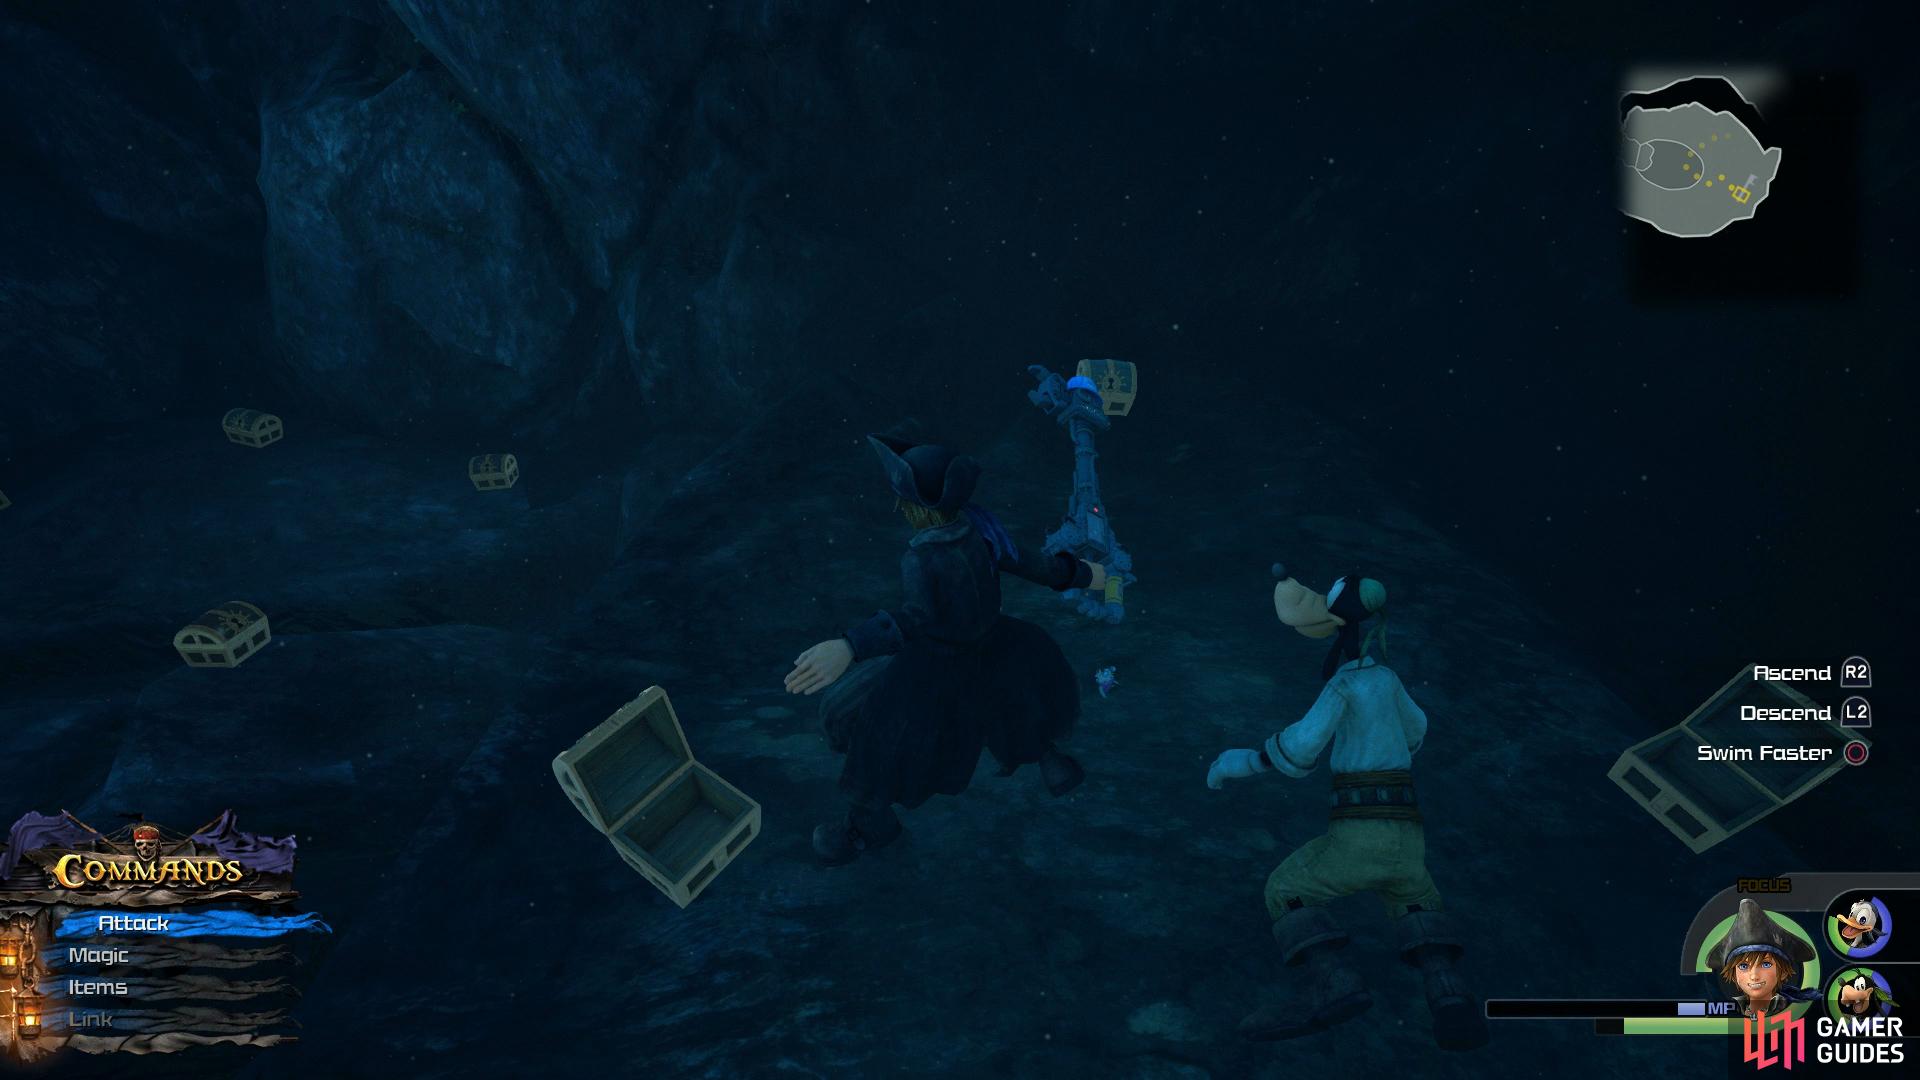
Treasure #1, #21 and #22 - Master’s Ring, Panacea, Mega-Potion
Swim into the Shipwreck at the Huddled Isles to find these chests.
Head to the Huddled Isles Save Point and dive into the water there. Once you swim into a large open area, look around for a shipwreck, search inside this to find three chests.
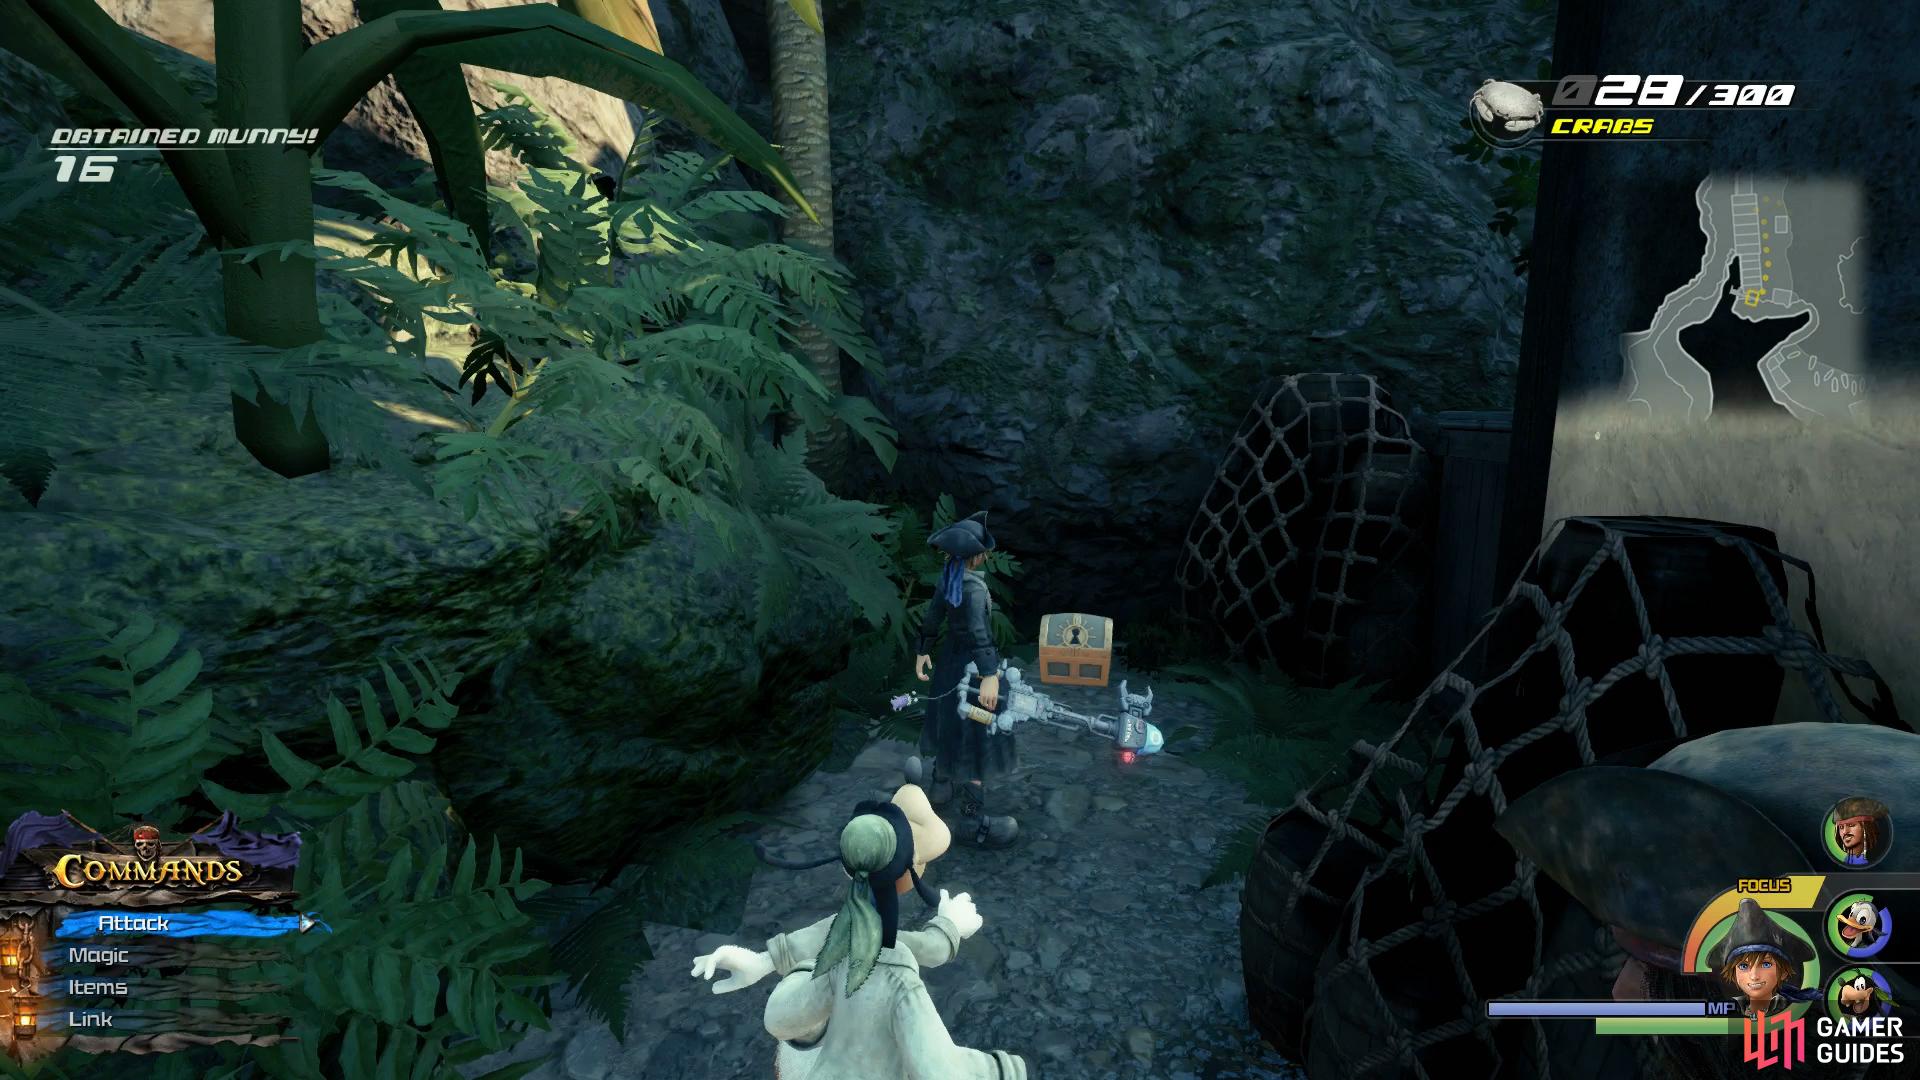
Treasure #2 - Adamantite
Break the boxes on your right to find this chest.
Once you enter the Undersea Cavern in the Huddled Isles, follow the path and break the first collection of boxes on your right, the chest sits behind these.
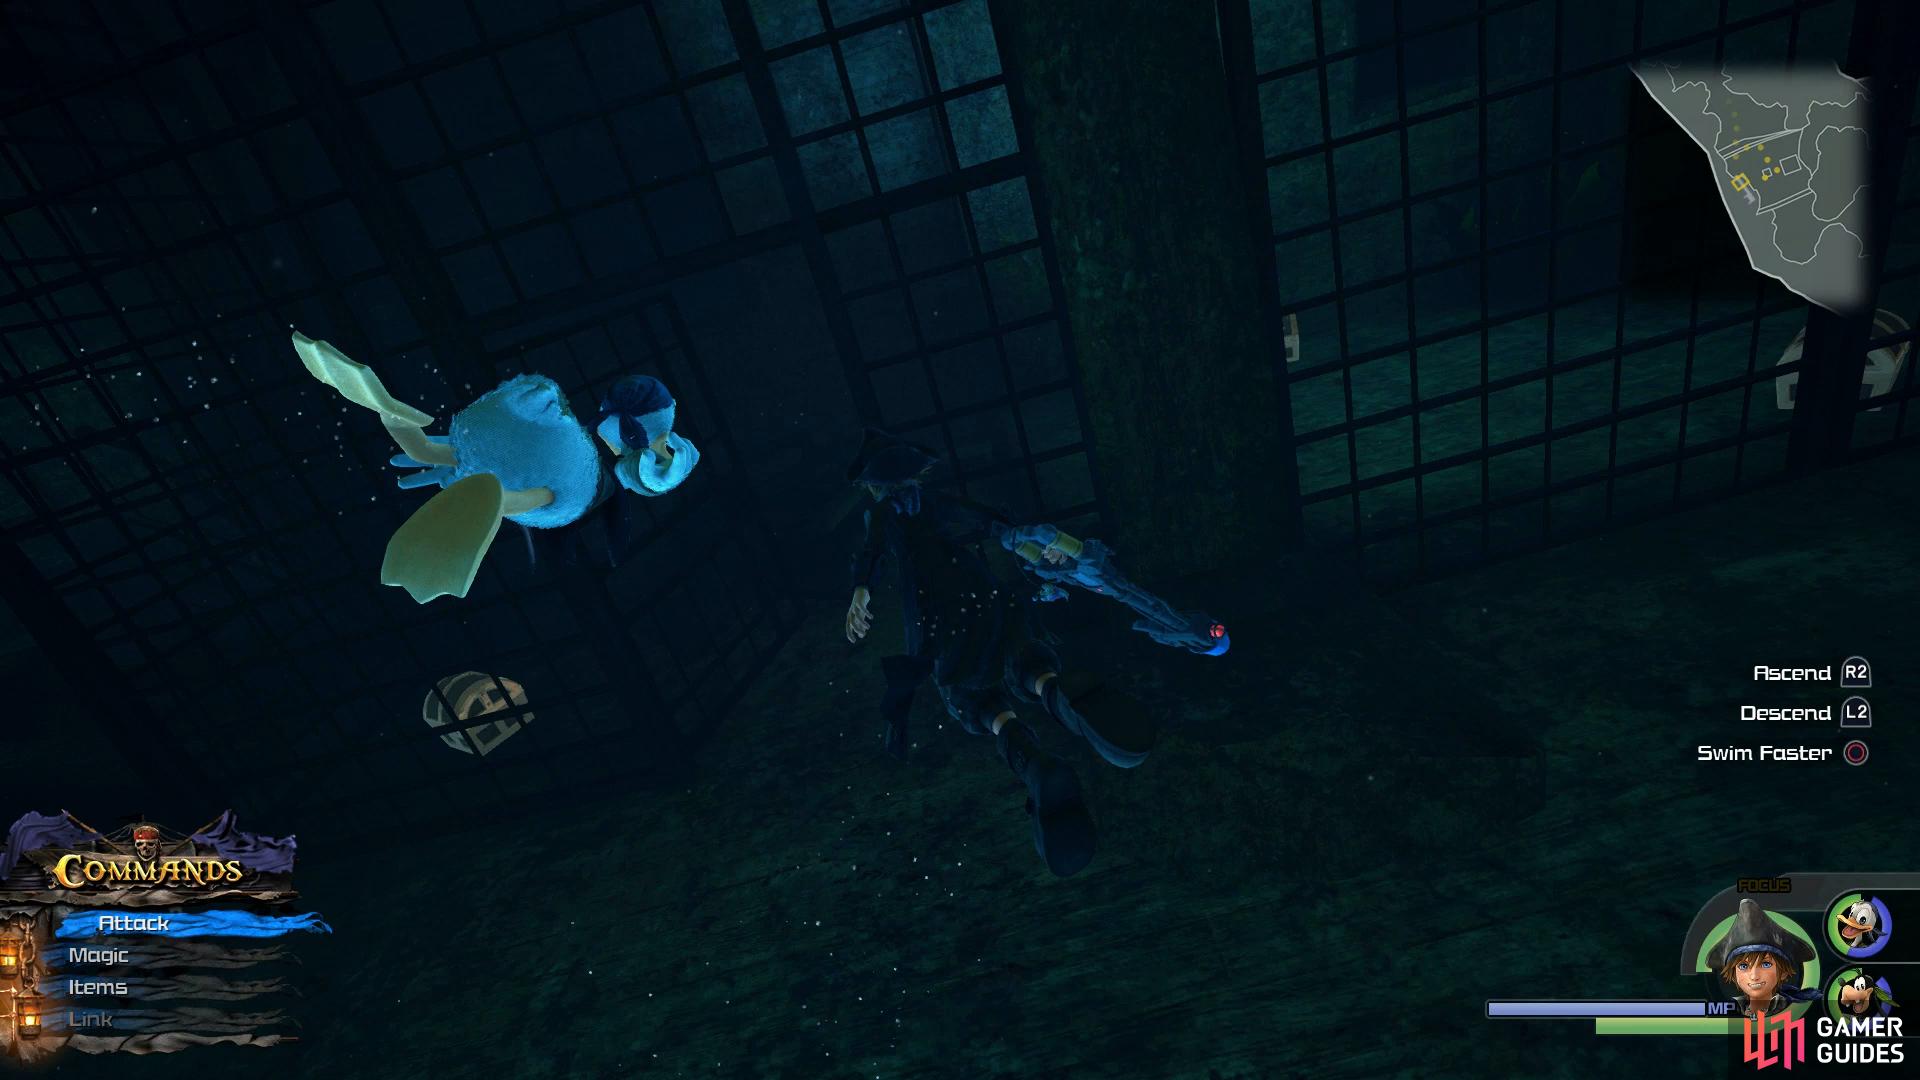
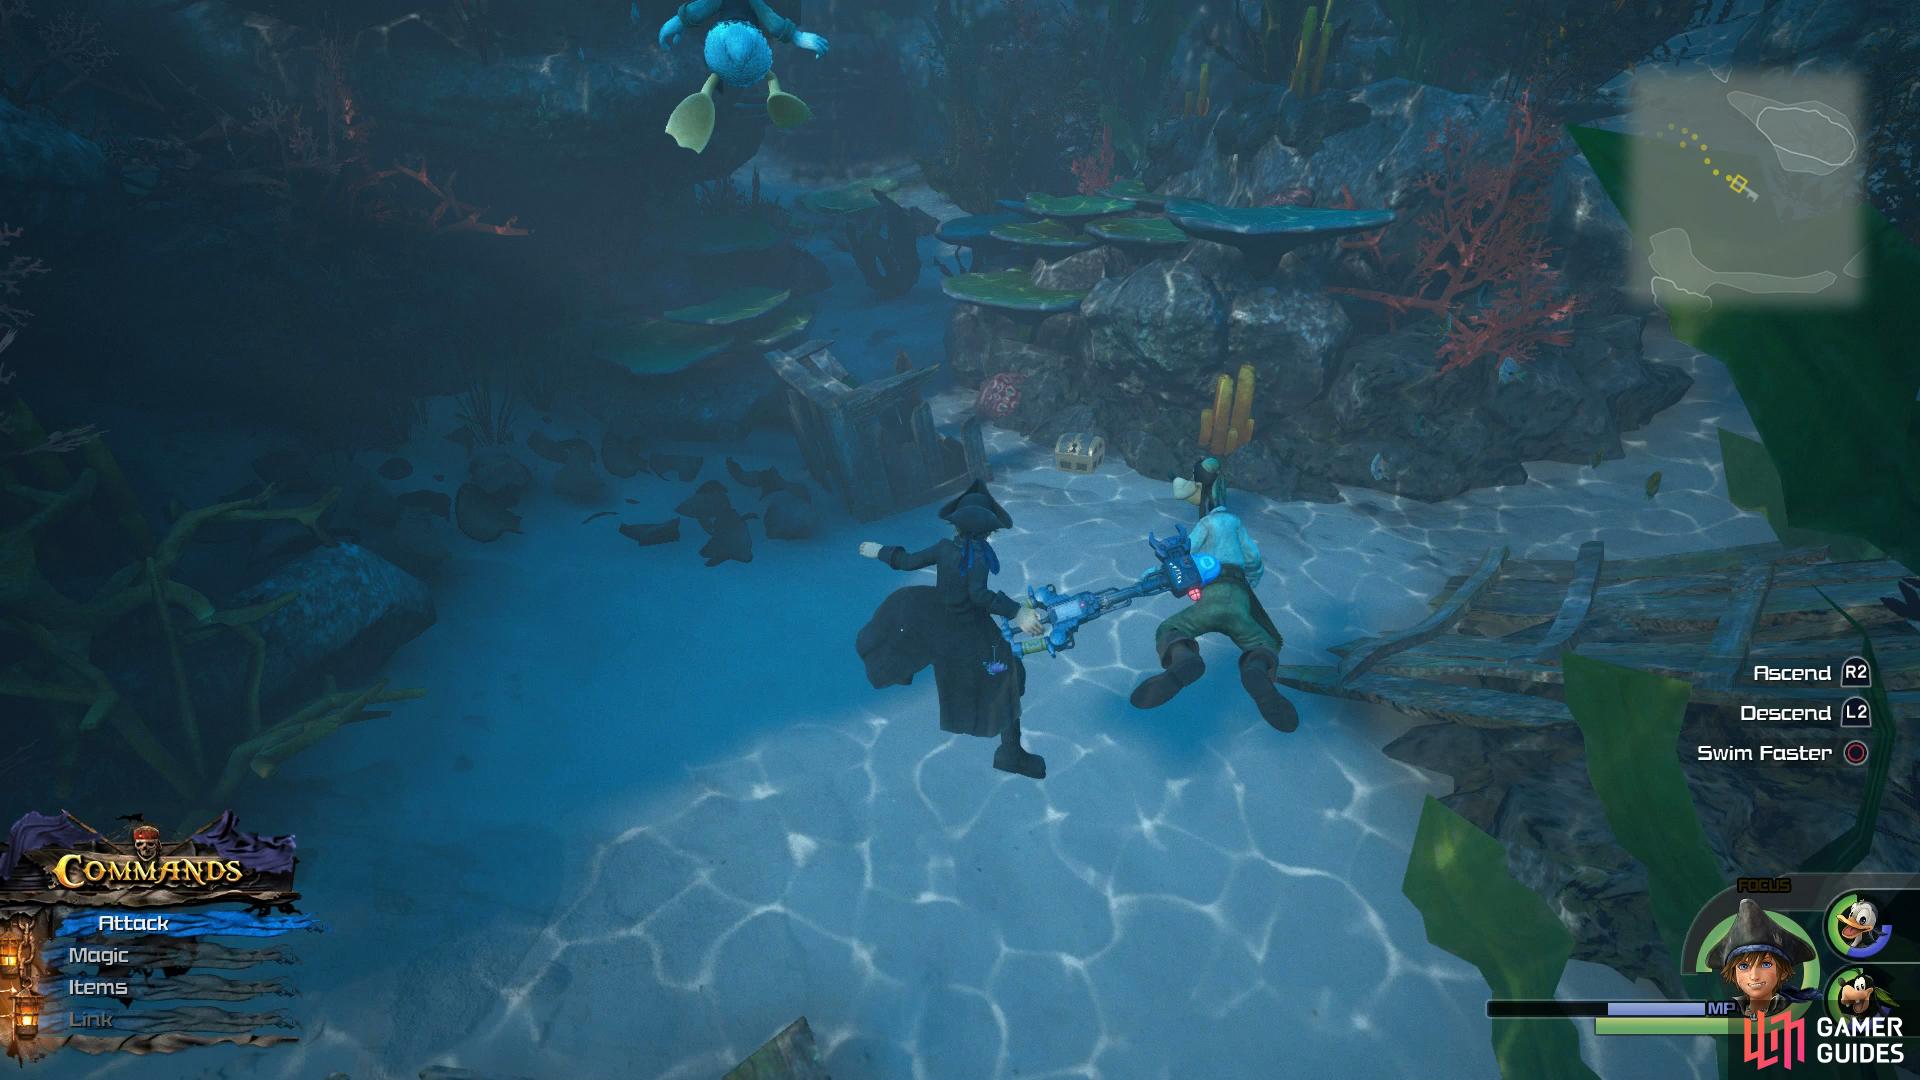
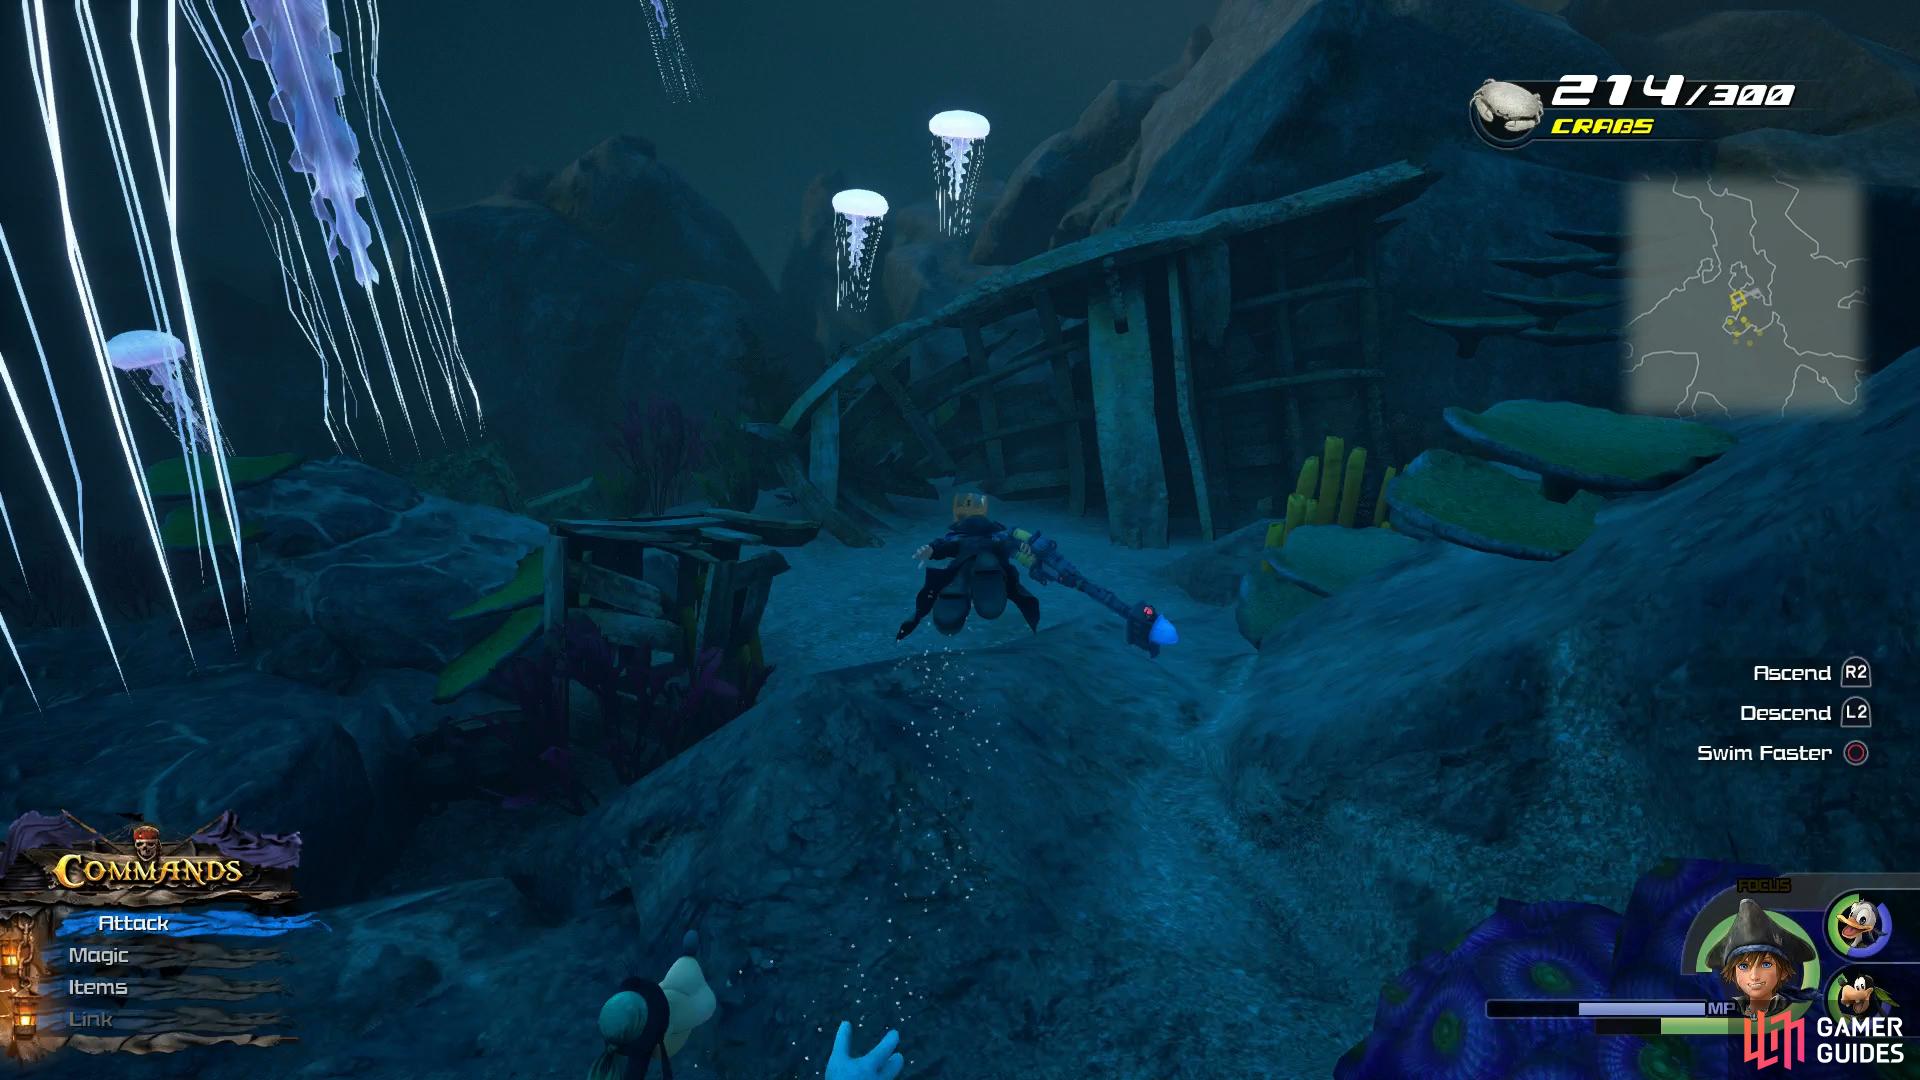
Treasure #3 - Orichalcum
Take a left at the intersection to find this chest.
Once you enter the Undersea Cavern in the Huddled Isles, follow the path and take the first left down a path full of Jellyfish. Use Thunder to strike these from distance and open the chest at the end of the path.
Treasure #4 - Classic Kingdom: Fishin’ Frenzy
Continue north at the second intersection.
From the previous chest, continue down the path to the next intersection and go north, this chest sits at the end of the path.
Treasure #5, #23 and #24 - Damascus, Insulator Rosette, Adamantite

Head up the walls and into another pool of water to find these chests.
Head to the Isla de los Mástiles and run up the two walls before following the path to another pool of water. Drop into this and swim to the bottom to find these three chests.
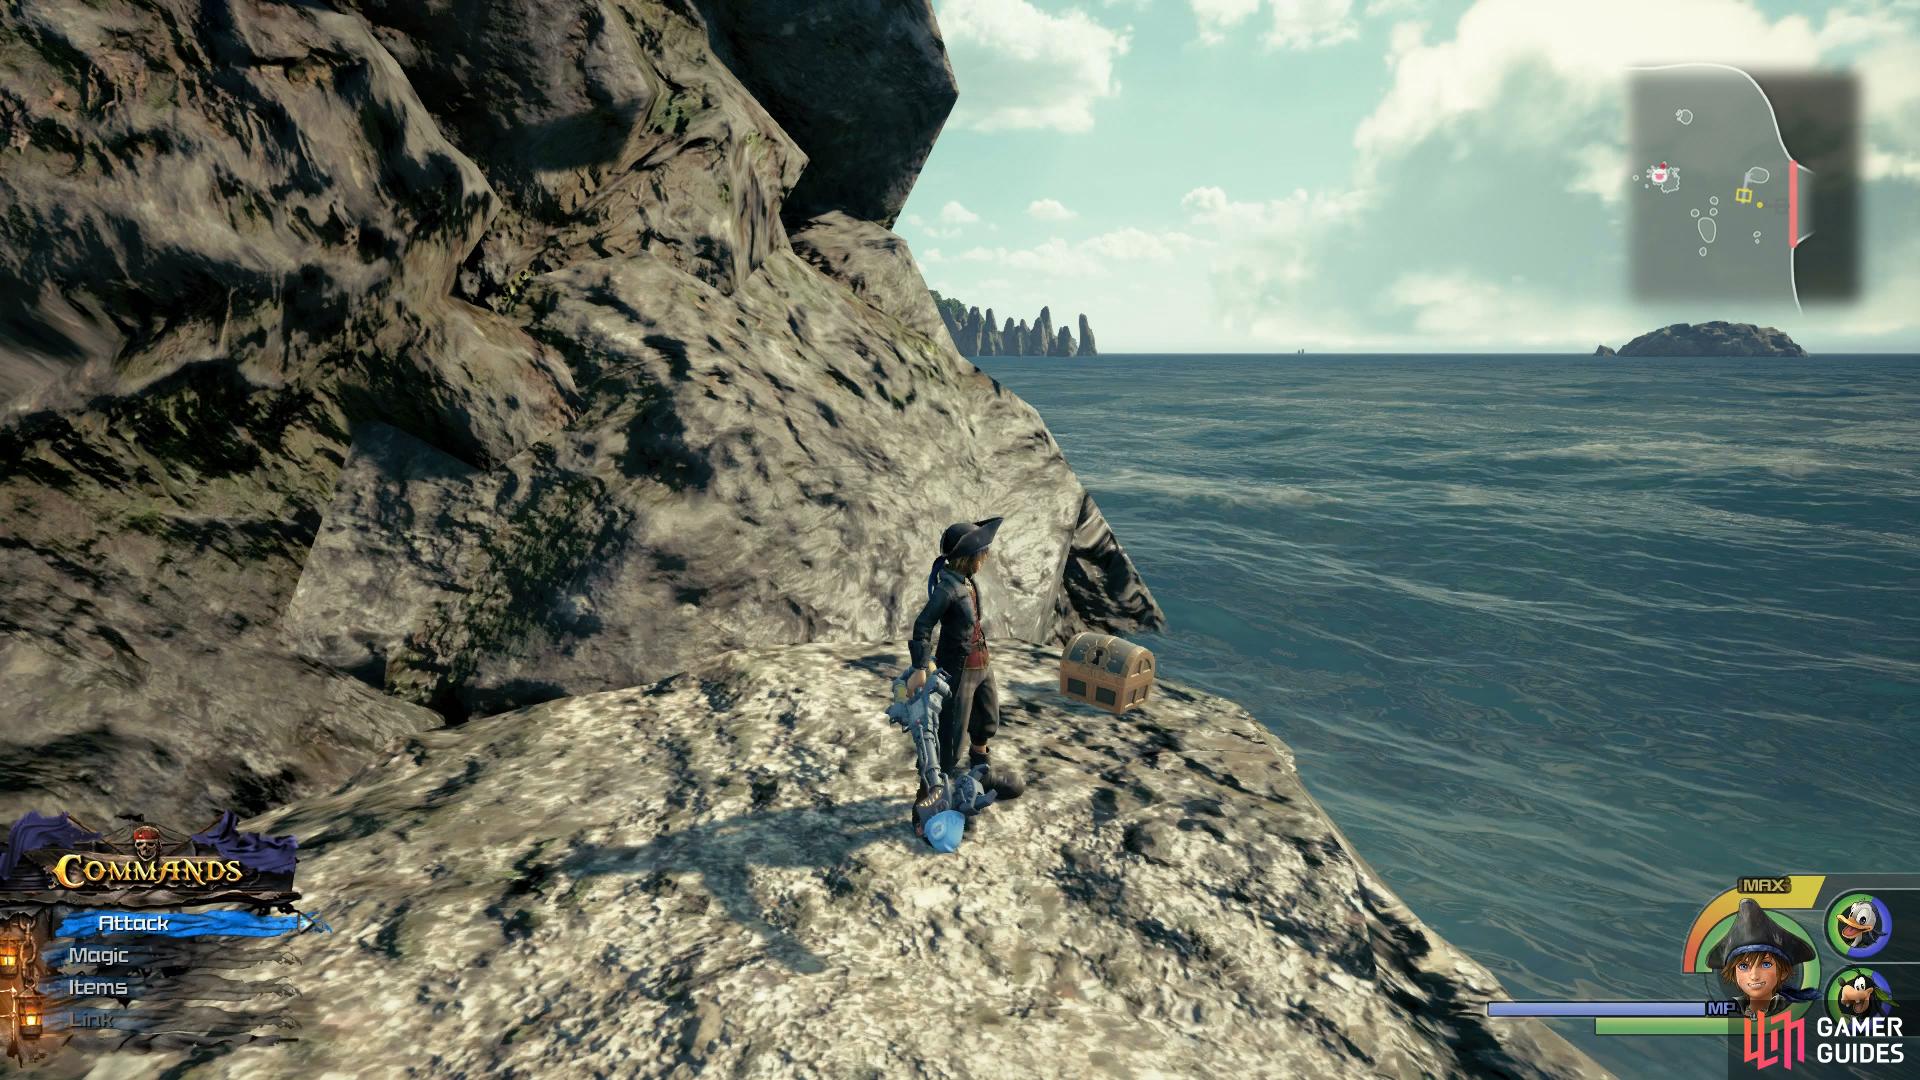
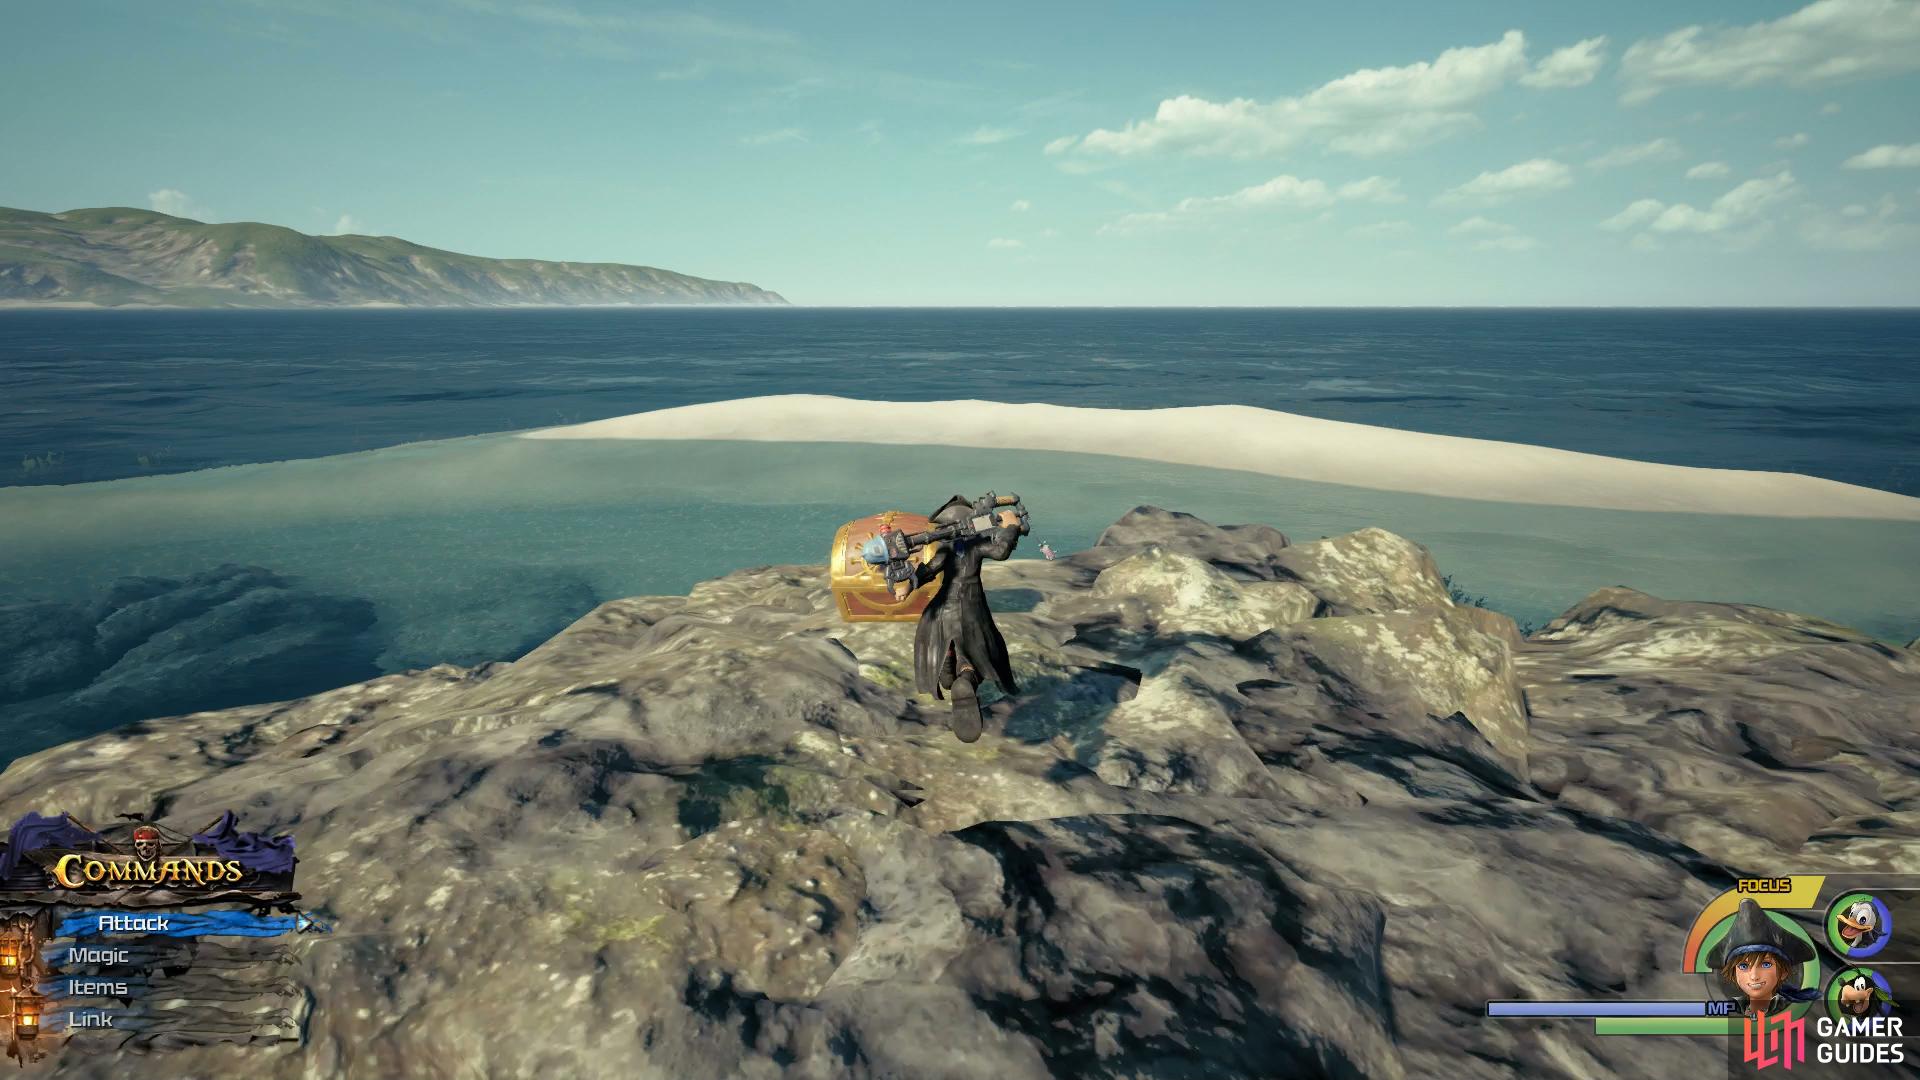
Treasure #6 - Silver Necklace

Smash this large crate to reveal the chest.
Head to the Isla de los Mástiles and run up the two walls before looking over the cliff to spot a large crate. Leap off the cliff and destroy the crate to reveal the chest.
Treasure #7 - Cosmic Arts
Swim through the cavern to reach this shipwreck.
Head to Ship’s End and dive into the water where you can see the tail end of a ship. Follow the wall to your right and swim through the cavern to reach another shipwreck with this chest.
Treasure #8 - Mega-Ether
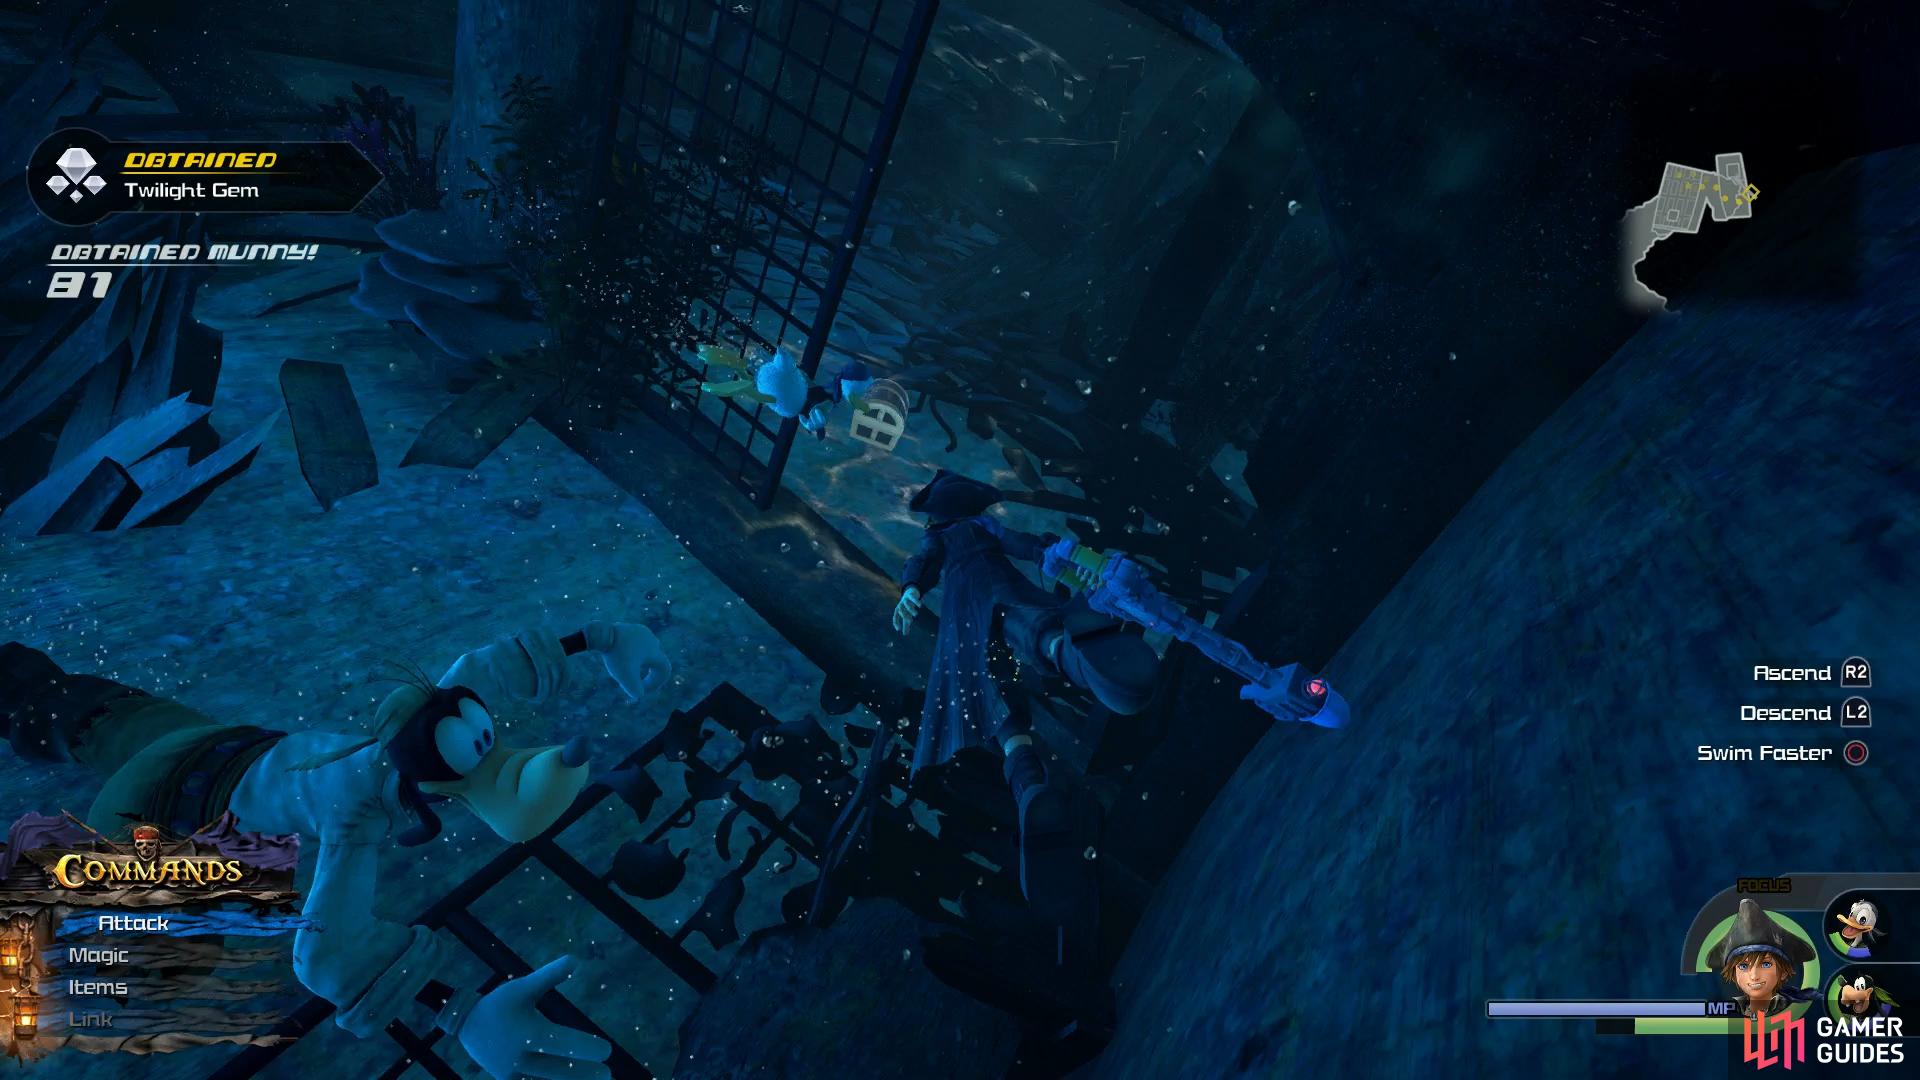
Swim through the cavern to reach this shipwreck.
Head to Ship’s End and dive into the water where you can see the tail end of a ship. Follow the wall to your right and swim through the cavern to reach another shipwreck with this chest.
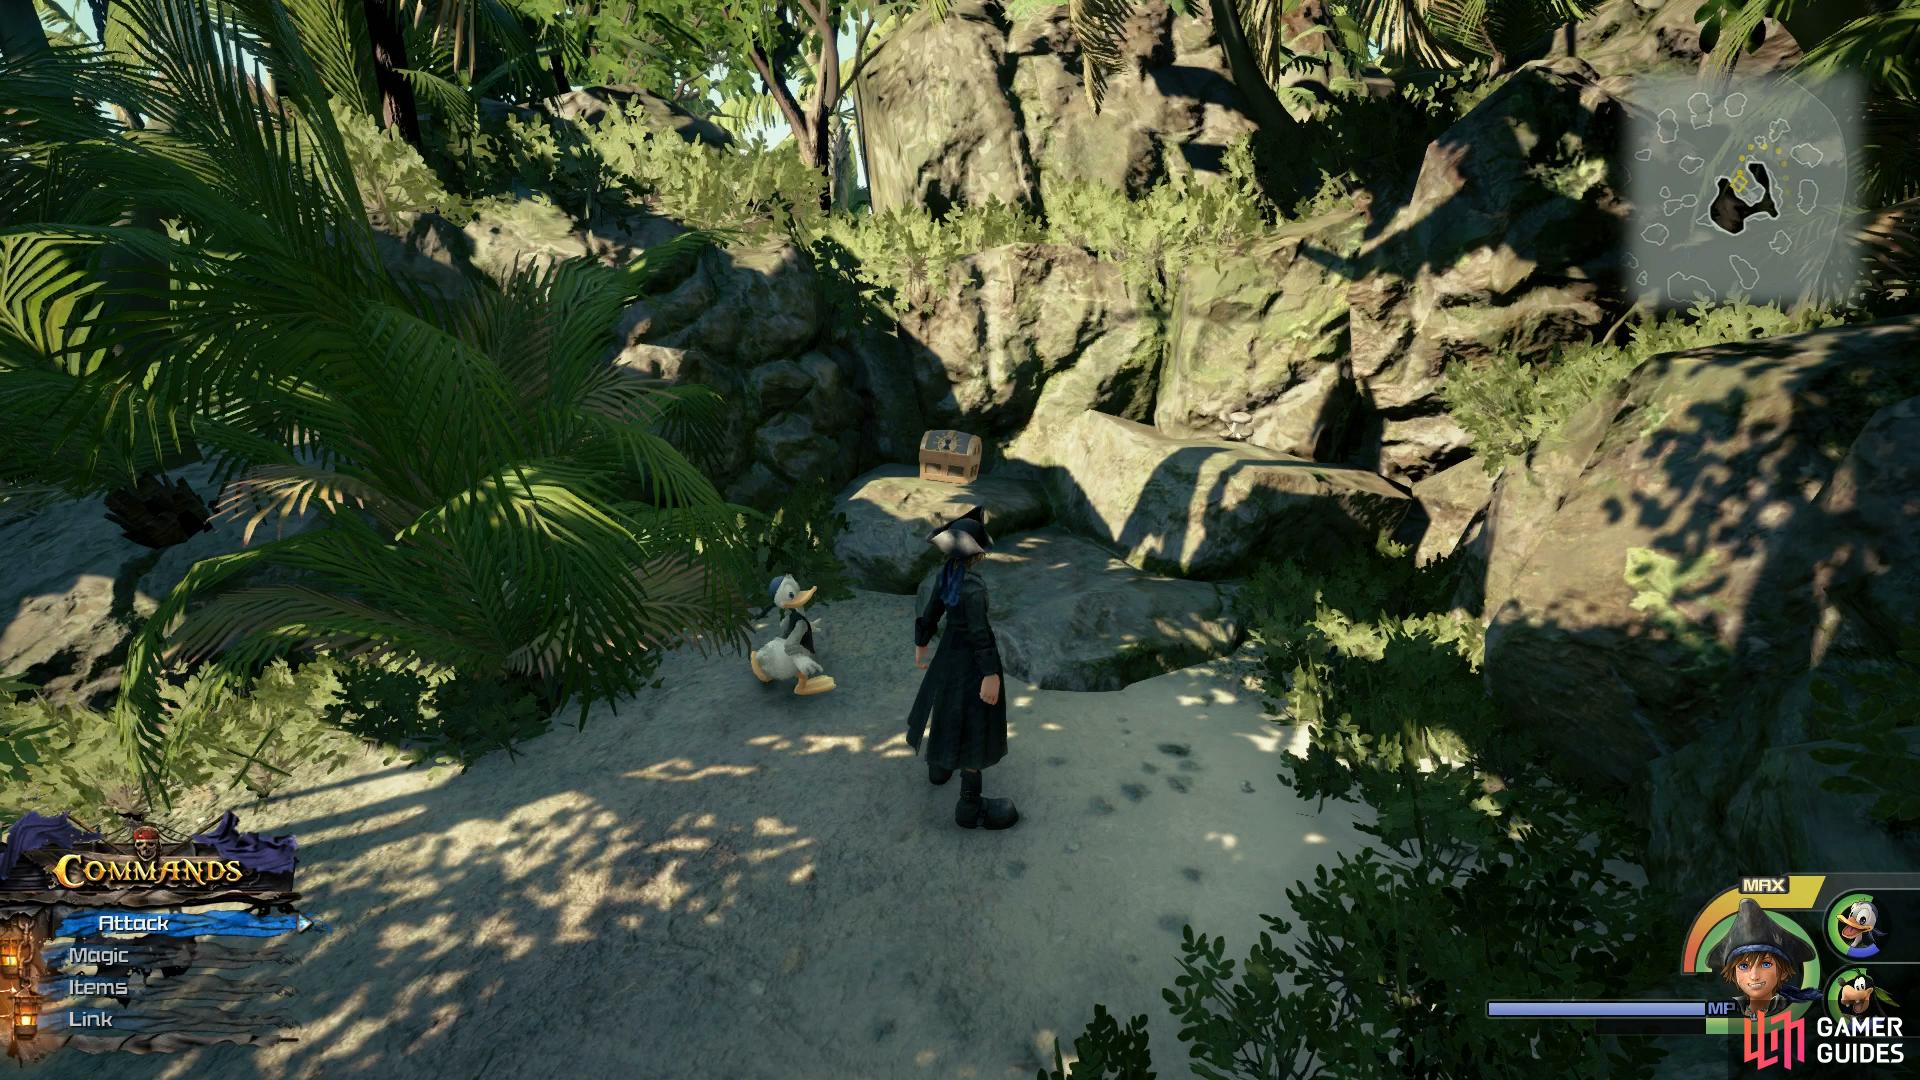
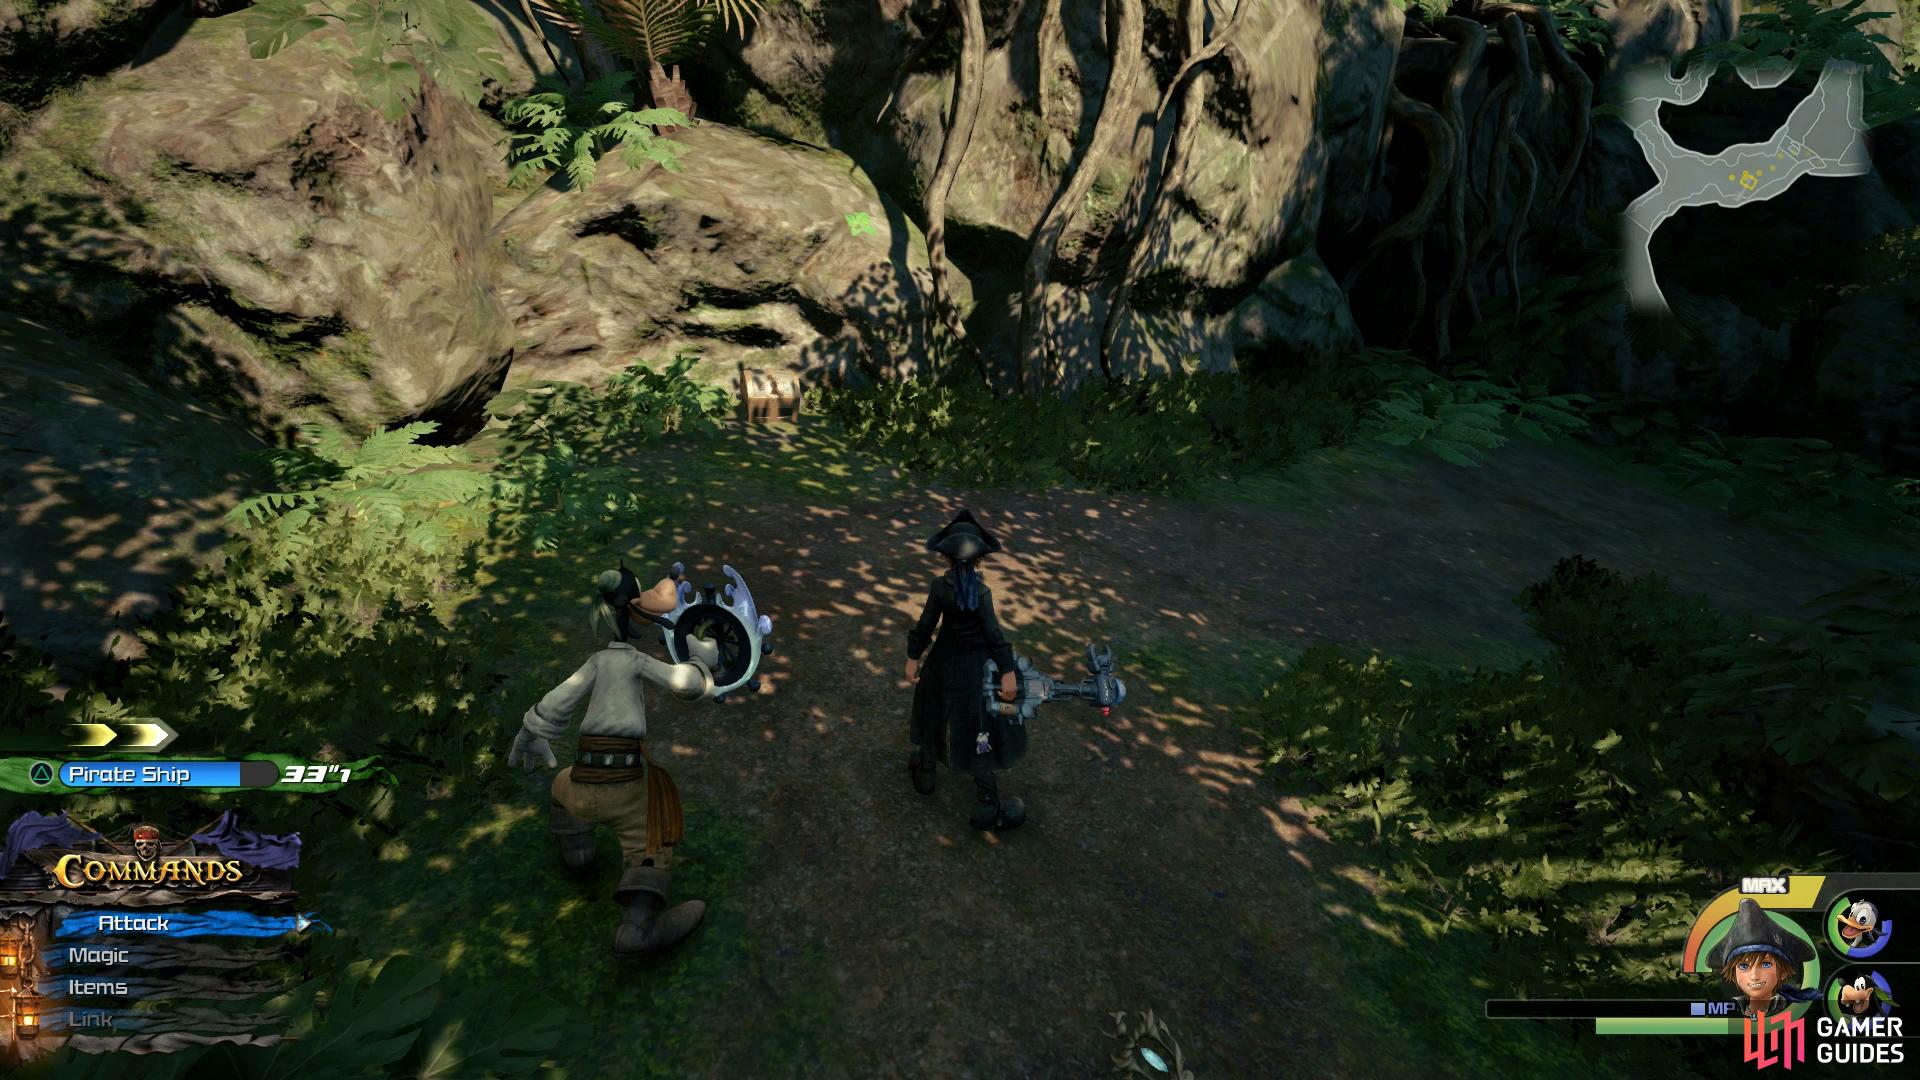
Treasure #9 - Electrum
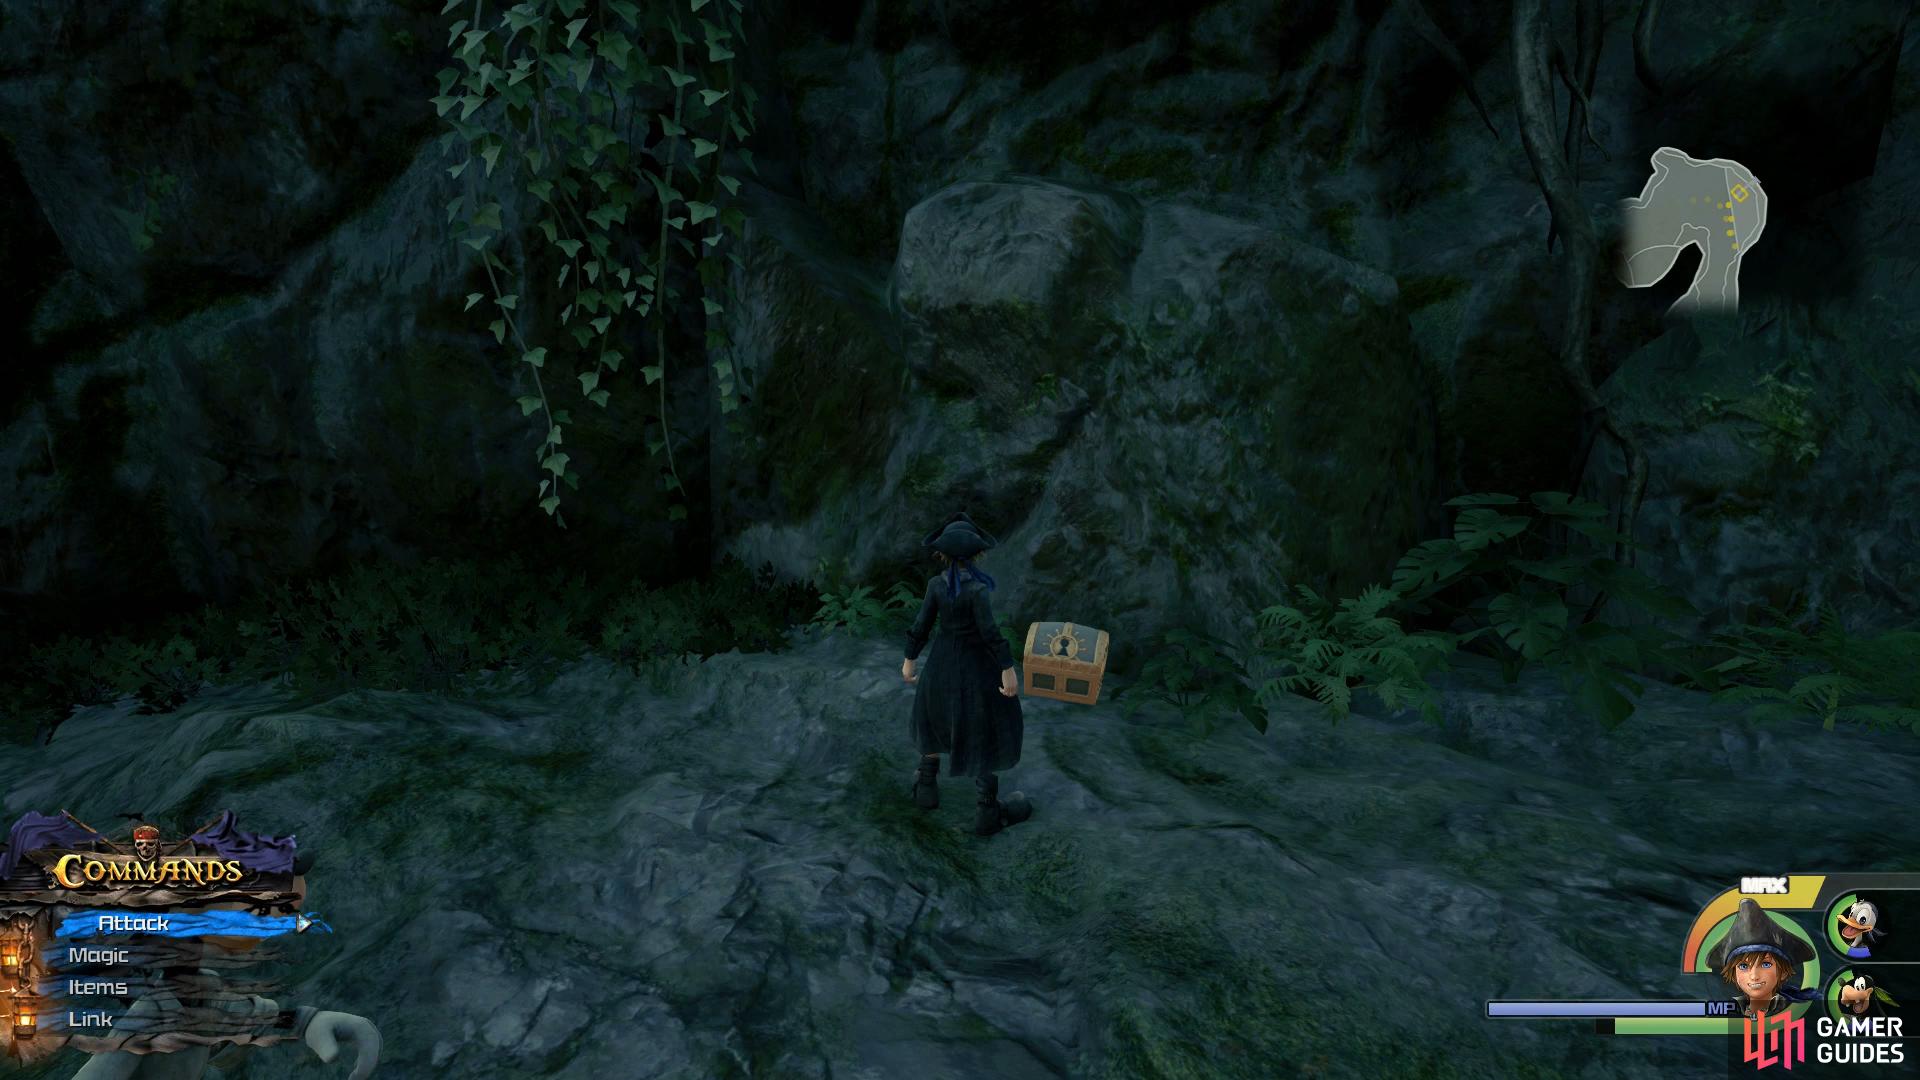
Run up the eastern wall to reach this chest.
Head to Isla Verdemontaña and make your way into the forest. After defeating the Heartless, run up the far eastern wall to find this chest.
Treasure #10 - Classic Kingdom: Cast Out to Sea
Smash the crate to reveal this chest.
Head to Isla Verdemontaña and make your way through the forest and up the large wall. In the next open area you’ll reach an intersection, head right to the cliff’s edge and leap off to break the crate housing the chest.
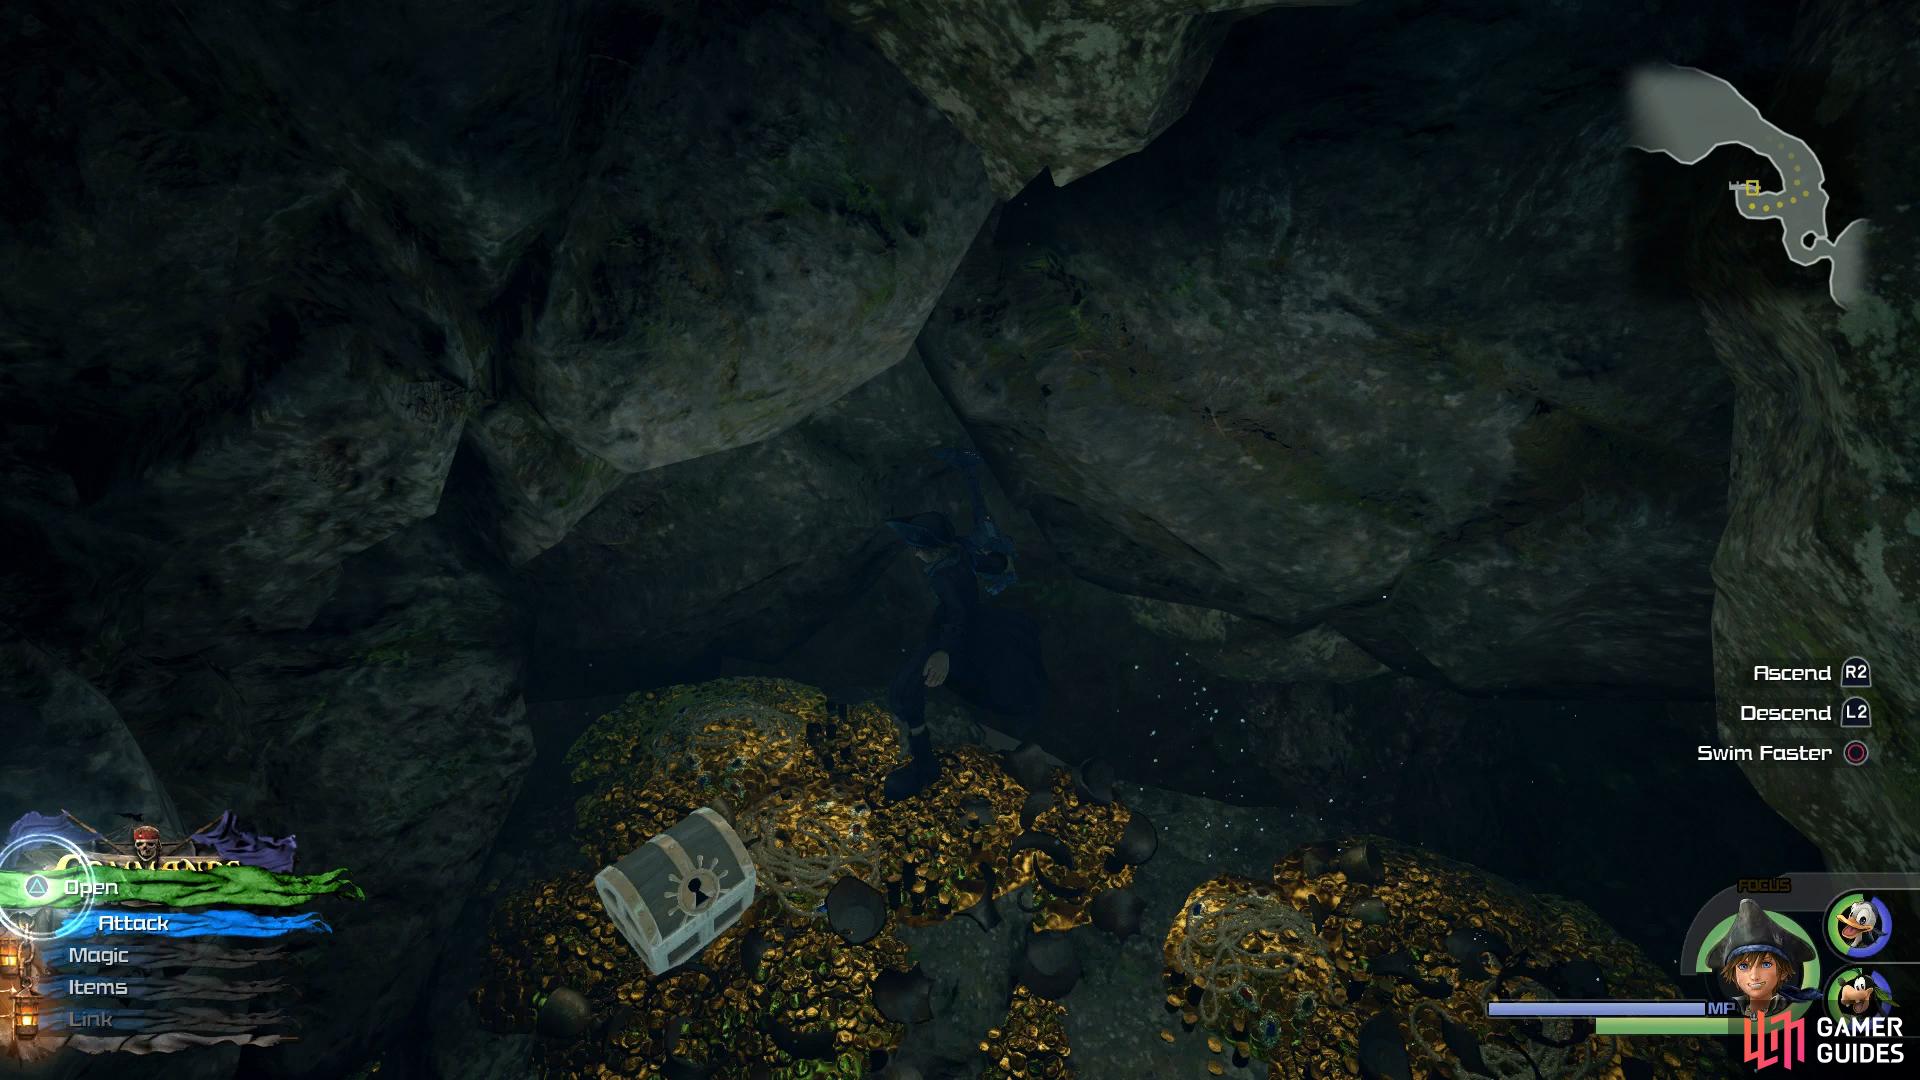
Treasure #11 - Electrum

Swim down into the pool of water at the back to find this chest.
Head to Sandbar Isle and make your way to the three trees at the back. Climb the rocks and make your way over to the island at the back where you’ll find a cavern to drop into. Dive into the water here to find this chest on one of the moss covered rocks.
Treasure #12 - Orichalcum+
Head into the center of the island to find this chest.
Make your way to Exile Island and defeat all of the Heartless before searching the center of the island for the chest.
Treasure #13 - Classic Kingdom: Beach Party
Be ready for an ambush that follows the opening of this chest.
Head to Confinement Island and swim in from the north to reach this beach. You’ll find the chest in the center but beware, upon opening the chest, you’ll be ambushed by a large group of Heartless.
Treasure #14 - Yin-Yang Cufflink
The chest sits on the only accessible part of land.
Head to the Gateway of Regret near Port Royal and you’ll find a small part of land you can climb on to, the chest awaits you there.
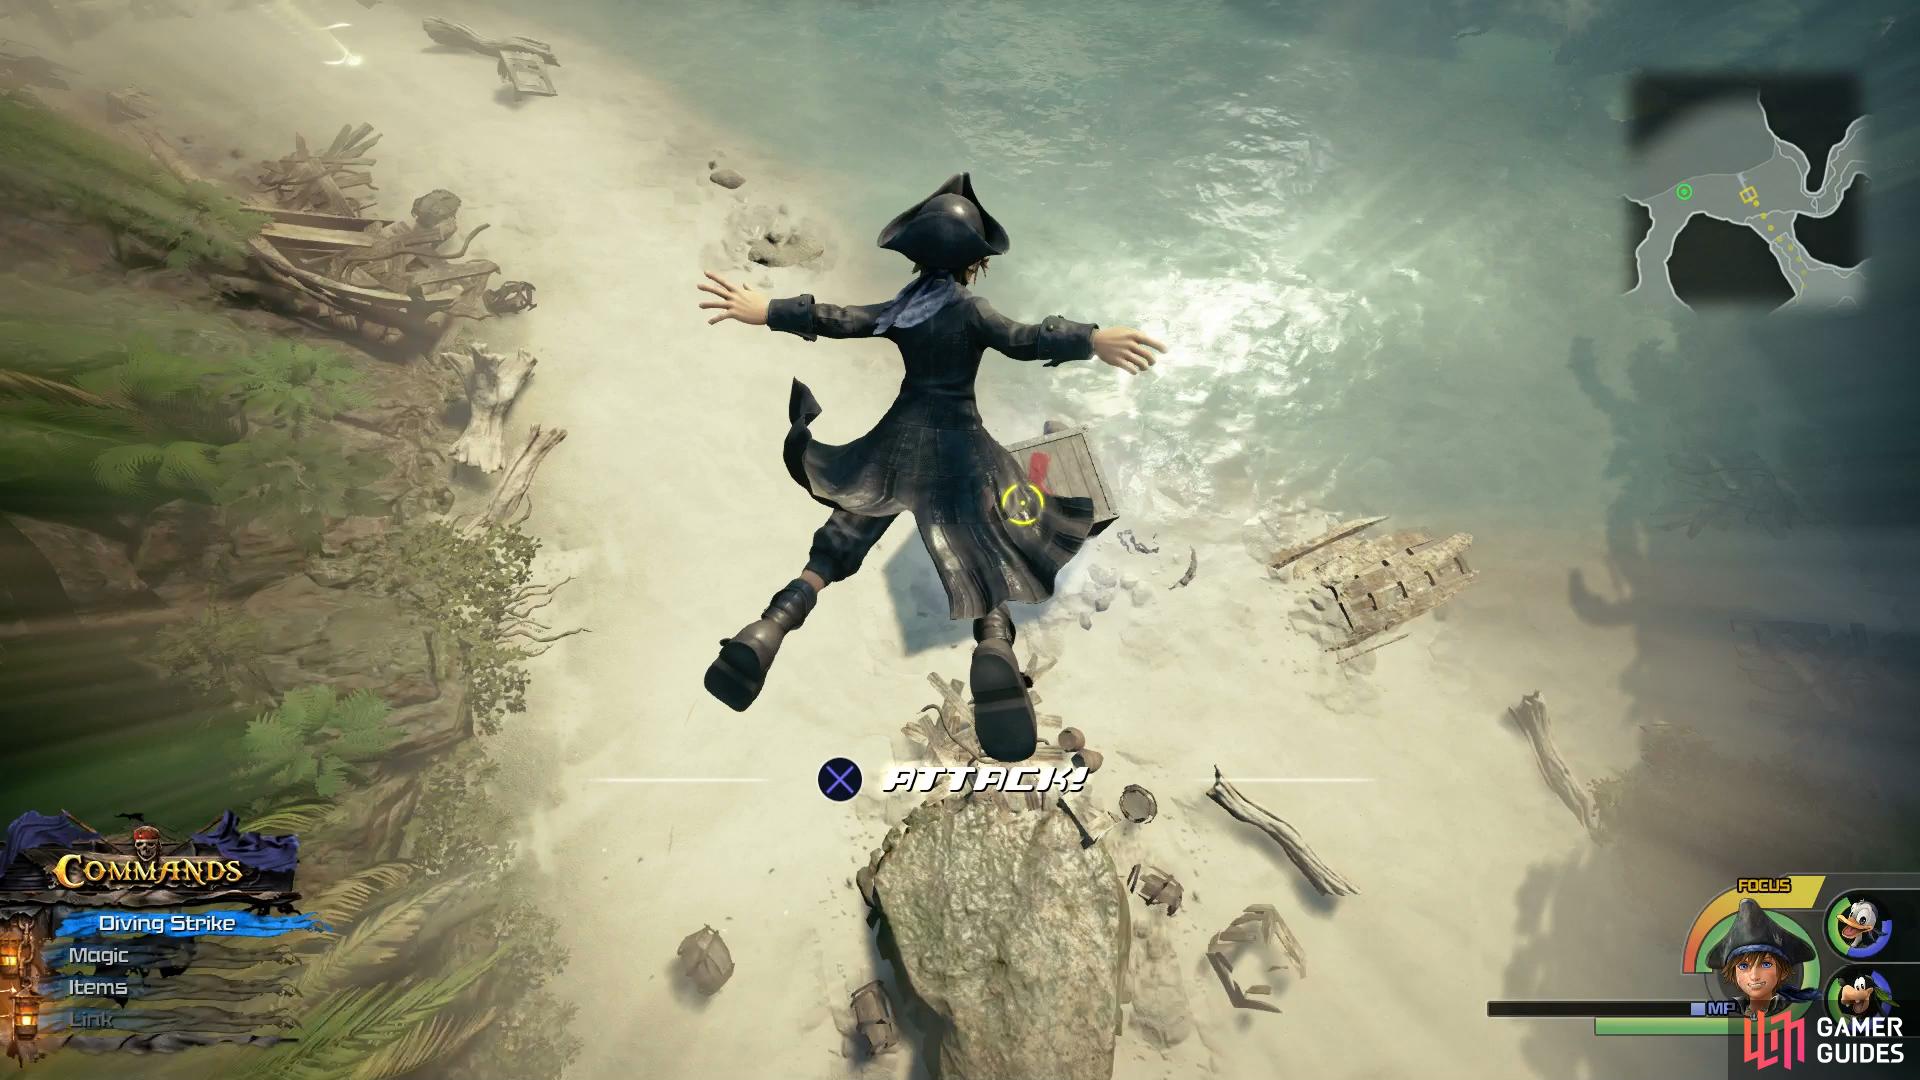
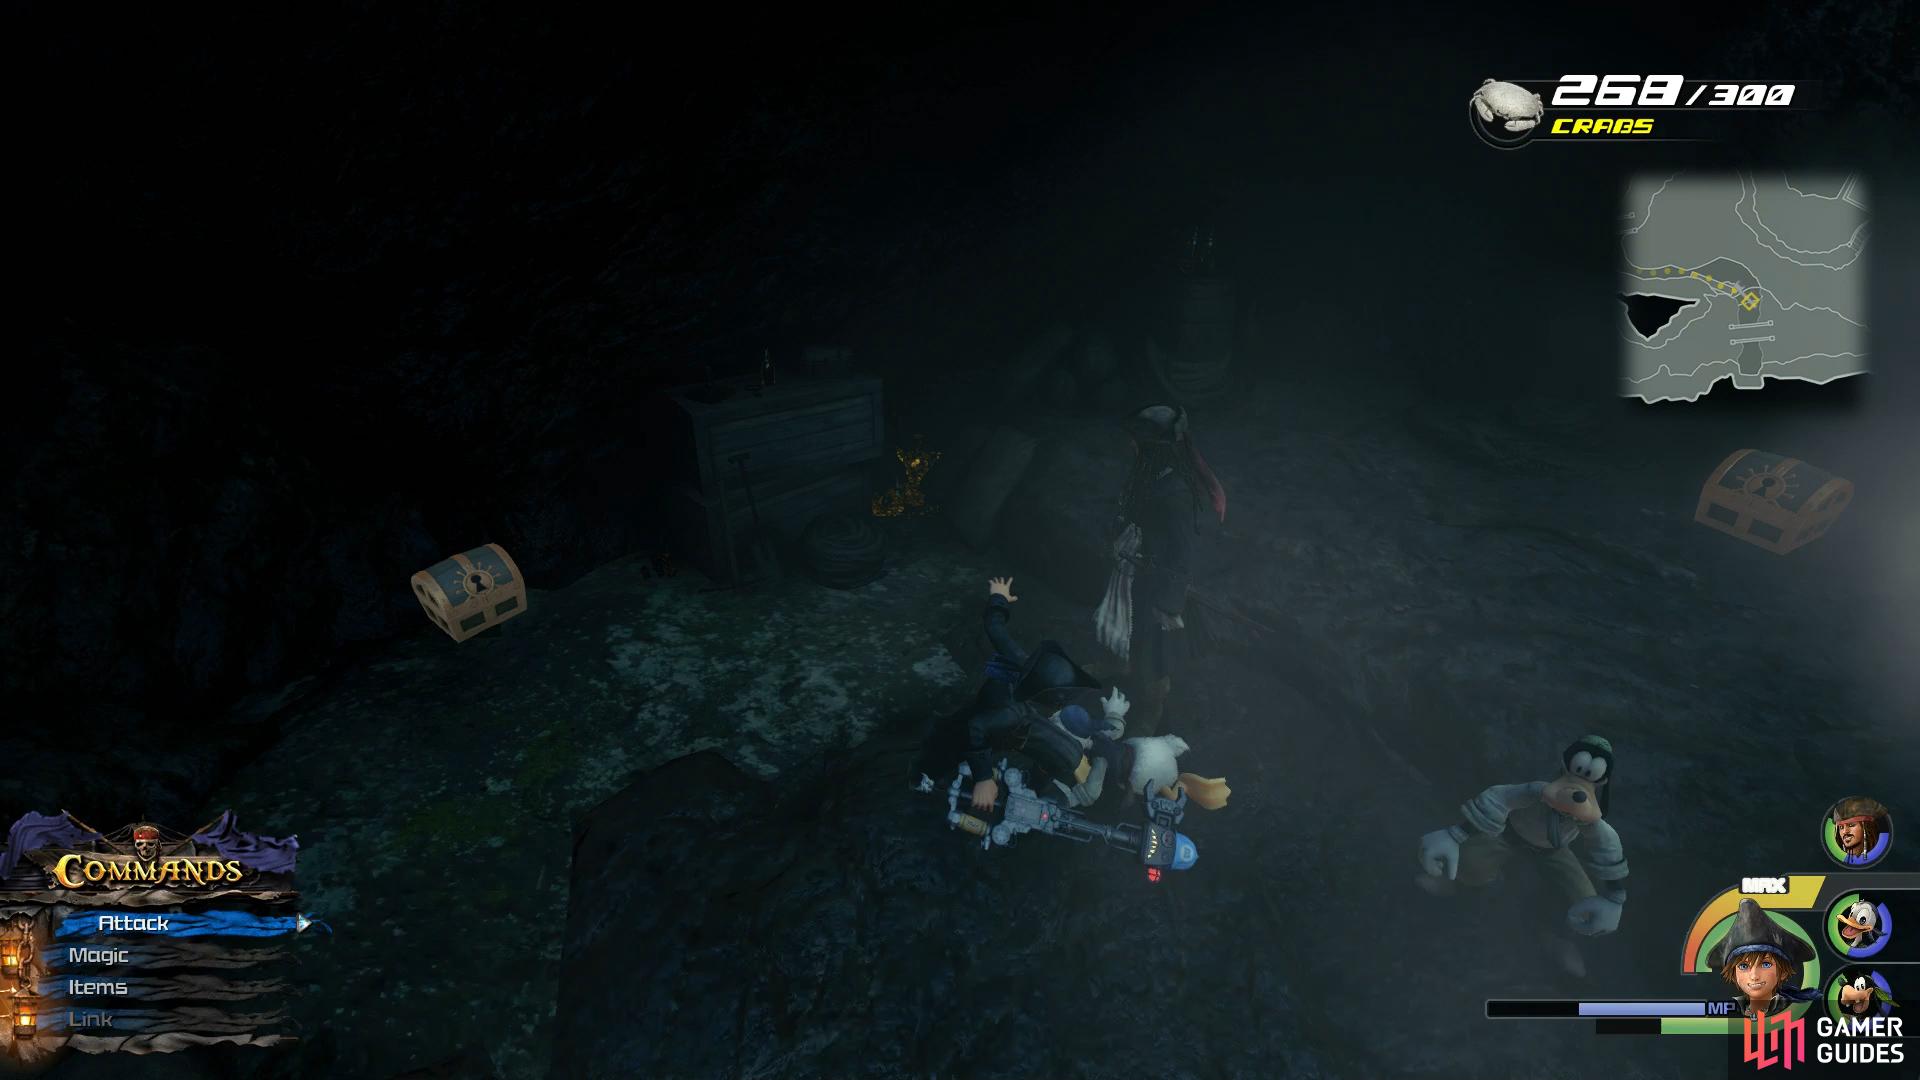
Treasure #15 - Ocean Heartbinder
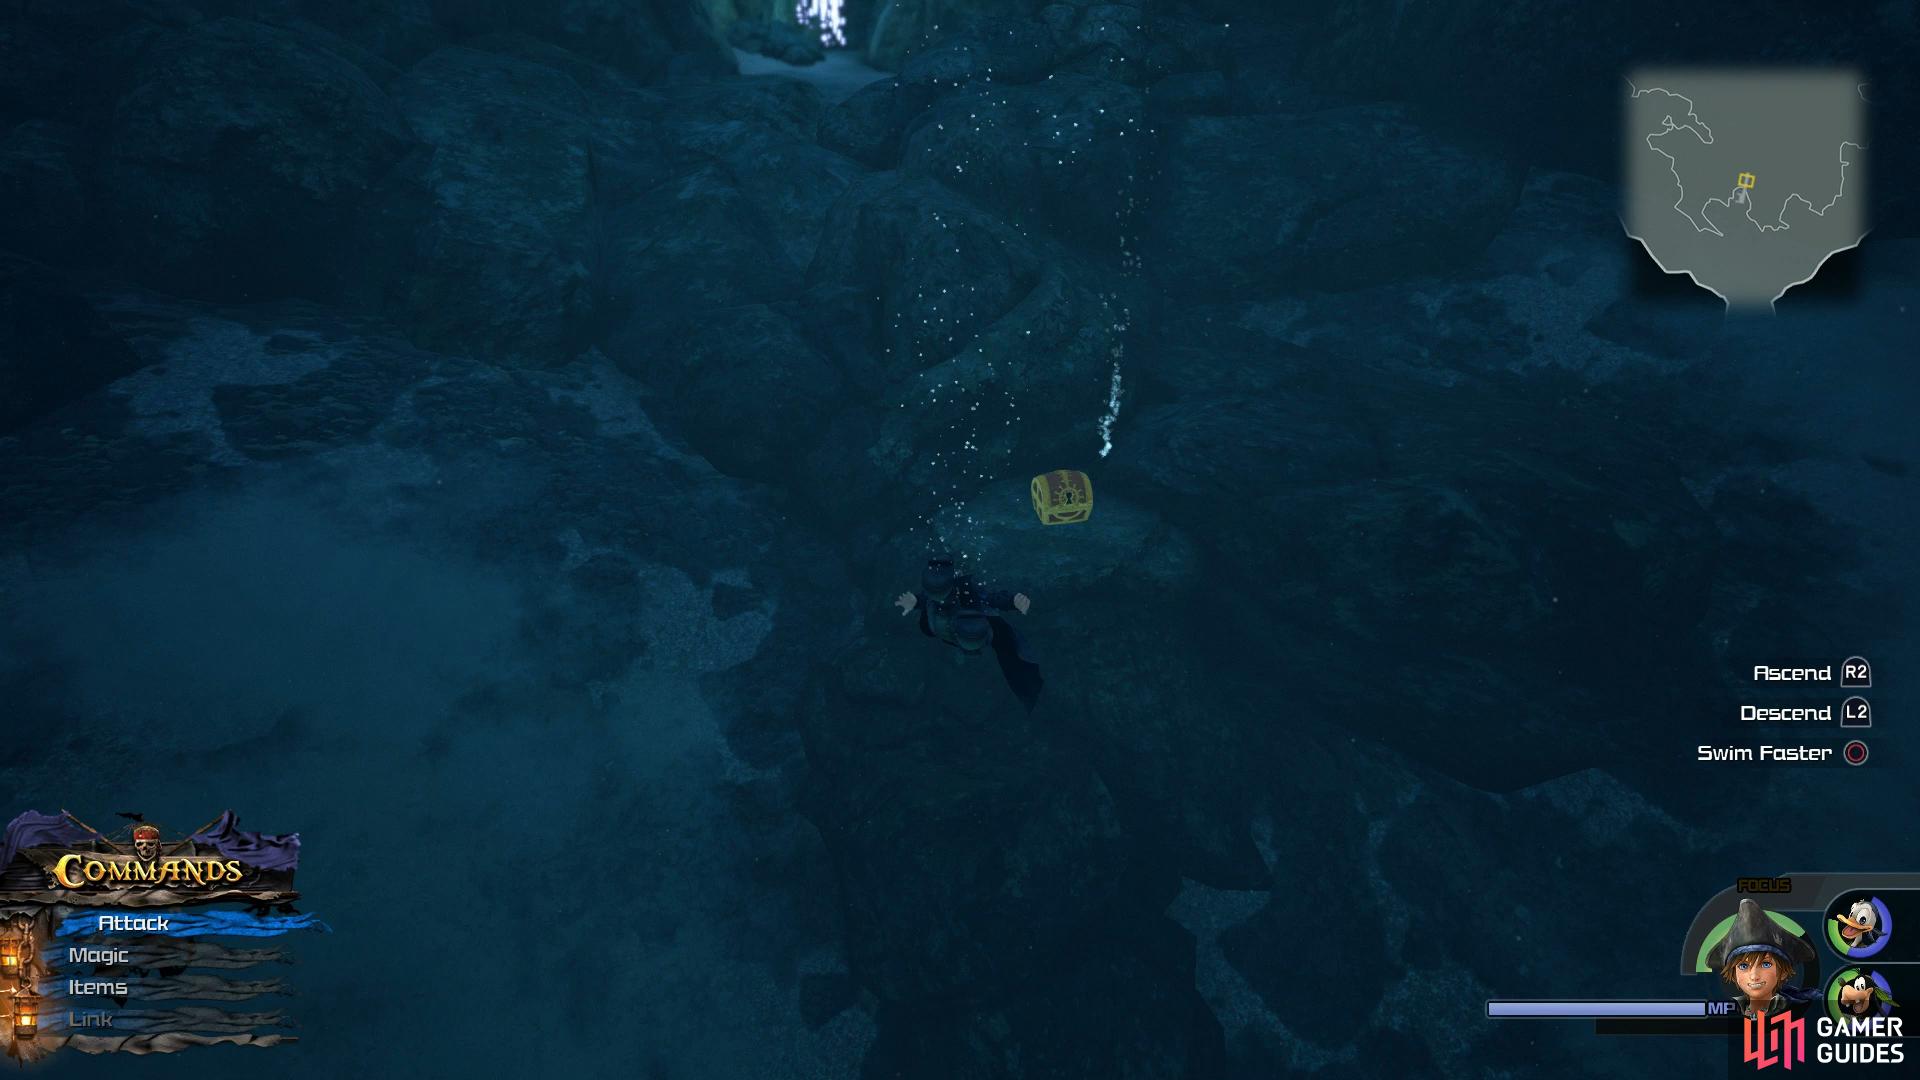
Don’t forget to loot this chest after defeating the boss.
Upon defeating the Lightning Angler in the Undersea Caver (Huddled Isles), look to the bottom of the cavern to loot the chest.
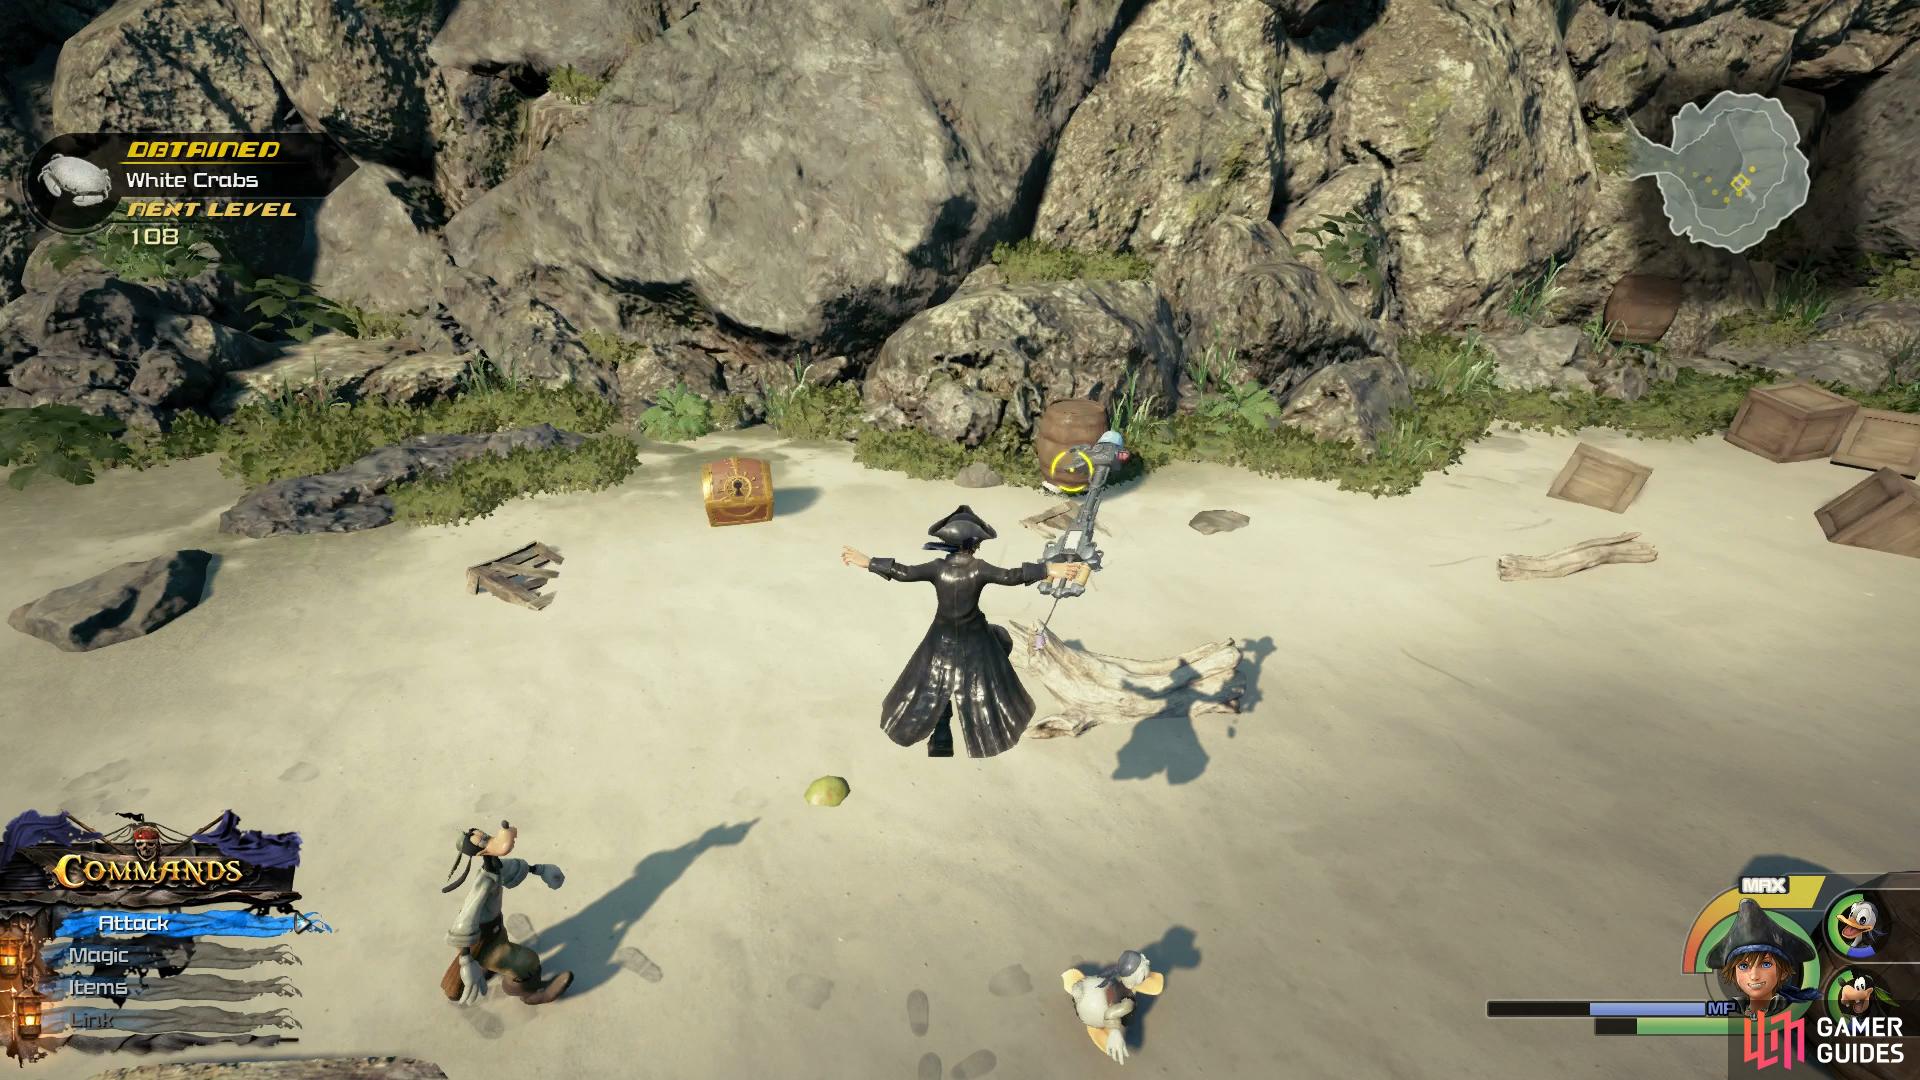
Treasure #16, #41, #42, #43 and #44 - Arcisius, Damascus, Firaga Bangle, Blizzaga Choker, Chaos Anklet
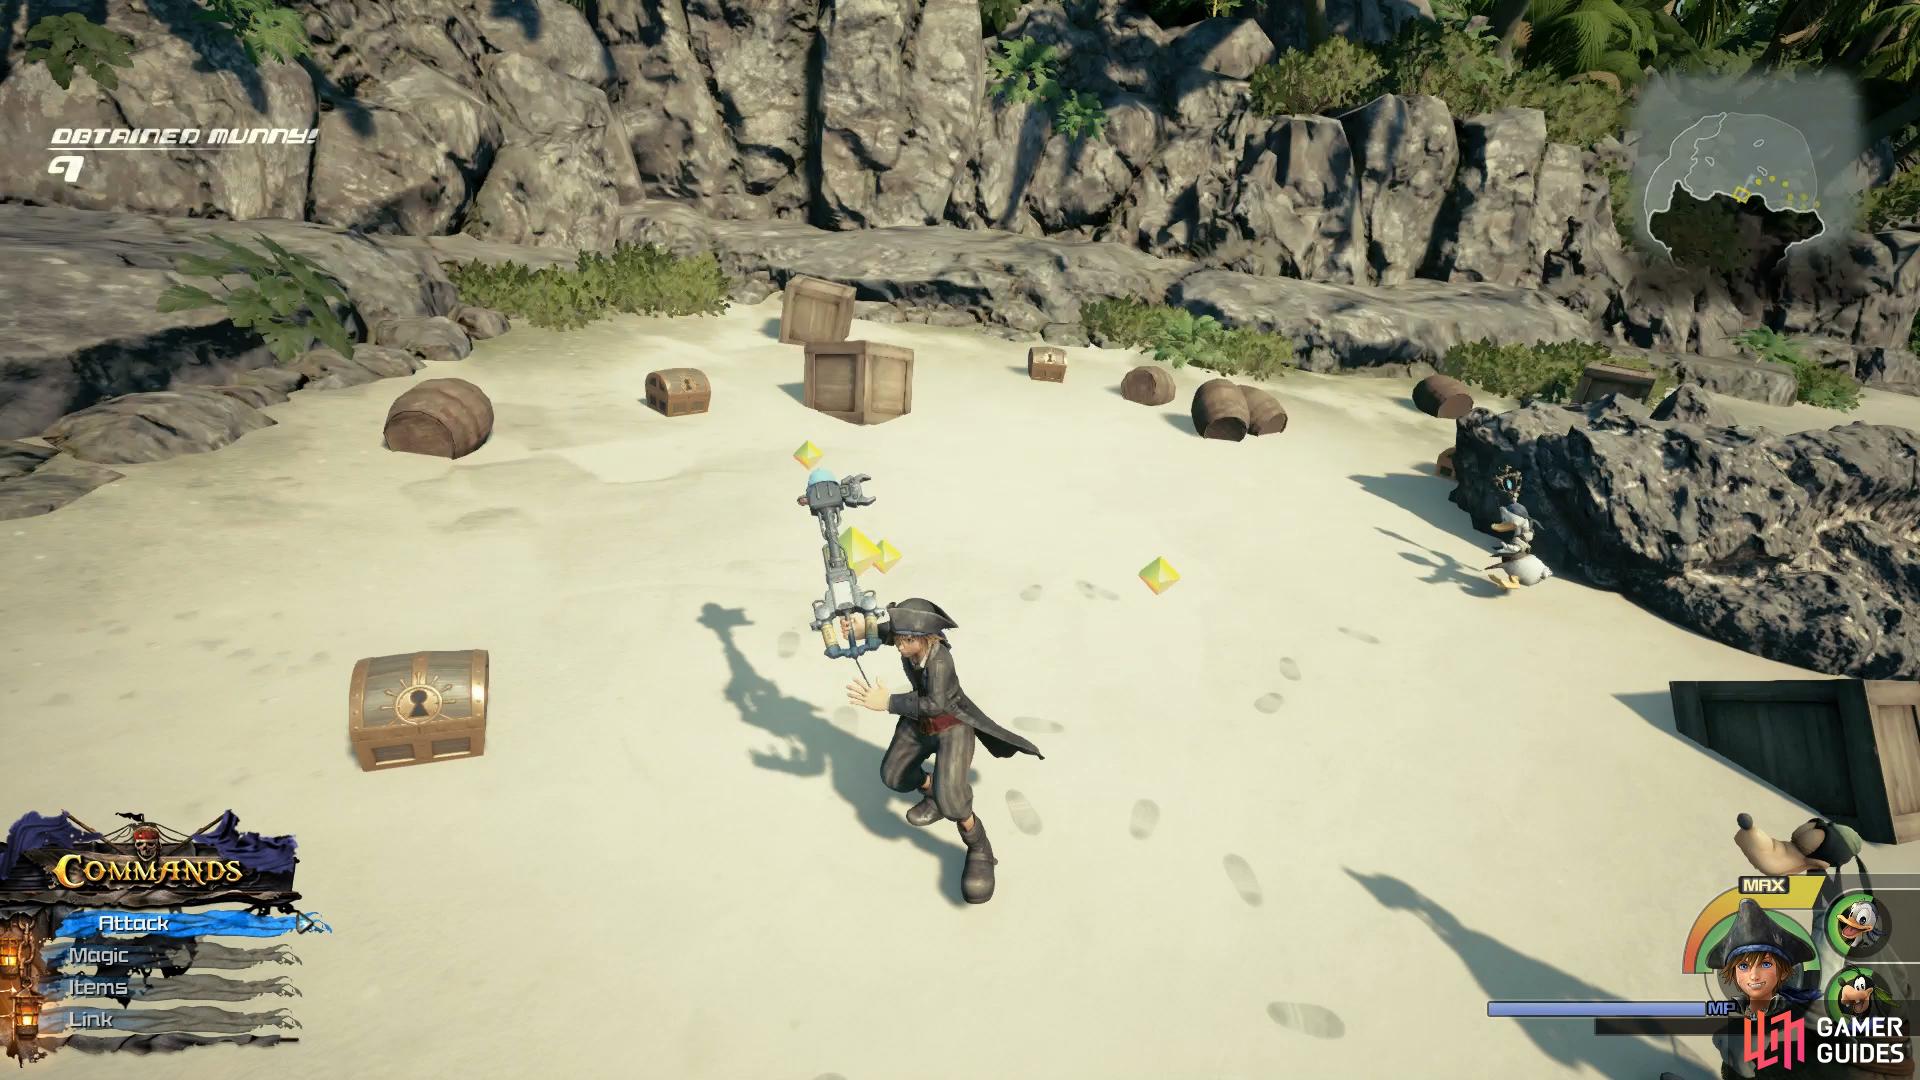
Loot these chests after defeating the Heartless first.
Make your way to Horseshoe Island and clear the area of all Heartless. You’ll find where a collection of five chests where the three Sand Heartless were situated.
Treasure #17 - Map: Isla de los Mástiles
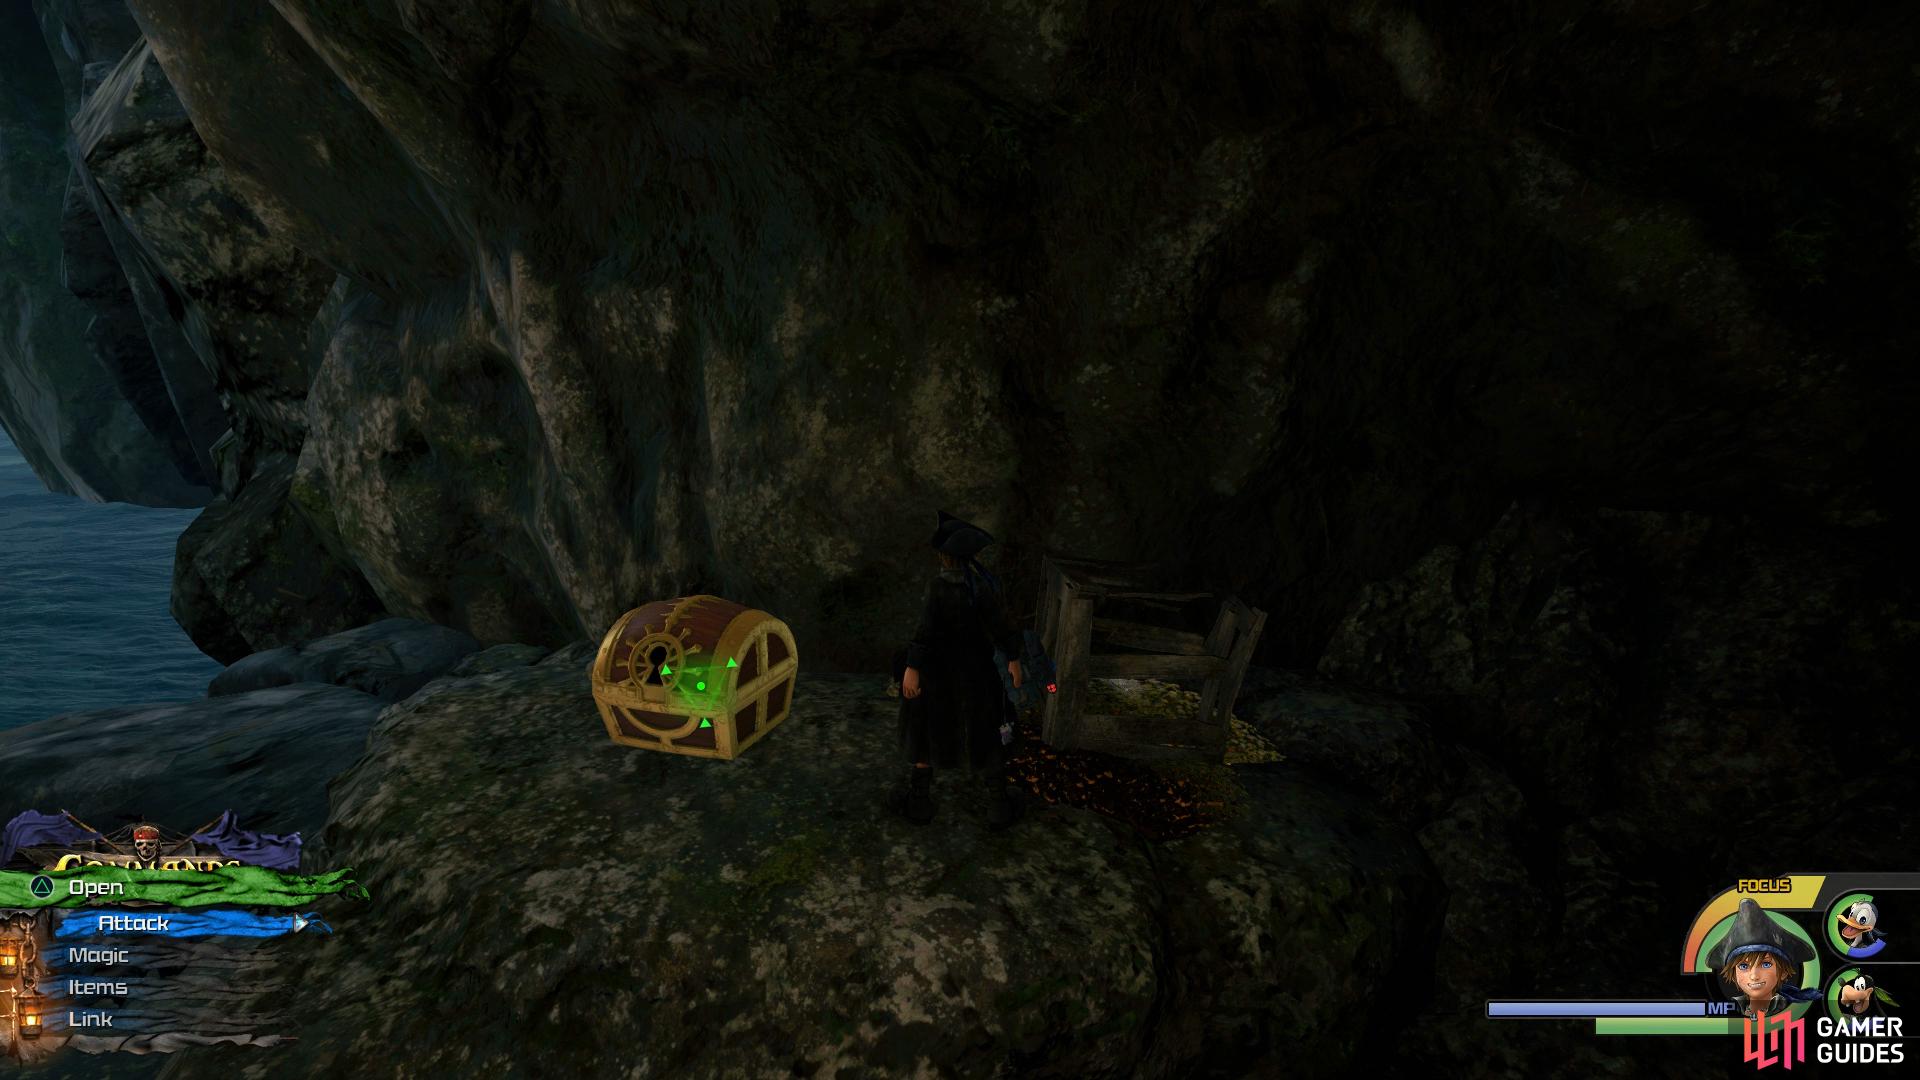
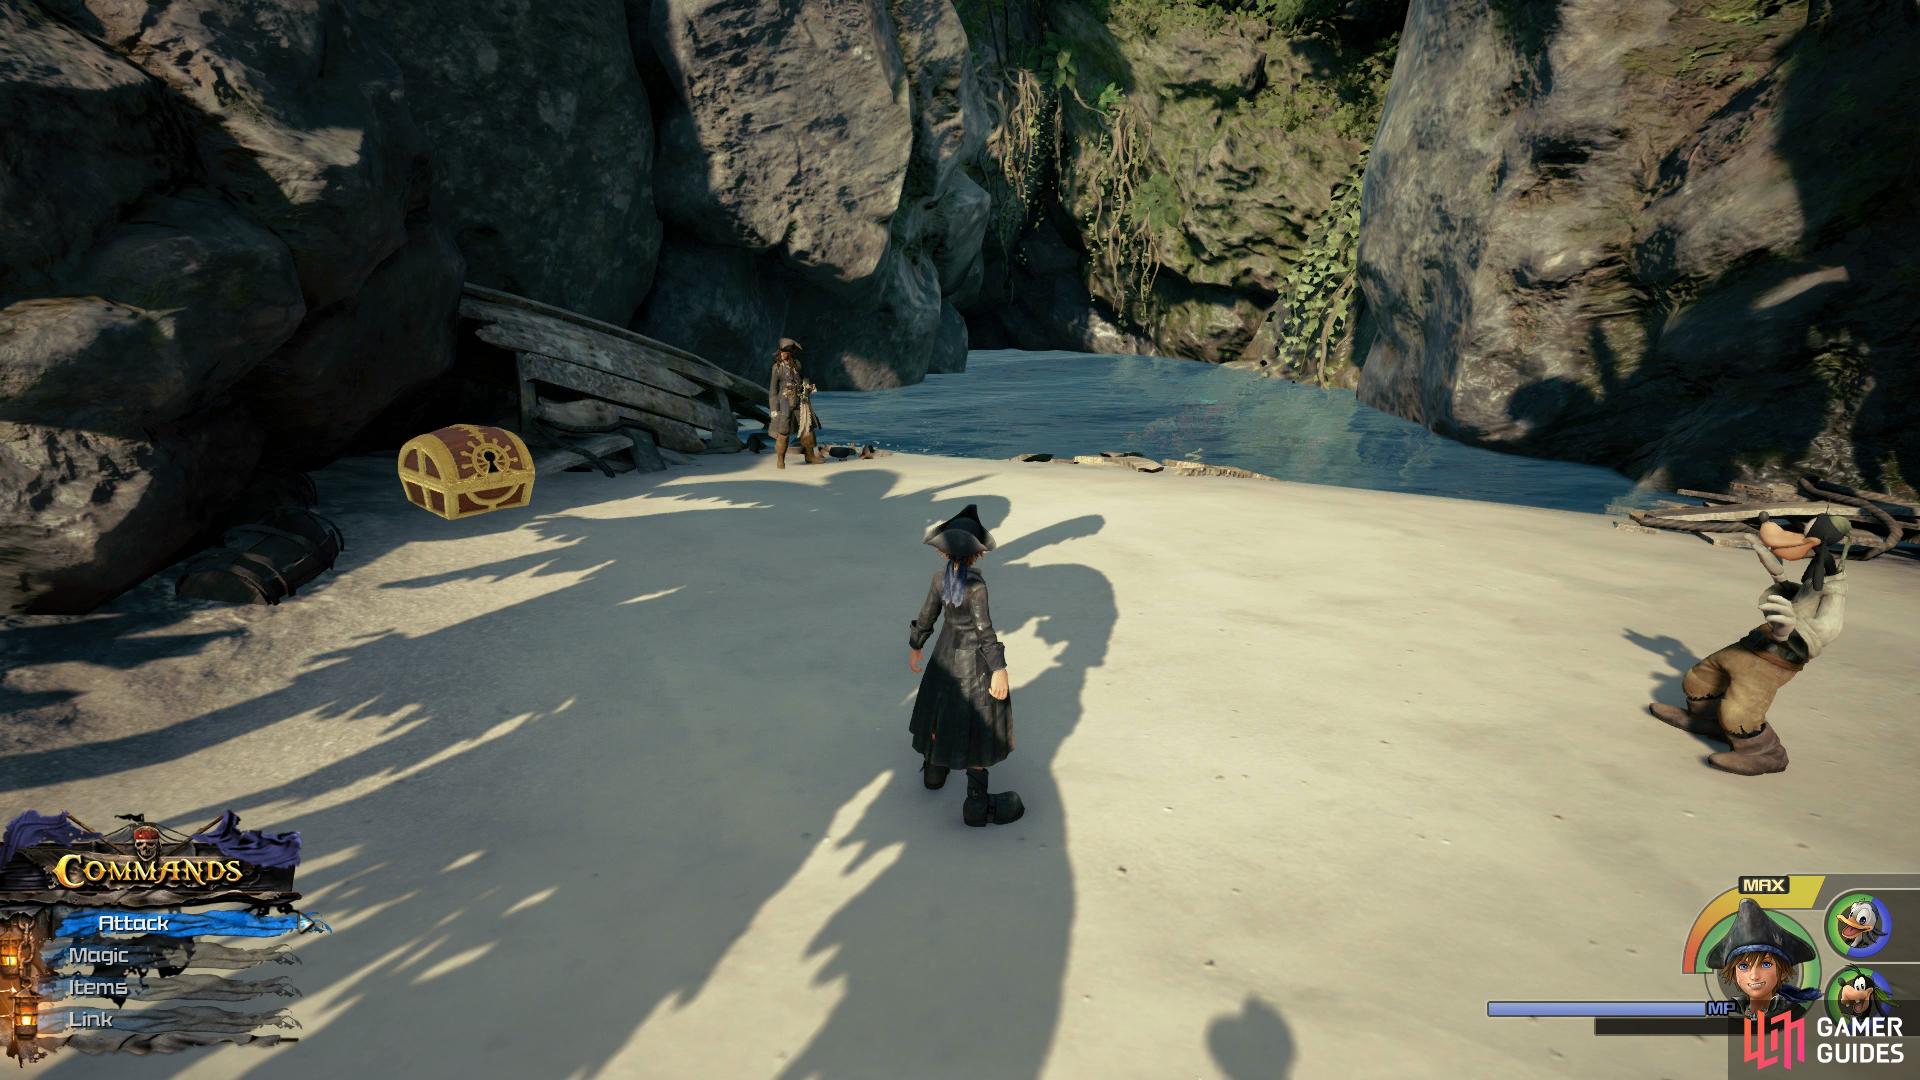
Head to the end of the cave to find this chest.
Head to the Isla de los Mástiles and follow the beach to a cave, you’ll find the chest at the end of this.
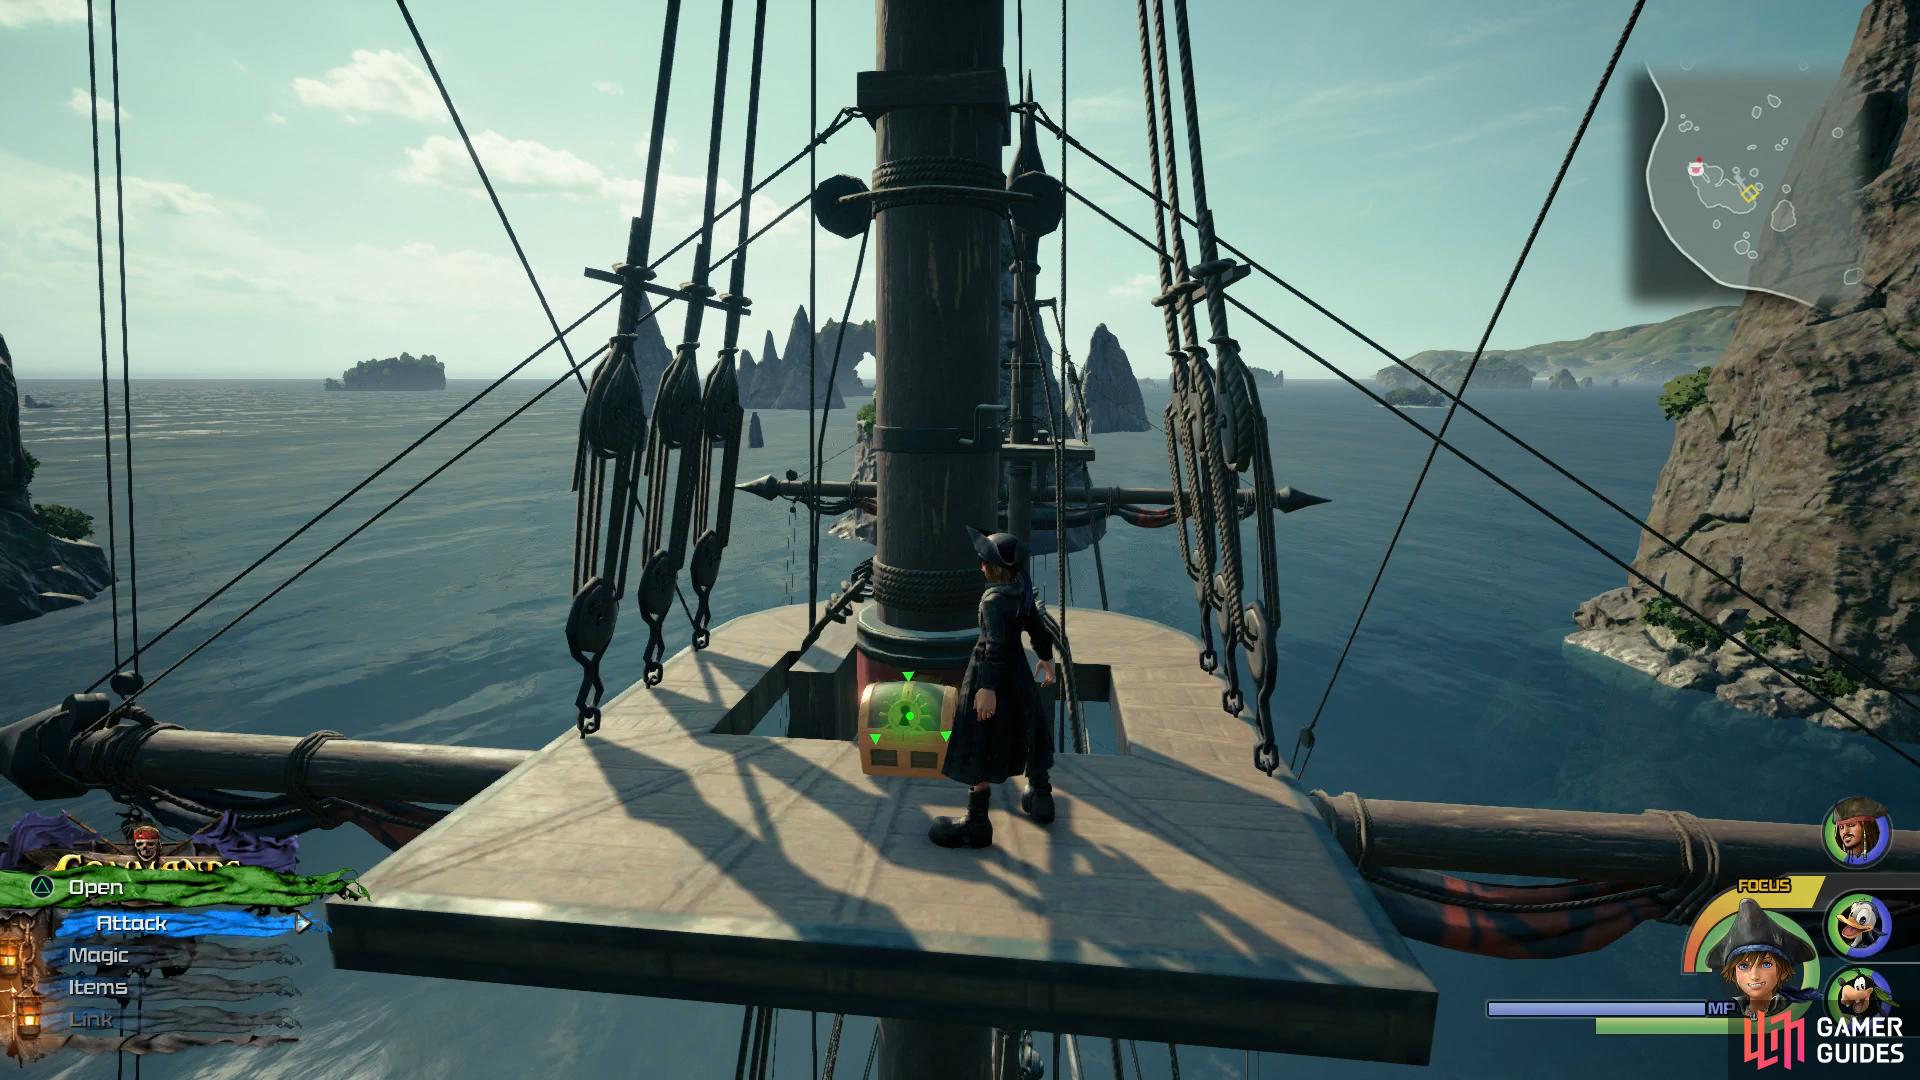
Treasure #18 - Map: Ship’s End
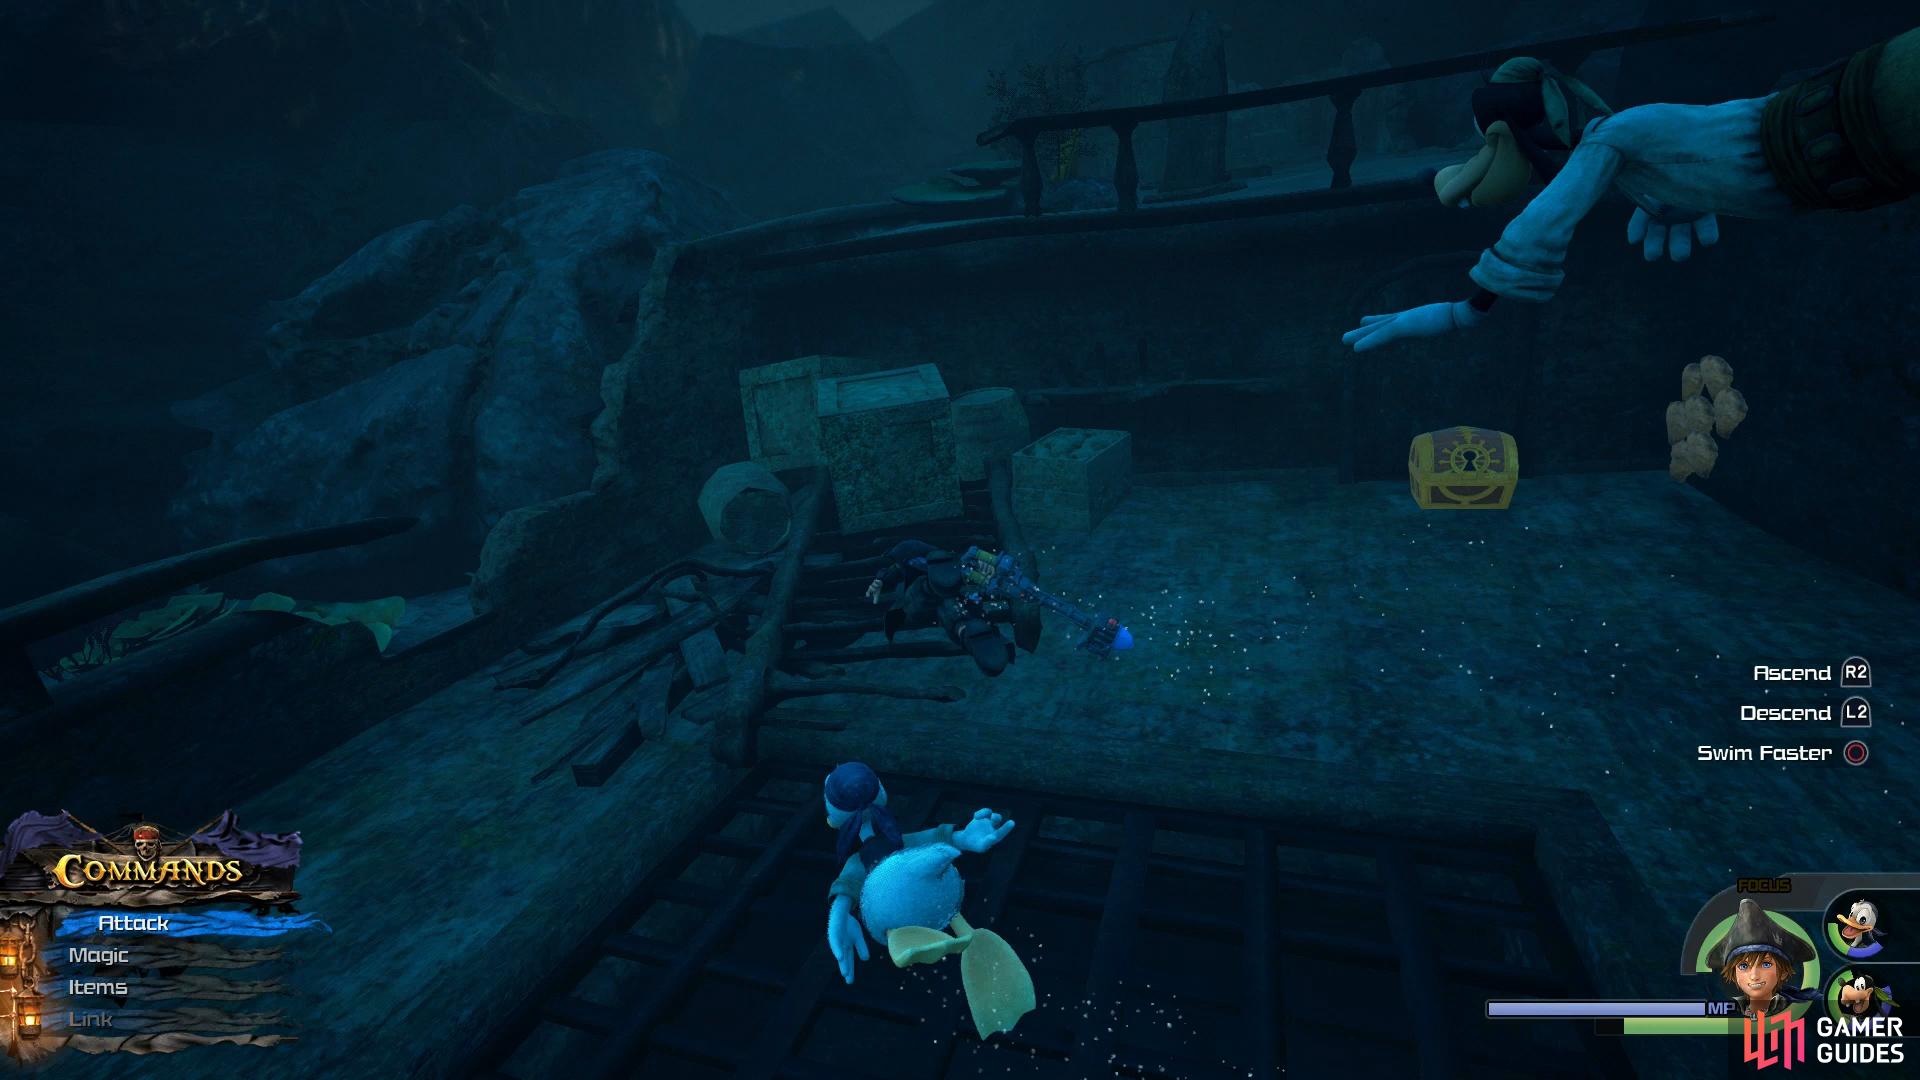
Follow the rocky wall to the right from where the ship’s tail end is.
Head to Ship’s End and head through until you see a ship’s tail end. Dive into the water here and follow the rocky wall to your right to find another shipwreck, the chest sits on the deck.
Treasure #19 - Map: Sandbar Isle
Look on the largest rocky surface for this chest.
Head to Sandbar Isle and climb onto the largest rocky surface in the pool of water here to find this chest.
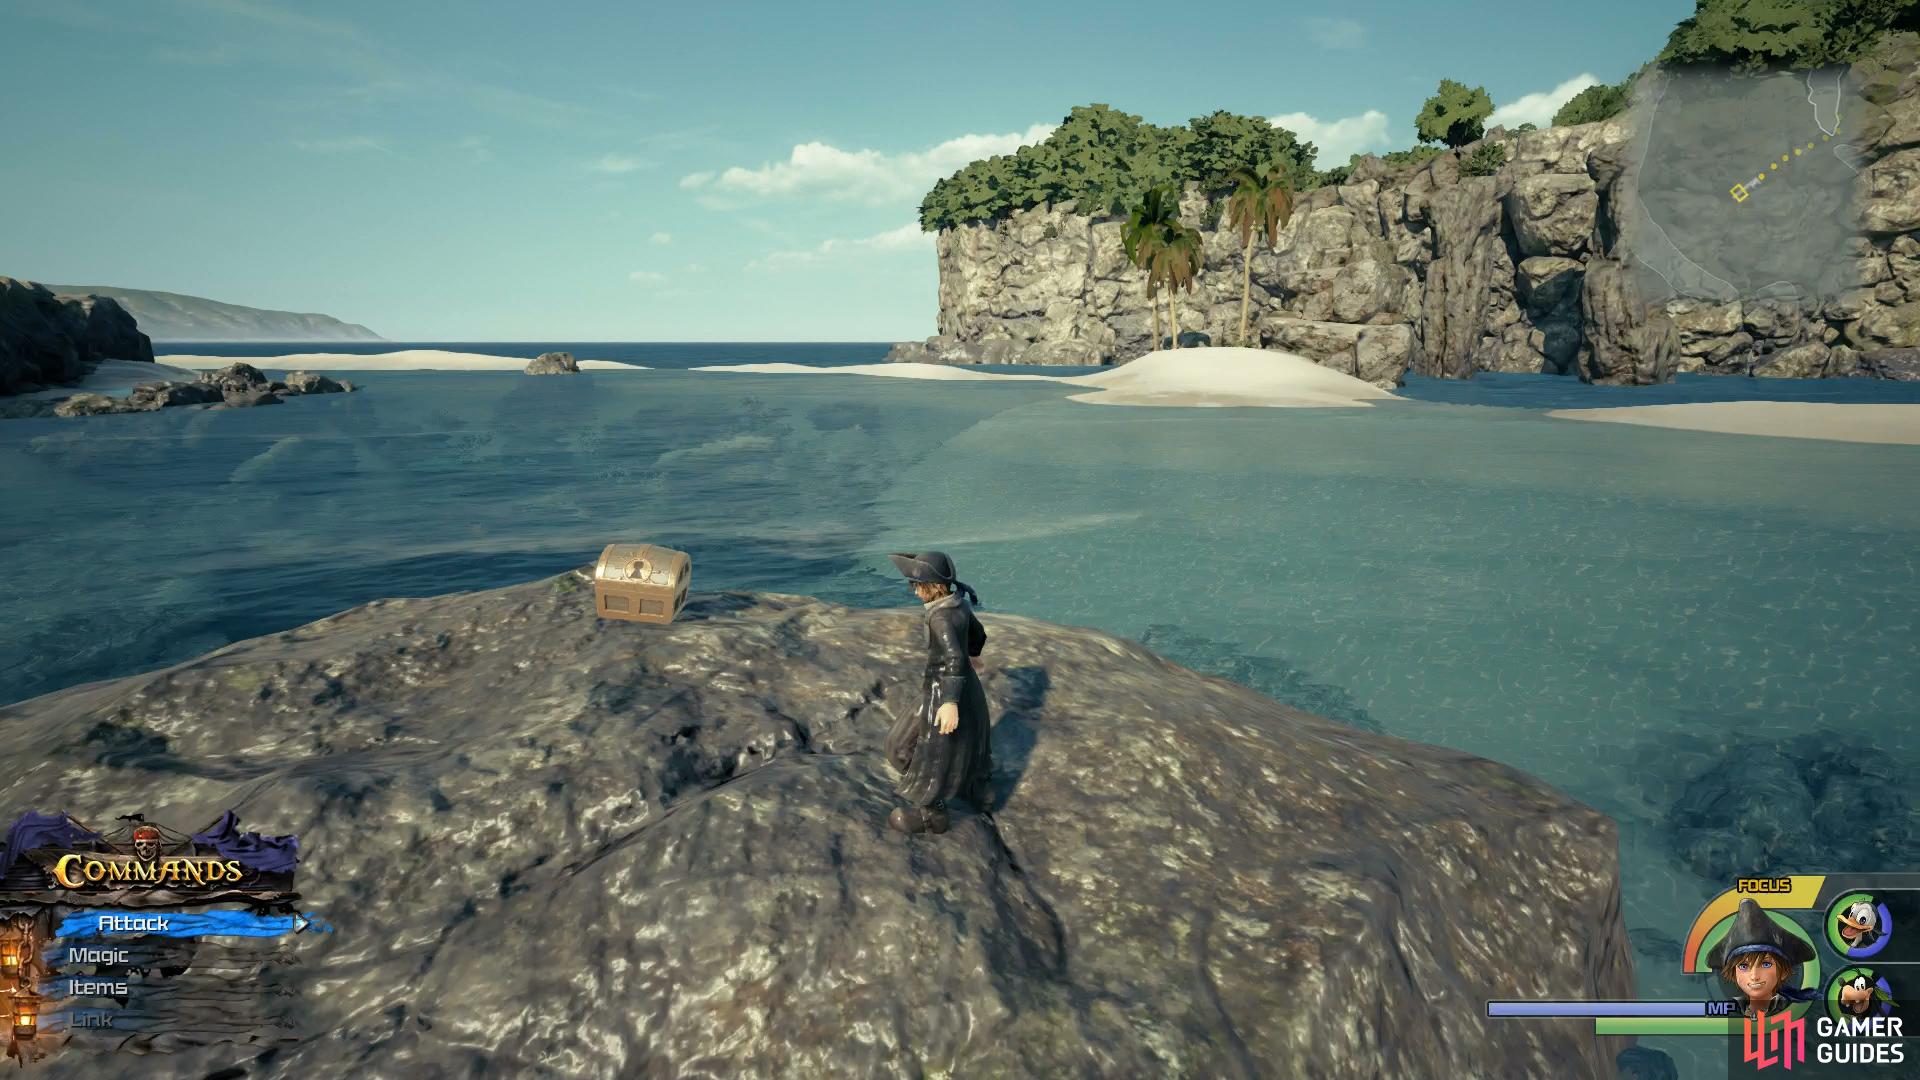
Treasure #20 - Map: Huddled Isles
Look to the left of the Save Point.
Head to the Huddled Isles Save Point and look to the left of it to find this chest.
Treasure #25 - Orichalcum
Look to the left once you climb the wall.
Head to Isla Verdemontaña and proceed through the forest and up the large wall at the end. Upon reaching the next open area, look to your left to find this chest.
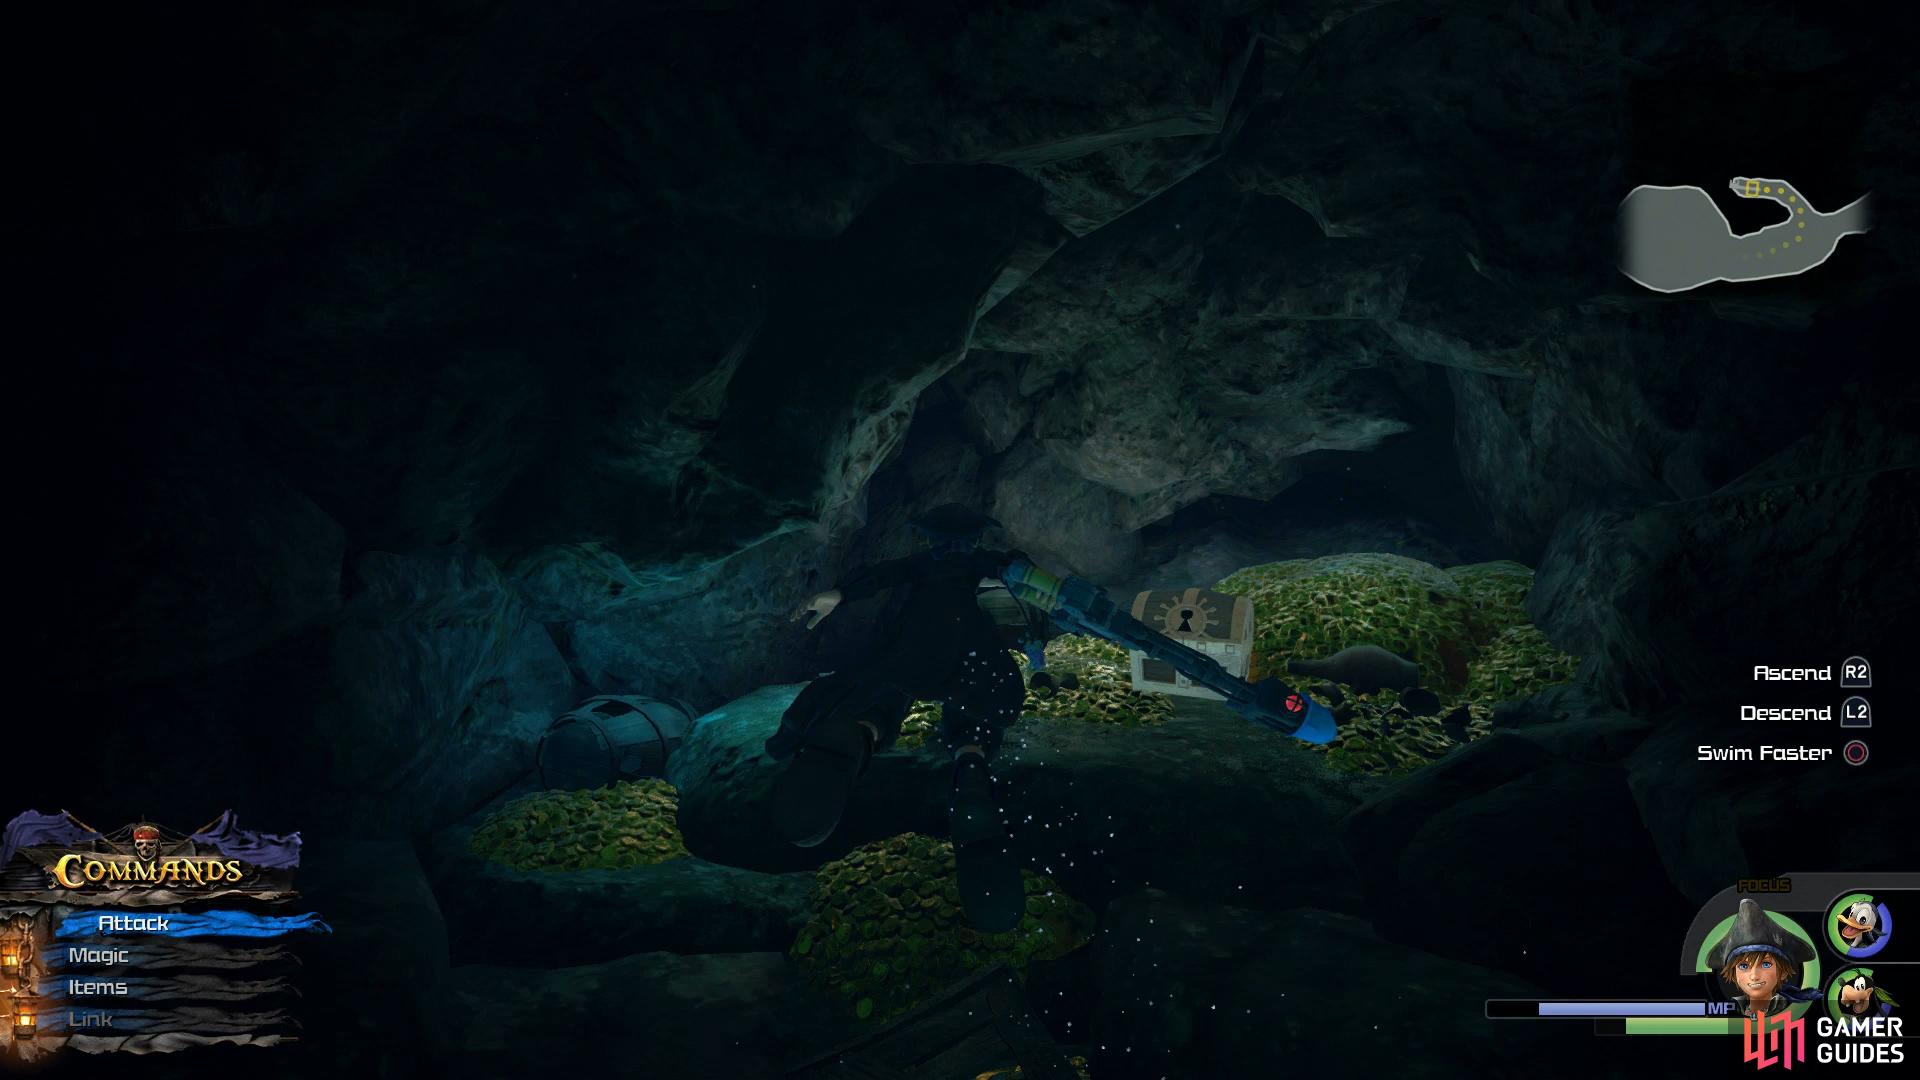
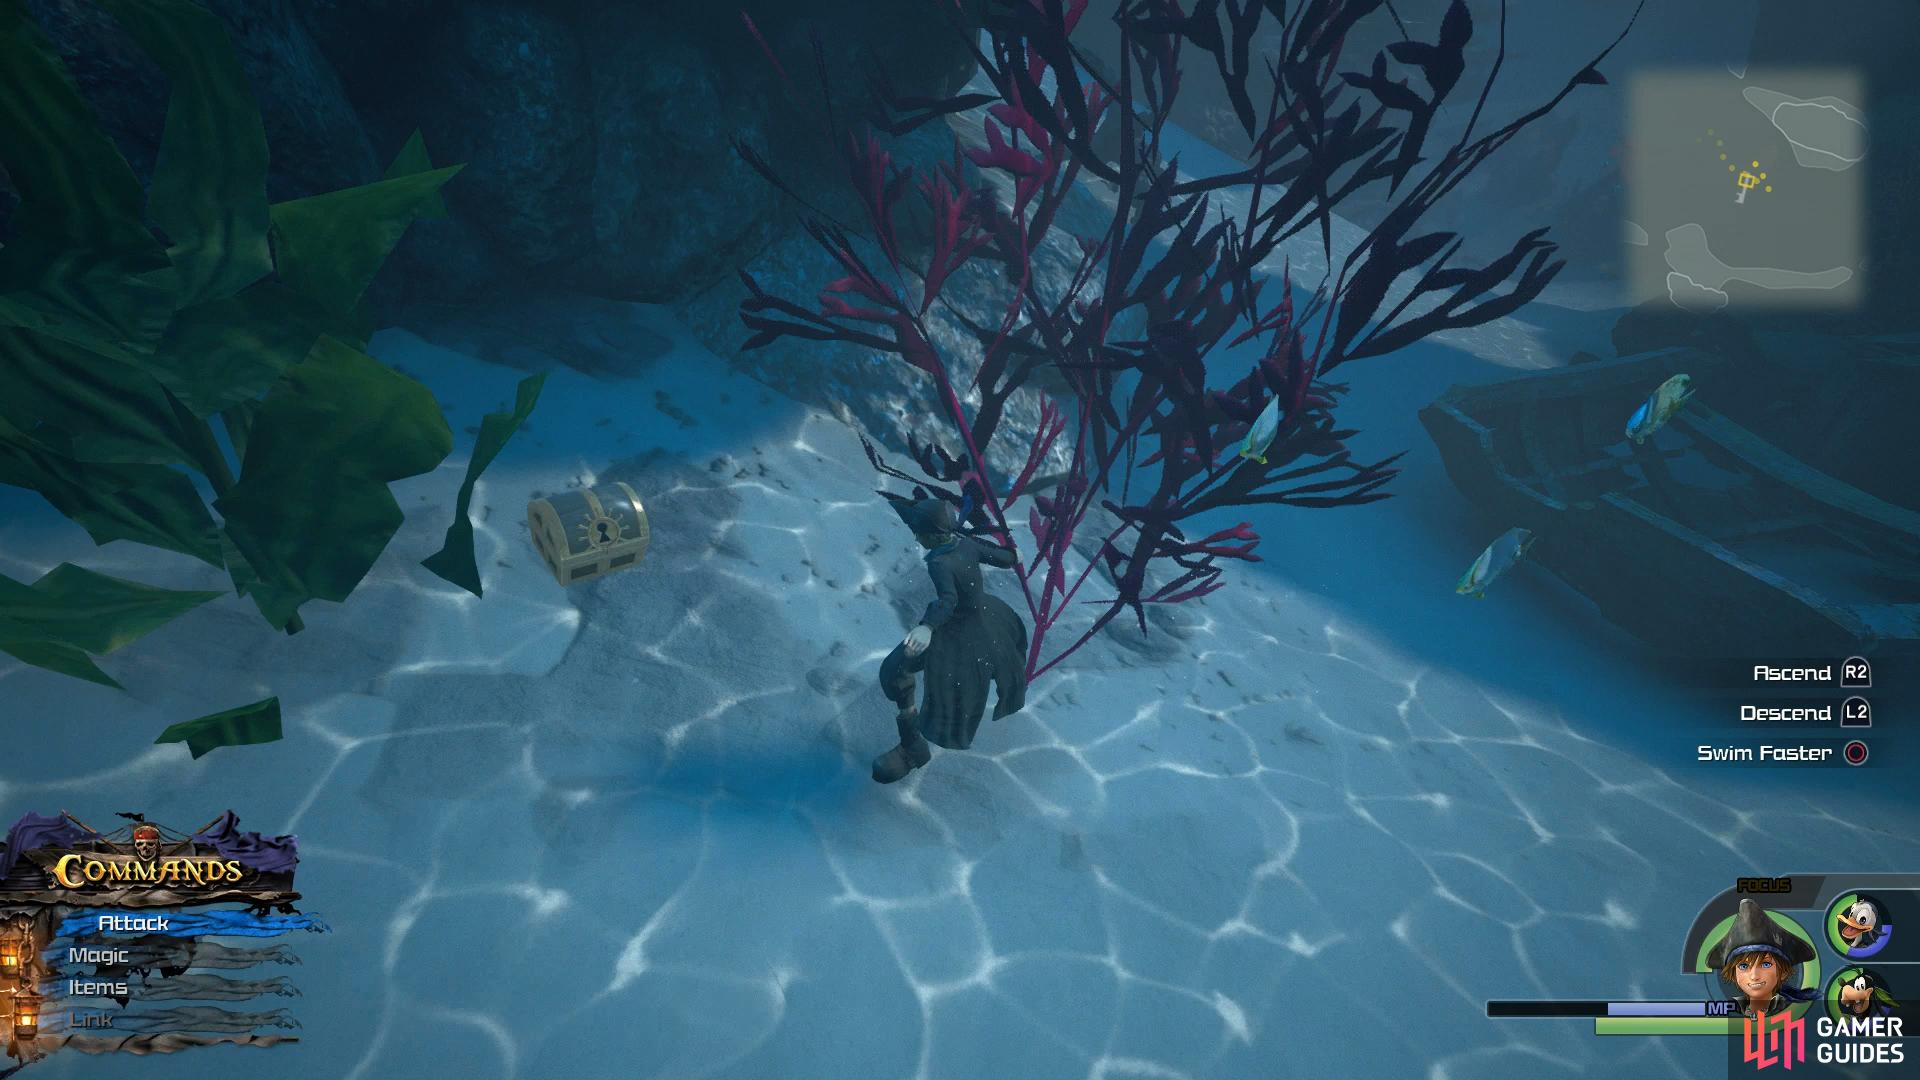
Treasure #26 - Hungry Crystal
Dive to the north of the central platform.
Head to Sandbar Isle and dive into the water to the north of the rocky platform that housed Treasure #19. Swim to the bottom to find this chest next to a wrecked rowboat.
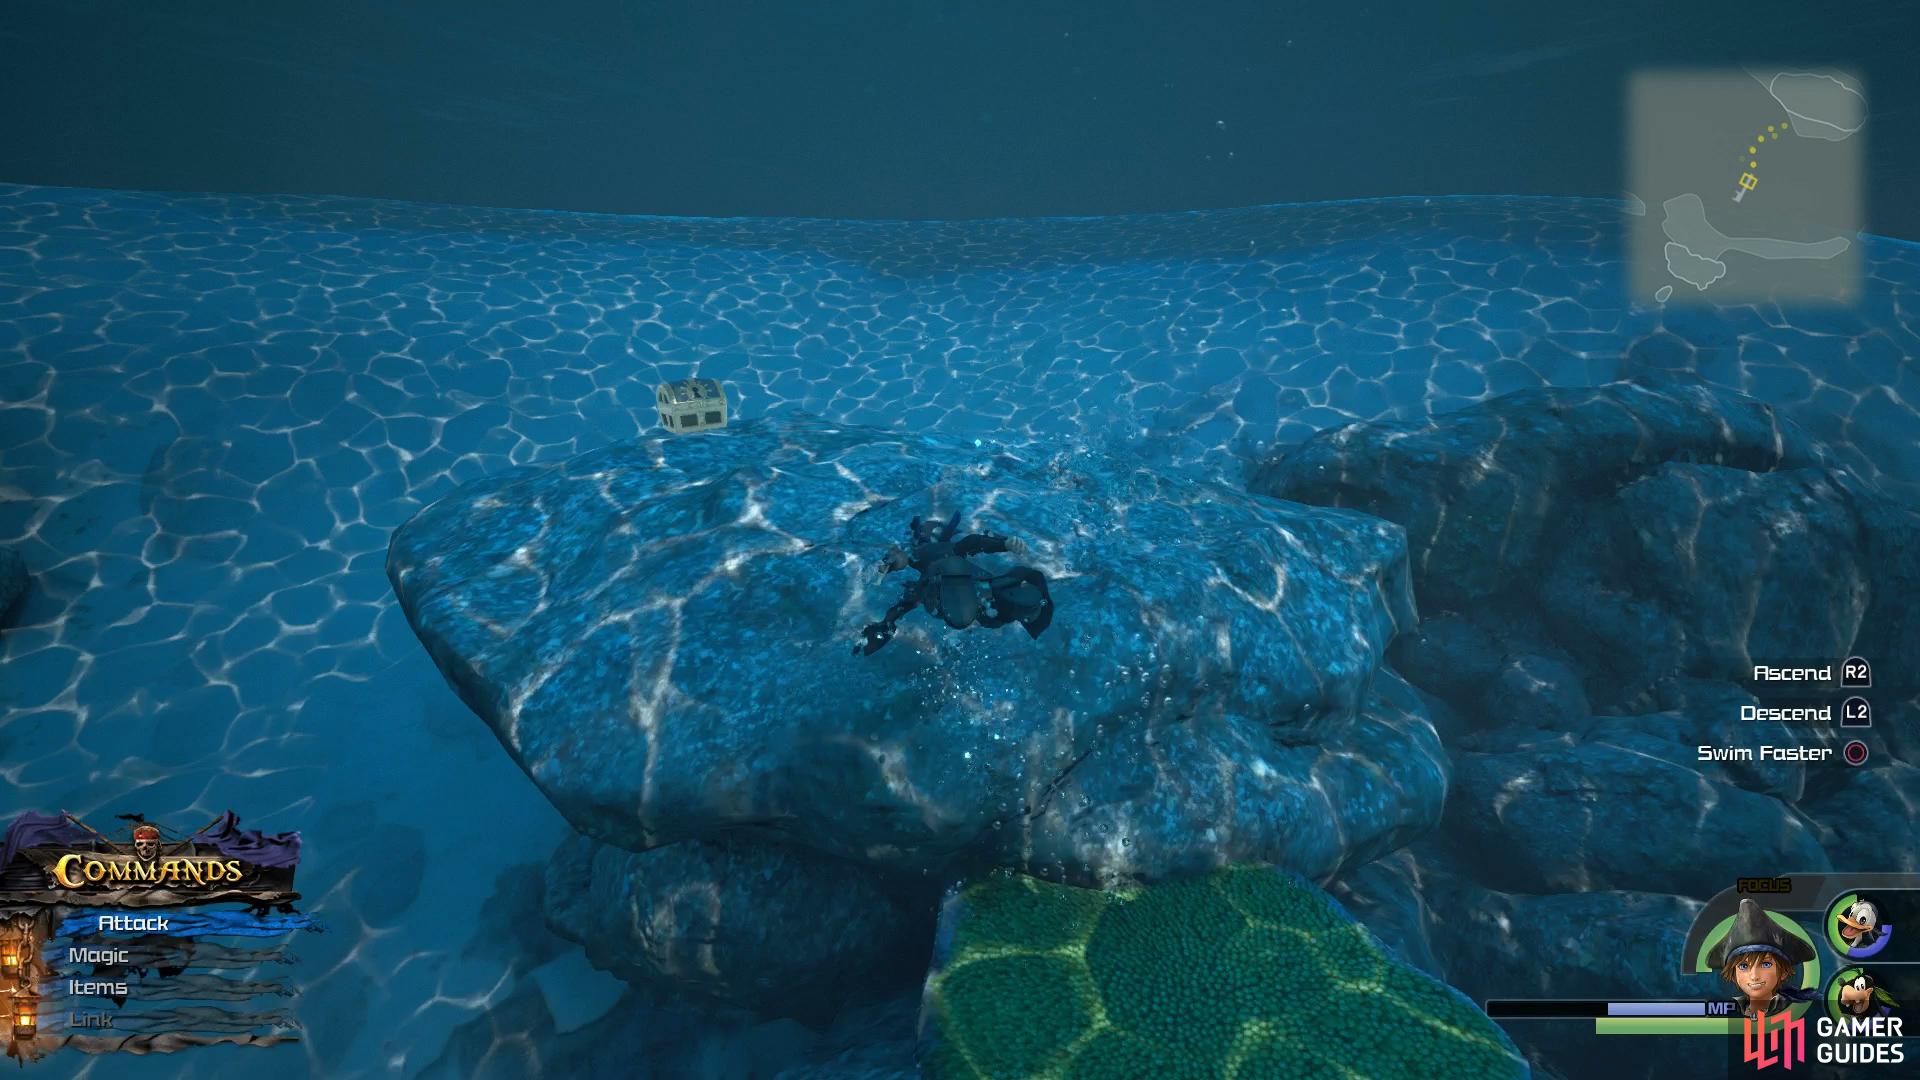
Treasure #27 - Adamantite
Head to the only other small rock sticking out of the water.
Head to Sandbar Isle and head into the water to the north of the Save Point, you’ll find the chest on a small rock sticking out of the water.
Treasure #28 - Damascus
Dive southwest of the large platform in the center.
Head to Sandbar Isle and head into the water to the north of the Save Point. Dive into the water to the southwest of where you found Treasure #19 to find this chest against the rocks.
Treasure #29 - Orichalcum
Search underwater to the southwest of the central platform.
From the previous chest, swim along to the east while underwater to find another chest against the rocks.
Treasure #30 - Adamantite
Search on top of the rocks to the southwest.
Head to Sandbar Isle and head into the water to the north of the Save Point. While swimming on top of the surface, head towards the beach with the three trees at the back, you’ll spot this chest on a rock just under the surface as you approach this beach.
Treasures #31 - #40 - Electrum, Adamantite, Orichalcum, Storm Anchor+, Electrum, Orichalcum, Adamantite, Electrum, Adamantite, Hungry Crystal
You’ll find a trove of treasures in these two caverns.
Head to Sandbar Isle and use the rocks at the back of the beach to reach another island. Drop into the water at the end of this path and you’ll find two caverns with a mountain of treasure for you to plunder.
Treasure #45 - Celestriad
Climb the Crow’s Nest to find this chest.
On the Leviathan, climb up to the Crow’s Nest to find this chest.
Treasure #46 - Hi-Refocuser
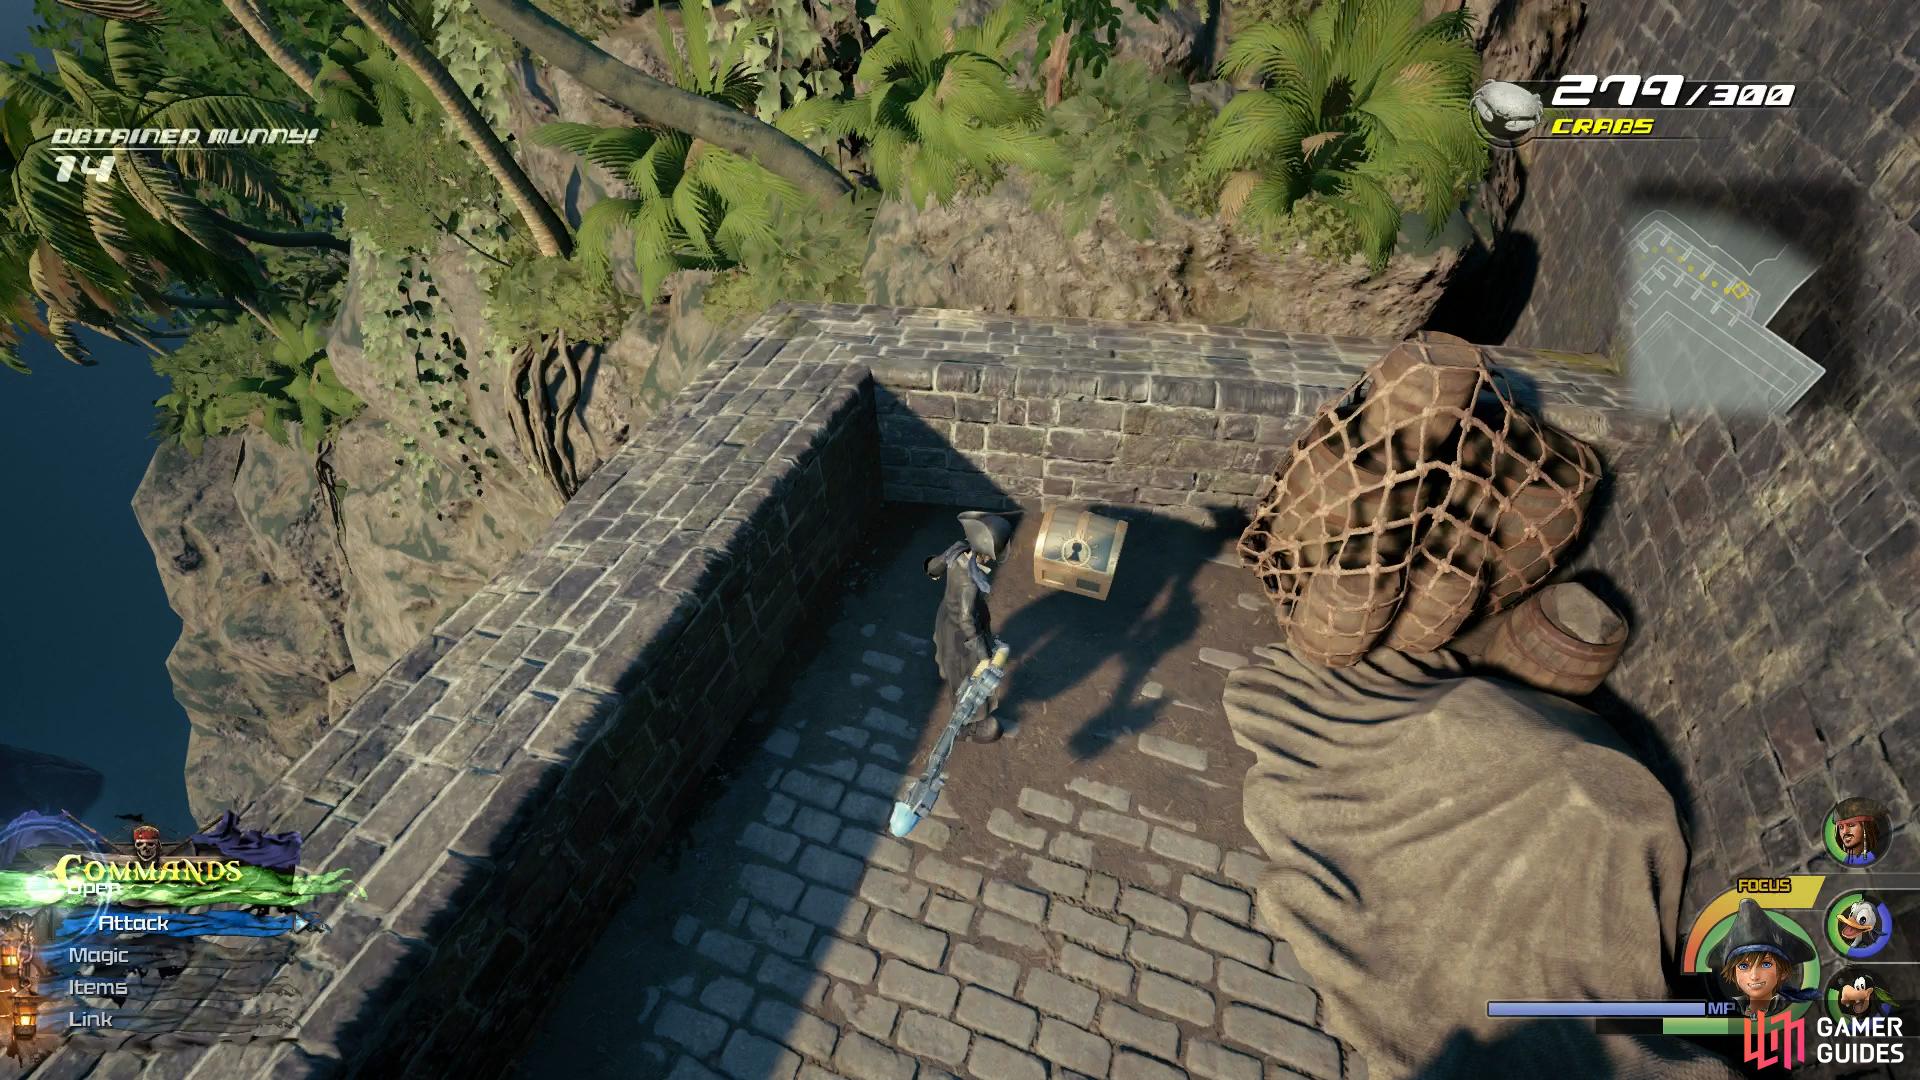
Head into the Fort’s courtyard to find this chest.
Head to the Fort Save Point in Port Royal and make your way into the courtyard. Climb onto the top and follow the walkway around to the right to find this chest.
Treasure #47 - Classic Kingdom: Mickey’s Prison Escape
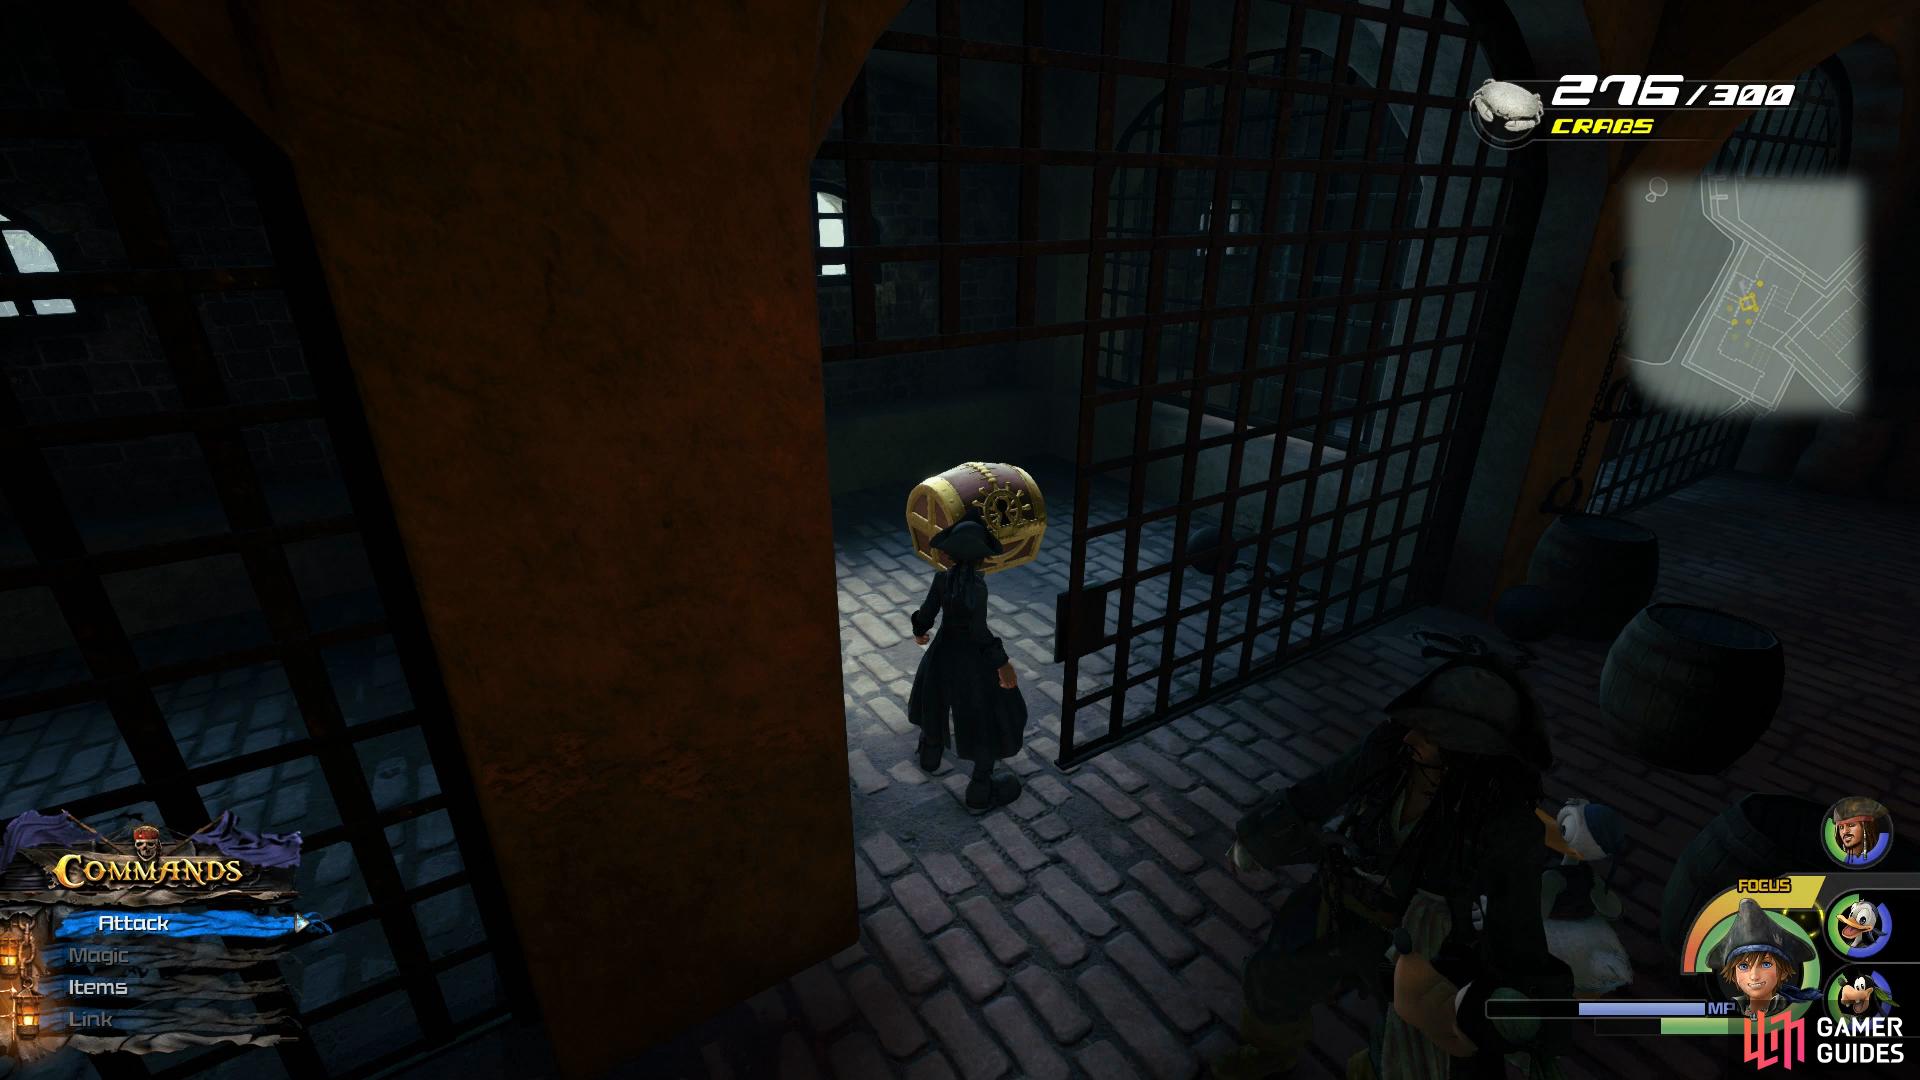
Search the cells for this chest.
Head to the Fort Save Point in Port Royal and make your way to the cells where you’ll find this chest occupying one.
Treasure #48 and #56 - Sorcerer’s Ring, Ether
Head behind the waterfall near the Fort.
From the Fort Save Point in Port Royal, make your way along the path back to towards the Seaport until you reach the bridge. Head up the stream and into the waterfall to find these two chests hidden behind it.
Treasure #49 - Hi-Potion
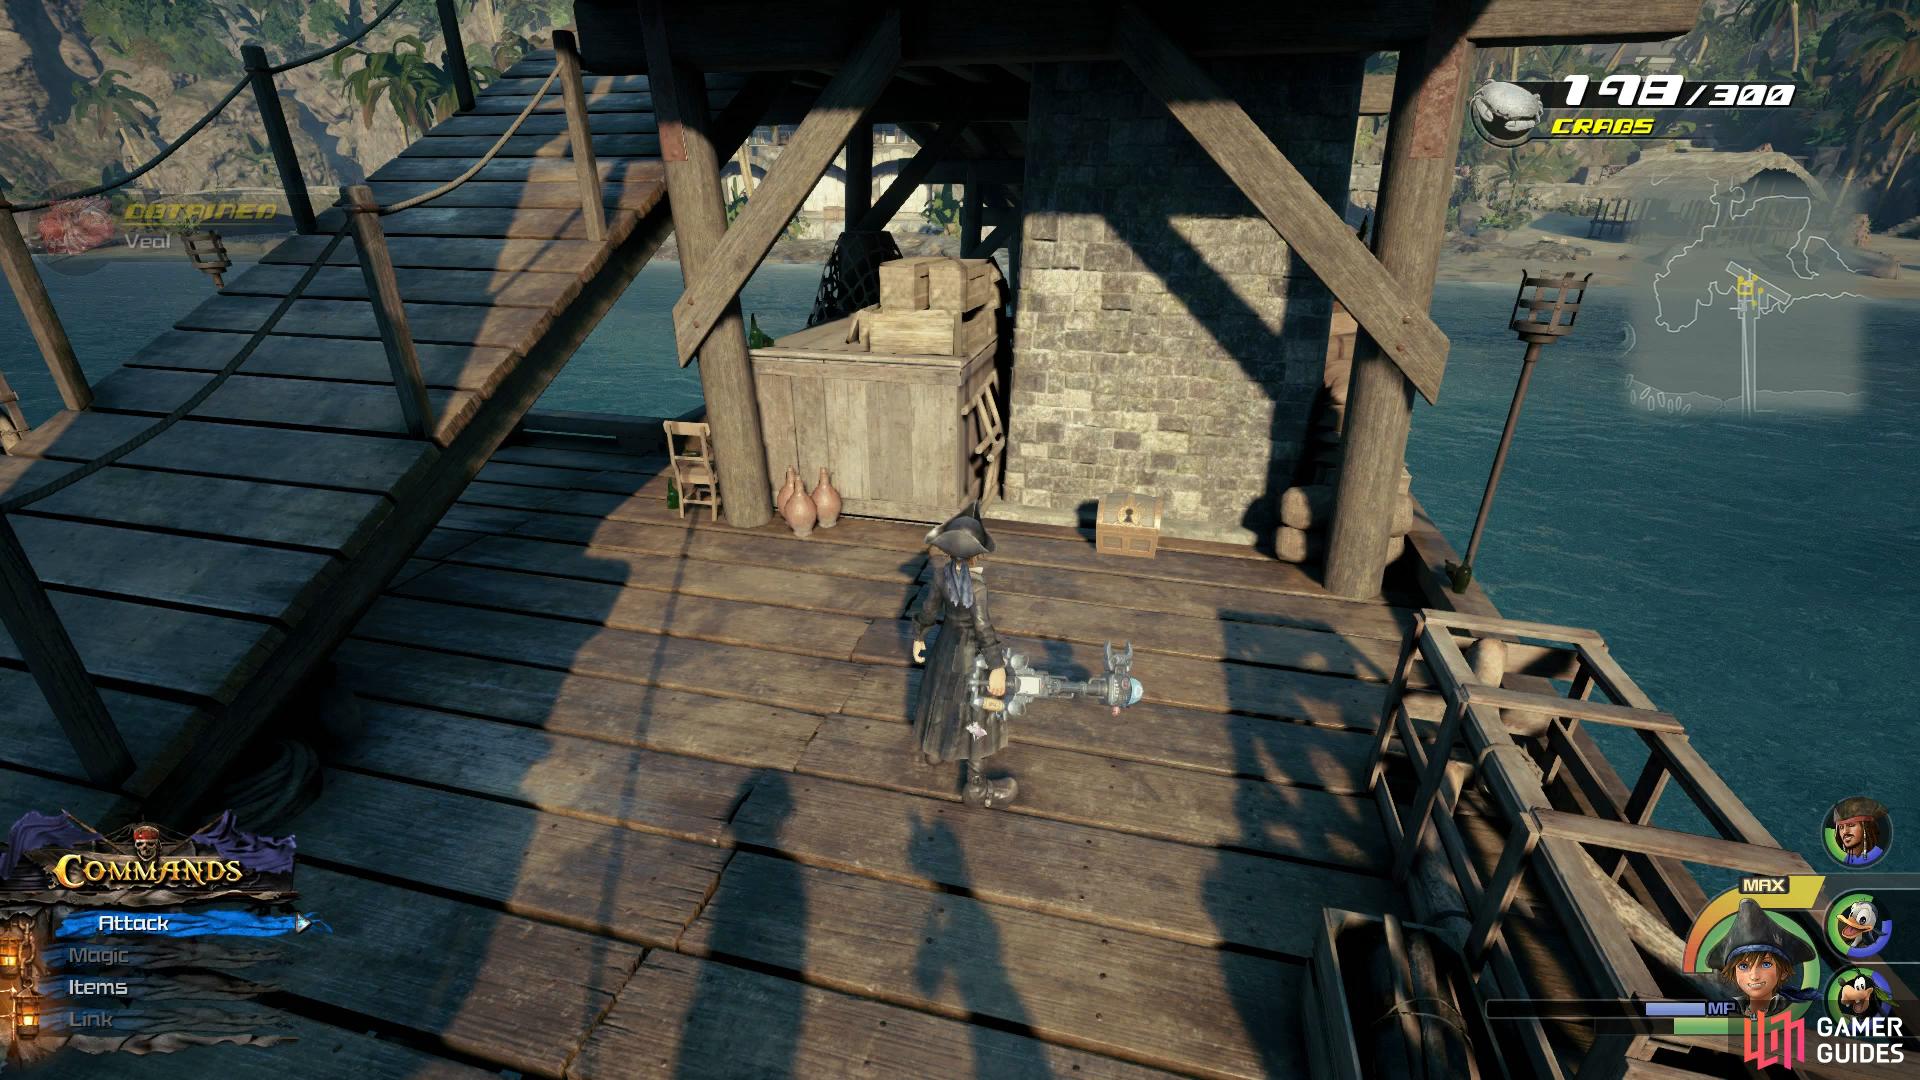
Search at the end of the pier to find this chest.
Head to the Seaport in Port Royal and follow the pier to the end, this chest sits against the pillar.
Treasure #50 - Mega-Ether
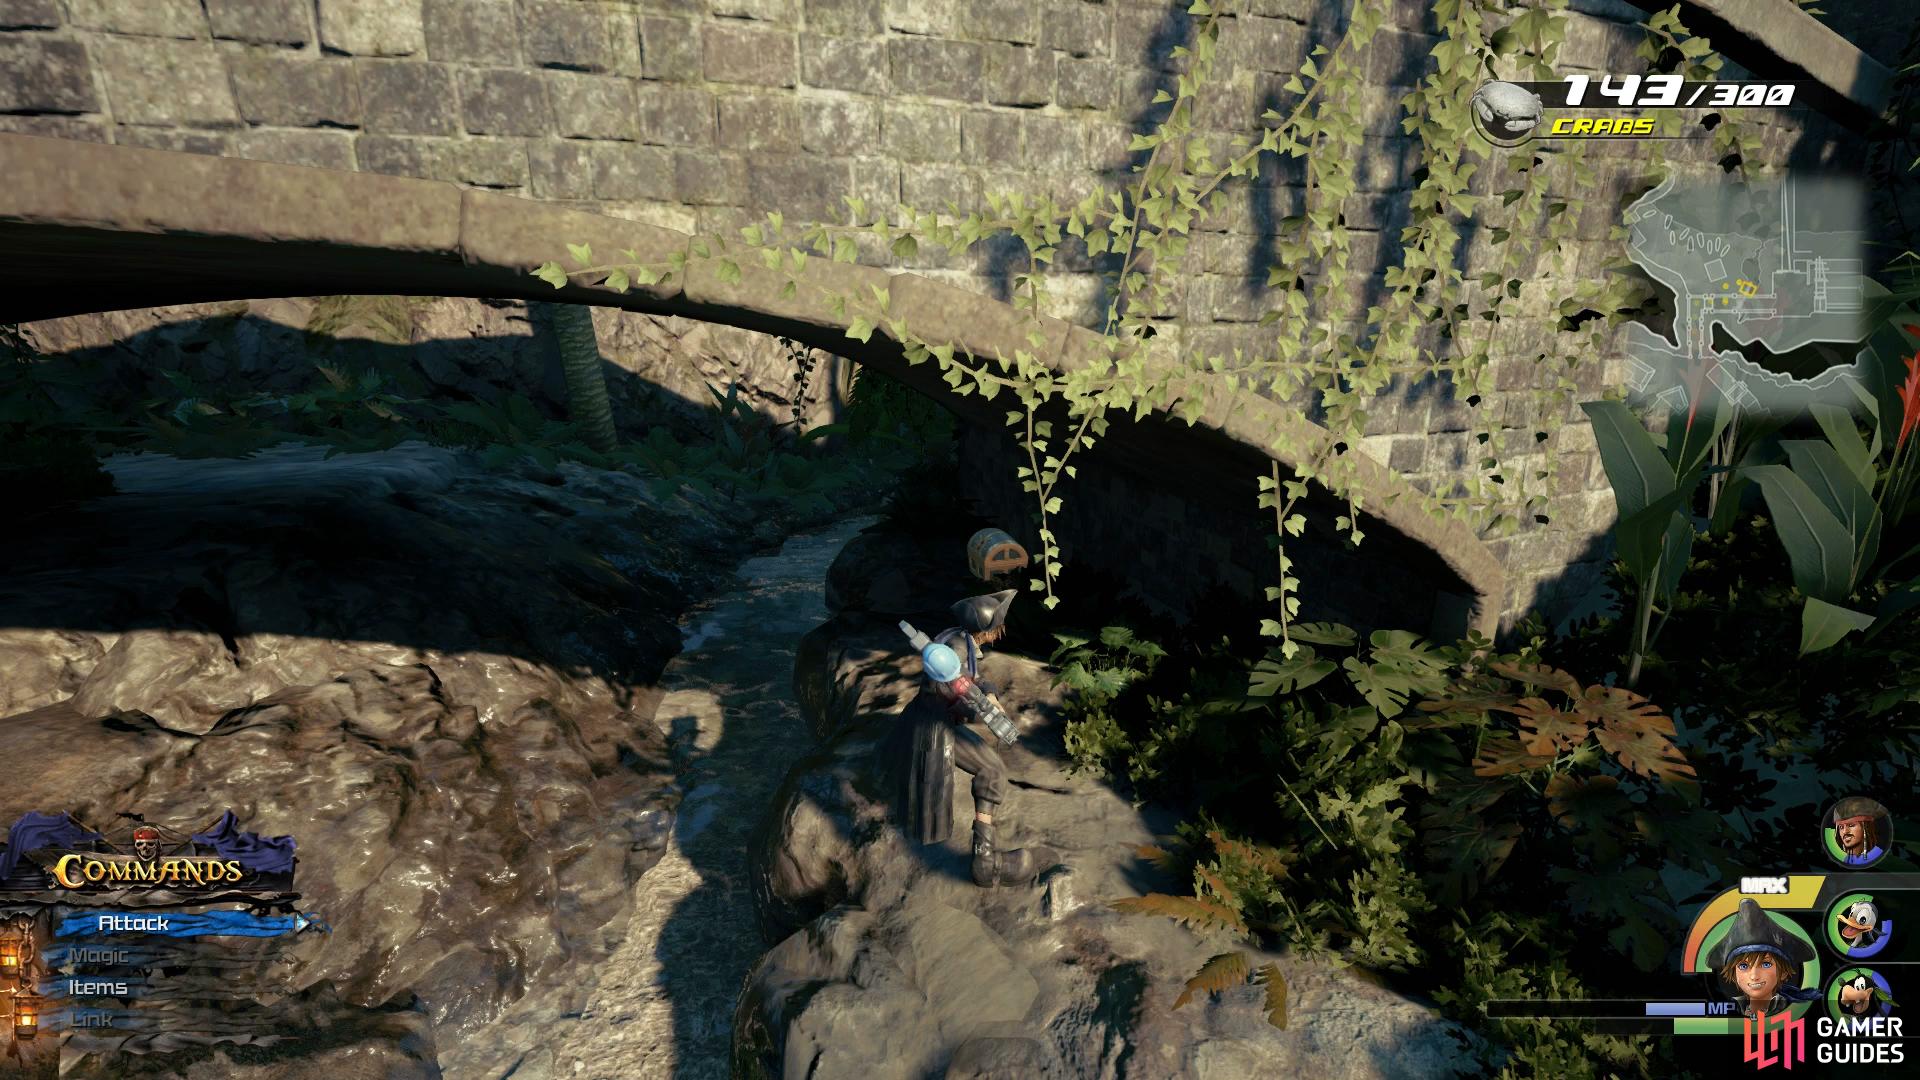
Look under the bridge to find this chest.
Head to the Seaport in Port Royal and as you make your way towards the Settlement, you’ll cross a bridge, search under it to find the chest.
Treasure #51 - Map: Port Royal Waters
Walk forward from the Leviathan to find this chest.
Head to Port Royal and walk forward from where the Leviathan is docked to find this chest.
Treasure #52 - Tent
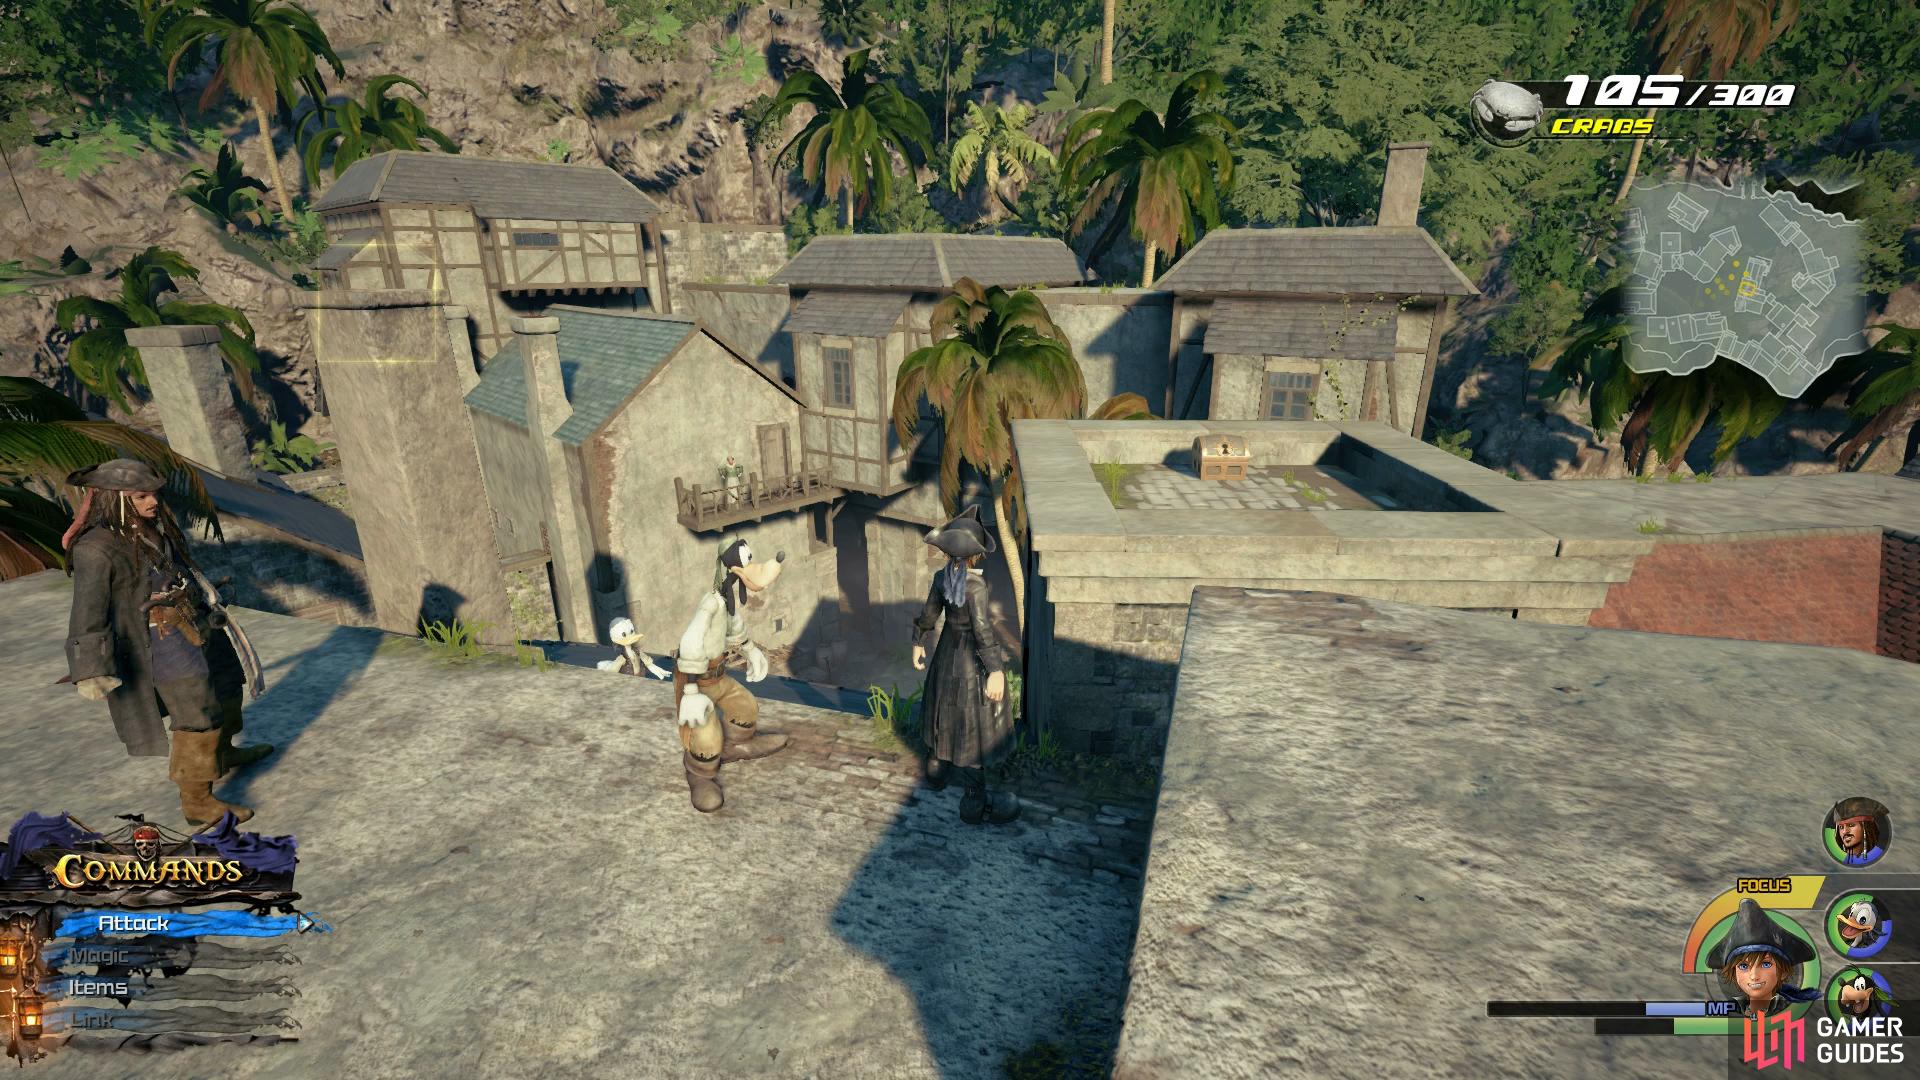
Look along the rooftops to find this chest.
Head to the Settlement in Port Royal and climb on top of the roofs, you’ll find the chest on top of a pillar to the east.
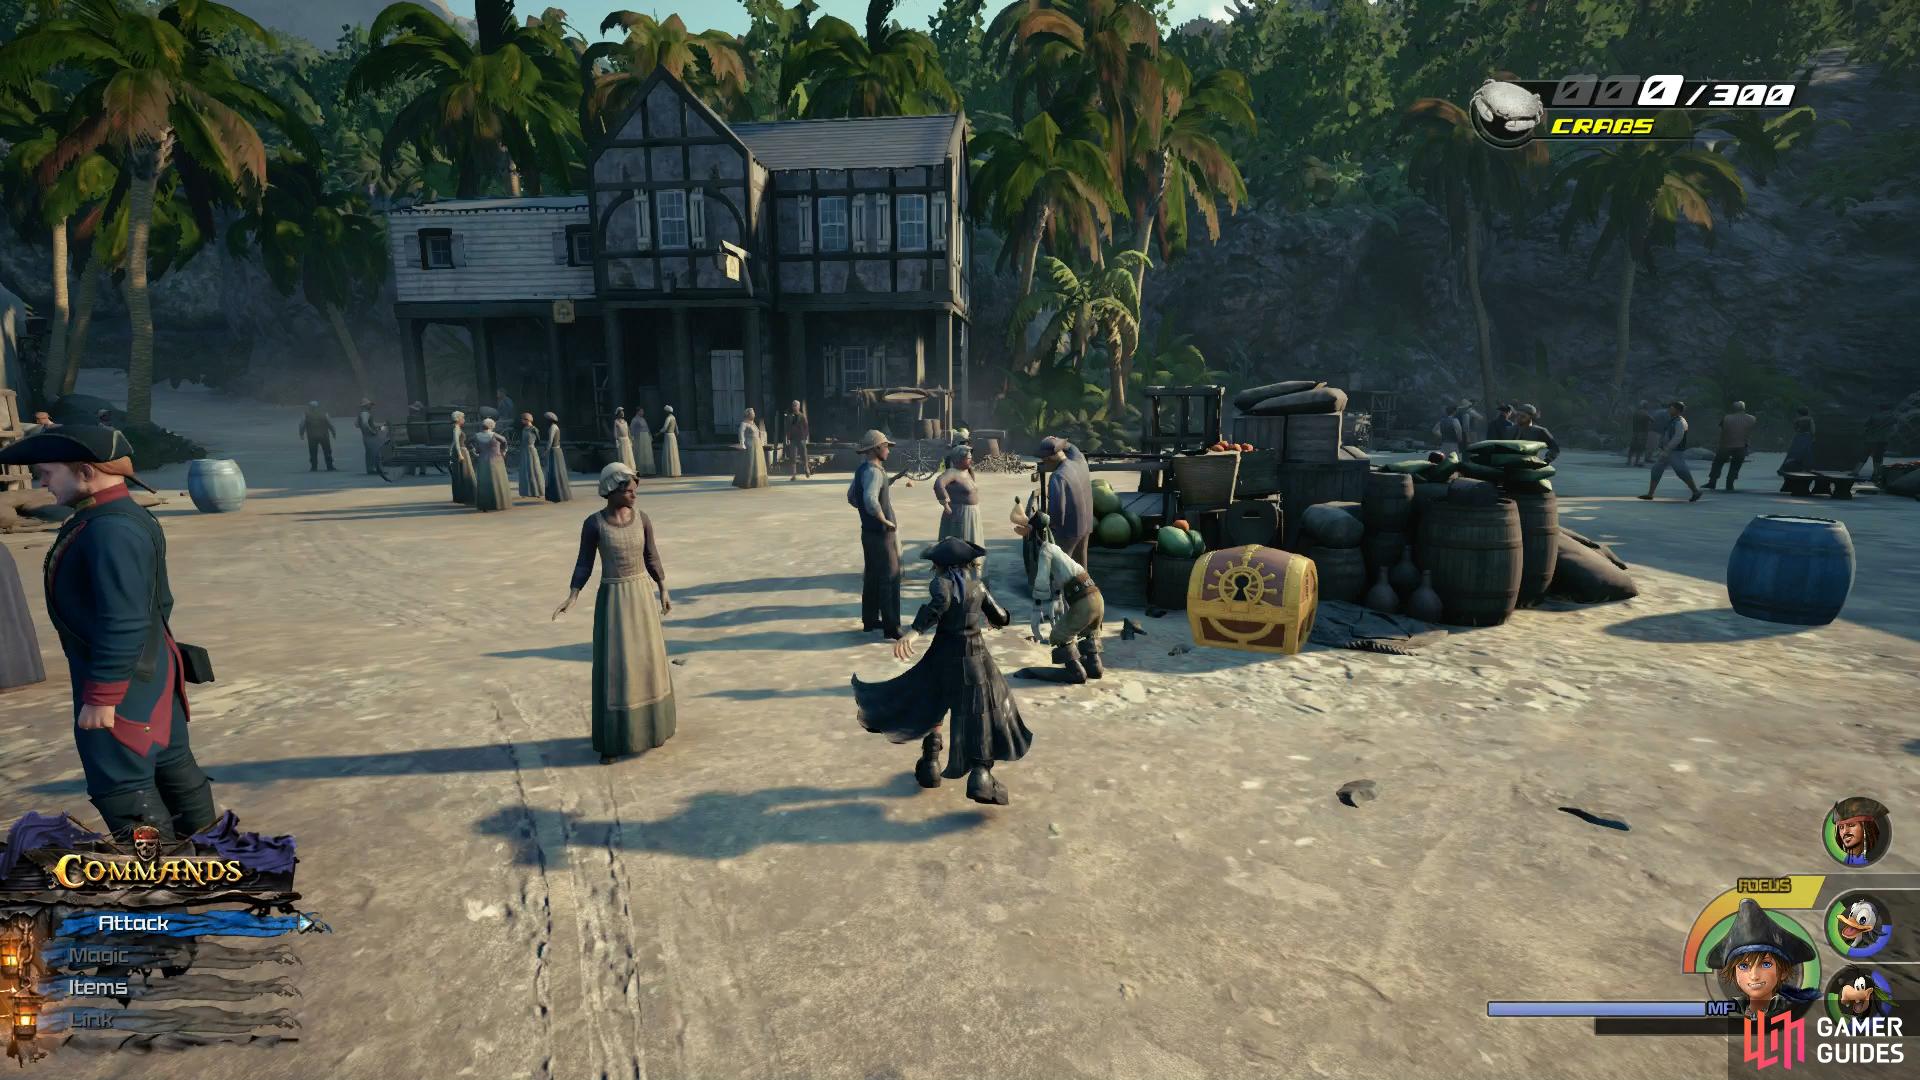
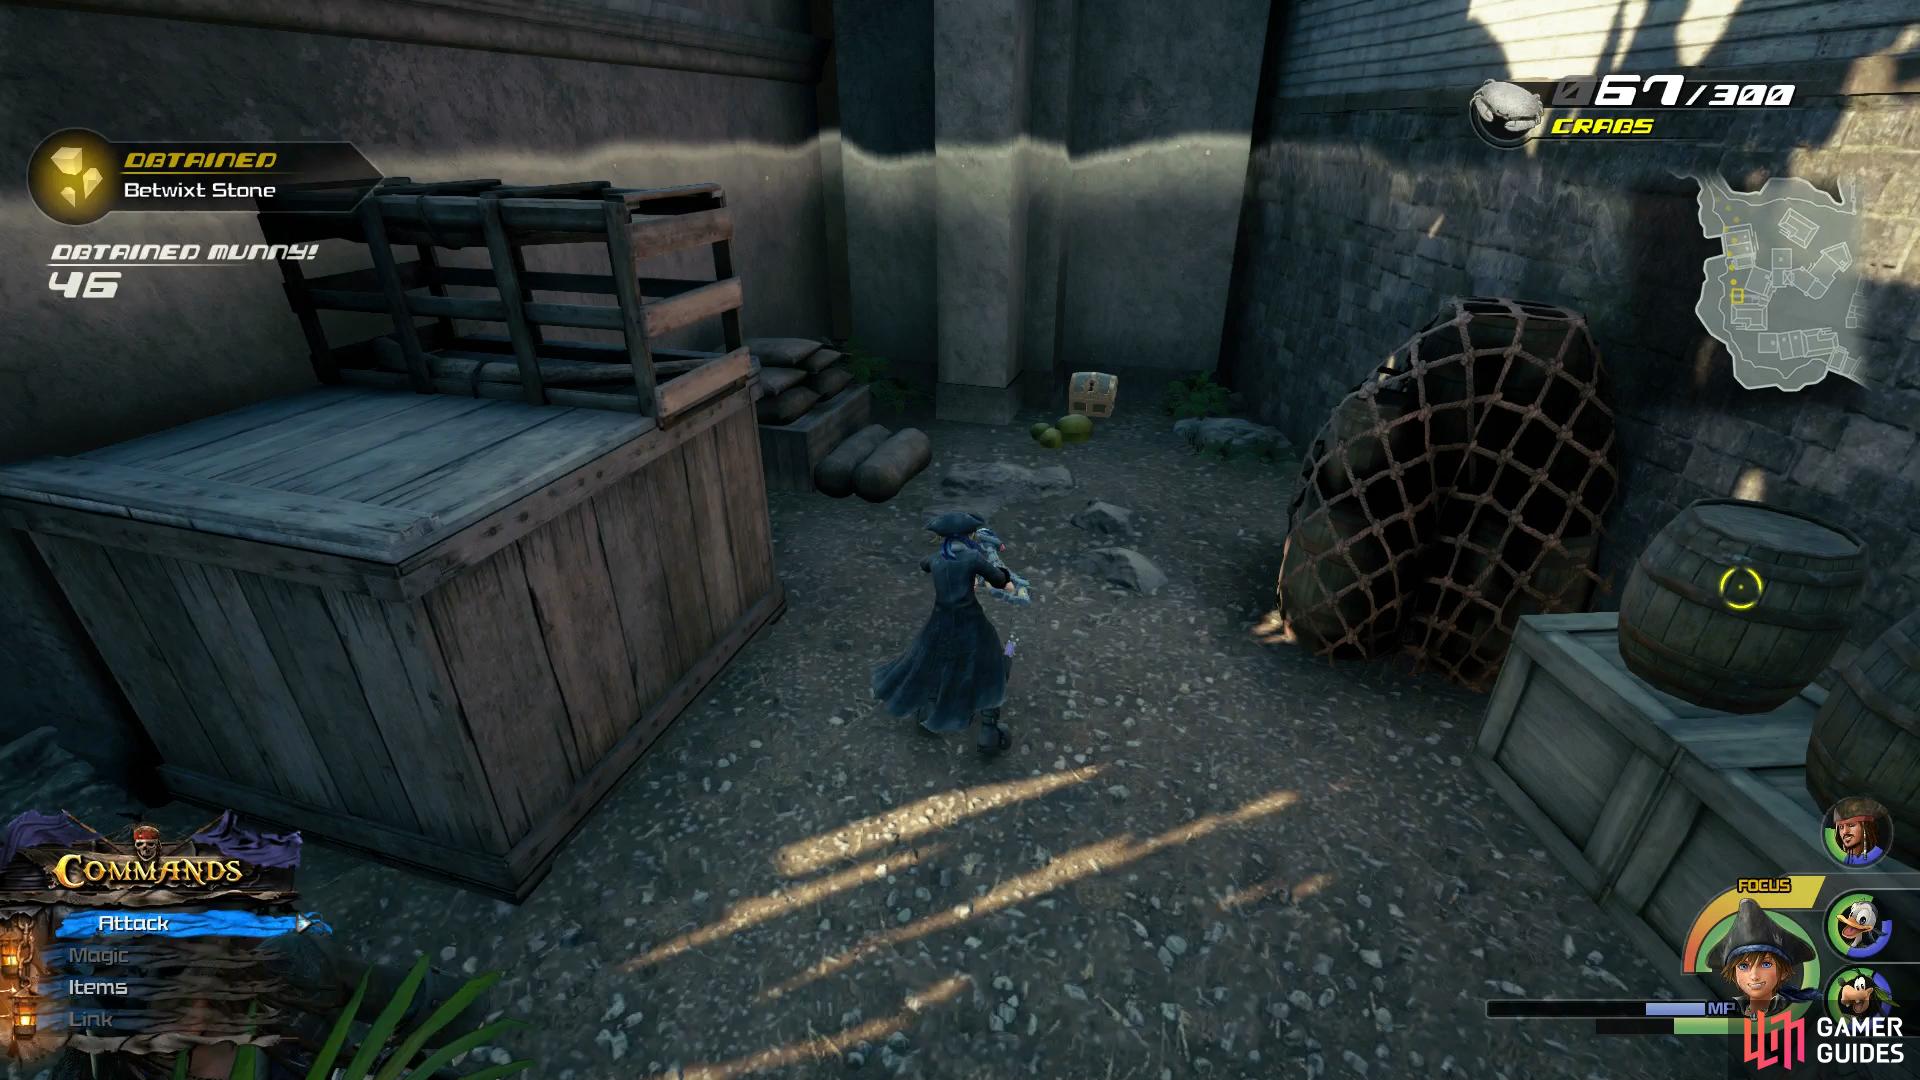
Treasure #53 - Hi-Ether
Look next to the house at the far west of the docks.
Head to the Docks in Port Royal and from where you find the map, head left and follow the path to the end. Take a right between the two houses to find this chest at the end.
Treasure #54 - Elixir
Swim towards the Jellyfish to find the chest.
Head to the Seaport in Port Royal and head down the pier until you reach the end. Dive into the sea here and you’ll see some Jellyfish, swim towards them to find this chest.
Treasure #55 - Mega-Potion
Break the boxes to uncover this chest.
Head to the Settlement in Port Royal and go behind the houses to the west to find a bunch of crates. Break these open to find this chest behind them.
 Sign up
No Comments