Following your run in with Solder at the end of There and Back Again, you’ll wake up without any of your gear, save for ![]() Skif’s Pistol, and a dog attempting to “greet” you.
Skif’s Pistol, and a dog attempting to “greet” you. ![]() Behind Seven Seals starts following this, and is the overarching mission for Stalker 2: Heart of Chornobyl’s opening region, the
Behind Seven Seals starts following this, and is the overarching mission for Stalker 2: Heart of Chornobyl’s opening region, the ![]() Lesser Zone.
Lesser Zone.
Behind Seven Seals is the major story mission for the Lesser Zone in Stalker 2.
Table of Contents
If you want to jump to a specific section, click on the links below.
A Tough Awakening
You’ll also find you’ve started a second main mission alongside Behind Seven Seals, ![]() A Tough Awakening, which is a simple one that shares the same objective as Behind Seven Seals. Before you can even start exploring your immediate surroundings however, you’re going to need to get out of this situation you find yourself in.
A Tough Awakening, which is a simple one that shares the same objective as Behind Seven Seals. Before you can even start exploring your immediate surroundings however, you’re going to need to get out of this situation you find yourself in.
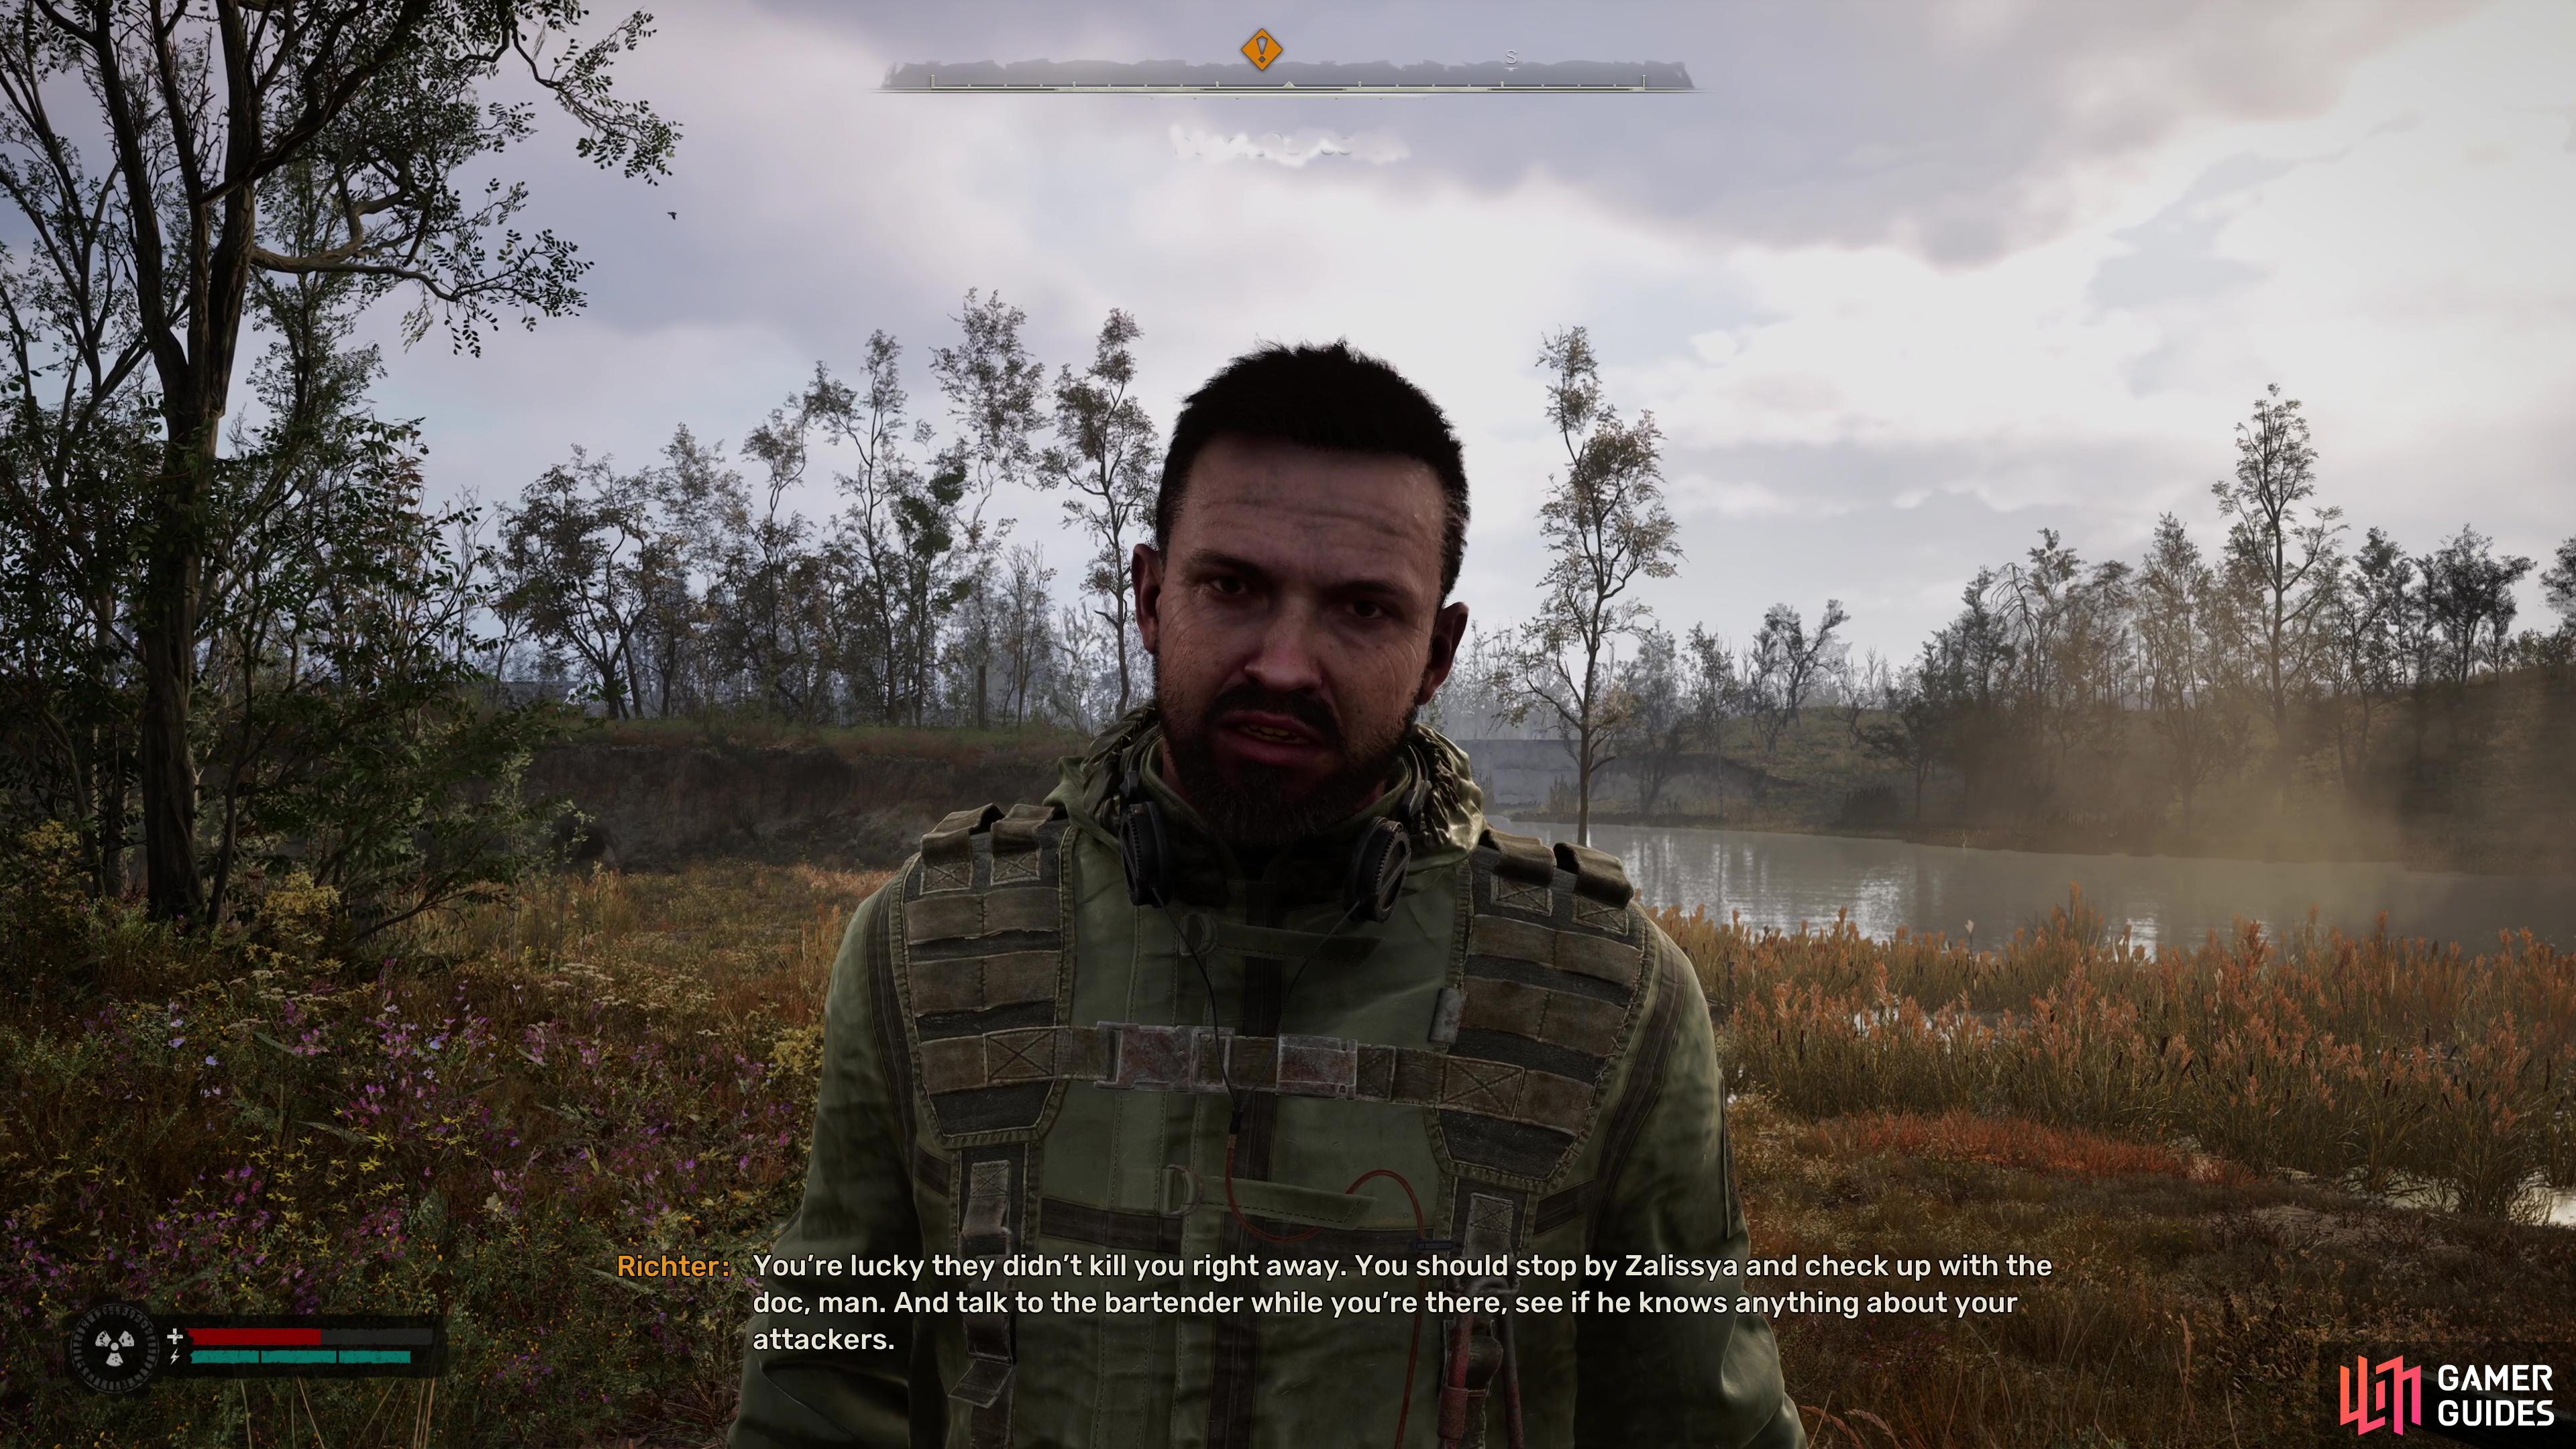
Fortunately, Richter has thrown a Bolt to you (which are infinite use following this time) that can be used to trigger Anomalies, allowing you to pass through before they activate again. With a Bolt equipped, toss it at a nearby Anomaly and then rush out of the area and speak to Richter and answer however you feel. He will give you some useful information though, there’s a place nearby called Zalissya that you can find more information about the men who attacked you. At this point, A Tough Awakening just requires you to either follow Richter to Zalissya or reach it yourself to complete.
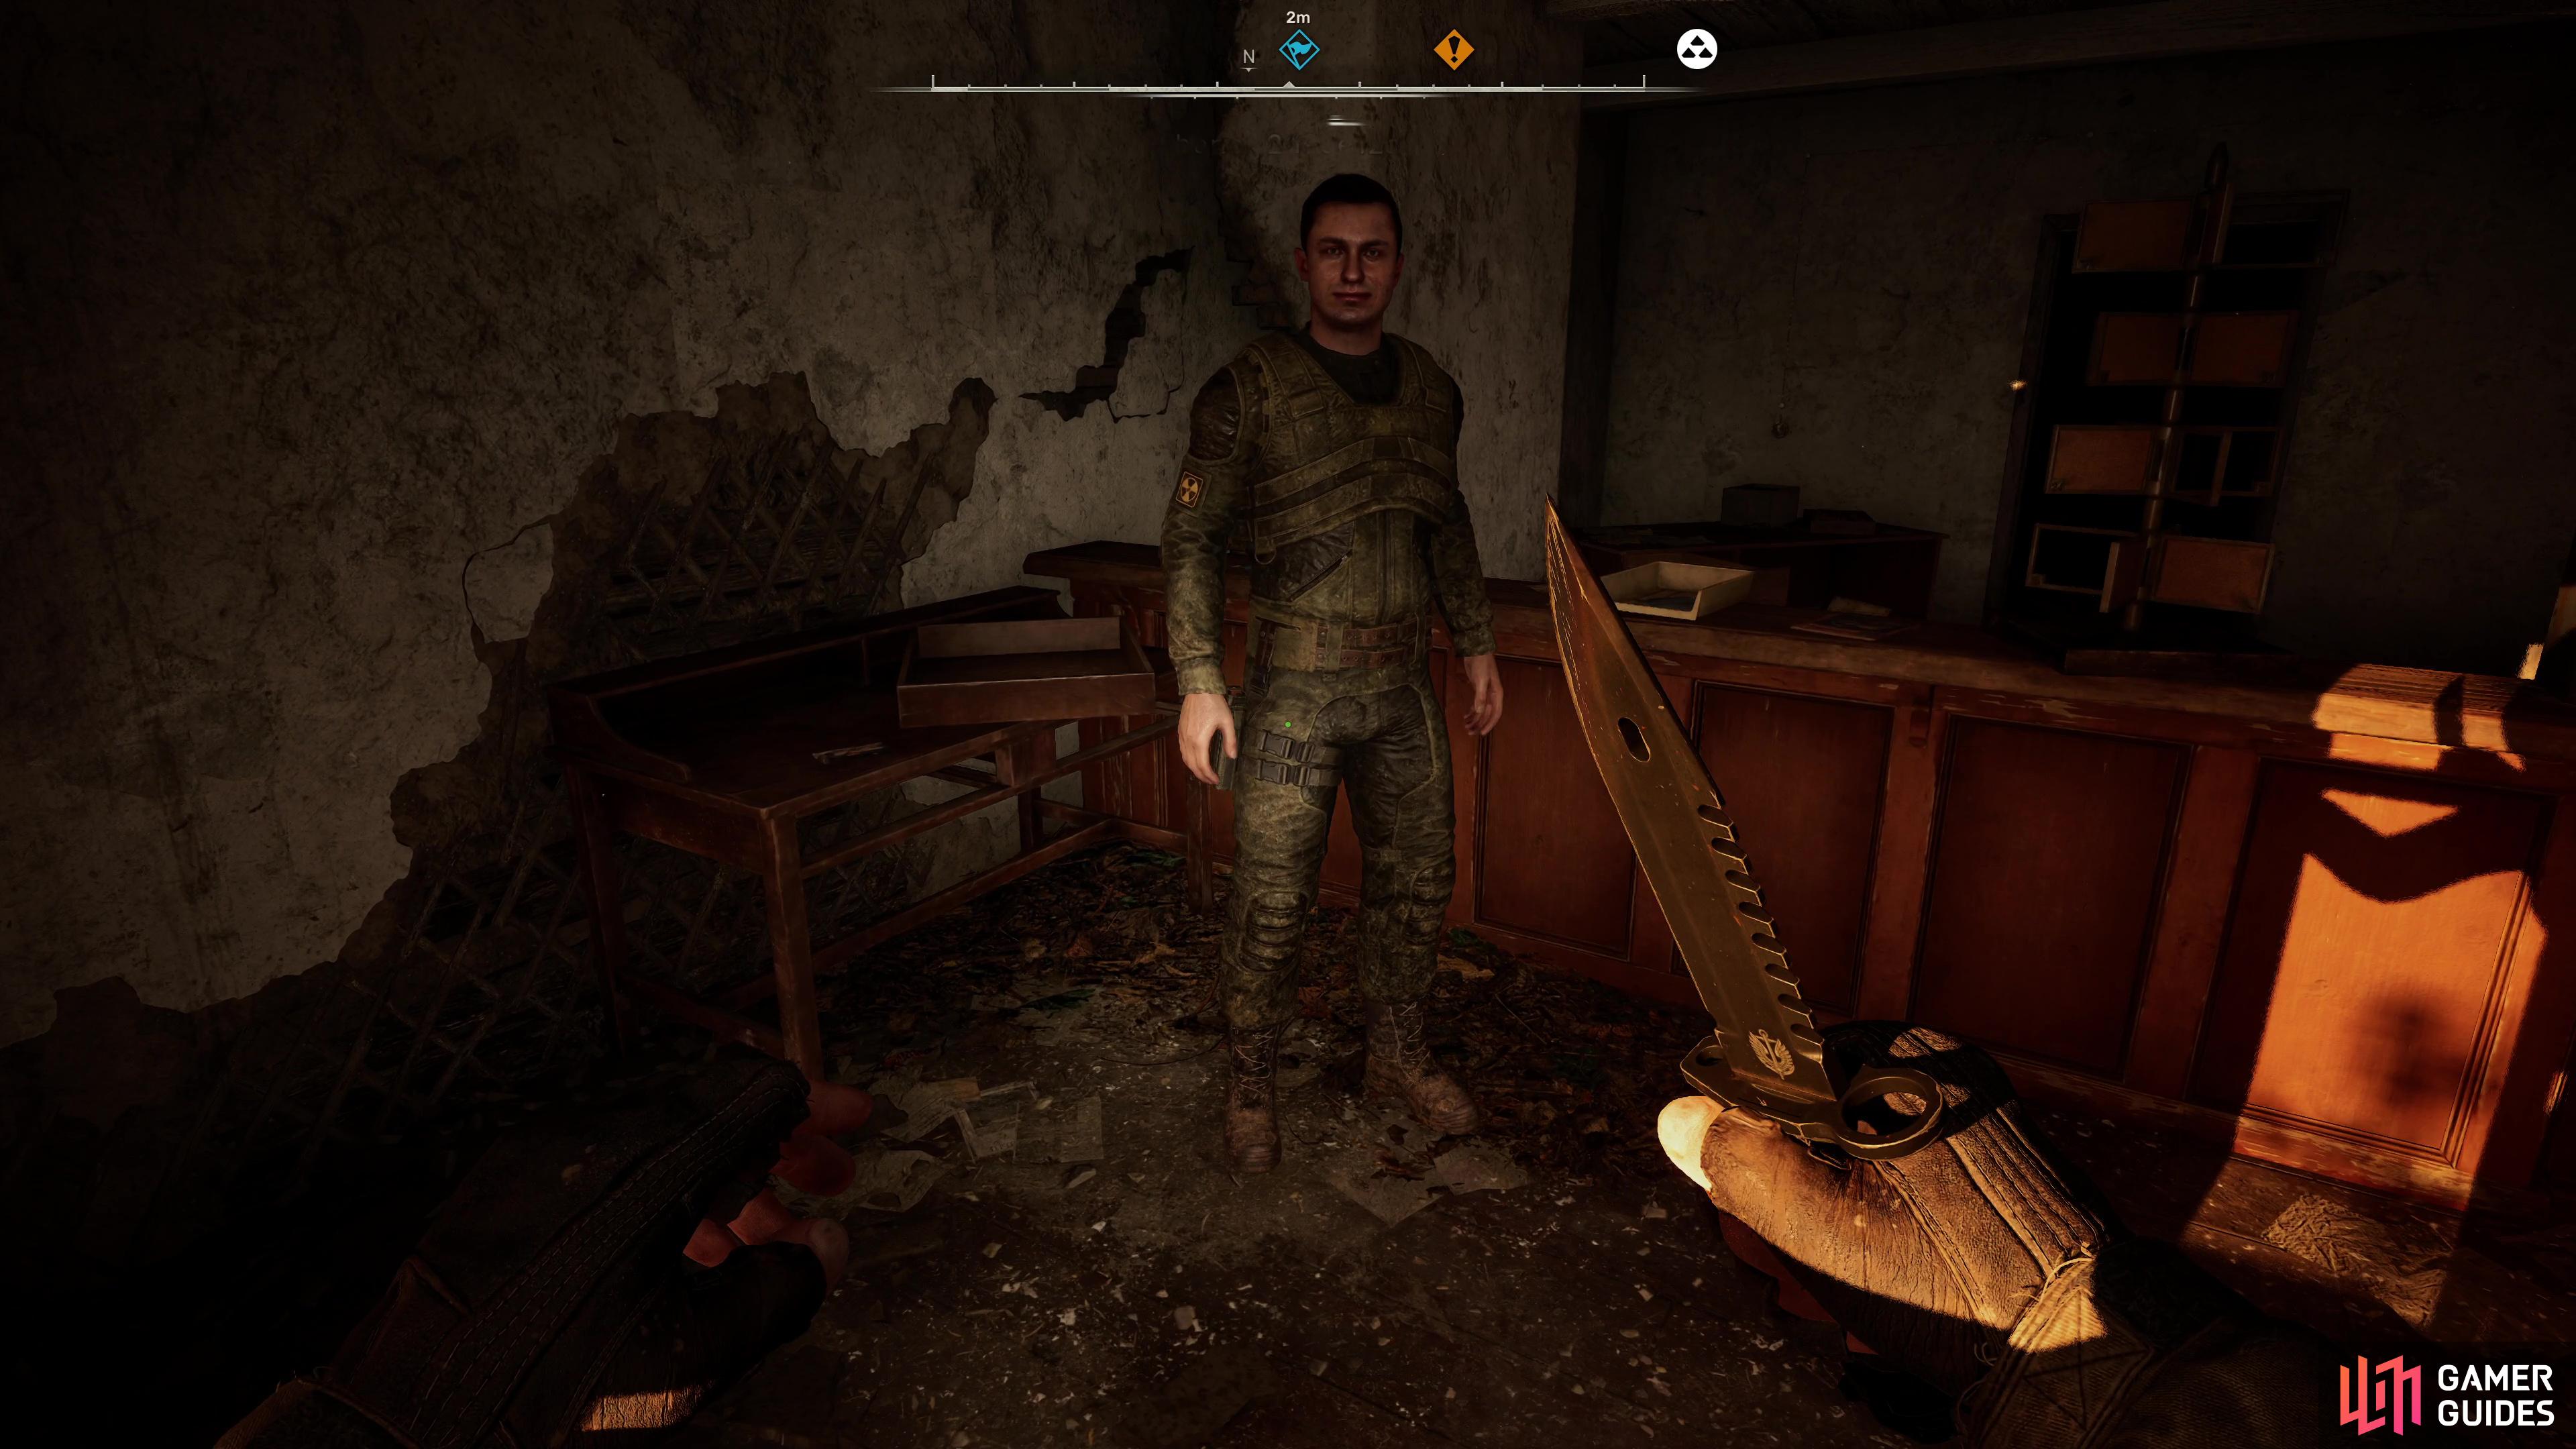
As a general rule, you’ll always want to take the time to explore your surroundings, the Cabin nearby has some good loot you can access and get your hands on another Assault Rifle. Zalissya (Map Marker) is located to the northeast of your current location, and if you follow that path, you can begin and complete a Side Mission named ![]() Dangerous Visitors, this will take you up to the Boiler House where upon completing the mission, you can investigate the Magnetic Cave (Map Marker) and maybe bag yourself a new Thermal Artifact.
Dangerous Visitors, this will take you up to the Boiler House where upon completing the mission, you can investigate the Magnetic Cave (Map Marker) and maybe bag yourself a new Thermal Artifact.
(1 of 2) You’ll meet Richter after escaping the anomalous field.
You’ll meet Richter after escaping the anomalous field. (left), Stop by the Post Office on the way to Zalissya to pick up the Dangerous Visitors side mission. (right)
Regardless of how you get there, you need to reach Zalissya to not only end A Tough Awakening but also progress Behind Seven Seals.
Find Information About Solder
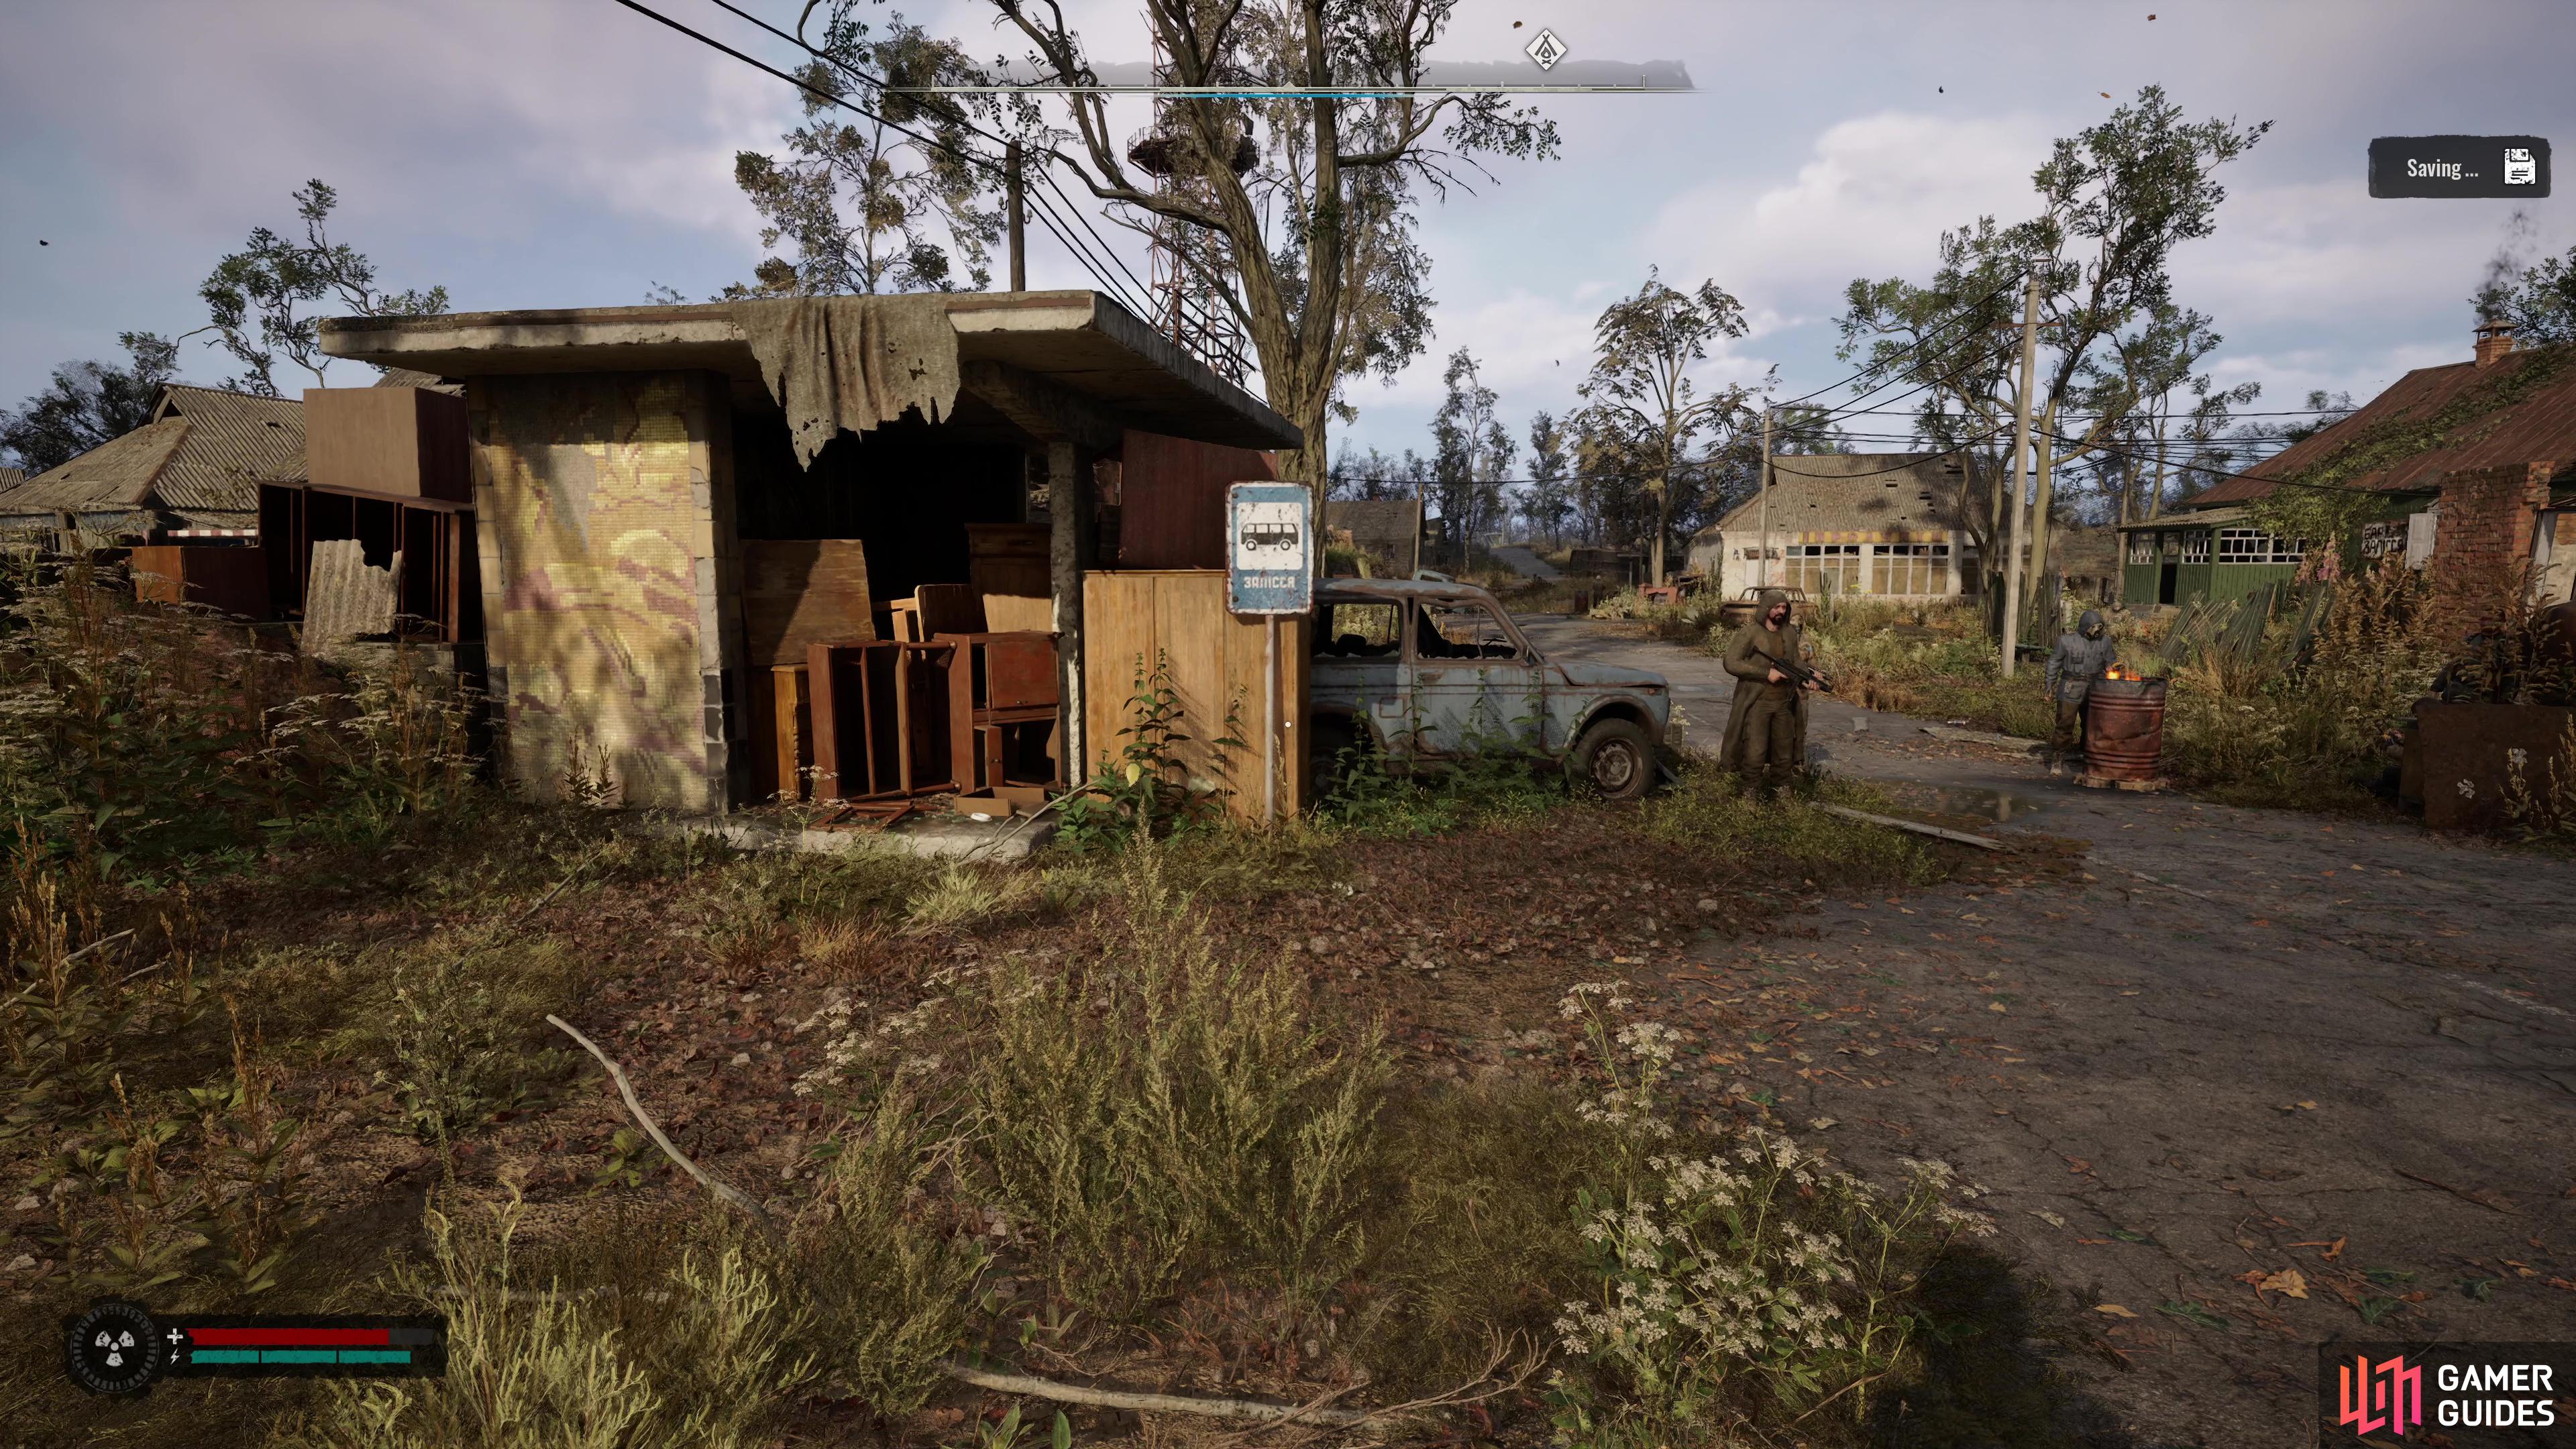
Zalissya isn’t the largest place when it comes to some of the Settlements in Stalker 2, but there’s a lot to unpack, many Side Missions to accept, and merchants to use. You’ll also find a bed you can use in Hamster’s shop that will allow you to Change the time of day at the expense of getting a Hunger debuff, and Lens, a Technician that can repair your equipment and upgrade them too.
You’ll find all manner of useful people here at Zalissya.
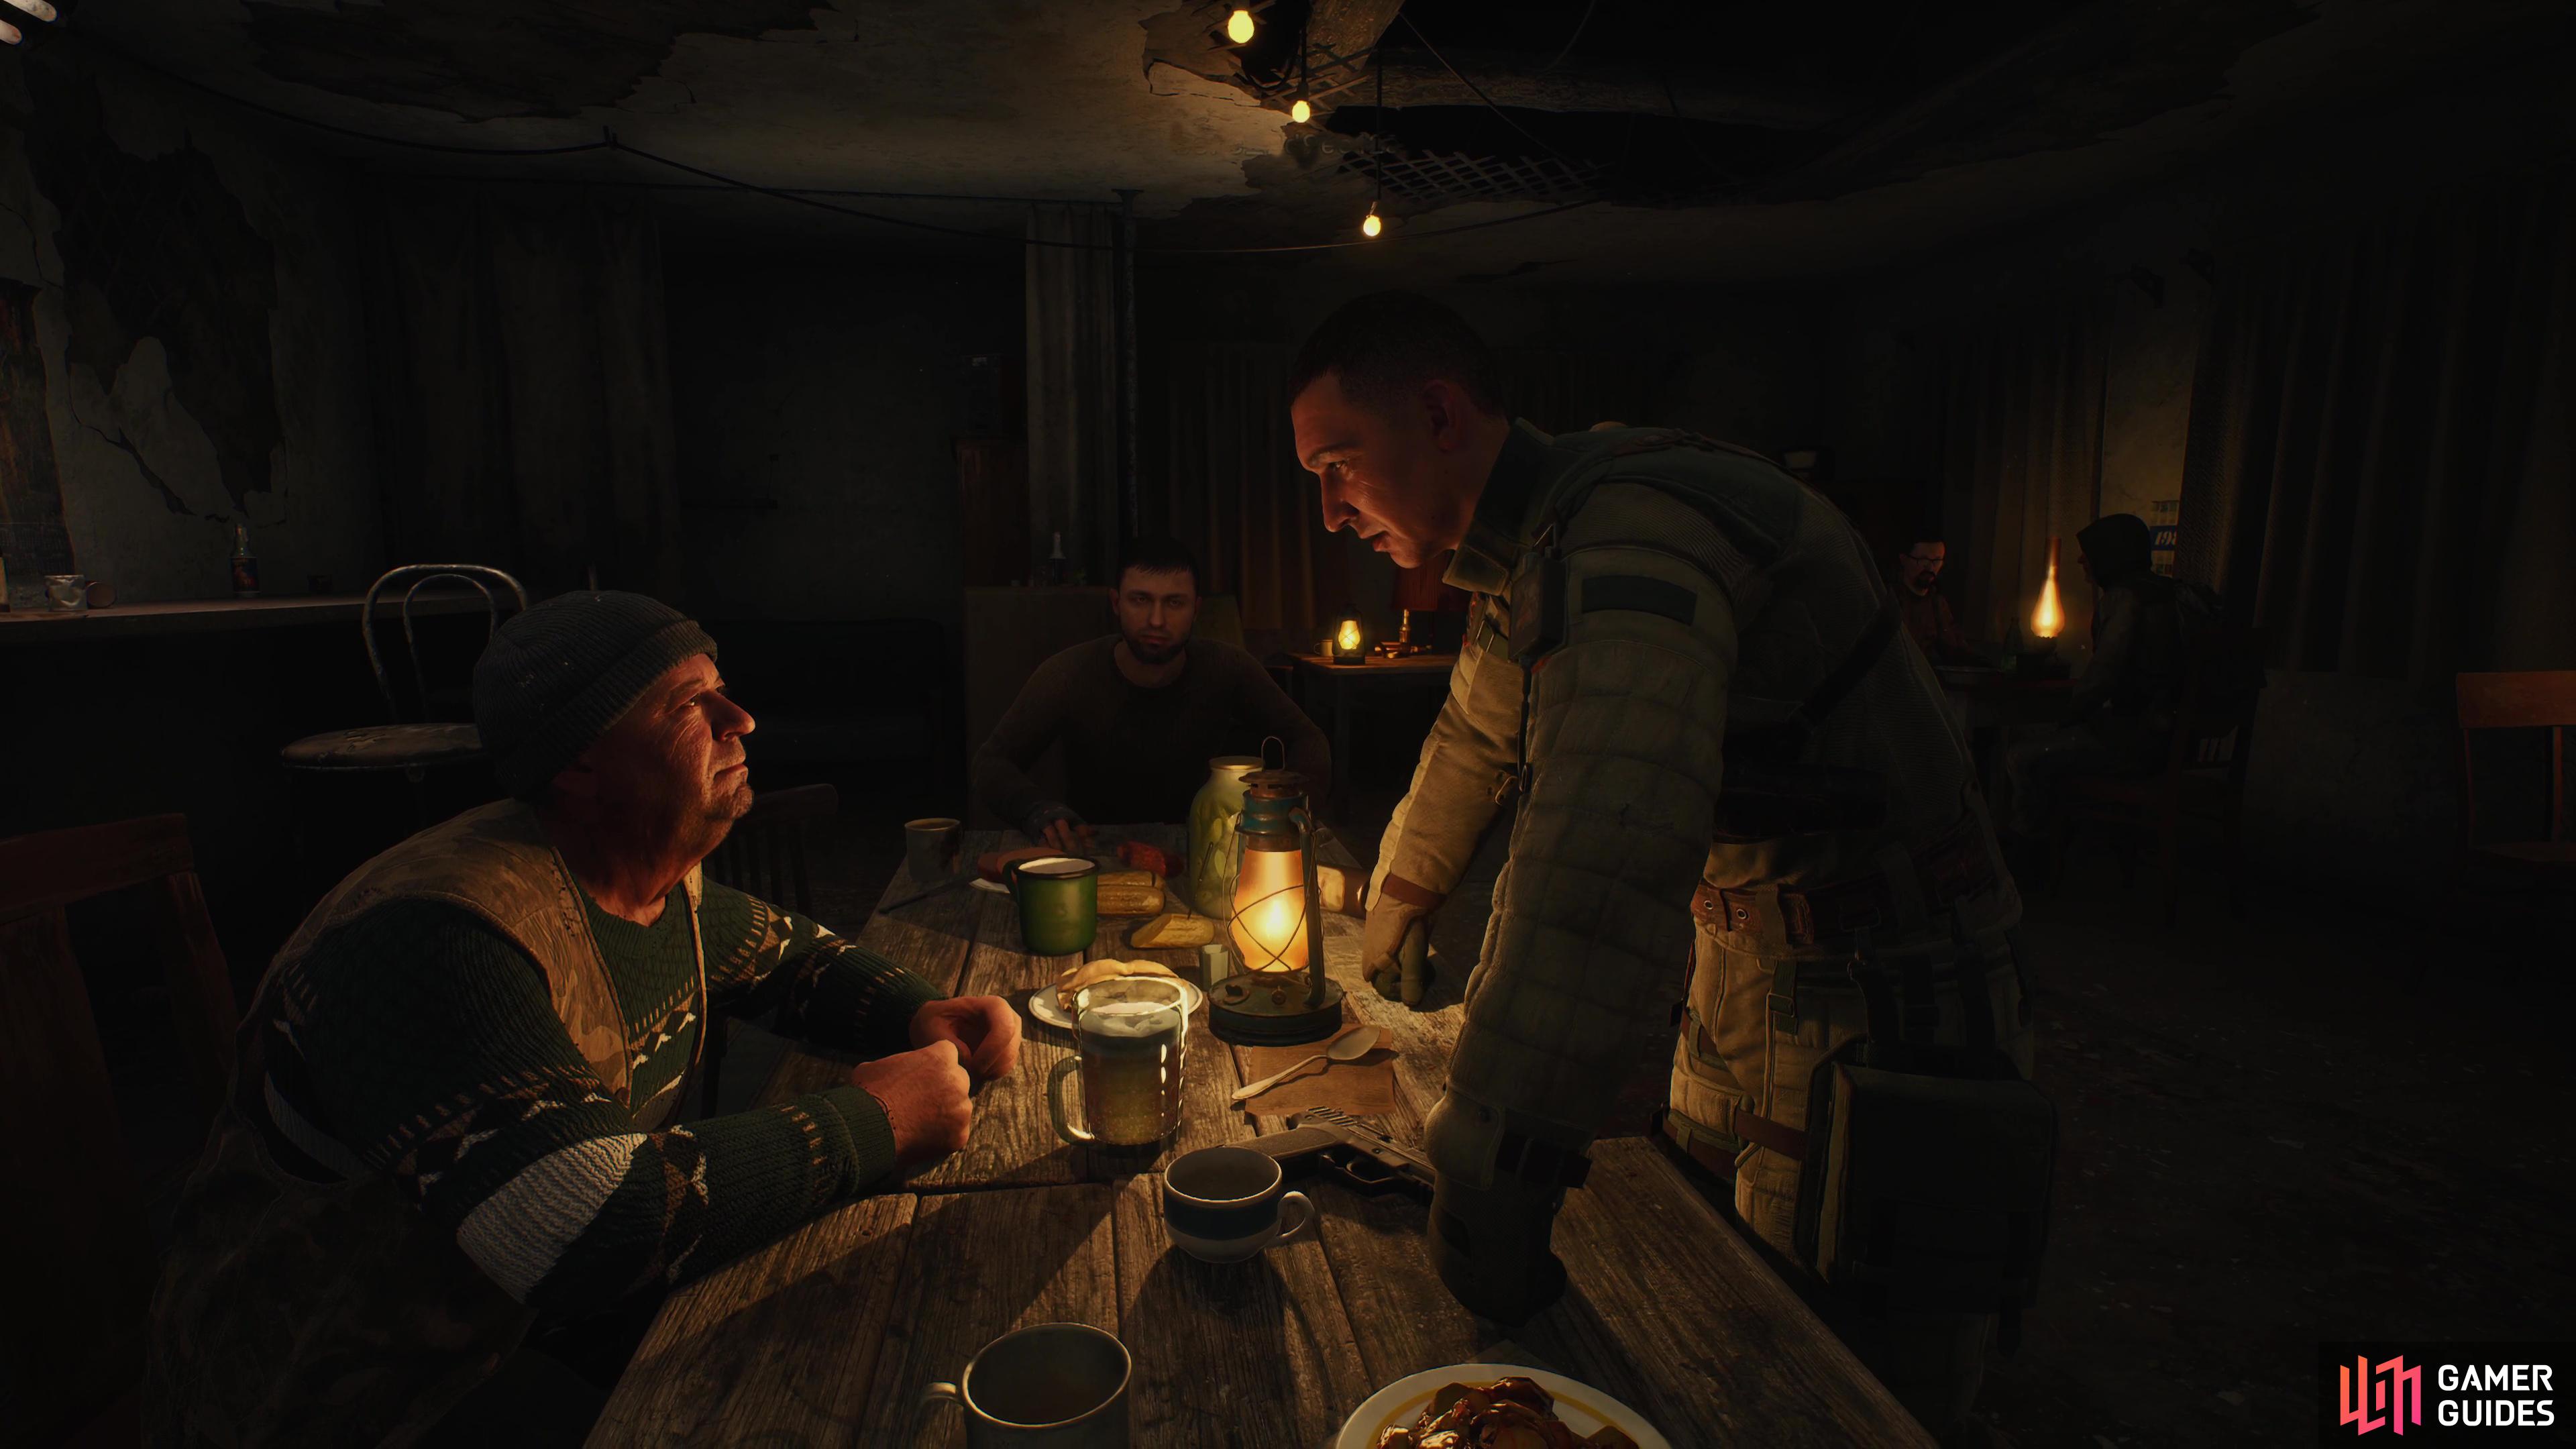
While Behind Seven Seals is the main mission for the Lesser Zone, do take the time to explore around properly, complete those side missions, and start stockpiling resources, this is where Stalker 2 shines the most. Once you’re ready to continue, head into Zalissya Bar to trigger a cutscene where you’ll be introduced to Gaffer, a Stalker, and Cpt. Zotov, a Warden who is looking for someone named Squint. Feel free to answer however you like, be it in favor of the Stalkers, the Wardens, or just keeping to yourself.
Ask Captain Zotov and Gaffer about Solder
Your next task is to speak to both of these men to see what information they have to offer on Solder. You’re not forced to make a choice yet, you can speak to both of them and agree to help both of them with their issue, finding Squint and getting the sensors he’s stolen. This starts the ![]() A Needle in a Haystack main mission, that must be completed to progress Behind Seven Seals.
A Needle in a Haystack main mission, that must be completed to progress Behind Seven Seals.
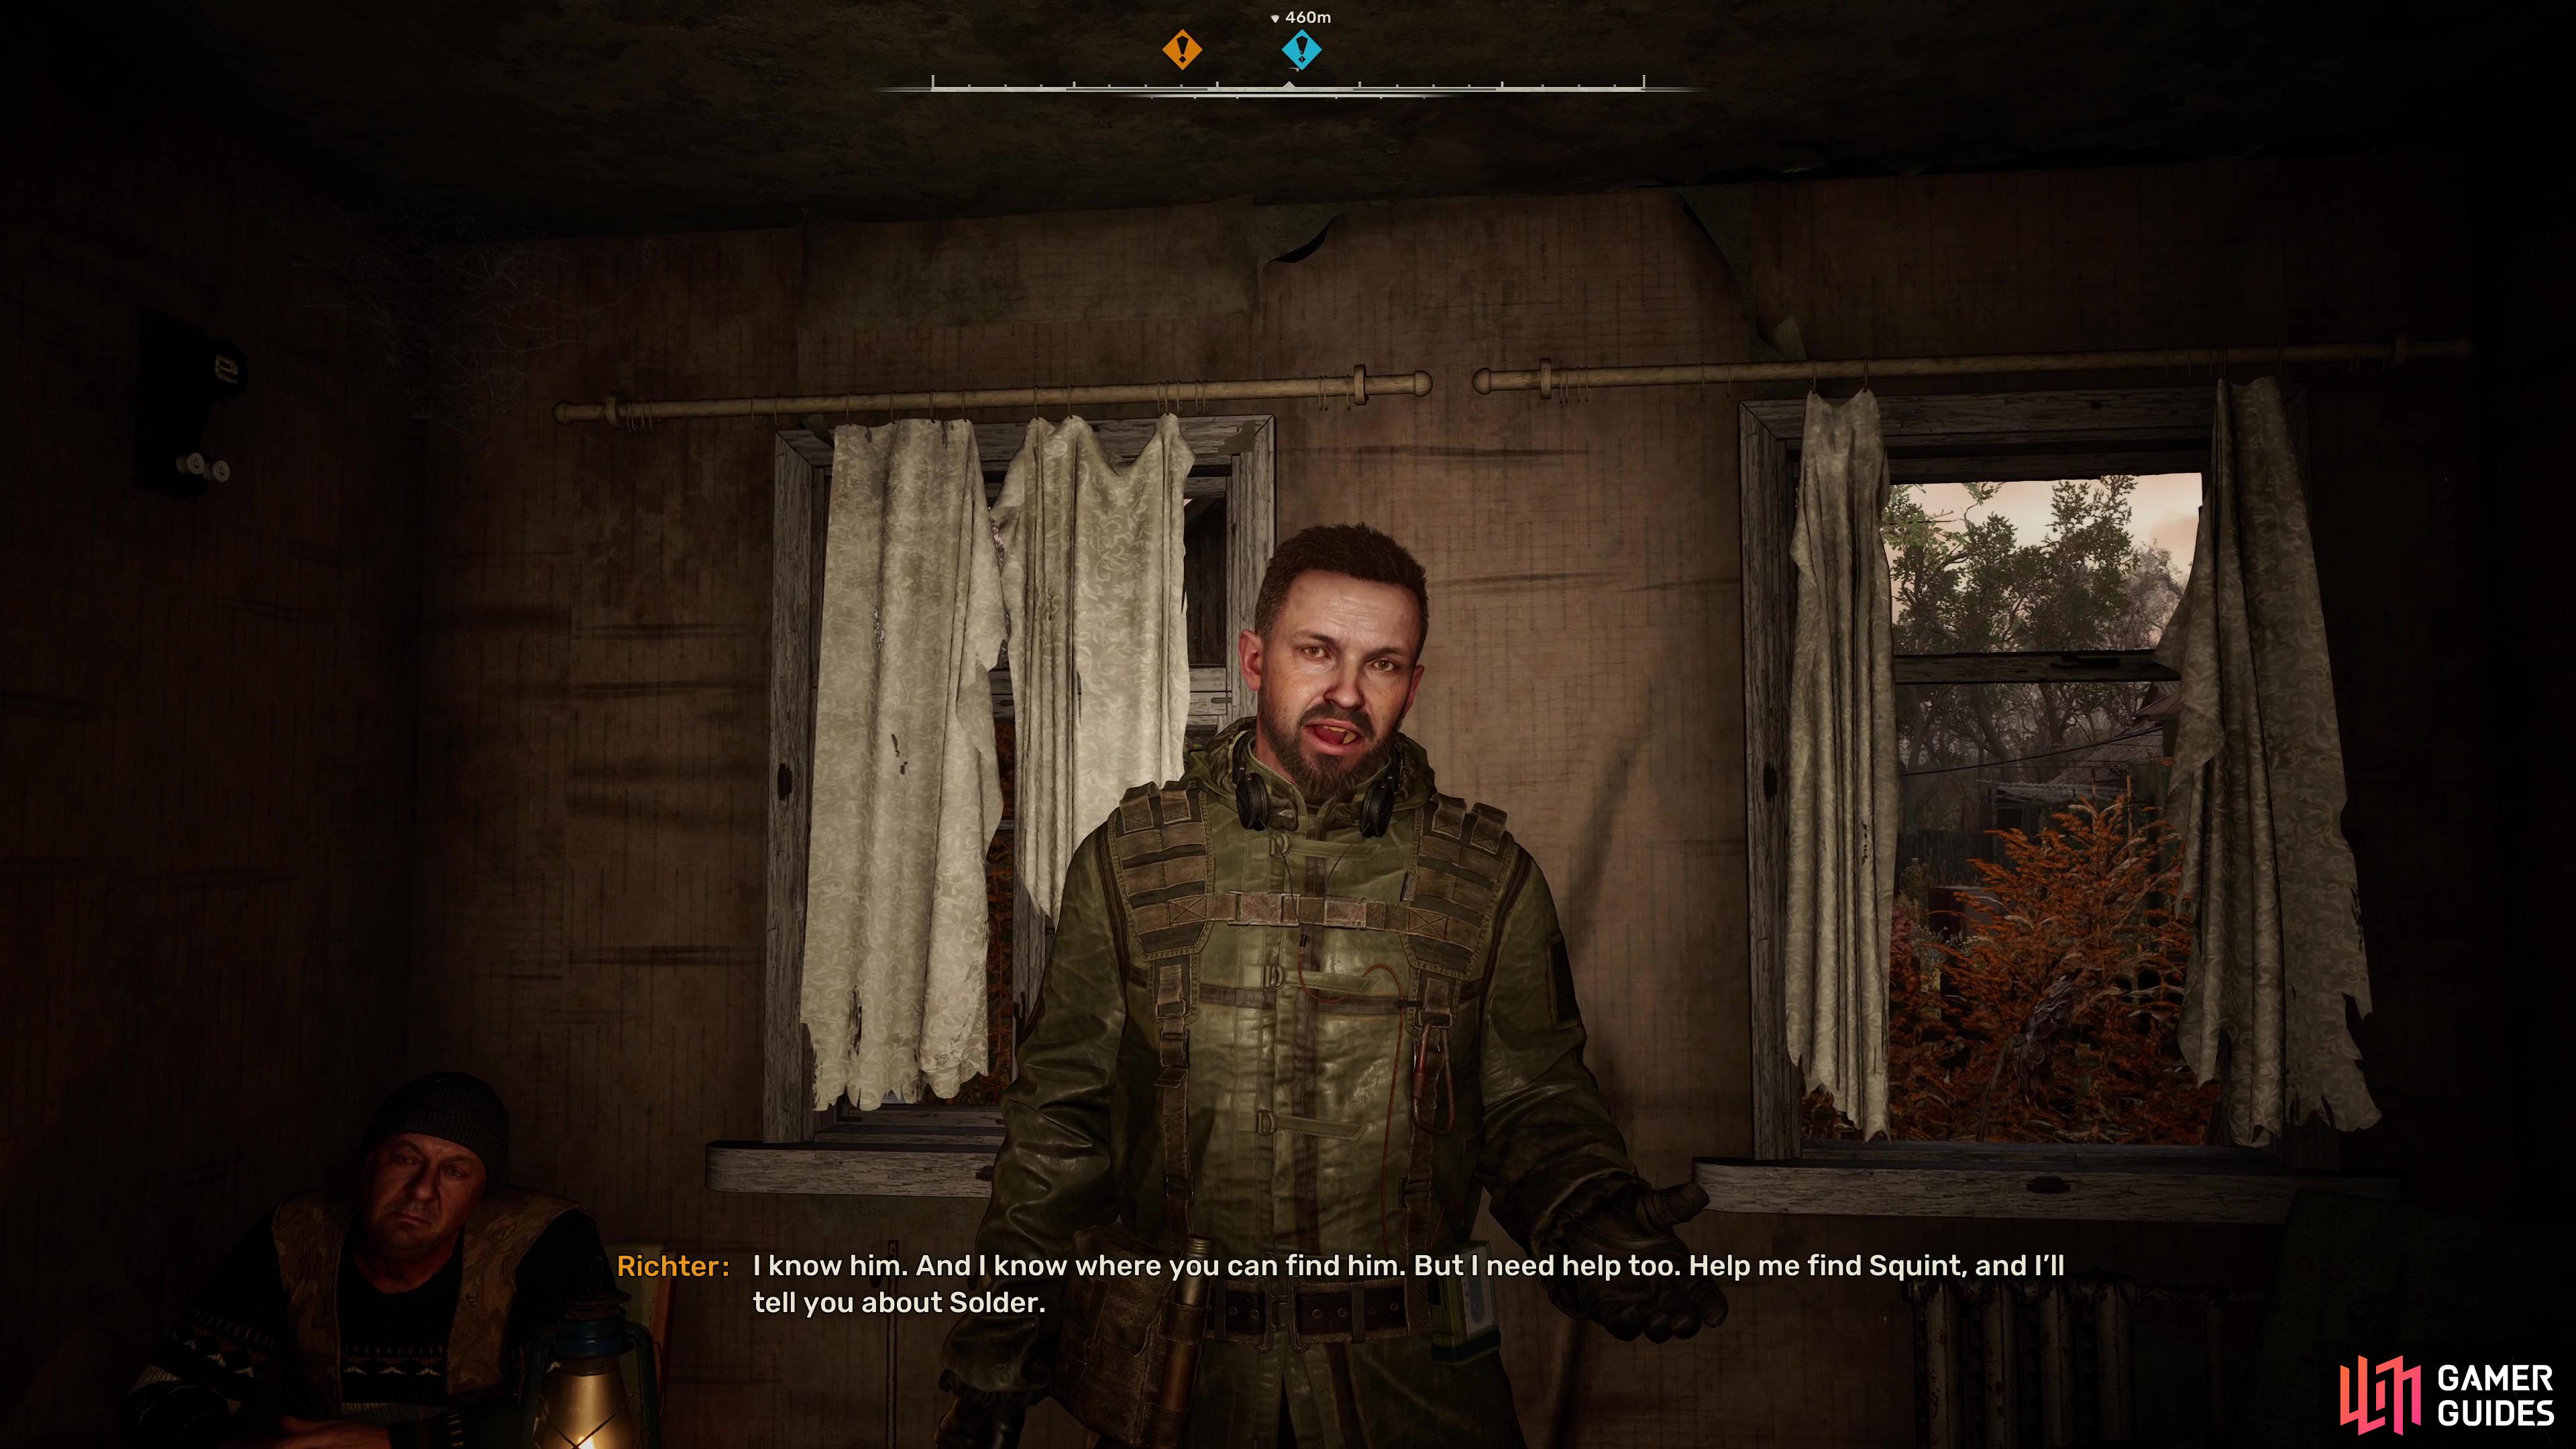
Your new friend from the start of this mission, Richter, can be found in Gaffer’s house with him and will reveal that Squint was one of his men. He’ll give you the ![]() Invisible Nets Side Mission at this point, that tasks you with climbing the tower outside the building the Ward are holed up in to try and locate Squint. Once again, you don’t need to make your final decision until you have what Richter’s after, so feel free to complete both quests.
Invisible Nets Side Mission at this point, that tasks you with climbing the tower outside the building the Ward are holed up in to try and locate Squint. Once again, you don’t need to make your final decision until you have what Richter’s after, so feel free to complete both quests.
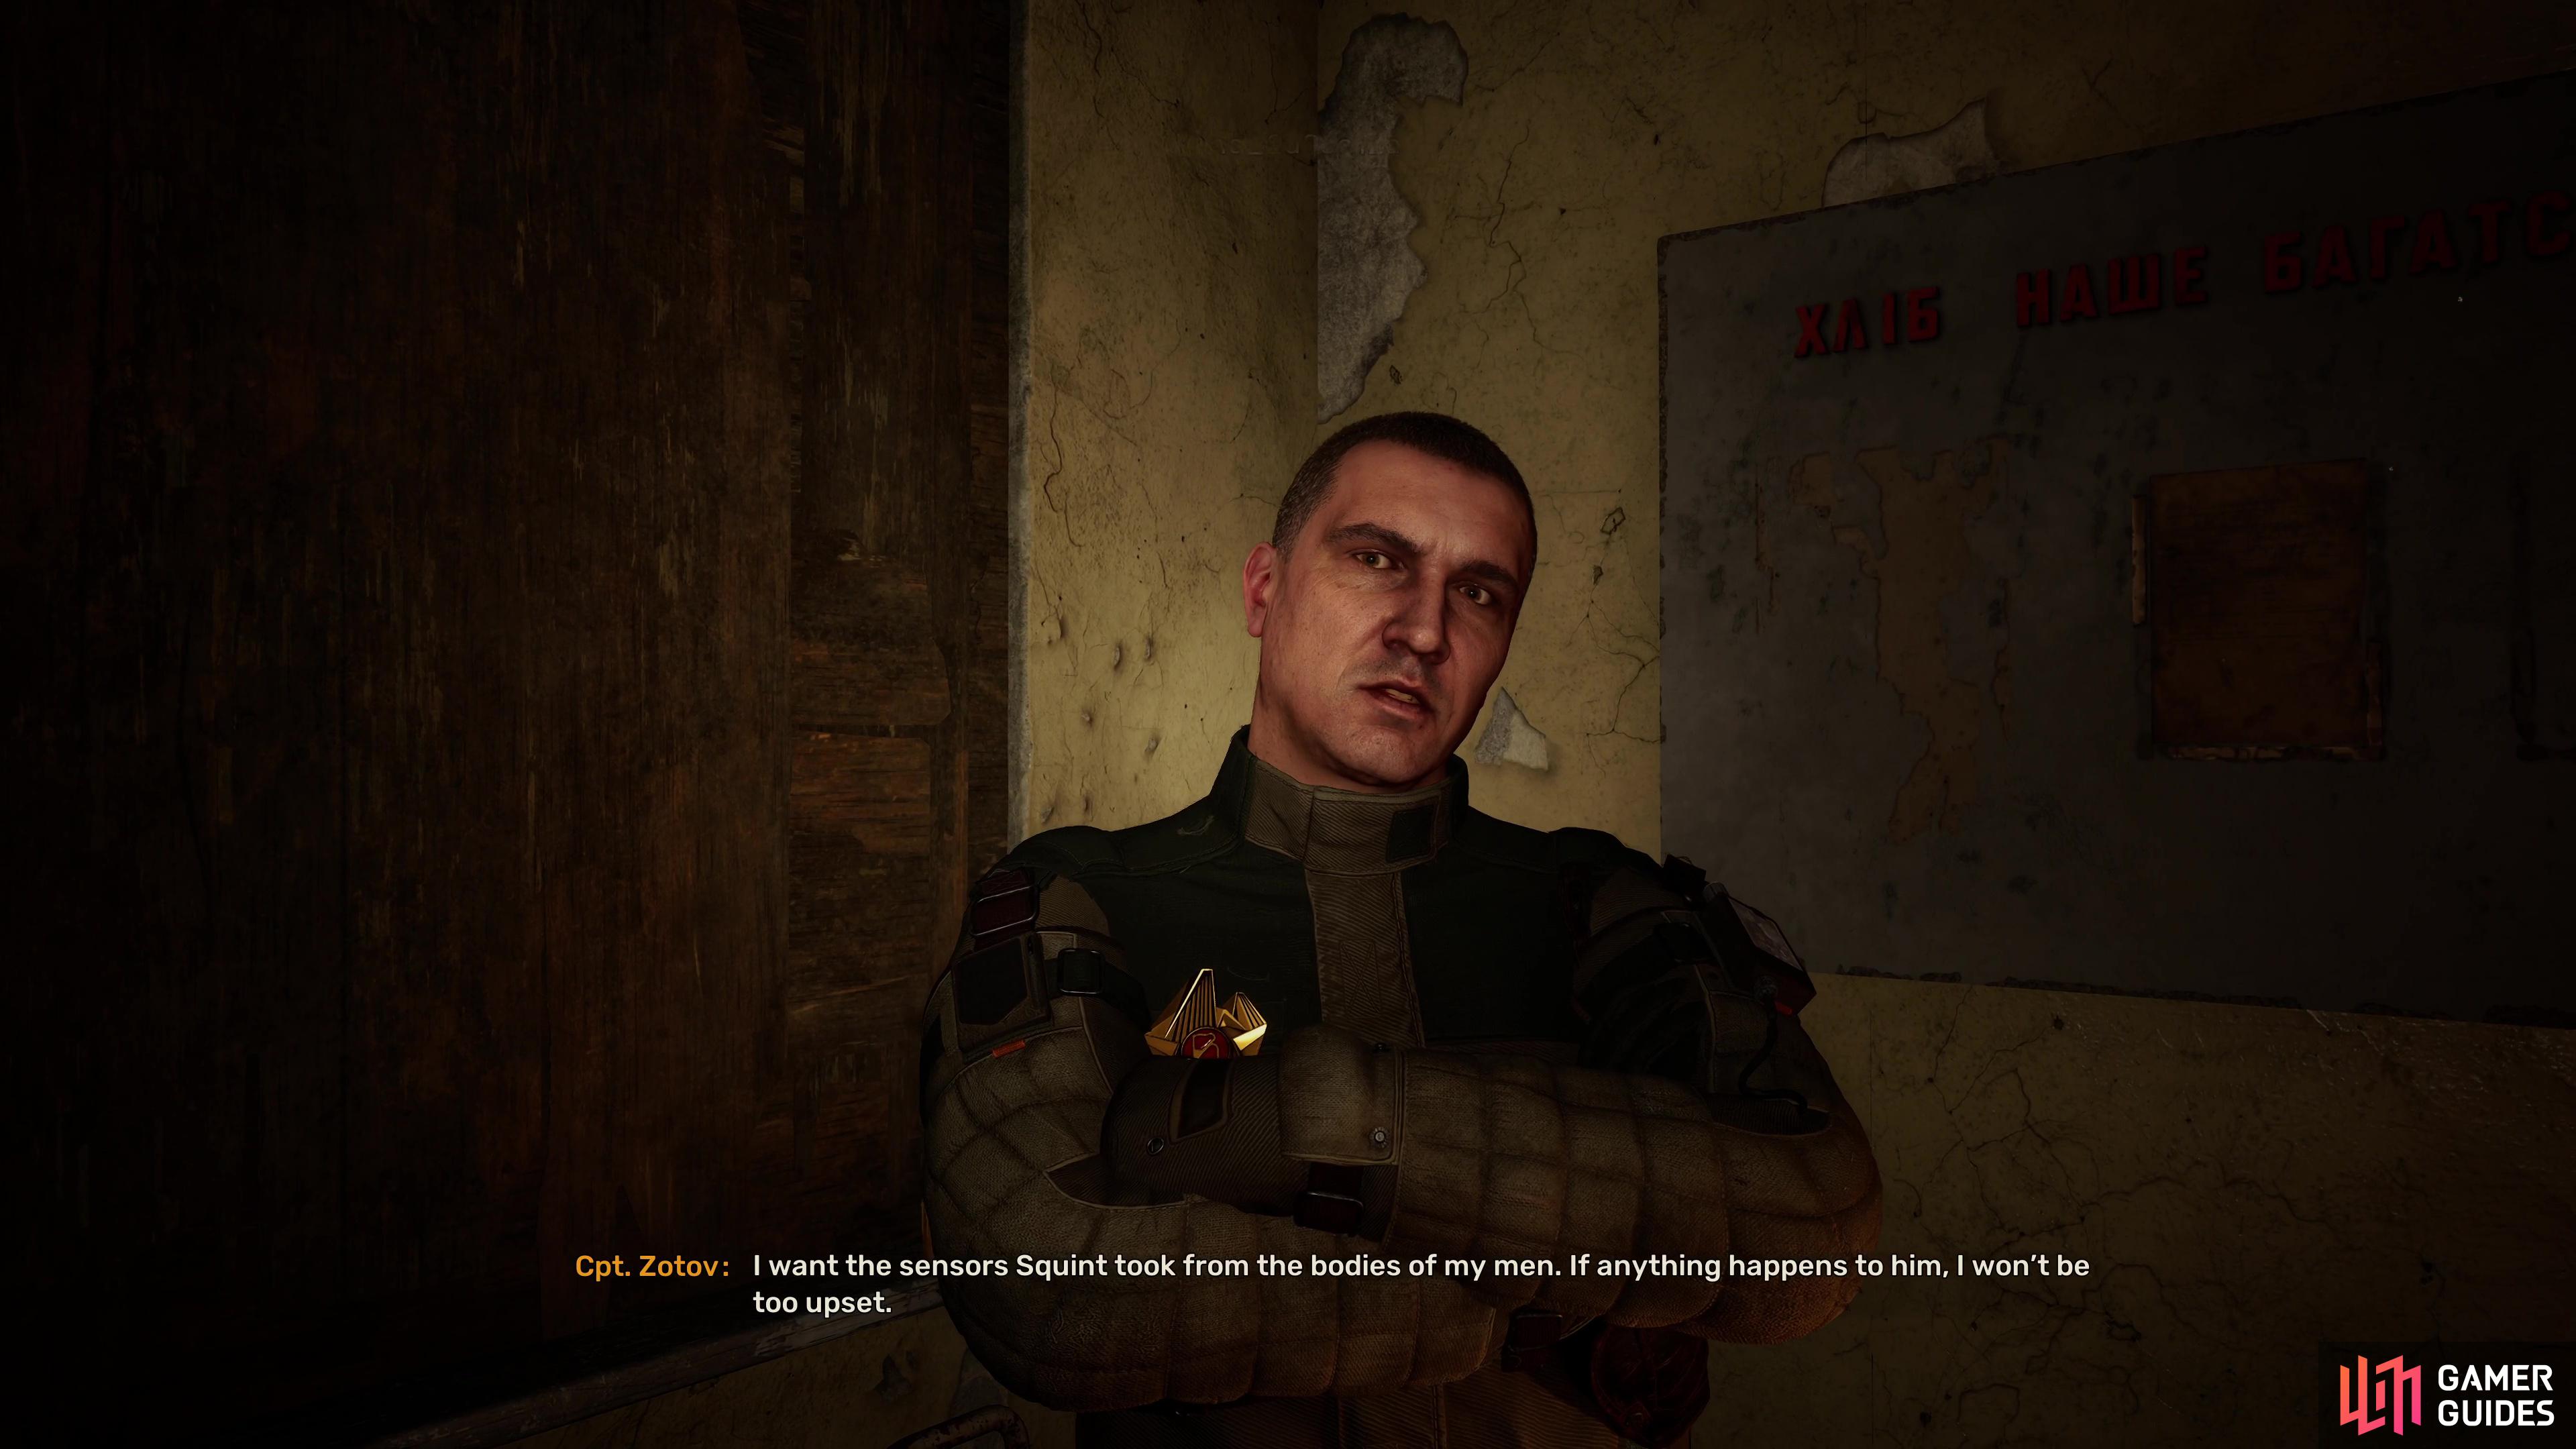
(1 of 2) You can either visit Richter and Gaffer.
You can either visit Richter and Gaffer. (left), Or Cpt. Zotov and listen to them with regards to Squint. (right)
Likewise, paying a visit to Cpt. Zotov will allow you to discover where Squint may be, in a warehouse with radiation hazards. Both of these will update the A Needle in a Haystack mission, which you must then complete to progress Behind Seven Seals. To find out how to complete that mission and all of the permutations, check out our mission guide here.
Get into the Sphere’s Abandoned Communications Hub
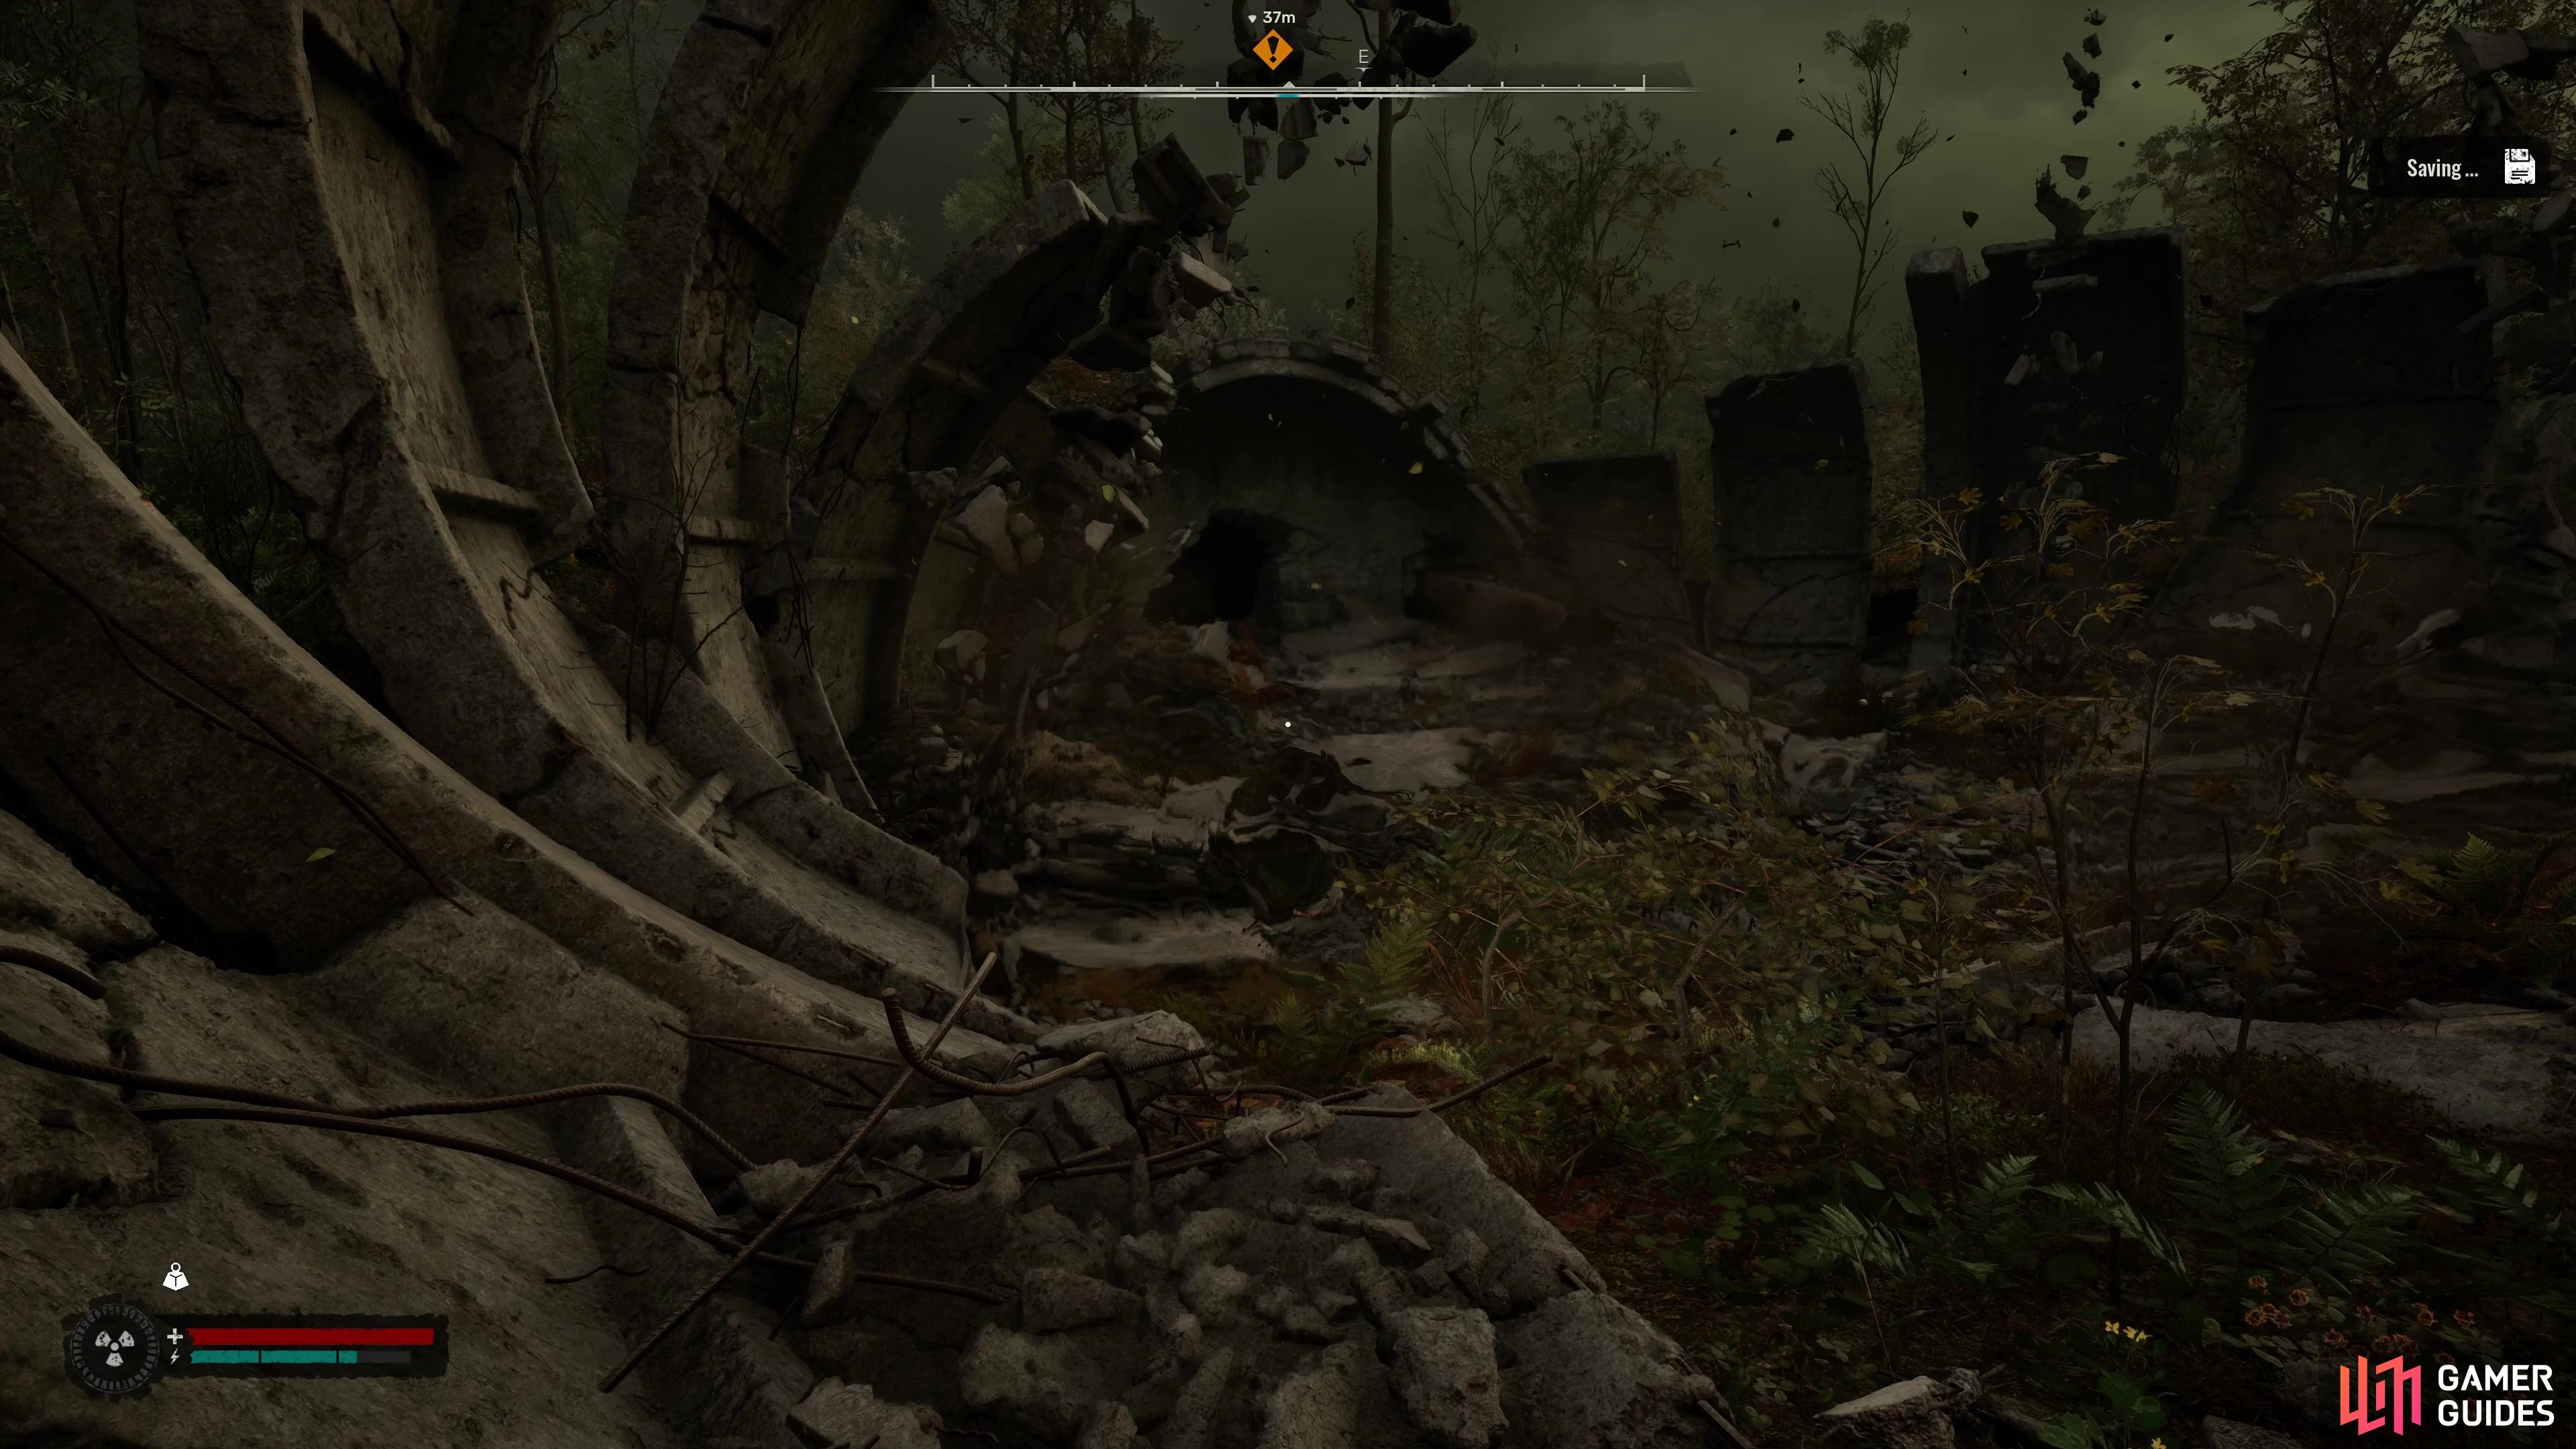
After you return the sensors to Richter, Behind Seven Seals will update finally as you’ll be given information on where you may be able to find Solder. You’ll find the Abandoned Communications Hub relatively close to Zalissya, just to the southeast in an area known as the Ribs (Map Marker), you’ll know you’re in the right place when you spot the massive gravitational Anomaly in the area.
Be sure to get out your ![]() Echo Detector while you’re here, if it’s your first time visiting the Ribs, you should be able to snag a Gravitational Anomaly. When you’re ready to press on, head to the opening at the back and go down until you reach a locked door, which the key you got from Richter will now open.
Echo Detector while you’re here, if it’s your first time visiting the Ribs, you should be able to snag a Gravitational Anomaly. When you’re ready to press on, head to the opening at the back and go down until you reach a locked door, which the key you got from Richter will now open.
Beware of the gravitational anomalies in the Ribs area, although there is an Artifact to bag here.
Search the Bodies of the IPSF Soldiers
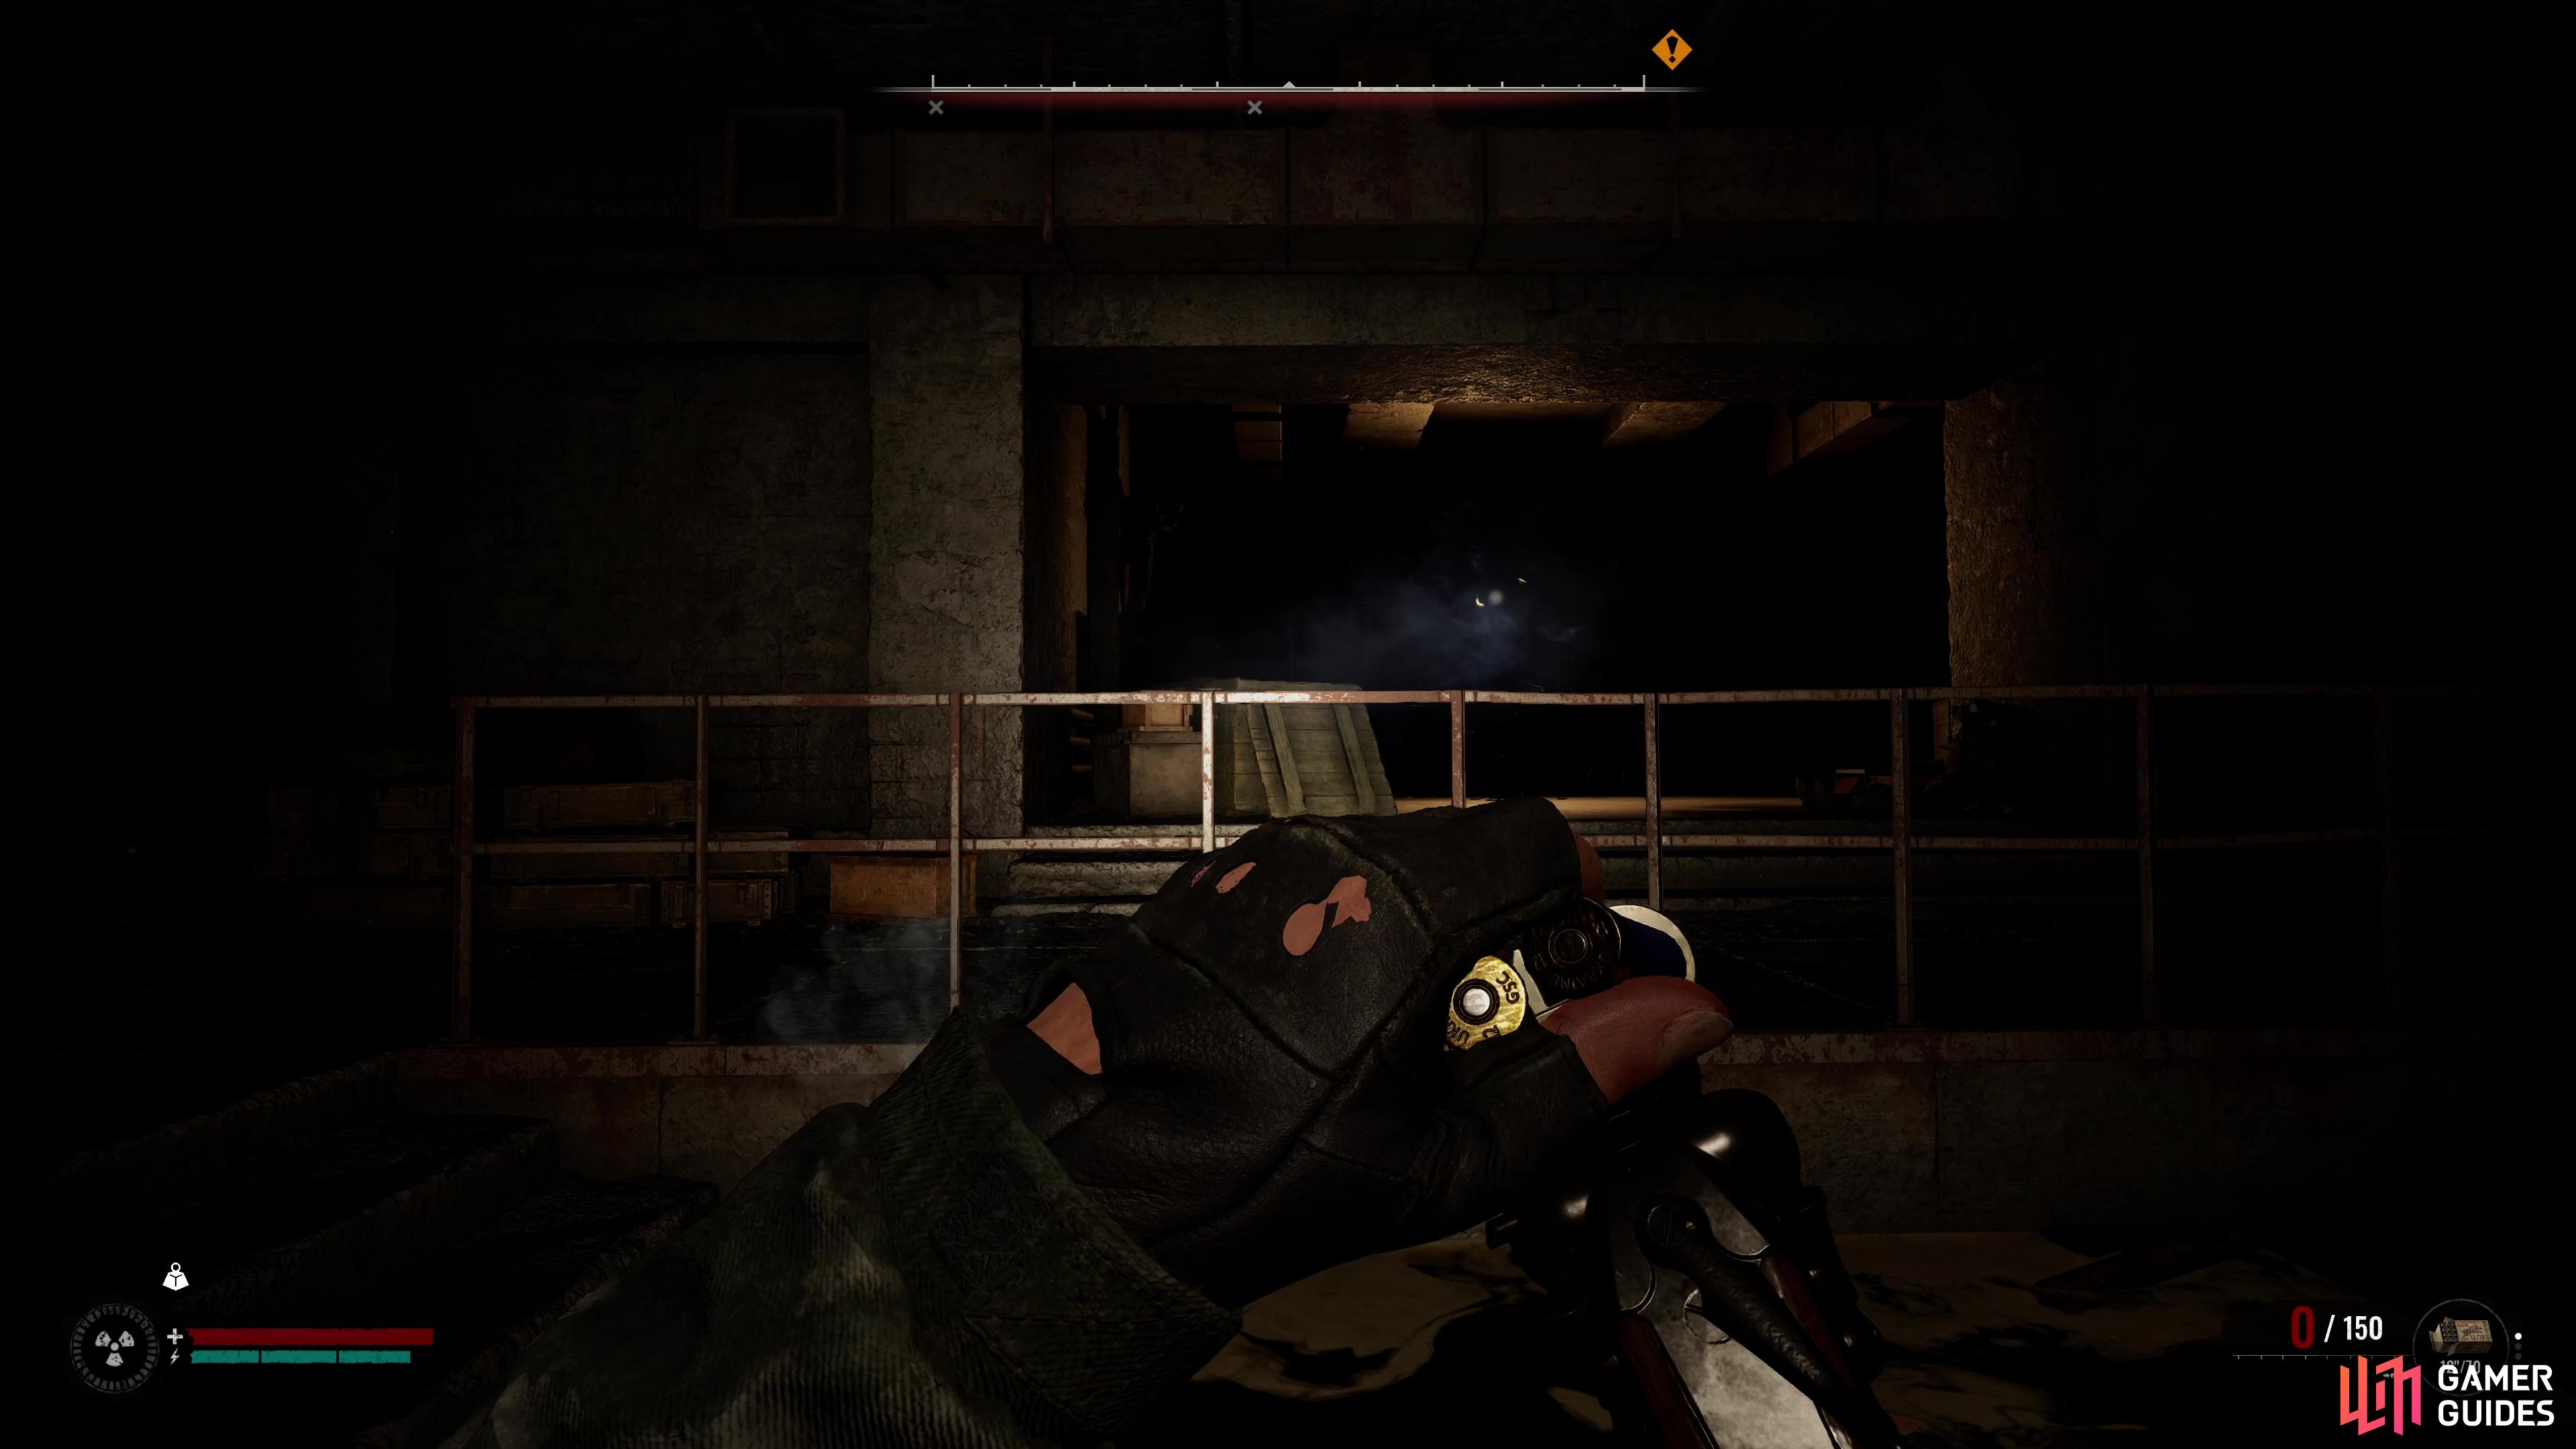
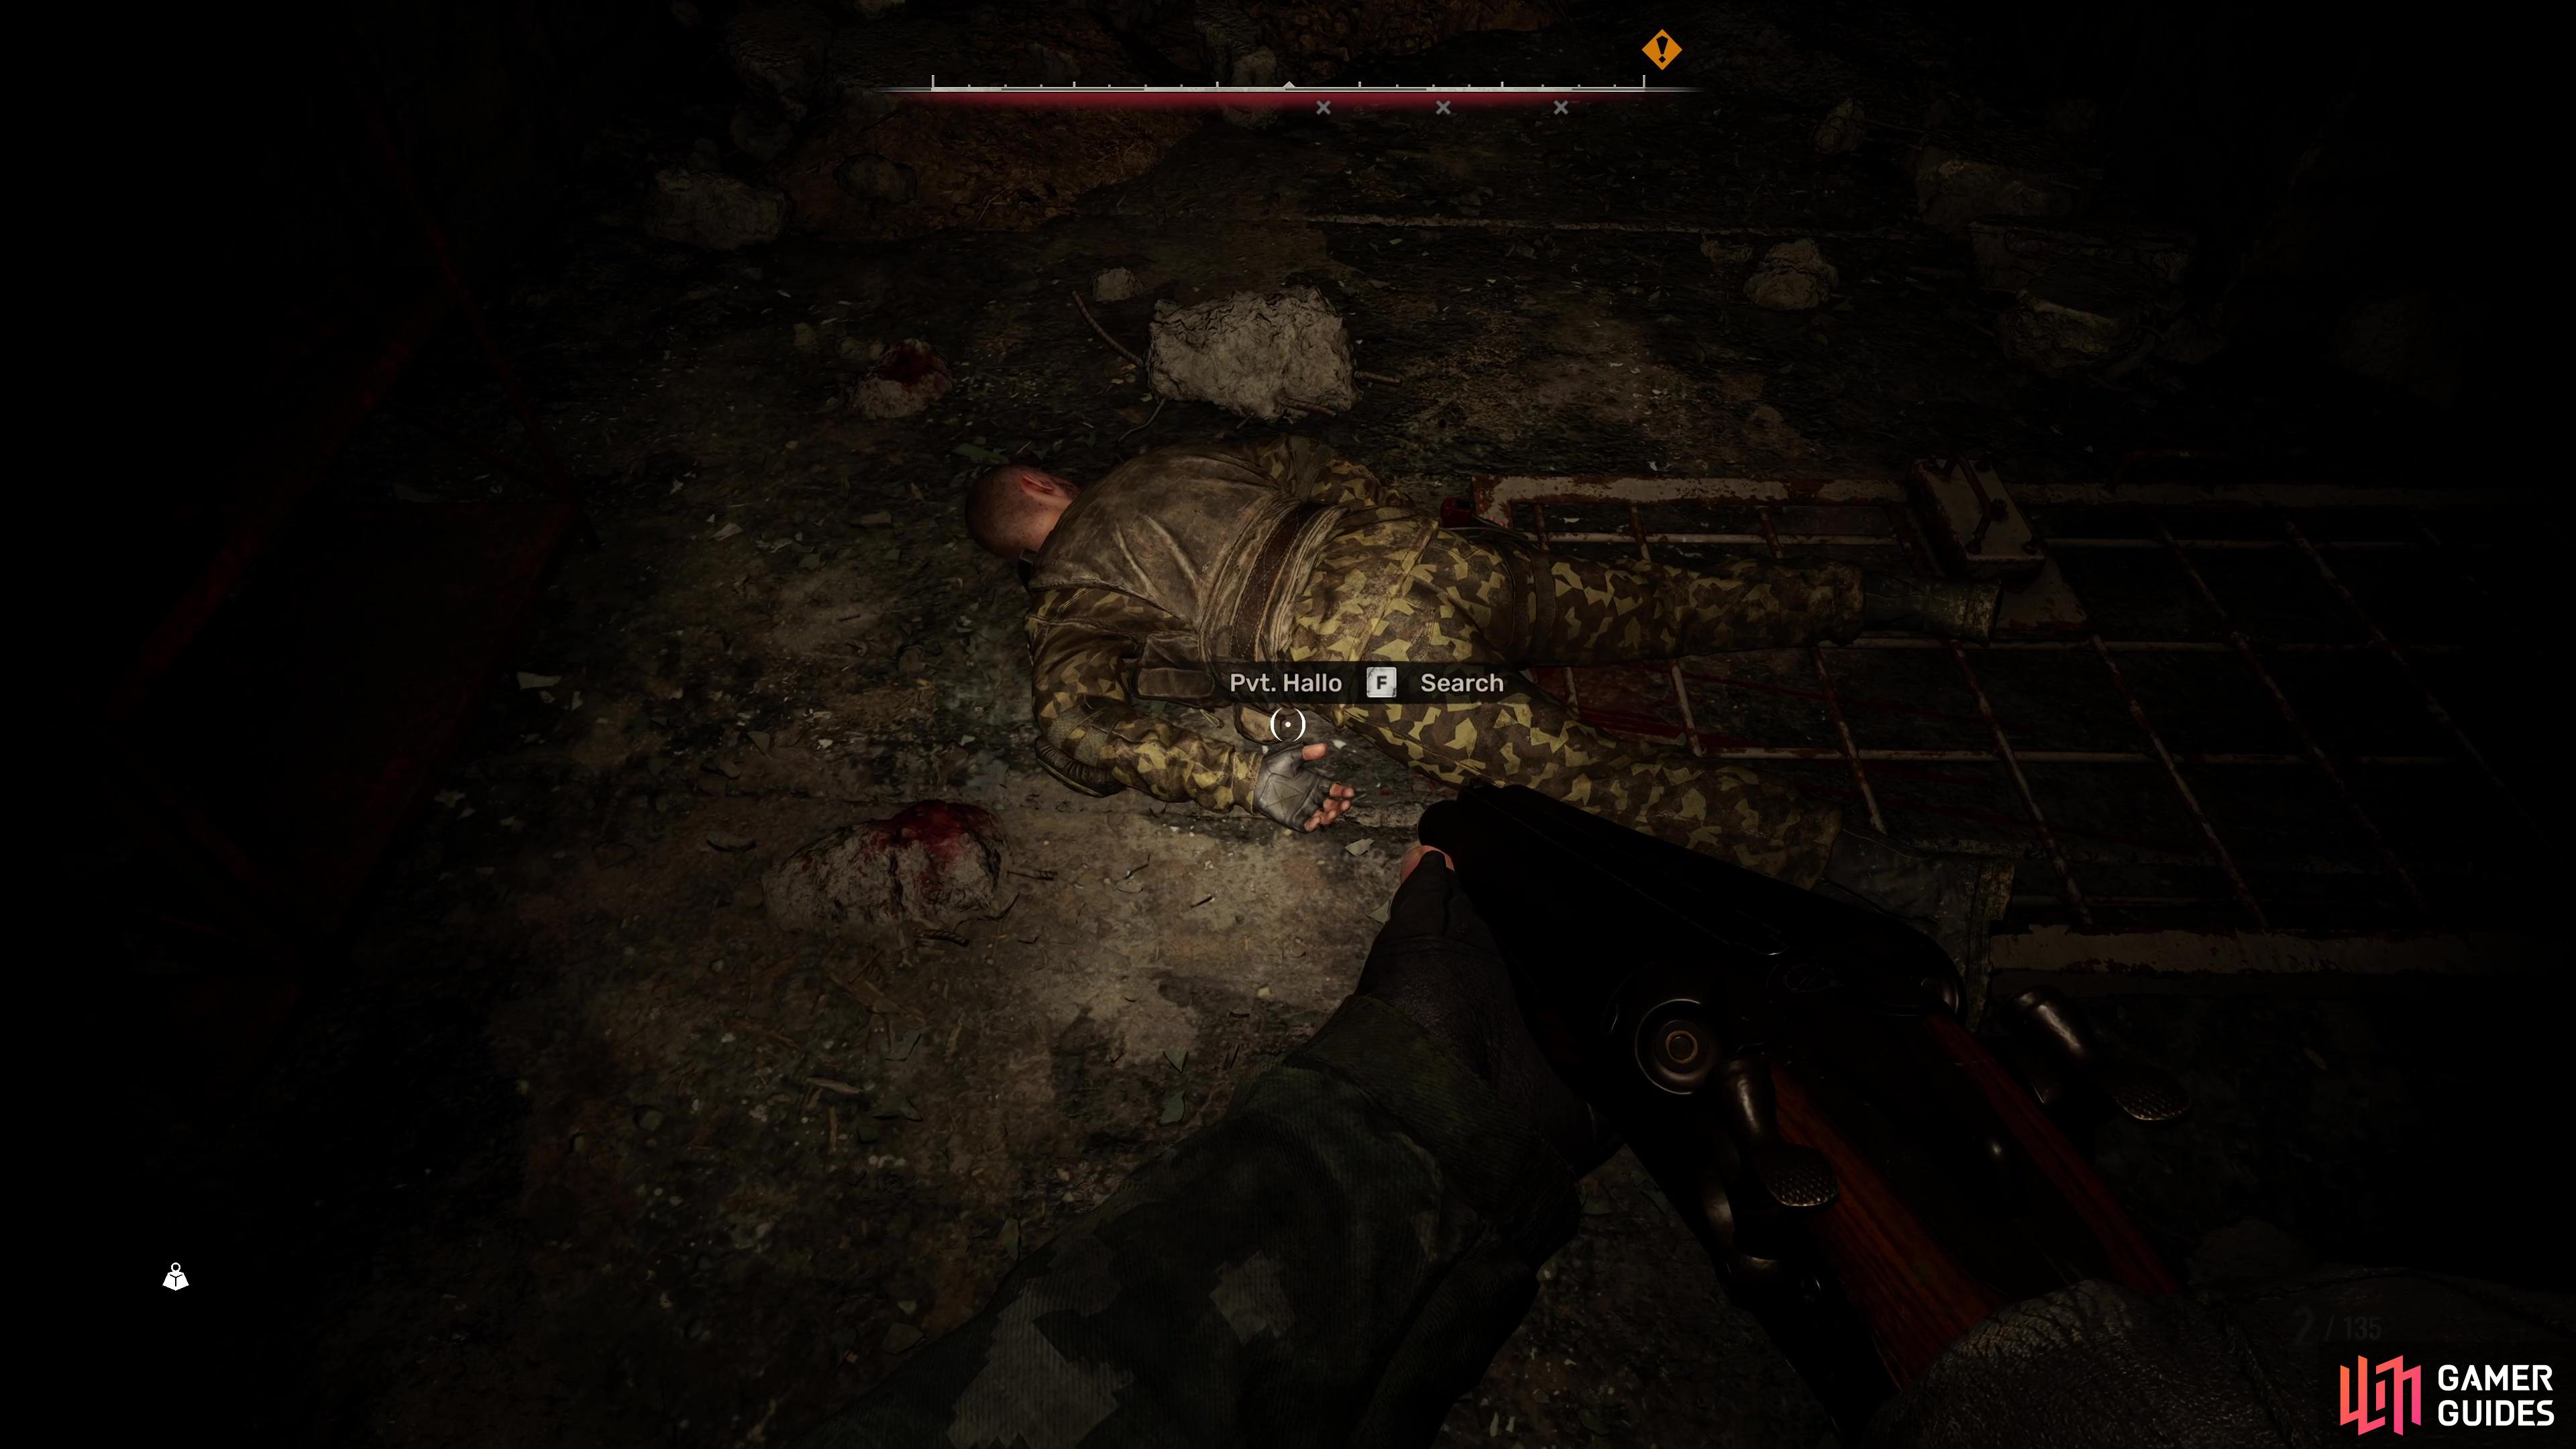
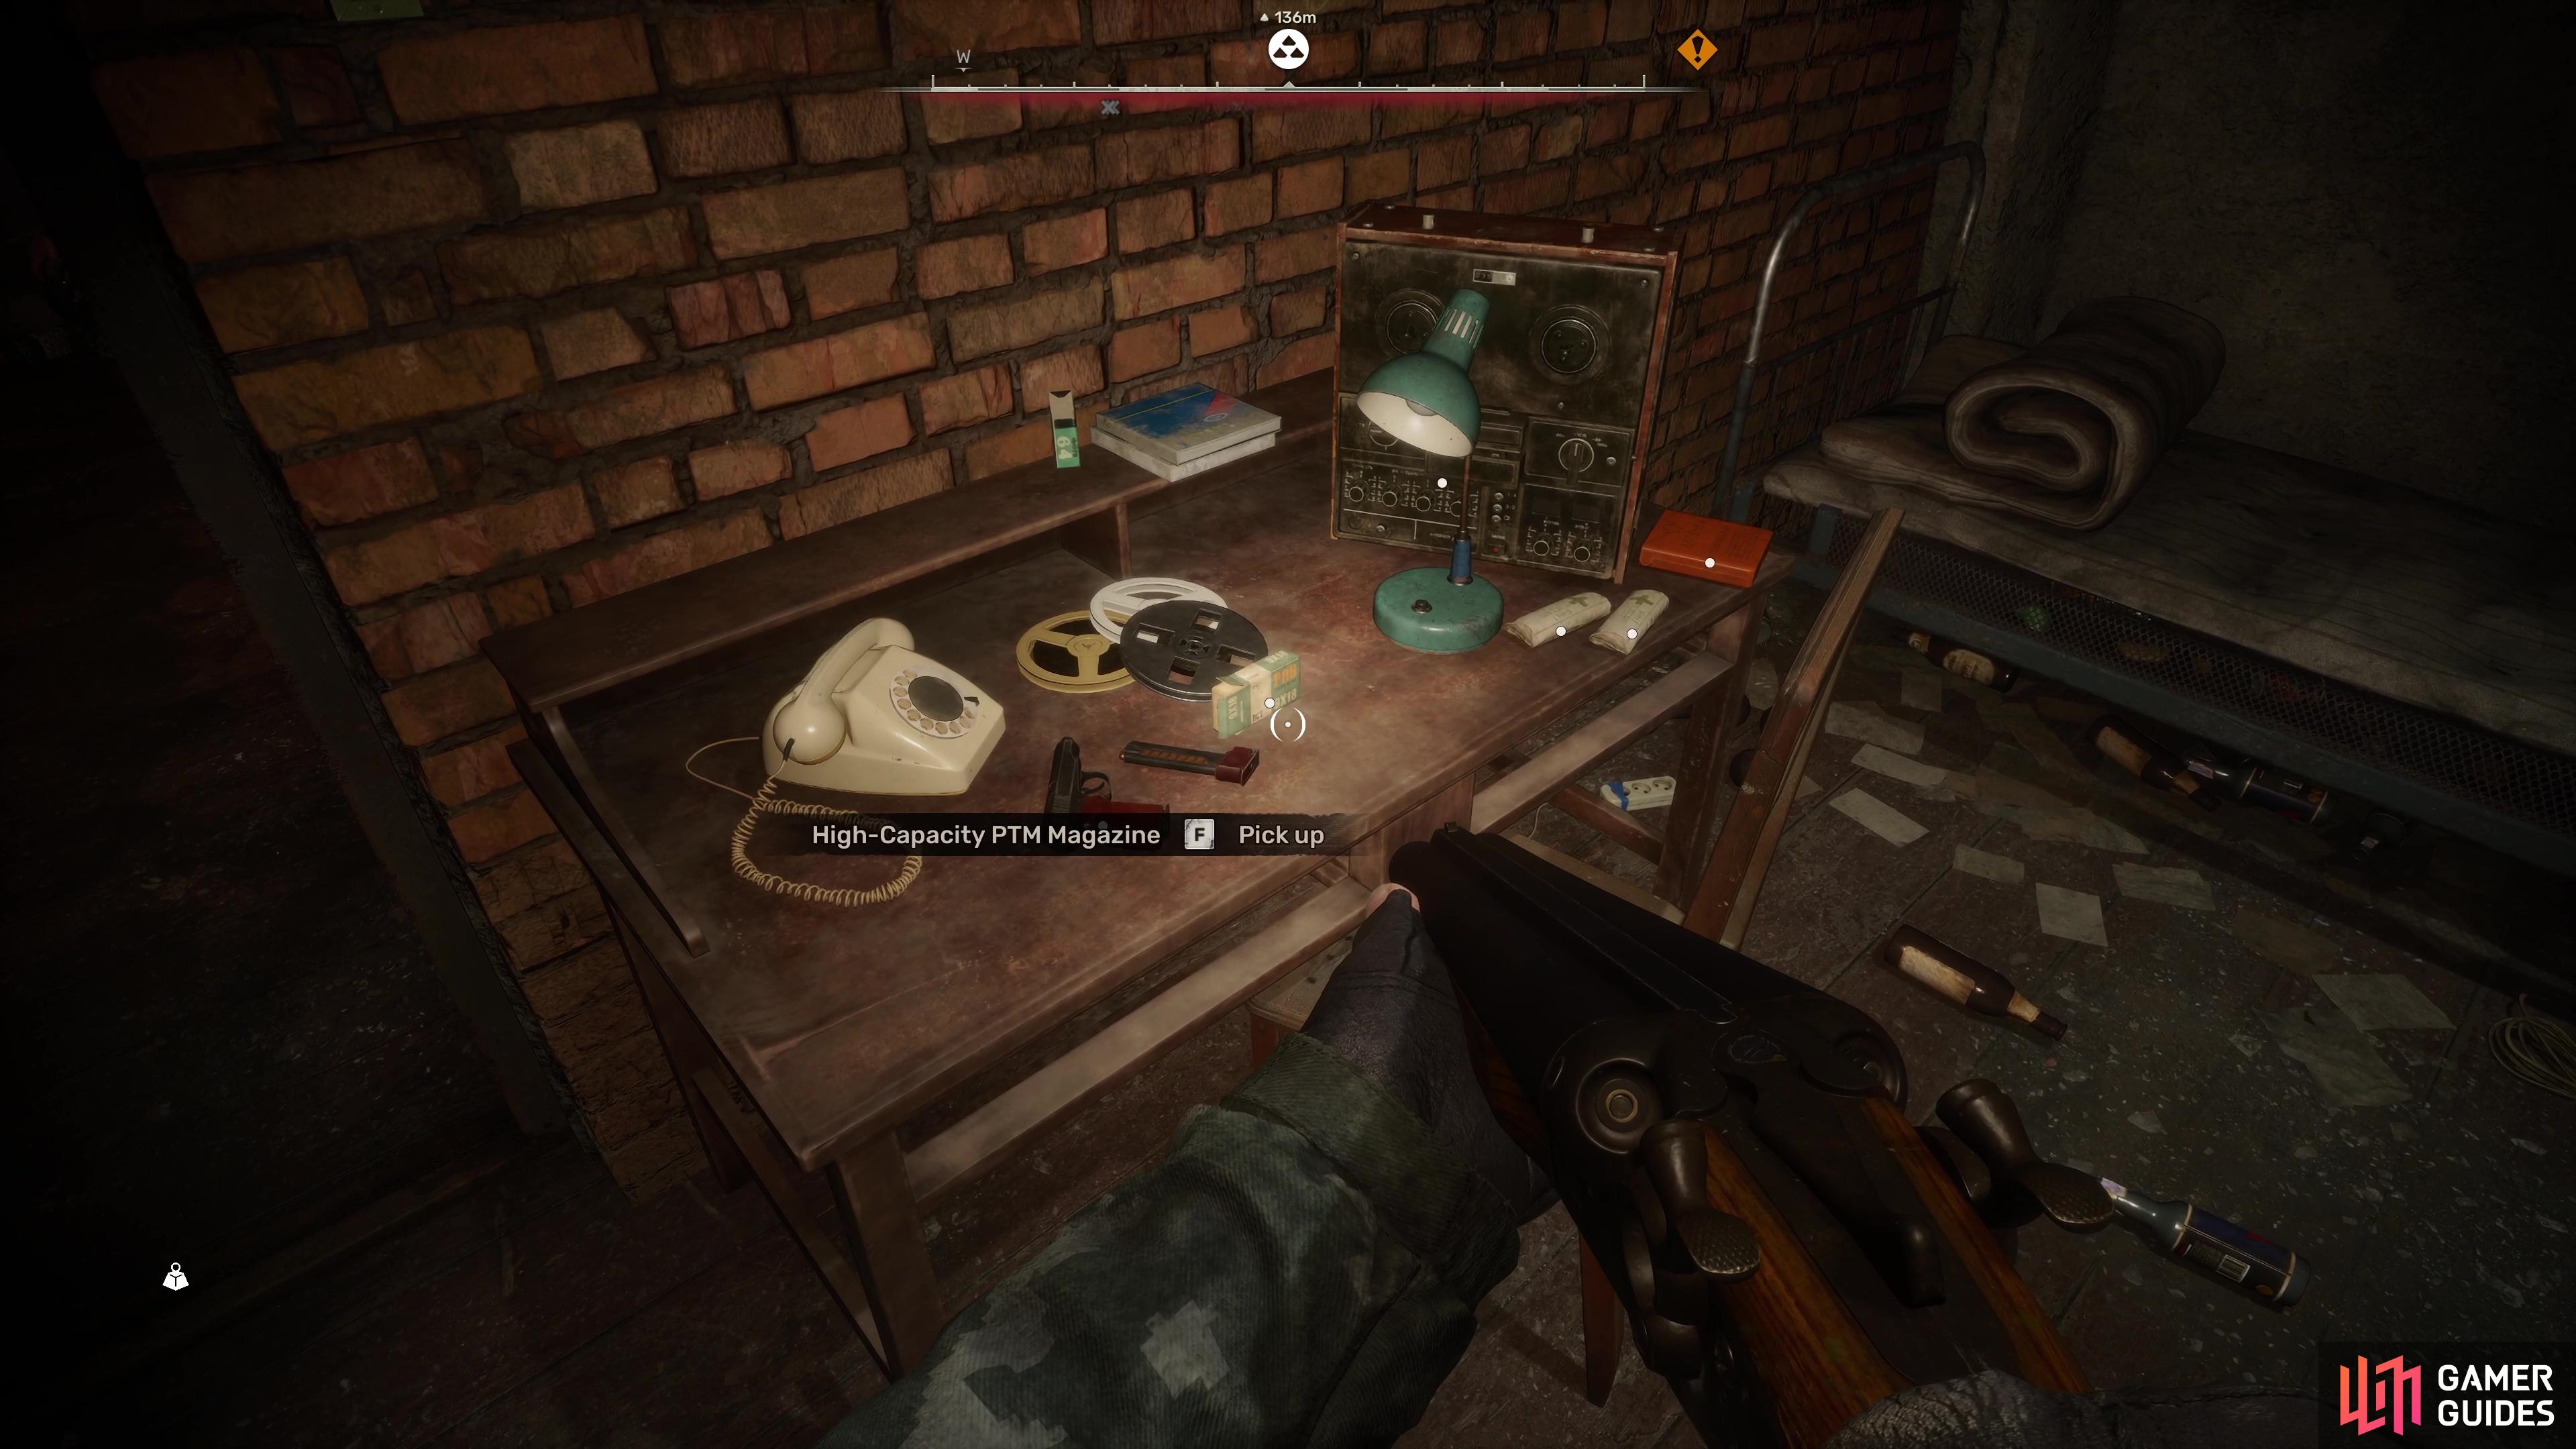
This hub isn’t the largest, but you’ll want to be careful as you’ll soon run into some Poltergeists. Be sure to loot the nearby room and then get ready to either search this hub quickly to limit the damage the Poltergeist can do to you or try to take it out by shooting the shimmer when you see it. Pay attention to your compass and the “x” on it, this indicates bodies you can interact with.
The one you’re looking for in terms of Behind Seven Seals is on a body in a room across the water and up the stairs. The ![]() PDA he’s holding contains the codes you’ll need to get into the Sphere, the area where Solder is supposedly situated, which is your next objective.
PDA he’s holding contains the codes you’ll need to get into the Sphere, the area where Solder is supposedly situated, which is your next objective.
(1 of 2) Beware of the Poltergeists in here, either shoot them or pass through as quickly as possible.
Beware of the Poltergeists in here, either shoot them or pass through as quickly as possible. (left), You’ll find the body you’re looking for by crossing the water and going into the room at the end. (right)
Get Inside and Infiltrate the Sphere
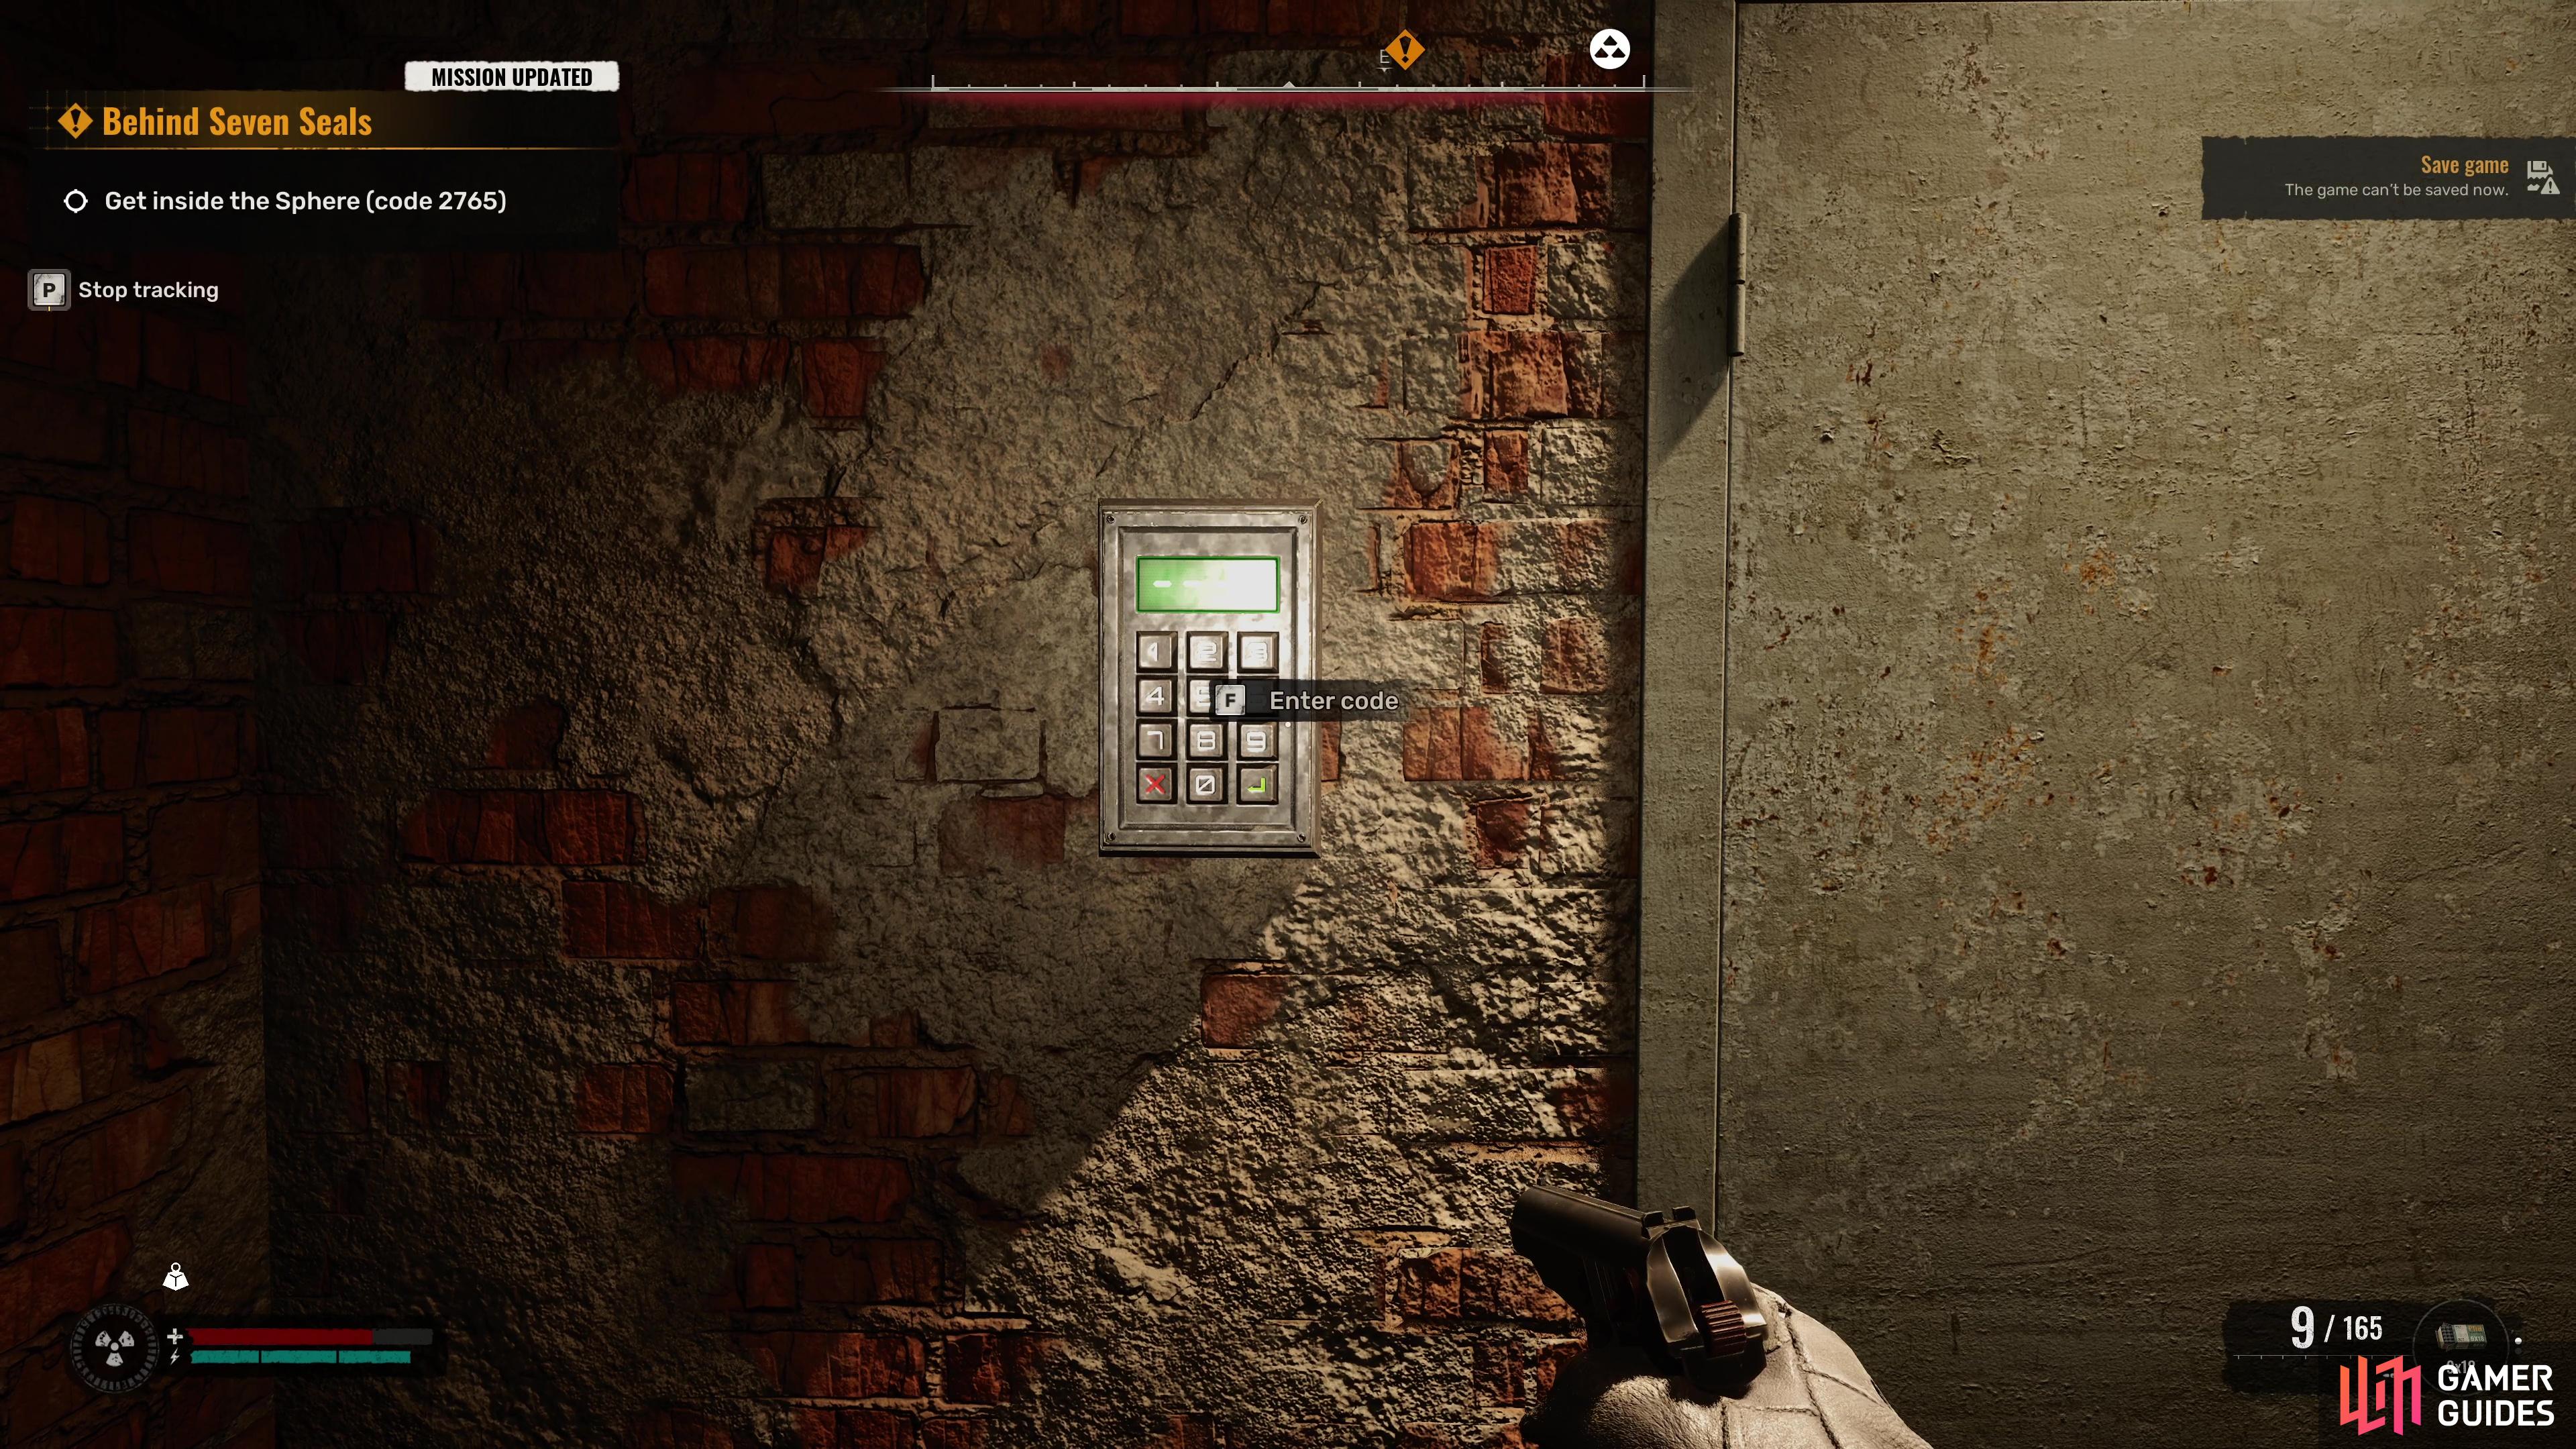
You should now have the code needed to get into the Sphere (2765), and you’ll find the Sphere itself just to the southeast of your current location at the Ribs. The entrance you’re looking for, though is in the sewers, so approach from the north to find it (or just follow the mission objective marker). You’ll notice Acid Anomalies on the ground, so get ready to sprint through there to limit the damage it does and you’ll find the door, enter the code and you can begin your infiltration of the Sphere (Map Marker).
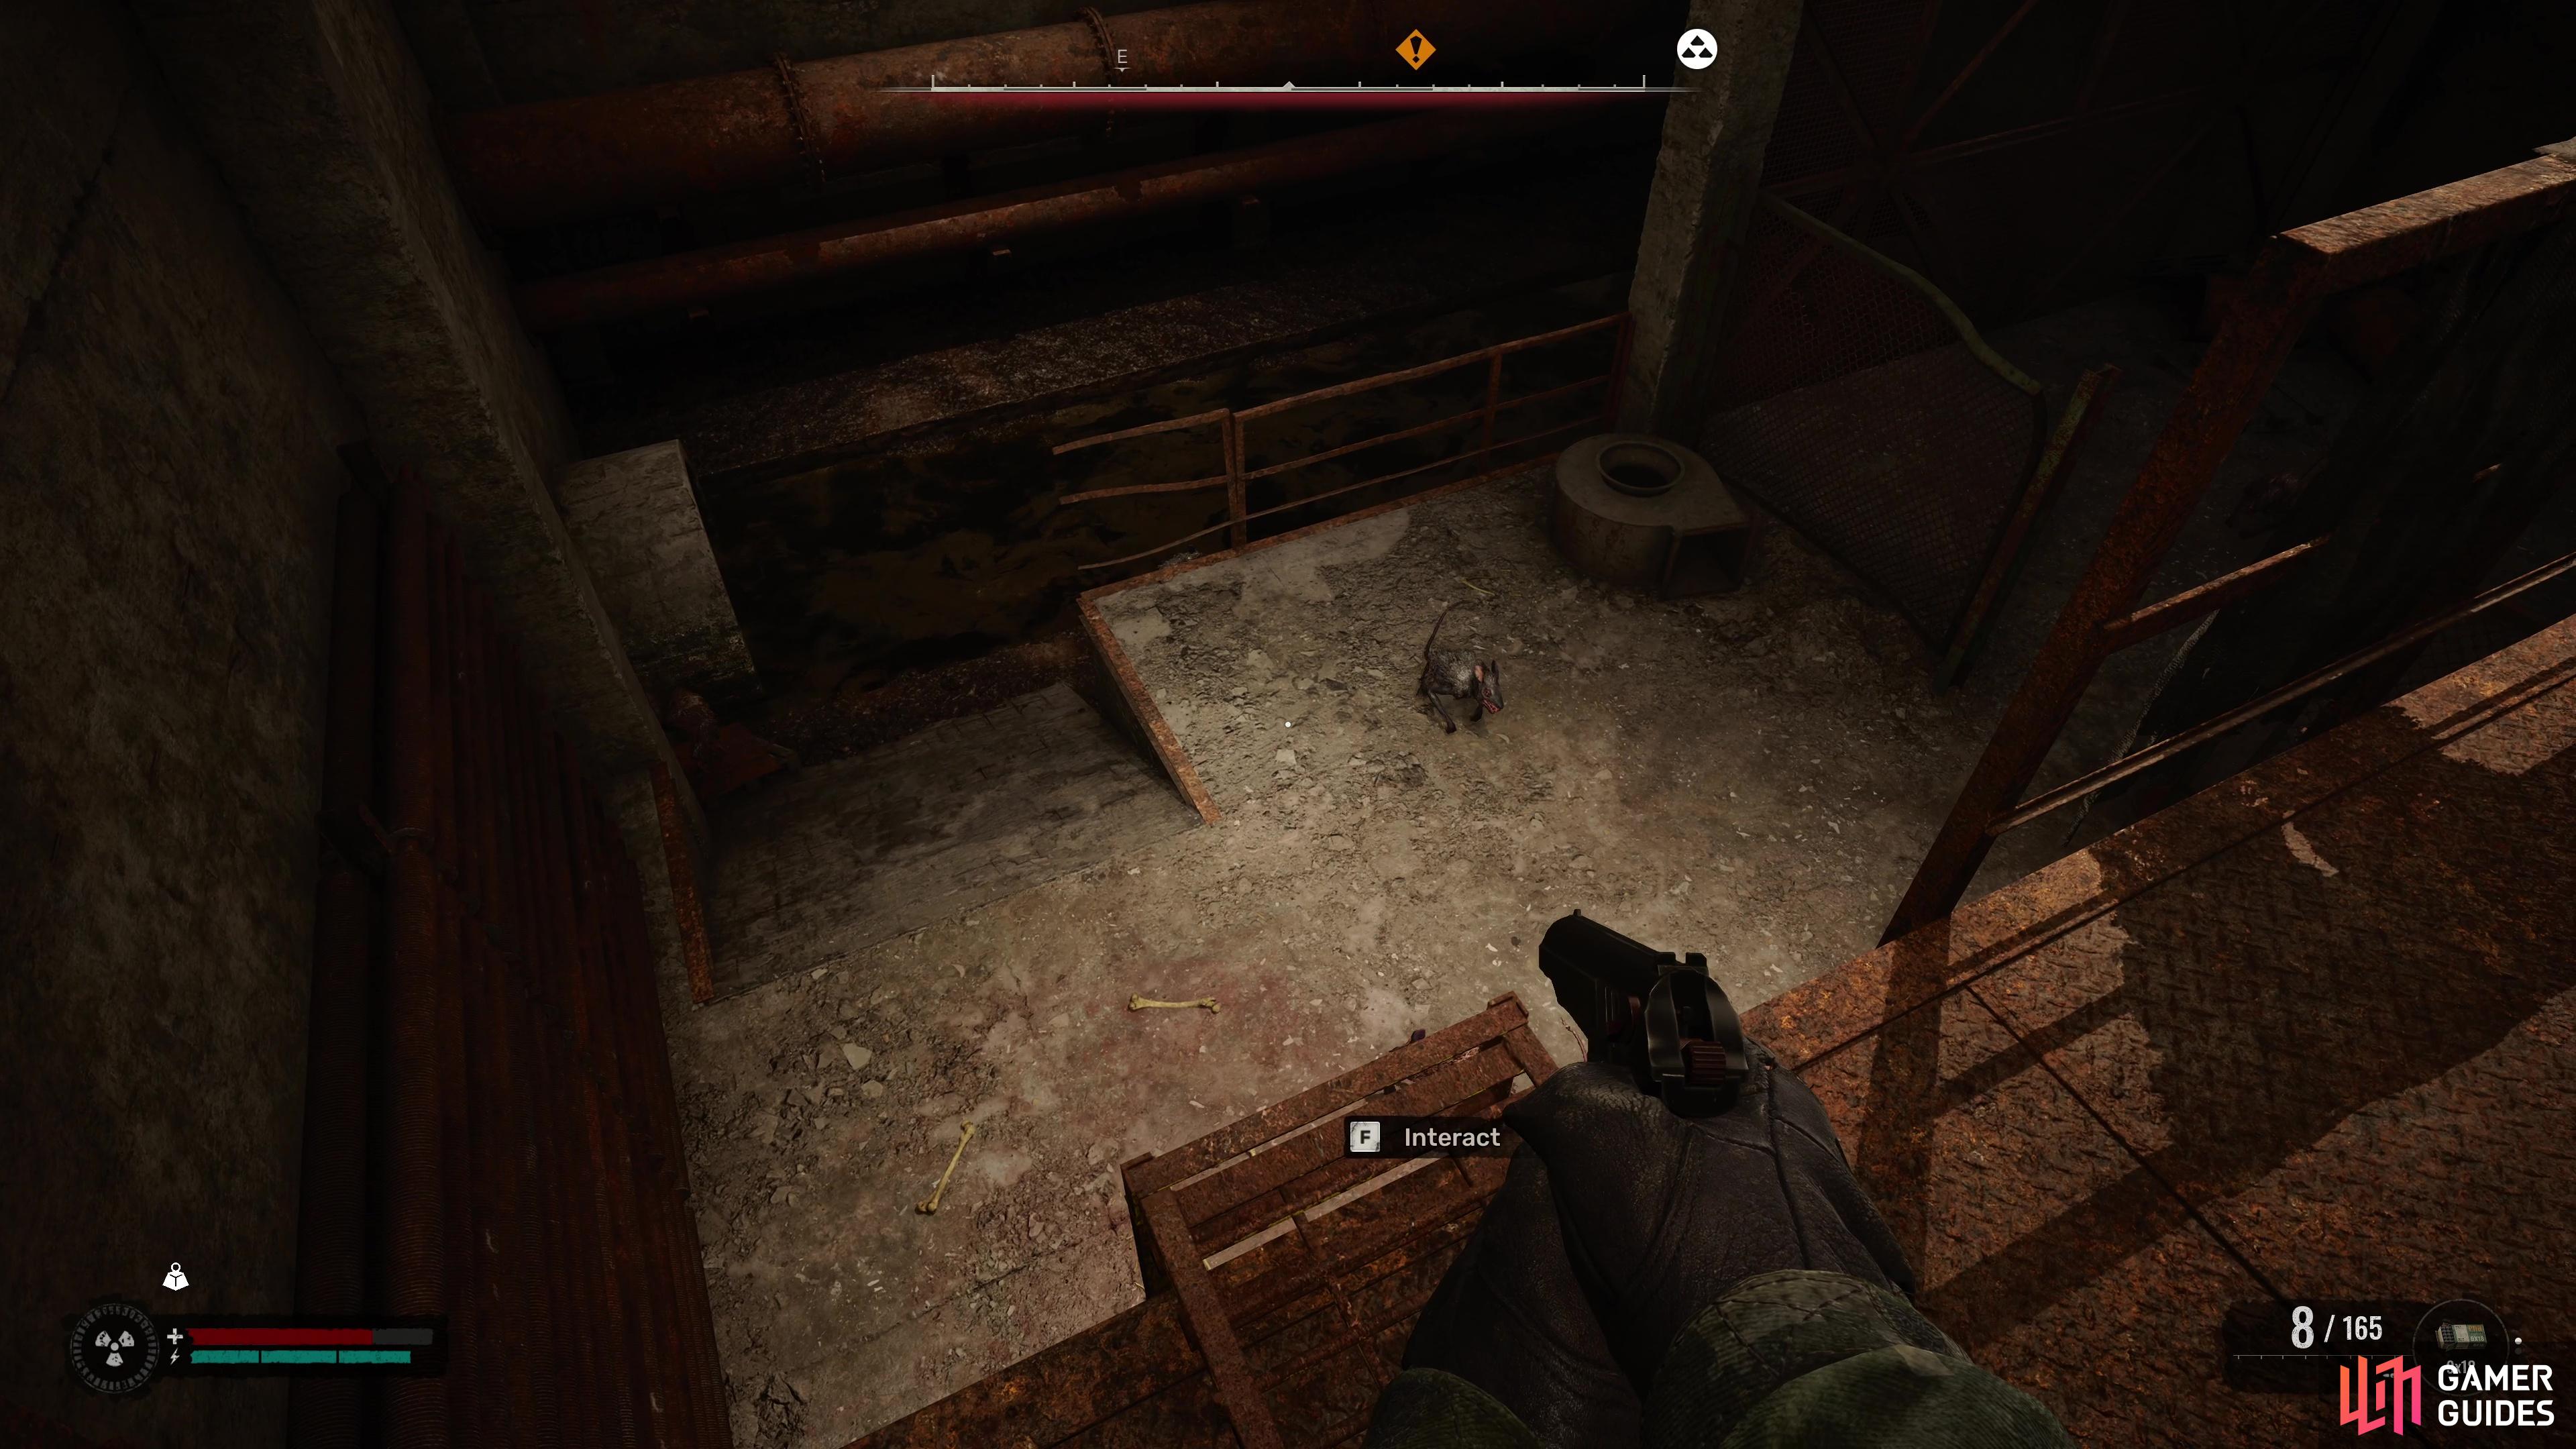
Now that you’re inside, you won’t need to worry about being quite, you’re going to get into plenty of firefights whether you like it or not. In the first room, you’ll find plenty of rats all over the place so don’t jump down immediately. If you have a lot of Pistol ammo, use this to take them out, or alternatively, toss a grenade when you see a group of them.
(1 of 3) Enter the code you obtained to get into the Sphere.
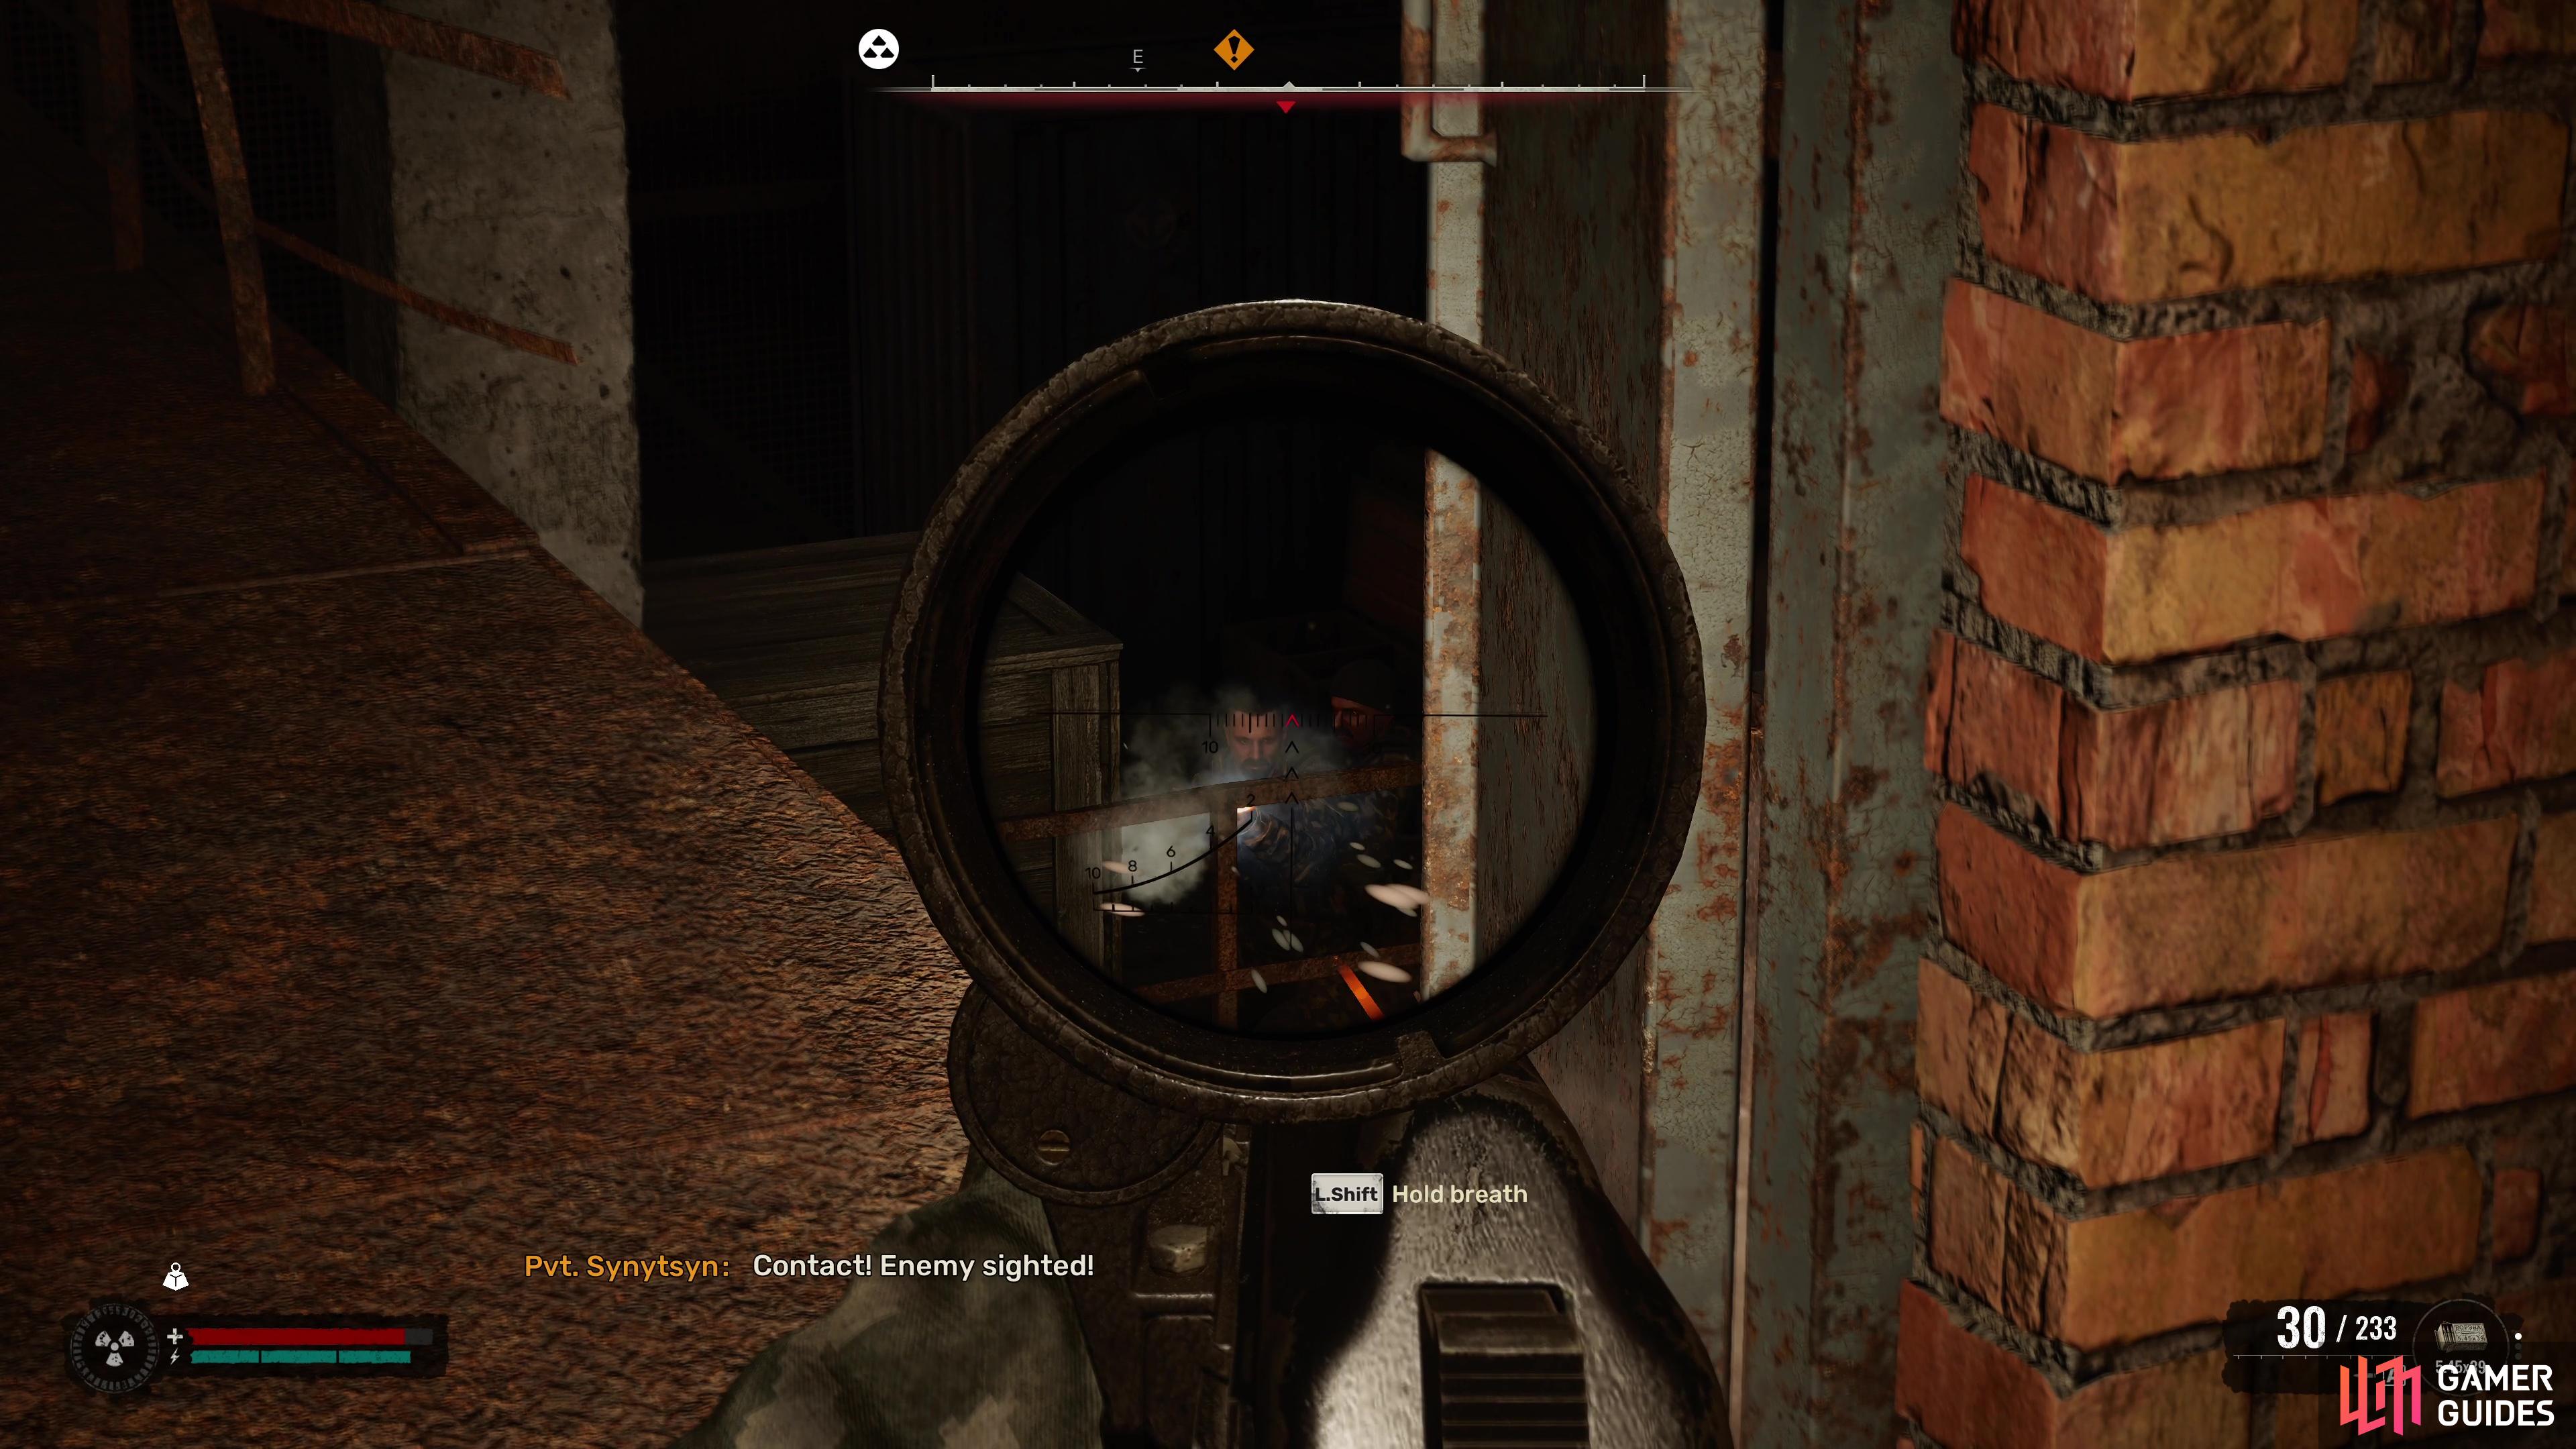
Once the rats have been dealt with, continue along the linear path for now and eventually you’ll hear some soldiers speaking up ahead. This is the time to equip a better weapon if you have one, such as ![]() Valik Lummox’s AKM-74S that can be obtained from the Warlock’s Debtor Side Mission. This comes with a handy scope and you can just hide by the door on top of the walkway to take out all of the soldiers without exposing yourself too much. Be sure to loot the bodies once you’re done clearing the area out and then continue along the path and you’ll find a door on your left, head inside to trigger a scene as you finally catch up with Solder.
Valik Lummox’s AKM-74S that can be obtained from the Warlock’s Debtor Side Mission. This comes with a handy scope and you can just hide by the door on top of the walkway to take out all of the soldiers without exposing yourself too much. Be sure to loot the bodies once you’re done clearing the area out and then continue along the path and you’ll find a door on your left, head inside to trigger a scene as you finally catch up with Solder.
Shoot or Knock Out Solder
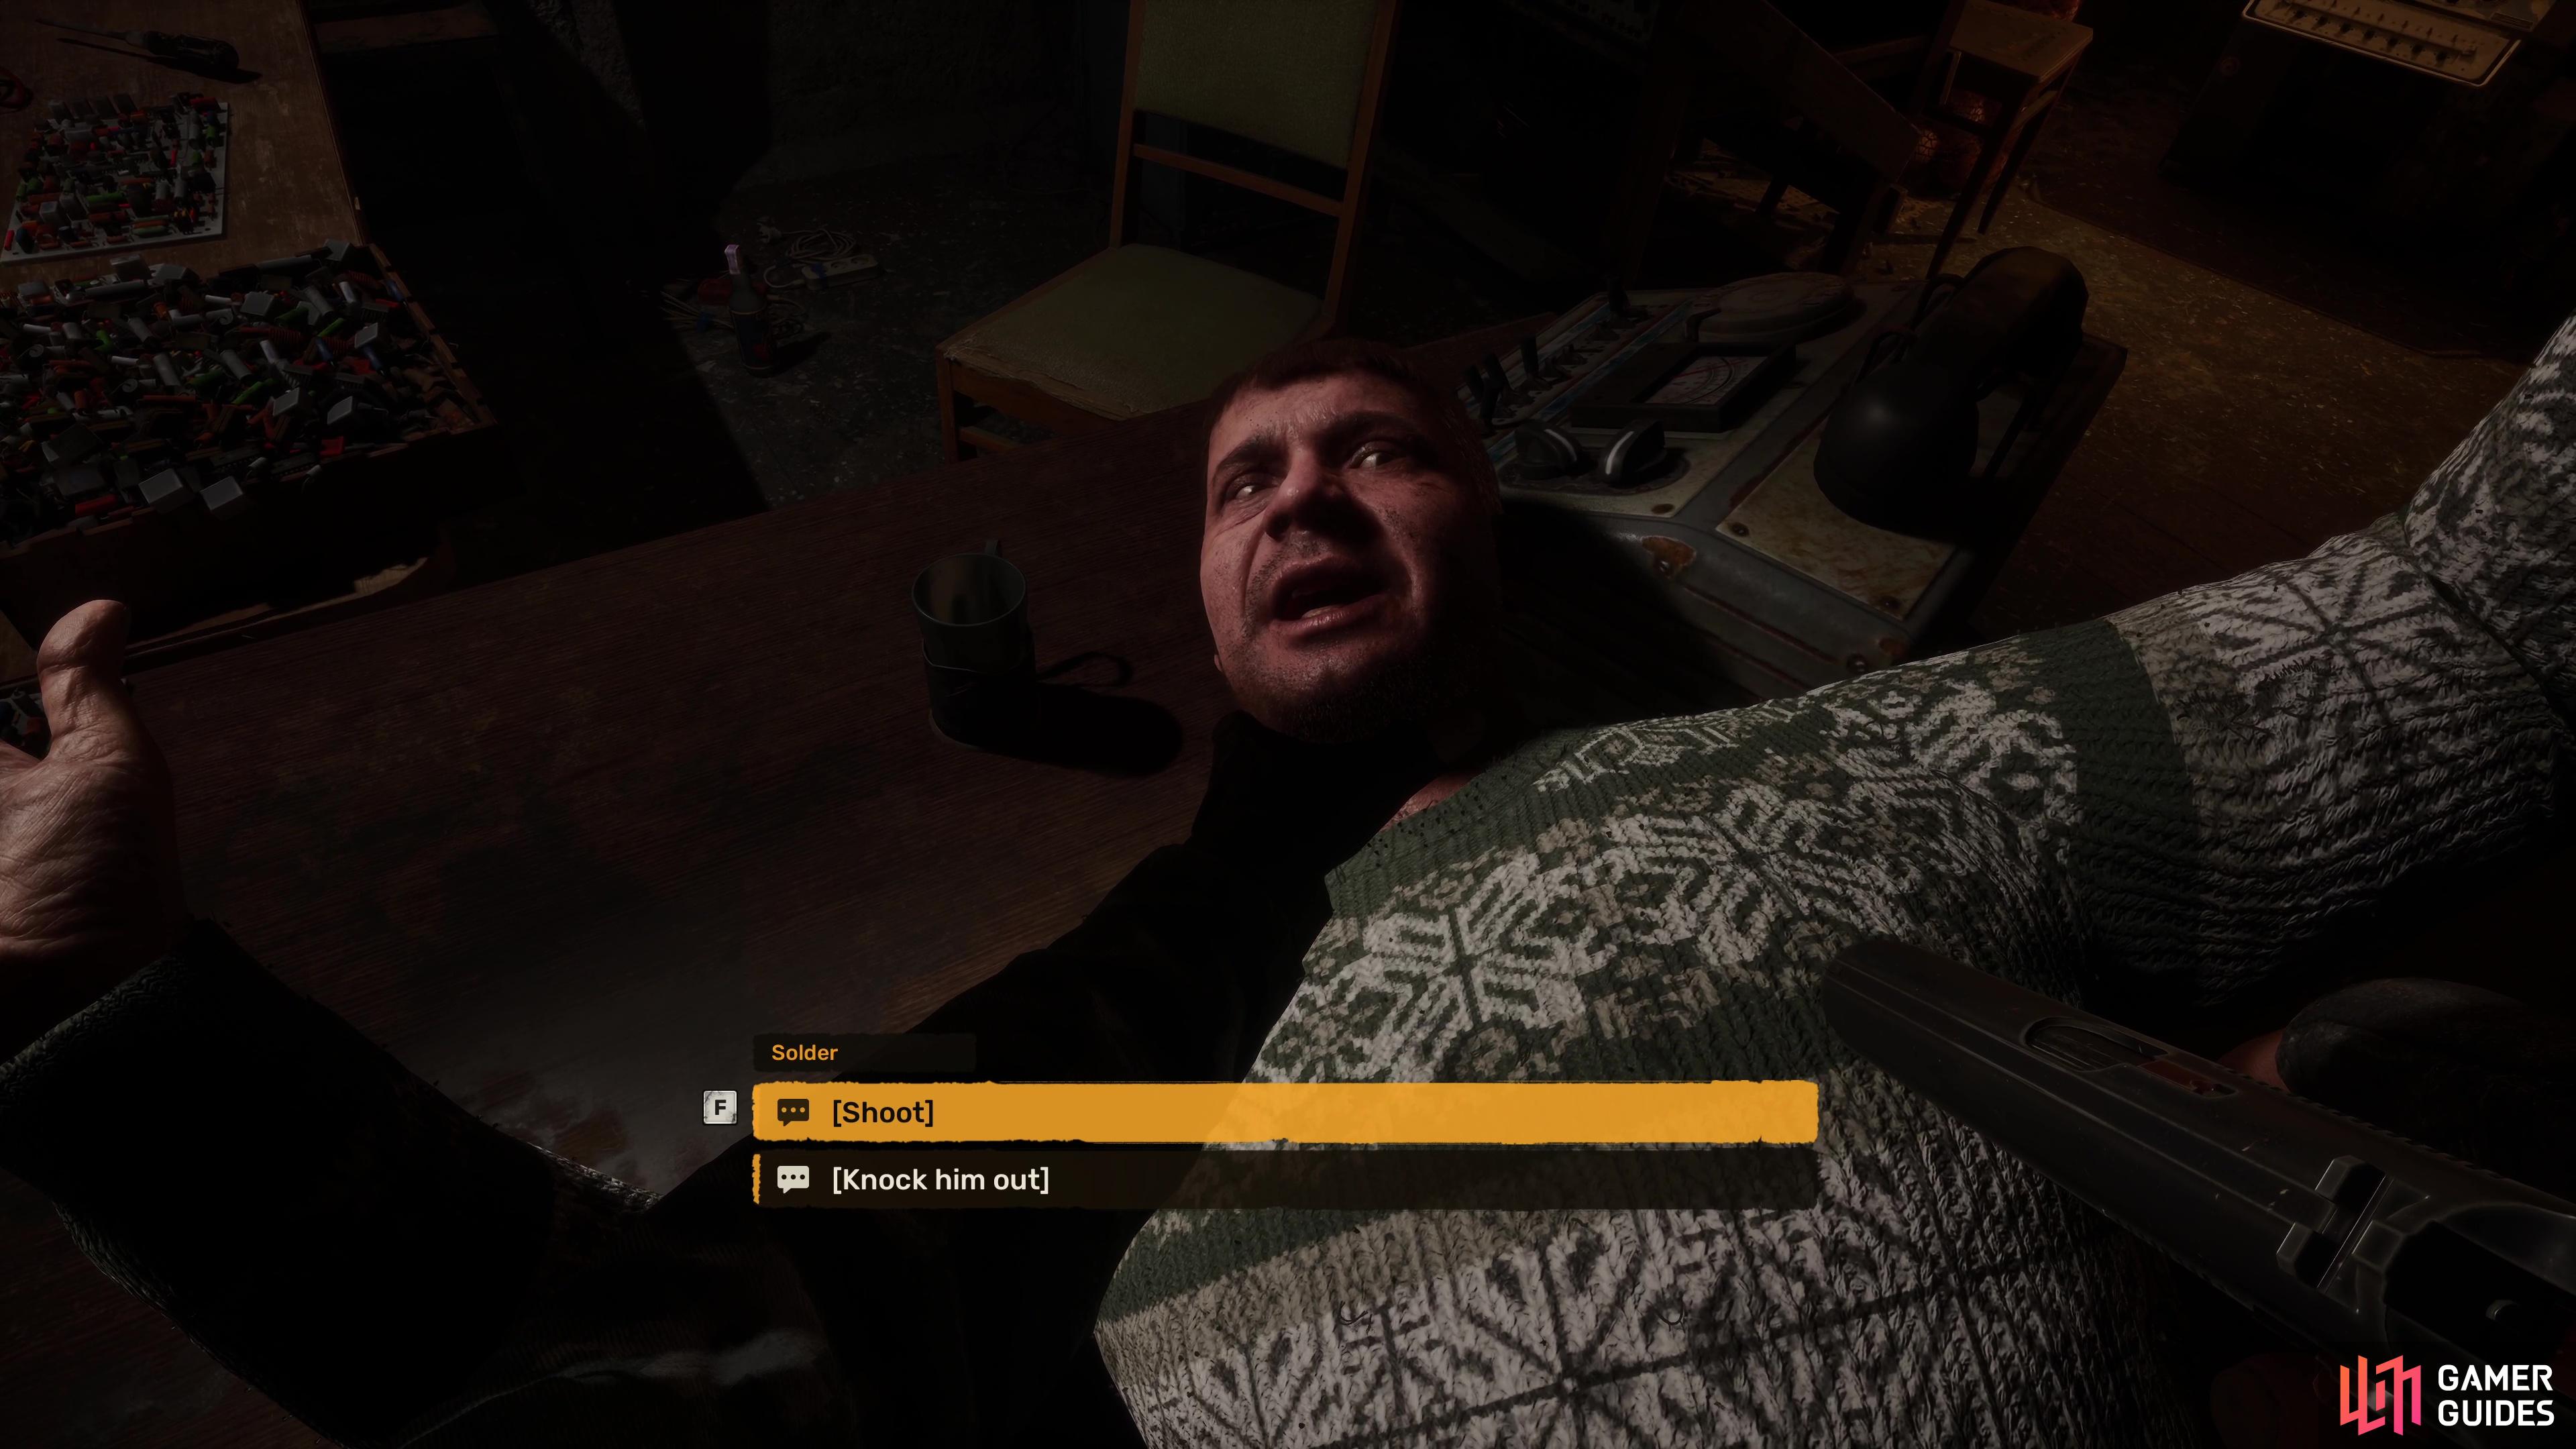
At the end of this scene, you’ll get a choice of whether to shoot Solder (let’s be honest he deserves it) or Knock Out Solder, and this may have ramifications much later in the storyline. For the sake of this guide, we suggest that you knock him out for now, Solder’s use as a Technician may be useful to you later on and it’s far too early to be making too many permanent enemies.
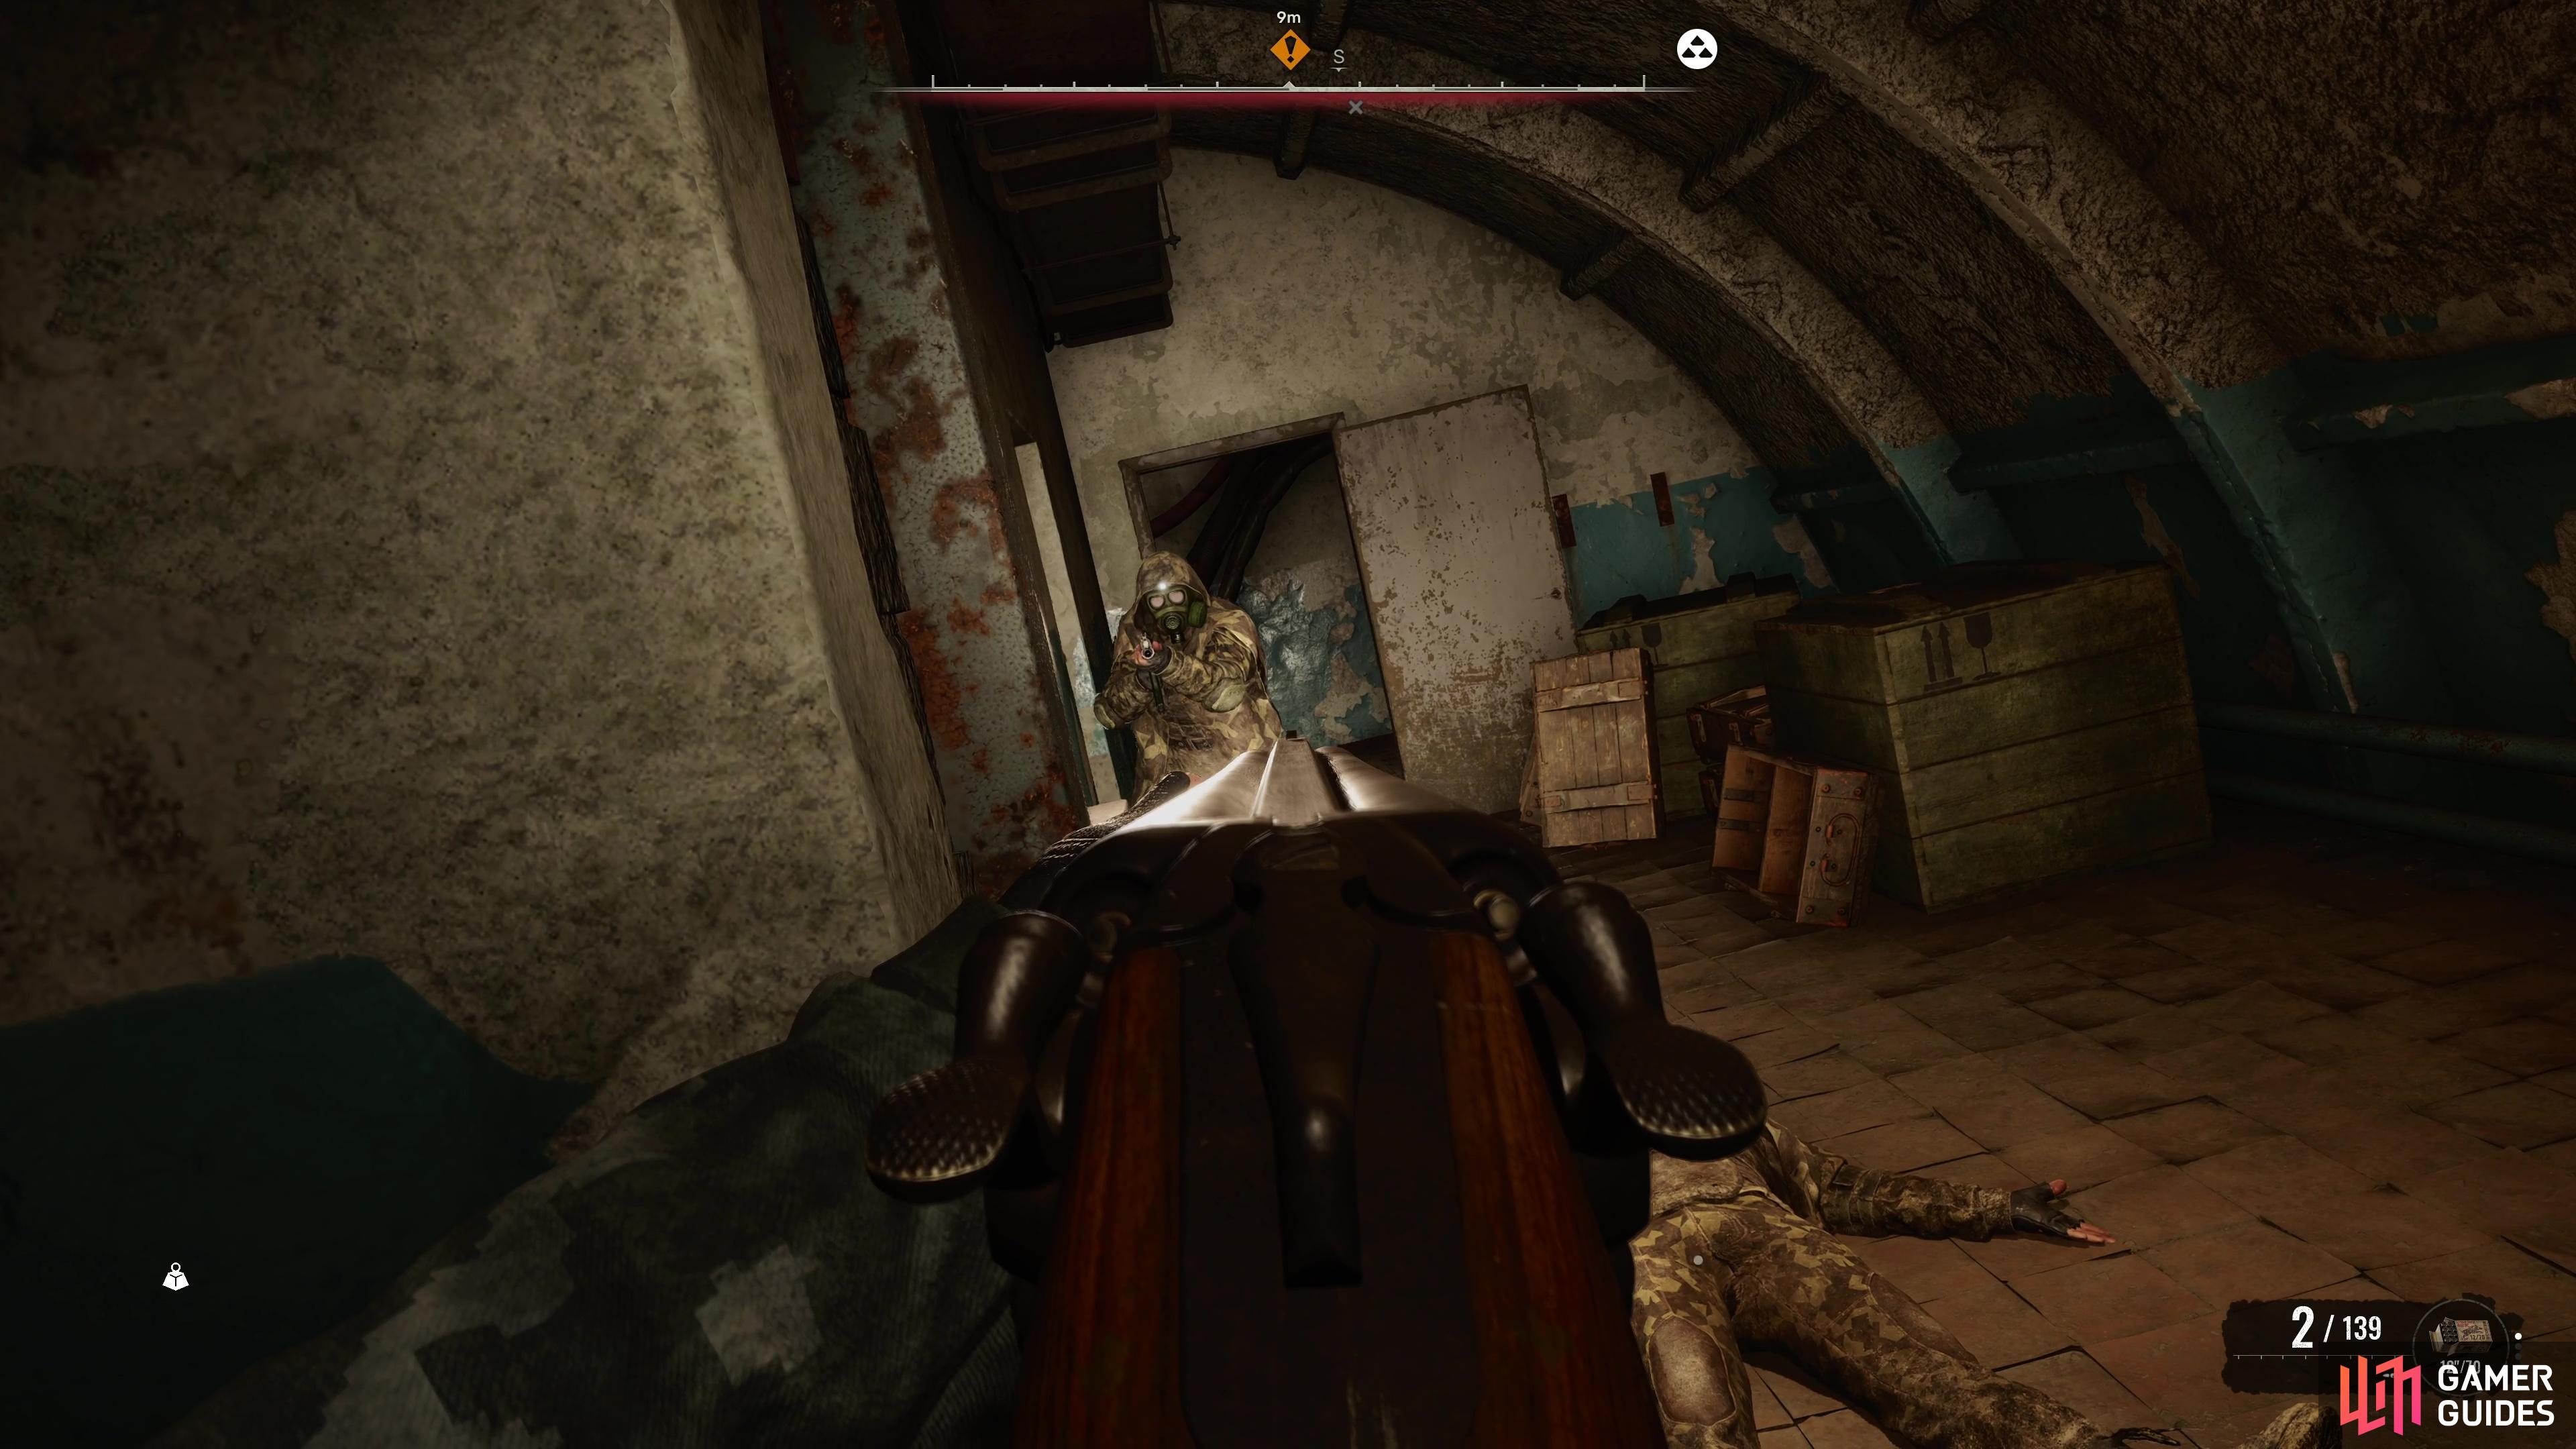
Regardless of your choice, you’re going to have to fight your way out of the Sphere now that the soldiers are on alert, and you won’t be able to return the way you came. Keep a Shotgun handy for the initial stages of the escape, you’ll be fighting soldiers in close quarters so having the extra firepower will help here.
(1 of 3) You will need to choose between killing or sparing Solder.
You’ll need to fight your way up countless stairs until you reach the ground floor, where things should calm down a little so long as you stay quiet. Ignore the front doors unless you want another firefight, and instead head through the door to your left when you reach the ground floor. This will lead you outside where you can sneak around and finally leave the Sphere, where the mission objective will update when you get far enough away from the complex.
Take the Key to the Northern Checkpoint
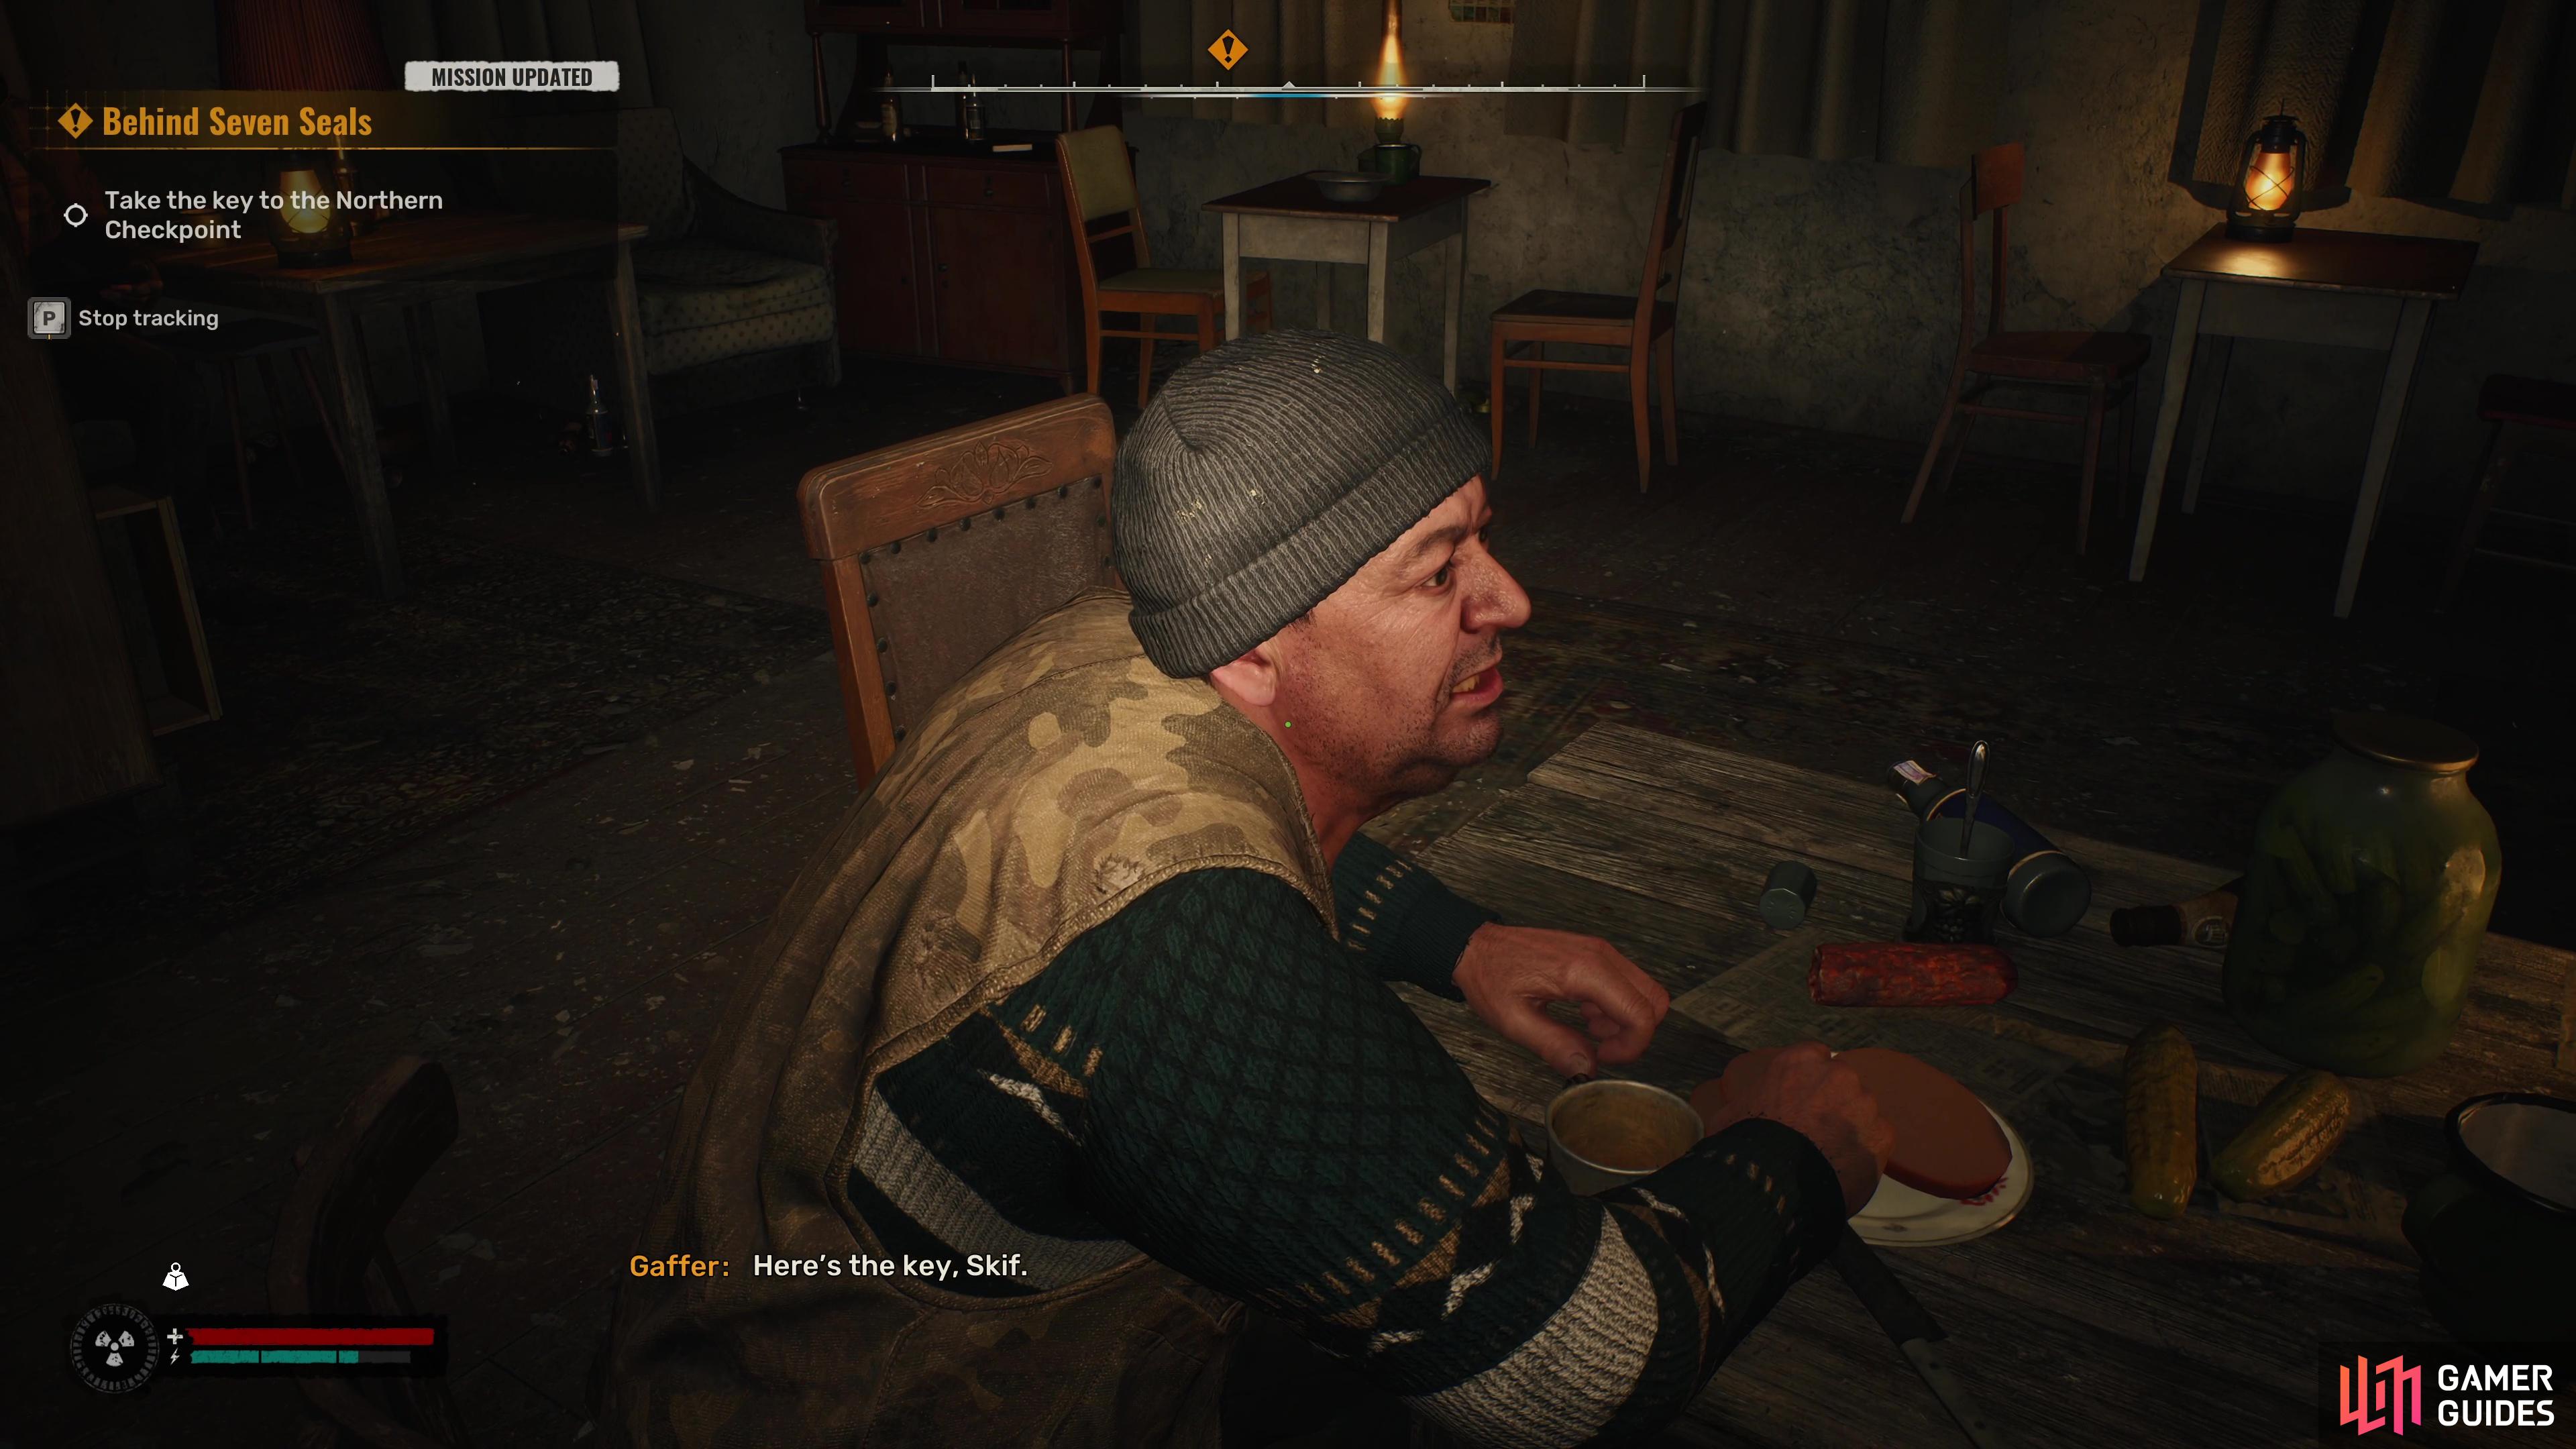
Now that you know where to head to next (the ![]() Garbage region), you’re almost ready to leave the Lesser Zone, at least as far as the main missions are concerned. Before you go setting off for the Northern Checkpoint (which is north of Zalissya), return to Zalissya first and speak to Gaffer to get the key needed to open the door at the Checkpoint (Map Marker).
Garbage region), you’re almost ready to leave the Lesser Zone, at least as far as the main missions are concerned. Before you go setting off for the Northern Checkpoint (which is north of Zalissya), return to Zalissya first and speak to Gaffer to get the key needed to open the door at the Checkpoint (Map Marker).
Speak to Gaffer to get the Northern Checkpoint key and leave the Lesser Zone.
You’ll also want to prepare for the journey ahead, the next settlement where you can find a merchant and a bed will be quite some time, so only take the necessities with you to save on space in your pack and make sure you have enough ammo for your chosen primary weapons. When you’re ready, head to the Northern Checkpoint, open the door and go through the window (minding the gravitational Anomalies along the way) and continue to the north to enter the Garbage region as Behind Seven Seals comes to an end and Always Comes at a Price begins.

 Sign up
No Comments