Now that Gohan and Krillin tricked Vegeta and secured one of the Dragon Balls, Krillin plans on taking Gohan to Guru so he can unlock his hidden power. As soon as you gain control, you should see two blue markers on your map, meaning there are two new Substories available. The first is right in front of you, from Bulma, so let’s start there.
Selfish Bulma
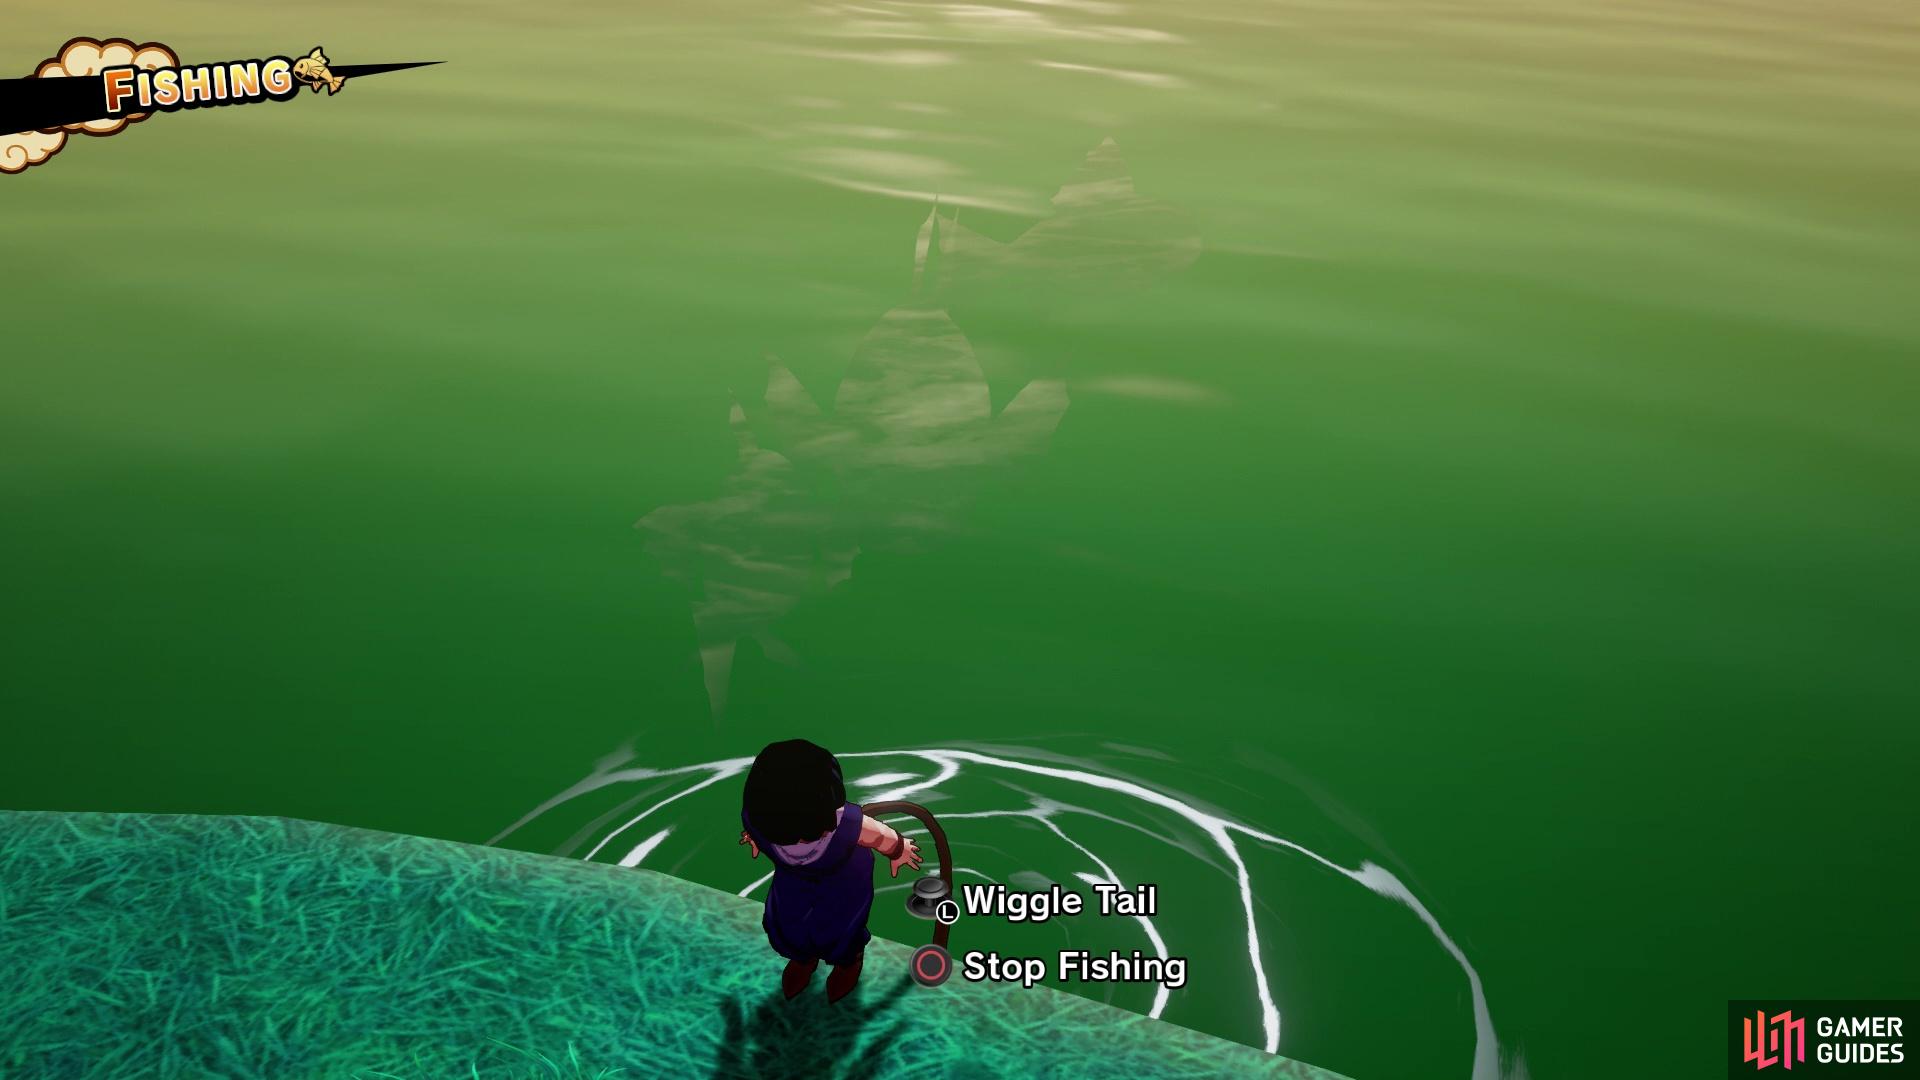
Bulma isn’t very pleased, since she’s in the middle of nowhere and in need of some materials. She gives you a list of items she needs, which consists of 3 Iron Ores and 3 Alien Whitefish Fin Muscles. The Iron Ores you might already have, but if not, there’s some mining nodes to the west of Bulma that should yield some Iron Ores. If you don’t get what you need, visit some of the other mining spots marked on your map until you get them. For the Fin Muscles, go to the fishing spot to the west of Bulma and begin fishing there.
(1 of 2) When fishing, look for the larger of the two fish
When fishing, look for the larger of the two fish (left), You can find a mining spot close to Bulma’s location that should give you the Iron (right)
There are two kinds of fish that you will find, a smaller one and a larger one. The larger of the two fish, from the shadows you can see in the water, are what you need, as they drop the items you require. Should the smaller fish start coming towards your tail, stop shaking the left stick to hopefully make them stop moving. Once you’ve gotten three Alien Whitefish Fin Muscles, bring both sets of items to Bulma to complete the substory.
| Objective | Reward |
|---|---|
| Secured Bulma some materials | 9,314 EXP, Brain Bread (x1), Mega Mass Lvl 2 (x3) |
The other substory is located not too far north from Bulma’s location, where you should see an alien couple standing out in the open.
Tourists in Trouble
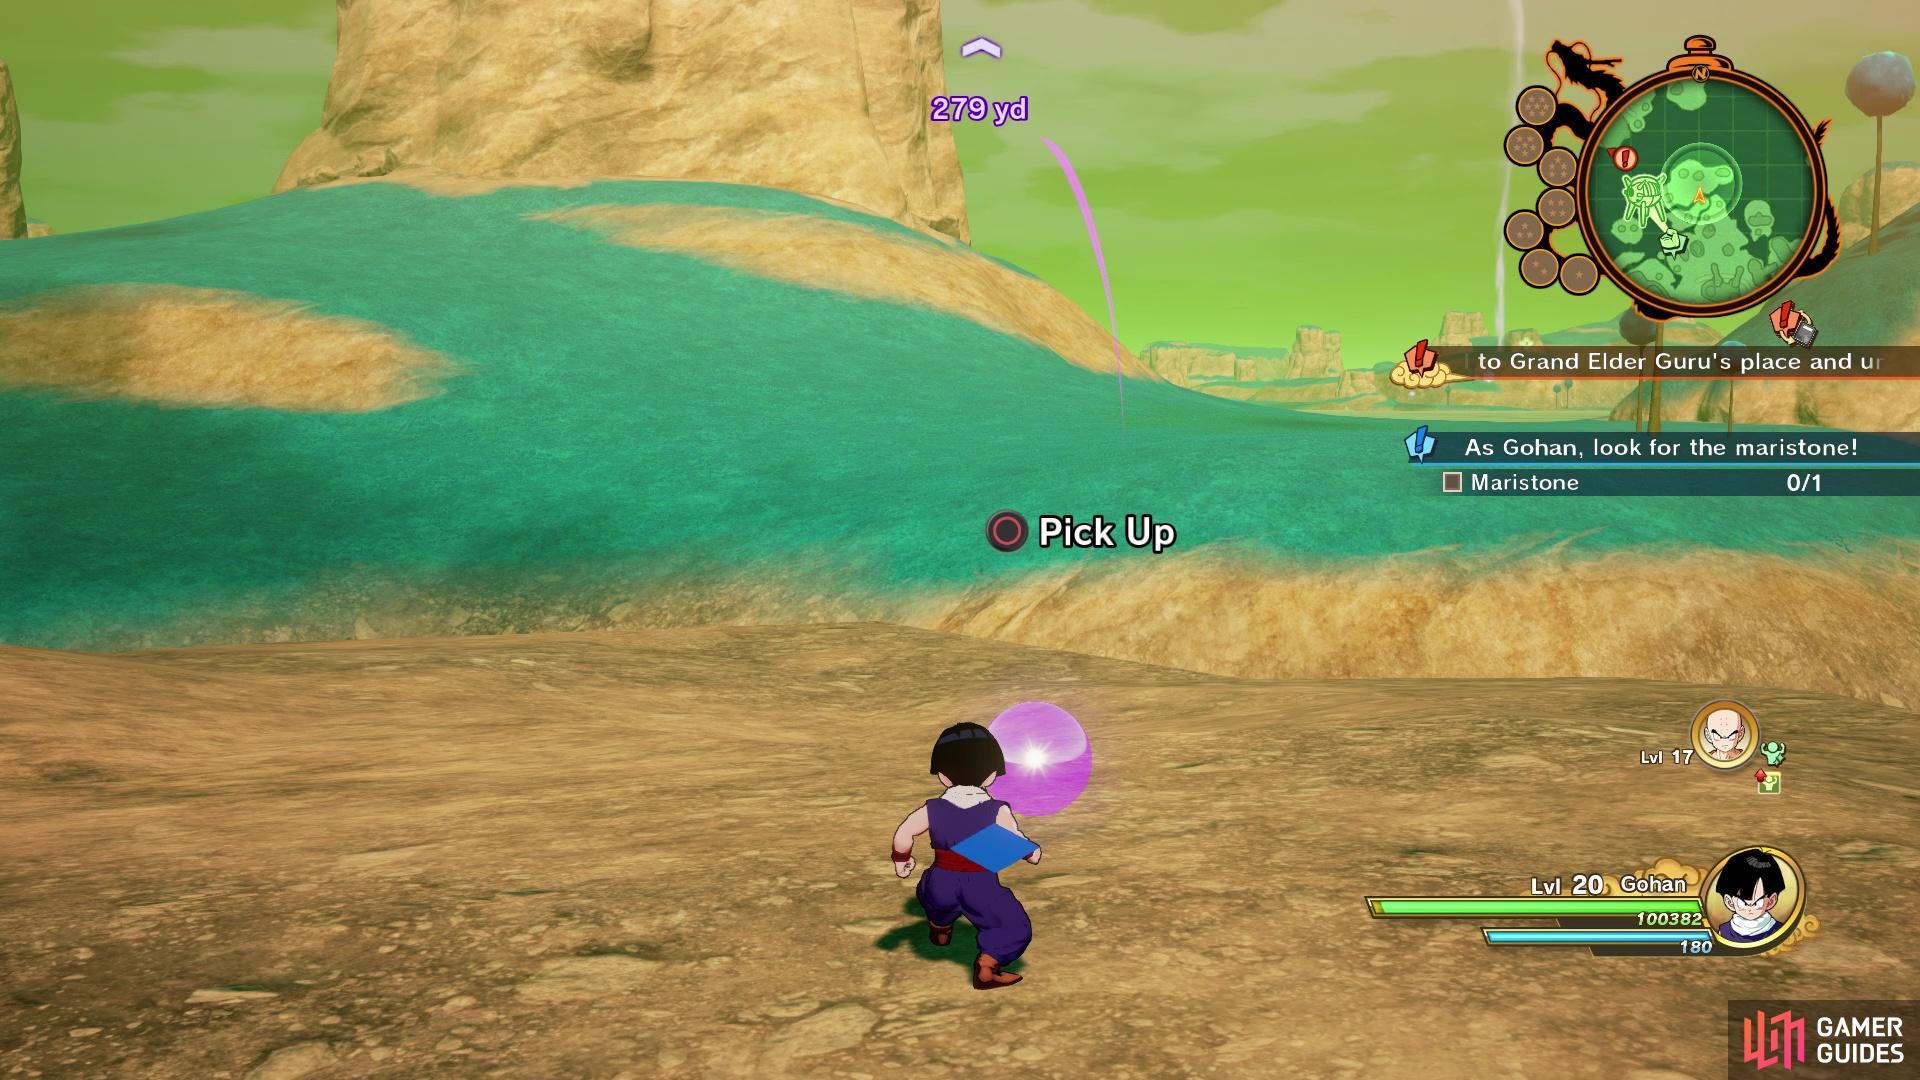
The couple are visiting various planets around the universe, just for sightseeing. While on Namek, they are hoping to find something called Maristone before they agree to leave, so you decide to search it out for them. Take off and fly a little to the north, where you will see a circle on your mini-map, which designates the general location of the Maristone. No matter how much you look using your Ki-searching ability, you’re not going to find the item, which is present in one of the purple orbs. That’s because it’s hidden inside one of the little hills that you can blow up by either using Ki blasts or flying into it while boosting.
So, which little hill is the Maristone hiding under? Well, looking at your map, there is a small little island in between the two larger landmasses. The small hill you can destroy on this little island is where the Maristone will be hidden, so destroy the hill and collect the Maristone, then return to the alien couple. When you get back, you see some of Frieza’s soldiers harassing them, leading to a battle. These are no different than the random encounters you’ve fought here on Namek, so make short work of them and you will finish this substory.
(1 of 2) This rocky hill is where the Maristone is hiding
This rocky hill is where the Maristone is hiding (left), so destroy it to find the purple orb that contains the Maristone (right)
| Objective | Reward |
|---|---|
| Found the Maristone for the alien couple | 7,903 EXP, D Medal (x1), Shenron Plush (x1), Fancy Earrings (x1) |
To continue the story, head to the marker, which will be Guru’s place. A scene will play out, then Guru will ask some questions of Gohan. Although he will give you a chance to answer the questions if you answer incorrectly, the right answers are It scares me, Only when it has to be used, and To bring everyone back to life. Gohan will receive a power boost, but it appears it won’t be enough, as you learn that five strong warriors called the Ginyu Force are on their way to Namek right now. You also learn that the Namekian Dragon Balls can do three wishes for each time they are gathered, so they decide to use one of the wishes to make Vegeta immortal and have a chance against the Ginyu Force.
On their way to retrieve the Dragon Balls that Vegeta stole from Frieza, they all run into the Ginyu Force. Captain Ginyu makes off with the Dragon Balls, while the rest will deal with Gohan, Krillin and Vegeta, leading to the first fight.
Gohan/Krillin vs. Guldo
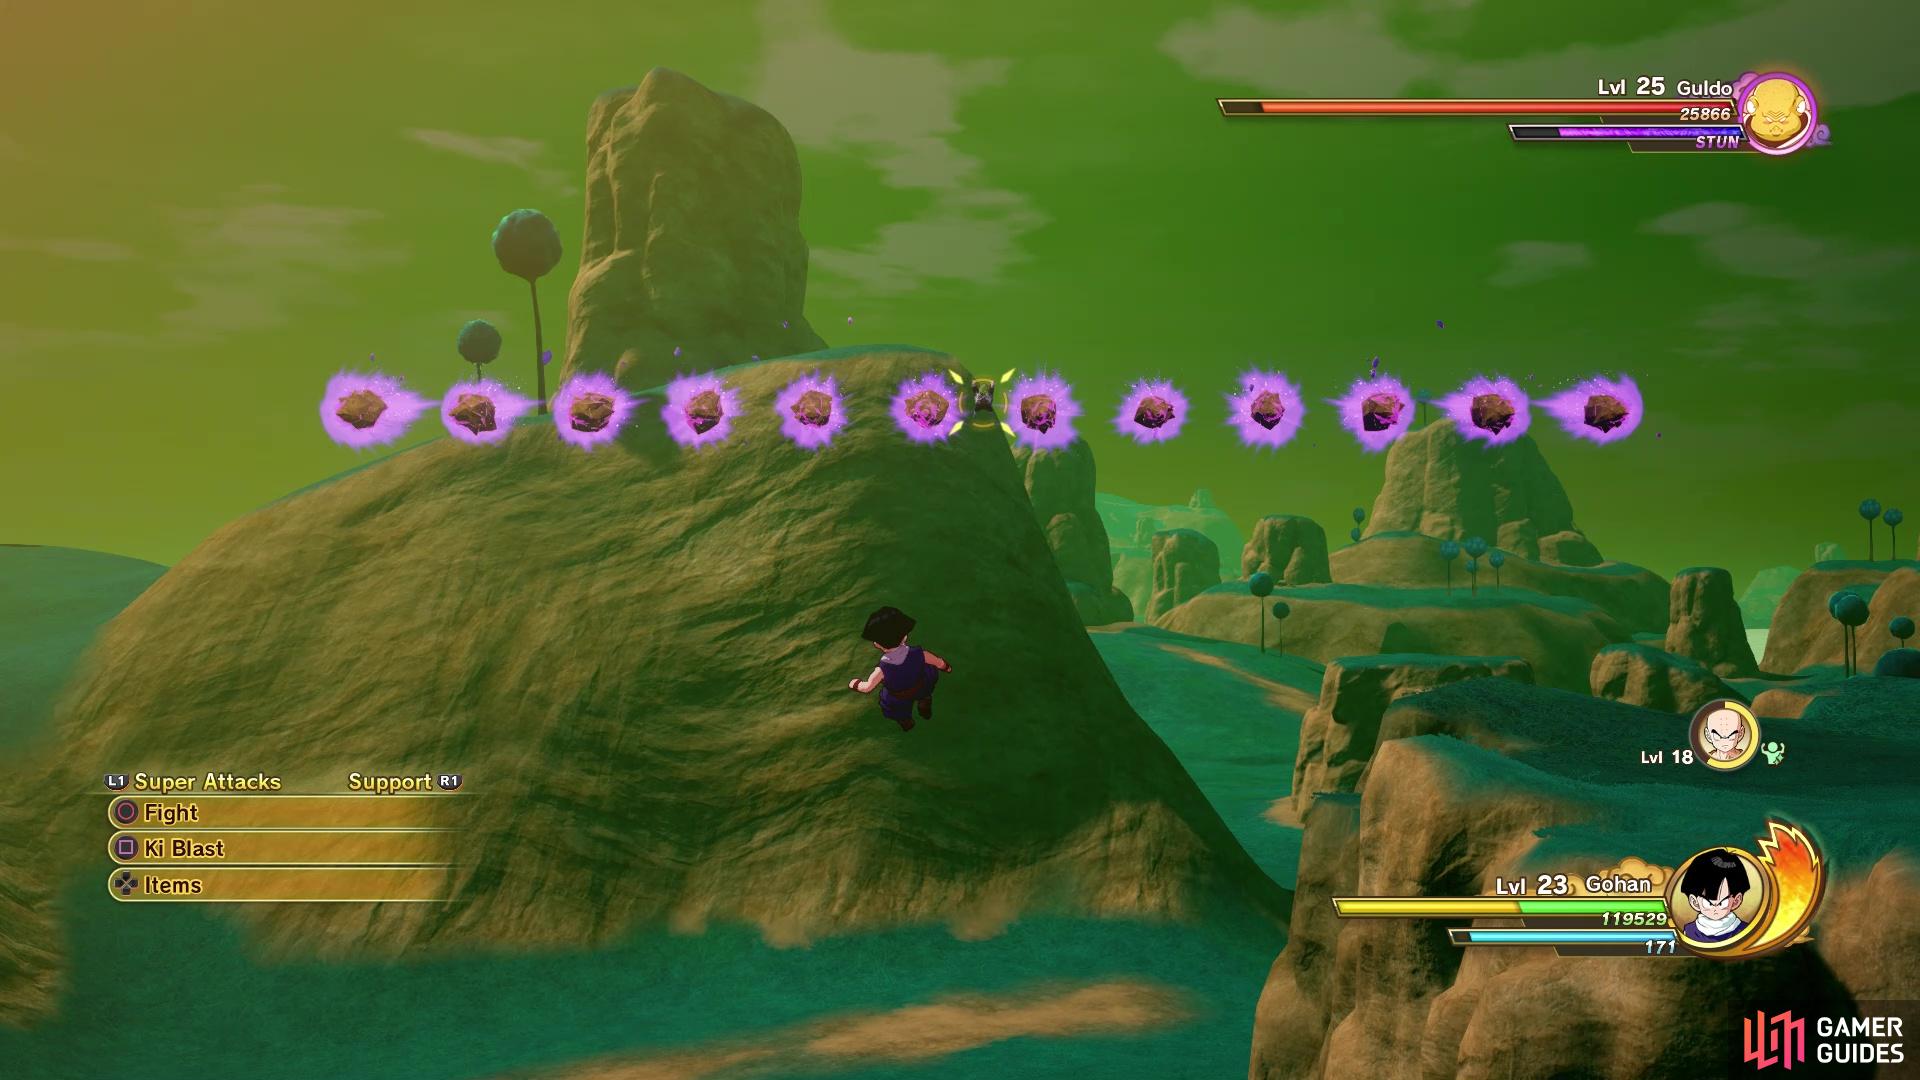
Guldo is not strong physically, but he is an odd fighter, as he has access to telekinetic abilities. Despite the possibility of keeping your distance, you can still fight him normally, but you must be aware of his moves at all times. Whenever you see him charging up, back up a bit to let him do his skill, then begin pummelling his four-eye green face. As already mentioned, Guldo relies on telekinetic abilities, with Psychokinesis having Guldo shoot a projectile at you. There’s a stronger version of the former move, called Psycho Satellite, where Guldo will have multiple projectiles ready to toss at you, but he still only sends one at a time.
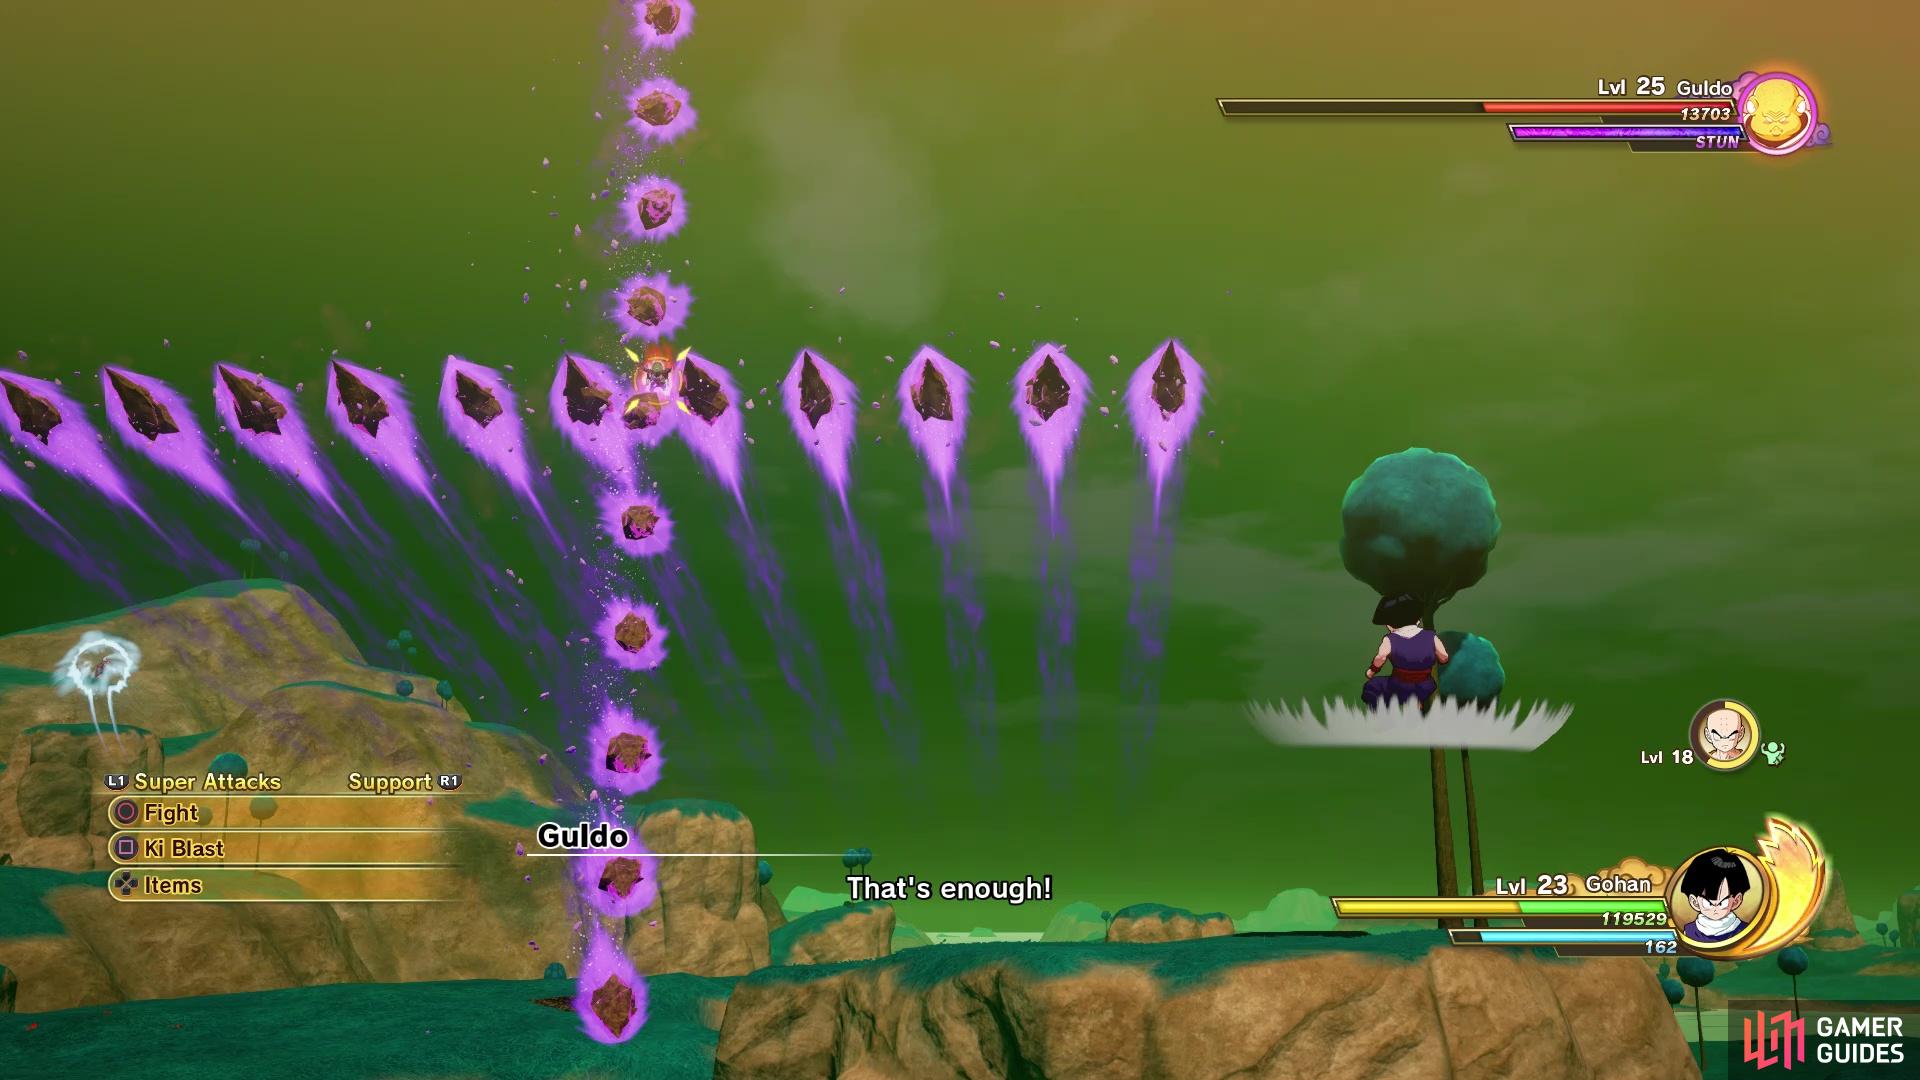
By far, one of the more dangerous moves in his arsenal is a simple one, as when you first see it, you won’t know what’s going on. Paralysis isn’t a projectile, but rather a shockwave of sorts, and if you don’t block it, you will be stunned for a few seconds. It’s unclear what the range on this attack is, since it reaches pretty far, so just keep blocking whenever you see its name pop up on the screen. Although it has the same name as the single projectile, Guldo has a cutscene version of Psychokinesis, where he will take a lot of rocks and send them at you all at once. Note that these will be lined up and the patterns will change each time he sends them.
(1 of 3) Paralysis has a fairly large range, so you should just block it
It’ll usually begin with a horizontal line, so dodge by either moving up or down. The second will be a cross-shape, so try to move towards one of the empty corners, then he’ll go back to a horizontal line again. As his health gets lower, he will sometimes do more attacks during the bigger Psychokinesis, including adding a vertical line of rocks. Patience is your best friend in this battle against Guldo and don’t forget that you have Krillin as a support character, so using Solar Flare as often as you can will help whittle the enemy’s health down to zero.
After a short scene, the next battle will begin.
Vegeta/Gohan/Krillin vs. Recoome
Recoome can be a lot more dangerous than Guldo, since he is faster and hits harder. Keeping on the move is something you want to do in this fight, even though you have both Gohan and Krillin as support characters (you’re playing as Vegeta). Recoome has a charging attack, similar to Dodoria, except he uses his legs to try and hit you; this attack is called Recoome Kick and it is somewhat quick, so you might not have all the time in the world to try and dodge it. Blocking Recoome Kick is fine, so don’t worry about that.
Recoome’s next Super Attack is called Recoome Eraser Gun, where he will fire a beam of energy off to the side, then move it in a sweeping motion to the other side. It’s not a wide angle and there is a slight marker that can be a little hard to see, which shows the ending point of the beam. Of course, the toughest part of this attack is if you guess the direction where he’ll initially shoot the beam wrong, as you will need to dodge through the beam to not get hit. The last Super Attack you’ll see during this battle is called Recoome Grenade Bomber.
(1 of 2) Keep an eye out for the red marker to know where Eraser Gun will stop
Keep an eye out for the red marker to know where Eraser Gun will stop (left), Avoiding all of the energy blasts can be a little difficult (right)
He’ll begin by shooting a bunch of Ki blasts at you, which don’t seem to be in a set pattern, so it’s possible you’ll get hit by one or two. When it’s over and there’s a close-up of his face, the camera angle will change to a top-down view and it’ll rain Ki blasts, similar to Zarbon’s Shooting Star Arrow, except you don’t have to worry about Recoome coming after you. These falling “stars” seem to follow your lead, so they will be coming after your character, and it’s highly likely you’ll take a shot or two. Note that Recoome has that push-back, into super mode, where he will do one Super Attack after another, usually culminating in Grenade Bomber.
The fight is finally over, but it seems like Vegeta’s final attack wasn’t enough to finish off Recoome. Some scenes will happen and it’ll appear that Goku finally arrived on Namek…





 Sign up
No Comments