
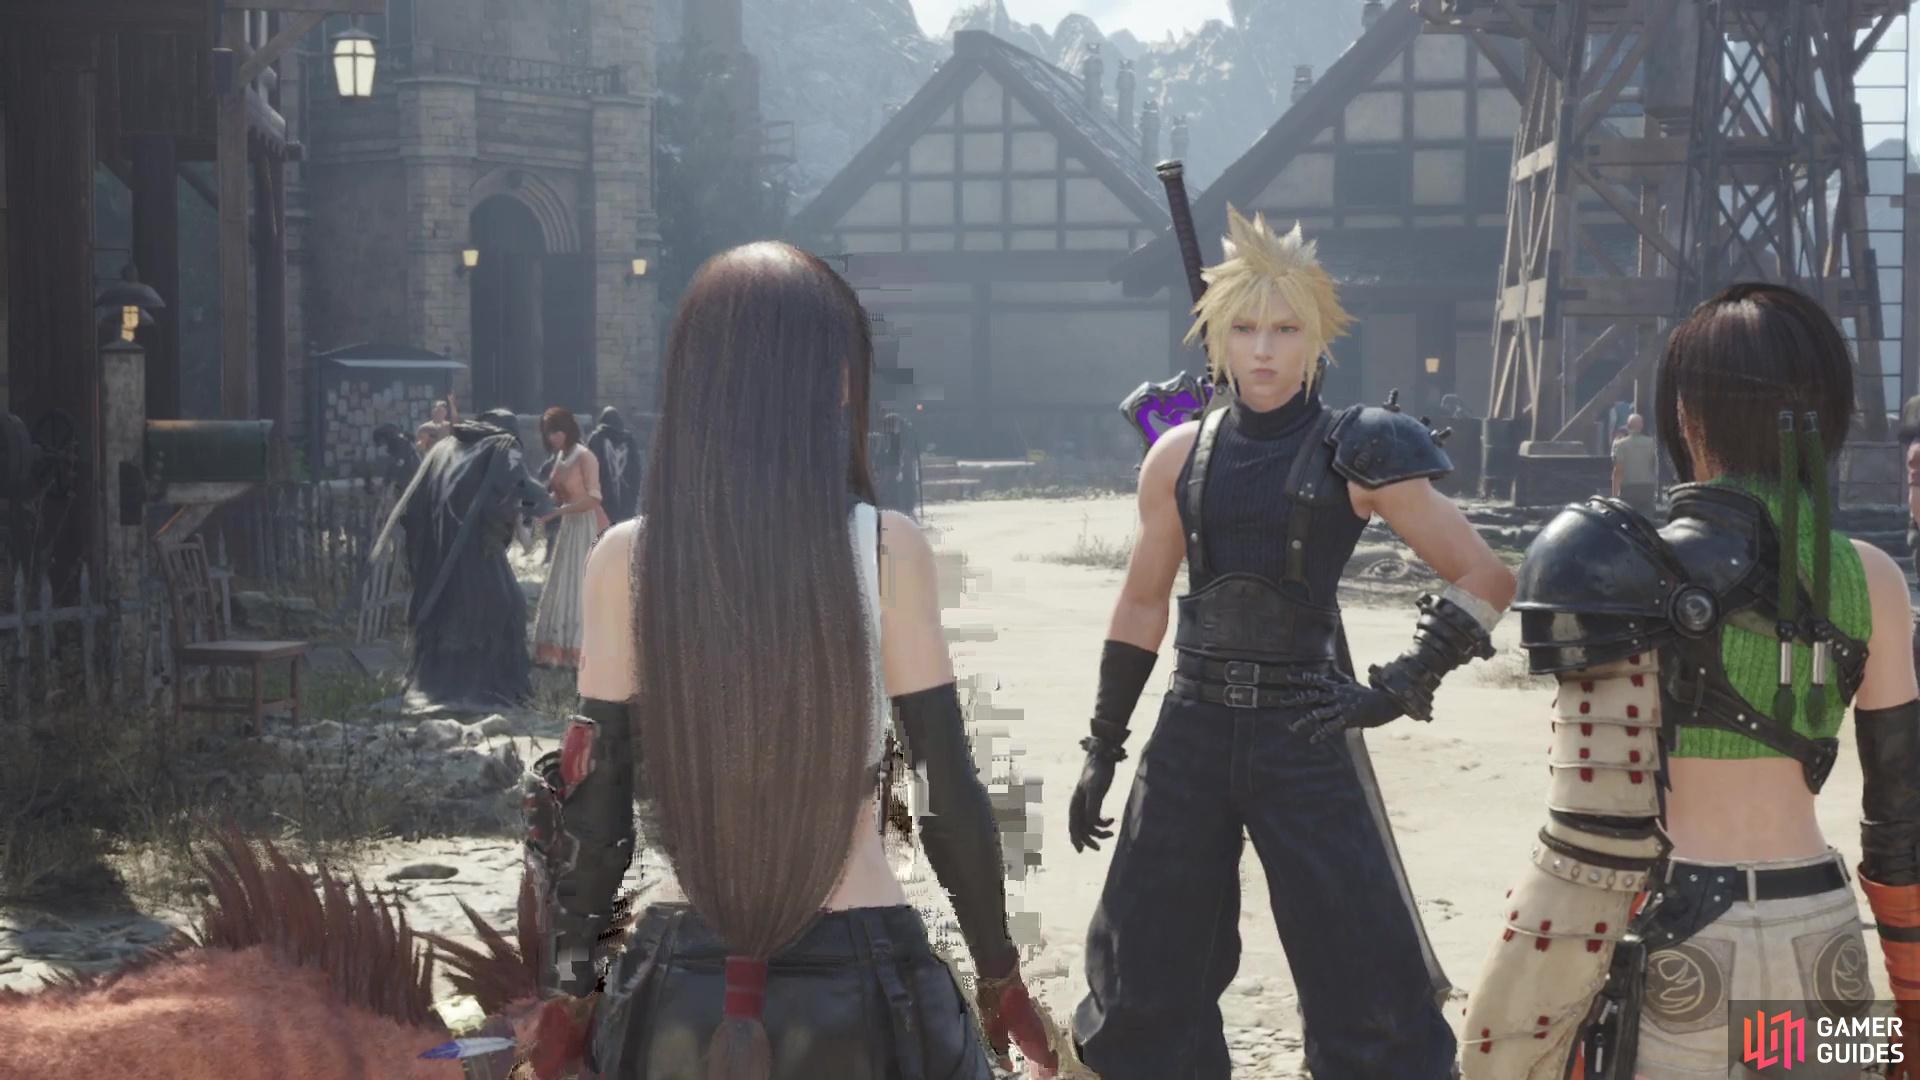
After arriving in the ![]() Nibel Region, the party finds themselves at the village of
Nibel Region, the party finds themselves at the village of ![]() Nibelheim, which has been completely rebuilt.
Nibelheim, which has been completely rebuilt. ![]() Cait Sith wanted to come here to access a Shinra terminal, but as it turns out, he doesn’t have the credentials to get what’s needed. The person who does, though, went to the reactor, so Cloud, joined by Yuffie and Tifa, decide to go meet up this person at the reactor.
Cait Sith wanted to come here to access a Shinra terminal, but as it turns out, he doesn’t have the credentials to get what’s needed. The person who does, though, went to the reactor, so Cloud, joined by Yuffie and Tifa, decide to go meet up this person at the reactor.
Cloud will be joined by Yuffie and Tifa on the climb back up Mt. Nibel.
Climbing Mt. Nibel
Thankfully, you won’t need to make the big trek up ![]() Mt. Nibel, like in the past, as there is a new bridge that has been built. You can summon your Chocobo here and explore a little bit to the east, but the game will eventually stop your progress at some point, forcing you to use the new bridge to the north of your initial position. After crossing the bridge, you will be in front of a building, but you won’t be able to enter via the console without Murasaki’s ID.
Mt. Nibel, like in the past, as there is a new bridge that has been built. You can summon your Chocobo here and explore a little bit to the east, but the game will eventually stop your progress at some point, forcing you to use the new bridge to the north of your initial position. After crossing the bridge, you will be in front of a building, but you won’t be able to enter via the console without Murasaki’s ID.
Instead, continue west, stopping not far from the front door to find a purple chest along the fence. This contains the Crystal Gloves weapon for Tifa, which will unlock the Unfettered Fury ability for her. A little farther past that point is where you’ll run into your first enemies on this trip, two ![]() Insectoid Chimeras and a
Insectoid Chimeras and a ![]() Velociwing. Once you’ve defeated them, look to the south to find a resting spot, vending machine, and a Maghnata automat. When you’re done, head inside the Gnipahellir Ravine.
Velociwing. Once you’ve defeated them, look to the south to find a resting spot, vending machine, and a Maghnata automat. When you’re done, head inside the Gnipahellir Ravine.
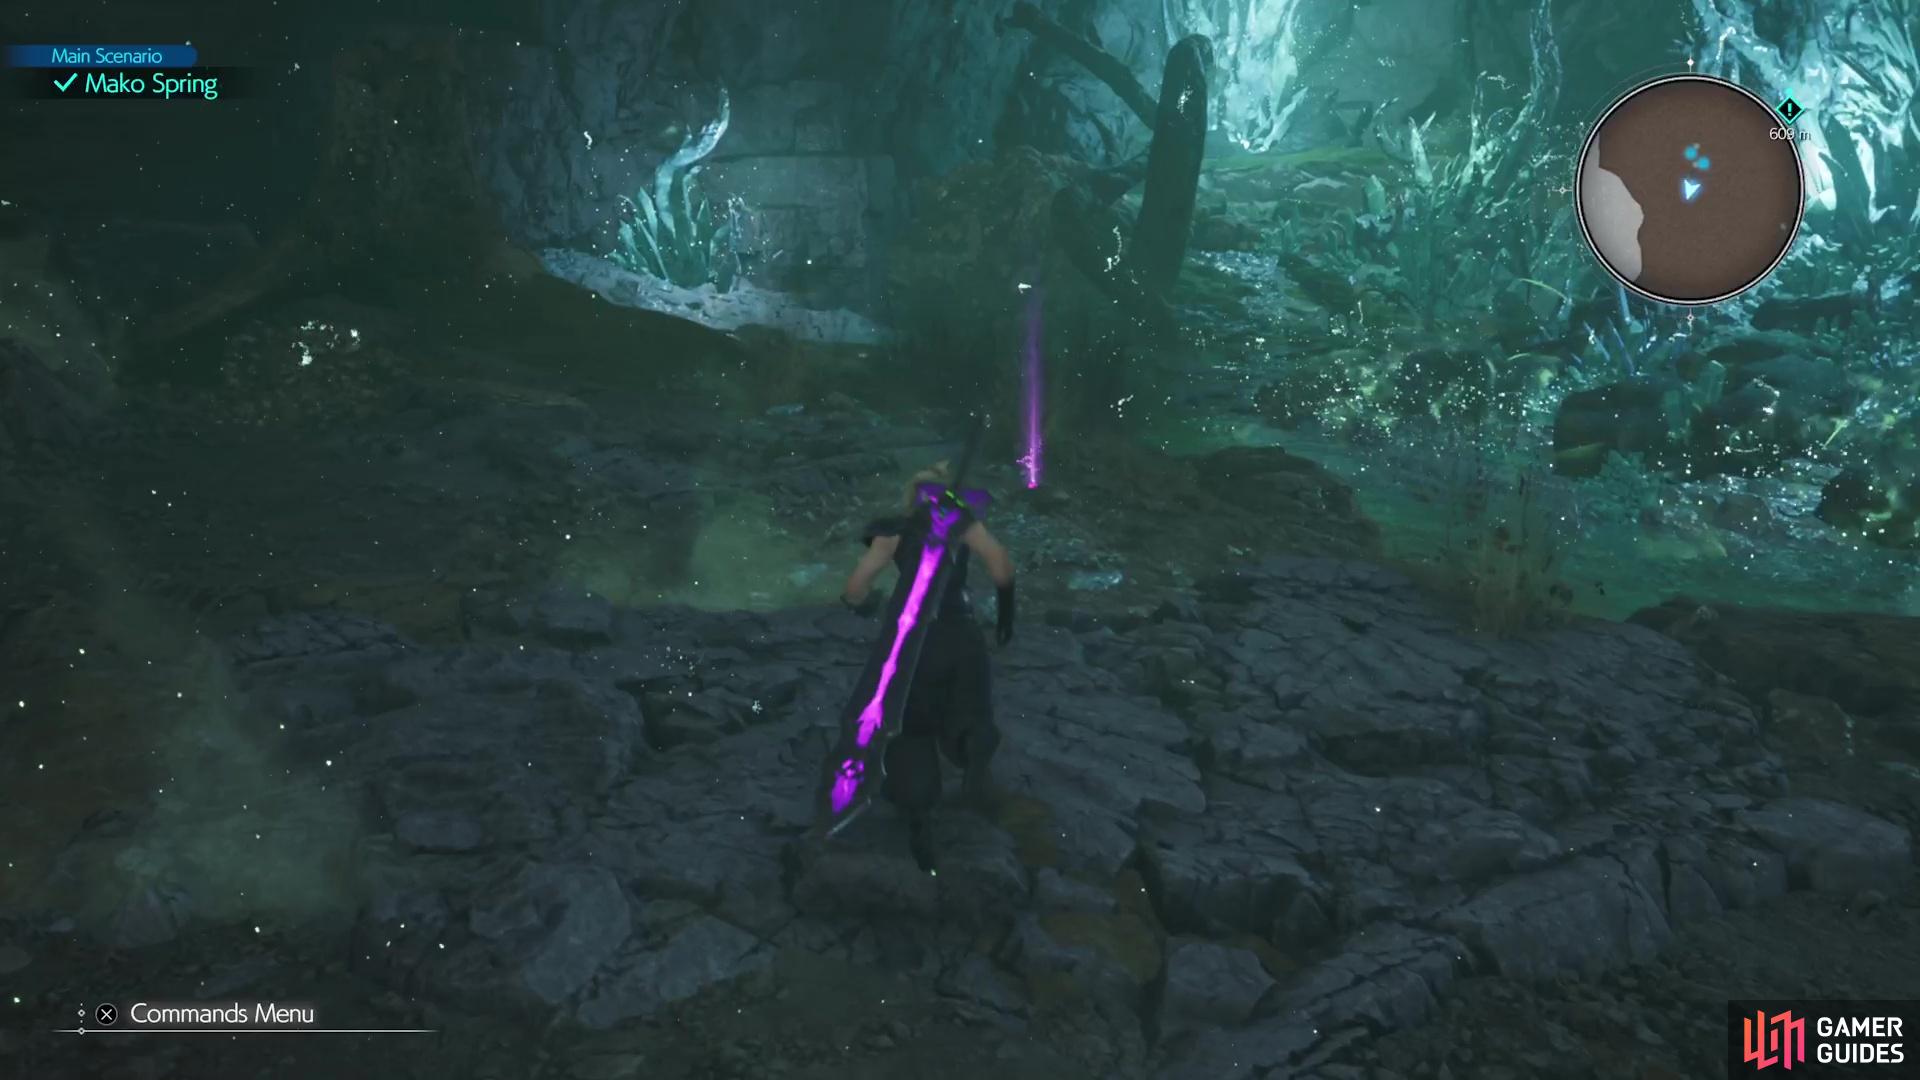
(1 of 2) You’ll come across a weapons chest right on the main path as you begin ascending.
You’ll come across a weapons chest right on the main path as you begin ascending. (left), Look for this purple materia on the ground next to the mako spring. (right)
Gnipahellir Ravine
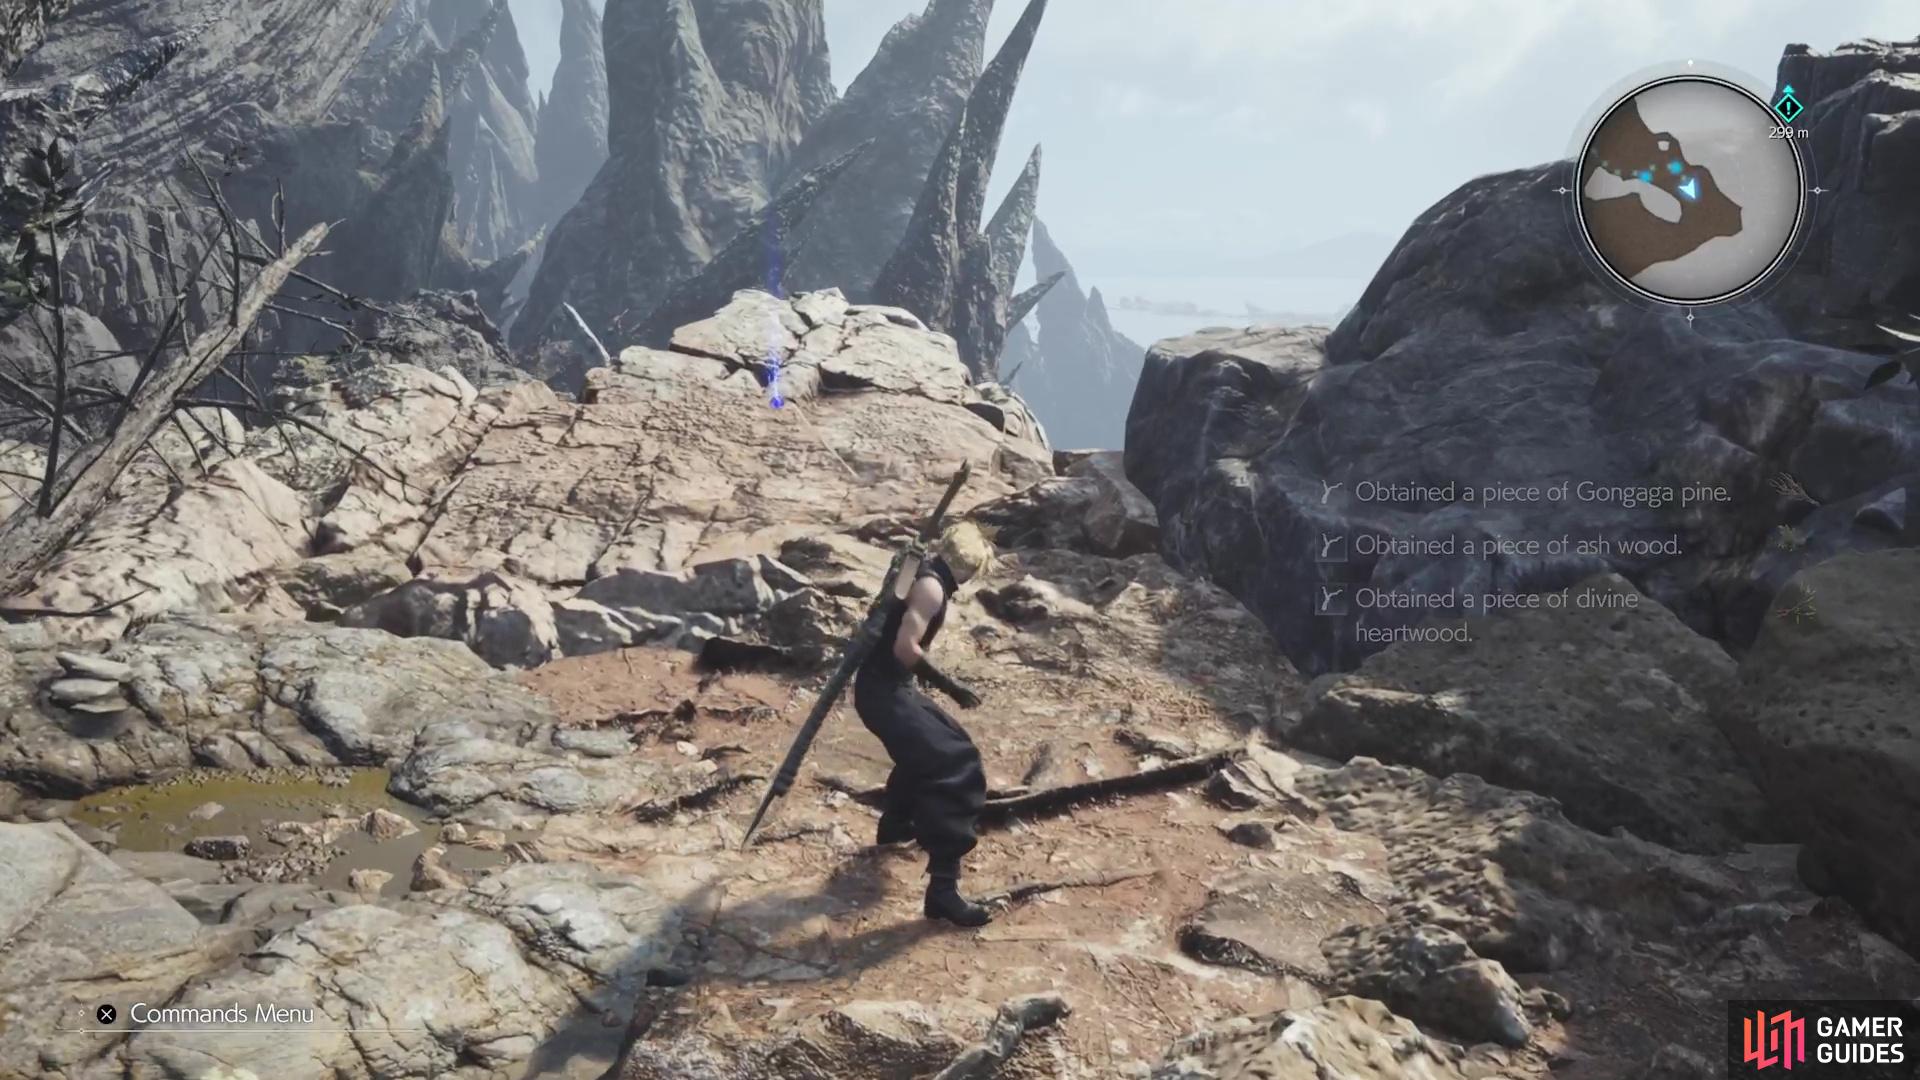
You won’t find anything in the first area, so fight the ![]() Twin Brains and continue west. When you reach the mako spring, there will be a short scene, after which, you can pick up the HP-MP Swap Materia. As it alludes to in the game, this materia will swap your HP and MP values, so while you would be very easy to down, you will also have a lot of MP for casting spells. Continue north from the mako spring, fighting some enemies along the way, until you eventually have to climb some walls and reach the spot with the thin wooden ledge.
Twin Brains and continue west. When you reach the mako spring, there will be a short scene, after which, you can pick up the HP-MP Swap Materia. As it alludes to in the game, this materia will swap your HP and MP values, so while you would be very easy to down, you will also have a lot of MP for casting spells. Continue north from the mako spring, fighting some enemies along the way, until you eventually have to climb some walls and reach the spot with the thin wooden ledge.
Unfortunately, this ledge is now broken, so you’ll need to find another way. Thankfully, Yuffie does find a way, which will involve using the grappling hook to climb upwards. The first enemy you will encounter on this new path is a ![]() Zu. Exploit its weakness to wind to easily pressure it, which will make the battle much easier on yourself. As you continue climbing to the top, you will encounter two
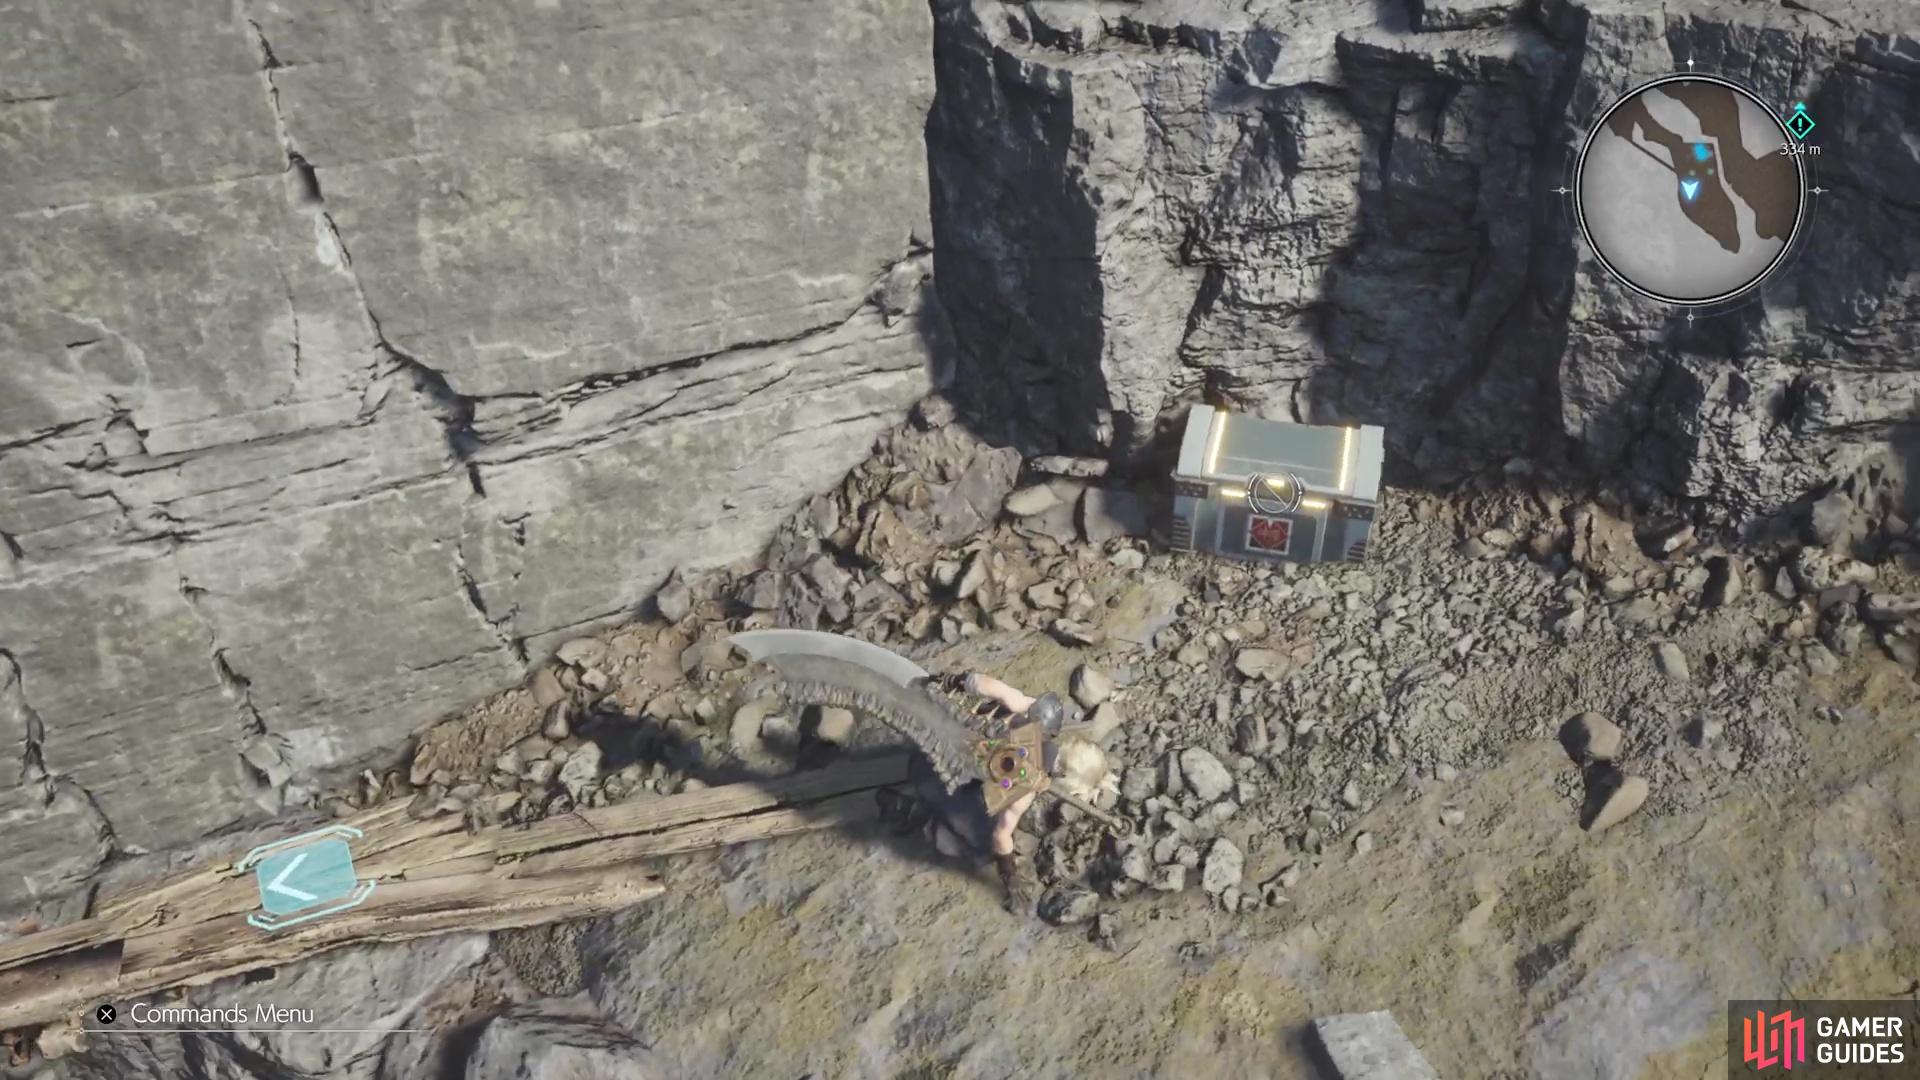
Zu. Exploit its weakness to wind to easily pressure it, which will make the battle much easier on yourself. As you continue climbing to the top, you will encounter two ![]() Screamers. Defeat them, then look around for some footholds on either side. If you look in the middle, you should see a ledge that has a purple chest on it.
Screamers. Defeat them, then look around for some footholds on either side. If you look in the middle, you should see a ledge that has a purple chest on it.
While facing the chest, start climbing the wall on the left and then get to the ledge with that chest, which contains the Igneous Saber weapon for Cloud. Once you have that, continue climbing up the wall on the right side, until you reach the top. Upon doing so, look for a lower ledge beneath you to see a chest, which will contain a pair of ![]() Fortification Materia
Fortification Materia ![]() Earrings. Cross the wooden ledge here and return to the top, where you will eventually come to a split in the trail.
Earrings. Cross the wooden ledge here and return to the top, where you will eventually come to a split in the trail.
(1 of 3) There is another weapon chest on the ledge in between the climbable walls.
Head southeast first to come across a ![]() Warding Materia near the ledge, then backtrack and go in the other direction. Follow this until you encounter a Dragon enemy, who will be blocking your way. This creature is weak to ice and you basically just need to keep inflicting damage until it uses Roar, after which, it will become pressured. This is your chance to fill up the stagger meter, but watch out for Incinerate and its tail whip moves.
Warding Materia near the ledge, then backtrack and go in the other direction. Follow this until you encounter a Dragon enemy, who will be blocking your way. This creature is weak to ice and you basically just need to keep inflicting damage until it uses Roar, after which, it will become pressured. This is your chance to fill up the stagger meter, but watch out for Incinerate and its tail whip moves.
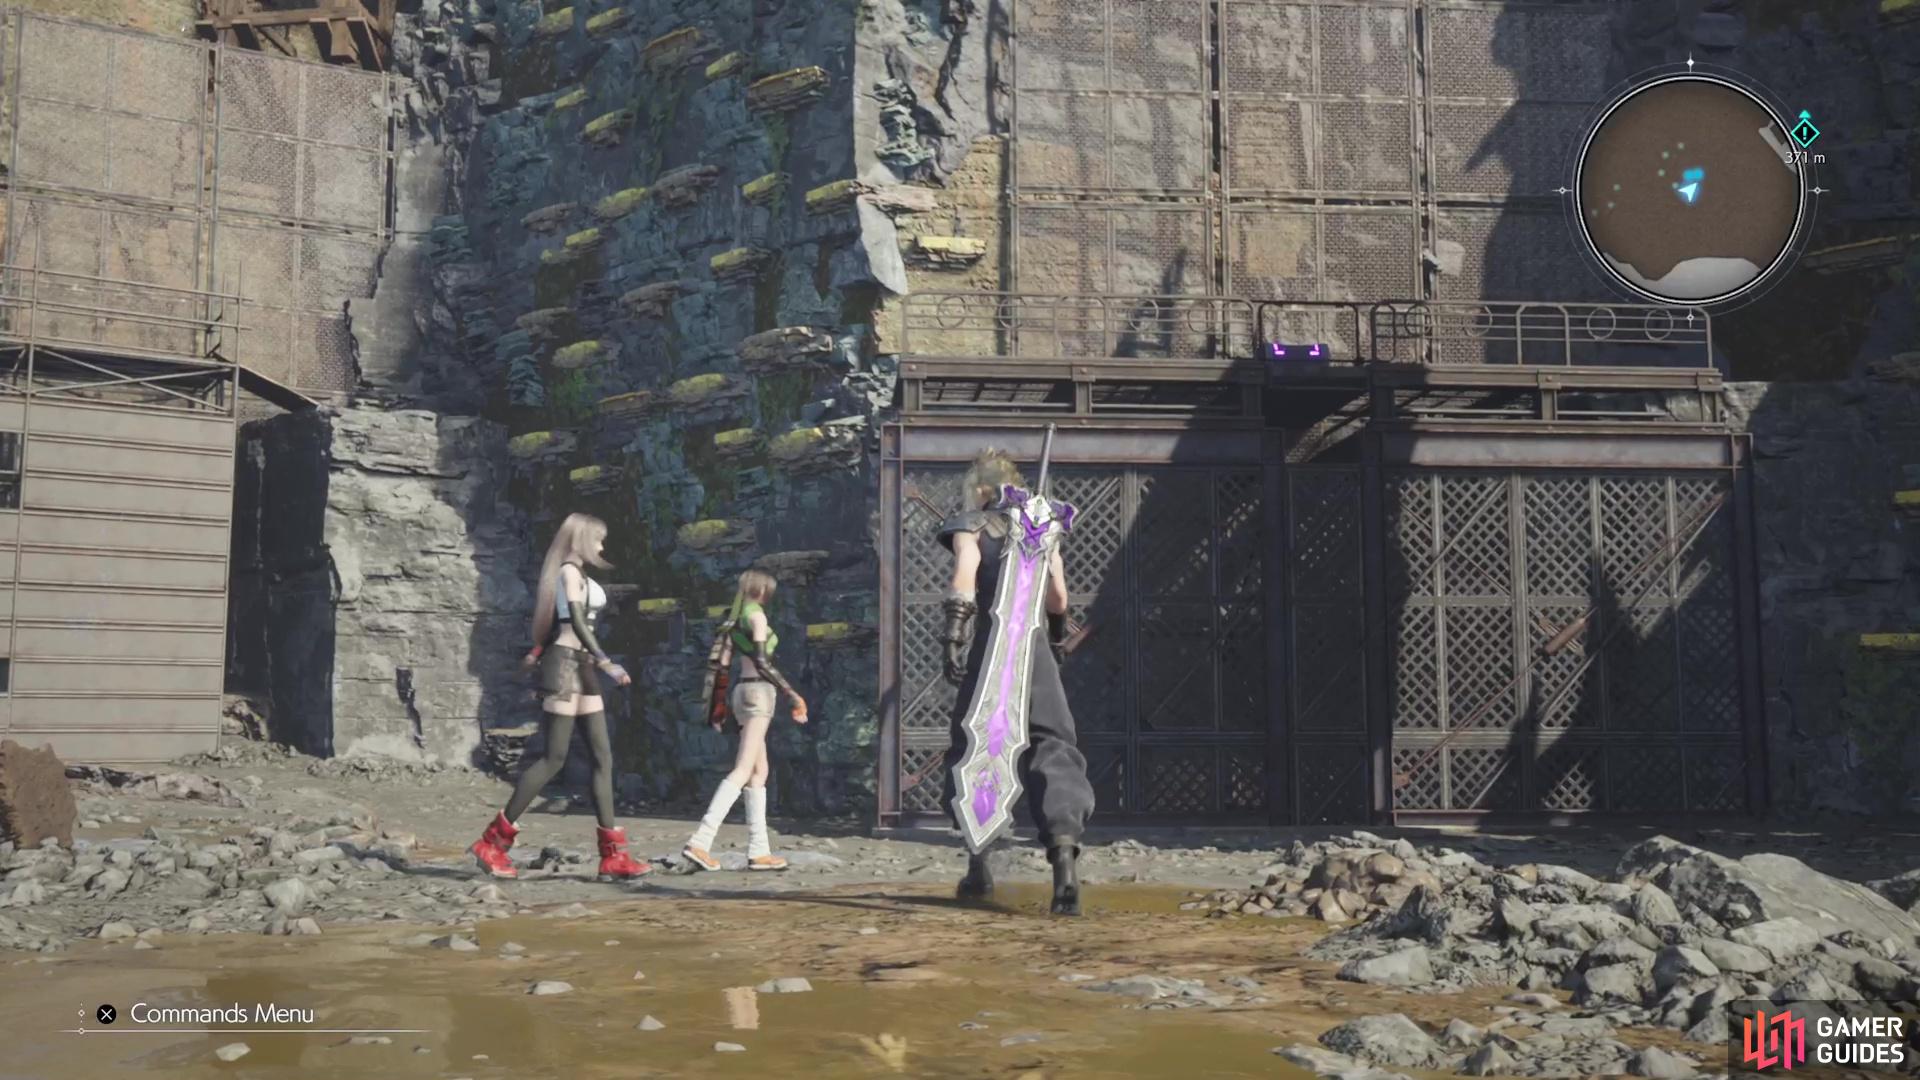
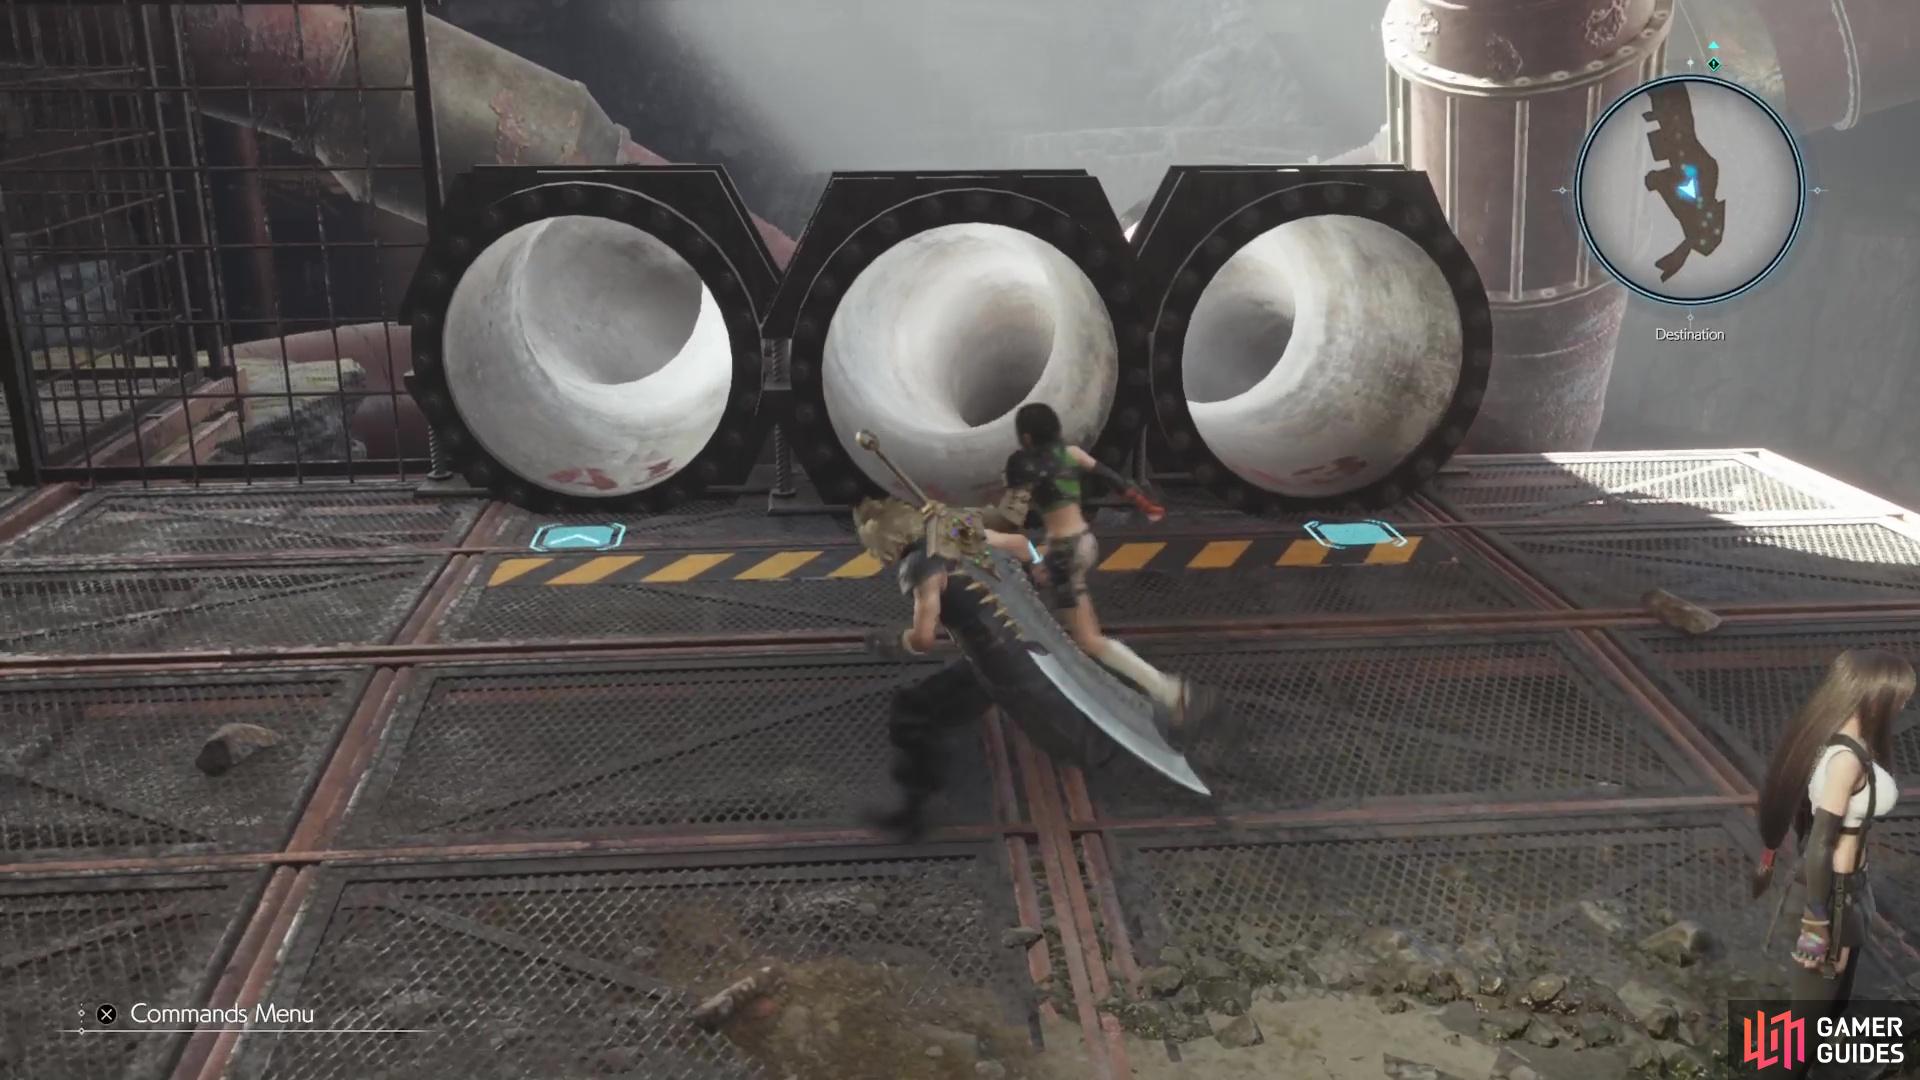
After defeating the Dragon, crawl through the small tunnel behind it to arrive at the Mako Distribution Plant. Follow the trail down and you will see three chutes ahead of you, which all lead to different sections of this area.
Nibelheim Pipes to Choose
Although it might be hard to notice, but each of the pipes here is actually labeled at their entrances (along the bottom). The first set are A1, A2 and A3. A1 will bring you to an empty area with the B-set of pipes, while A2 (the middle one) takes you to a chest with a Cosmoite Ore. There will be a singular pipe here that brings you to the final set of pipes, labeled C and D. C2 will bring you to an area with two Screamers, after which, you’ll find a chest with a ![]() Hi-Ether.
Hi-Ether.


That’s about all the treasure you’ll find hidden by the sliding pipes, so grab them if you want, then go all the way to the bottom. The nearby gate is locked, so you’ll need to find a way over it. Look for the nearby generator you can move and pull it towards the wooden planks along said fence. You can then jump onto the generator and over to the other side of the fence. Once you’re on that side, locate the switch next to the gate and use it to not only open it, but also provide power for the rest of this area.
With power now on, you can use the elevator in the corner of the area with the pipes to go back to the top, allowing you to slide down the pipes to collect anything you may have missed. Once you’re done with that, go the only way you can and you’ll fight two Twin Brains right outside of a door. Go through it after the battle, then venture west to find a chest (![]() Giga-Potion) at the end. There’s nothing else to find now, so follow the linear path to an elevator, then keep going until you finally arrive at the reactor.
Giga-Potion) at the end. There’s nothing else to find now, so follow the linear path to an elevator, then keep going until you finally arrive at the reactor.
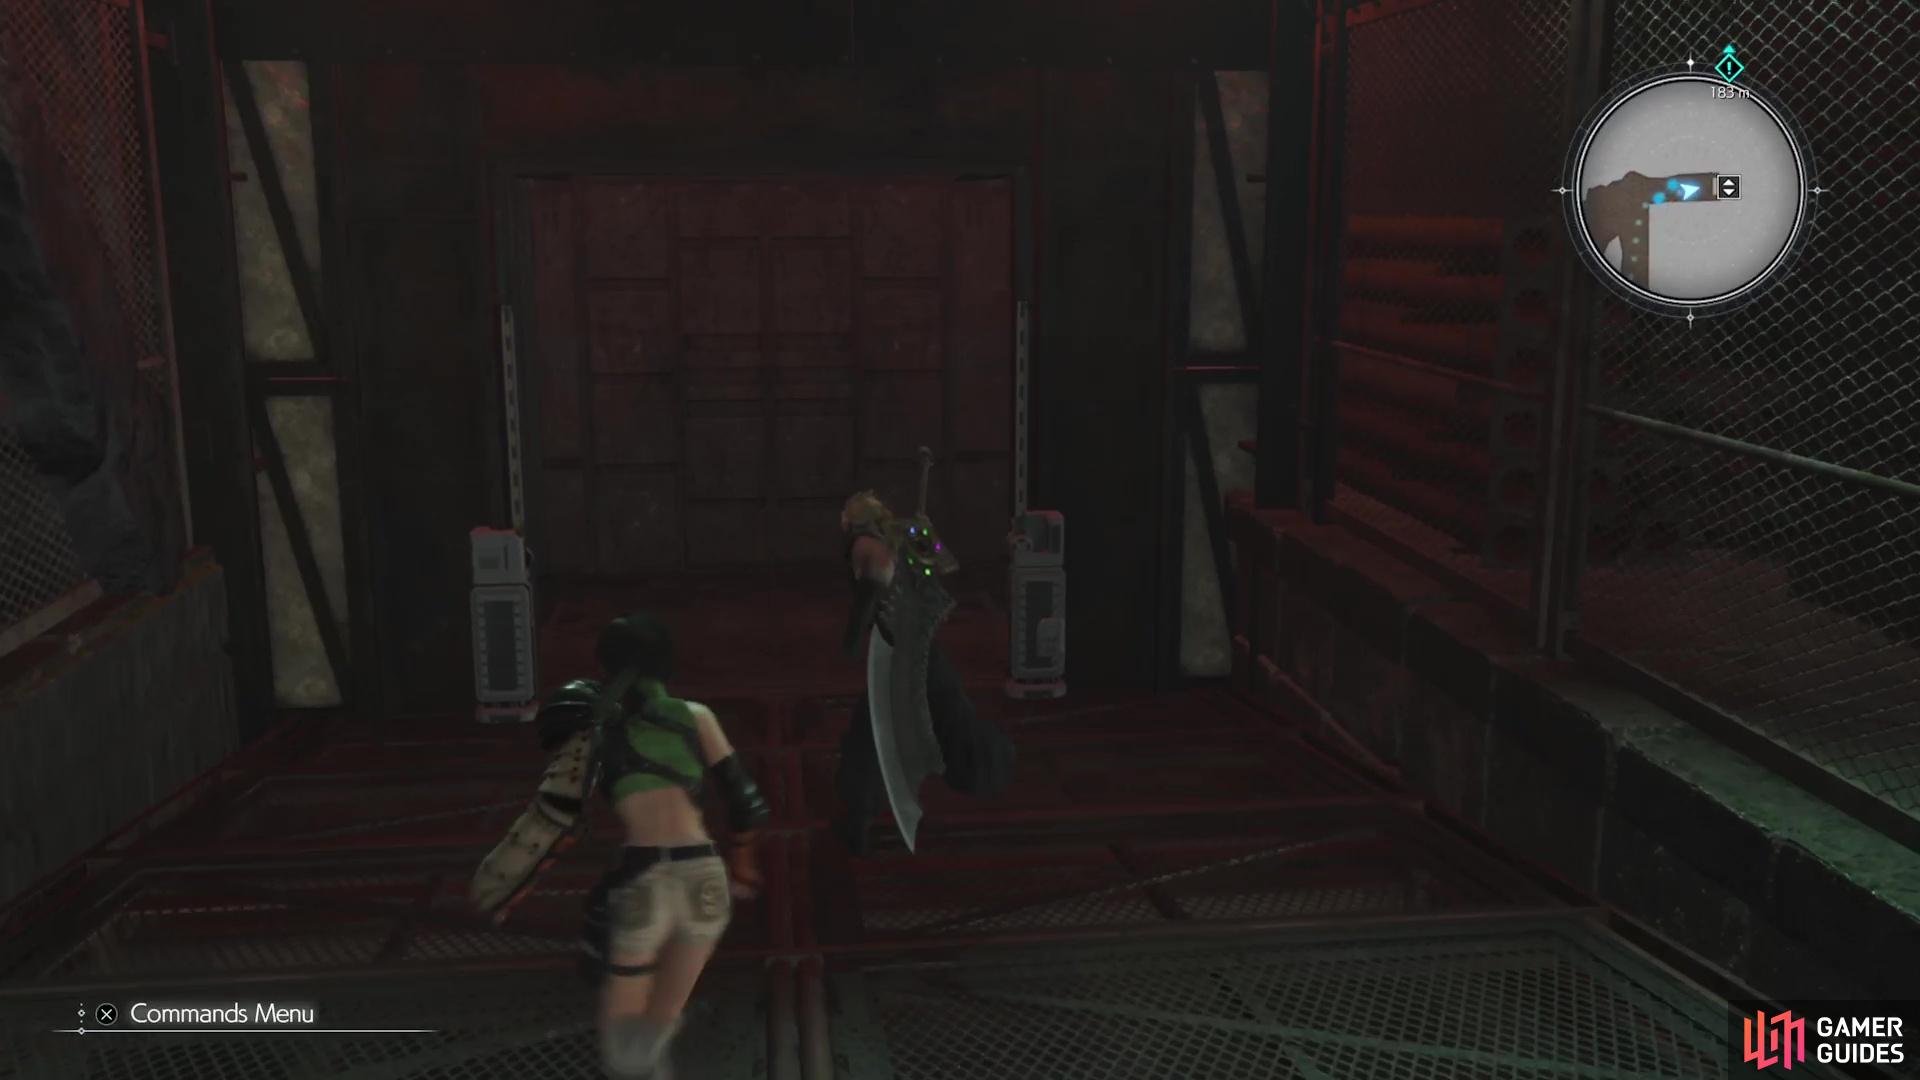
There will be a resting spot right outside the front entrance to the reactor, as well as the usual vending machine and maghnata automat. Go inside and use the elevator to descend, where you’ll enter a room and confront the next boss.

 Sign up
No Comments