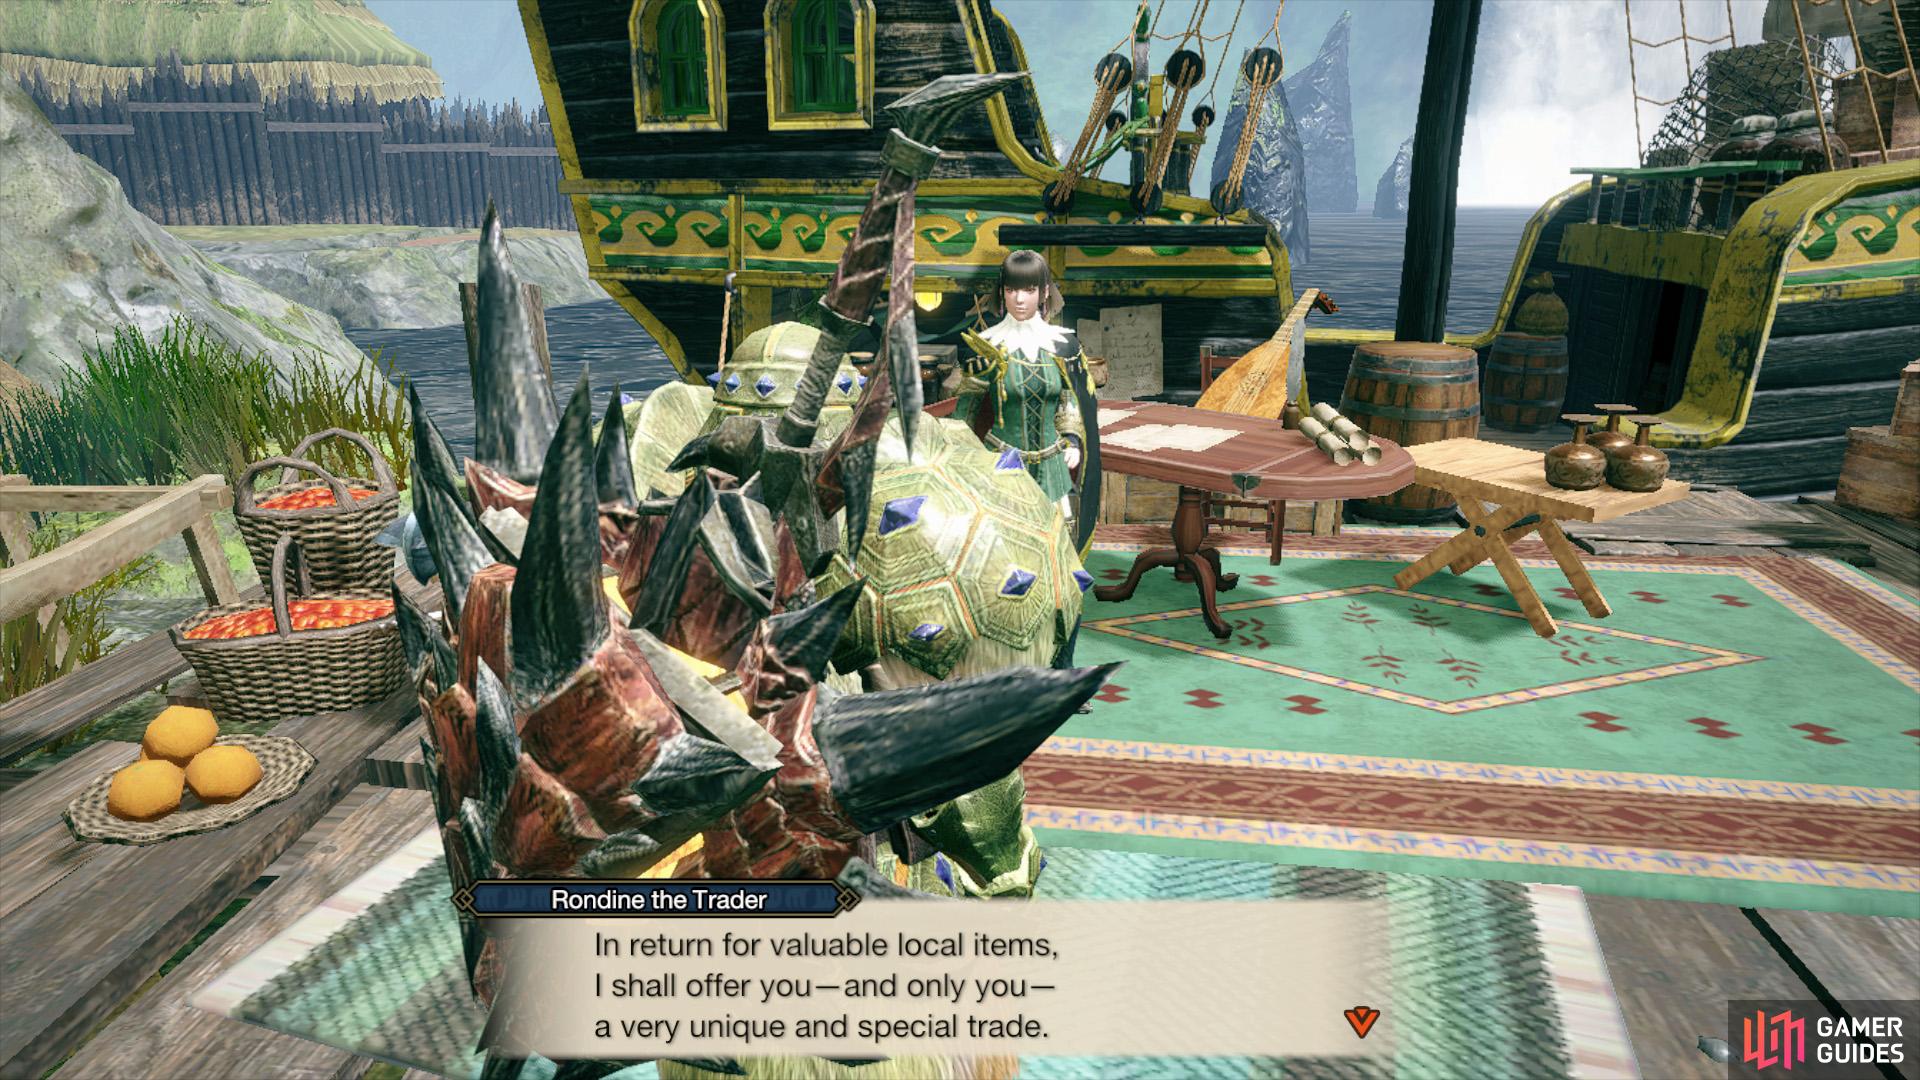
This request is given by Rondine the Trader, found in the Buddy Plaza. The request will appear after you completed her prior request, Cultural Exchange, and you’ve unlocked either 6-star Village Quests or 4-star Hub Quests.
(1 of 2) Rondine the Trader has another request for you!
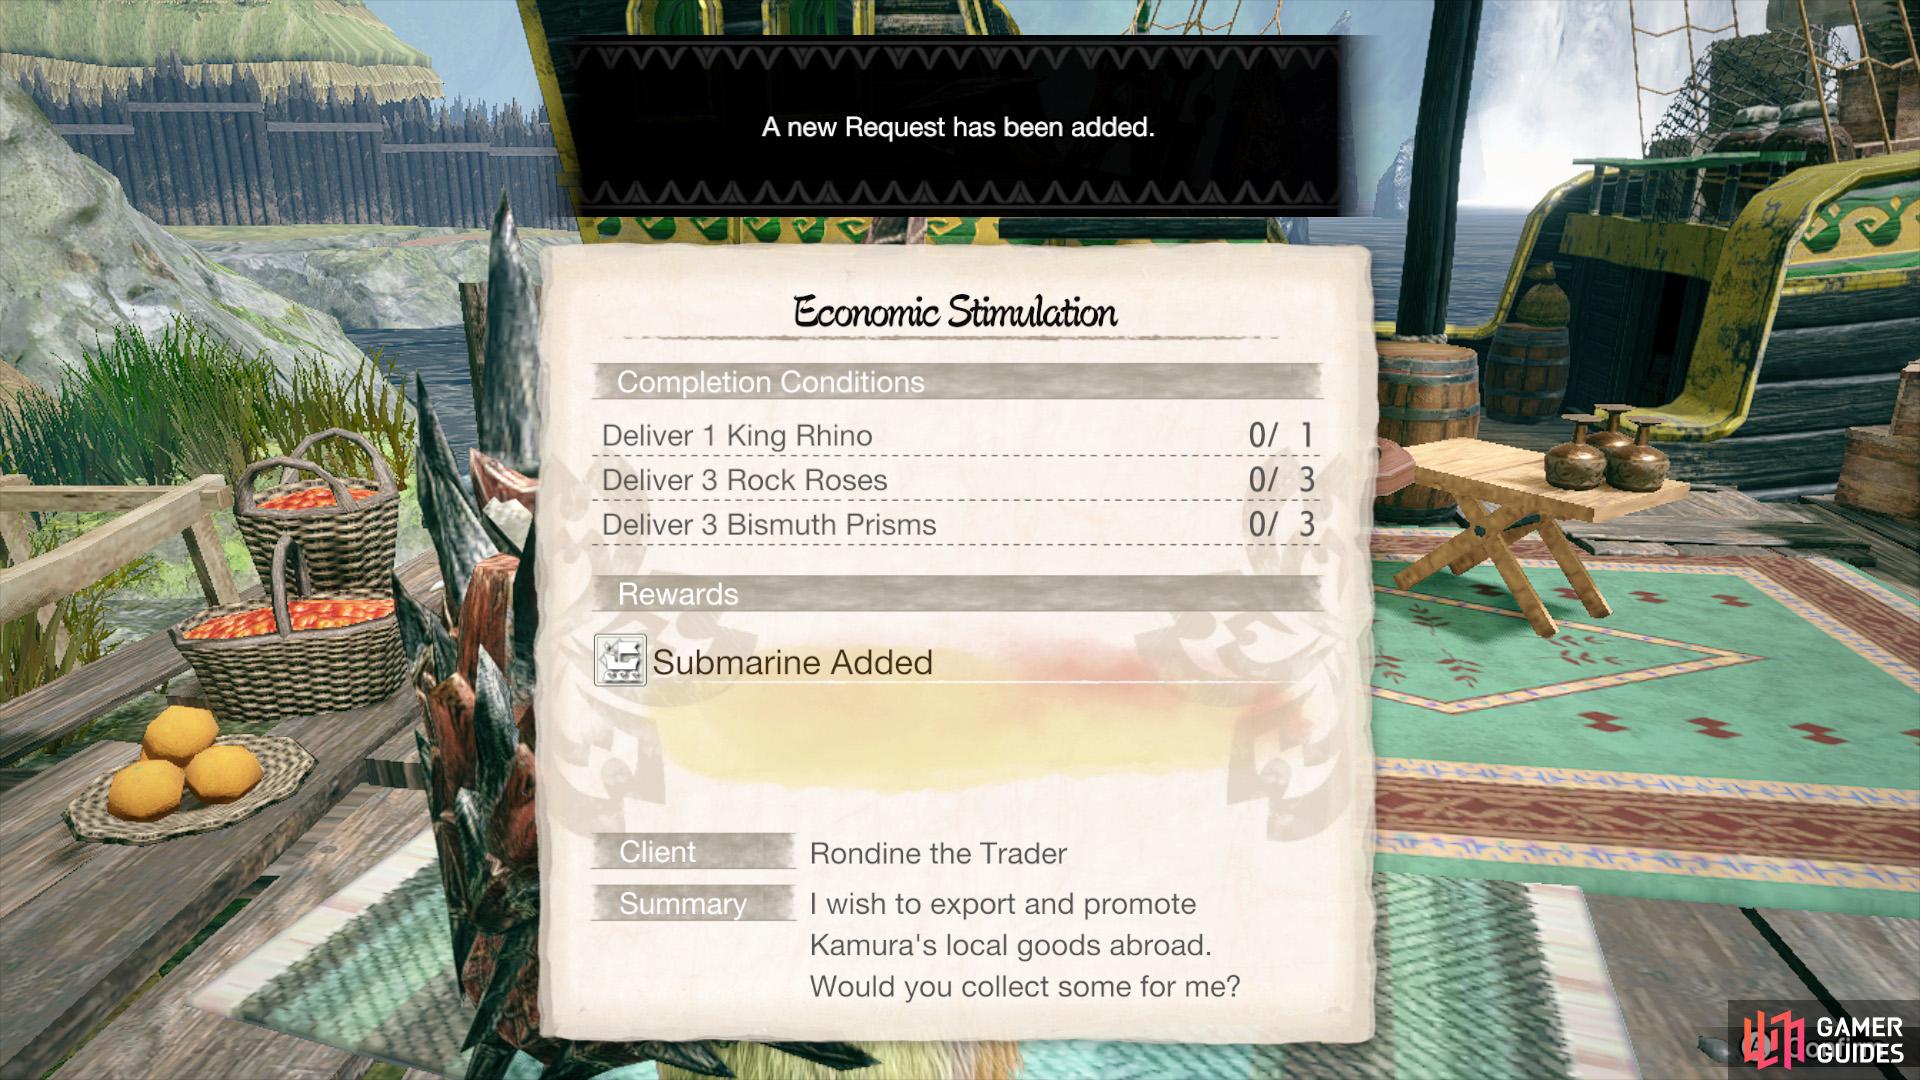
Rondine the Trader has another request for you! (left), You’ll need to visit three different locations to find all these items. (right)
| Client | Request | Reward |
|---|---|---|
| Rondine the Trader | King Rhino x1, Rock Rose x3, Bismuth Prism x3 | Submarine +1 |
You’ll be asked to deliver three types of items, which can be obtained from special gathering spots in the Flooded Forest, Sandy Plains and Lava Caverns. For minimum hassle, we suggest gathering them during Expedition Tours in each area.
Where to Find King Rhino
Here are the places where you can find King Rhinos.
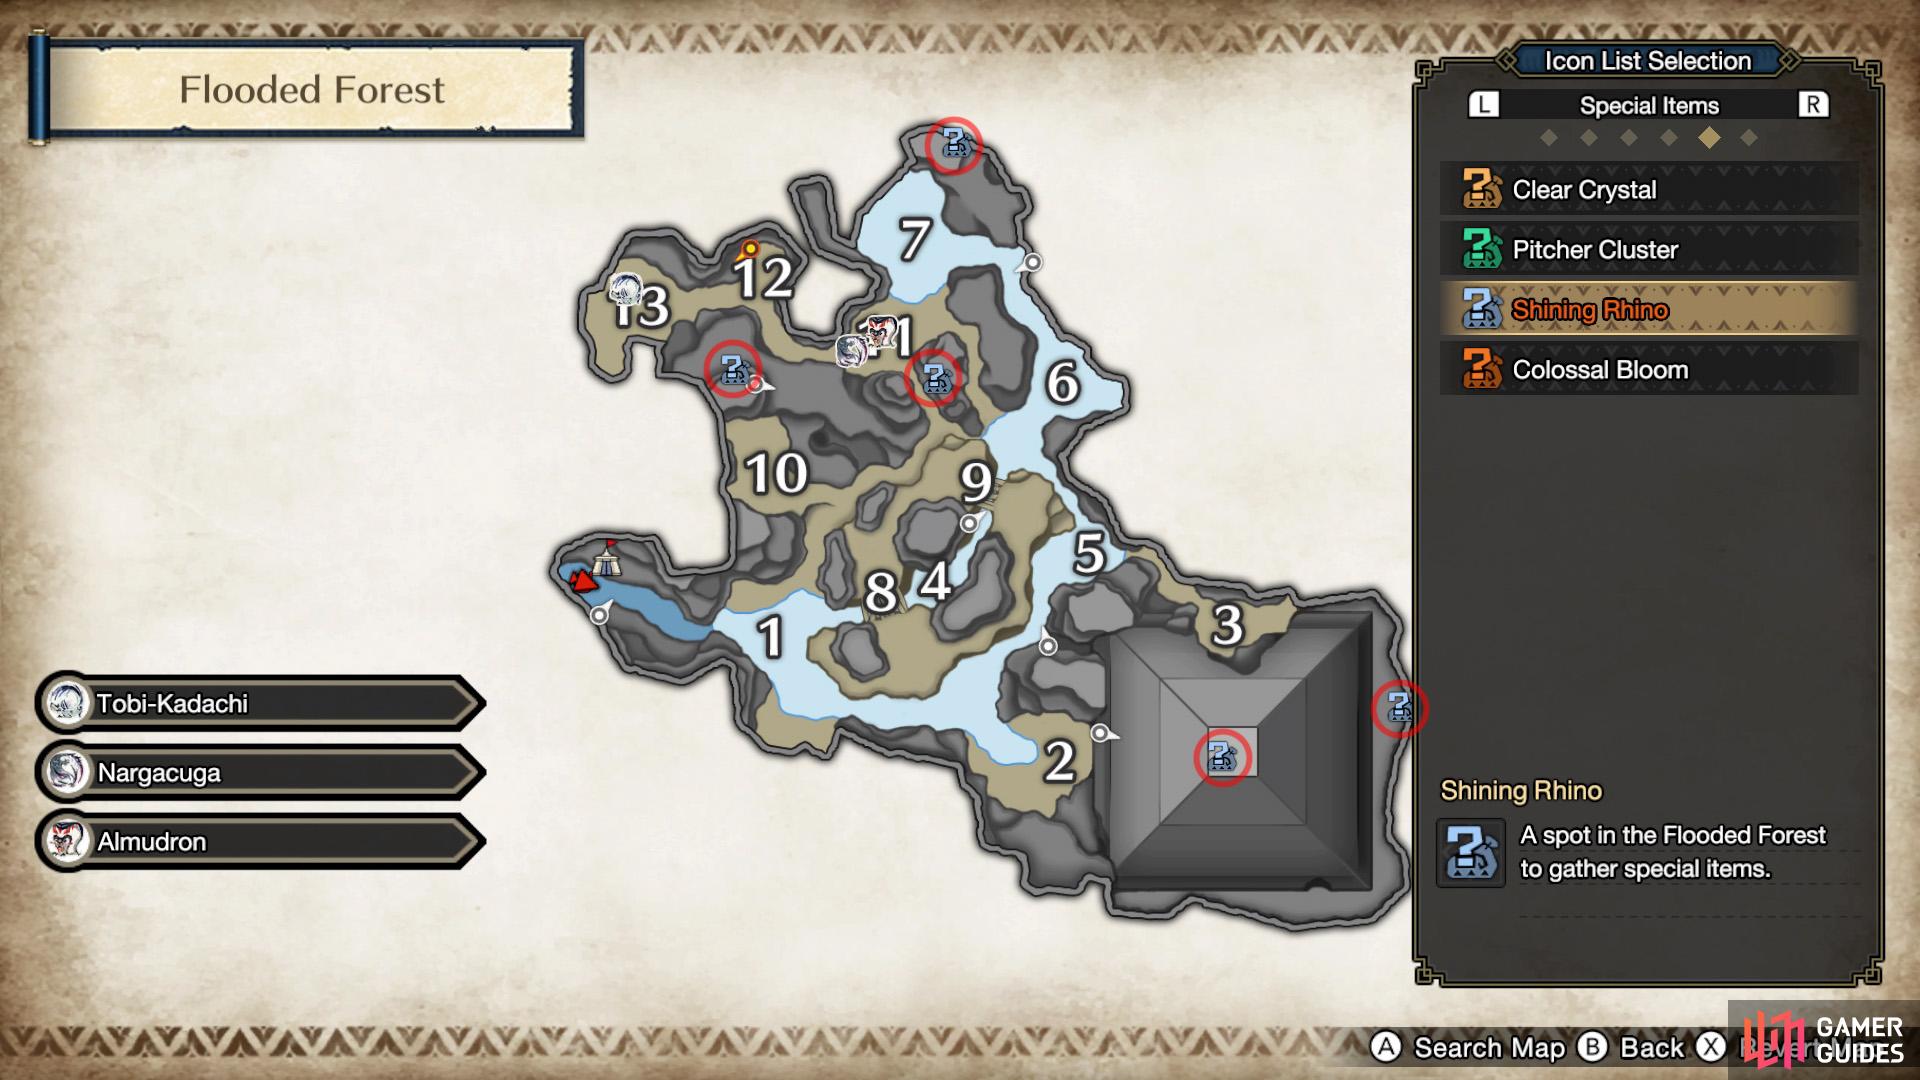
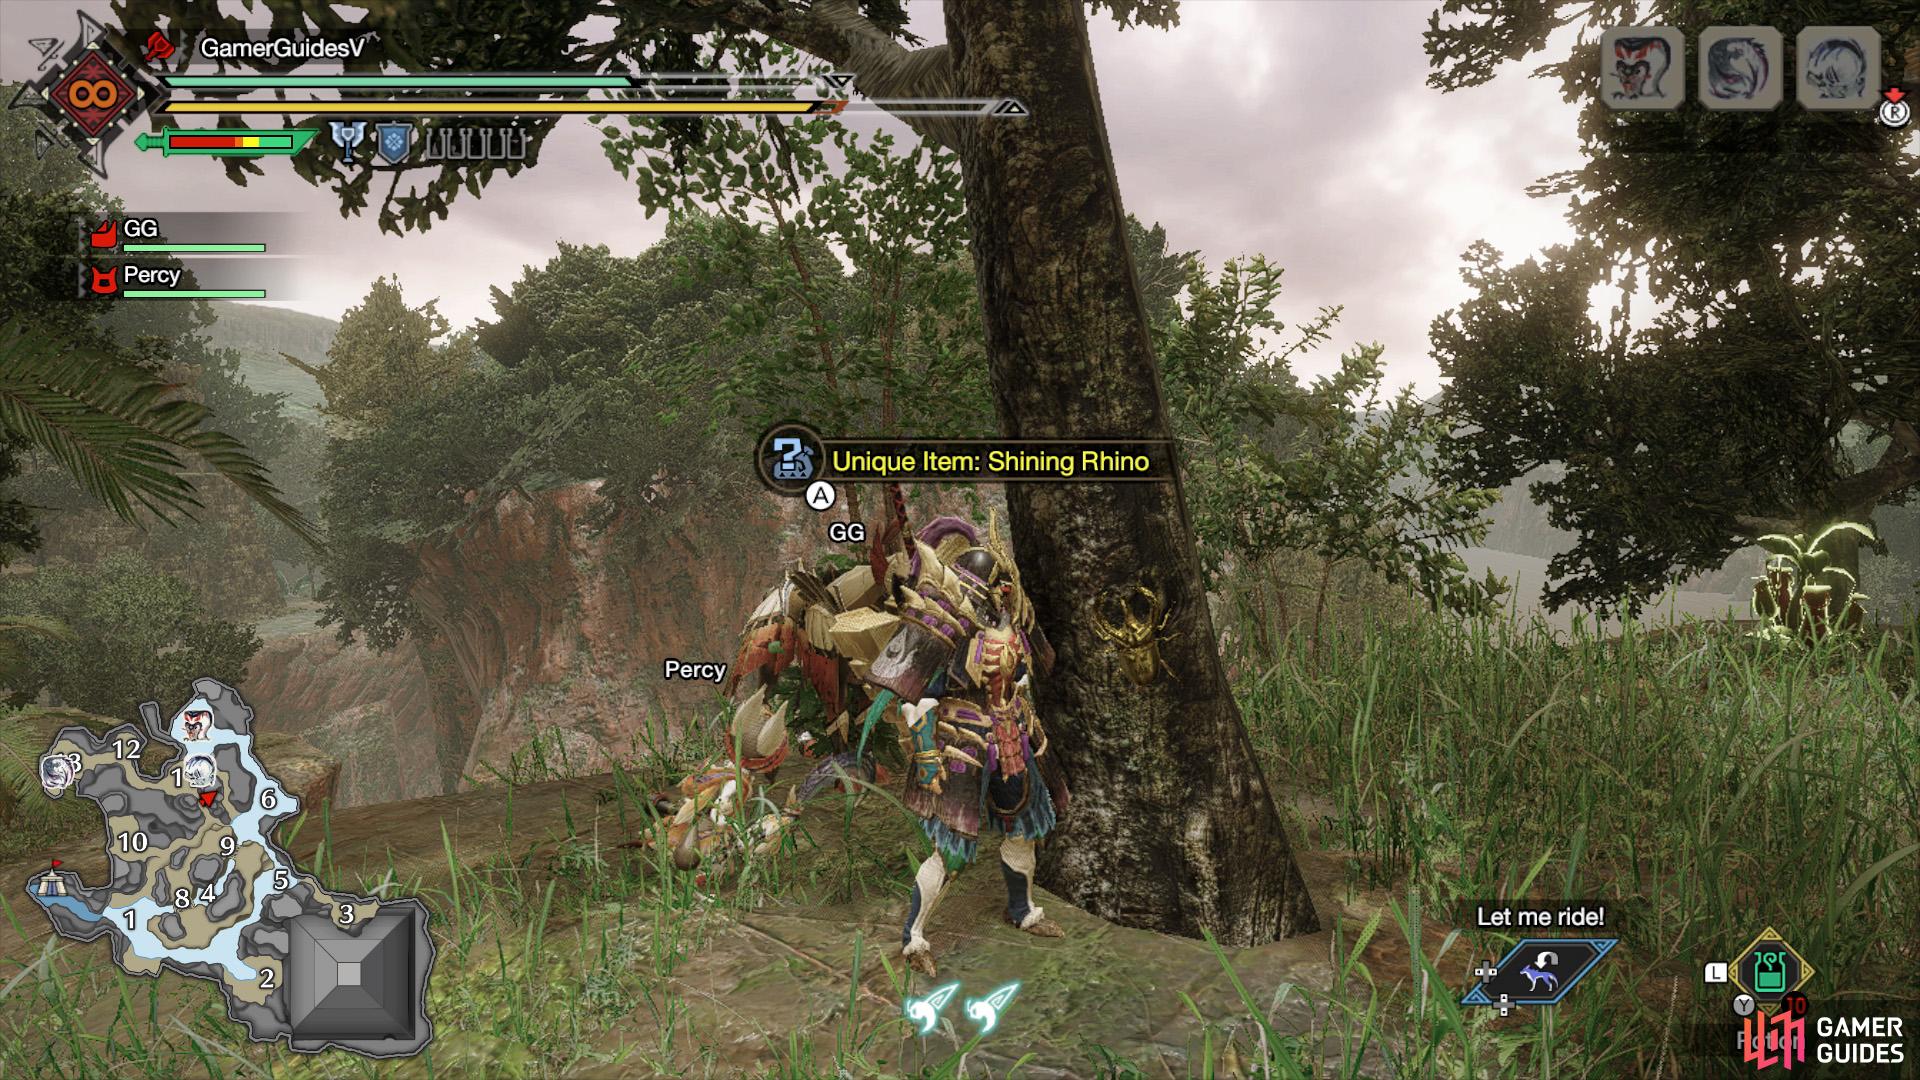
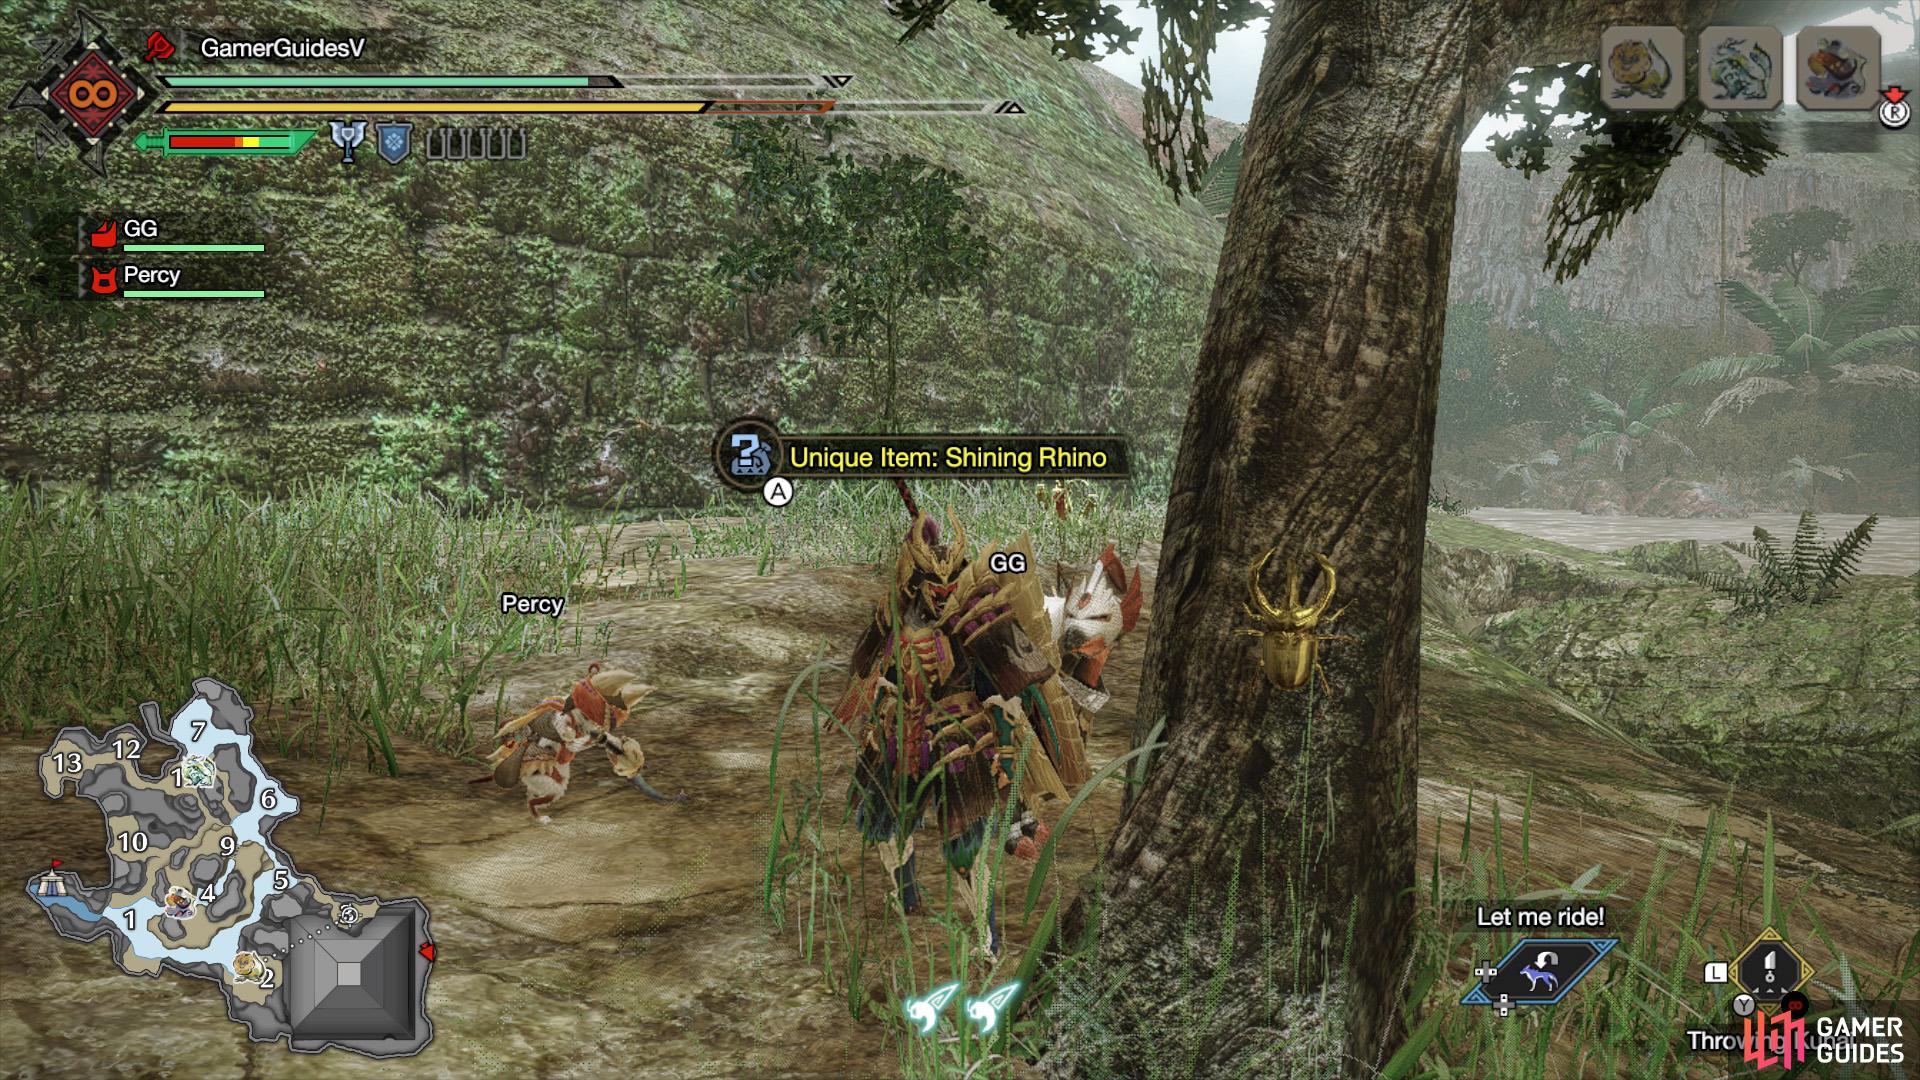
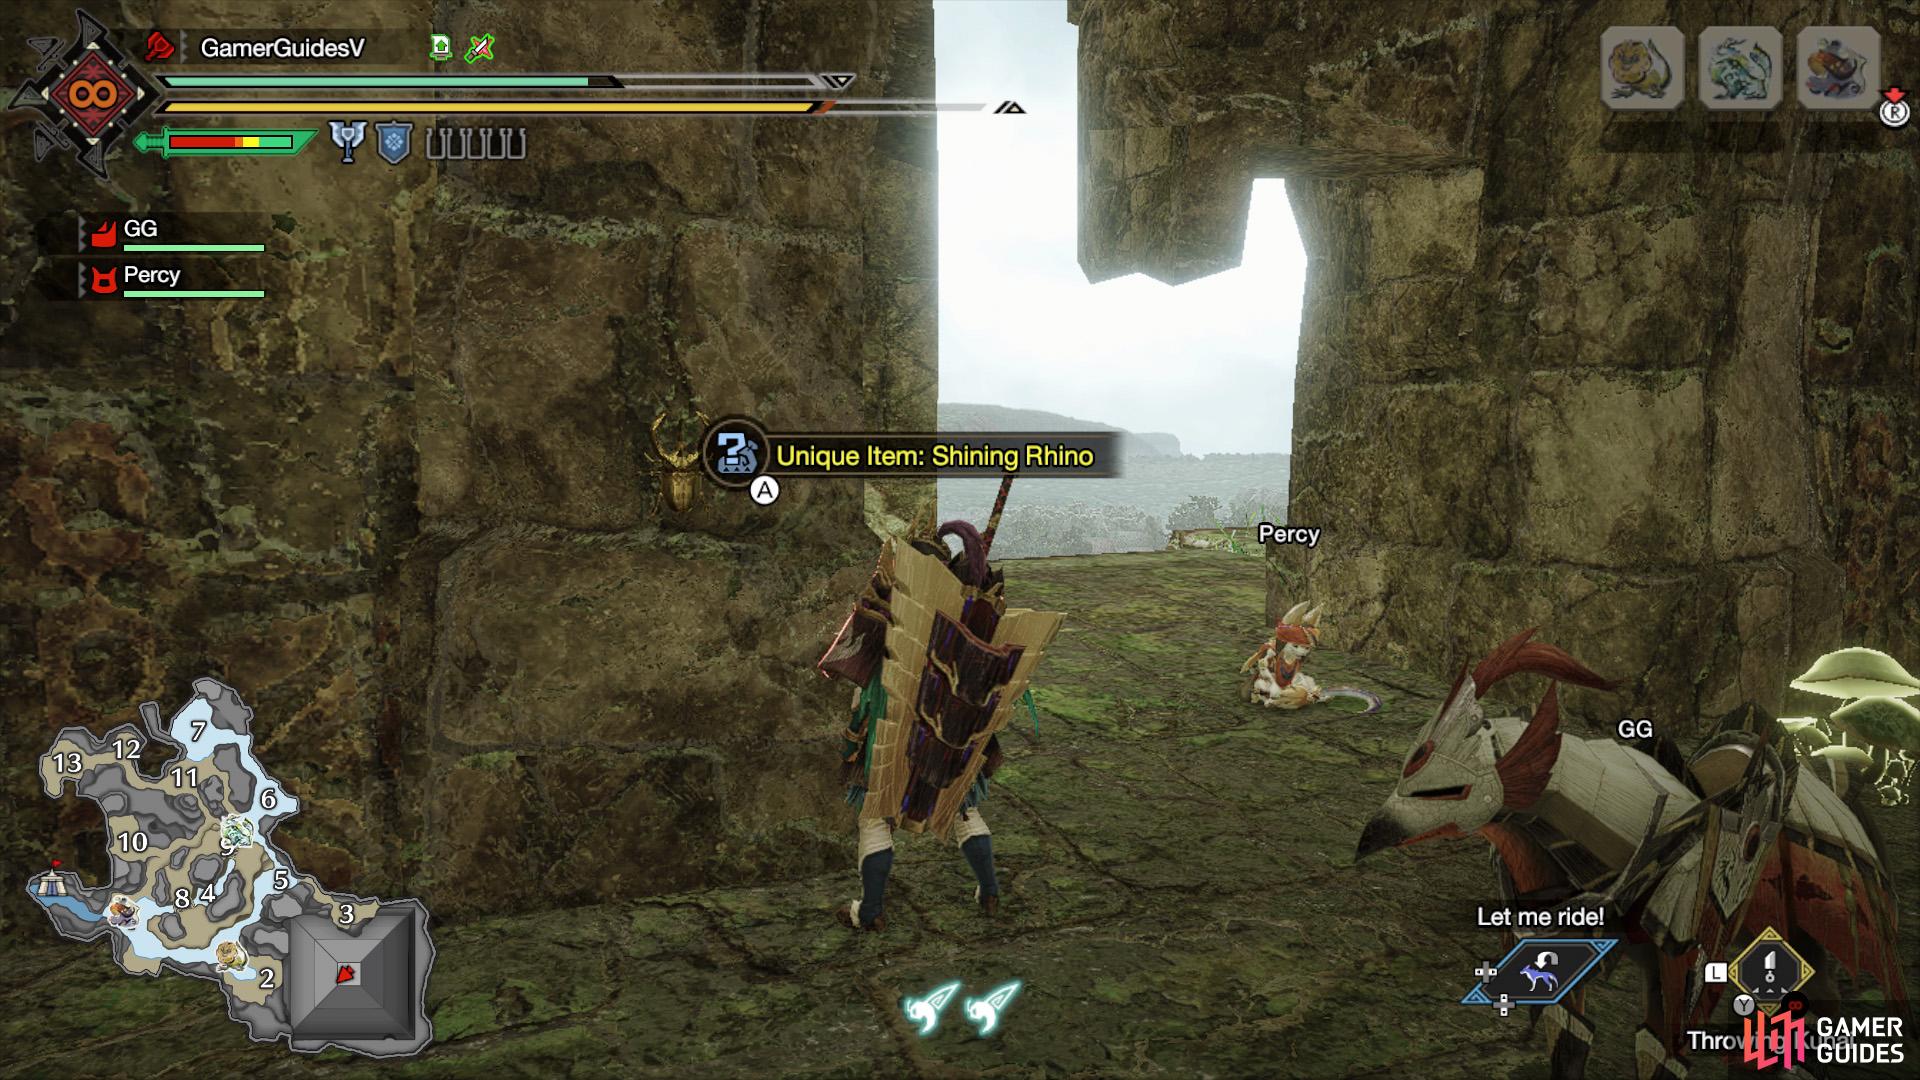
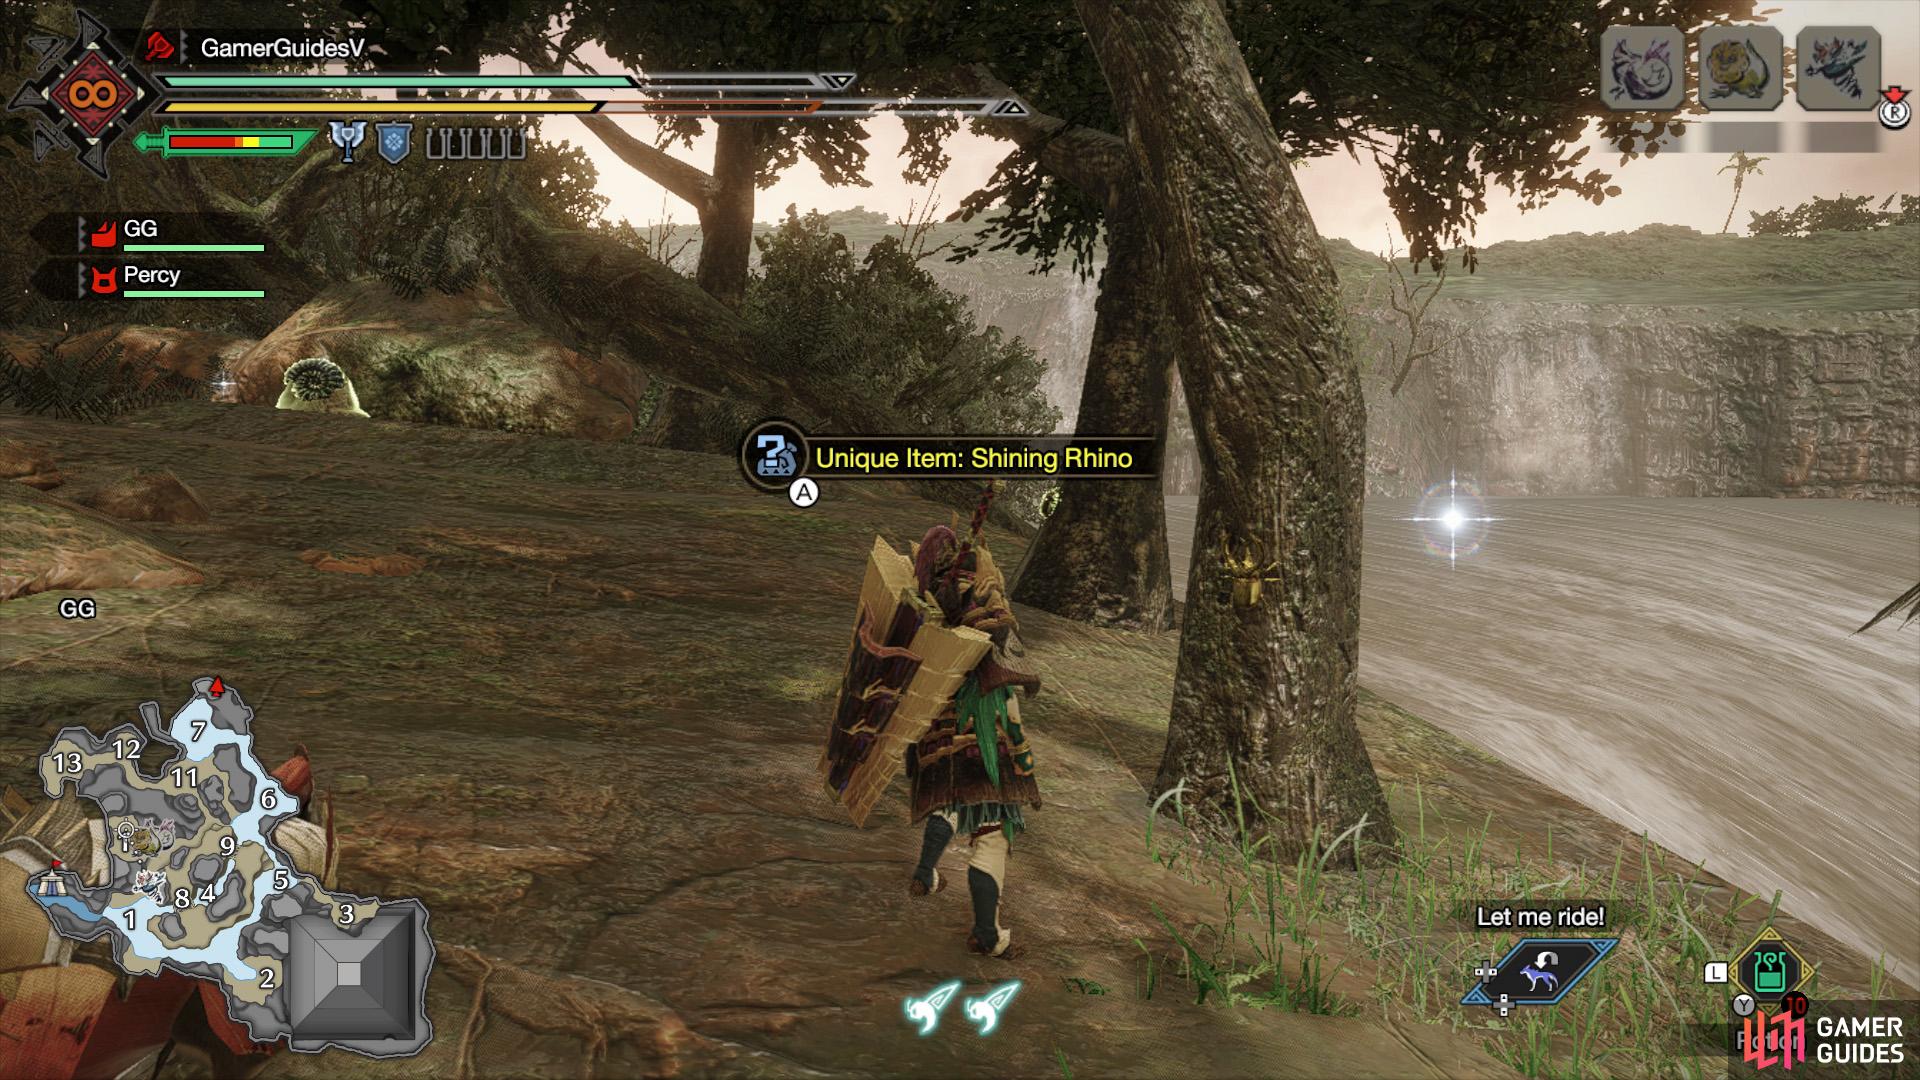
King Rhinos can be found randomly in the Shining Rhino gathering spots in the Flooded Forest. Open your map and press  to filter the icons, then press
  /
/  to move to the “Special Items” tab, then select “Shining Rhino”.
There are five places where you’ll find the Shining Rhino gahtering node. It doesn’t matter where you go, although we recommend trying the easy locations first.
Easy Locations
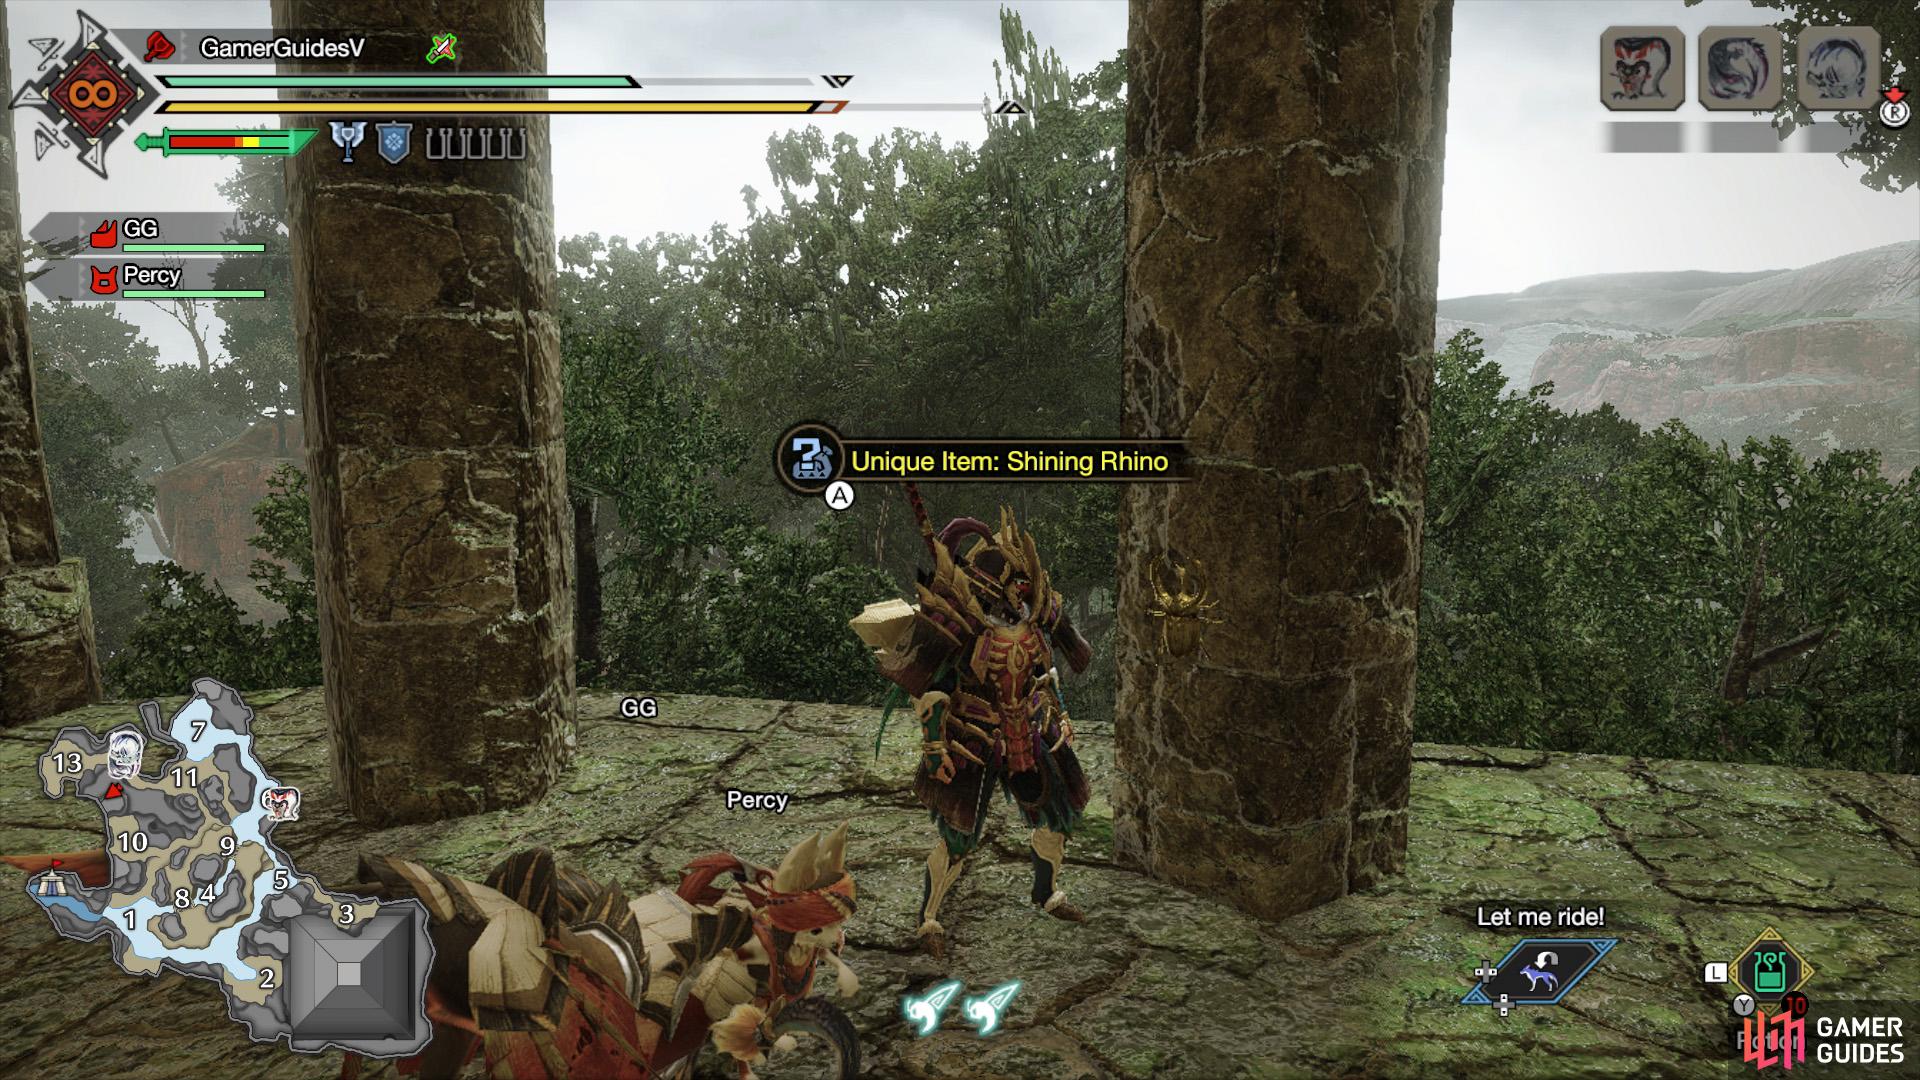
(1 of 3) 1. On a pillar at a small shrine in the highland region between areas 10 and 13.
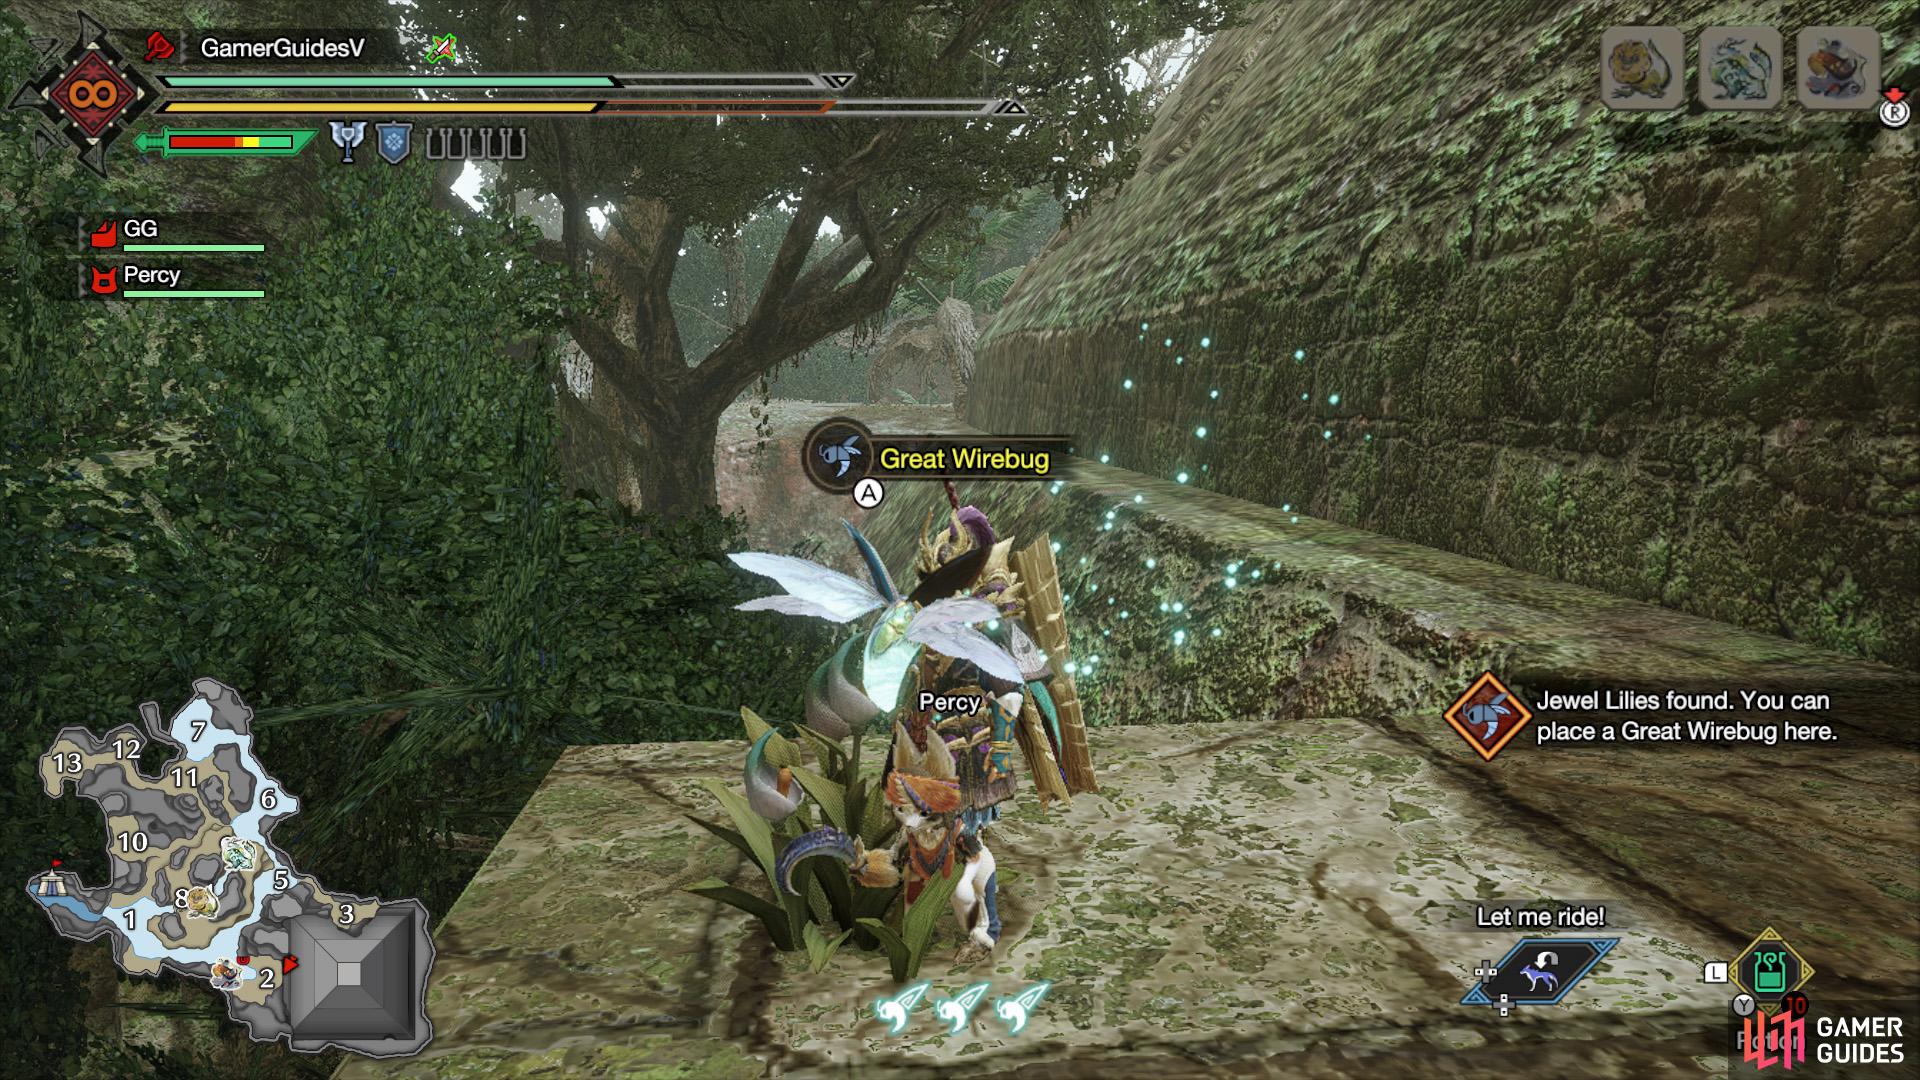
1: On a pillar at a small shrine in the highland region between areas 10 and 13. From the base camp, you can use the nearby great wirebug to reach higher ground, then go through the secret tunnel towards Area 13.
2: On a tree at the small, isolated highland region in Area 11. From the previous shining rhino, you can use the nearby great wirebug to get close to here.
3: On a tree behind the great pyramid near areas 2 and 3.
Hard Locations
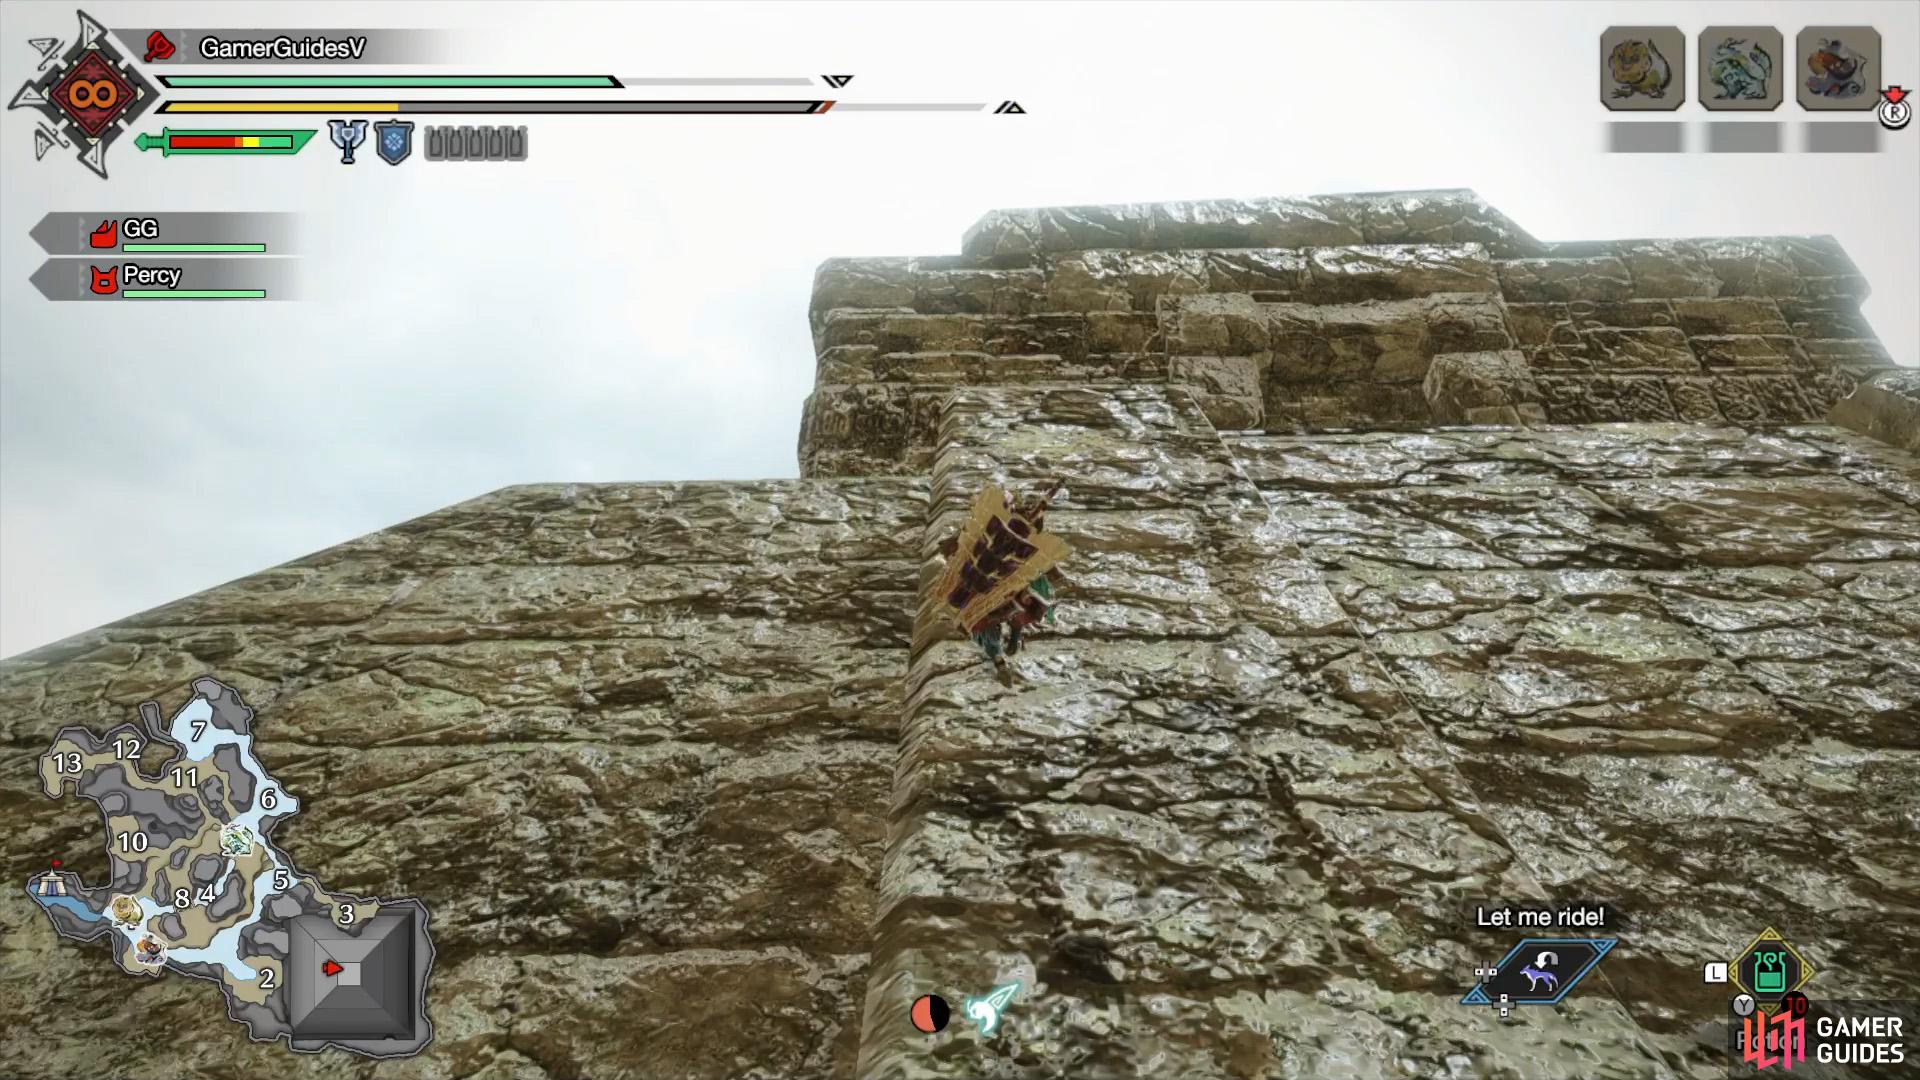
(1 of 4) 4a. Head towards Area 2 and use the great wirebug here to skip to the halfway point of the pyramid.
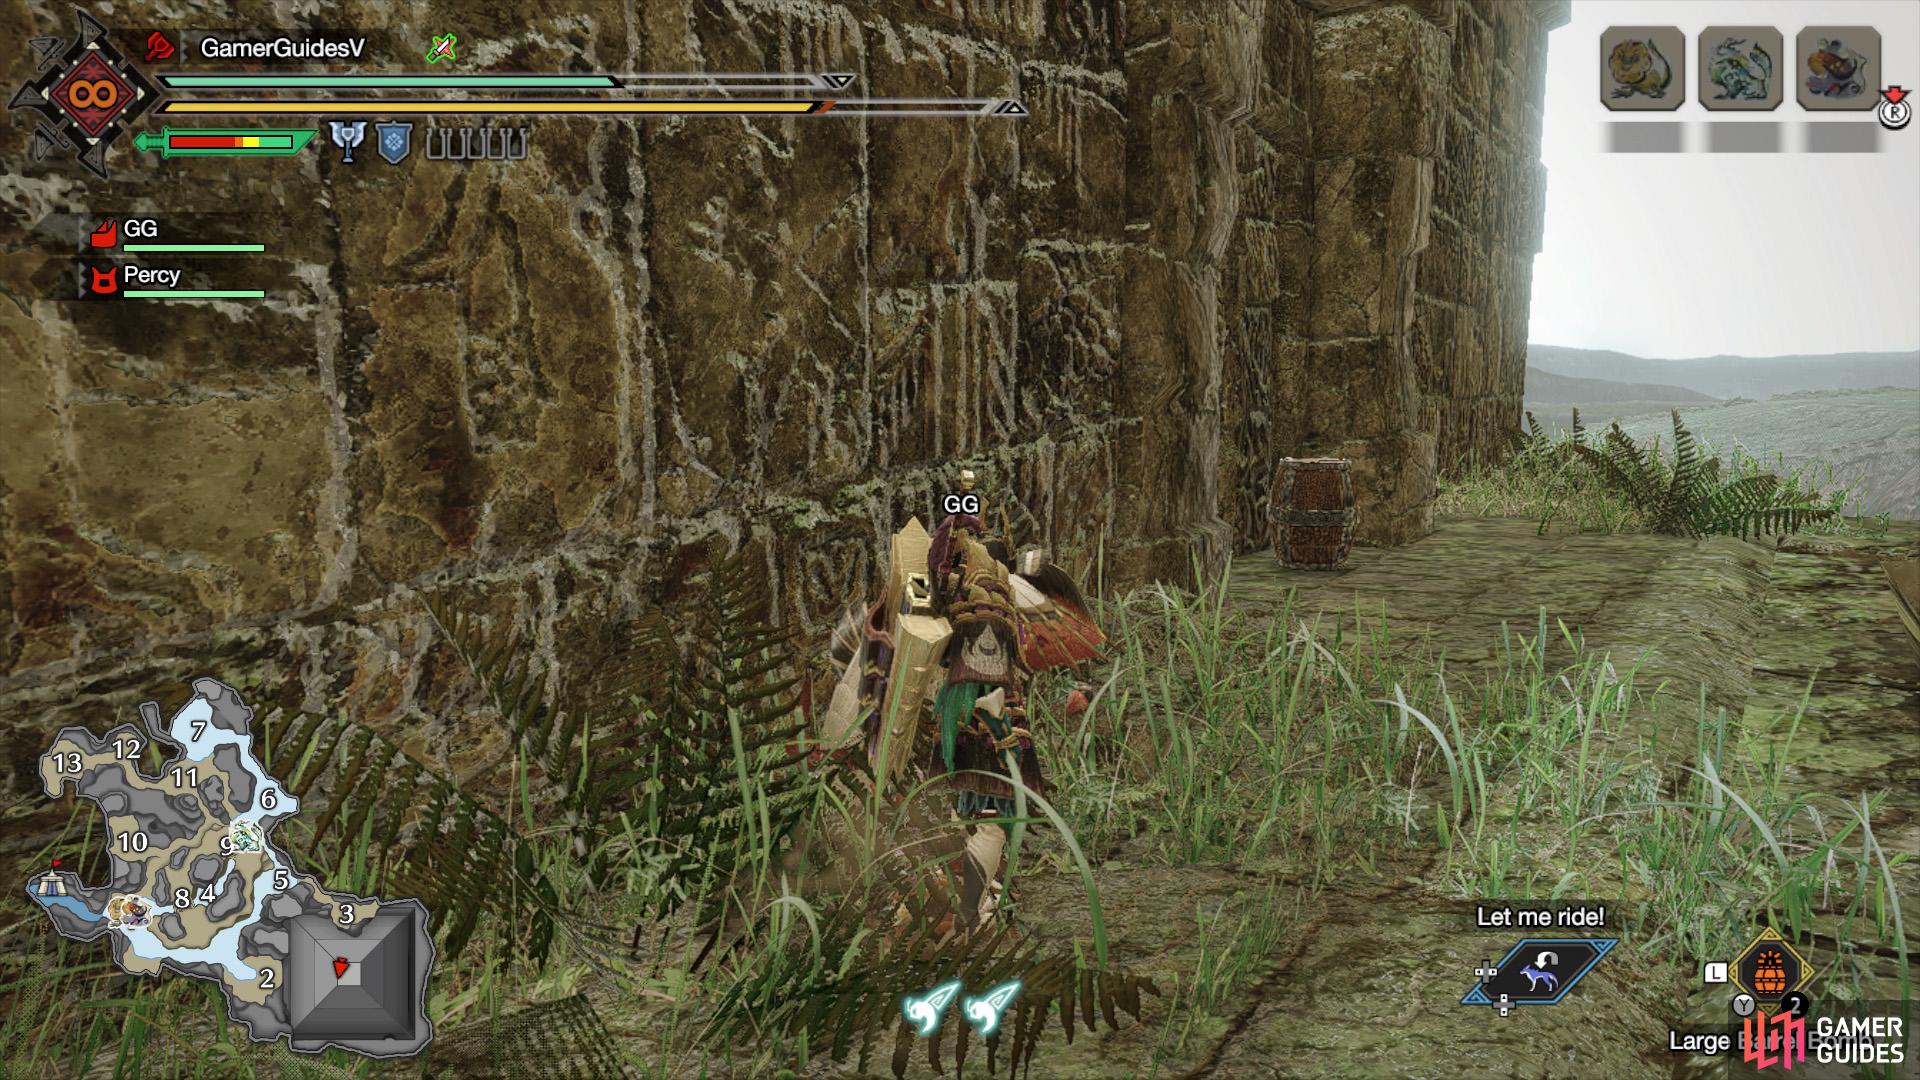
4: Inside the secret room near the very top of the great pyramid. Head towards Area 2 and use the great wirebug here to skip to the halfway point of the pyramid. From here, use your wirebug to climb the rest of the pyramid. You likely won’t have enough stamina to reach the top in one go–remember you can hold  to hang in the air, while recovering stamina.
Once you reach the top, there’s a cracked door. Place a barrel bomb here and detonate it. If you use a regular barrel bomb (and not a large one), you’ll need to detonate another one.
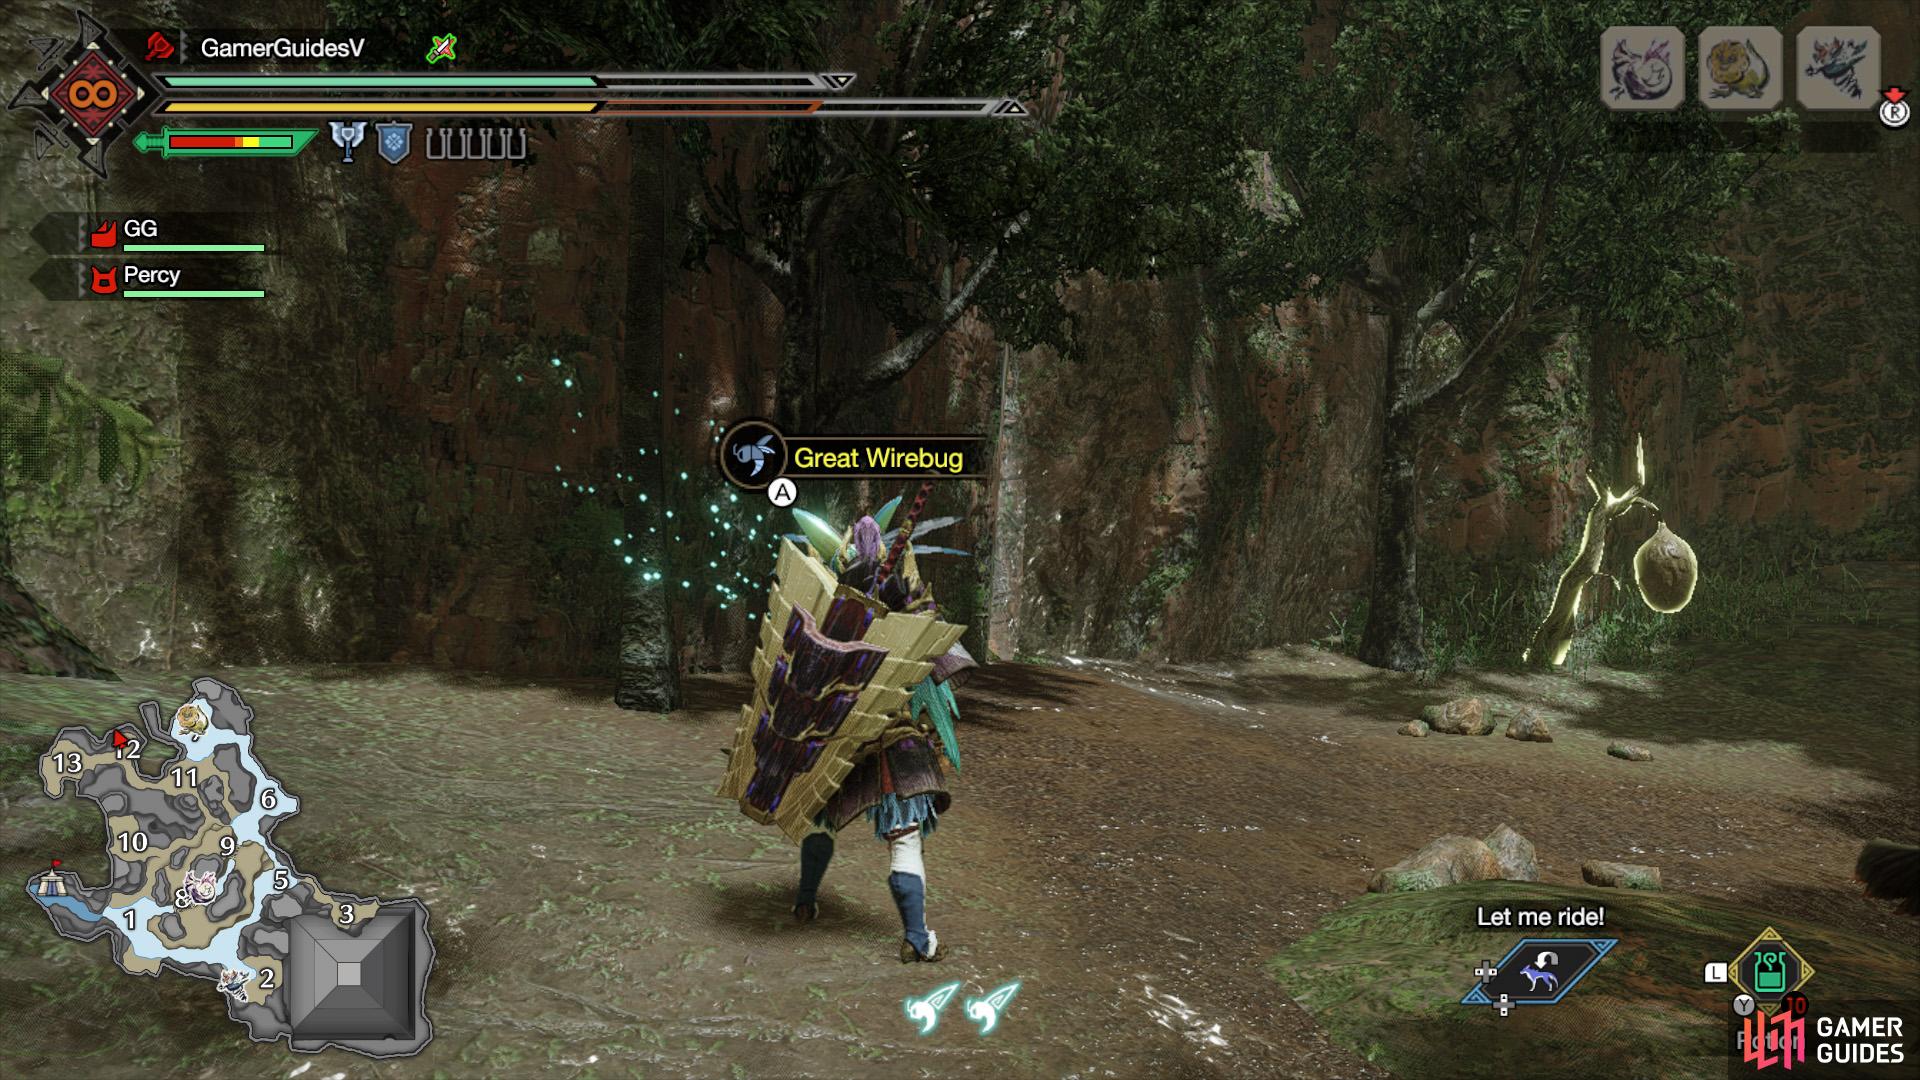
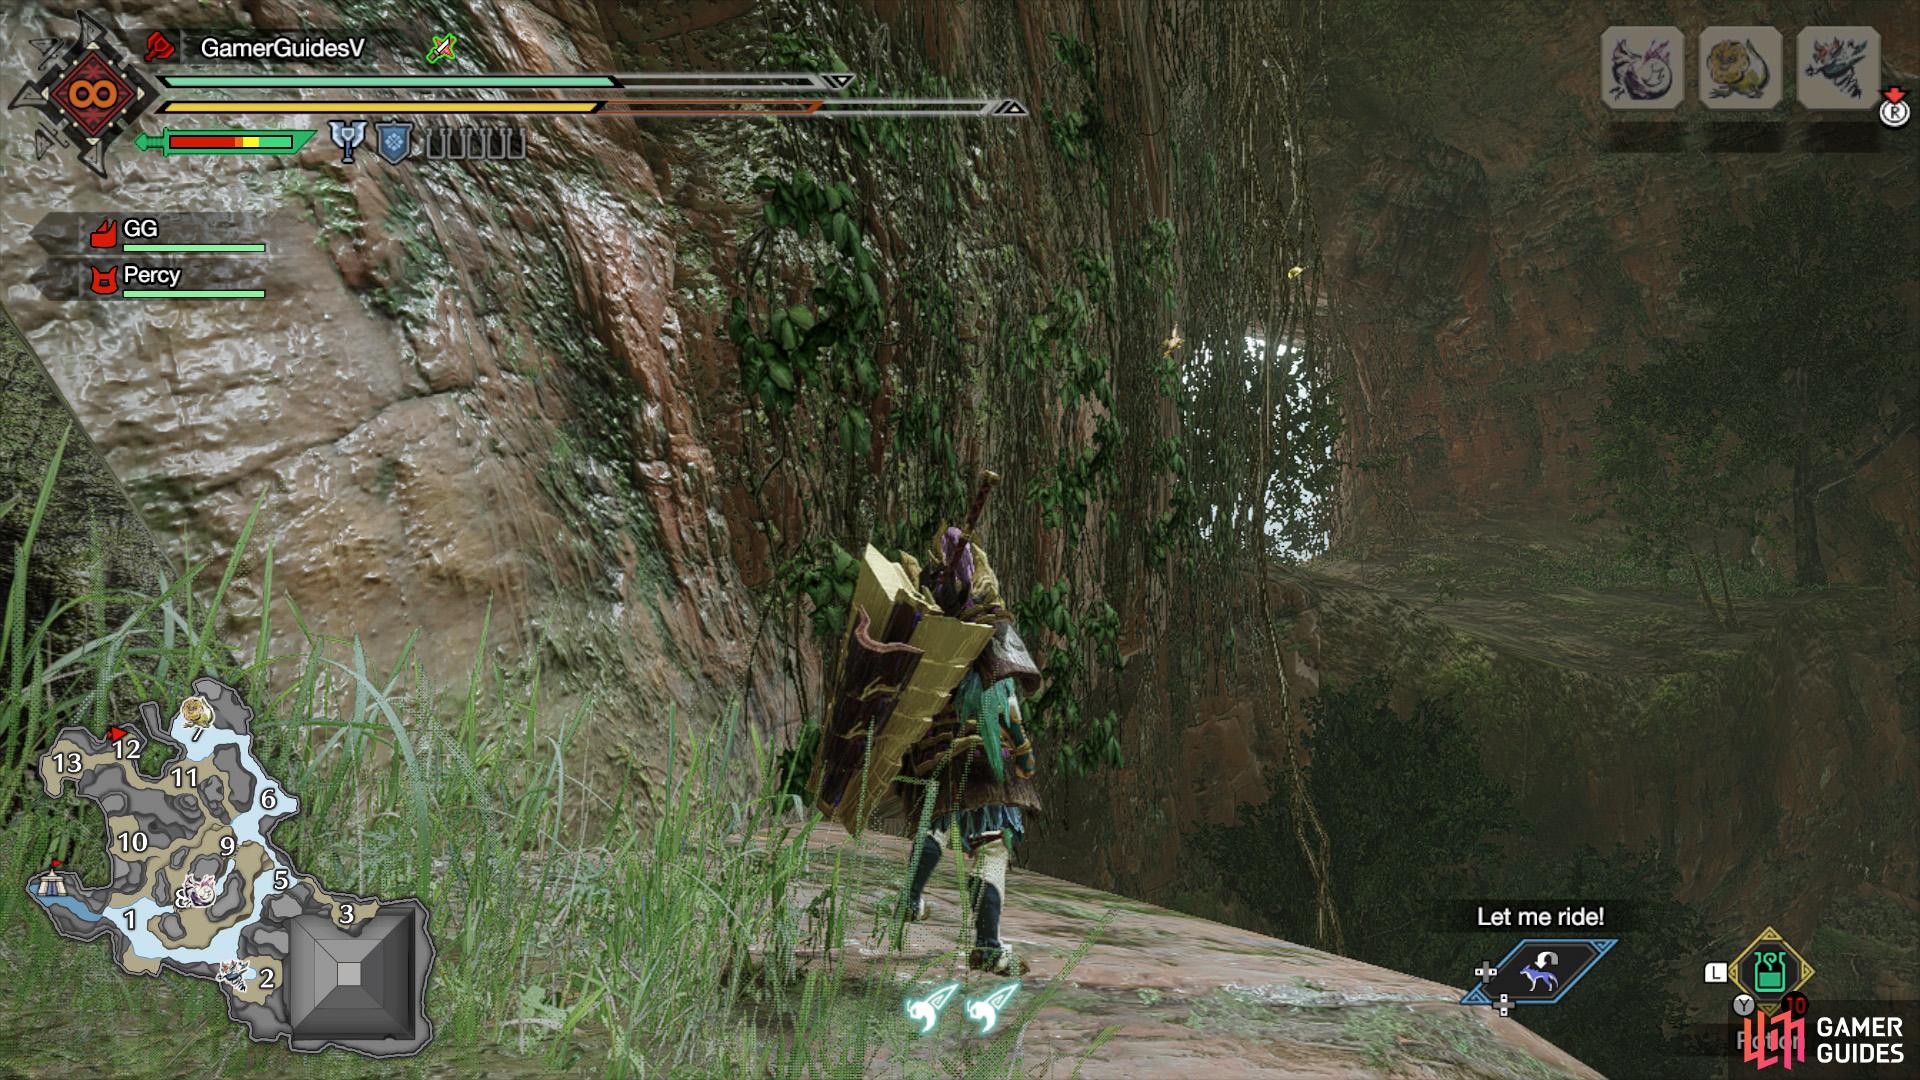
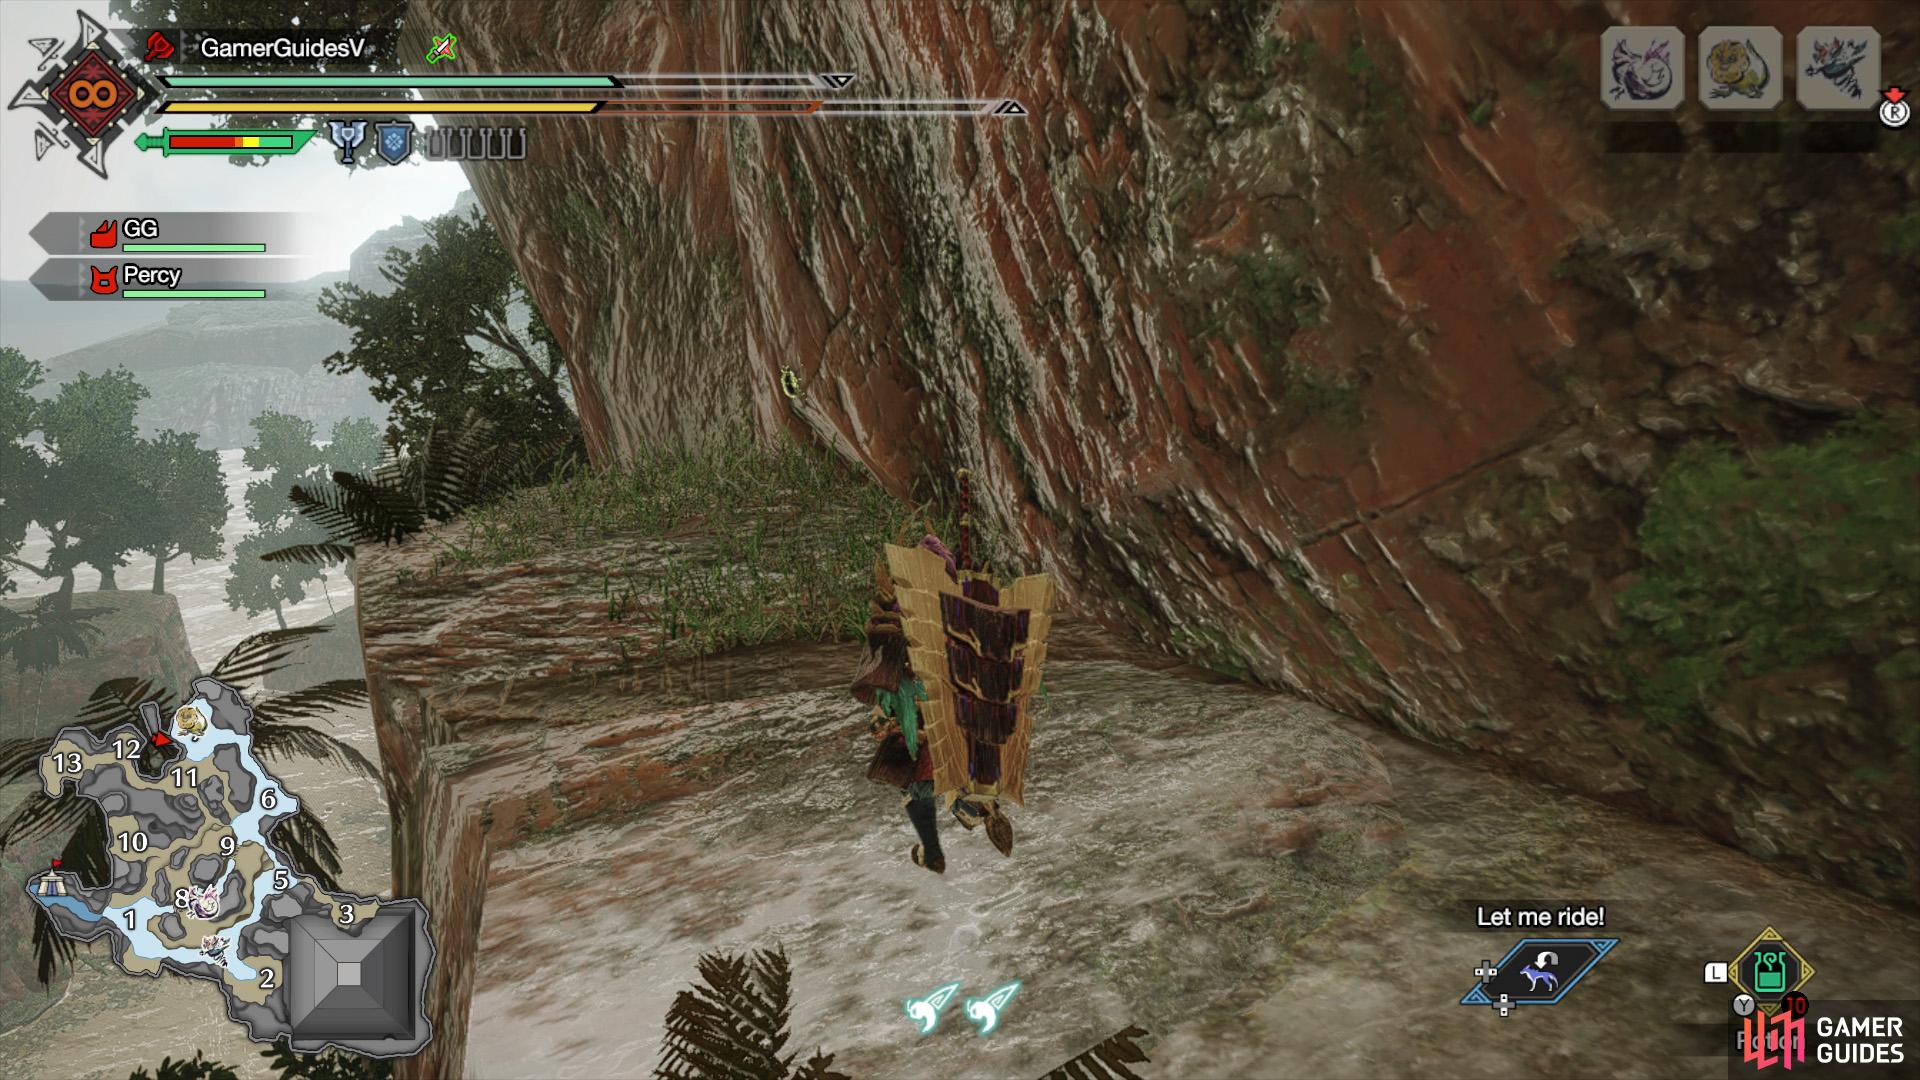
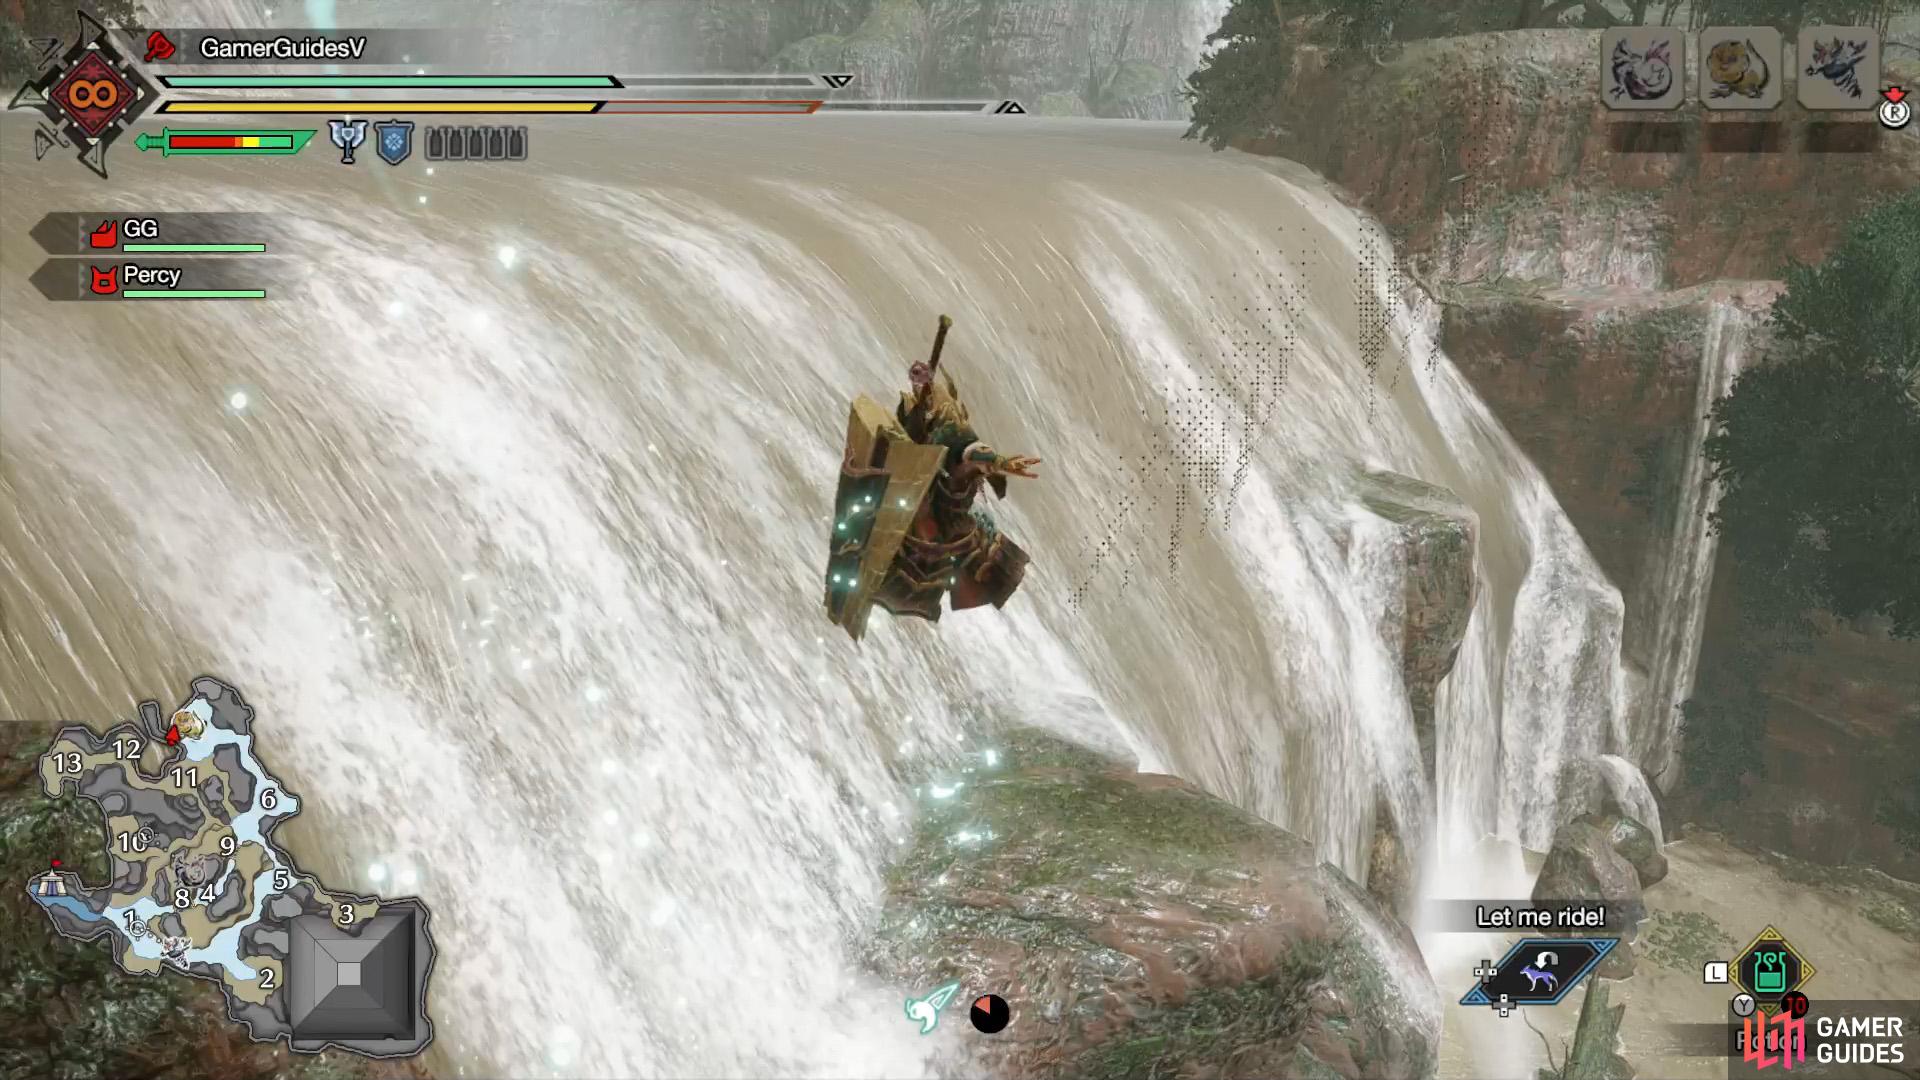
5: On a tree at the highest part of the plateau in Area 7. You must go to Area 12 and use the great wirebug to climb up. Look right and climb across the vines or wiredash across the gap to reach a ledge overlooking Area 7. Carefully drop down to the lower ledges on the right.
When you’re at the lowest ledge with a Clear Crystal nearby, look towards the waterfall–there should be a series of ledges. Carefully wiredash to each ledge. When you land on the second ledge, you may need to manually aim a wirebug with  and
and  to get up to the ledge on the side of the plateau.
Where to Find Rock Rose
(1 of 2) Rock Rose locations above ground.
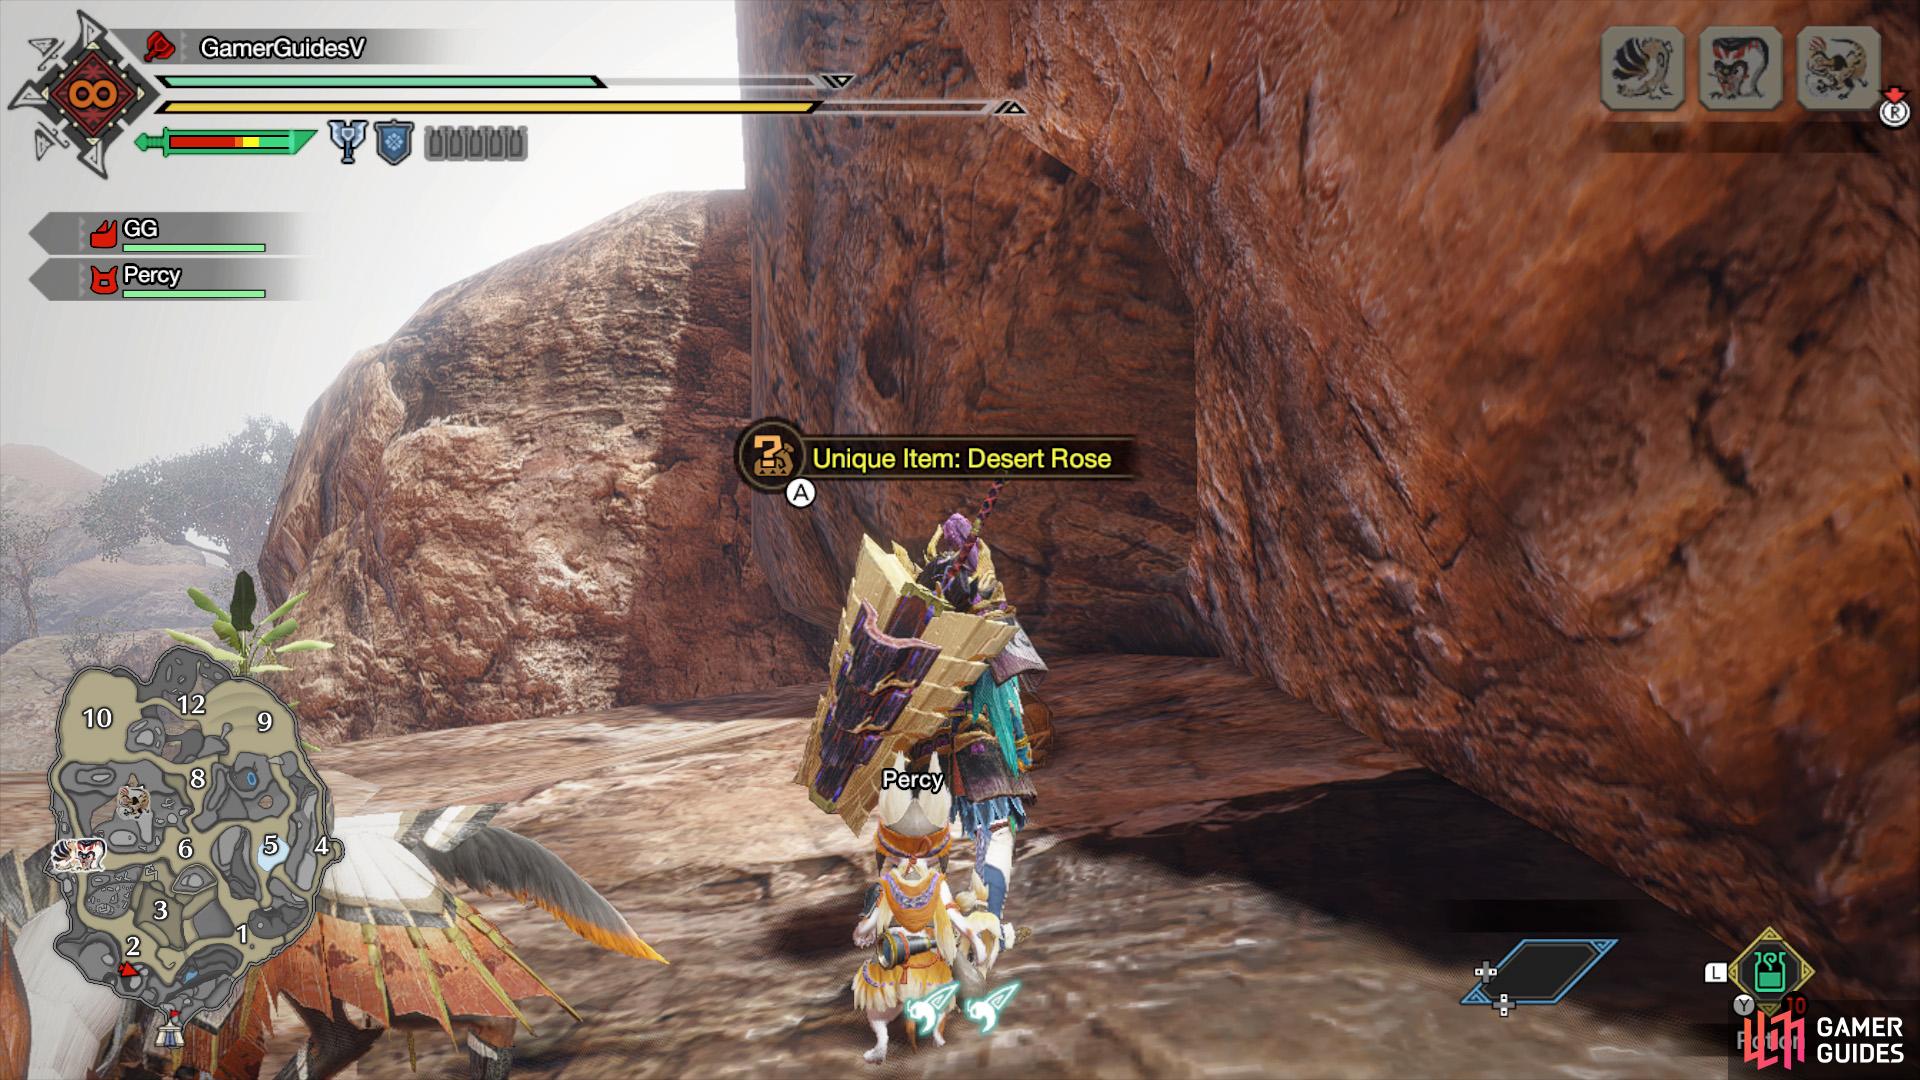
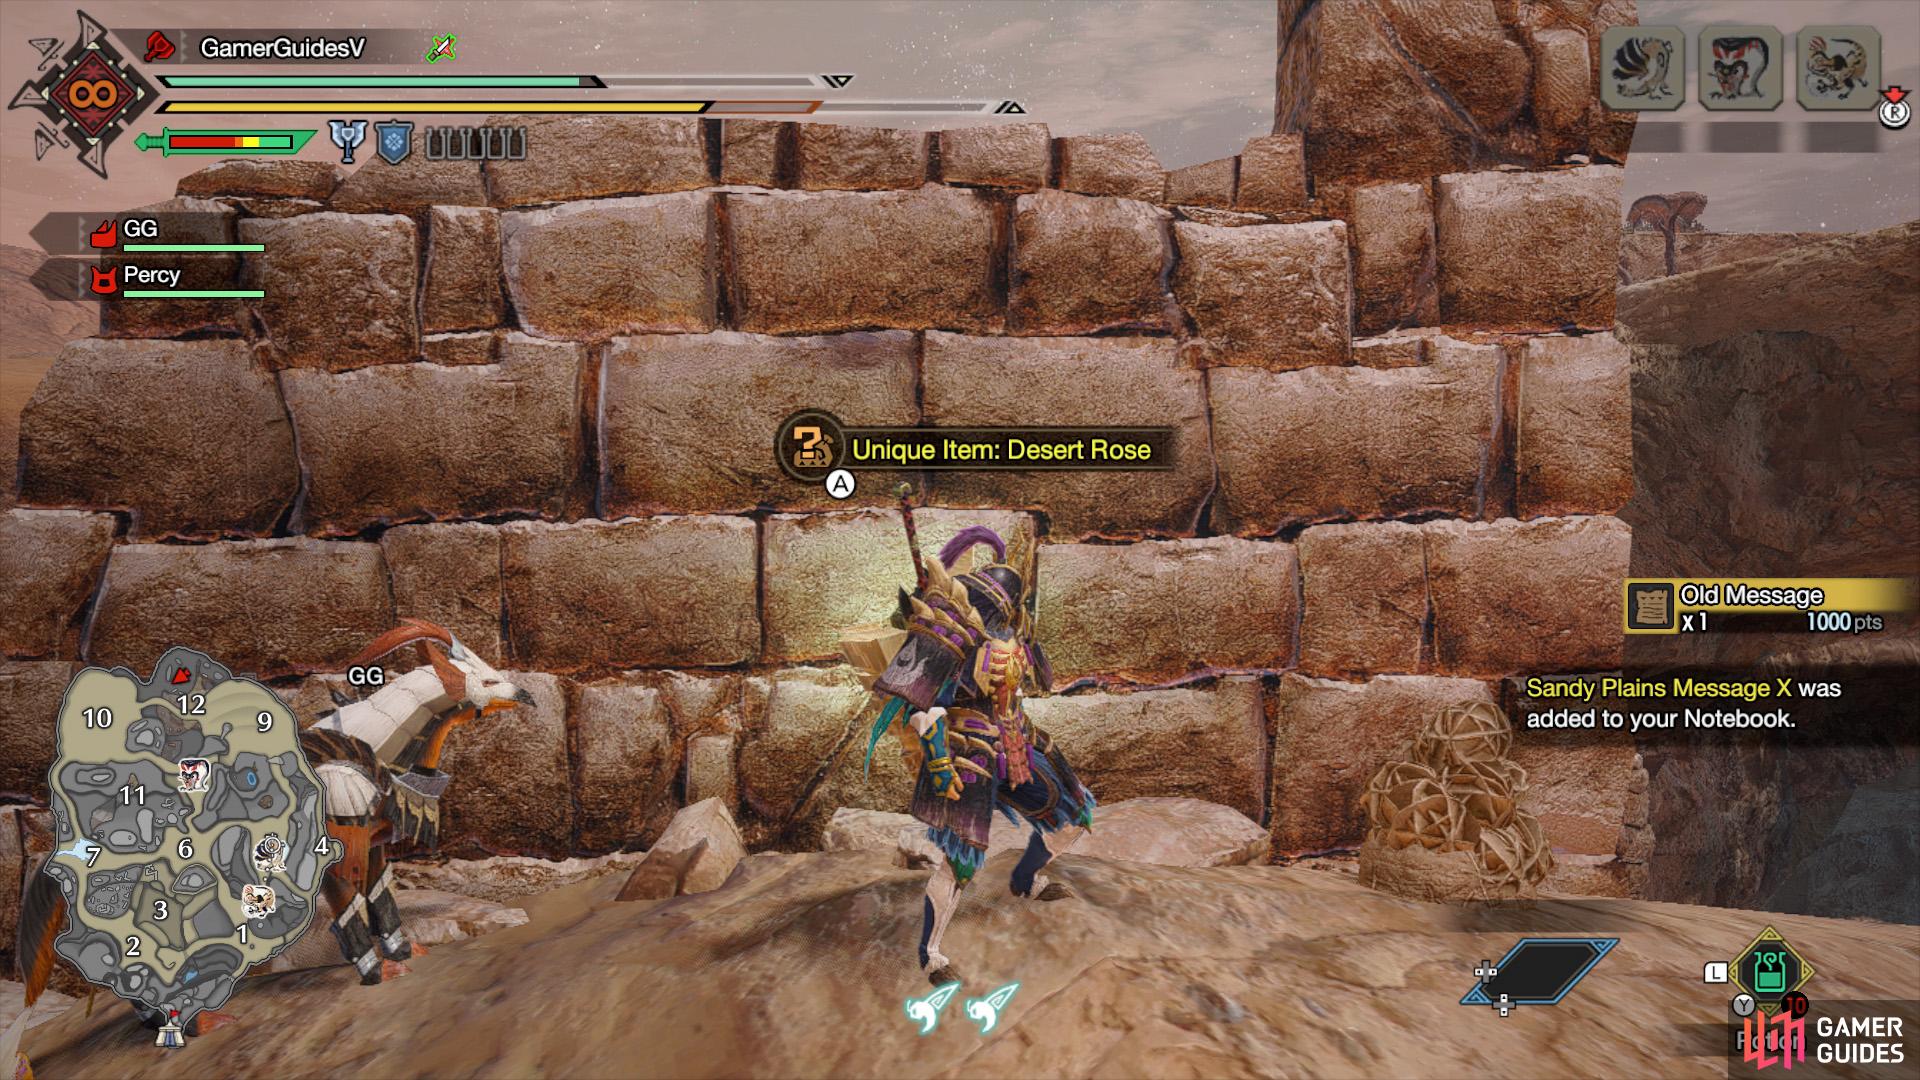
Rock Rose locations above ground. (left), Rock Rose location below ground. (right)
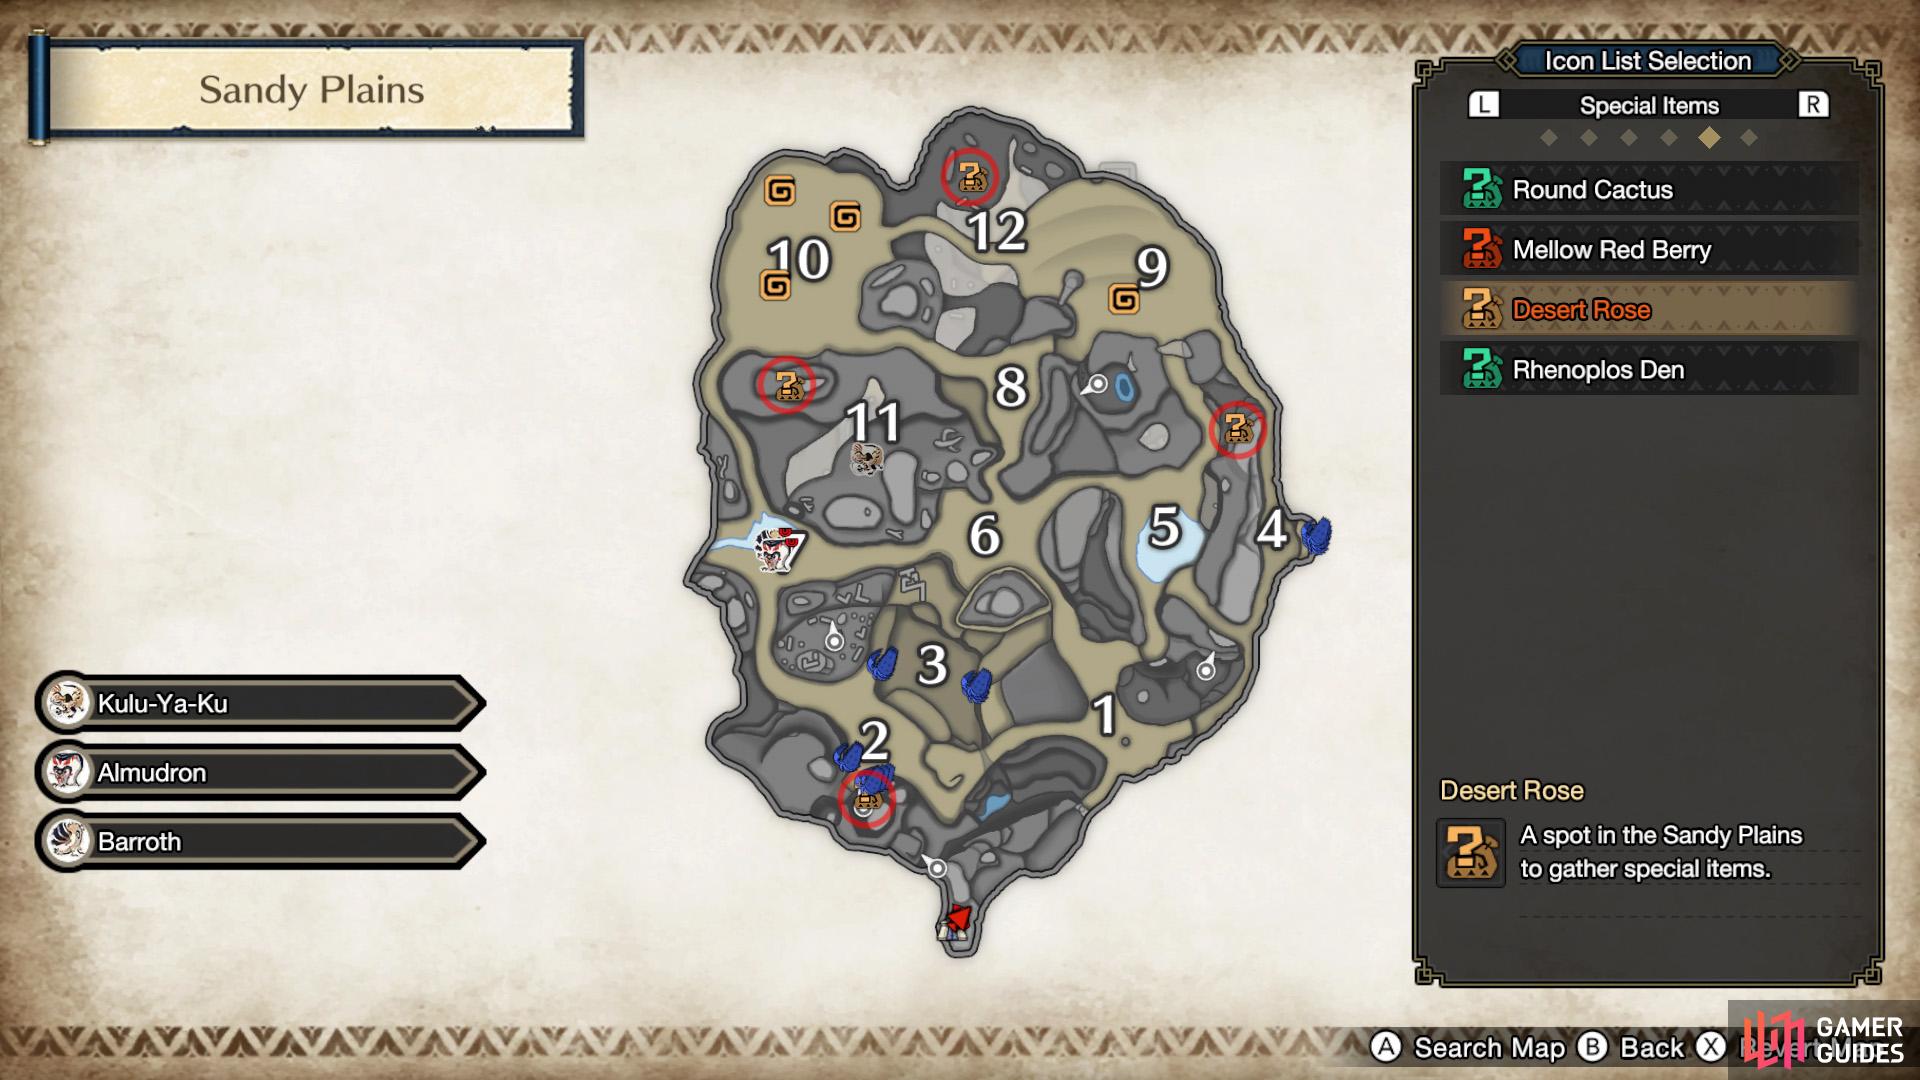
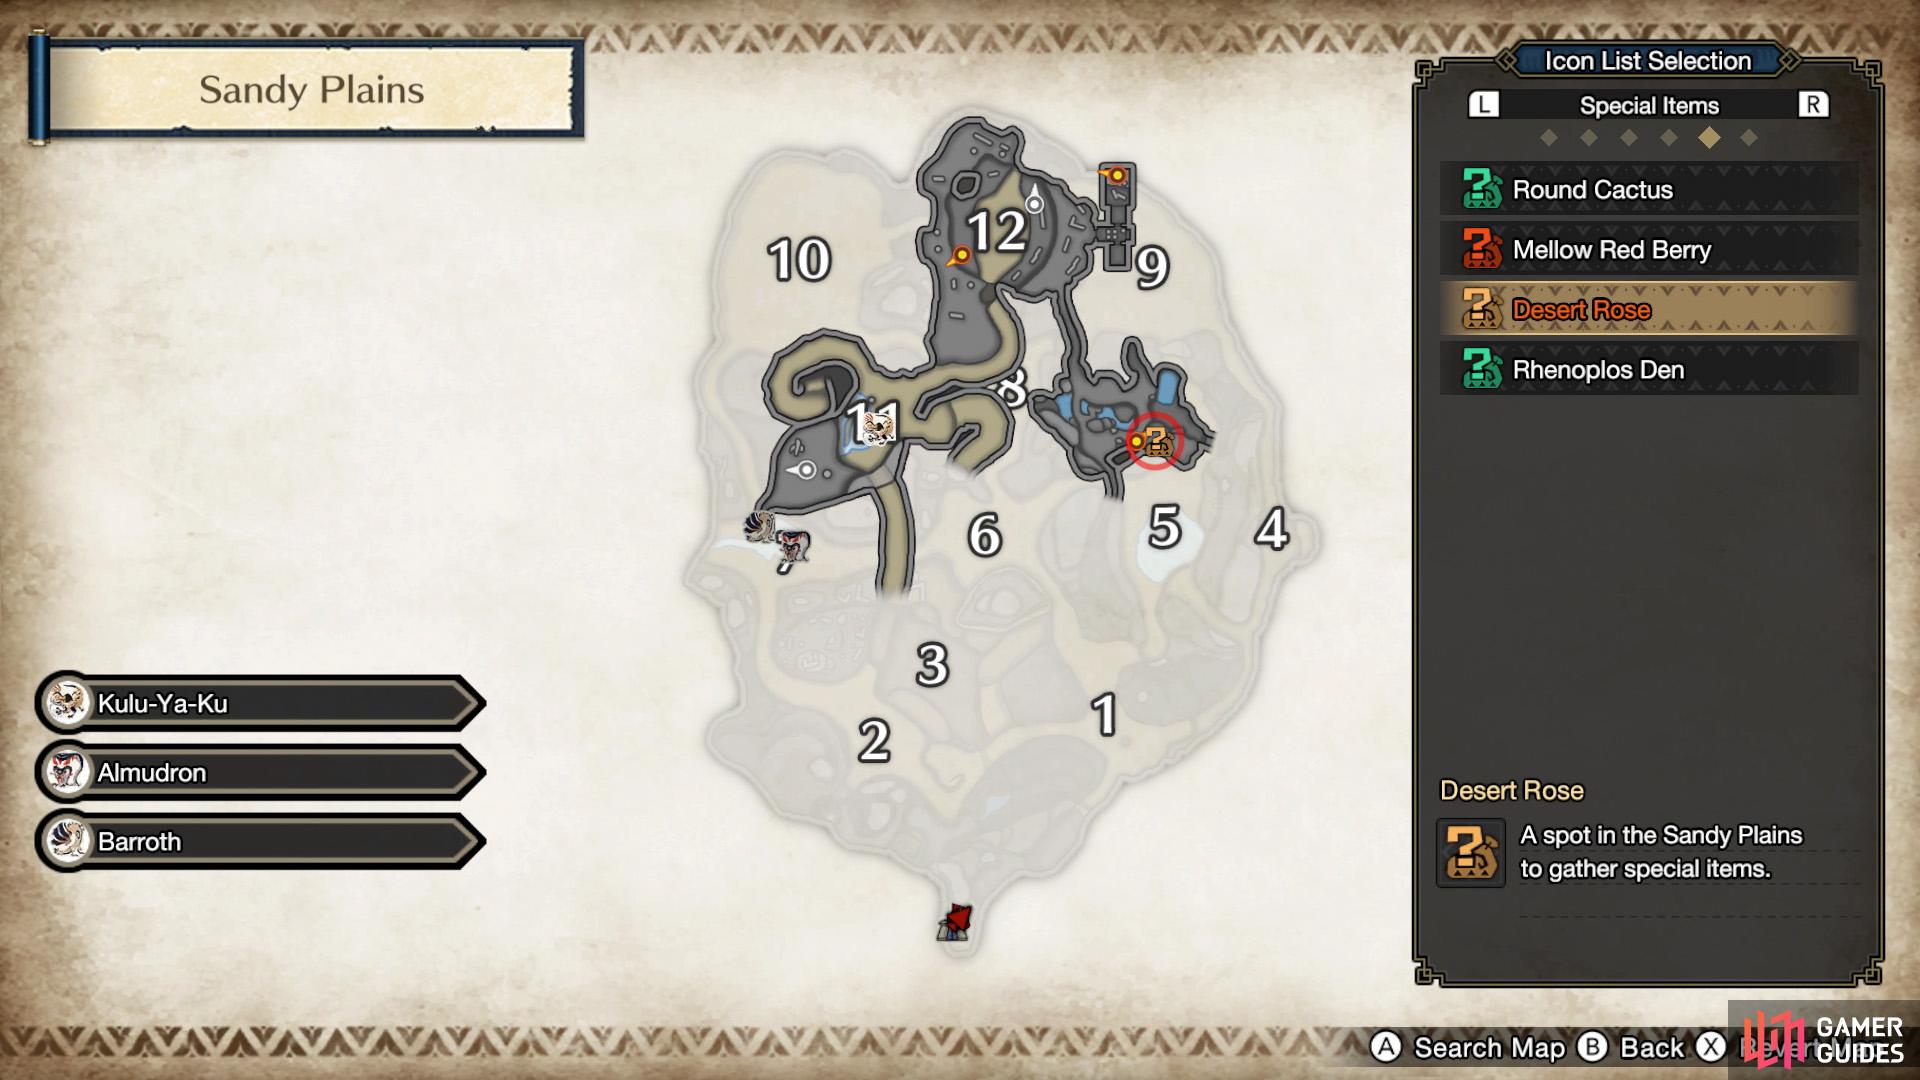
These elusive plants can be found randomly in the Desert Rose gathering spots in the Sandy Plains. Like before, bring up your map and press  to filter for “Desert Rose”, found in the “Special Items” tab.
There are four Desert Rose nodes in the main/upper part and one node in the underground part. None of them are that hard to find.
1: By the side of the tallest part of the higland region at Area 2. From the base camp, turn left and go through the tunnel. Then use the great wirebug to fly far ahead. When you’re near the end of your flight, press  to do a mid-air roll in the reverse direction. You should land next to the Desert Rose.
2: Atop the highlands directly overlooking the wide open space in Area 10. Fast travel to base camp and use the same great wirebug as above. However, near the end of your flight, spam  to use a second great wirebug in the air. This will proper you towards a third great wirebug between areas 3 and 7. Use this and then mid-air dodge towards the left.
3: On a raised part of land in the lower part of Area 12, north of the narrow sand bridge. There’s a relic record nearby. If you gathered from the previous rose, drop down to Area 10 and carefully head east towards Area 12.
4: Halfway up the highlands between areas 4 and 5. If you’re coming from Area 9, go along the narrow road towards Area 4. When the road starts to be sandwiched by cliffs, climb up the ledge on the right, where a plant gathering spot is. The rose spot is just around the corner.
5: In the underground part between areas 5 and 9, near a great wirebug. There are a few ways to enter. If you just gathered from the previous rose, jump down to the west. Then go through the nearby tunnel to reach the underground part. Afterwards, the rose should be on your left, on some raised land.
Where to Find Bismuth Prism
(1 of 2) Bismuth Prism locations above ground.
Bismuth Prism locations above ground. (left), Bismuth Prism locations below ground. (right)
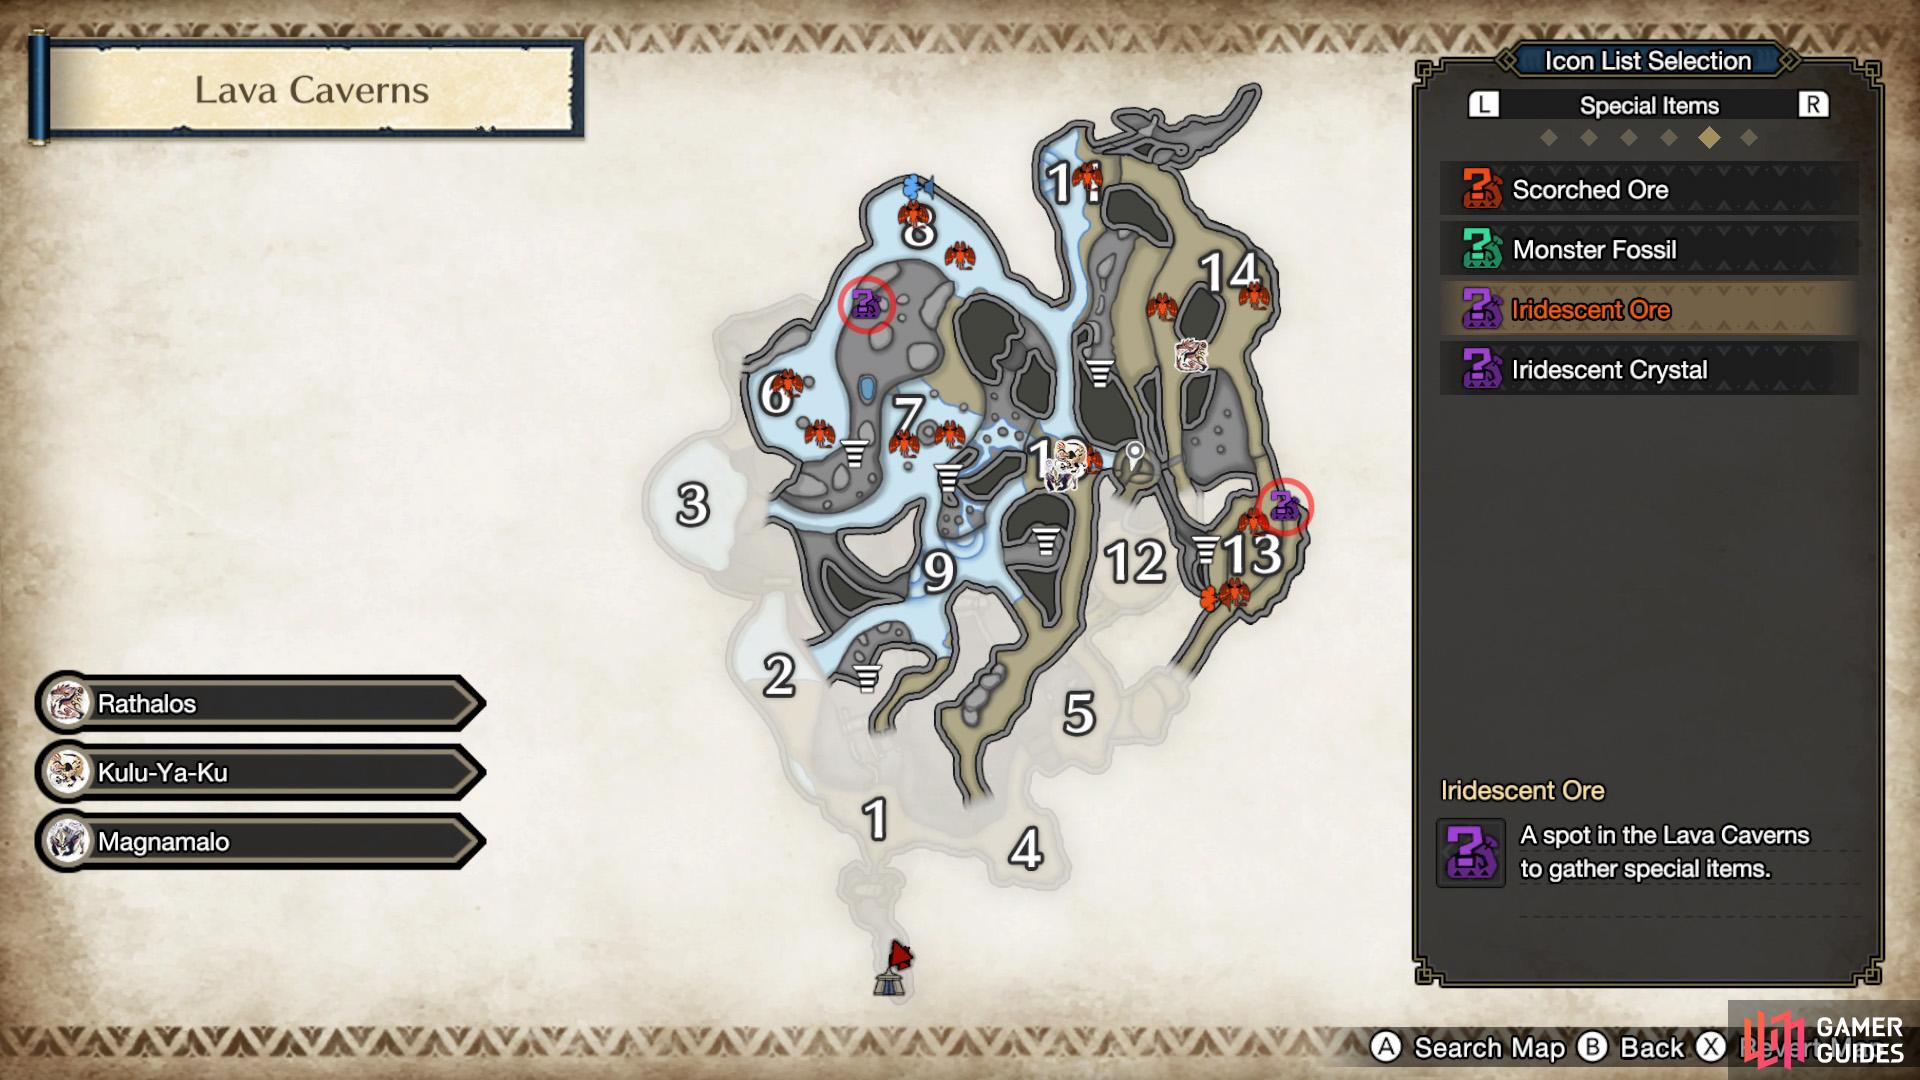
The final item you need can be found randomly from Iridescent Ore gathering spots in the Lava Caverns (not “iridescent Crystal”).
There are three Iridescent Ore nodes in the upper part and two nodes in the underground part. These are all fairly easy to find, although navigating the Lava Caverns in general can be somewhat tricky.
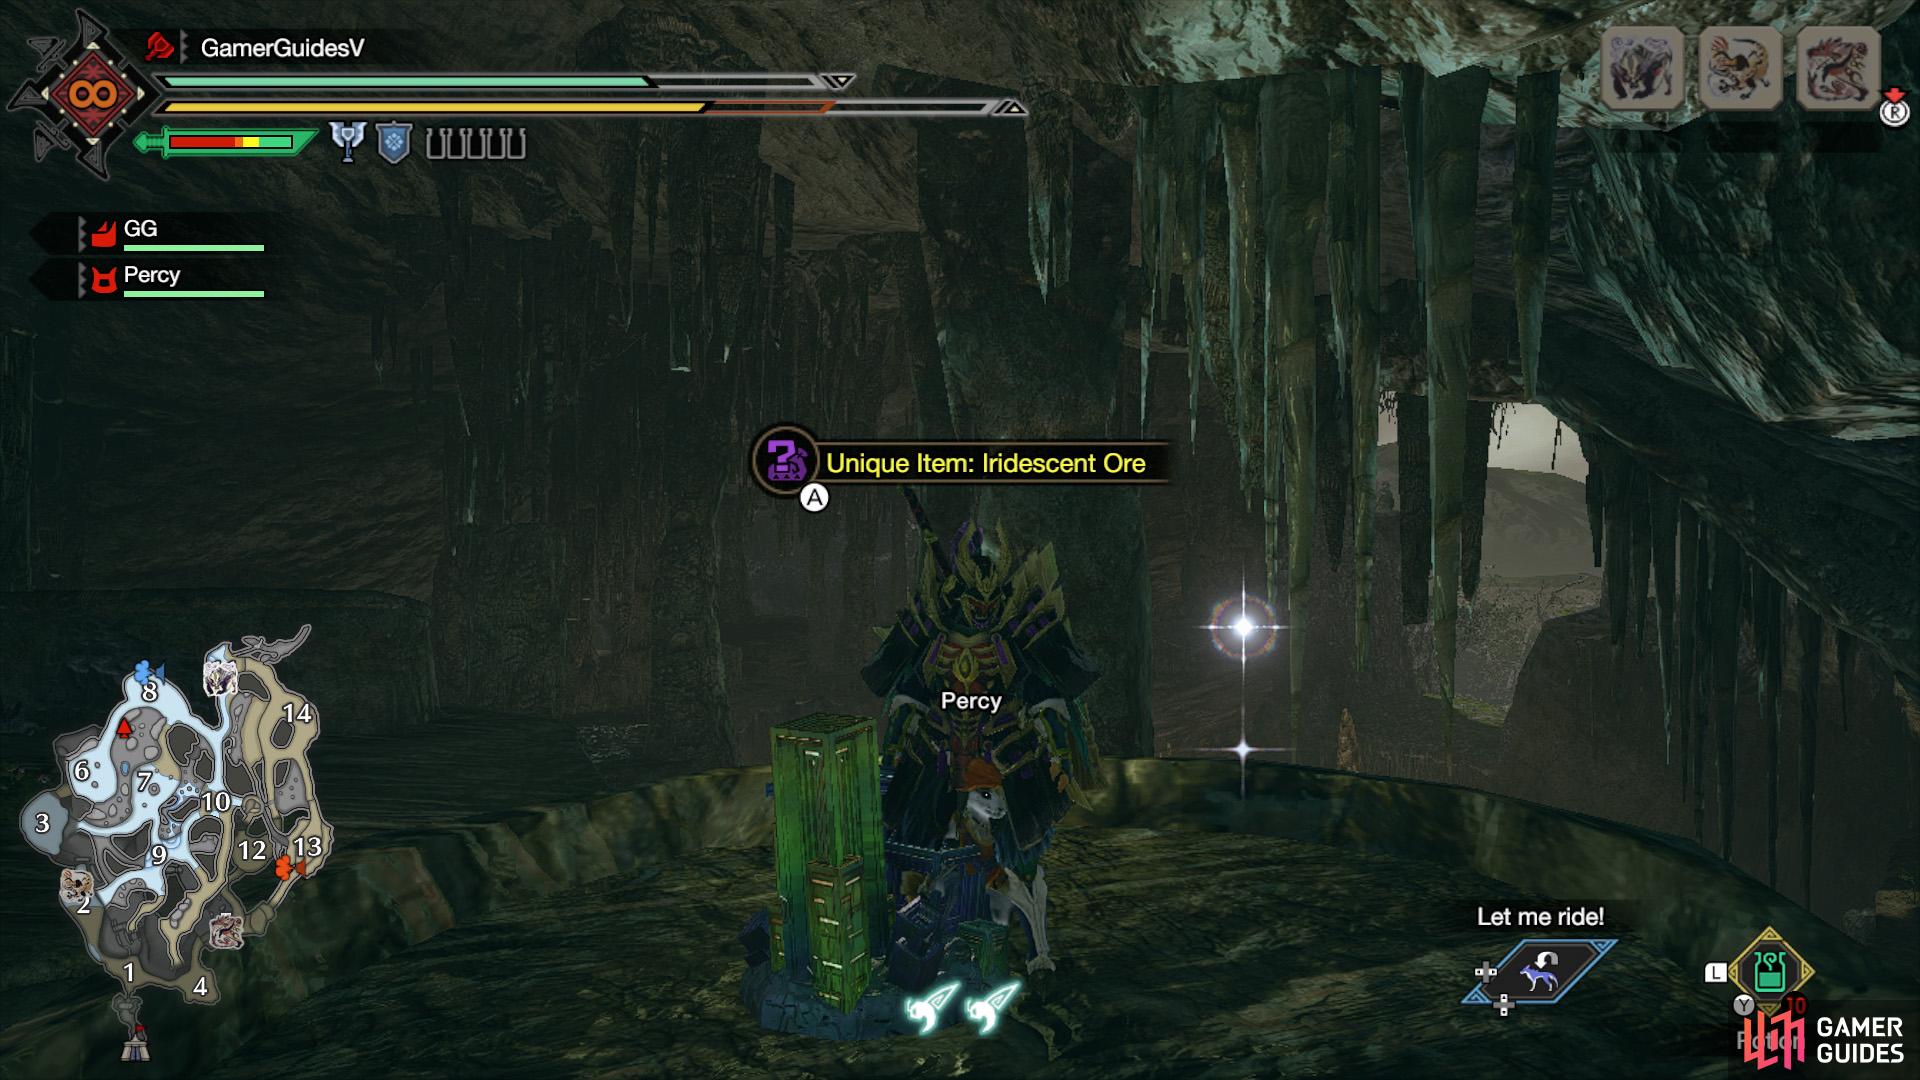
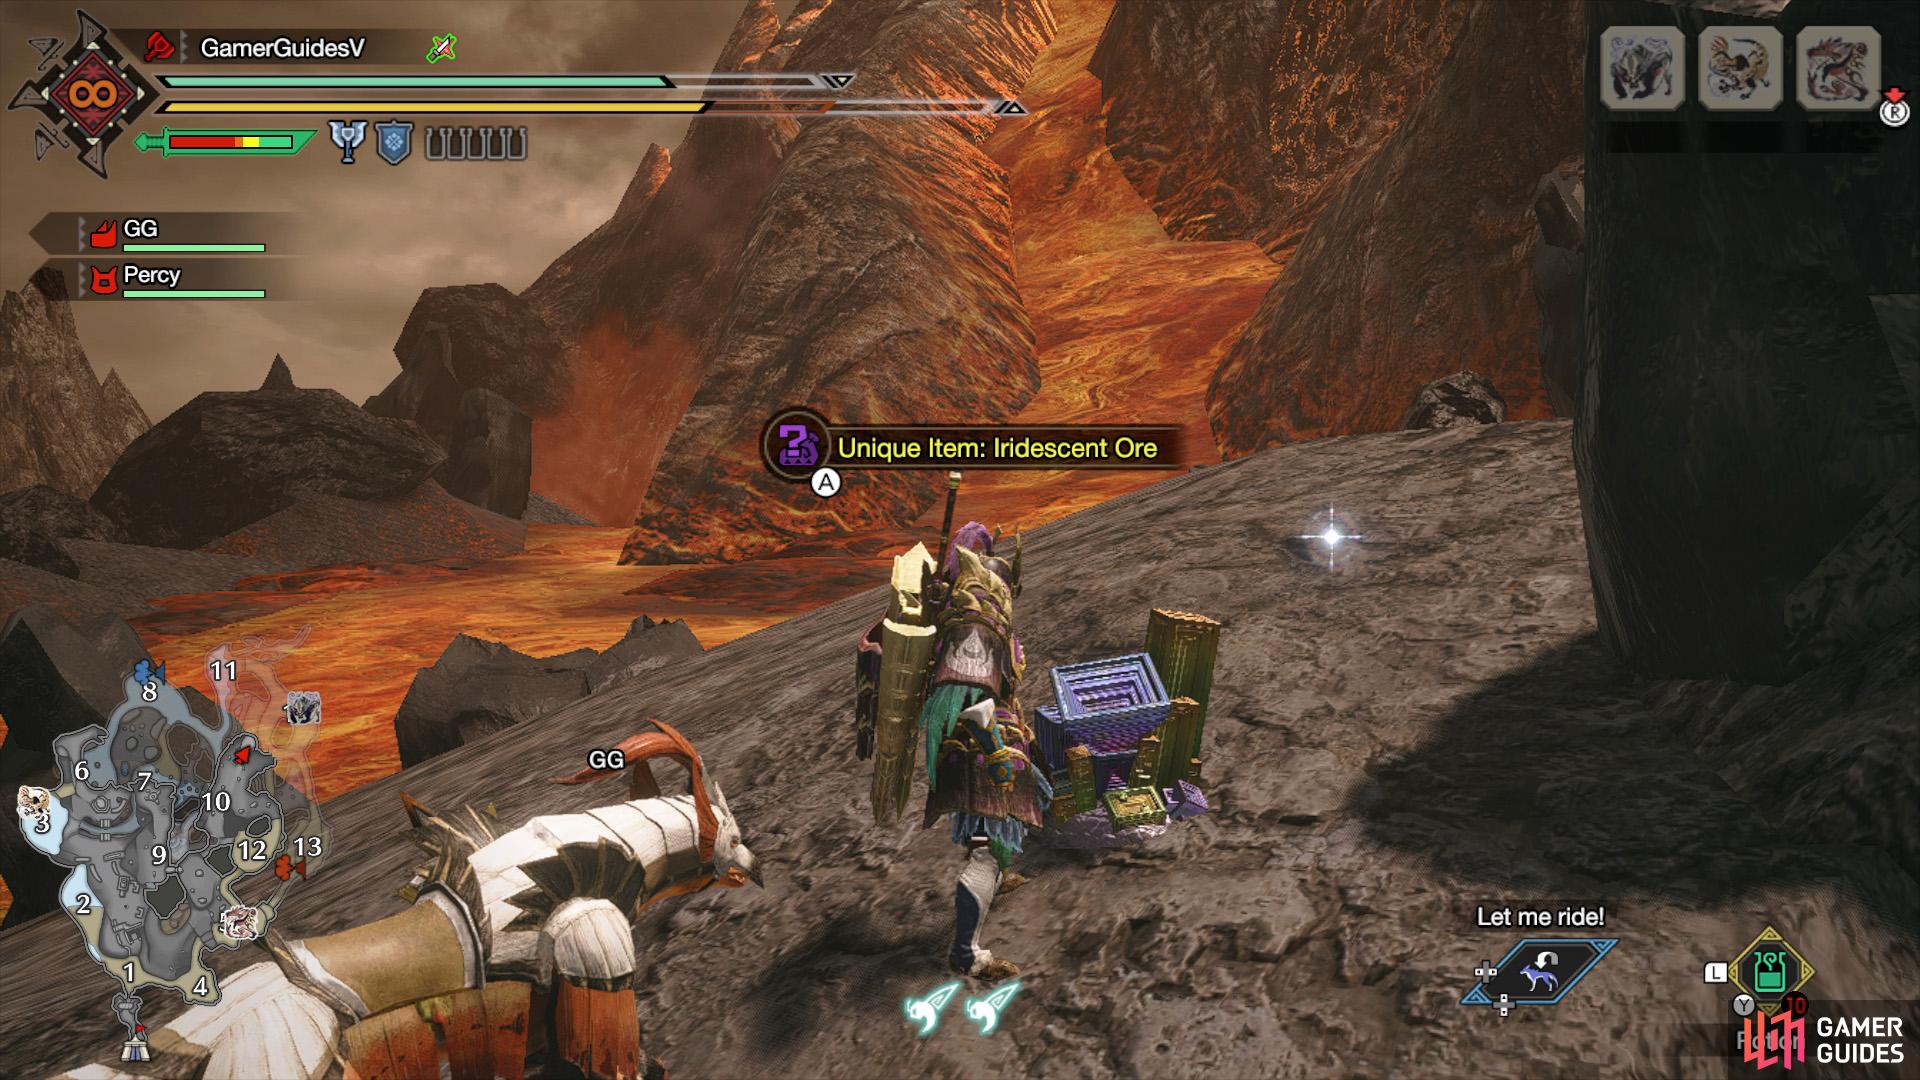
(1 of 5) 1. On a ledge between the broken bridge in-between areas 2, 3, 6 and 9. South of Sub-Camp 2.
1: On a ledge between the broken bridge in-between areas 2, 3, 6 and 9. South of Sub-Camp 2. If you’re worried about falling, you can walk down to it from the north side.
2: Towards the north of Area 6, at the far end of the jutting out area, across the narrow bridge.
3: Atop a pillar in the underground part between areas 6 and 8. If you gathered from the previous ore node, fall down t Area 6 and climb up to the sides.
4: Towards the north of Area 10, above a hole in the ground. Right near Sub-Camp 1. If you don’t have the sub-camp unlocked, head over to Area 9 and use a great wirebug to reach Area 10. If you gathered from the previous node, you can fast-travel to climb back up or use the gust of wind directly south from that node.
5: North-east corner of Area 13, which is underground. From the previous node, fall down the nearby hole. Go through Area 14 towards the north entrance of Area 13. Then drop down to the left, where there’s low ground.
Reward
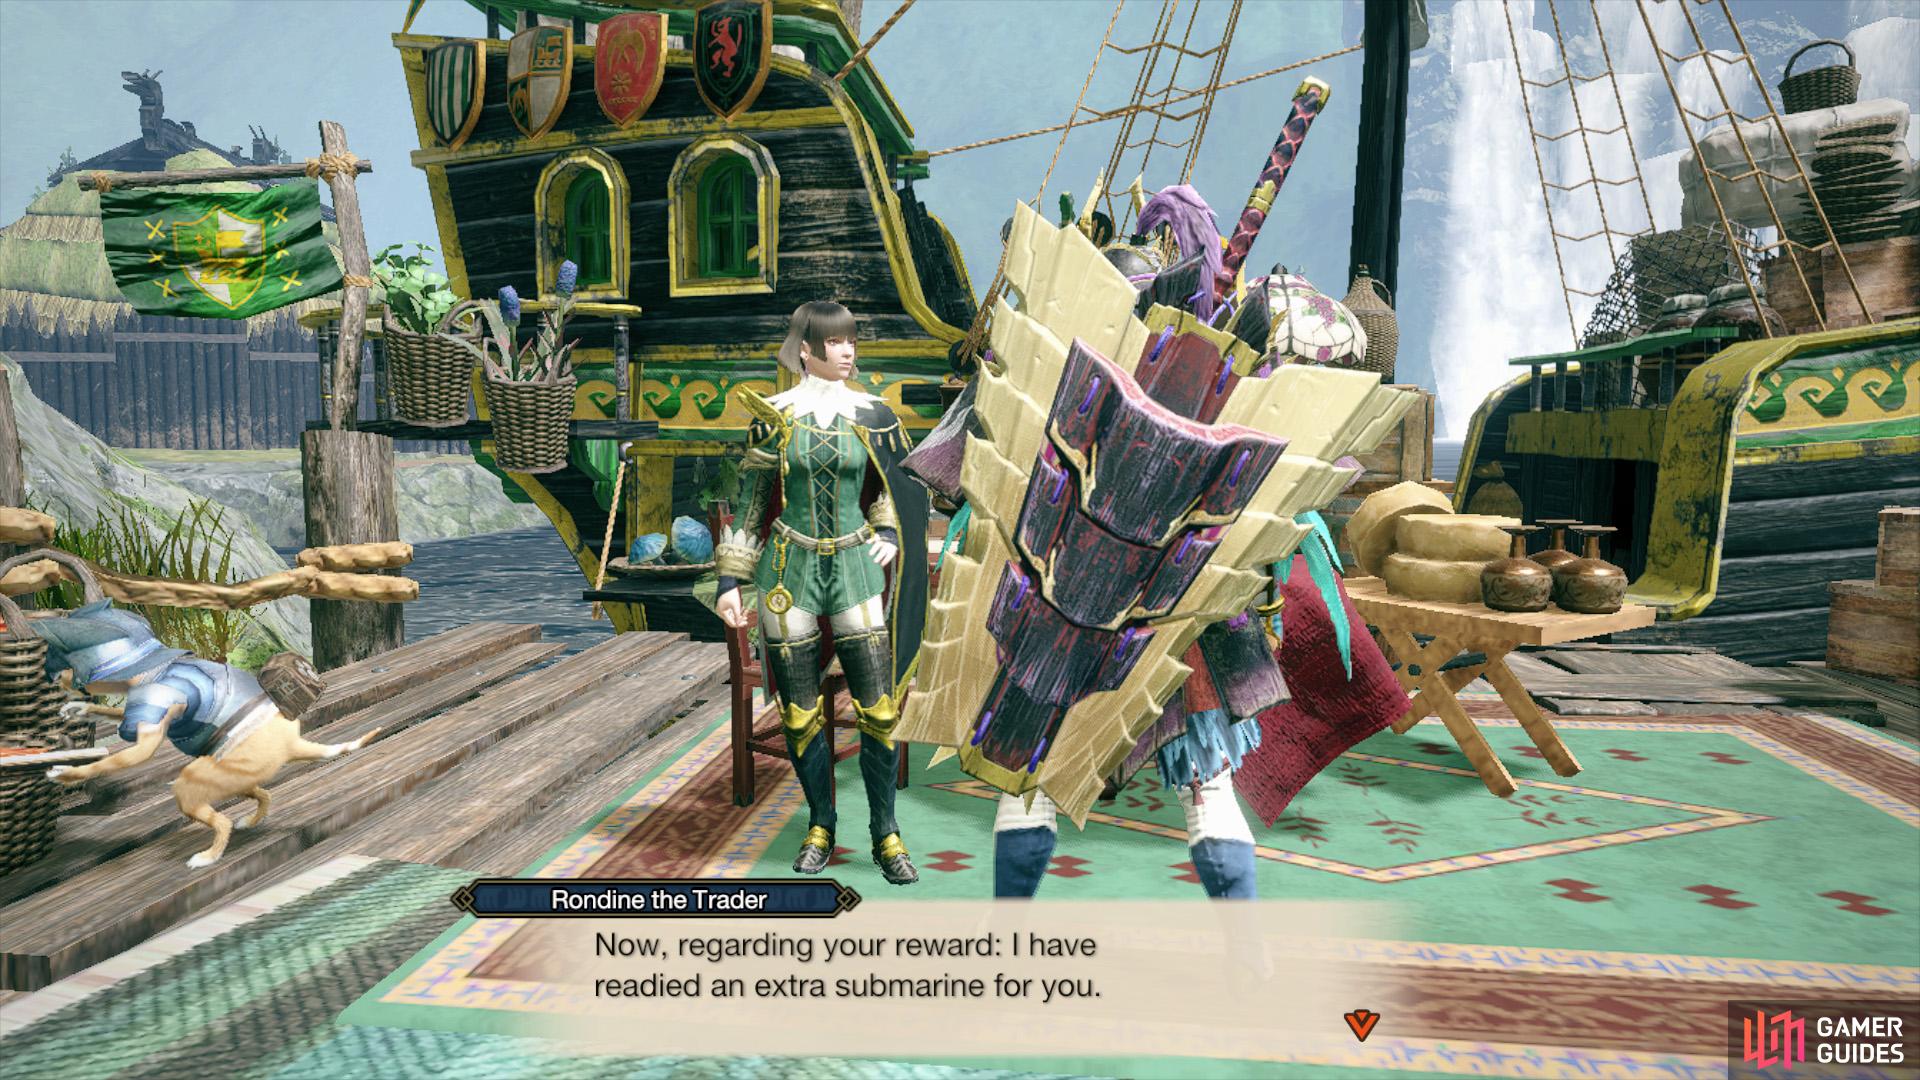
(1 of 2) Like all requests, you must return to the client to finish the request.
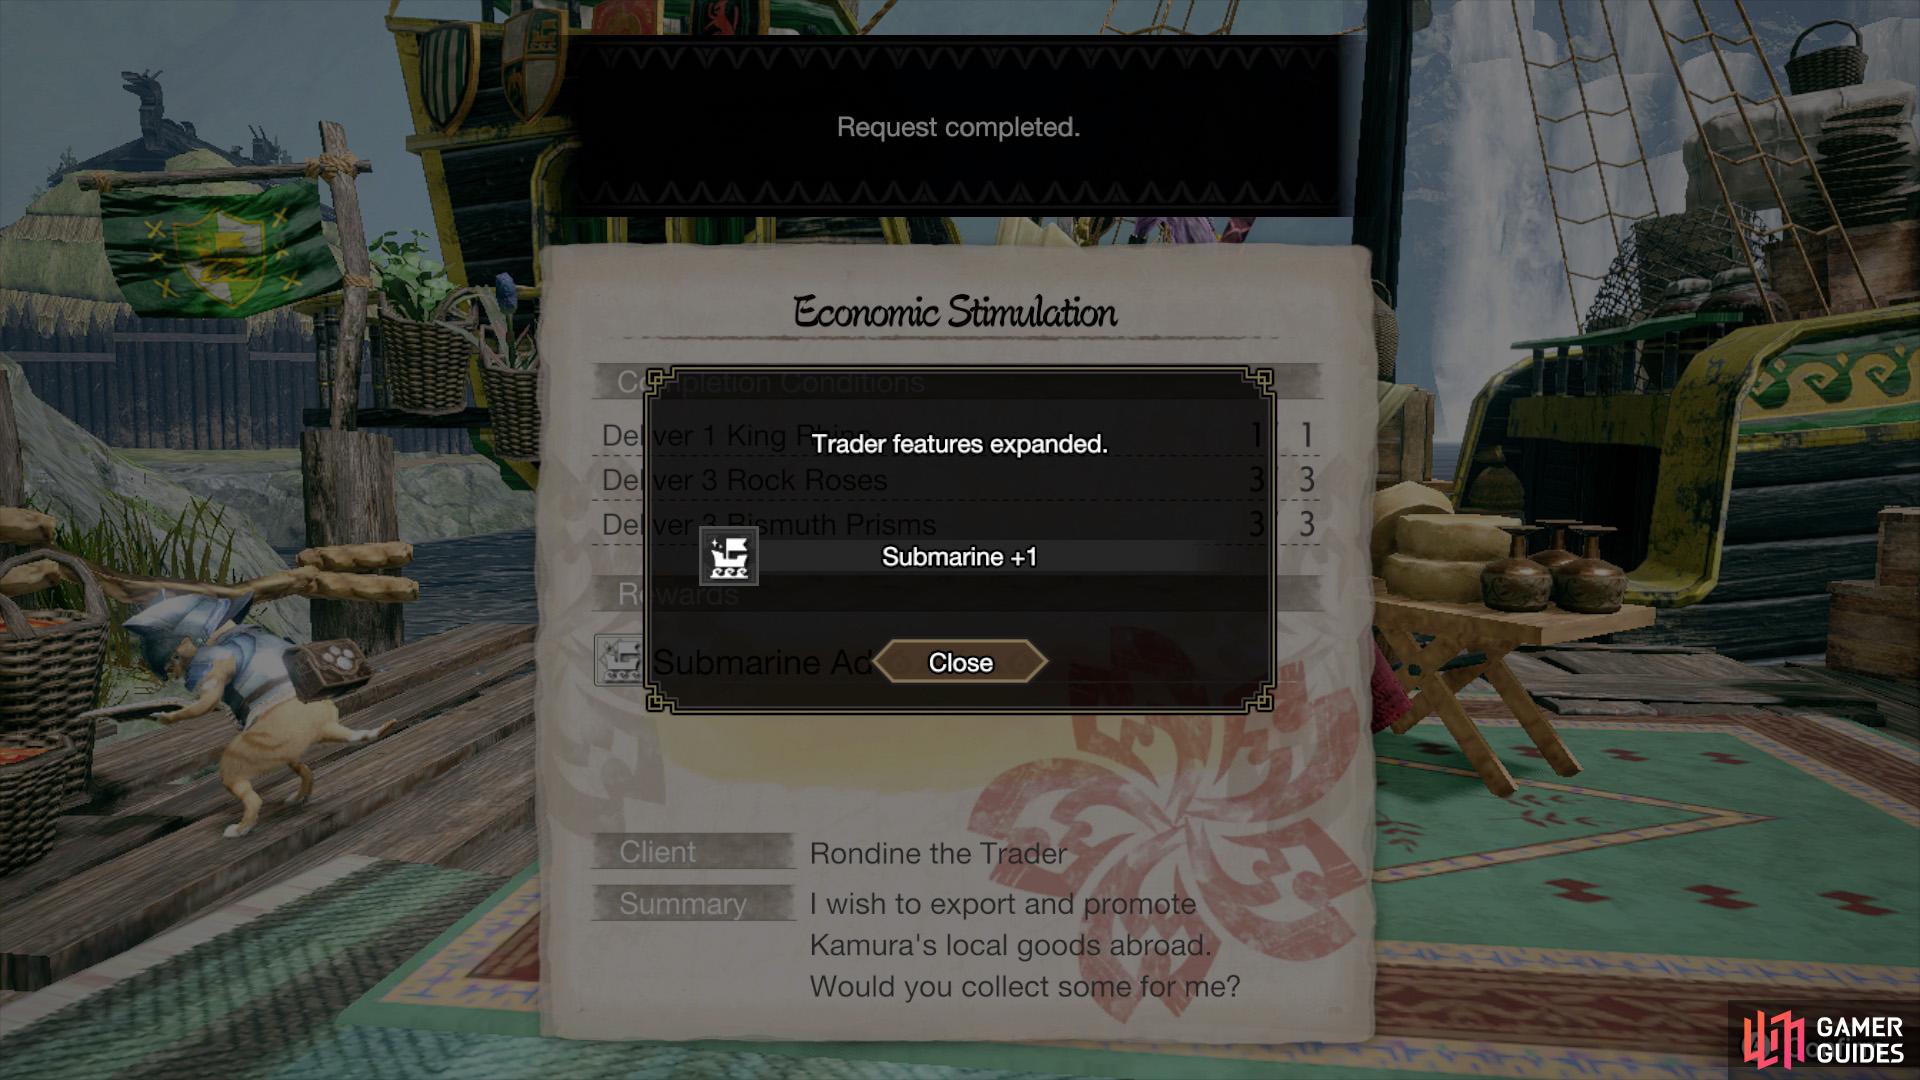
Like all requests, you must return to the client to finish the request. (left), Your reward for completing this request is another submarine! (right)
Once you’ve collected all the required items, return to Rondine to report the good news. You’ll unlock the third and final submarine slot for the Argosy. About time too!







 Sign up
No Comments