This is a walkthrough for Raiden Shogun Story Quest Farewell to the Past which is the second quest in the second act of the Imperatrix Umbrosa Chapter. It’ll navigate you through the necessary steps to defeating the Raiden Shogun.
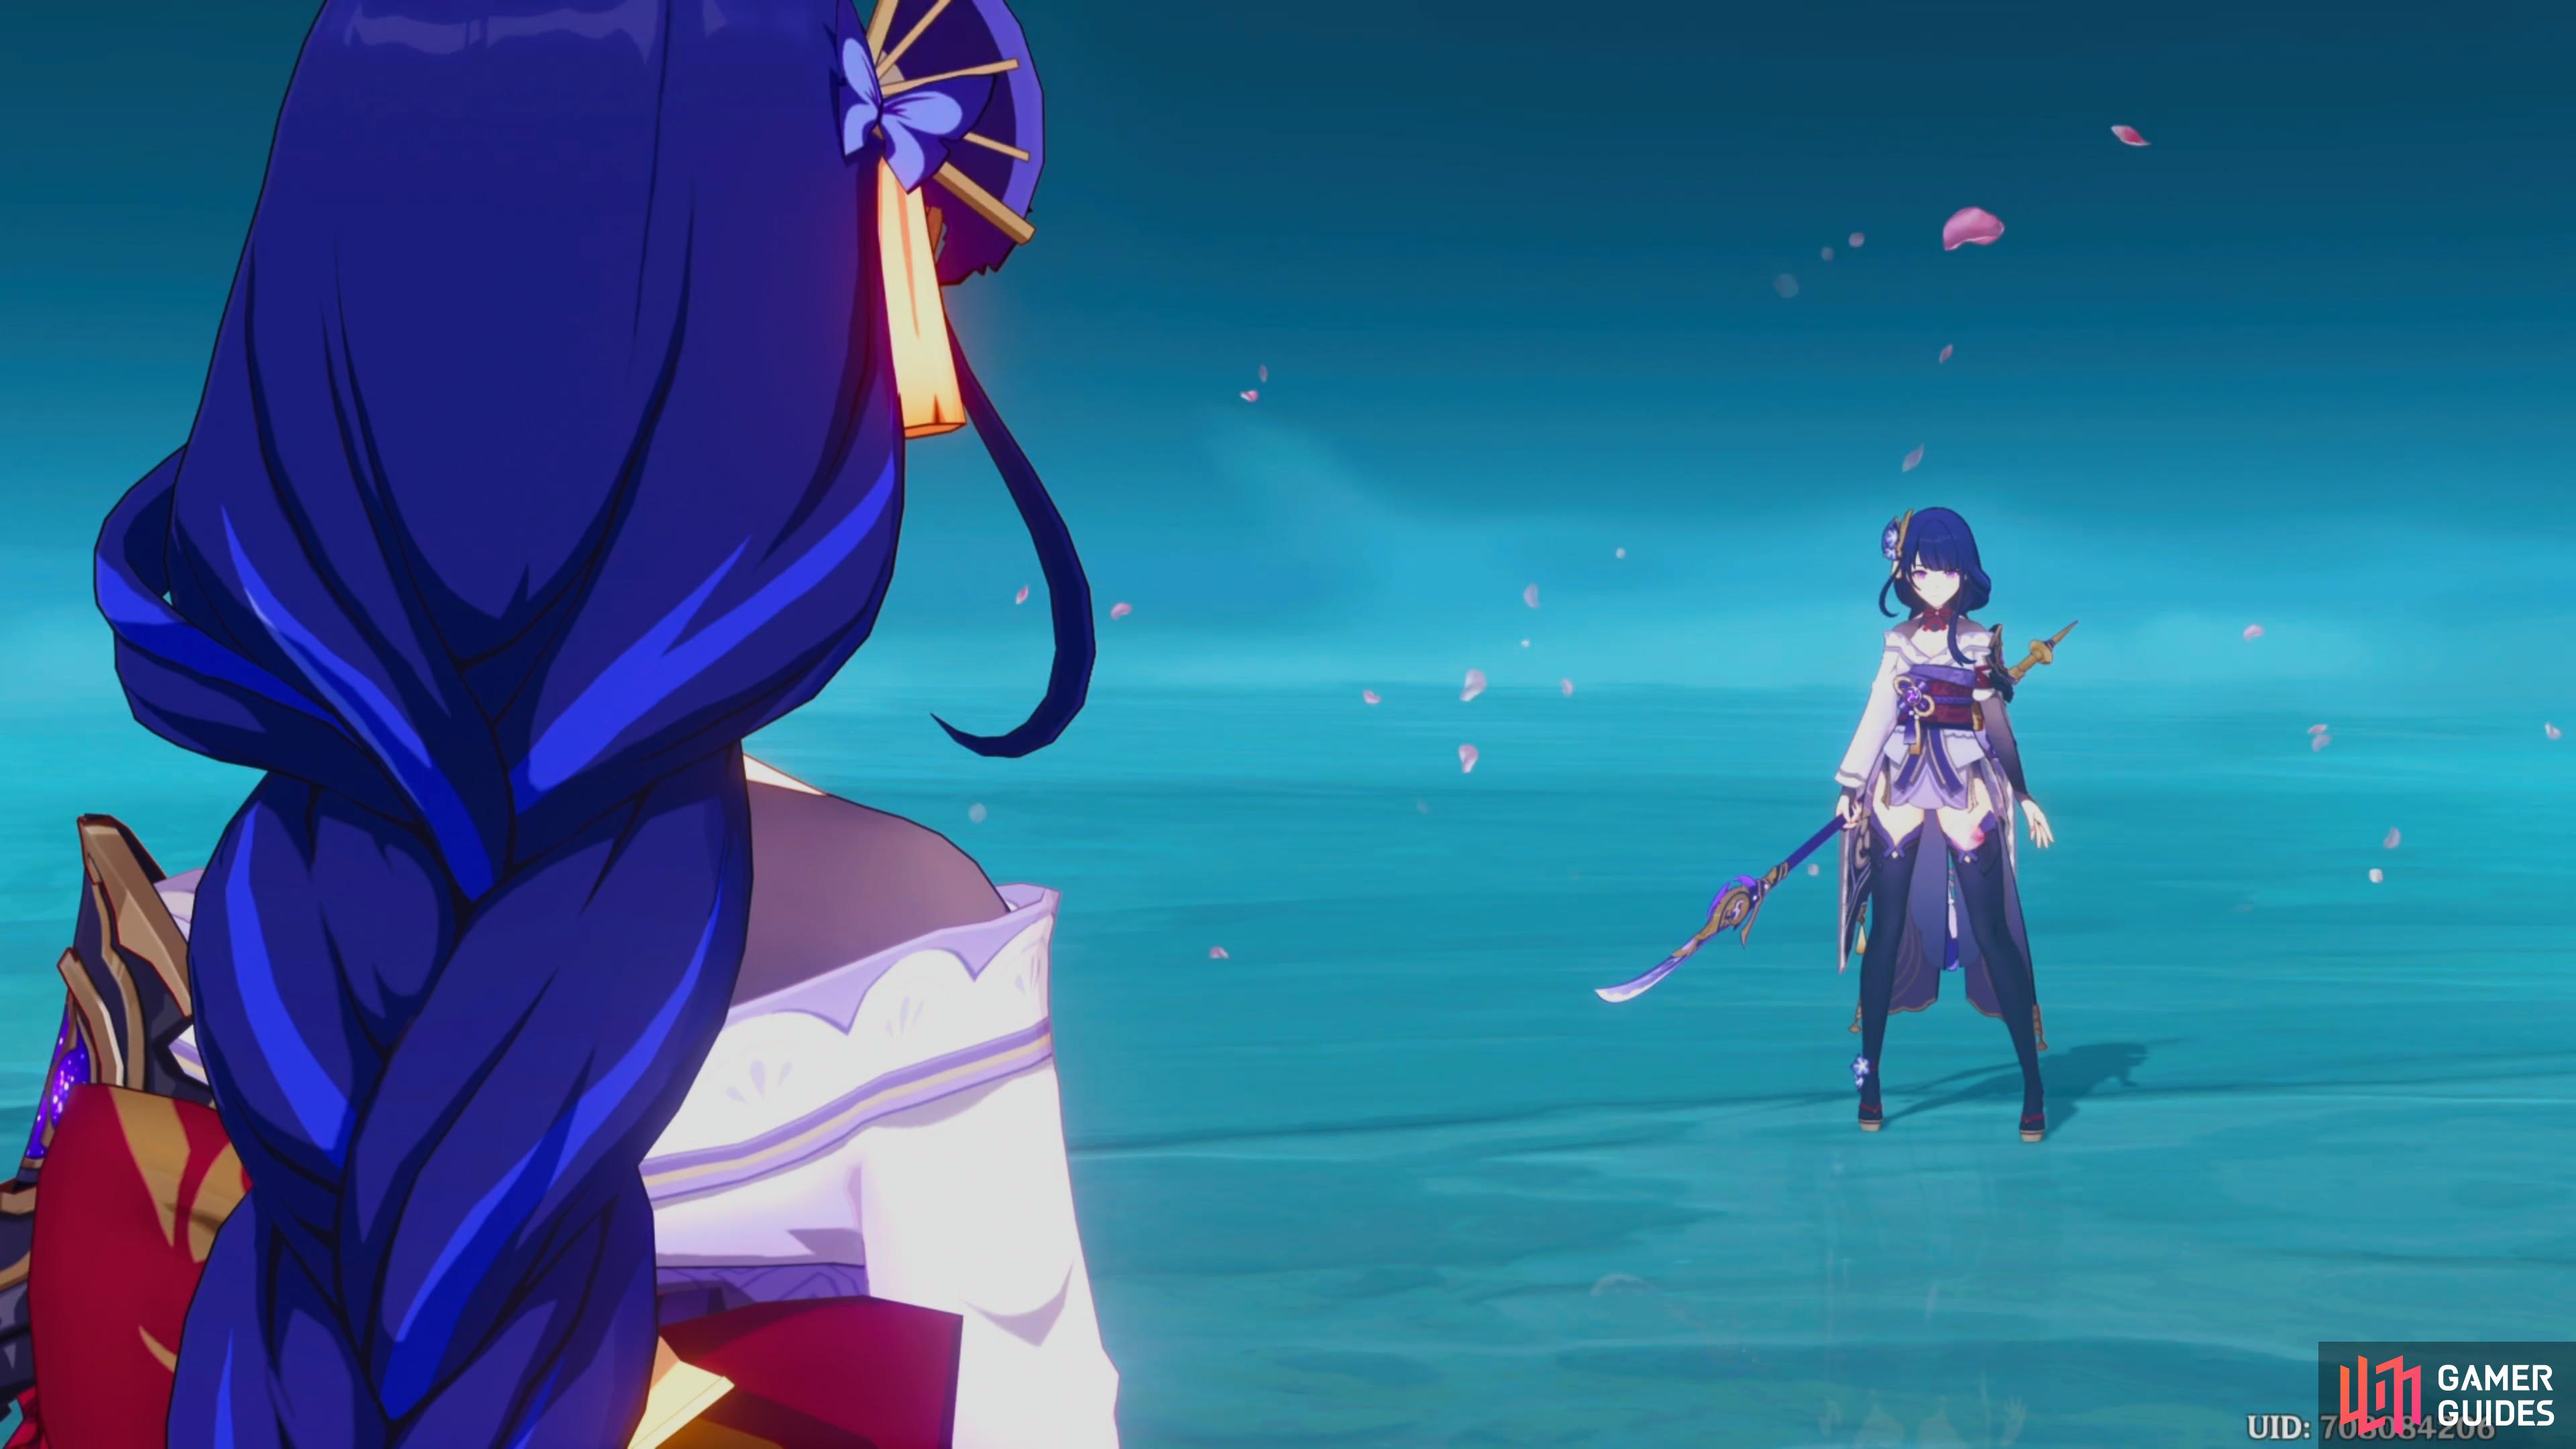
The Raiden Shogun and Ei try to intimate each other
| Adventure EXP | Mora | Other Rewards | Requirements | Next Quests |
|---|---|---|---|---|
 600 600 |
 5 5  10 10 |
Complete Cleansing Light | Radiant Sakura |
Description
Many people’s memories have escaped from the damaged roots of the Sacred Sakura. Raiden Ei takes the opportunity to tell you many stories about her cherished friends and the Inazuma she wants to protect.
Steps
- Continue the pursuit
- Defeat the Rifthounds
- Go to the cave below the Grand Narukami Shrine
- Defeat the Raiden Shogun
- Talk to Paimon about how to respond
Continue the pursuit
After you’ve finished your tea, continue onwards and you’ll find some more markings next to the pedestals, follow them along and glide down onto the beach, then you’ll find a cave which is the home to several Rifthounds.
Defeat the Rifthounds
Here you’ll need to take down four Thundercraven Rifthound Whelps, Thundercraven Rifthound and a Rockford Rifthound Whelp. Thankfully, you’ll be in control of Ei for this battle so you’ll be able to take them down quickly. Once they’ve been dealt with the Raiden Shogun will no longer be in a fit state to fit, so you’ll have to join forces with the Samurai from 500 Years ago to finish off the remaining Rifthounds.
(1 of 3) Follow the markings to the cave
Go to the cave below the Grand Narukami Shrine
Unfortunately, Ei’s condition seems to be getting worse, so travel over to the Grand Narukami Shrine and glide over to the rock to the northeast and interact with the Electrogranum before gliding down further and entering the cave to initiate a scene.
Defeat the Raiden Shogun
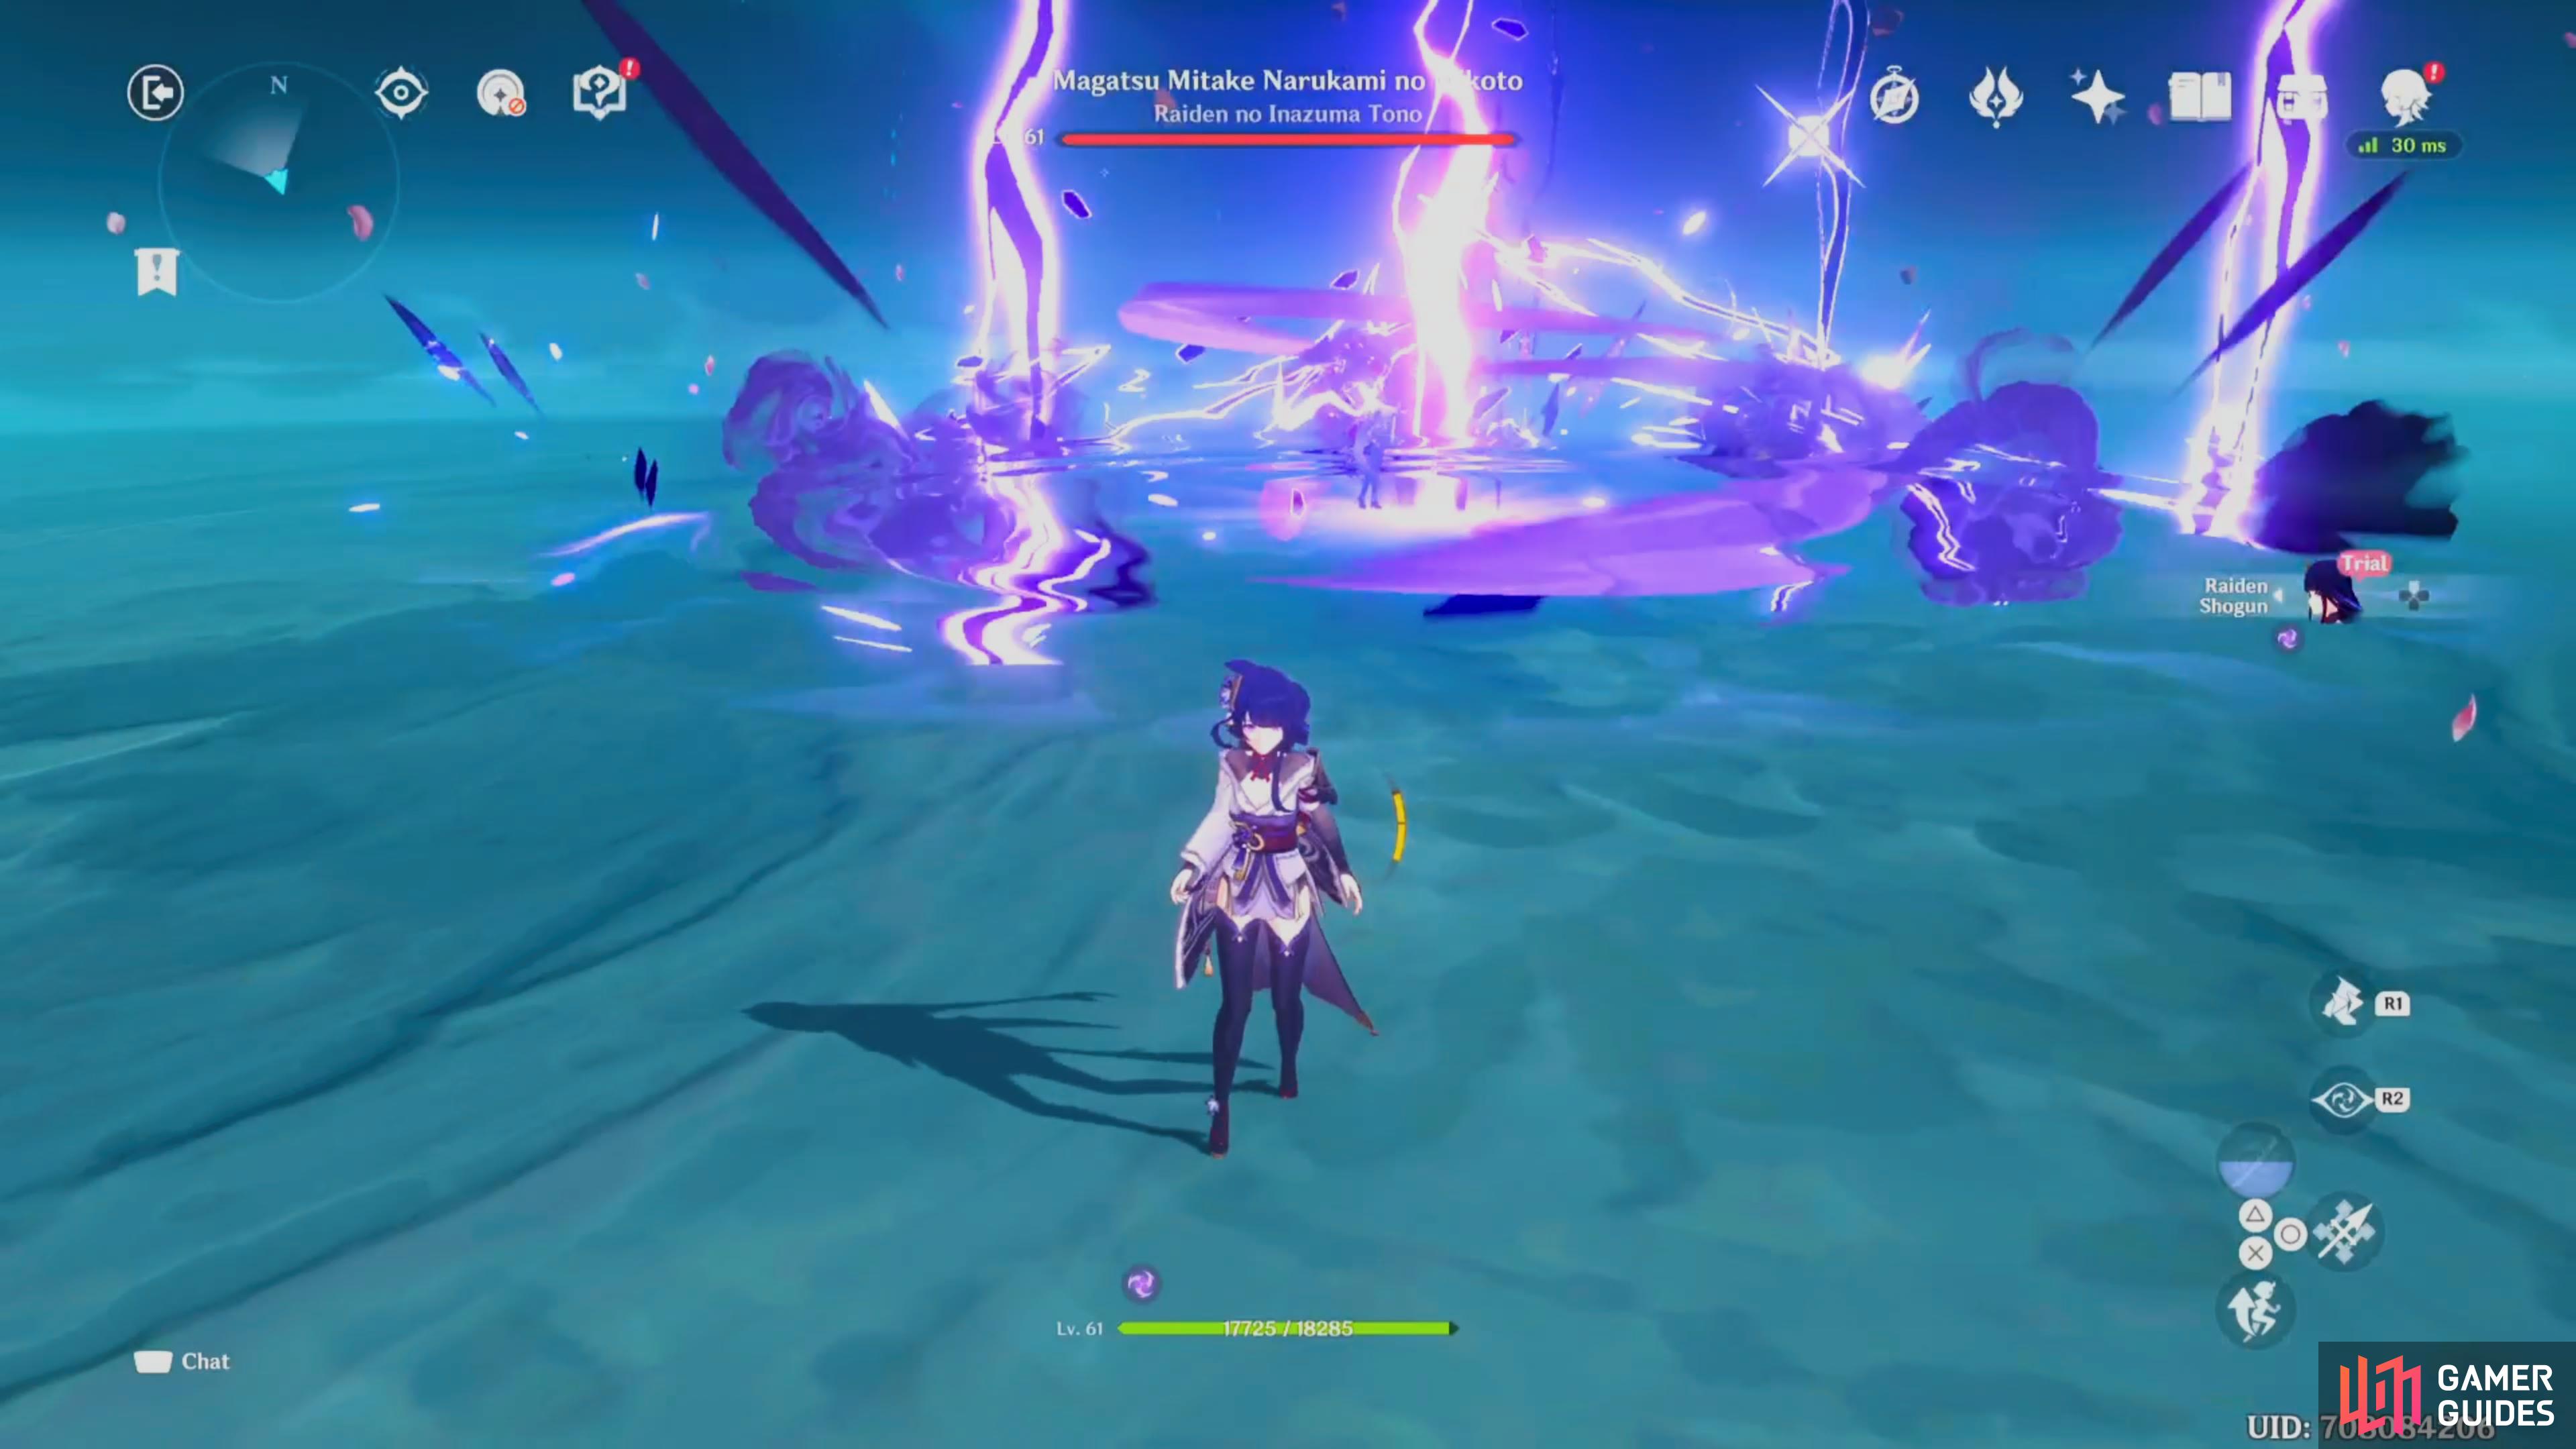
Following the scene you’ll take control of Raiden Ei and you’ll have to take down the Raiden Shogun. Here you’ll notice a lot the attacks are similar to when you thought her in the Archon Quest, The Omnipresent God, such as spinning her spear in front of her and performing a shockwave in front or around her. Throughout the fight she can teleport towards you and perform three slashes of her spear followed by a shockwave around her, so be ready to dodge away quickly.
Alternatively, she can dash towards you and perform multiple slashes but without the shockwave afterwards. Keep attacking her and use your Elemental Attack on her when it’s ready to deal the most amount of damage, then she’ll summon a Magatsu Electroculi nearby that you’ll want to quickly destroy. Once you’ve lowered her health enough she’ll activate a shield around her which will prevent you from dealing damage and she’ll regain her health. Nothing can be done to prevent this, so you’ll want to focus on ignoring her attacks.
(1 of 3) Keep your distance from the Raiden Shogun to avoid the shockwave.
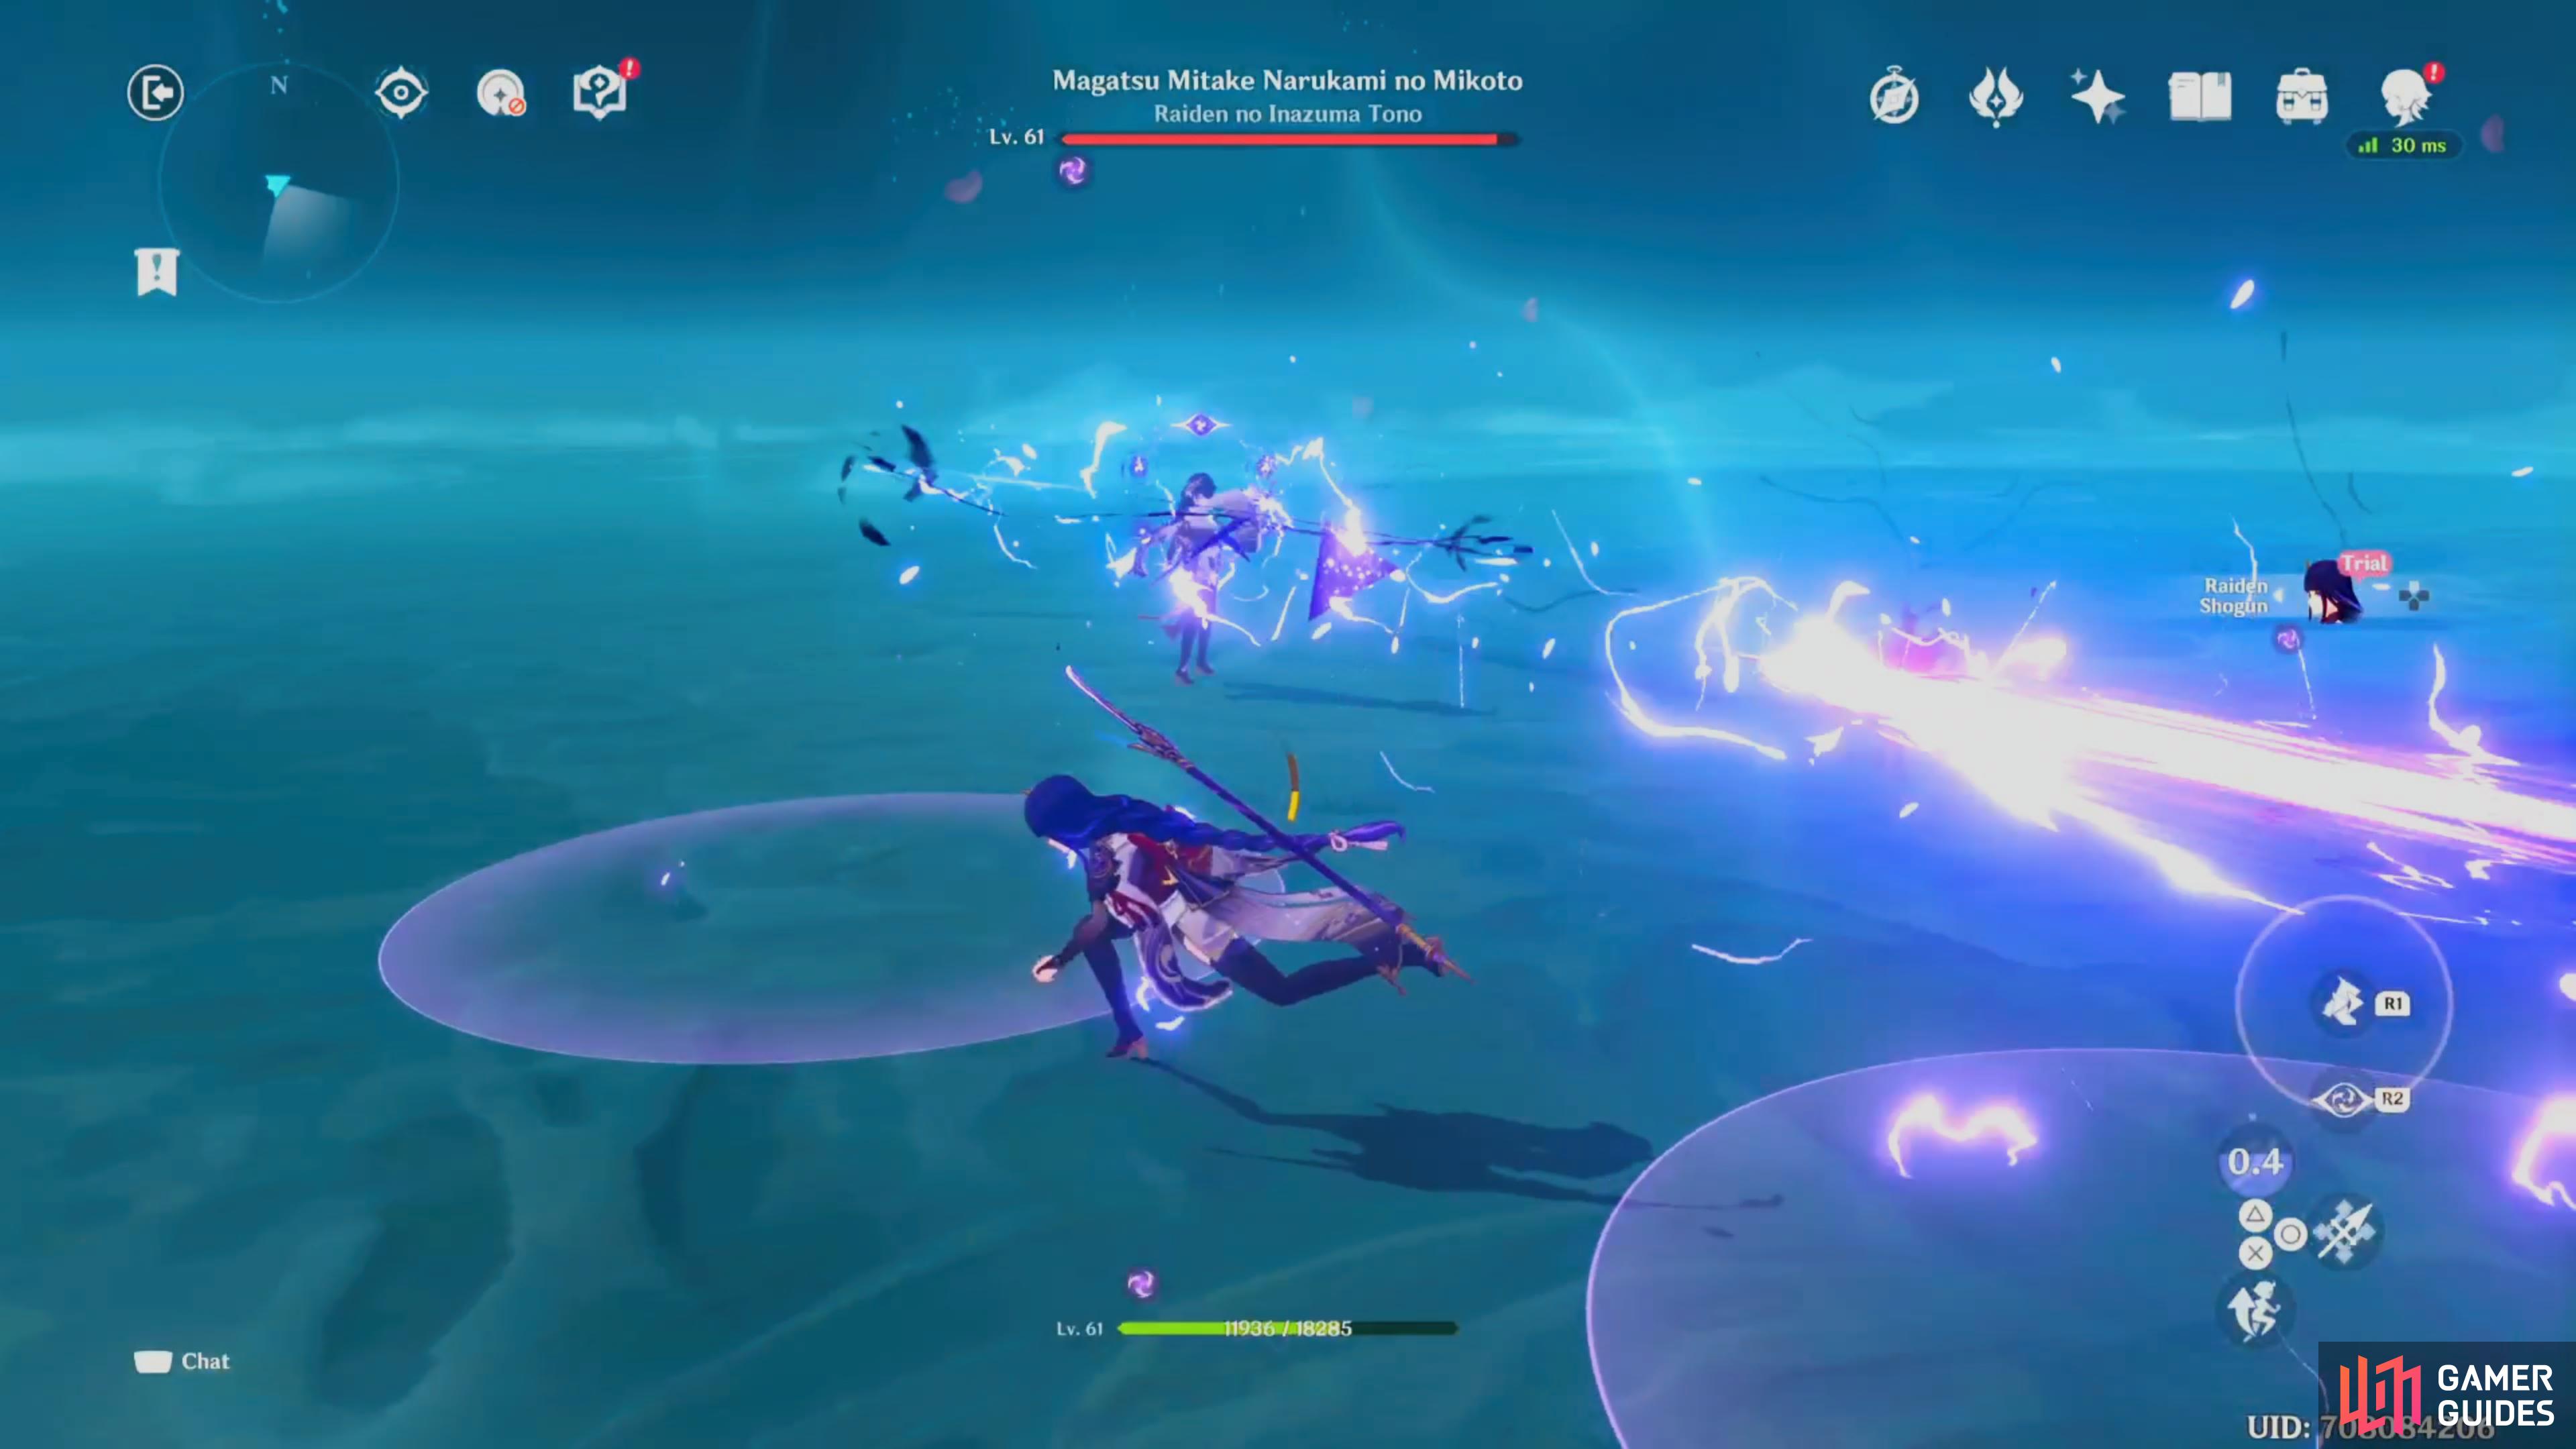
During the second phase you’ll have to avoid the Area of Effect (AoE) Markers on ground to prevent being hit by shots of electro. Unlike the first phase you’ll want to wait until she takes down her shield before using the Elemental Attack. Whilst avoiding the AoE’s she will also fire rings of electro at you, so keep your distance in order to easily avoid it. Eventually, the Raiden Shogun will summon illusions of herself and you’ll need to avoid the attacks and hit them to reveal the correct one. Finally, she will heal herself once more, so continue avoiding the attacks you’ve already seen and finish her off with the Elemental Attack once her shield is down.
Talk to Paimon about how to respond
After the battle has come to a close Raiden Ei will kick you out of the realm and Lumine and Paimon will discuss how to help before the quest comes to a close.





 Sign up
No Comments