Fast travel to Marsalim, head to the tavern and begin H’aanit’s fourth chapter. After defeating the dragon in the previous chapter, H’aanit obtained the herb-of-grace to help prevent Redeye’s curse. With that out of the way, one of the Knights Ardante told her that they have found the fiend’s location, leading her to Marsalim. Upon entering the town, head up the stairs to your east, to the top, where you’ll meet up with Eliza. She mentions the beast is lurking in an ancient ruin to the west of town, called Grimsand Ruins.
Redeye setting up shop in Grimsand has caused the local monsters to go into panic mode, meaning they are running wild. The local militia went there to subdue the monsters, but haven’t returned yet, with the game cutting to them, finding out their fate. You’ll regain control shortly after this, where you will want to head to the middle of town for more scenes. The plans will be set in motion, with the Knights Ardante and the local militia teaming up to push the normal monsters aside, while your team heads to the ruins to deal with Redeye. Speak with Eliza when you’re ready, putting this exact plan into action, where you’ll now be inside Grimsand Ruins.
Preparing for Redeye
This quick little section will help you prepare for Redeye, who isn’t too bad of a fight. You will want to stack physical defense for him, so make sure your characters are properly equipped for such a thing. A Merchant with Hired Help is extremely useful, as is a Thief with Shackle Foe (Armor Corrosive is a plus). Additionally, Redeye will be able to inflict Blindness and Unconscious, so make sure you have a healthy supply of Herbs of Light and Herbs of Revival on hand. Also, hopefully you didn’t get rid of those Herb-of-Graces. That’s about all.
Grimsand Ruins
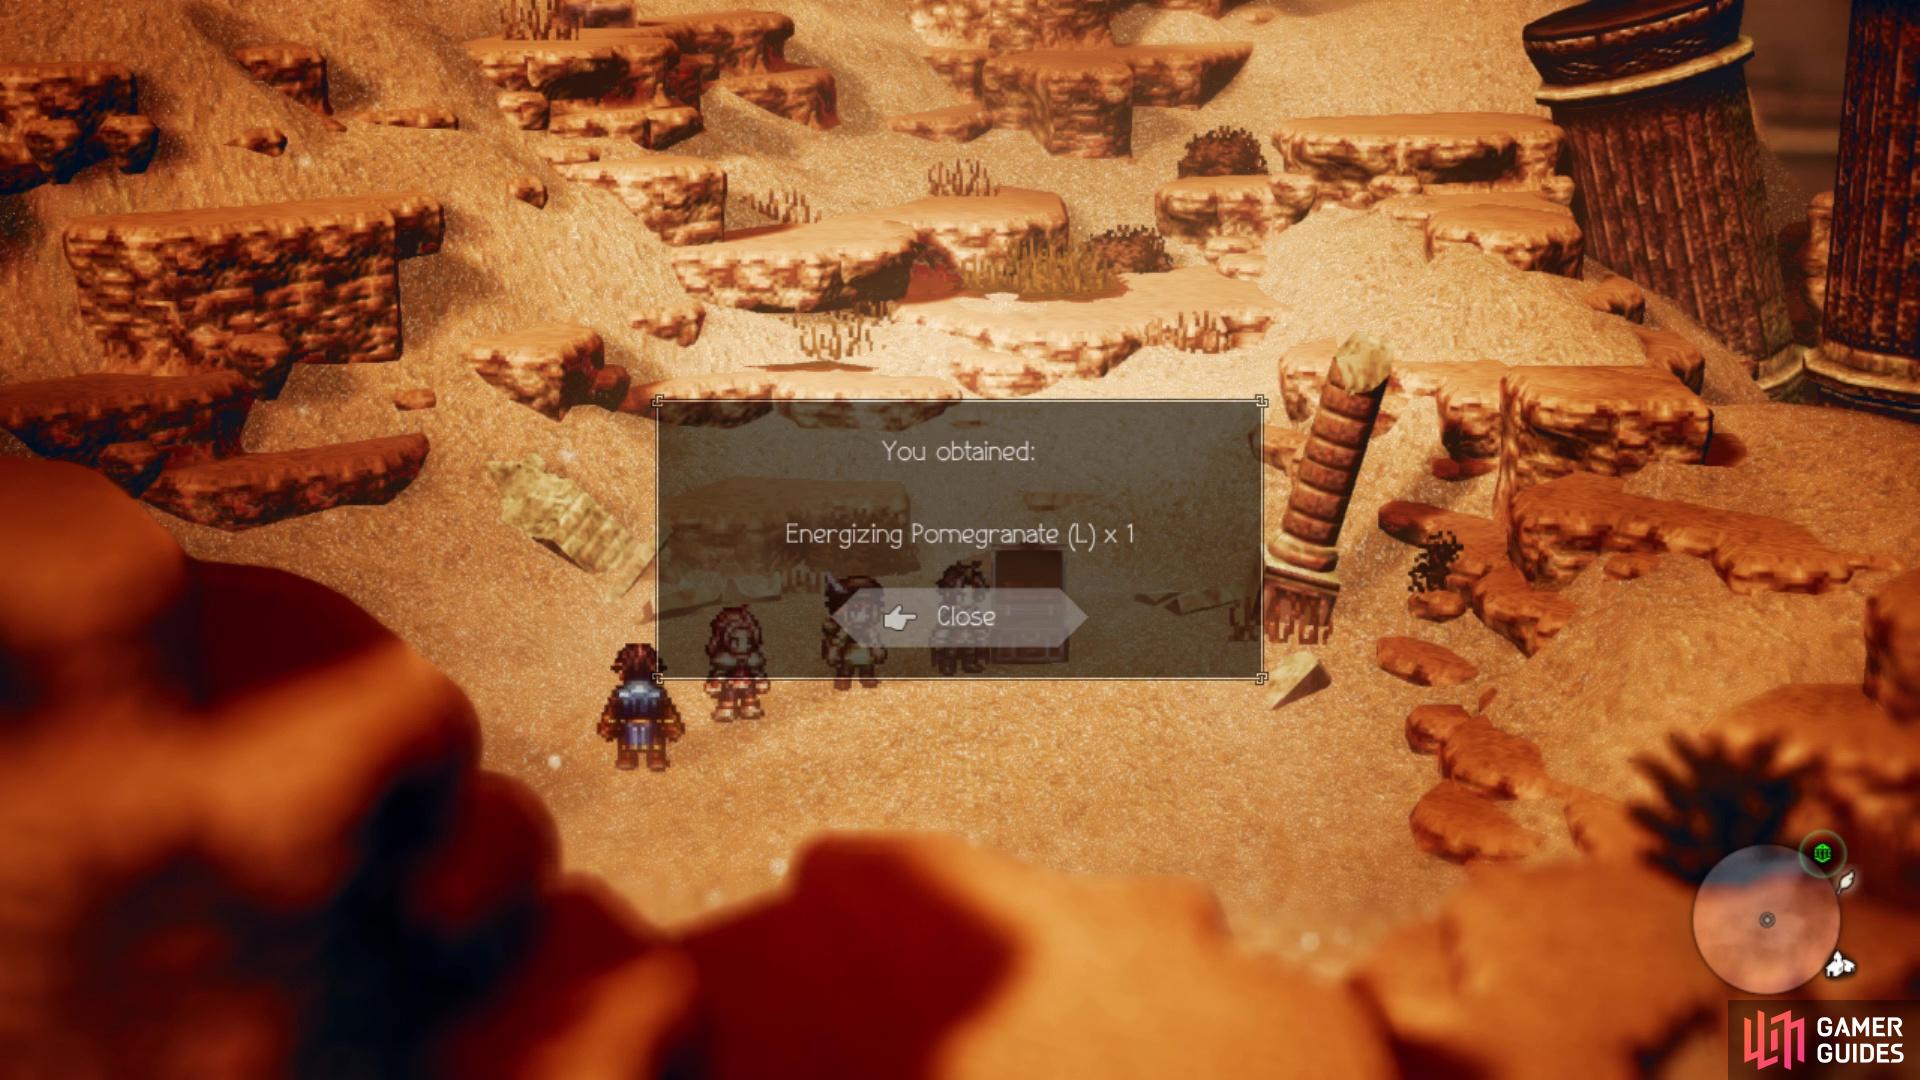
You’ll already be inside the Grimsand Ruins when you regain control, but there are a few things in the area outside of the ruins. Exit and head east of the entrance to find a chest with a Fire Soulstone (L). Go straight south from the stone arch to find another chest (Silver-filled Pouch), then the last chest in the area will be in the northwest corner (Energizing Pomegranate L). With all of those out of the way, it’s time to return to the ruins.
There are a few chests in Grimsand Road for you to loot, so it’s a good idea to back out of the ruins to get them
Once you’re back inside the ruins, follow the path ahead of you, down some stairs and descend the next set of stairs right next to them to find a chest at the end (30,000 Leaves). Back up the stairs, head west a little bit and enter the first room you see to find another chest (Healing Grape M). To the southwest of that doorway will be some stairs, leading to a lower area. Down here, head south to spot more stairs, which will bring you to a new area. In this little area, you will come to a purple chest, which contains a whopping 50,000 Leaves.
Return to the previous area and you should be able to spy a chest hidden in the alcove to your north, underneath the top area (Energizing Pomegranate M). Continue to the south, bypassing the first doorway here and enter the second room, where a chest will be slightly hidden in the upper left corner (Calming Stone). Ignore the way to the north for now and move straight south from that opening to find some stairs that lead to another separate area. Again, all you’ll get here is a lone chest containing a Gleaming Amulet. Double back to the previous area and take that northern exit now.
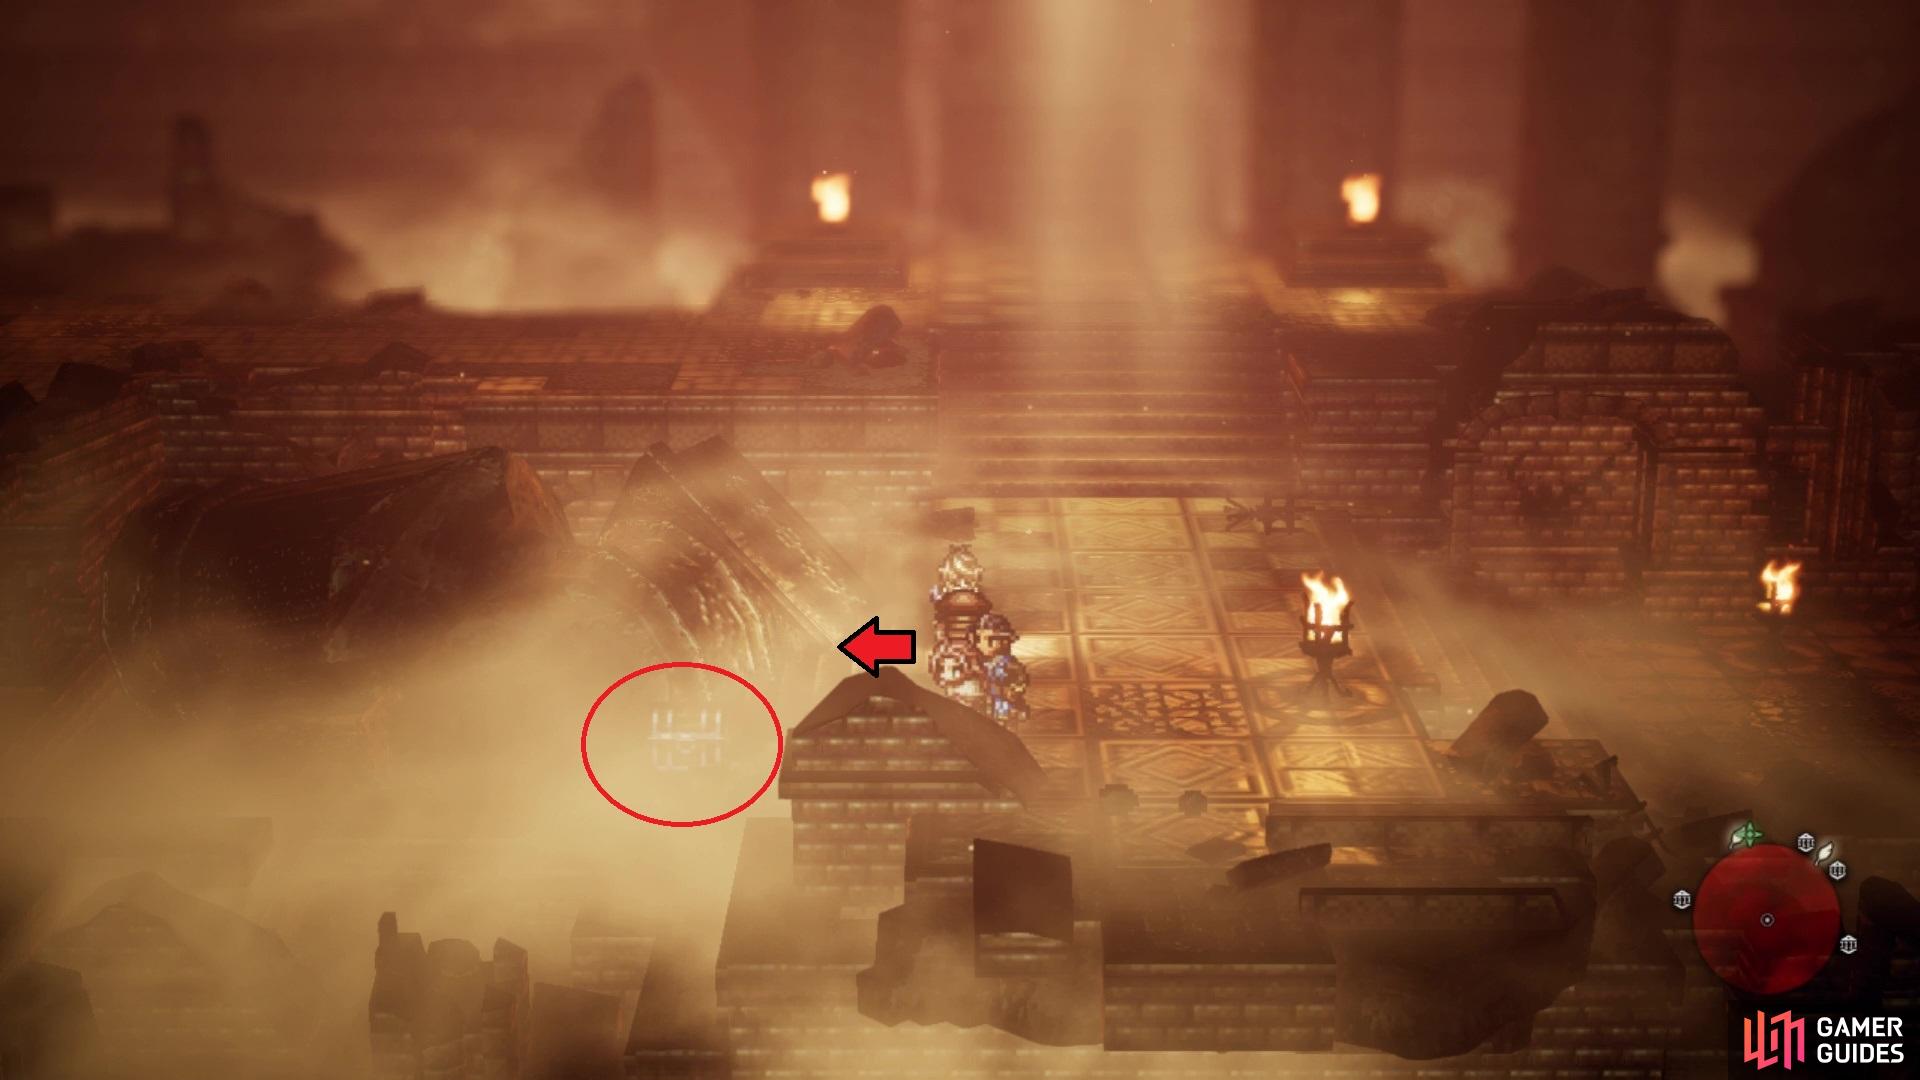
In here, go until you encounter a fork in the road, venturing north until you arrive in a new area that contains a purple chest (Unseen Saber). Back at the split, head south until you come to a save point. There’s nothing to your east, so just go south until you can start heading west. Keep going in that direction, stopping when you see a path to your north. If you look closely to the west, in the fog, there will be a chest that can be a little difficult to see. Wiggle around on the left side here for a little bit and you will find the opening to reach the chest (Healing Grape M).
It’s a little hard to see, but there is a chest in the fog
A little north of that chest, you should see another path going west, which has another chest waiting for you (Inspiriting Plum M). To the left of that chest is a hidden opening, which goes up and to the right for a chest that holds an Enlightening Necklace. Return to the main area and finally venture north, where you should see a statue right in front of you. Above this status will be a chest that contains a Force Shield and to your left is another statue, with another chest next to it (Energizing Pomegranate M).
Continue north to another statue, then west and south to some stairs leading to another chest in the corner not too far from the Pomegranate one (Healing Grape Bunch). Straight west from there will be another chest at the dead end, near another statue (Refreshing Jam). Just north of the Healing Grape chest, there are some stairs slightly obscured heading to the east, kind of underground. Follow this short path to a chest that contains an Inspiriting Plum Basket. Double back to the statue near the save point and not too far east will be another chest near the sand (Inspiriting Plum M). Heal up, save your game and enter the opening to the north to get ready for the boss battle.
BOSS - Redeye
Redeye can be an annoying boss for a few reasons, none of which revolve around his petrification curse. At the beginning of the fight, you will see “an ill foreboding pervade the battlefield,” which essentially means that Redeye’s physical attacks have a chance of inflicting Blindness. In this includes everything, except for two specific attacks, which will be mentioned shortly. Redeye is purely physical, with attack just as Sweep and Rampage, which deals medium-to-heavy damage to the whole party, respectively. It also has Rend, a single target attack that does pretty good damage.
The two special physical attacks are Bestial Roar and Unearthly Roar, both of which can inflict Unconscious, and both hit the entire party. This can be pretty dangerous and you should have a Conscious Stone accessory, so equip it to someone to reduce the chance that your entire party can become Unconscious. That is pretty much the entire skill catalog for Redeye, barring a few exceptions. Being entirely physical, you can mitigate a good amount of damage by having both a Merchant and Thief in your party, as Hired Help’s Mercenaries and Shackle Foe will make the battle much more surviveable.
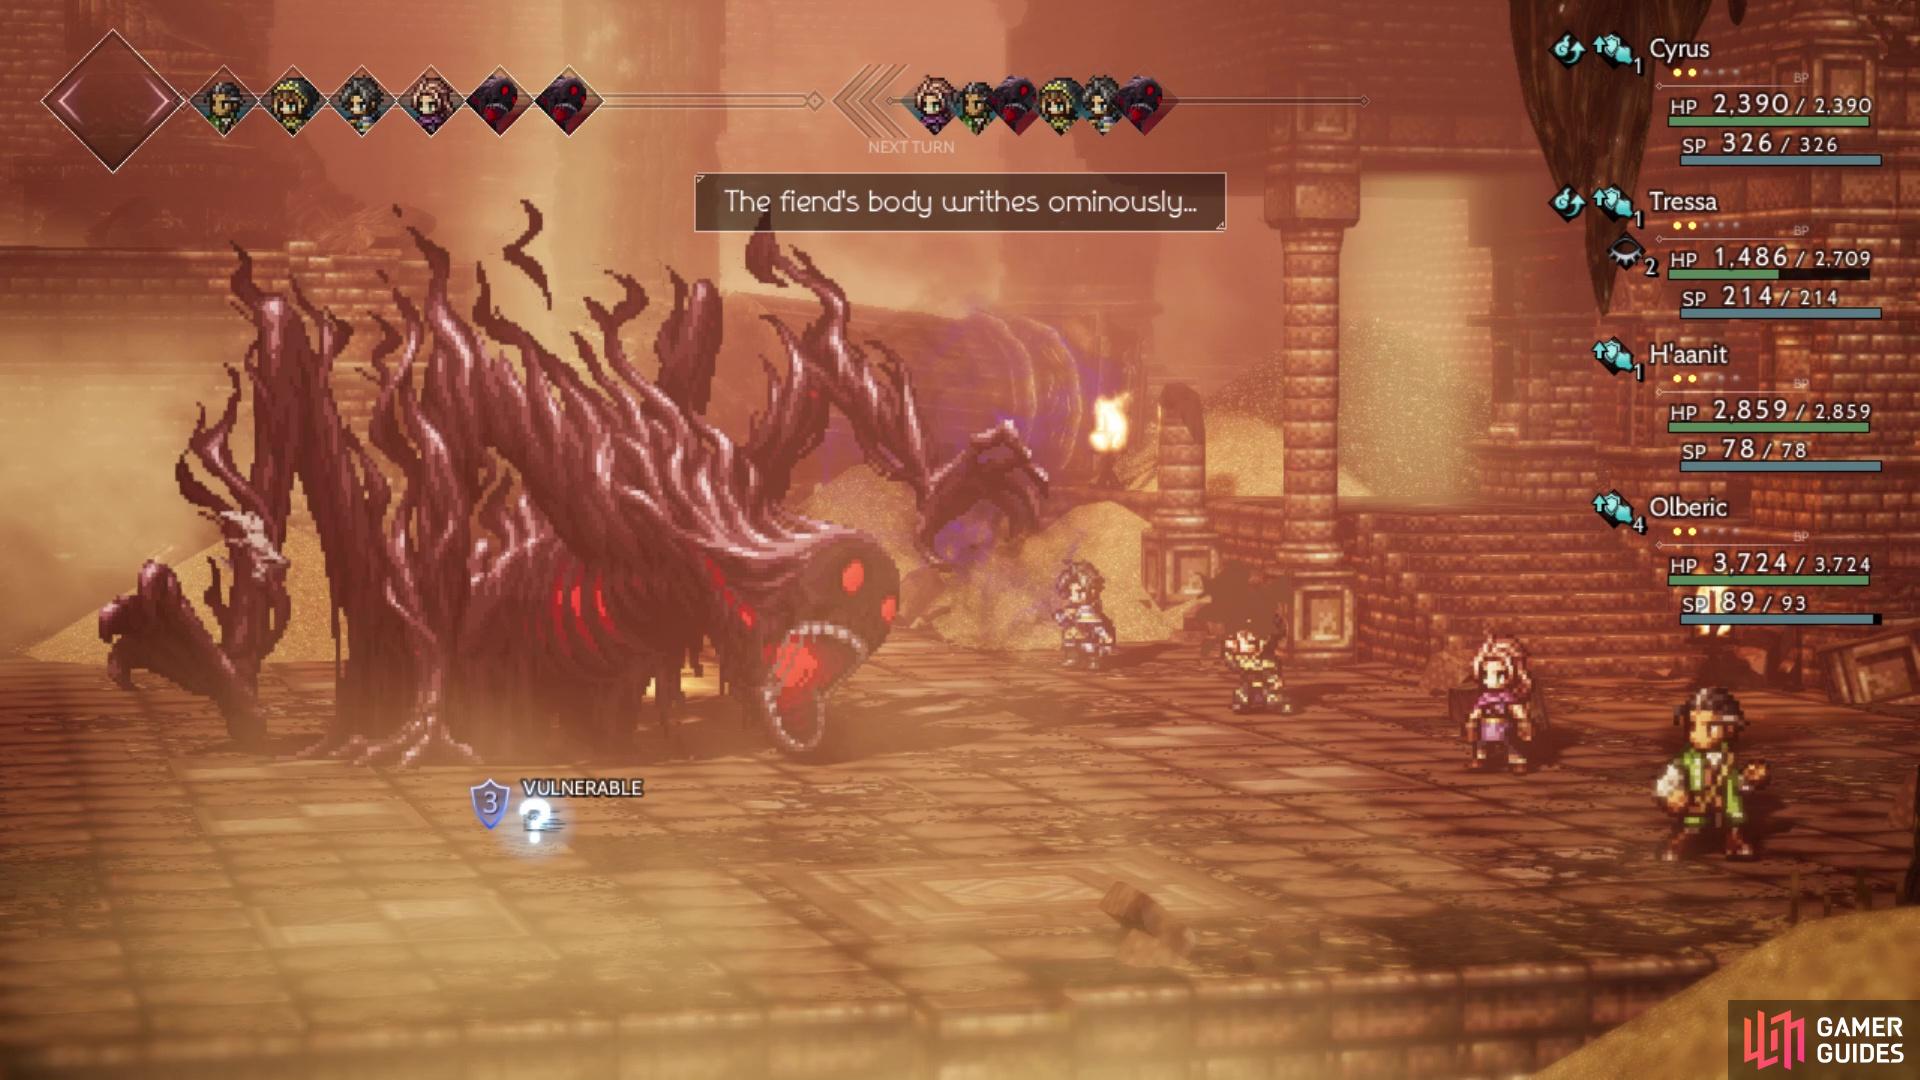
Redeye is initially weak to daggers, bows, staves, fire and light, but it will change its weaknesses at the beginning of each turn. There’s a total of four different weakness sets available for Redeye, including the beginning one, so you’ll need to adjust to each one as it changes them. The following are the weaknesses for Redeye.
– Daggers, Bows, Staves, Fire, Light
– Daggers, Axes, Staves, Fire, Light
– Swords, Bows, Fire, Lightning, Light
– Spears, Axes, Lightning, Wind, Light
(1 of 2) Redeye will change his weaknesses at the beginning of each turn
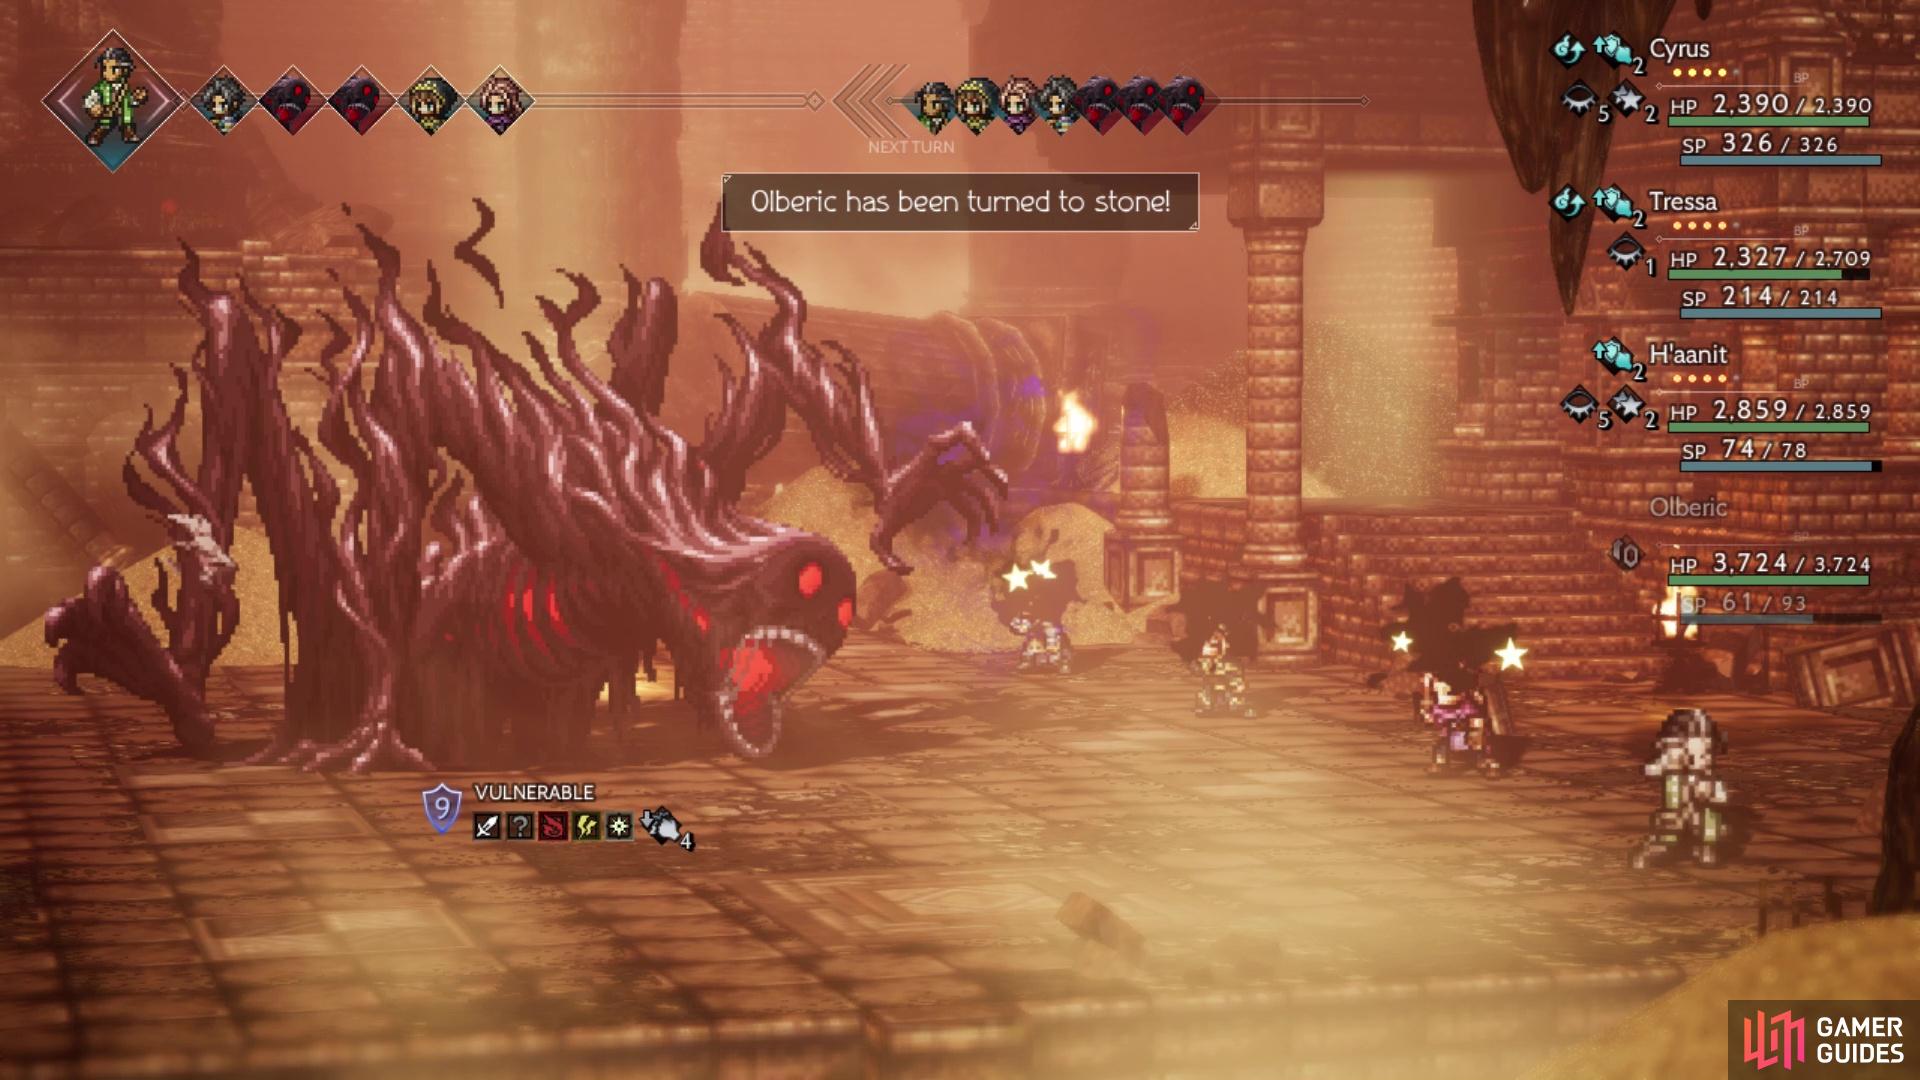
Redeye will change his weaknesses at the beginning of each turn (left), Make sure you quickly heal whomever is turned to stone (right)
As you can see, Light is shared between all sets, so a Cleric is extremely helpful, although they will likely be on healing duty more often than not. Fire is shared by three of the sets, making a Scholar a great addition, with Lightning shared by two. Bows and Spears are always good to have, considering the multi-hit skills, assuming you have a Hunter (Bow) or Warrior (Spear). A Thief will have Steal HP/SP to hit twice with daggers, but the remaining physical weapons will only be able to hit once. Redeye will have five shields at the start, then gain two more each time it recovers from a break (up to a max of nine).
At half health, Redeye will make it so it has three actions per turn, plus it will upgrade moves and introduce two new ones. Sweep will become Rampage, Bestial Roar will become Unearthly Roar, and you will start seeing Unholy Elixir and Evil Eye. Unholy Elixir is an odd ability, as all it does it heal a single character for 100 HP. Evil Eye is the skill you want to keep an eye out for, as it is the signature move for Redeye. When used, it will petrify a single character, who will be unable to perform any actions.
However, they can still take damage, as well as be healed. Should a petrified character’s HP reach zero, then they will be permanently removed from battle. That means you won’t be able to bring them back at all, so you will be down a character and that can be a huge detriment. The only way to cure a petrified character is to use an Herb-of-Grace on them. Luckily, Redeye doesn’t use Evil Eye too often, so you likely won’t have more than a single character petrified at a time, unless you completely ignore them. Mitigating the damage dealt by physical attacks and keeping the status ailments under control are the two keys to winning this fight.
With Redeye finally defeated, the curse is lifted on the soldiers in the area, and everyone returns to Marsalim. Before she can celebrate, H’aanit runs off to see if the curse was lifted on her Master. She eventually finds him doing just well, which will bring an end to her final chapter. As with the completion of other final chapters, you will find one new Side Story from H’aanit’s.
 Sign up
No Comments