Doryani is the final boss of Act 3 in Path of Exile 2. You’ll encounter Doryani in The Black Chambers during the Legacy of the Vaal main campaign mission, and defeating him will unlock the Cruel difficulty. Read on to find out where you can find him, and how to defeat him.
Doryani is the final boss of Act 3.
Table of Contents
If you want to jump to a specific section, click on the links below.
| Quickjump |
|---|
| Doryani Location |
| Attacks and Moves |
| Boss Strategy |
Doryani Location
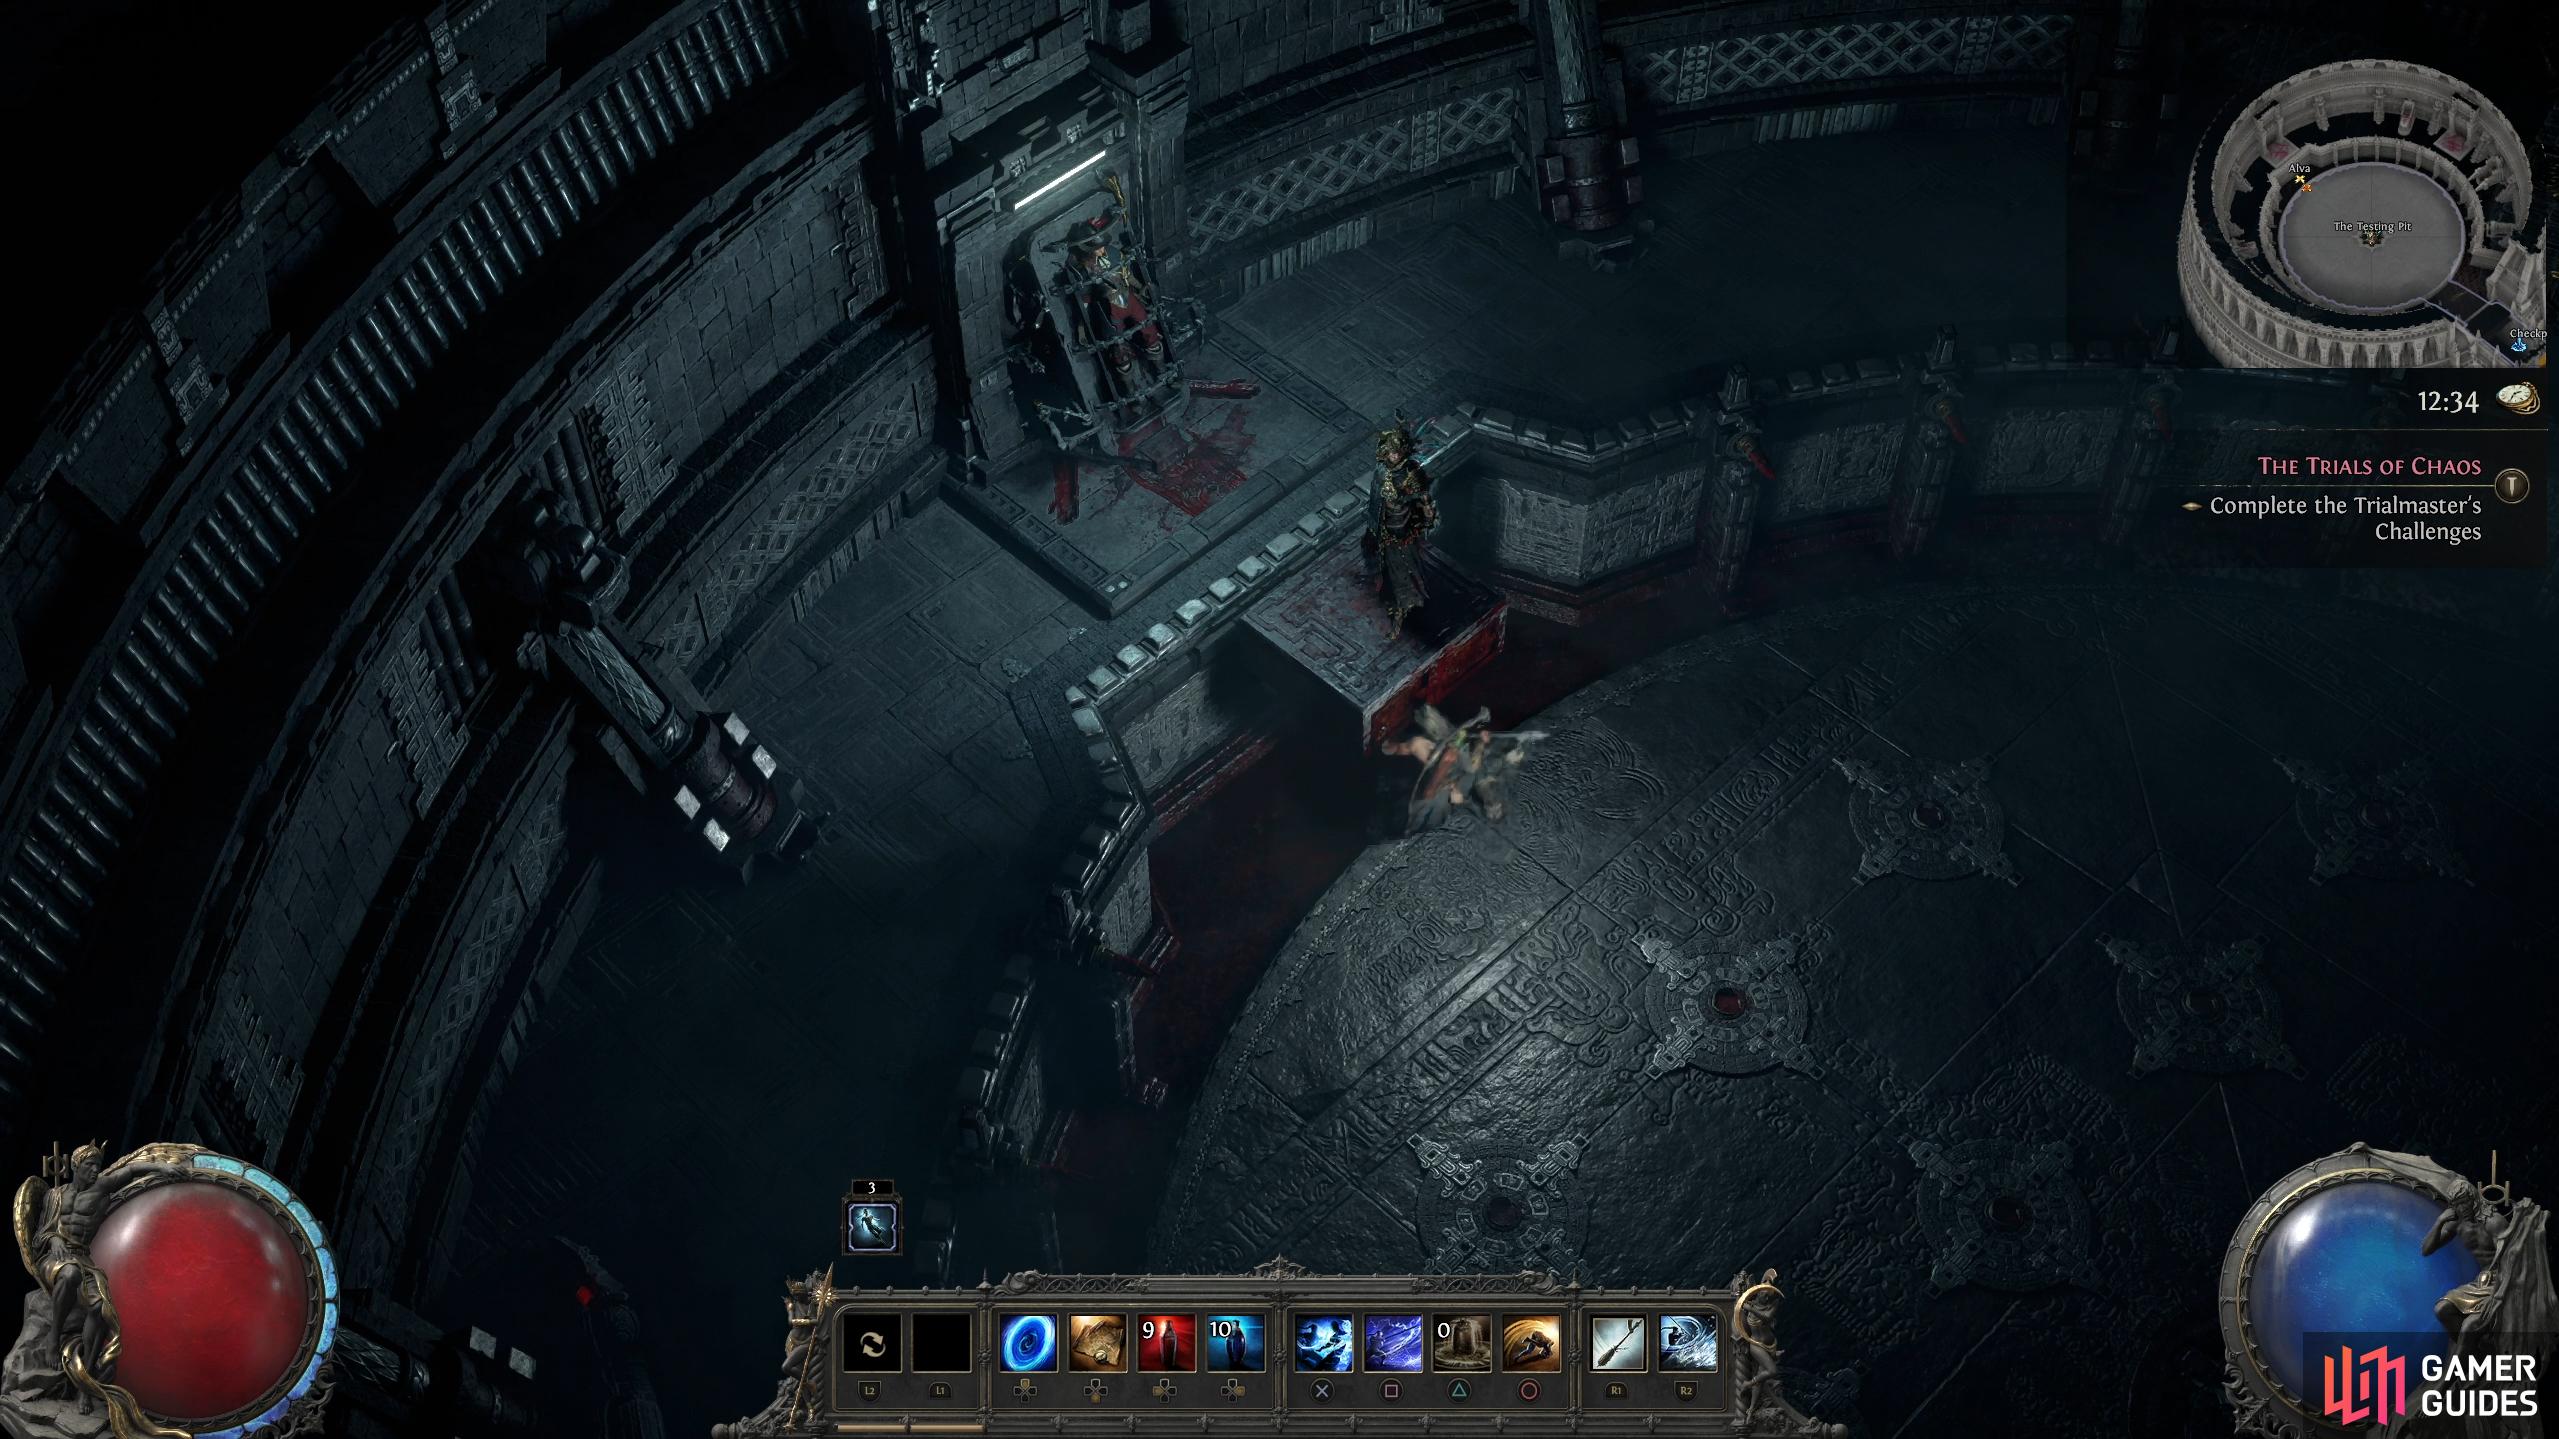
As Doryani is the final boss of Act 3, you’ll need to progress through the story until you reach The Black Chambers. Once you’ve reached this location, make your way through the dungeon until you reach the final checkpoint. Walk to the back of the arena to begin a short scene with Alva and Doryani before the boss battle begins.
Doryani Attacks
Doryani is a two-phase boss fight and each phase is dramatically different. Let’s take a look at his attacks for both phases.
Phase 1 Attacks
These are all the attacks to expect from Doryani during the first phase.
Flamethrower
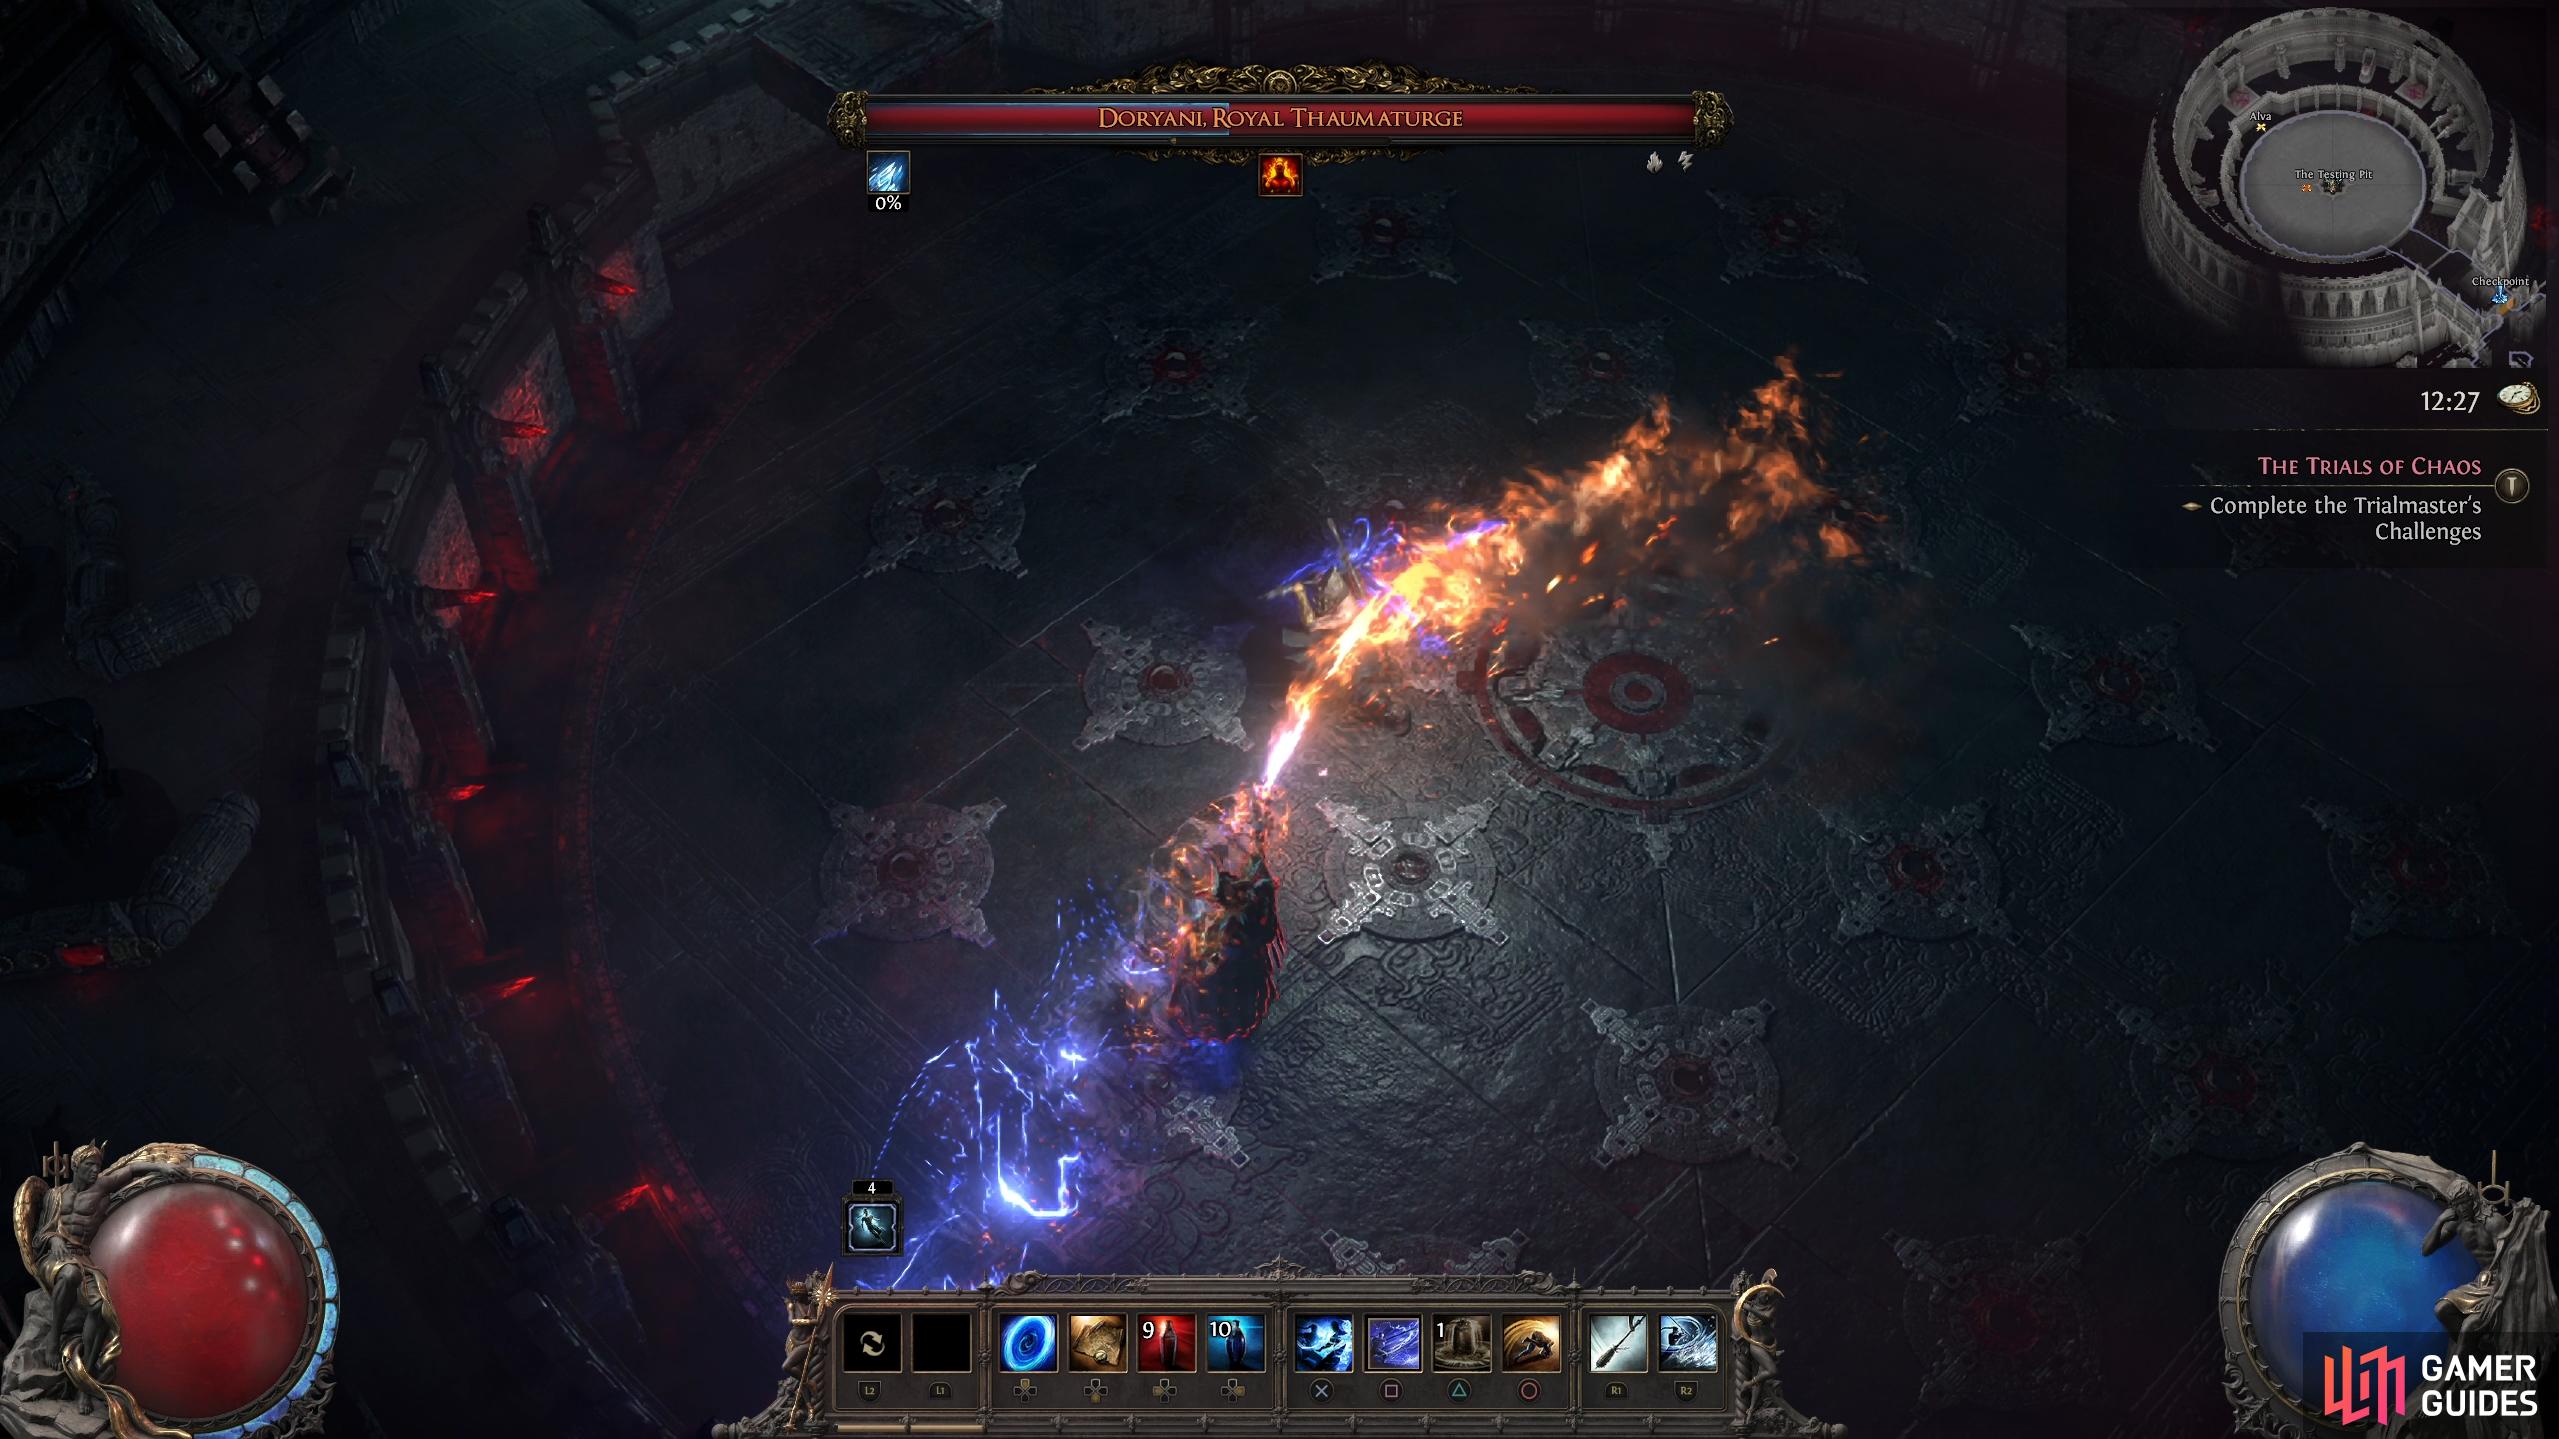
Doryani will spray fire from his arm side-to-side. This attack is a close to mid-range attack. Either roll through the attack or get some distance from Doryani to avoid the attack completely.
(1 of 2) During the first phase, Doryani will use a flamethrower attack that he waves from side to side.
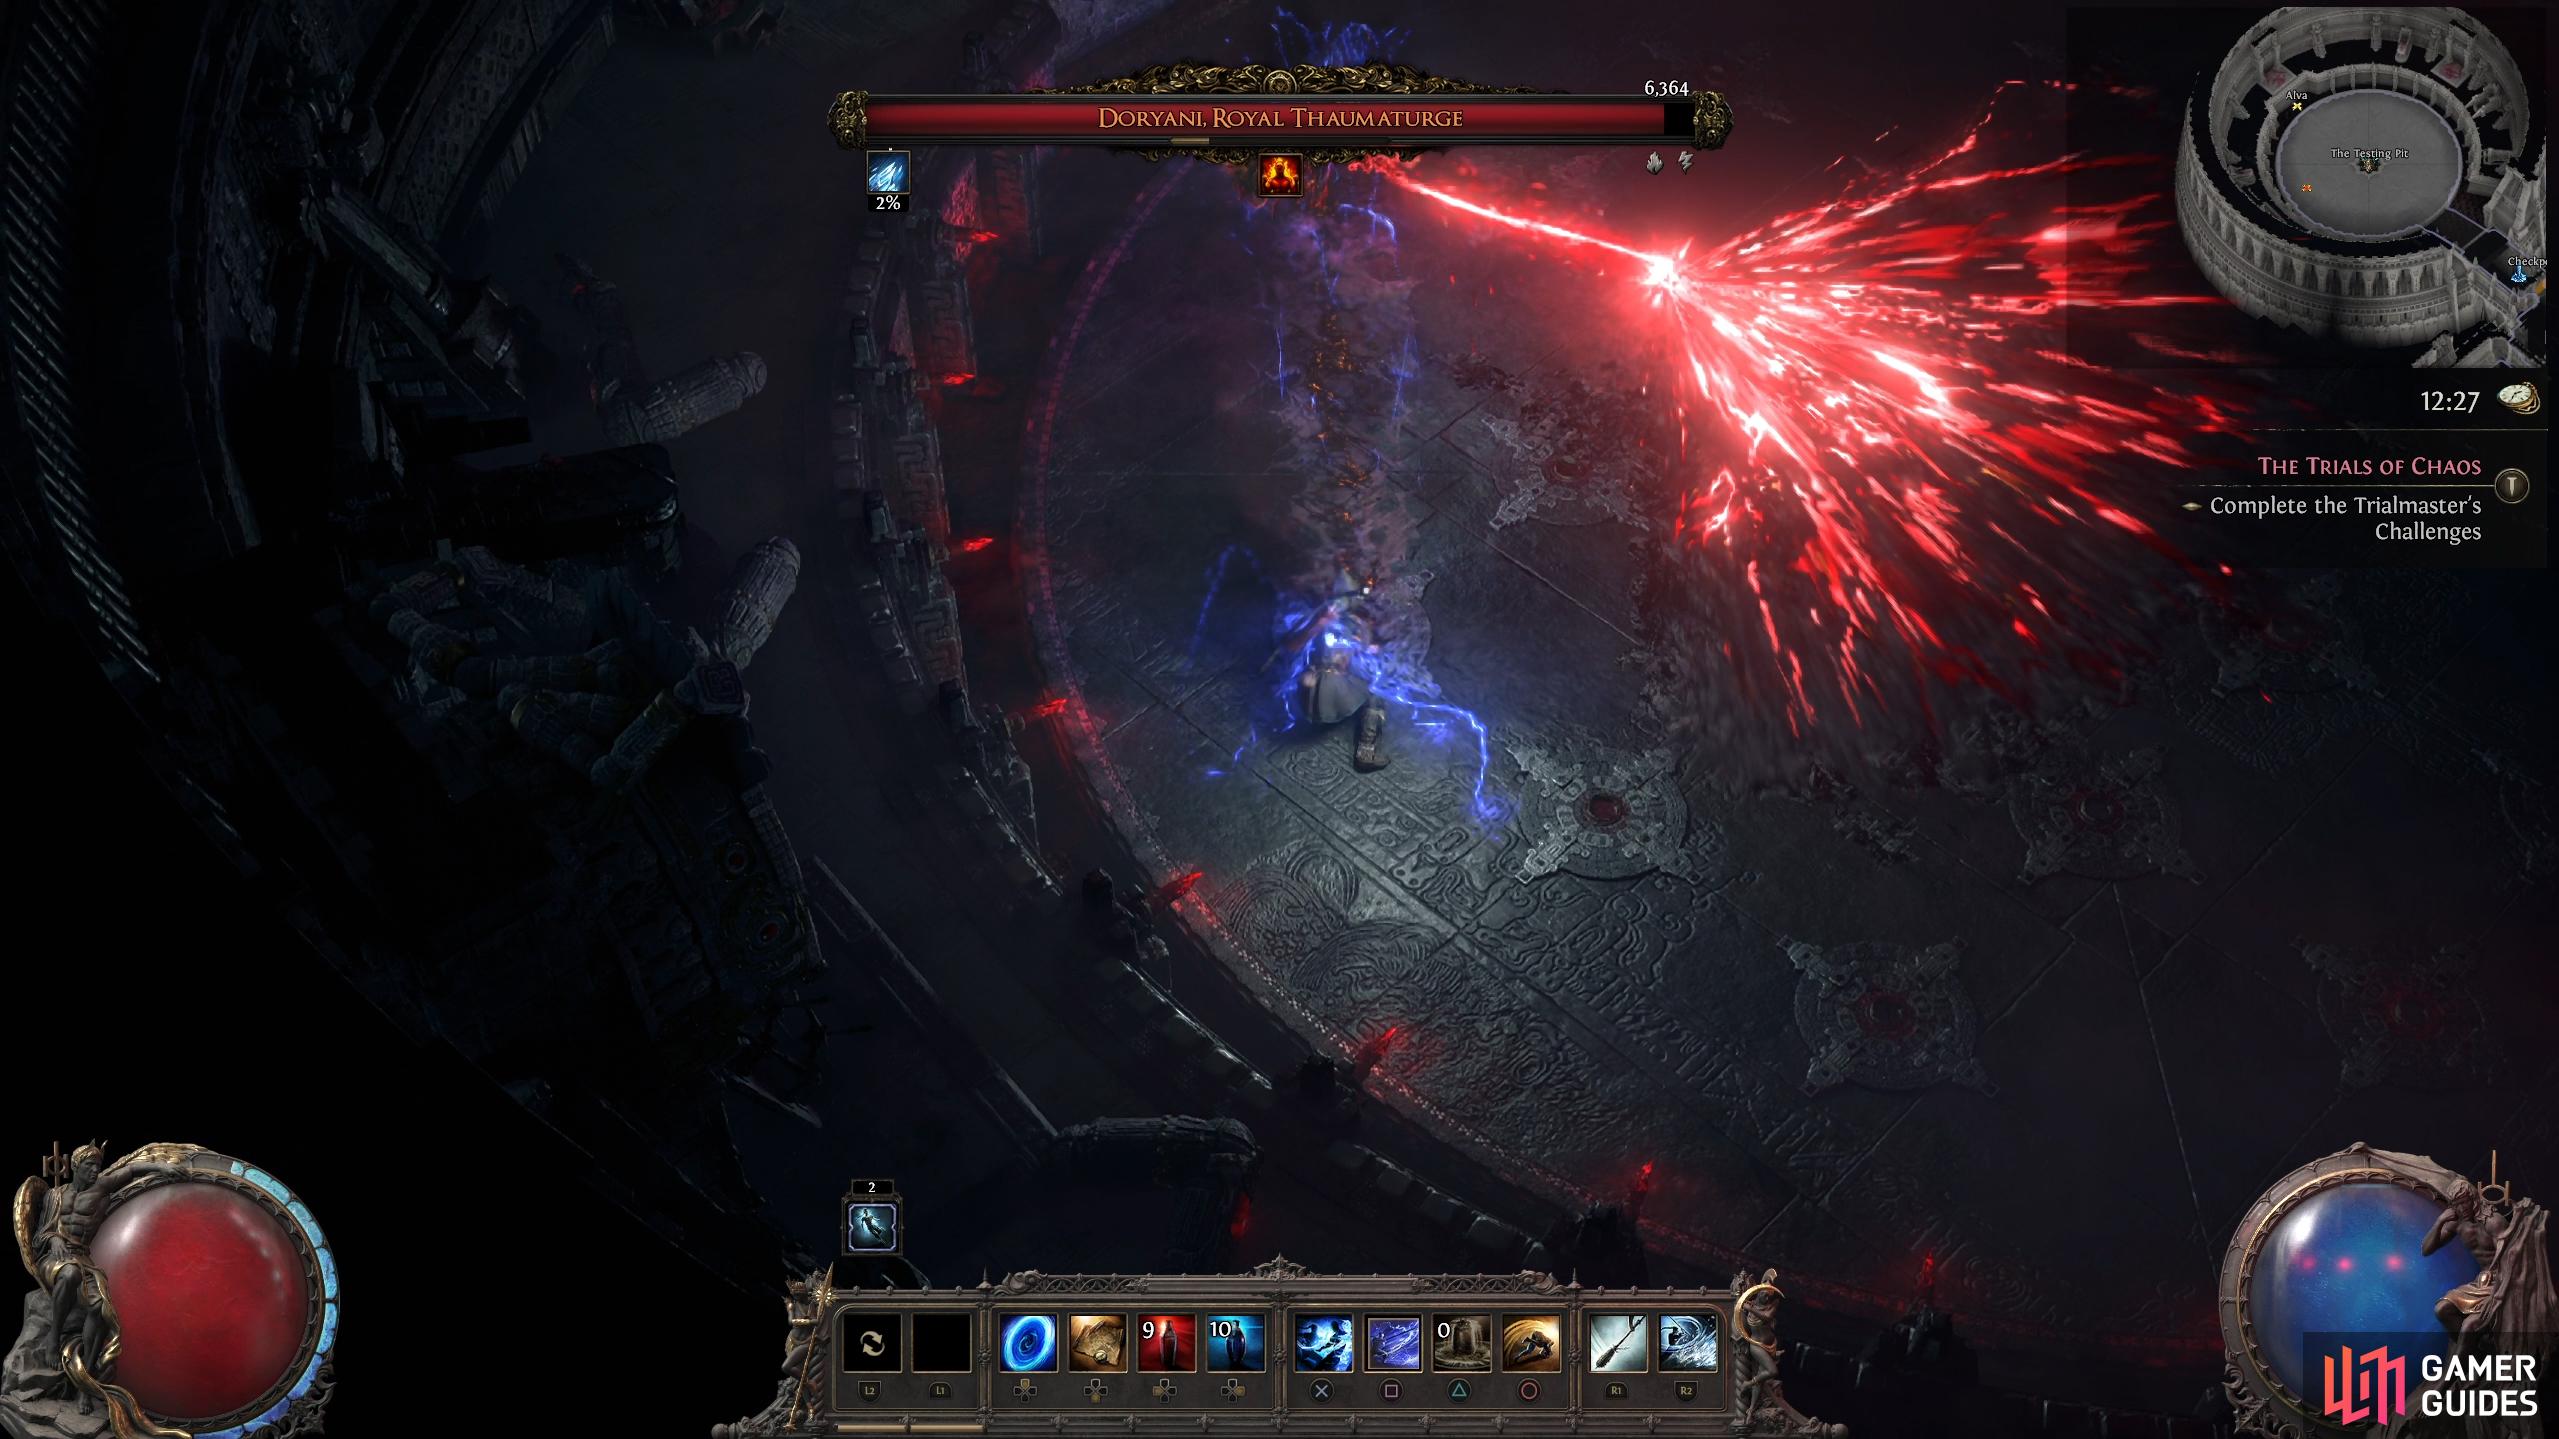
During the first phase, Doryani will use a flamethrower attack that he waves from side to side. (left), Spread Beam is one of his most damaging attacks during this phase, so make sure you get to the side to avoid it. (right)
Spread Beam
This attack is preceded by Doryani shouting “The power of the Vaal”. He will reposition before unleashing a red beam in front of him. Once the attack has fully charged, the tip of the beam will spread out in a wide area. Whenever you hear him say the above line, either rush close to him and stand to the side, or get as far away as possible. The former will give you some time to attack for free while the attack is going off.
Fireball
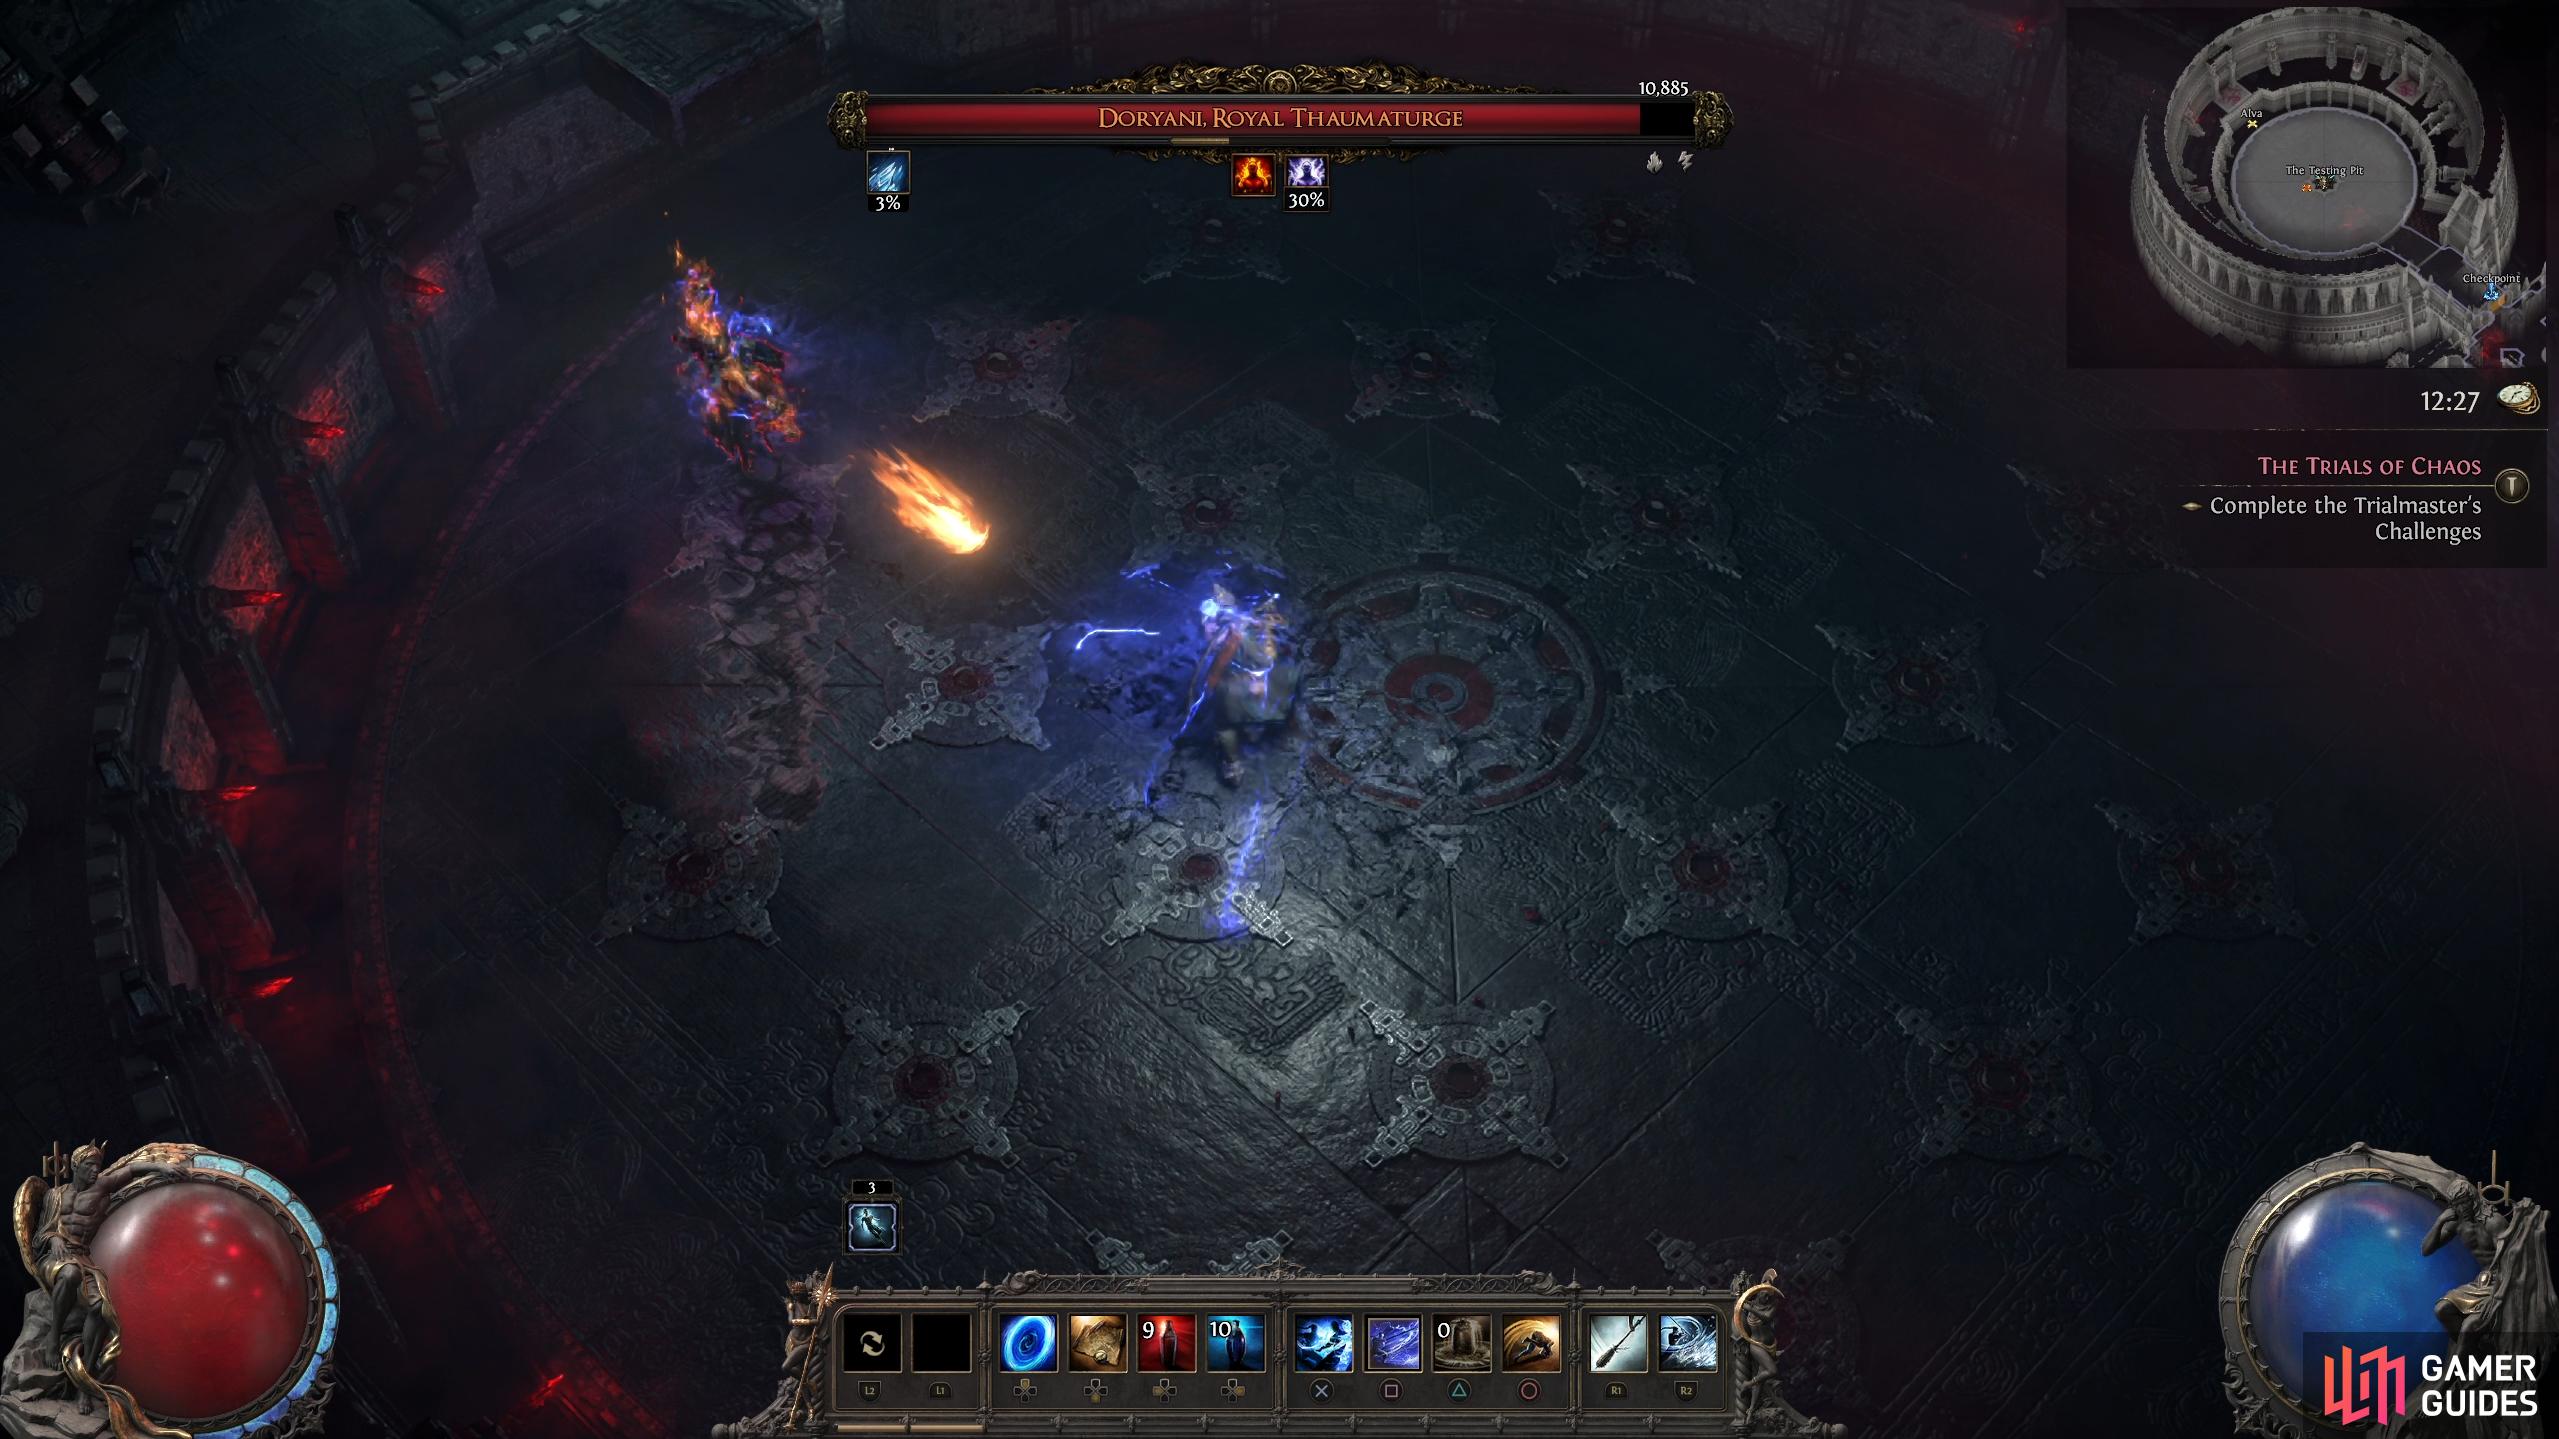
Doryani will fire out a single fireball at your location. Simple move to the side of it to avoid the attack. Alternatively, you can roll through the fireball.
(1 of 2) From time to time, Doryani will hurl a fireball at you.
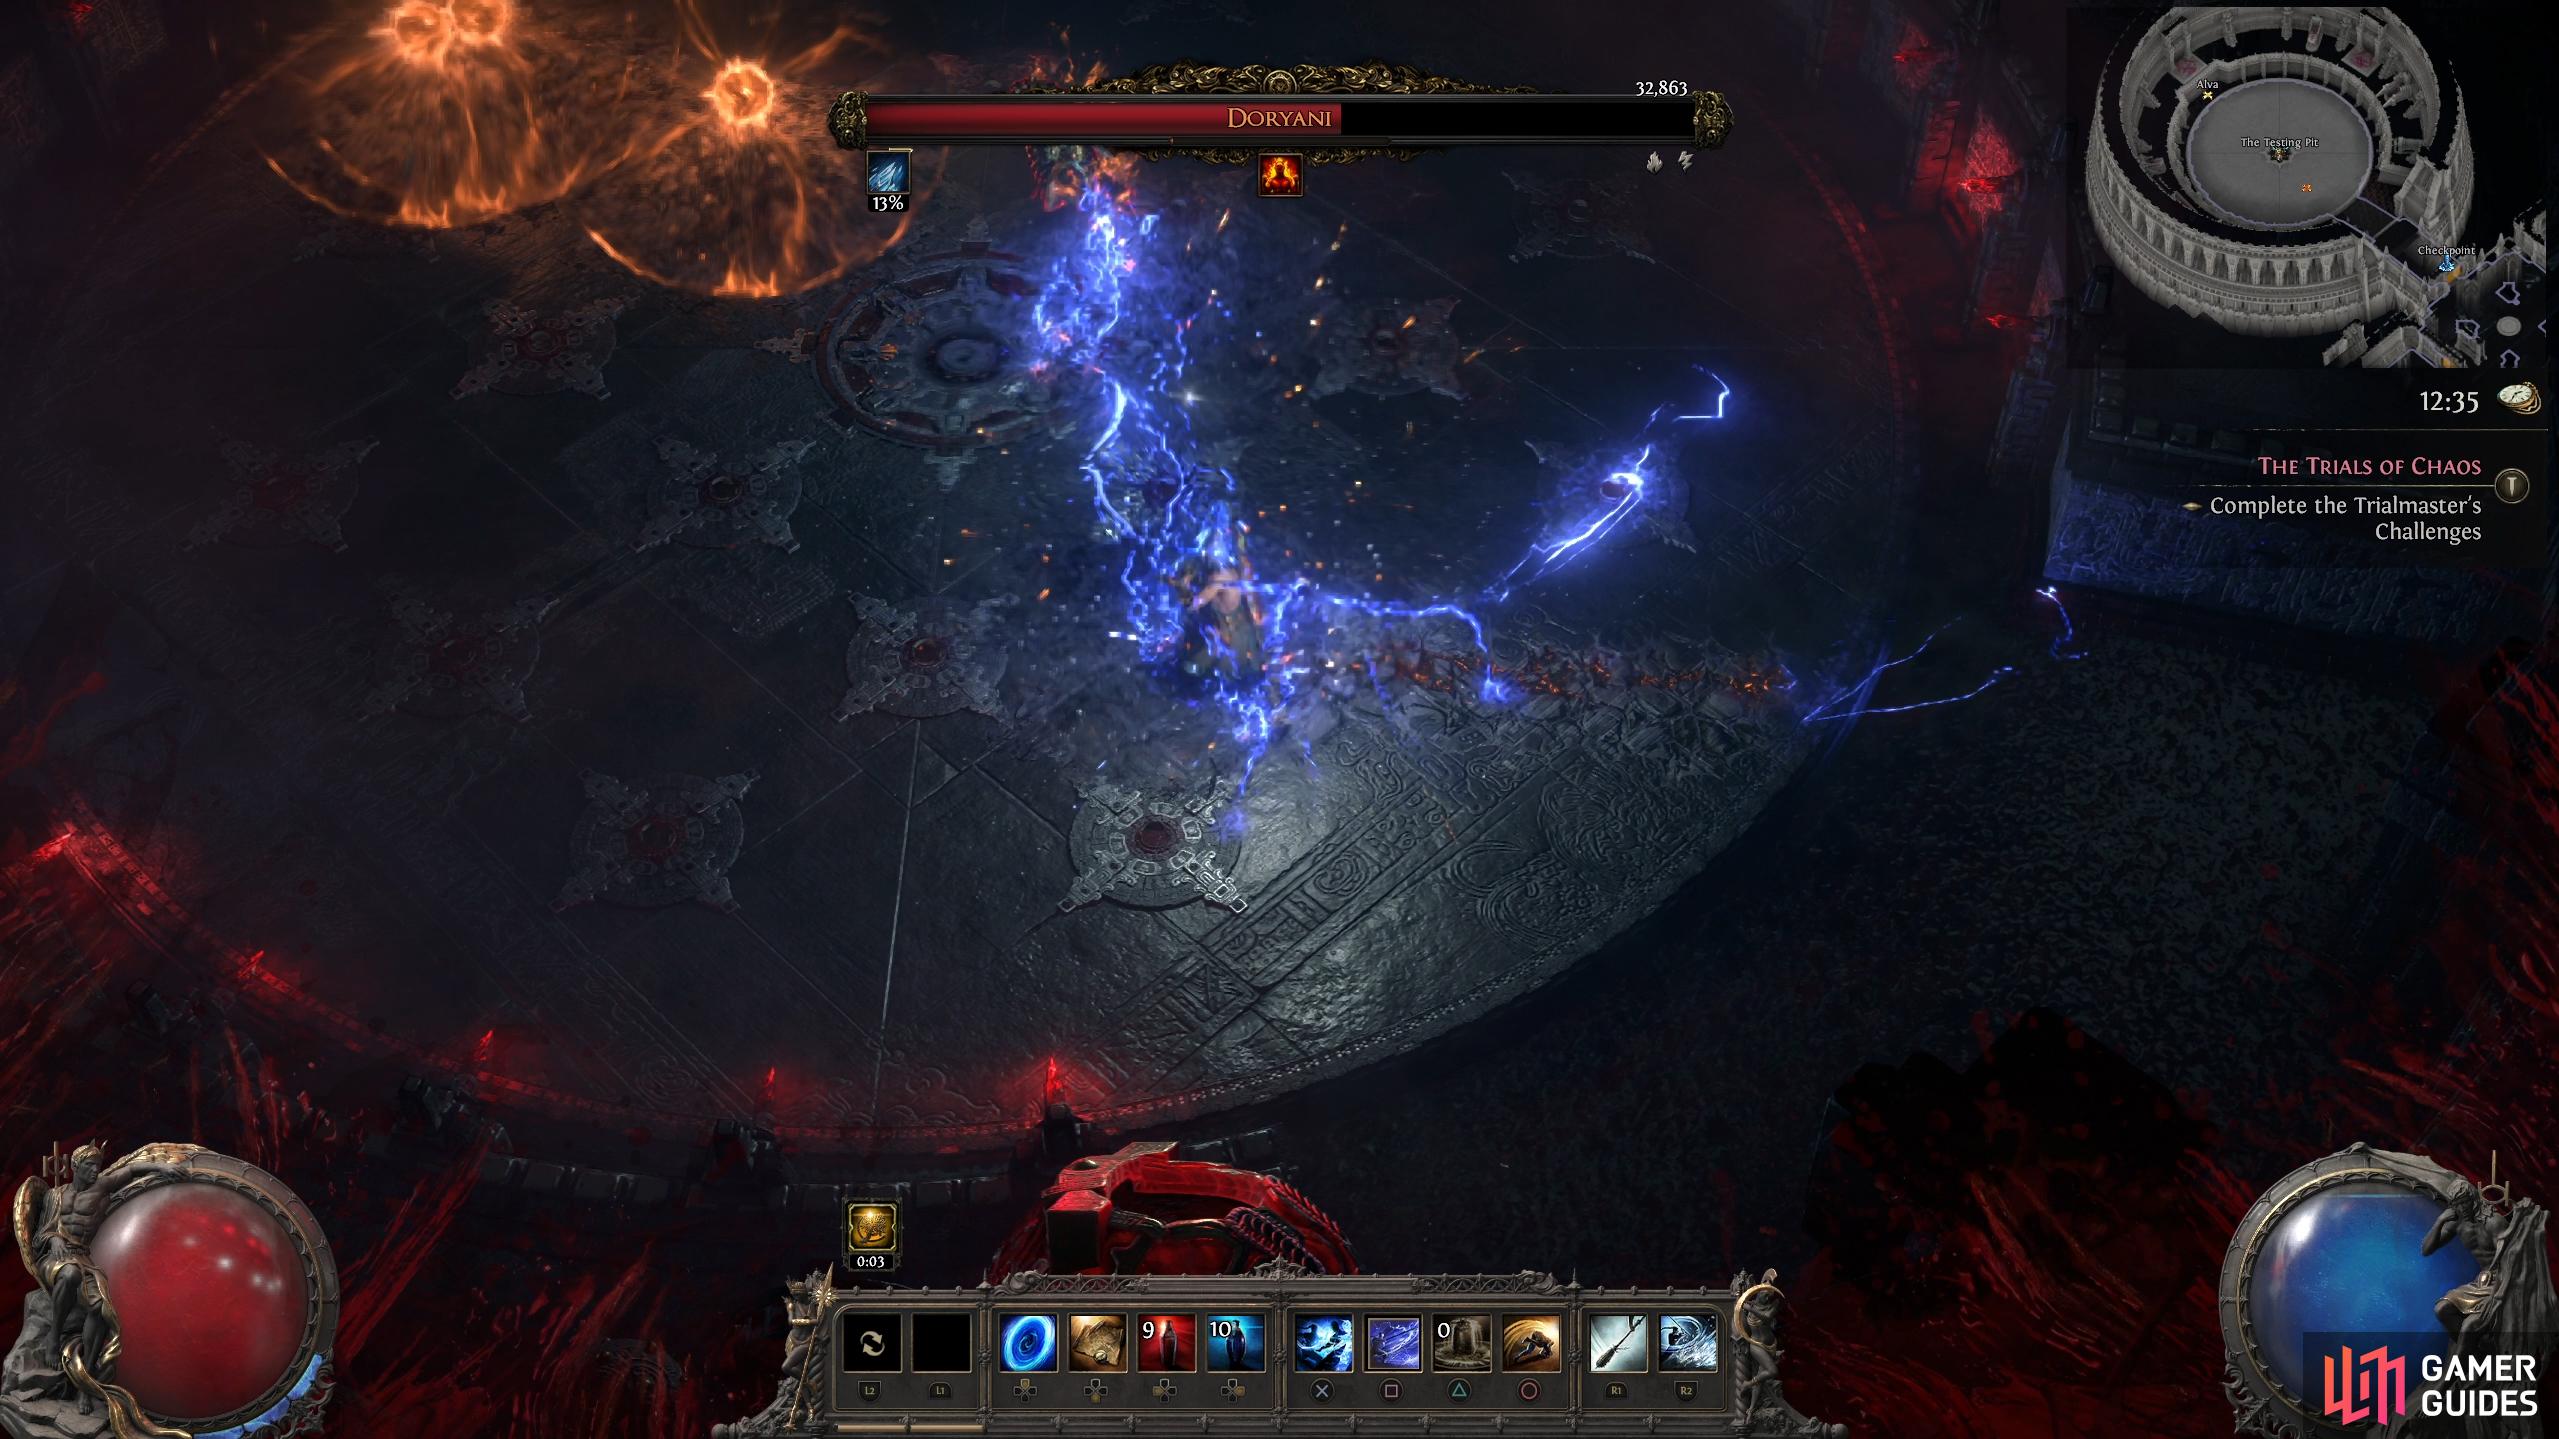
From time to time, Doryani will hurl a fireball at you. (left), Make sure you get away from Doryani when he uses his hand of thunder attack. (right)
Hand of Thunder
Doryani will channel lightning from his hands that track your location. Move in a circle around him and roll whenever the lightning gets close. Alternatively, you can just run to the other side of the arena to avoid the attack completely.
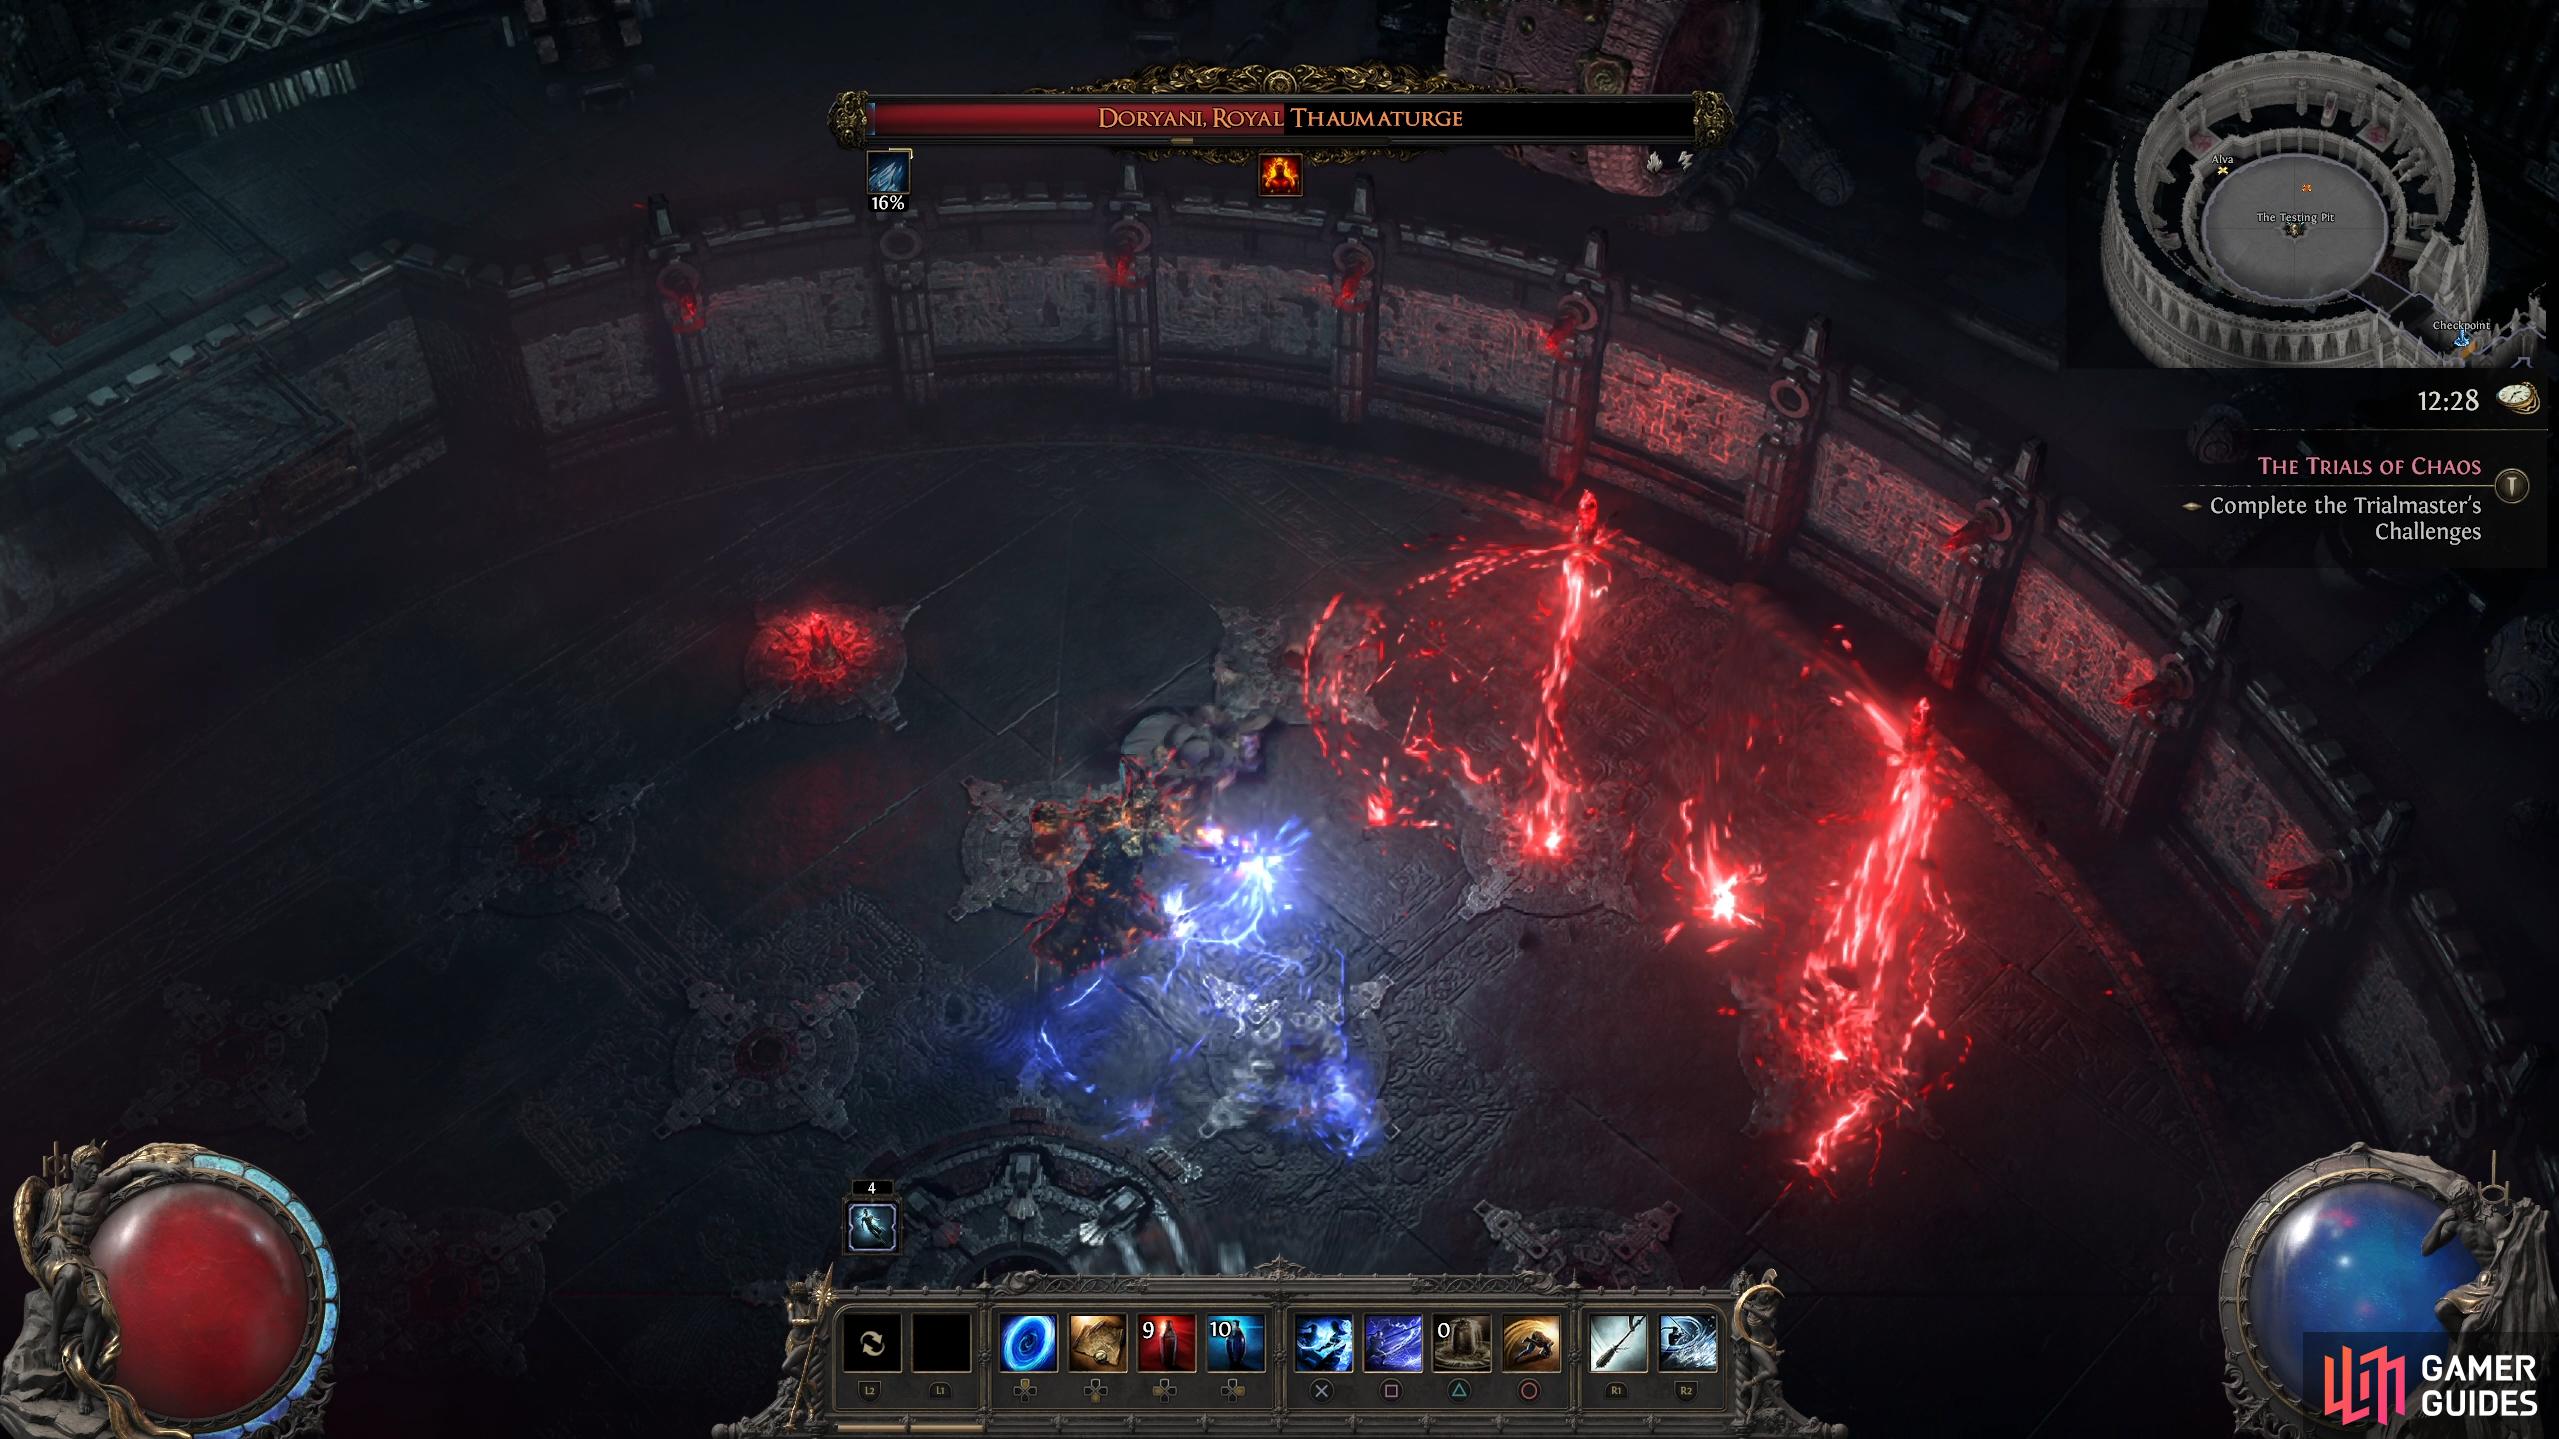
Fire Orbs
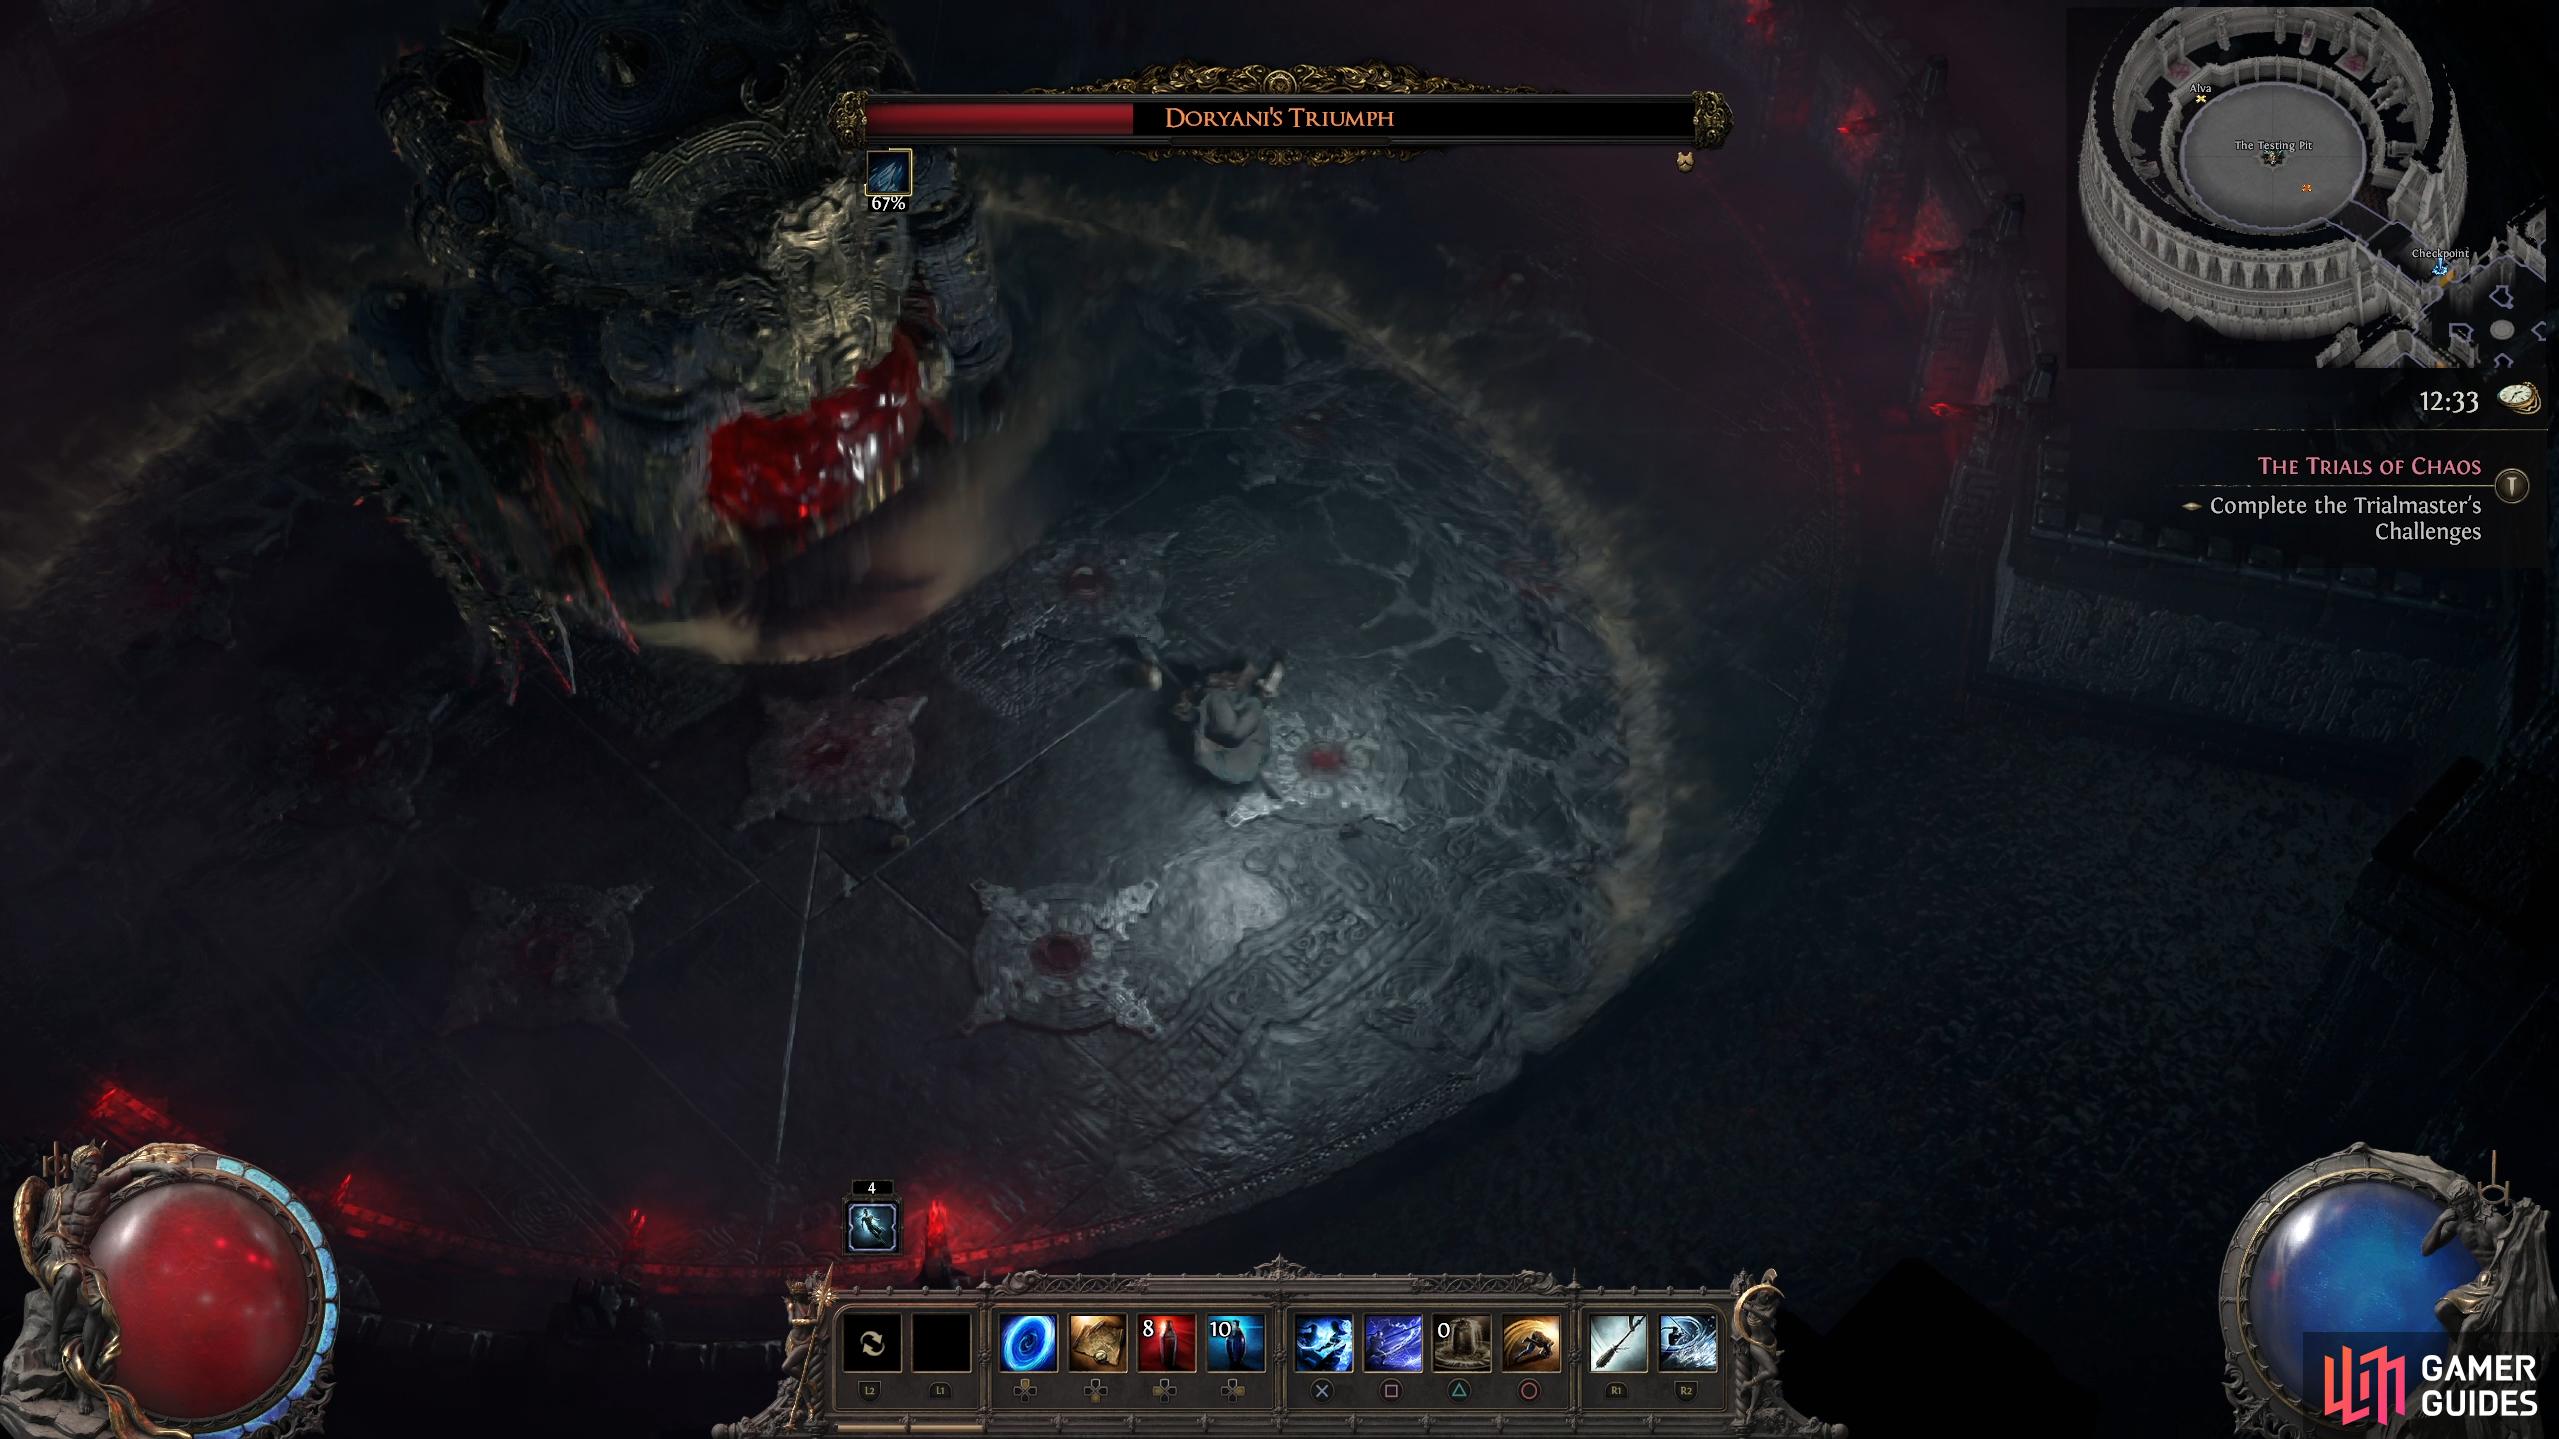
Doryani will raise the central pillar while casting three fire orbs next to each other on the floor. These orbs will slowly move around the edge of the arena before they expand and explode. The explosion will occur when Doryani casts another fire orb that immediately expands and explodes, triggering the rest of them. This is an attack that you just need to avoid by standing the opposite side of them. If they get close to you, reposition.
(1 of 2) Doyani will place fire orbs that have a circle around them.
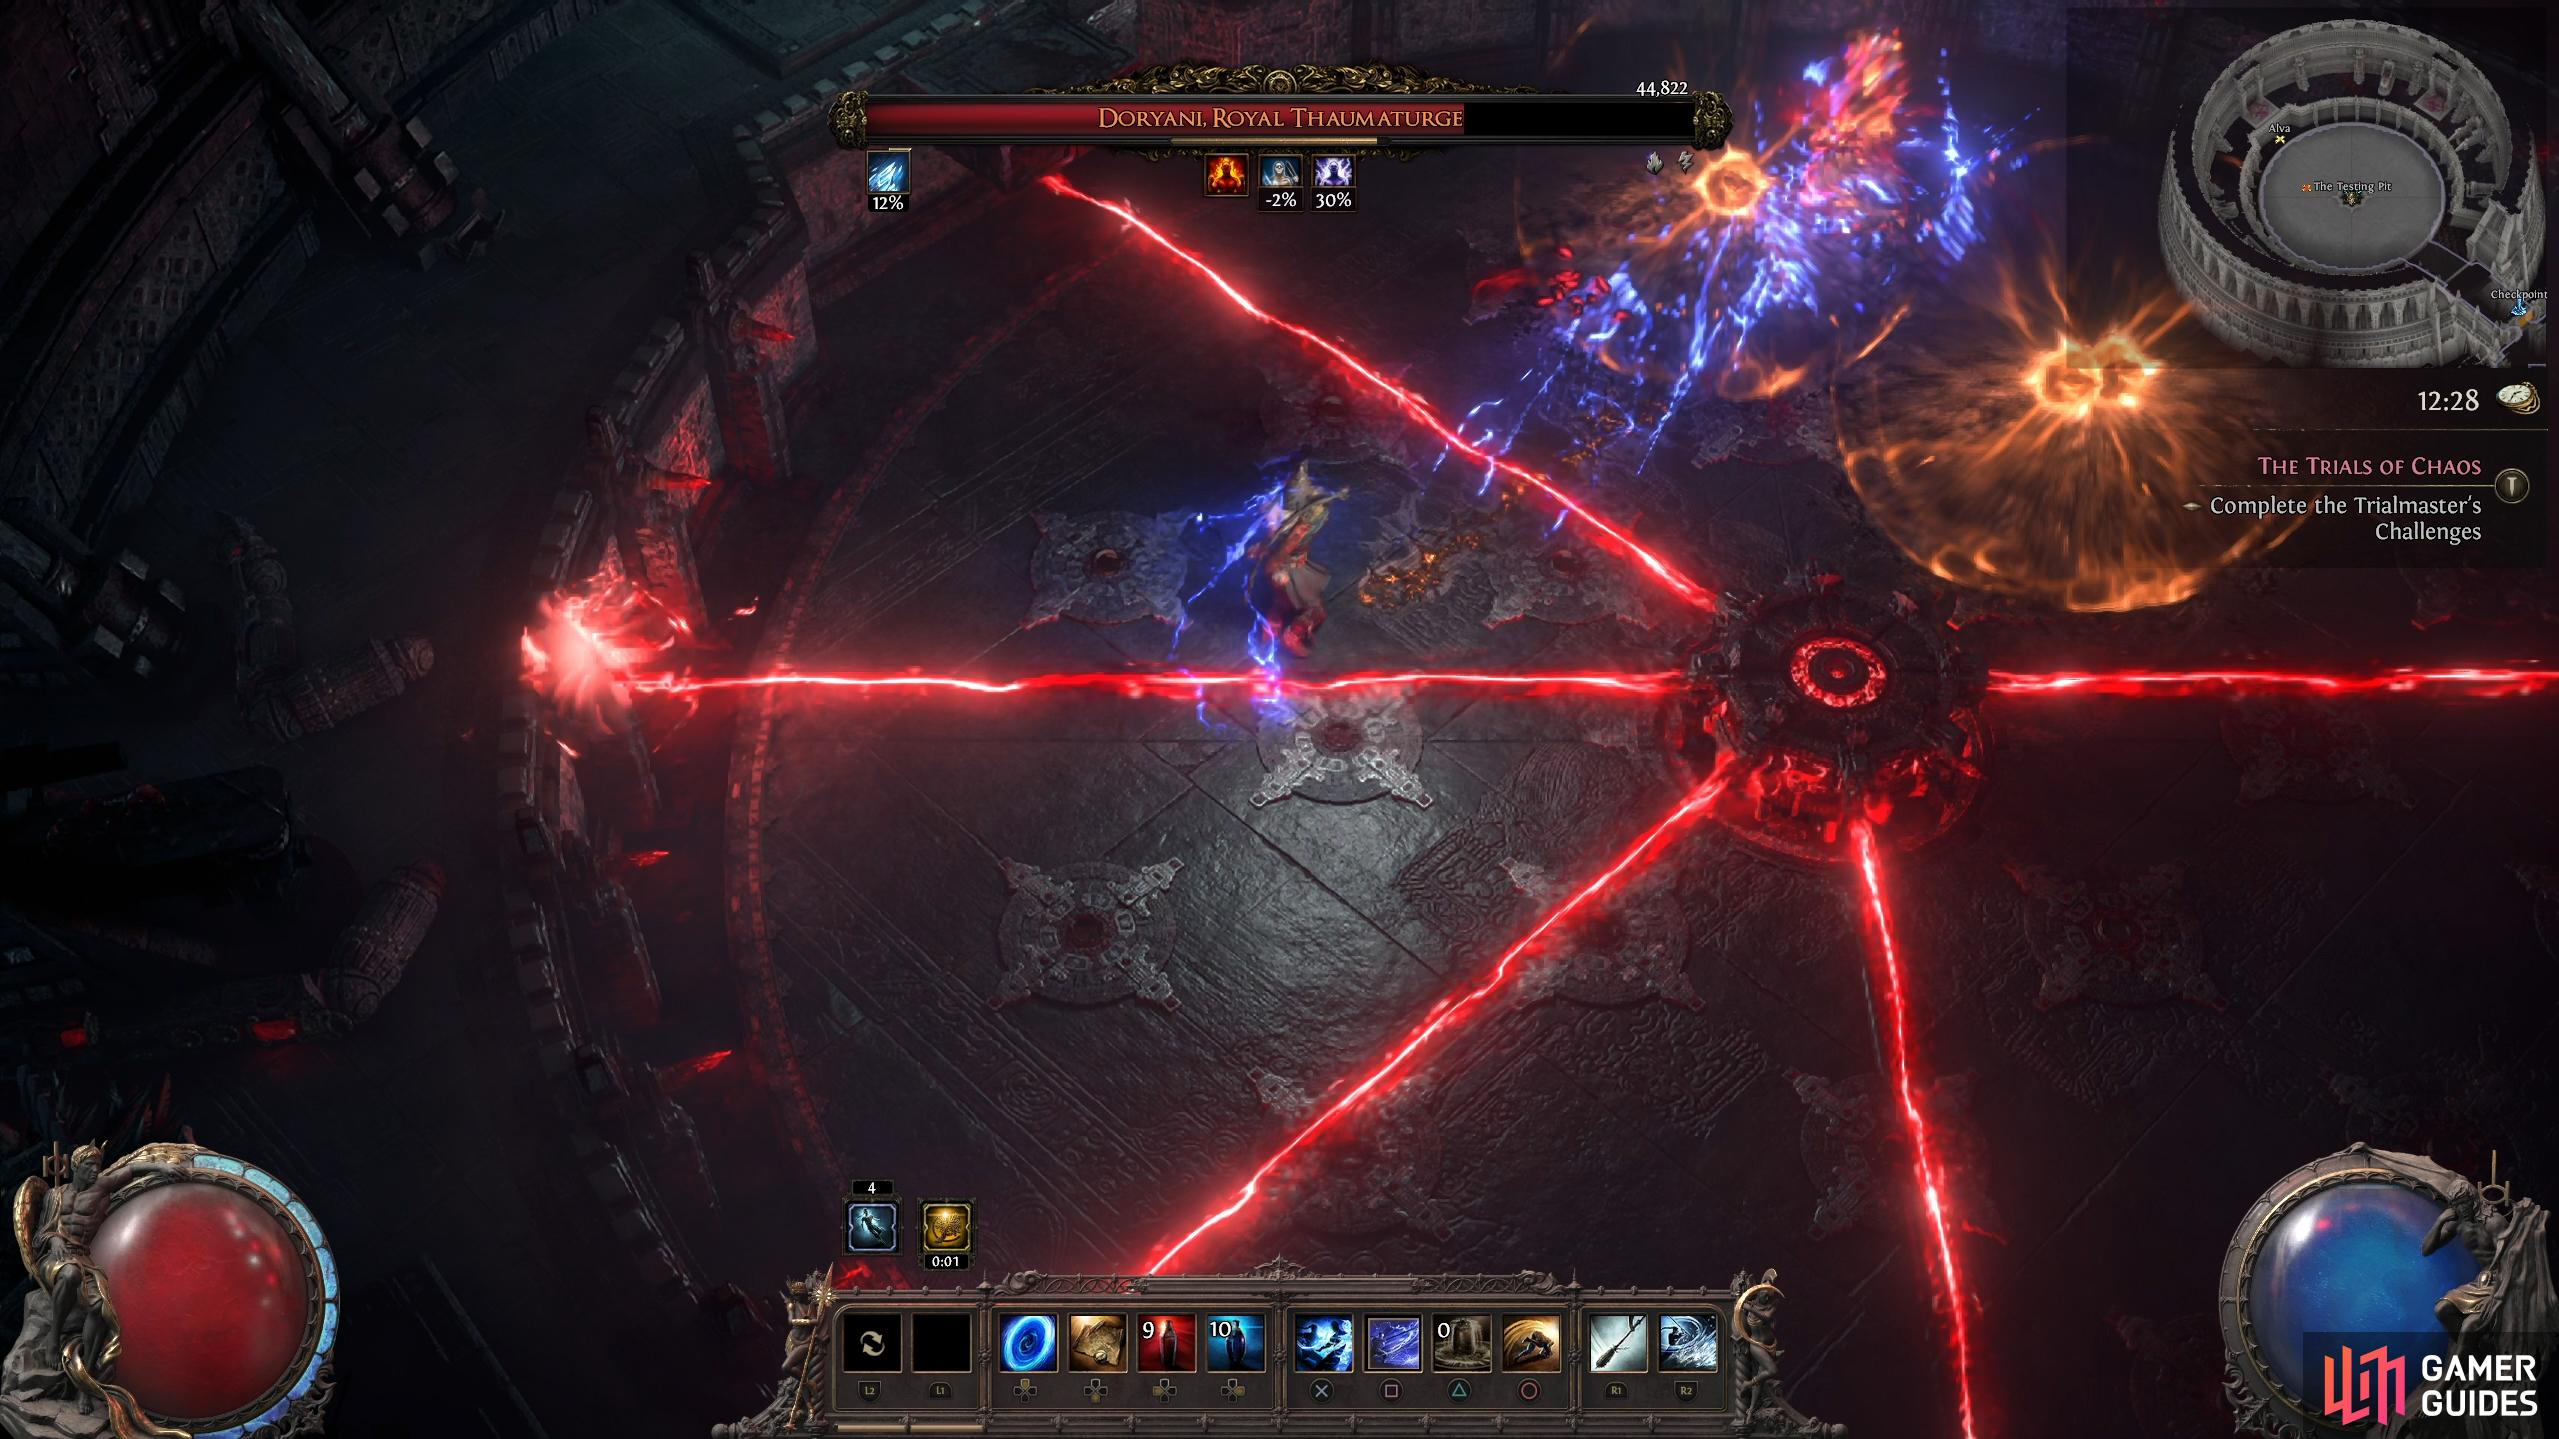
Rotating Beams
Several red beams will periodically appear out of the central pillar as it rotates. The beams will fire off, and a couple of seconds later, another set of beams will follow. This will happen approximately three or four times before it stops. Stand in between the beams each time they go off and continue walking around clockwise to get yourself in the best position before the next set go off. Note that you will still have to deal with Doryani attacking you while this happens.
(1 of 2) When the central pillar rises, beams will appear out of them while rotating around the arena.
When the central pillar rises, beams will appear out of them while rotating around the arena. (left), Throughout the battle, red mines will get placed in the arena. These pop up when triggered and cast a lightning spell. (right)
Red Mines
Throughout the battle, Doryani will place numerous mines around the arena that when approached, pop up and produce a small lightning attack around them. These are more of a hindrance than an attack, so naturally, try to avoid them. During the battle, there will be times when you’re waiting for Doryani’s next attack, if you get some downtime, run over the mines to trigger and remove them from the arena. The mines themselves won’t deal any damage, but the lighting that appears from them after will.
Phase 2 Attacks
Approximately around half health (sometimes you’ll need to take him lower), Doryani will transition to the second phase and get all his health back (boo). He will hover in the air and a hulking machine will fuse. While you wait for this transition, make sure you trigger any mines still in the arena to get rid of them.
Core Smash
Doryani will grab the red core from his body and crash it down in front of him. This can be avoided by standing anywhere but in front of him. It’s preferable to stand close to the side or back so you can attack him while he does the attack.
(1 of 2) During the second phase, Doyani will grab the central core and smash it onto the ground in front of him.
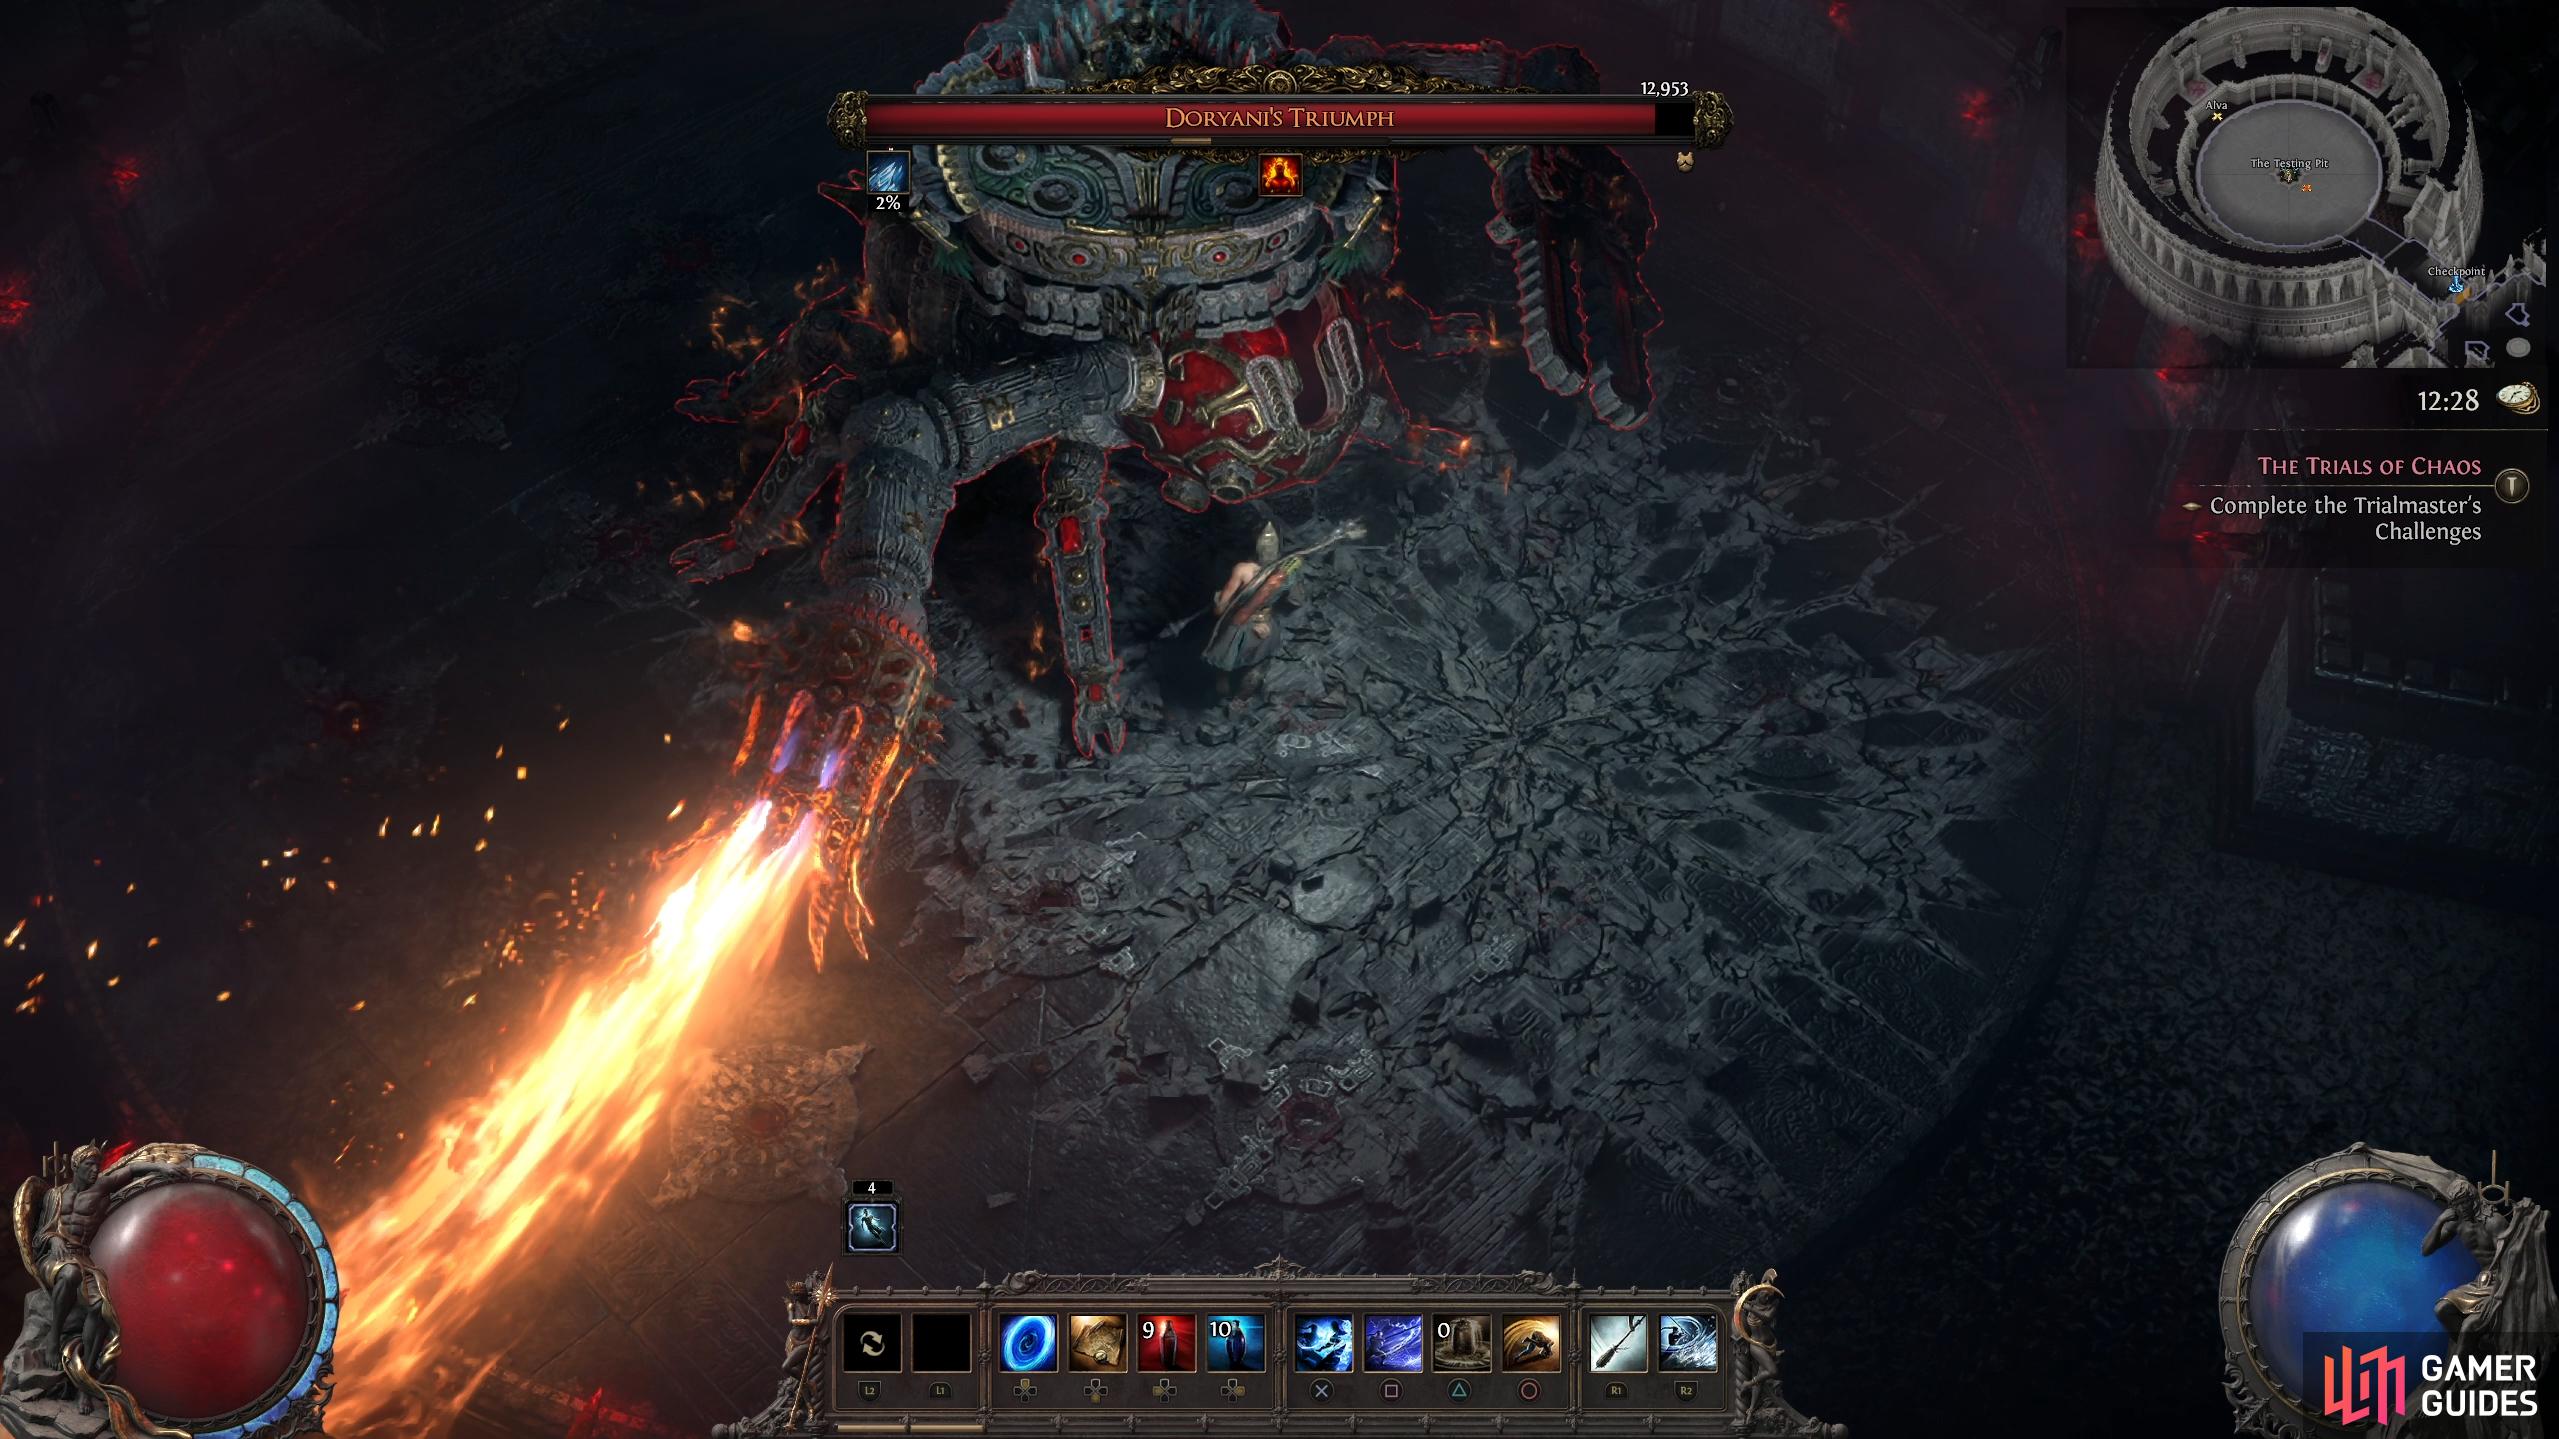
During the second phase, Doyani will grab the central core and smash it onto the ground in front of him. (left), Similar to the phase one flamethrower, but as it comes from the machine, it is larger. (right)
Large Flamethrower
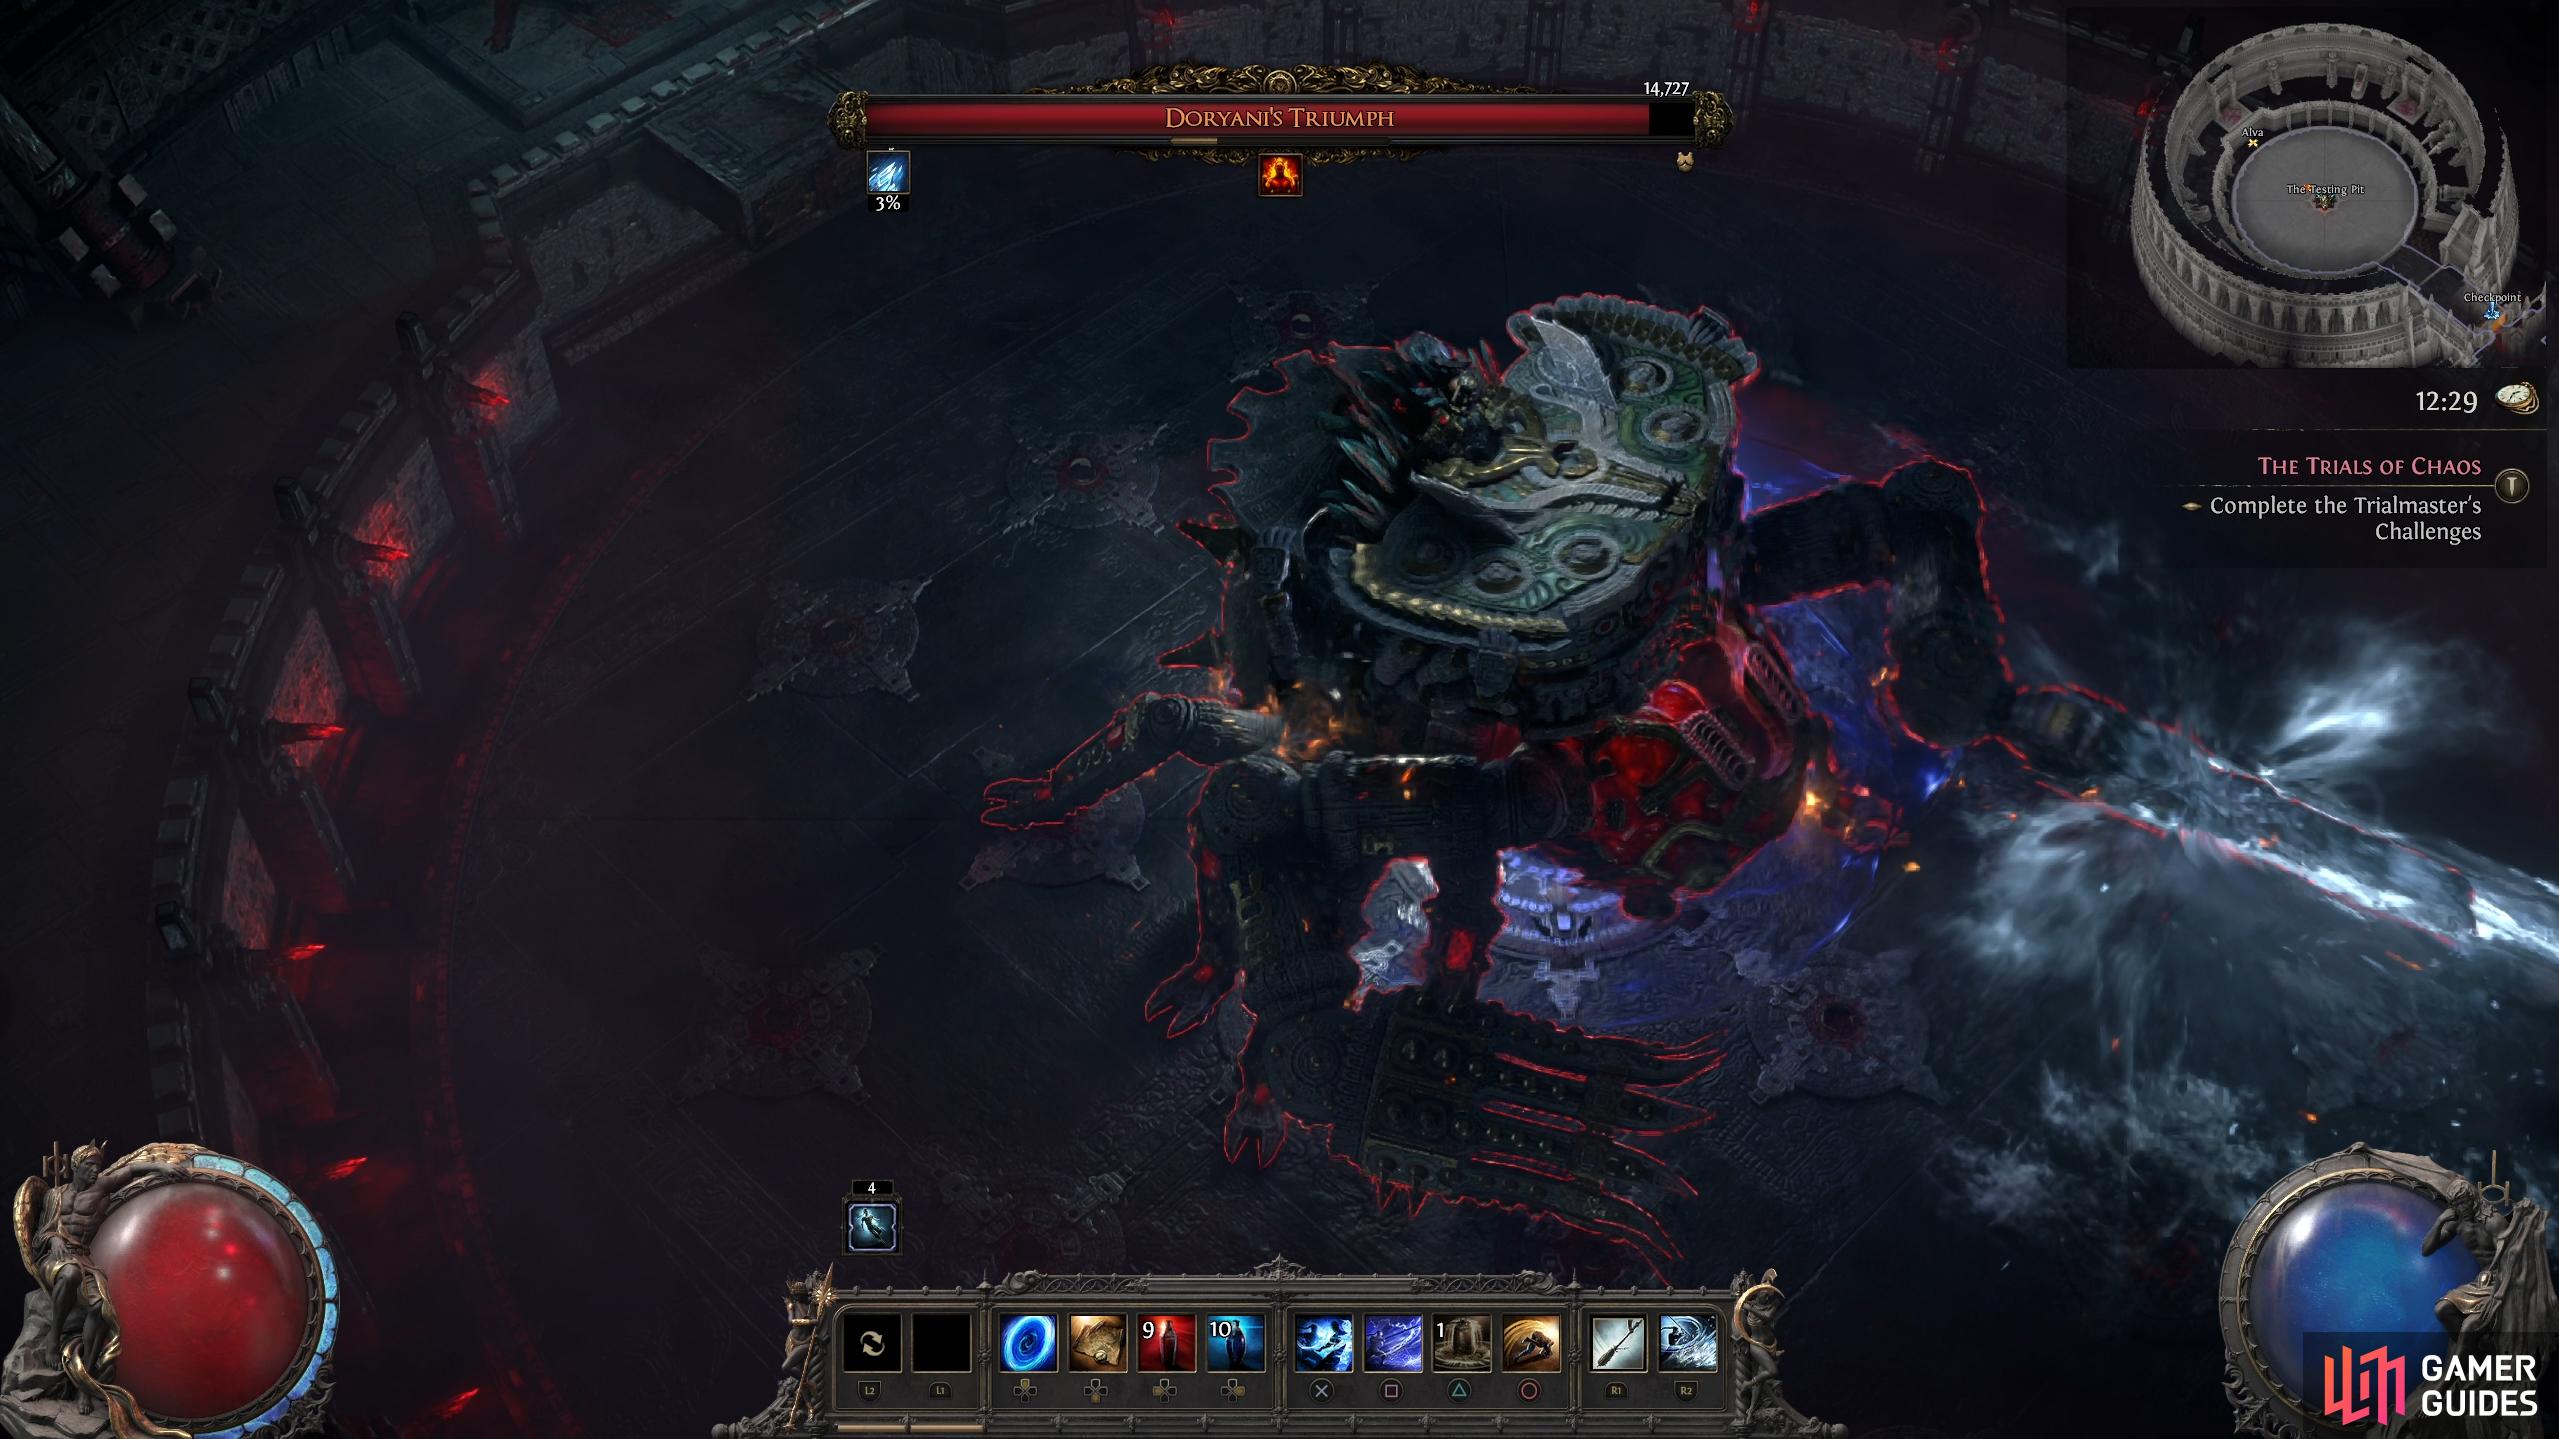
Similar to the first phase flamethrower attack but on a much larger scale due to the machine he’s piloting. From his right arm, he’ll unleash flames from one side to another. Simply, get close and stand to the side of the opposite arm or go behind him.
Ice Beam
Normally used after the Flamethrower attack, Doryani will fire a beam of ice from the opposite arm in front of him with the beam going side to side. Once again, stand close and to the side or back of the machine to avoid the attack.
Doryani will use his left arm to unleash a beam of ice forward, which goes side to side.
Slam
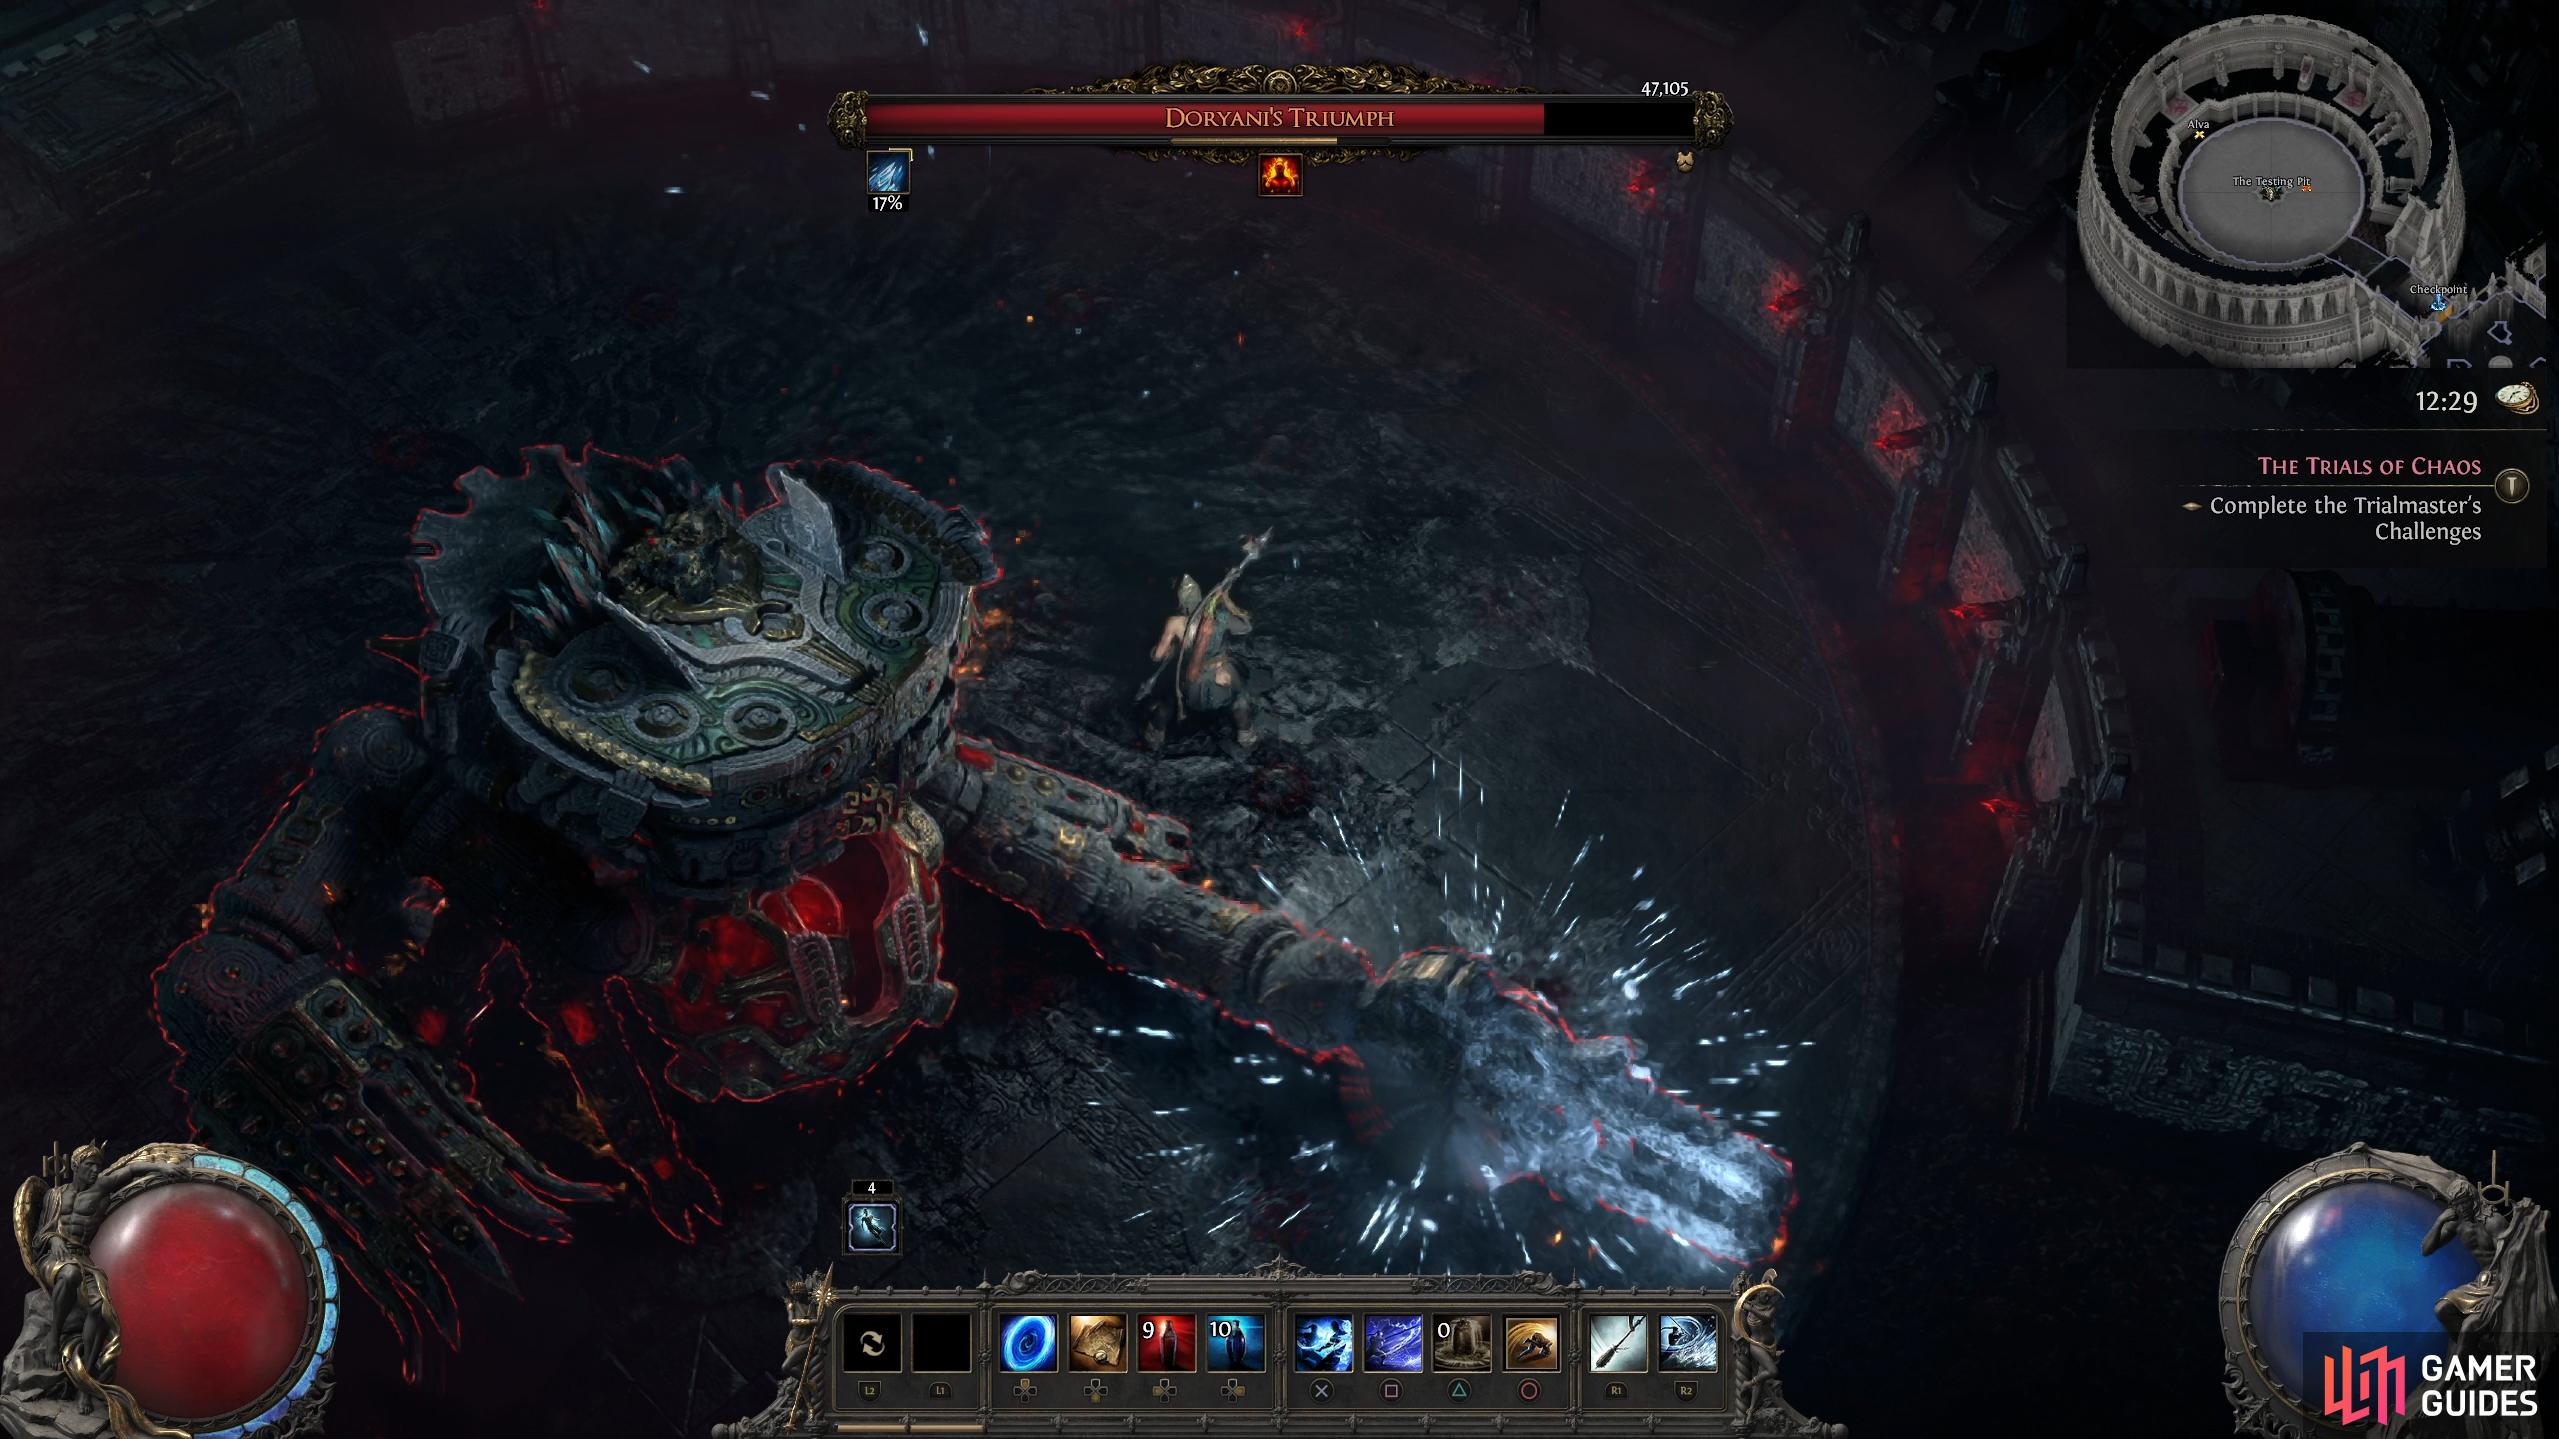
This is a simple melee attack where Doryani will slam one fist into the ground immediately followed by another slam with the opposite fist. This attack will occur in front of him, so make sure you’re at the side or back to avoid the attack. Note that this is almost always followed up by the attack below.
Fire and Ice Clap
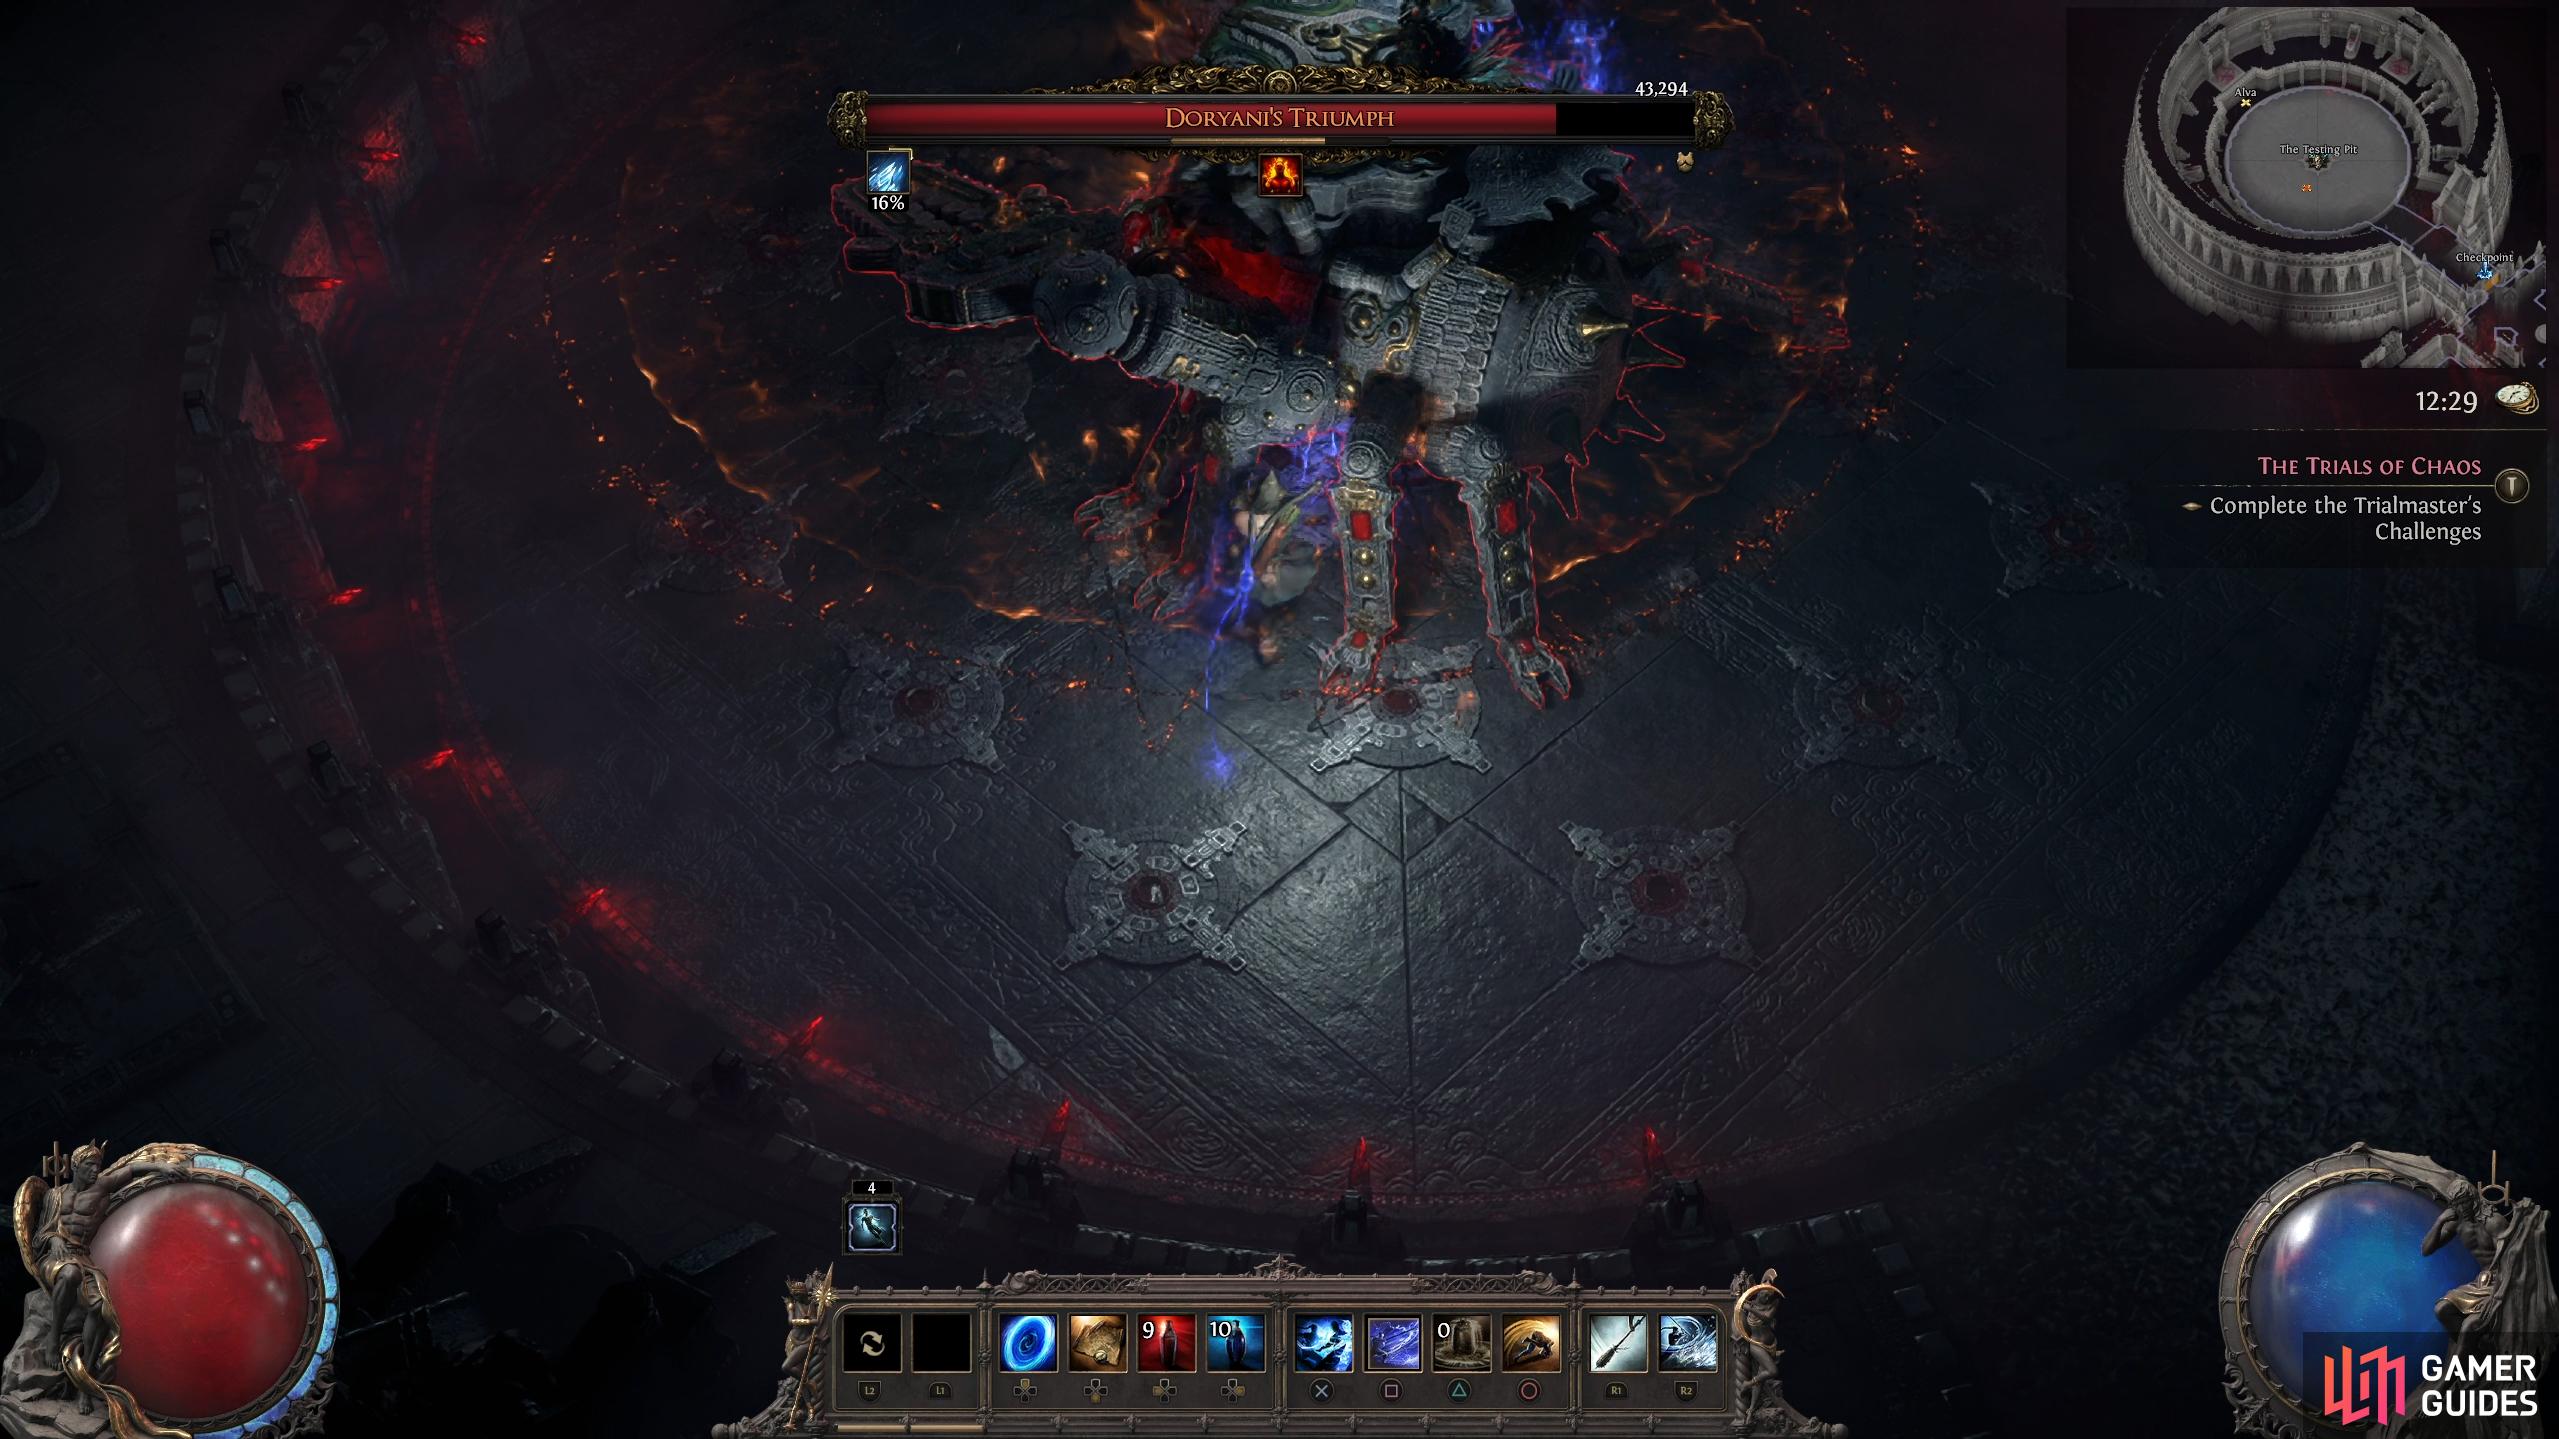
This normally follows up from the slam attack. One fist will have fire on it, the other will have ice, and he’ll smash them together to create an area of effect attack around him, with the after-effects persisting on the ground for a short while. Half of these effects will be fire and the other half ice (which slows you down). If you see the slam attack above, get out and to the side or back to avoid them all.
After slamming into the ground, Doryani will clap his hands together, creating a circle of fire and ice.
Explosive Drill
Doryani will drill his arm into the arena, conjuring a large fire circle that expands before exploding. When you see his hand drill into the arena, run to the edge to avoid the attack.
Ice Slam
Doryani will slam down his left arm infused with ice and slam it down in front of him. This will slow you briefly if you get hit by it. Stand near the opposite arm or the back to avoid the attack.
(1 of 2) Watch out for the slam attack infused with ice as it’ll slow you down.
Watch out for the slam attack infused with ice as it’ll slow you down. (left), When you see Doryani drill into the ground, a large fire area of effect is coming your way. Get out to the edge of the arena. (right)
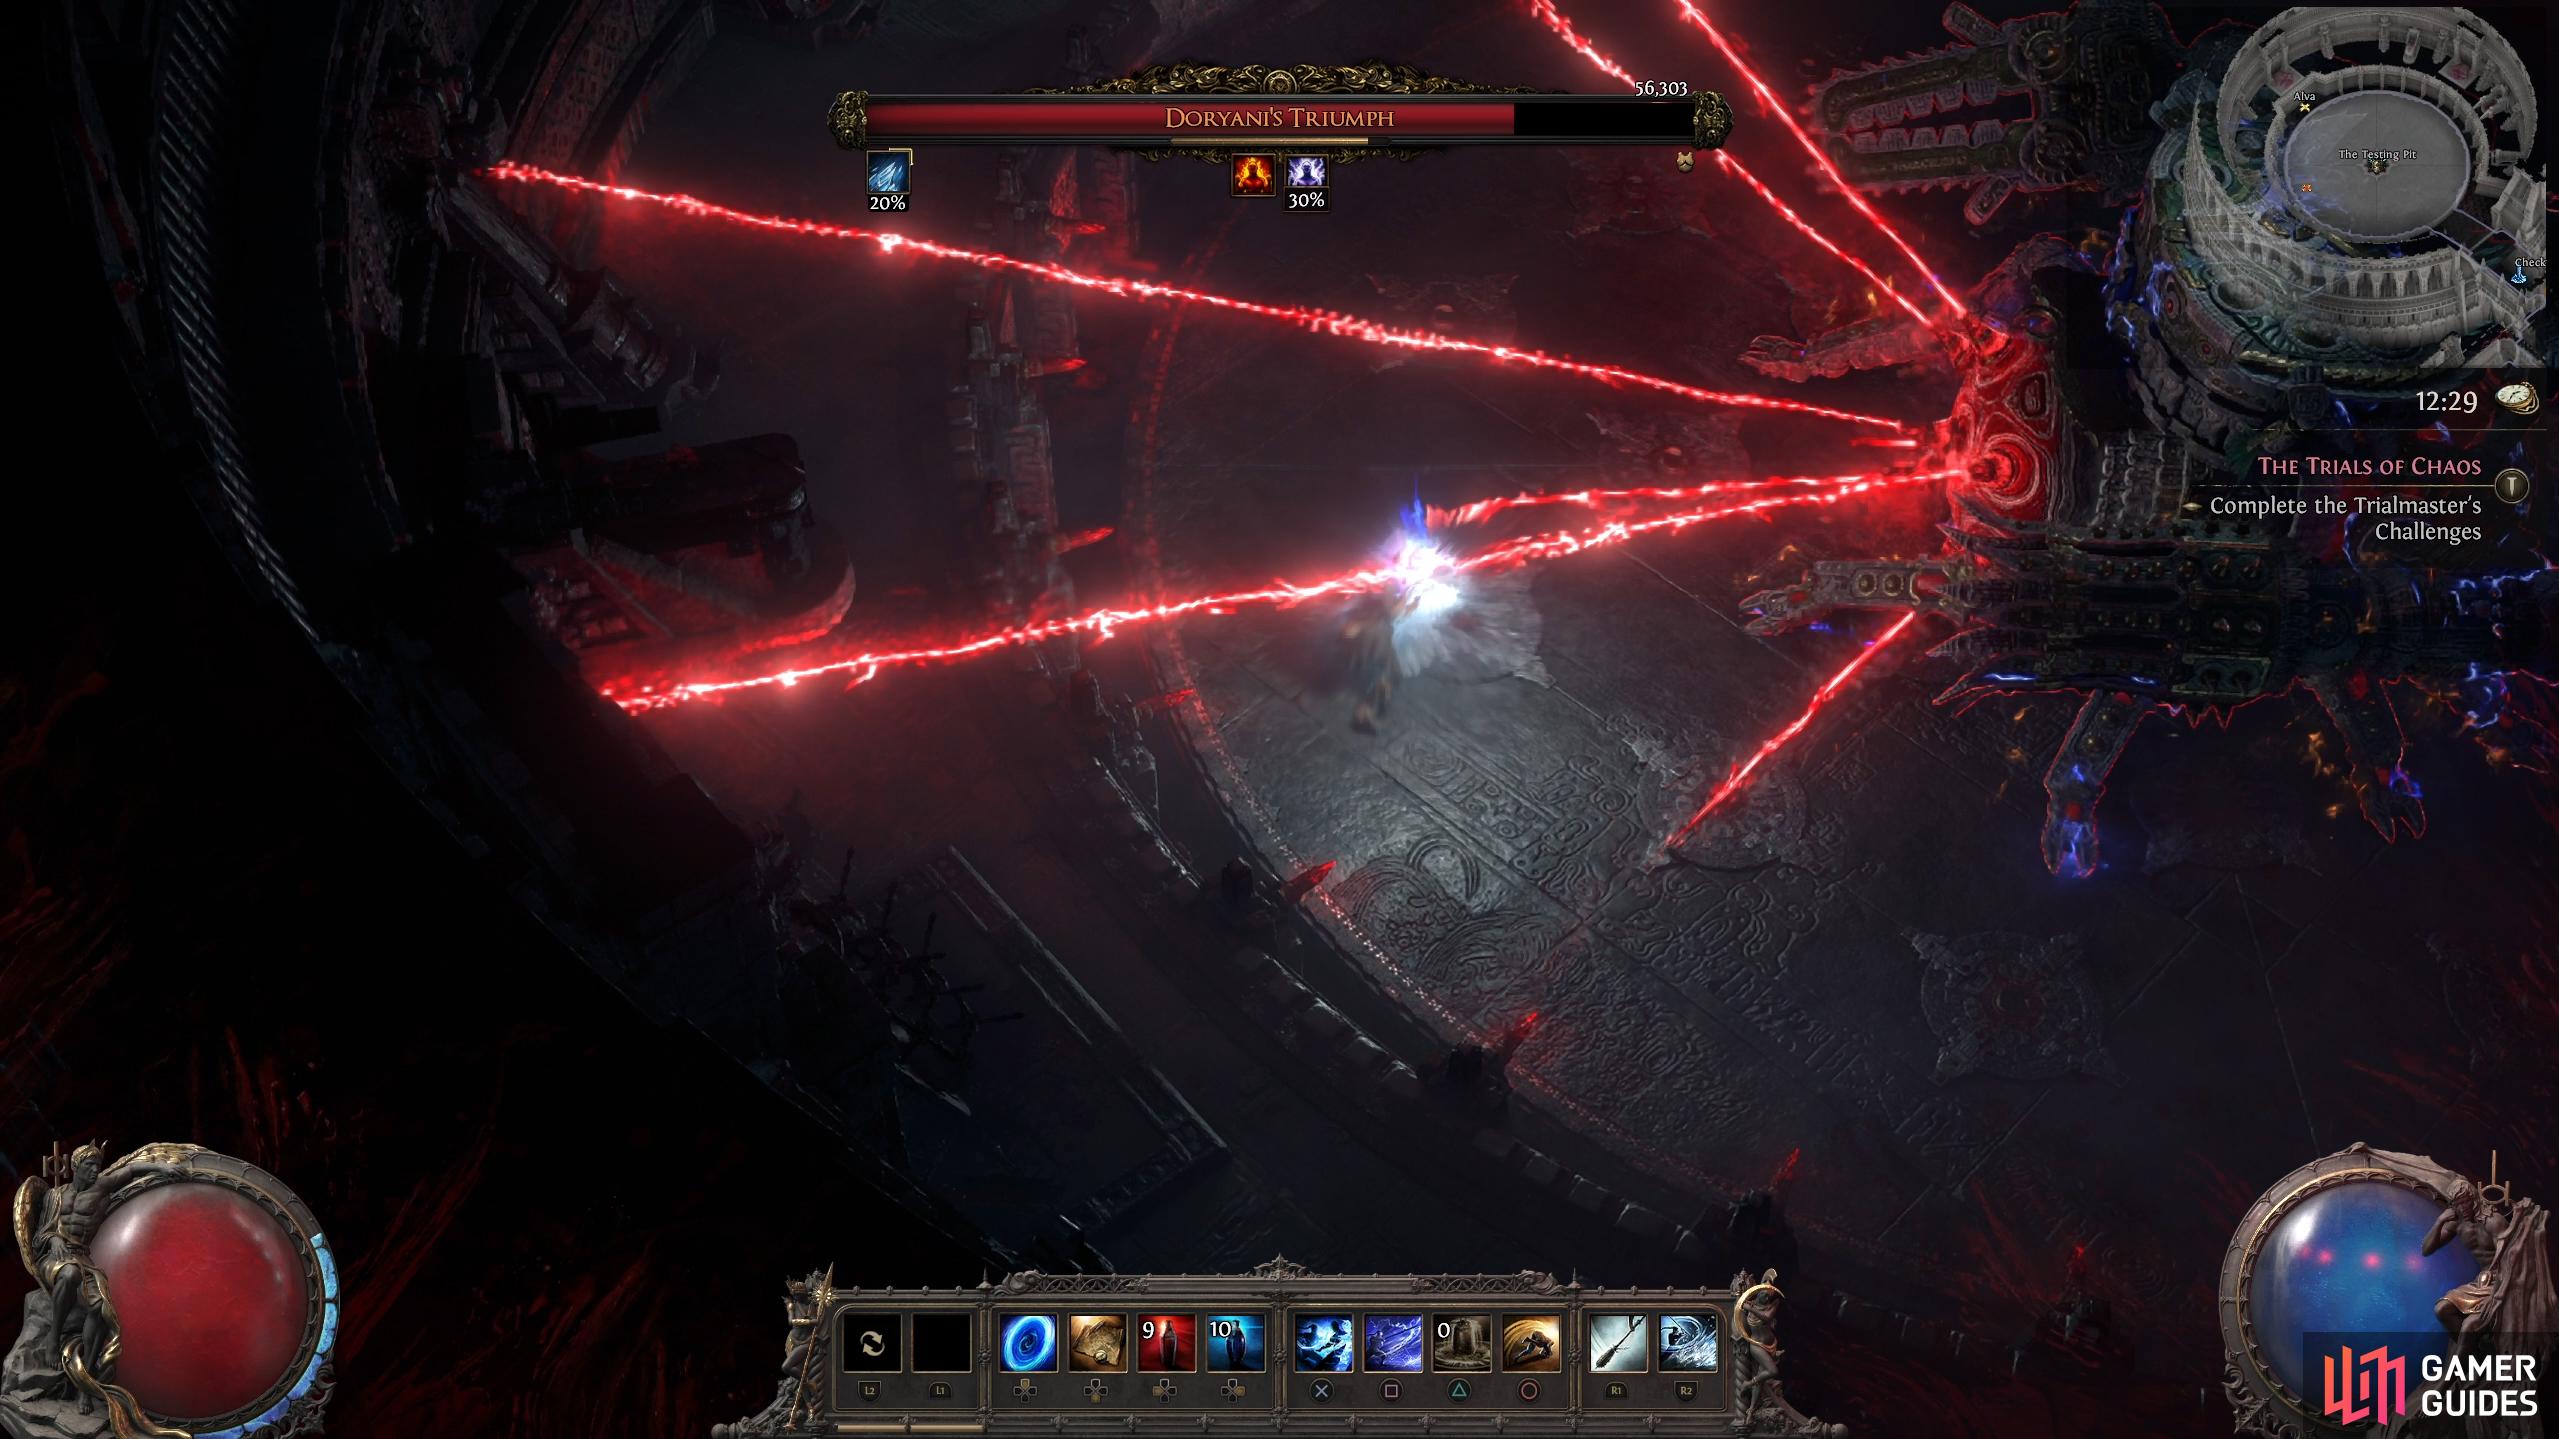
Back Lasers
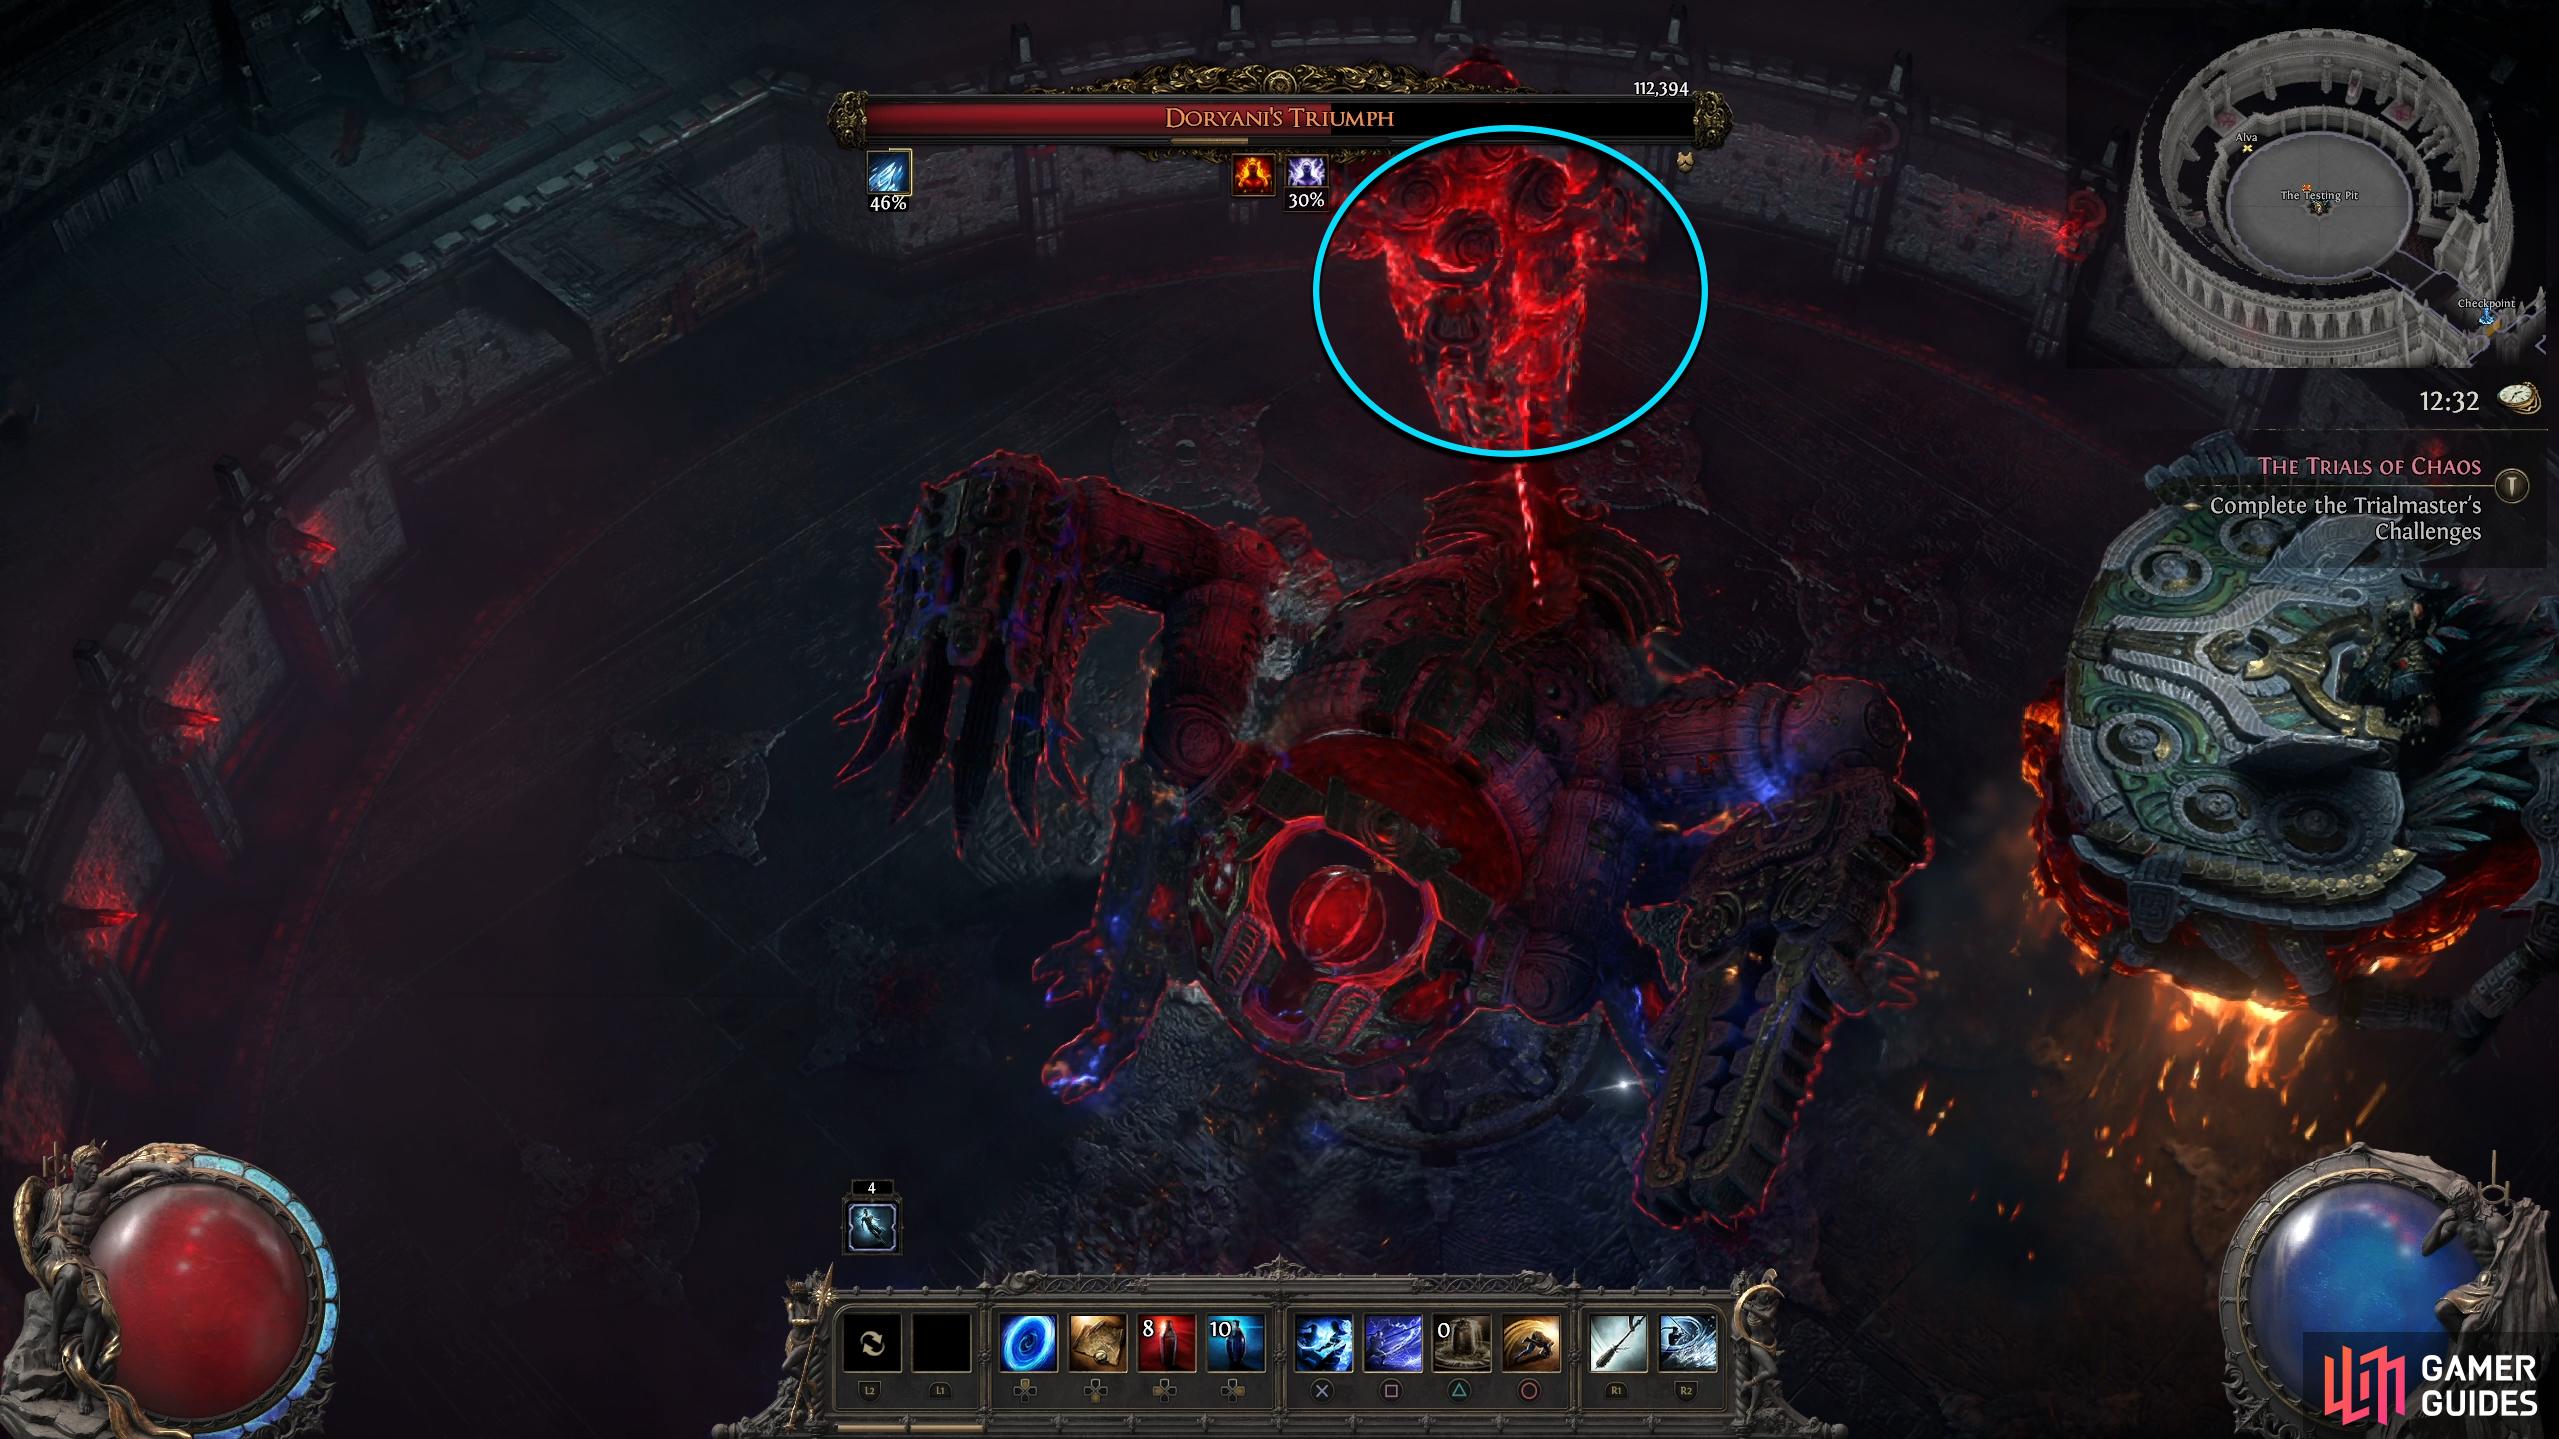
Arguably his strongest attack, Doryani will unleash multiple red lasers from his back and rotate clockwise. A red wave precedes this attack. When you see this, get to the front of Doryani, and roll/run clockwise, avoiding the beams. These are quick, so make sure you’re as close as possible and you run immediately. Depending on your class and defenses, this attack can one-shot you.
(1 of 2) A red wave will indicate that lasers will appear from his back. Get to the front and roll around clockwise to avoid it.
A red wave will indicate that lasers will appear from his back. Get to the front and roll around clockwise to avoid it. (left), When the turret detaches from Doryani, it’ll fire a homing laser at you that periodically tracks your location. (right)
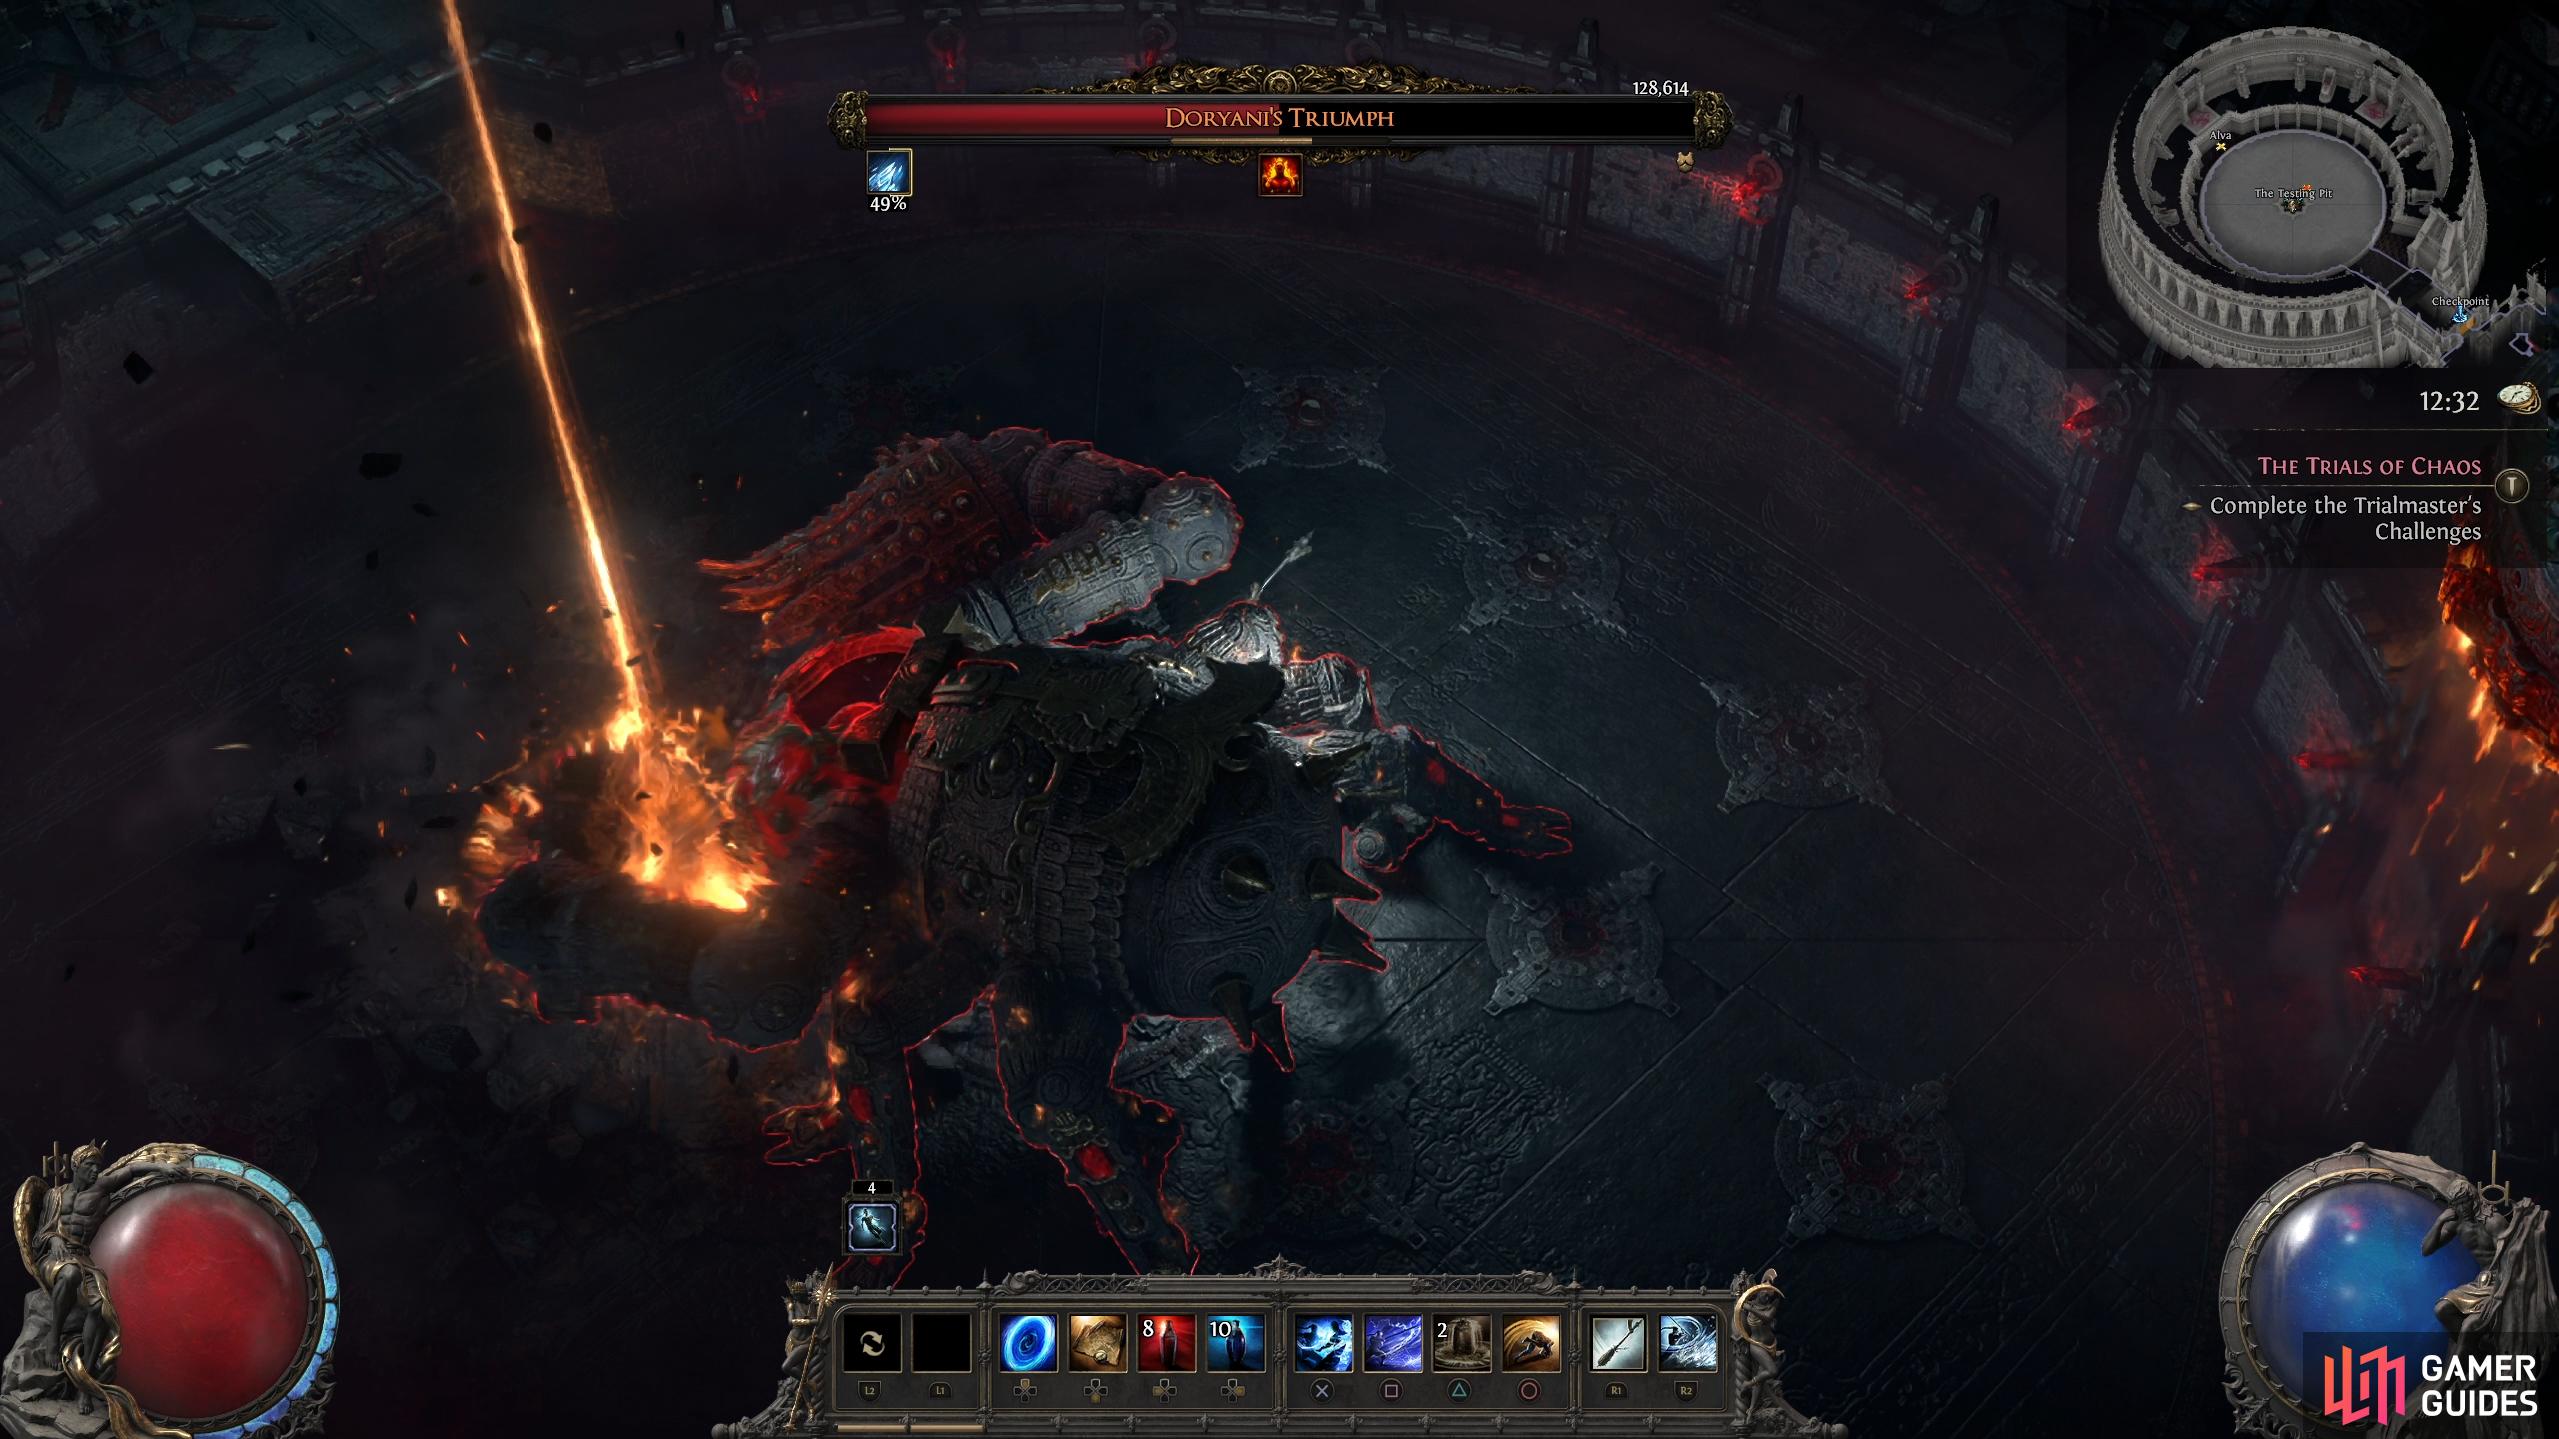
Homing Laser
Later on in phase two, a laser cannon will detach from the machine and hover above Doryani while firing a laser at your location. This will track your location, so make sure you keep moving while staying close to the machine to avoid any follow-up attacks. This will continue to fire off a laser every few seconds, so make sure you don’t forget about it while dealing with the other mechanics.
Fire Beam
Occasionally, Doryani will place a random beam of fire that prolongs for a while. This will move slowly around the arena whenever Doryani’s cockpit (around the edge of the arena) moves. This won’t hurt you as long as you don’t walk into it, so keep your distance from it.
(1 of 2) The Fire Beam will slowly move around the arena in correlation with the cockpit at the edge of the arena.
The Fire Beam will slowly move around the arena in correlation with the cockpit at the edge of the arena. (left), The Thunder Beam attack produce a small blue circle that unleashes numerous lighting bolts within it. (right)
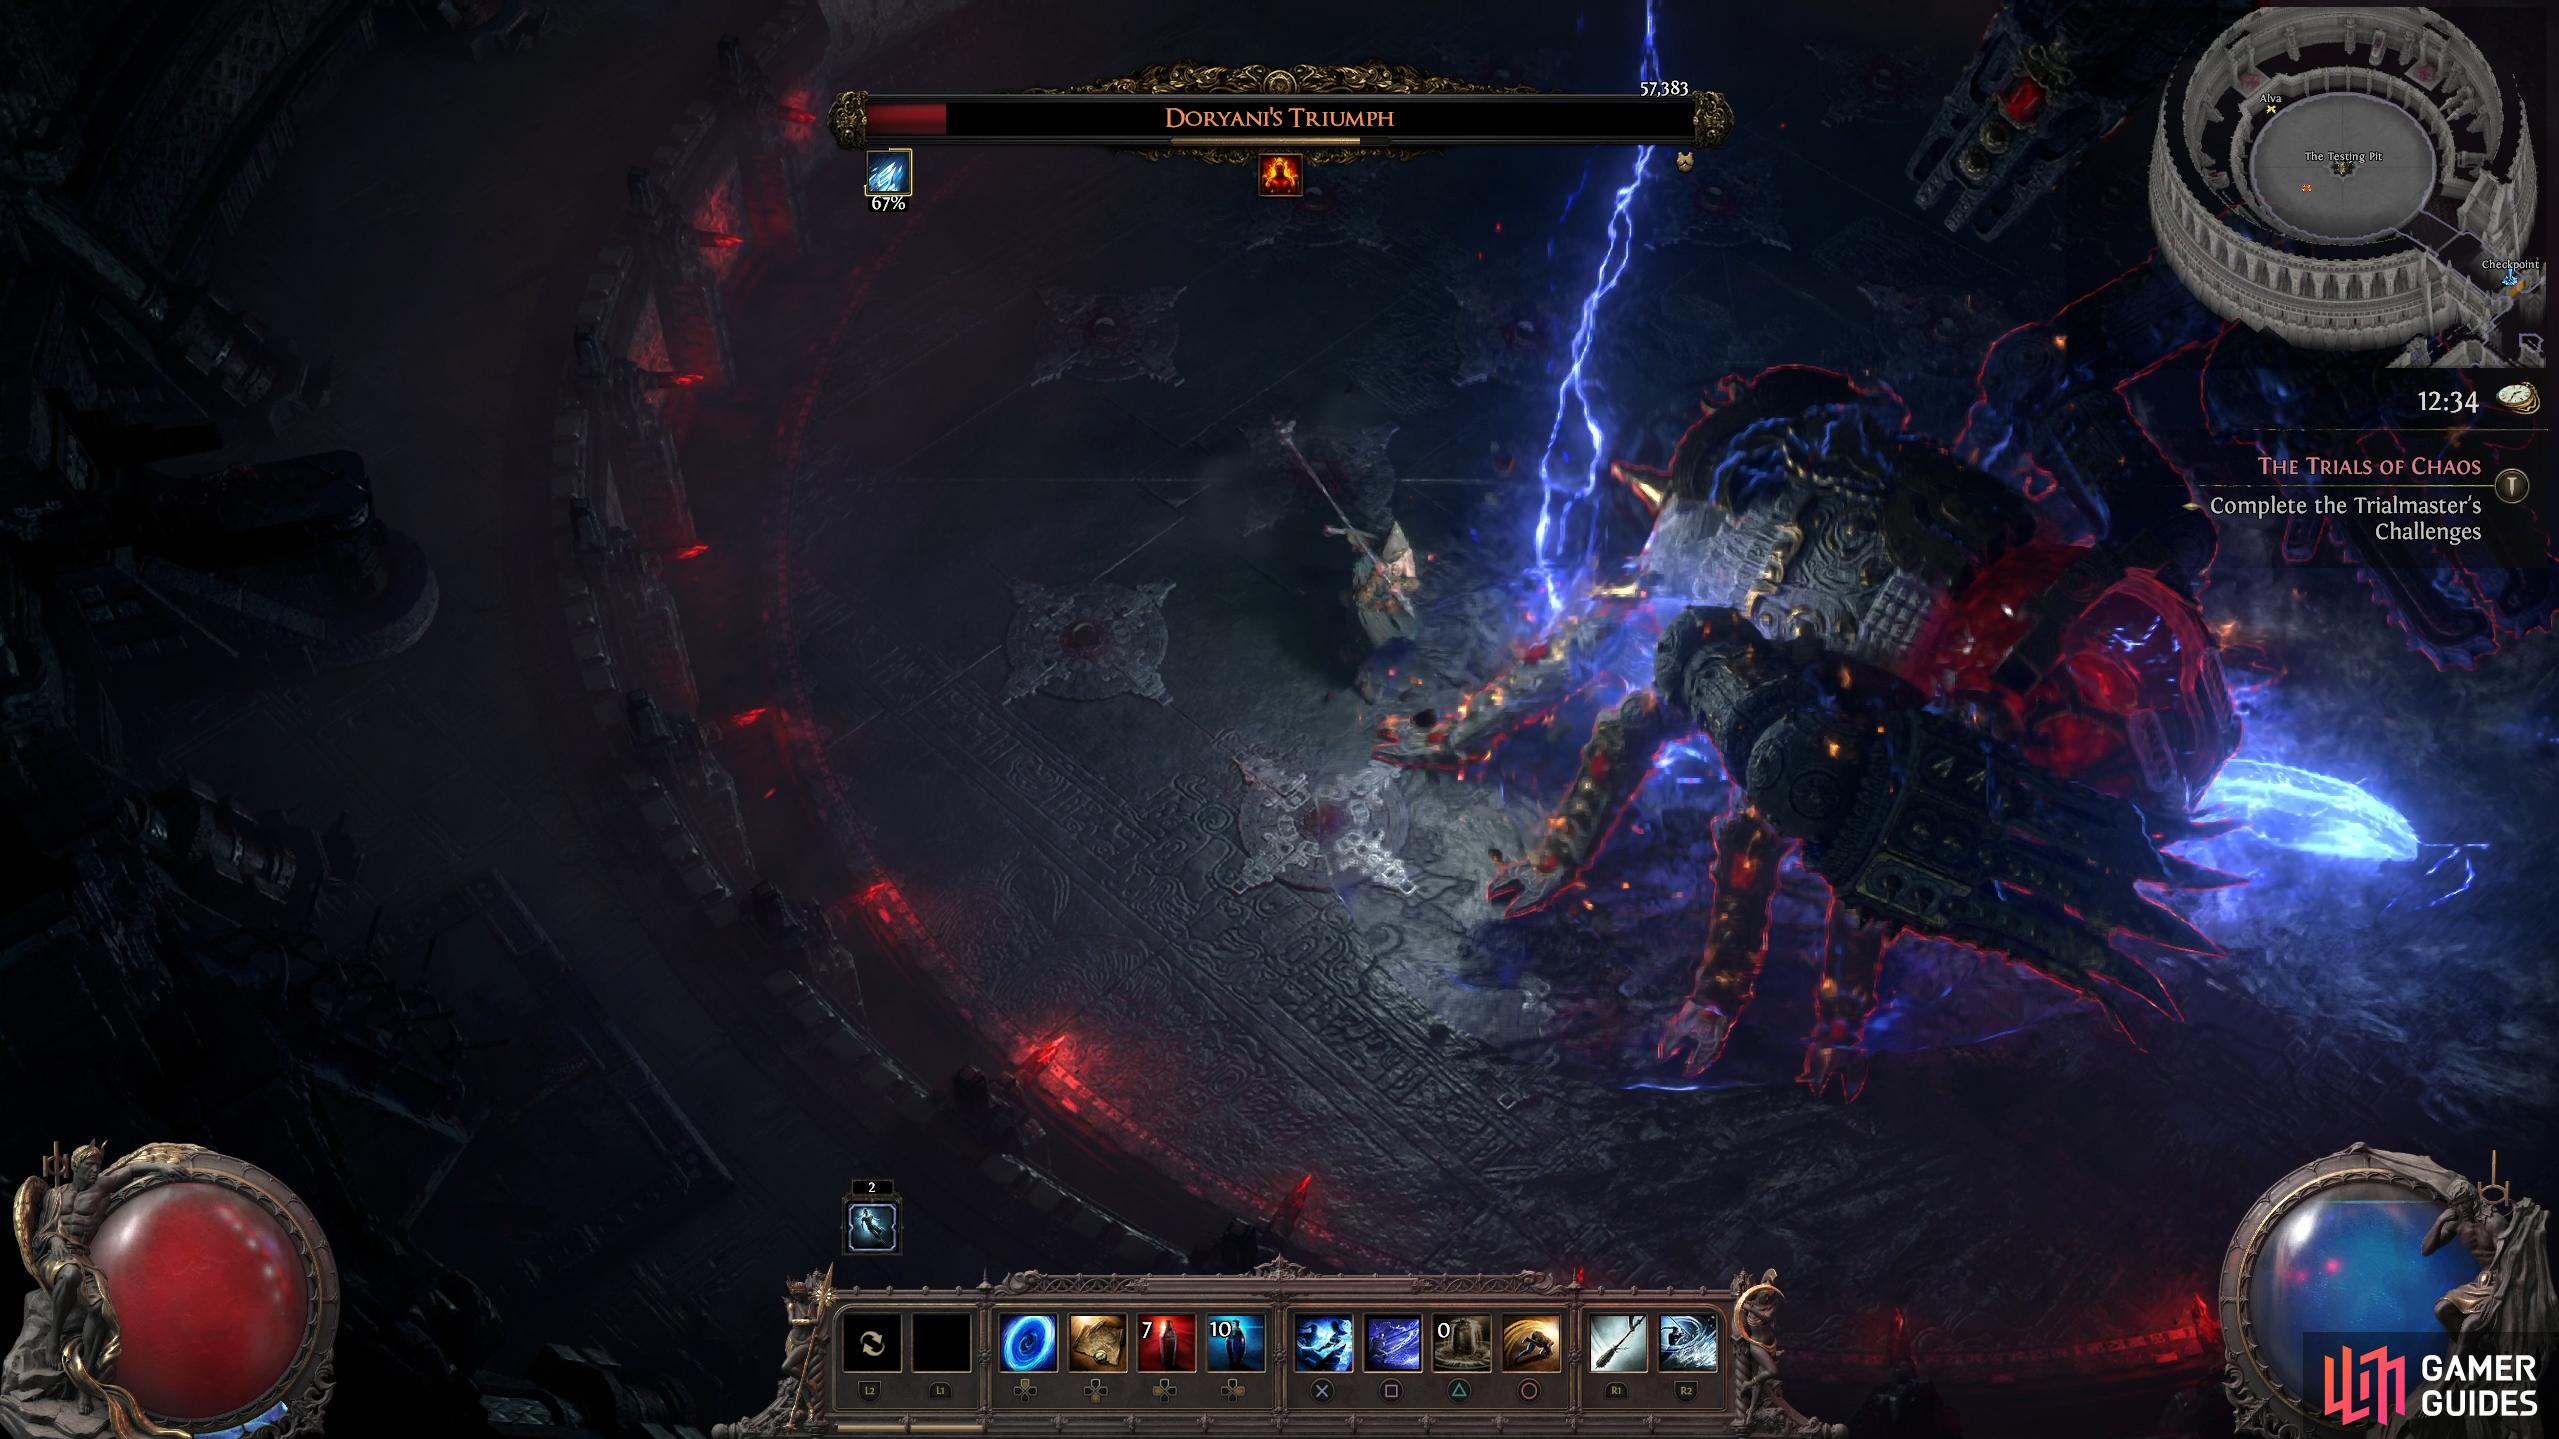
Thunder Beam
Similar to the Fire Beam attack, Doryani will place a beam of lighting that does continuous damage if you stand in the small circle. The difference is, that he’ll normally place this above you. Make sure you get out of the small circle to avoid the attack.
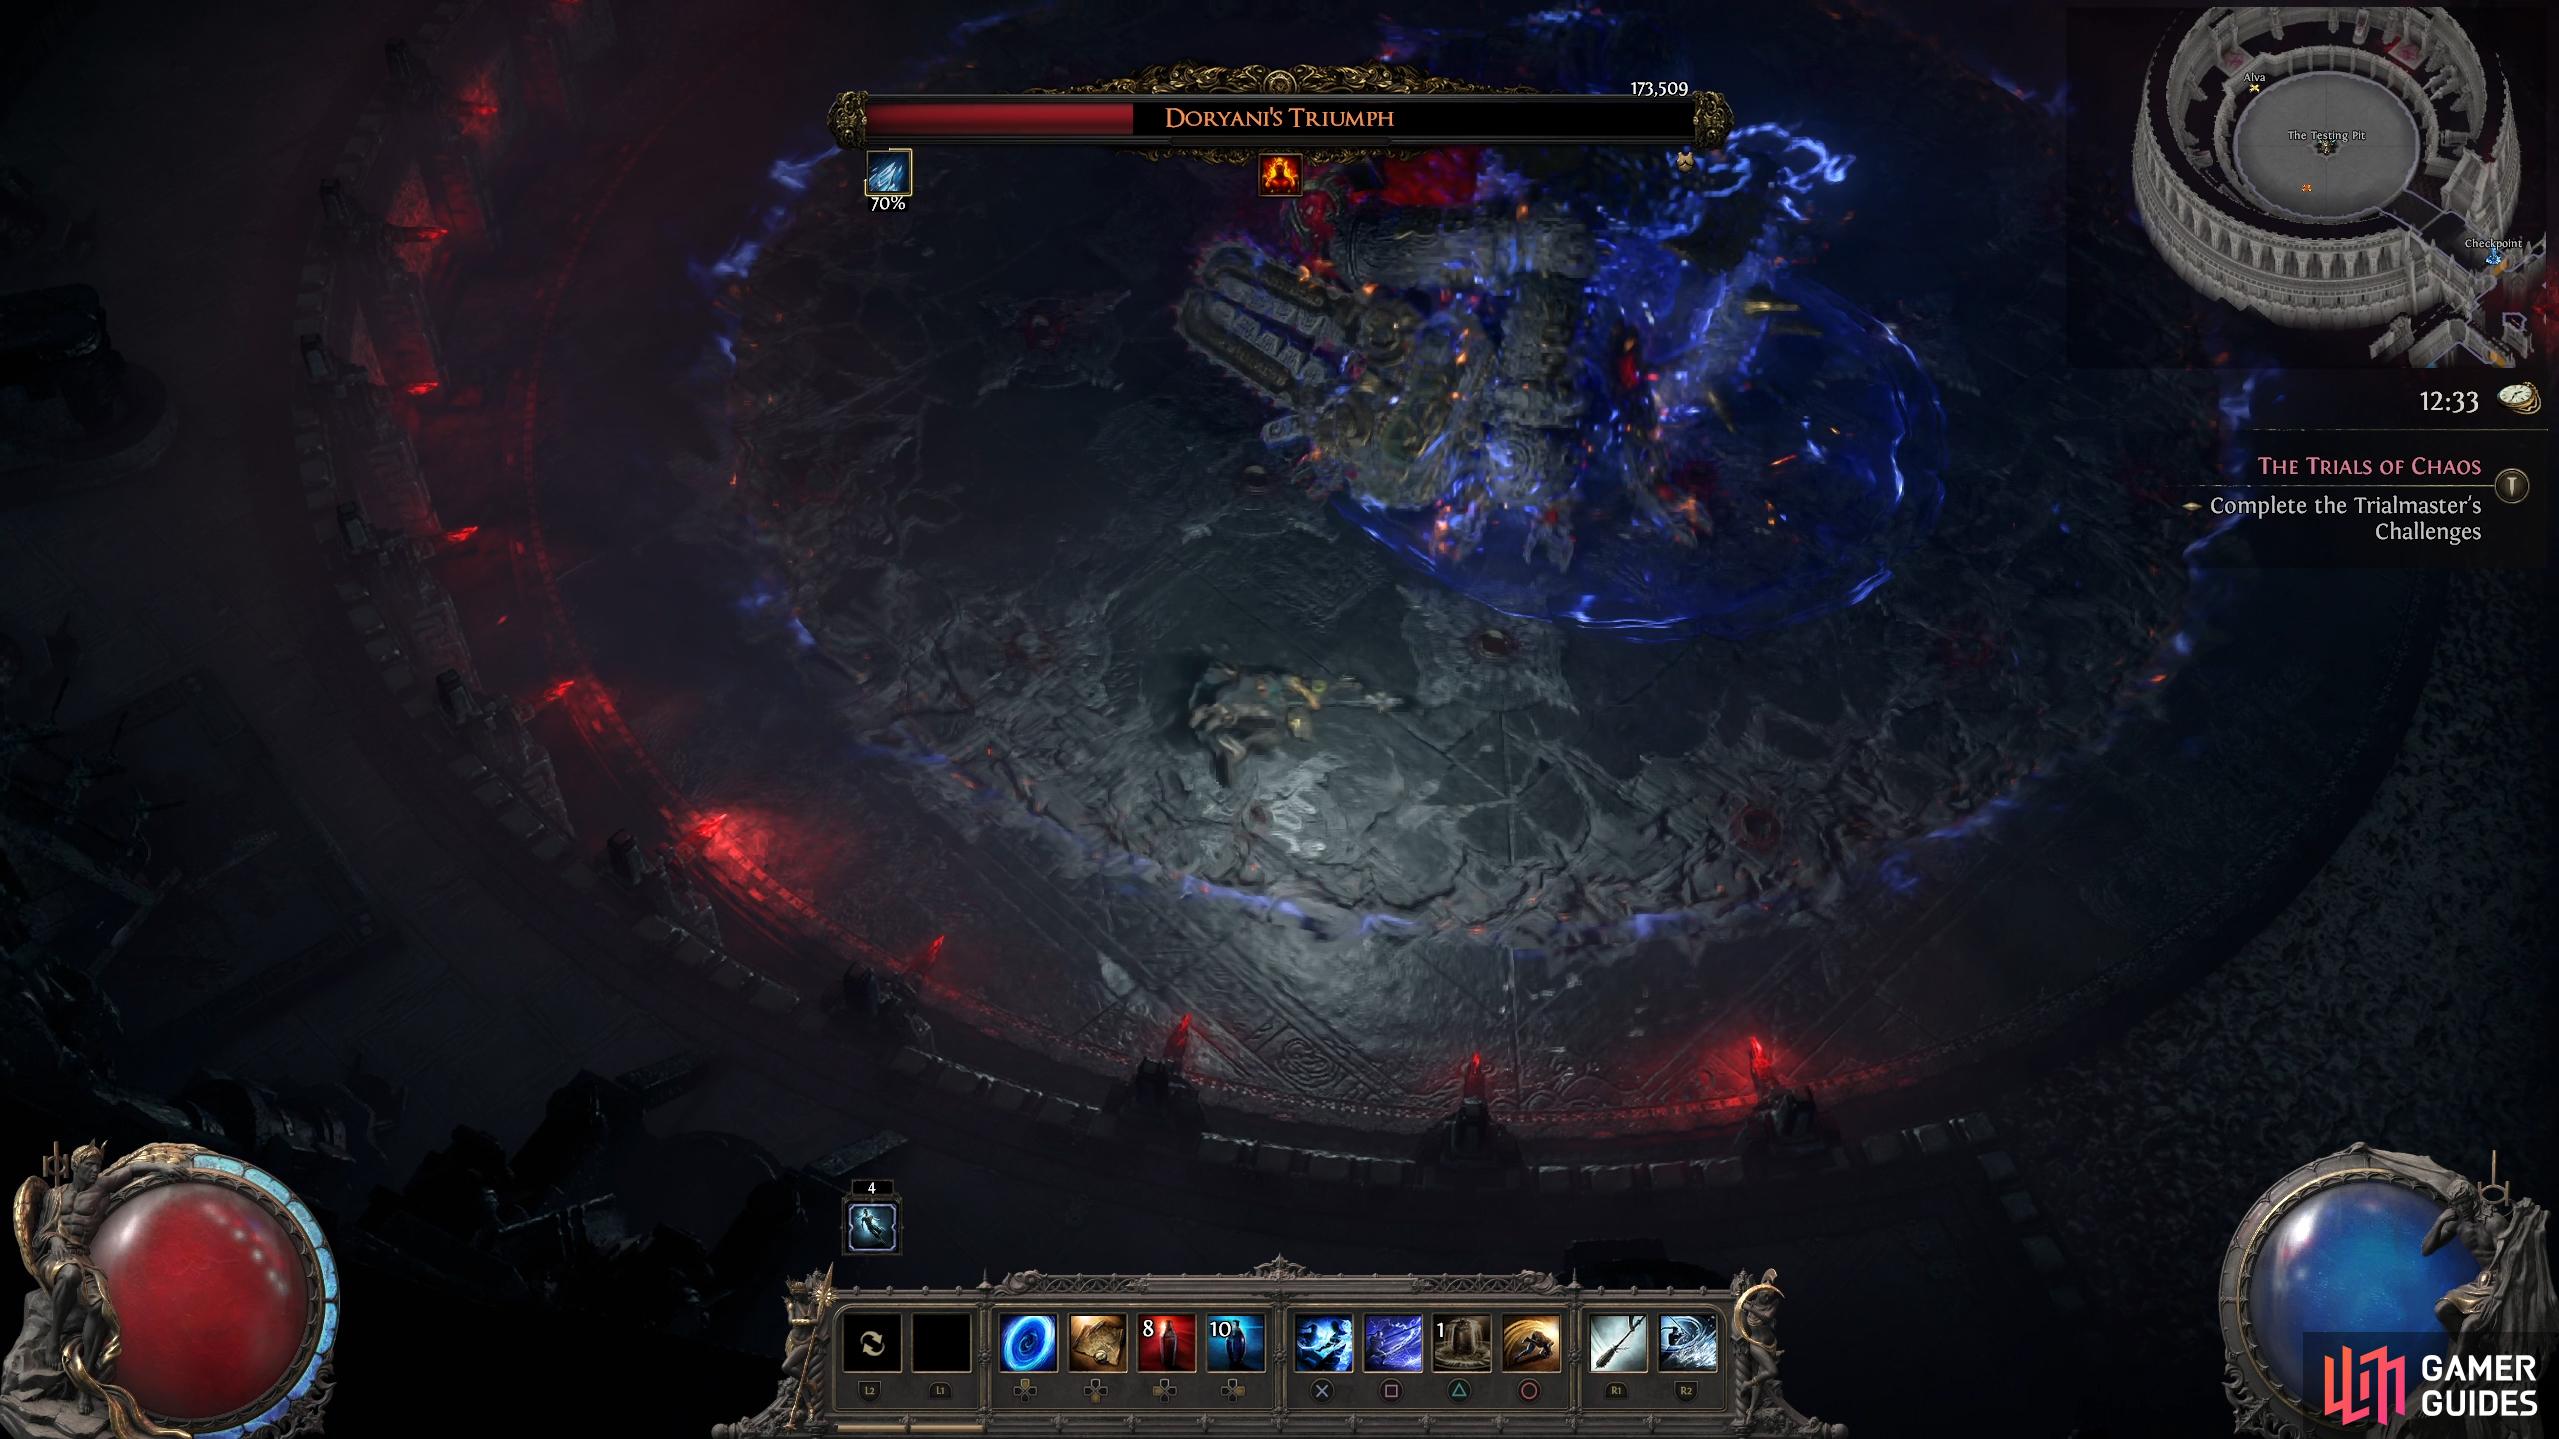
Thunderous Explosion
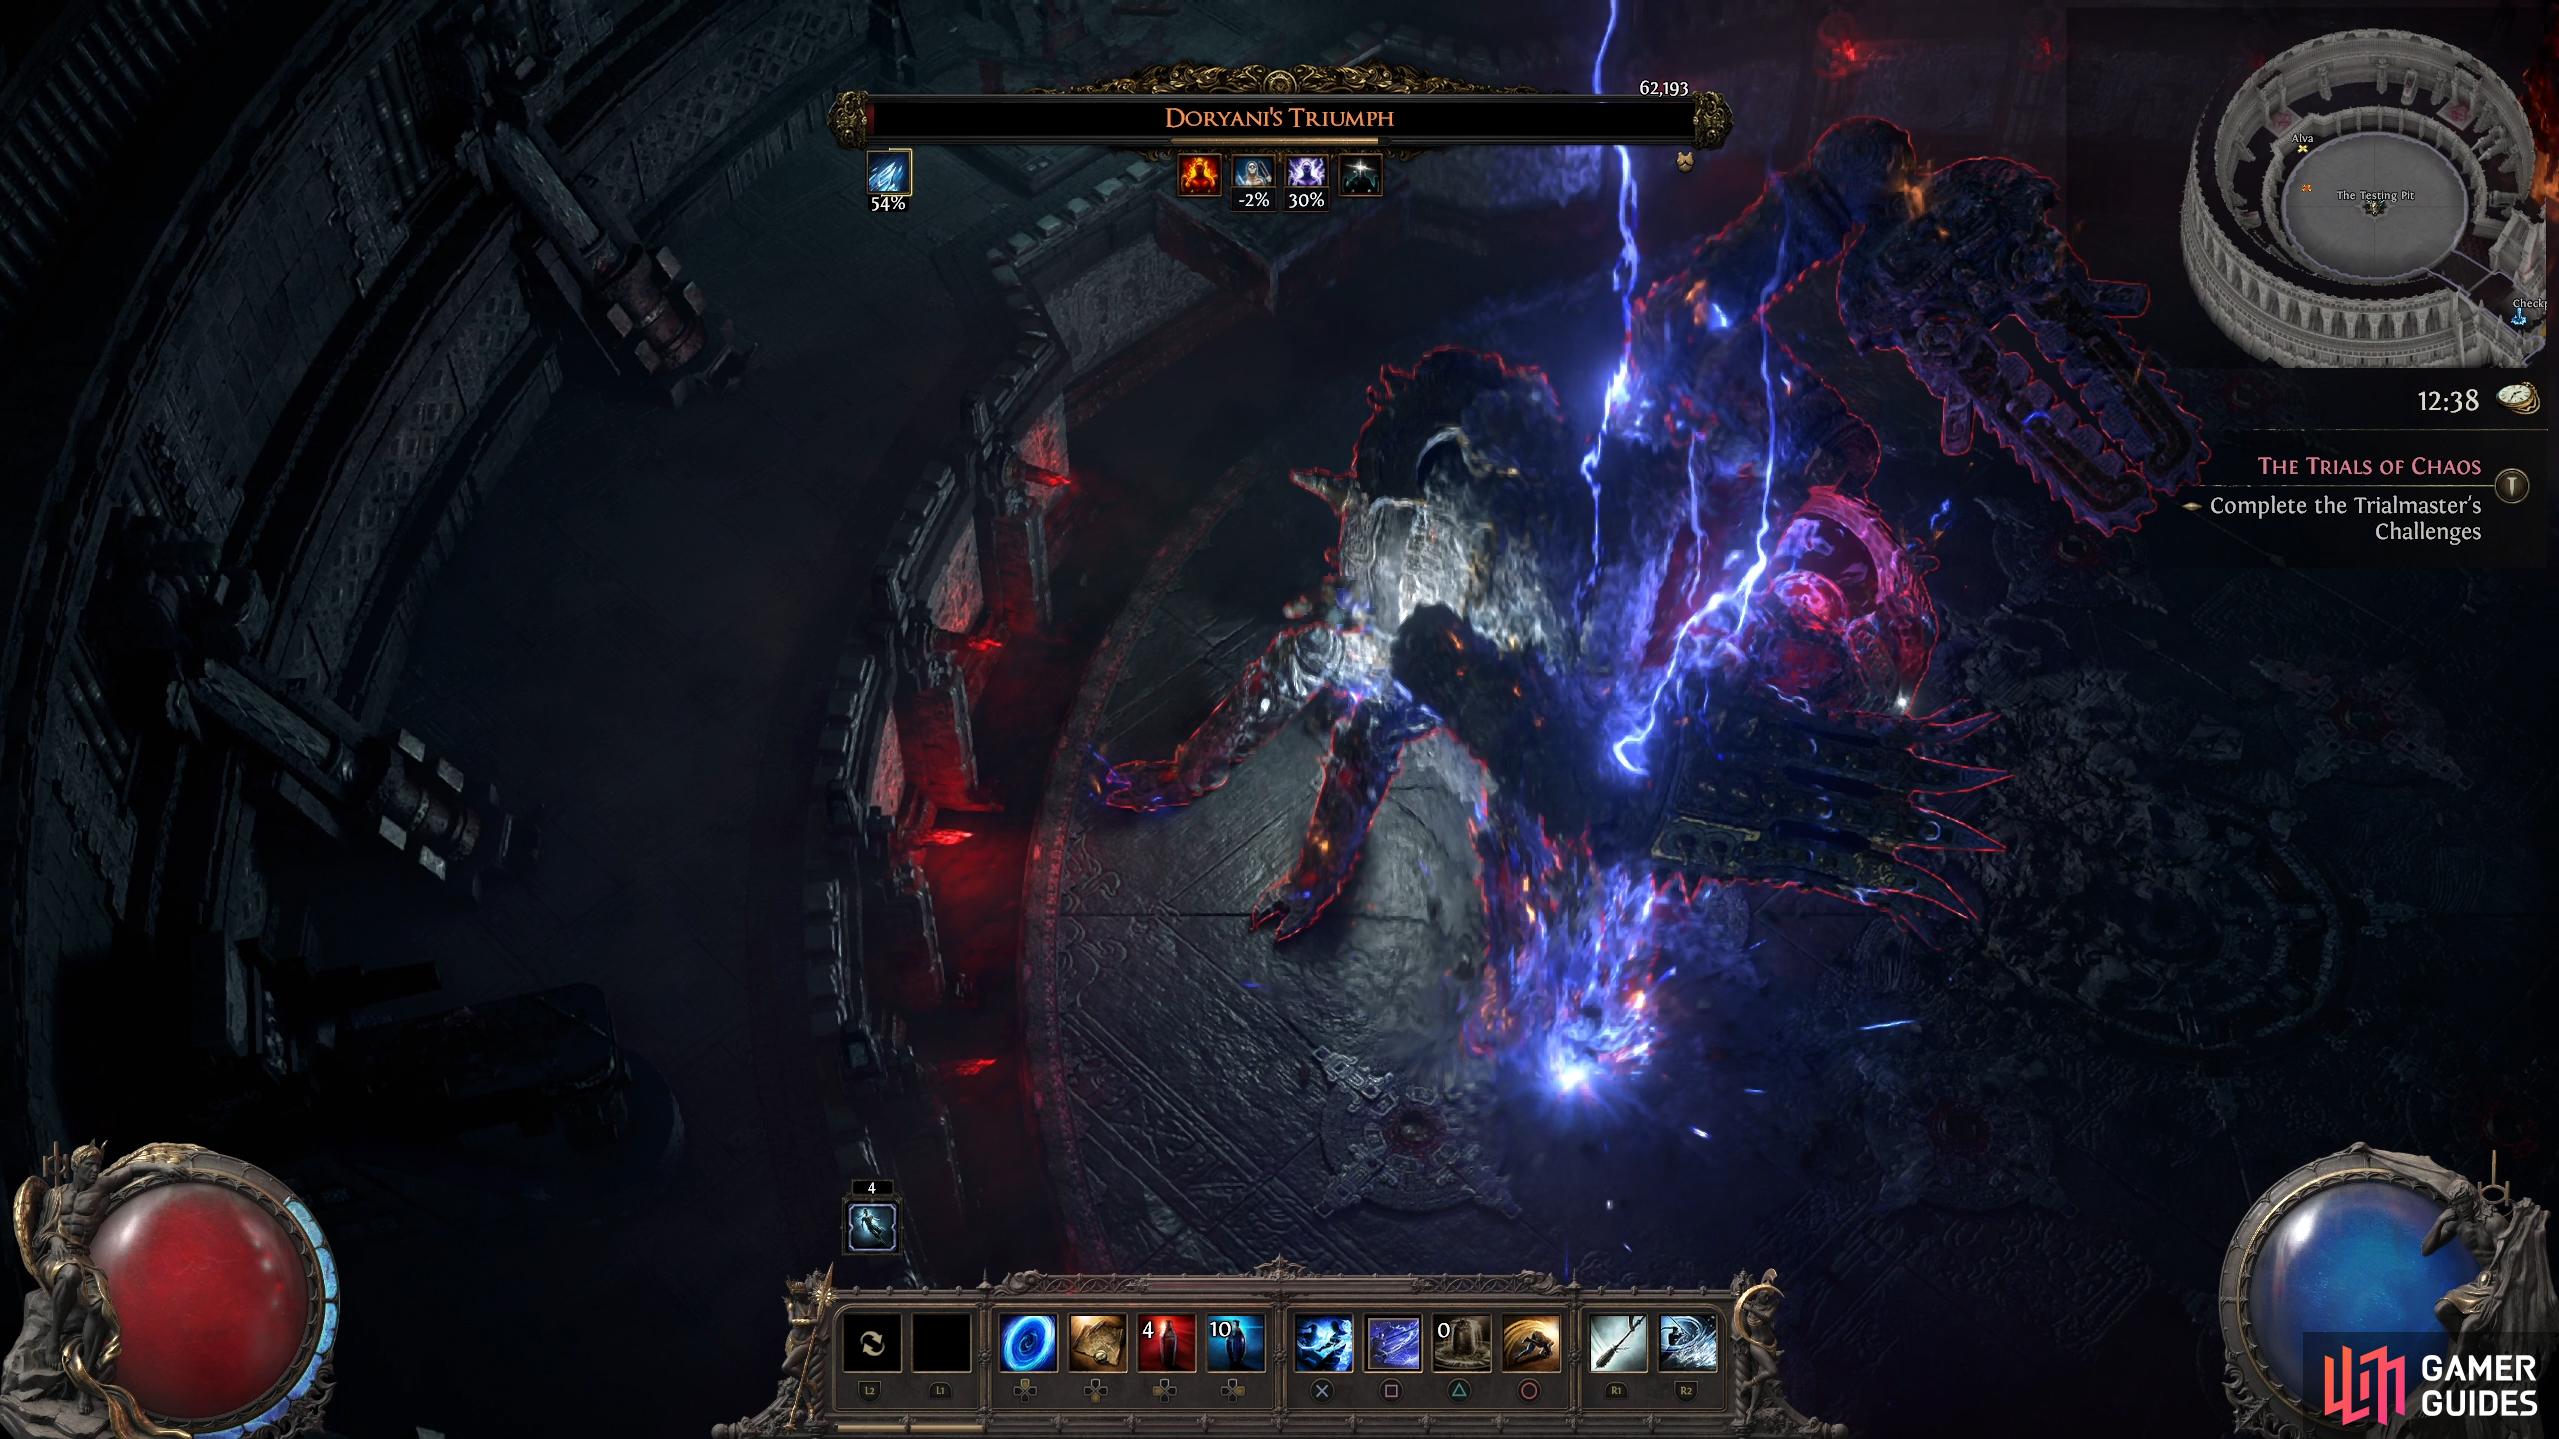
At times, Doryani will disassemble to use the attack below. To do this, he’ll explode into pieces. This is indicated by a blue circle, and if you’re in the circle when it explodes, you’ll take damage. Roll out of the circle as quickly as possible to avoid this.
(1 of 2) Later on, Doryani will disassemble. This will produce a large blue circle that explodes shortly after it appears.
Later on, Doryani will disassemble. This will produce a large blue circle that explodes shortly after it appears. (left), This will be followed up by a Crashing Dive, where he will come crashing down, dealing significant damage. (right)
Crashing Dive
Doryani will reassemble in the air and hover above you. This will display a large brownish circle around Doryani indicating the impact zone. Make sure you get out of the circle in time, otherwise you’ll take significant damage.
Beam Swipe
Similar to the Large Flamethrower attack, Doryani will unleash a red beam from his arm and swipe it to the side in the same motion he uses for the flamethrower attack. Stay behind him to avoid the attack.
Near death, lighting bolts will go appear close to the machine. These will go clockwise.
Lightning Bolts
When Doryani is nearly defeated, a bunch of lighting bolts will rotate clockwise around the machine. These will be really close to the machine, so back up a little, and finish him off.
Doryani Strategy
With the amount of attacks that Doryani has at his disposal, it’s fair to be a bit overwhelmed, but despite all his attacks, they’re easily avoidable. For Phase One, you’ll want to attack predominantly from range or wait out his close-range attacks before going in. For Phase Two, it’s the opposite, you want to hug the machine while staying to the side or back of it for the entire battle, only moving out to avoid the area of effect attacks.
As Doryani is a Thaumaturge, he’ll predominantly use fire, ice, and lightning attacks, with the latter not being used as much. If he’s not using one of those attacks, it’ll be a laser beam of some kind.
Phase One Strategy
Phase One will last until you deal approximately 50-70% damage (depending on your damage output). The main attacks you want to avoid in the first phase is his laser attacks. These deal by far the most damage. When you hear him say “The Power of Vaal”, immediately run up to him and stand to his side as he unleashes a laser attack that spreads out at the tip. During this attack, you’ll have enough time to get several hits on him for free.
The other main beam attack in this phase is the lasers that appear out of the central pillar. The pillar will periodically unleash three or four beams from random locations of the pillar. There will always be a gap between the beams, so make sure you’re in between them when they go off. This attack rotates clockwise and will fire off three to four sets of beams. During this period, you may have to deal with some of his other attacks. For the rest of his attacks, you can sit back and attack him from range, or wait for the attack to finish, close the gap, and get a few hits in before retreating again.
Phase Two - Doryani’s Triumph Strategy
Phase Two has a lot more devastating attacks, but are almost easier to avoid. For this phase, stick to the back of the machine like glue, only moving away from there to avoid the area of effect attacks (circles) or the Back Laser. From time to time, you will need to move around the machine’s body to avoid the odd tracking attack like the homing laser, but for the most part, you can stay close. A lot of the attacks in this phase give you plenty of time to get out of them, and you’ll most likely die to one of the smaller attacks, as it’s easy to forget about them with so much going on. The main two attacks that can be difficult to avoid are its Back Laser and Crashing Slam.
This is because the beams from the back laser rotate quickly, so you must immediately keep rolling around the machine to avoid them. One second too late, and it’s curtains. With Crashing Slam, the circle to get out of is large, and if you don’t get out immediately, you may get caught by it. Both of these attacks have the potential to kill you in one attack, depending on your gear and class. Other attacks that may cause you problems are the Homing Laser and Thunder Beam. These can be difficult to see because of the size of the boss, and with the former, it carries on after the initial attack, and if you forget about it, it can kill you before you know it.
With the Thunder Beam, the small circle it places near the boss can be hard to notice, especially if you’re using lightning attacks yourself, and the damage these bolts do adds up quickly, and before you know it, you’re done for. In short, you want to fight the boss at close range (almost hugging it) while staying at its back or side. Move whenever you see an area of effect attack or the Back Lasers, and watch out for the Homing Laser and beam attacks. Once you’ve defeated Doryani, you’ll get a short scene before you’re told to go through the portal, which will take you to the Cruel difficulty. Ensure you wait for the scene to end to get the loot from the boss.





 Sign up
No Comments