It looks like there are multiple ways to go here in the starting hallway, but the other doors are locked and you can actually only head south. Follow this short hallway to a room with some survivors from the rebellion. One of them, Persha, will hand over 5 pots of soreaway, which are basic herbs that can be used to heal your characters in combat. You’re free to look around once you get control again, but there isn’t really anything else in this safe area.
To continue, exit to the south and in the large hallway, another cutscene will happen, showing off the Black Knight you saw earlier. Roland will receive a change of clothes, giving you the Guard’s Greatcoat important item, as well as the Arms Band item. The latter is very important, as it is used for storing and transporting weapons. This item also allows you to call on any special skills that your weapons have. Nella will also hand over a Broadsword and you will be given a tutorial on the arms band.
Arms Band Tutorial
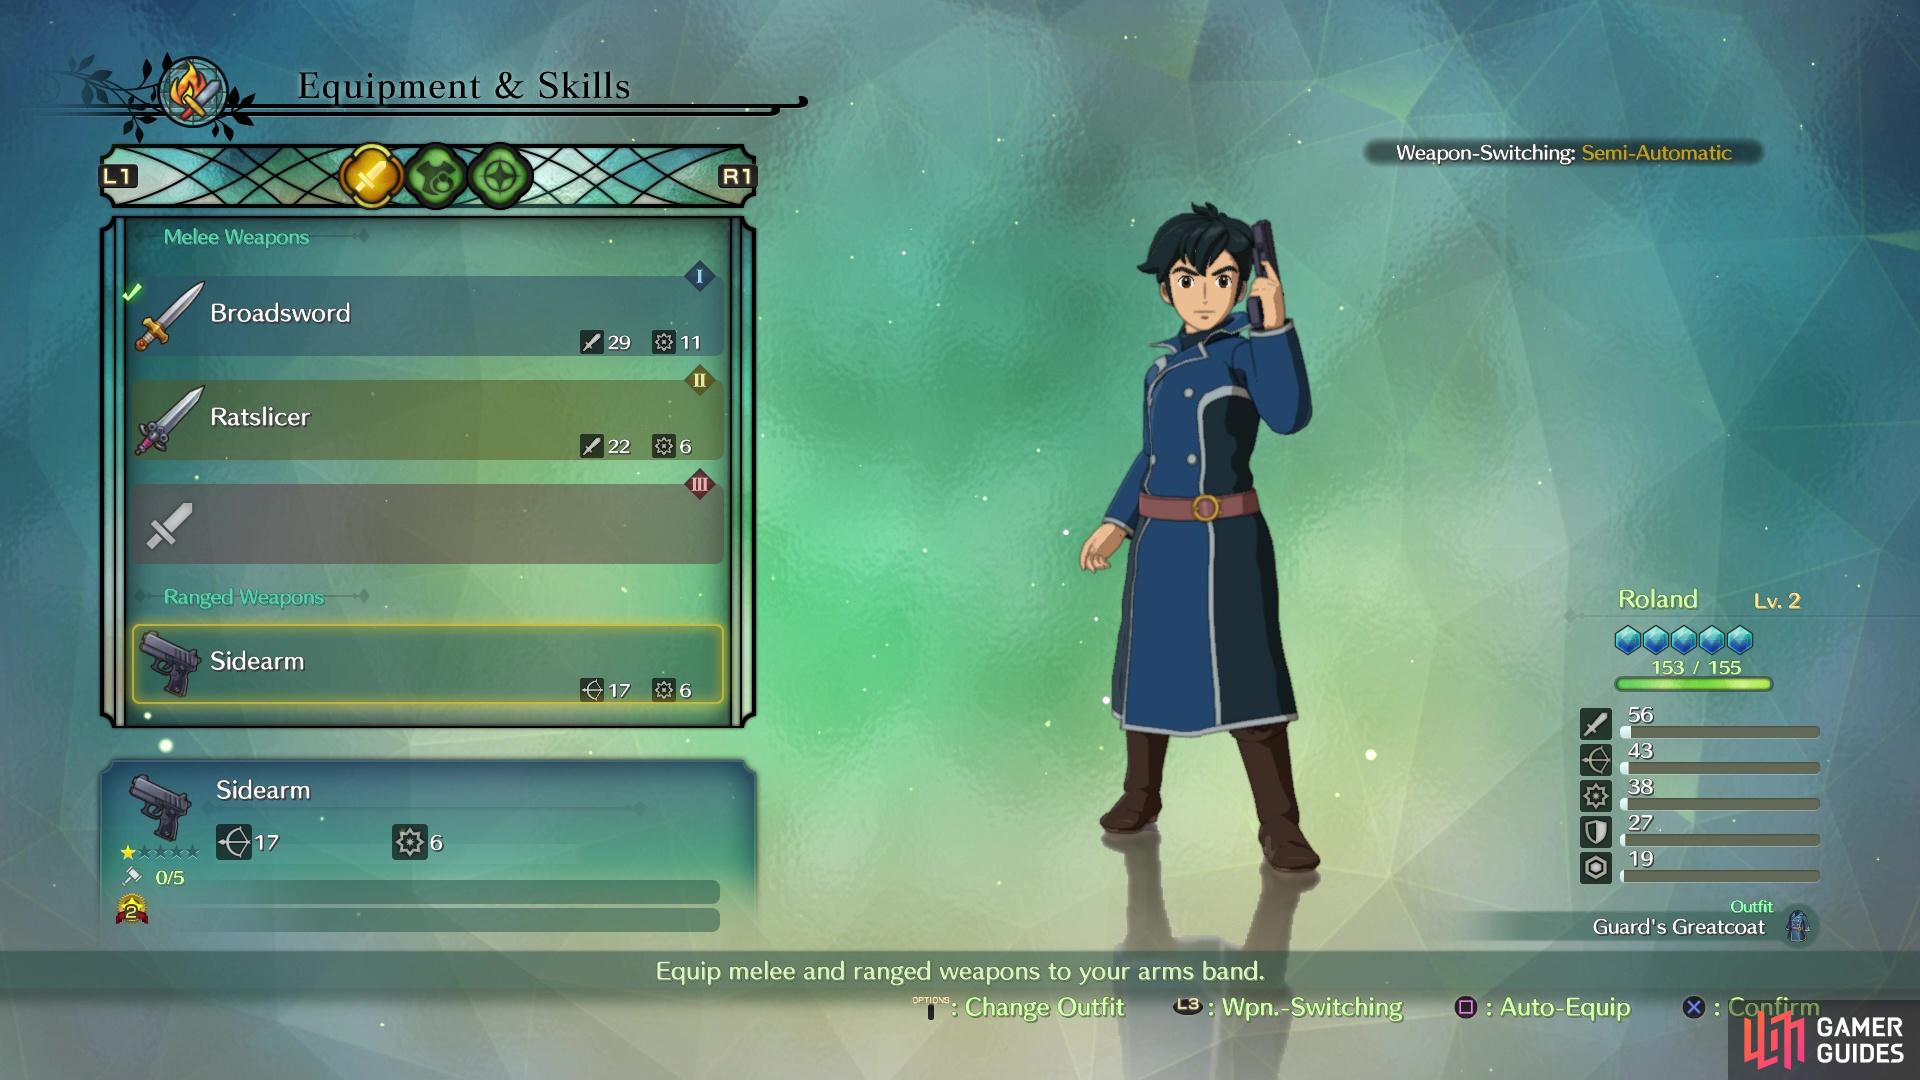
As already mentioned above, the arms band is basically your storage for all of the weapons and other equipment you receive and find throughout your journey. For combat purposes, you can equip up to three melee weapons and one ranged one per character. The apparel tab will allow you to equip clothes, armor, footwear and accessories, which will help with your characters’ physical and magical defense. There is also one more tab, which is where you can equip skills to use in battle. The Equipment & Skills is the top option whenever you enter the main menu by pressing the Touchpad.
When you enter the arms band screen for the first time, you are shown another tutorial, this one telling you about the five numerical parameters that each character has. The sword is your melee attack strength and tells you how strong close-range weapons and abilities are, while the bow/arrow will signify the strength of long-range weapons and abilities. The third symbol, which sort of looks like an explosion of some sort, shows the strength of magical attacks and abilities. The final two symbols, which are of a shield and a barrier-like thing, will show your physical and magical defense, respectively.
Go ahead and equip the two melee weapons you have, as well as the ranged one. This prompts another tutorial, this one about switching weapons and the three modes you can use in regards to that. You can switch weapons anytime with the L2 button, but only if you set it to Manual or Semi-Automatic (the default setting). The final setting you can use is Automatic, where your weapons will switch automatically based on their Zing gauge. For Semi-Automatic, you will automatically switch to another weapon with high attack power or Zing after you use a skill.
(1 of 2) The arms band allows you to collect and store weapons
The arms band allows you to collect and store weapons (left), You can equip up to three melee weapons at once (right)
You can change your weapon-switching setting in the Equipment & Skills menu, as well as during battles with the Options button. While the game doesn’t tell you about Zing here, we’ll provide you with a quick tutorial. As you can see next to your weapons, there will be a percentage, which will rise up as you use that weapon. This is the Zing gauge and it fills rather quickly, with it adding special effects to your skills whenever you use one at 100%. Also in the room is a small stone tablet, which is called a Waystone. These are your save points and interacting with them will restore the entire party’s HP and MP, as well as cure any status ailments, so make sure you use them whenever you find one.
Finding the Sewers
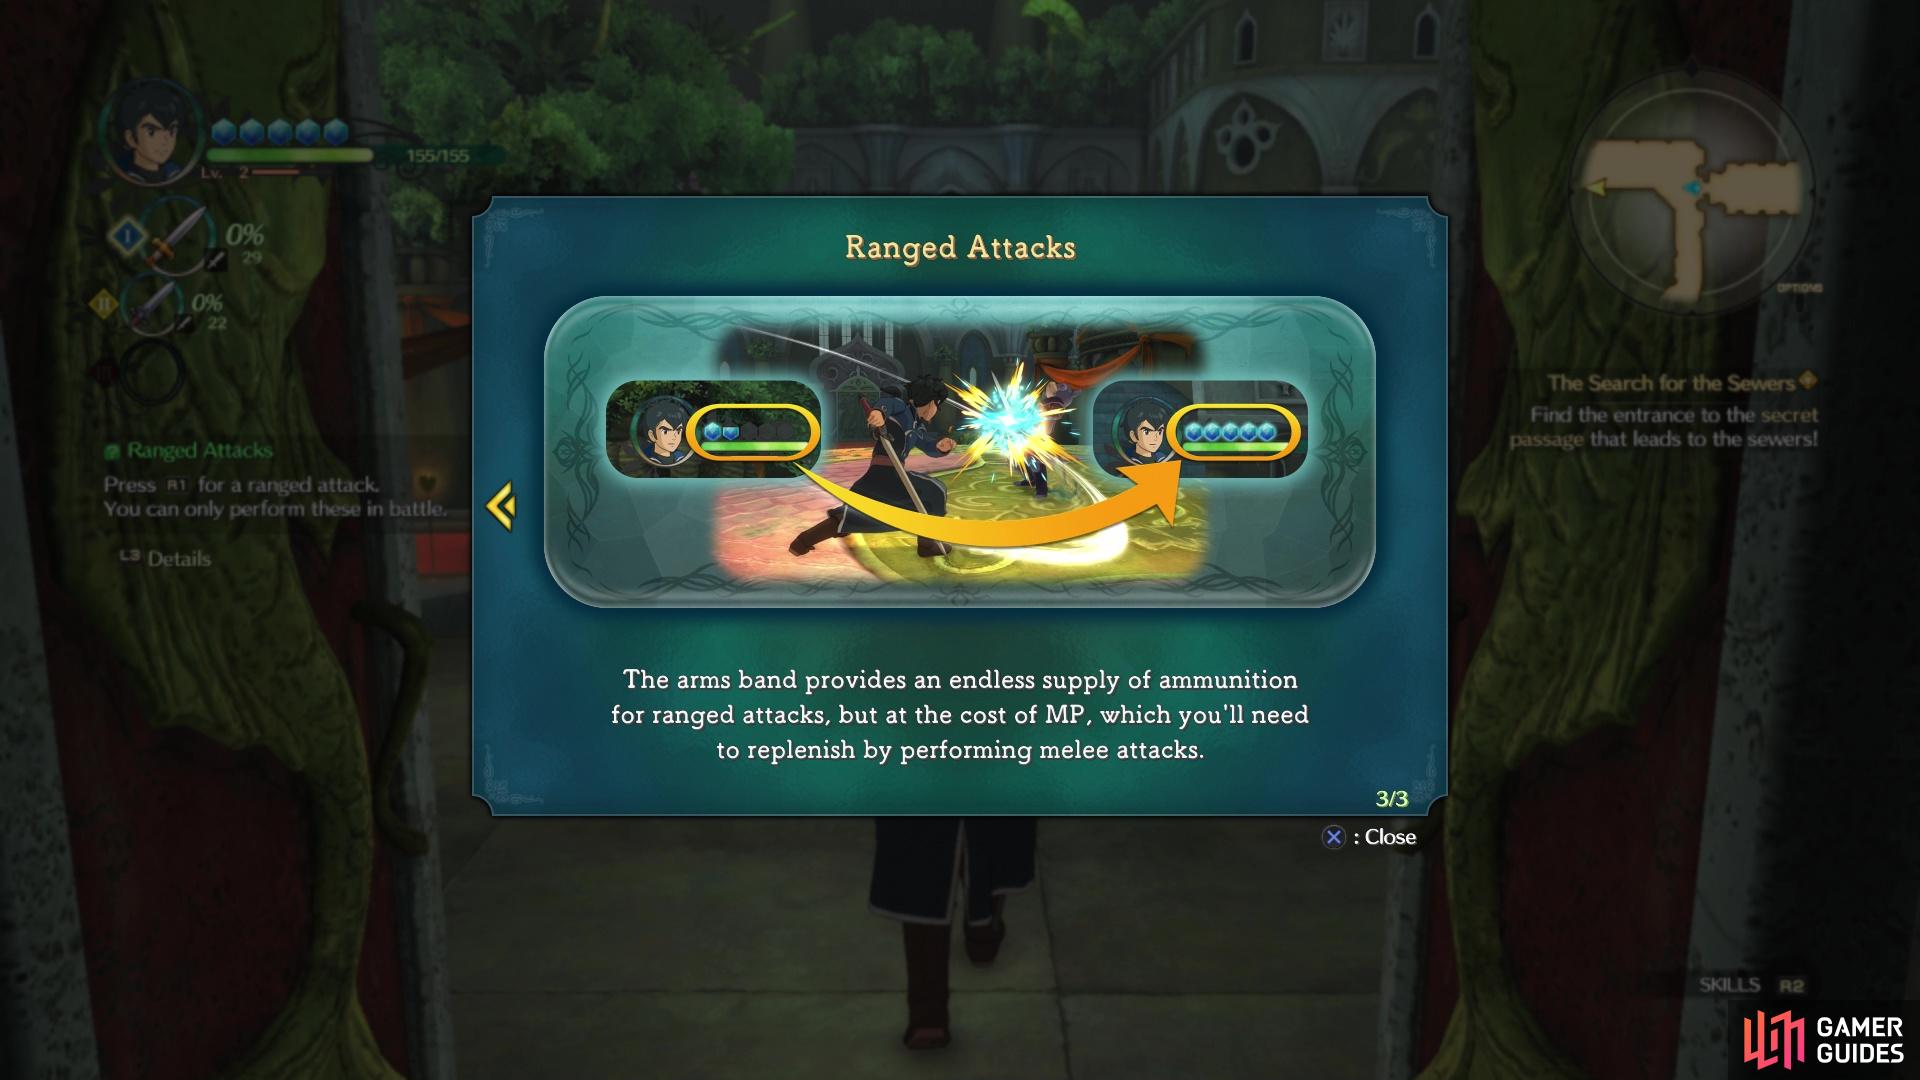
After going through all of the tutorials and playing around with your arms band a bit, speak with Aranella upon equipping Roland to get moving. She will hand over a bag to Evan (Evan’s essentials), with one of the items being an arms band, although you won’t be using Evan just yet. Exit the room and continue west, where you’ll enter a large area with a lot of guards. You will learn about ranged attacks here, which are almost as straightforward as you would think. Tapping the R1 button will unleash quick, continuous ranged attacks, while holding it down builds up powerful, charged attacks with all melee weapons, except for Roland’s sidearm.
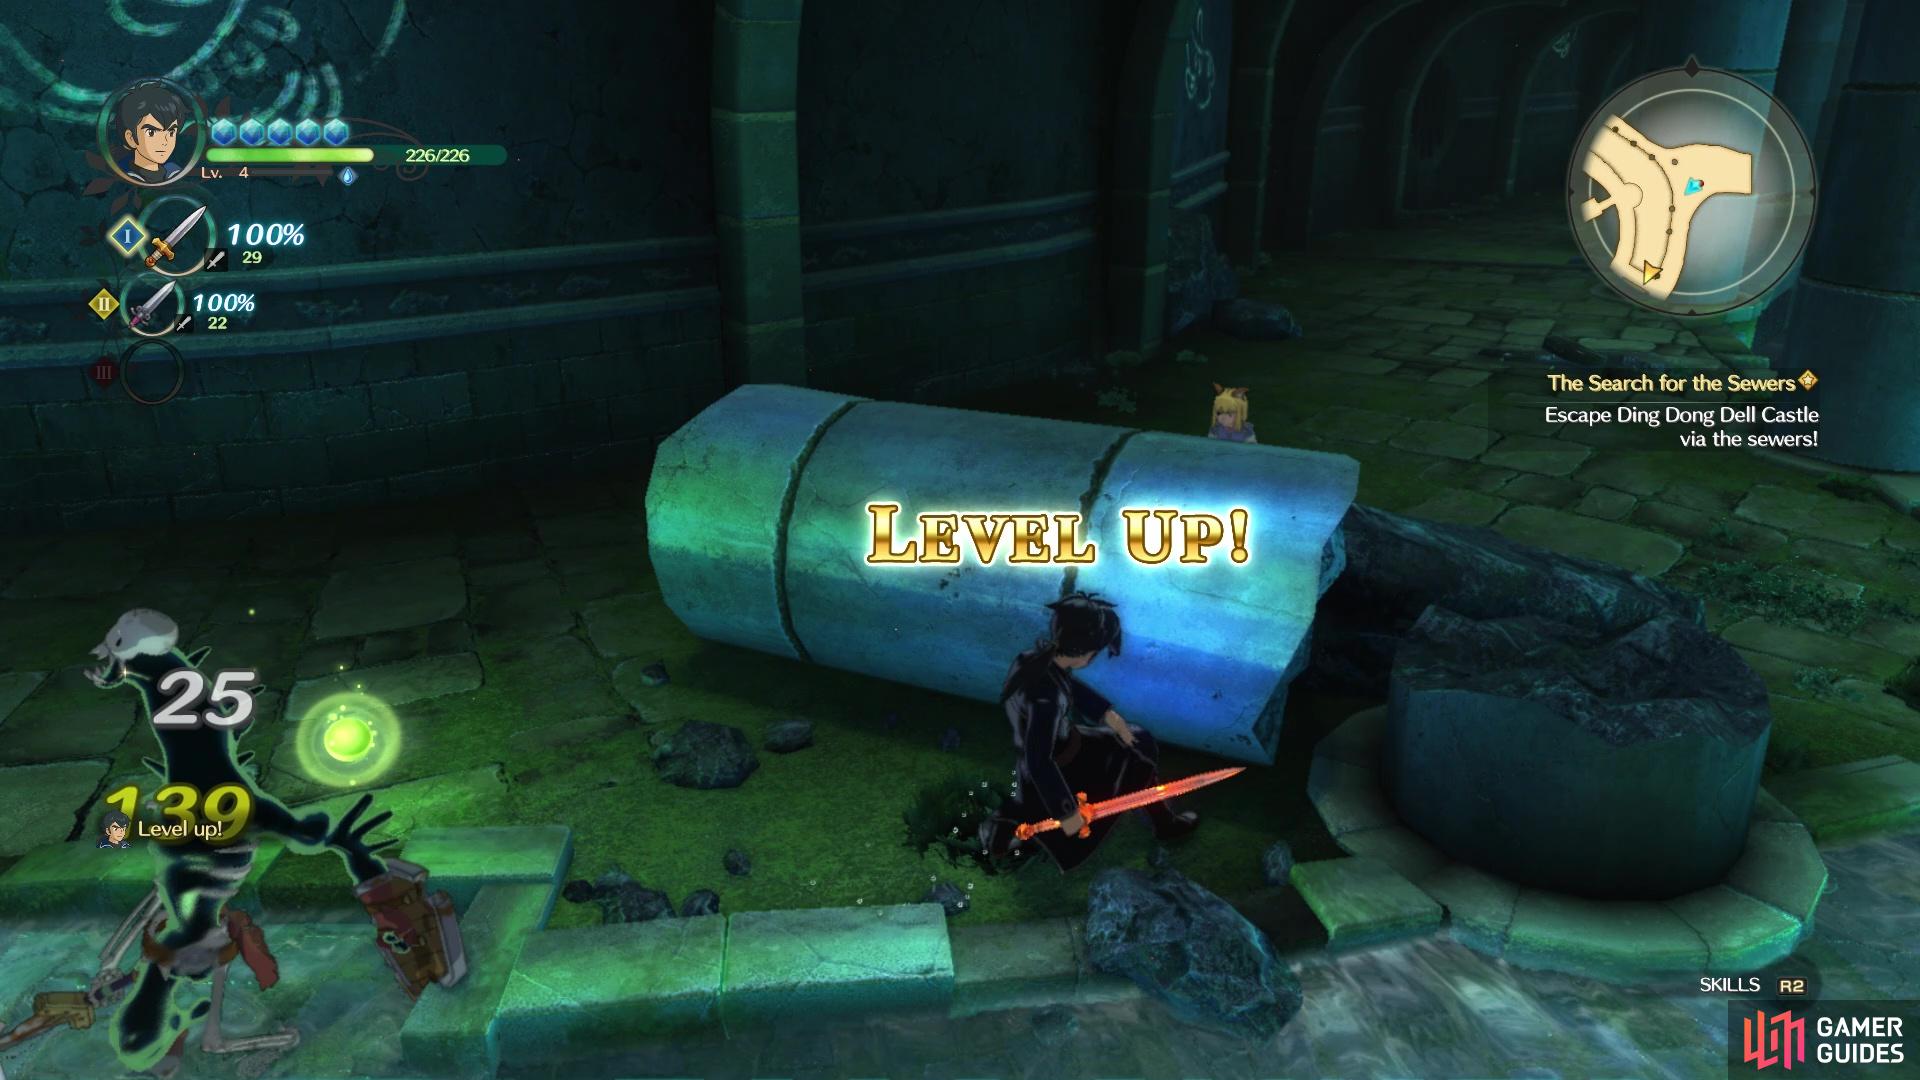
While there are a few level 3 guards in the mix, you should be fine handling the large number of guards, especially with Nella’s help. Remember to block to minimize the damage you take, plus you always have those Soreaways in your inventory, in case you do need some health. Note that enemies can drop green orbs, which will also replenish your health, but it’s not guaranteed (blue orbs replenish MP). It is possible to sneak by all of these enemies, by taking the side path at the start and waiting for the one guard to turn around, then sneaking by and to the other side. Of course, at this point, fighting the guards will probably get you a level up.
(1 of 2) Ranged attacks use up MP
Ranged attacks use up MP (left), but you will have unlimited ammunition (right)
Whatever you do, enter the room beyond to initiate another scene, with the entrance to the sewers finally within reach. Follow the small hallway here, with the game stopping you for one more scene, then open the secret doorway at the end to arrive at Ding Dong Well.
Ding Dong Well
| Sparkle Items |
|---|
| Crude Sap, Iron Nugget |
When you first arrive in the sewers, you see that it is a proper dungeon, and you’re introduced to a few new things. One of the first things you will see is a sparkle on the ground, and moving over it will usually yield an item. These items are semi-random and chosen from a list of stuff that’s usually specific to that dungeon/area. They will usually respawn, too, but these ones in the sewers may not. A little farther along are some green slime enemies, called Goo, and when you approach them, another short tutorial will pop up.
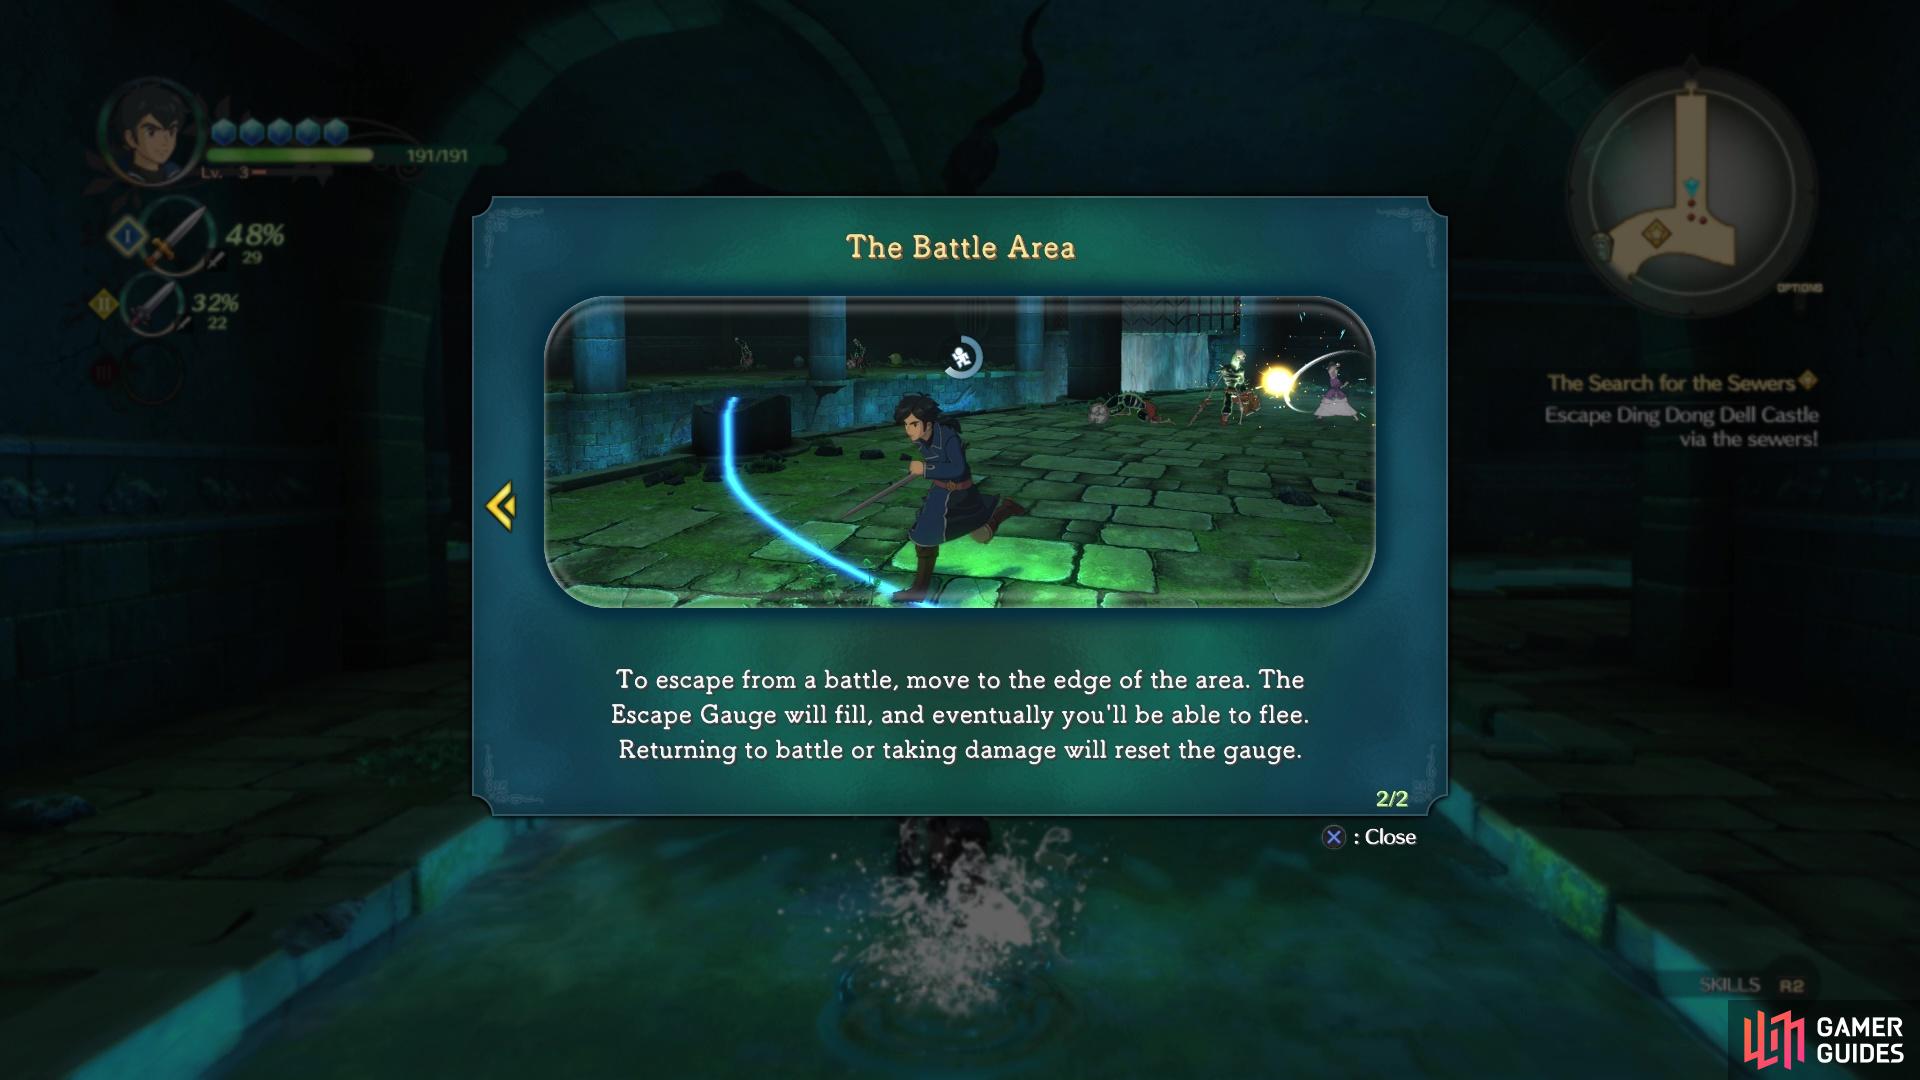
Whenever you encounter enemies in dungeons, an invisible barrier will be projected, dictating the battle arena. Should you come into trouble and wish to escape, simply move to the edge of the arena and an Escape Gauge will fill. You will be able to escape once it’s full, but returning to battle or taking damage will reset it. The Goos are difficult enemies, but they have a ranged attack, so you can try and wait to bait it out, then rush in to strike. It should be said now that enemies will usually drop guilders (money) and items after defeating them. There is no rush in picking them up, though, as they will remain on the ground even after the battle is finished.
(1 of 2) Sparkles yield random items from a dungeon/region
Sparkles yield random items from a dungeon/region (left), Escape from battles if things get dangerous (right)
After the fight is over, grab the sparkle nearby and continue in the other direction for another cutscene. Aranella will unlock a skill for Roland here, called Flatliner. To use a skill in battle, it first needs to be equipped (new ones will automatically be equipped if you have an open slot) from the Equipment & Skills menu. Once you do that and are in battle, hold down R2 and press the corresponding face button to use the skill. Skills use a certain amount of MP, so you won’t be able to spam them until you regain MP back by attacking them normally. It is here you learn that a full Zing gauge (100%) will add special effects or change what a skill does when you use it; the Zing resets to 0% after using a skill at 100%.
Feel free to use the waystone to recover and save your game, then enter the main area of Ding Dong Well. Now, there will be a lot of sparkles throughout this place, so not every single one will pointed out in this guide (would take up too much time). As soon as you enter the main area, head north to find some Skeleplasms (these are the enemies the sorceress conjured in the castle). Defeat them and then open the chest they were guarding for a Broadsword. Equip it to Roland and jump down into the flowing water to find a bunch more sparkles.
To continue, return to where you first entered the area and cross the bridge straight ahead of you. There will be more enemies to your north, as well as a doorway to your west. A split will be here, with the southern room containing a few enemies, while the northern one will have more and a chest, which contains a Freshly Baked Bread. Return to the main room and travel south to find an opening in the gate. As soon as you pass through it, look for the gap in the railing to your left and jump down into the water. Take a gander back where you came from to spot a ledge you can jump to, with another chest (100 guilders). You can use the conveniently broken pillar against the wall to jump back to the path.
(1 of 2) Breaking pots will yield items too
Breaking pots will yield items too (left), Enemies can drop green orbs that heal whoever picks them up (right)
Continue south a little bit and enter the small room for another chest, with this one housing a Soreaway. Back in the main area, follow the western wall all the way to the south and then west, defeating any enemies in your way, until you come to the dead end. Double back to the side room and cross the bridge not too far south of there. Go north and clear this side of the enemies and sparkles, then do the same for the southern path. All that is left here is to make your way to the objective marker, where a cutscene occurs and you’ll be in a new area…


 Sign up
No Comments