
![]() Needle Knight Leda is a new NPC with her own questline in the Shadow of the Erdtree DLC in Elden Ring. She will be the first NPC you’ll meet in the new DLC with her first meeting in Mohgwyn Dynasty Mausoleum provided you’ve done the prerequisites to access the DLC. If you haven’t, follow our Shadow of the Erdtree Unlock Guide. Leda is an avid follower of Miquella and leads a band of Needle Knights following the breadcrumbs left behind in a search to find him. Read on to find out every meeting with her, how you can complete her questline, and what you get as a reward for doing so.
Needle Knight Leda is a new NPC with her own questline in the Shadow of the Erdtree DLC in Elden Ring. She will be the first NPC you’ll meet in the new DLC with her first meeting in Mohgwyn Dynasty Mausoleum provided you’ve done the prerequisites to access the DLC. If you haven’t, follow our Shadow of the Erdtree Unlock Guide. Leda is an avid follower of Miquella and leads a band of Needle Knights following the breadcrumbs left behind in a search to find him. Read on to find out every meeting with her, how you can complete her questline, and what you get as a reward for doing so.
Needle Knight Leda is one of the main NPCs in the Shadow of the Erdtree DLC. Follow her story throughout the realms of shadow.
Table of Contents
If you want to jump straight to a specific meeting, or perhaps see what rewards you get from finishing this Questline, check out the following table:
| Quickjump |
|---|
| First Meeting |
| Second Meeting |
| Third Meeting |
| Fourth Meeting |
| Fifth Meeting |
| Final Meeting |
| Final Battle |
First Meeting - Mohgwyn Dynasty Mausoleum, Mohgwyn Palace
Your first meeting with Leda will be by the cocoon in Mohgwyn Dynasty Mausoleum, where you transport yourself to reach the realms of shadow. Speak to her and exhaust her dialogue, where you’ll find out that she too has been called to this place and that Miquella now resides in the ![]() Land of Shadow. She will inform you that you can go to the realm too if you interact with the withered arm that is protruding out of the cocoon. Do as she says and touch the creepy arm, and you’ll end up inside a cave in the realm of shadow.
Land of Shadow. She will inform you that you can go to the realm too if you interact with the withered arm that is protruding out of the cocoon. Do as she says and touch the creepy arm, and you’ll end up inside a cave in the realm of shadow.


(1 of 2) You’ll need to have access to the DLC to meet Leda for the first time.
You’ll need to have access to the DLC to meet Leda for the first time. (left), When you do, she’ll be in Mohgwyn Dynasty Mausoleum, where you fight Mohg. (right)
Second Meeting - Belurat, Tower Settlement, Gravesite Plain
In the ![]() Gravesite Plain region, head northwest to find
Gravesite Plain region, head northwest to find ![]() Belurat, Tower Settlement Map Marker. This is a legacy dungeon that can be very difficult to get through, but you’ll need to get through the entirety of it and defeat the boss there before you can obtain a letter left by Leda, which is your next meeting. After you’ve defeated the boss, exit the room, and head up the elevator to the east. At the top, walk across to the end of the bridge, and open the door. In the next area, pick up the
Belurat, Tower Settlement Map Marker. This is a legacy dungeon that can be very difficult to get through, but you’ll need to get through the entirety of it and defeat the boss there before you can obtain a letter left by Leda, which is your next meeting. After you’ve defeated the boss, exit the room, and head up the elevator to the east. At the top, walk across to the end of the bridge, and open the door. In the next area, pick up the ![]() Scadutree Fragment near the broken statue to your south, and then take the stairs up to the north.
Scadutree Fragment near the broken statue to your south, and then take the stairs up to the north.
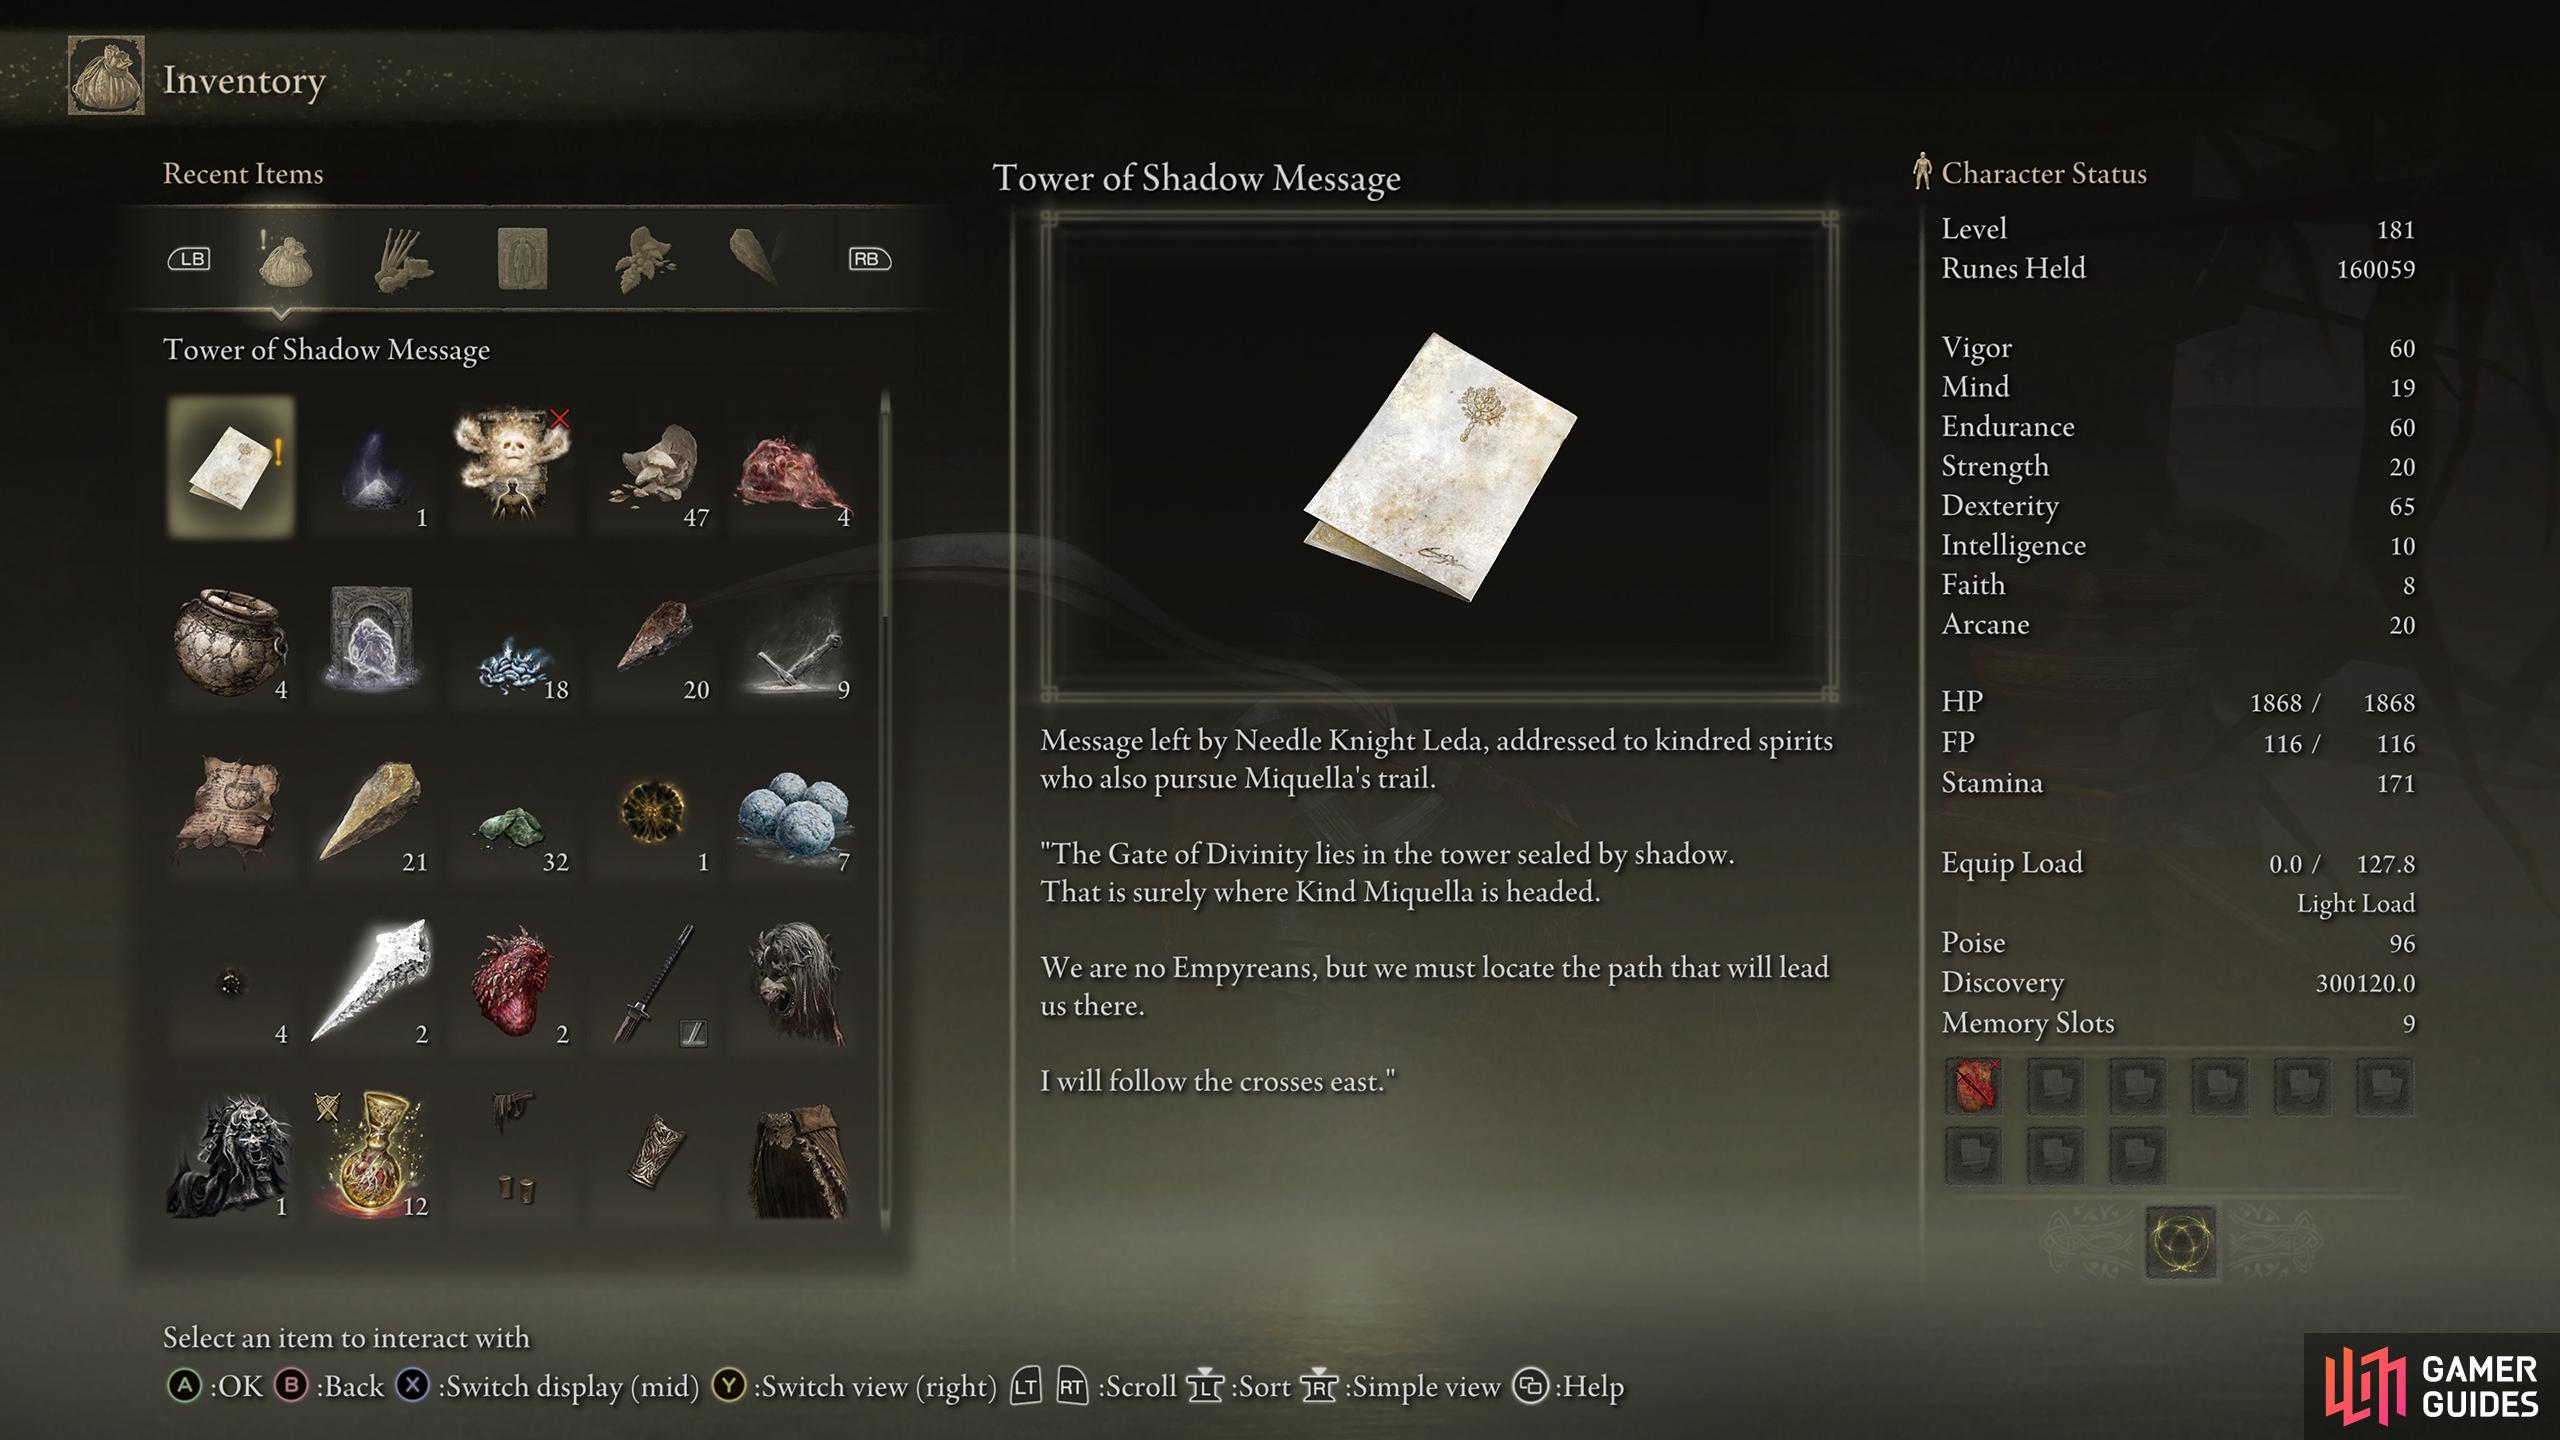
Although the path will be blocked off, there will be a letter from Leda next to the balcony to the right of the stairs Map Marker. This letter reads: “The Gate of Divinity lies in the tower, sealed by shadow. That is surely where Kind Miquella is headed. We are no Empyreans, but we must locate the path that will lead us there. I will follow the crosses east.” In short, the letter is telling you that she plans to head east, and if you look at the maps that come with it, it’ll show you that you need to head over the ![]() Ellac Greatbridge, through
Ellac Greatbridge, through ![]() Castle Ensis, and into the
Castle Ensis, and into the ![]() Scadu Altus Region.
Scadu Altus Region.


(1 of 3) Once you’ve defeated the boss in Belurat, exit the room, head east, and take the elevator up.
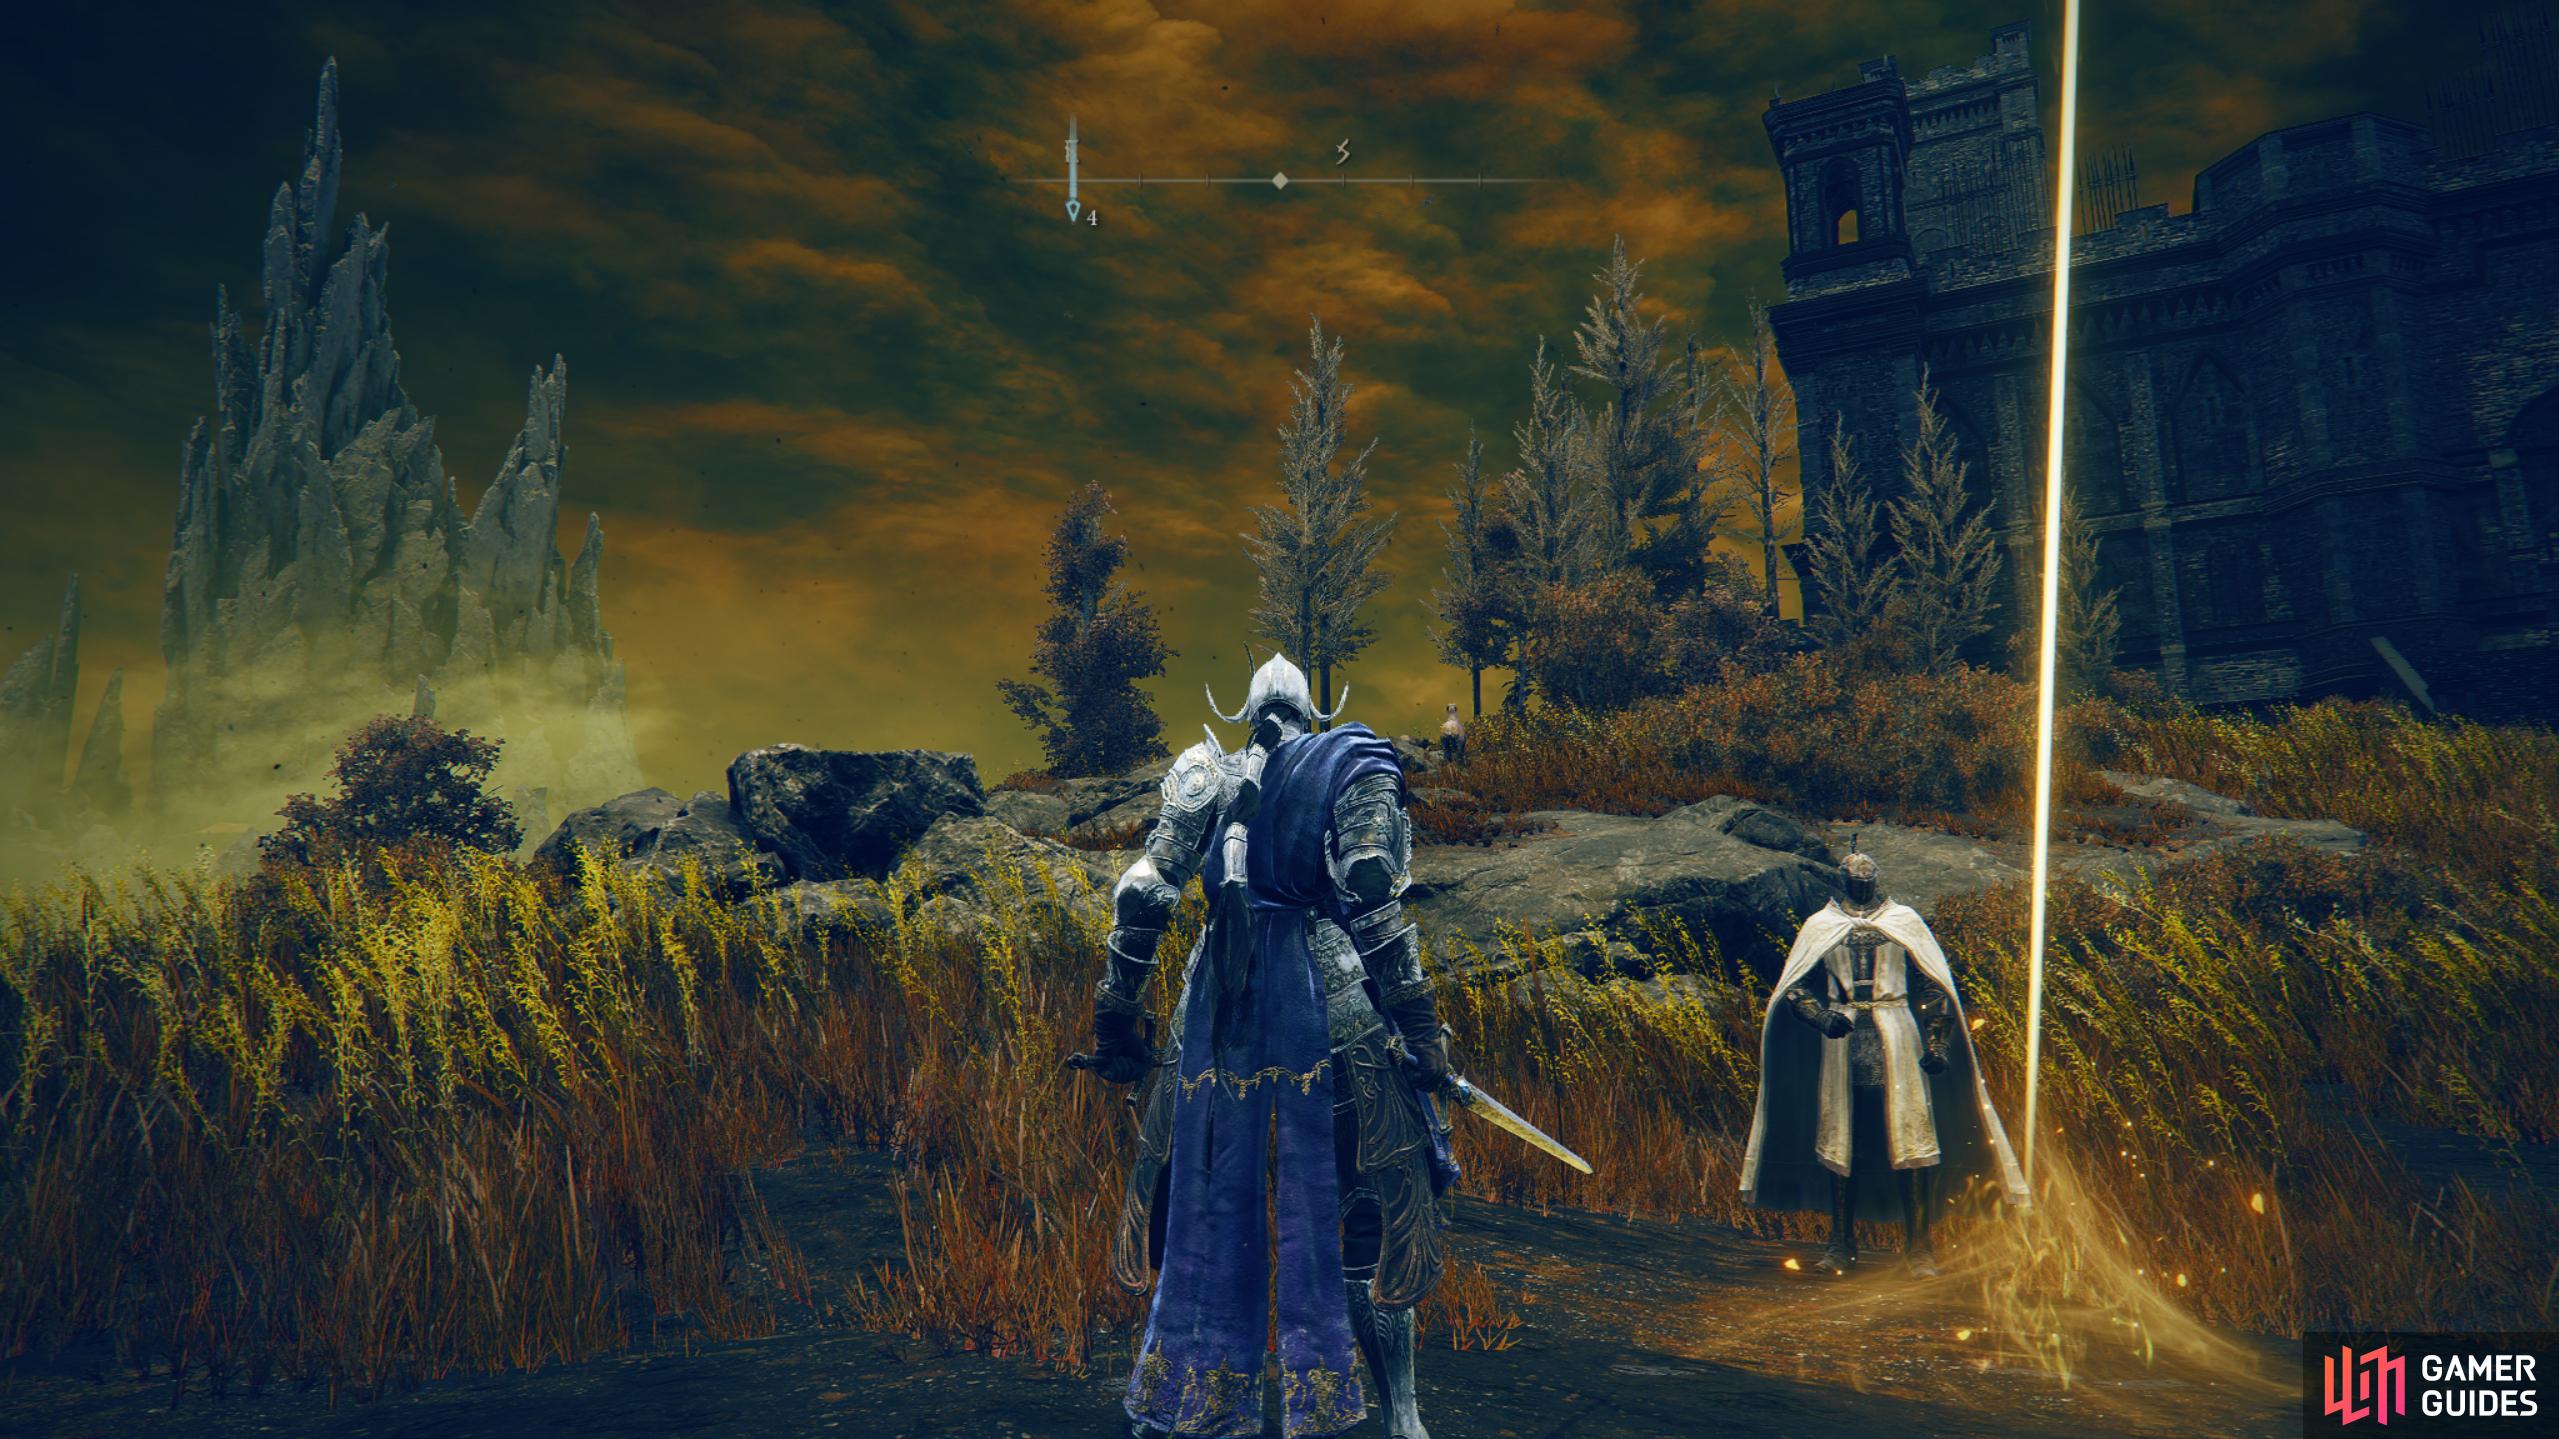
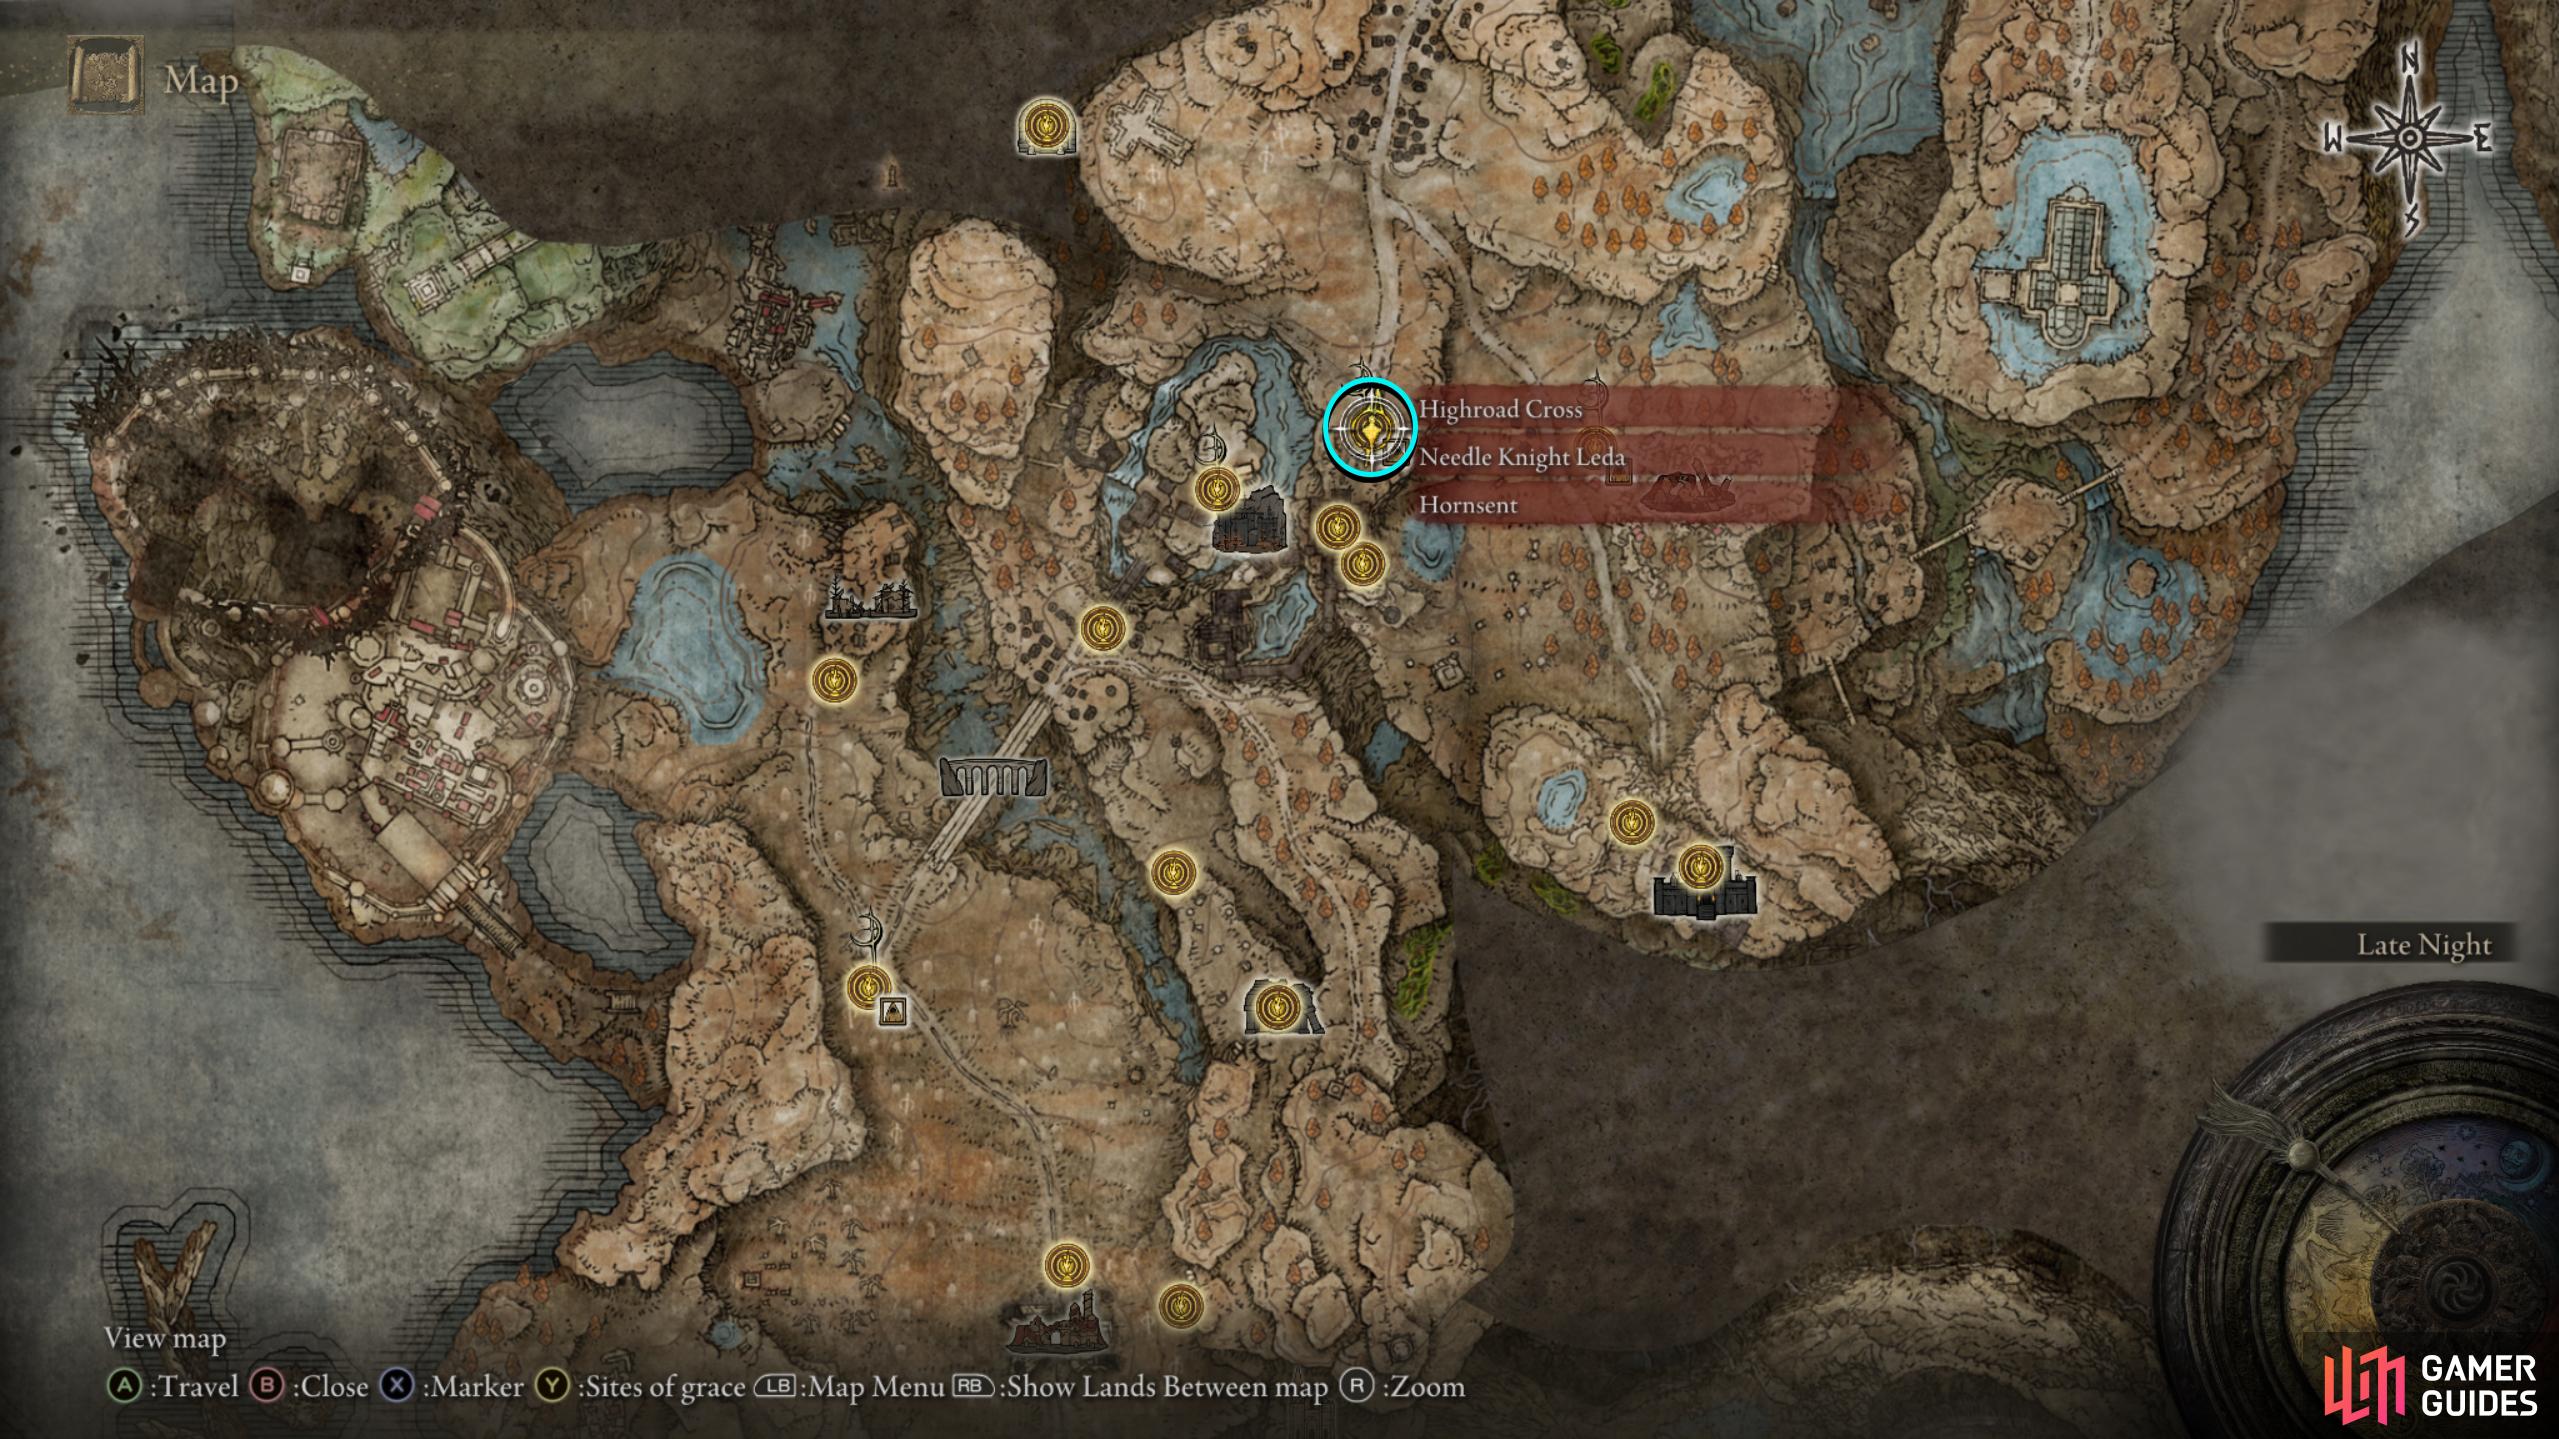
Third Meeting - Highroad Cross, Scadu Altus
Before you can meet Leda again, you’ll need to get through Castle Ensis Map Marker, which can be found across the Ellac Greatbridge to the northeast of the Gravesite Plain site of grace Map Marker. Once you’ve done that, exit the castle, and on the other side, you’ll find yourself in the Scadu Altus region. Follow the path north, and you’ll reach the ![]() Highroad Cross site of grace shortly after Map Marker, alongside Leda and another NPC who goes by
Highroad Cross site of grace shortly after Map Marker, alongside Leda and another NPC who goes by ![]() Hornsent.
Hornsent.
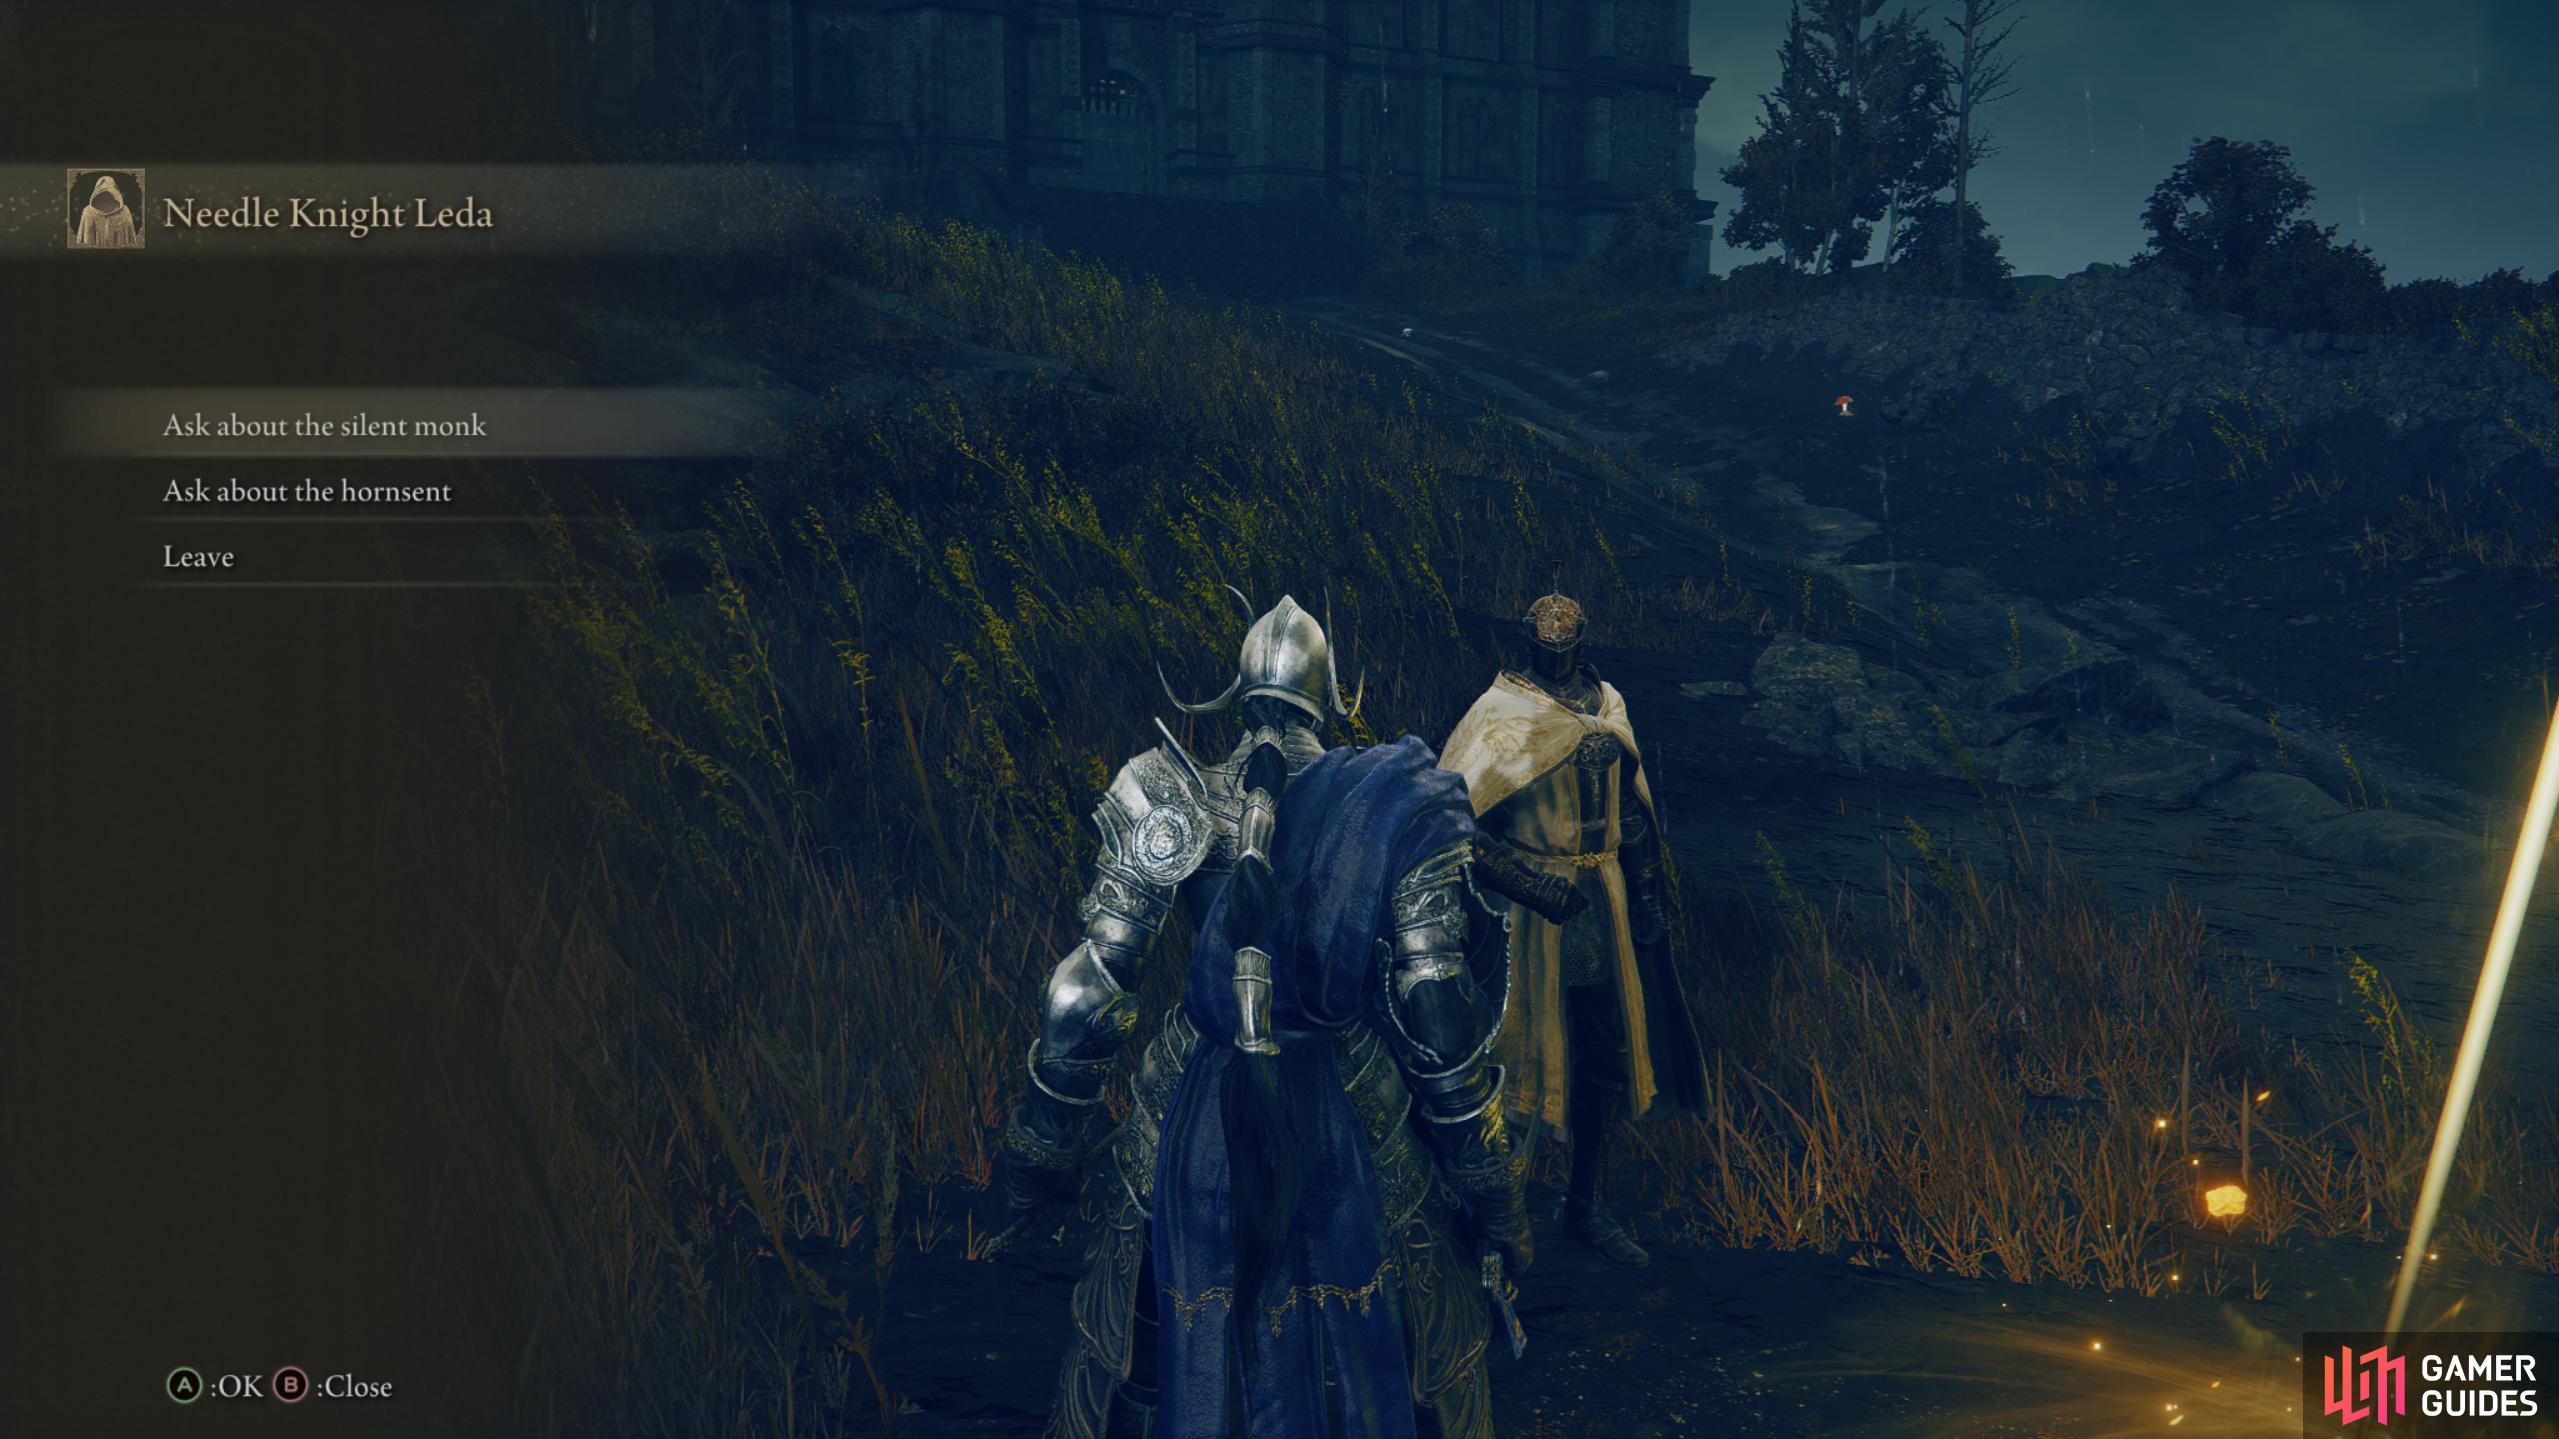
Speak to Leda, exhaust her dialogue, and then ask her any questions about the various NPCs you’ve met so far. By now, you’ll only be able to ask her about the Hornsent (who is next to her), and the “Silent Monk” (![]() Dryleaf Dane) who can be found in
Dryleaf Dane) who can be found in ![]() Moorth Ruins to the southeast of your current location Map Marker. This will expand that particular NPCs lore to give you a better idea of whom you’ve been dealing with.
Moorth Ruins to the southeast of your current location Map Marker. This will expand that particular NPCs lore to give you a better idea of whom you’ve been dealing with.
(1 of 2) After you get through Castle Ensis, follow the path north to find a site of grace to your right.
After you get through Castle Ensis, follow the path north to find a site of grace to your right. (left), This site of grace is called Highroad Cross, where you’ll find Leda in person. (right)
Fourth Meeting - Highroad Cross, Scadu Altus (After Great Rune)
Head toward ![]() Shadow Keep Map Marker by following the nearby path north/northeast until you hear a loud noise followed by a notification mentioning that the Great Rune has been destroyed. This event will change most of the NPCs questlines including Leda’s, and will leave you with a choice to make shortly. Head back and talk to Leda at Highroad Cross to find out that an enchantment that took hold over the NPCs is broken, meaning some of Miquella’s believers weren’t true believers and were only there due to the enchantment, although it appears Leda still is. Speak to her again and she’ll want to get rid of the non-believers and ask who you think she should start with, which leaves you with an important choice to make.
Shadow Keep Map Marker by following the nearby path north/northeast until you hear a loud noise followed by a notification mentioning that the Great Rune has been destroyed. This event will change most of the NPCs questlines including Leda’s, and will leave you with a choice to make shortly. Head back and talk to Leda at Highroad Cross to find out that an enchantment that took hold over the NPCs is broken, meaning some of Miquella’s believers weren’t true believers and were only there due to the enchantment, although it appears Leda still is. Speak to her again and she’ll want to get rid of the non-believers and ask who you think she should start with, which leaves you with an important choice to make.
Suggest Thiollier
Not much will come out of this choice, as Leda will deduce that although ![]() Thiollier follows
Thiollier follows ![]() St. Trina, he doesn’t pose a threat to her or Miquella.
St. Trina, he doesn’t pose a threat to her or Miquella.
Suggest the Hornsent
Suggesting the Hornsent will have Leda weigh up what threat they pose and will ask for time to consider the suggestion. ![]() Rest at the nearby site of Grace and talk to her again, and she’ll agree to your suggestion.
Rest at the nearby site of Grace and talk to her again, and she’ll agree to your suggestion.
Make No Suggestion
Although this option appears to be the better option, all this does is leave it up to Leda who will go after Hornsent anyway. The reason for this is that Hornsent is dangerous, and she can’t allow him a chance to take out Miquella. Selecting this option will only lock you out of later rewards while not changing the outcome.
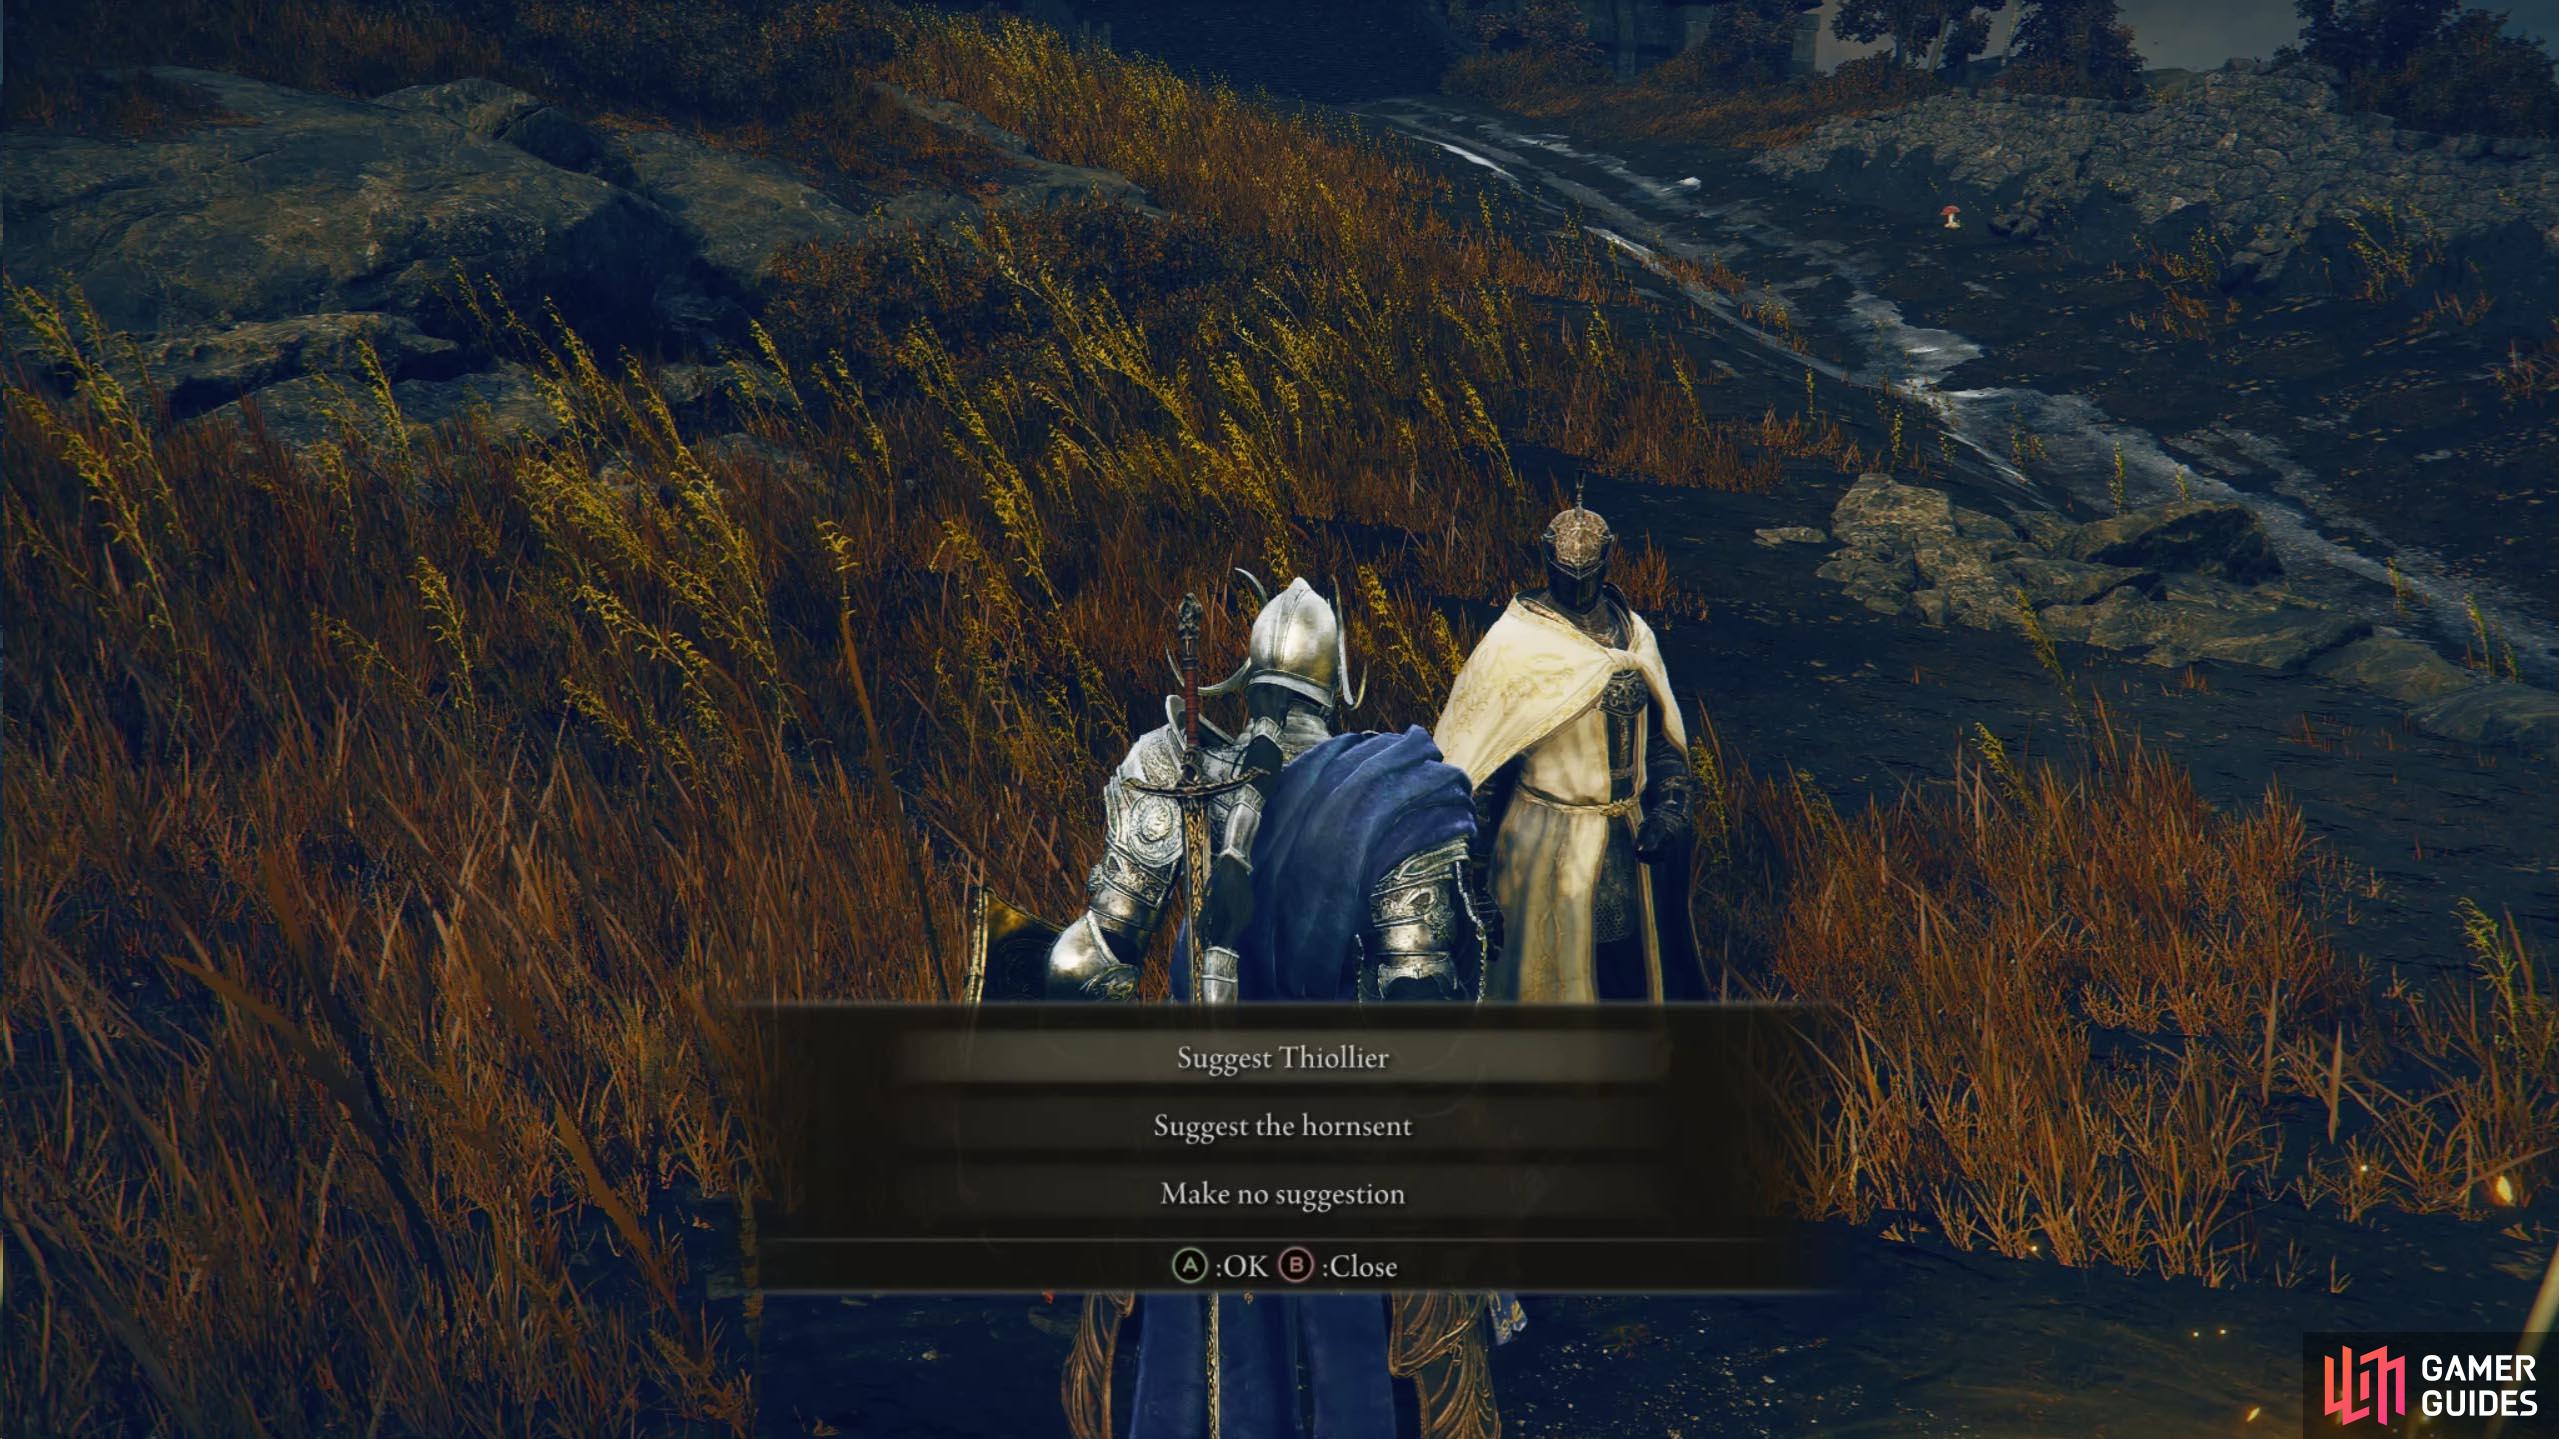
Your best bet is to suggest the Hornsent as Leda will go after them anyway, and you’ll lose out on rewards.
Fifth Meeting - Shadow Keep, Scadu Altus
After you propose the Hornsent, head to Shadow Keep for real this time. Make your way through the legacy dungeon until you reach the area on the battlements with the burning boats, which is just before you take the elevator to the Storehouse, First Floor site of Grace Map Marker.
Near the southern stairs, you’ll find two summon signs, one red and one gold. The red summon is Leda, while the gold is Hornsent. Depending on what one you select, you will miss out on some rewards while gaining some others. Selecting Leda’s red summon sign will put you in a battle with Hornsent, leading to you killing him and ending his quest.
Selecting the Red Summon Sign (Leda)
This will reward you with Hornsent’s armor set, ![]() Falx, and after speaking to Leda later, a
Falx, and after speaking to Leda later, a ![]() Lacerating Crossed-Tree. However, you will be locked out from obtaining the Ash of War:
Lacerating Crossed-Tree. However, you will be locked out from obtaining the Ash of War: ![]() Swift Slash, and preventing you from having Hornsent present in your battle with the main boss of Shadow Keep, although it will make a later boss easier. This choice will also lead to Leda targeting
Swift Slash, and preventing you from having Hornsent present in your battle with the main boss of Shadow Keep, although it will make a later boss easier. This choice will also lead to Leda targeting ![]() Sir Ansbach later, which leads to another similar situation where you’ll need to select either Leda or Sir Ansbach.
Sir Ansbach later, which leads to another similar situation where you’ll need to select either Leda or Sir Ansbach.
Selecting the Gold Summon Sign (Hornsent)
Choosing the gold summon sign will continue Hornsent’s questline where your next encounter will be in ![]() Enir-Ilim. This will eventually reward you with the Ash of War: Swift Slash and
Enir-Ilim. This will eventually reward you with the Ash of War: Swift Slash and ![]() Leda’s Rune while locking you out of the Lacerating Crossed-Tree,
Leda’s Rune while locking you out of the Lacerating Crossed-Tree, ![]() Retaliatory Crossed-Tree, and
Retaliatory Crossed-Tree, and ![]() Ansbach’s Longbow.
Ansbach’s Longbow.
Fifth Meeting - Shadow Keep Storehouse, First Floor
If you chose to summon Leda in the previous meeting (or didn’t help either), head to the Storehouse, First Floor site of Grace in Shadow Keep where you saw Sir Ansbach Map Marker earlier where you’ll have another two summon signs to select, once again, they will be red and gold with Leda’s being red, and Sir Ansbach’s being gold.
Selecting the Red Summon Sign (Leda)
Similar to the previous meeting, selecting Leda (red summon sign) will lead to you killing Sir Ansbach, and ending his questline. This will reward you with Ansbach’s ![]() Longbow and his armor set, and the Retaliatory Crossed-Tree after speaking to Leda later on. Unfortunately, this will lock you out of obtaining the
Longbow and his armor set, and the Retaliatory Crossed-Tree after speaking to Leda later on. Unfortunately, this will lock you out of obtaining the ![]() Furious Blade of Ansbach as well as any help from him in future boss fights.
Furious Blade of Ansbach as well as any help from him in future boss fights.
Selecting the Gold Summon Sign (Sir Ansbach)
Selecting Sir Ansbach (gold summon sign) will continue his questline and reward you with Ansbach’s Longbow and Leda’s Rune while locking you out of obtaining the Retaliatory Crossed-Tree. If you don’t help any of the summons, Sir Ansbach will continue his quest, but you will miss out on his bow, and the Retaliatory Crossed-Tree.
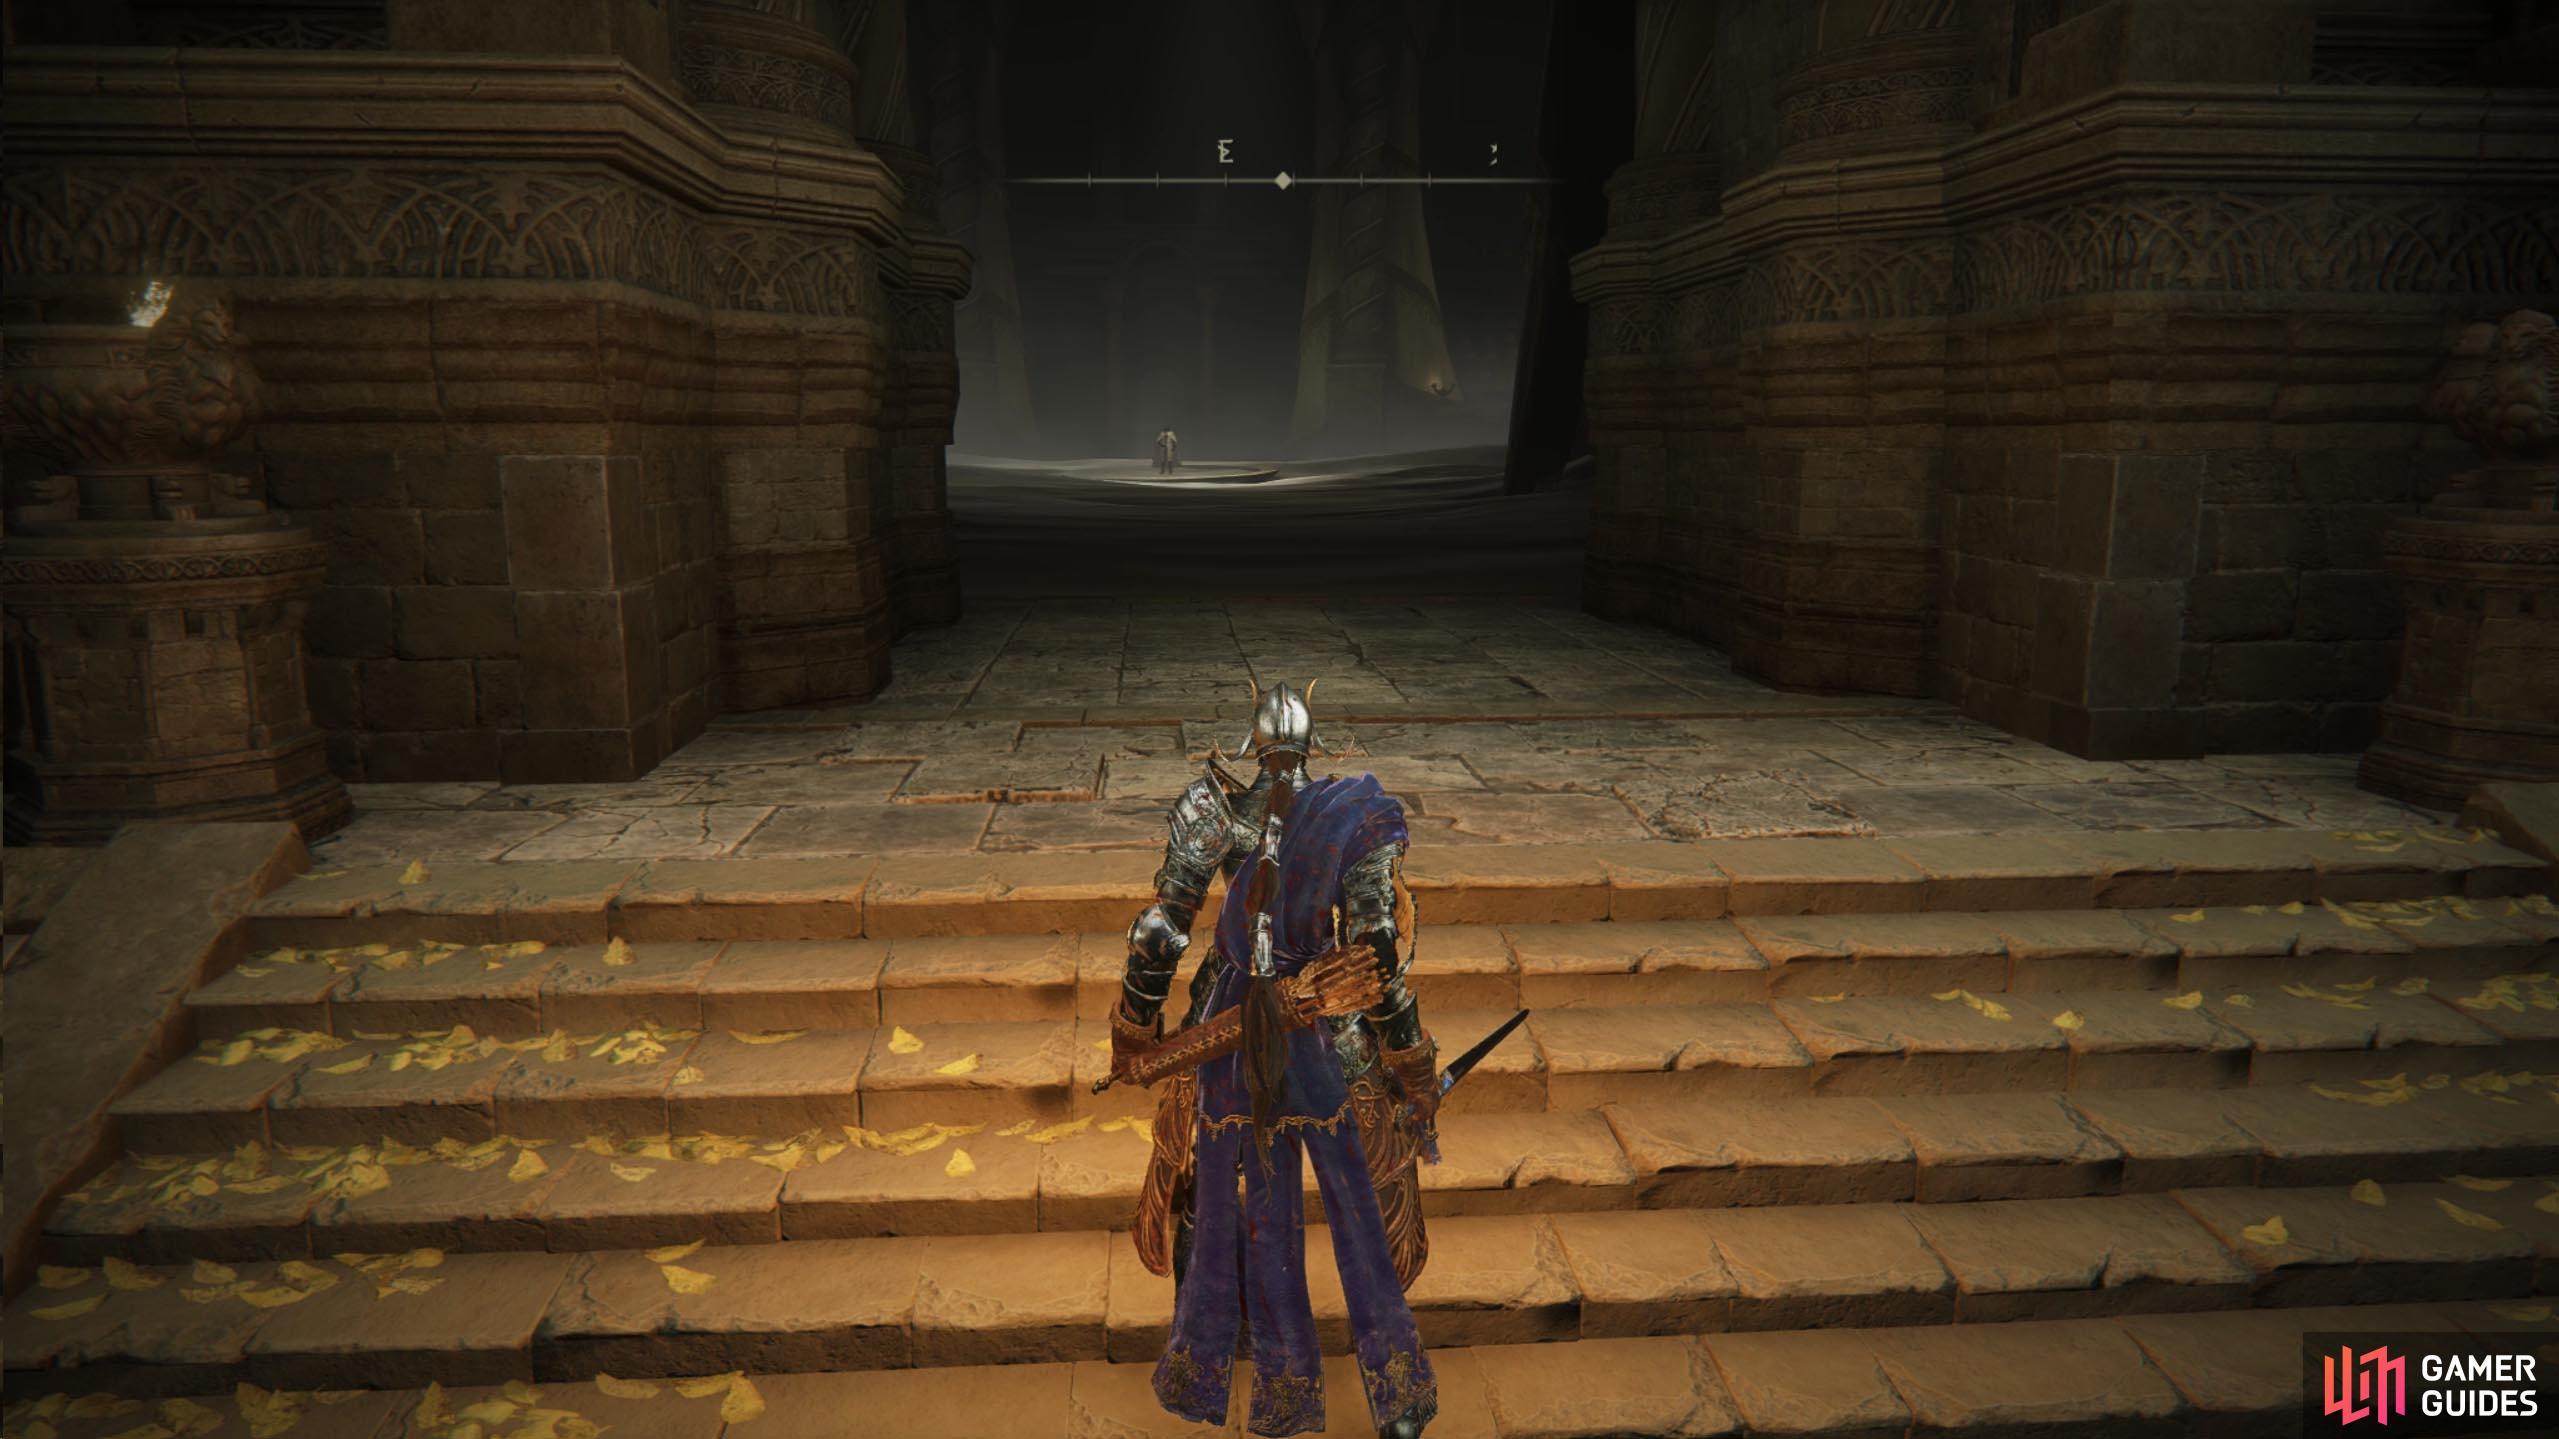
Final Meeting - Cleansing Chamber Anteroom, Enir-Ilim


(1 of 2) The Cleansing Chamber Anteroom is near the end of Enir-Ilim. Progress through the area until you reach it.
The Cleansing Chamber Anteroom is near the end of Enir-Ilim. Progress through the area until you reach it. (left), Once you reach the Anteroom, head up the stairs to find Leda. (right)
Progressing Leda’s quest to the end will lead you to Enir-Ilim Map Marker. Proceed through the area until you reach the Cleansing Chamber Anteroom site of Grace Map Marker, which is near the end of the dungeon, and follow the path into the next area where you’ll have a boss fight Map Marker. This will be against Leda and her Allies, which changes depending on the choices you make for the other NPC questlines. These are the characters you’ll encounter during this battle, and what their role is in it.
-
Thiollier: If you complete his quest, he will join you as an ally in the upcoming battle.
-
Sir Ansbach: Also an ally provided you give him the scroll during his questline and didn’t kill him during the fifth meeting. If you did,
 Sanguine Noble Nataan will appear instead.
 -
 Moore: Adversary if you tell him to “put it behind him” during his questline.
 -
Redmane Freja: Adversary if you give her letter to Sir Ansbach during her questline.
-
Dryleaf Dane: Adversary regardless of what you do.
-
Hornsent: Adversary if you don’t summon him against
 Messmer the Impaler and kill him during the invasion in
  Ancient Ruins of Rauh.
Needle Knight Leda Battle
Just past the Cleansing Chamber Antechamber room, you’ll find a large circular arena with Leda waiting for you.
Depending on your choices, this battle can be extremely difficult or somewhat difficult. Obviously, the more allies Leda has by her side, the more difficult the fight will be. Each adversary will come out one at a time, but another will appear when the previous one reaches half health, so when you bring one down to half health, focus them down, and finish them off as quickly as possible before attacking the next one. Note that each adversary carries a Crimson Flask and can heal themselves unless you interrupt them.
Moore is the “tank” of the group, using his ![]() Greatshield to absorb your damage while bashing you with the shield if you get too close. Although he can take a beating his heavy armor slows him down making it easier to catch him off-guard. If you’re lucky enough to Thiollier and/or Sir Ansbach, let them deal with him while you focus on the others, or attack him with spells if you have them.
Greatshield to absorb your damage while bashing you with the shield if you get too close. Although he can take a beating his heavy armor slows him down making it easier to catch him off-guard. If you’re lucky enough to Thiollier and/or Sir Ansbach, let them deal with him while you focus on the others, or attack him with spells if you have them.
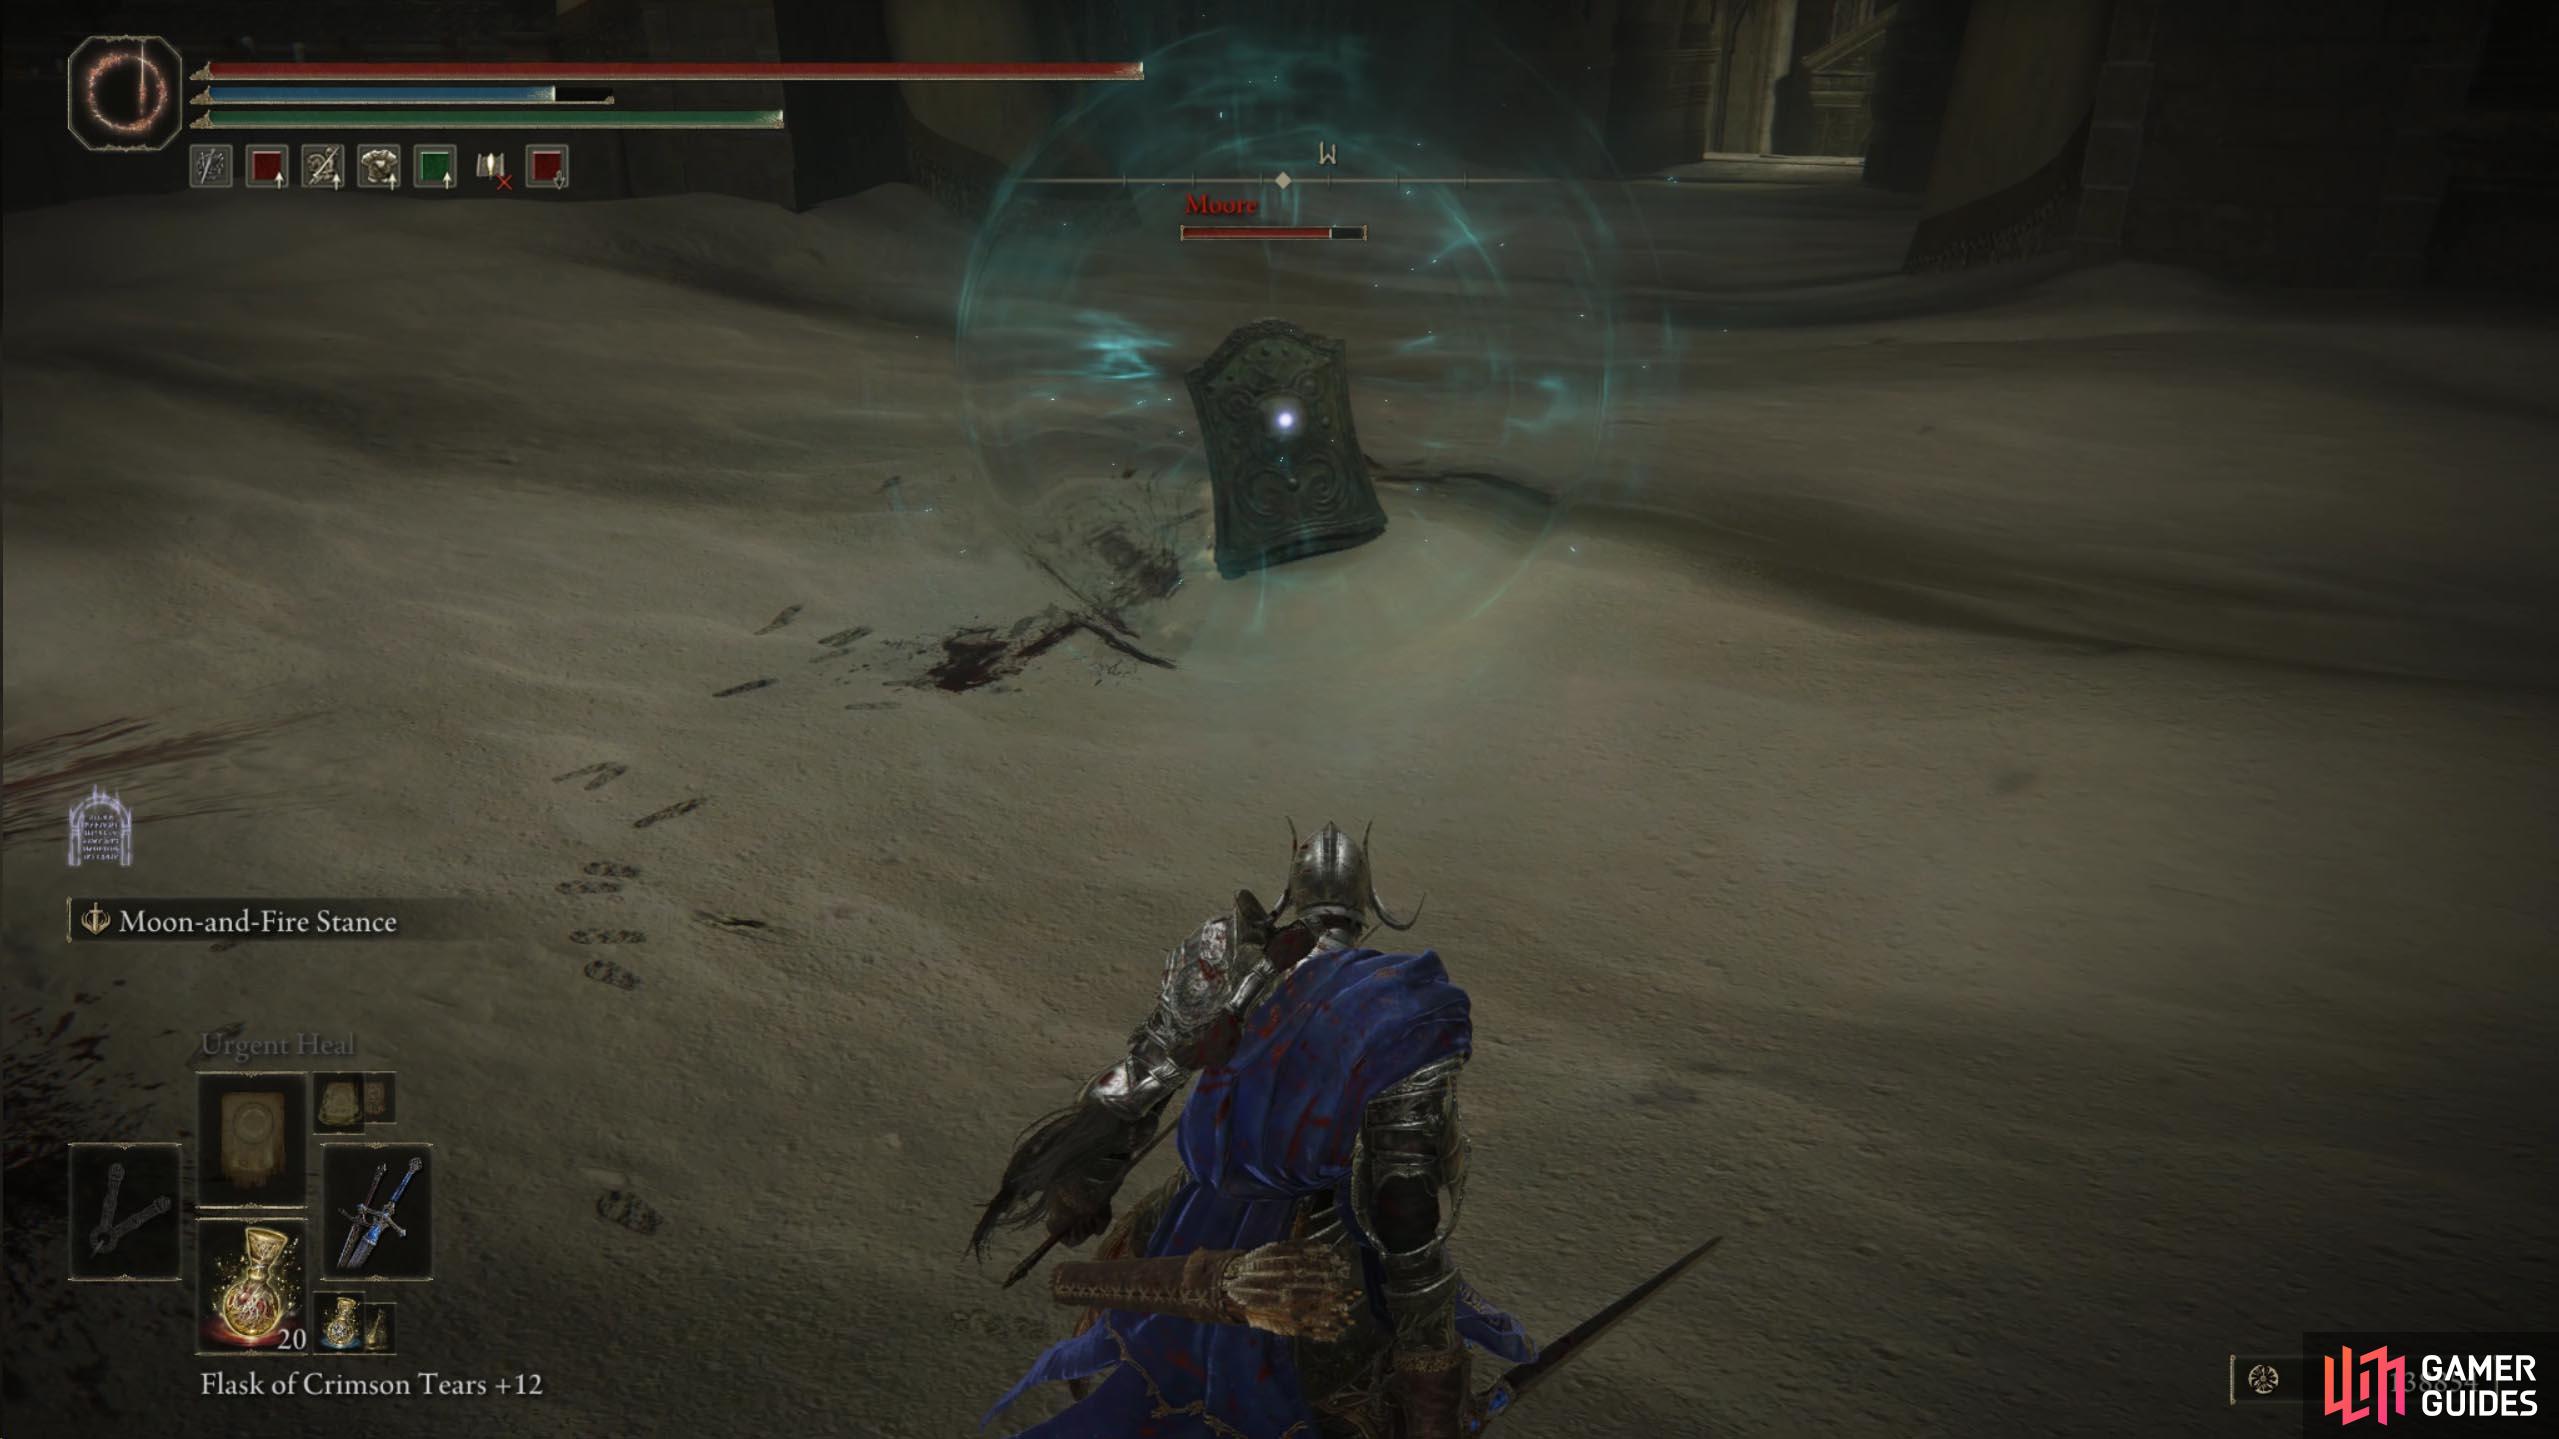


(1 of 3) Moore will be one of the first of Leda’s allies you’ll fight. He will use his Greatshield to defend against your attacks as well as attack you.
Dryleaf Dane prioritizes close combat although he does have access to a few ranged attacks. The best way to deal with him is to use fast-hitting weapons, preferably one that inflicts to bleed as he is susceptible to it. Another weakness of his is that he can be easily staggered with his low poise especially if you hit him midair while he performs a jump attack.
Redmane Freja wields a ![]() Greatsword and a shield, which she’ll switch between one and two-handed, with the latter putting the shield away. When she switches to two-handed, expect to see her three-hit Ash of War,
Greatsword and a shield, which she’ll switch between one and two-handed, with the latter putting the shield away. When she switches to two-handed, expect to see her three-hit Ash of War, ![]() Savage Lion’s Claw, which is capable of devastating damage should all three hits connect. Fortunately, this has a slow wind-up giving you ample time to avoid it, as does most of her attacks, which can be exploited by blocking or dodging the incoming attack and countering her. Another good technique against her is to keep your distance from her while you pelt her with ranged attacks until you stagger her.
Savage Lion’s Claw, which is capable of devastating damage should all three hits connect. Fortunately, this has a slow wind-up giving you ample time to avoid it, as does most of her attacks, which can be exploited by blocking or dodging the incoming attack and countering her. Another good technique against her is to keep your distance from her while you pelt her with ranged attacks until you stagger her.
Finally, the last one to appear will be Leda. She is a difficult foe who can easily deplete your health in a mere two to three hits, depending on your health. The best way to approach her is to be patient and wait for an opening. Alternatively, let your allies apply pressure to her and when you spot an opening, perform your strongest attack on her. She has a relatively low poise and can be staggered provided you can get the initial attacks on her first.


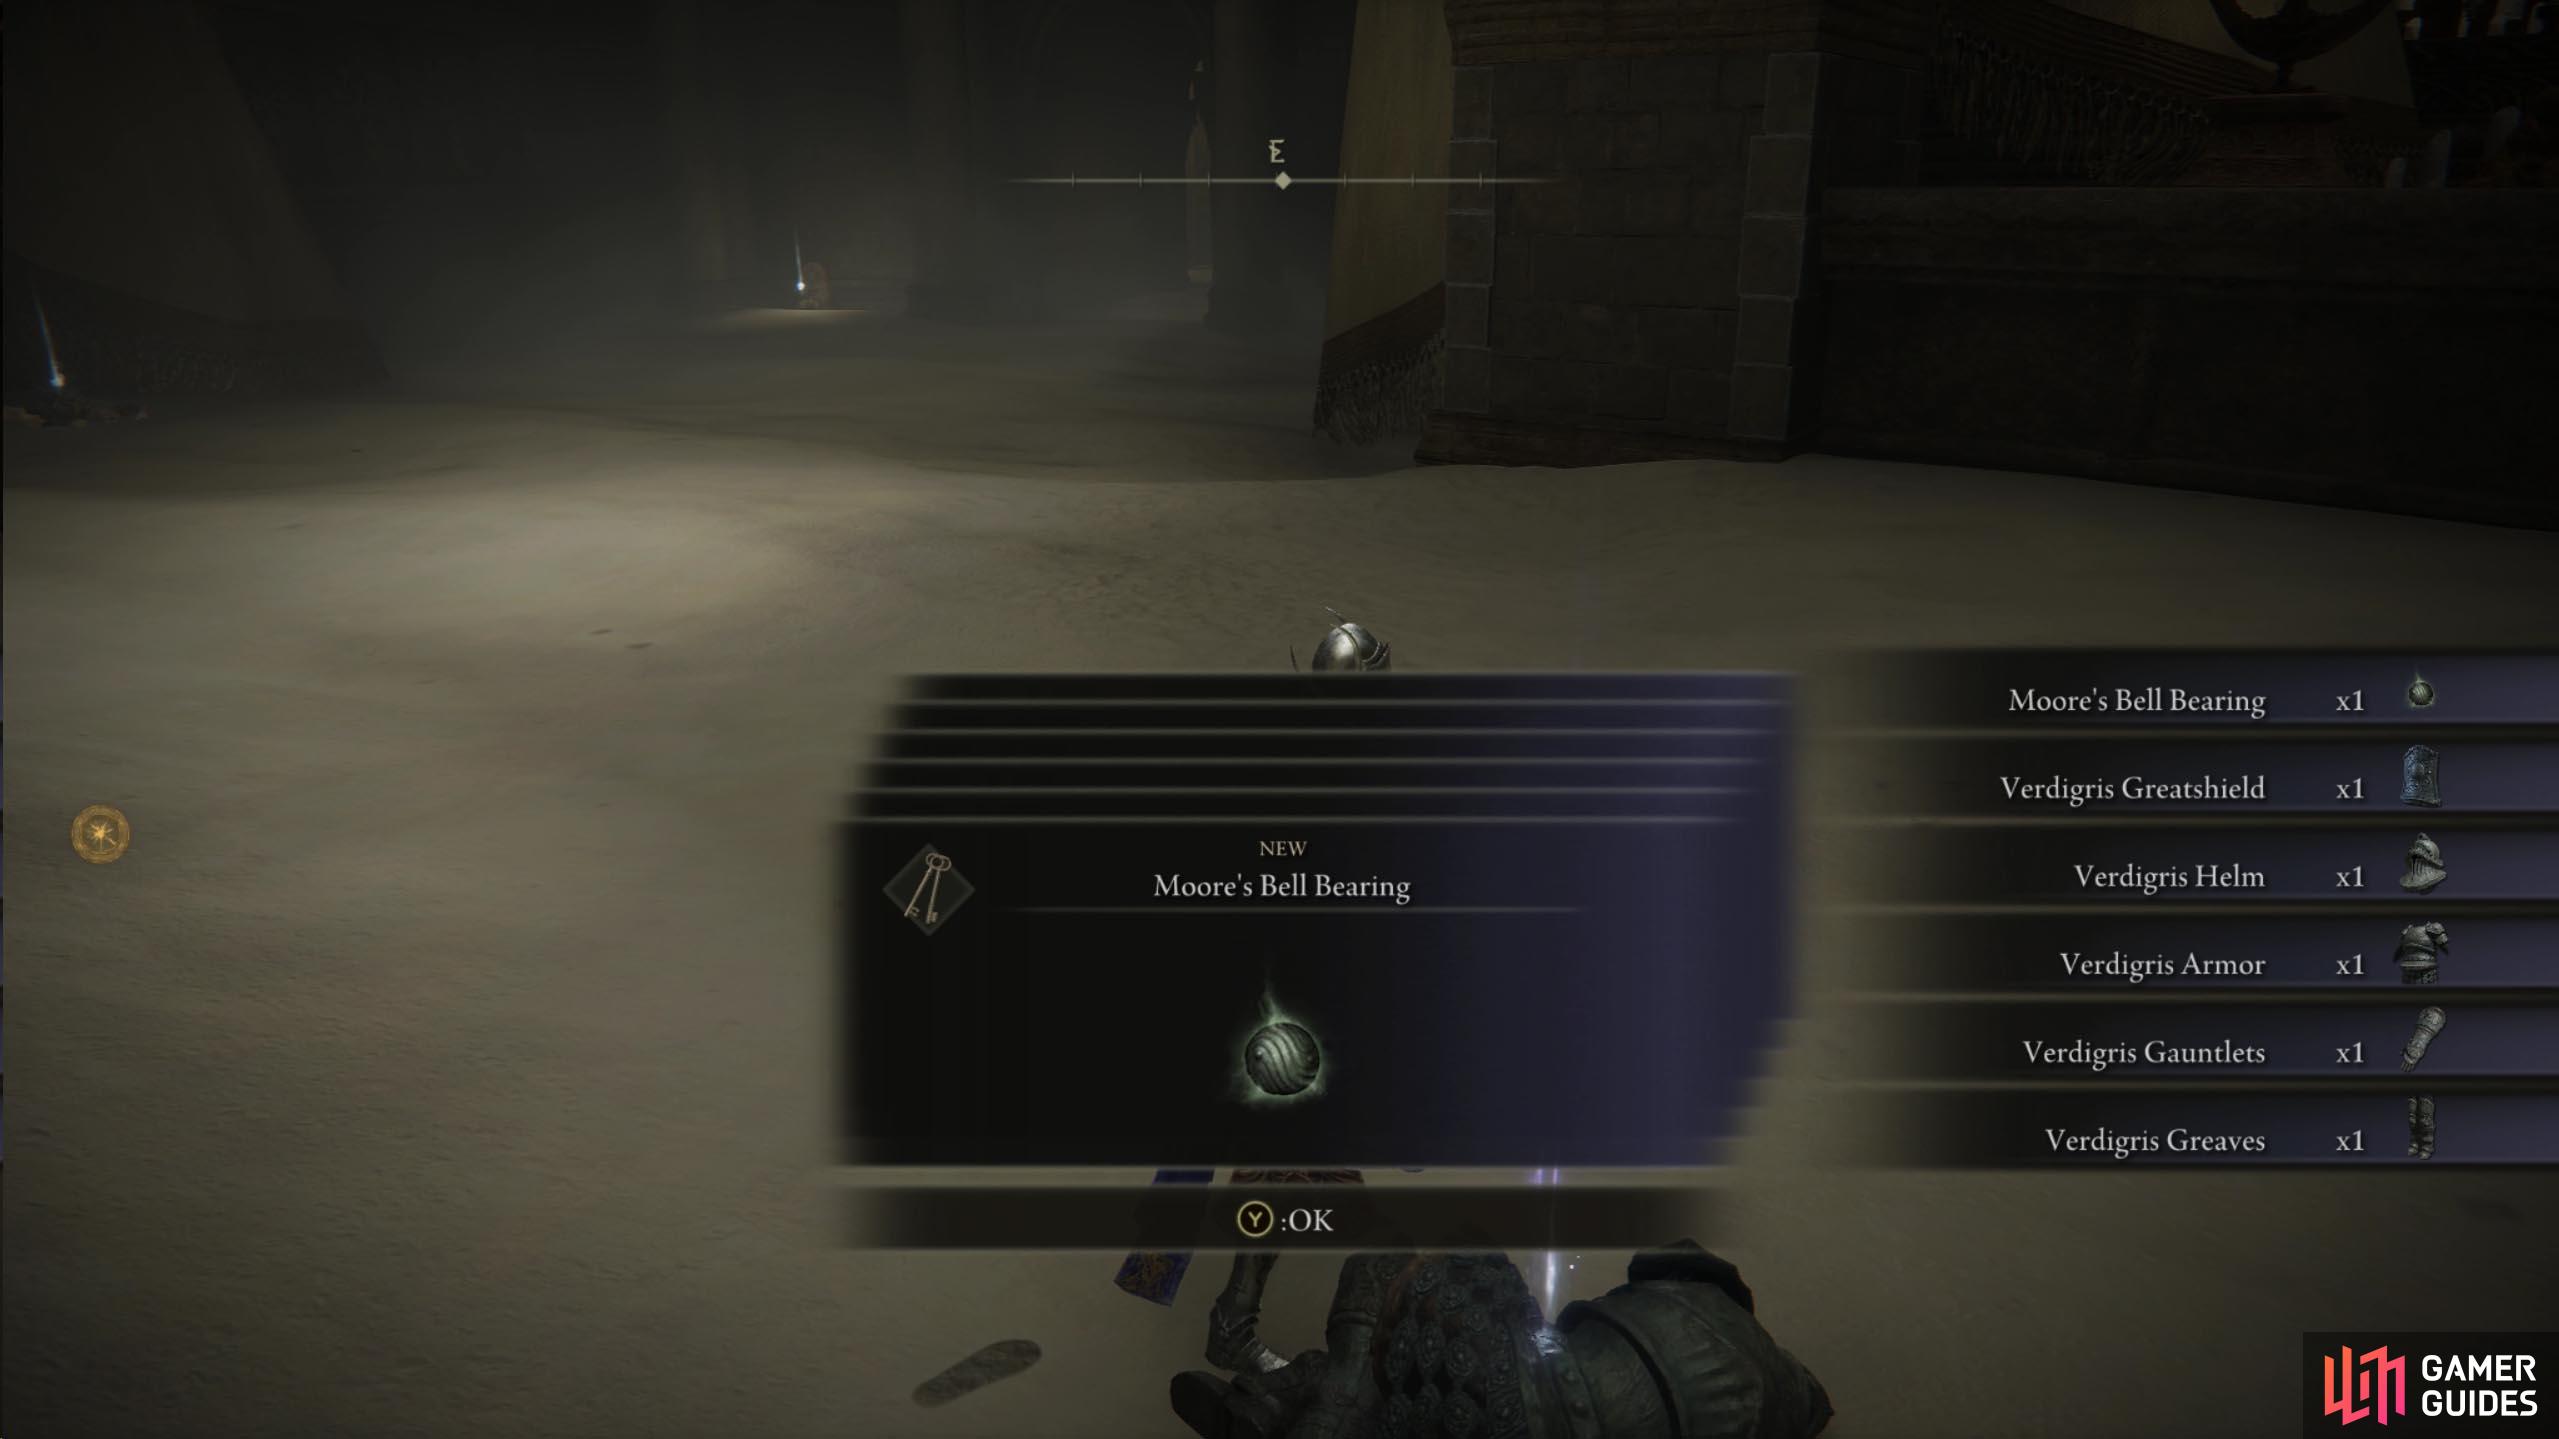

(1 of 4) Depending on what NPCs you defeat in the battle, you’ll find their loot on the corpses around the arena.
This is a difficult battle made easier by having both Sir Ansbach and Thiollier with you as well as a summon whether that be an Ash or an online player. Furthermore, completing the requirements above to reduce the number of NPCs that appear in the battle. Once you defeat Leda and her allies, the armor sets and/or weapons of the NPCs you defeated will be on the corpses in the immediate area. This includes ![]() Leda’s Sword which is a powerful
Leda’s Sword which is a powerful ![]() Light Greatsword that scales primarily with Strength, Dexterity, and Faith, and comes with the unique weapon skill, Needle Piercer. That’s it for Leda’s quest, and by the end of the battle, everyone else’s too.
Light Greatsword that scales primarily with Strength, Dexterity, and Faith, and comes with the unique weapon skill, Needle Piercer. That’s it for Leda’s quest, and by the end of the battle, everyone else’s too.

 Sign up
No Comments