There is one dungeon you kind of pass through in the early parts of Metaphor: ReFantazio, but you aren’t able to fully access it until much later. That is the Mausoleum in Grand Trad, which you get a minor glimpse at as you head towards the Grand Cathedral. This is an optional dungeon, but it is home to two side quests, ![]() A Haunted Heirloom and
A Haunted Heirloom and ![]() Skullduggery. Doing both at the same time will help save you an extra day on your calendar.
Skullduggery. Doing both at the same time will help save you an extra day on your calendar.
The Mausoleum opens up for two side quests later on in the game.
Mausoleum Enemies
You will find all of the following enemies inside the Mausoleum, which will include their levels, weaknesses, and any resistances they may have.
| Enemy | Level | Weak | Strength |
|---|---|---|---|
| Spekto | 17 | Fire, Light | Slash/Pierce/Strike (Reflect) |
| Colossal Gelatinos | 20 | Fire, Lightning | Slash/Pierce/Strike (Block) |
| Gelatinos | 4 | Fire, Ice, Lightning | Slash/Pierce (Resist), Strike (Block) |
| 19 | Strike, Light | Slash/Pierce/Dark (Resist), Lightning (Block) | |
| Colossal Vampire Gelatinos | 23 | Ice, Lightning | Slash/Pierce/Strike (Block), Fire (Absorb) |
Mausoleum Items
The following list are all the items found in the Mausoleum, including those from the blue orbs, as well as the treasure chests.
Opening the Mausoleum’s Gates
When you first enter the Mausoleum as part of the story, the doors are locked and there are no ways to open them. Once you finish the Grand Cathedral, you will gain access to Bounties, so do any of them to then unlock A Haunted Heirloom. This will allow you to fully explore the Mausoleum, meaning the doors will now be unlocked. Upon entering the Mausoleum, go through the eastern door first to pick up a ![]() Rusted Accessory, then try to open the other door in the same room, only to see it’s locked from this side.
Rusted Accessory, then try to open the other door in the same room, only to see it’s locked from this side.
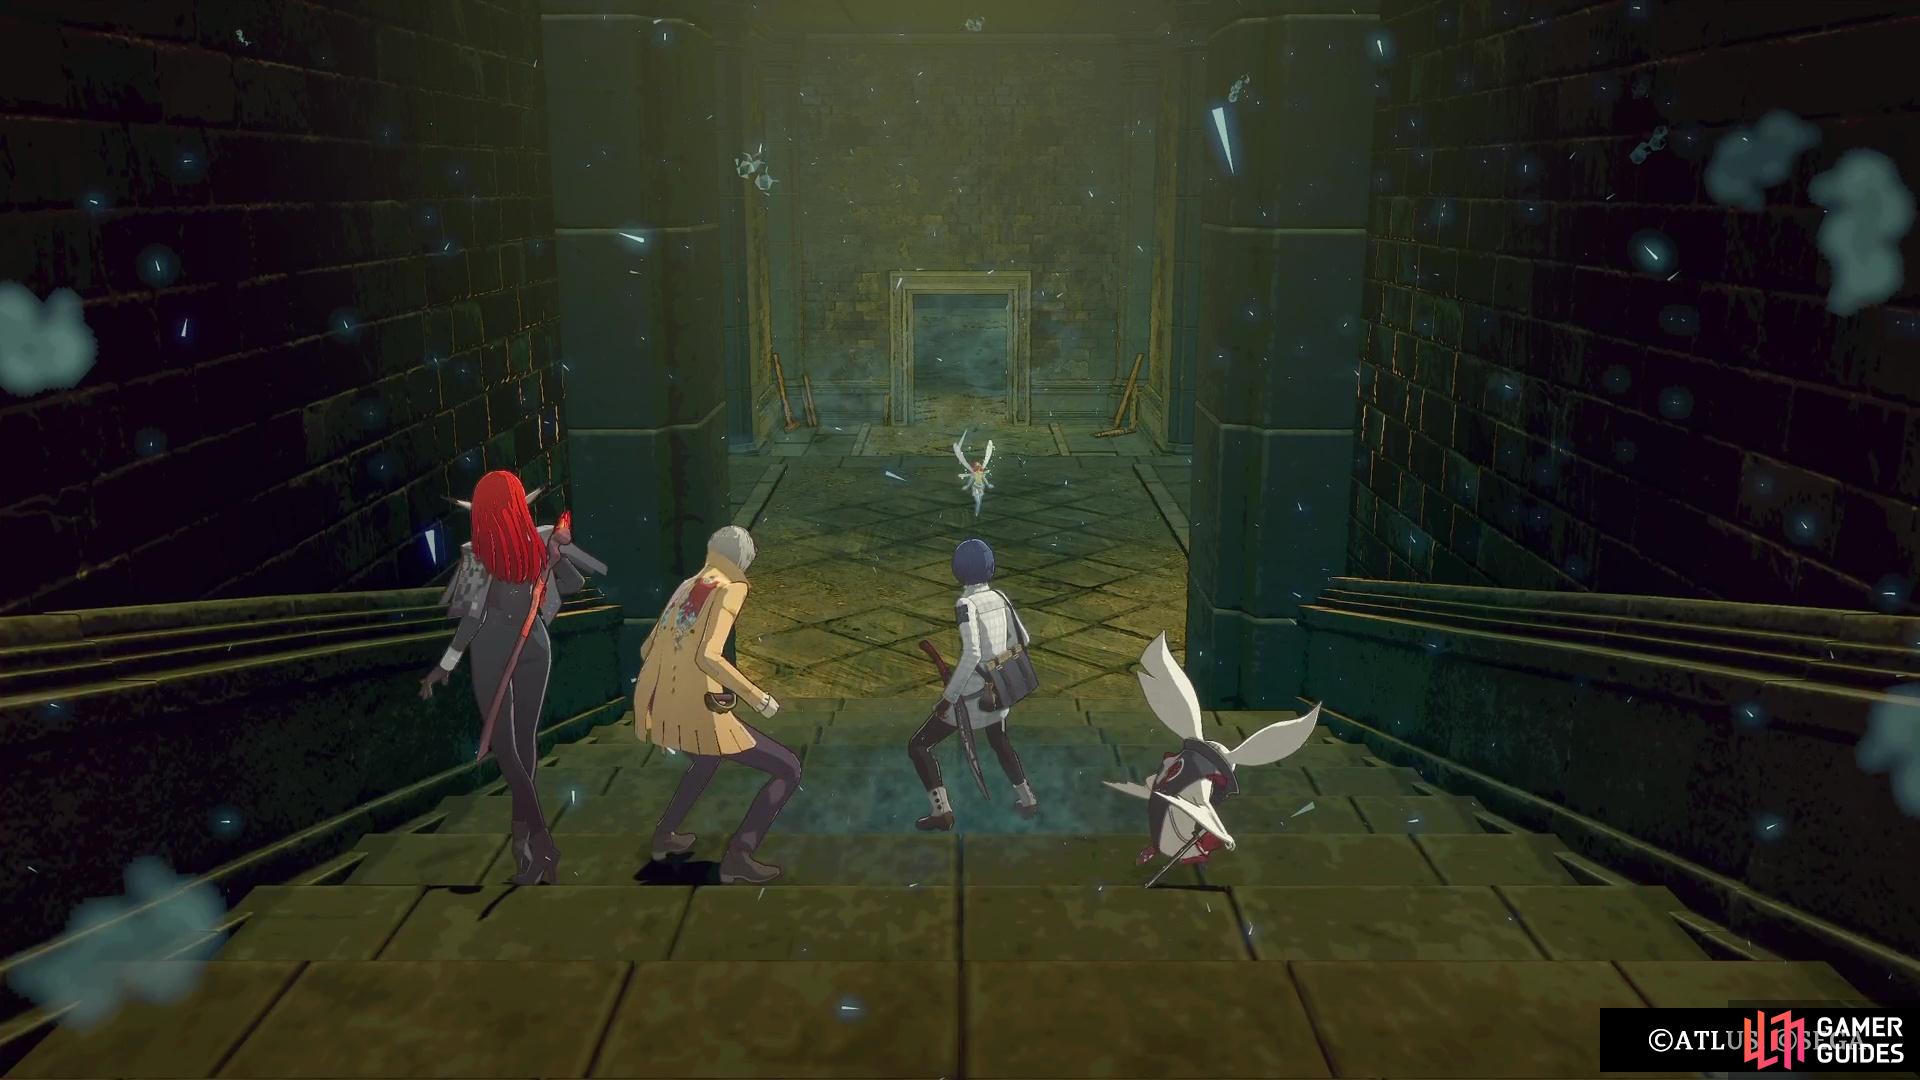
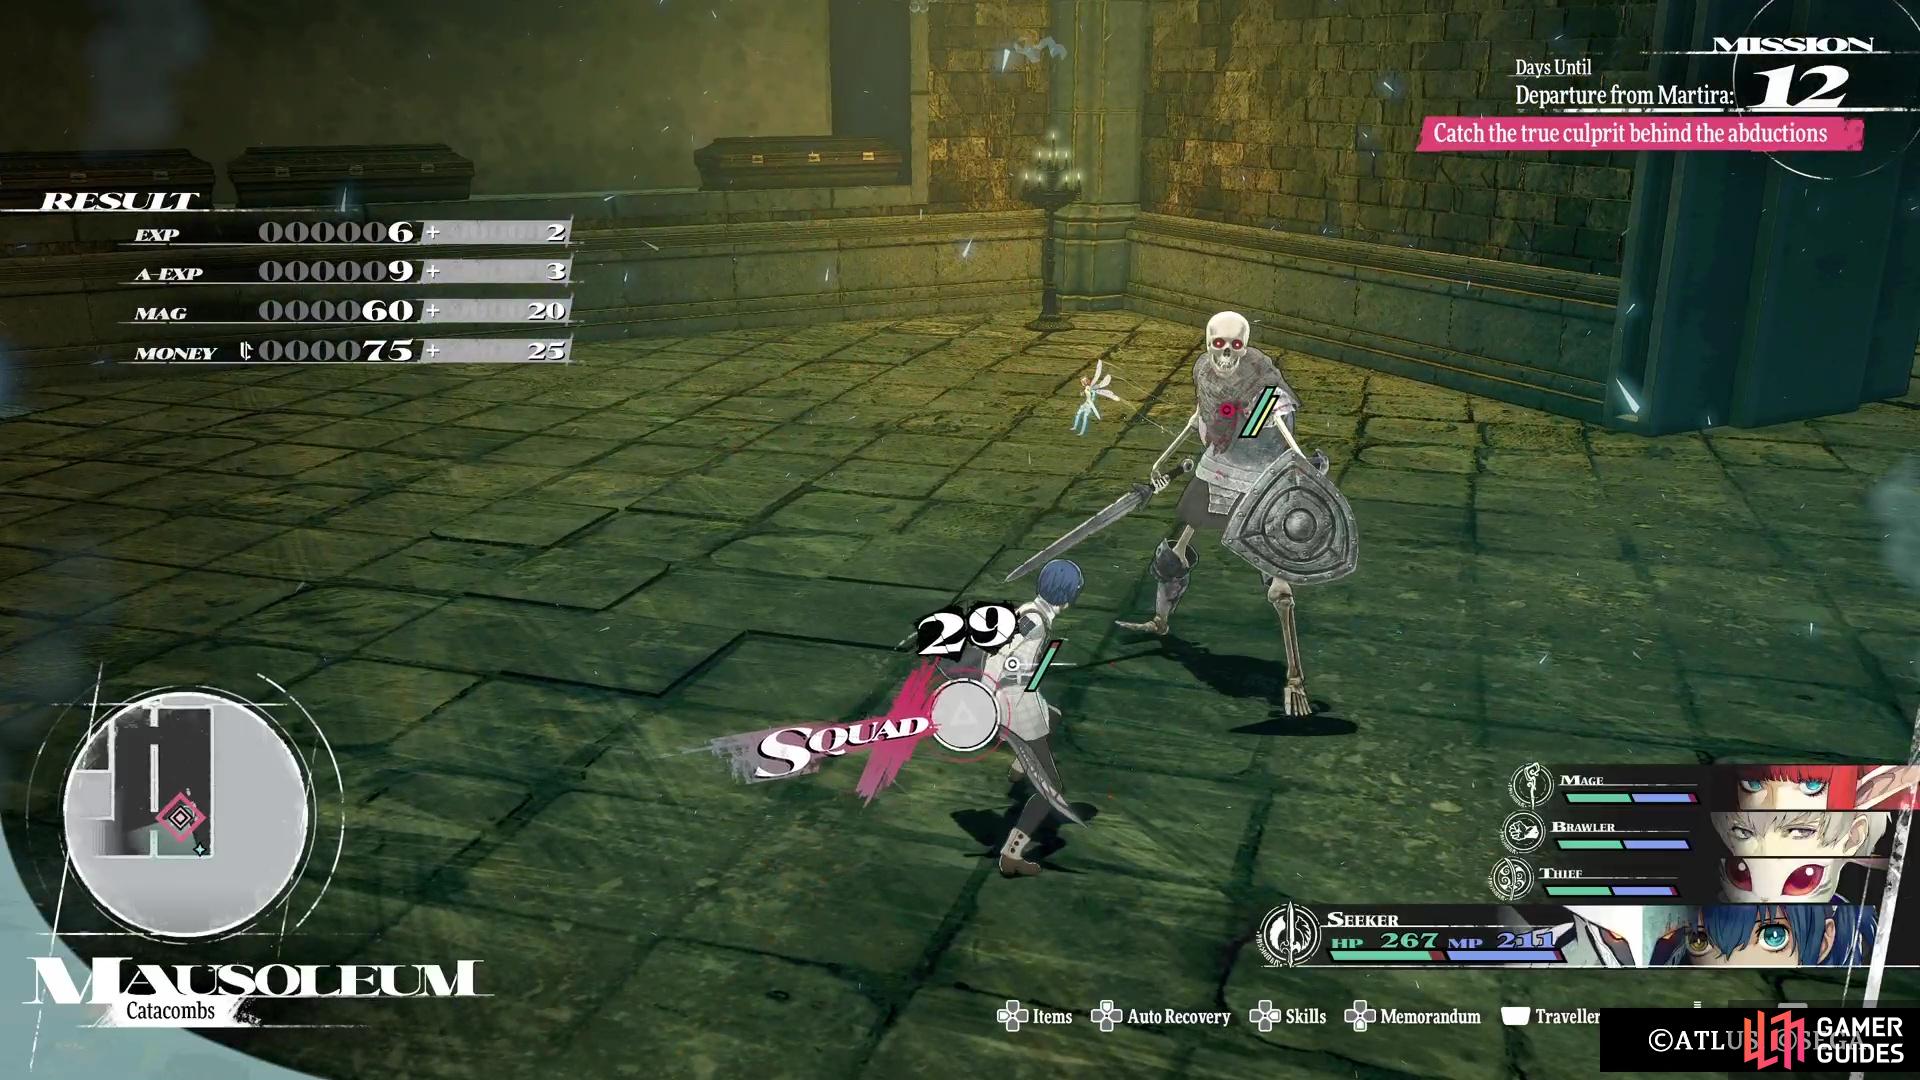
(1 of 2) As you’re going through the Mausoleum, these skeletons will pop out of coffins.
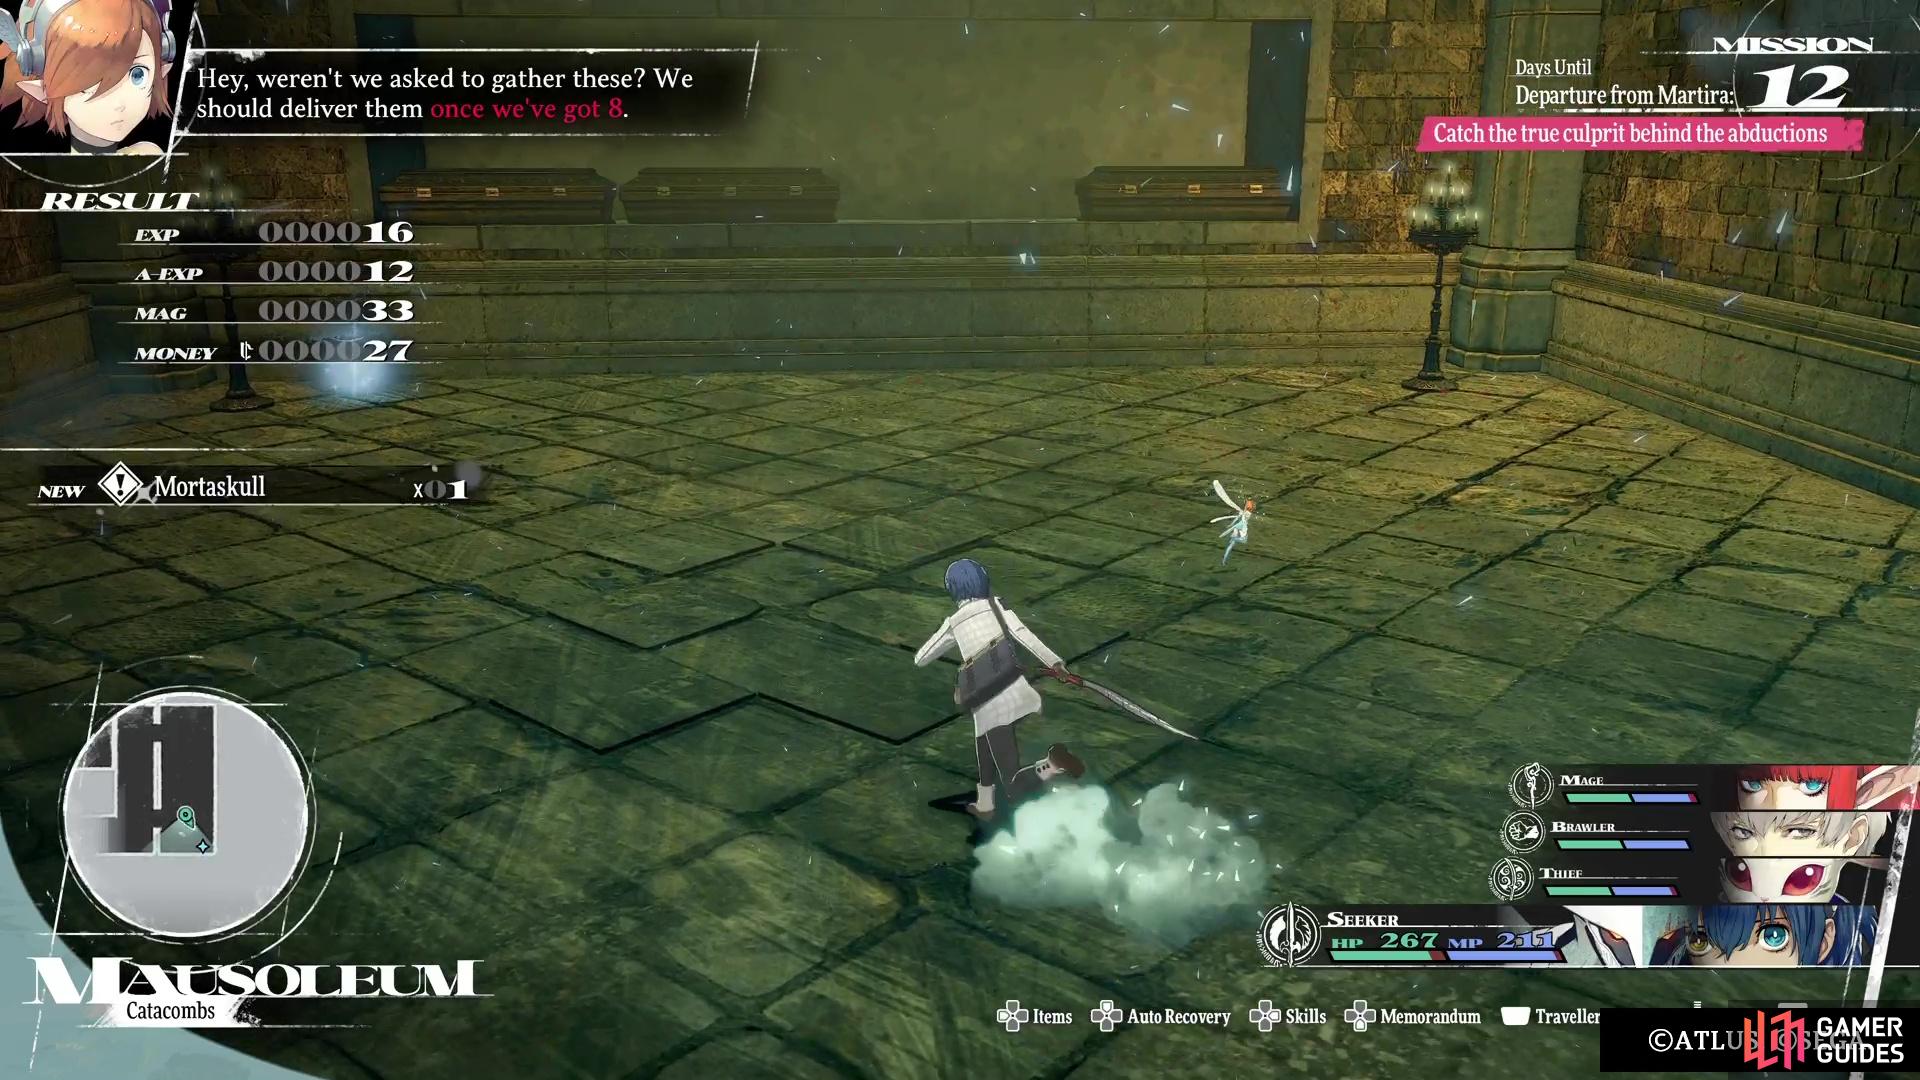
As you’re going through the Mausoleum, these skeletons will pop out of coffins. (left), These are the ones you need to defeat for the Mortaskulls, for the Skullduggery quest. (right)
Go across the hall and through the western door now, snagging the ![]() Holy Ossuary off the coffin, before continuing onwards. The room to the north has a
Holy Ossuary off the coffin, before continuing onwards. The room to the north has a ![]() Hero’s Incense, as well as a guard standing there. He doesn’t offer anything important to say, so head south and grab the
Hero’s Incense, as well as a guard standing there. He doesn’t offer anything important to say, so head south and grab the ![]() Pre-Owned Parchment, then look to the west to spot another way to go. Crawl through the stacked coffins and open the chest beyond for some
Pre-Owned Parchment, then look to the west to spot another way to go. Crawl through the stacked coffins and open the chest beyond for some ![]() Monk’s Clogs. Return to the main hallway and go through the southern door to continue.
Monk’s Clogs. Return to the main hallway and go through the southern door to continue.
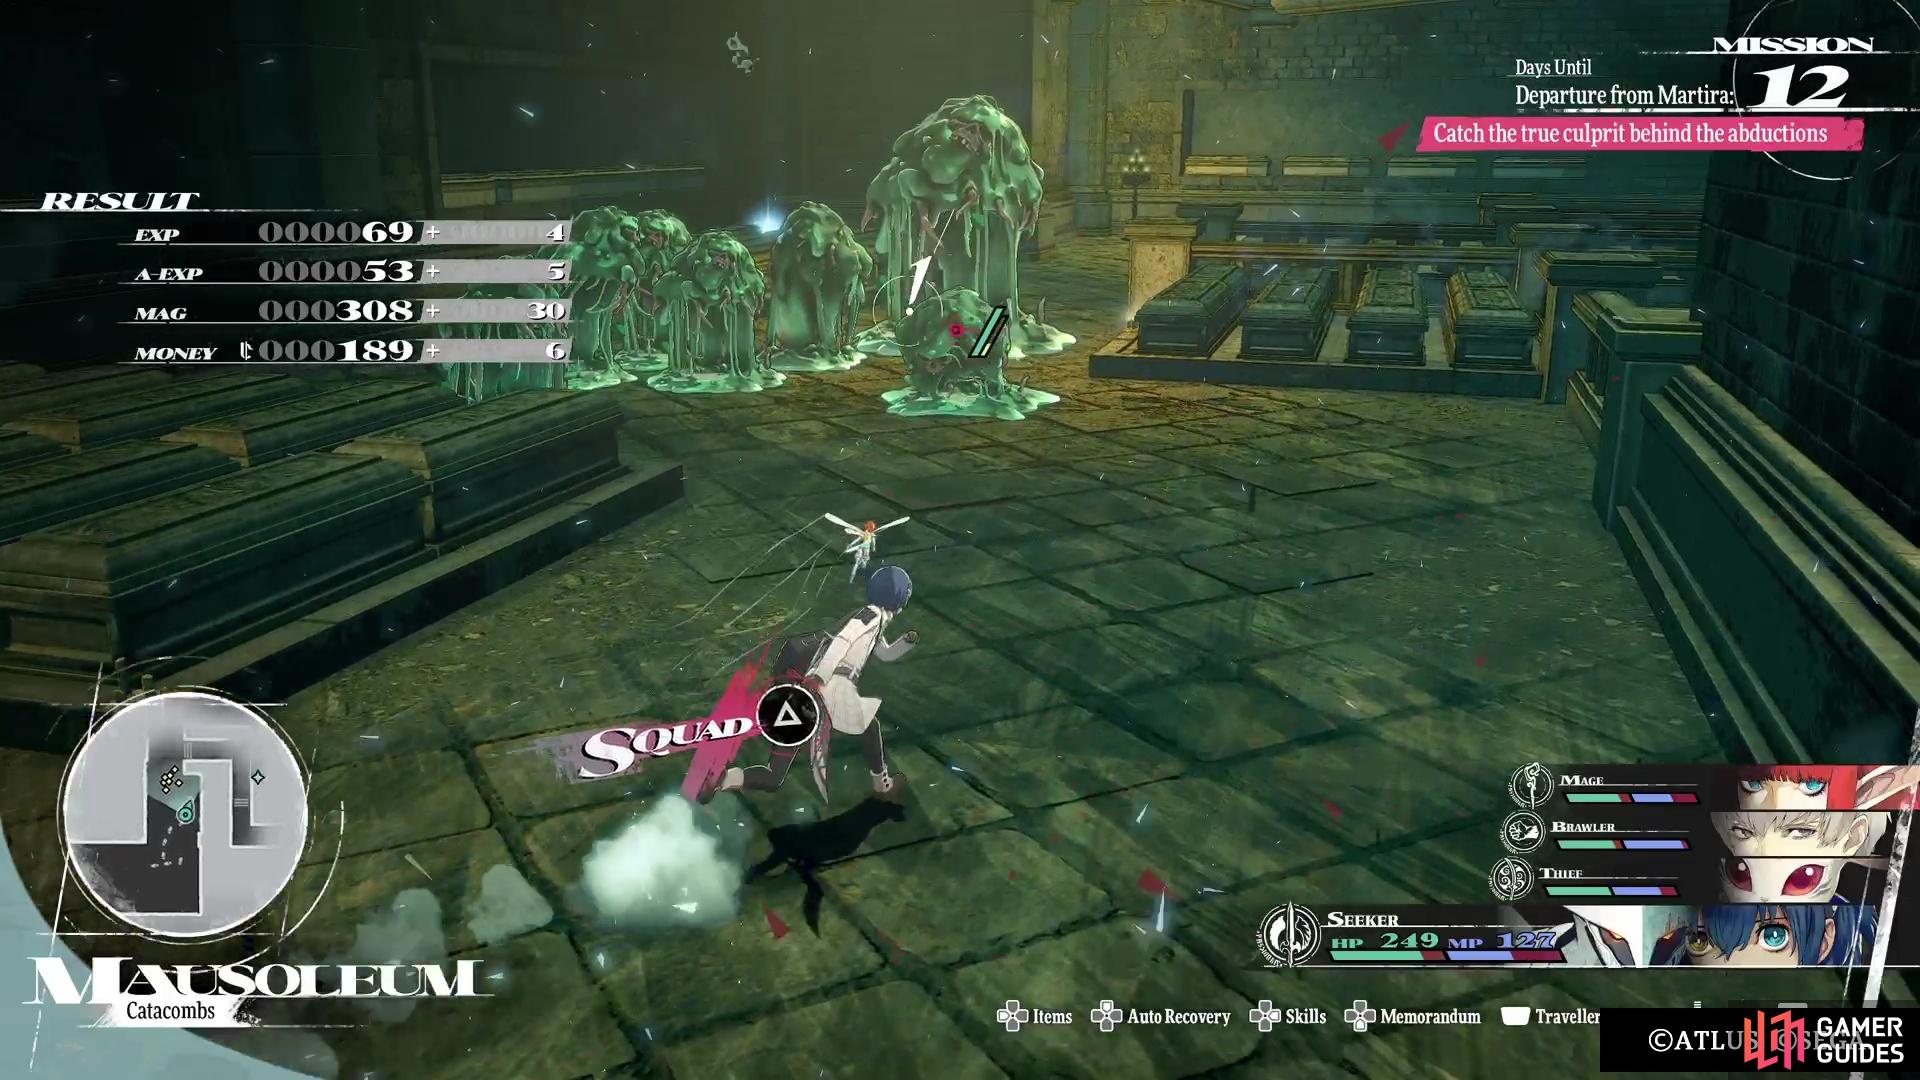
Ignore the initial hallway and head into the adjacent one, where you’ll find some enemies. Defeat them and if you have the Skullduggery quest active, an objective marker should appear at the southern end. This is a ![]() Sword Soldier Malmorta and you need to defeat them to get the
Sword Soldier Malmorta and you need to defeat them to get the ![]() Mortaskulls for the quest. If you are high enough that you can defeat them on the field, don’t do that and instead trigger a Squad Battle. The reason for this is because each skeleton will drop a skull, so if you fight three in a battle, then you’ll receive three skulls. Defeating them on the overworld only yields a single skull, and you’ll need eight to finish the quest.
Mortaskulls for the quest. If you are high enough that you can defeat them on the field, don’t do that and instead trigger a Squad Battle. The reason for this is because each skeleton will drop a skull, so if you fight three in a battle, then you’ll receive three skulls. Defeating them on the overworld only yields a single skull, and you’ll need eight to finish the quest.
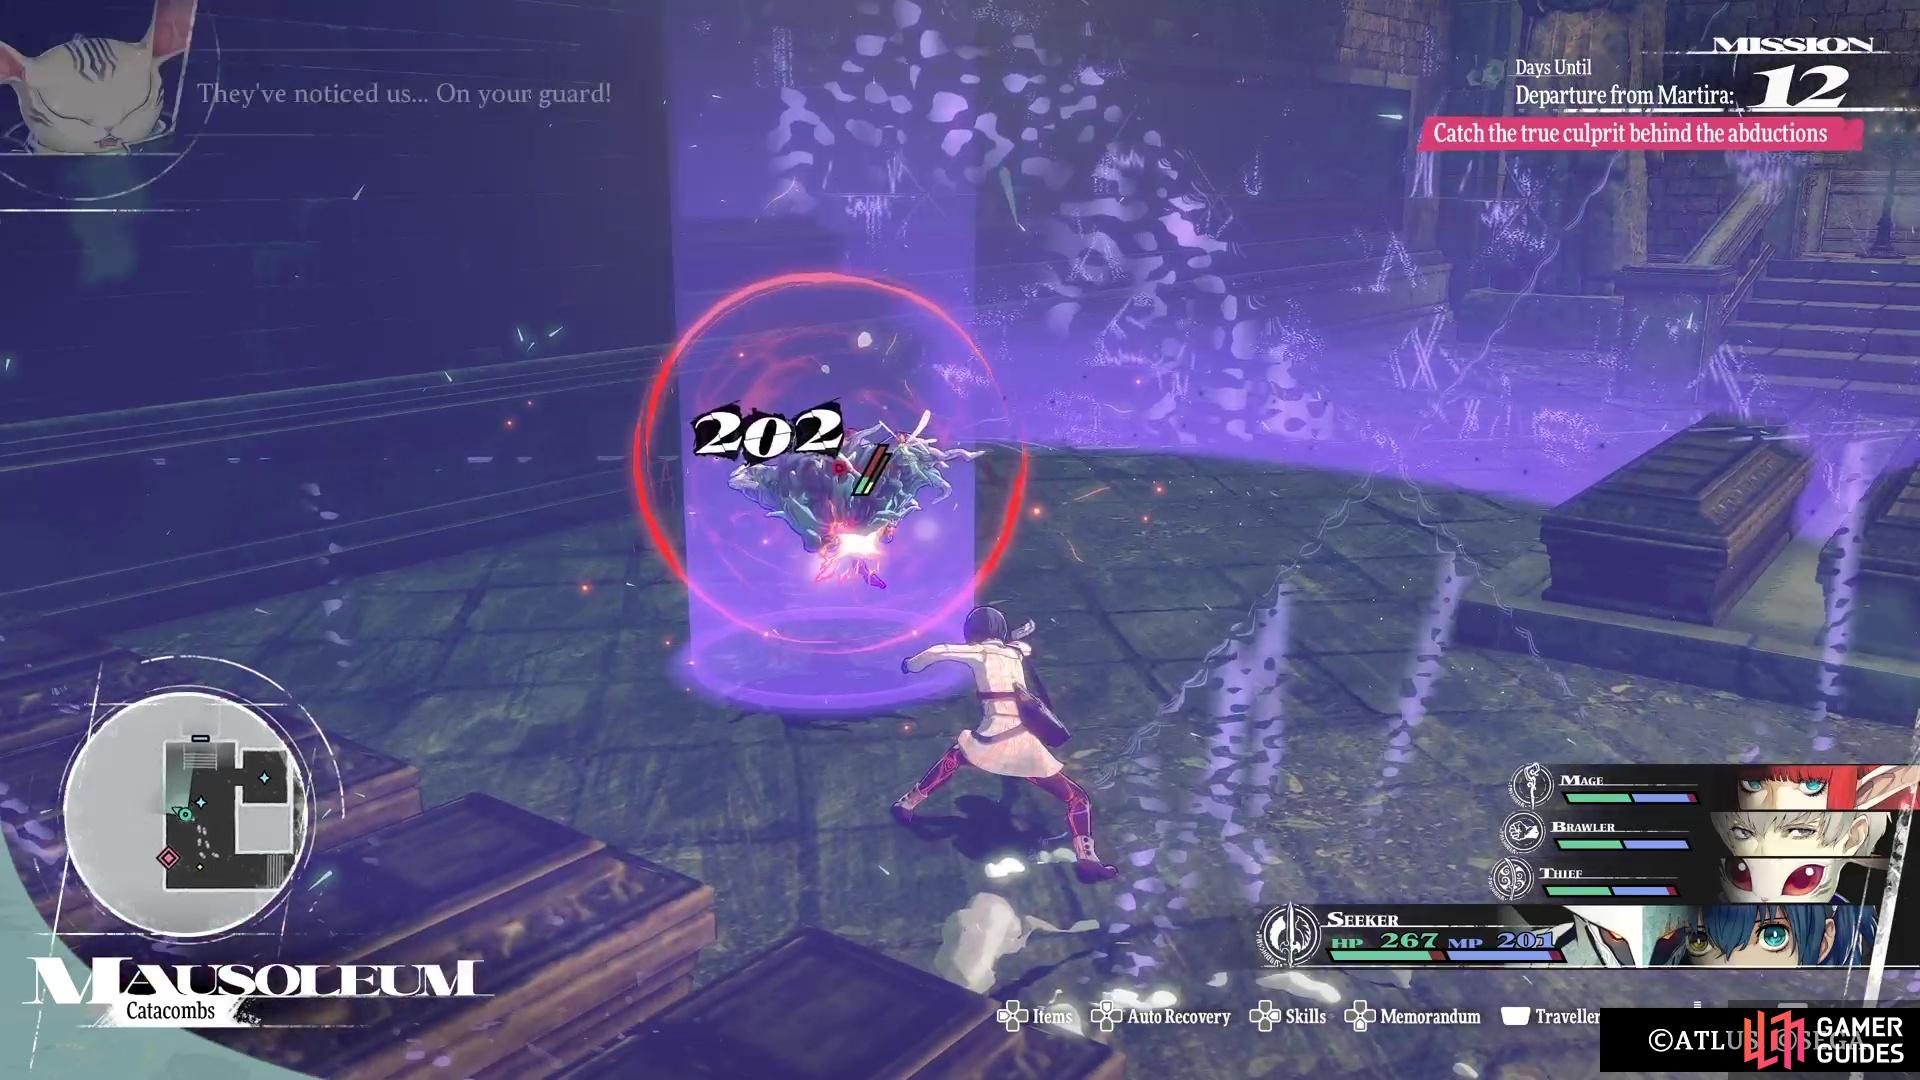
Loot the ![]() Old Coin in the corner, then continue to the west, where you should enter an area with more enemies. You should see the teleporting Spektos here, which are those little floating things that explode when you smack them. If you are high enough to defeat them on the overworld, do that. Otherwise, smack them to trigger the self-destruct, then quickly run away before you’re caught in it. Defeat any other enemies in here, then loot the
Old Coin in the corner, then continue to the west, where you should enter an area with more enemies. You should see the teleporting Spektos here, which are those little floating things that explode when you smack them. If you are high enough to defeat them on the overworld, do that. Otherwise, smack them to trigger the self-destruct, then quickly run away before you’re caught in it. Defeat any other enemies in here, then loot the ![]() Nightlong Candle in the center. There’s a small room off to the side here that has a
Nightlong Candle in the center. There’s a small room off to the side here that has a ![]() Graced Water, so make sure to grab it before heading through the door to the north.
Graced Water, so make sure to grab it before heading through the door to the north.
The Spektos will explode whenever you hit them on the overworld.
Eastern Door
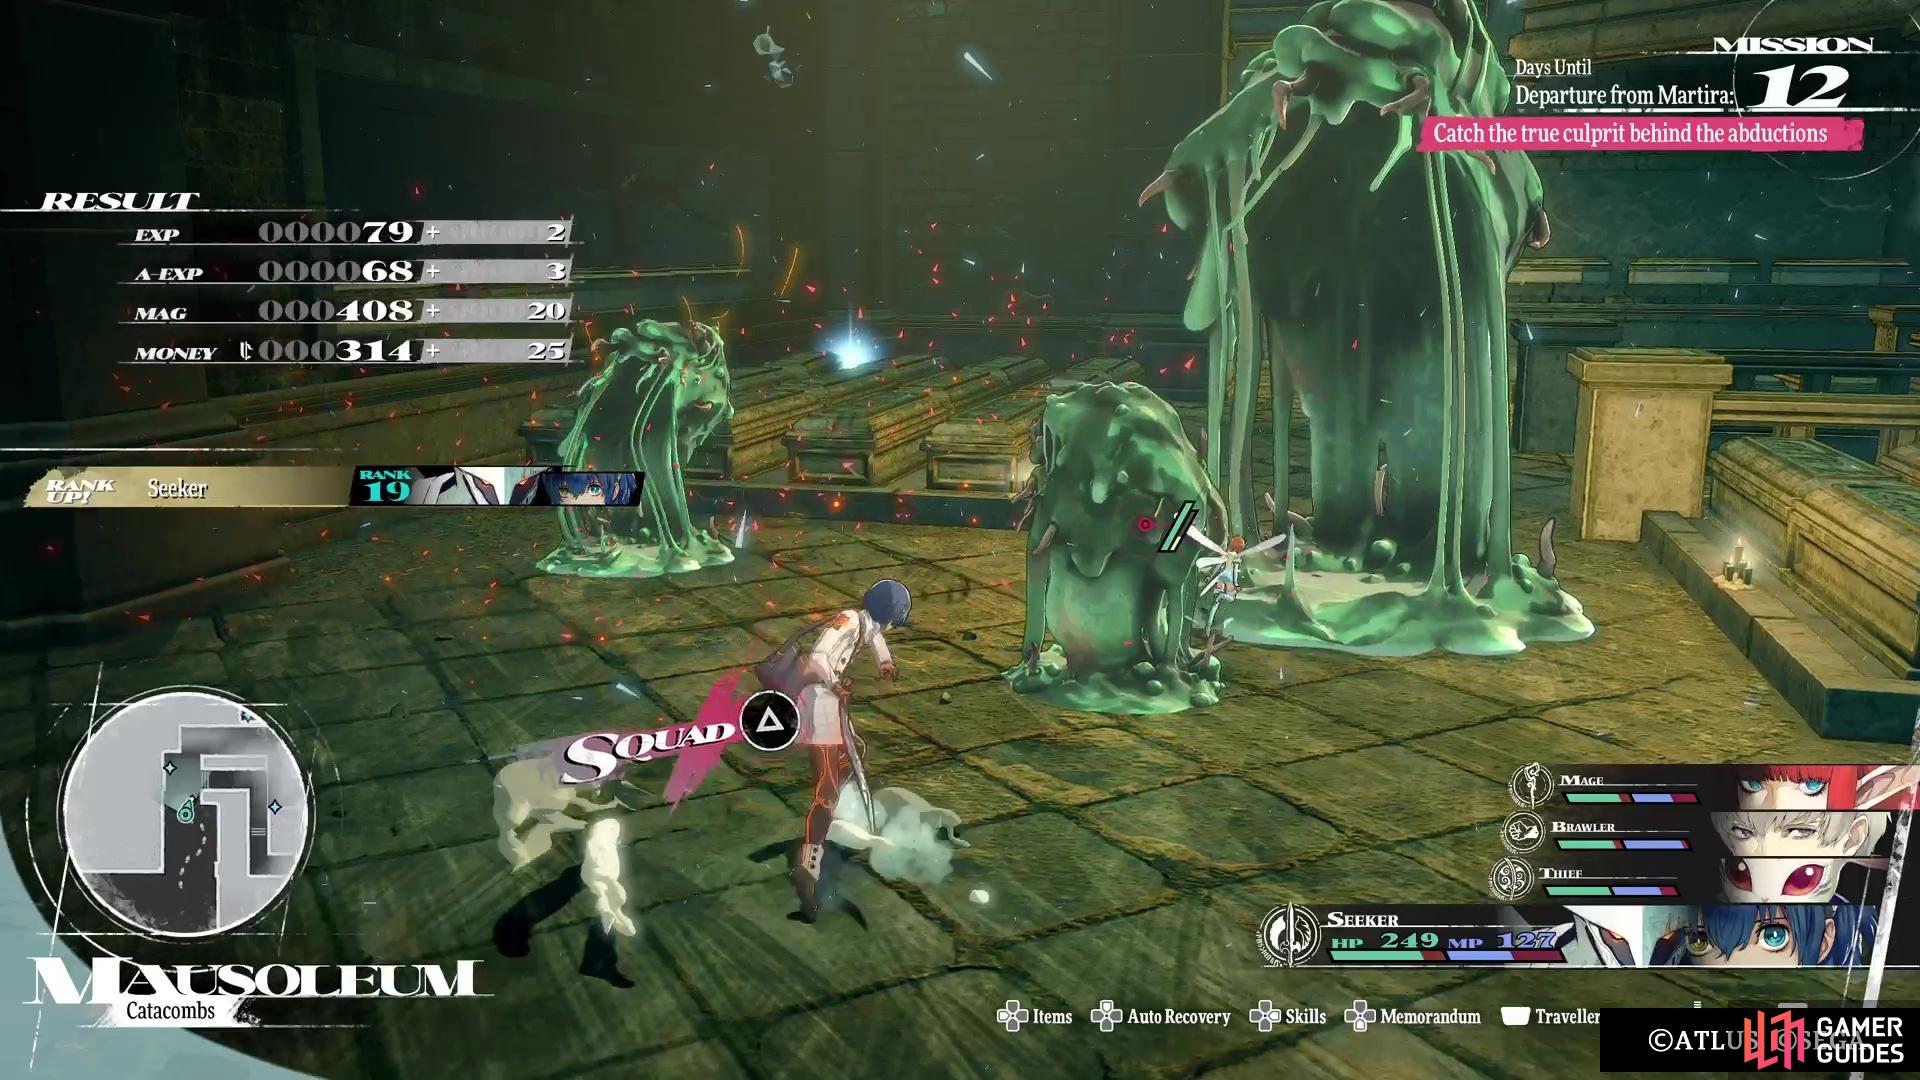
In the next area, you will have some more Spektos straight ahead, as well as more Gelatinos off to the side. Get rid of the former first, then head after the latter second, which will allow you to snag the Tarnished Candelbra by them. To the north of the Spektos will be a crossroads, with three different doors. Head east first and follow the long hallway, defeating any enemies that appear or are in the way. Eventually, you will reach another split, so go to the dead end first to find a chest with a ![]() Broken Igniter. As you retrace your steps, some skeletons will appear, so take them out.
Broken Igniter. As you retrace your steps, some skeletons will appear, so take them out.
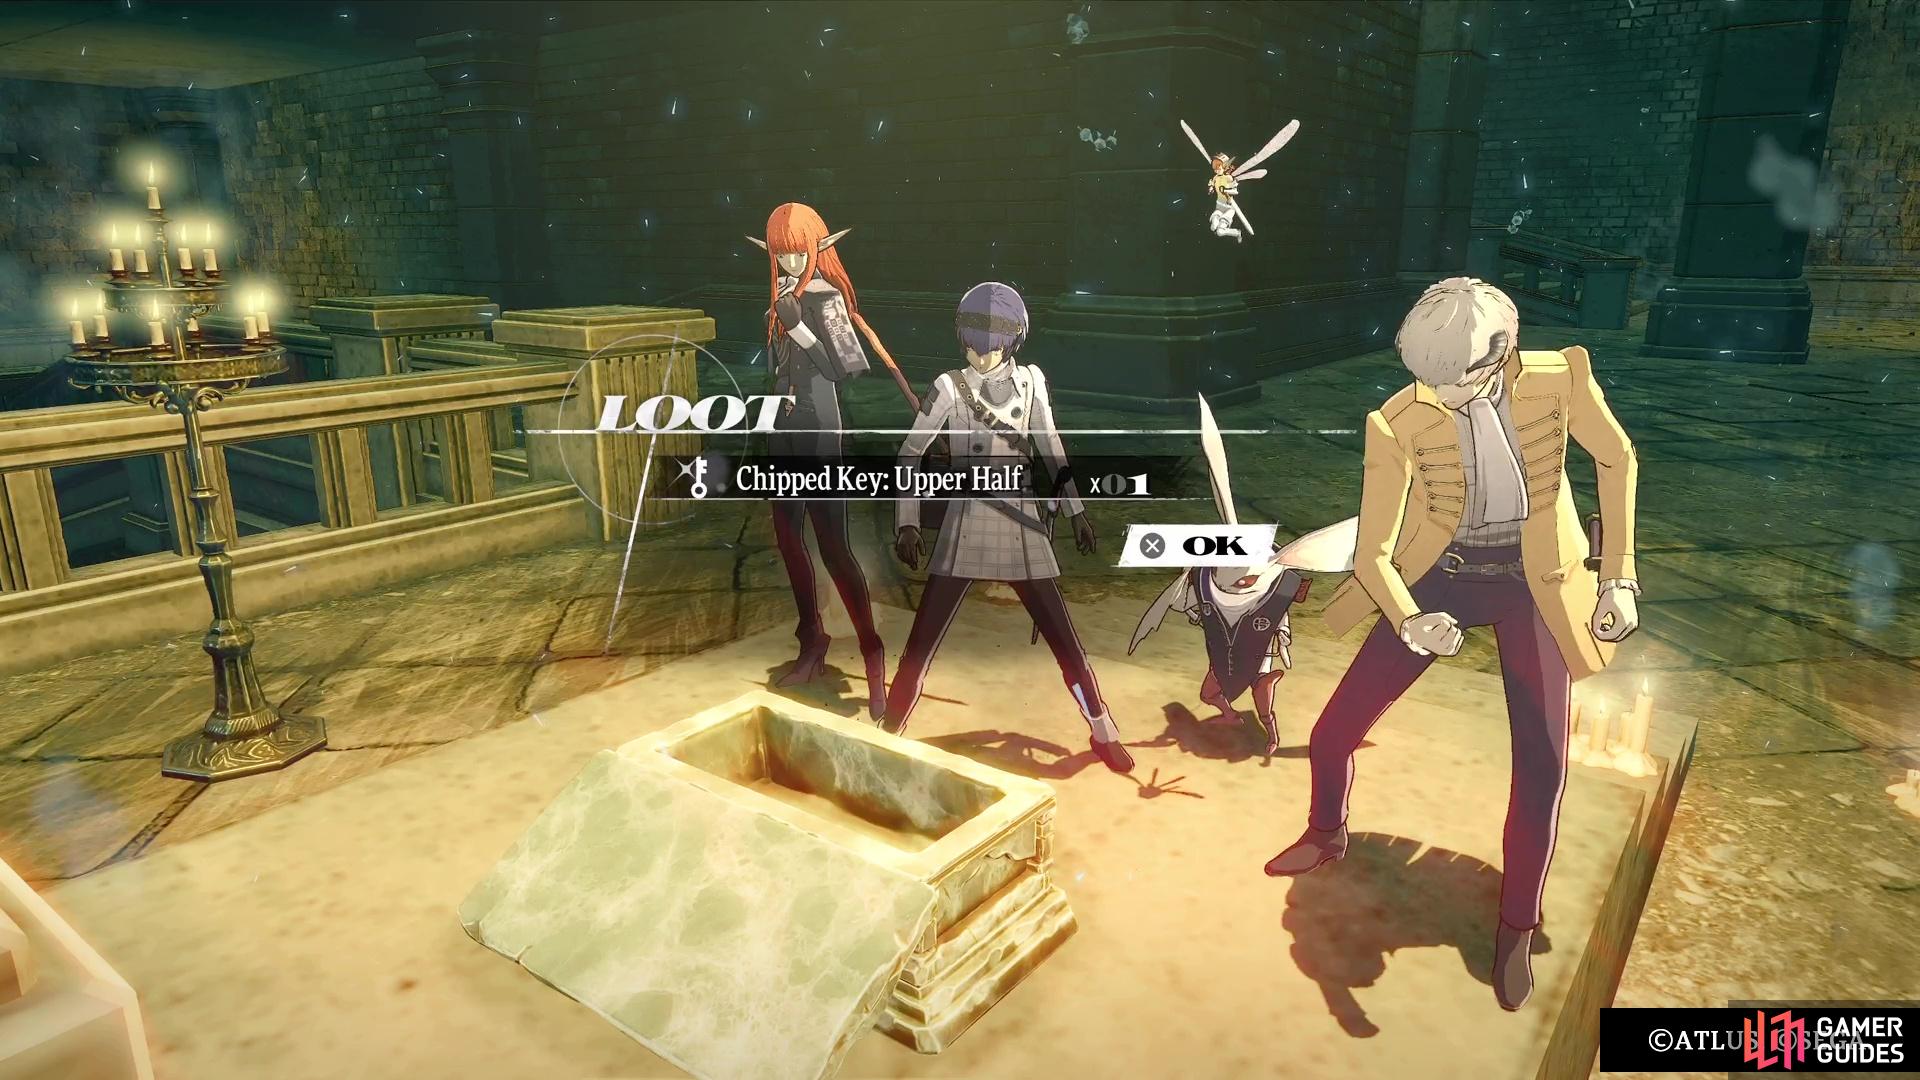
Some stairs will be waiting for you, which will take you to a lower level. At the bottom of the stairs, check the nearby alcove for a ![]() Speed Incense, then continue south. Open the chest for the
Speed Incense, then continue south. Open the chest for the ![]() Chipped Key: Upper Half, which is one of two parts you need to access the boss in this dungeon. Go west from there, grab the
Chipped Key: Upper Half, which is one of two parts you need to access the boss in this dungeon. Go west from there, grab the ![]() Tarnished Candelabra, then pass through the locked gate to appear in a central hallway. The door at the end leads to the boss, but you only have one-half of the key to open it. Loot the item here (Holy Ossuary), then run south to do a little bit of backtracking.
Tarnished Candelabra, then pass through the locked gate to appear in a central hallway. The door at the end leads to the boss, but you only have one-half of the key to open it. Loot the item here (Holy Ossuary), then run south to do a little bit of backtracking.
(1 of 3) There are plenty of enemies hanging around the various hallways of this dungeon.
Western Door
This path will lead you back to the crossroads, where you’ll not only happen upon a Magla Hollow, but also a new enemy, the Colossal Vampire Gelatinos. While similar in nature to the green Gelatinos, this one is weak to both Ice and Lightning. Back at the crossroads, enter the door to the west to find yourself in an area with more enemies. Clear them out on the lower level, then loot the items here for an ![]() Onyx and
Onyx and ![]() Peridot. Climb the stairs on the opposite side, being aware that more skeletons will appear here.
Peridot. Climb the stairs on the opposite side, being aware that more skeletons will appear here.
Cross the bridge, looting the ![]() Luck Incense, and you’ll find some stairs on the other side. Don’t go down them just yet, as there’s a side path right before them, where you can grab two chests. One requires you to crawl through a small spot to reach it (
Luck Incense, and you’ll find some stairs on the other side. Don’t go down them just yet, as there’s a side path right before them, where you can grab two chests. One requires you to crawl through a small spot to reach it (![]() Blaze Igniter), while the other has you cross a narrow bridge that’s being guarded by a big Gelatinos (
Blaze Igniter), while the other has you cross a narrow bridge that’s being guarded by a big Gelatinos (![]() Balm of Life). Once you’ve opened both chests, double back to the stairs and go down them. You’ll see another Magla Hollow right at the bottom, which will help if you need to go back to the entrance.
Balm of Life). Once you’ve opened both chests, double back to the stairs and go down them. You’ll see another Magla Hollow right at the bottom, which will help if you need to go back to the entrance.
There are a lot of enemies skulking about down here, so it’s a good idea to clear them out first. After doing that, grab the Tarnished Candelabra by the bottom of the stairs, then continue onward to another big set of enemies. There will be a Gritty Armour by this set, and if you go down the middle path, you’ll reach a dead end that has a chest guarded by a Colossal Vampire Gelatinos (![]() Hero’s Leaf of Light). On the other path in the area, which will lead you towards the end, you can loot a
Hero’s Leaf of Light). On the other path in the area, which will lead you towards the end, you can loot a ![]() Hero’s Fruit.
Hero’s Fruit.
There is one more chest past where you fought the boss in the dungeon.
At the end, you will see another chest, with this one containing the ![]() Chipped Key: Lower Half. With both of the pieces in your possession now,
Chipped Key: Lower Half. With both of the pieces in your possession now, ![]() Gallica will put them together and you’ll receive the
Gallica will put them together and you’ll receive the ![]() Inner Sanctum Key. Grab the other item nearby (Tarnished Candelabra), then exit through the gate. You will be back in the main hallway right before the boss again, but you’ve cleared this place out now. The only thing left to do is save your game, then go through the door to fight the Kadablich!
Inner Sanctum Key. Grab the other item nearby (Tarnished Candelabra), then exit through the gate. You will be back in the main hallway right before the boss again, but you’ve cleared this place out now. The only thing left to do is save your game, then go through the door to fight the Kadablich!
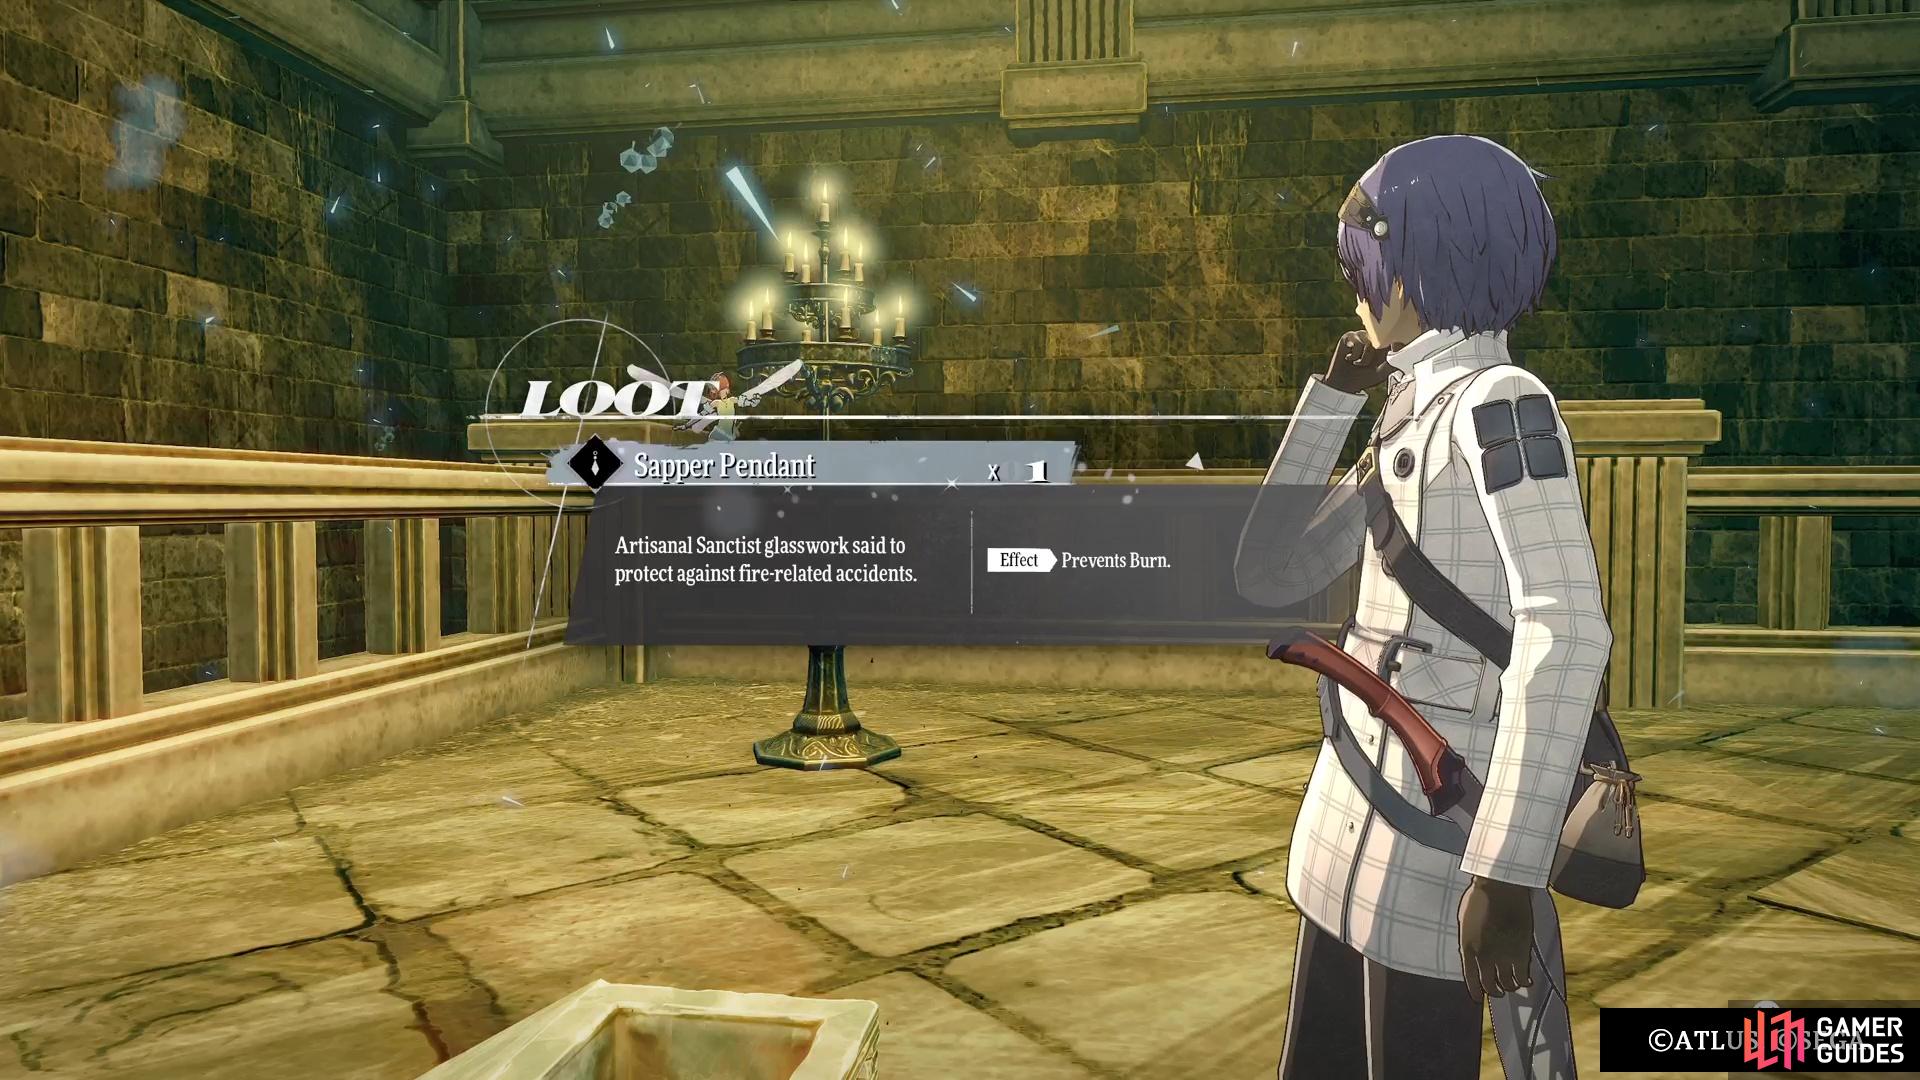
Note that after you defeat the boss here, there’s a door on the far side of the room. Go through it, then head north when you can to find one final chest, which contains a ![]() Sapper Pendant. The rest of the path over here will lead you back towards the beginning of the dungeon.
Sapper Pendant. The rest of the path over here will lead you back towards the beginning of the dungeon.
 Sign up
No Comments