
Velen is swarming with mysterious supernatural beings, both feared and worshiped - sometimes both simultaneously - but none are as pervasive as the ![]() Ladies of the Wood, also known as the Witches of Crookback Bog. Throughout Velen you’ll see ghastly wooden shrines dedicated to them, and you’ll doubtlessly learn about the “Trail of Treats”. The peasantry believes in this Trail of Treats to the point where they’ll abandon their children in the bog, hopeful that these Ladies of the Wood can provide sustenance the peasants themselves cannot, but the odd notice also warns against taking such treats - those who do are never heard from again. While numerous, the rumors are hazy, and often conflicting, but with the “witch” in
Ladies of the Wood, also known as the Witches of Crookback Bog. Throughout Velen you’ll see ghastly wooden shrines dedicated to them, and you’ll doubtlessly learn about the “Trail of Treats”. The peasantry believes in this Trail of Treats to the point where they’ll abandon their children in the bog, hopeful that these Ladies of the Wood can provide sustenance the peasants themselves cannot, but the odd notice also warns against taking such treats - those who do are never heard from again. While numerous, the rumors are hazy, and often conflicting, but with the “witch” in ![]() Midcopse not being the expected crone, Geralt turns to another, even more tenuous lead by searching for whatever witch inhabits the swamps of Velen. This page will provide a walkthrough for the main quest Ladies of the Wood in The Witcher 3.
Midcopse not being the expected crone, Geralt turns to another, even more tenuous lead by searching for whatever witch inhabits the swamps of Velen. This page will provide a walkthrough for the main quest Ladies of the Wood in The Witcher 3.
Quest Objectives
Starting Ladies of the Wood
This quest will begin near the end of Wandering in the Dark. After defeating Nithral and searching the mysterious elven mage’s lab you’ll witness a projection where the mage warns Ciri about the “Witches of Crookback Bog”. After conferring with Keira you’ll get the book ![]() The Ladies of the Wood, but more importantly, you’ll get a lead on some more witches in Velen. Could these be the ones Ciri fought?
The Ladies of the Wood, but more importantly, you’ll get a lead on some more witches in Velen. Could these be the ones Ciri fought?
Follow the Trail of Treats
After starting this quest you’ll need to finish ![]() Wandering in the Dark… and possibly quite a few other quests. No shame in finishing up Keira’s storyline before splashing about in the swamps of eastern Velen. First things first, be sure to read The Ladies of the Wood, which will give you an objective marker far to the southeast of Lindenvale, southwest of Downwarren. When you’re ready, travel to this marker and find the shrine to the Ladies of the Wood, bearing a grotesque cult statue and lined with pastries. After examining the shrine, use your Witcher sense to find more treats lining the road - follow the Trail of Treats along the road to the southeast and you’ll eventually find yourself at an… orphanage?
Wandering in the Dark… and possibly quite a few other quests. No shame in finishing up Keira’s storyline before splashing about in the swamps of eastern Velen. First things first, be sure to read The Ladies of the Wood, which will give you an objective marker far to the southeast of Lindenvale, southwest of Downwarren. When you’re ready, travel to this marker and find the shrine to the Ladies of the Wood, bearing a grotesque cult statue and lined with pastries. After examining the shrine, use your Witcher sense to find more treats lining the road - follow the Trail of Treats along the road to the southeast and you’ll eventually find yourself at an… orphanage?
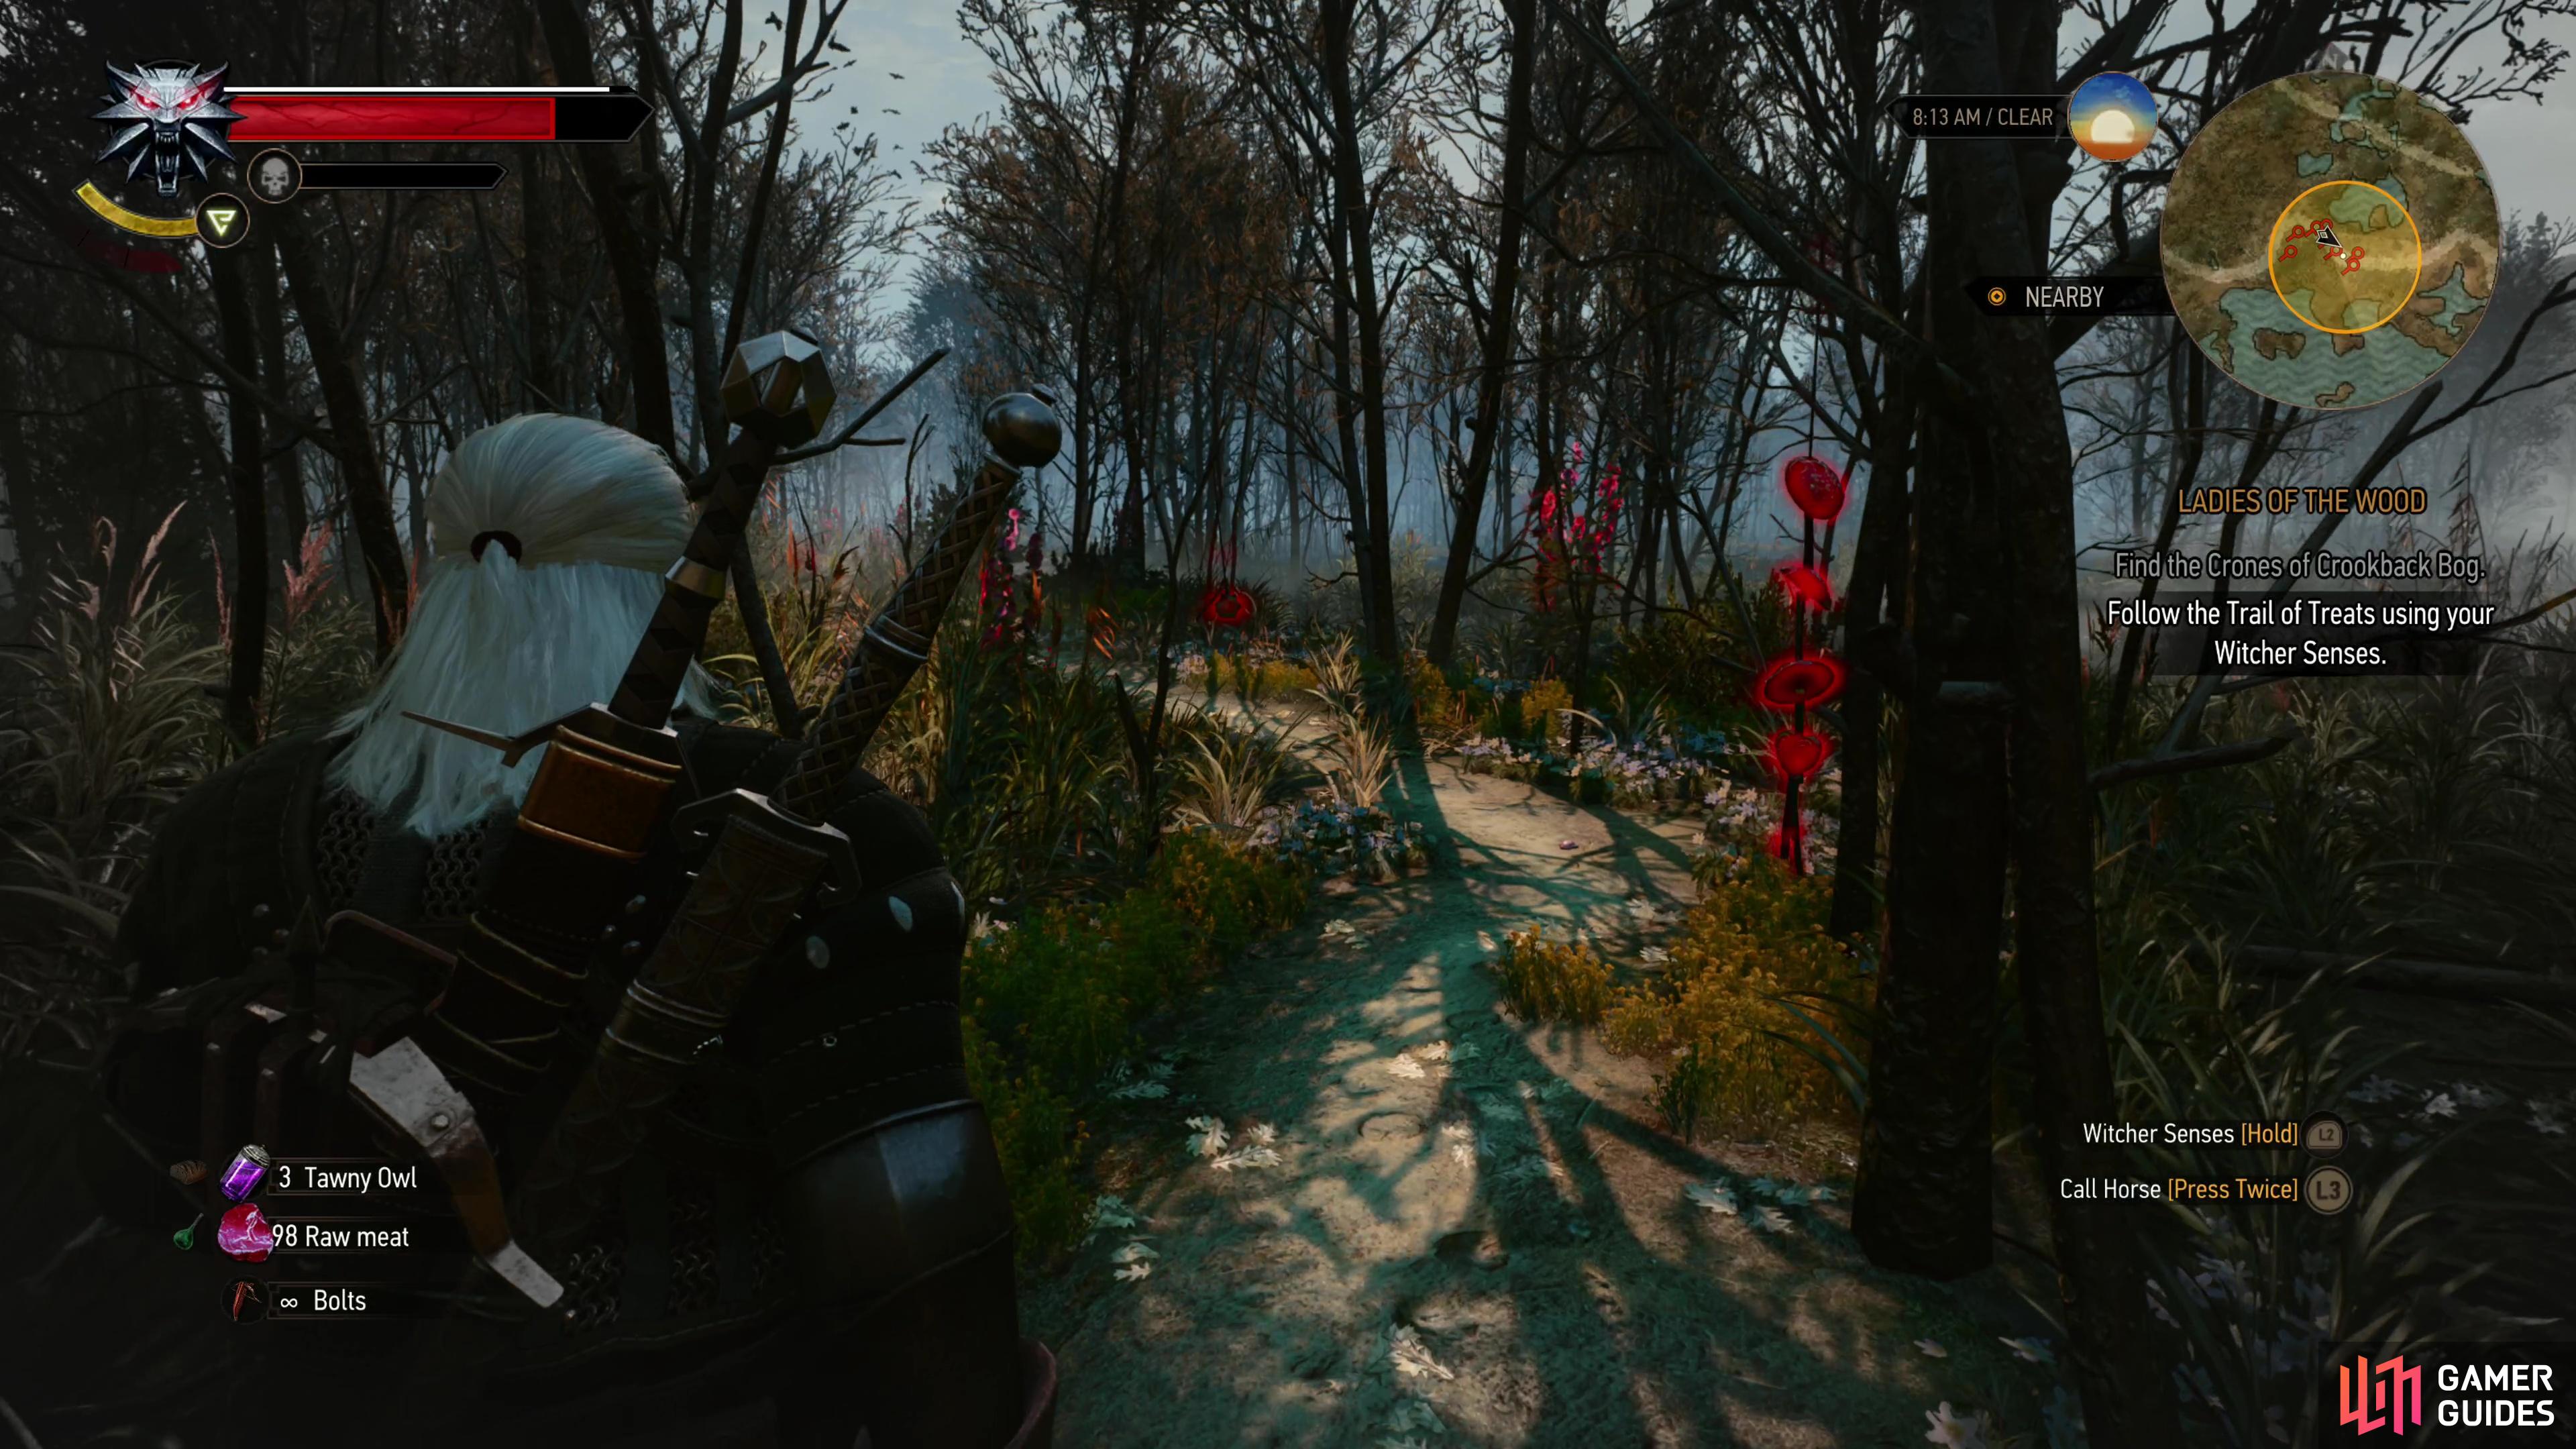

(1 of 2) Use your Witcher senses to follow the trail of treats,
Use your Witcher senses to follow the trail of treats, (left), and it’ll lead to an orphanage in the middle of the swamp. (right)
Ask About Johnny
Approach the orphanage and you’ll find yourself chatting with the orphans and shortly thereafter, their caretaker, ![]() Gran. While the children will mention someone named “
Gran. While the children will mention someone named “![]() Johnny” Gran toes the line between addled and obstructionist, and there’s little solid info you can get out of any of them right now. One boy whose tongue is too loose for Gran’s liking is taken into a nearby hut, and you’ll be tasked with talking to him. Make the attempt and Travik will recant what he let slip earlier, while Gran has turned actively hostile.
Johnny” Gran toes the line between addled and obstructionist, and there’s little solid info you can get out of any of them right now. One boy whose tongue is too loose for Gran’s liking is taken into a nearby hut, and you’ll be tasked with talking to him. Make the attempt and Travik will recant what he let slip earlier, while Gran has turned actively hostile.
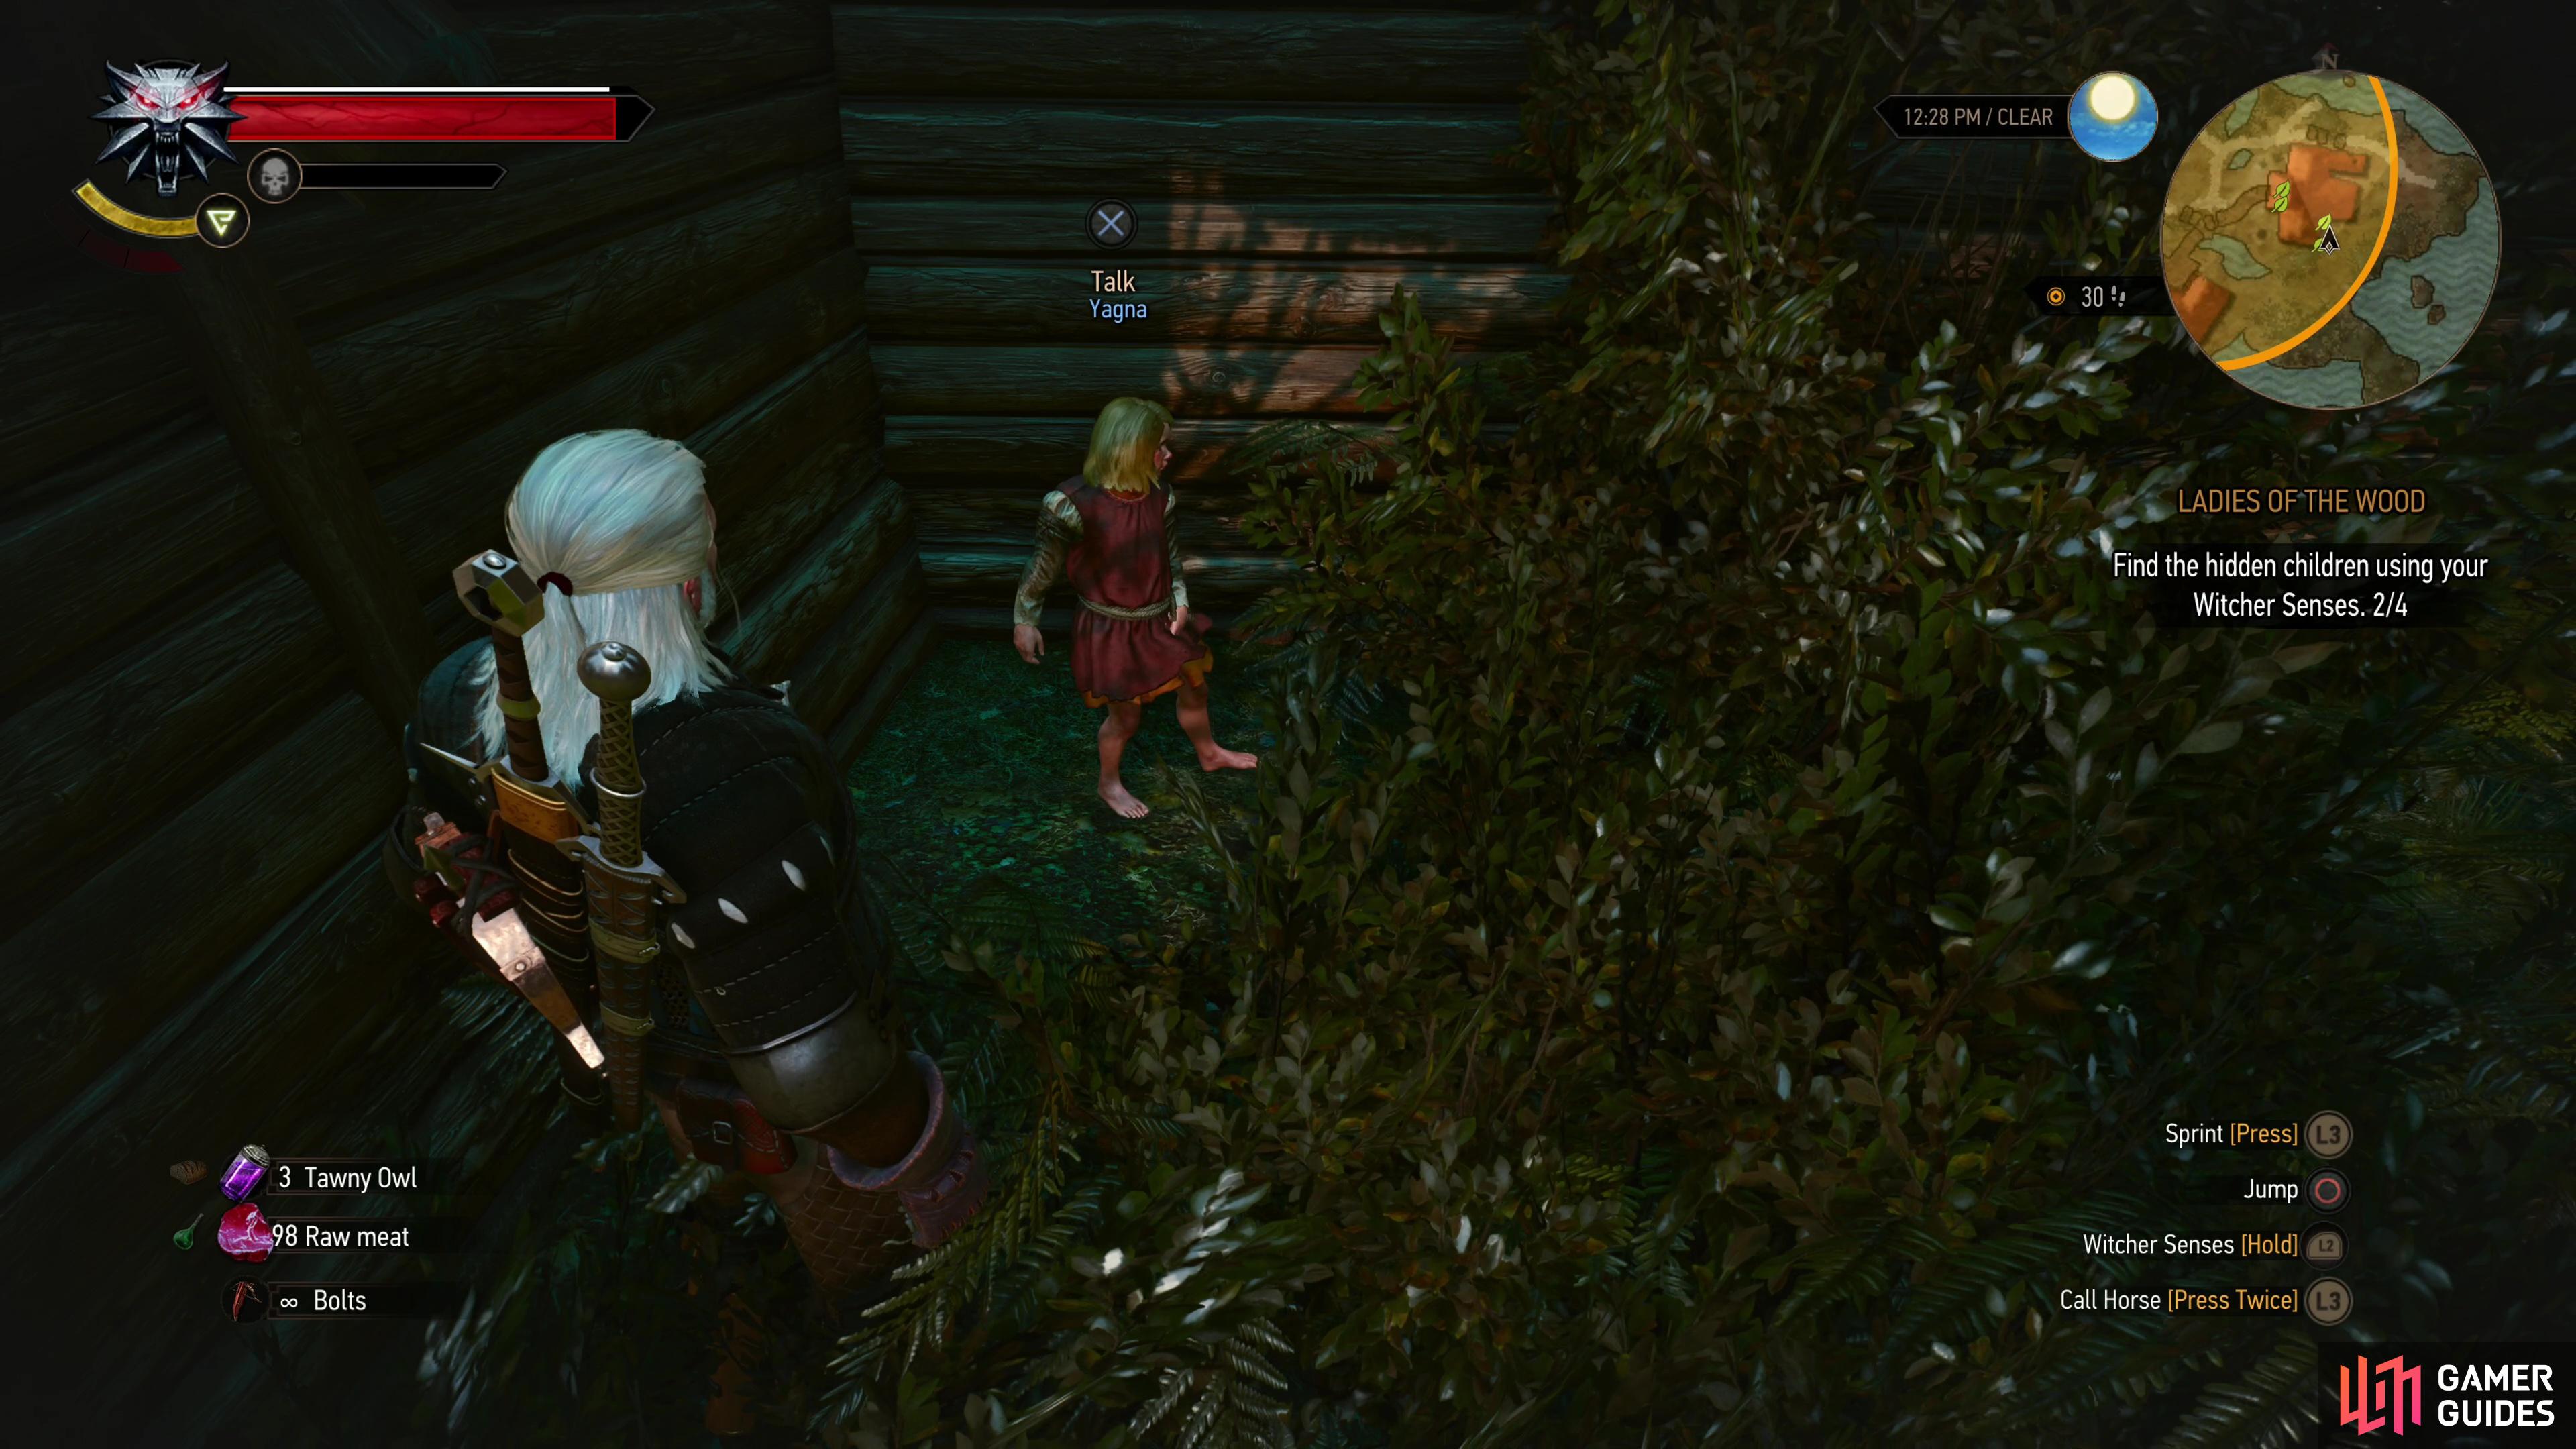
Exit the hut and talk to any one of the other kids to find out that this mysterious Johnny is only friends with the boy Gran is protecting. Whoever - or whatever - this Johnny is, you’ll need to talk to him, and that means you need to find a way past Gran to speak to Travik. Ask the kids to help you and they’ll demand you play hide-n-seek as compensation. Agree (“Fine.”) and you’ll need to use your Witcher senses to track the kids down, or decline (“Isn’t there something else you want?”) and they’ll demand sweets instead. What, exactly, they want, is unclear, but if you’ve been looting and not arbitrarily selling the random food items you find, there’s a chance you’ll have what you need to appease the kids.
Play Hide and Seek
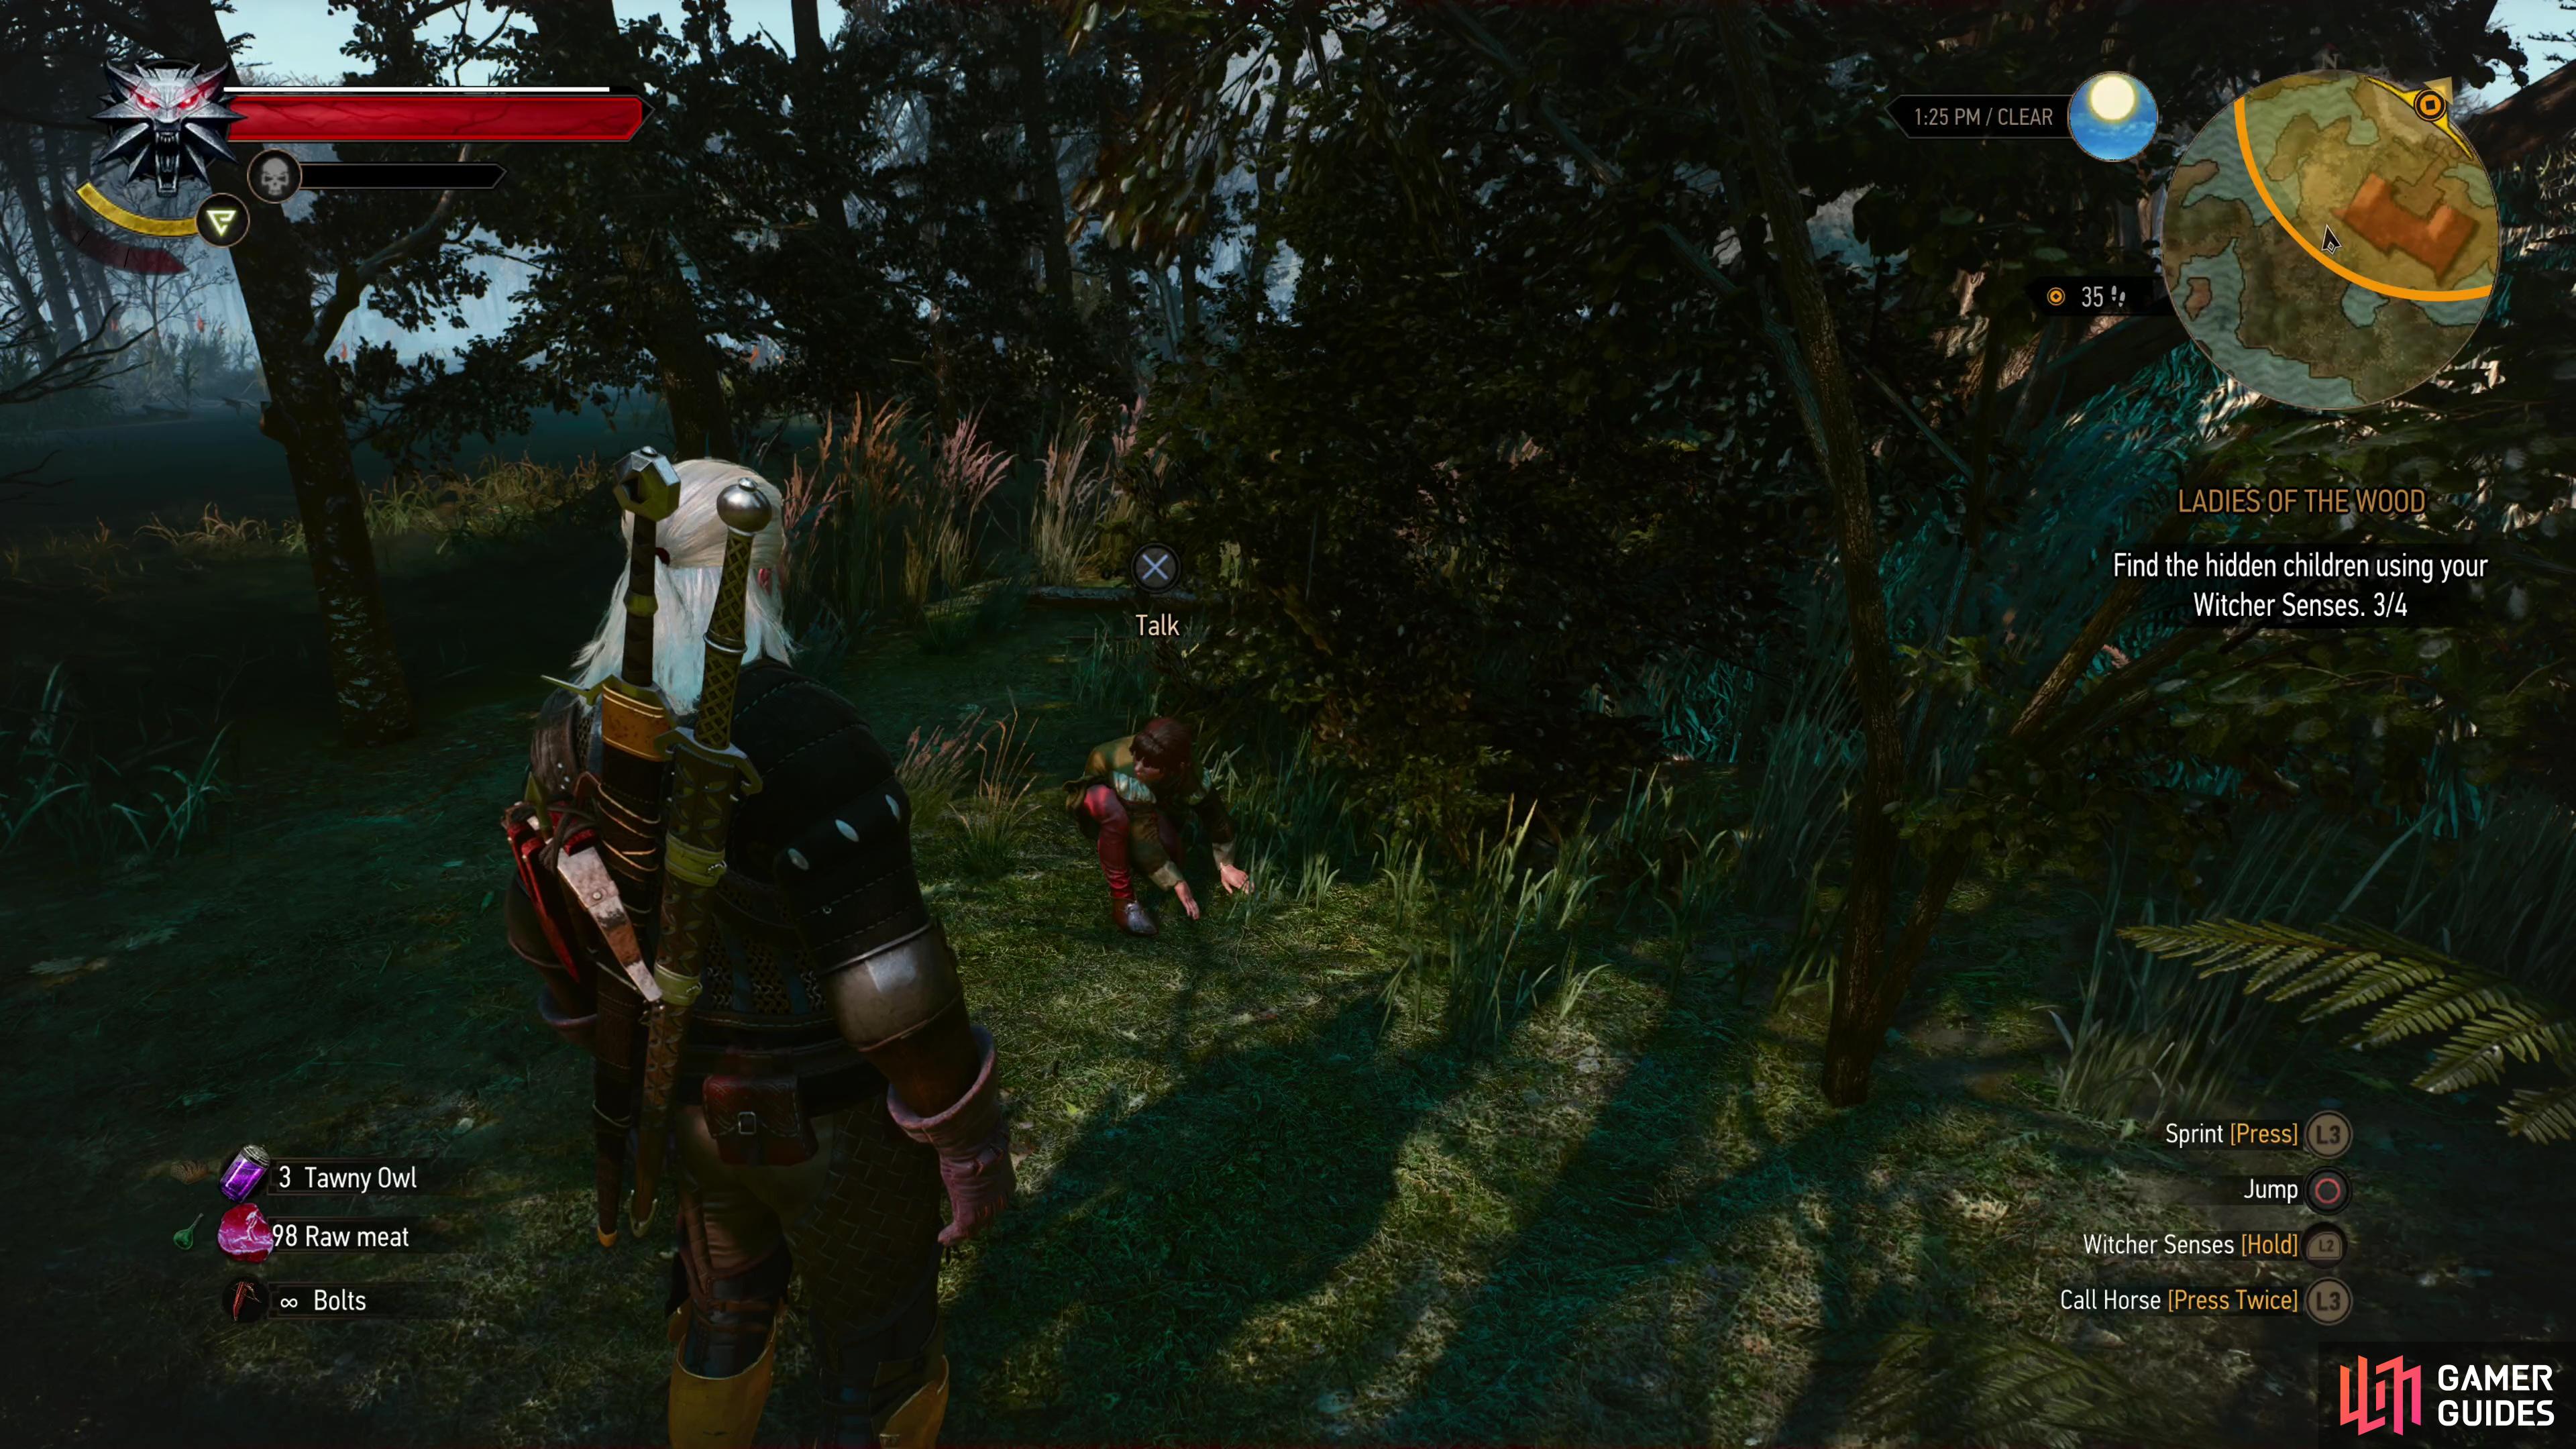
In case you have to play hide-n-seek, here’s where you can find all the hiding kids:
- From Gran’s hut, activate your Witcher senses and follow a trail east, where it leads to another building and up a ladder to the roof. The ladder is too small for Geralt, so circle around behind the building and search a pile of hay to find Genny.
- Behind the same building as Genny, you can follow a trail of footprints from Gran’s hut that’ll lead southeast around the building and behind some bushes, or you can just head south from the hay where Genny hid. Either way, Yagna can be found behind the bushes.
- From Gran’s hut follow a trail northwest to the northernmost hut. The tracks lead inside, so follow them, turn right, and find Mikula hiding behind some barrels, under a window.
- Finally, from Gran’s hut turn south to find some tracks leading into the aforementioned building. Don’t follow them, instead work your way south around the eastern side of the building to find the tracks resuming near a window. Follow them west along the southern edge of Gran’s hut and you’ll find Ayarna hiding behind a bush.
Find all four kids and Gran will be lured away from Travik, freeing Geralt to talk to him. Exhaust his dialog options and you’ll learn where this Johnny can be found while also confirming other encouraging details.


Find Johnny
Now that you know roughly where Johnny is located, pursue the search area in the swamp to the east of the orphanage, and when you arrive dispatch two ![]() Drowners (Lv6) and a
Drowners (Lv6) and a ![]() Water Hag (Lv6). Activate your Witcher senses and search just north of the center of the search area to find some small tracks in the mud, investigate them, then follow them along a circuitous route through the swamp until you find a den northeast of the orphanage.
Water Hag (Lv6). Activate your Witcher senses and search just north of the center of the search area to find some small tracks in the mud, investigate them, then follow them along a circuitous route through the swamp until you find a den northeast of the orphanage.
Approach the entrance to the Den and call to Johnny only to encounter another complication - the Godling has lost his voice. If you want Johnny to divulge what he knows about Ciri, you’ve got to help him recover it, and since he can’t tell you where to go or what to do, you’ll just need to follow the critter. Finding Johnny will earn you a hefty 150 EXP.
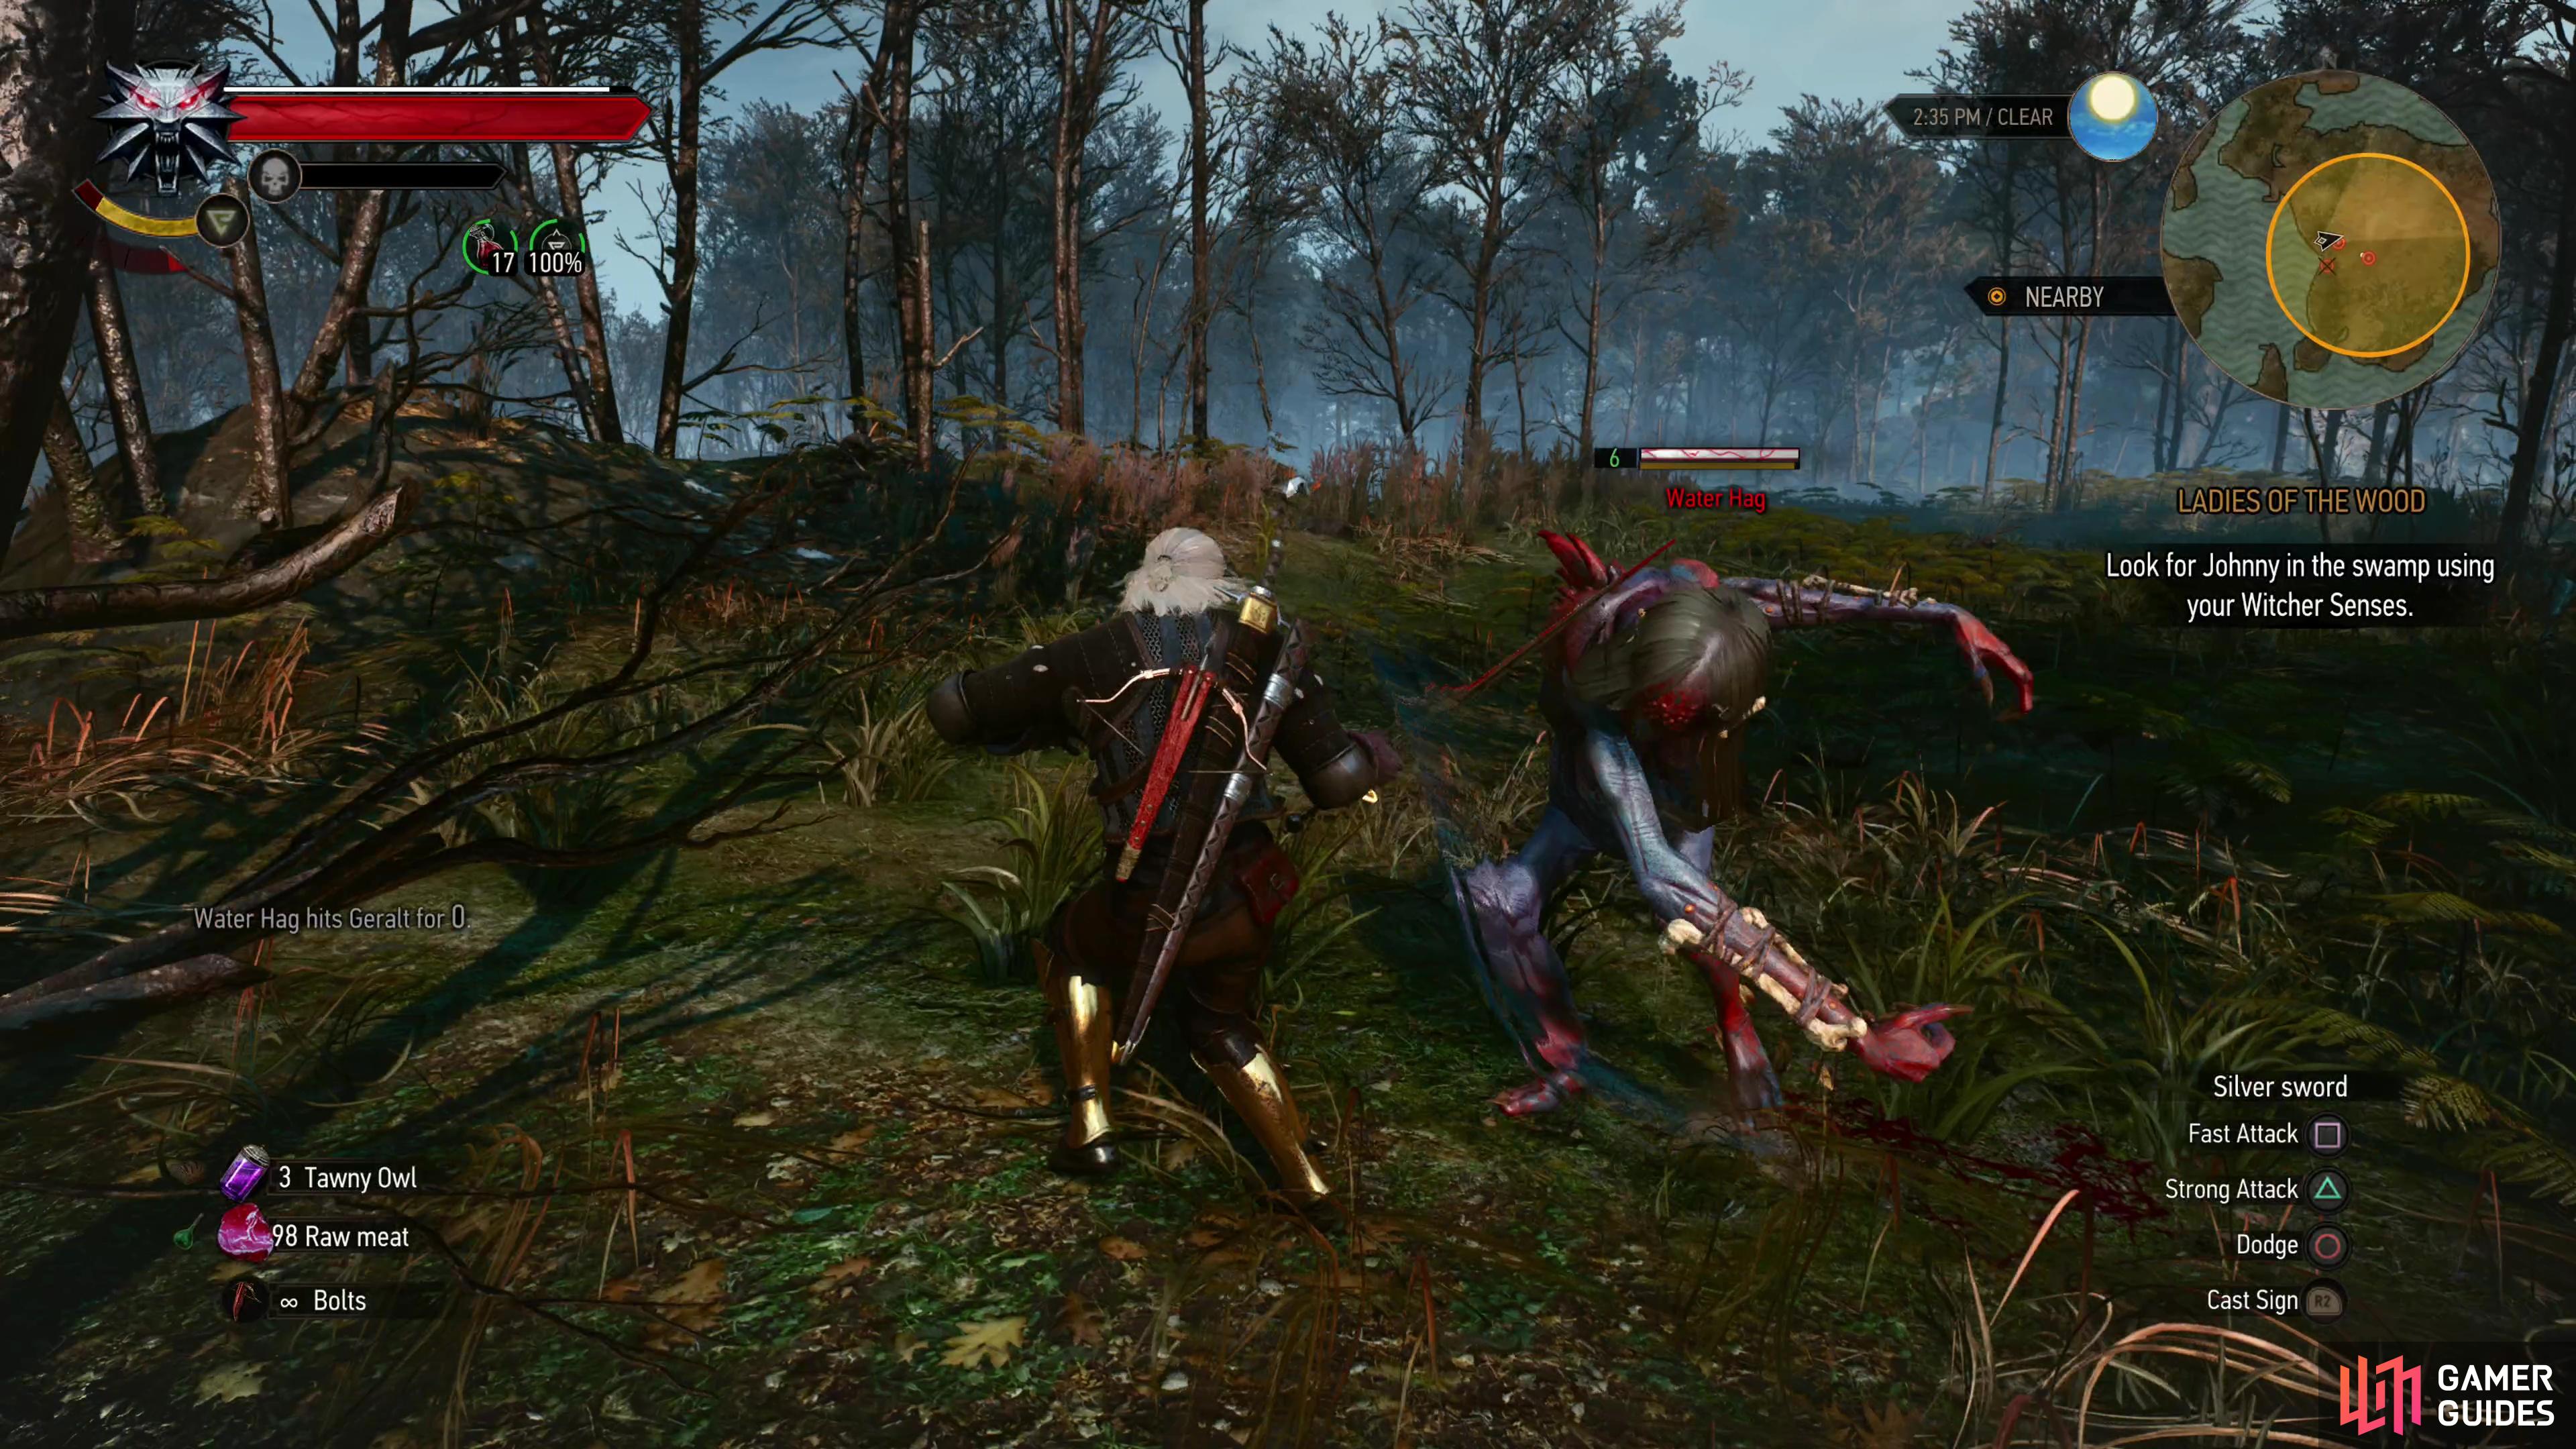


(1 of 3) Defeat a Water Hag and some Drowners,
Restore Johnny’s Voice
Follow the Godling through the swamp and he’ll lead you northwest to some cliffs, but only after inconsiderately luring you near some Drowners (Lv6). Maybe Johnny’s not all that good at steering clear of the monsters that roam the bog? Whatever the cast, when you arrive you’ll be just down the road from Downwarren. Head up a trail to the northeast, jump a waterfall to the northwest, and kill a trio of ![]() Harpies (Lv6). If you’re unlucky a
Harpies (Lv6). If you’re unlucky a ![]() Wyvern may also appear, in which case focus on the Harpies and take them out as quickly as you can so you can focus on the draconid - remember that Active
Wyvern may also appear, in which case focus on the Harpies and take them out as quickly as you can so you can focus on the draconid - remember that Active ![]() Quen’s explosive shield can knock Harpies out of the sky, making them easy to dispatch. If you’re lucky you’ll even get a coup-de-grace prompt!
Quen’s explosive shield can knock Harpies out of the sky, making them easy to dispatch. If you’re lucky you’ll even get a coup-de-grace prompt!
Once the Harpies (and possibly the Wyvern) are dead, loot a nest to the south to find a Sealed ![]() Bottle and some Raven’s
Bottle and some Raven’s ![]() Feathers. Be sure to grab both, as the Raven’s Feathers are an item you’ll need for an upcoming quest. No need to make two trips when one will suffice. Return to Johnny, bottle in hand, and the restored Godling will quickly make you regret your benevolence. You’ll get the words you seek - and many more, besides, after which you’ll need to follow Johnny back to the orphanage so he can have some words with Gran, stopping to kill another pair of Drowners (Lv6) and a Water Hag (Lv6).
Feathers. Be sure to grab both, as the Raven’s Feathers are an item you’ll need for an upcoming quest. No need to make two trips when one will suffice. Return to Johnny, bottle in hand, and the restored Godling will quickly make you regret your benevolence. You’ll get the words you seek - and many more, besides, after which you’ll need to follow Johnny back to the orphanage so he can have some words with Gran, stopping to kill another pair of Drowners (Lv6) and a Water Hag (Lv6).
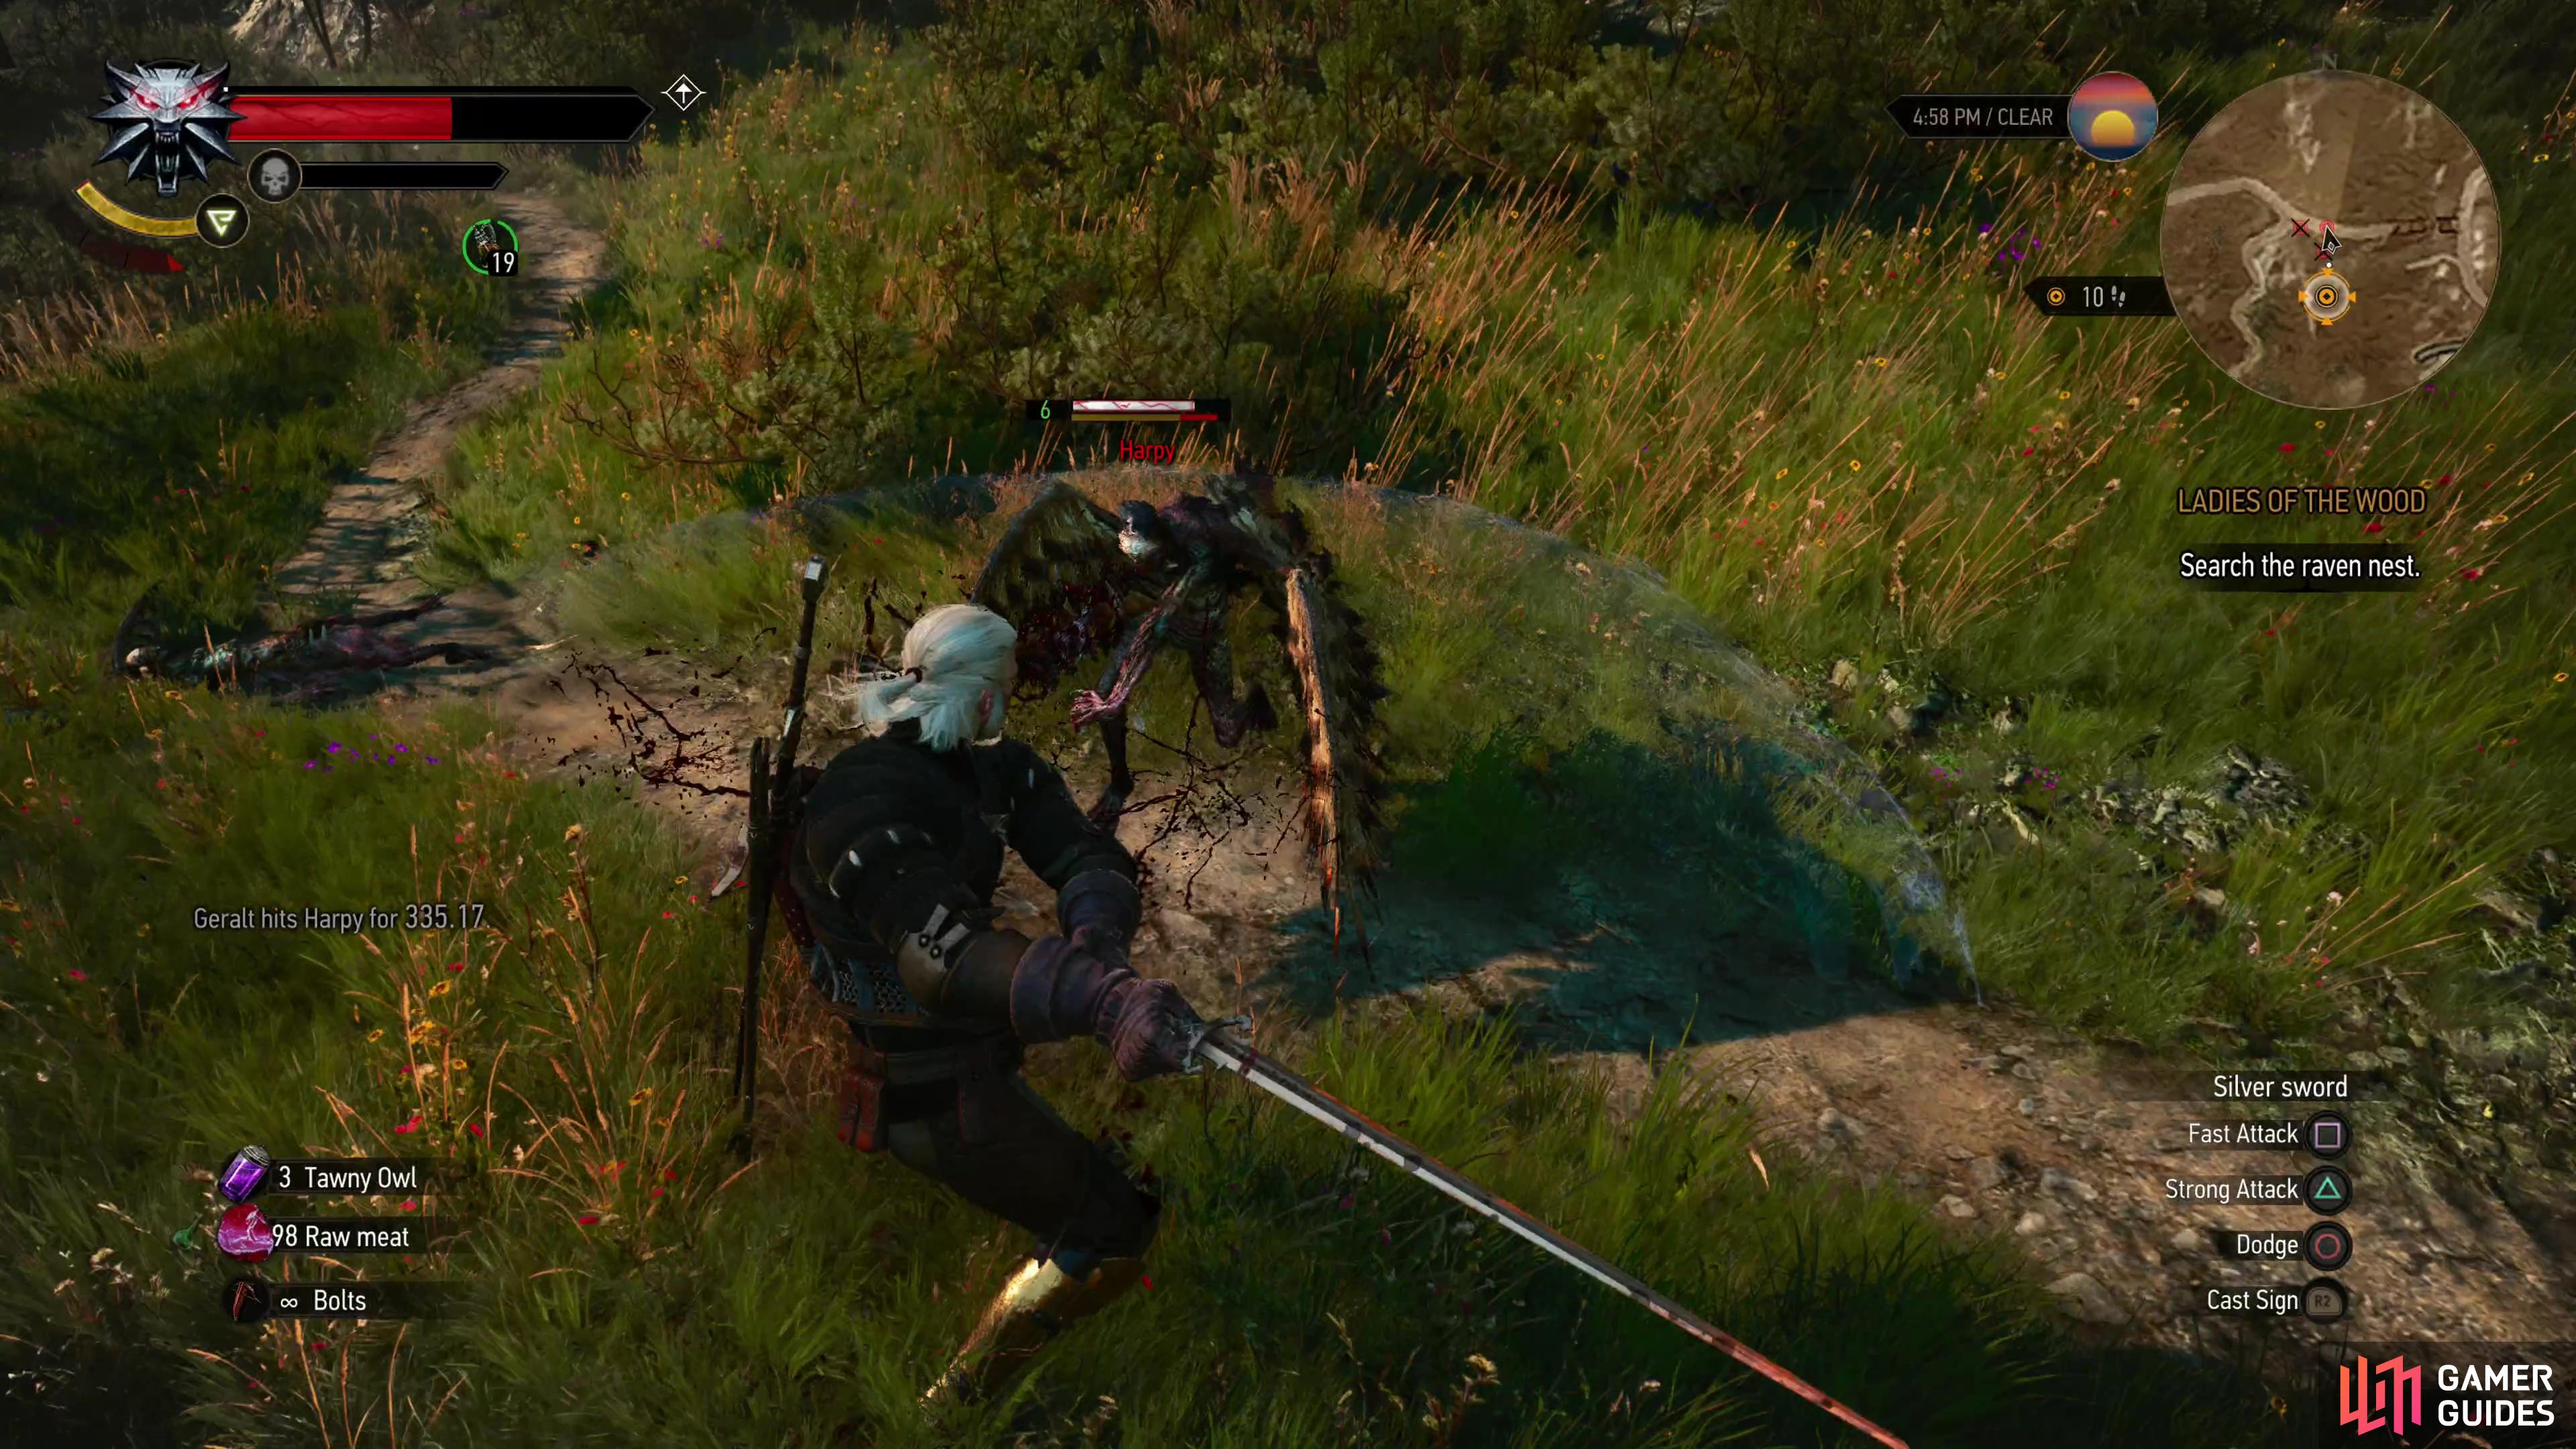
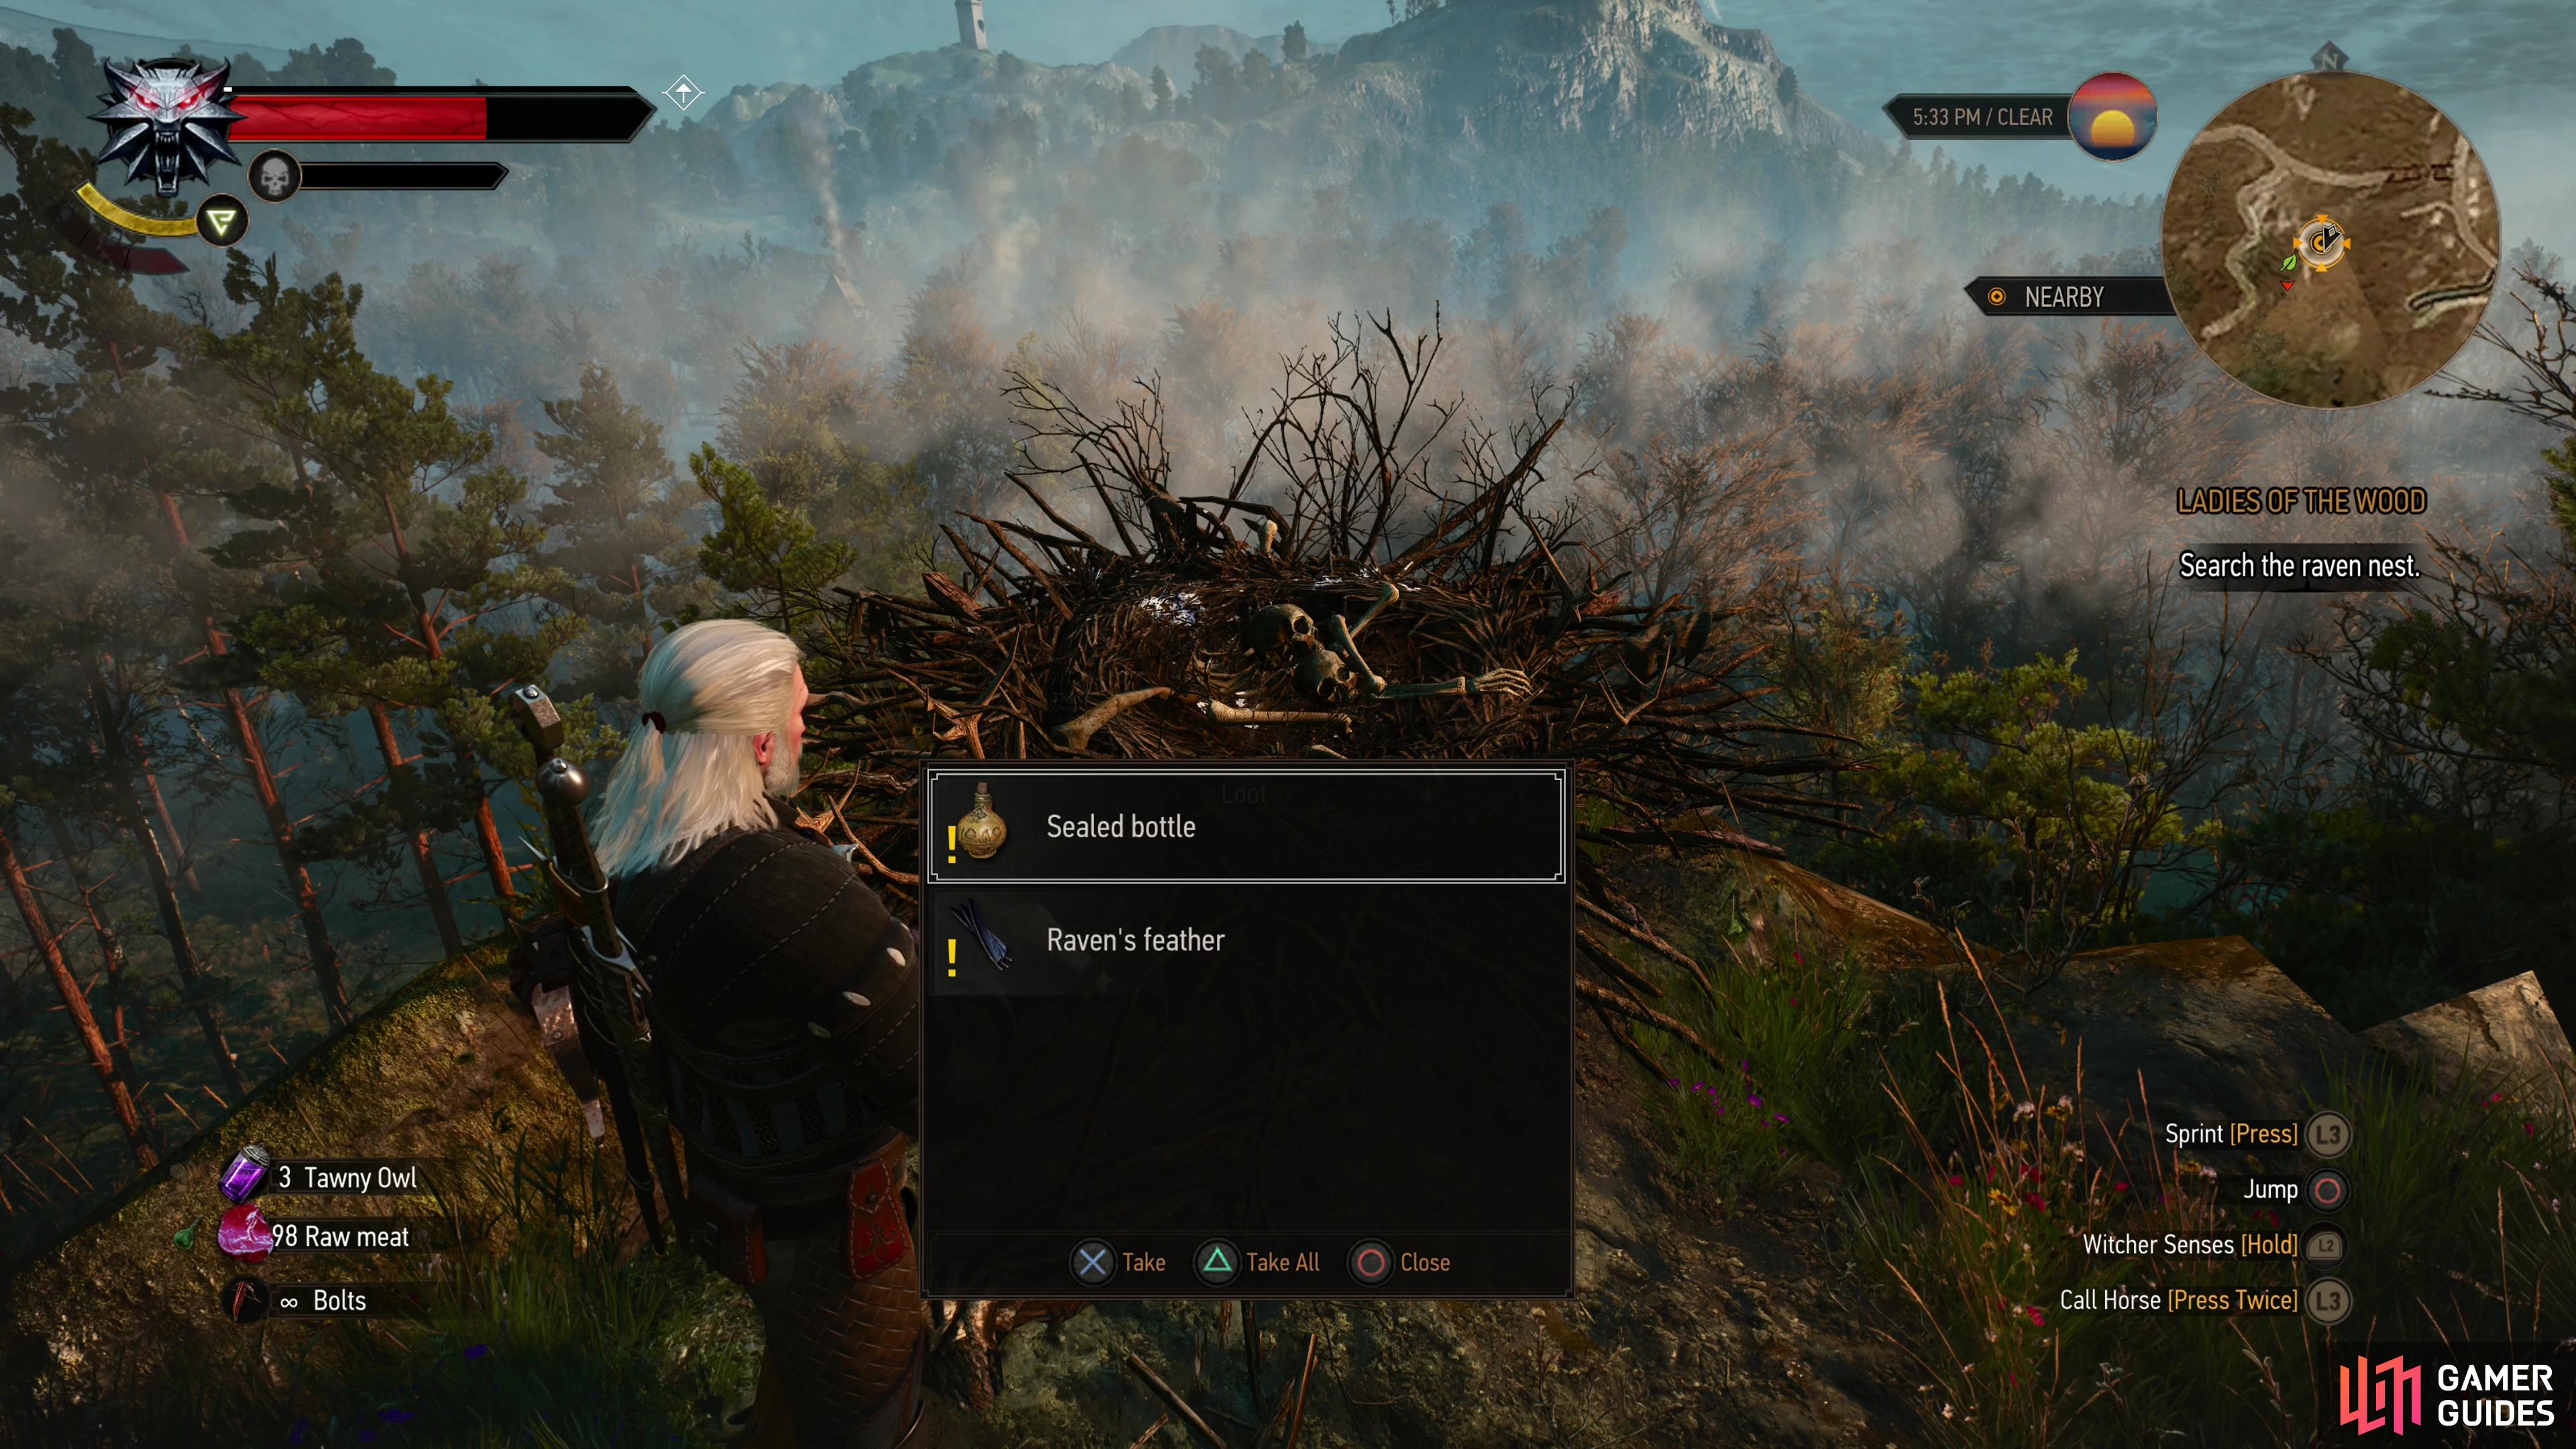
(1 of 2) Kill some Harpies,
Kill some Harpies, (left), then loot their nest to obtain a Sealed Bottle and a Raven’s Feather. (right)
After Johnny’s done speaking to Gran you’ll get some scenes, following which you’ll be burdened with a new task and the ![]() Crones’ Dagger, a symbol of authority you need to deliver. The road to Ciri is a winding one, but you’ll score another 150 EXP for your trouble.
Crones’ Dagger, a symbol of authority you need to deliver. The road to Ciri is a winding one, but you’ll score another 150 EXP for your trouble.
Talk to the Ealdorman of Downwarren
This next task is easier done than said - you need to visit the ealdorman of ![]() Downwarren and present him with the Crones’ Dagger. If you have the singpost for Downwarren, you can just fast travel from the orphanage to the village, no muss, no fuss. If not, it’s to the northeast, and since you’ve been stomping about these swamps a good bit recently, it should be an uneventful trip.
Downwarren and present him with the Crones’ Dagger. If you have the singpost for Downwarren, you can just fast travel from the orphanage to the village, no muss, no fuss. If not, it’s to the northeast, and since you’ve been stomping about these swamps a good bit recently, it should be an uneventful trip.
However you manage it, talk to the Ealdorman (he’s wearing green) when you arrive and present the dagger and in return the Ealdorman will tell you what ails the village. After your chat you’ll be tasked with investigating the Whispering Hillock, southeast of both Downwarren and the orphanage.


(1 of 2) Johnny will convince Gran to contact the Crones for you,
Johnny will convince Gran to contact the Crones for you, (left), and they’ll direct you to assist the Ealdorman of Downwarren. (right)
Investigate the Whispering Hillock
It may be a somewhat lengthy trip from Downwarrent to the Whispering HIllock, but there are roads you can follow all the way there, making it less of a chore than you might expect. The only thing you really need to worry about en route is a Bilge Hag (Lv20) off the road to the east. If you don’t stop to fight her, she likely won’t be able to do anything to you, so just keep moving until you reach the Whispering Hillock. Not only will the search area make this abundantly clear, but a disembodied voice will speak to you when you approach, staring the quest The Whispering Hillock. To advance Ladies of the Wood you must first complete ![]() The Whispering Hillock, so check out the linked page for a detailed walkthrough.
The Whispering Hillock, so check out the linked page for a detailed walkthrough.
How you resolve said quest doesn’t matter when it comes to completing Ladies of the Wood, but it does affect the outcome of the ![]() Bloody Baron’s questline and your actions determine the fate of the orphans at Crookback Bog and the citizens of Downwarren.
Bloody Baron’s questline and your actions determine the fate of the orphans at Crookback Bog and the citizens of Downwarren.
Get Your Reward from the Crones
After you finish The Whispering Hillock, exit the cave under the Ancient Oak and head west towards the quest marker for Ladies of the Wood, where you’ll find the Ealdorman of Downwarren and a few villagers investigate the corpse of the ![]() Werewolf that stalked the area recently. Talk to the Ealdorman and say what you wish, and after a scene Geralt will make a gruesome offering to the Crones, who grace Geralt with their presence. Once again you’re free to say whatever you wish here, there are no consequences for good or ill. Eventually the Crones will tell you of their encounter with Ciri, starting the quest Ciri’s Story: Fleeing the Bog, while Ladies of the Wood comes to an unceremonious end. Play through the aforementioned Ciri quest, after which the next main quest Return to Crookback Bog will begin.
Werewolf that stalked the area recently. Talk to the Ealdorman and say what you wish, and after a scene Geralt will make a gruesome offering to the Crones, who grace Geralt with their presence. Once again you’re free to say whatever you wish here, there are no consequences for good or ill. Eventually the Crones will tell you of their encounter with Ciri, starting the quest Ciri’s Story: Fleeing the Bog, while Ladies of the Wood comes to an unceremonious end. Play through the aforementioned Ciri quest, after which the next main quest Return to Crookback Bog will begin.
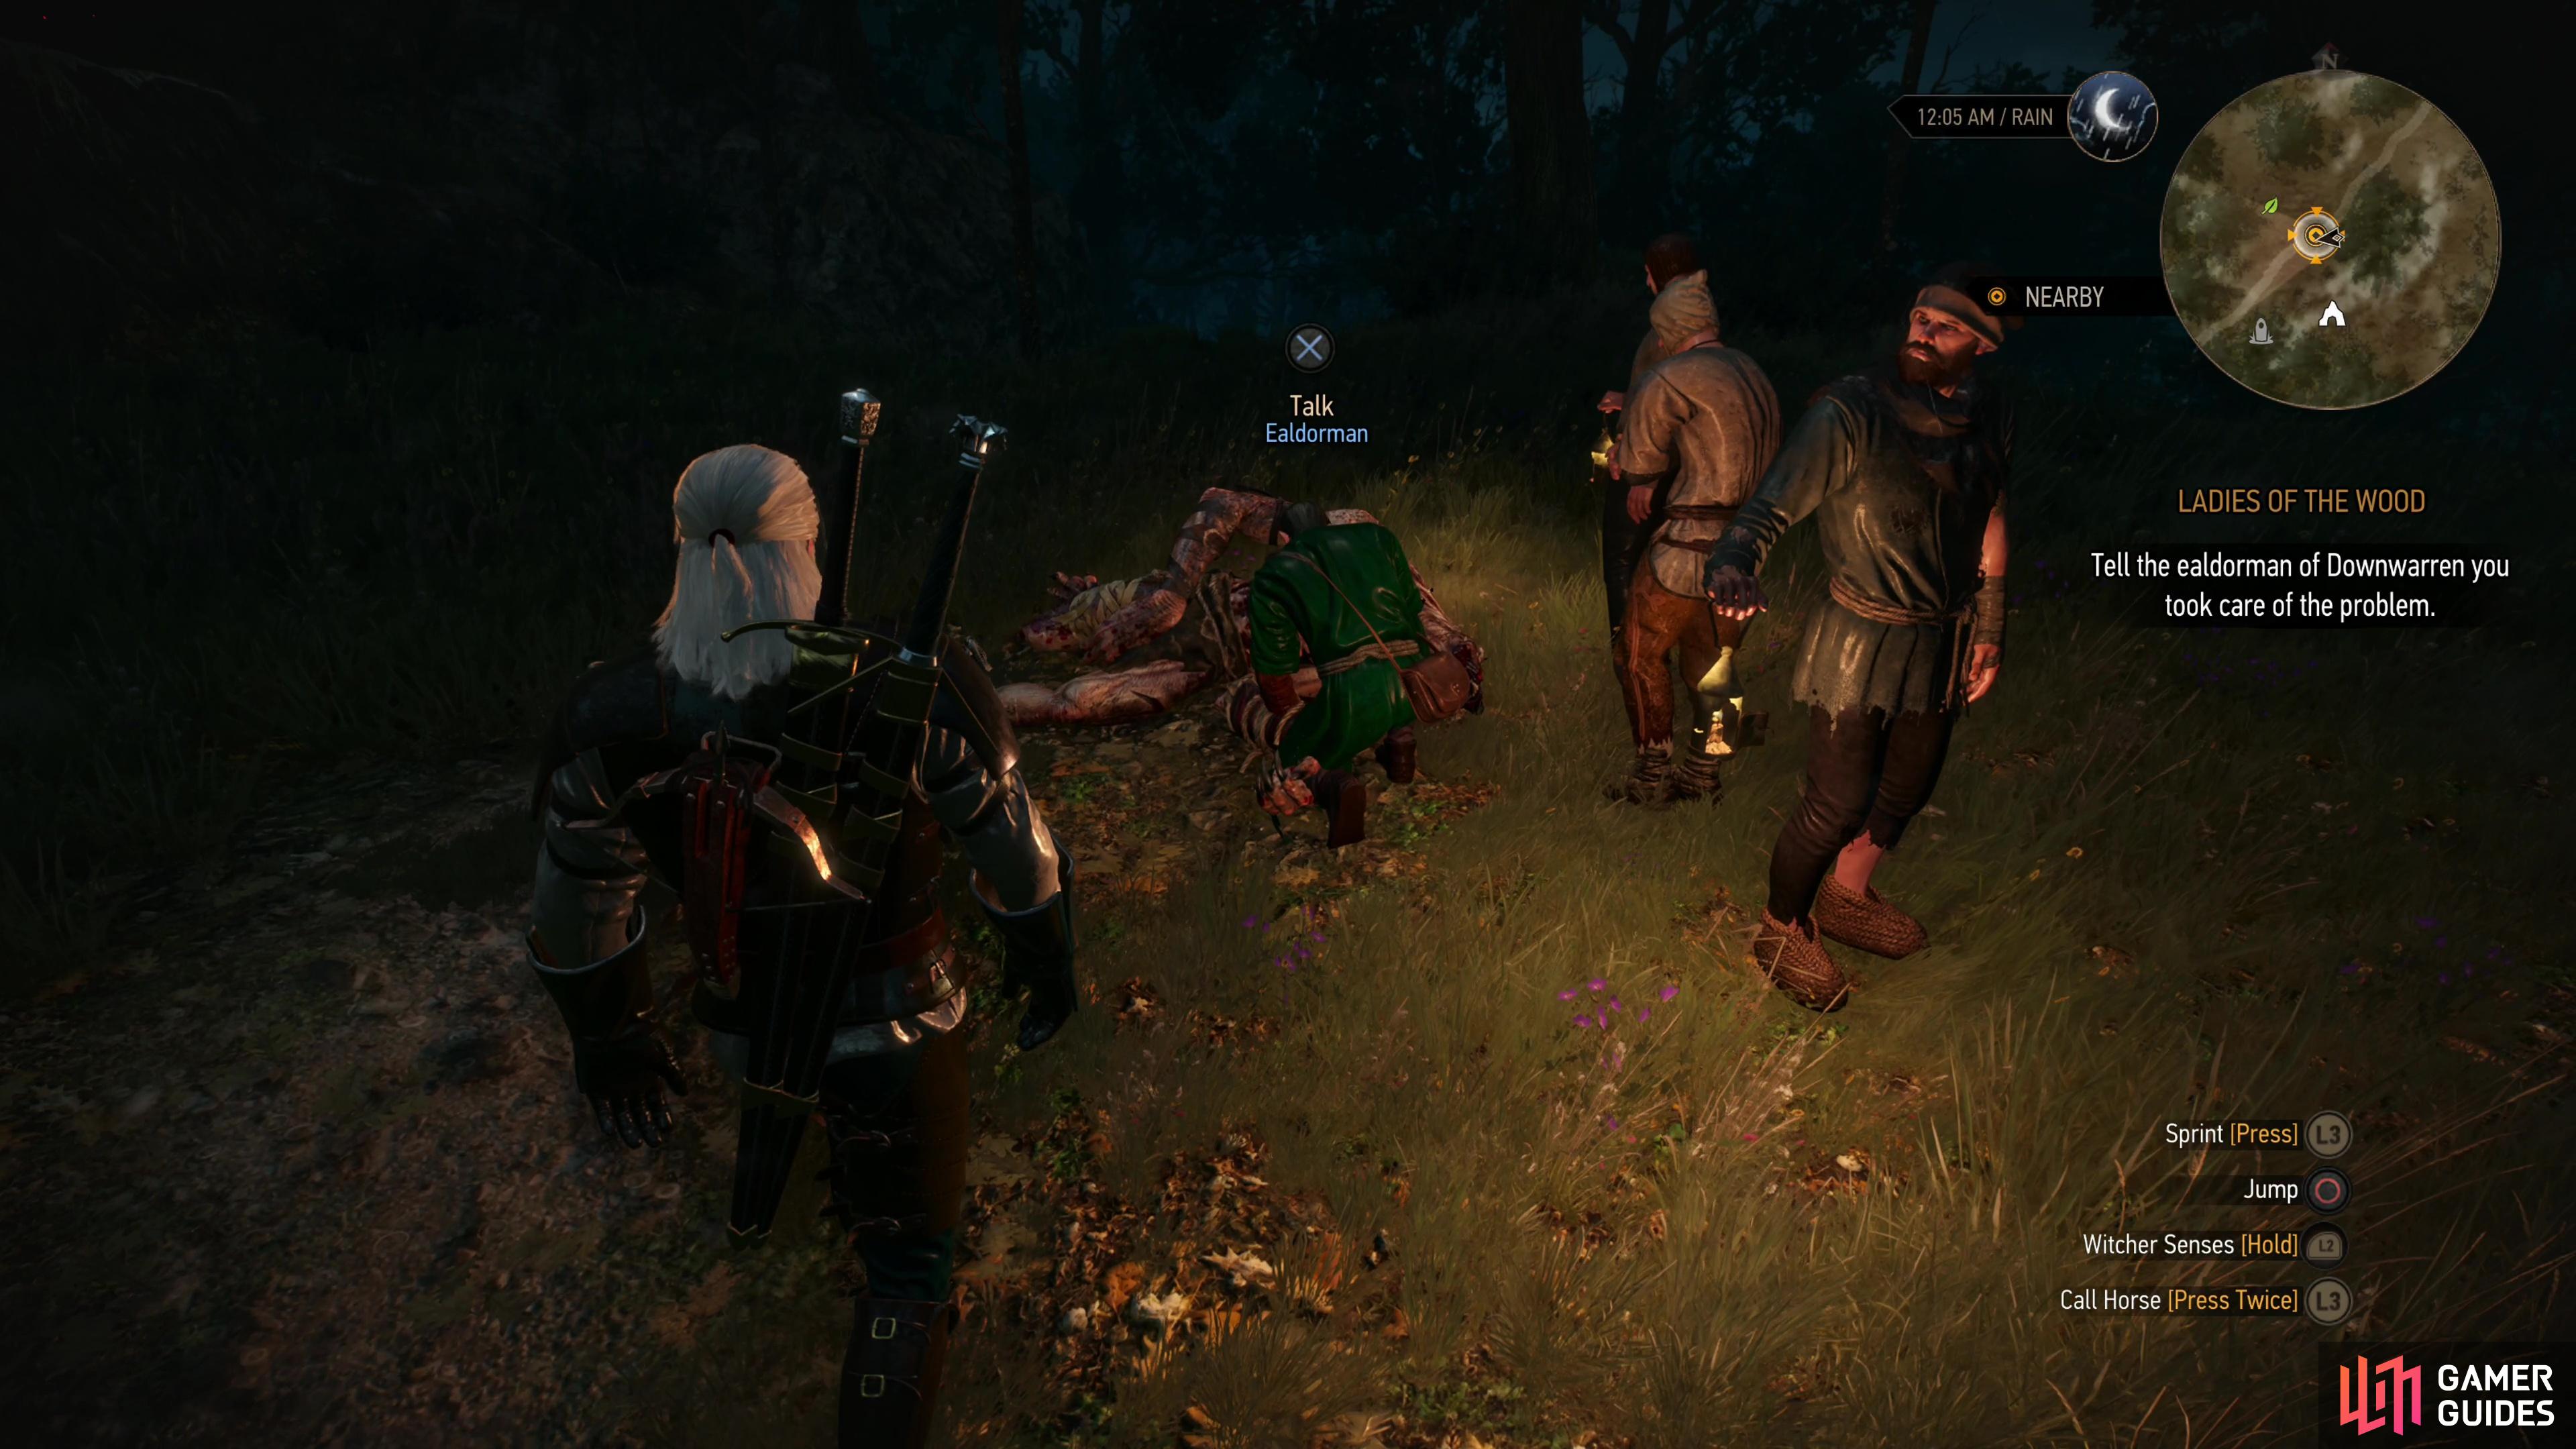
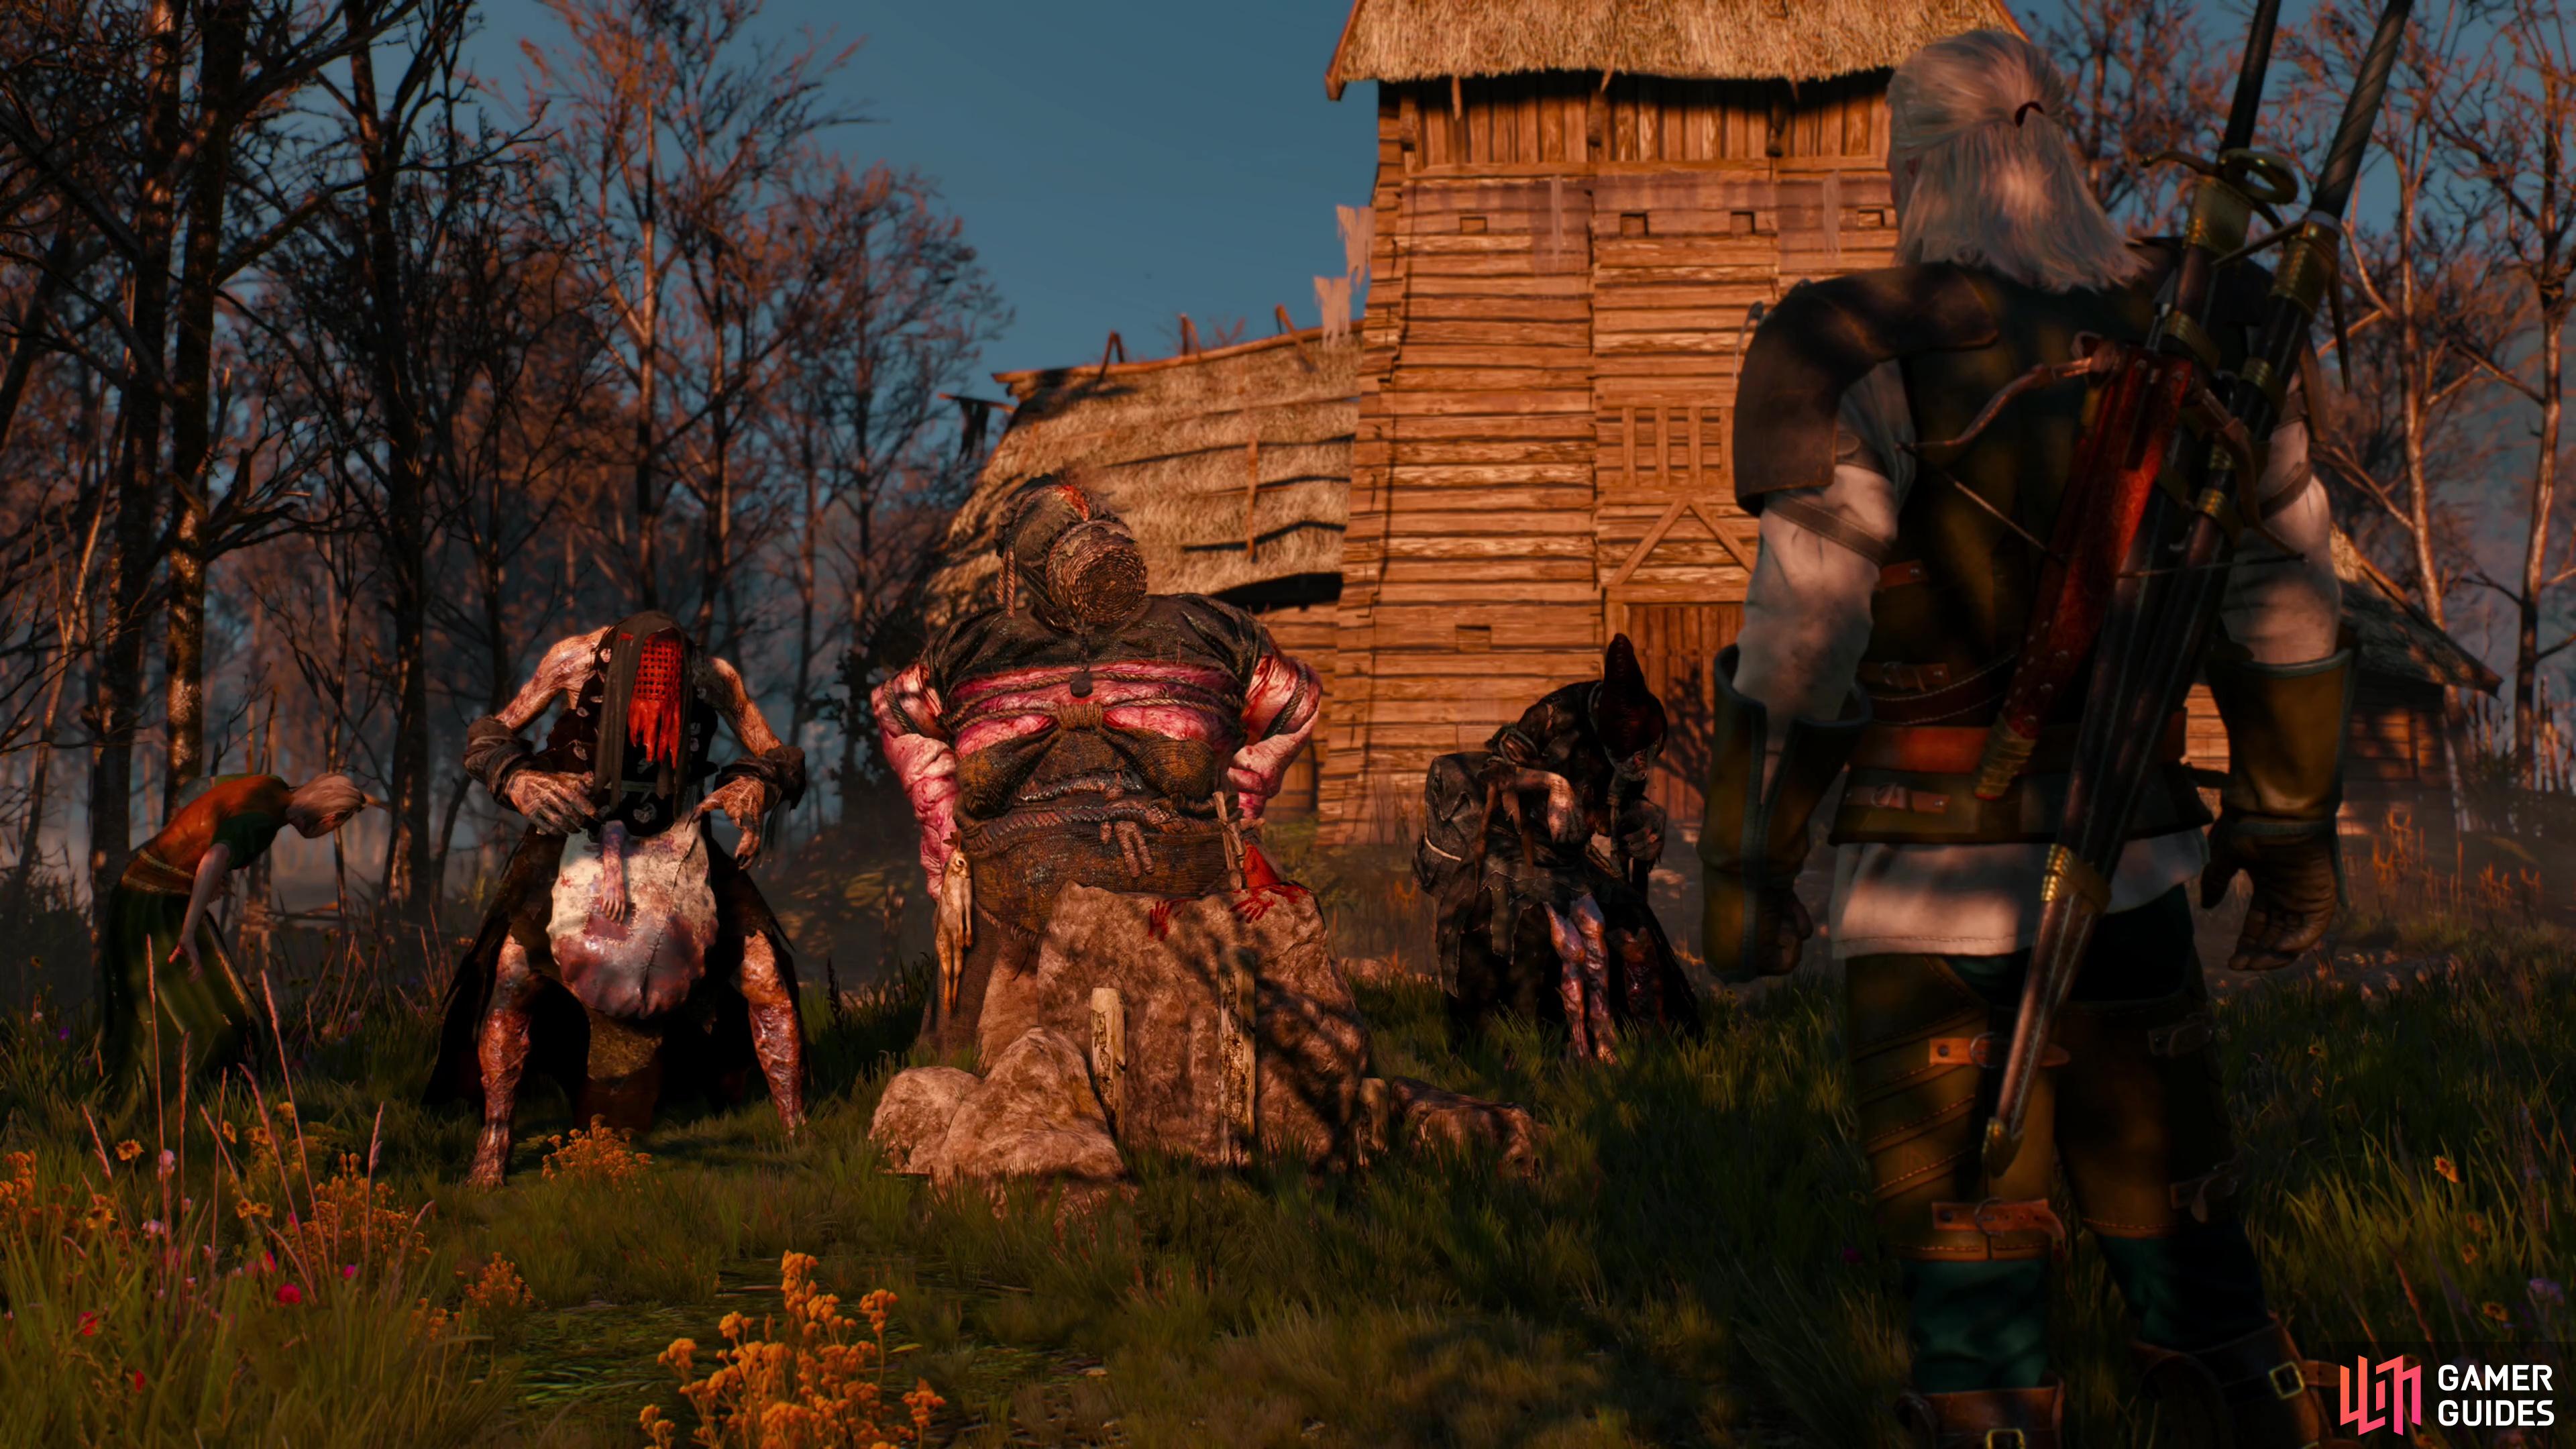
(1 of 2) After dealing with the Whispering Hillock, find the Ealdorman,
After dealing with the Whispering Hillock, find the Ealdorman, (left), then take his gruesome offering to meet with the Crones of Brookback Bog. (right)

 Sign up
"Search along the northern end of the shelter here to find a body, which, once investigated will allow Geralt to identify his prey."
Not only body, but the remains within the remnants of a wall nearby.