
While searching for the witch that Ciri quarreled with, as per ![]() Hendrik’s reporting, Geralt will end up hunting down
Hendrik’s reporting, Geralt will end up hunting down ![]() Keira Metz, and old acquaintance and member of the Lodge of Sorceresses, now trapped in Velen hiding from the both the Nilfgaardians and Redanians. Despite her precarious situation, Keira Metz is still scheming, and her goals overlap with Geralt’s, leading to the two teaming up to explore some elven ruins. This page will provide a walkthrough for the quest
Keira Metz, and old acquaintance and member of the Lodge of Sorceresses, now trapped in Velen hiding from the both the Nilfgaardians and Redanians. Despite her precarious situation, Keira Metz is still scheming, and her goals overlap with Geralt’s, leading to the two teaming up to explore some elven ruins. This page will provide a walkthrough for the quest ![]() Wandering in the Dark in The Witcher 3.
Wandering in the Dark in The Witcher 3.
Quest Objectives
Starting Wandering in the Dark
This quest will begin immediately after you complete Hunting a Witch, at the end of which you’ll get the choice to accompany Keira Metz and travel directly to the elven ruins you mutually seek to explore, far to the south of ![]() Midcopse. If you refuse you’ll have the freedom to meet up with Keira outside the ruins whenever you’re ready, but you’ll have to travel there yourself. This can be a bit tricky, however, as prowling the road southeast of the Duen Hen signpost you’ll find a high-level
Midcopse. If you refuse you’ll have the freedom to meet up with Keira outside the ruins whenever you’re ready, but you’ll have to travel there yourself. This can be a bit tricky, however, as prowling the road southeast of the Duen Hen signpost you’ll find a high-level ![]() Griffin prowling around, not to mention other, weaker enemies haunting the wilderness. You can, with effort, avoid these threats, but it’s definitely more bother than just traveling to the ruins with Keira.
Griffin prowling around, not to mention other, weaker enemies haunting the wilderness. You can, with effort, avoid these threats, but it’s definitely more bother than just traveling to the ruins with Keira.
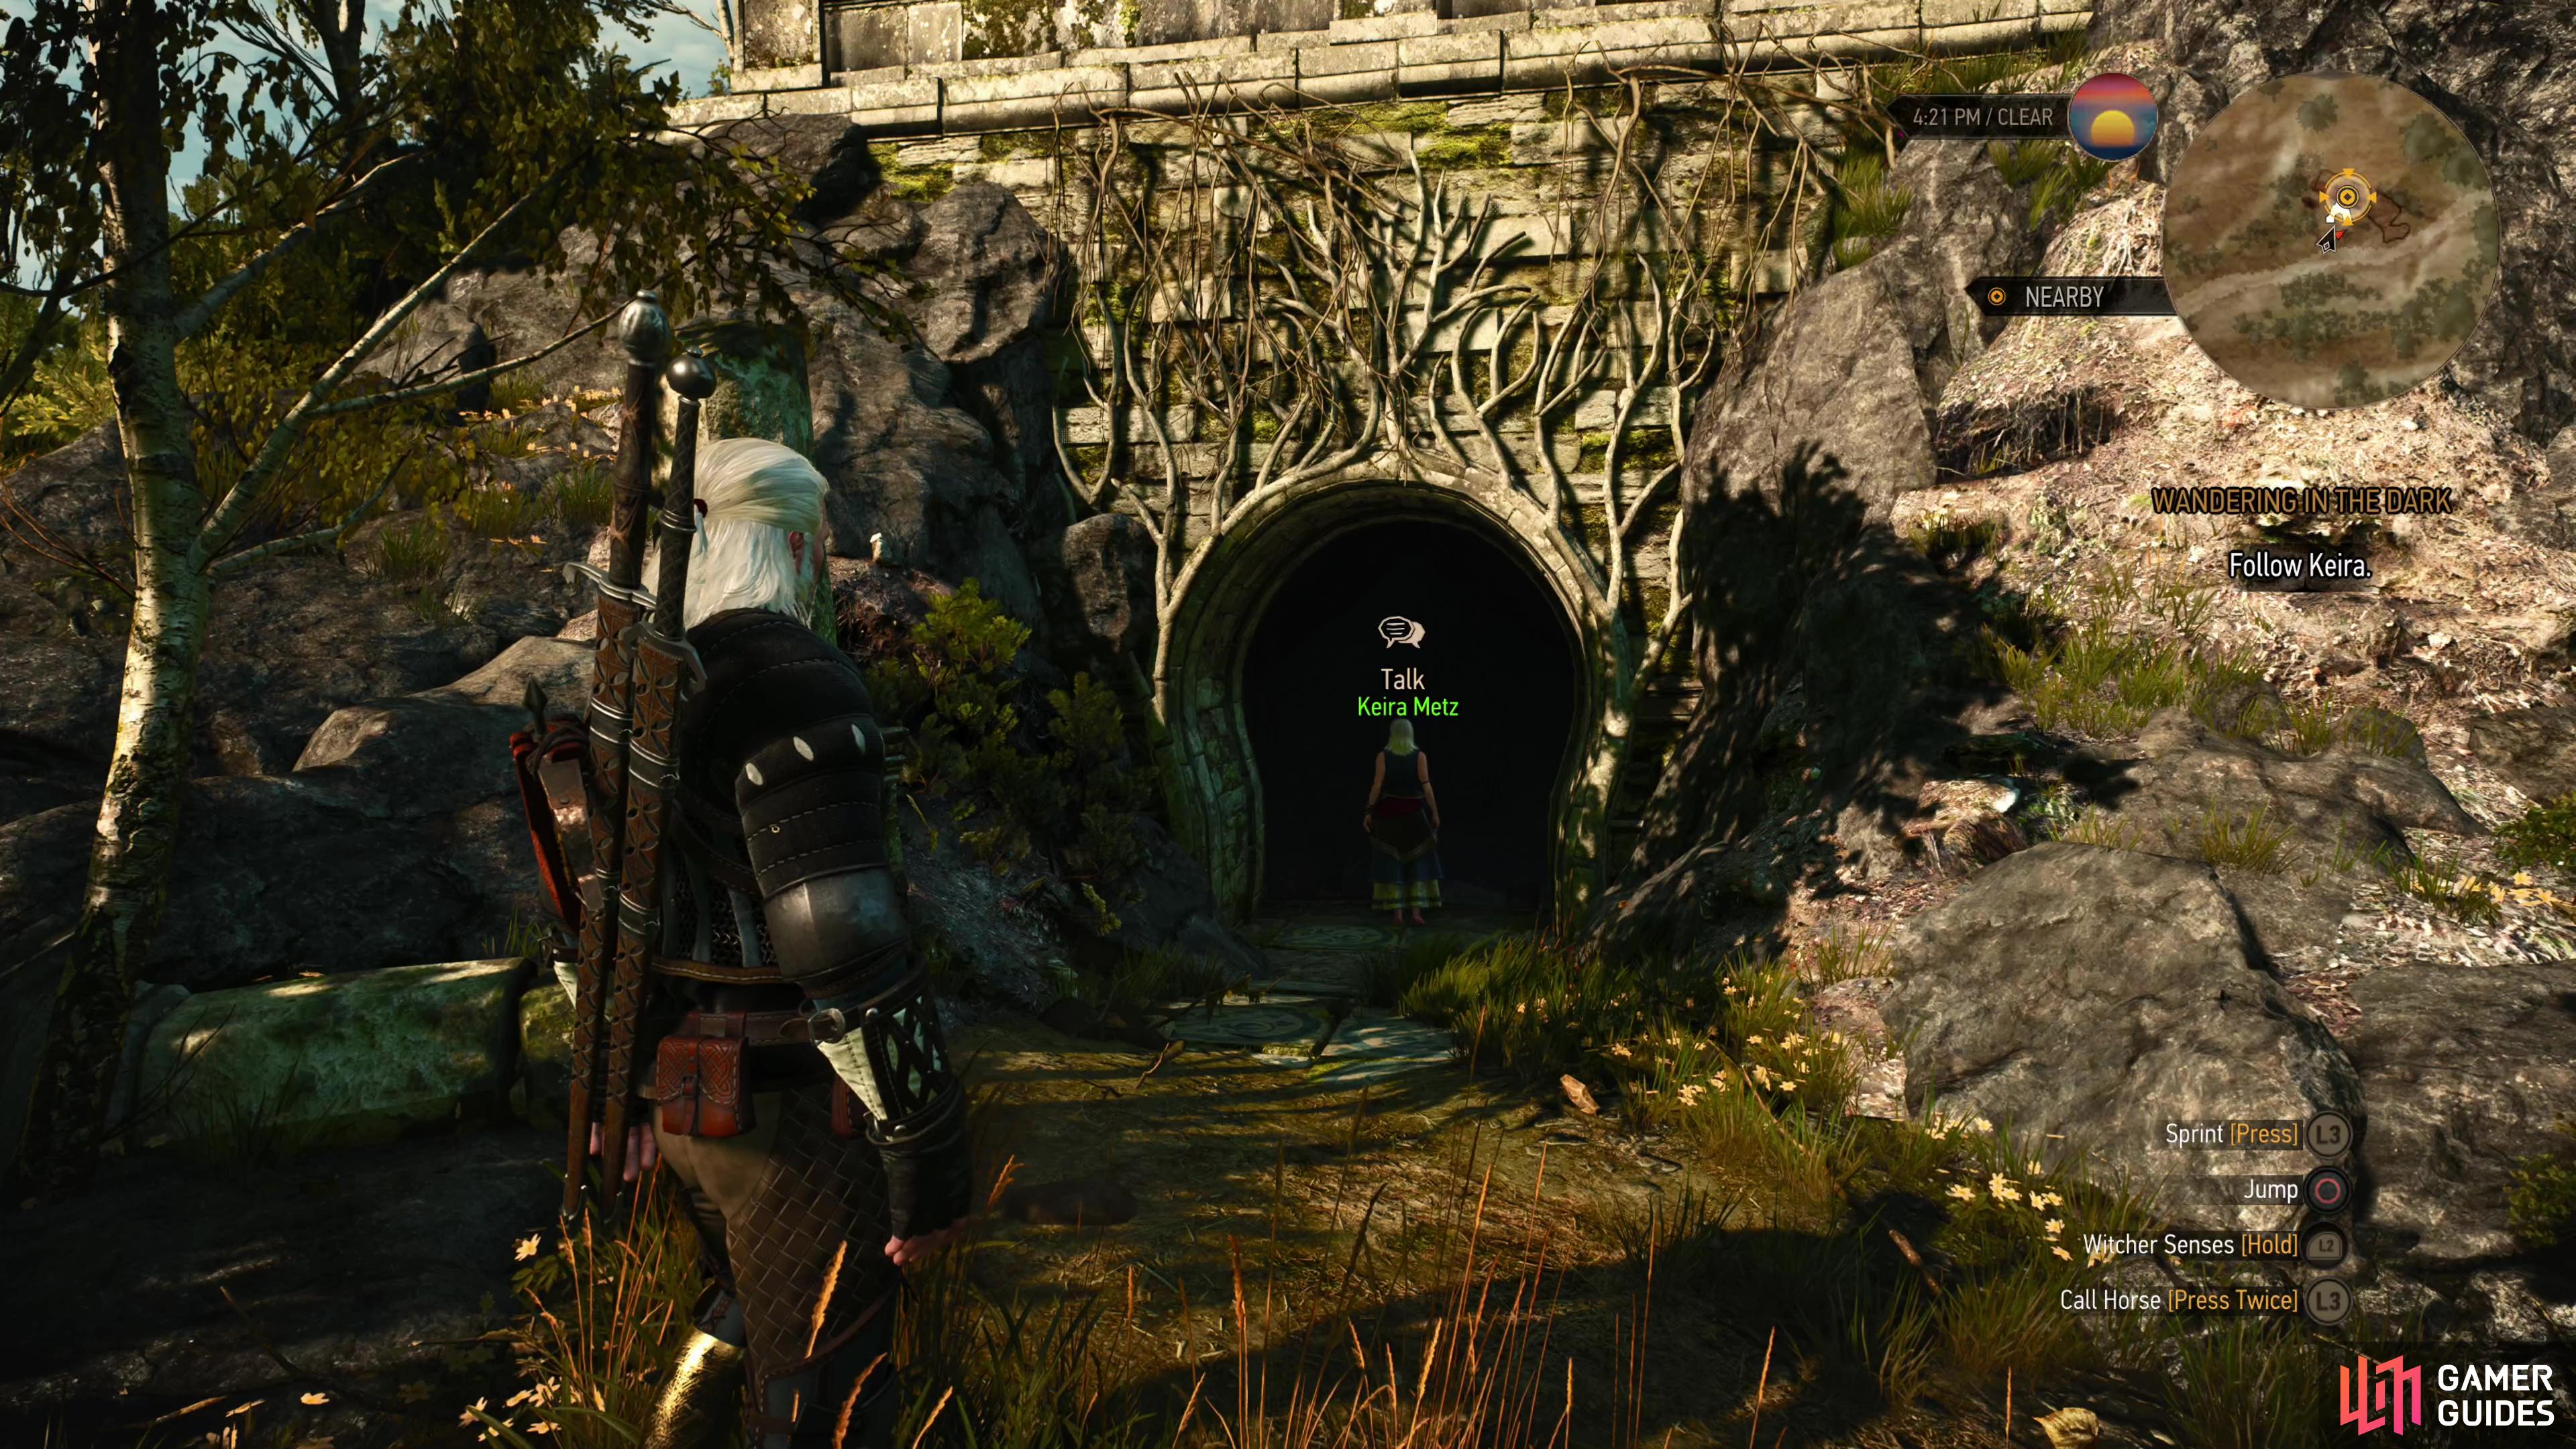
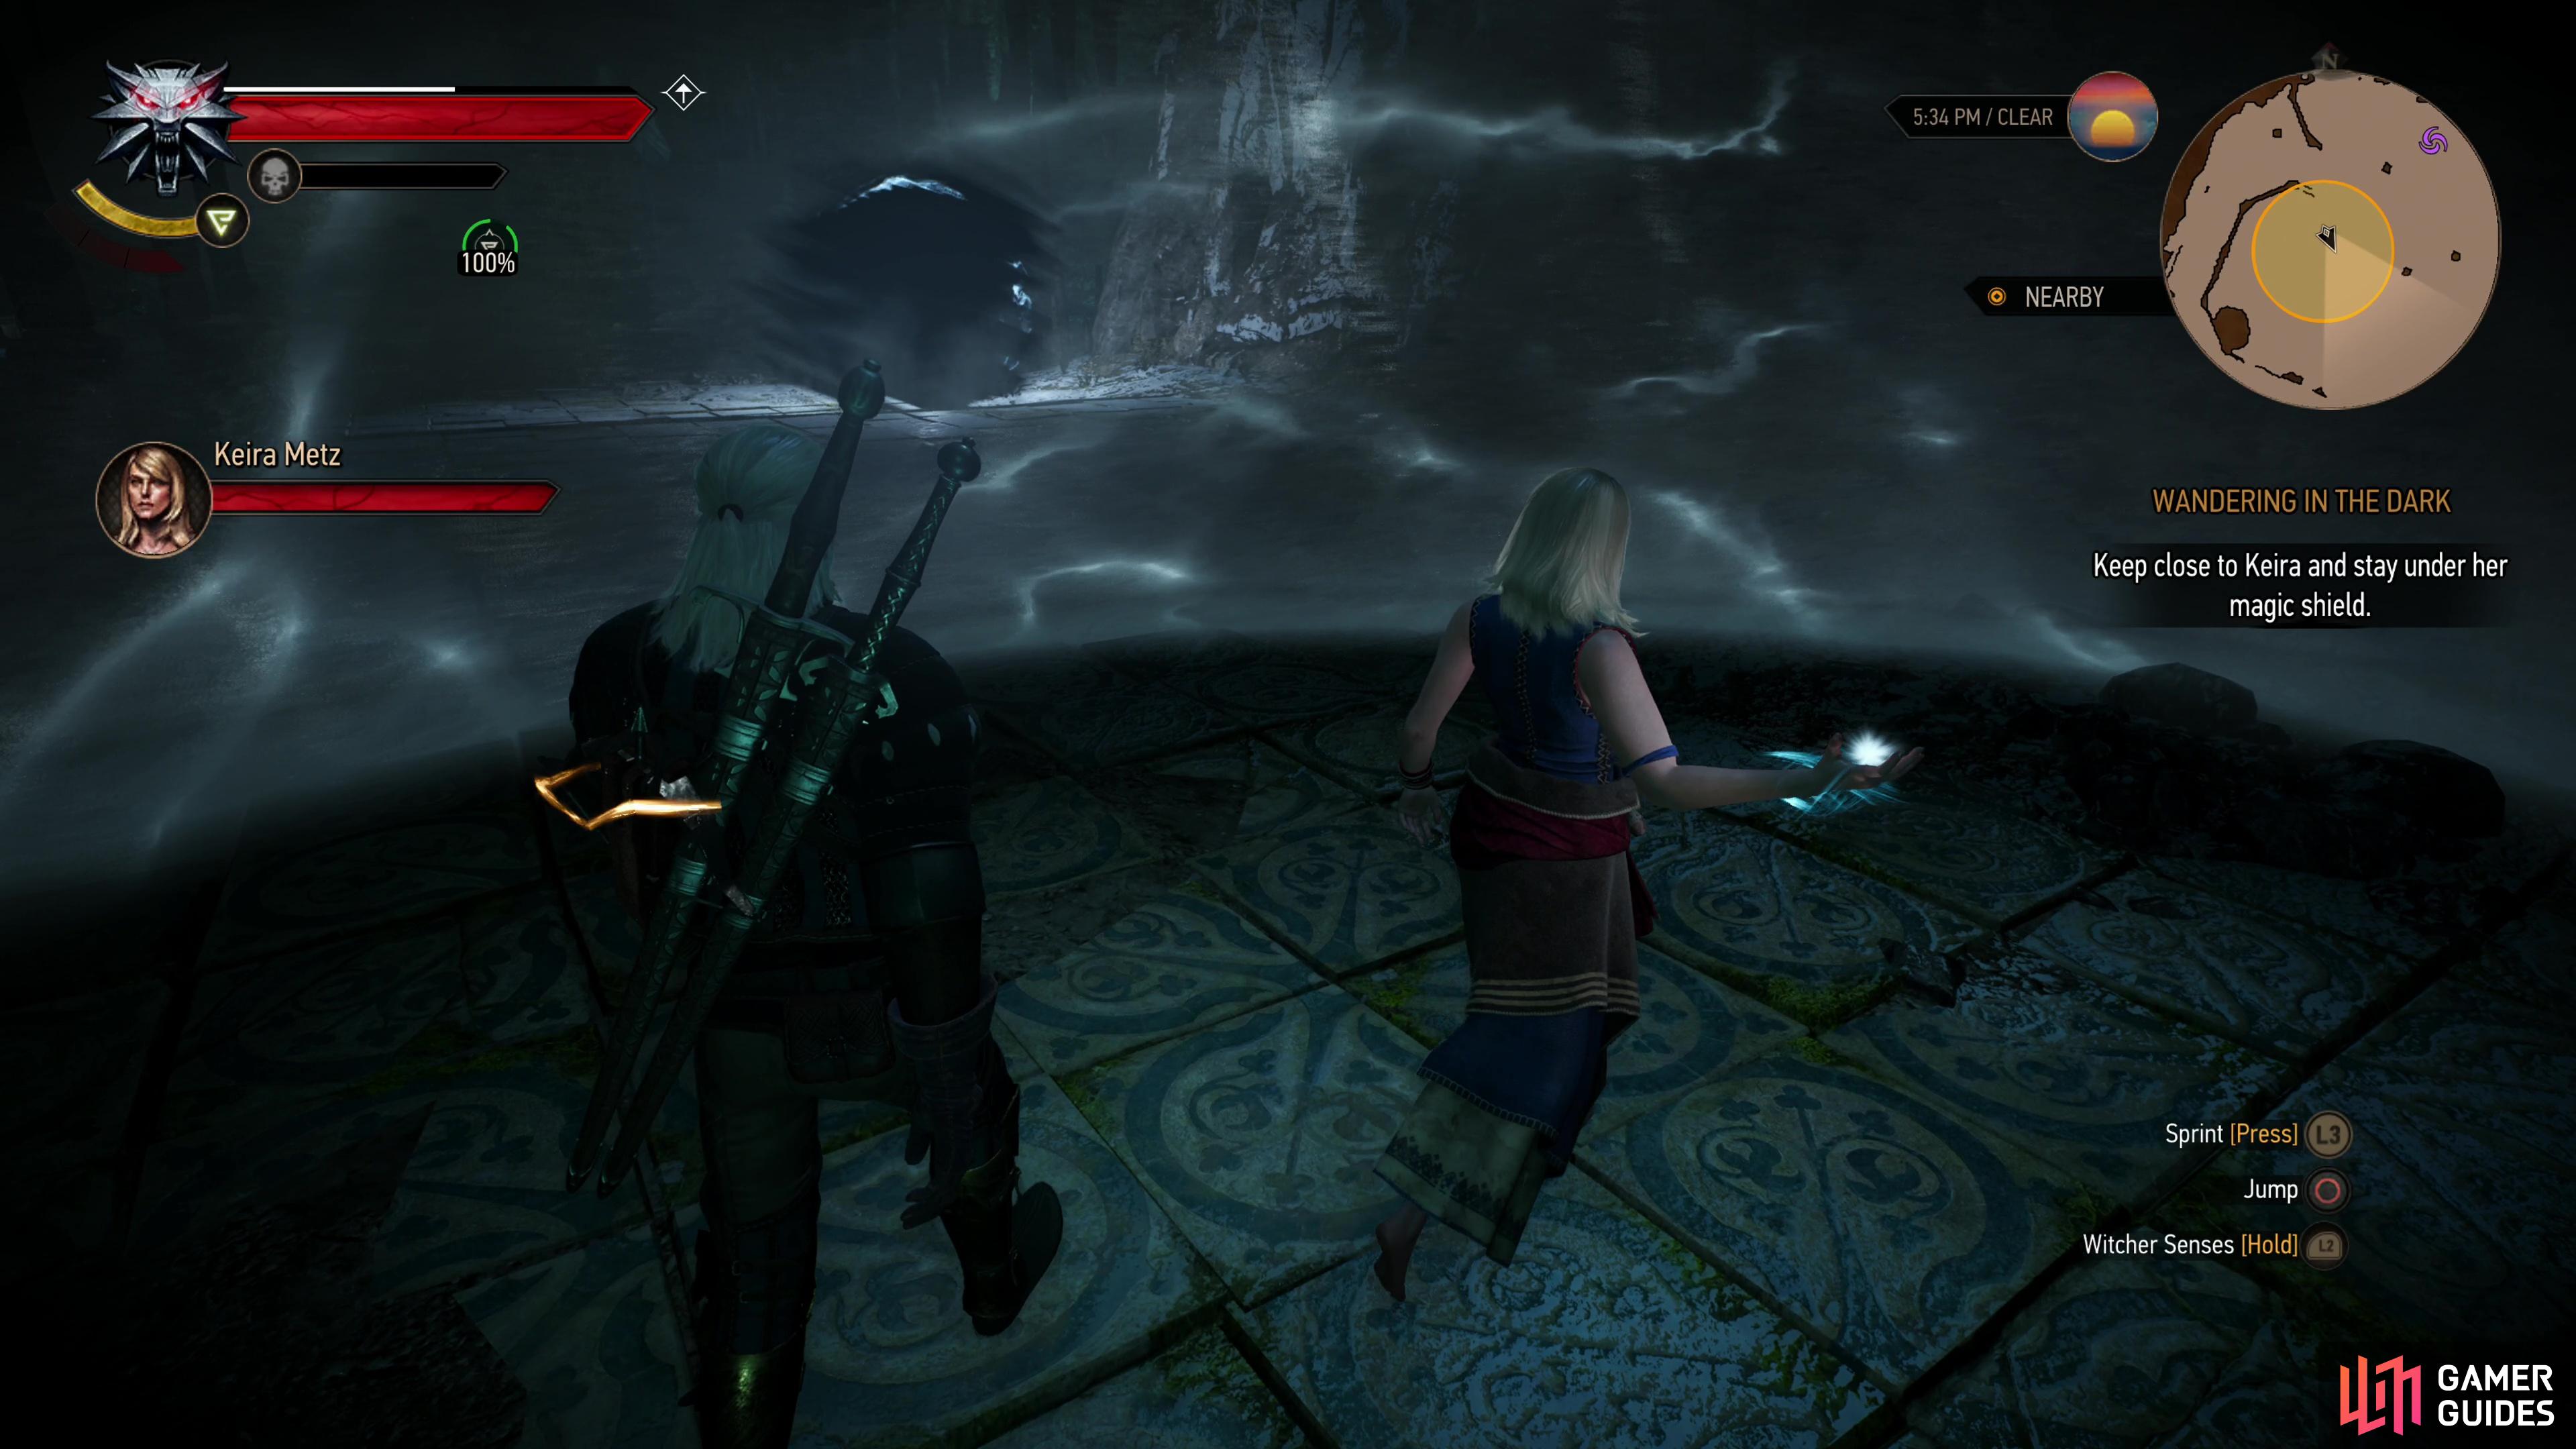
Meet Keira near some elven ruins along the southeastern corner of Velen.
Enter the Ruins with Keira
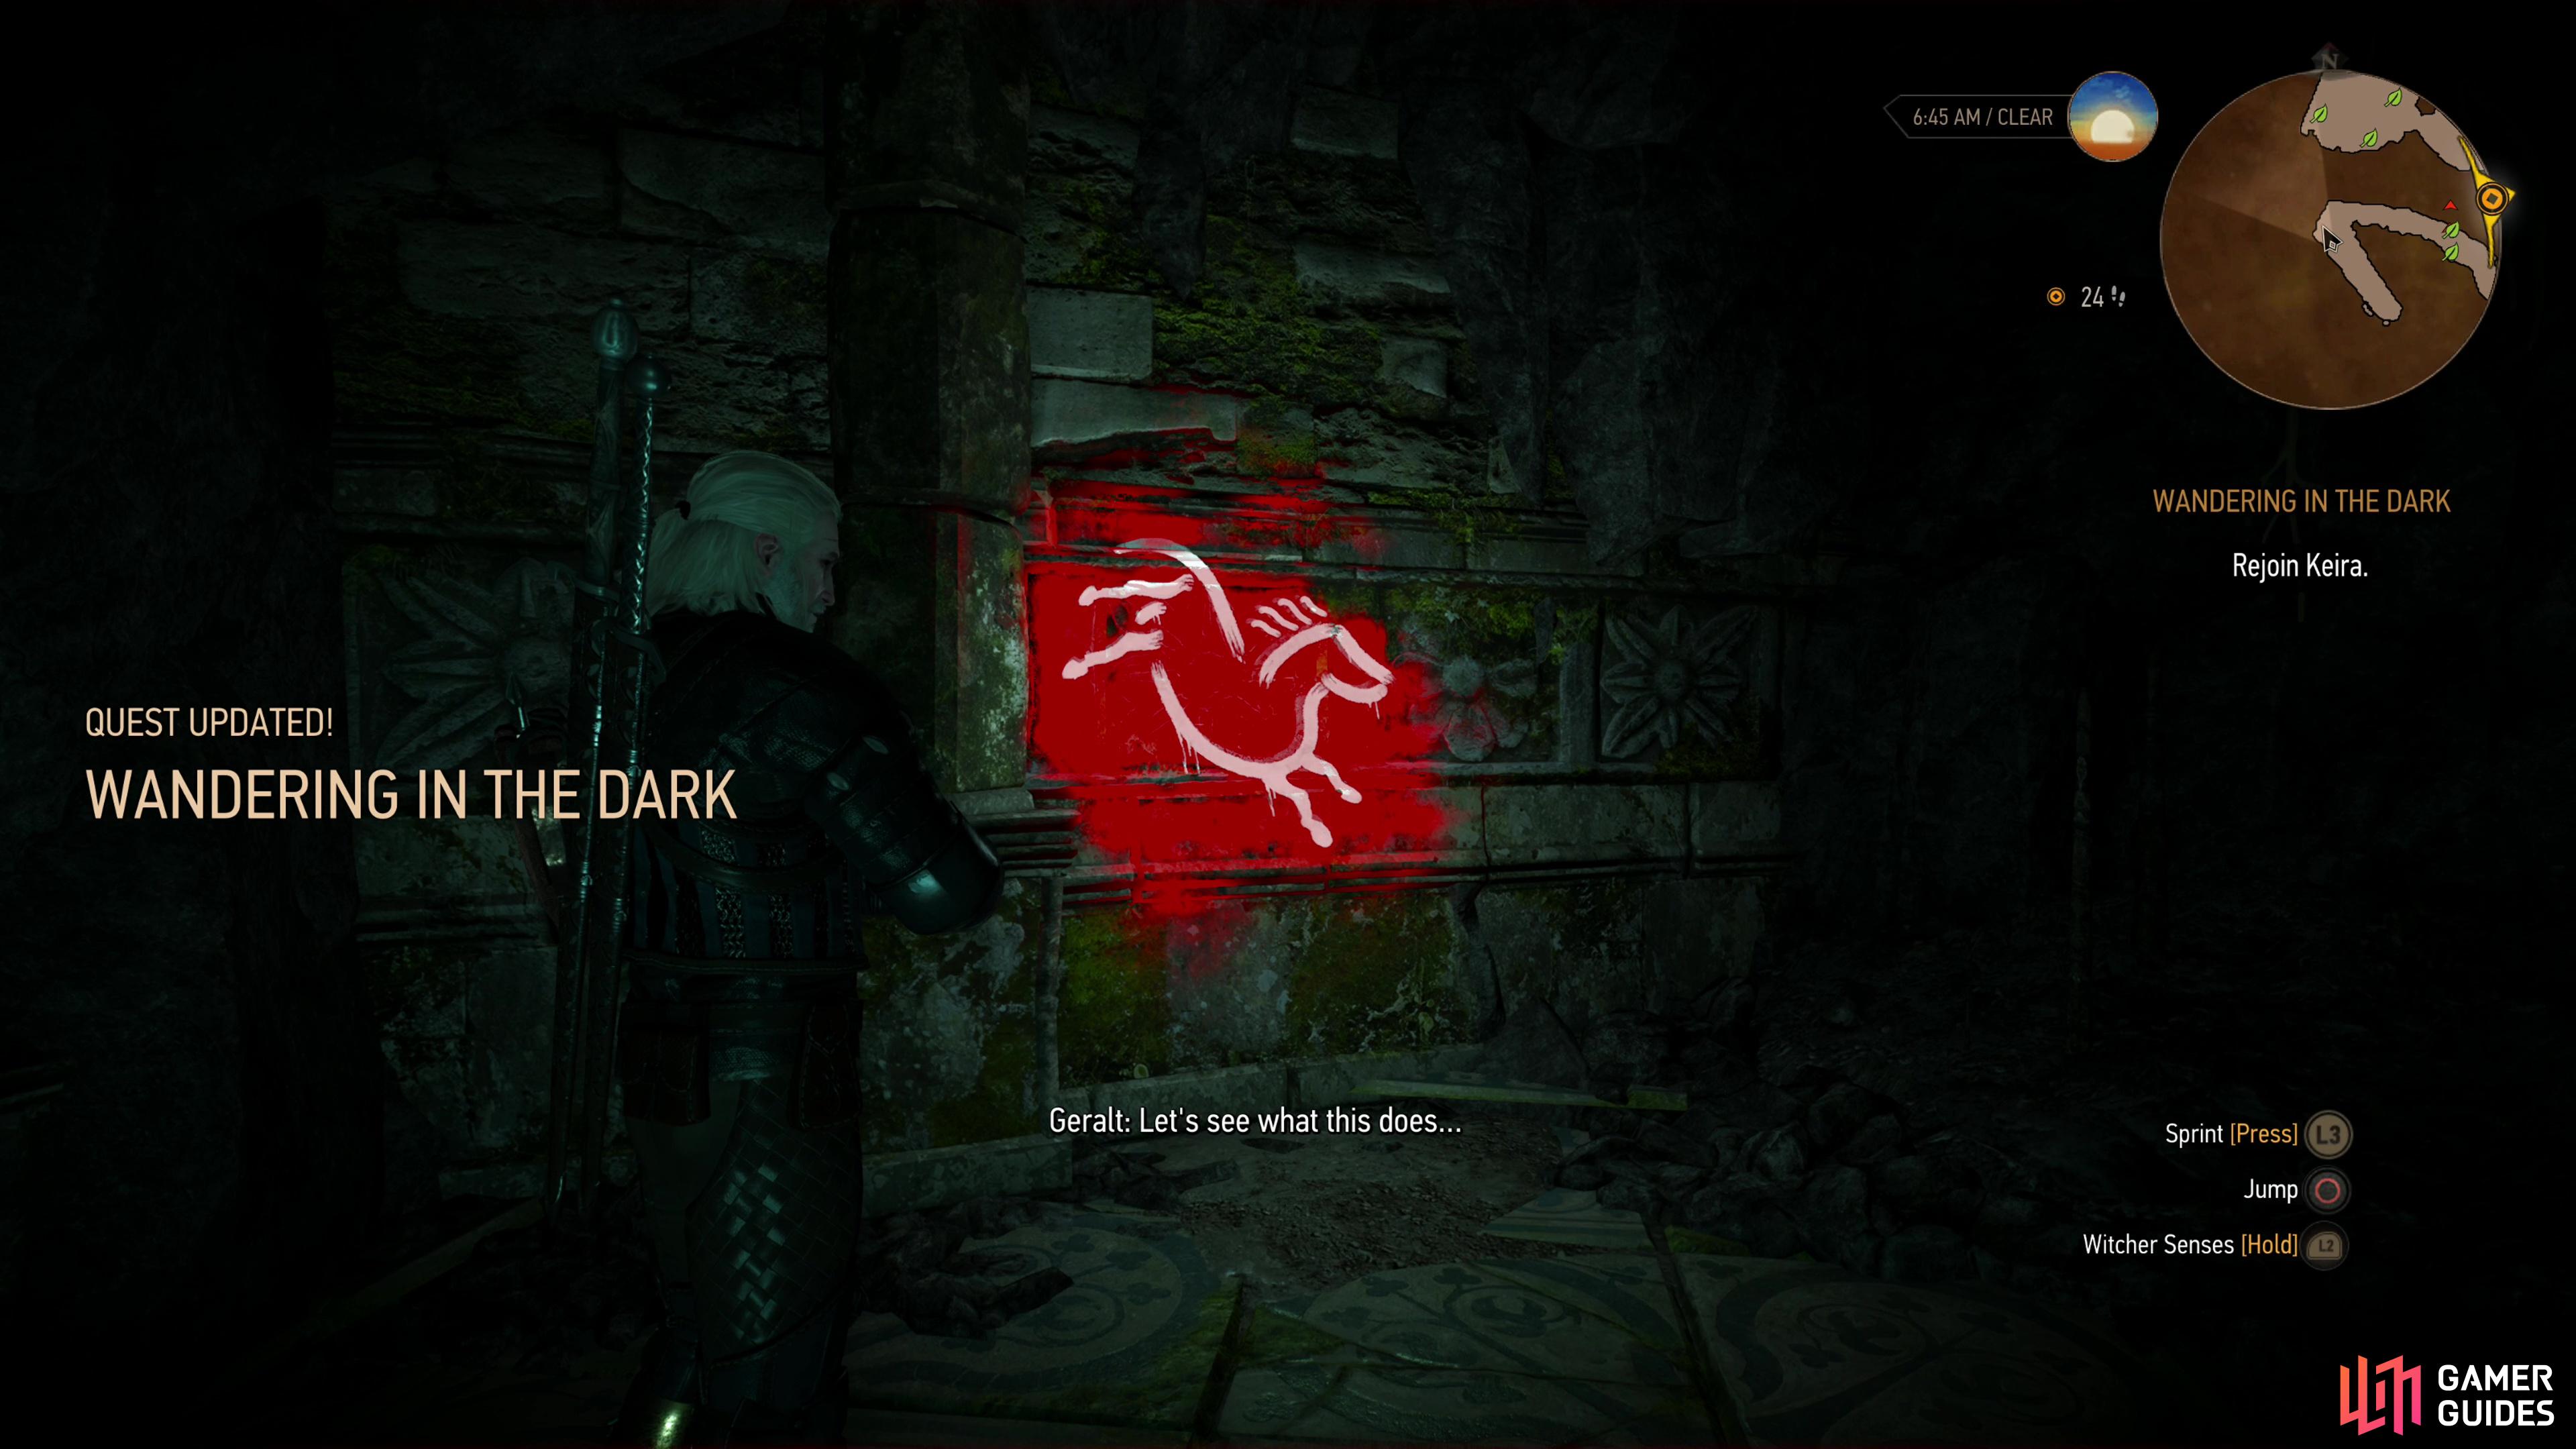
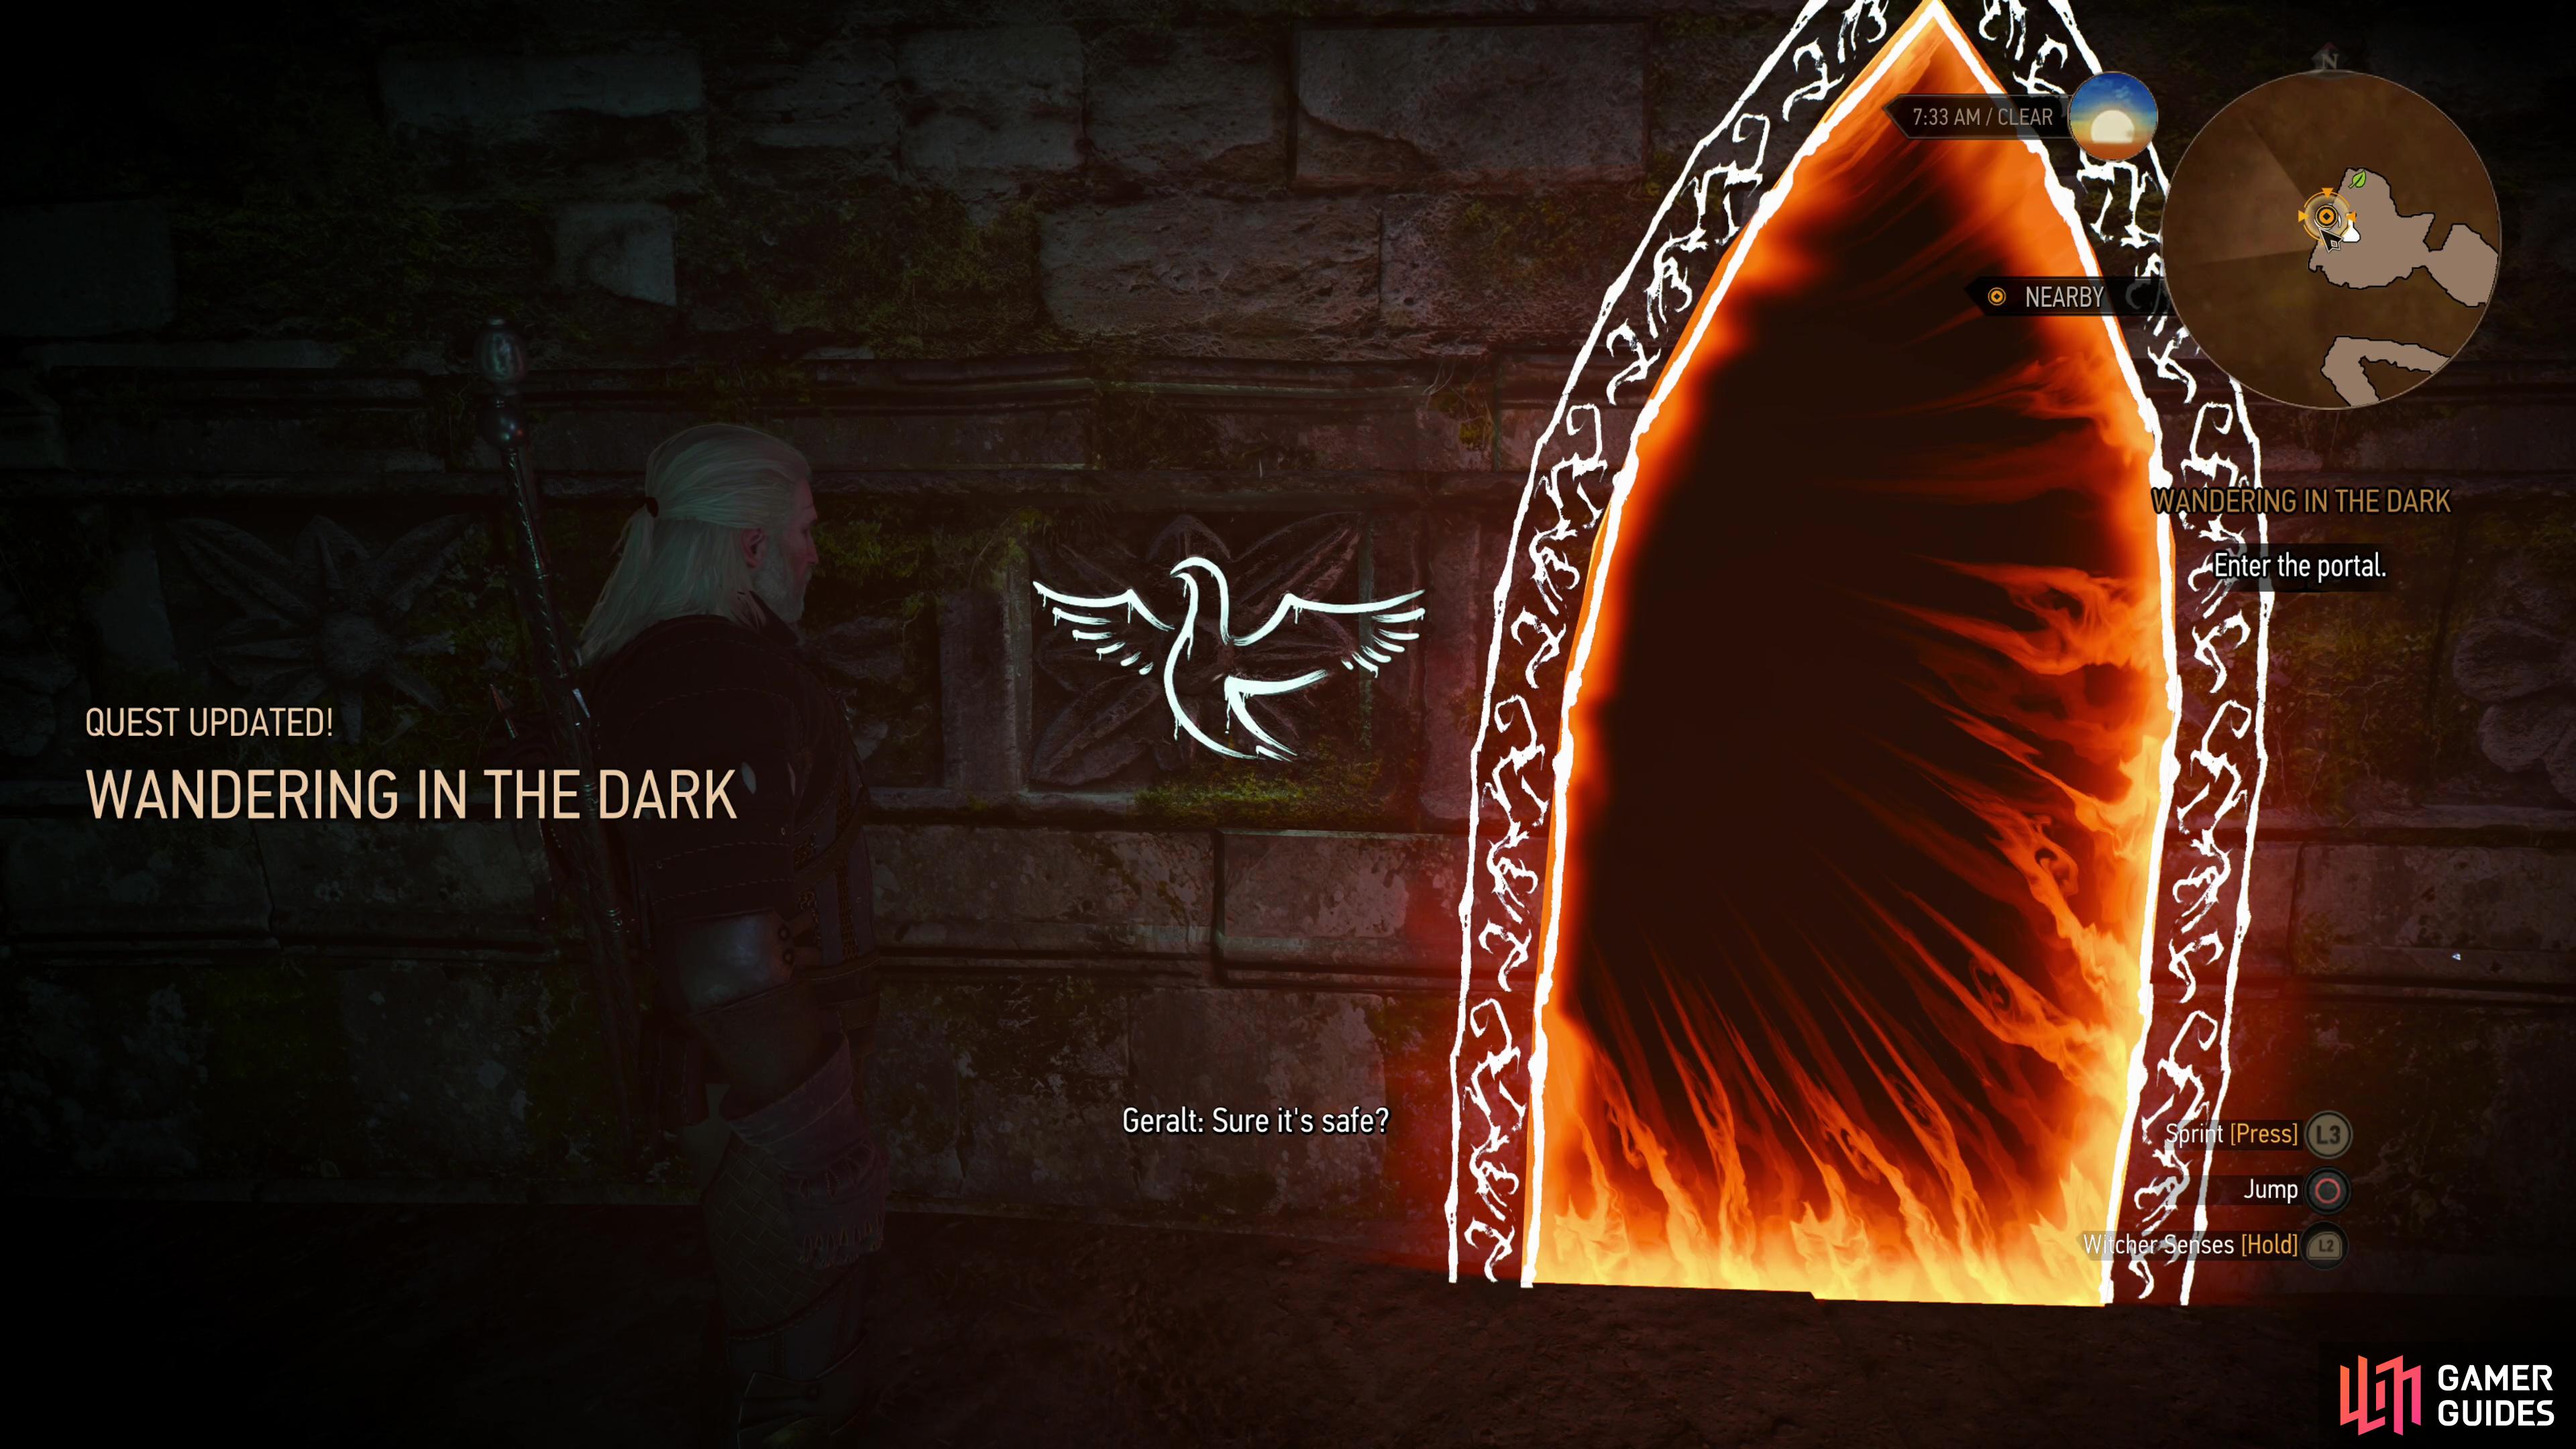
However you do it, approach the ruins with Keira and after some banter you’ll be free to head inside. Head downstairs and loot a chest near a doorway that opens out into a massive chamber. Once in this chamber Geralt will find that he and Keira aren’t alone in these ruins - along with the monsters doubtlessly skulking about, Geralt’s greatest enemies just happen to be one step ahead of him. Despite his longstanding hatred of portals, Geralt demands Keira create one to reach their foes, and despite her doubts, Keira relents. Of course, there’s a good reason why Geralt isn’t fond of portals, which will soon become all too clear.
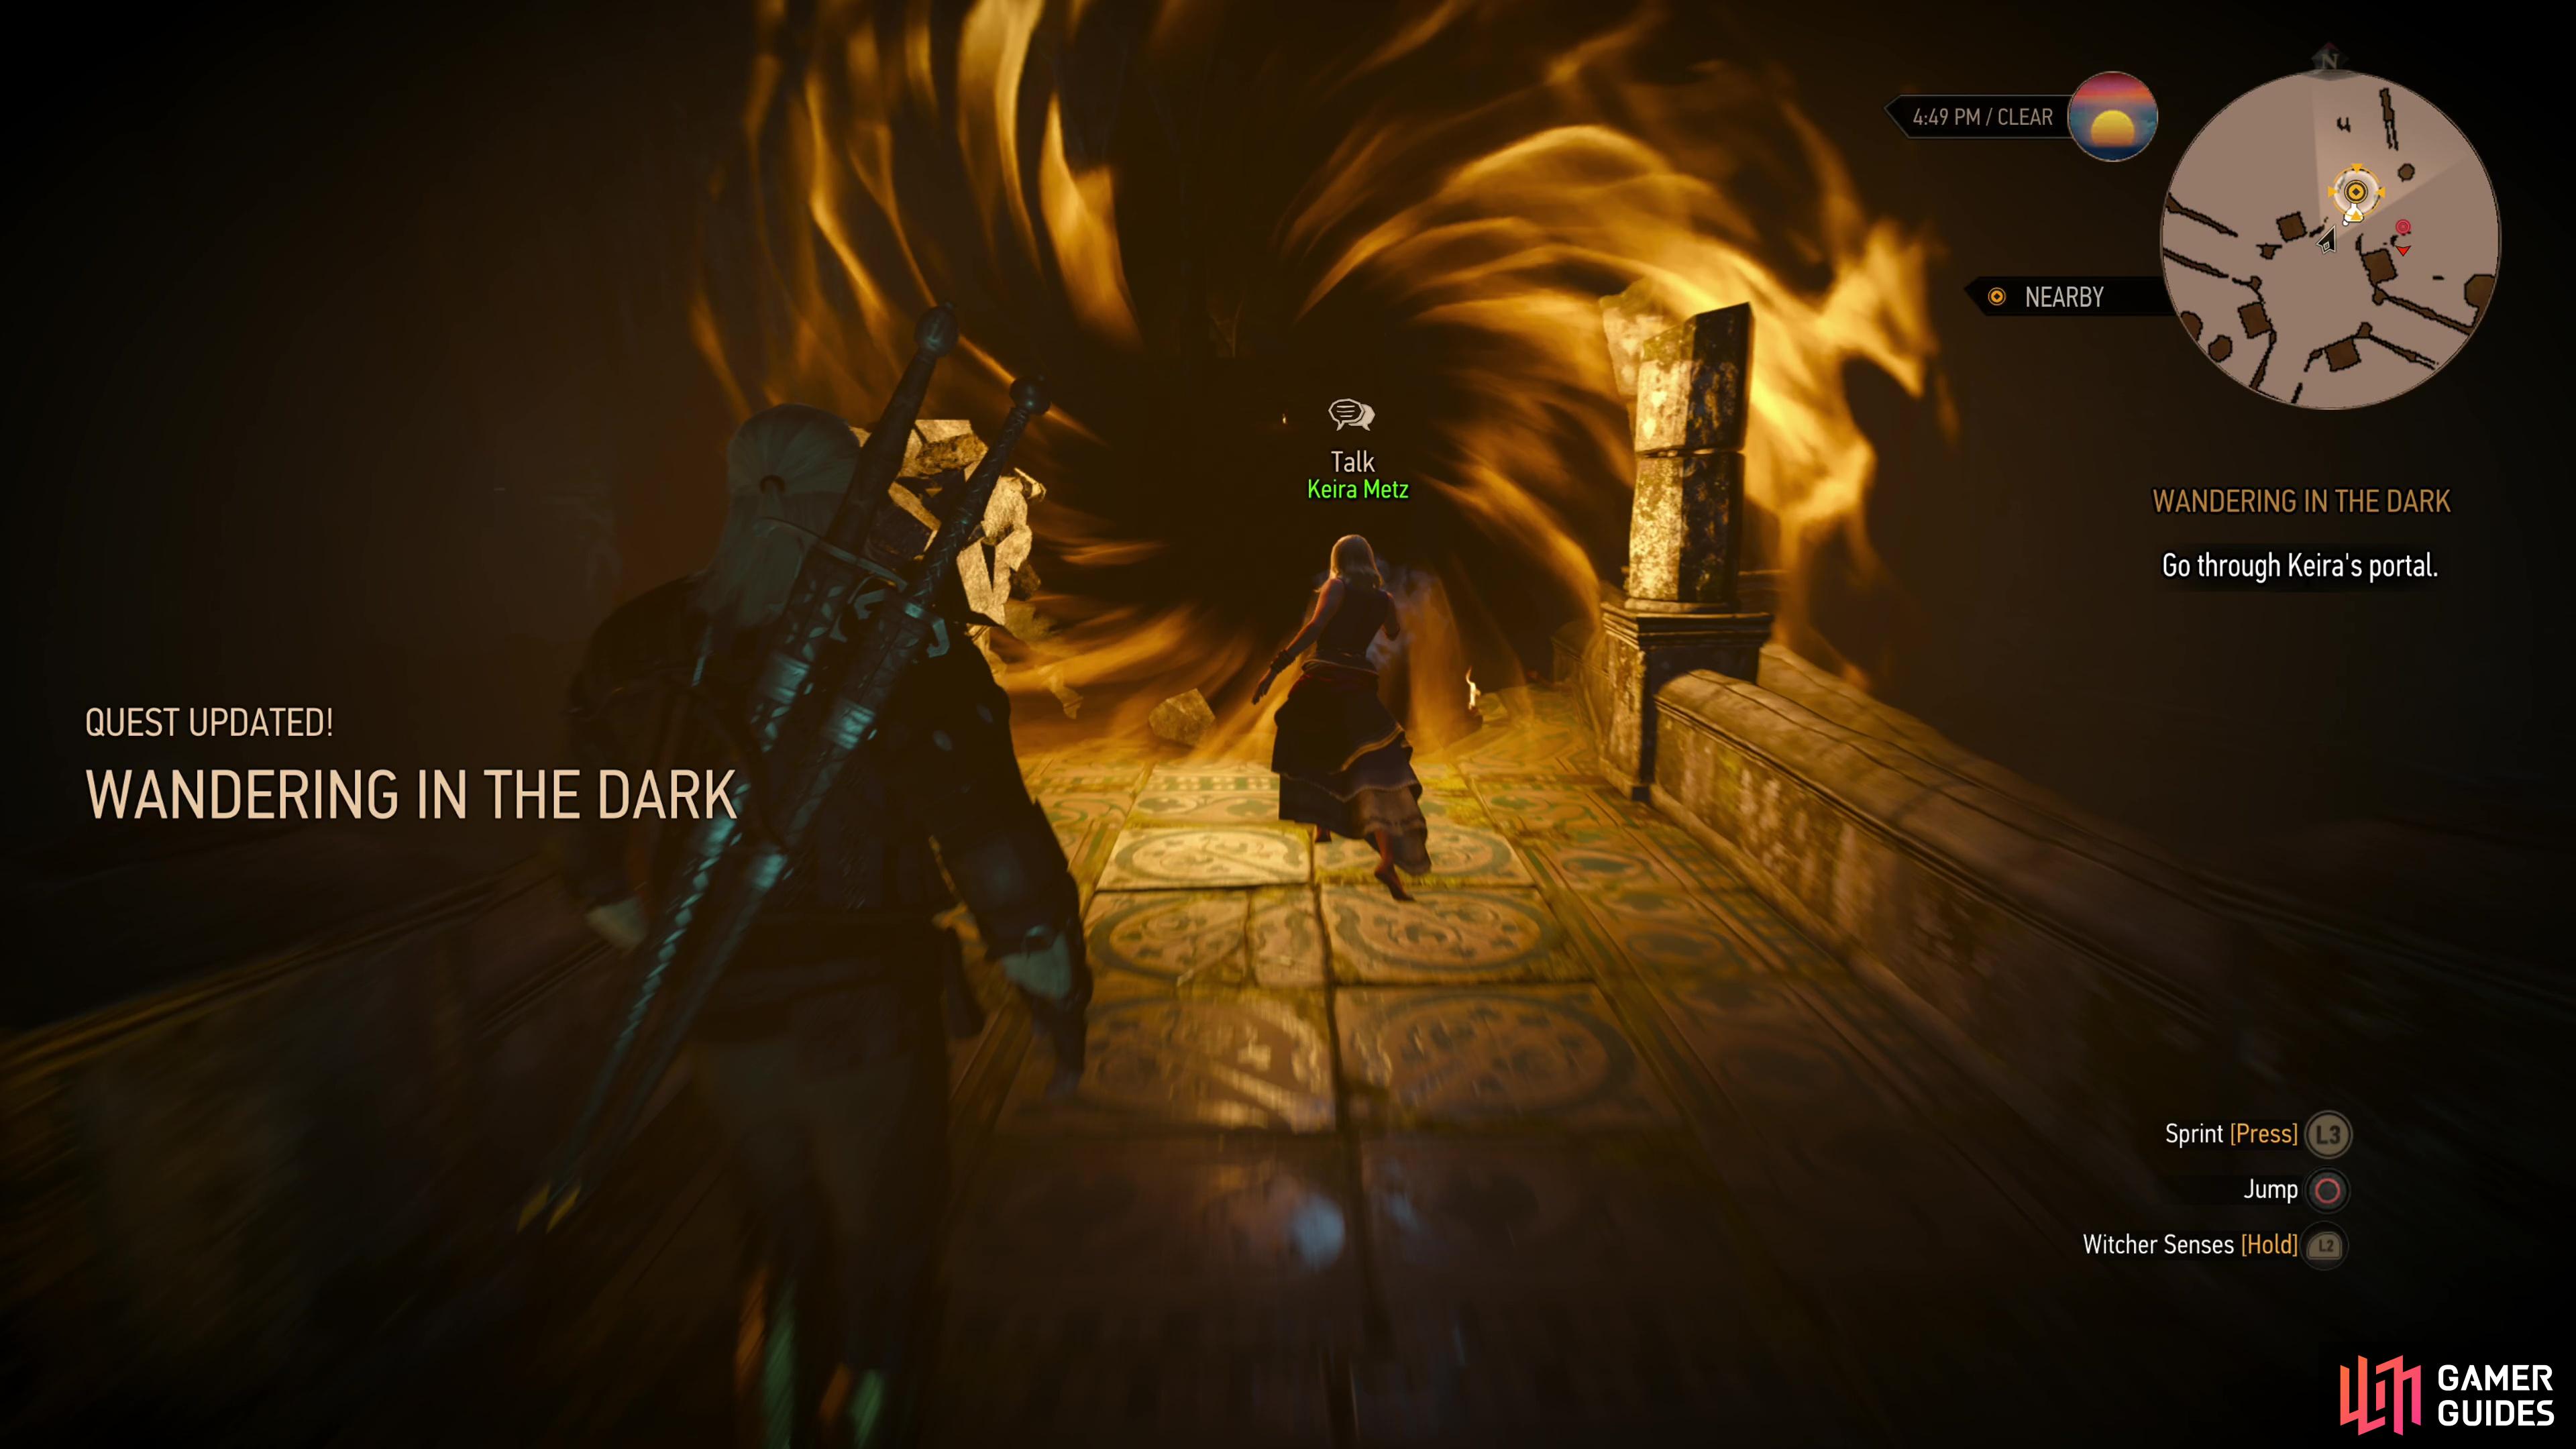

(1 of 2) In his haste, Geralt will bid Keira to open a portal.
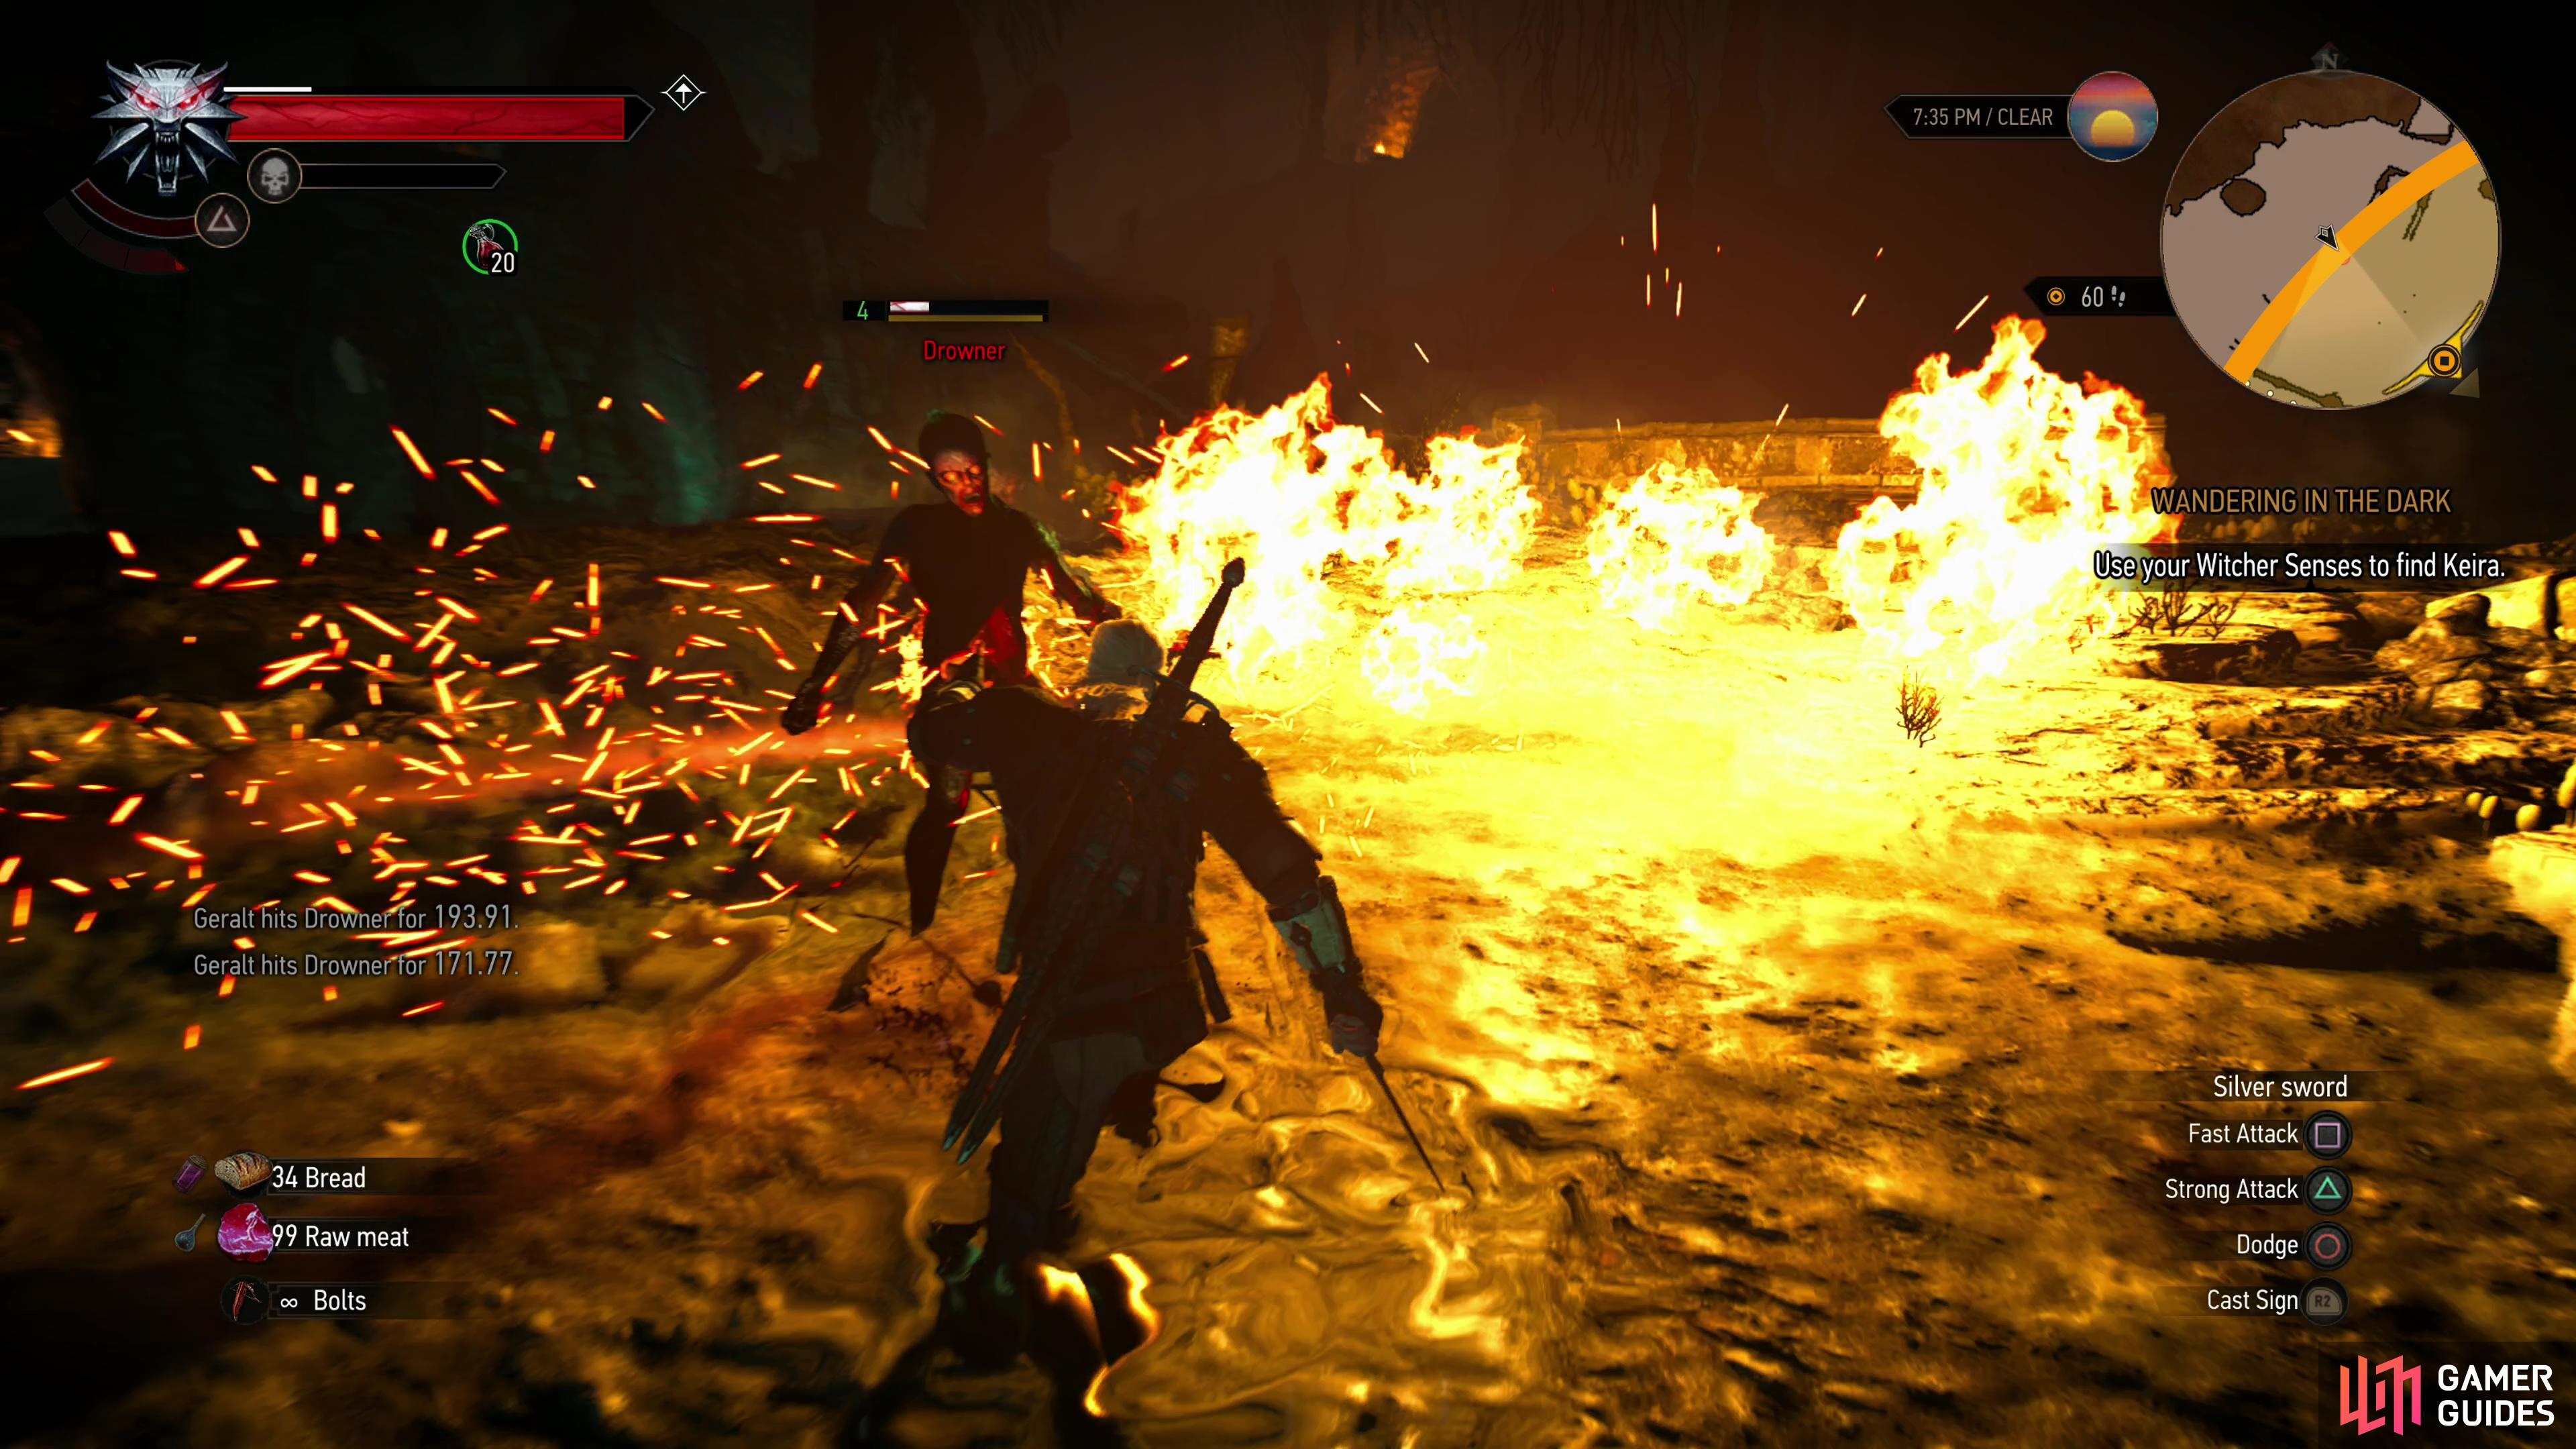
In his haste, Geralt will bid Keira to open a portal. (left), Needless to say, things go awry. Kill the Drowners you appear near. (right)
Find Keira
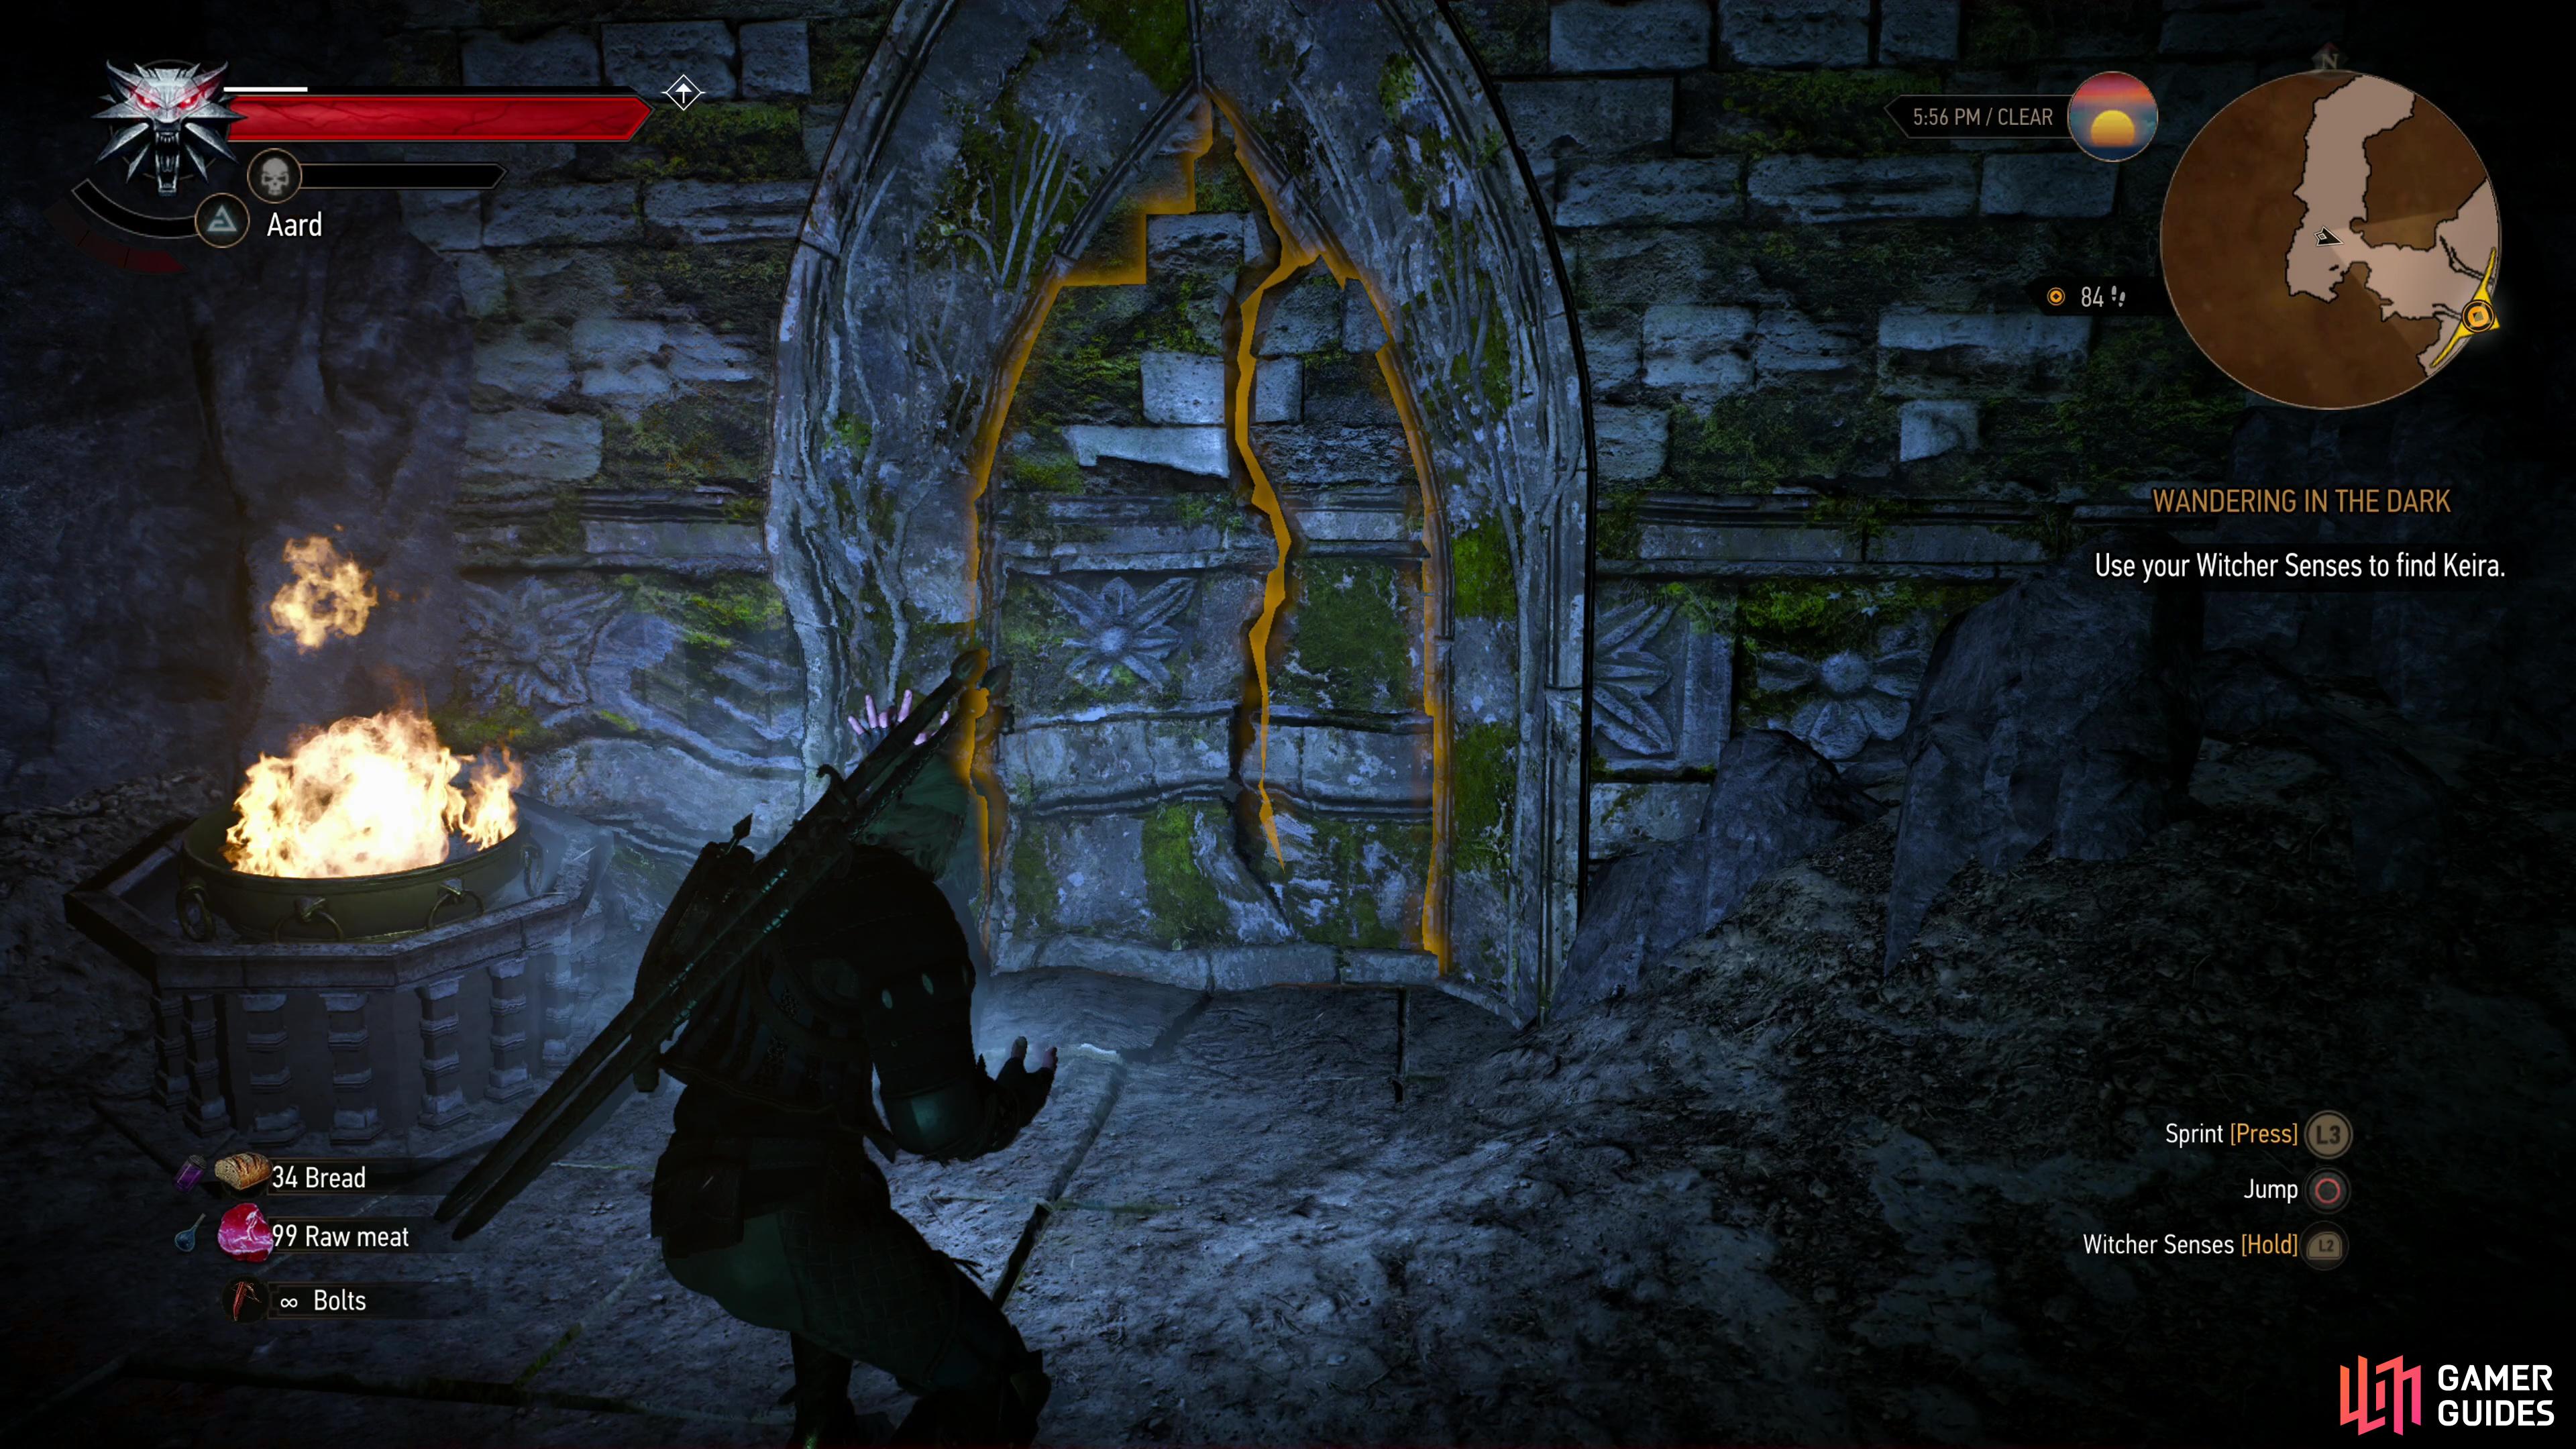
Geralt will reappear somewhere else in the ruins, separated from Keira, and nowhere near the enemy he hoped to pursue. Head south and dispatch a trio of ![]() Drowners (Lv4) then go for a swim in the flooded tunnel beyond. Grab a chest to the left as you swim your way south, then eventually surface in some more tunnels. Two paths lie before you; south or southwest. Both paths lead back to the main chamber you just teleported out of, but if you go southwest you’ll end up in a somewhat more advantageous position when you make your way back to the chamber. If you go southwest,
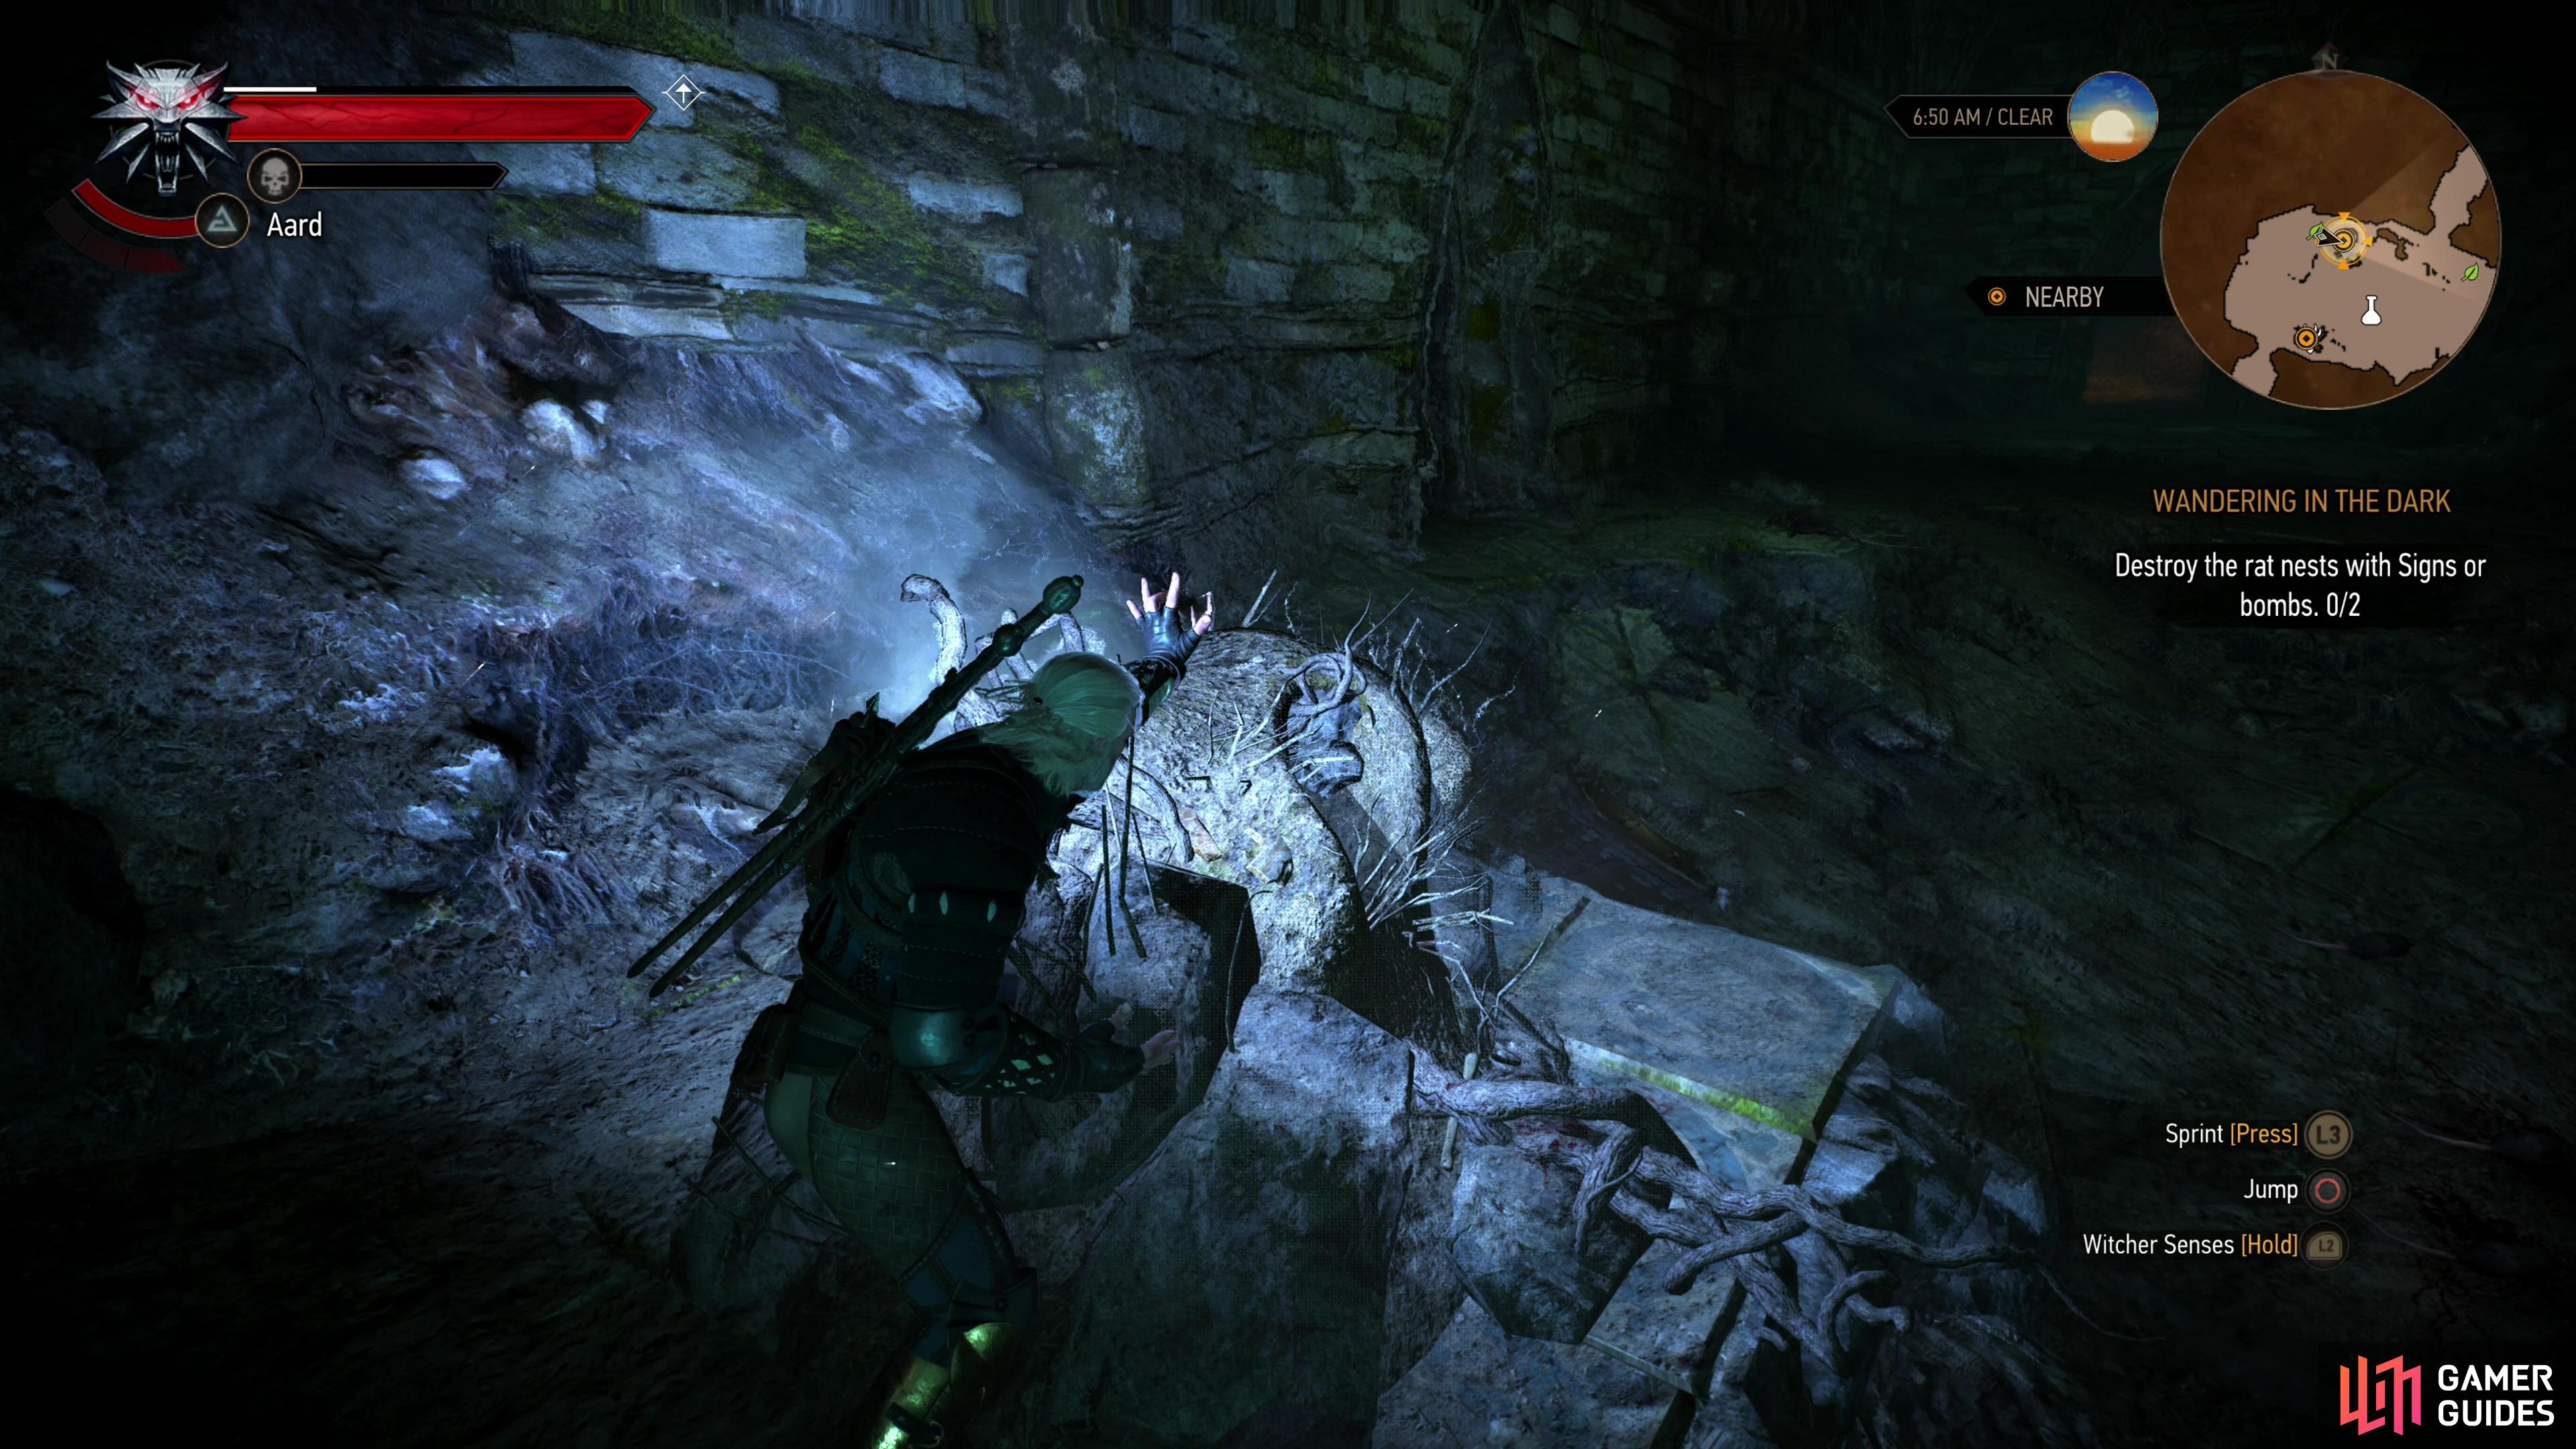
Drowners (Lv4) then go for a swim in the flooded tunnel beyond. Grab a chest to the left as you swim your way south, then eventually surface in some more tunnels. Two paths lie before you; south or southwest. Both paths lead back to the main chamber you just teleported out of, but if you go southwest you’ll end up in a somewhat more advantageous position when you make your way back to the chamber. If you go southwest, ![]() Aard a weak section of wall, kill a
Aard a weak section of wall, kill a ![]() Foglet (Lv4), destroy another wall with Aard and you’ll find yourself on a ruined walkway in the northwestern corner of the large chamber you were in earlier with Keira. The southeastern route, as stated above, takes you to the same chamber, albeit somewhat to the east.
Foglet (Lv4), destroy another wall with Aard and you’ll find yourself on a ruined walkway in the northwestern corner of the large chamber you were in earlier with Keira. The southeastern route, as stated above, takes you to the same chamber, albeit somewhat to the east.
If you took the southeastern passage, drop off the ruined walkway you’re on and turn southwest, using ![]() Igni to disperse the poisonous, explosive gas in front of you and kill any Drowners (Lv4) that attack. Just be wary, as the gas won’t stay gone for long. Make your way onto another walkway and turn southeast. Voila, this is where you’ll end up if you took the southwestern passage.
Igni to disperse the poisonous, explosive gas in front of you and kill any Drowners (Lv4) that attack. Just be wary, as the gas won’t stay gone for long. Make your way onto another walkway and turn southeast. Voila, this is where you’ll end up if you took the southwestern passage. ![]() Note the stairs rising out of the darkness ahead of you and Igni some poison gas, cross to and up the stairs, and dispatch any Drowners (Lv4) lurking on these ruins.
Note the stairs rising out of the darkness ahead of you and Igni some poison gas, cross to and up the stairs, and dispatch any Drowners (Lv4) lurking on these ruins.


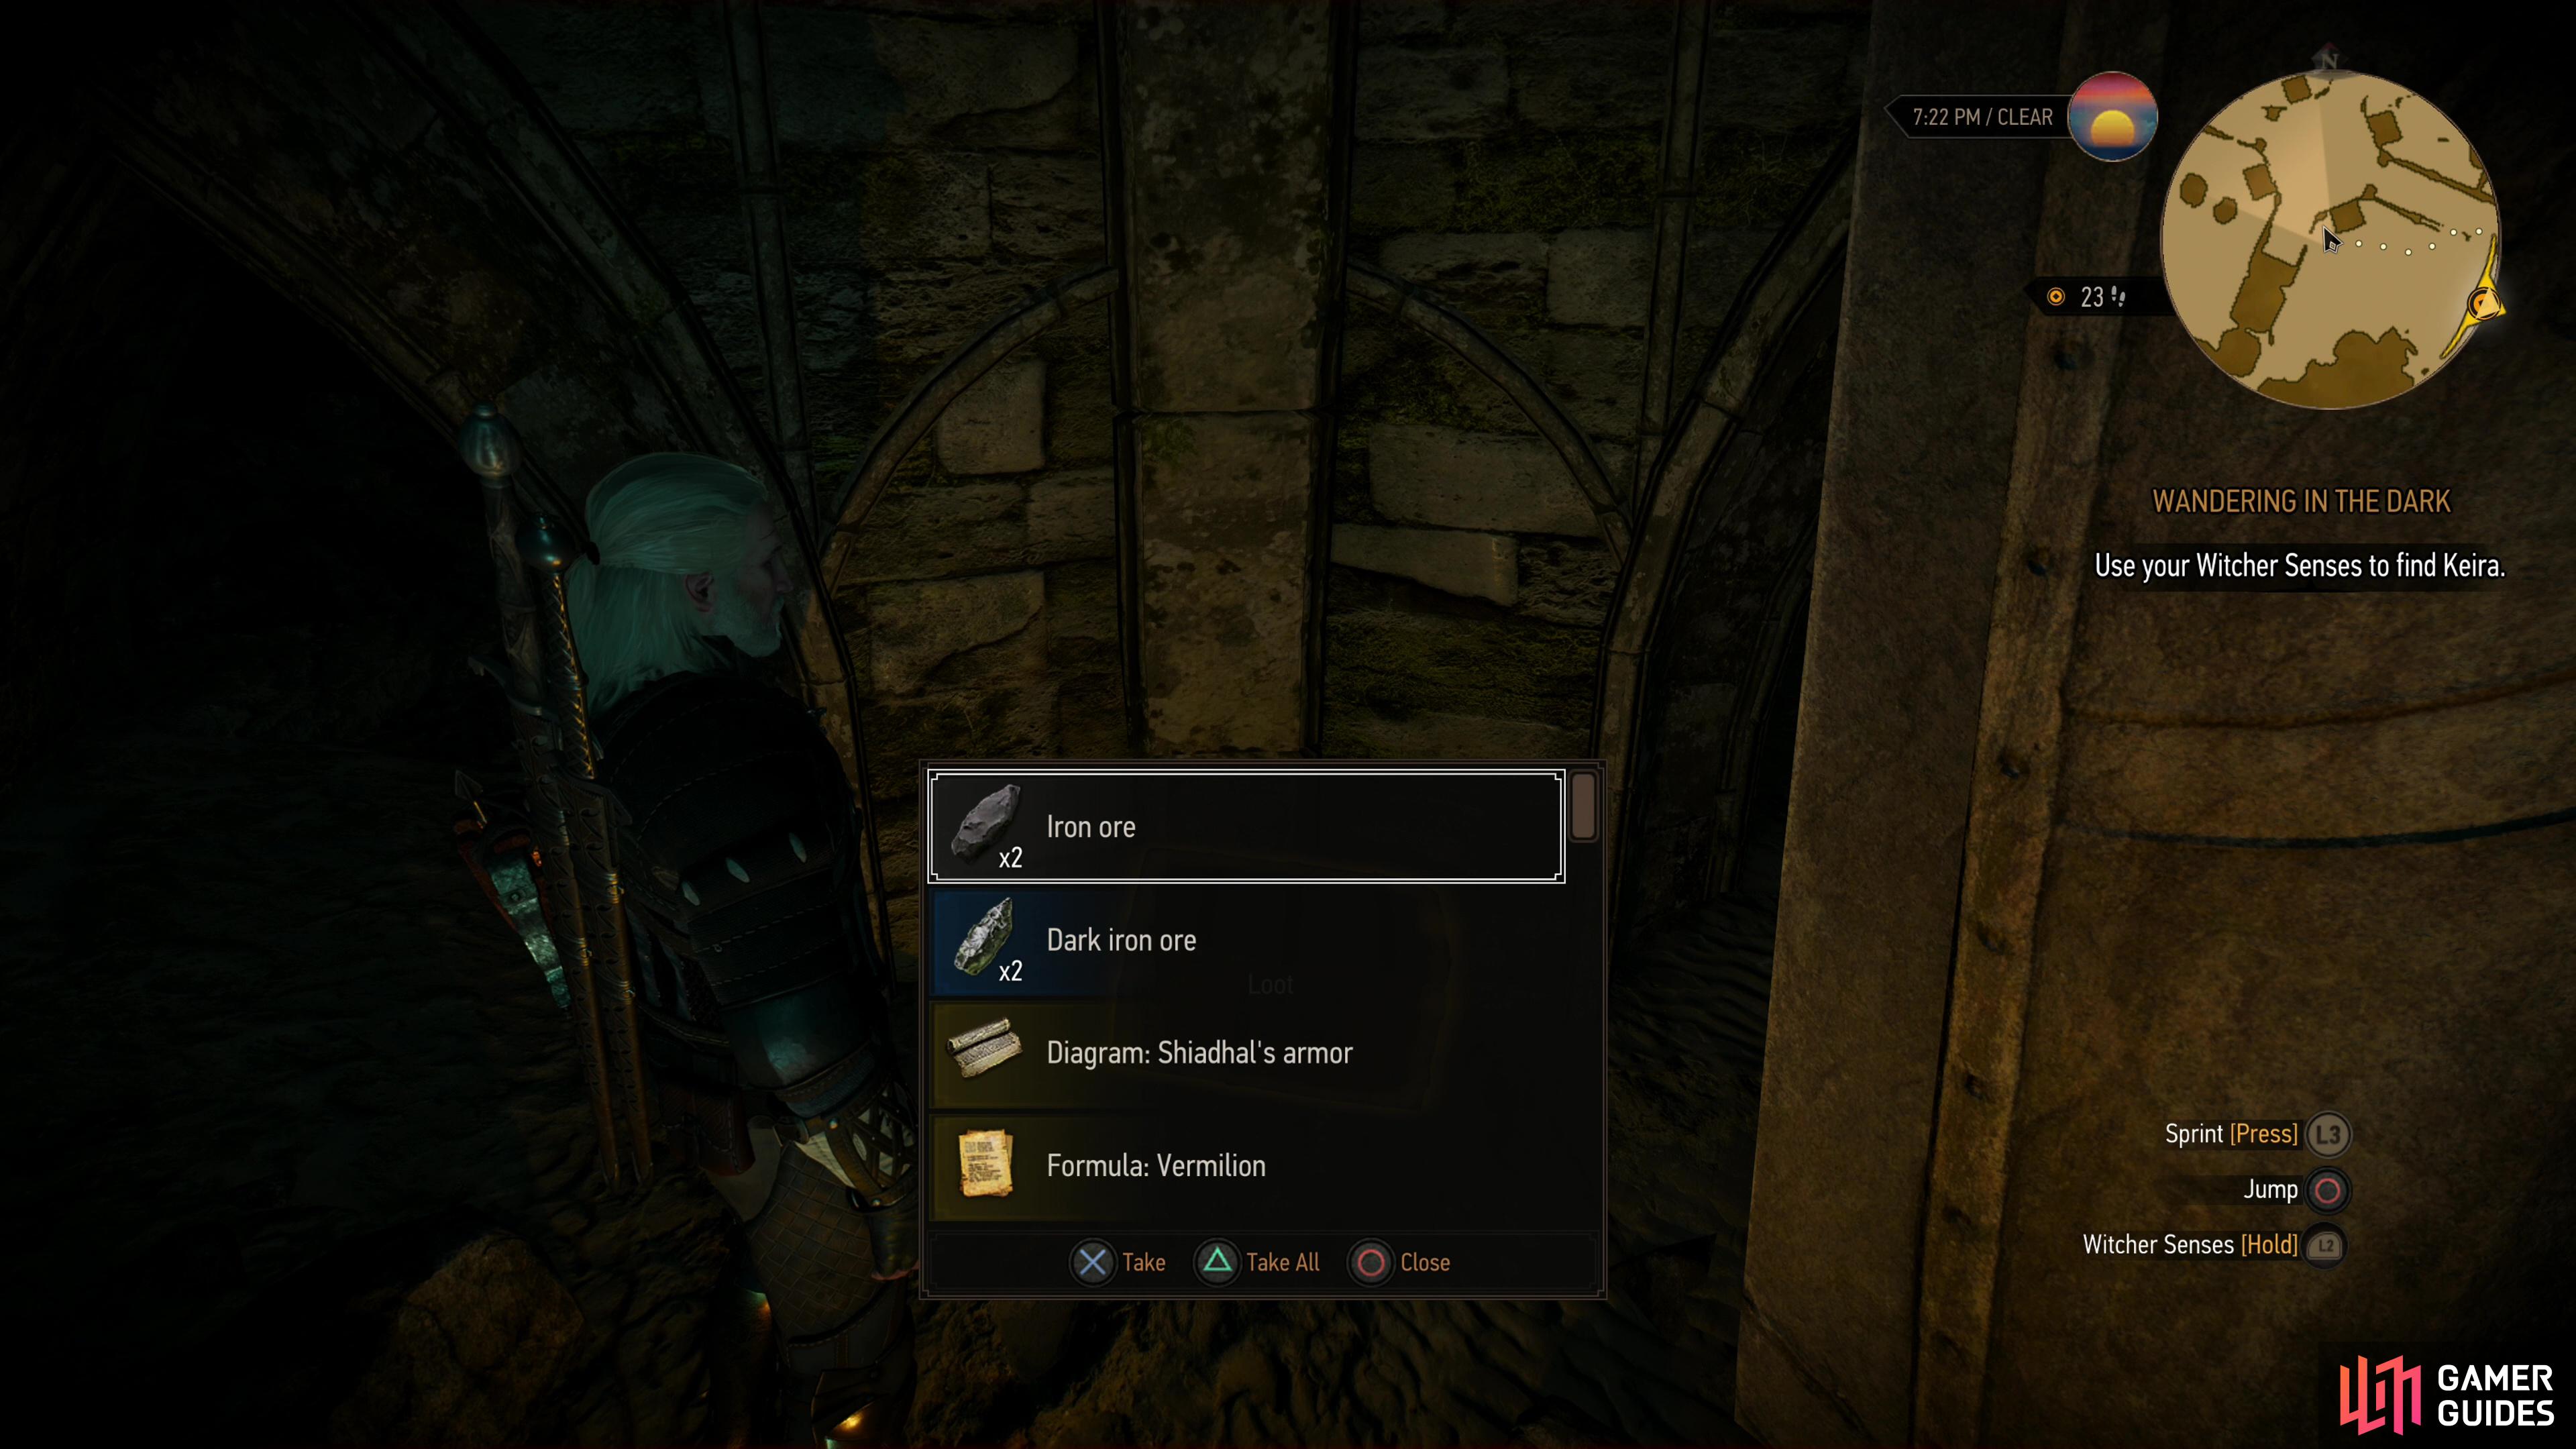
You’re now back where you were when Keira created her ill-fated portal, and if you want to continue searching for Keira head downstairs to the southeast until you come to a four-way intersection, where you’ll find you can continue southeast or southwest… and just like the last time you had such a choice, both paths lead to the same place, with the southwestern route being more direct this time. Alternatively you could continue exploring this chamber. There are several chests scattered about, although most of them contain junk. You can also pick a fight with a ![]() Water Hag (Lv7) who prowls in the area.
Water Hag (Lv7) who prowls in the area.
Rescue Keira from the Rats
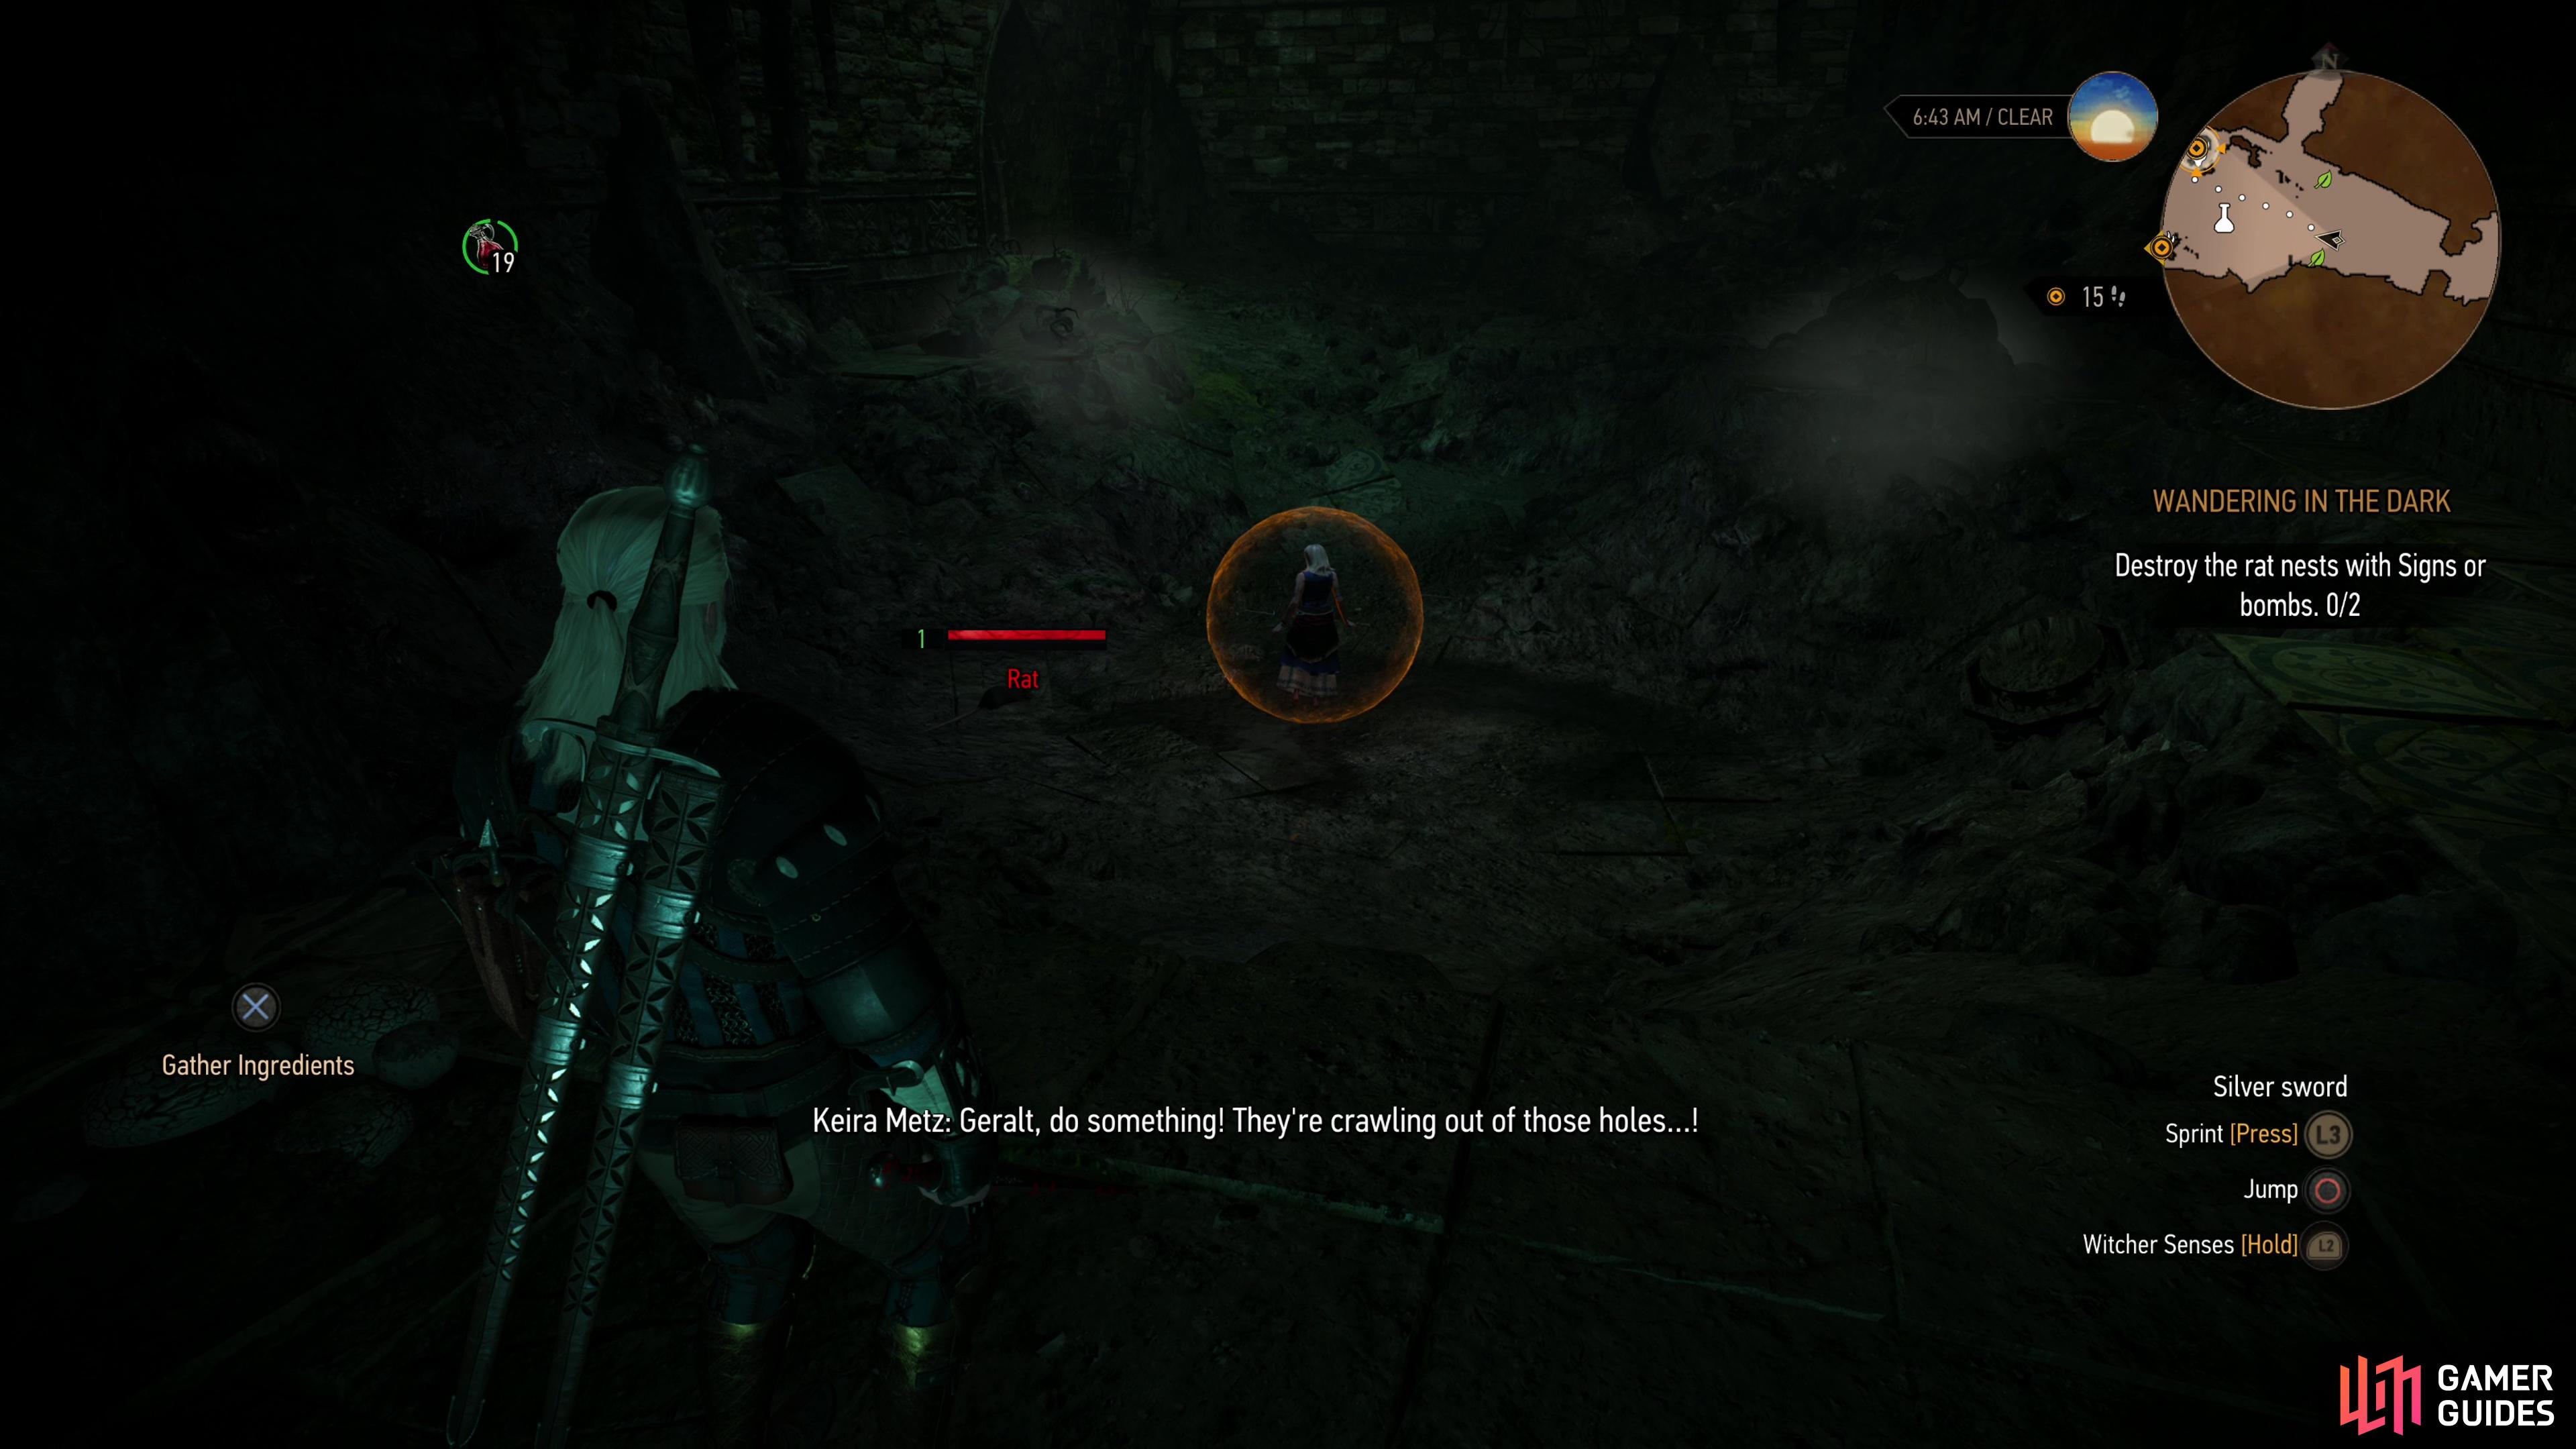
When you’re ready to get serious about finding Keira, return to the walkway split. If you head southeast you’ll enter a large chamber dominated by an elven statue. A Foglet (Lv4) also prowls here - kill it, then press on until you find Keira. If you go southwest you’ll enter right into the chamber where Keira is. Despite all her magic, Keira is paralyzed in fear by the foe in this chamber - rats! No, not giant rats, supernatural rats or anything of the sort. Just garden variety rodents. There are two nests in here that constantly spawn the pests and to their credit they’re fairly aggressive, if incapable of dealing any significant damage. Destroy the nests using Bombs, if you have the correct types, or you can spare yourself some resources and just use Igni or Aard to accomplish the task. These count as [![]() Monster Nests] and are even marked as such on the world map. Furthermore, each of these two nests will net you 100 EXP when destroyed, which frankly amounts to charity given how anemic EXP gains have been thus far.
Monster Nests] and are even marked as such on the world map. Furthermore, each of these two nests will net you 100 EXP when destroyed, which frankly amounts to charity given how anemic EXP gains have been thus far.

(1 of 3) If you go through a doorway to the southeast you’ll need to fight a Foglet,
Follow the Swallow Symbols
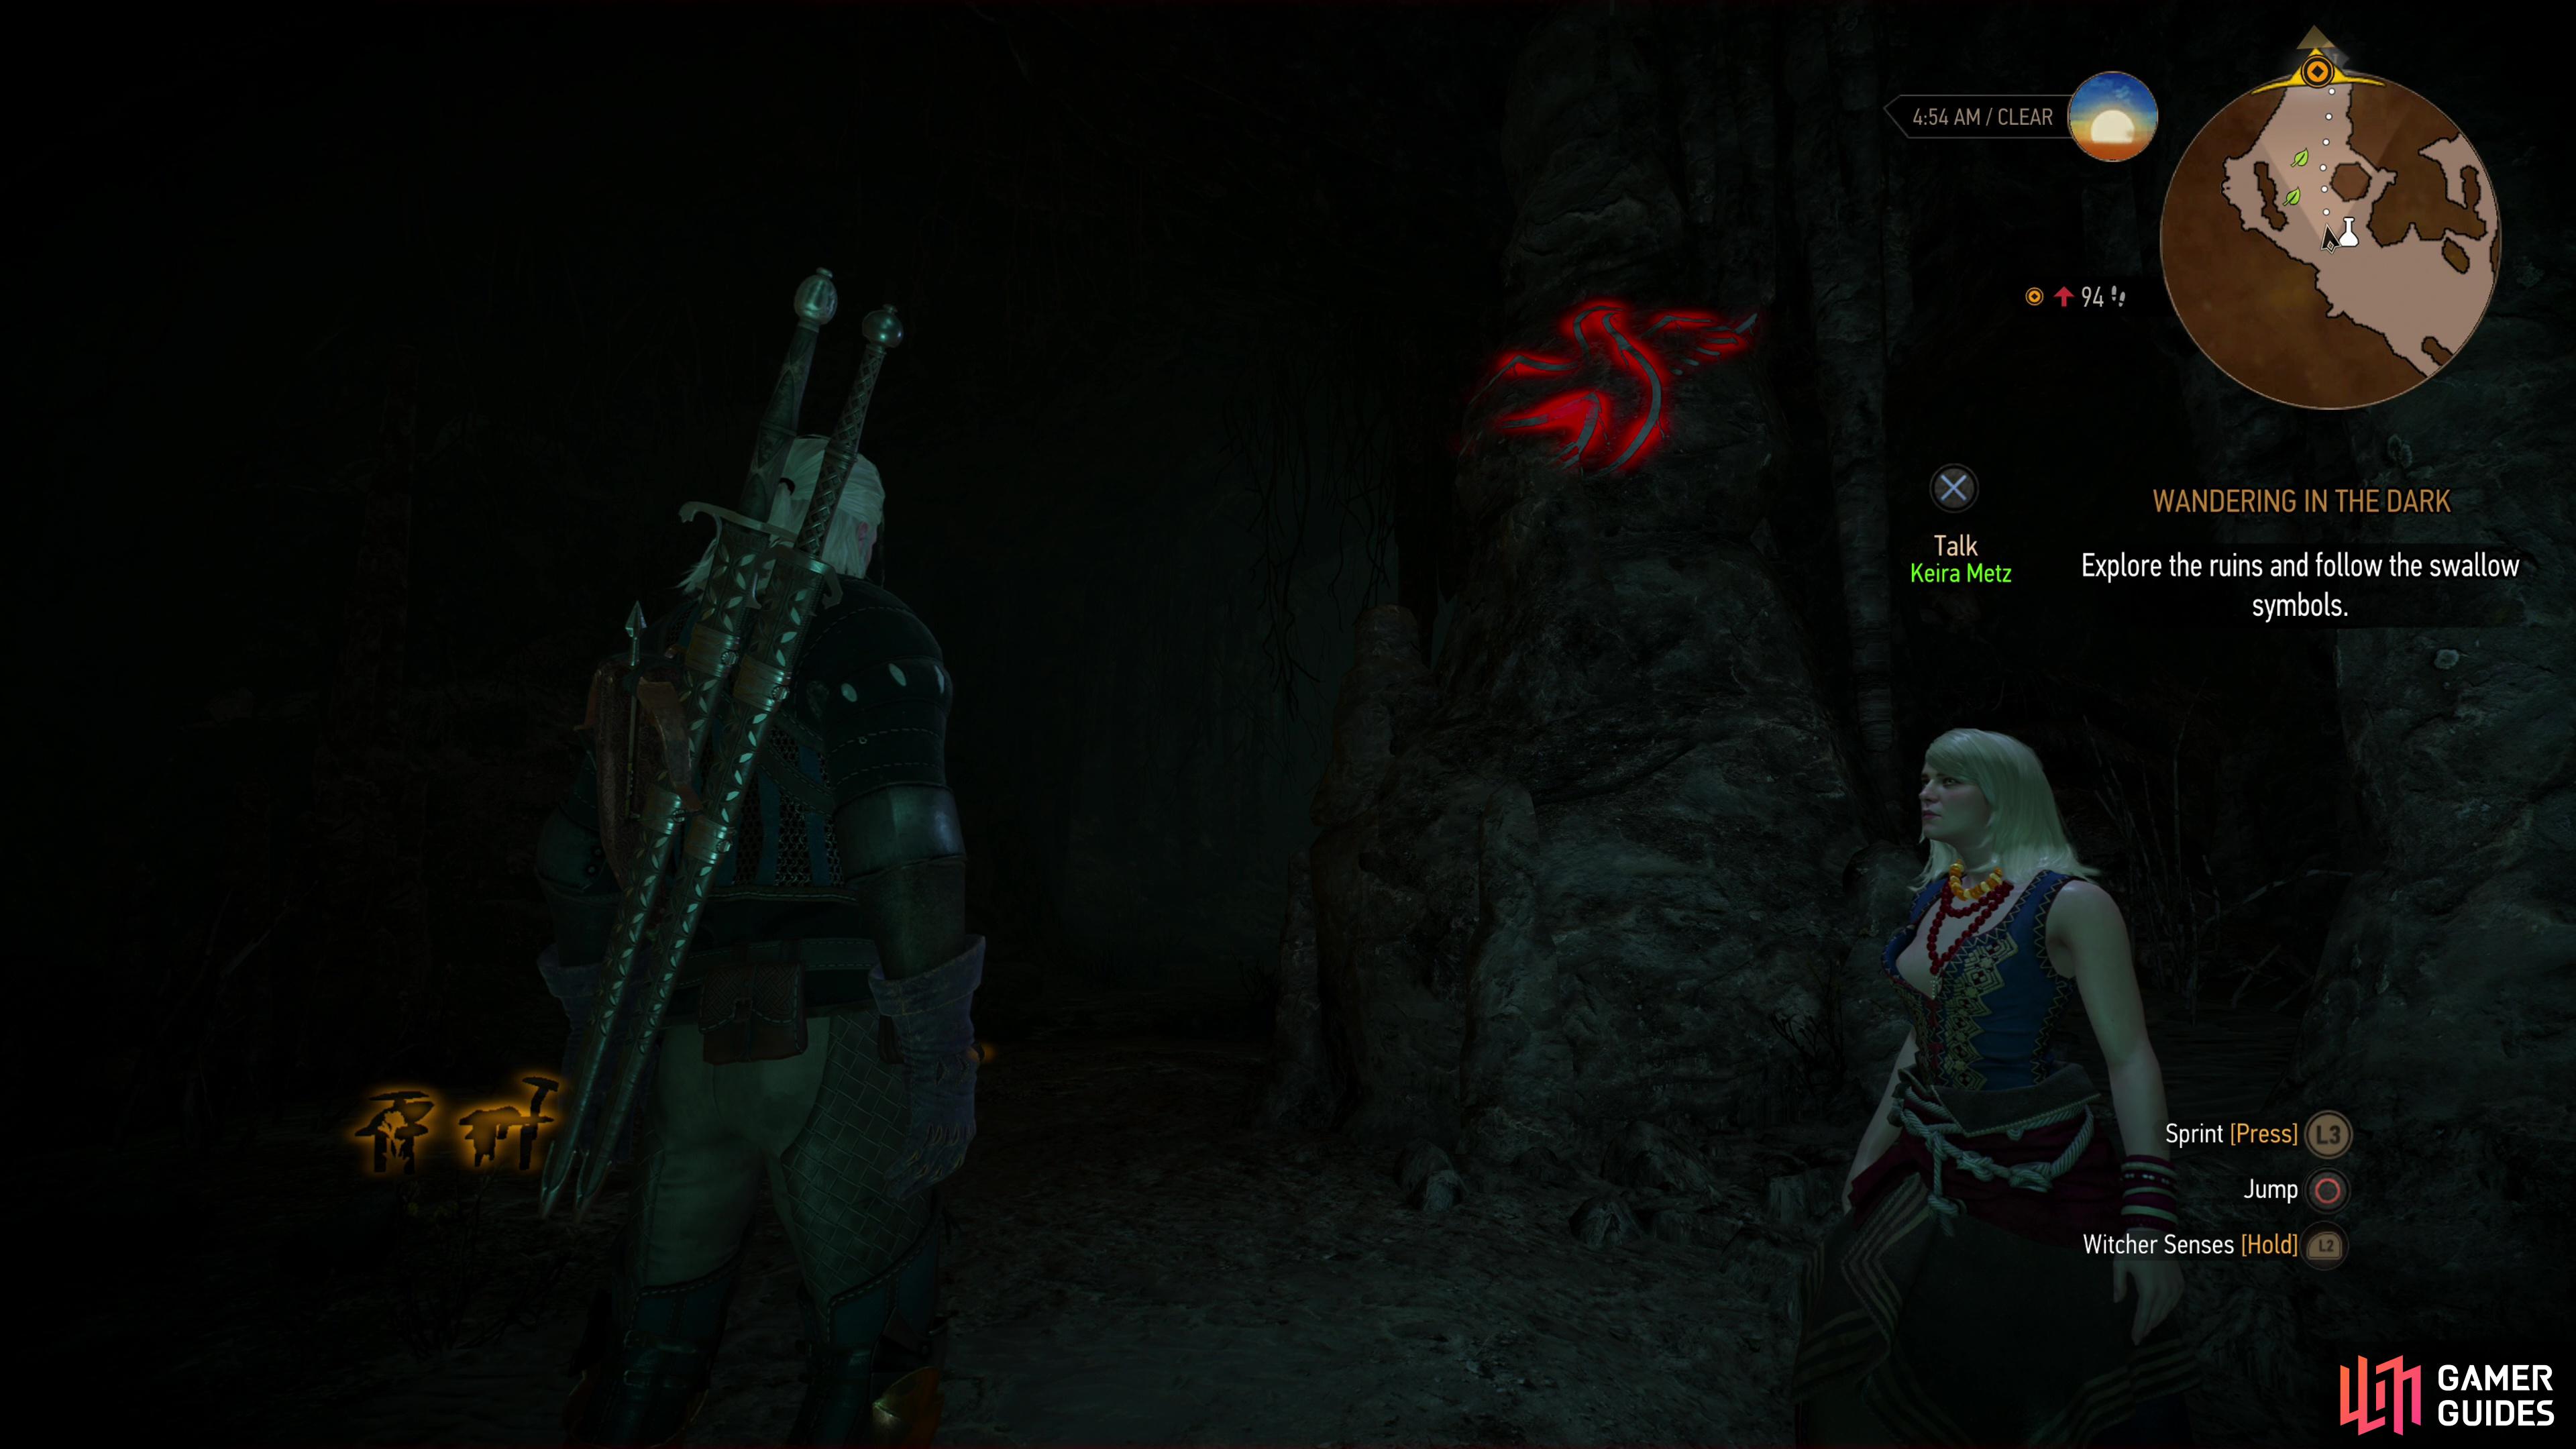
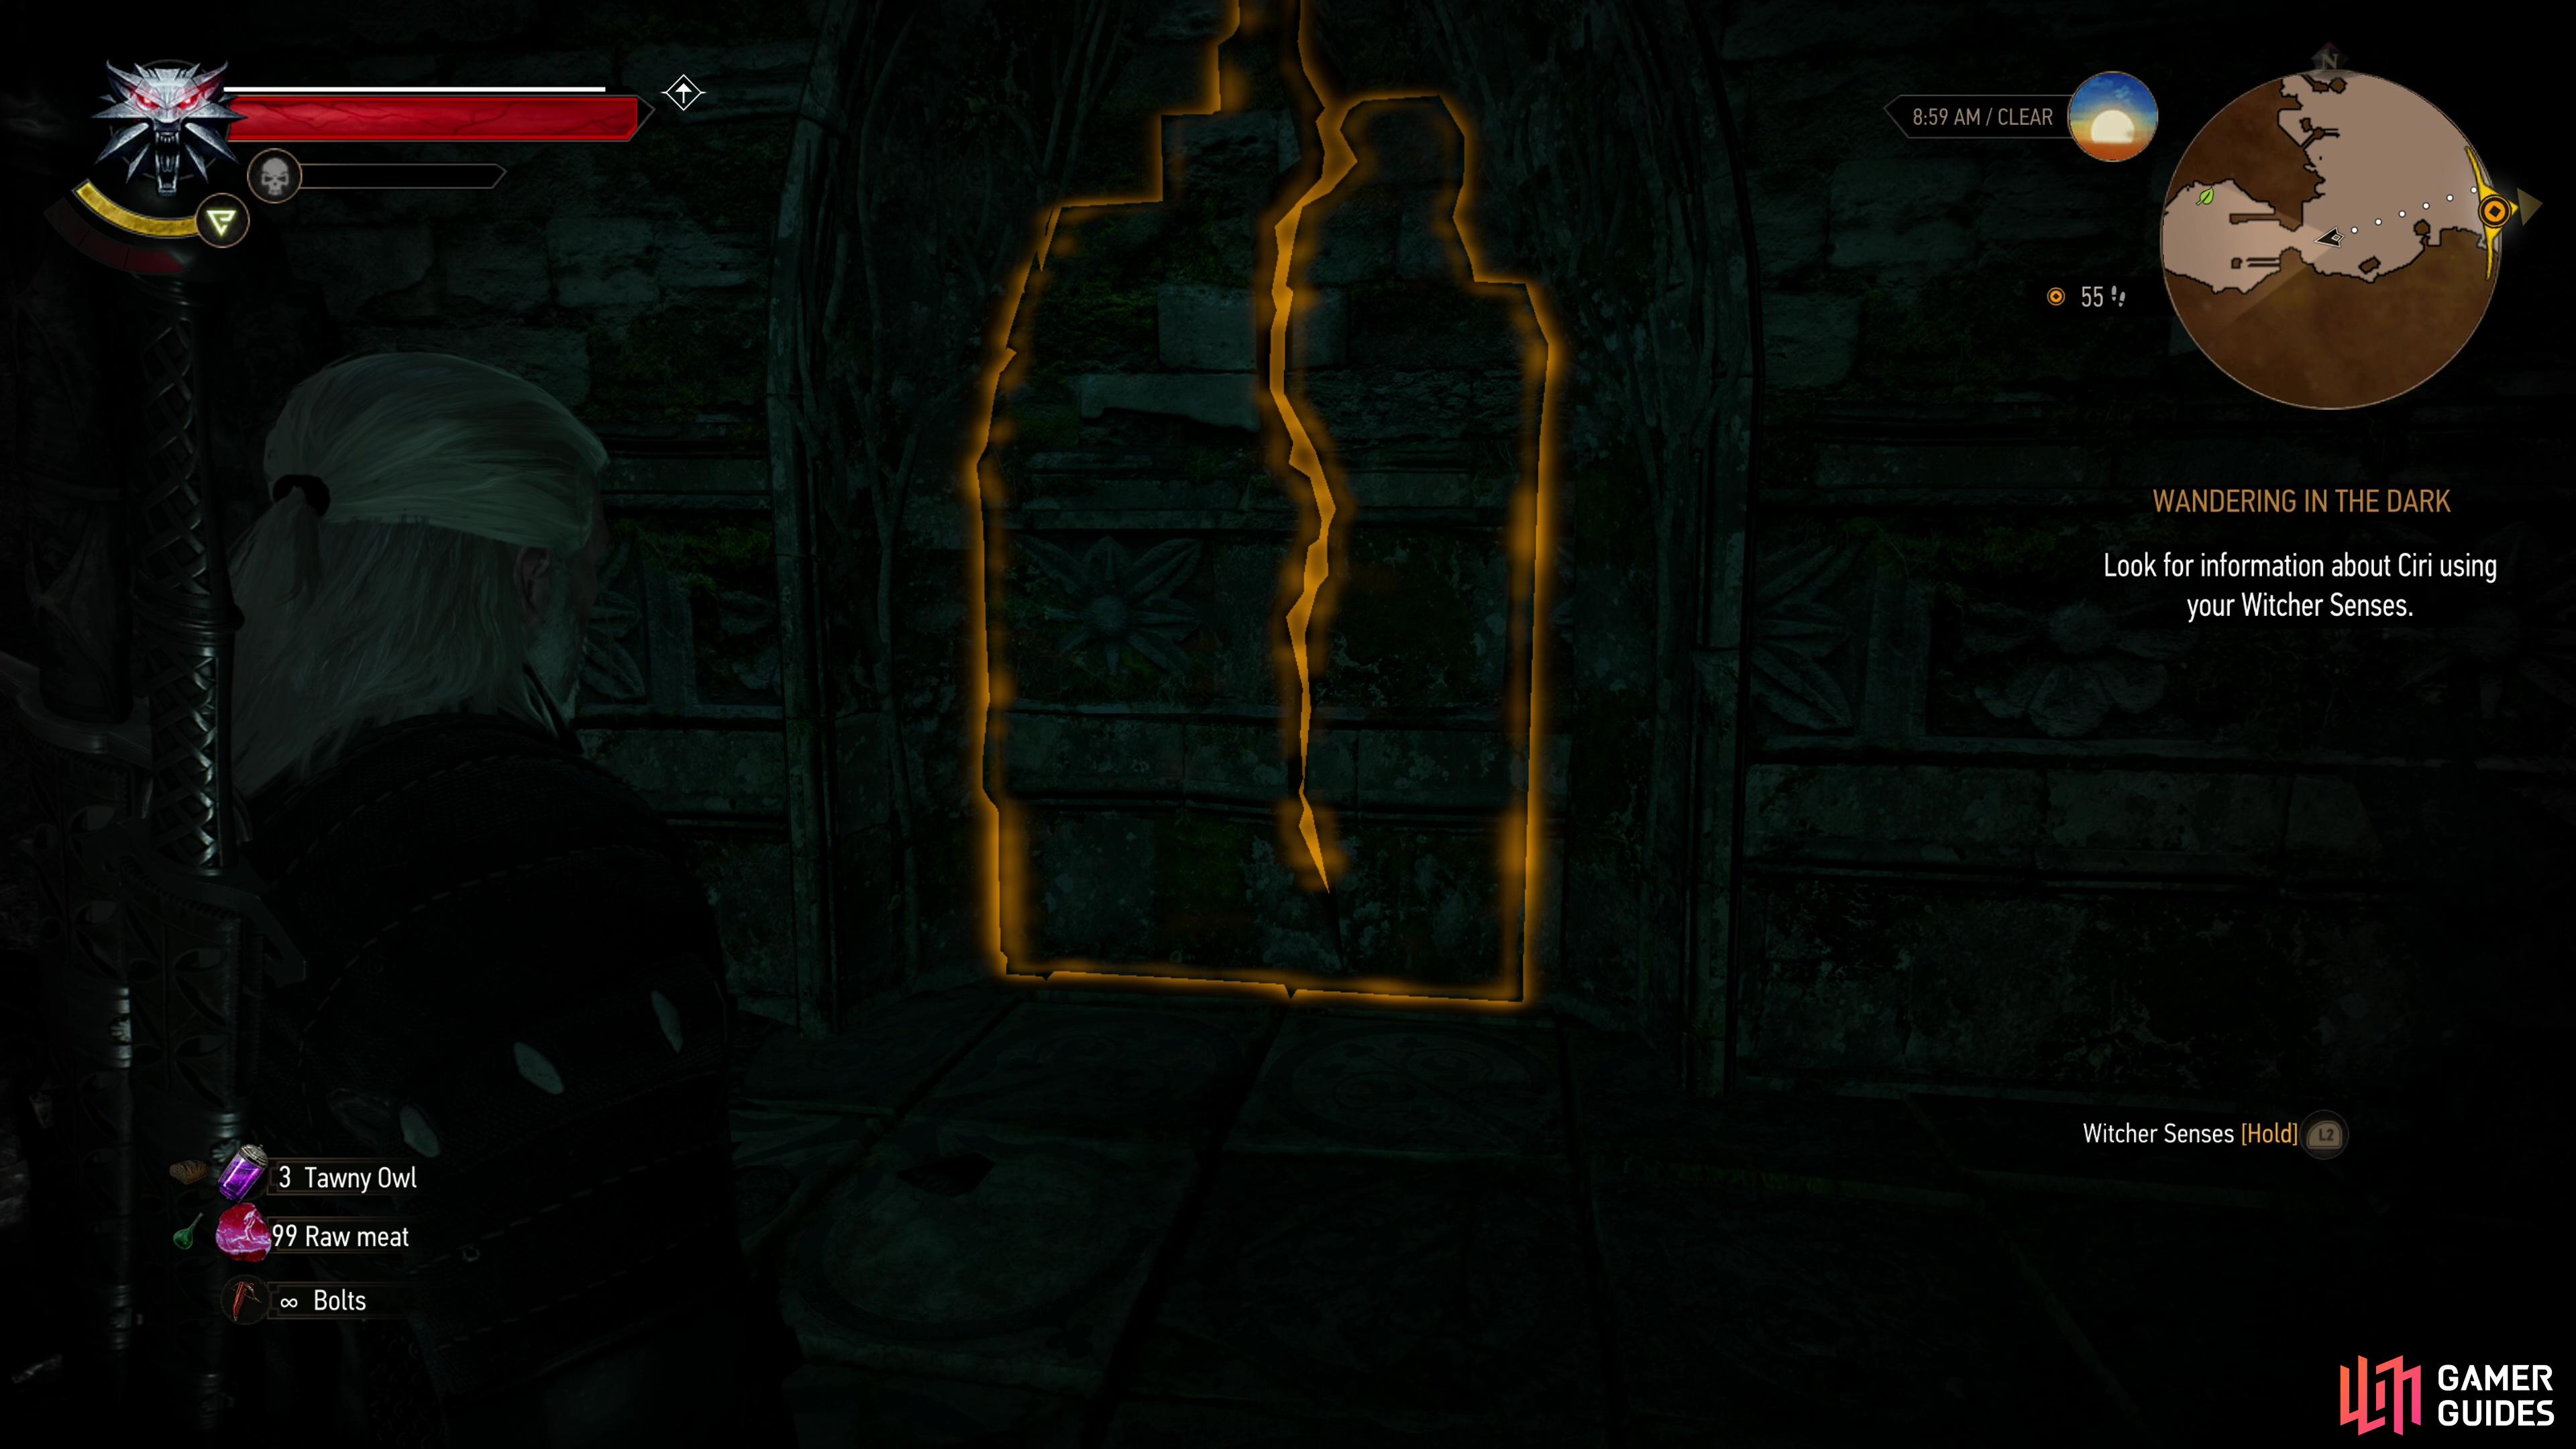
Rescue Keira from the rats and Geralt will convince her to accompany him deeper into the ruins, but any more portals are out of the question. Go through a doorway to the southwest and in the next chamber a projected image of the elven mage we seek, who tells Ciri to “Follow the sign of your sword”, which Geralt explains is a swallow. Look up above the door to the southwest and activate your Witcher senses and you’ll see the sign of the swallow inscribed on the wall above, so there should be no doubt what you’re looking for.
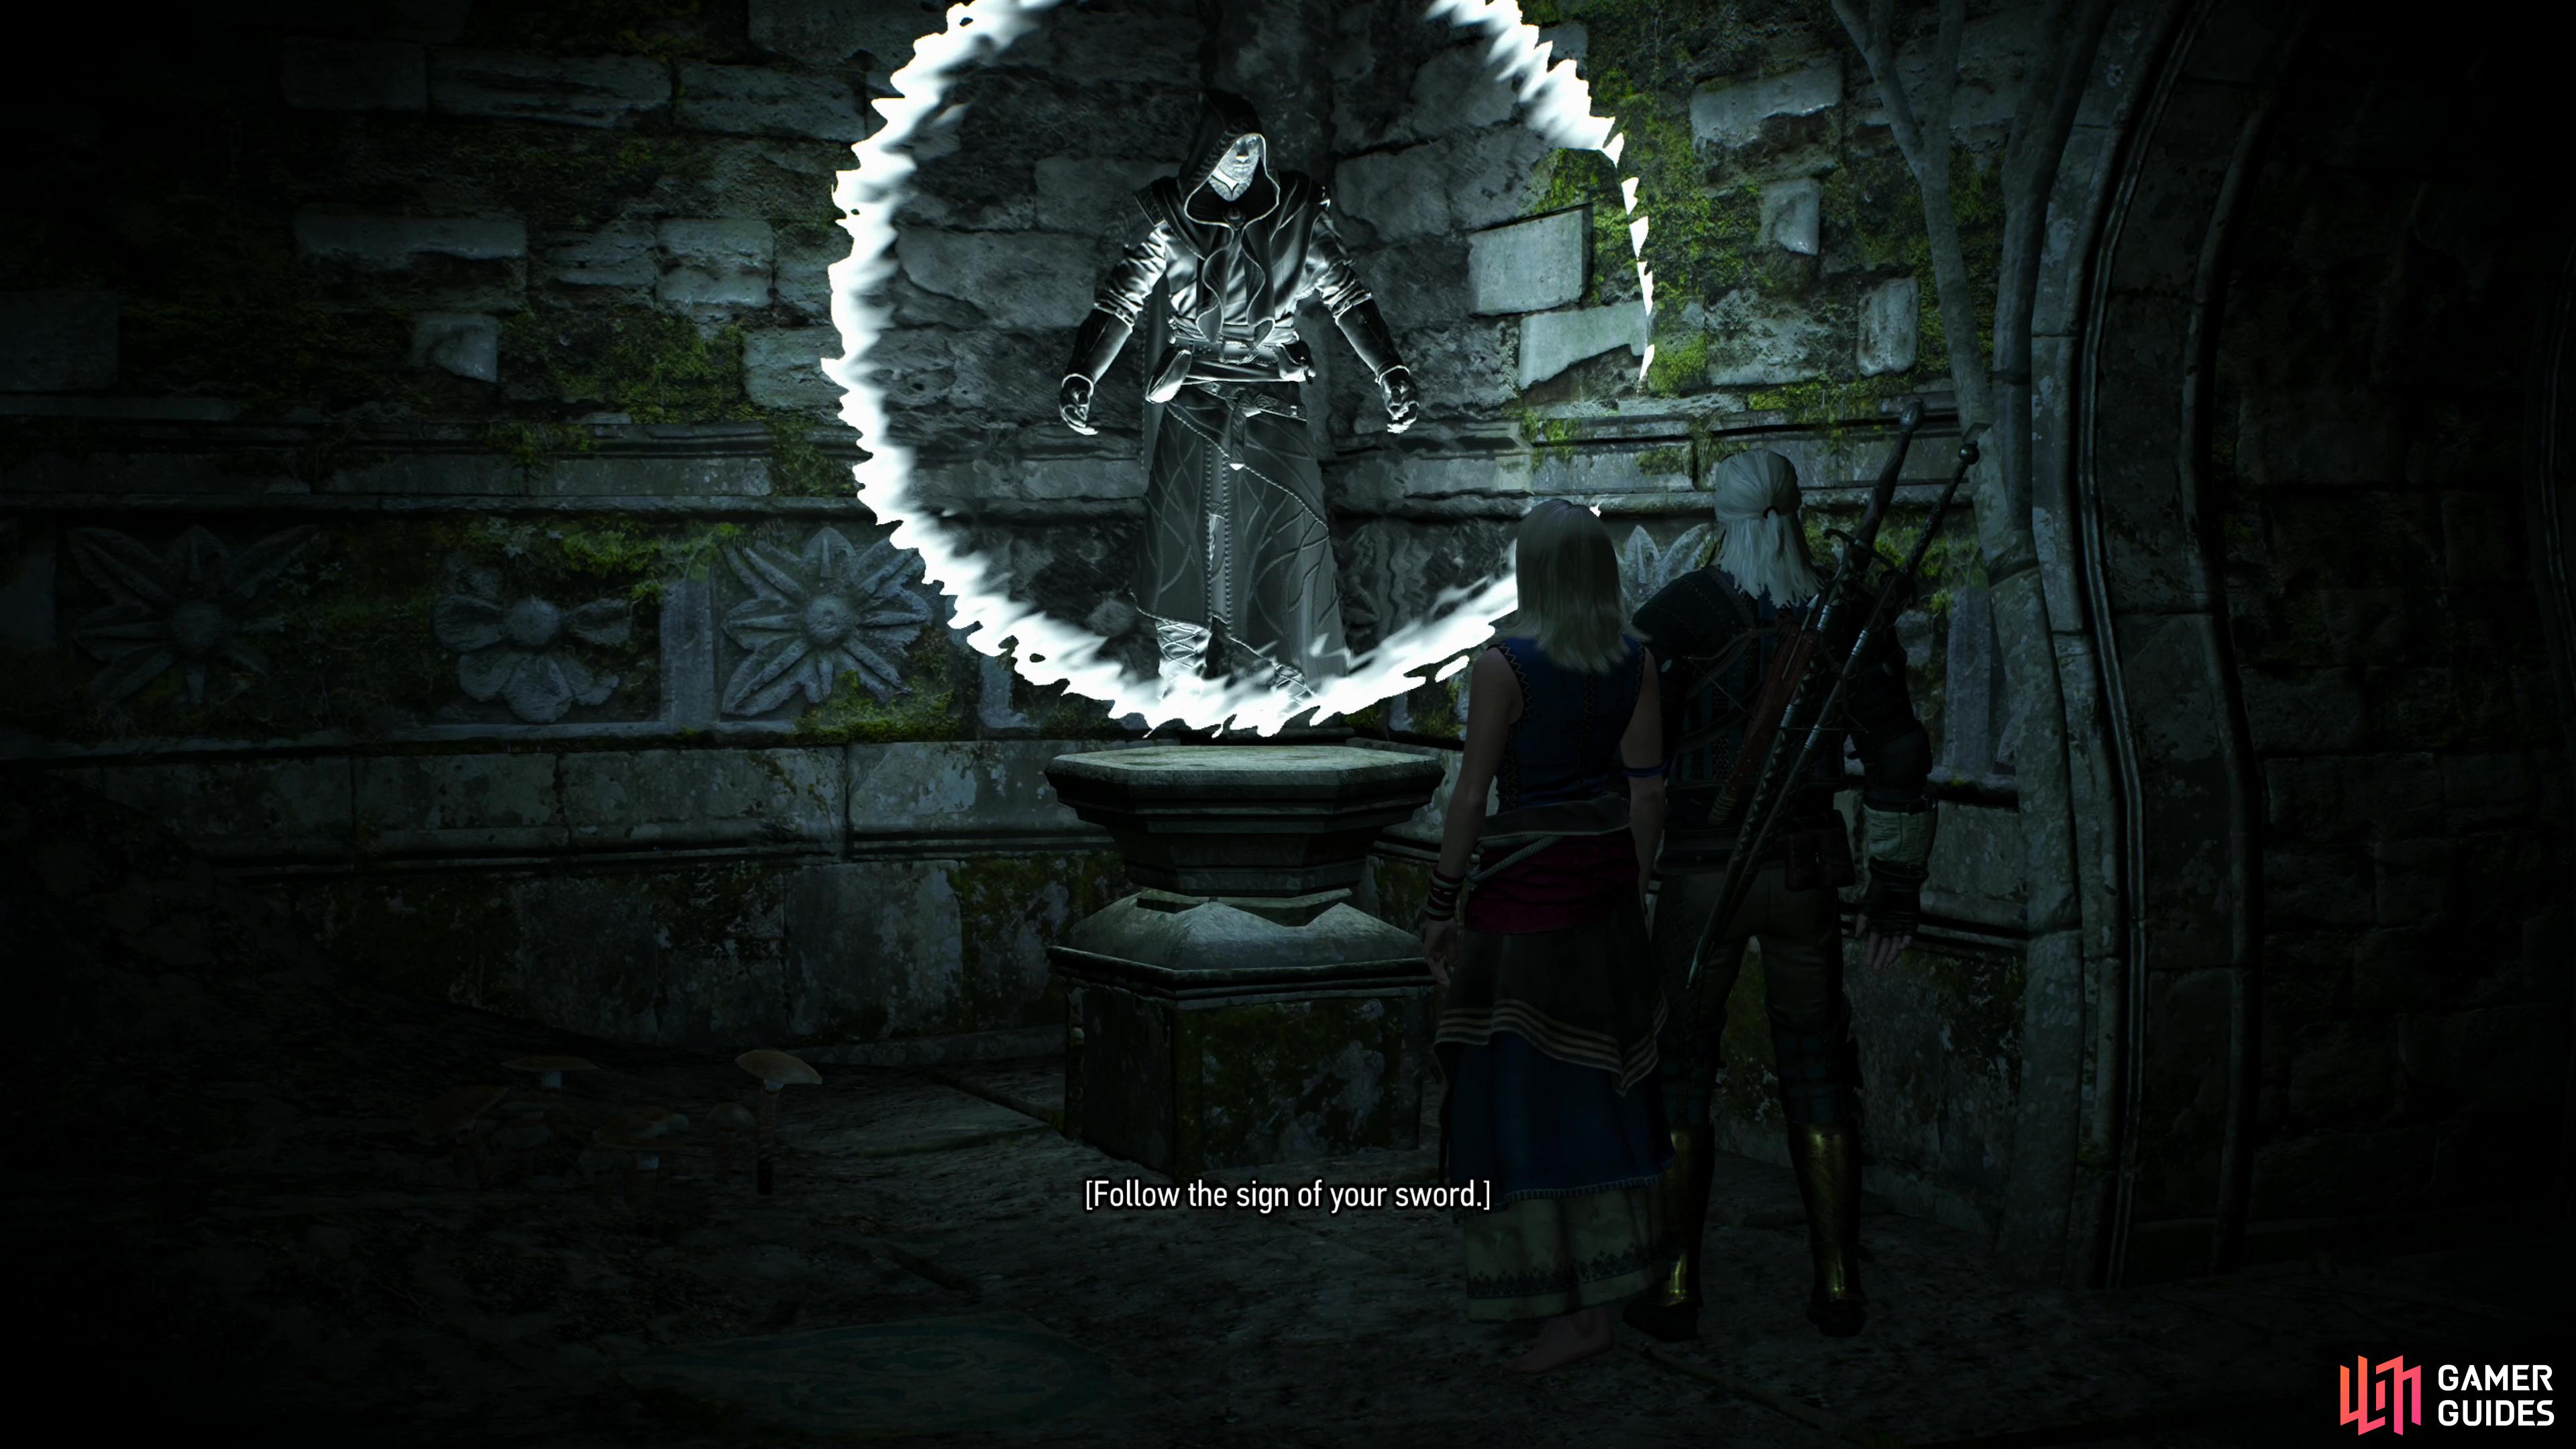


(1 of 3) Continue past the rat nests and you’ll find a projection left by the elven mage you seek.
Explore the Elven Port
Continue southwest through another doorway to the southwest to find a long abandoned subterranean port, now inhabited only by toxic gas and ![]() Wraiths (Lv5). While Keira was rendered all but helpless by rodents, she has no reservations about engaging Wraiths, and will contribute to combat by shooting barrages of ensorcelled stones, lightning bolts, and close range AoE force pulses. Best of all, you don’t have to babysit her, as she can’t die! Lure the Wraiths to you - ideally away from the gas - and dispatch them, after which you’ll be free to explore the chamber.
Wraiths (Lv5). While Keira was rendered all but helpless by rodents, she has no reservations about engaging Wraiths, and will contribute to combat by shooting barrages of ensorcelled stones, lightning bolts, and close range AoE force pulses. Best of all, you don’t have to babysit her, as she can’t die! Lure the Wraiths to you - ideally away from the gas - and dispatch them, after which you’ll be free to explore the chamber.
Stick to the right side of the chamber and work your way off the ruins and into the water to the southwest. You can loot the elven statue at the forefront of the ruins and past some toxic clouds you’ll find two chests, near the shattered remains of a ship, which probably don’t contain anything useful. Just beyond these chests you’ll find a passage running uphill to the northwest, and if you use your Witcher senses to check the wall to the right to confirm the sign of the ![]() Swallow. While this is where you need to go to reach your destination, there are rewards to be gained by exploring the rest of the port.
Swallow. While this is where you need to go to reach your destination, there are rewards to be gained by exploring the rest of the port.
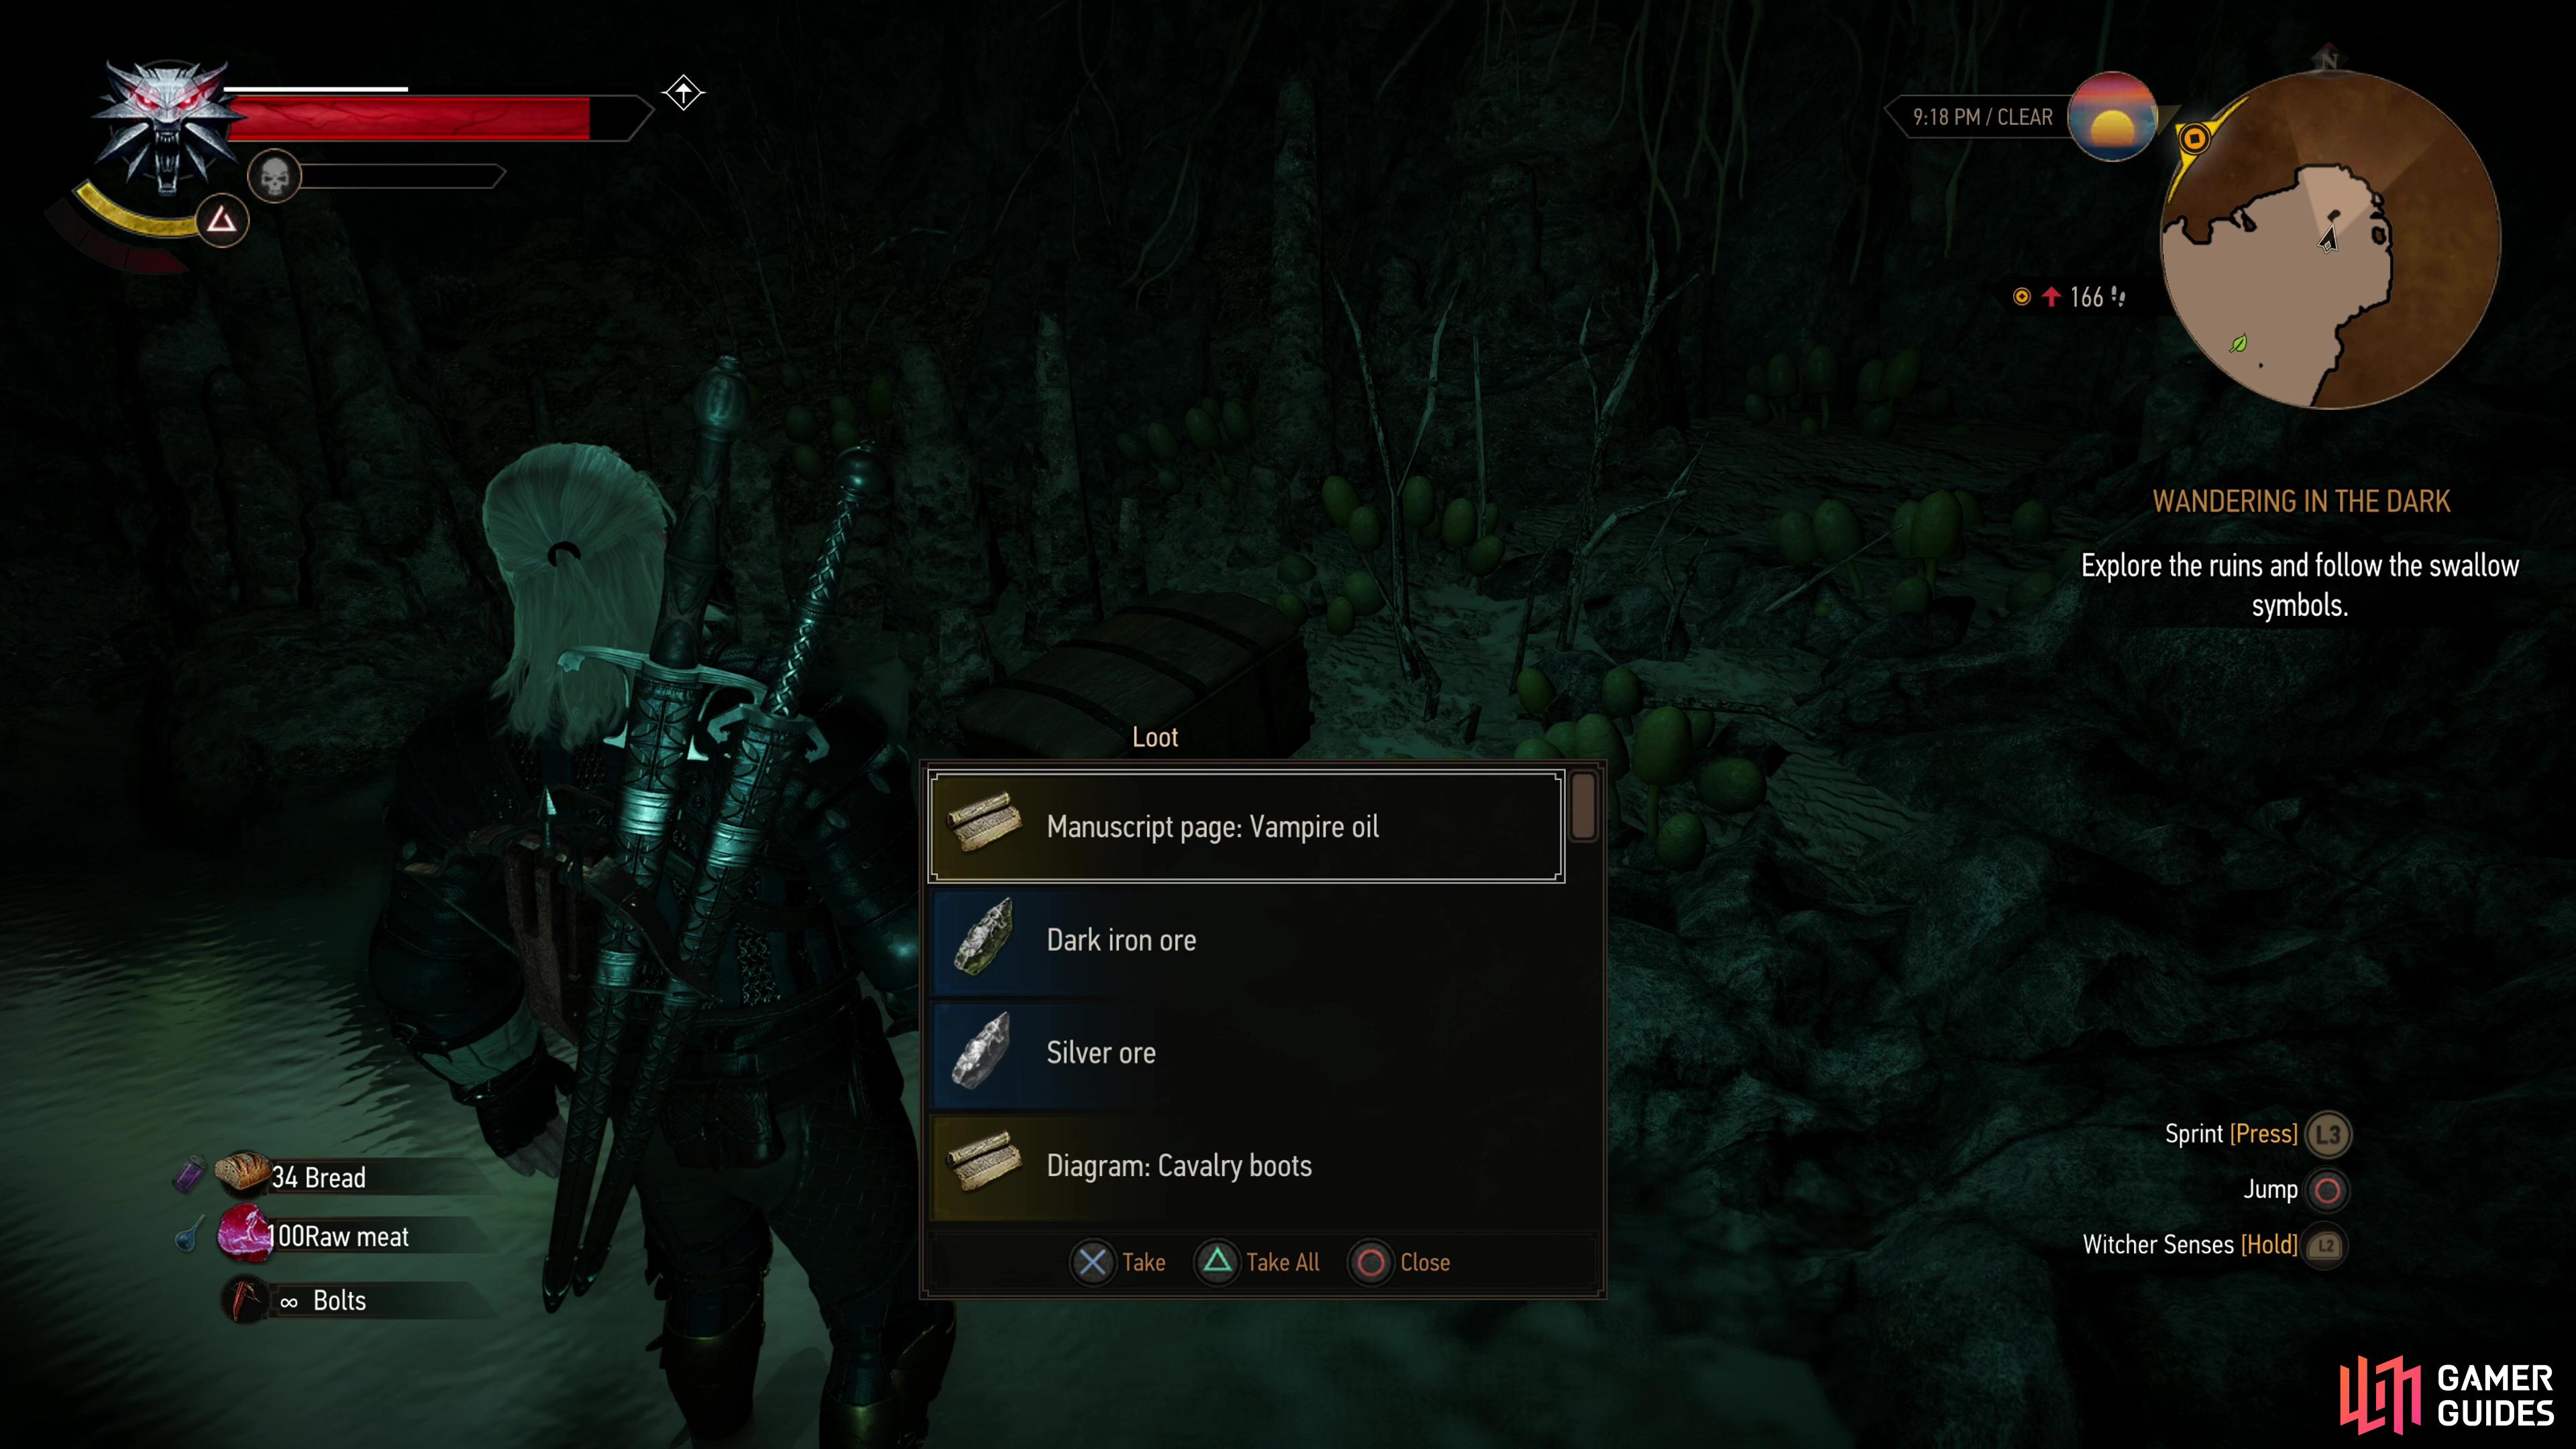
Continue south down through the flooded remains of the port, using Igni to clear poisonous gas as you go. Along the southern end of the port you’ll find a passage continuing south. There’s a small chest at the mouth of the passage and a larger chest at the end, both of which are worth looting. Plunder the chests, then make your way northeast to find another passage to the east. This one is marked by the sign of the kraken, and you’ll need to swim through a flooded passage to the east to proceed further. Keira balks at the thought of swimming through “sewage”, but Witchers are immune to disease and gold washes off. Dive in and swim east, looting two lucrative chests as you go before surfacing in an isolated chamber to the east.
Ahead of you wafts some poisonous gas, and a small chest sits amongst it, while a larger chest awaits at the northeastern end of the chamber. Use Igni to clear the gas and loot both chests for some goodies, but doing so will provoke some Wraiths (Lv5). Scamper back to the southwestern edge of the chamber where you’ll have more gas-free space to fight and dispatch the Wraiths. There are four of them, but they appear piecemeal, so it shouldn’t be hard to dispatch them all. Once you’re done, swim back west and with Keira in tow, return back to the Swallow sign and press on to the northeast.


(1 of 4) The swallow sign marks the passage to the northeast,
Solve the Kelpie Sign Puzzle
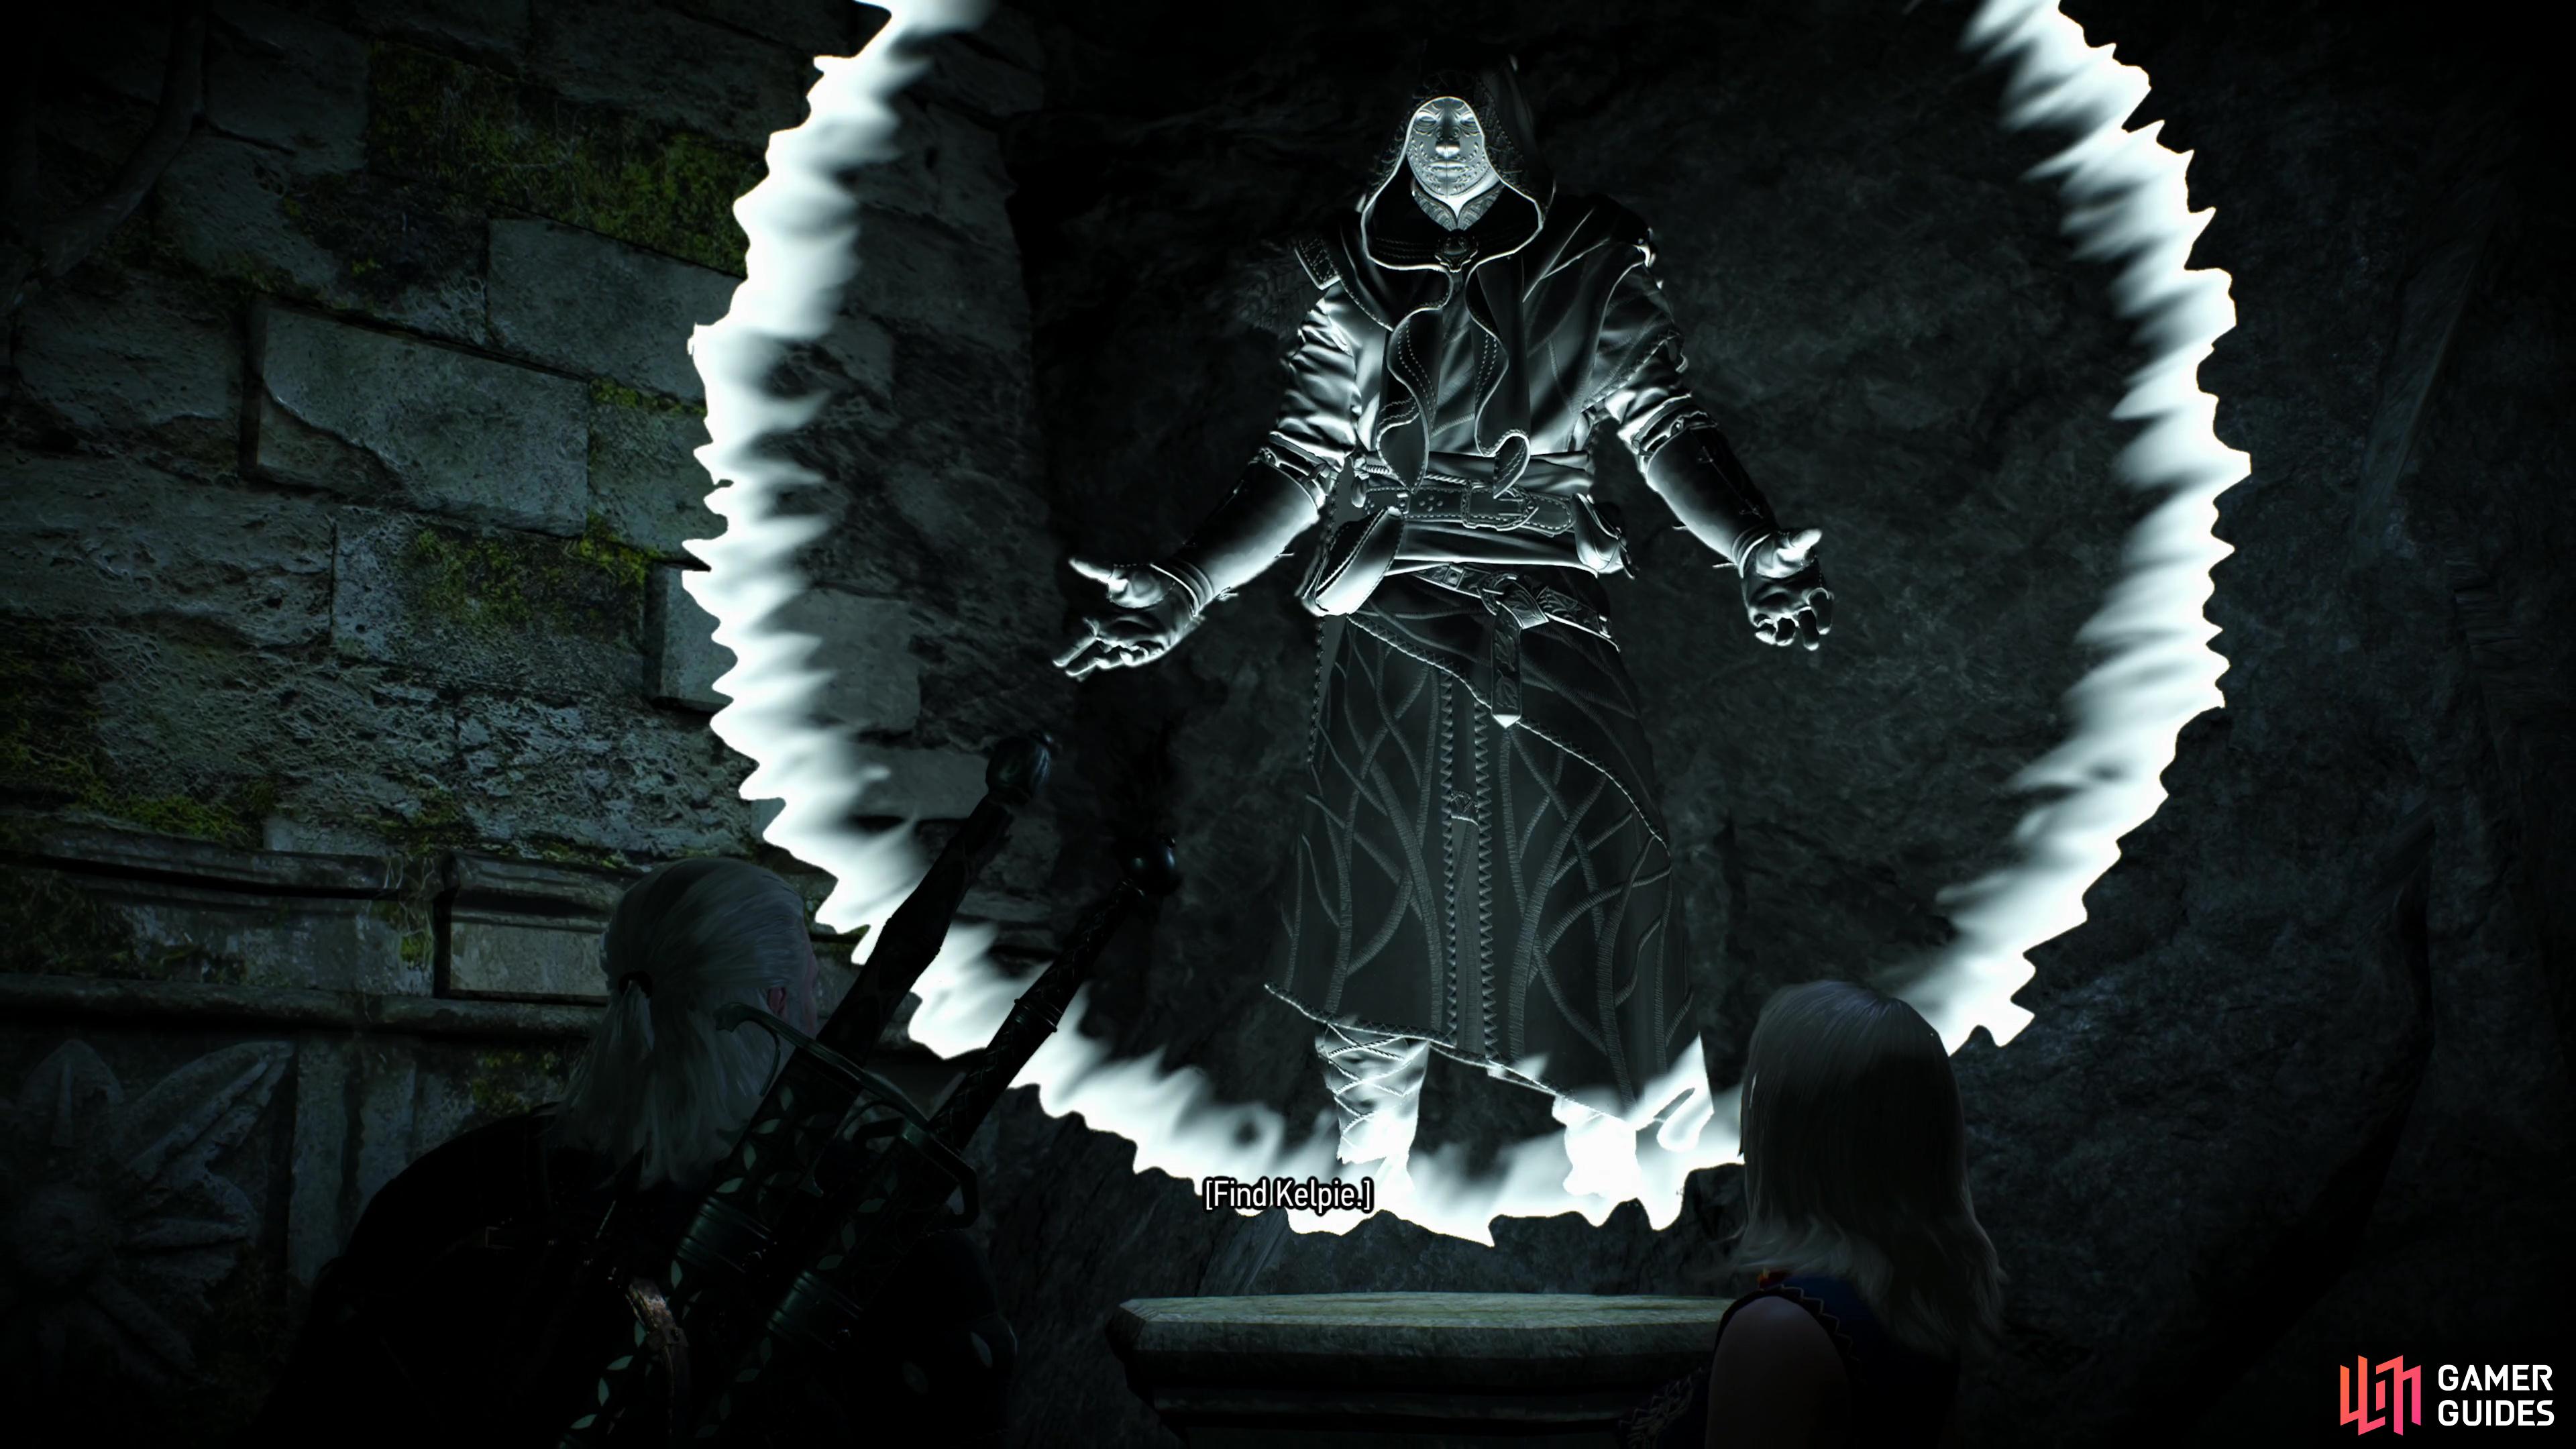
Climb some ledges to the north and continue through the natural passage until you reach more ruins. Go through a door to the northwest to reach a large room with an octagonal pit in the middle and another projection to the northwest. Approach and you’ll get the advice “The obvious route is not always best. Find Kelpie.”, which Geralt clarifies is the name of Ciri’s old horse.
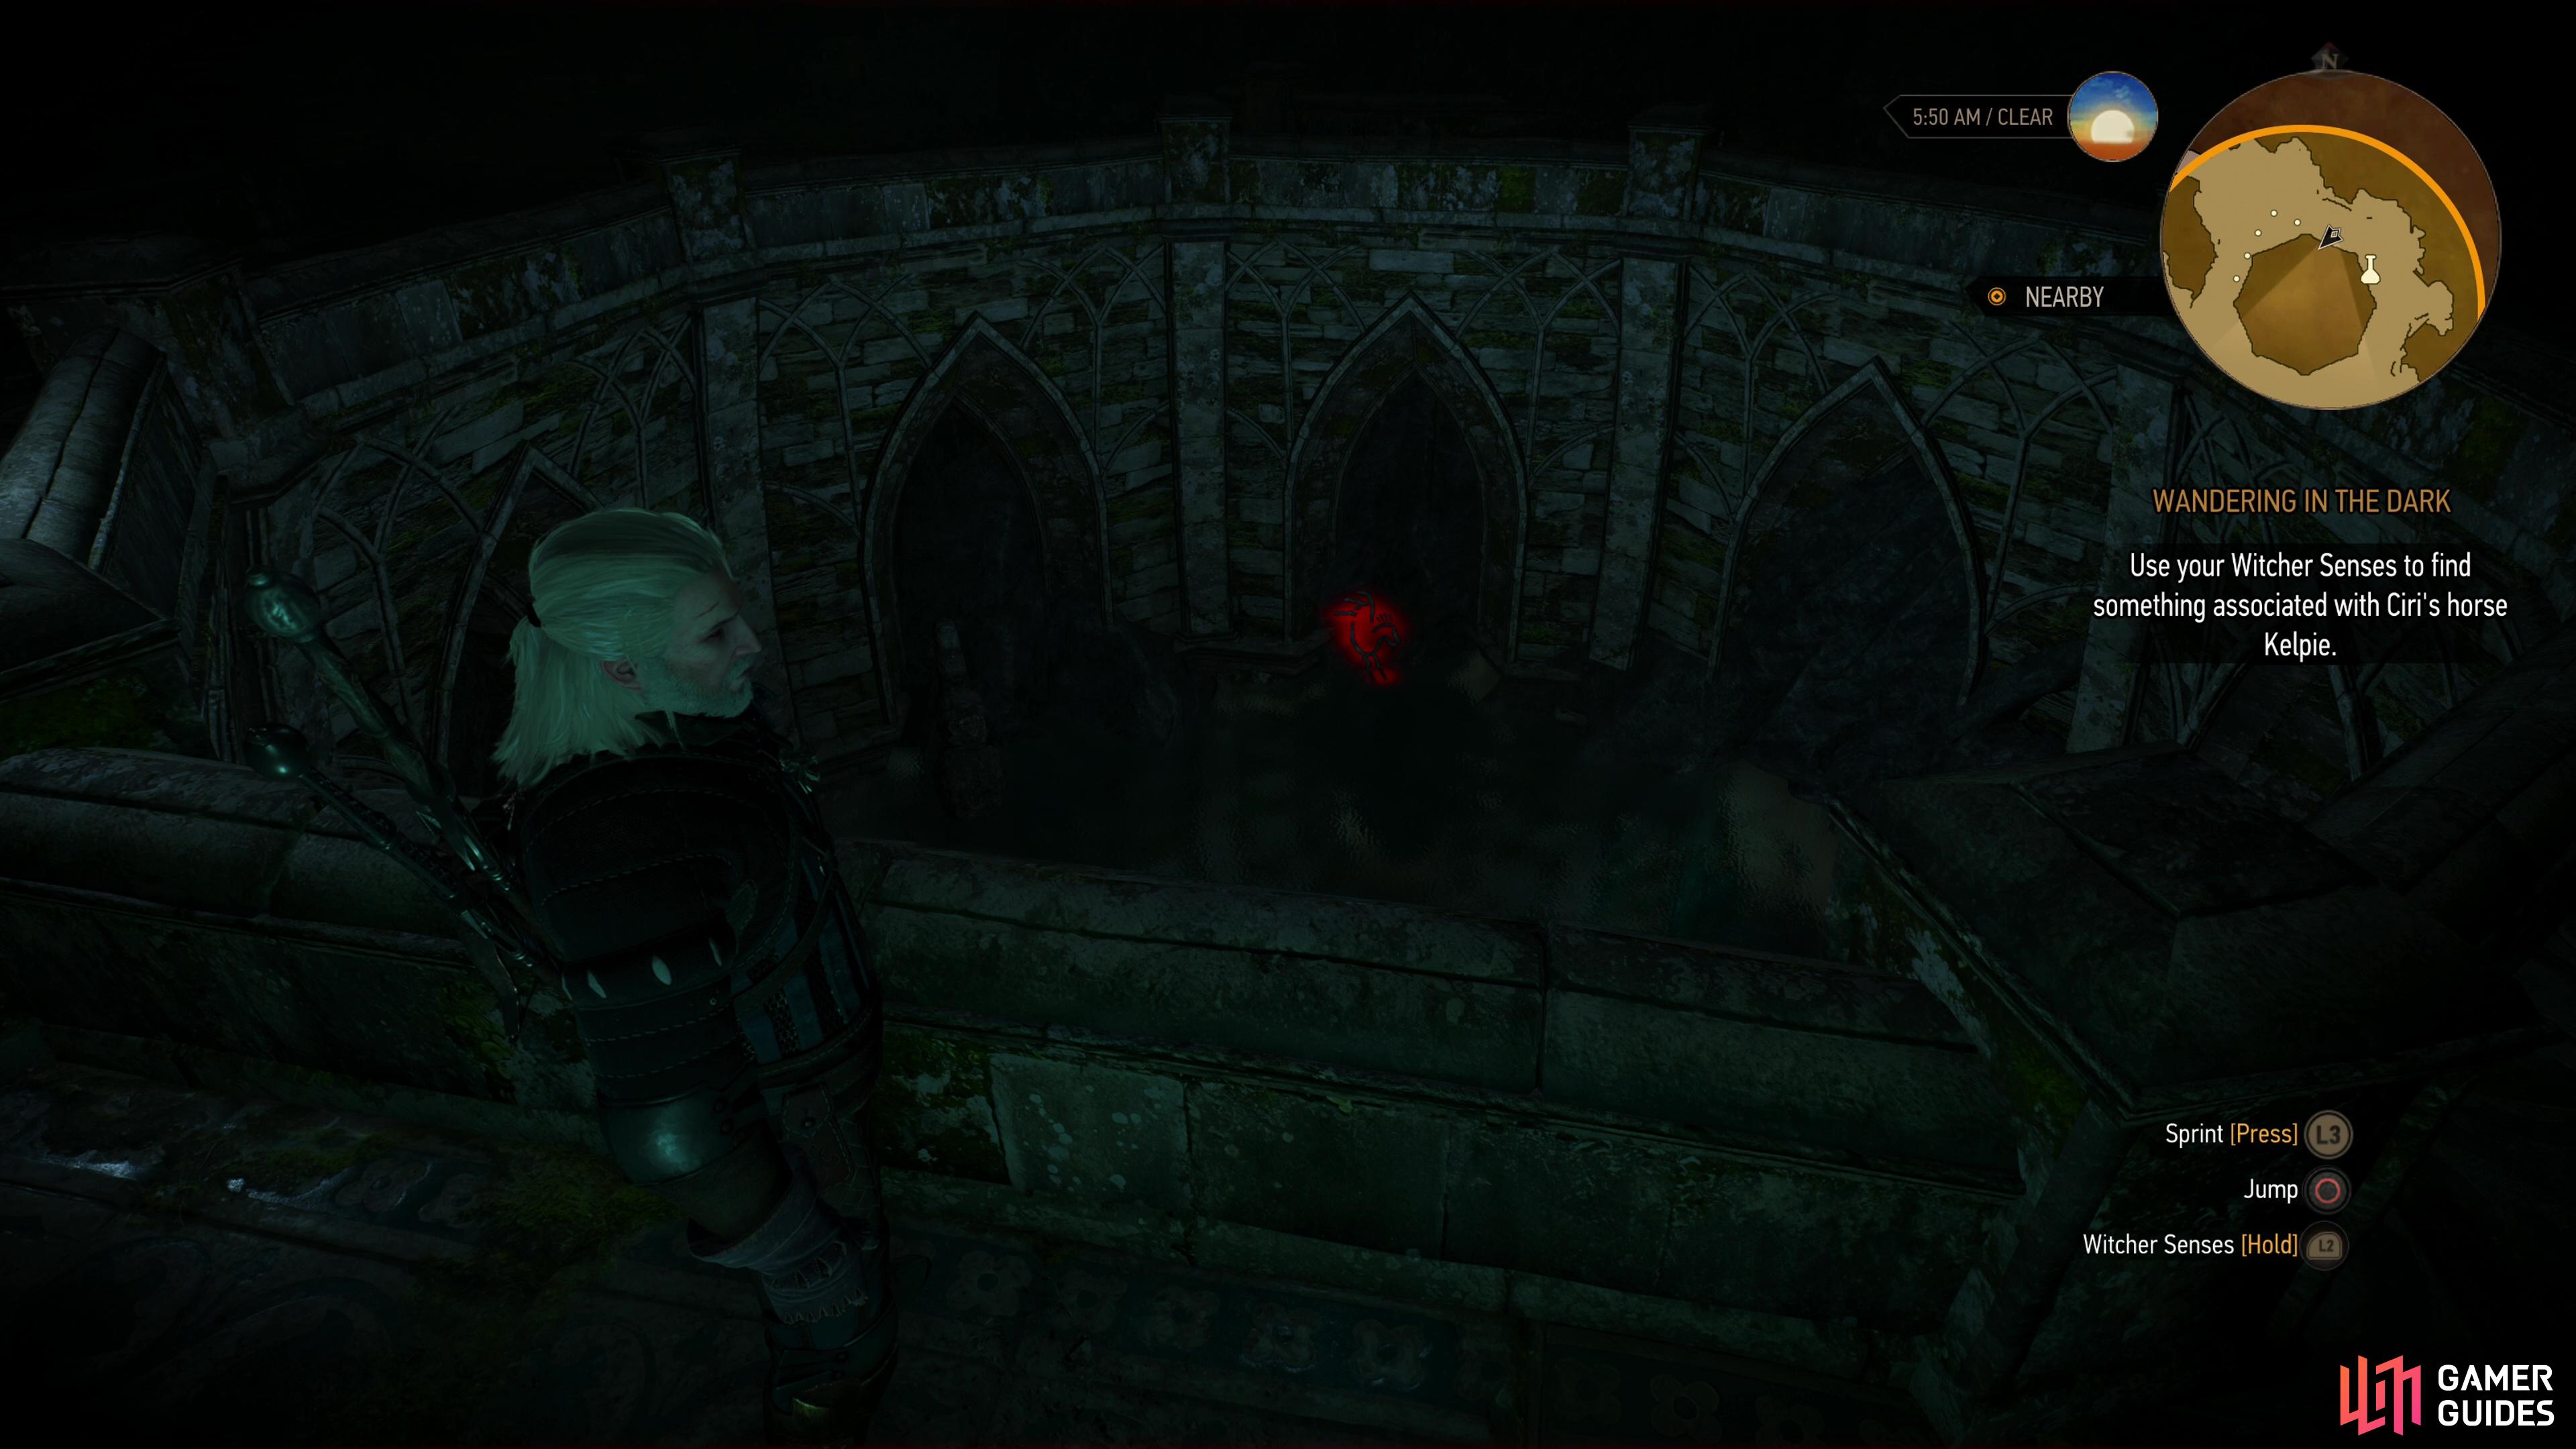
If you search the northern rocks with your Witcher senses you’ll find swallow, kraken and hound signs. None of these are correct. Instead look down into the pit and you’ll find a horse sign on the southwestern wall of the ruins. Dive into the pit and you’ll land in water, then dive down again to find a small chest you can loot. Surface and note the horse sign to the south, then dive and swim through an underwater passage to the southwest, just to the right of the horse sign. Surface, then climb some stairs and keep your Witcher senses active to spot another horse sign on the wall at a landing between two flights of stairs. Interact with it and Keira will inform you that whatever you did, it had an effect.
Head up a slope to the east, then drop down into the room where you saw the last projection. A door will open to the northwest, allowing you to advance further into the ruins. You’ll soon reach an apparent deadend, but use your Witcher senses and you’ll spot two Swallow signs next to the outline of a door on the stone wall. Interact with the Swallow sign to the left of the door and a portal will open. Go through it to work your way deeper into the ruins.
(1 of 4) Follow the swallow to find the elven mage’s second projection, where he’ll tell you to seek out the kelpie sign.
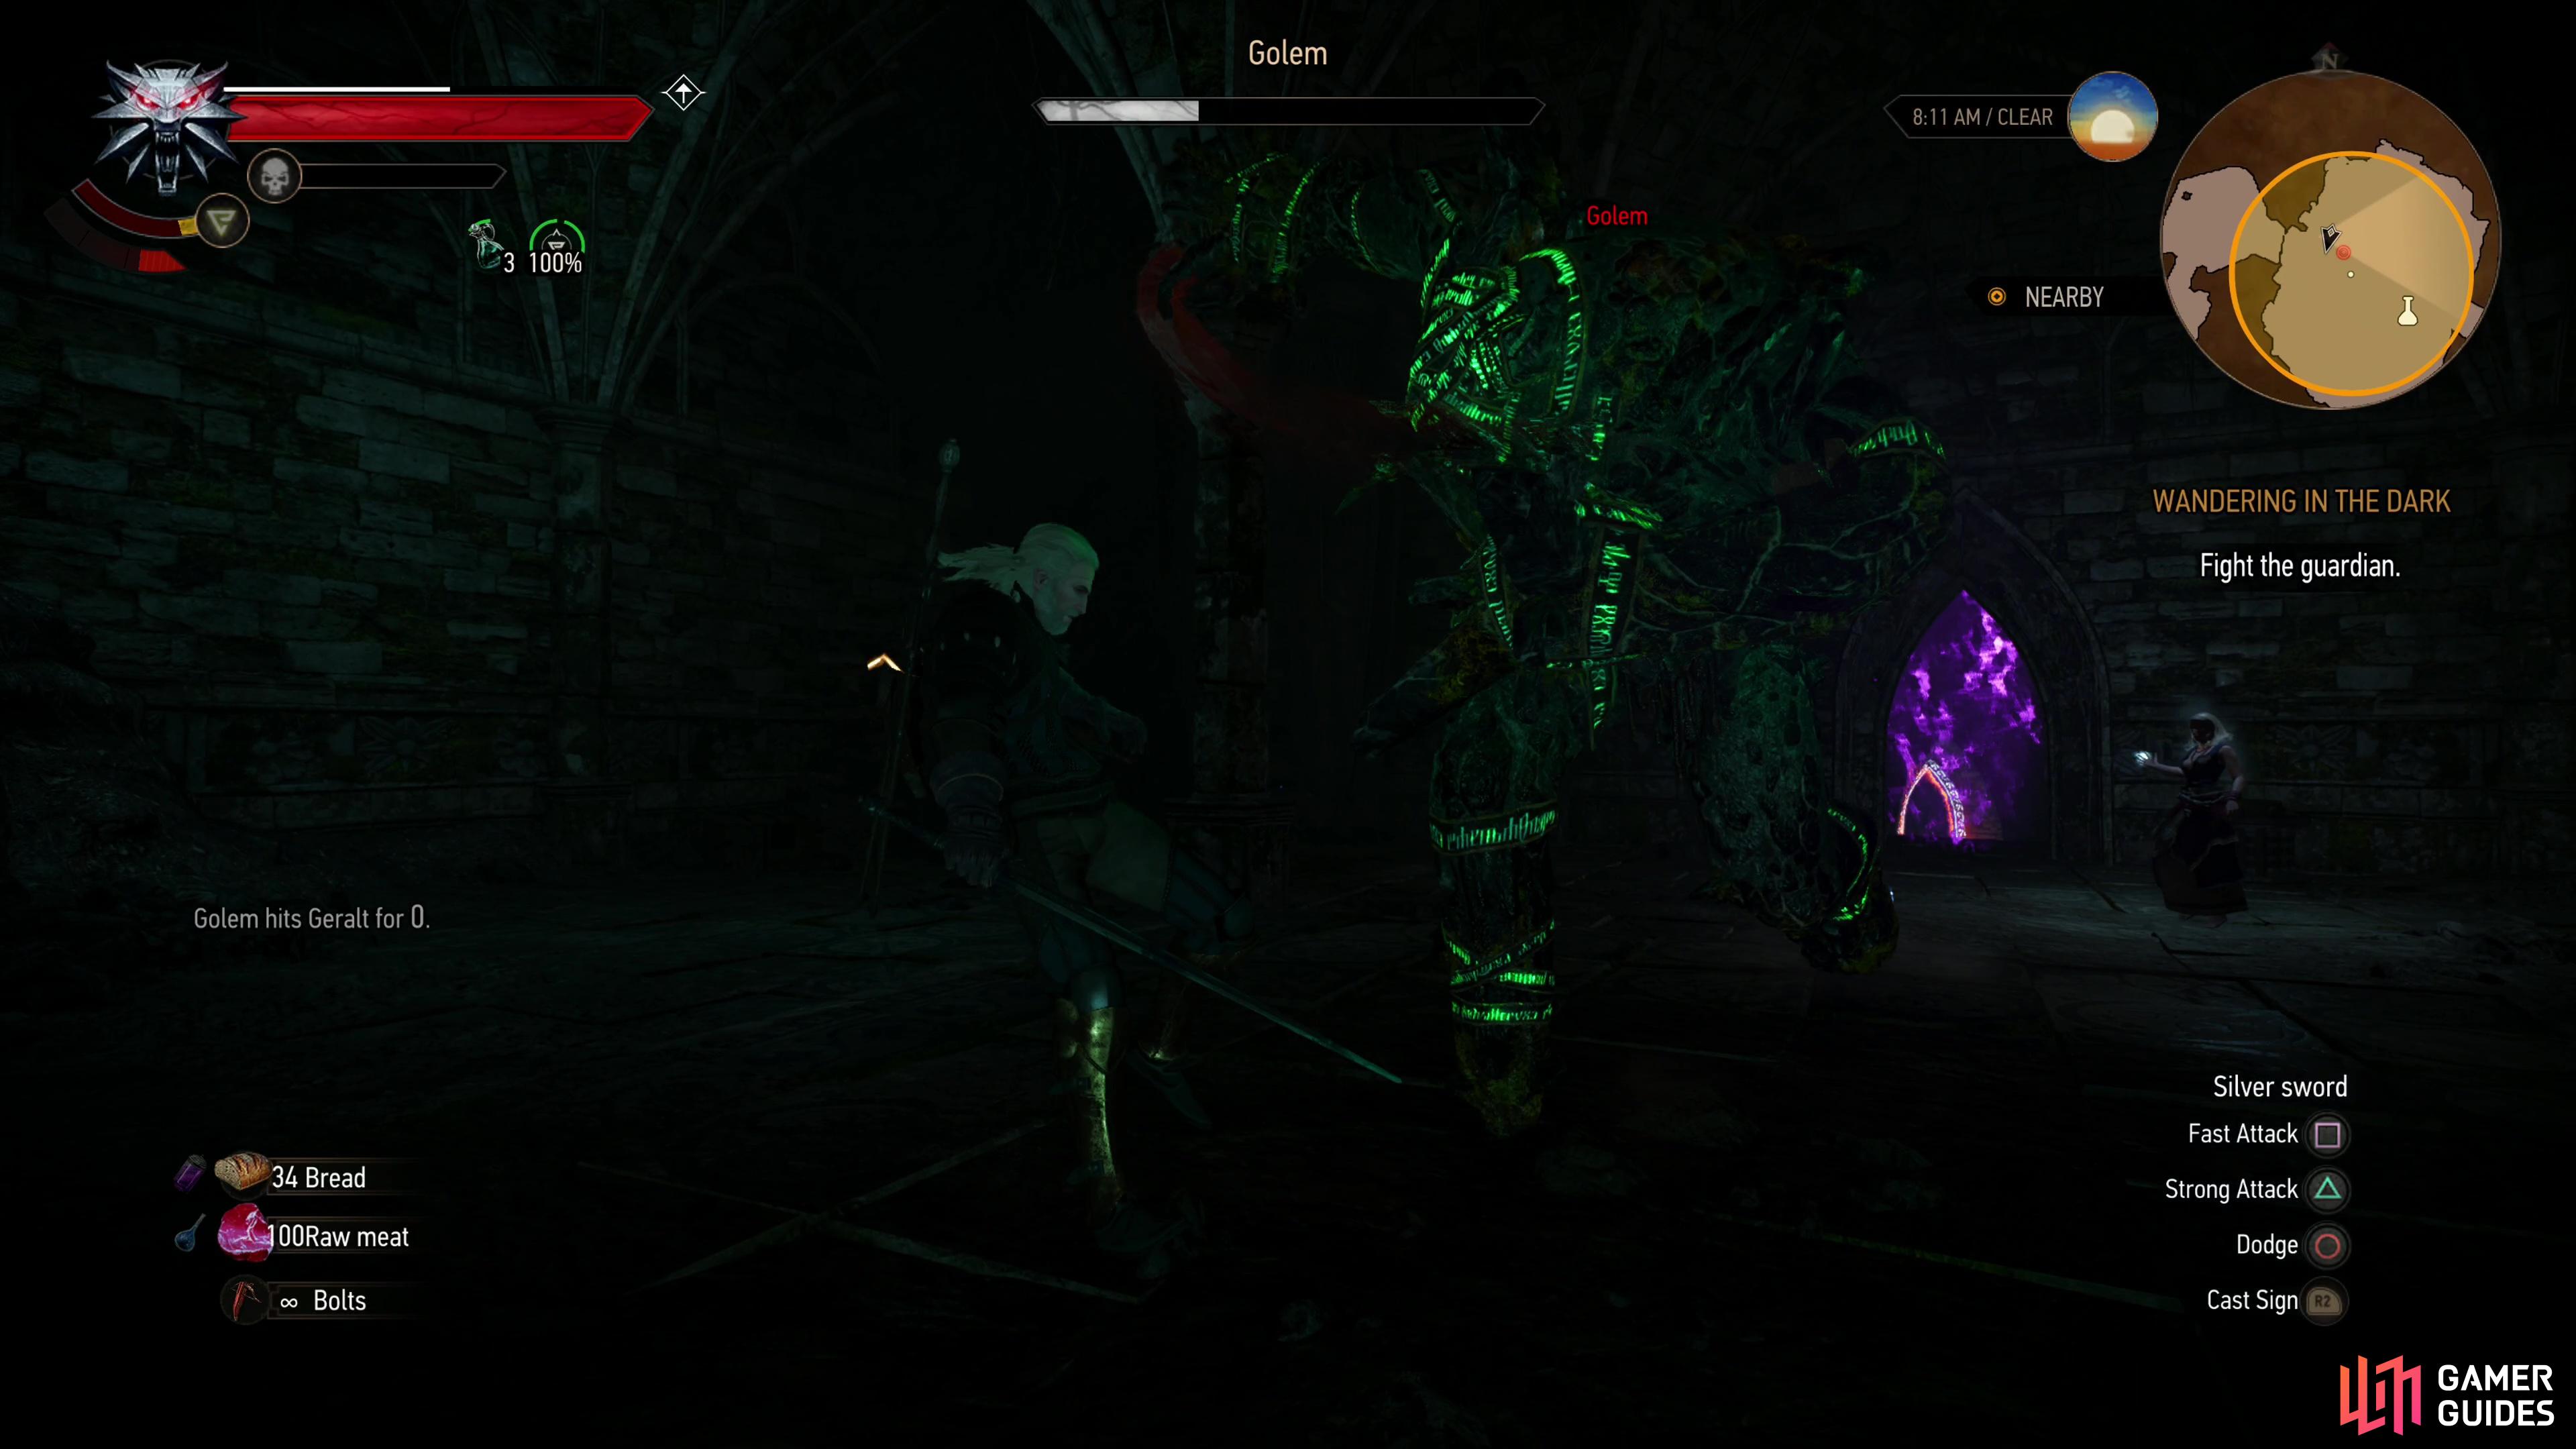
Defeat the Golem
When you emerge, venture into a larger chamber to the northwest, where Keira openly voices her concern. It proved to be well-founded, as a guardian Golem activates and attacks you for the crime of not being Ciri.
While large and durable, ![]() Golems aren’t terribly dangerous foes… if you fight them correctly. Waiting for them to attack, then dodging in and landing a strong attack mitigates most risk, as the Golem is just too slow to land an attack if you overstay your welcome, and
Golems aren’t terribly dangerous foes… if you fight them correctly. Waiting for them to attack, then dodging in and landing a strong attack mitigates most risk, as the Golem is just too slow to land an attack if you overstay your welcome, and ![]() Quen can absorb any mistakes. You do have to be wary of its ground pound attacks (one with a single fist, another a jumping slam - both well telegraphed) and a charge attack. Dodge-spamming will suffice to keep you safe during the charge (gotta love them iframes!). Keira will also contribute to the fight with her spells, mostly dealing chip damage to the construct.
Quen can absorb any mistakes. You do have to be wary of its ground pound attacks (one with a single fist, another a jumping slam - both well telegraphed) and a charge attack. Dodge-spamming will suffice to keep you safe during the charge (gotta love them iframes!). Keira will also contribute to the fight with her spells, mostly dealing chip damage to the construct.
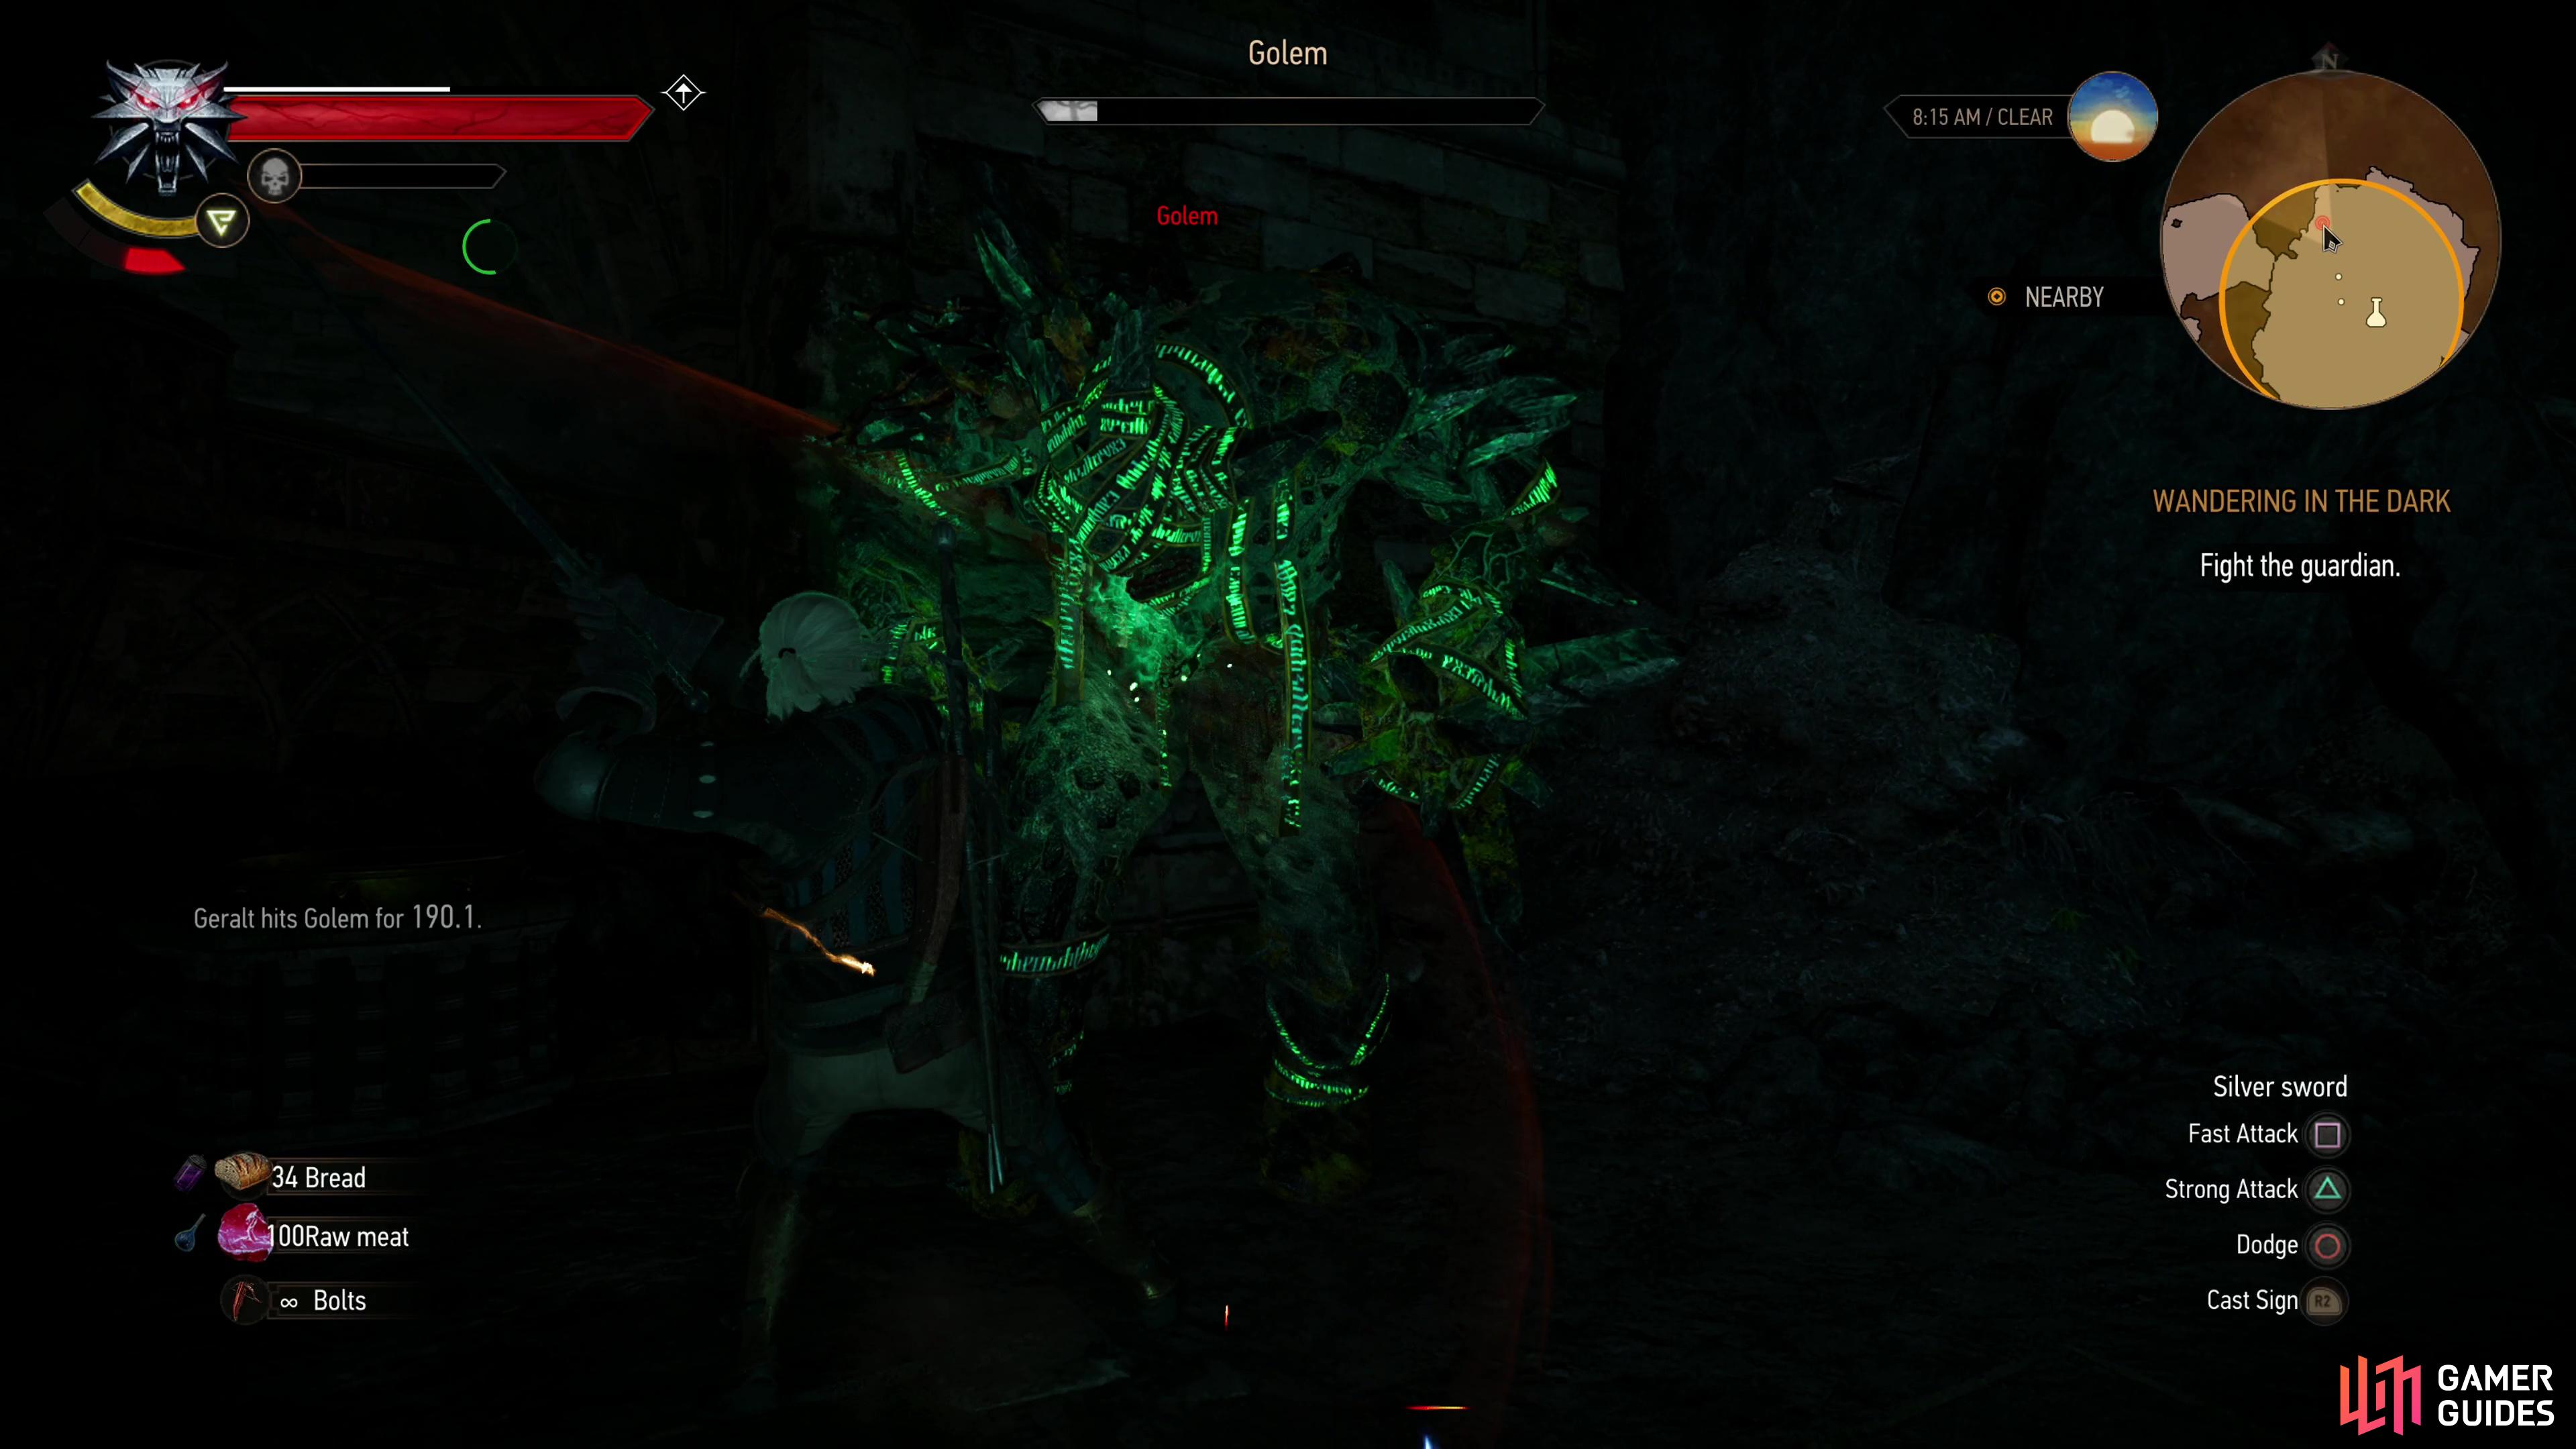

(1 of 3) The Golem is durable, but slow - its health can easily be whittled away with the old strong attack + dodge combo.
Defeat the golem and search the northeastern and southwestern edges of the chamber to find two chests, then climb up to the northwest to find a doorway to the southwest, near which is yet another chest. Go through the doorway and follow the passage beyond as it turns south before eventually terminating at another doorway. Blast some stalagmites to the left of the doorway with Aard to loot a hidden chest, then continue through the doorway to reach a small chamber, where the path splits.
The swallow sign can be found above the door to the northeast, so naturally we want to go southeast, first. At the end of the hallway to the south you’ll find a chest and a doorway leading northeast. Loot the chest, then go through the doorway to reach a chamber occupied by a ![]() Gargoyle (Lv6), another construct guardian. This one may be more formidable than the Golem, also being durable but attacking faster with its swipes and having poison breath, the ability to throw boulders, and its own AoE stomp attack. Fortunately the same tactics largely work here - dodge in and strong attack, then dodge back away, using Quen to absorb the odd mistake. Its stomp can remove Quen, but its poison breath should be absorbed, and once again Keira will provide ranged support. Defeat the Gargoyle, then loot a generous chest to the south before returning to the split. Obediently follow the swallow to another room to the northeast, then interact with a swallow sign drawn near the outline of a door to create another portal.
Gargoyle (Lv6), another construct guardian. This one may be more formidable than the Golem, also being durable but attacking faster with its swipes and having poison breath, the ability to throw boulders, and its own AoE stomp attack. Fortunately the same tactics largely work here - dodge in and strong attack, then dodge back away, using Quen to absorb the odd mistake. Its stomp can remove Quen, but its poison breath should be absorbed, and once again Keira will provide ranged support. Defeat the Gargoyle, then loot a generous chest to the south before returning to the split. Obediently follow the swallow to another room to the northeast, then interact with a swallow sign drawn near the outline of a door to create another portal.


(1 of 4) Use Aard to smash some stalagmites to reveal a hidden chest.
Close the White Frost Rifts
After a bit of chatter head up the ruins to the northeast where you’ll spot the Wild Hunt’s handiwork. Loot a statue between two frozen Golems, then turn left (northwest) to find a chest. Climb up some stairs to the northeast to find another chest, then continue northeast up a second broken set of stairs to reach a chamber. After a scene you’ll find yourself dealing with the Wild Hunt’s delaying tactics - in this cave a trio of White Frost portals that flood the chamber with deadly cold. Keira can create a barrier the protects against the White Frost, she can even close the portals, but she cannot defend herself from the beasts that emerge from said portals while doing everything else… but with the power of teamwork…
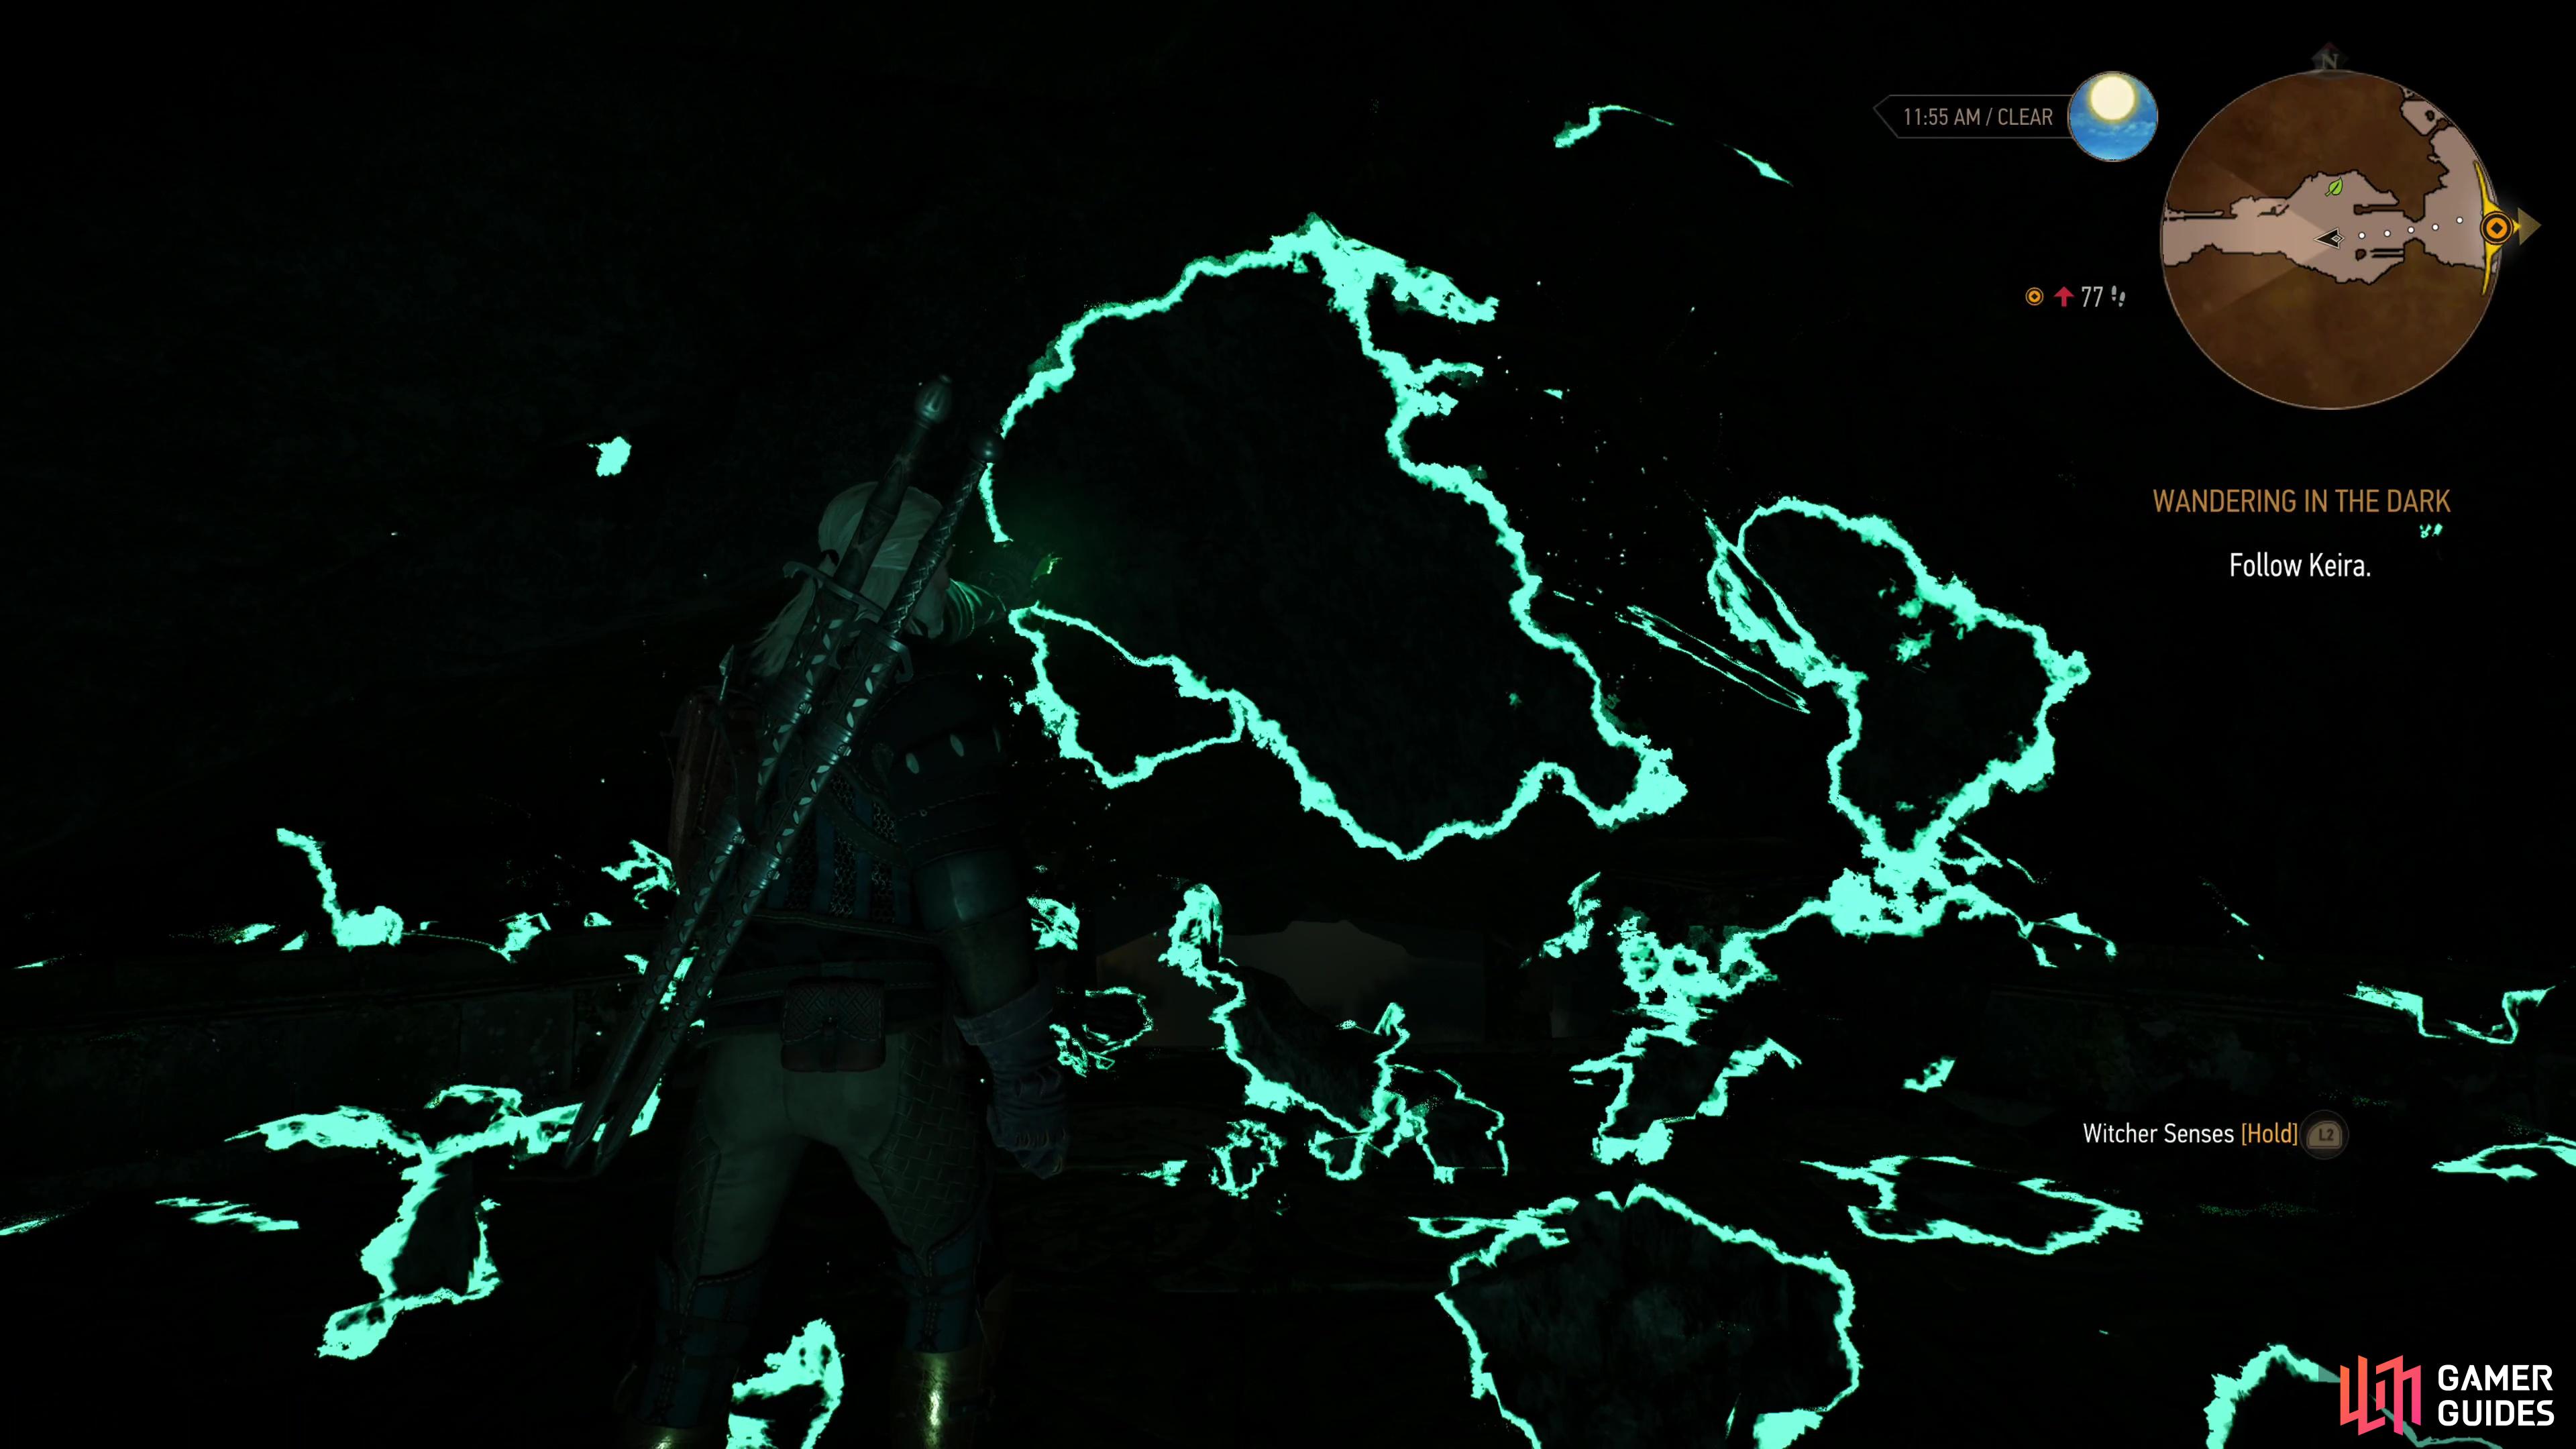
Okay, Geralt’s getting carried here, but considering the rat nests, we’re even now. For this section you’ll need to stay close to Keira as she travels from rift to rift, where she’ll begin to close said rift. She won’t leave you behind, but once she’s set on closing a rift you’ll need to protect her from the ![]() Hounds of the Wild Hunt (Lv4) that emerge. While Keira has been invulnerable up to this point, she’ll be burdened with a lifebar for this segment, and between the need to protect Keira and your restricted movement, this section can prove tricky… especially if you’re still stuck with the Viper Swords from White Orchard.
Hounds of the Wild Hunt (Lv4) that emerge. While Keira has been invulnerable up to this point, she’ll be burdened with a lifebar for this segment, and between the need to protect Keira and your restricted movement, this section can prove tricky… especially if you’re still stuck with the Viper Swords from White Orchard.
The Hounds of the Wild Hunt aren’t strong opponents; they fight much like ![]() Ghouls do and they’re not terribly durable. They do have numbers, however, and you’ll have to fight half a dozen of them at each portal, although you shouldn’t end up facing more than three at a time until you reach the third portal. Keep Quen up to absorb the odd hit and stay on the offensive - you have to neglect Keira quite a bit before she’ll take any significant damage and you can survive outside of her barrier for a second before you start losing vitality (Quen will absorb this momentarily, if it’s applied).
Ghouls do and they’re not terribly durable. They do have numbers, however, and you’ll have to fight half a dozen of them at each portal, although you shouldn’t end up facing more than three at a time until you reach the third portal. Keep Quen up to absorb the odd hit and stay on the offensive - you have to neglect Keira quite a bit before she’ll take any significant damage and you can survive outside of her barrier for a second before you start losing vitality (Quen will absorb this momentarily, if it’s applied). ![]() Tawny Owl will help keep your Stamina up so you can reapply Quen (or use Igni, as the opportunity presents itself) and
Tawny Owl will help keep your Stamina up so you can reapply Quen (or use Igni, as the opportunity presents itself) and ![]() Thunderbolt will boost your attack power if your DPS isn’t where it needs to be.
Thunderbolt will boost your attack power if your DPS isn’t where it needs to be.

(1 of 3) Follow Keira and stay within her barrier,
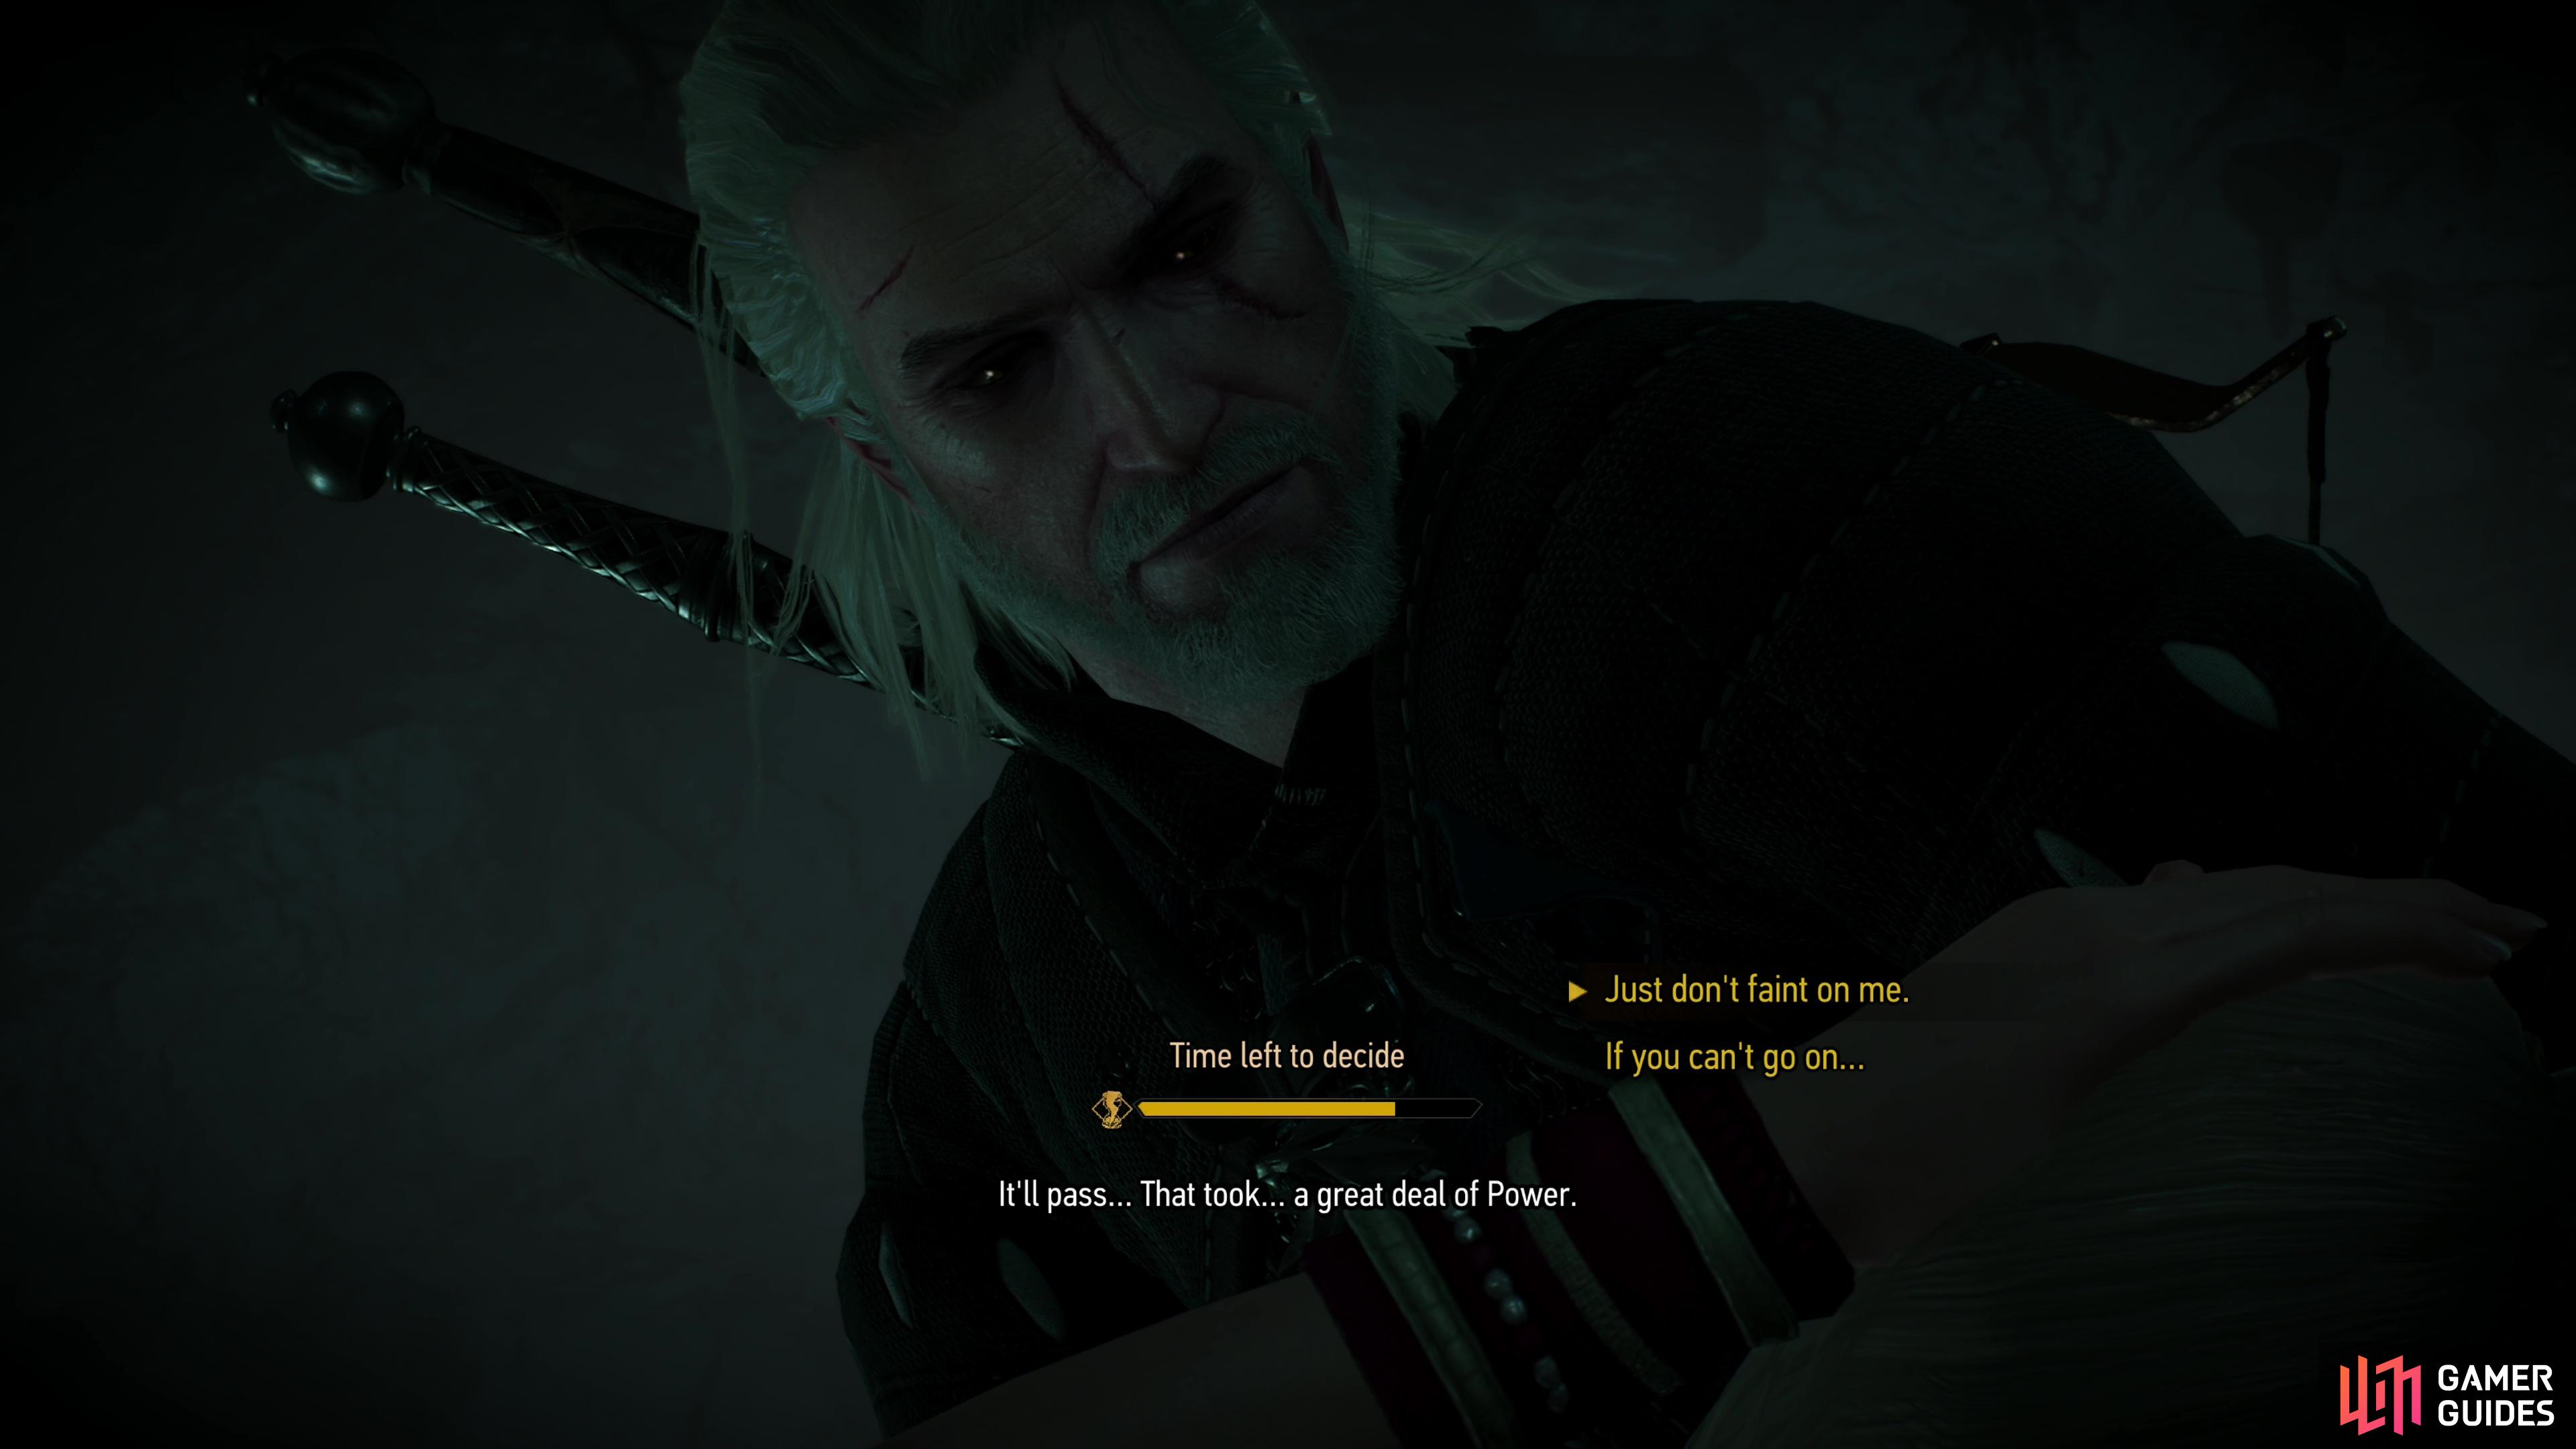
Close all three rifts and Keira will play the damsel, where you’ll get a timed dialog choice. Respond with “Just don’t faint on me.” to flirt with her or “If you can’t go on…” to take things too seriously. Either way, Keira will recover and dispel the ice blocking the way to the southeast before beckoning you to follow. Of course, this isn’t really timed, so feel free to loot the room you just cleared - Hounds of the Wild Hunt will likely just drop Rotten Meat and ![]() Sulfur (along with the odd monster bit) while the four chests in this room exist mostly to taunt you, for they contain little of value.
Sulfur (along with the odd monster bit) while the four chests in this room exist mostly to taunt you, for they contain little of value.
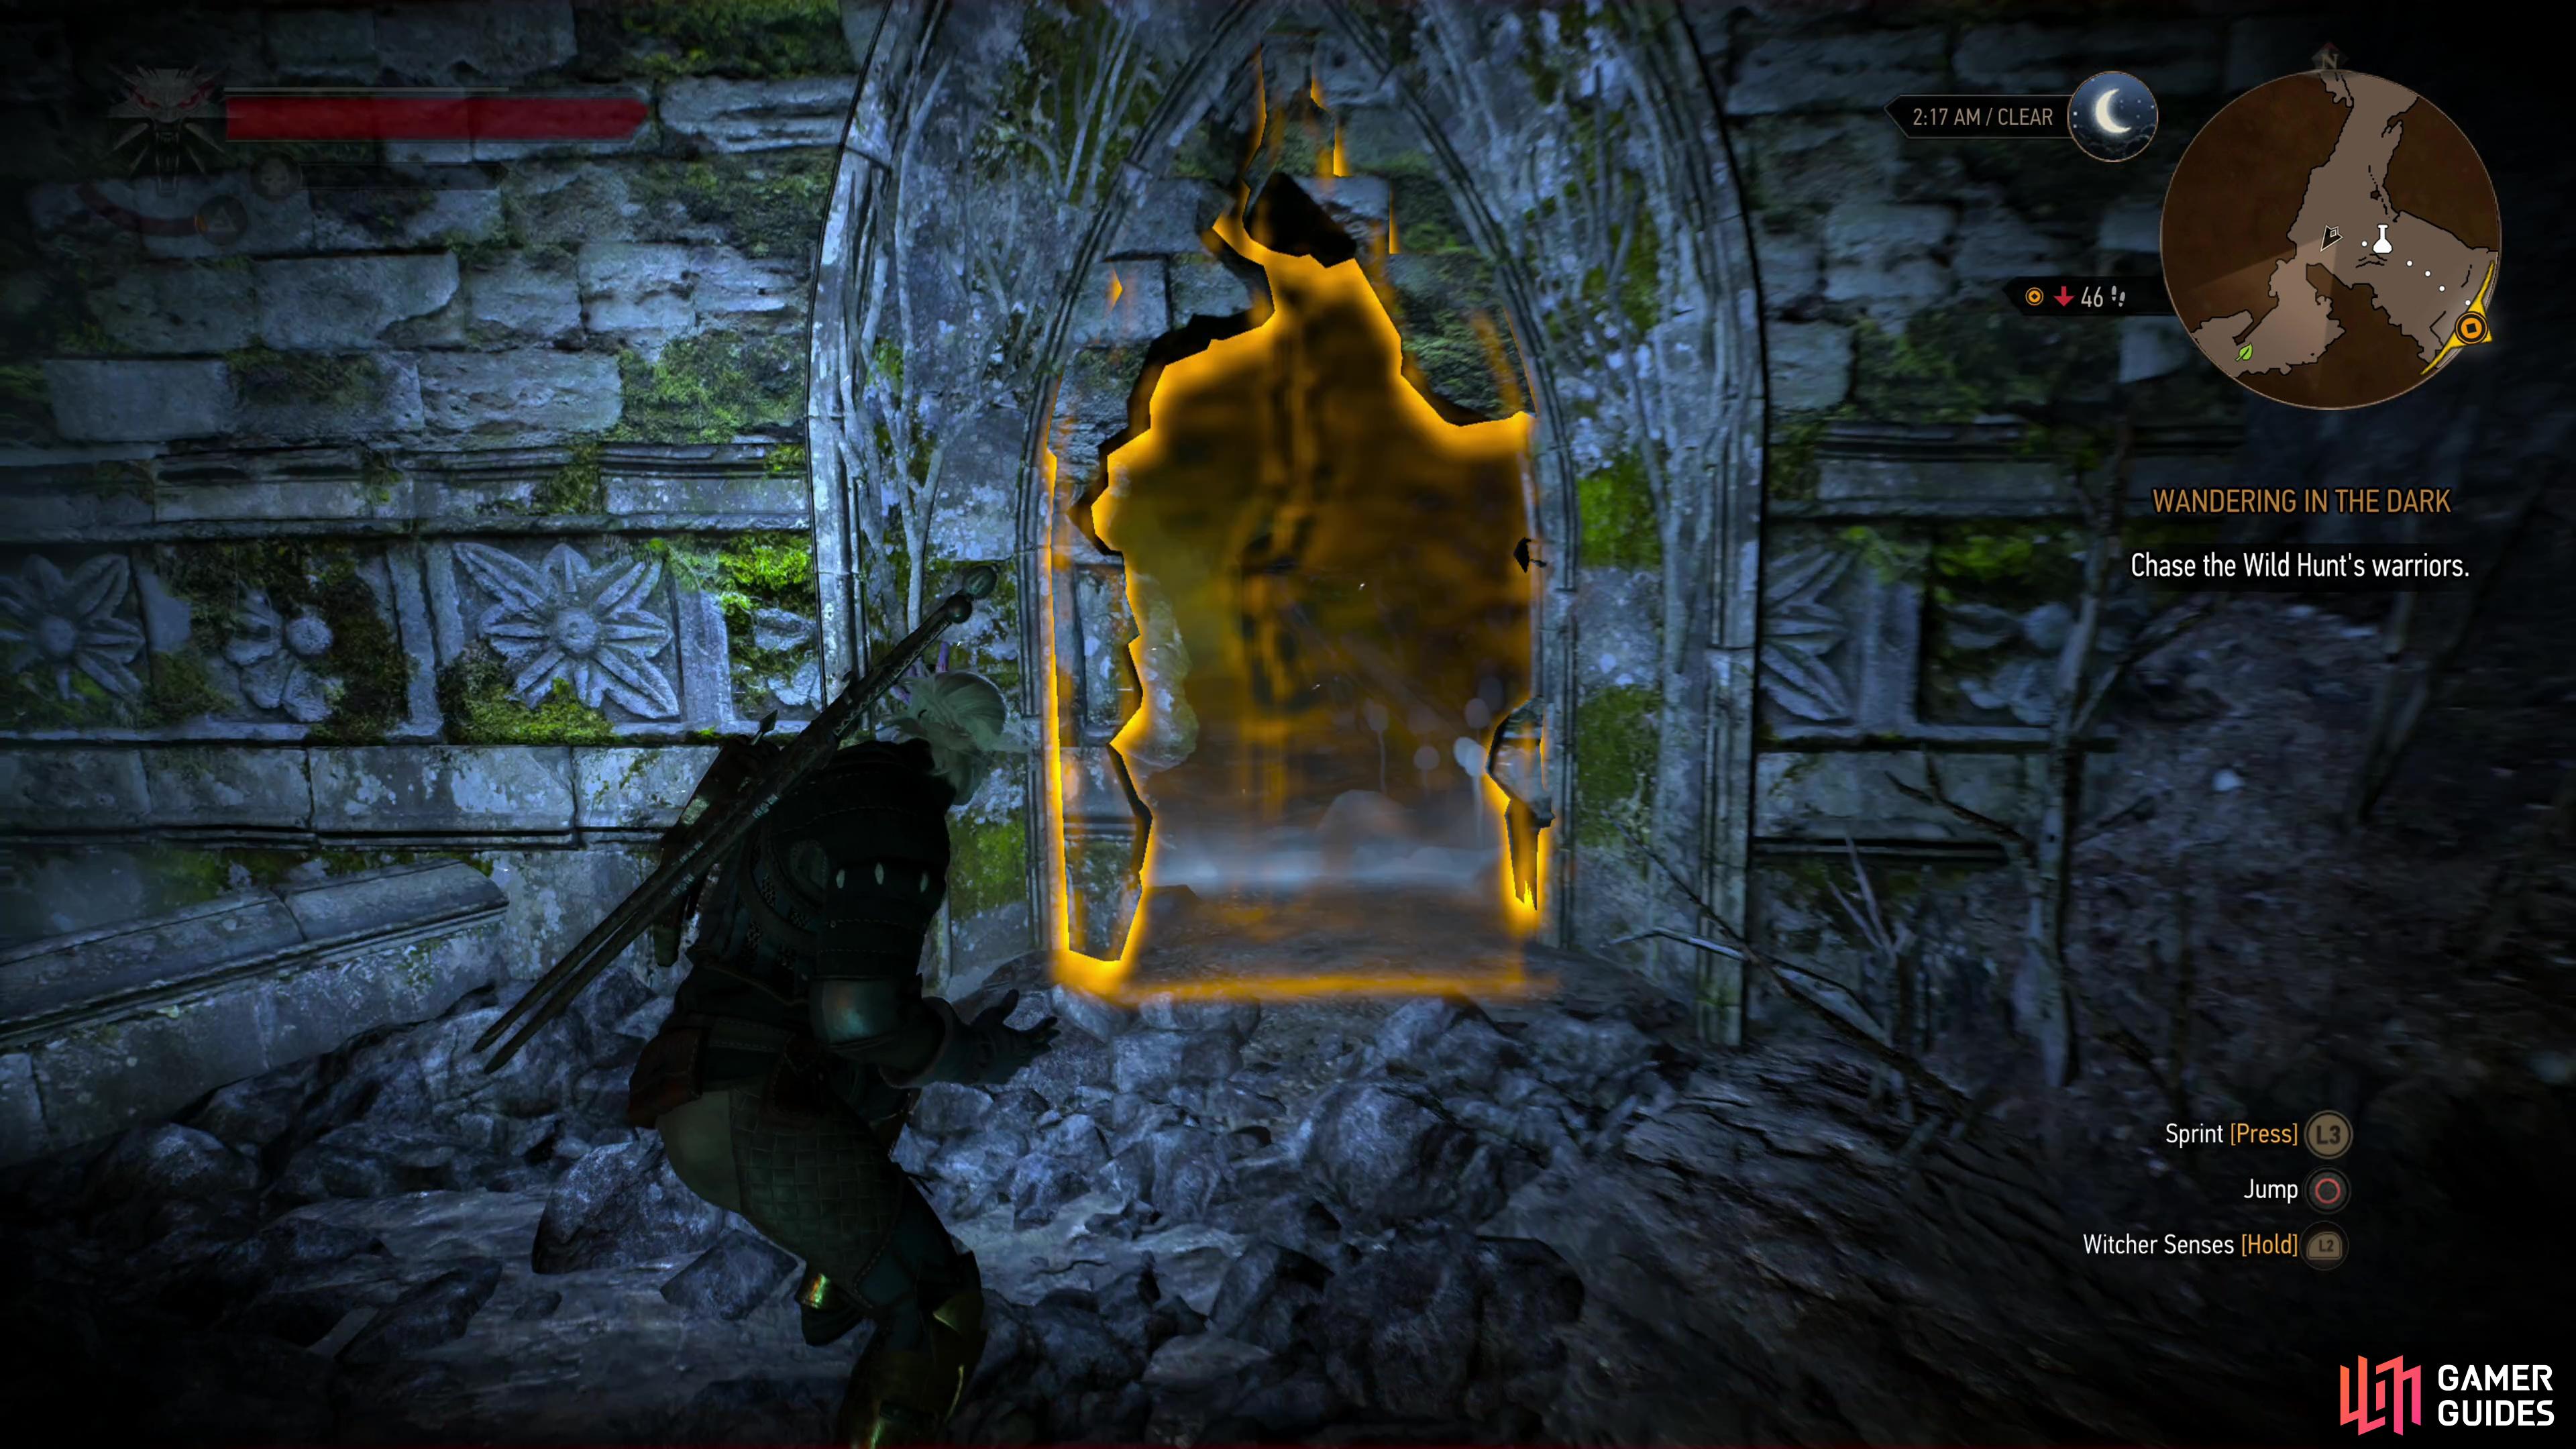
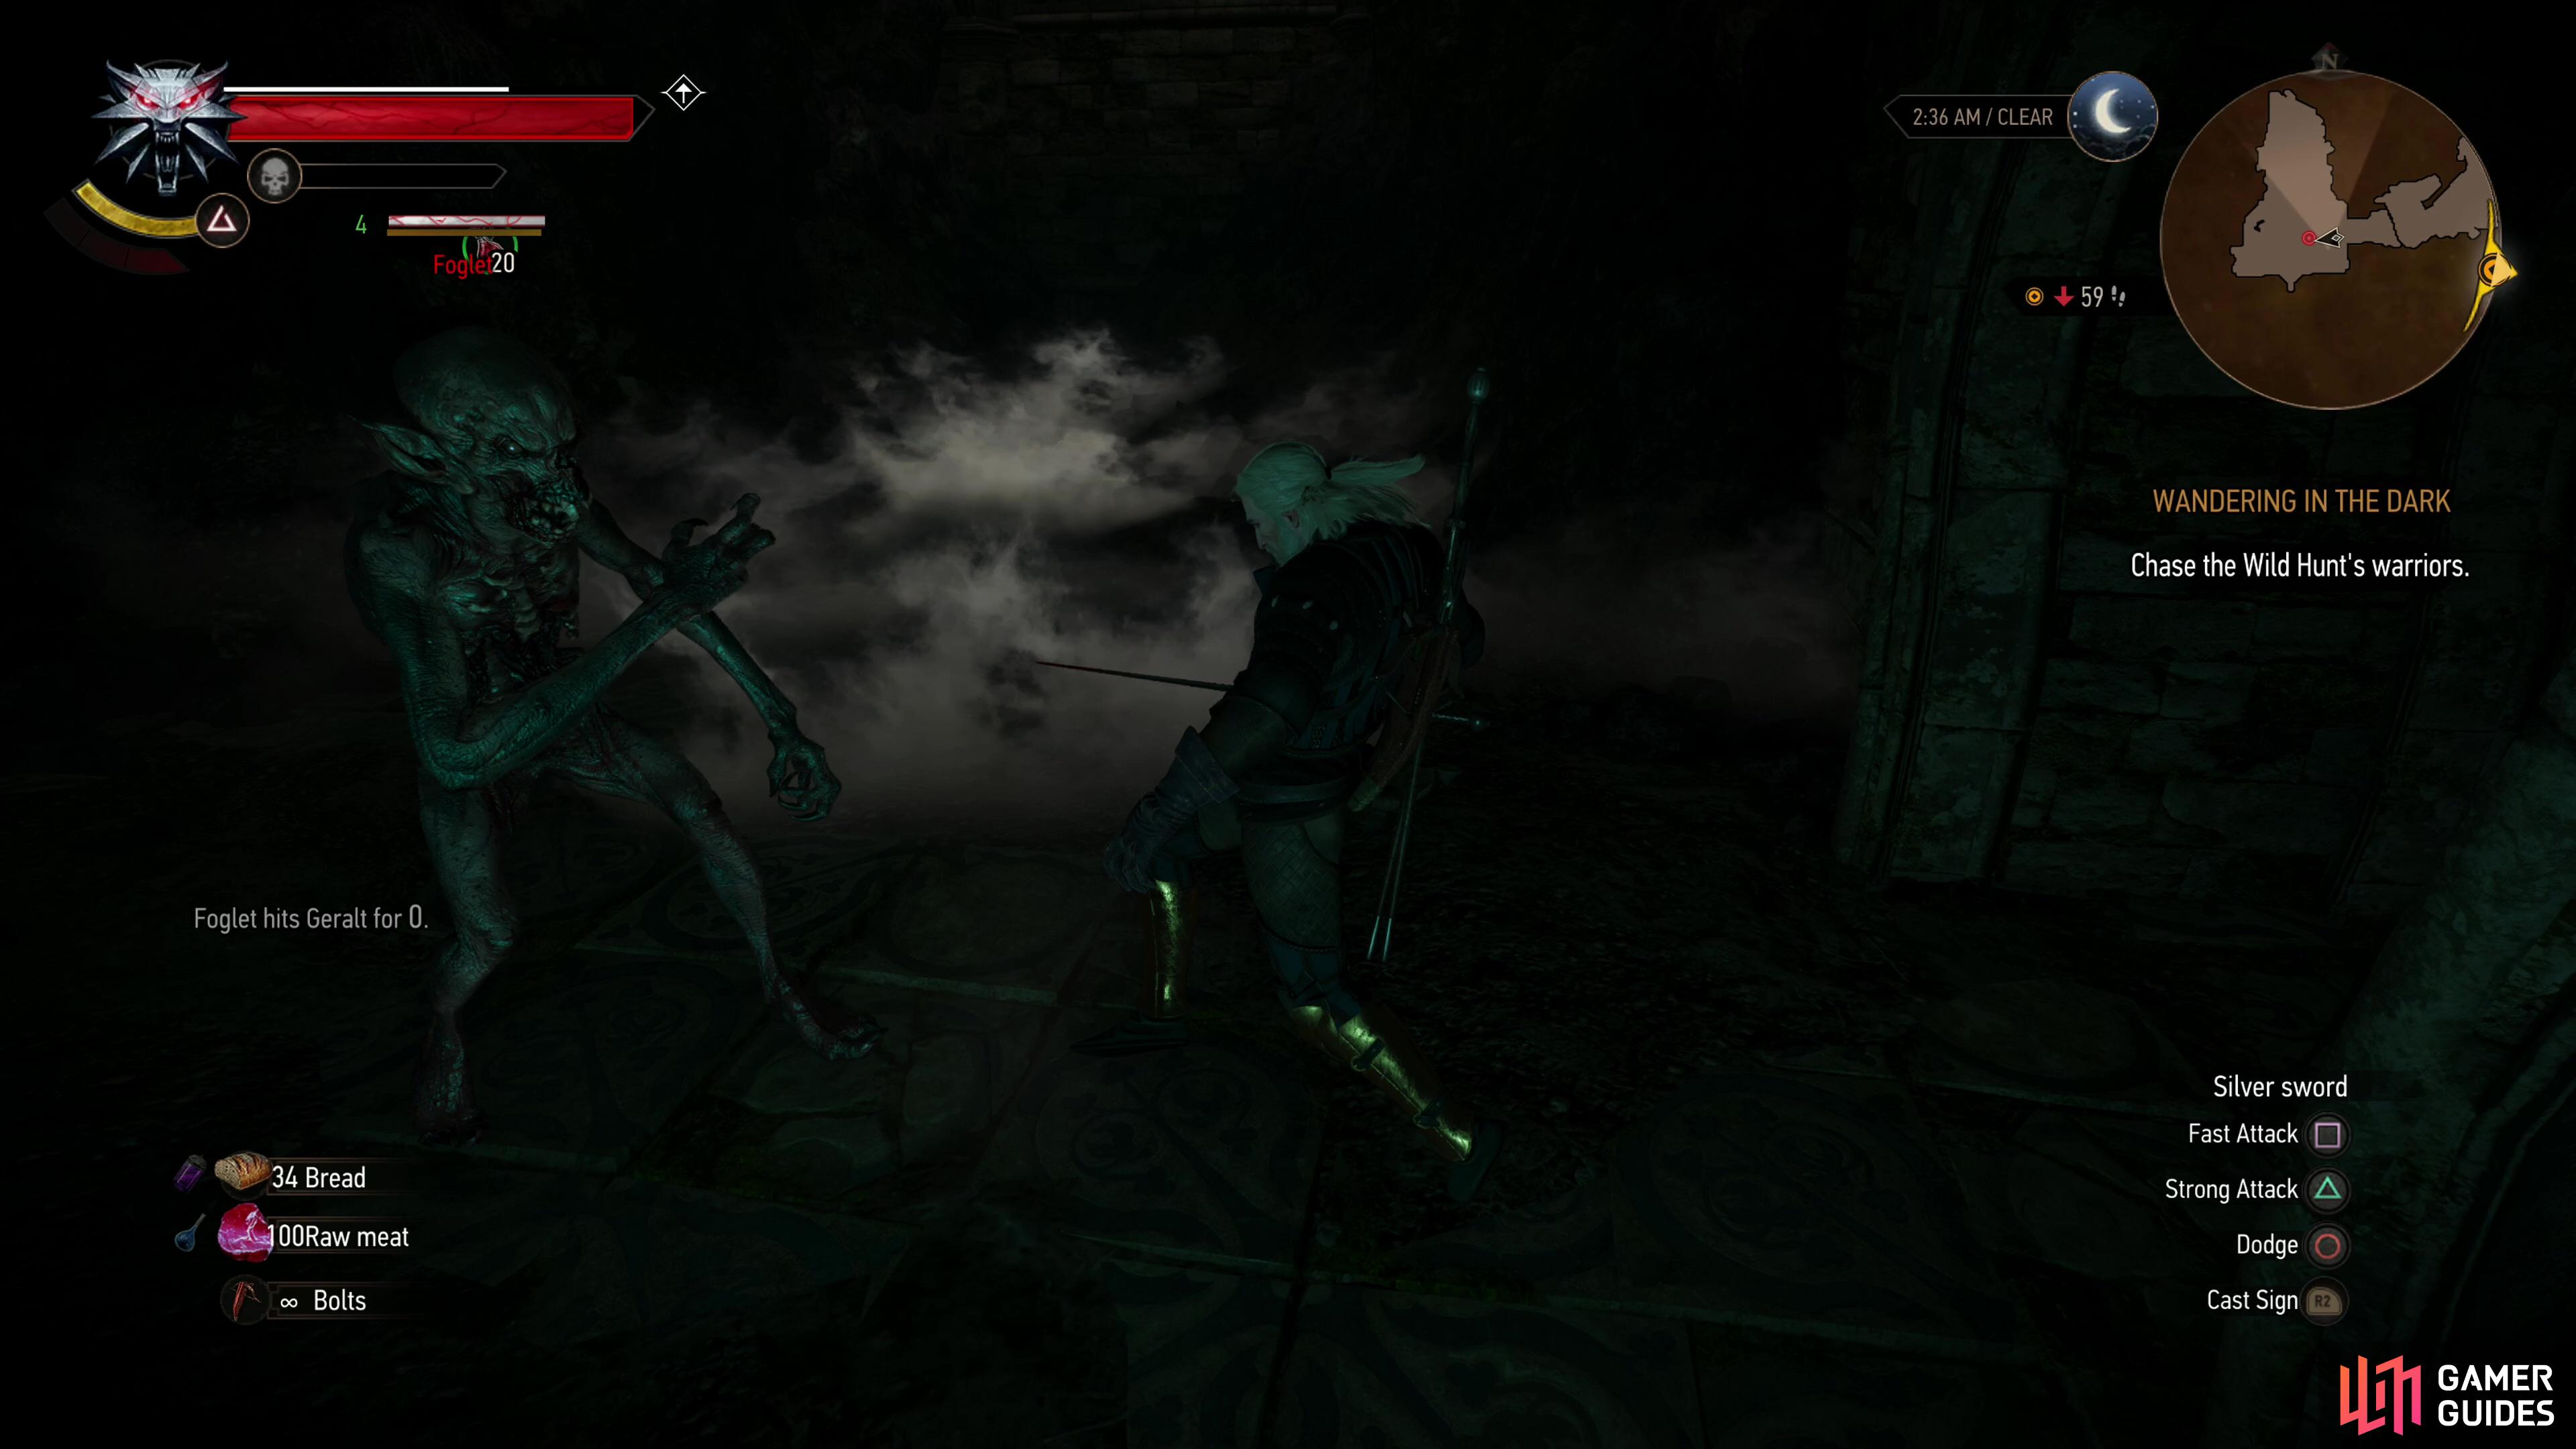
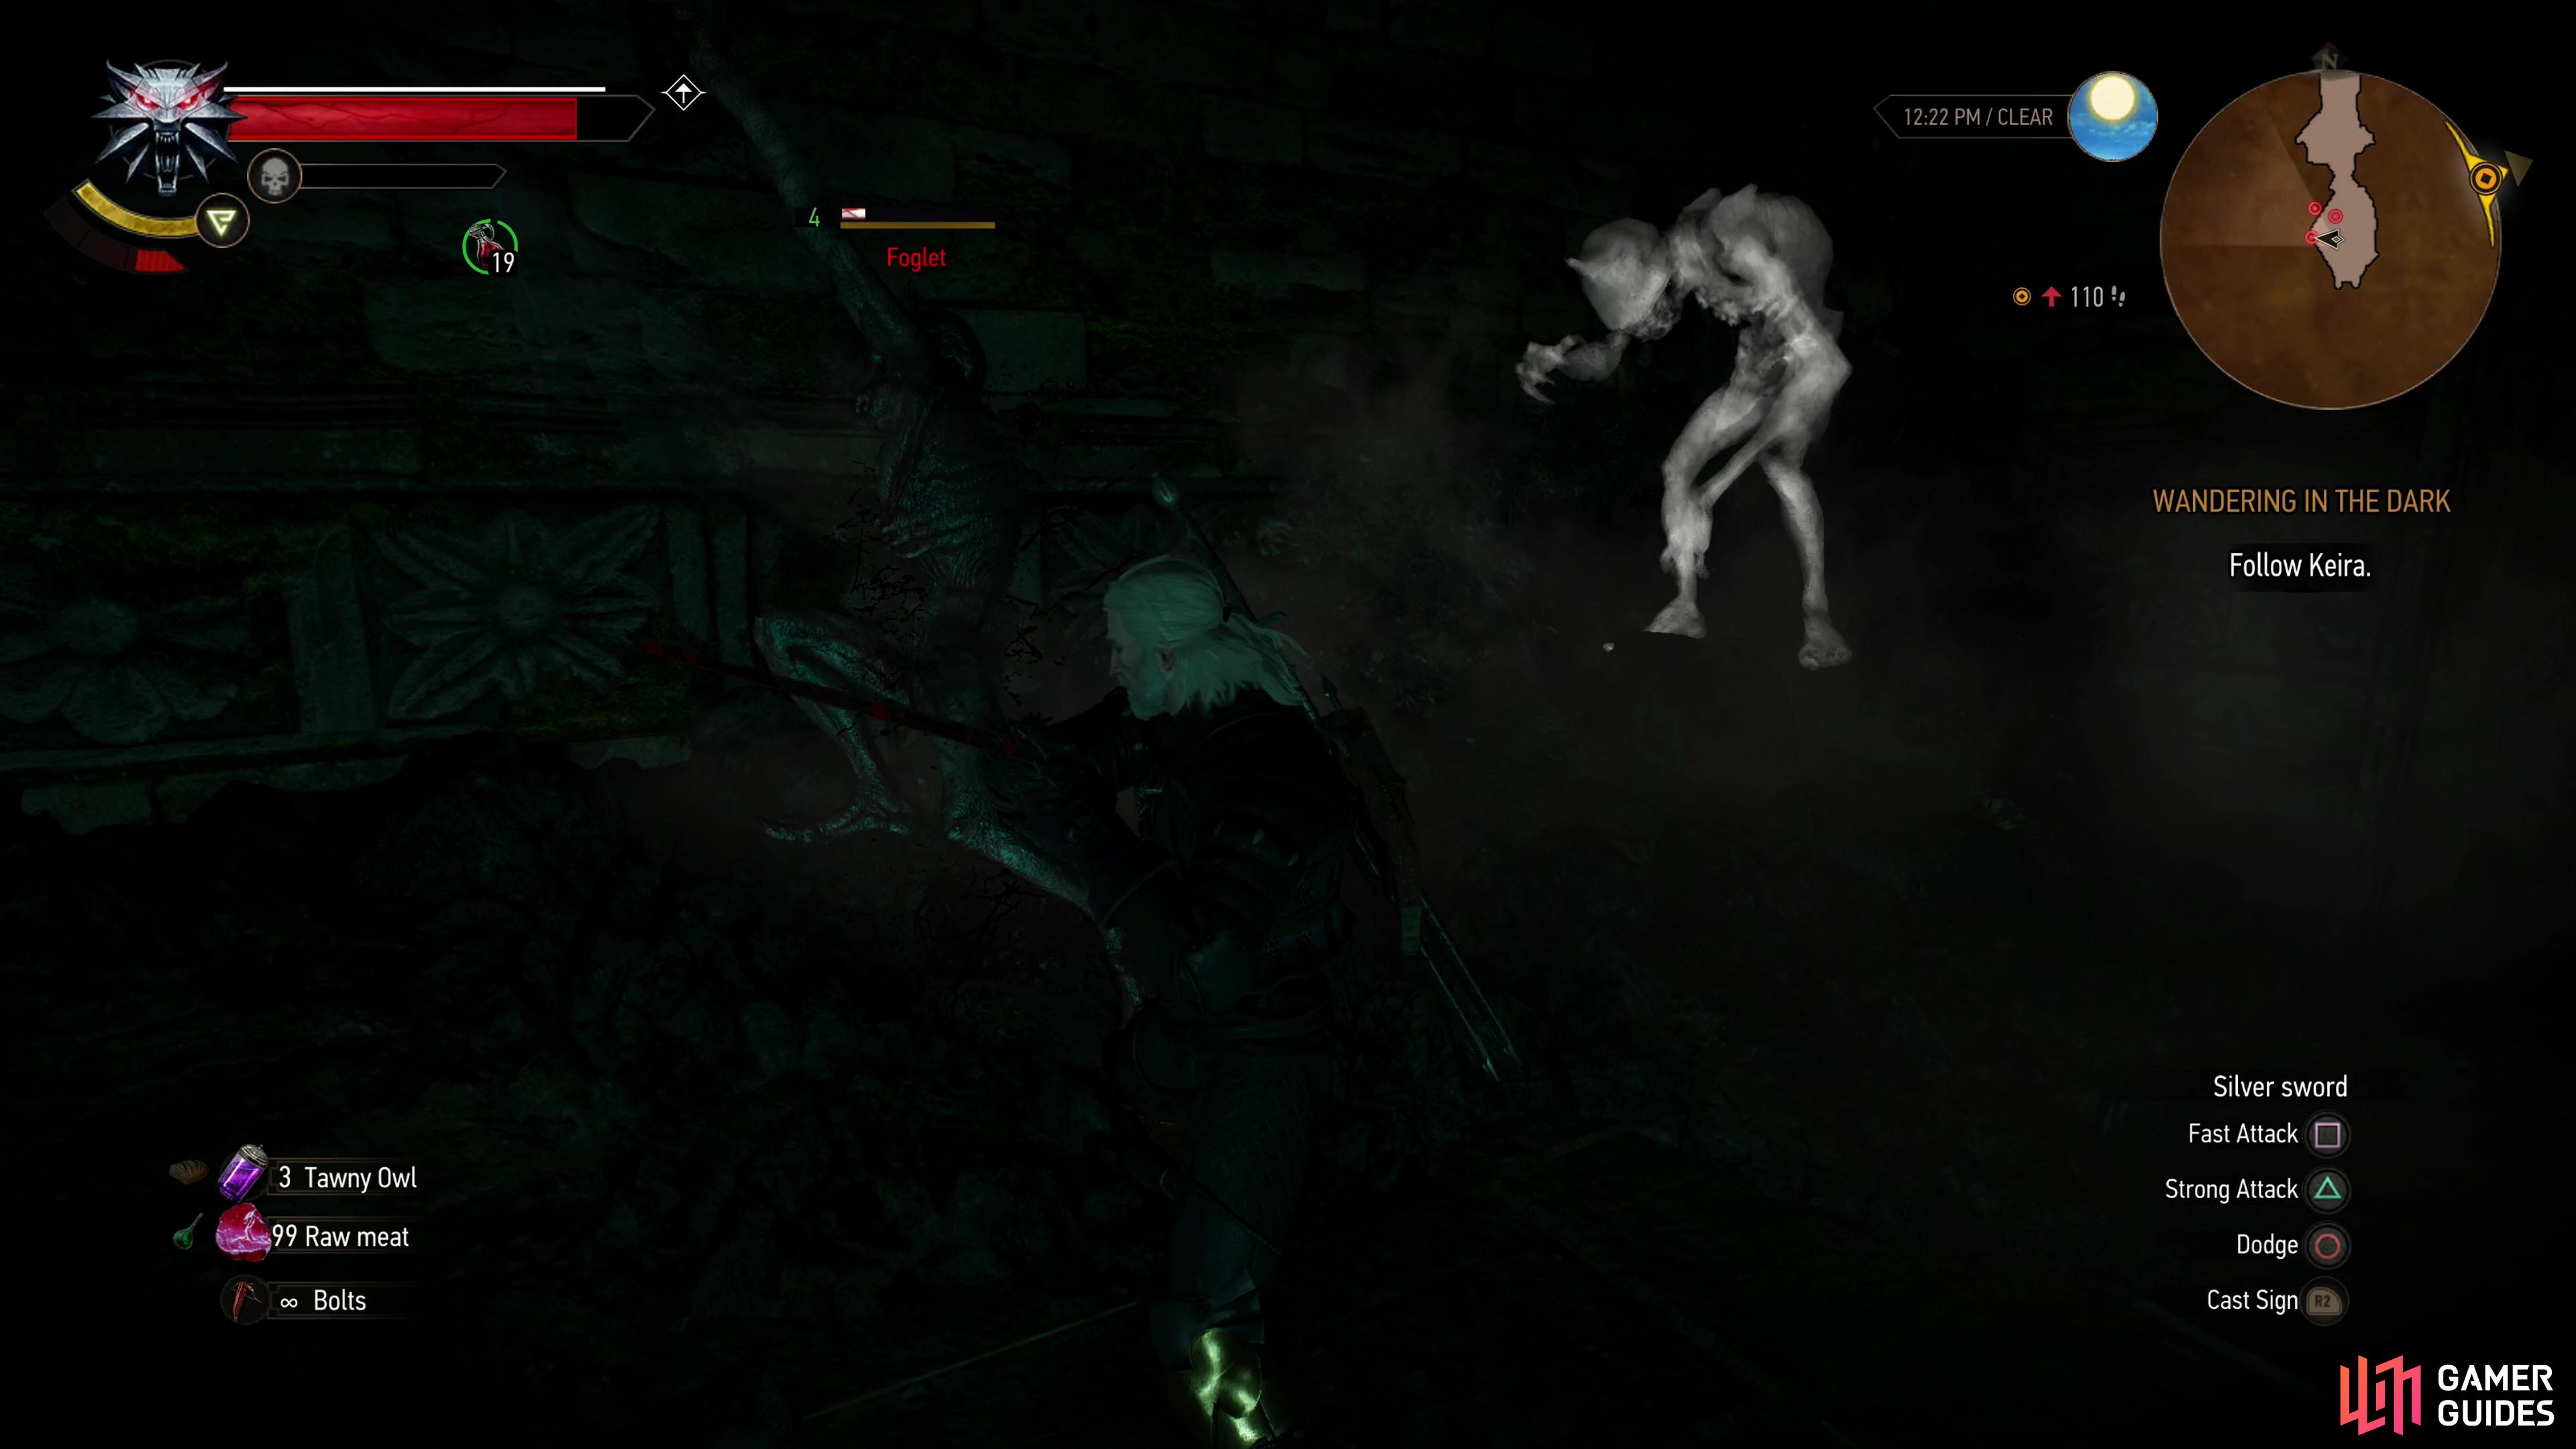
Trek with Keira through more ruins and you’ll eventually see a large chamber sprawling out to the southeast. Ignore it and instead Aard a weak section of wall to the southwest to reveal a hidden passage filled with toxic gas. Igni your way through the gas and follow the linear passage, and when you reach a ledge turn right and loot a chest behind a barrier. Climb up the ledge to reach a small chamber where a chest to the west beckons. Be wary, however, as a Foglet (Lv4) also prowls within. Kill the Foglet, loot the chest, then return to Keira.

(1 of 3) Before dropping down to face the Wild Hunt, blast open a wall to the southwest.
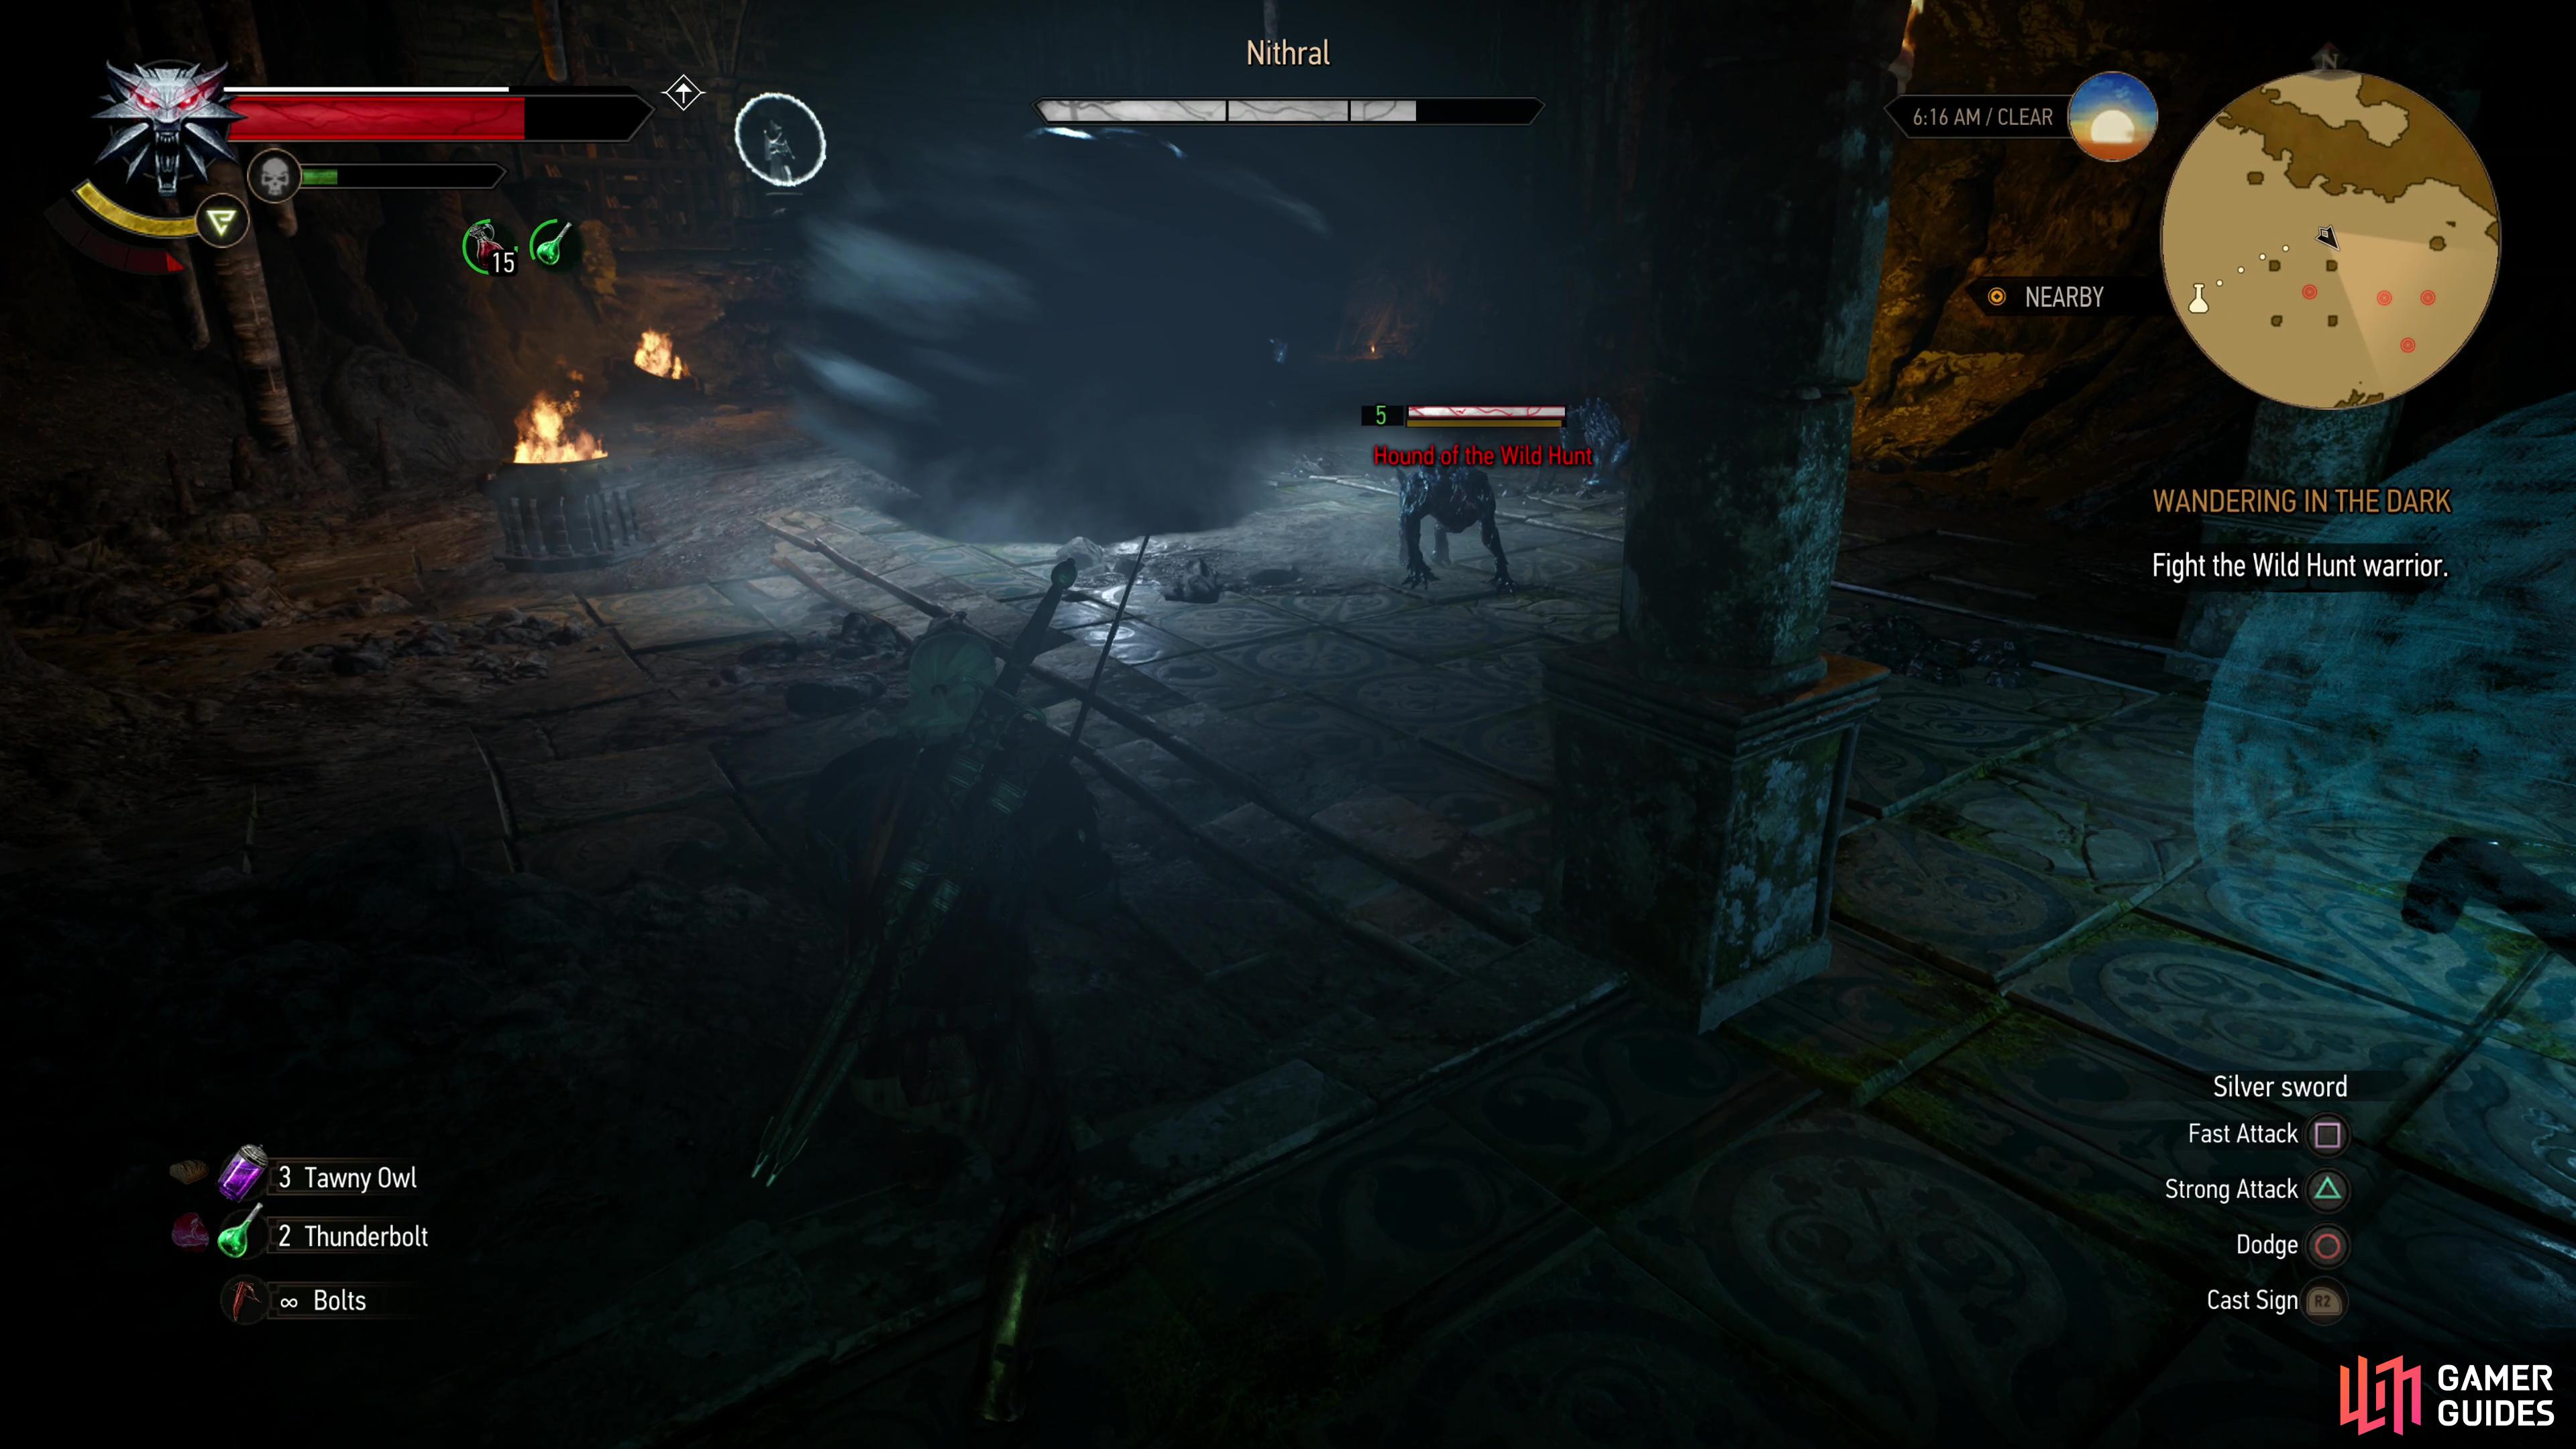
Defeat Nithral
Follow Keira down some ledges to the southeast, where you’ll encounter a member of the Wild Hunt who remained behind. It’s clear he doesn’t want to be friends. This fight is pretty easy-you can probably tell by his weapon that we won’t be countering his attacks, so the old strong attack-and-dodge strategy works fine here, using Quen to absorb incidental damage. After a few hits he’ll cast a barrier that will forcibly (and painfully) repel you if you attack him. During this time he’ll also summon a portal through which Hounds of the Wild Hunt (Lv5) will arrive to harass you, while Nithral regenerates health from the safety of his portal. Don’t fret Nithral’s health regeneration - it can be whittled down again easily easy. Kill his mutts and he’ll drop the portal, allowing you to attack him again. You’ll have to deplete his health further this time, but eventually Nithral will retreat behind a barrier once again. Don’t fret, however, as the third time will be the charm.


(1 of 4) Smack Nithral around,
Search the Elven Mage’s Lab
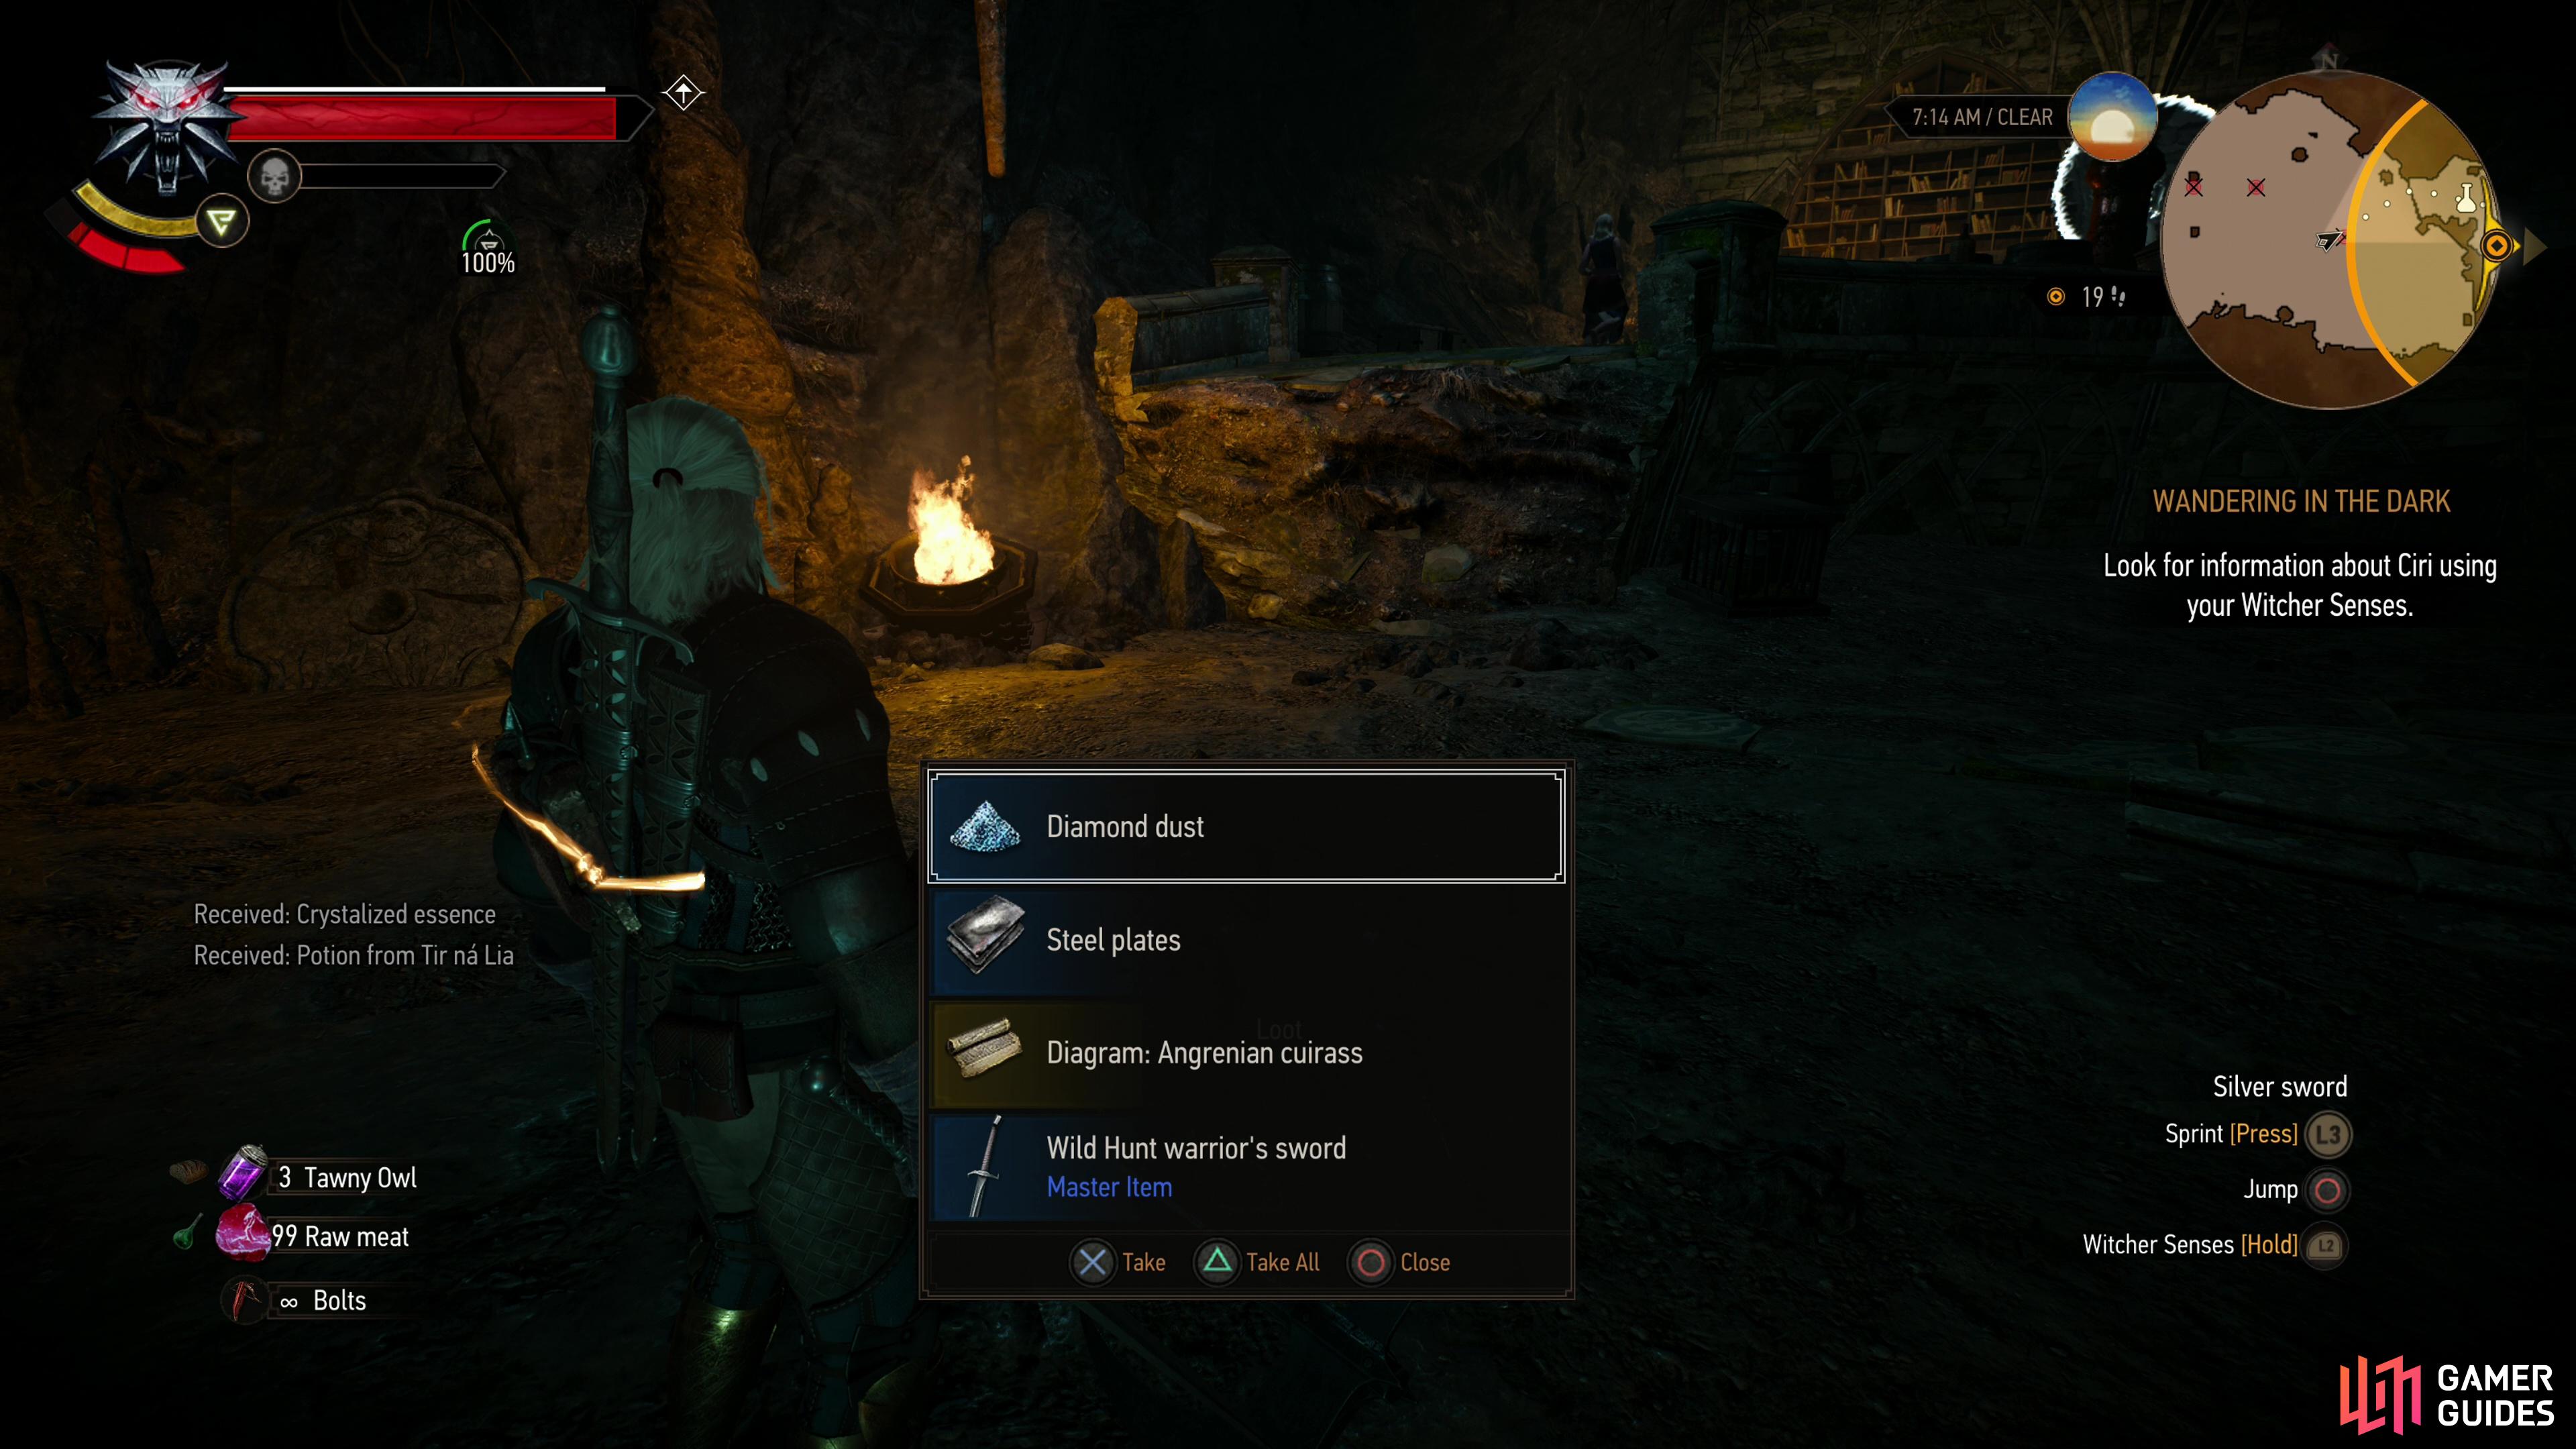
Once victorious, loot Nithral’s corpse for a ![]() Diagram: Angrenian Cuirass , a Wild Hunt Warrior’s Sword, and a Potion from Tir na Lia, amongst other things. On the western edge of the room you’ll find a chest filled with worthwhile loot atop some stairs, while near a higher ledge to the east you’ll find two much less impressive chests. Loot them, then climb to the east to trigger another message from the projection of Ciri elven mage pal. The projection will tell Ciri to avoid the witches of Crookback Bog and meet “where last we were together”. Not very helpful. Further conversation will suggest that Geralt search for these witches, these…
Diagram: Angrenian Cuirass , a Wild Hunt Warrior’s Sword, and a Potion from Tir na Lia, amongst other things. On the western edge of the room you’ll find a chest filled with worthwhile loot atop some stairs, while near a higher ledge to the east you’ll find two much less impressive chests. Loot them, then climb to the east to trigger another message from the projection of Ciri elven mage pal. The projection will tell Ciri to avoid the witches of Crookback Bog and meet “where last we were together”. Not very helpful. Further conversation will suggest that Geralt search for these witches, these… ![]() Ladies of the Wood. Keira will give you the book Ladies of the Wood , which you should read and a quest of the same name begins
Ladies of the Wood. Keira will give you the book Ladies of the Wood , which you should read and a quest of the same name begins
After Geralt’s done accusing Keira, search the elevated part of the chamber you find yourself in, which was clearly used as a mages laboratory. Aside from the odd chest and container you’ll find:
- The letter
 After the White Frost on a cage to the northwest.
 - Some papers on the floor to the northeast, near a bookshelf.
- A potion bottle on a table to the west.
- Herbs and herbalist tools on a barrel and a table to the south, near a bookshelf.
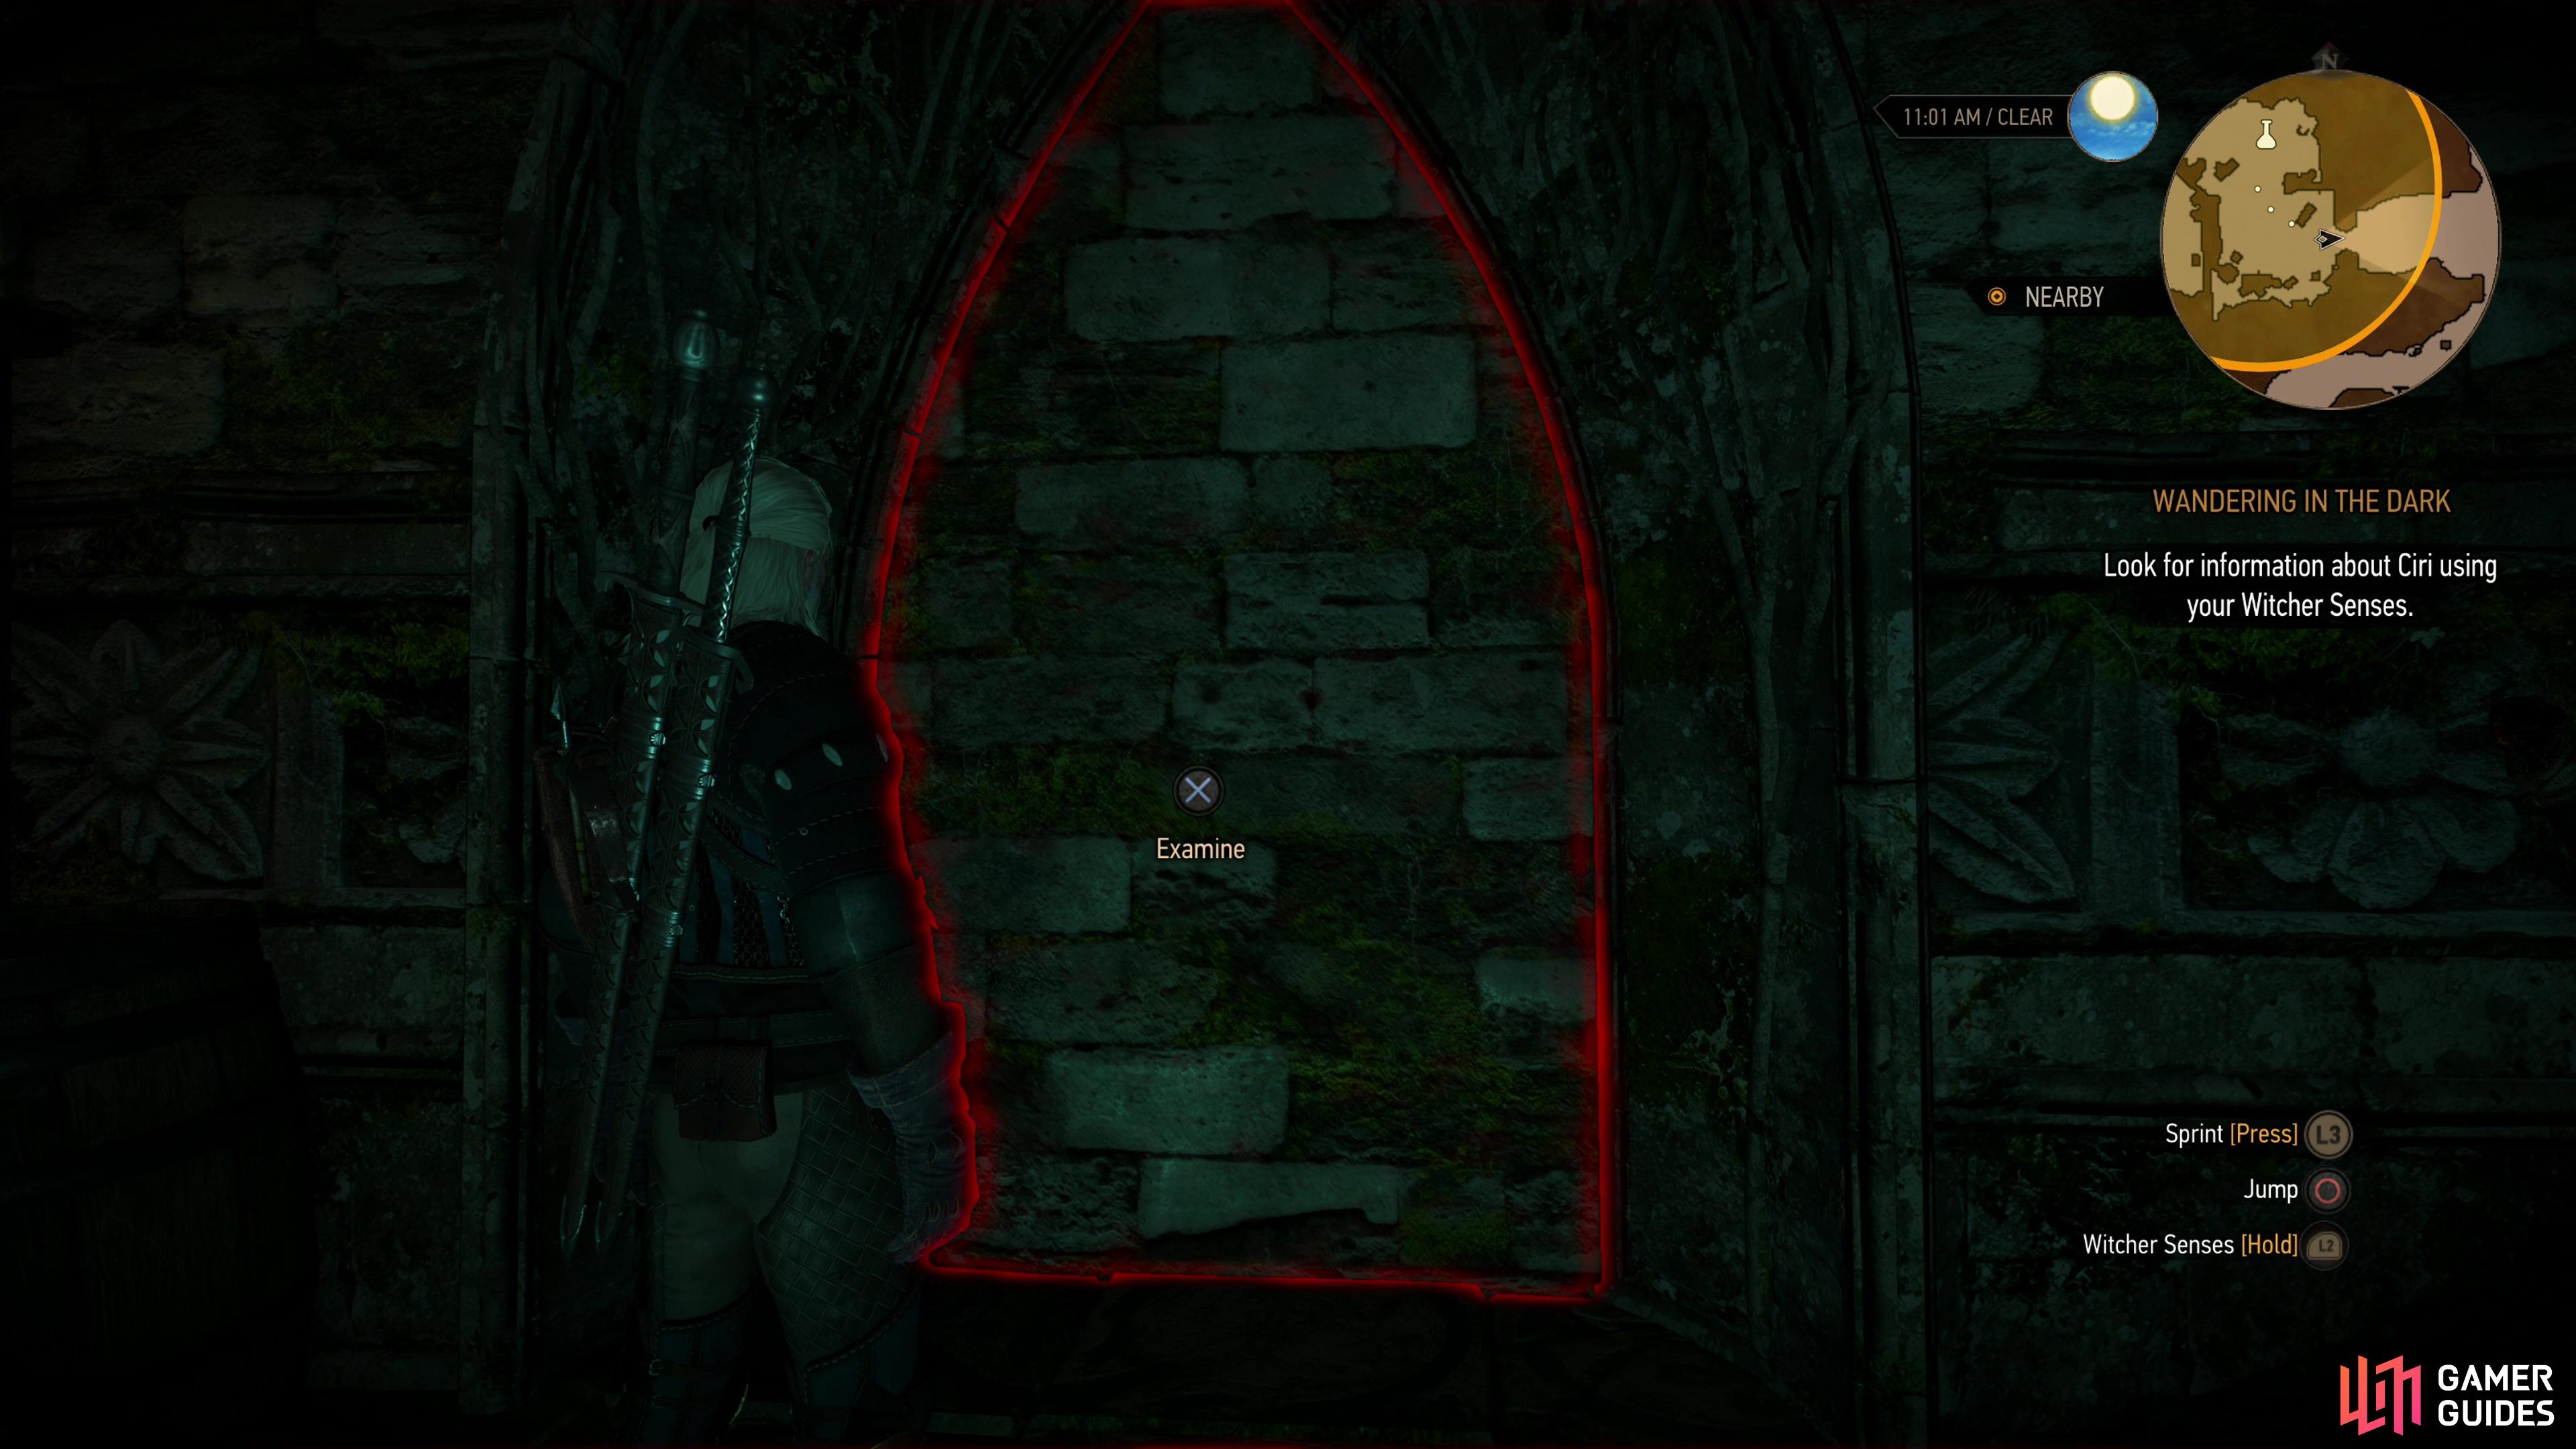
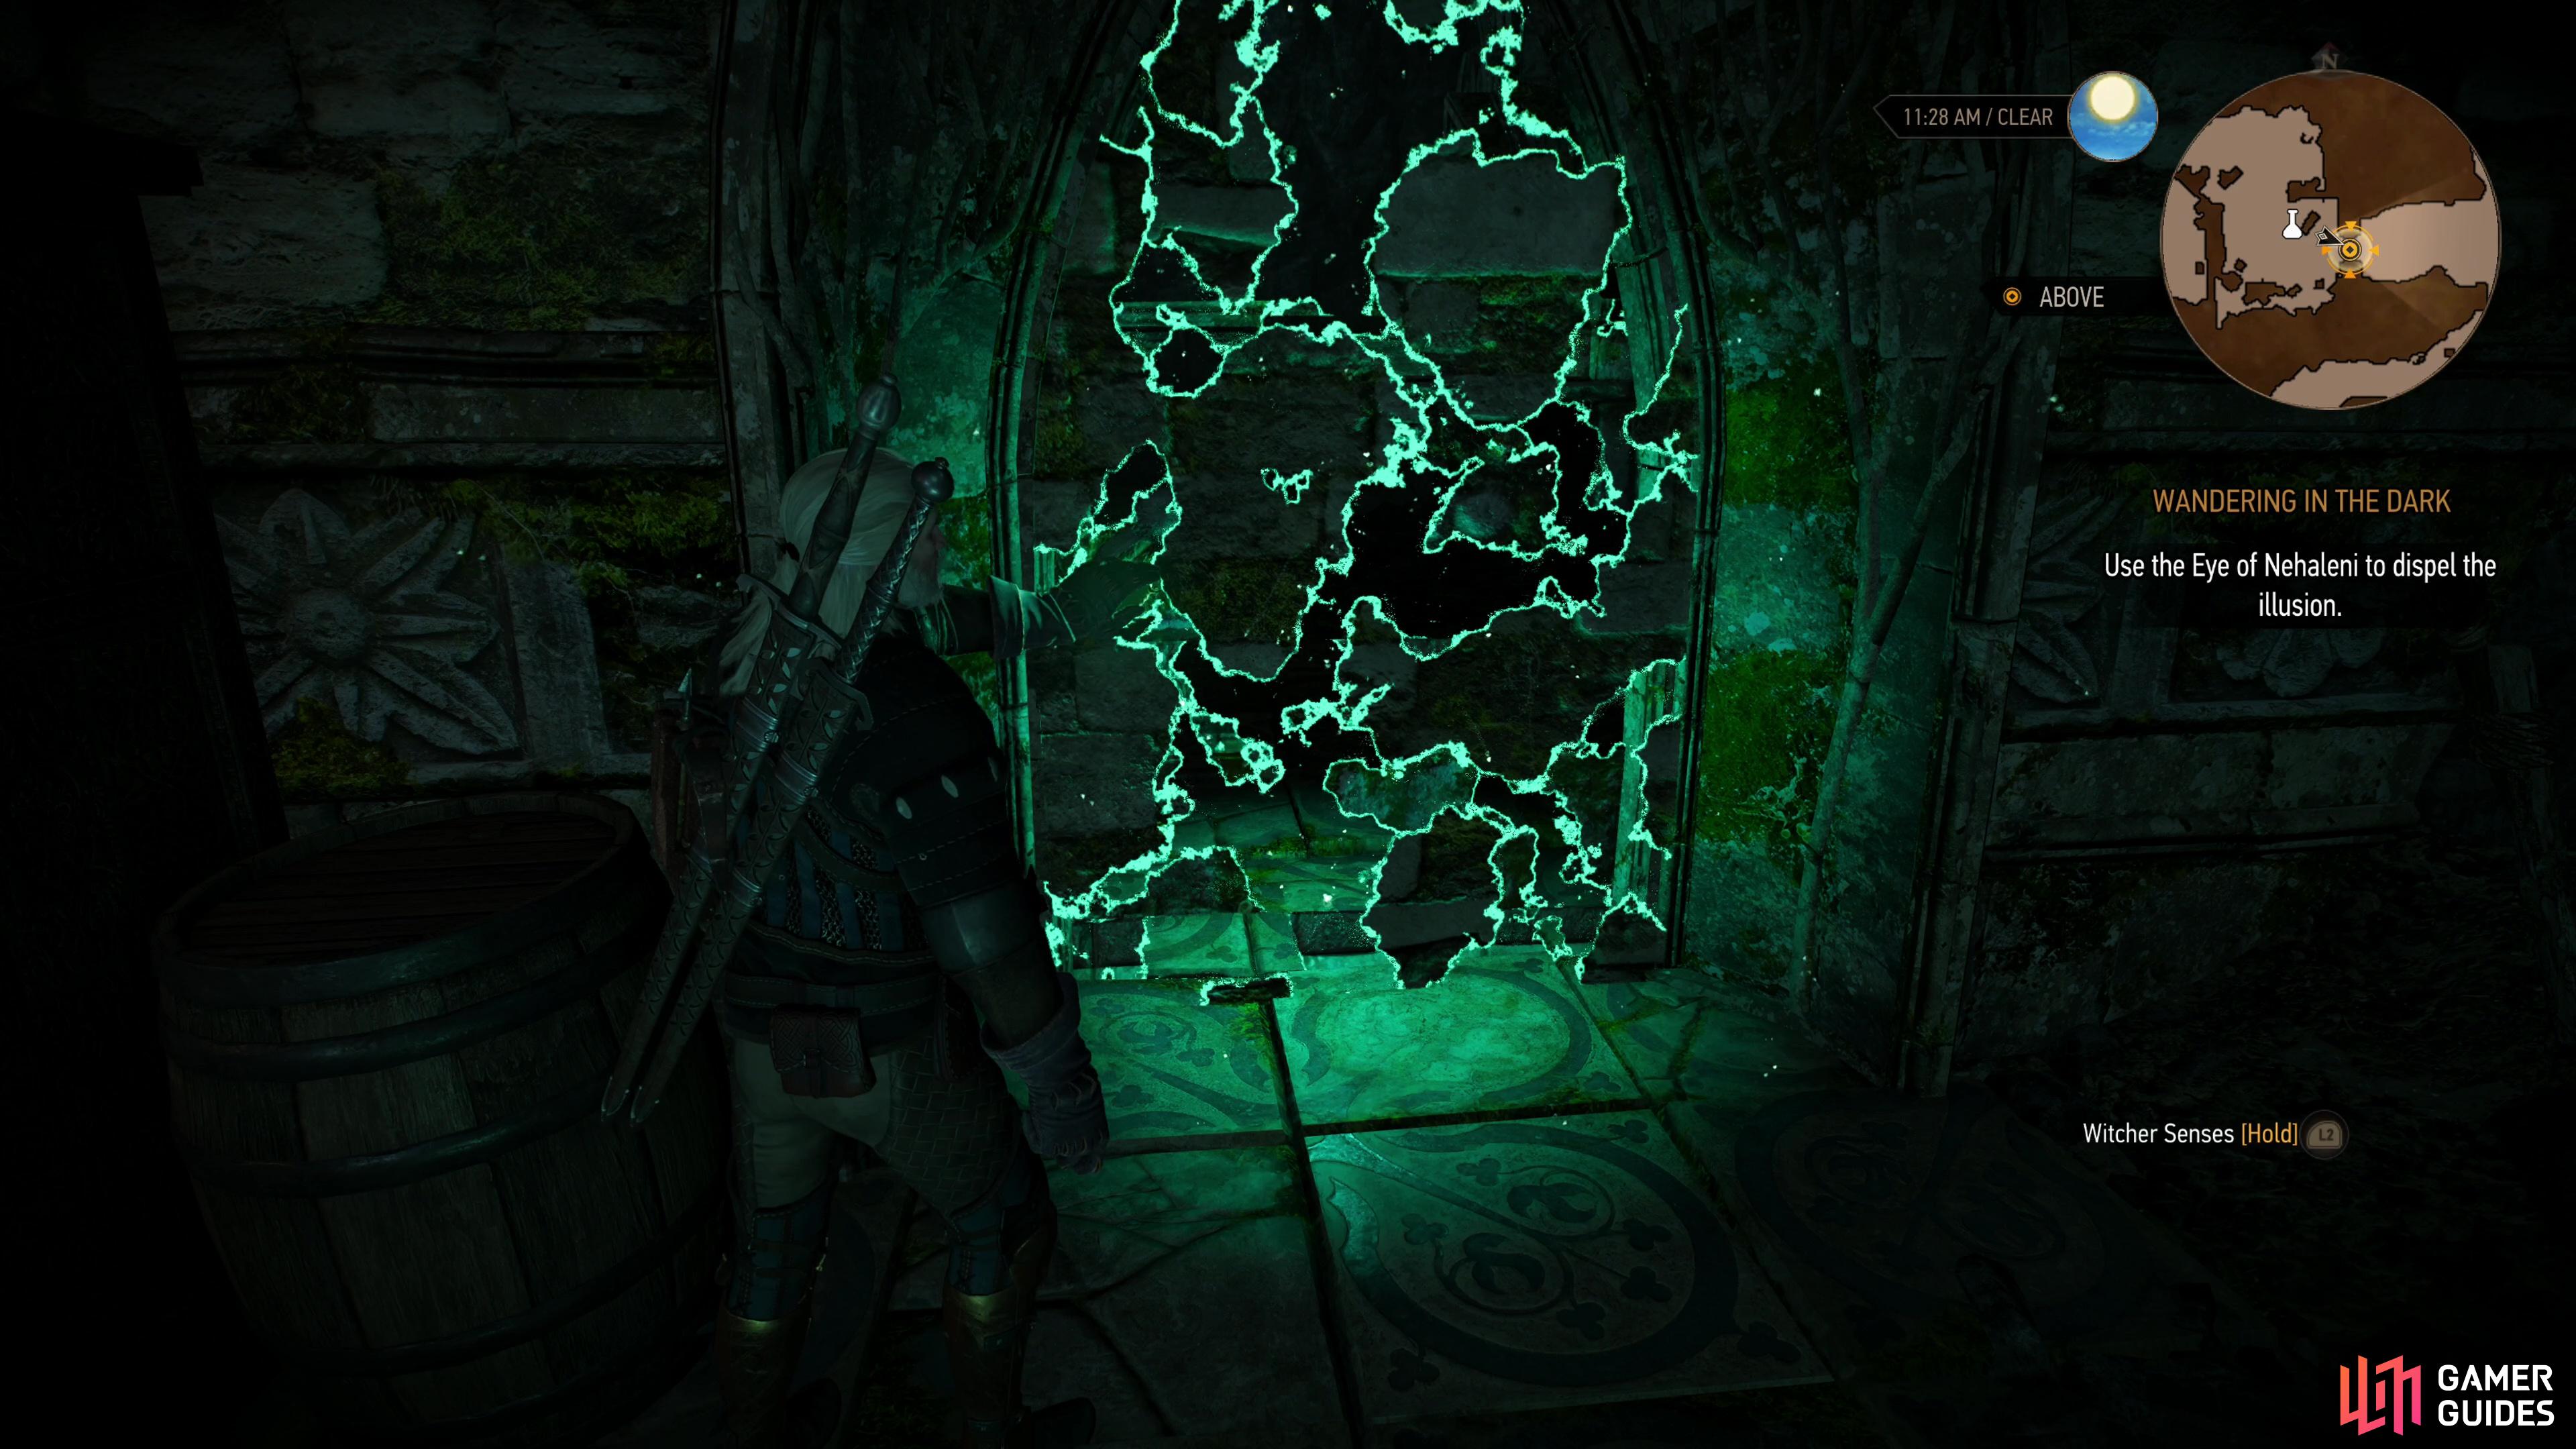
Finally search an oddly shimmering alcove to the east which glows red when you use your Witcher senses. When you investigate it, Keira will identify the door as an illusion, and give you the ![]() Eye of Nehaleni , which dispels illusions… and makes you remember her, of course.
Eye of Nehaleni , which dispels illusions… and makes you remember her, of course.


(1 of 4) Explore the eastern edge of the chamber where you fought Nithral to find a third projection.
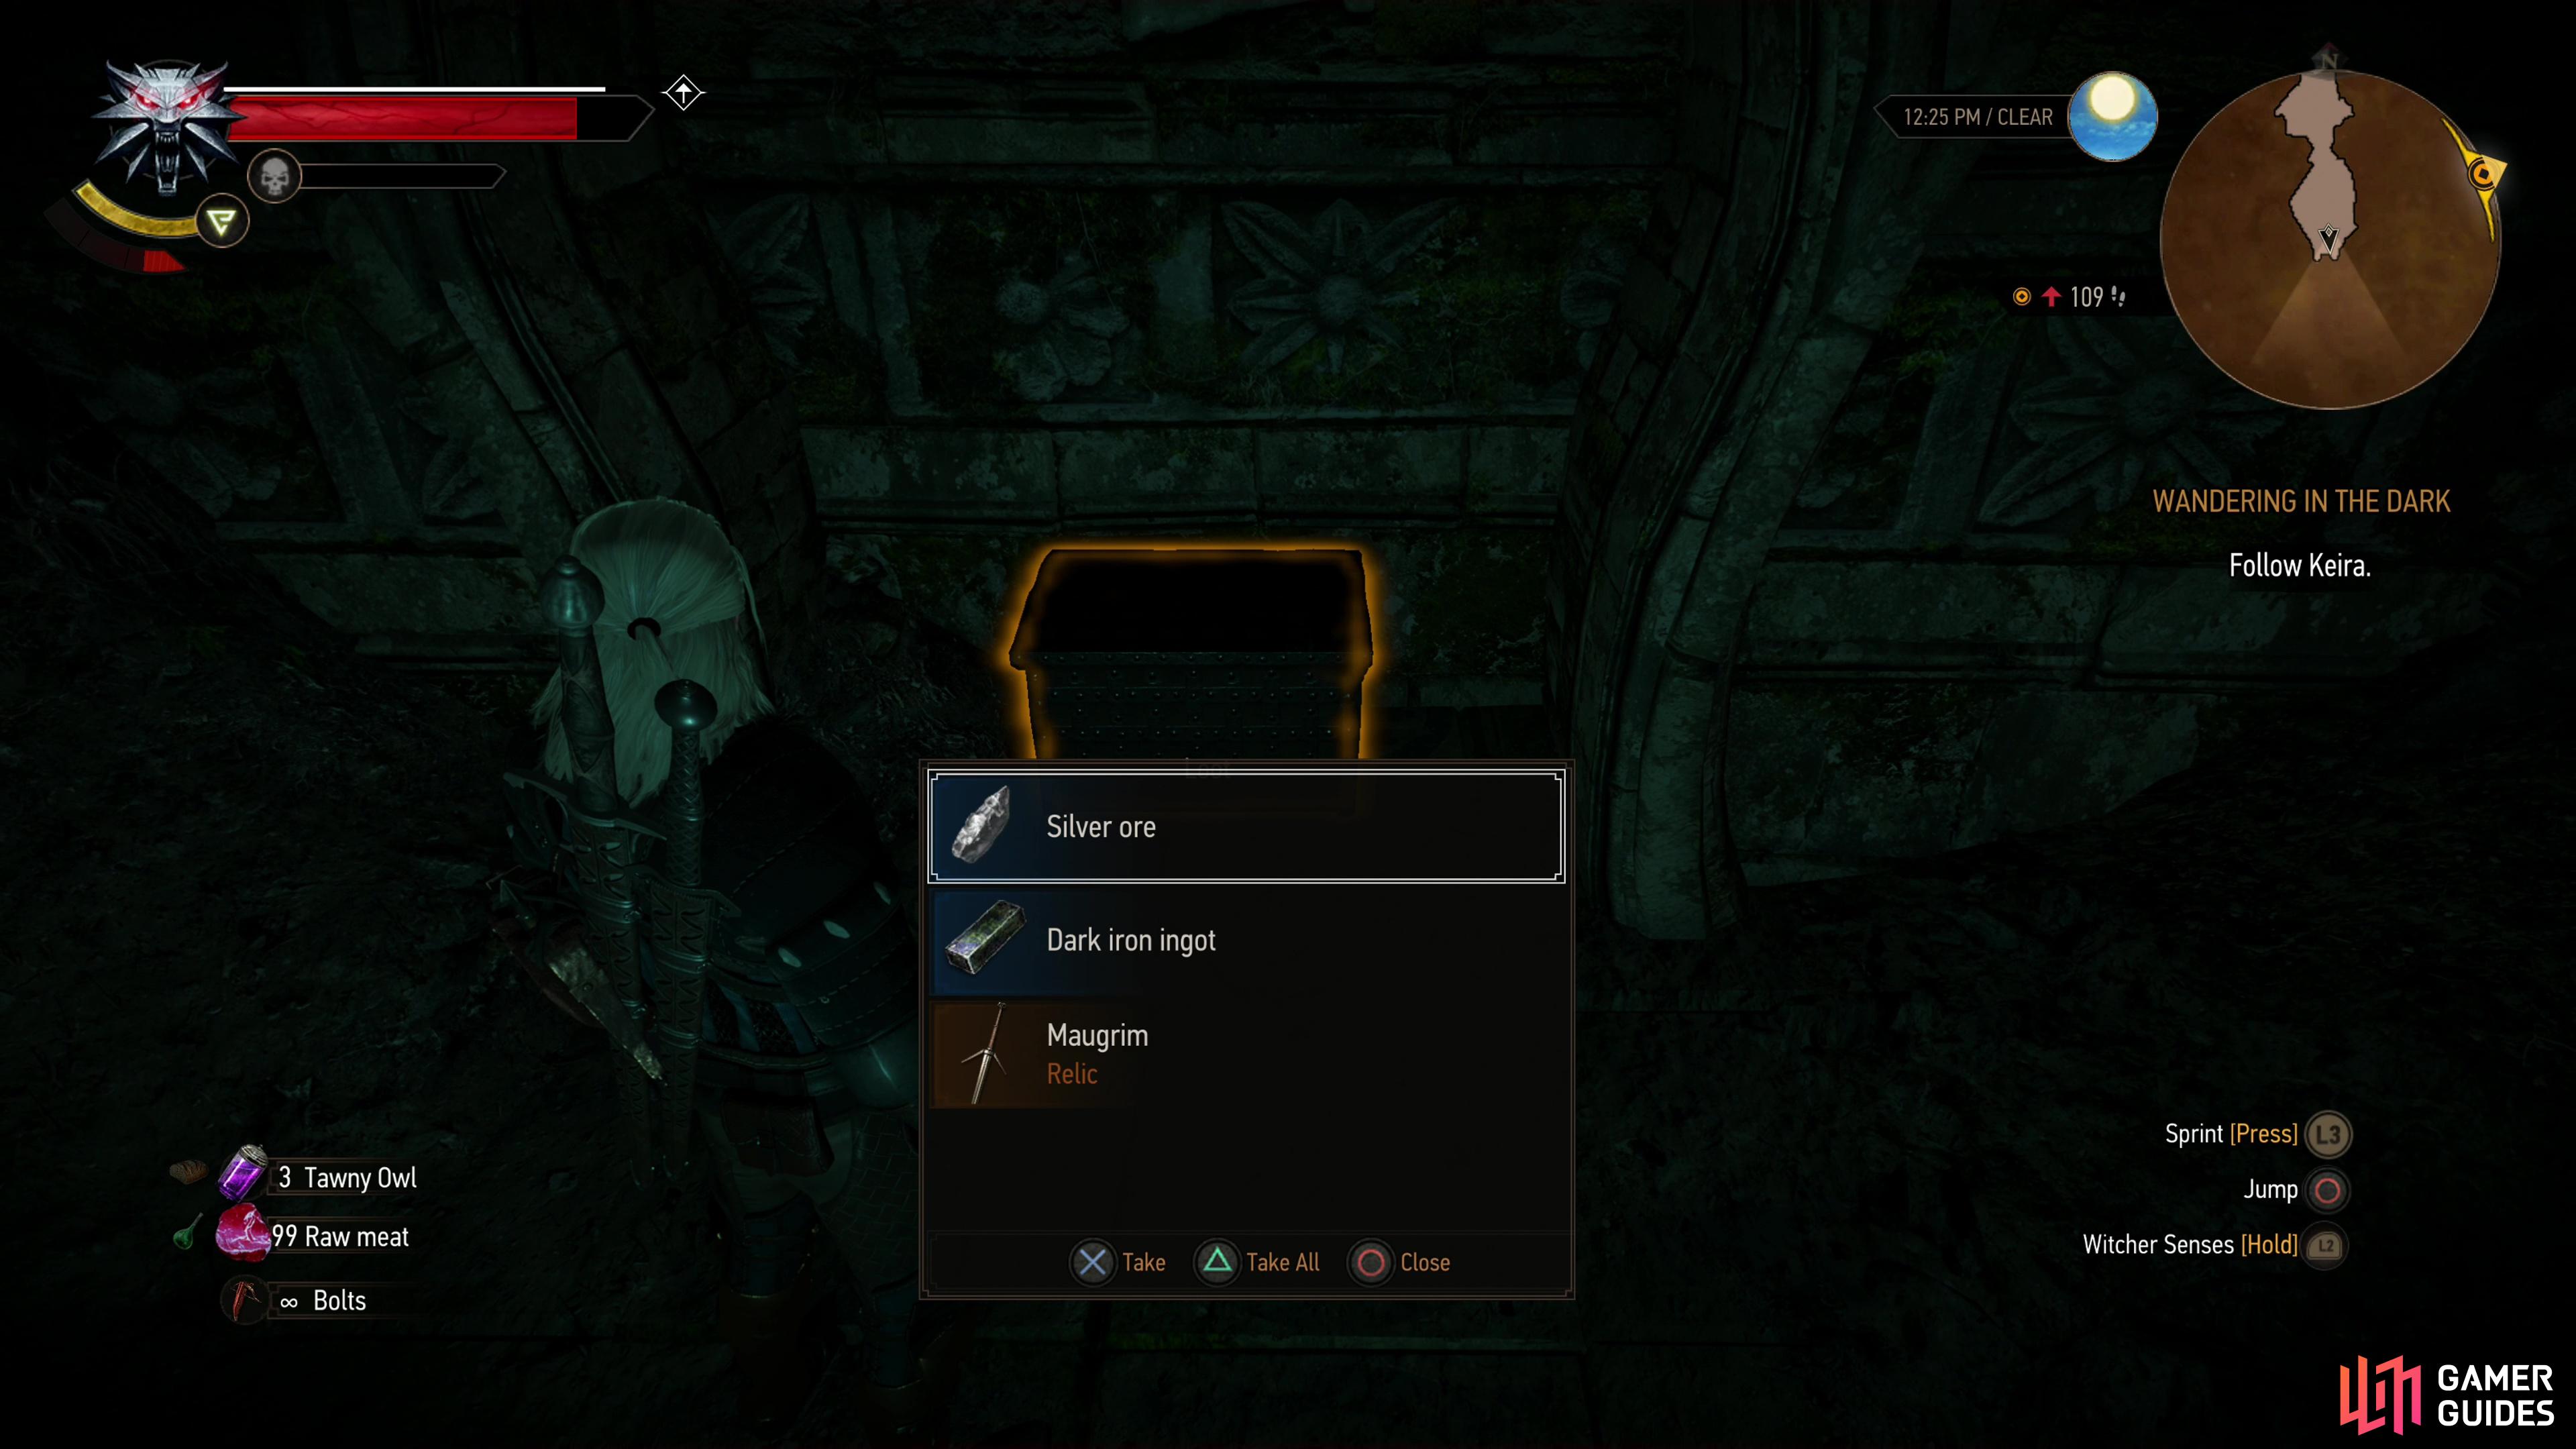
Use the Eye of Nehaleni on the door to make it vanish, but before you continue through it, return back to the west and explore the southwestern corner of the chamber where you fought Nithral. Here you’ll discover a section of wall that can be destroyed with Aard. Convince it to fall down, then go through the hole in the wall you made and use the Eye of Nehaleni to reveal some stairs further west, which lead to a watery tunnel. Take a dive and loot a chest to the right, then continue west to find two more chests at the end of the flooded passage. Surface for some air, then dive again, this time swimming down another passage to the south. Surface at some stairs and continue south to enter a small chamber with a lone chest at the end. This chest contain ![]() Maugrim, a relic-quality silver sword, but its ownership will be challenged by a Foglet (Lv4).
Maugrim, a relic-quality silver sword, but its ownership will be challenged by a Foglet (Lv4).
(1 of 4) Find a breakable wall in the southwestern corner of the room where you fought Nithral,
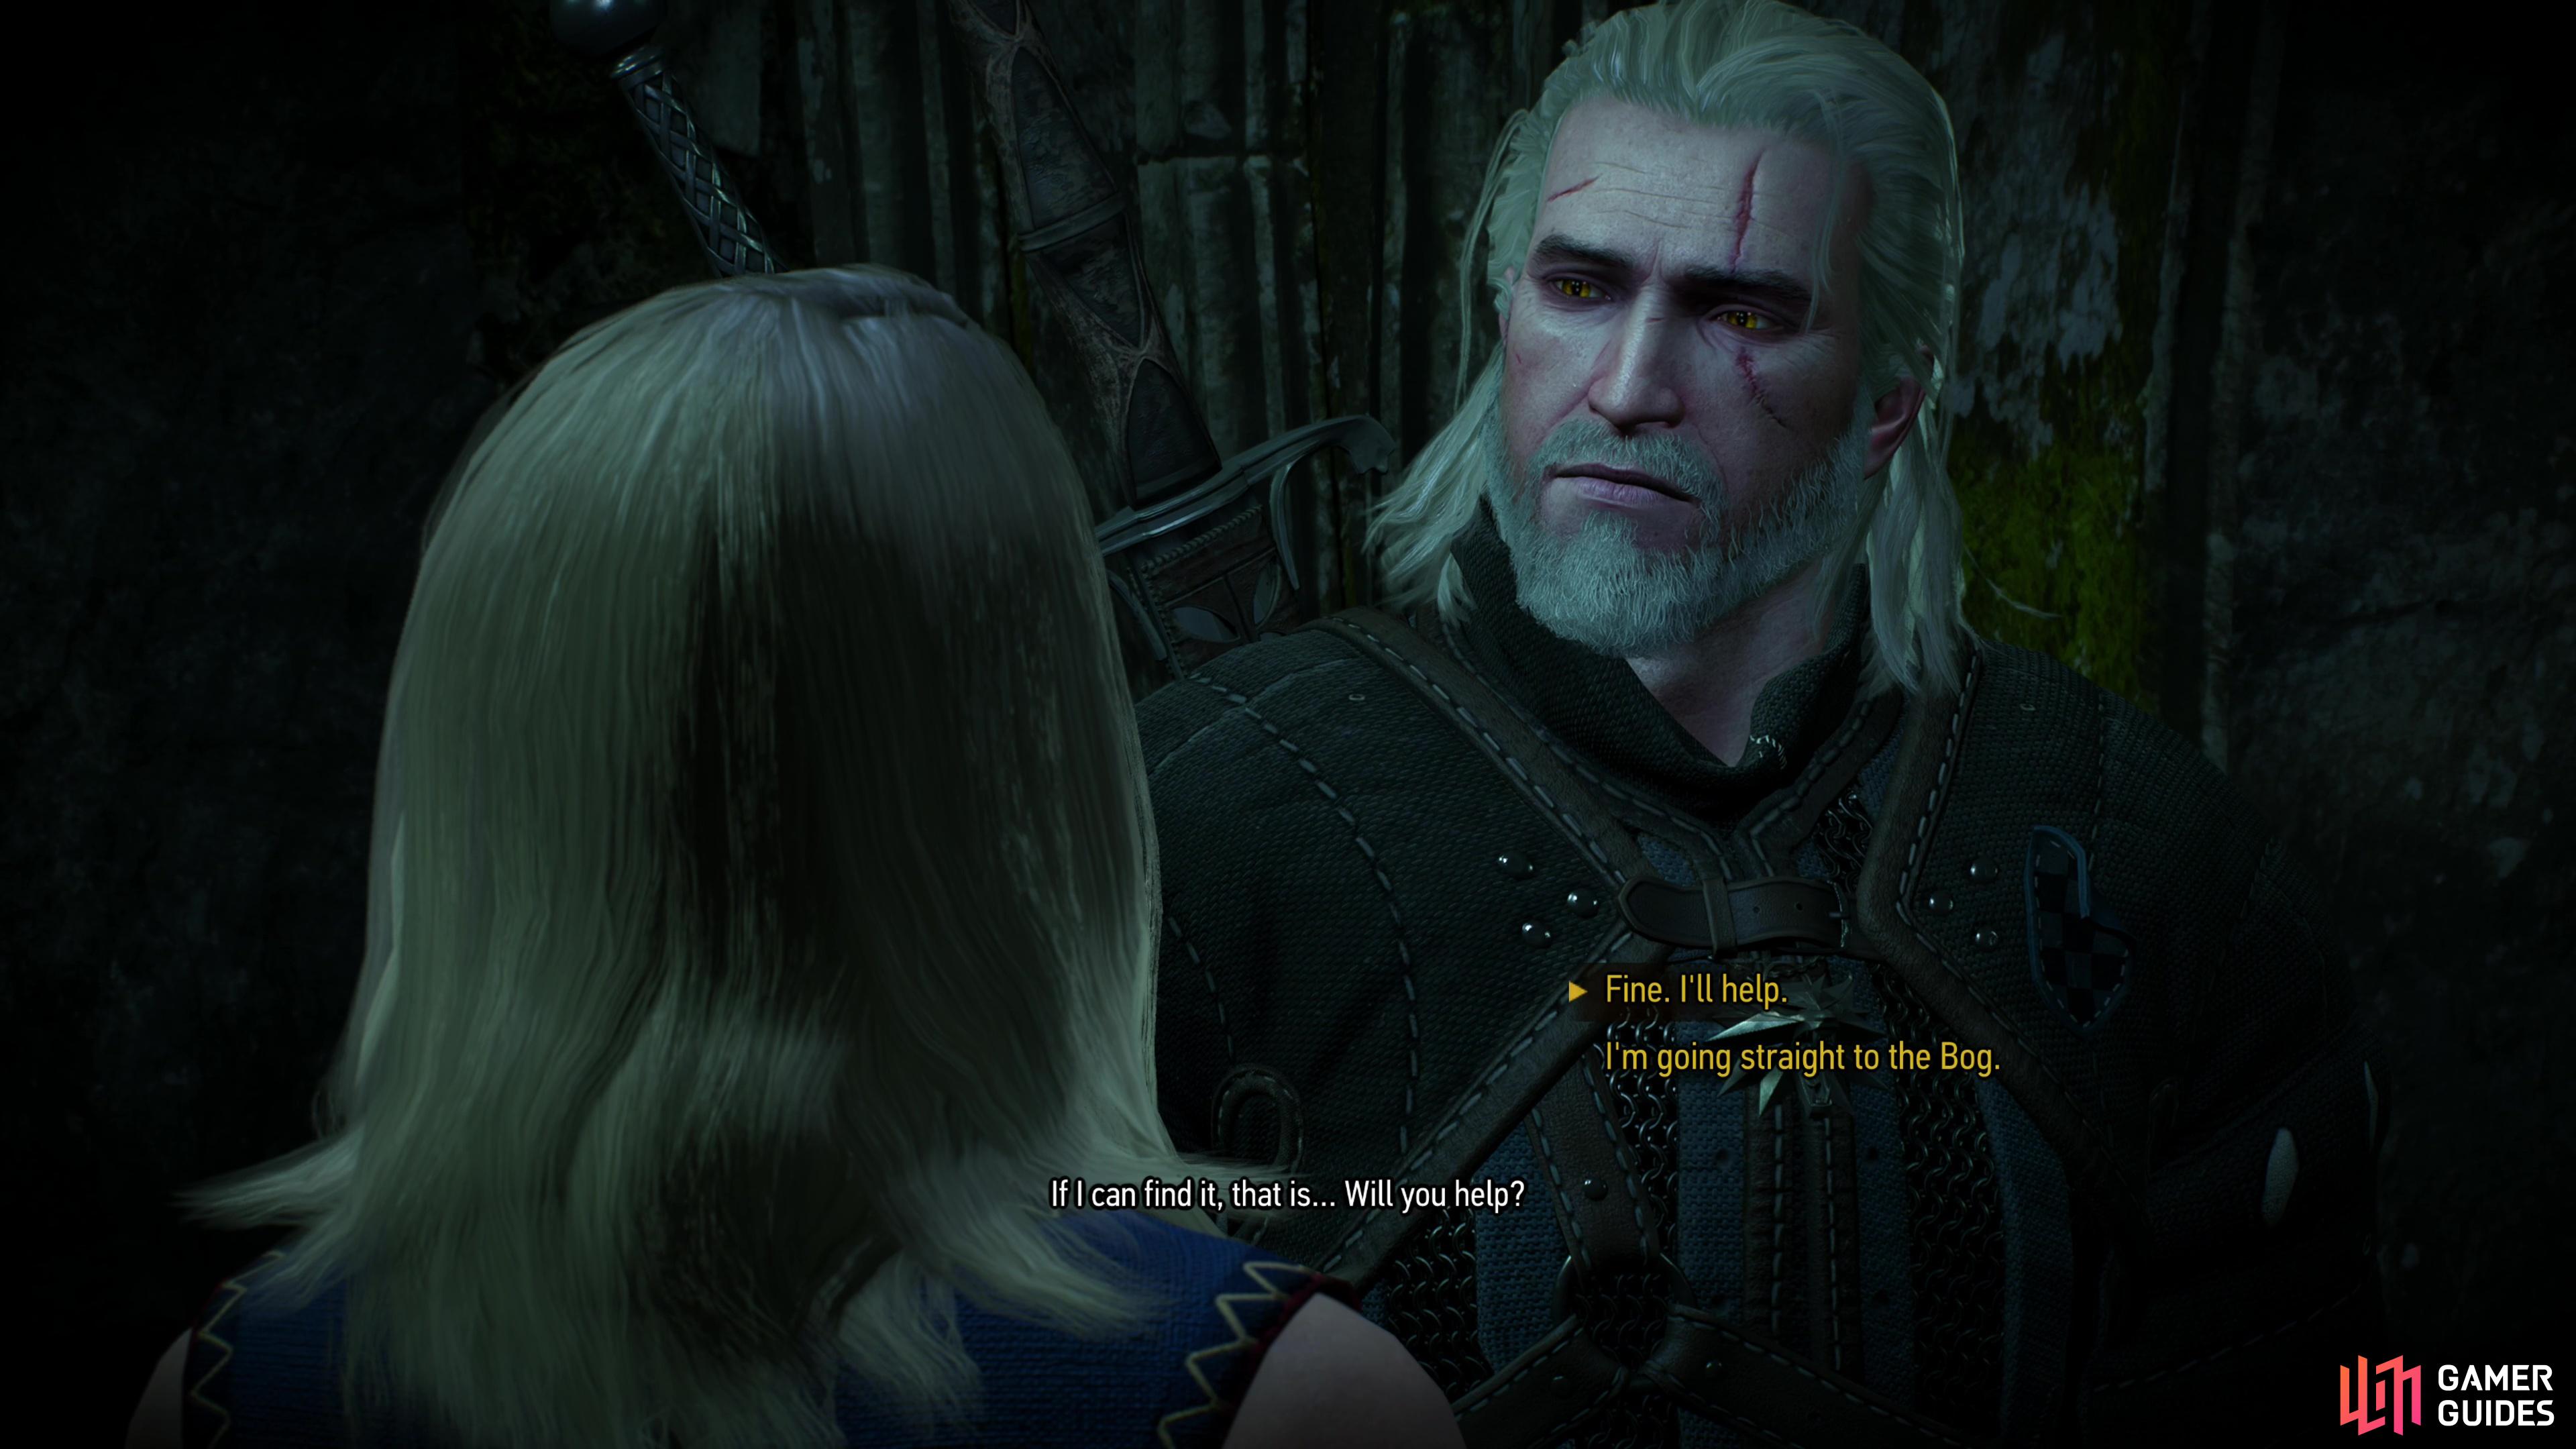
Give these chests a good lootin’, then rendezvous with Keira along the eastern edge of the room where you fought Nithral, this time following her through the illusory door. After a few steps Keira will detect the exit, but before you can depart she’ll ask you for a favor. She helped you find what you wanted… or what you could, as the case may be, and it’d be awfully kind of you to return the favor. Remember, Keira had business with this elven mage, too. Pick the dialog option “Fine. I’ll help.” to agree to help Keira, starting the quest Magic Lamp. Decline by saying “I’m going straight to the Bog.” and Keira will feign understanding, but you’ll miss out on the quest and any rewards that might entail.
After dispelling the illusory door, Keira will ask you to help her secure a Magic Lamp, starting a quest of the same name.
Either way, Wandering in the Dark will finally end and you’ll get a hefty influx of EXP. We recommend agreeing to help Keira Metz, in which case Magic Lamp begins immediately - if you leave the ruins before completing ![]() Magic Lamp, the quest will fail, so you really have little choice but to see it through now if you plan to do it.
Magic Lamp, the quest will fail, so you really have little choice but to see it through now if you plan to do it.

 Sign up
"But if you want out, there is a boat nearby."
Upd: The text below describes the event, which is described in the section "Dont Play with the Gods"
Neat the exit is guarded treasure event, right at the top of some stone brige or something above the exit. It's guarded by some wraith and noonwraith, and after defeating them you must loot the skeleton for a key and the chest nearby to complete the event. Don't know, maybe this may be written later, but now, I think, it is a good opportunity to complete the event and not return to it.
Yes, I later saw that this is described further in the text, but unfortunately you can’t delete comments here. :)
Not good advice if playing on death march difficulty... The wraiths and noonwraith are high level.
"By the time you finishing the Witcher 3’s Wandering in the Dark Quest, you’ll have no doubt discovered some secret walls along the way. "
I checked both parts of the cave, there were no new dispelable walls, except for those that were discovered according to the guide. There is no point in exploring this cave again if you follow this guide.
"Accept Keira’s offer and the two of you will travel to the meeting spot, far south of Midcopse. Head inside the ruins..."
Above the entrance to the ruins is a chest with loot.