
Space Marines in Warhammer 40,000 are a power fantasy - hulking transhuman mutant demigods facing off against the endless horrors of the galaxy in genetically-bonded fraternities, the greatest warriors have to offer, eternally defending the Imperium of Man. Of course they look silly in that bulky power armor and there’s no telling how their anatomy works given some of their tabletop models, but big armor is cool, and big weapons are even cooler. The Heavy class understands this keenly, wielding the heaviest, most cumbersome, high-powered weaponry that an augmented eight-foot tall super human can bear. This page will discuss the Heavy class in Space Marine 2, covering their weapons, perks, playstyle and how to use them effectively.
Page Breakdown
Heavy Class Gameplay
It’s all in the name, really - the Heavy class wields heavy weapons as their primary armaments. This gives them massive firepower, but makes them somewhat ponderous in combat, slow to aim, slow to adjust and completely at the expense of any melee weapon. These limitations can cause problems if they are surrounded by mobs, but their weapons are potent enough that majoris enemies, extremis enemies and even bosses can be felled with ease, and minoris enemies, while dangerous if left unchecked, can also be mowed down with impunity if the Heavy is wary and has the ammo to burn… or the right perks.
The Heavy generally fares best at close-to-medium range, and perhaps moreso than any other class (except perhaps the [Sniper] their weapon selection determines just how they’ll fare in a mission. Managing your ammo is a primary concern for the Heavy, knowing when to let loose with your potent weapons, when to switch to a sidearm, and when to rely on good old ceramite greaves to stomp enemies into submission!
Parrying and blocking are still necessary, but perhaps less so than for some other classes. Heavies can play pretty aggressively or headhunt priority targets from medium range, depending on their choice of primary weapon. If you want to focus on ranged damage but don’t want to be concerned with trivialities like aiming or reloading, and want to pick a class that’s great at taking down majoris enemies, the Heavy might just be for you!
What is Heavy Stance?
One of the main aspects of the Heavy class is their “Heavy Stance”, which is active any time you’re aiming with a primary weapon. This slows the Heavy to a crawl and prevents them from dodging or parrying. Set the aim option from “Toggle” to “Hold” to make it easier to transition in and out of this stance and you’ll get used to it after a few runs. Many of the Heavy’s primary weapons hip-fire well enough, with the Heavy Bolter being the most reliant on aiming to deal sustained damage. Some weapon perks give bonuses when firing from within Heavy Stance, so it’s wise to get used to it early so you can make use of these perks later on!
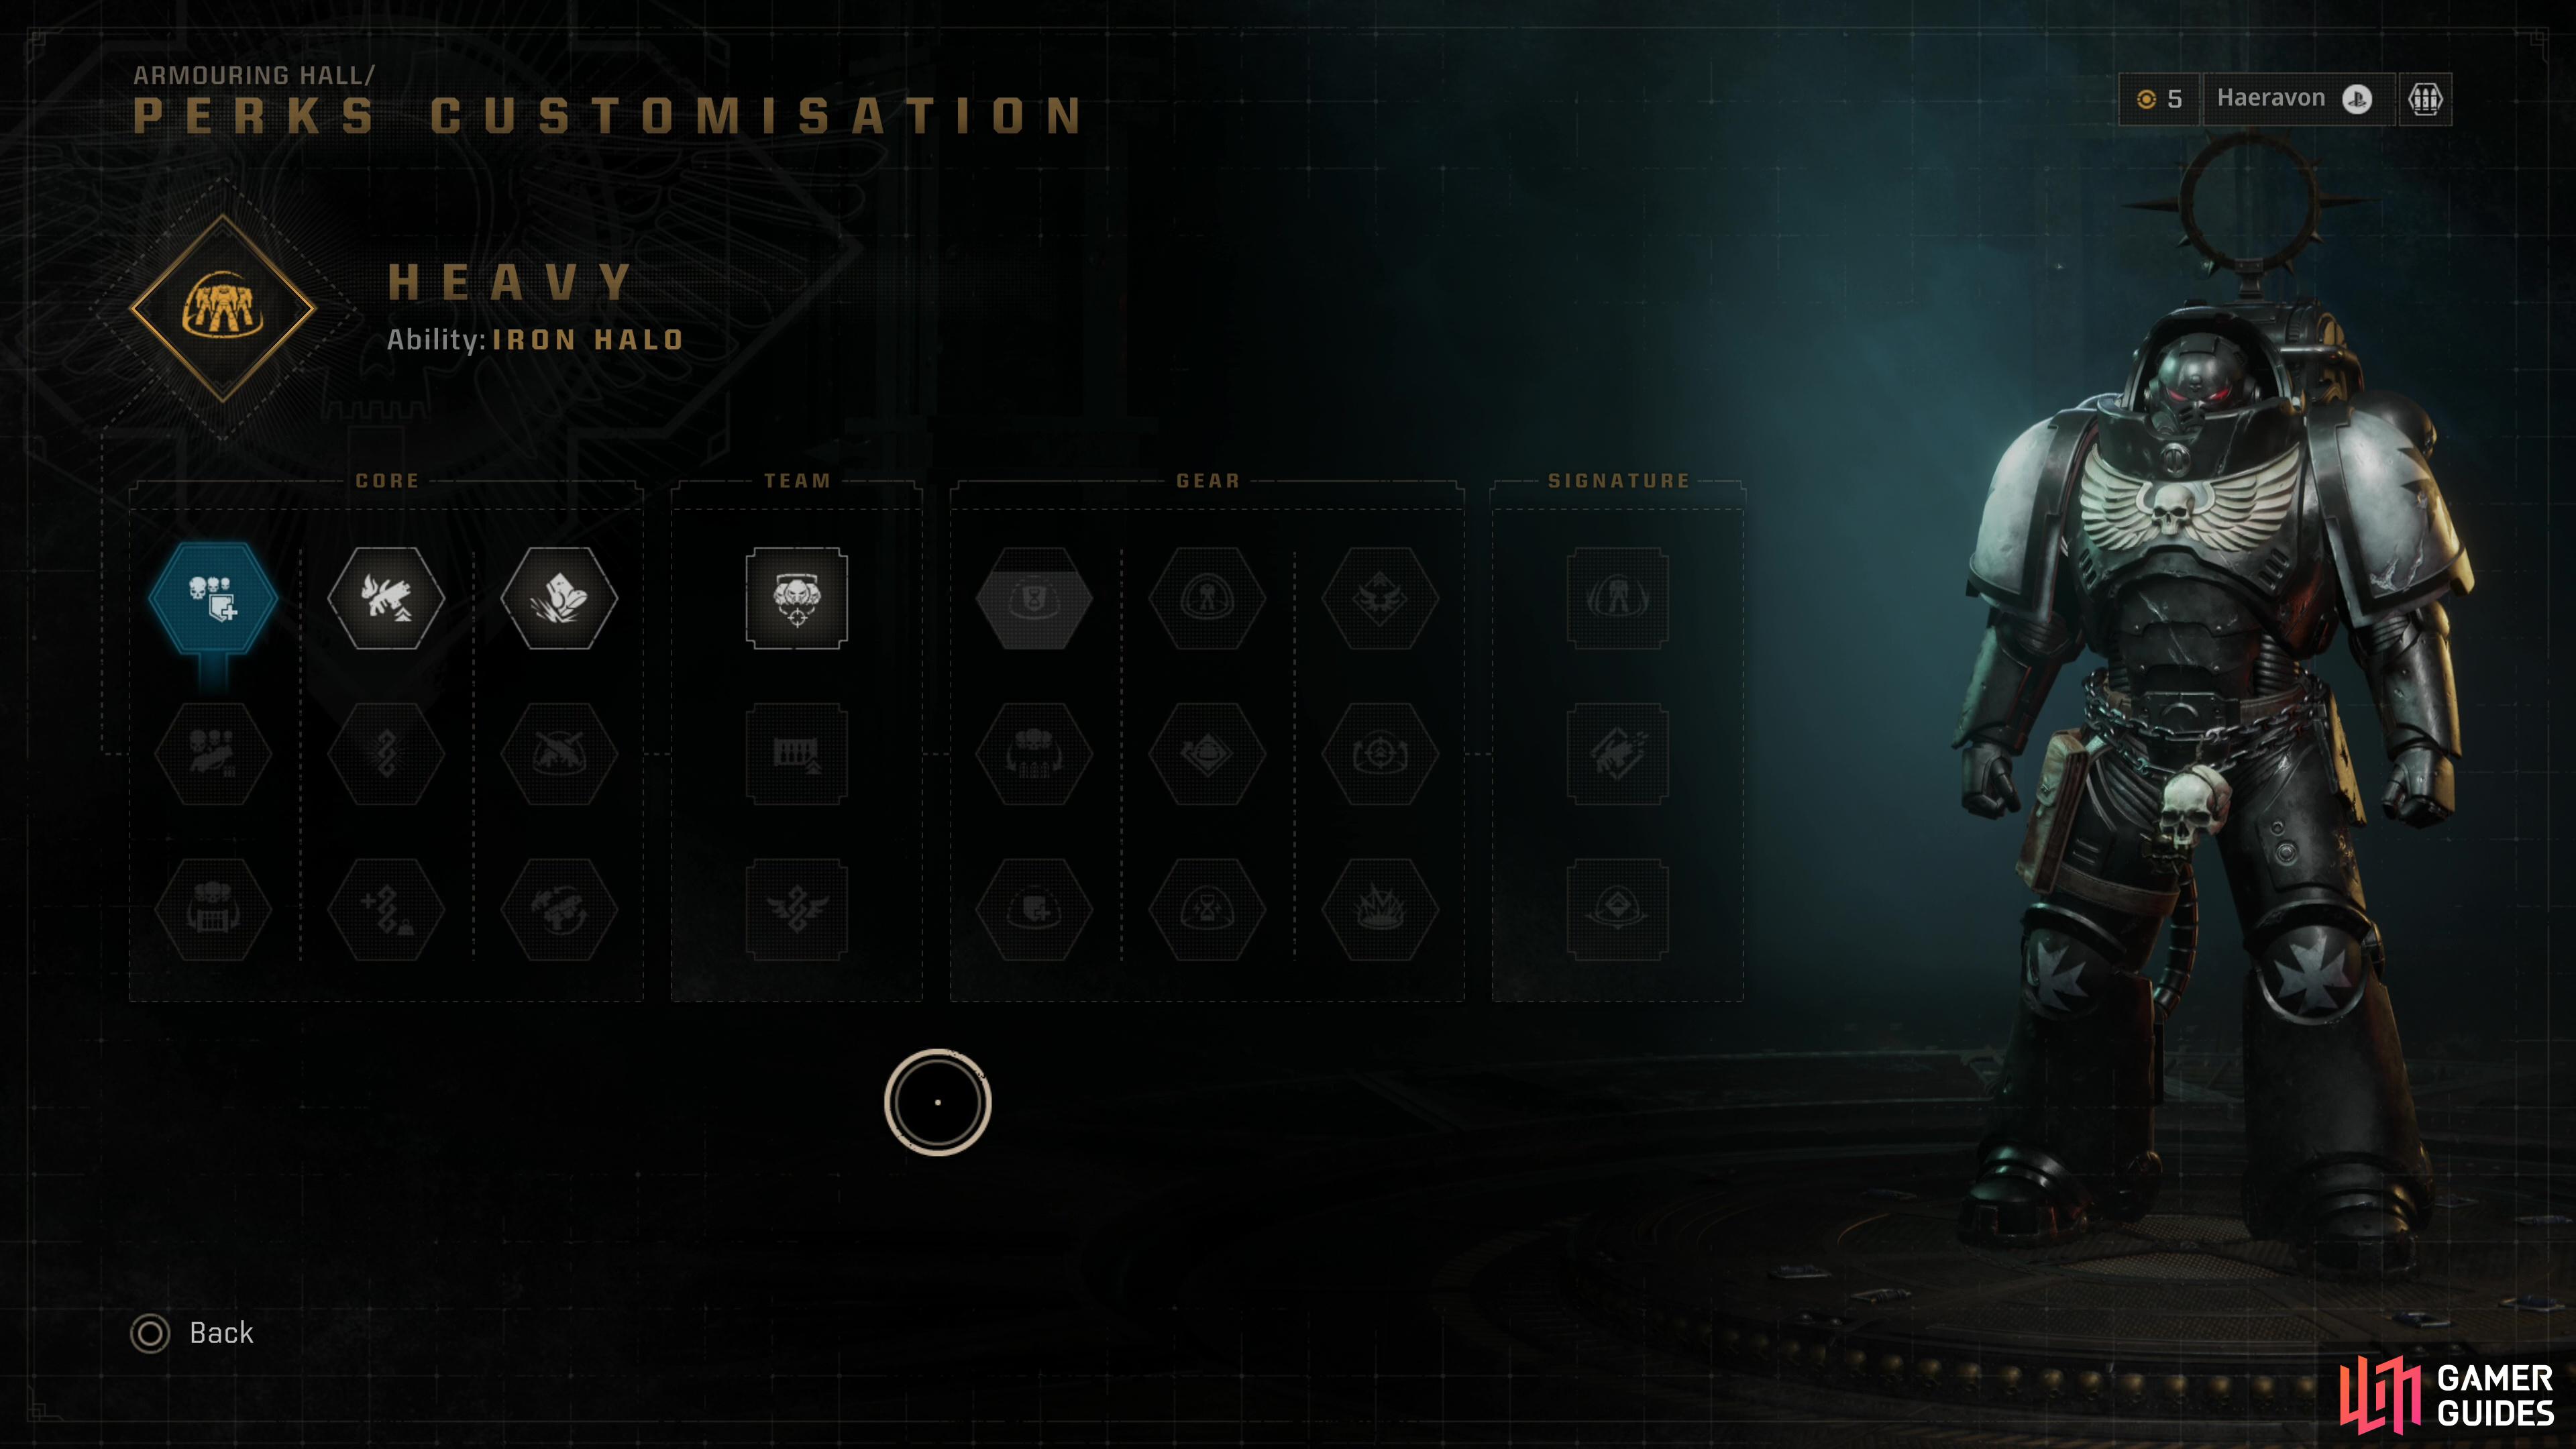
Heavy Class Ability - Iron Halo
There are two weaknesses the Heavy suffers from: dealing with trash mobs can be difficult (either because the chosen weapon lacks AoE or because it strains ammo reserves) and exchanging fire with ranged enemies can be tricky. The Heavy has to either get close or reduce their mobility by aiming in order to deal with such foes, and while there is no easy solution for trash mobs, the Heavy’s class ability, Iron Halo, does help deal with ranged foes.
This ability will create a barrier around the Heavy that “blocks all ranged damage” for its duration. The barrier moves with the Heavy and the Heavy can fire through it unimpeded. This removes a lot of the frustration when it comes to dealing with enemy cultist snipers, Tyranid Warriors with ranged weapons, Thousand Sons Terminators or Zoanthropes. This ability has a cooldown and does absolutely nothing against melee attackers, so it must be used wisely. Still, it gives the Heavy a reprieve that allows them to somewhat safely focus on ranged threats or close the distance. When upgraded via class perks, using Iron Halo can grant further effects, like dealing damage to nearby enemies, causing ally cooldowns to charge faster, restoring Armour Segments or dealing heavy AoE damage when its duration ends.
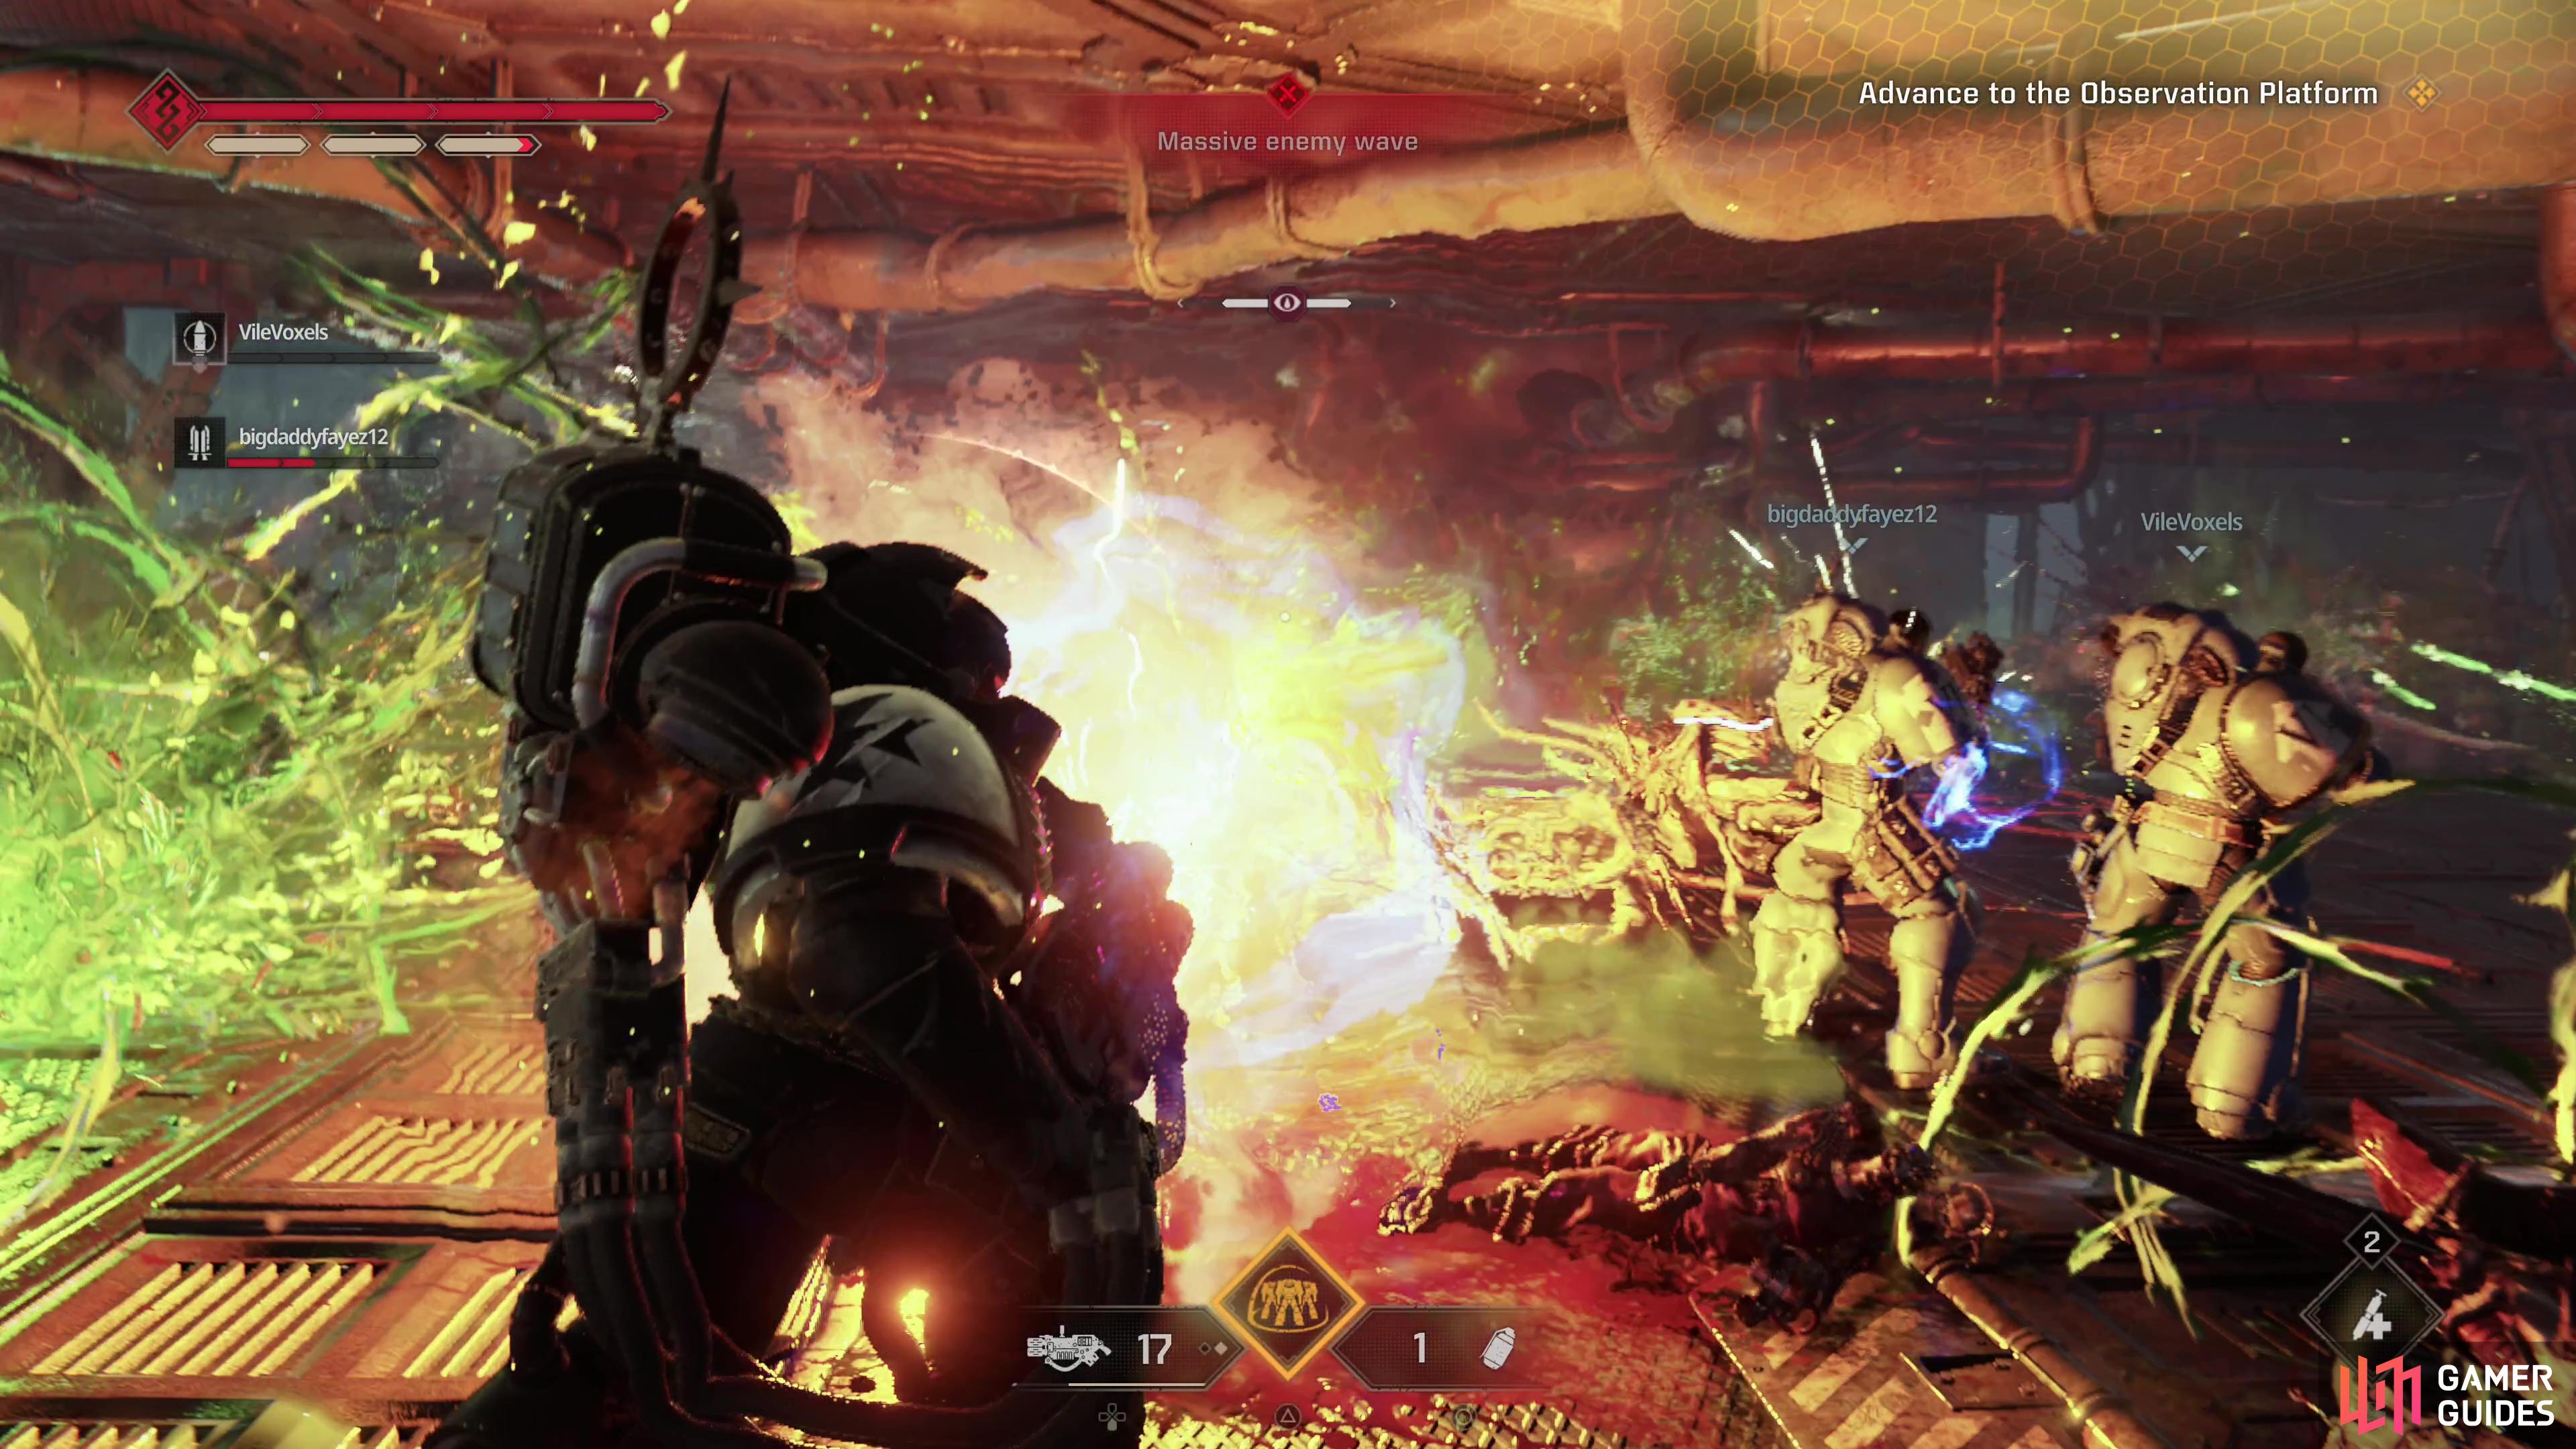
The Heavy’s Iron Halo ability negates enemy ranged attacks, allowing the player to focus on counterfire.
Heavy Class Weapons
The Heavy only has five weapon types at their disposal, tying them for least along with the [Assault] and [Bulwark]. They have no melee weapons, three primary weapons and two secondary weapons at their disposal. The primary weapon you choose will greatly influence your playstyle.
Heavy Bolter
Somewhat of a middle-of-the-road weapon, in case you wanted something heavy but didn’t want to stray too far from the standard boltgun experience. This weapon only deals moderate damage, and honestly has stats very similar to a humble Bolt Rifle, save you won’t have to reload it, instead managing its heat accumulation. It’s decent at dealing with hordes thanks to its ability to pierce, but is somewhat less effective at bringing majoris enemies down quickly compared to the Multi-Melta and the Heavy Plasma Incinerator. On the plus side, it’s capable of sustained fire, being able to punish enemies who are incapacitated or distracted and it’s decidedly a mid-ranged weapon, giving it more reach than the Multi-Melta.
On the whole, we’re not too impressed with the Heavy Bolter… at least at first. With upgrades, however - especially to its damage and accuracy - it closes the damage gap with the other weapons quite well (3 damage vs 8 is proportionally a much bigger gap than 10 vs 14!). It’s always going to be surprisingly ammo hoggy and requires more concentrated fire than the other two weapons, but once you’re dealing with Artificer and Relic quality weapons, the amount of midrange pain this weapon can concentrate on a foe is unmatched.
| Variant | Firepower | Accuracy | Rate of Fire | Venting Speed | Piercing | Range | Magazine Capacity |
|---|---|---|---|---|---|---|---|
| Standard-Issue | 3 | 1 | 8+ | 4 | 4 | 5 | 450 |
| Master-Crafted Alpha | 4+ | 2 | 8+ | 4 | 4 | 5 | 450 |
| Master-Crafted Beta | 4+ | 1 | 8+ | 4 | 4 | 5 | 475 |
| Master-Crafted Gamma | 4+ | 1 | 8+ | 5 | 4 | 5 | 450 |
| Salvation of Bakka - Alpha | 6 | 3 | 8+ | 4 | 4 | 5 | 450 |
| Salvation of Bakka - Beta | 6 | 1 | 8+ | 4 | 4 | 5 | 500 |
| Drogos Reclamation | 6 | 1 | 8+ | 6 | 4 | 5 | 450 |
| Gathalamor Crusade - Alpha | 9 | 4 | 8+ | 4 | 4 | 5 | 450 |
| Gathalamor Crusade - Beta | 9 | 1 | 8+ | 4 | 4 | 5 | 525 |
| Ophelian Liberation - Alpha | 9 | 1 | 8+ | 7 | 4 | 5 | 450 |
| Ophelian Liberation - Beta | 10 | 1 | 8+ | 4 | 4 | 5 | 450 |
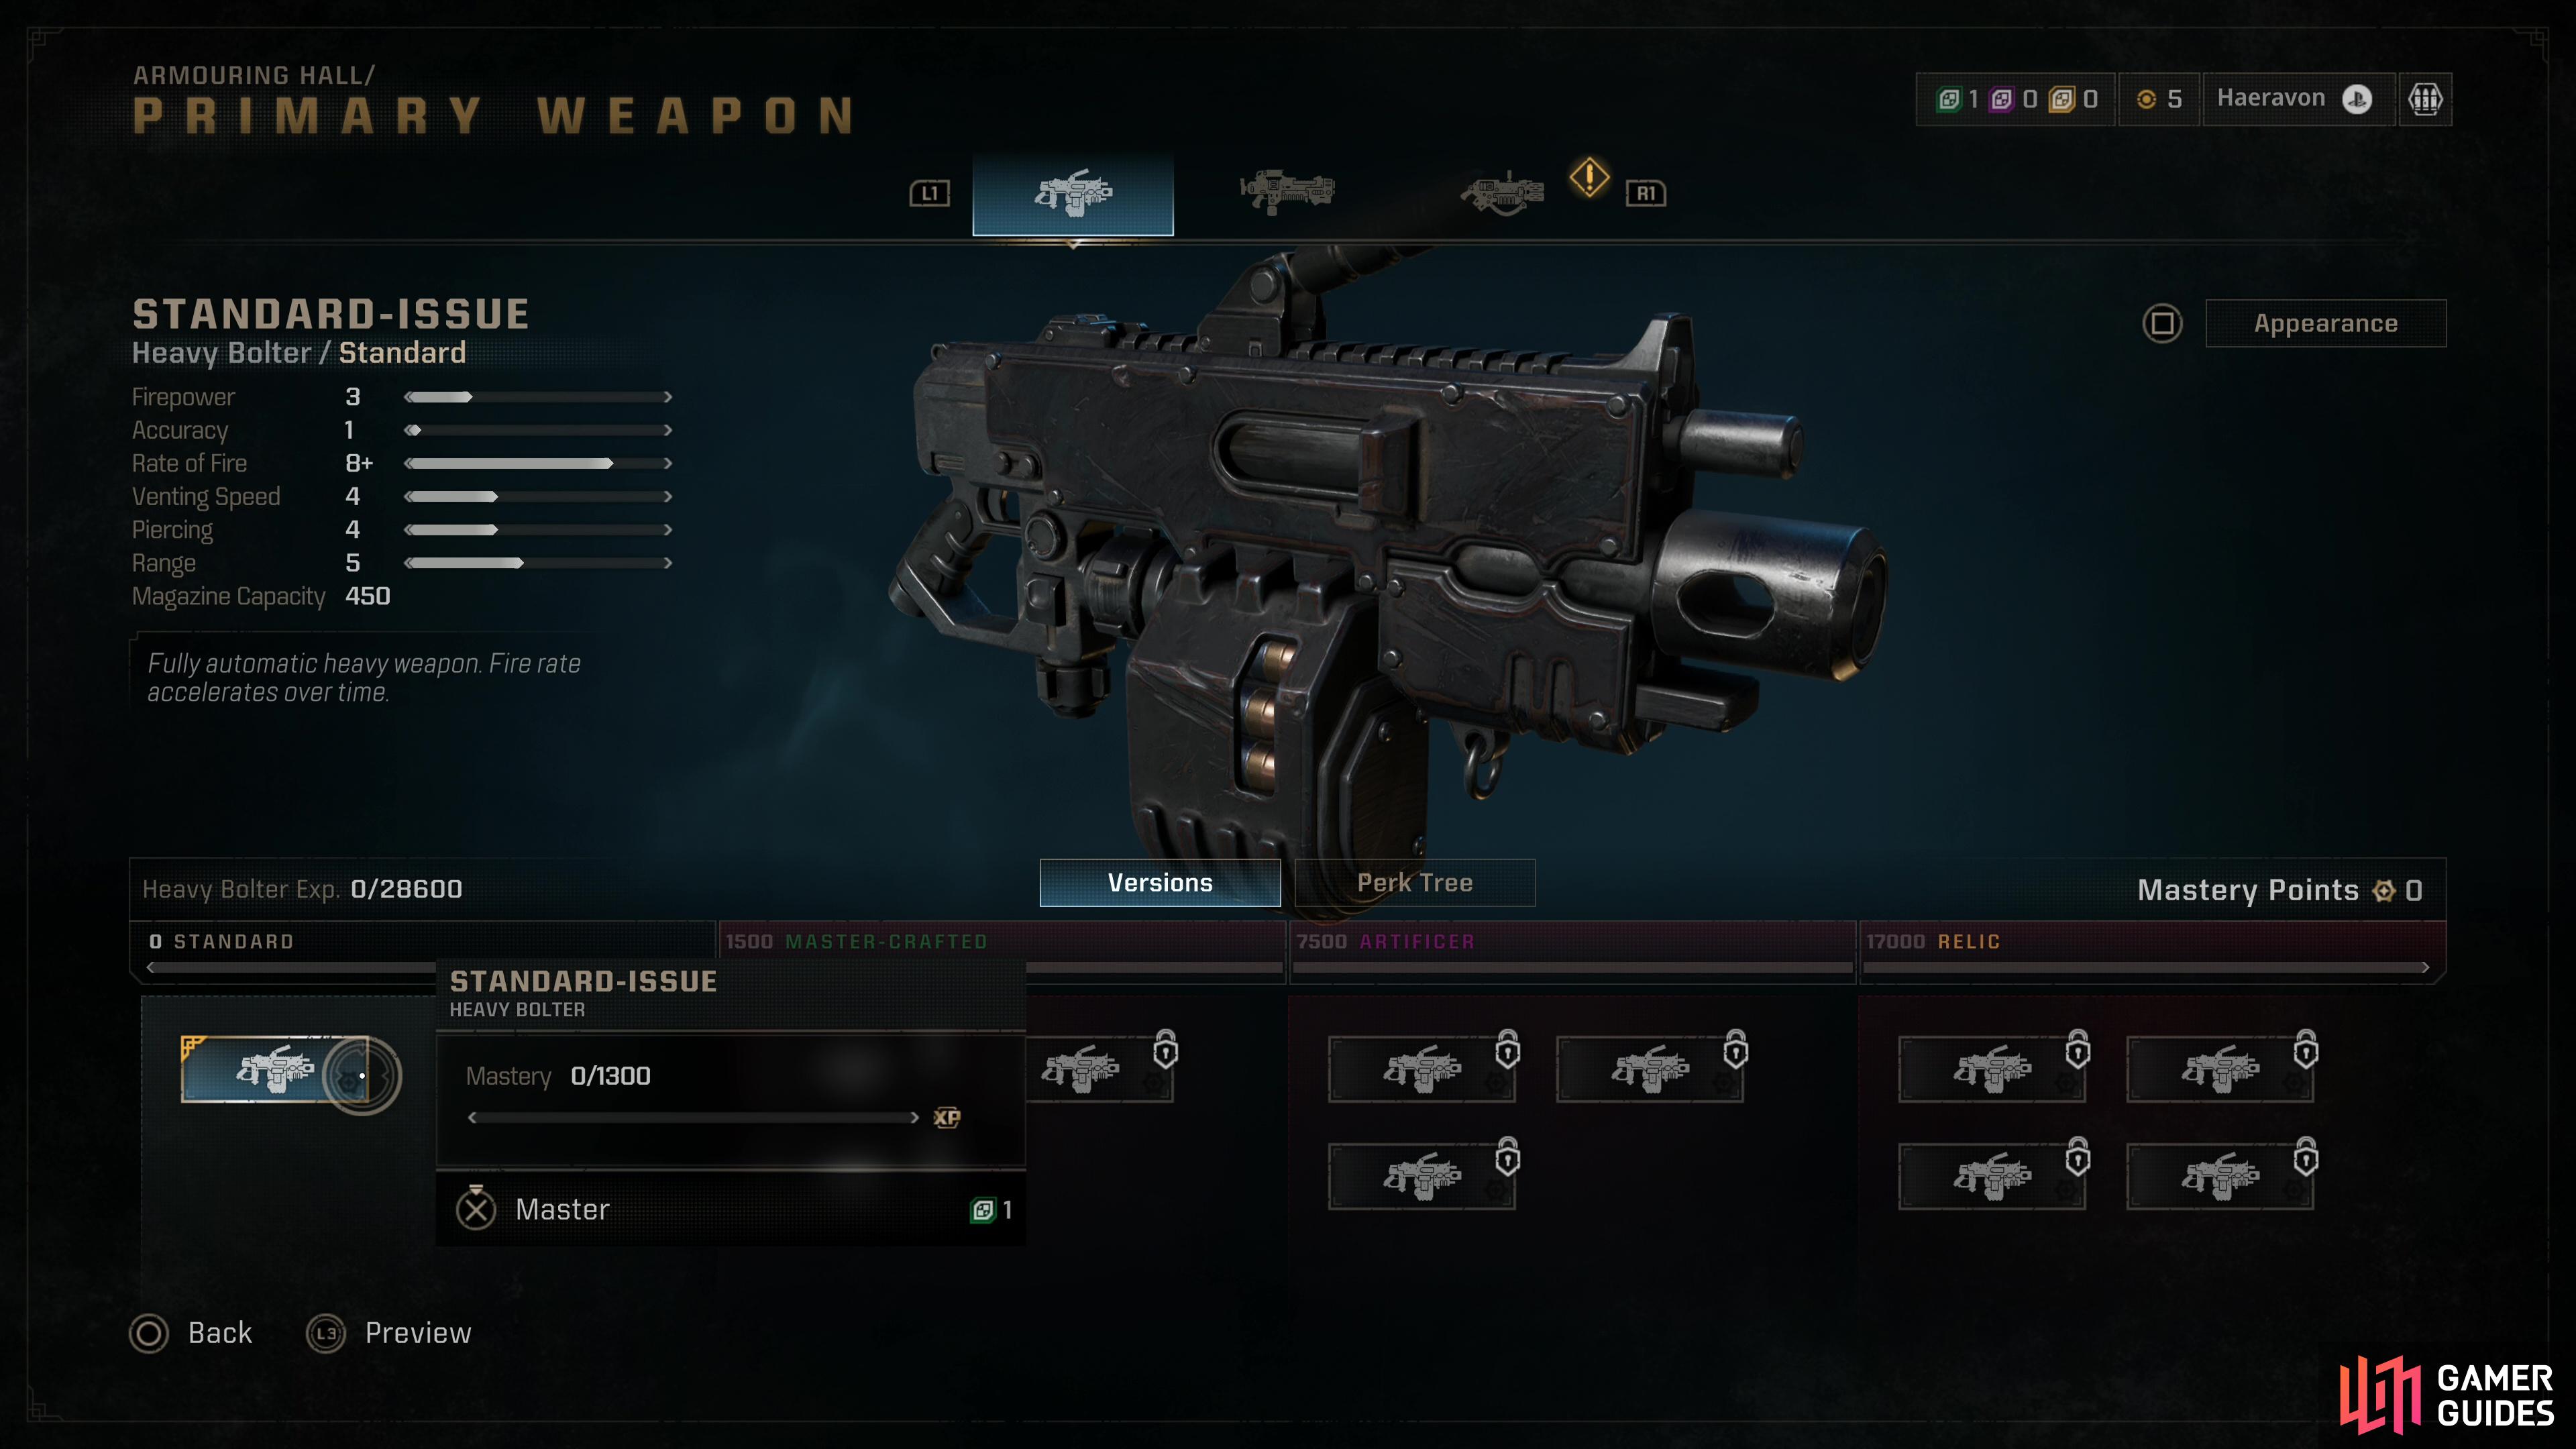
(1 of 3) The Heavy Bolter keeps the good qualities of the Bolt Gun, trading the need to reload with the risk of overheating.
Heavy Plasma Incinerator
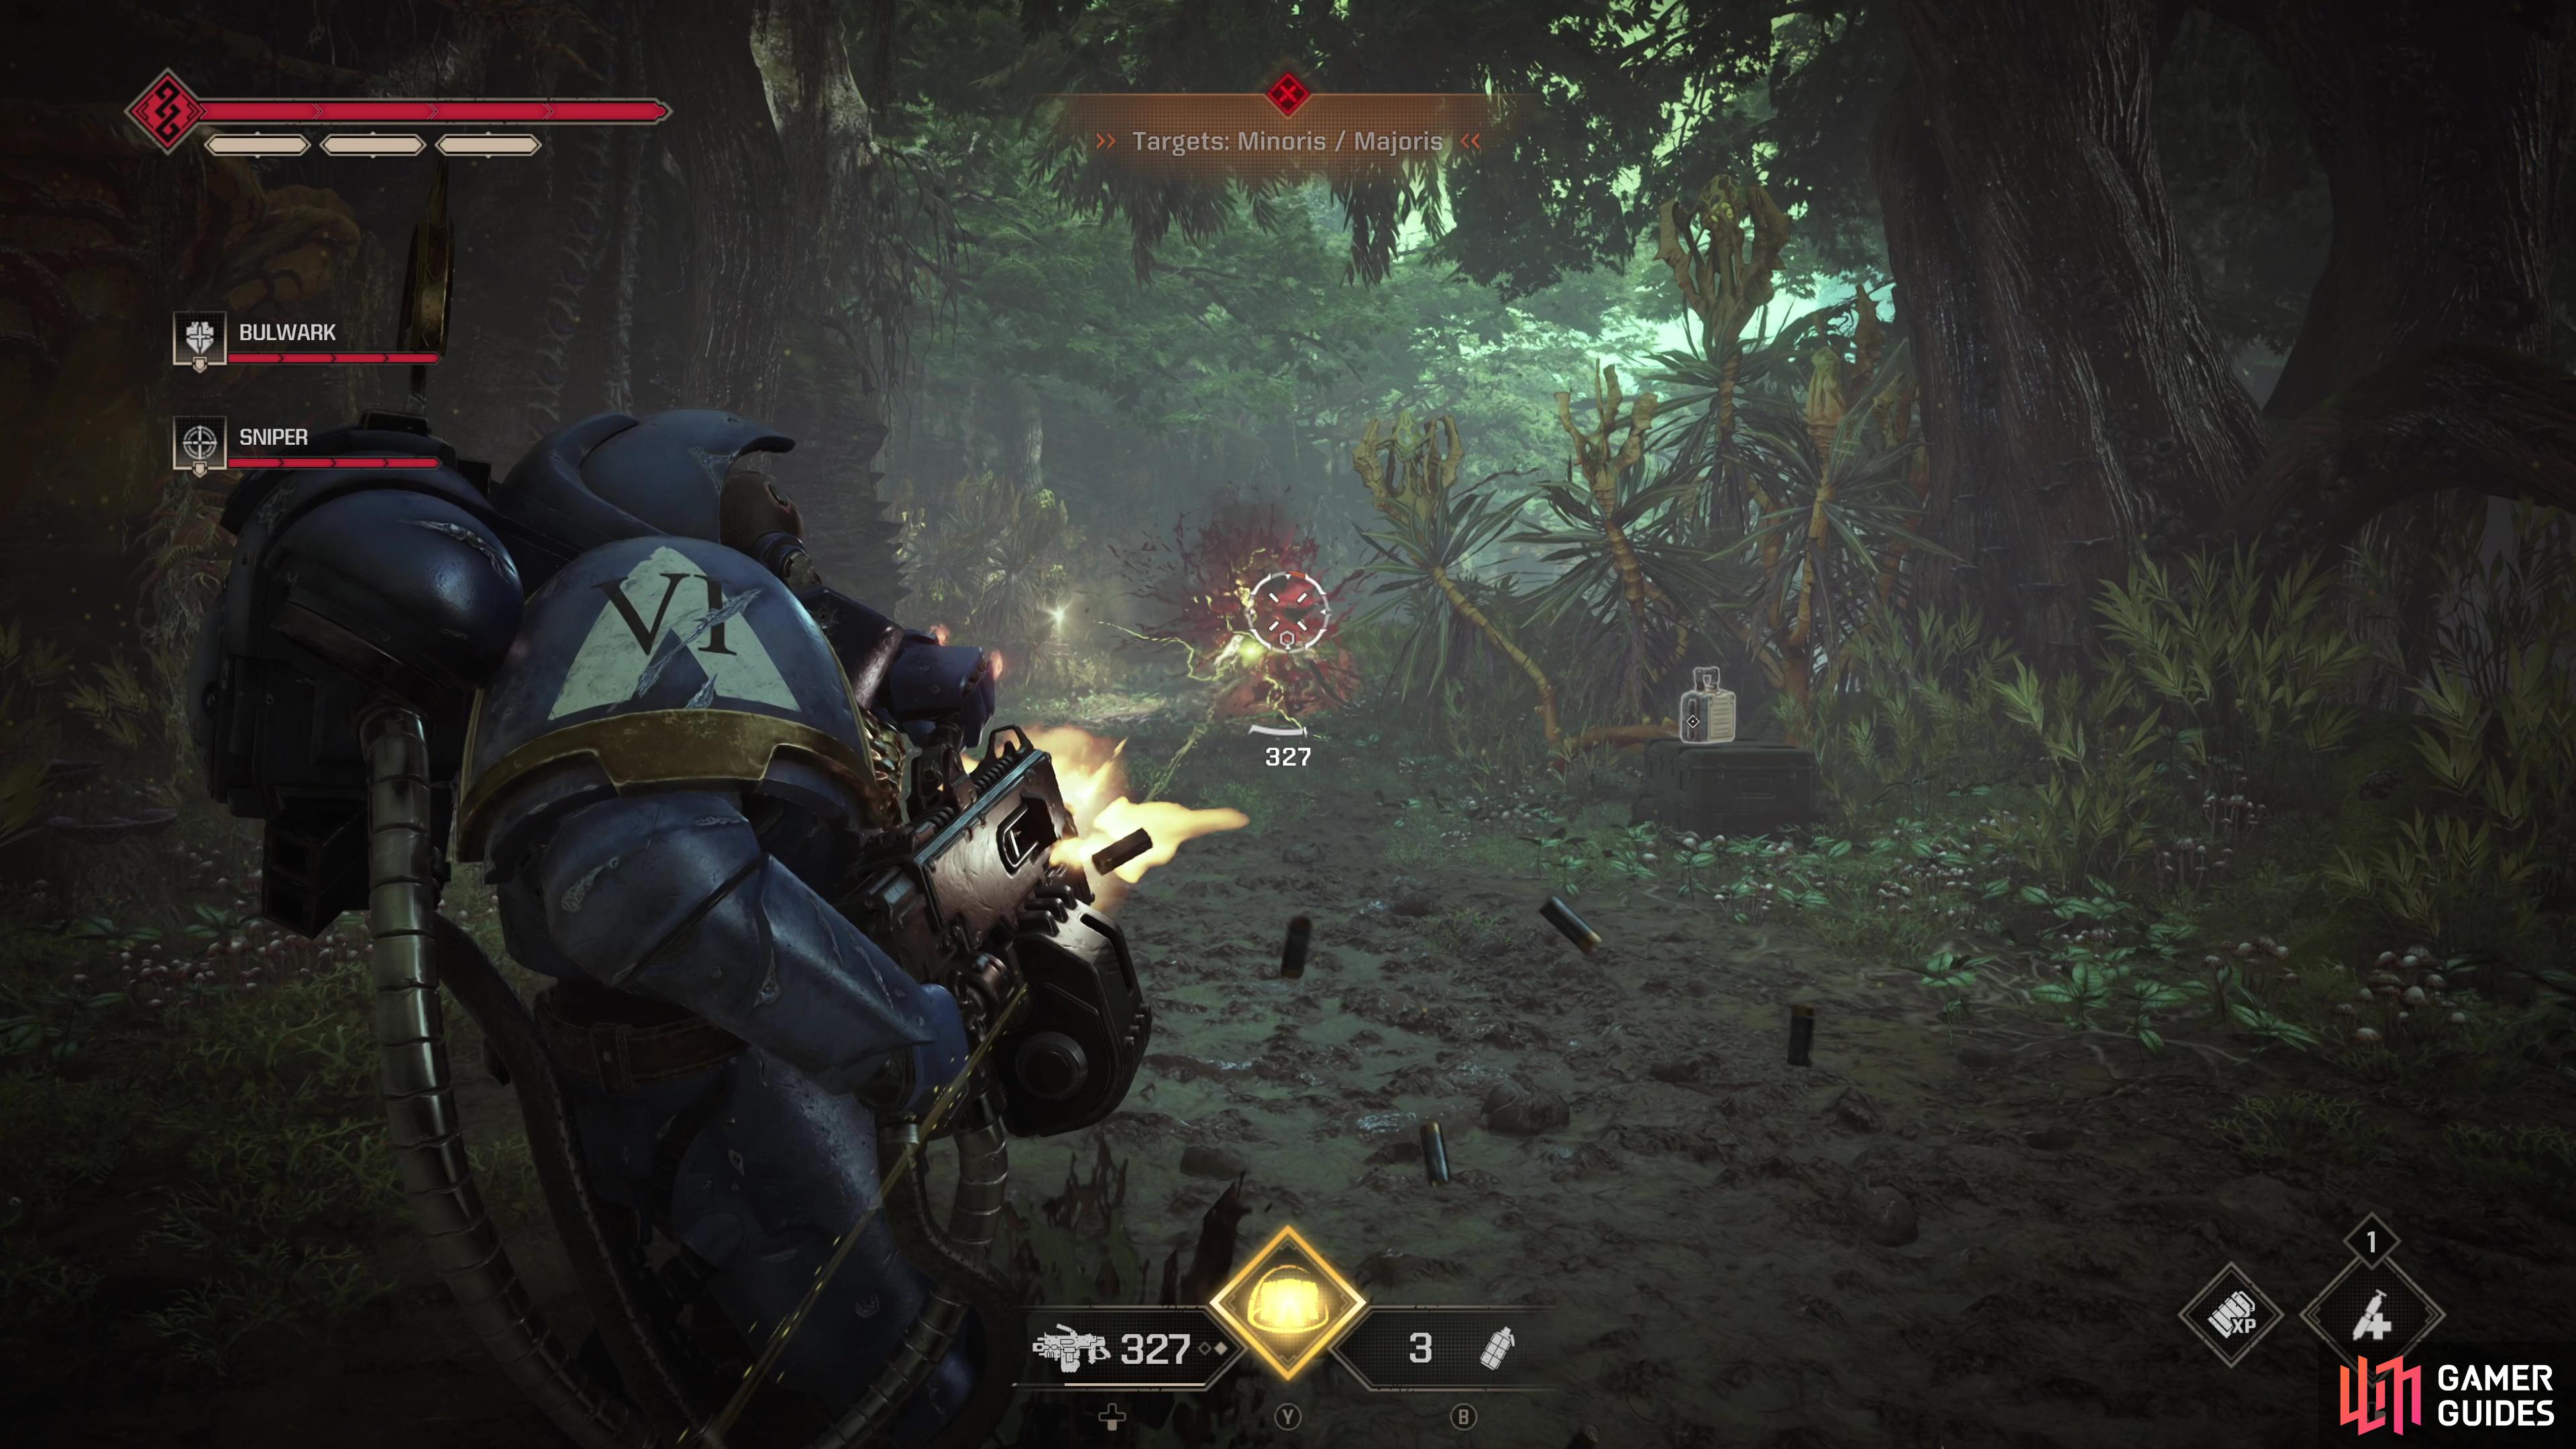
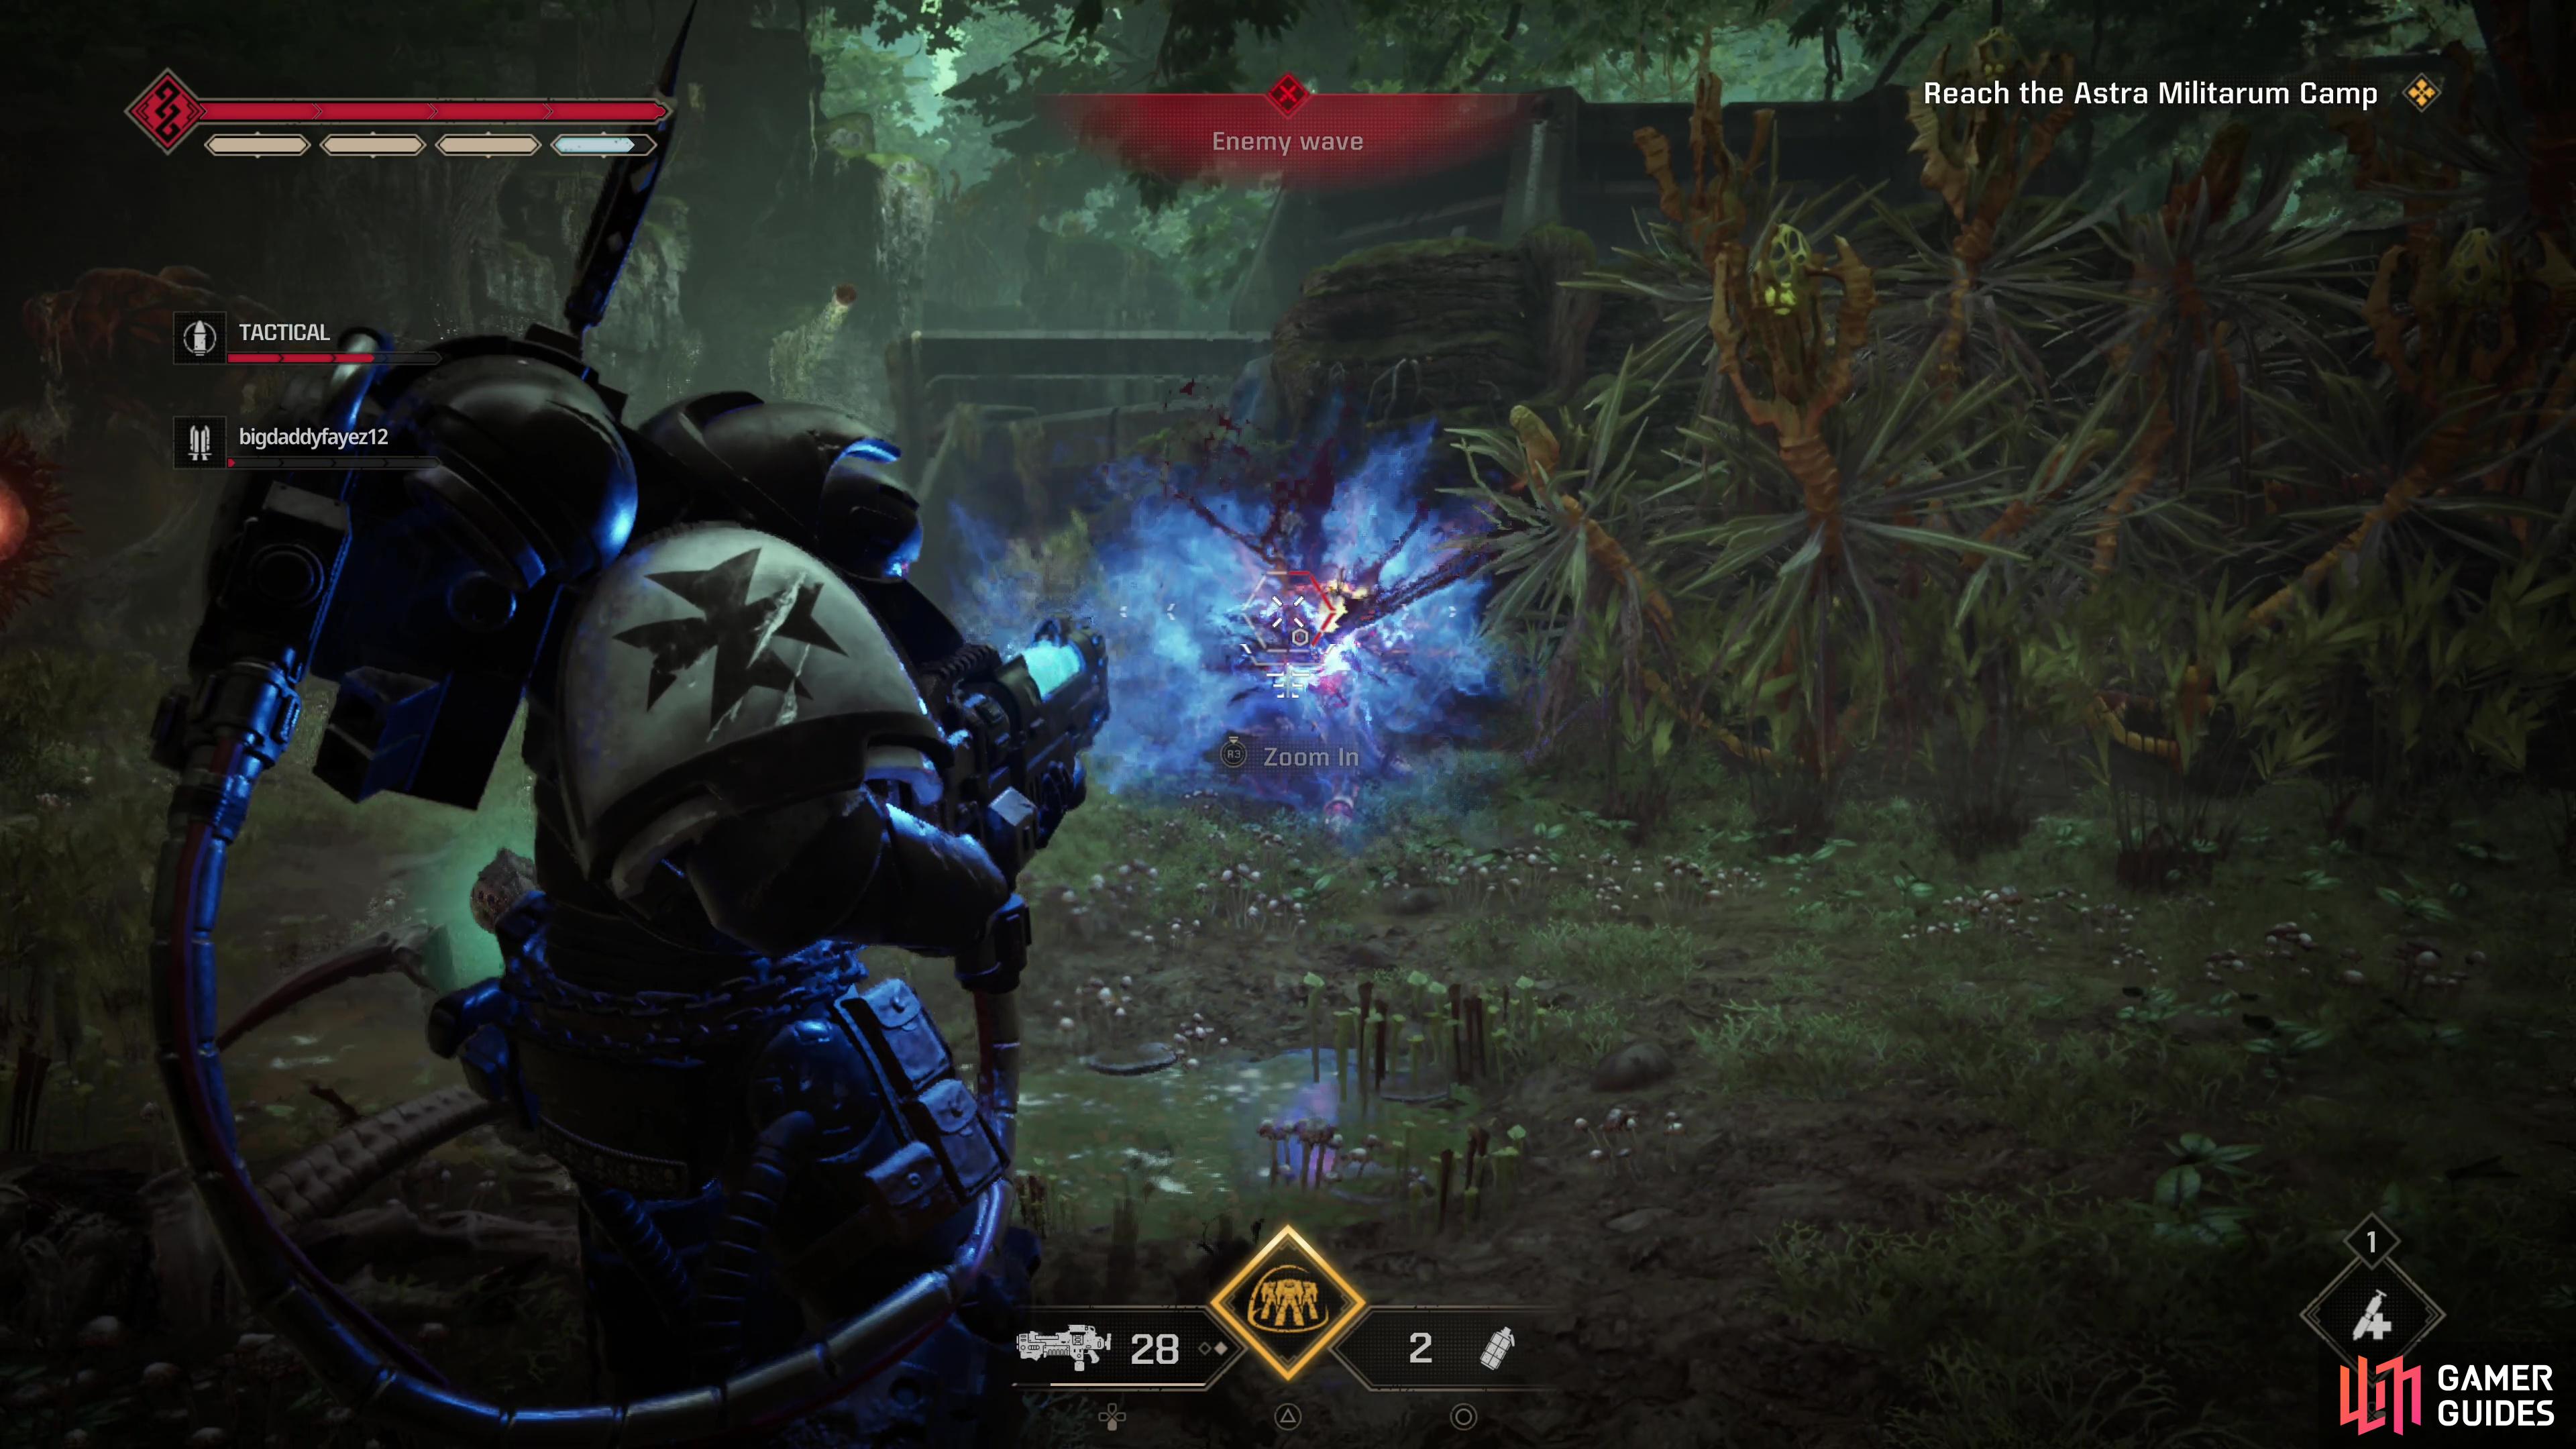
Some players hem and haw over the damage of the Multi-Melta and range of the Heavy Bolter, while others go “why not have both?”. The Heavy Plasma Incinerator deals massive damage, on par with the Multi-Melta, and fires just as slow, but it’s got much better range. It can also be charged to deal much more damage than either of its competitors, but doing so absolutely deletes ammo and heats the weapon up with a quickness… but it’s a nice option to have when there’s a filthy xeno or heretic that needs a good smiting.
The obvious drawbacks for this weapon are, of course, its rate of fire, limited ammo capacity and its propensity to overheat, but when you’re dishing out damage comparable to the Multi-Melta with each shot and have nearly double the ammo, the tradeoff doesn’t seem that bad. The elephant in the room just so happens to not appear on the stats sheets - this weapon doesn’t have any piercing whatsoever, and hence is objectively the worst at crowd control. Since both sidearms available to the Heavy aren’t good at dealing with mobs, either, this effectively limits the Heavy’s crowd control to stomps, which work, but it’s worth noting. Situationally speaking, this can be a nightmare, especially when you have mixed minoris/majoris mobs, as you can only deal with one. Grenades will help, as will companions, but you’re sacrificing AoE for midrange damage.
If you don’t mind aiming and would rather keep your distance from enemies as much as possible while retaining the damage of a Multi-Melta, the Heavy Plasma Incinerator is your gun. There’s not a single enemy in the game that can ignore a charged headshot from this weapon.
| Variant | Firepower | Accuracy | Rate of Fire | Venting Speed | Range | Magazine Capacity |
|---|---|---|---|---|---|---|
| Standard-Issue | 8+ | 4 | 1+ | 2 | 5 | 35 |
| Master-Crafted - Alpha | 10 | 4 | 1+ | 3 | 5 | 35 |
| Master-Crafted - Beta | 10 | 4 | 1+ | 2 | 5 | 40 |
| Master-Crafted - Gamma | 10 | 4 | 2+ | 2 | 5 | 35 |
| Salvation of Bakka - Alpha | 11+ | 4 | 1+ | 4 | 5 | 35 |
| Salvation of Bakka - Beta | 11+ | 4 | 1+ | 2 | 5 | 45 |
| Drogos Reclamation | 11+ | 4 | 1+ | 3+ | 5 | 35 |
| Gathalamor Crusade - Alpha | 14+ | 4 | 1+ | 5 | 5 | 35 |
| Gathalamor Crusade - Beta | 14+ | 4 | 1+ | 2 | 5 | 50 |
| Ophelian Liberation | 14+ | 4 | 4+ | 2 | 5 | 35 |
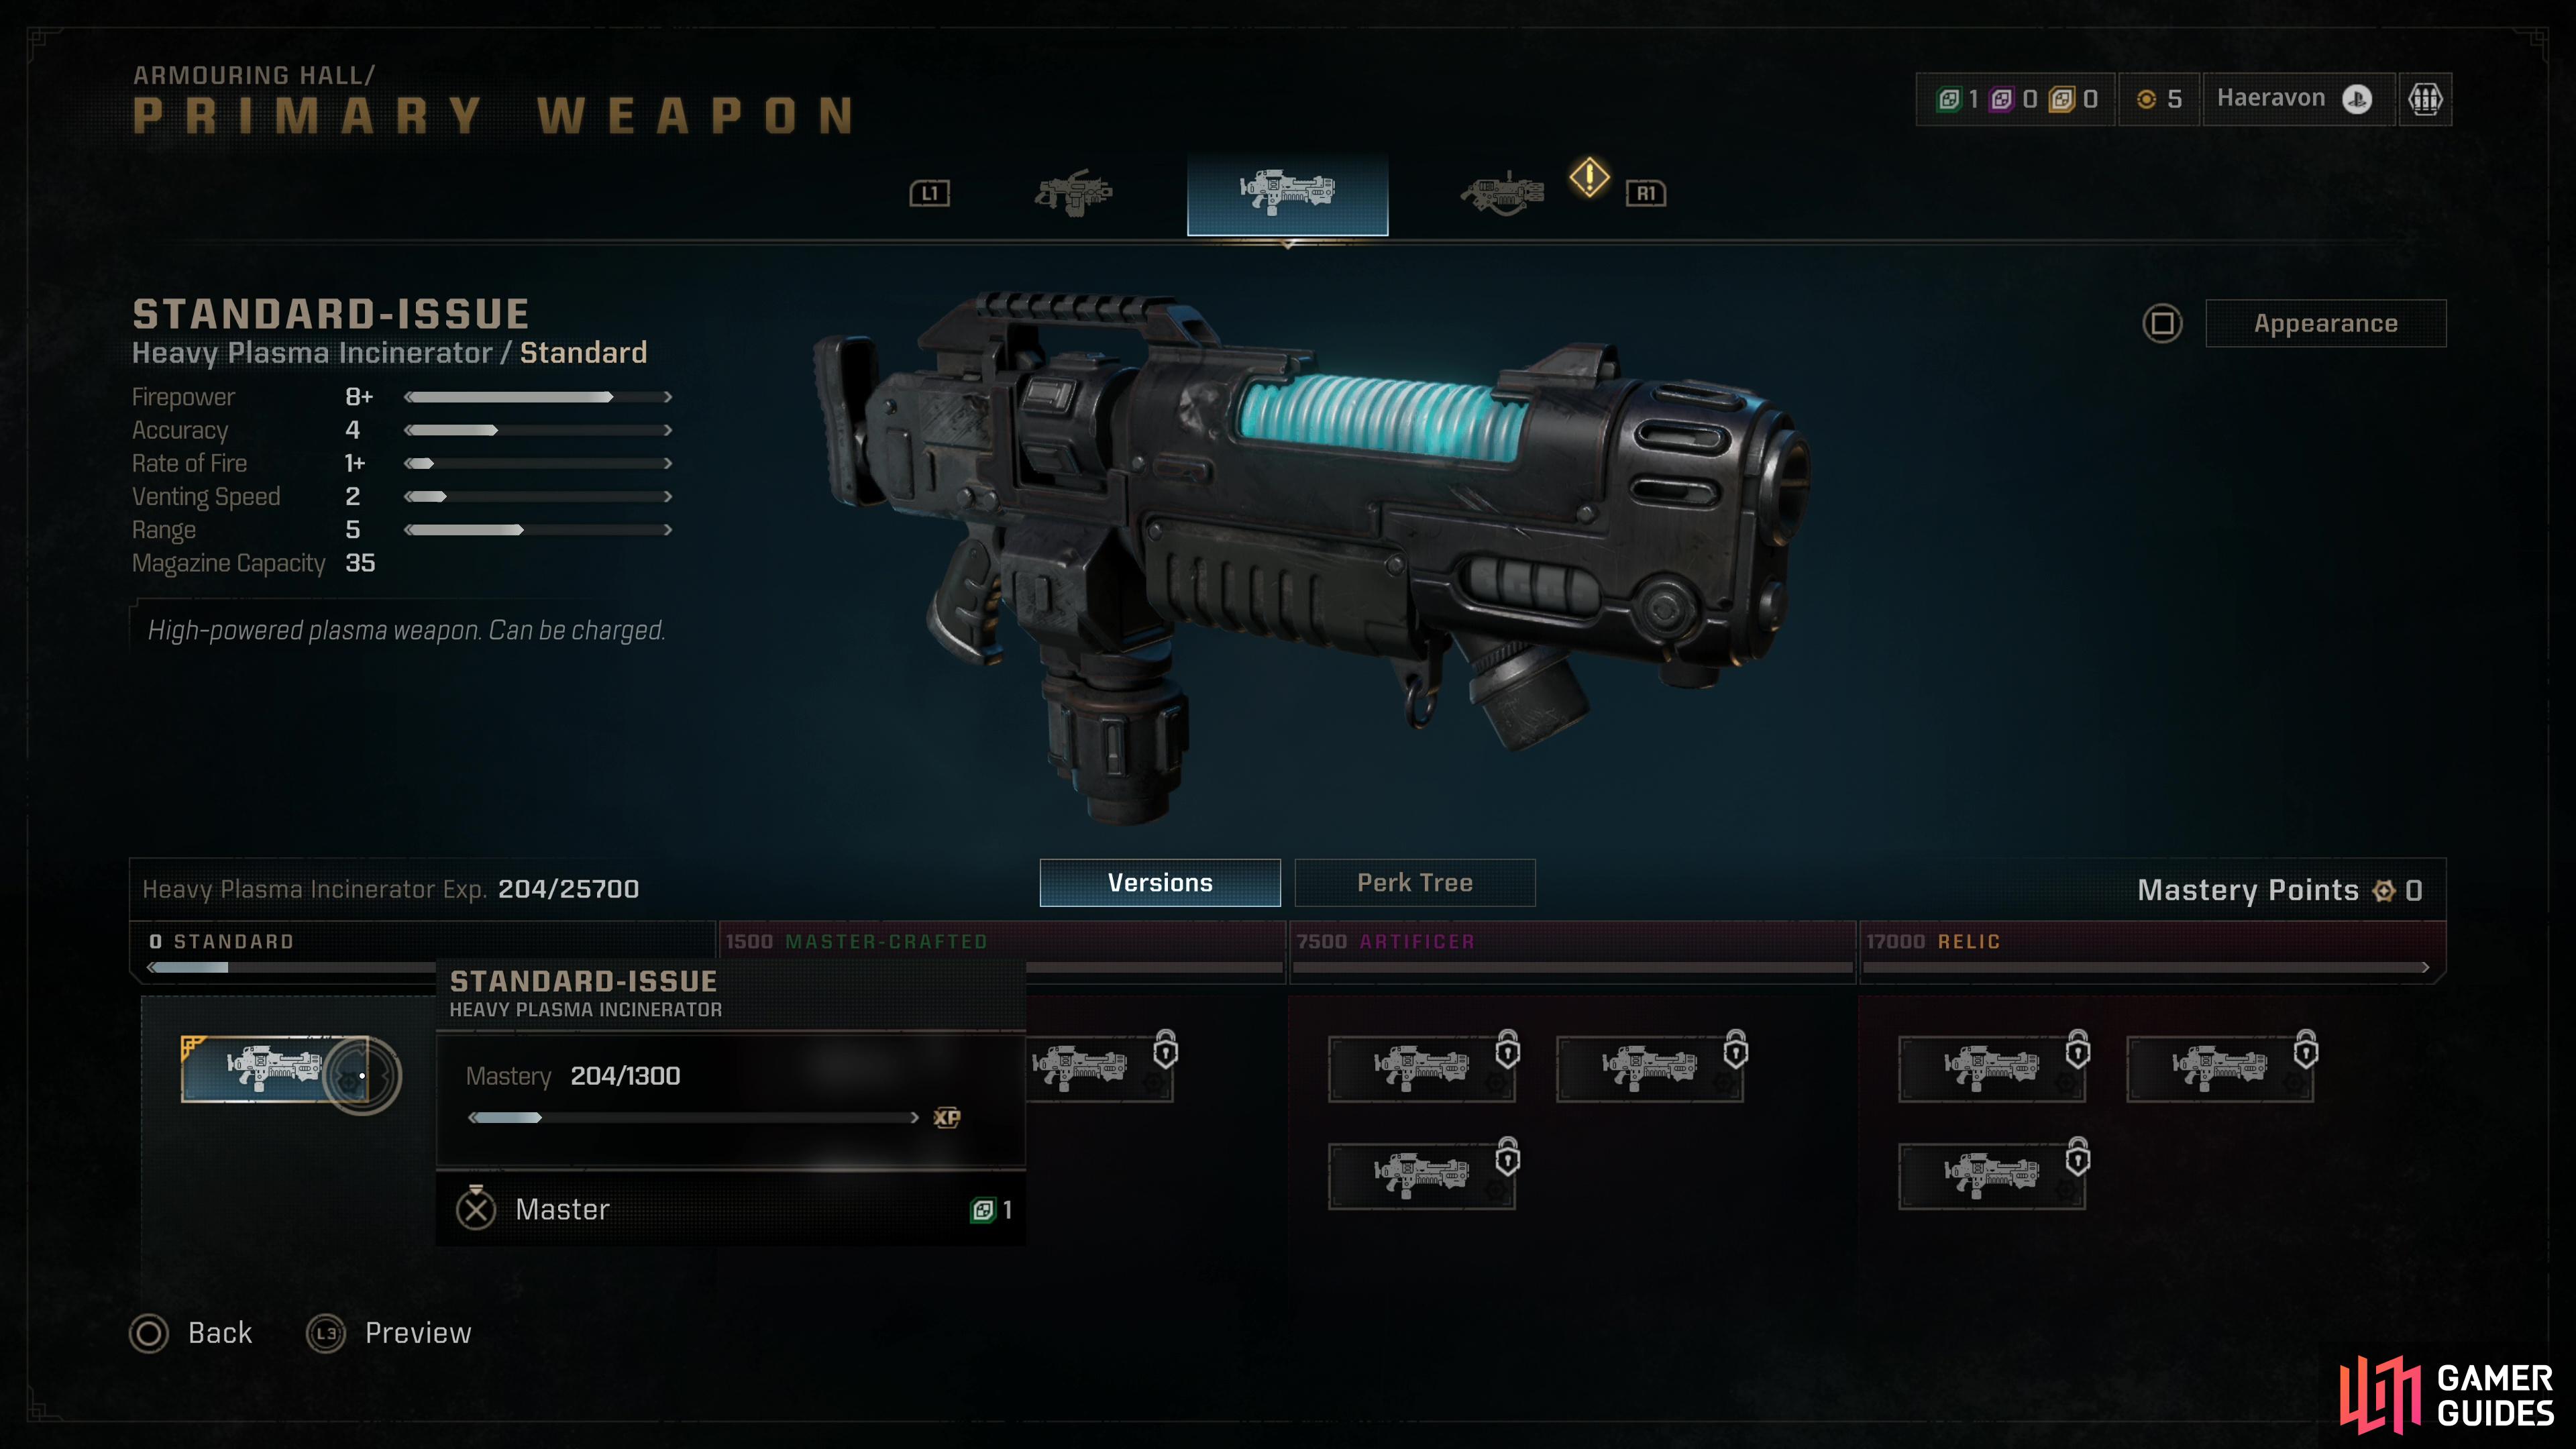
(1 of 3) The Heavy Plasma Incinerator is a high-damage, medium range weapon.
Multi-Melta
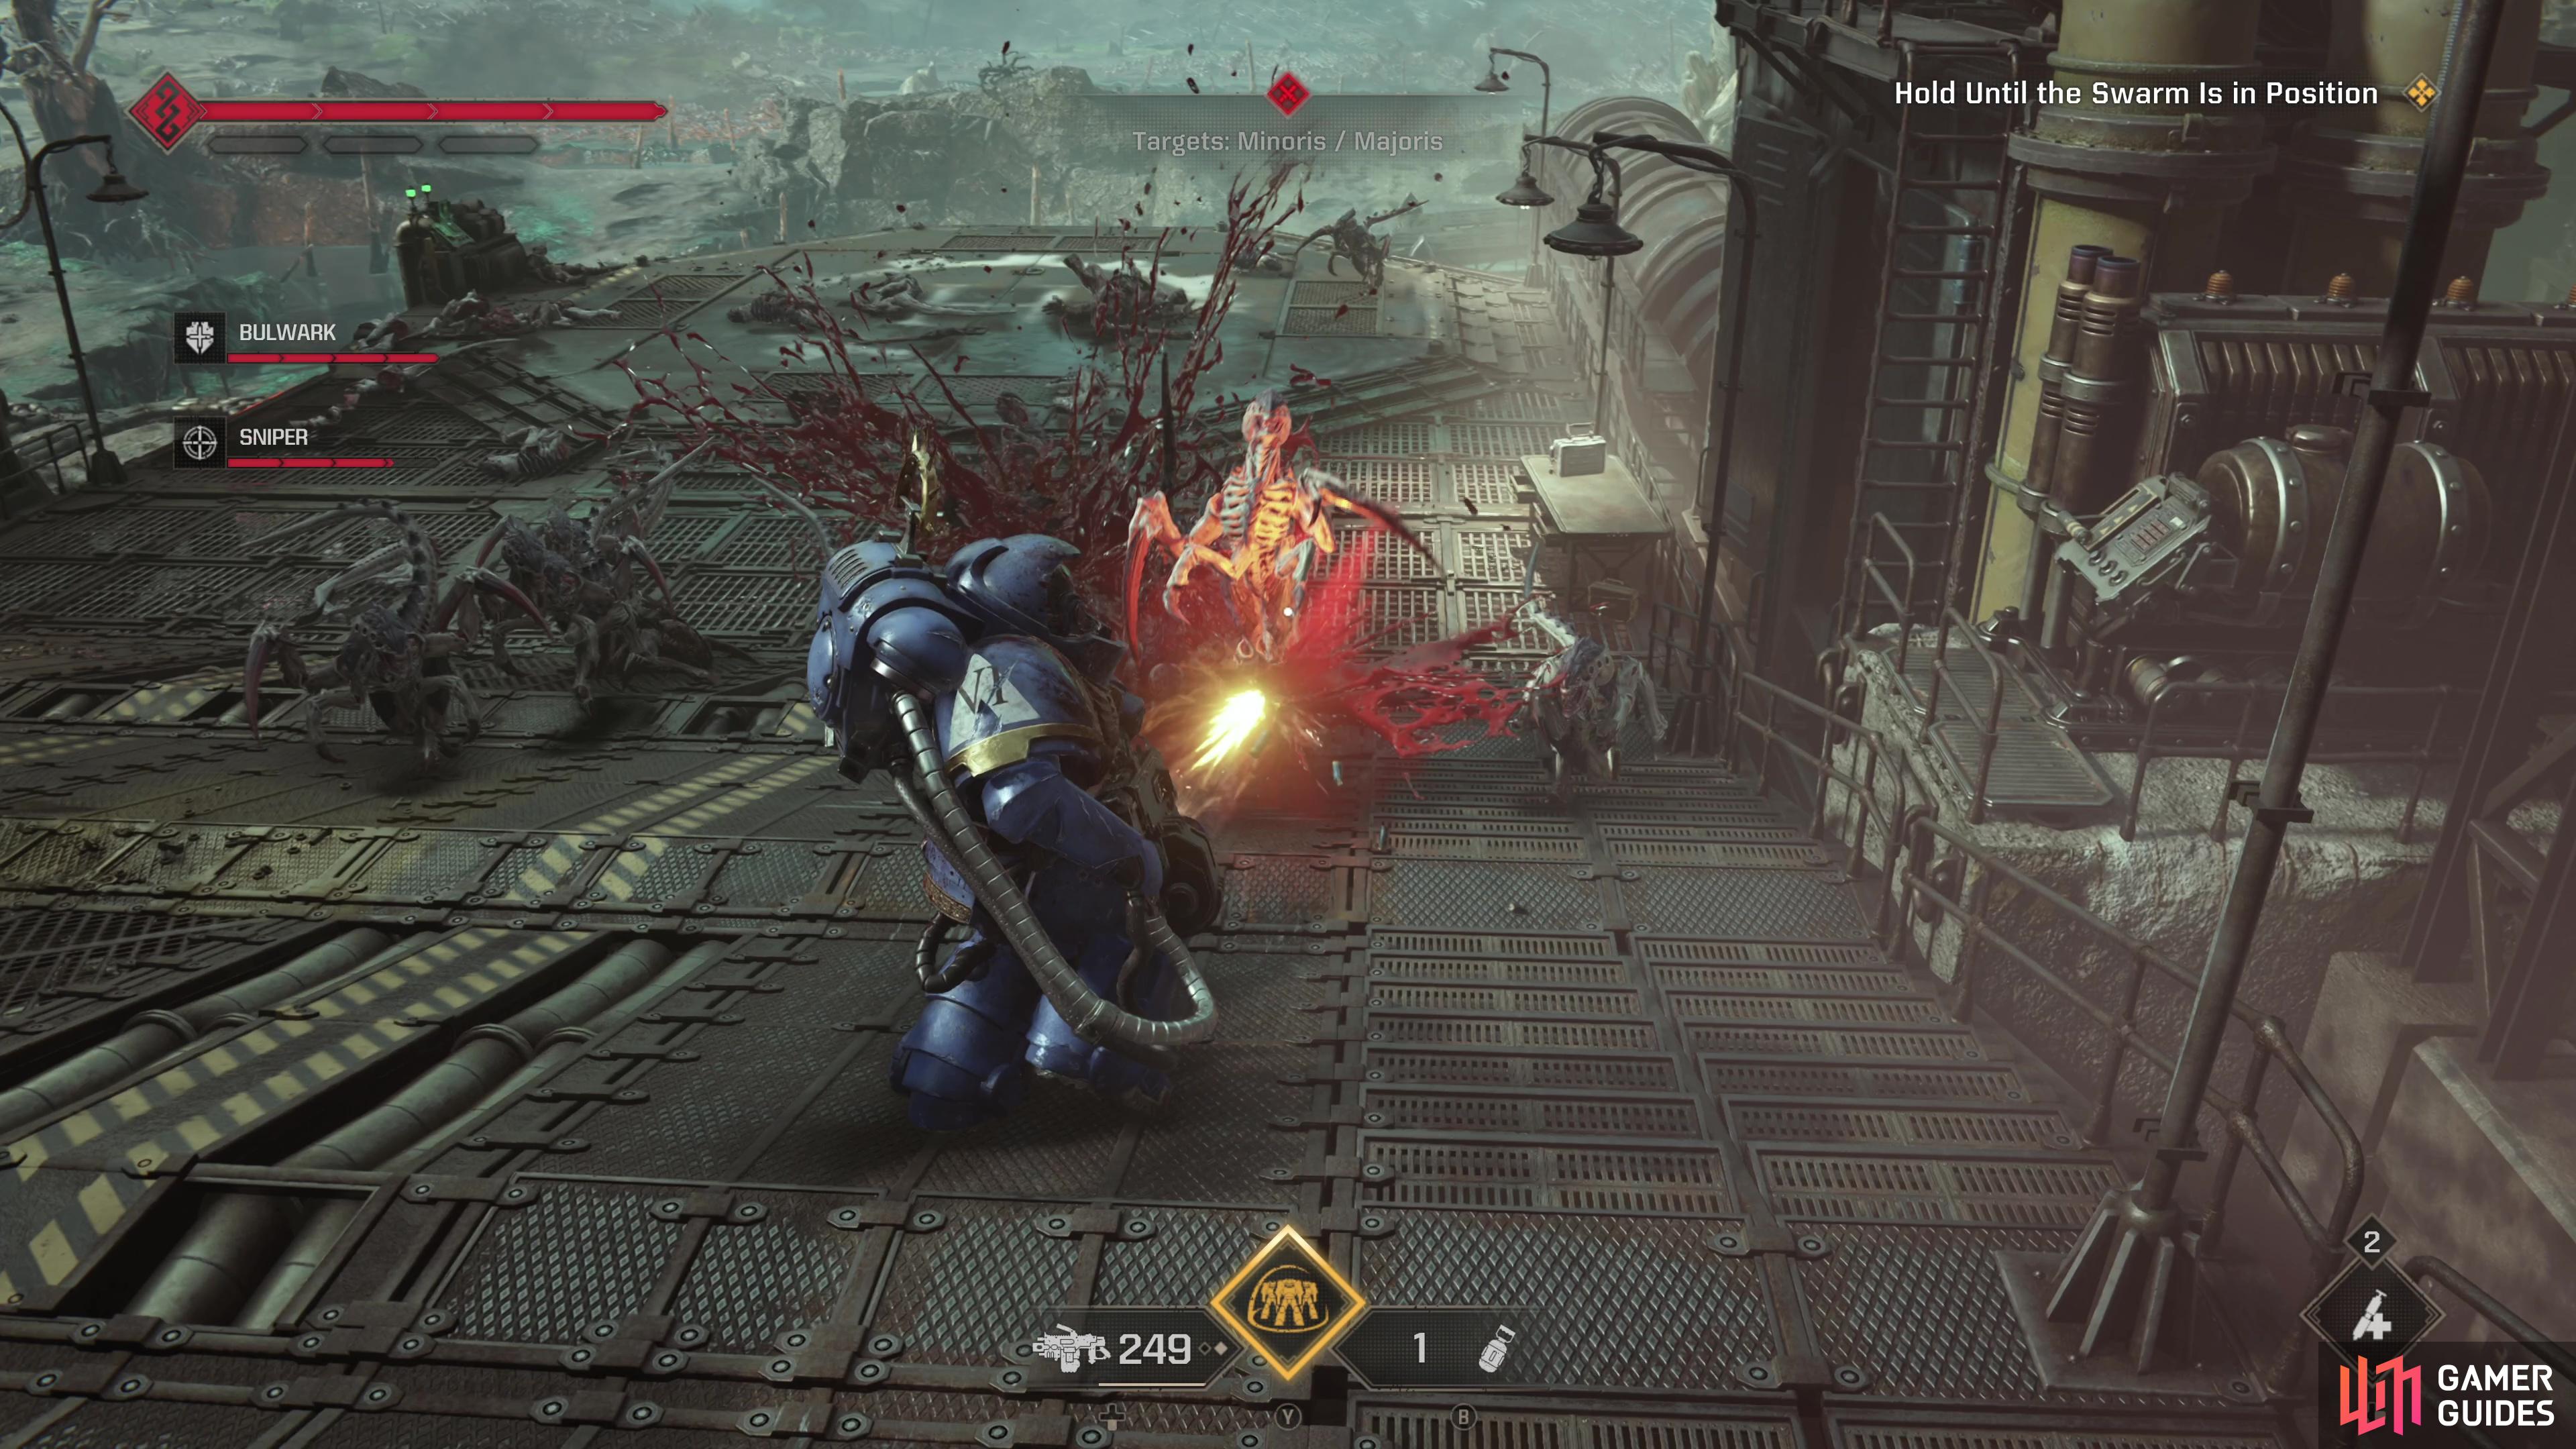
If the Melta Rifle is this game’s shotgun, the Multi-Melta is… well, not quite the super shotgun, but it does have some boons compared to the Melta Rifle. While the damage is the same, it doesn’t need to reload and has higher ammo capacity. Okay, it’s not much better than the Melta Rifle, the Melta Rifle is really, really good, too, but not having to endure a lengthy reload every five shots makes more of a difference than you might think.
The Multi-melta works like a shotgun; get up close to things and let loose. Its piercing rating means it’s gonna tunnel through mobs of enemies and if you can target a majoris enemy behind a host of minoris foes you’ll deal with two problems at once! Eight damage means most majoris enemies will be executable in 3-4 shots, and while slow and unwieldy, if you’re willing to endure repeating the same execution animations over and over again, you’ll have significant iframe uptime and Armour recovery due to the sheer number of majoris enemies you’re dispatching.
Best for aggressive, short-range play, the Mult-Melta does have some downsides. Obviously its rate of fire is bad, so you’ll have to pick your shots and get a rhythm going with this weapon - missing a shot can be catastrophic, but the orb it fires is so large and its range is so short that it’s really hard to miss at this weapon’s effective range. Since you’ll almost never have any good reason to aim-down-sights with this gun, it actually can keep you more mobile than some other primary weapons. The Multi-Melta is also a strictly short-range weapon, even with upgrades. You’ll need to rely on secondary weapons to deal with distant foes, but the Plasma Pistol is a very good sidearm and enemies that you can’t close with are very rare, especially if you use Iron Halo. Perhaps the biggest drawback for this weapon is its ammo count - at first you can fire a measly 20 rounds, and while upgrade and perks will do much to mitigate this shortcoming, this class does noticeably better when there’s an Ammo Cache around.
Just a great weapon, run up to mobs and melt them. If you’ve got the gumption to be an aggressive headhunter and play with a squad of people who can cover for your lack of melee threat and ranged threat, this is a great weapon to run with as a Heavy. Once you’ve got some perks, any shot that dusts 5+ enemies is free, turning mobs from a weakspot to an opportunity. The slow rate of fire also helps twitchy gamers keep their cool during boss battles!
| Variant | Firepower | Rate of Fire | Piercing | Range | Magazine Capacity |
|---|---|---|---|---|---|
| Standard-Issue | 8+ | 1 | 10 | 1 | 20 |
| Master-Crafted - Alpha | 10 | 1 | 10 | 2 | 20 |
| Master-Crafted - Beta | 10 | 1 | 10 | 1 | 23 |
| Master-Crafted - Gamma | 10 | 2 | 10 | 1 | 20 |
| Salvation of Bakka | 11+ | 1 | 10 | 3 | 20 |
| Drogos Reclamation - Alpha | 11+ | 1 | 10 | 3 | 26 |
| Drogos Reclamation - Beta | 11+ | 3 | 10 | 1 | 29 |
| Gathalamor Crusade | 14+ | 1 | 10 | 4 | 20 |
| Ophelian Liberation - Alpha | 14+ | 1 | 10 | 1 | 30 |
| Ophelian Liberation - Beta | 14+ | 4 | 10 | 1 | 20 |
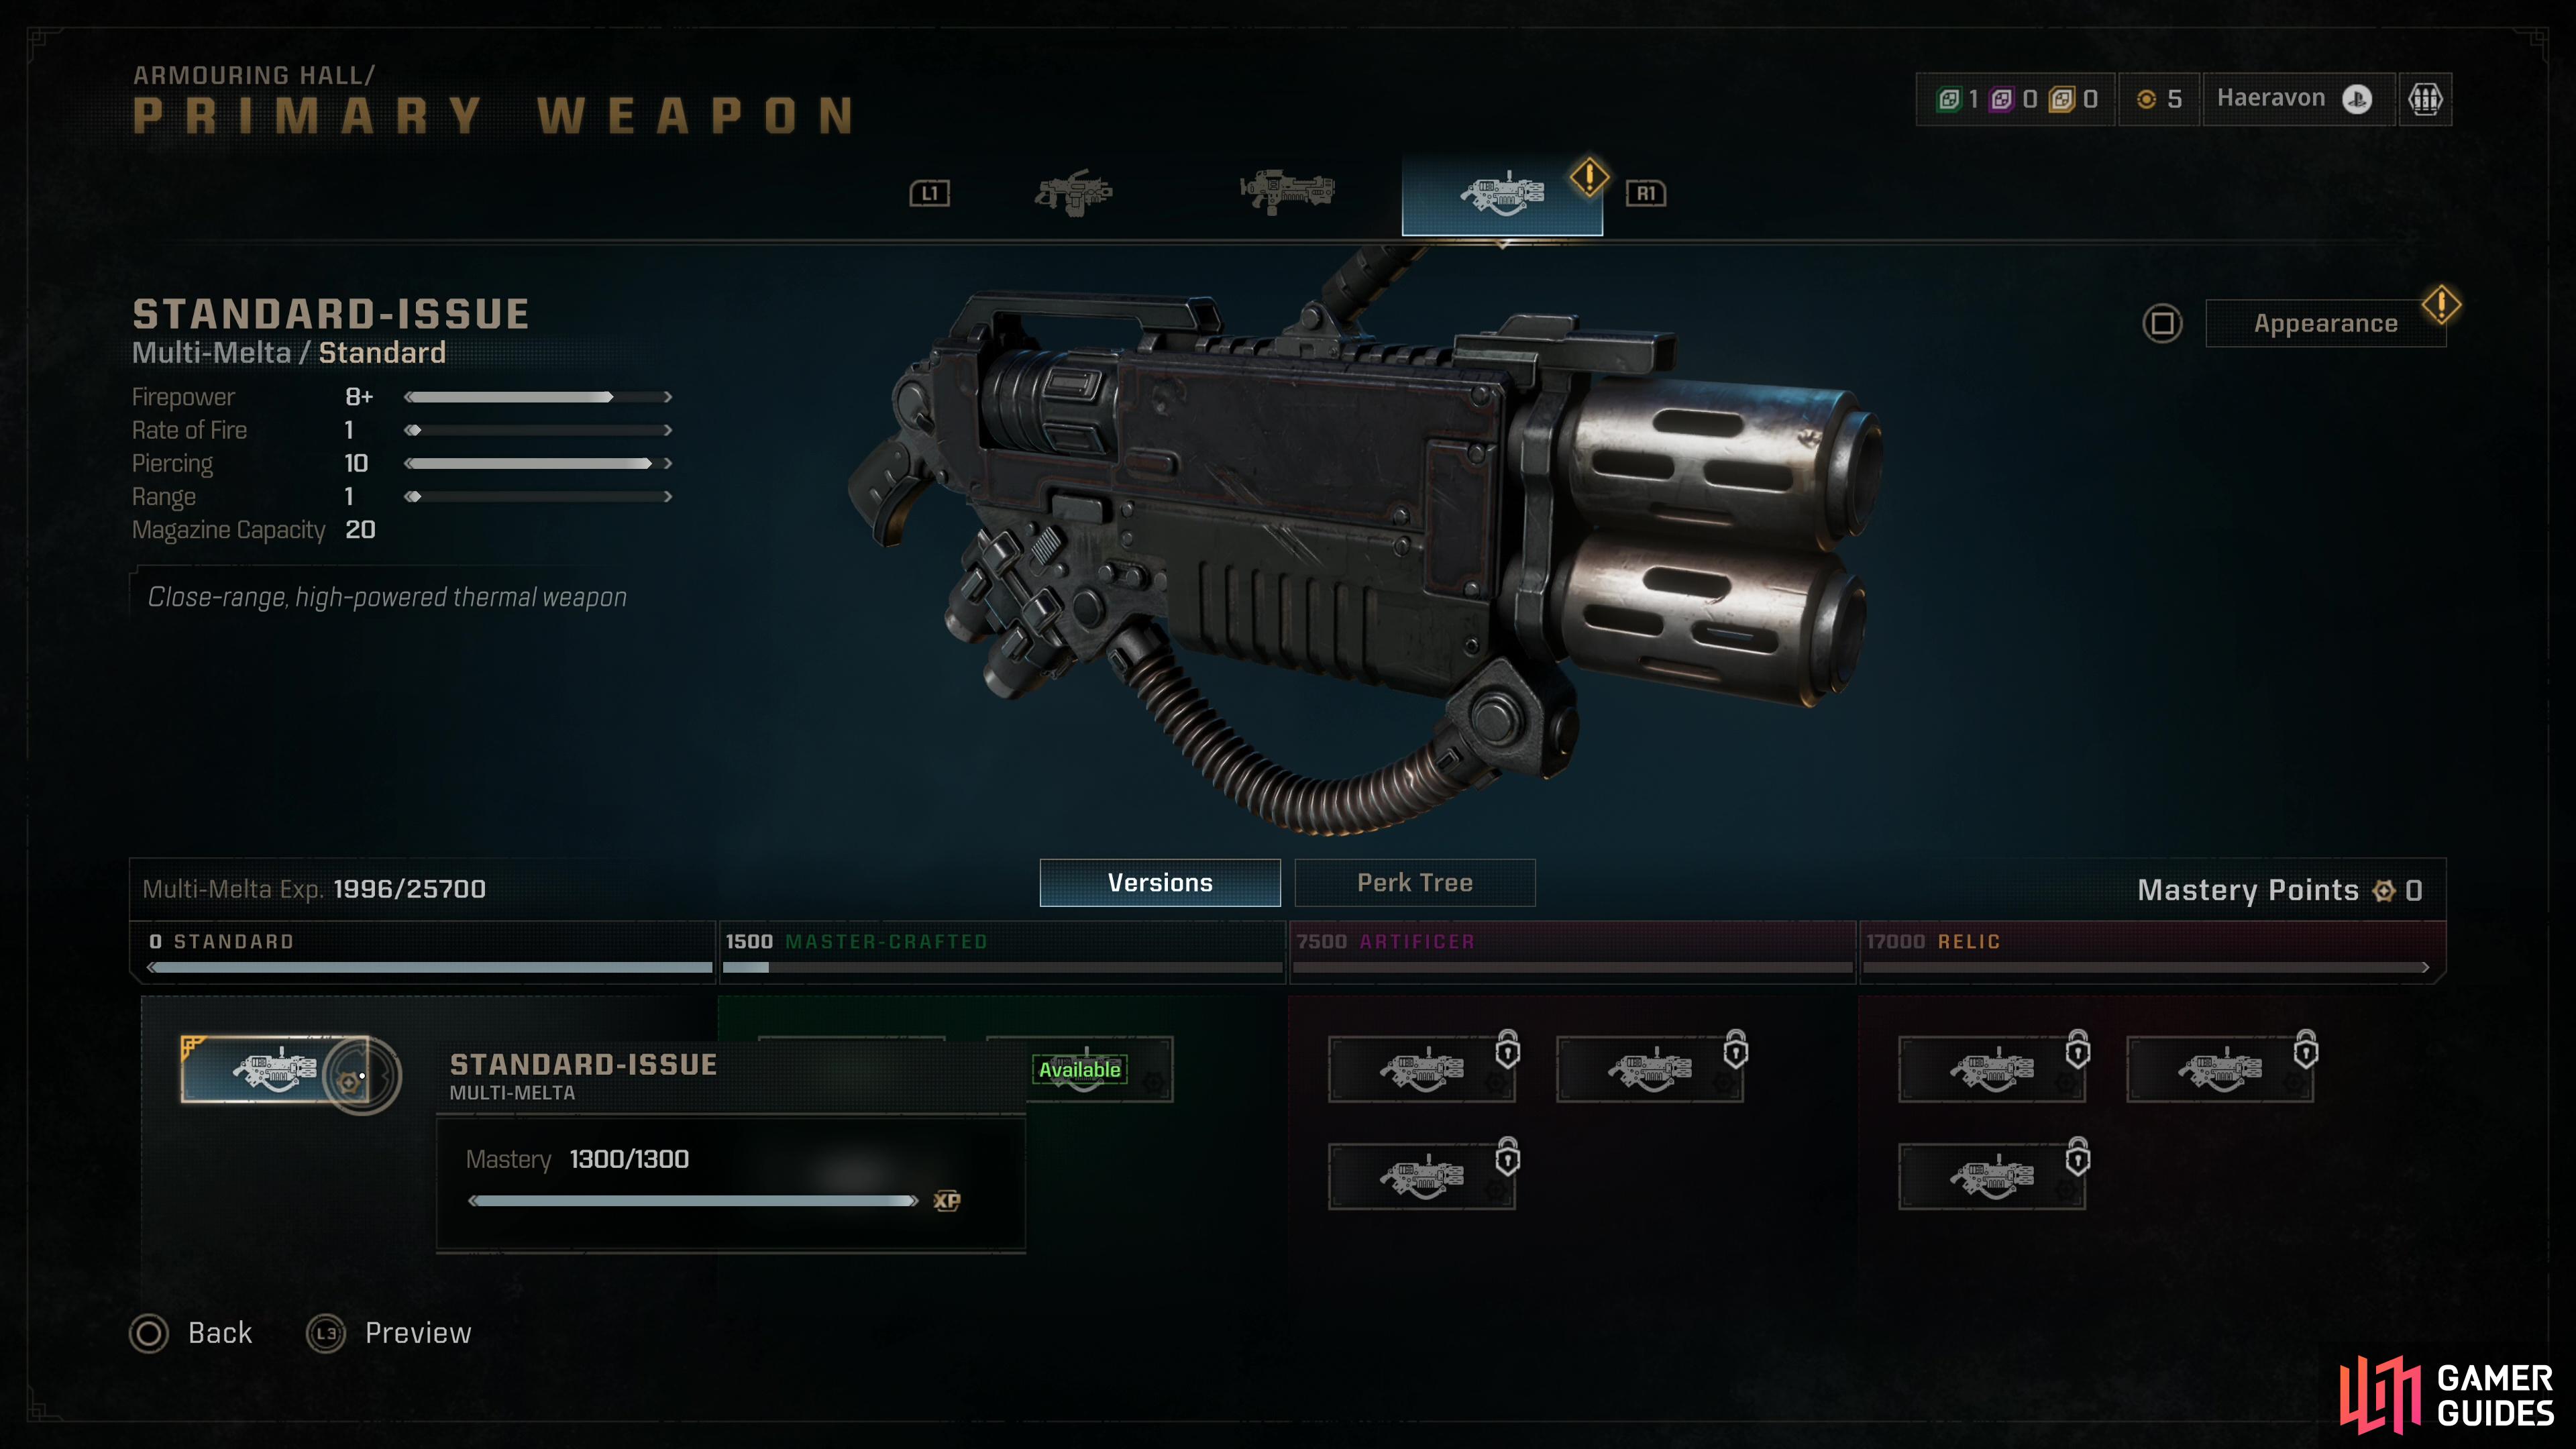
(1 of 2) Unlike the Melta Rifle, the Multi-Melta doesn’t need to reload, but it doesn’t have much range nor ammo capacity.
Unlike the Melta Rifle, the Multi-Melta doesn’t need to reload, but it doesn’t have much range nor ammo capacity. (left), The Multi-Melta makes up for this with heavy damage and a large projectile that pierces everything - the game’s best up close and persona blasterizer. (right)
Bolt Pistol
Your standard issue Bolt Pistol, it deals low damage, has trivial piercing, moderate range and rate of fire, and reloads fast. It excels at nothing, but has no serious liabilities, either. Still, compared to the Plasma Pistol, it’s not a very exciting weapon - perhaps you’d prefer this if you were running the Heavy Plasma Incinerator so you’re not dealing with two weapons that can overheat (you certainly don’t need the charged shot damage!) but most builds will probably give the Plasma Pistol the nod. Like most bolt weapons, these weaknesses tend to fade away as you upgrade the weapon - ending with 8-9 Firepower closes the gap significantly!
| Variant | Firepower | Accuracy | Rate of Fire | Venting Speed | Piercing | Range | Magazine Capacity | Ammo Reserve |
|---|---|---|---|---|---|---|---|---|
| Standard-Issue | 2+ | 4+ | 4+ | 8+ | 1 | 5 | 12 | 120 |
| Master-Crafted - Alpha | 4 | 5+ | 4+ | 8+ | 1 | 5 | 12 | 120 |
| Master-Crafted - Beta | 4 | 4+ | 4+ | 8+ | 1 | 5 | 14 | 140 |
| Salvation of Bakka | 5+ | 6+ | 4+ | 8+ | 1 | 5 | 12 | 120 |
| Drogos Reclamation | 5+ | 4+ | 4+ | 8+ | 1 | 5 | 16 | 160 |
| Gathalamor Crusade | 8+ | 7+ | 4+ | 8+ | 1 | 5 | 12 | 120 |
| Ophelian Liberation - Alpha | 8+ | 4+ | 4+ | 8+ | 1 | 5 | 18 | 180 |
| Ophelian Liberation - Beta | 9+ | 4+ | 4+ | 8+ | 1 | 5 | 12 | 120 |
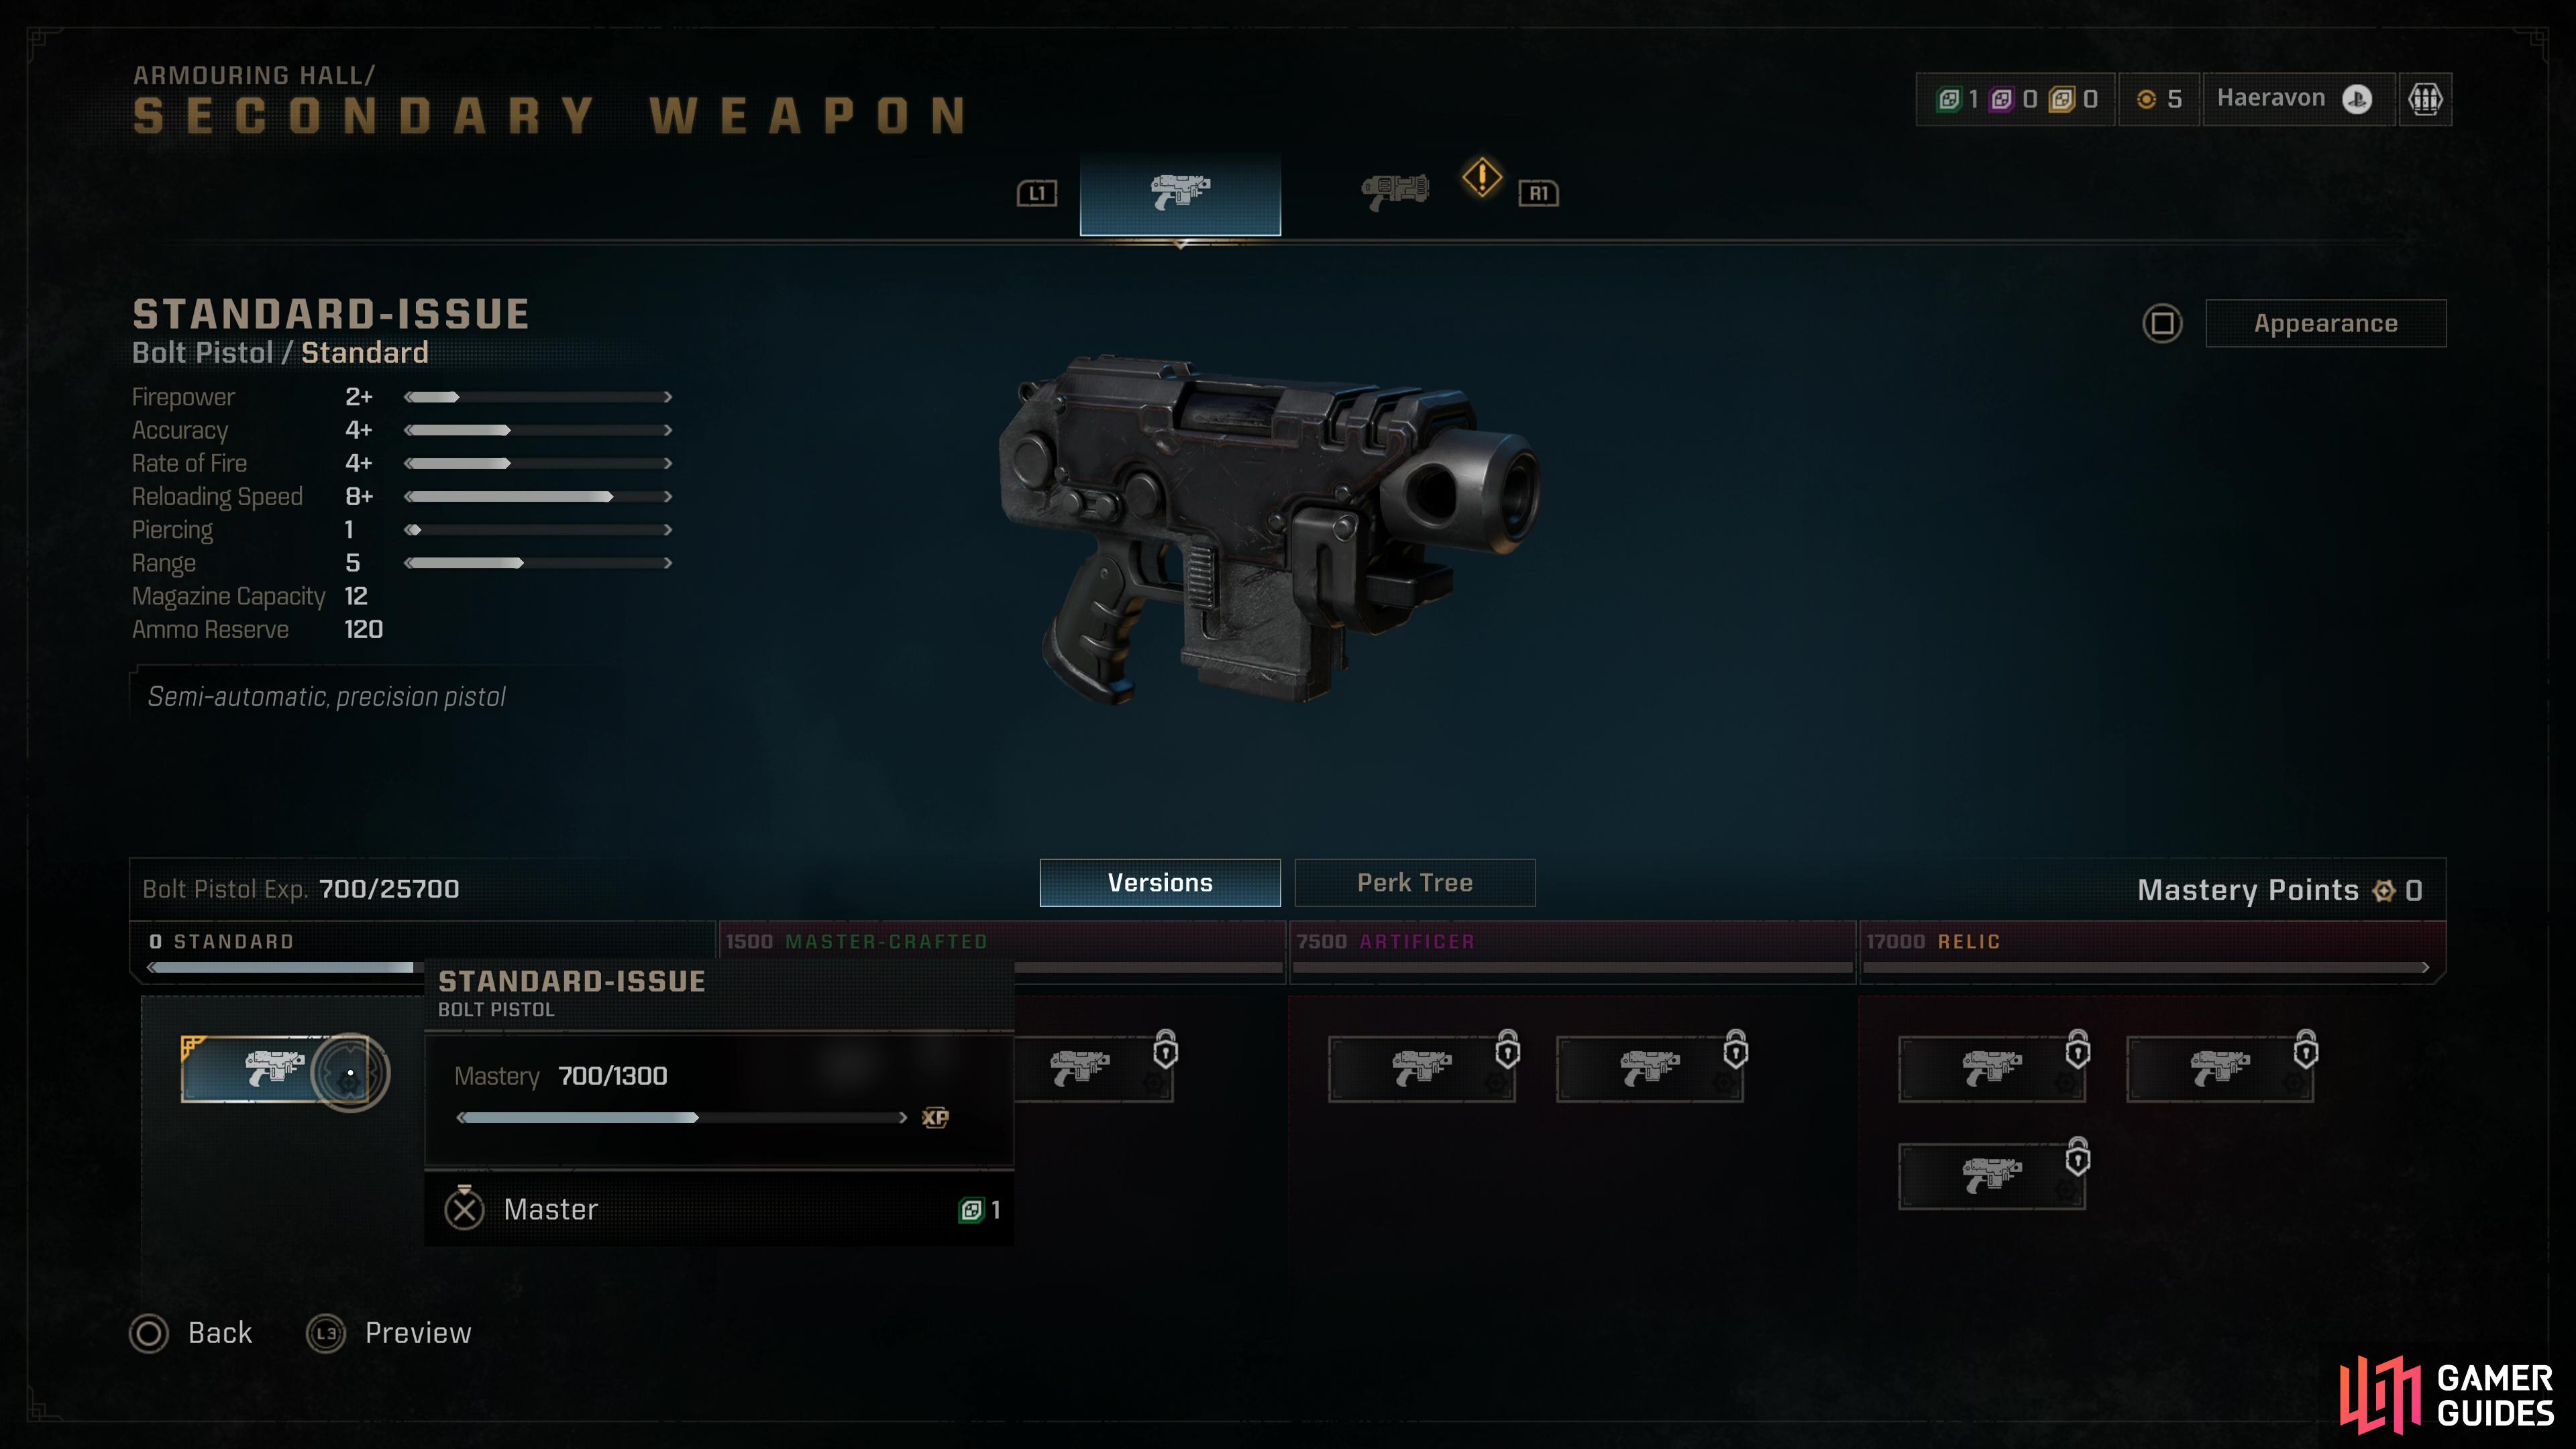
Unexceptional but reliable, the Bolt Pistol is a solid sidearm, albeit one that doesn’t really address many of the Heavy’s needs.
Plasma Pistol
Compared to the Bolt Pistol, the Plasma Pistol boasts more damage, more accuracy and more range and the expense of lower rate of fire and overall ammo count. Not needing to be reloaded is something of a lateral change considering it can overheat. Still, the Plasma Pistol is a sidearm, so it mostly needs to address the weakness of the primary weapon, and in most cases that’s going to be range with the Heavy. The range of this weapon and the ability to overcharge it for more damage makes it a fine sidearm for most builds, and you need not fret about ammo or head too much, as you probably won’t be firing it terribly often, anyways.
| Variant | Firepower | Accuracy | Rate of Fire | Venting Speed | Range | Magazine Capacity |
|---|---|---|---|---|---|---|
| Standard-Issue | 3+ | 5+ | 3+ | 4 | 7 | 90 |
| Master-Crafted - Alpha | 5 | 5+ | 3+ | 5 | 7 | 90 |
| Master-Crafted - Beta | 5 | 5+ | 3+ | 4 | 7 | 100 |
| Salvation of Bakka | 6+ | 5+ | 3+ | 6 | 7 | 90 |
| Drogos Reclamation - Alpha | 6+ | 5+ | 3+ | 4 | 7 | 110 |
| Gathalamor Crusade | 9+ | 5+ | 3+ | 7 | 7 | 90 |
| Ophelian Liberation | 9+ | 5+ | 3+ | 4 | 7 | 120 |
| Ophelian Liberation | 9+ | 5+ | 4+ | 4 | 7 | 90 |
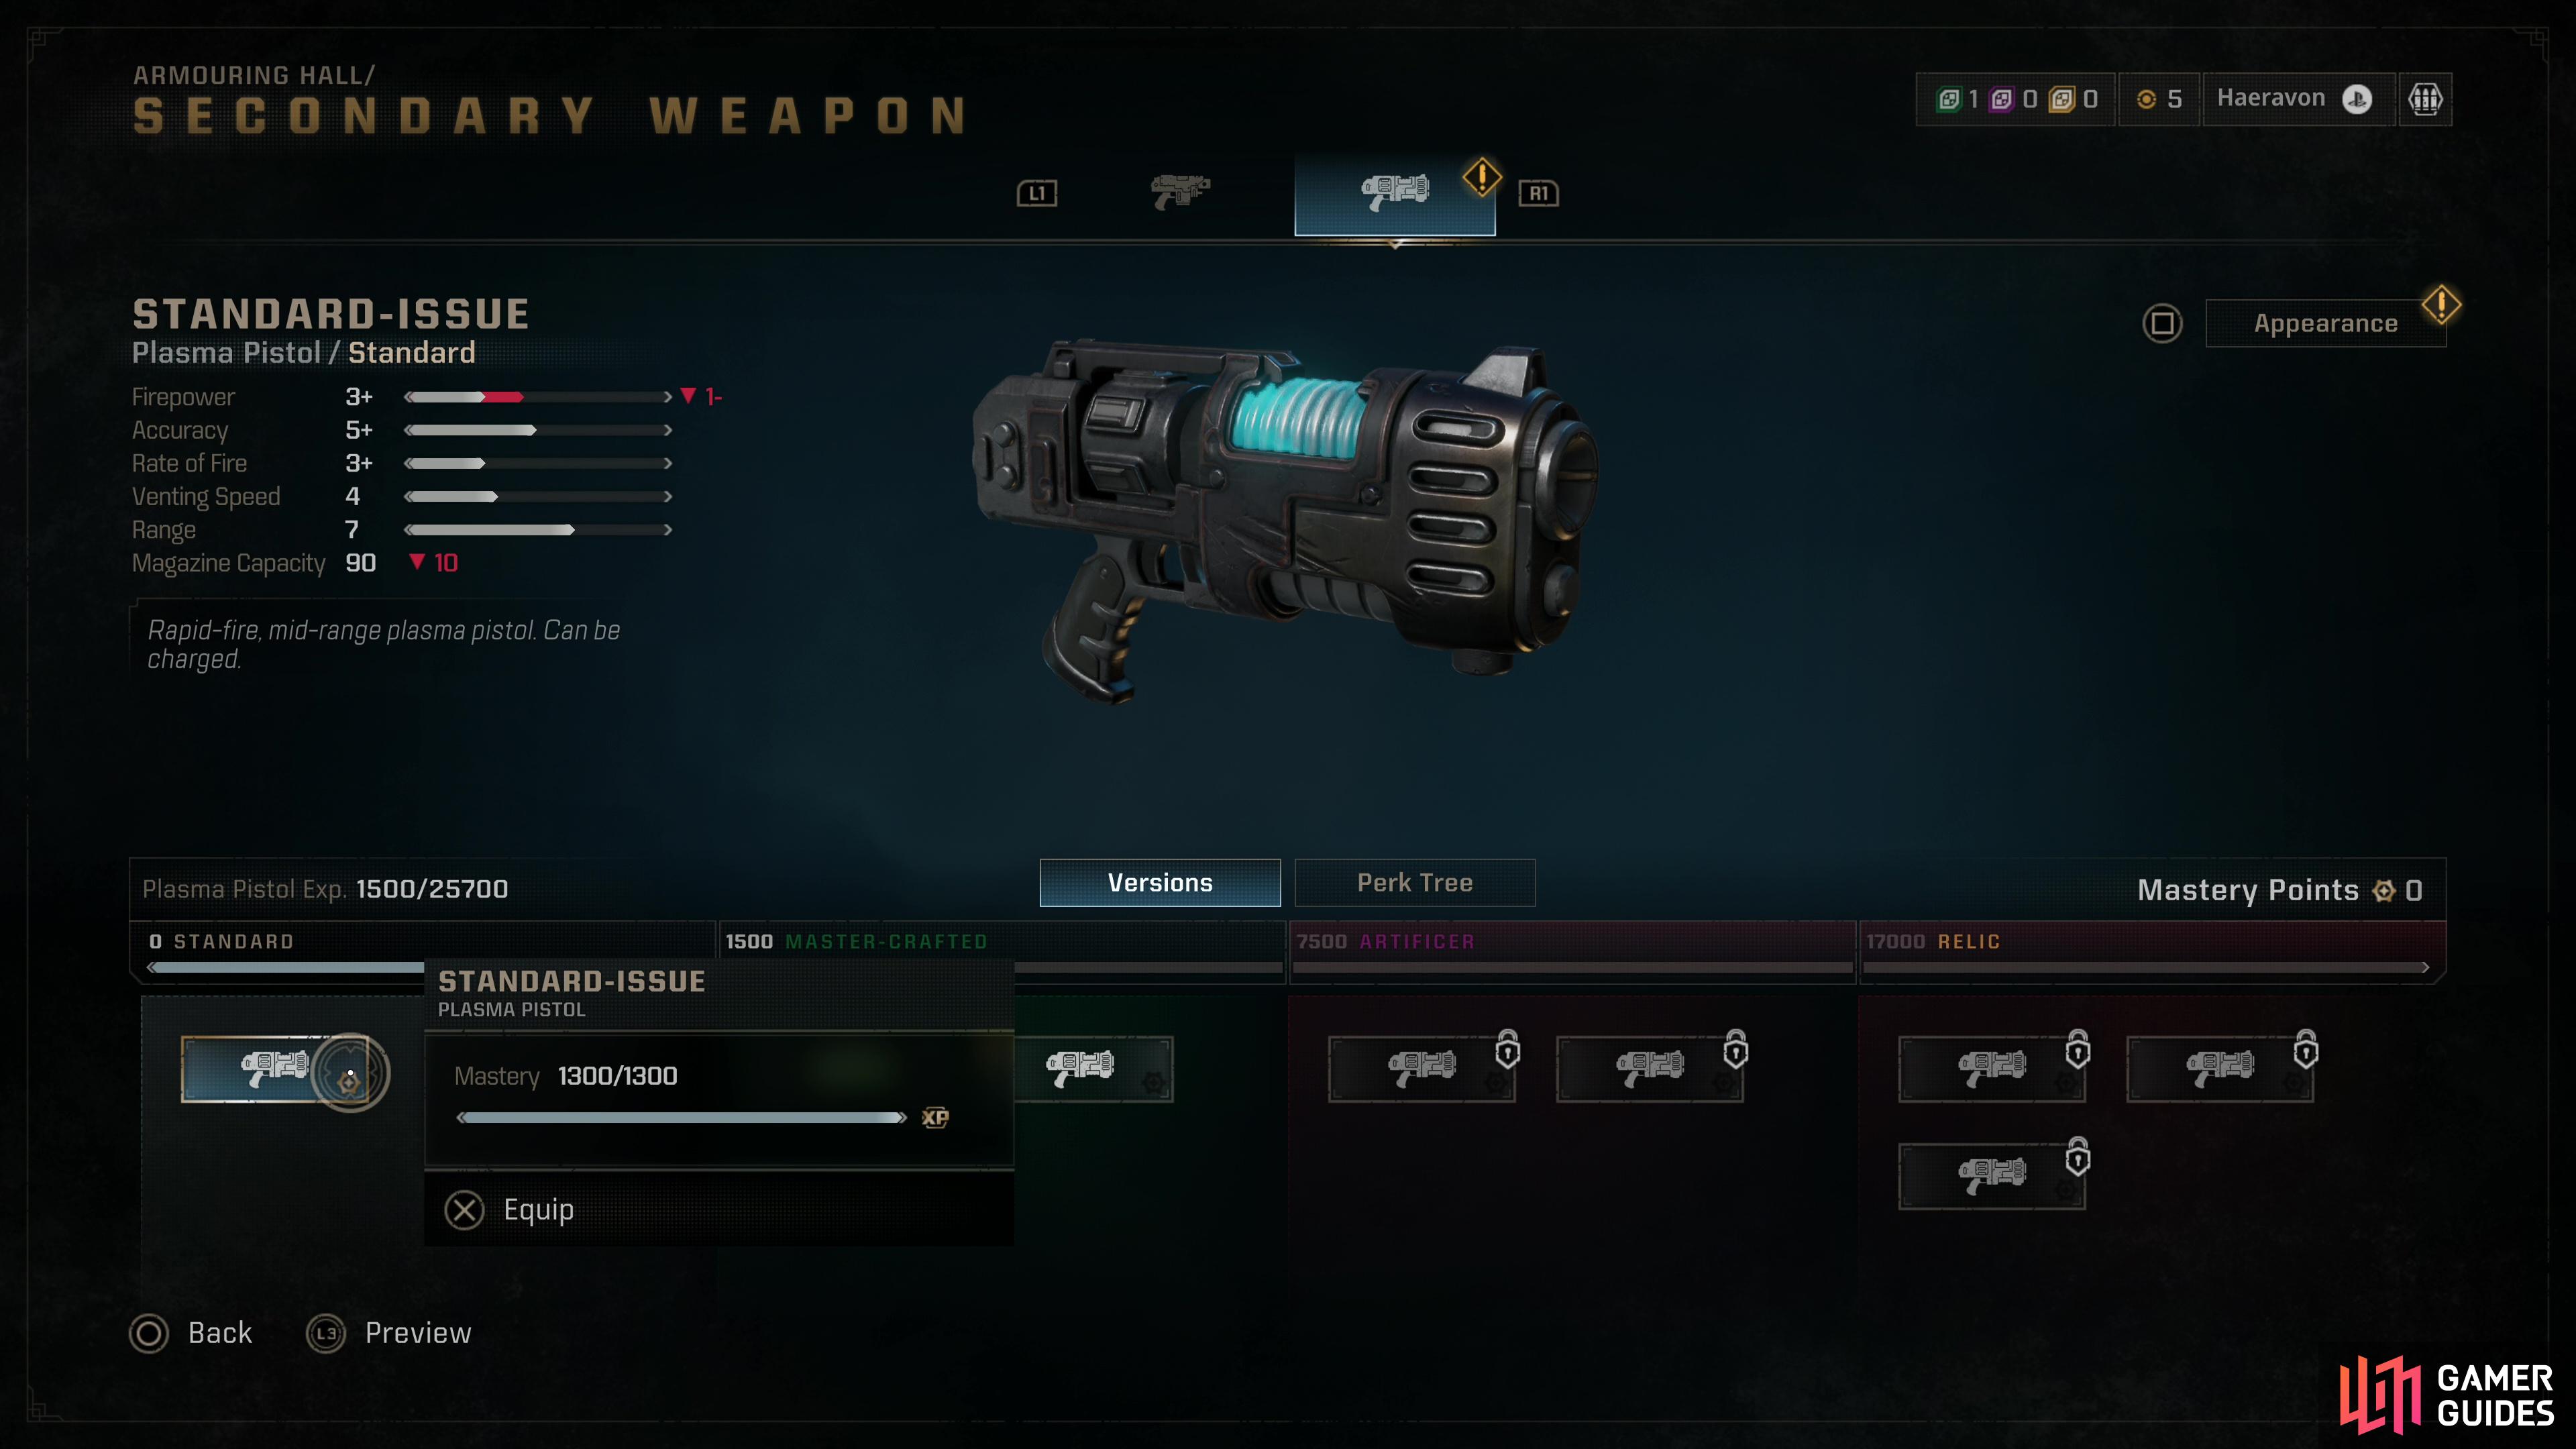
The Plasma Pistol packs a punch and gives the Heavy something they really need - range.
Heavy Class Perks
The best perks for the Heavy class often depend on what weapon you’re using (keep in mind that you can only have one perk per row active!). For Multi-Melta users, Multi-Kill greatly alleviates your ammo constraints and turns you into a minoris muncher, everybody else will have to wait for Auxiliary Ammunition at Lv18. If your weapon can overheat, grab Thermal Boost, if it can’t (Multi-Melta users) will have to suffer with more Health via Fortitude. Versatility is a great all-rounder perk for everybody, as it functionally ensures your Plasma Pistol will deal 20% extra damage. Encompassing Aegis will benefit your whole squad by passively reducing ranged damage The first Gear tier is kind of a choice between the least inoffensive of three mediocre skills - Adamant Will will probably be useful more often since you can trigger it any time by using - then deactivating - Iron Halo. Grab Obdurate Bastion for a nice 20% boost in Iron Halo durability, then buff yourself further by selecting Brute Force, which gives you 15% extra Ranged Damage as long as Iron Halo is on cooldown, which should be much of the time. Finally, pick Conversion Field when you unlock it to make all your companion’s abilities charge faster.
| Perk | Tree | Level | Effect |
|---|---|---|---|
| Restoration | Core | 2 | Killing 10 enemies in rapid succession restores 1 Armour Segments. Cooldown is 15 seconds. |
| Multi-Kill | Core | 10 | Killing 5 or more enemies with one shot from a Multi-Melta restore Ammo by 1 |
| Auxiliary Ammunition | Core | 18 | When your Primary Weapon is out of Ammo, killing 10 enemies in rapid succession restores Ammo Reserve by 20%. Cooldown is 30 seconds. |
| Thermal Boost | Core | 3 | When a Ranged Weapon is 50% Overheated, Ranged Damage increases by 15% |
| Fortitude | Core | 11 | Health increases by 20% |
| Strategic Stand | Core | 19 | While in Heavy Stance, dealing Damage restores 15% more Contested Health, but you will not be able to move |
| Overcharge | Core | 4 | Damage of Charged Attacks increases by 20% |
| Overwhelming Power | Core | 12 | When Iron Halo is active, all Squad Members within 10 metres deal 10% more Ranged Damage. |
| Versatility | Core | 20 | After switching Weapons, your Secondary Weapon does 20% more Damage. The effect lasts until reloading or switching back to your Primary Weapon. |
| Encompassing Aegis | Team | 5 | All Squad Members take 20% less Damage from Ranged Attacks |
| Additional Supplies | Team | 13 | Ammo Capacity for all Squad Members’ Weapons increases by 25% |
| Bonds of Brotherhood | Team | 21 | Reviving a Squad Member restores them to full Health |
| Adamant Will | Gear | 6 | After Iron Halo deactivates, you take 20% less Health Damage for 5 seconds |
| Consecutive Execution | Gear | 14 | Killing 10 enemies in rapid succession restores Equipment Charge. Cooldown is 180 seconds. |
| Emperor’s Protection | Gear | 22 | When Iron Halo expends all its energy. 1 Armour Segment is restored for all Squad Members |
| Obdurate Bastion | Gear | 7 | Iron Halo’s Durability increases by 20% |
| Field Adjustment | Gear | 15 | Iron Halo recharges 20% faster, but its Durability is reduced by 30% |
| Power Regulator | Gear | 23 | Iron Halo loses energy 15% more slowly |
| Saving Grace | Gear | 8 | Reviving a Squad Member fully restores Iron Halo’s Charge |
| Brute Force | Gear | 16 | When Iron Halo is in cooldown, Ranged Damage increases by 15% |
| Wrath of the Imperium | Gear | 24 | When Iron Halo expends all of its energy, enemies in a 5-metre radius take significant Damage |
| Offensive Capability | Signature | 9 | When active, Iron Halo deals Damage over time to all enemies within 5 metres |
| Coolant Reserve | Signature | 17 | If both your Squad Members are incapacitated or grabbed, your Primary Weapon will not Overheat. |
| Conversion Field | Signature | 25 | When Iron Halo is active, all Squad Members within 100 metres regenerate Ability Charge 50% faster |
The Heavy’s best perks vary slightly depending on what your primary weapon is, but many rows have clear-cut winners, including plenty of generalist abilities that’ll please the entire squad.
Best Heavy Class Build - Multi-Melta
A Heavy with a Multi-Melta is this game’s shotgunner. Run up to enemies, blast them in the face. Laughing maniacally optional, but encouraged. Early game the damage dealt by a Multi-Melta will make life easier, and you’ll need to learn this weapon’s limitations by taking on weaker foes, as you’re prone to being overwhelmed by minoris mobs and the odd gaggle of majoris foes that spawn in Operations mode. Once you unlock Multi-Kill, however, you can keep your ammo count up as long as you scratch off five enemies in one shot, which is easier than it sounds thanks to the Multi-Melta’s piercing ability. You must play aggressively, pick your targets well, and be ready to constantly execute enemies to recover Armour and avoid damage via iframes. It’s a feast or famine, somewhat risky sort of gameplay, but you’ll chew through majoris enemies and when there’s an Ammo Cache nearby, nobody’s dealing more damage than a Heavy with a Multi-Melta.
Multi-Melta Heavy Build - Weapons
We opt for the Ophelian Liberation - Beta Multi-Melta as our primary weapon due to its better fire rate, which doesn’t affect the playstyle while also allowing us to delete enemies faster. Our secondary weapon is the Ophelian Liberation Plasma Pistol, which has the range our Multi-Melta lacks, boasts decent damage (when fully upgraded) and has extra ammo so we can always rely on our fallback weapon.
| Weapon Type | Best Weapon |
|---|---|
| Best Primary Weapon: | Ophelian Liberation - Beta (Multi-Melta) |
| Best Secondary Weapon: | Ophelian Liberation (Plasma Pistol) |
Multi-Melta Heavy Build - Best Weapon Perks
For both the Multi-Melta and Plasma Pistol, we select all the top options. In the case of the Multi-Melta, there’s good things on both the top and bottom row, but the melee damage boosts aren’t something we’re particularly keen on, and would rather have the extra ammo and stance-based boosts (something you’ll enjoy as long as you’re aiming). In the case of the Plasma Pistol, we want the weapon to not overheat as fast and to deal more charged damage against distant enemies - the extra ammo on the bottom row is kinda nice, but there’s just not enough of it to compensate.
| Weapon Type | Best Weapon Perks |
|---|---|
| Multi-Melta: | Top Row |
| Plasma Pistol: | Top Row |
Multi-Melta Heavy Build - Best Class Perks
A lot of these choices are made for us - our primary weapon doesn’t charge or overheat, so we can disregard those perks. Multi-Kill ensures we can safely blast trash mobs without tanking our ammo count, and some nice generalist perks like Encompassing Aegis and Brute Force rounds things out:
:::ggtable:
| Best Class Perks |
|---|
| Multi-Kill |
| Fortitude |
| Versatility |
| Encompassing Aegis |
| Adamant Will |
| Obdurate Bastion |
| Brute Force |
| Conversion Field |
| ::: |

 Sign up
No Comments