
The Tyranids are an insectoid hivemind species, as is standard sci-fi lore, and there’s a direct correlation between size, lethality and status in the Tyranid hierarchy. When you butcher Warrior-types, Gaunts in the vicinity will also perish, and this dynamic holds true for the Tyranid forces in general. Winning a war of attrition isn’t feasible, so instead the Hive Tyrant leading the Tyranids on Avarax is targeted for extermination - cut the head off the serpent and the body dies. This page will cover the Hive Tyrant boss fight in Space Marine 2.
Page Breakdown
| Quick Search |
|---|
| Where to Find the Hive Tyrant |
| Hive Tyrant Boss Battle Strategies |
| Hive Tyrant Boss Battle - Best Weapons |
| How to Beat the Hive Tyrant |
Where to Find the Hive Tyrant
Throughout the beginning of the campaign, the Tyranids have the forces of the Imperium on the back foot. Thankfully, Titus’s experience with the creatures provides insight he can use to break the stalemate, and at his recommendation the Hive Tyrant - an advanced form of Tyranid that controls and directs lesser Tyranid bioforms - is targeted for destruction. This is a plot point during the three campaign missions on Avarax, but the task of dispatching this creature is left up to a secondary squad of space marines, played out during the Operations mode mission [Decapitation].
Hive Tyrant Boss Battle Strategies
The Hive Tyrant is the apex Tyranid threat in Space Marine 2, and as such it fittingly combines aspects of lesser Tyranids, including the melee prowess of the Tyranid Warrior and the pysker powers of Neurothropes. The Hive Tyrant can threaten foes in melee and at range, and it’ll test your mastery of other advanced Tyranid bioforms while throwing in a few novel attacks of its own.
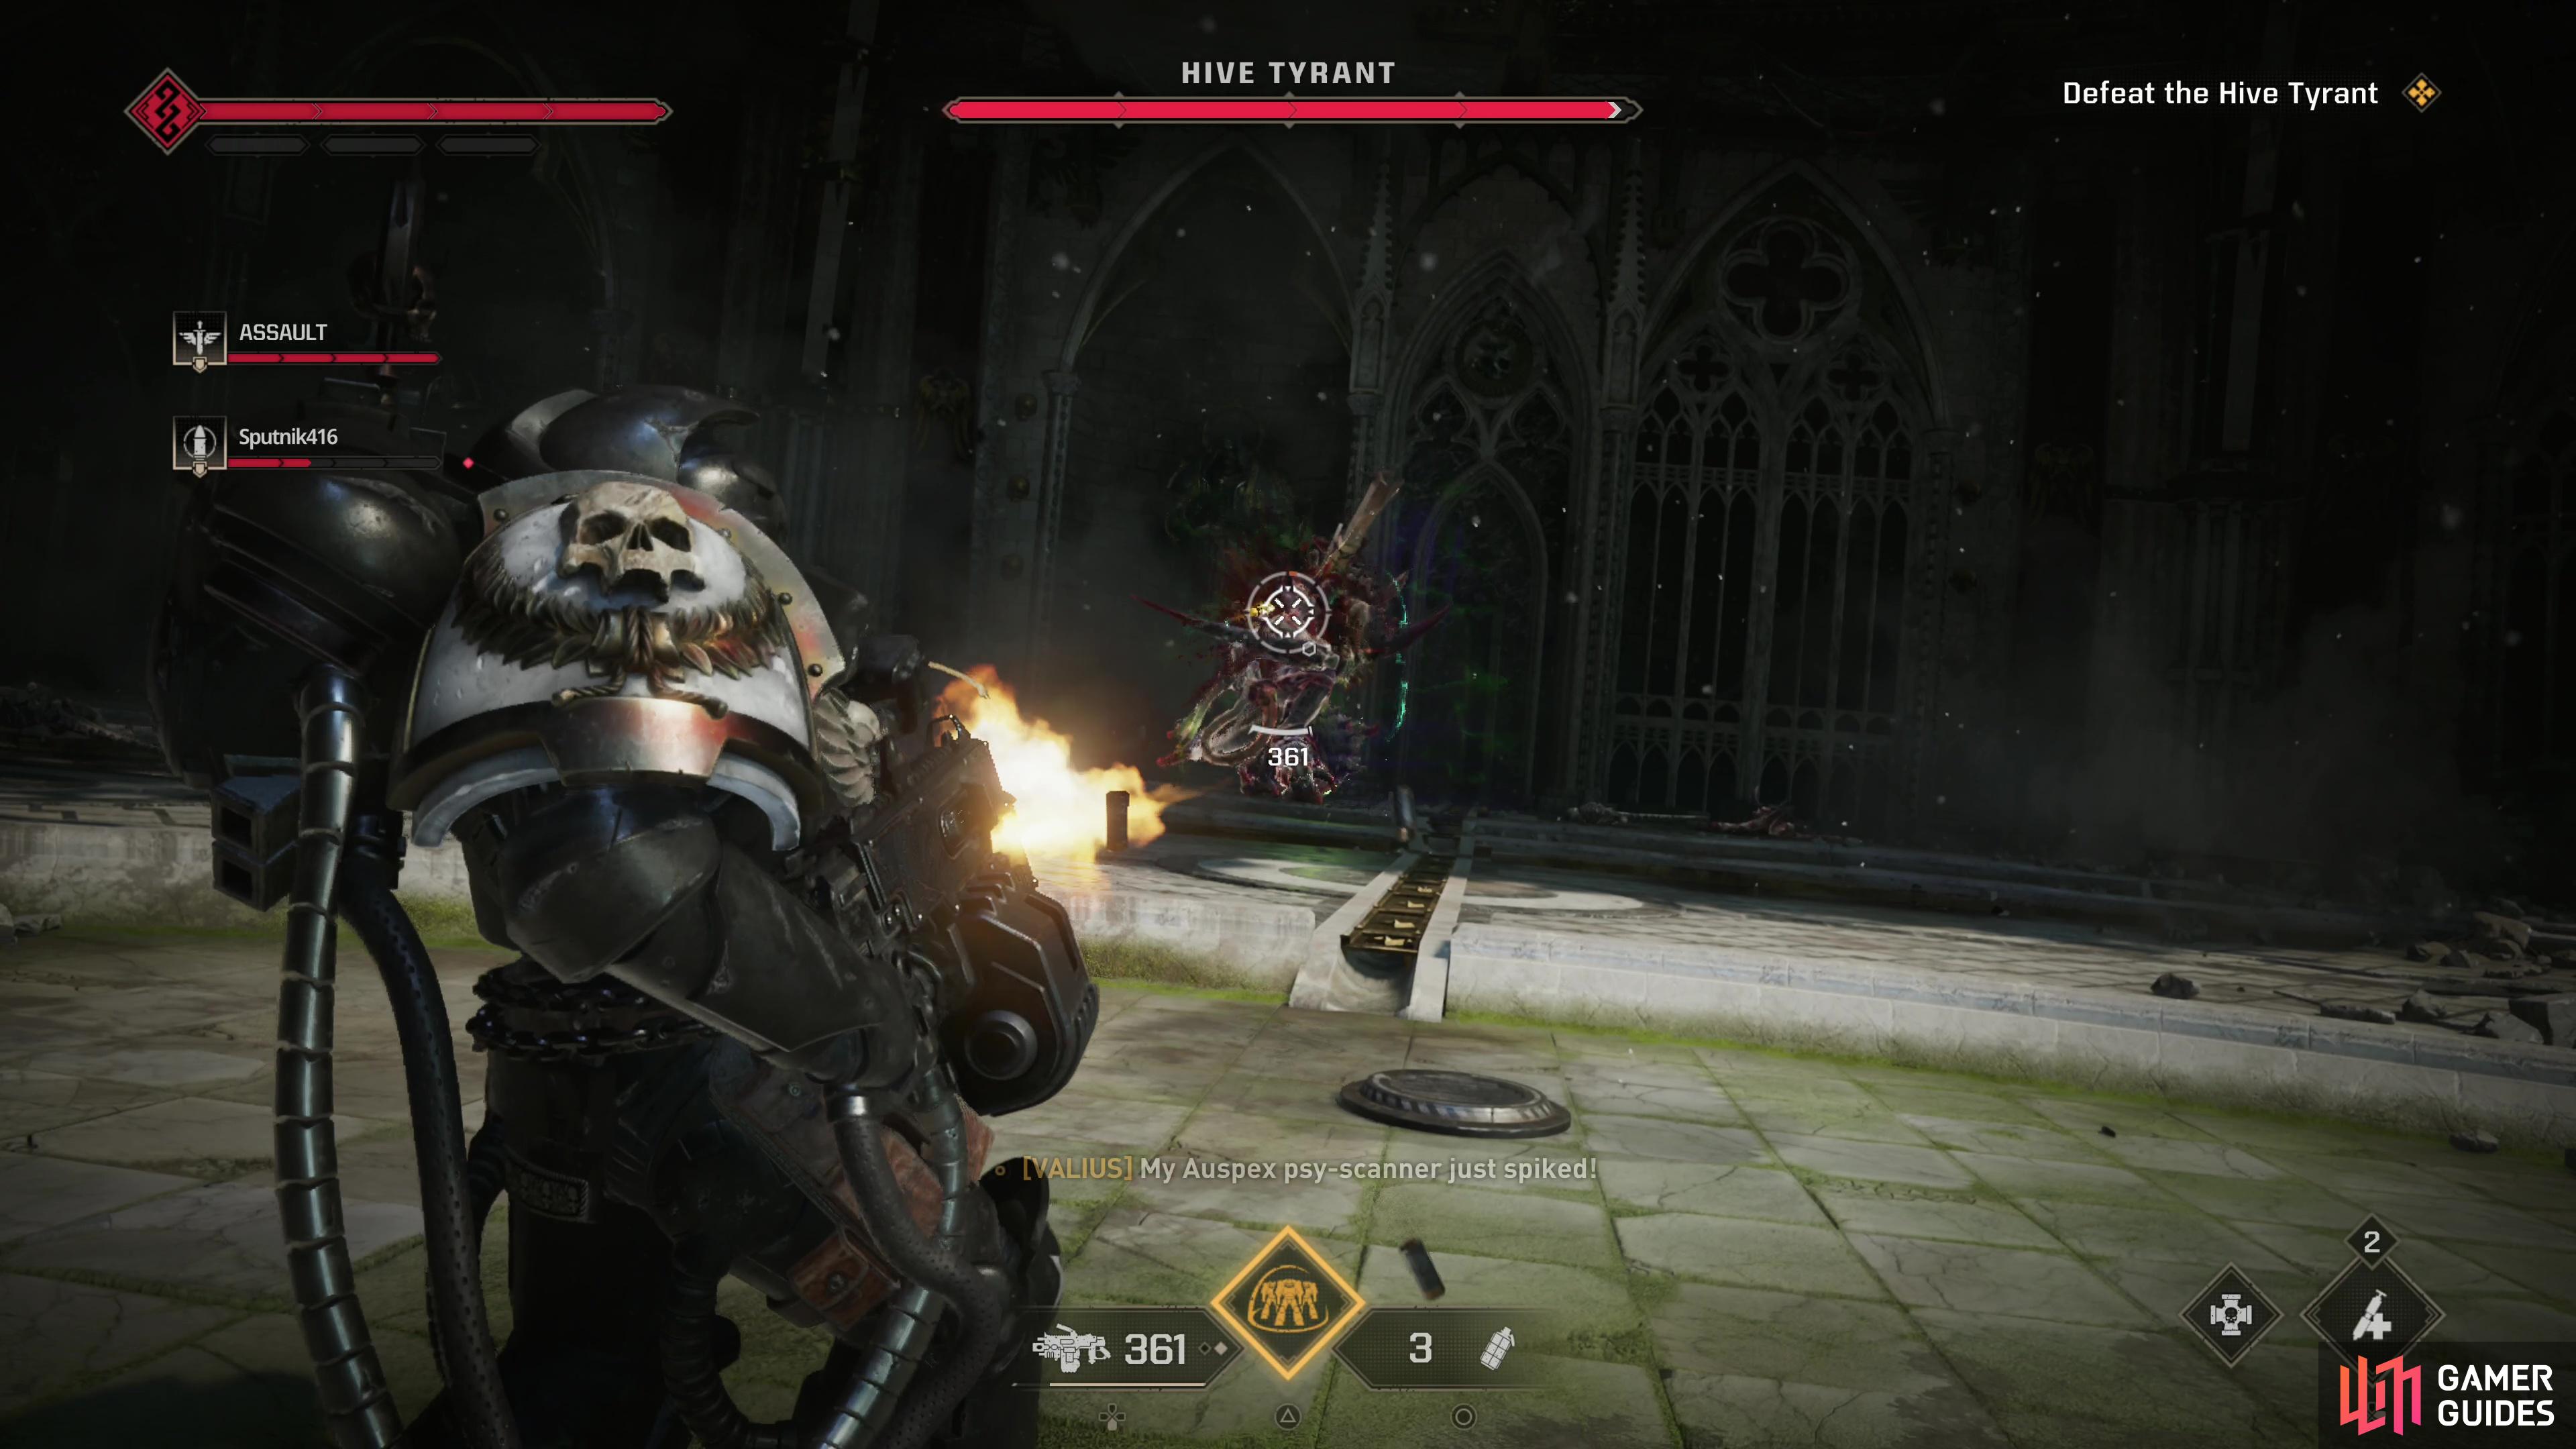

(1 of 2) The Hive Tyrant is quite aggressive and can jump and charge about the battlefield, making it difficult to maintain sustained fire on the xeno.
The Hive Tyrant is quite aggressive and can jump and charge about the battlefield, making it difficult to maintain sustained fire on the xeno. (left), Weapons that require less commitment, like melta weapons, might just work better against the Hive Tyrant. (right)
Hive Tyrant Boss Battle - Best Weapons
The Hive Tyrant is a rare boss where weapon preference isn’t super important. It’s an aggressive foe, prone to lashing out at targets with ranged and melee attacks - not that the difference matters much, as it can clear ground quickly and even its “melee” attacks tend to have a ranged component. If you’re lucky and your squadmates are doing their job, they might just draw enough aggro to allow you to plink away from afar as a Sniper or Heavy. If you’re not blessed with useful squadmates, taking a long time to commit to ranged attacks could become a luxury you can rarely afford, making weapons like the [Heavy Bolter] and anything that requires a scope tricky to make good use of. Melta and plasma weapons both work well here, as the Hive Tyrant is a large target - easy enough to hit while hip firing or using charged shots.
Fortunately there’s a loadout pod just outside of the arena where you’ll fight the Hive Tyrant, so you can swap between loadouts if you prefer different weapons for mobs and bosses.

(1 of 3) In the first phase, parry and dodge your foe’s attacks,
How to Beat the Hive Tyrant
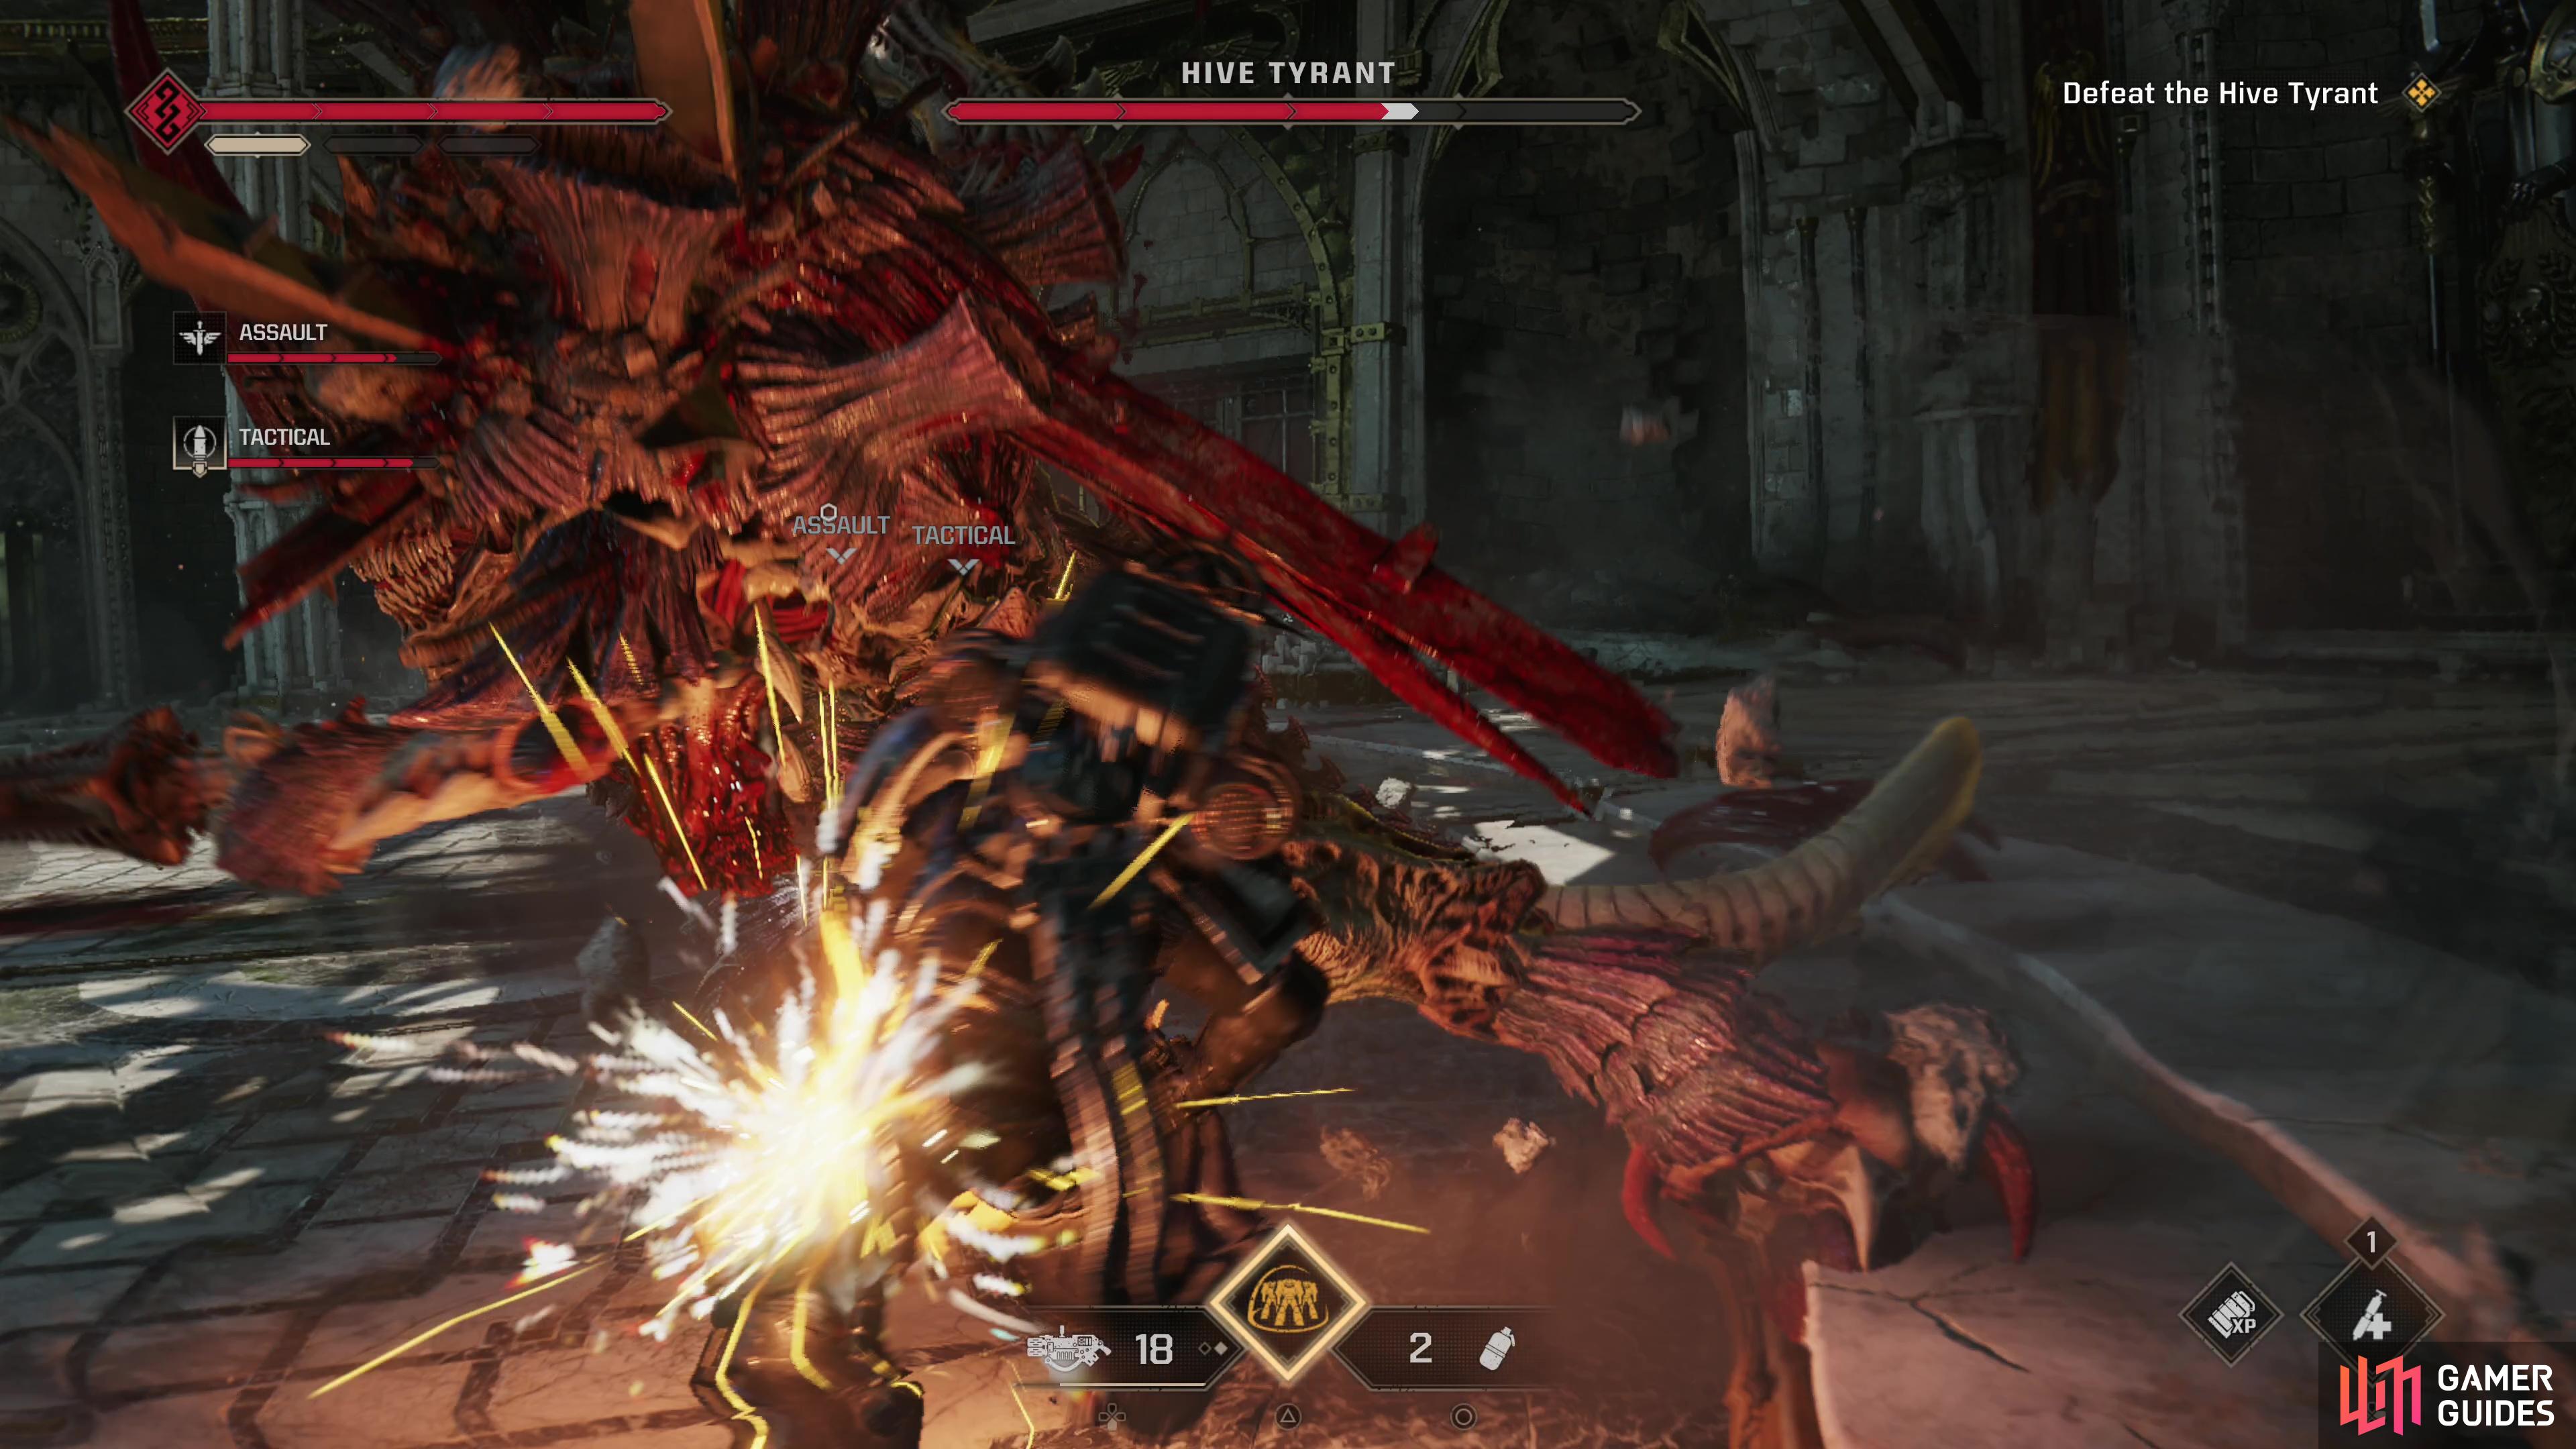
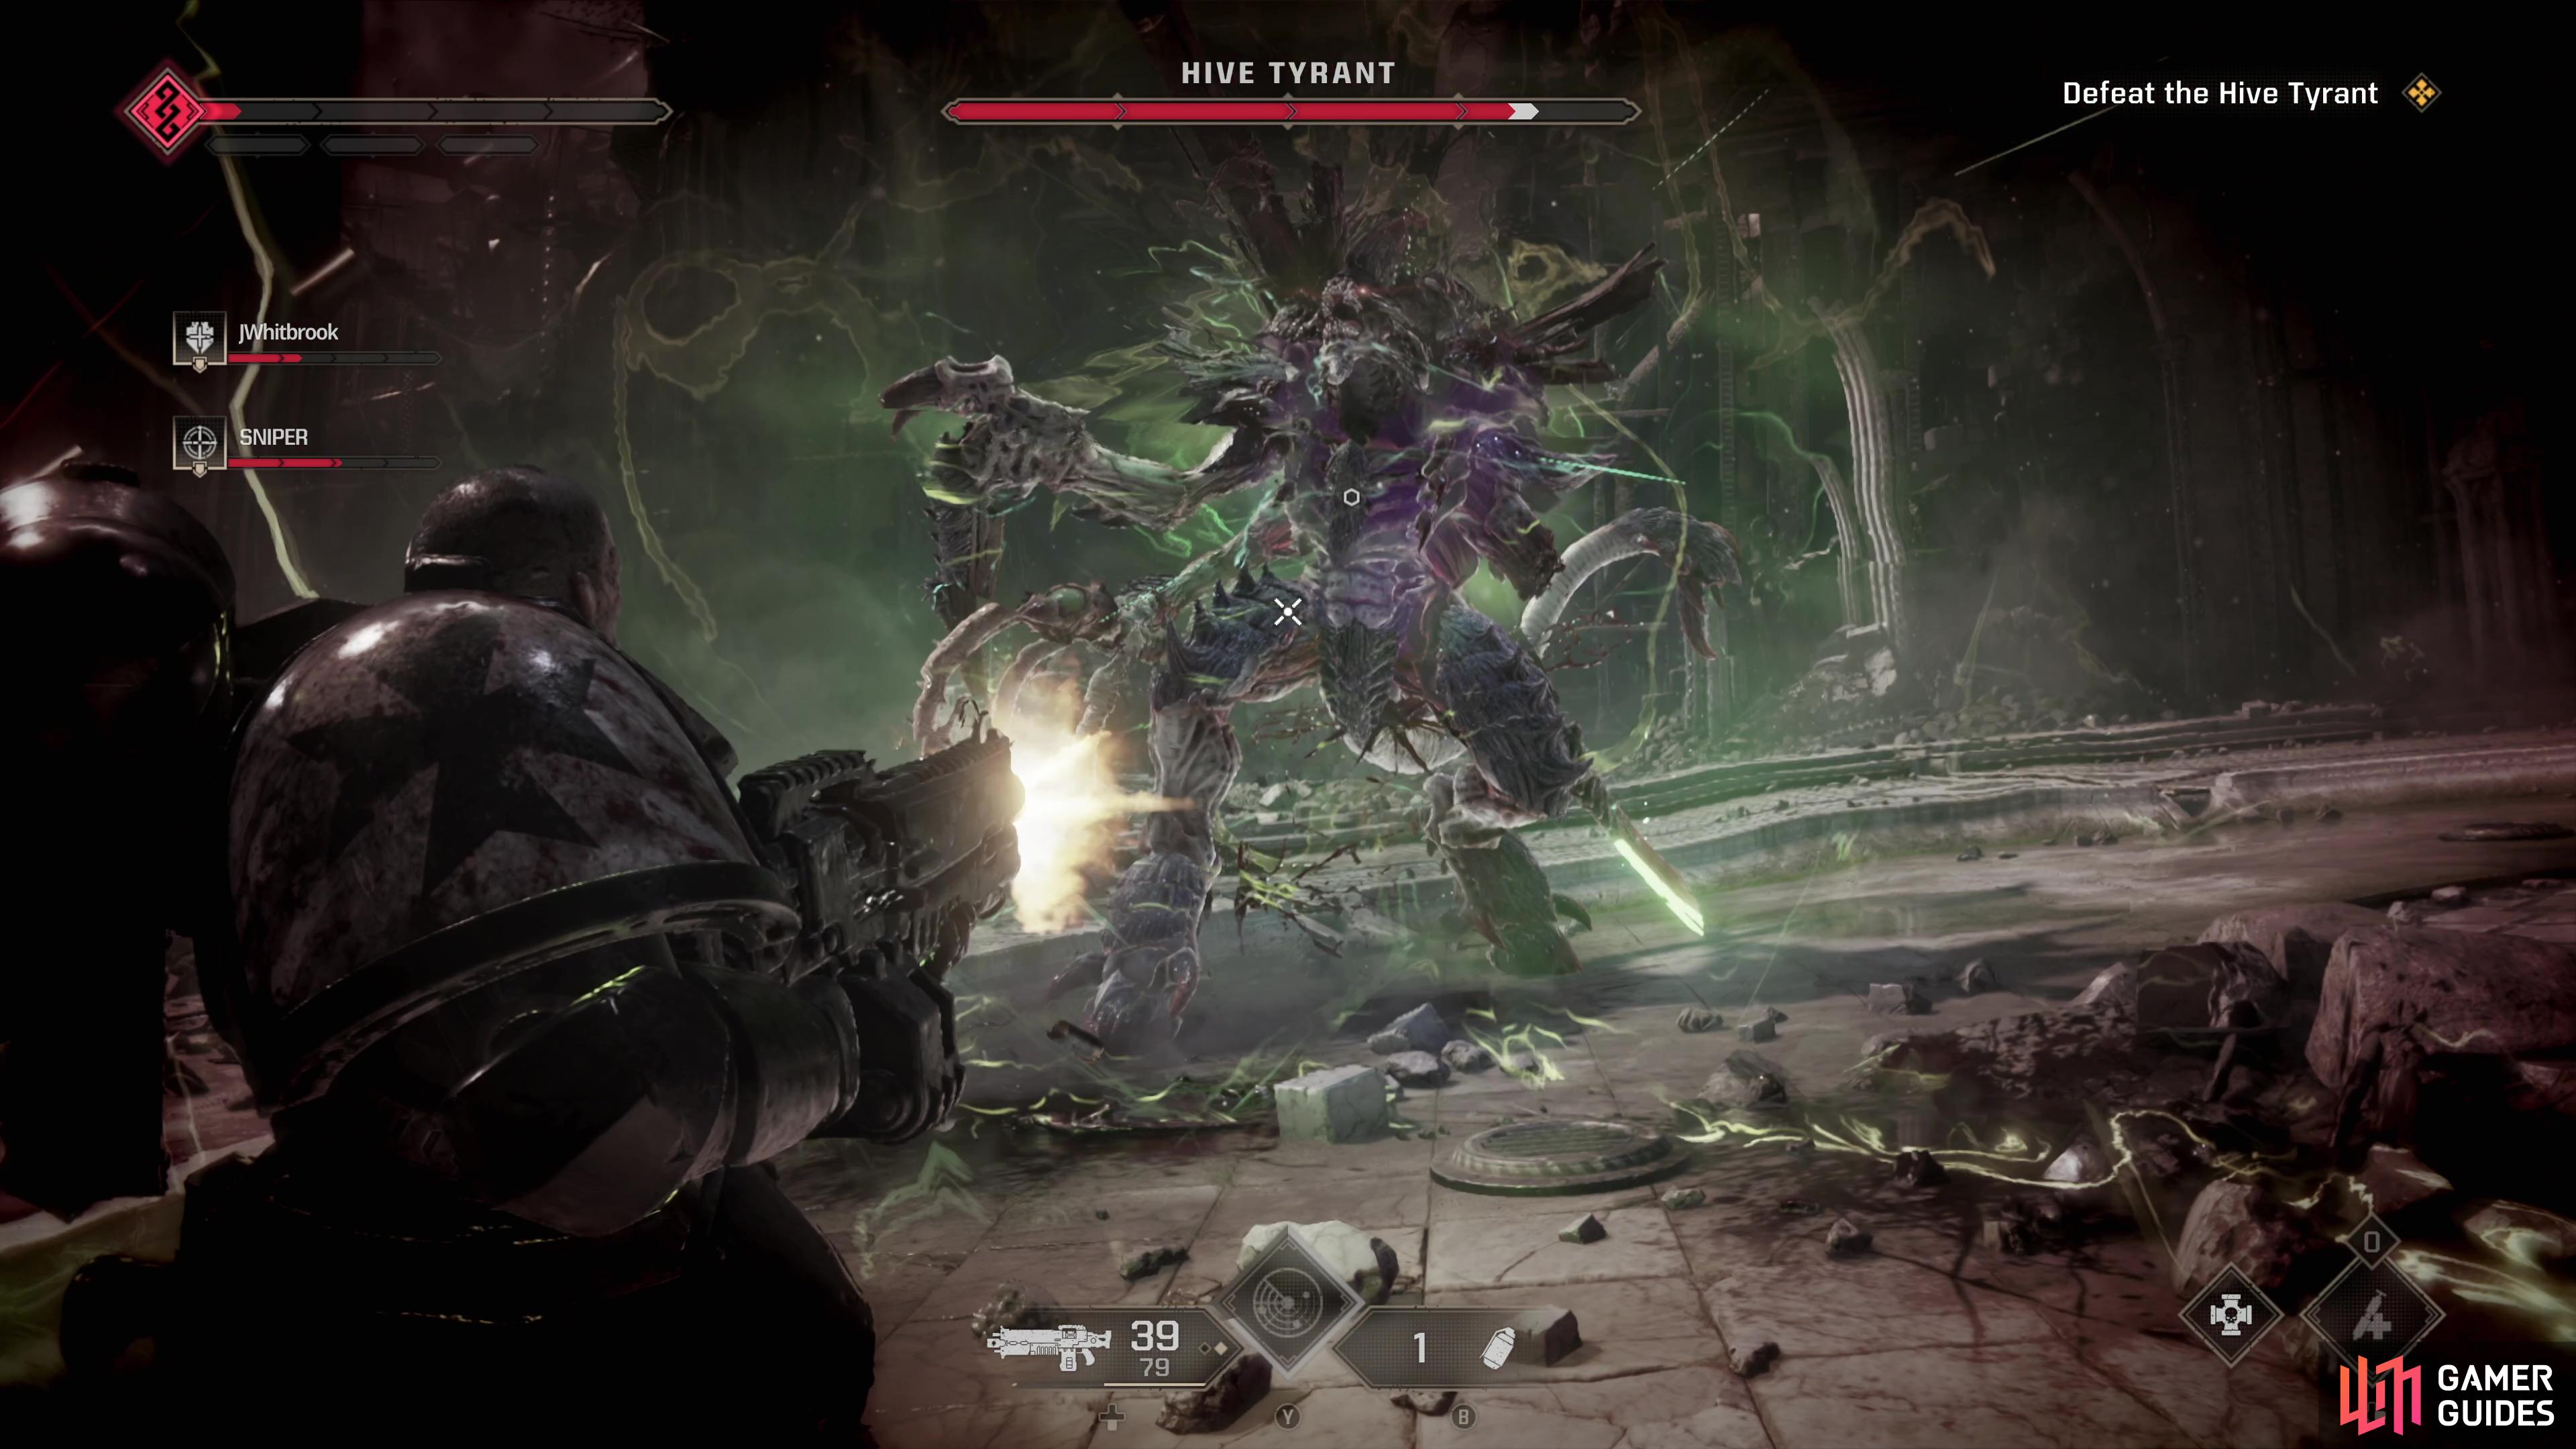
When you finally corner the wounded Hive Tyrant at the end of [Decapitation] you’ll finally get to do battle with it. During the first phase of this fight, the Hive Tyrant takes a surprising amount of damage and fights very similarly to your standard Tyranid Warrior. It has a scythe arm, a sword and a whip, and it’ll use these to perform a variety of attacks at close to moderate range, complete with the appropriate dodge or parry indicators.
As with most foes, dodging is almost always safer than parrying, as dodging a parryable attack usually works, while parrying an attack that must be dodged does not. Just be wary, as some attacks have an unexpected windup or range that can punish you if you dodge prematurely or in the wrong direction. Most of these attacks aren’t all that special, however, and can be easily dodged or parried. If you’re using a weapon that requires distance or sustained fire, don’t get complacent - the Hive Tyrant can charge and leap across the battlefield on a whim. The Hive Tyrant can close the distance between you any time it wants.
Other than the Hive Tyrant itself you need to be wary of adds - usually in the form of Gaunts and the odd Warrior. These nuisances will constantly trickle in during the fight and it’s generally not worth your time to kill them all. If you need ammo, you’ll find an Ammo Cache on the left edge of the arena (looking in from the door).
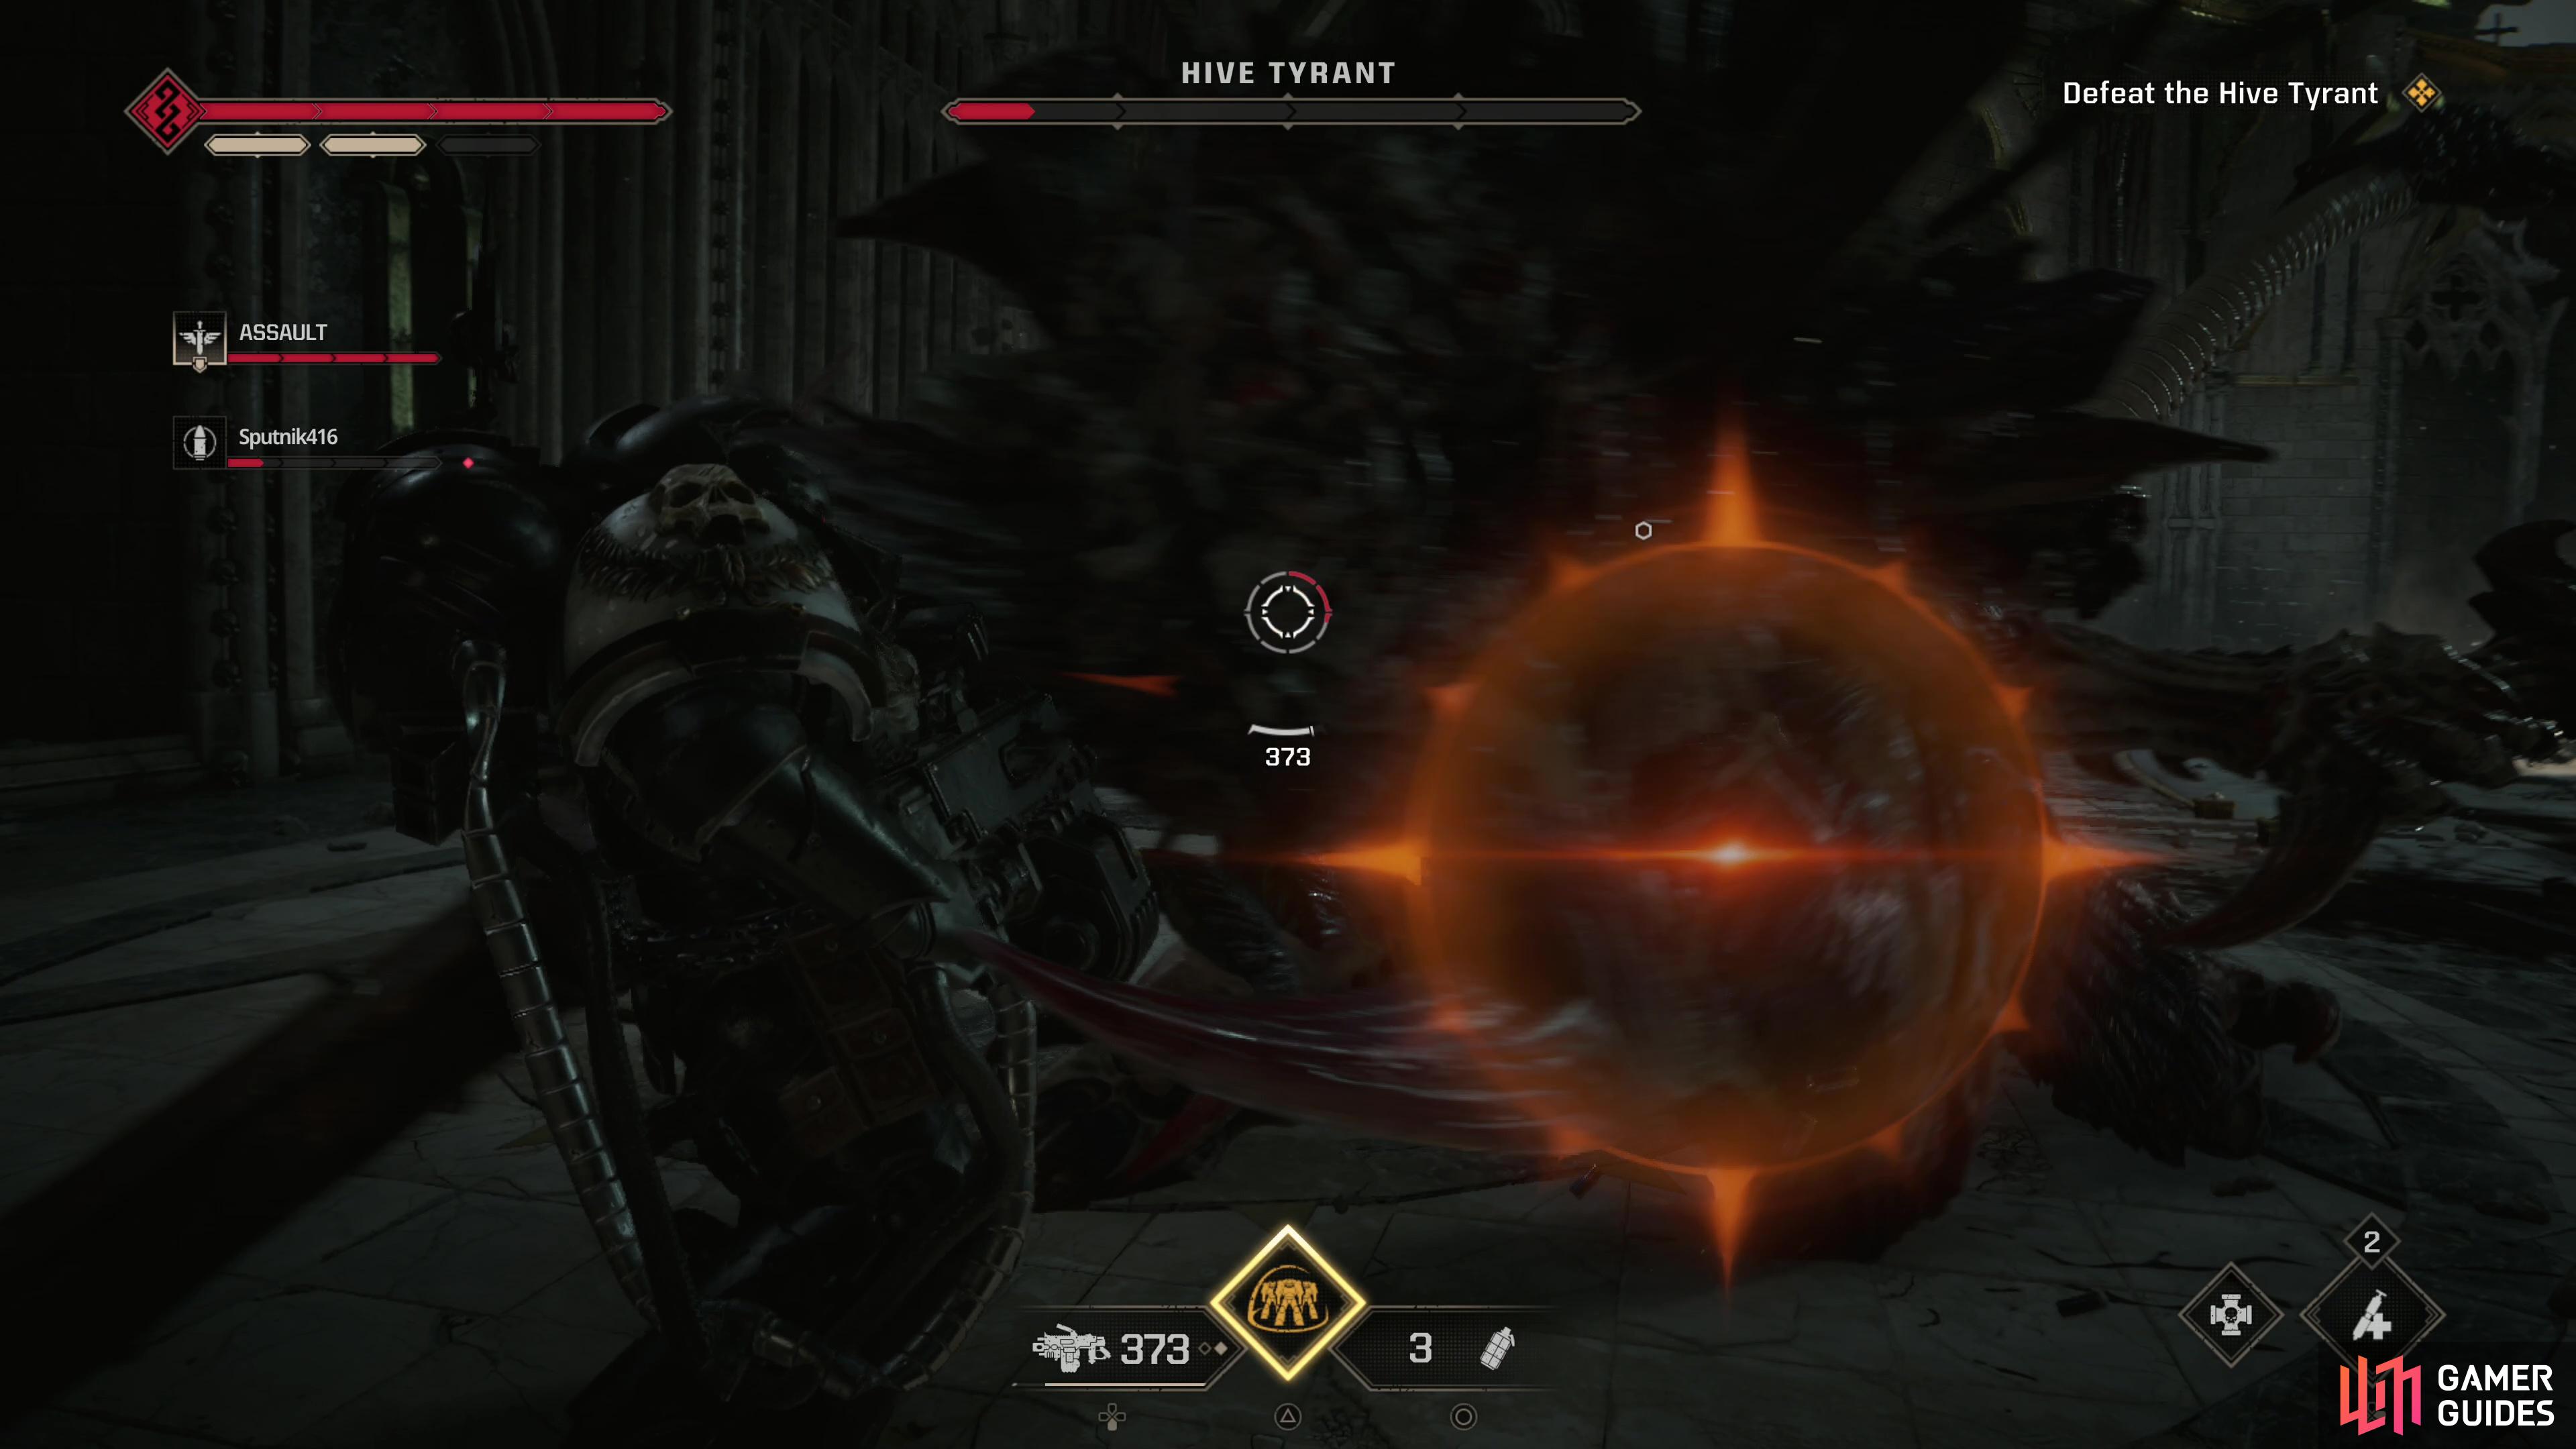
Deplete the Hive Tyrant’s health bar and it’ll roar, surround itself in warp energy, then regain all its lost health and attack again. At the start of this second phase of the battle, the Hive Tyrant will always shoot out multiple pulses of warp energy - dodge through the warp bubble as it approaches you to avoid all damage and repeat this process until the Hive Tyrant stops, at which point it’ll renew its melee offensive.
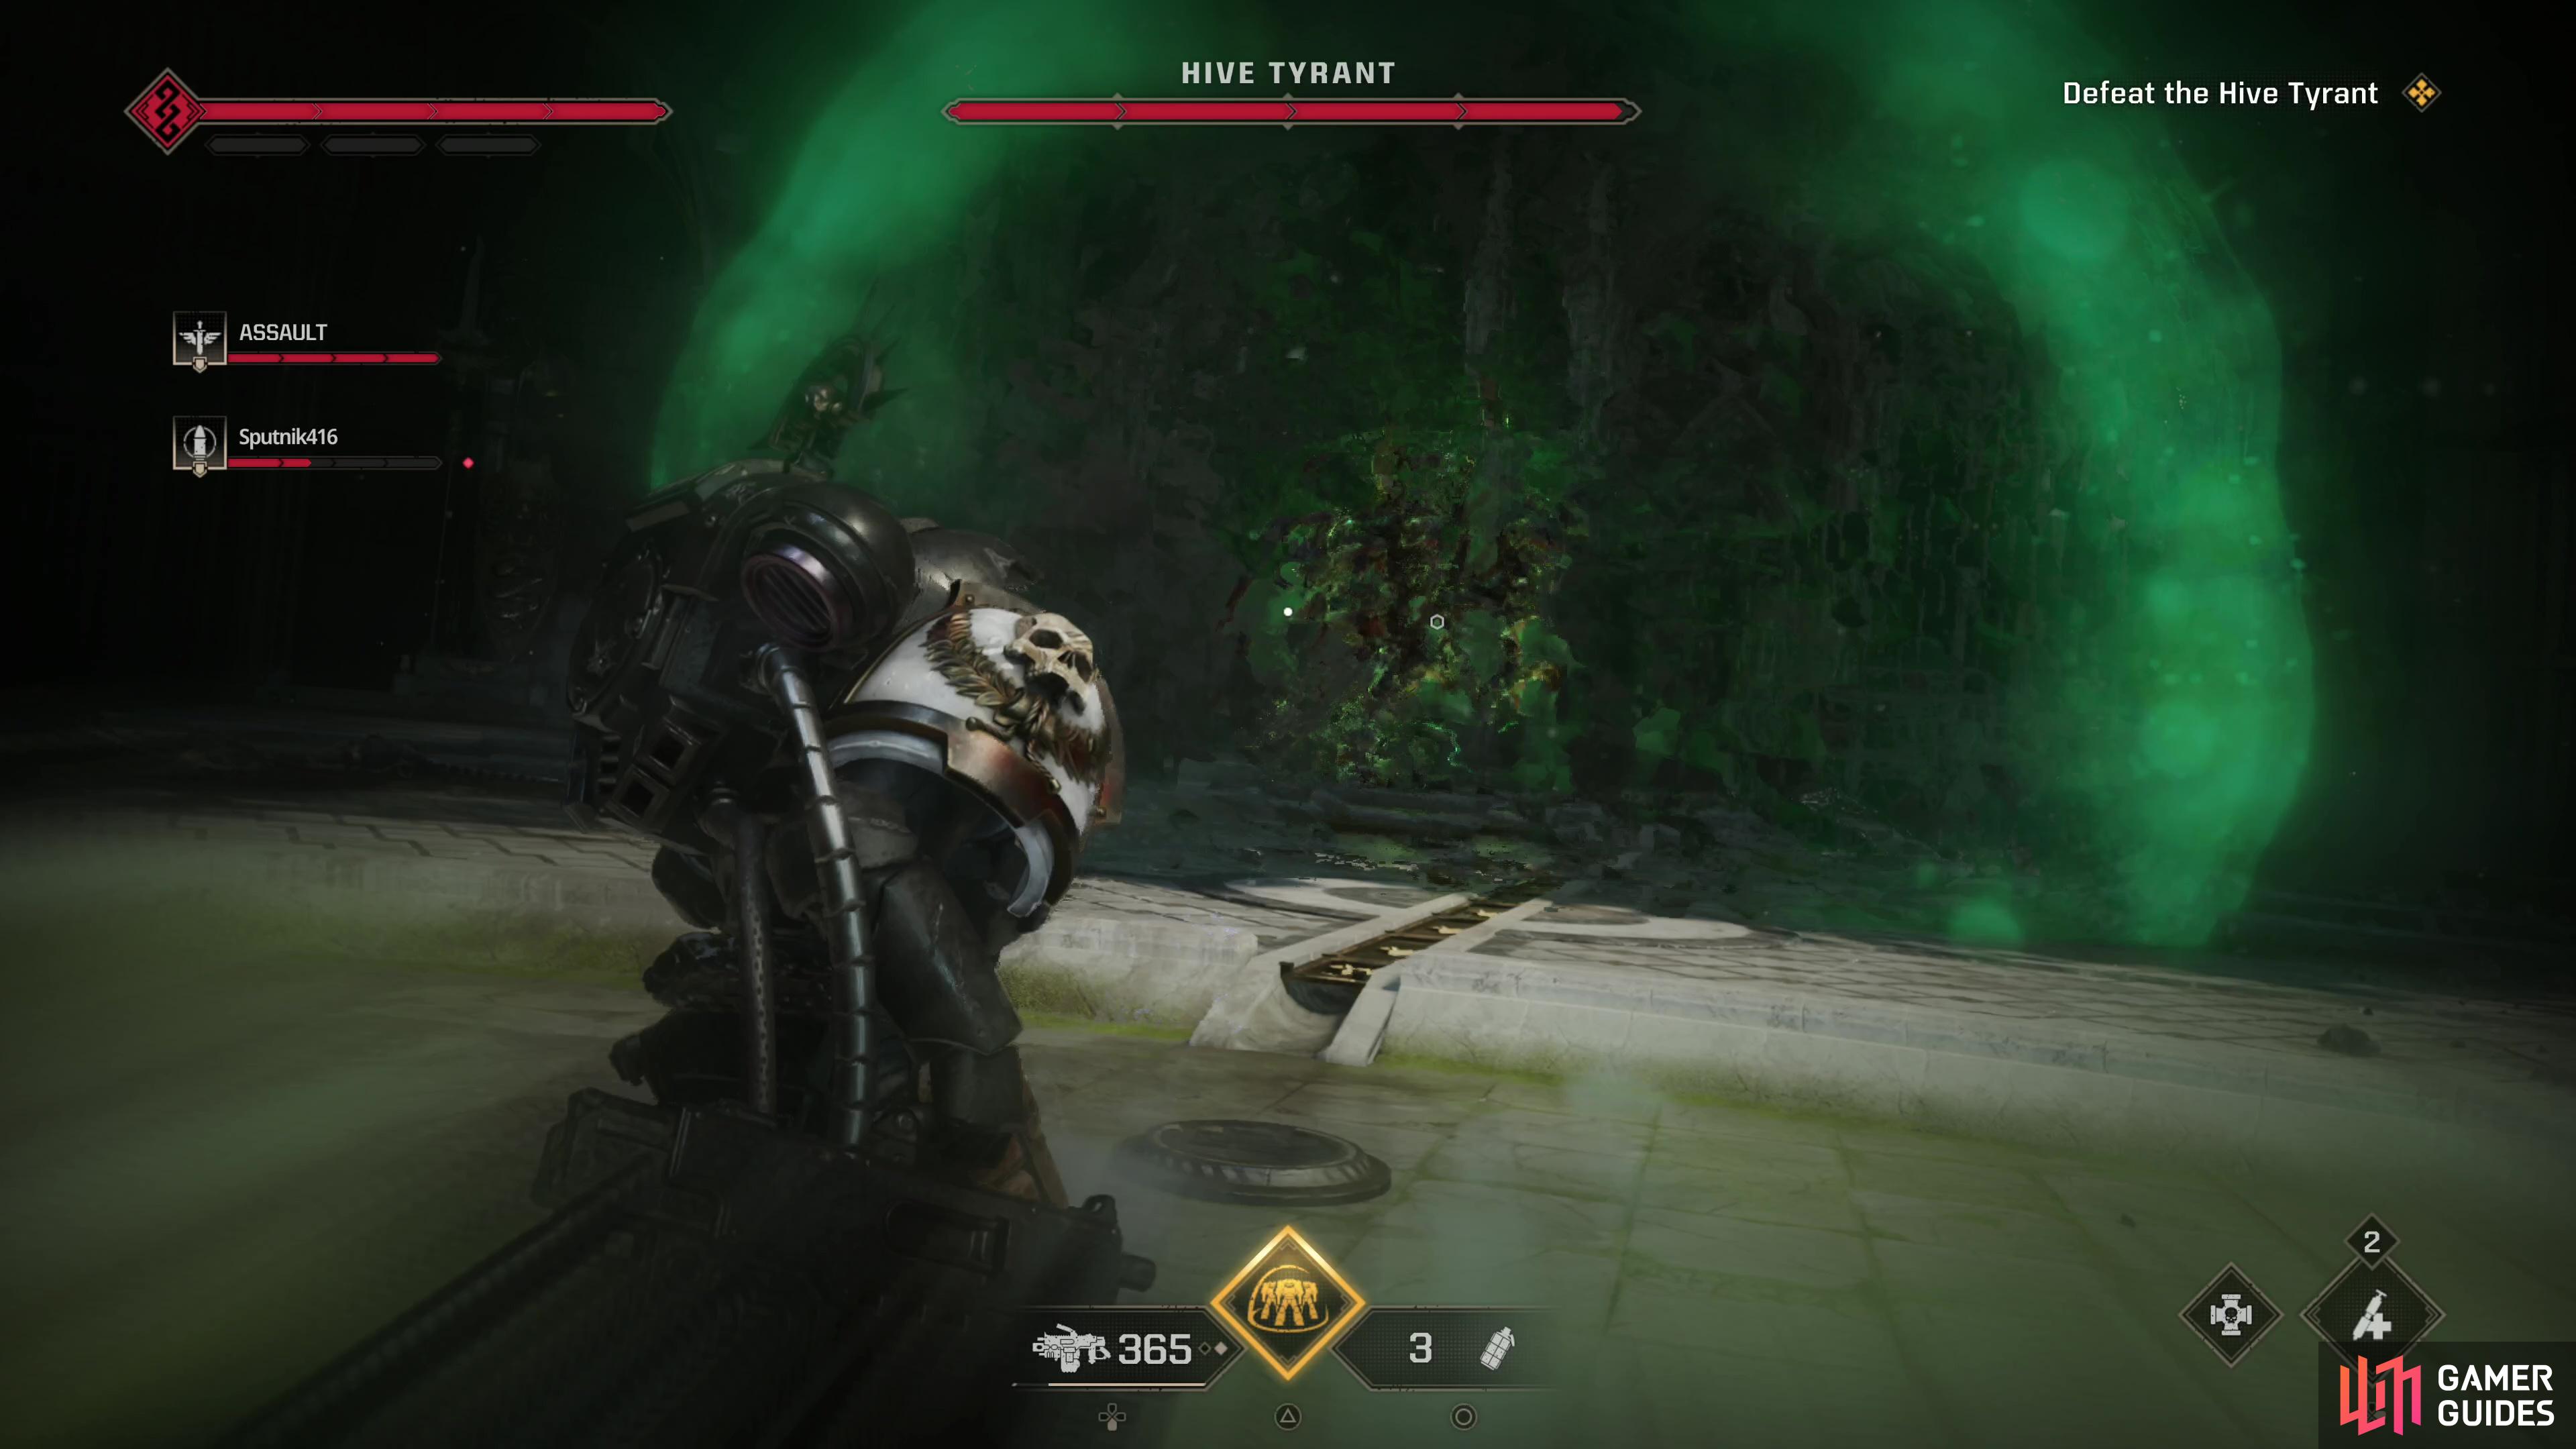
The Hive Tyrant’s offensive in phase two is similar to that seen in the first round, save its combos are longer and faster, giving you less time to respond to attacks… nothing a little dodging can’t fix. You need to be extra careful this time around, however, as the Hive Tyrant now shoots blade beams when it swings its sword, and it can roar to summon patches of warp energy on the battlefield which will explode after a moment - identical to an attack used by the Neurothrope. As a general rule of thumb, if you see something glowing green and ominously, best stay away from it.


(1 of 5) Deplete the Hive Tyrant’s health bar and it’ll heal up again, starting phase two.
Although more aggressive, the general idea remains the same - dodge the Hive Tyrant’s attacks (now very much the safer option over parrying!), indulge in Gun Strikes when you trigger them, and try to sneak in counterattacks of your own when you can. This is much easier if you have human allies, as the other two can lay into the HIve Tyrant when he aggros the other… AI allies aren’t quite smart enough for this. Most weapons are capable of dishing out some damage without over-committing, however, and your target is so large that you should be able to hip fire without missing too much. Whittle down the Hive Tyrant’s health bar again (it’ll take longer this time - the xeno is more durable during the second phase of the fight) and you’ll complete the mission!

 Sign up
No Comments