
Operations mode is a cooperative PvE mode for squads of three players in Space Marine 2. While the Operations mode missions are generally of the same quality as those in the campaign and elaborate on events and objectives completed by other Astartes in parallel with the exploits of Titus, the core gameplay loop is somewhat different. Instead of playing Titus, Chairon and Gadriel, you’ll play generic, customizable space marines who are defined by one of six classes, determining their weapons and special abilities. Unlike in the campaign you can level up these character and improve their gear, and if you dawdle recurring enemy waves threaten to overwhelm you. This page will provide various hints and tips to help you hit the ground running in Operations mode in Space Marine 2!
Page Breakdown
| Quick Search |
|---|
| General |
| Unlocking Operations |
| Classes |
| EXP and Requisitions |
| Requisitions and EXP by Threat Level |
| Armoury Data |
| Armoury Data by Threat Level |
| Pickups and Loot |
| Enemies |
General
-
Operations can be played offline, but any progress made in offline mode is temporary, and will be wiped if you go online. That being the case, there’s no reason whatsoever to play Operations mode offline unless you plan to do so exclusively.
-
Operations mode missions mirror campaign missions, and may contain spoilers for the campaign. They also include exclusives bosses not found in the campaign!
-
All but the most incompetent (and likely AFK) human players will perform better than the game’s AI companions - the game’s AI companions don’t even contribute to some objectives!
-
Operations mode unlocks after the first campaign mission, [Skyfire]. You will unlock more Operations by advancing the campaign:
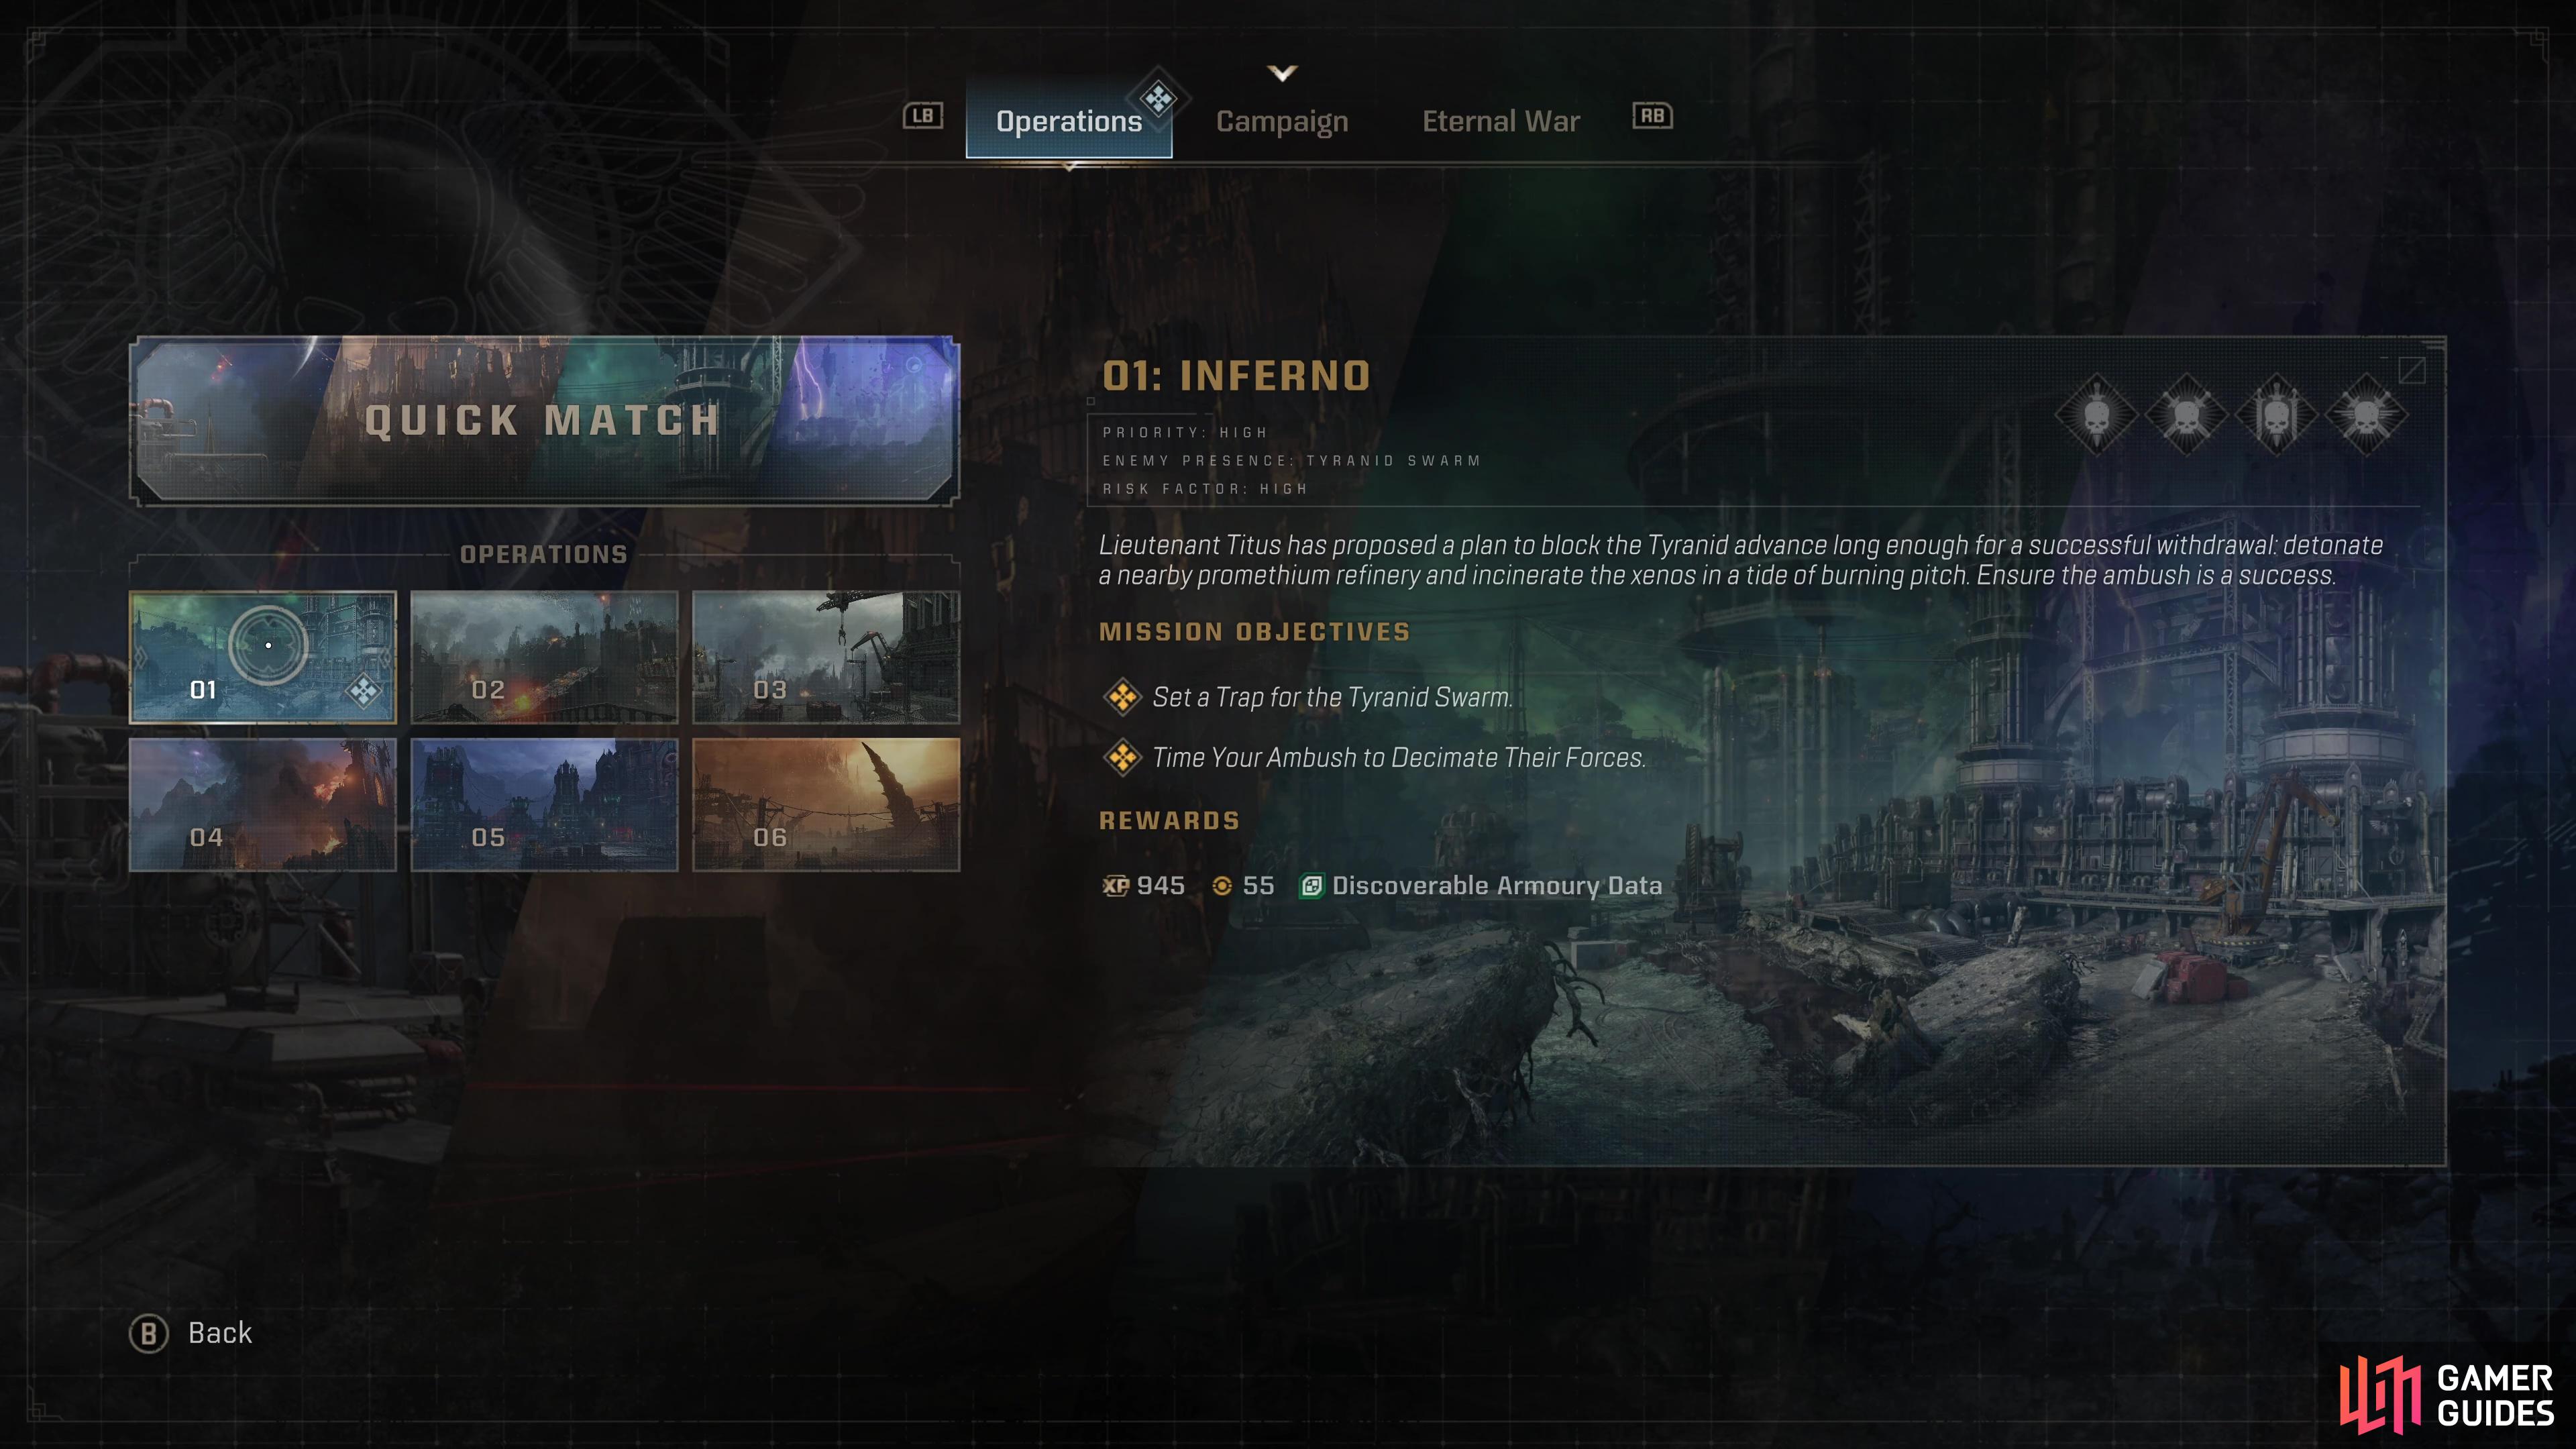
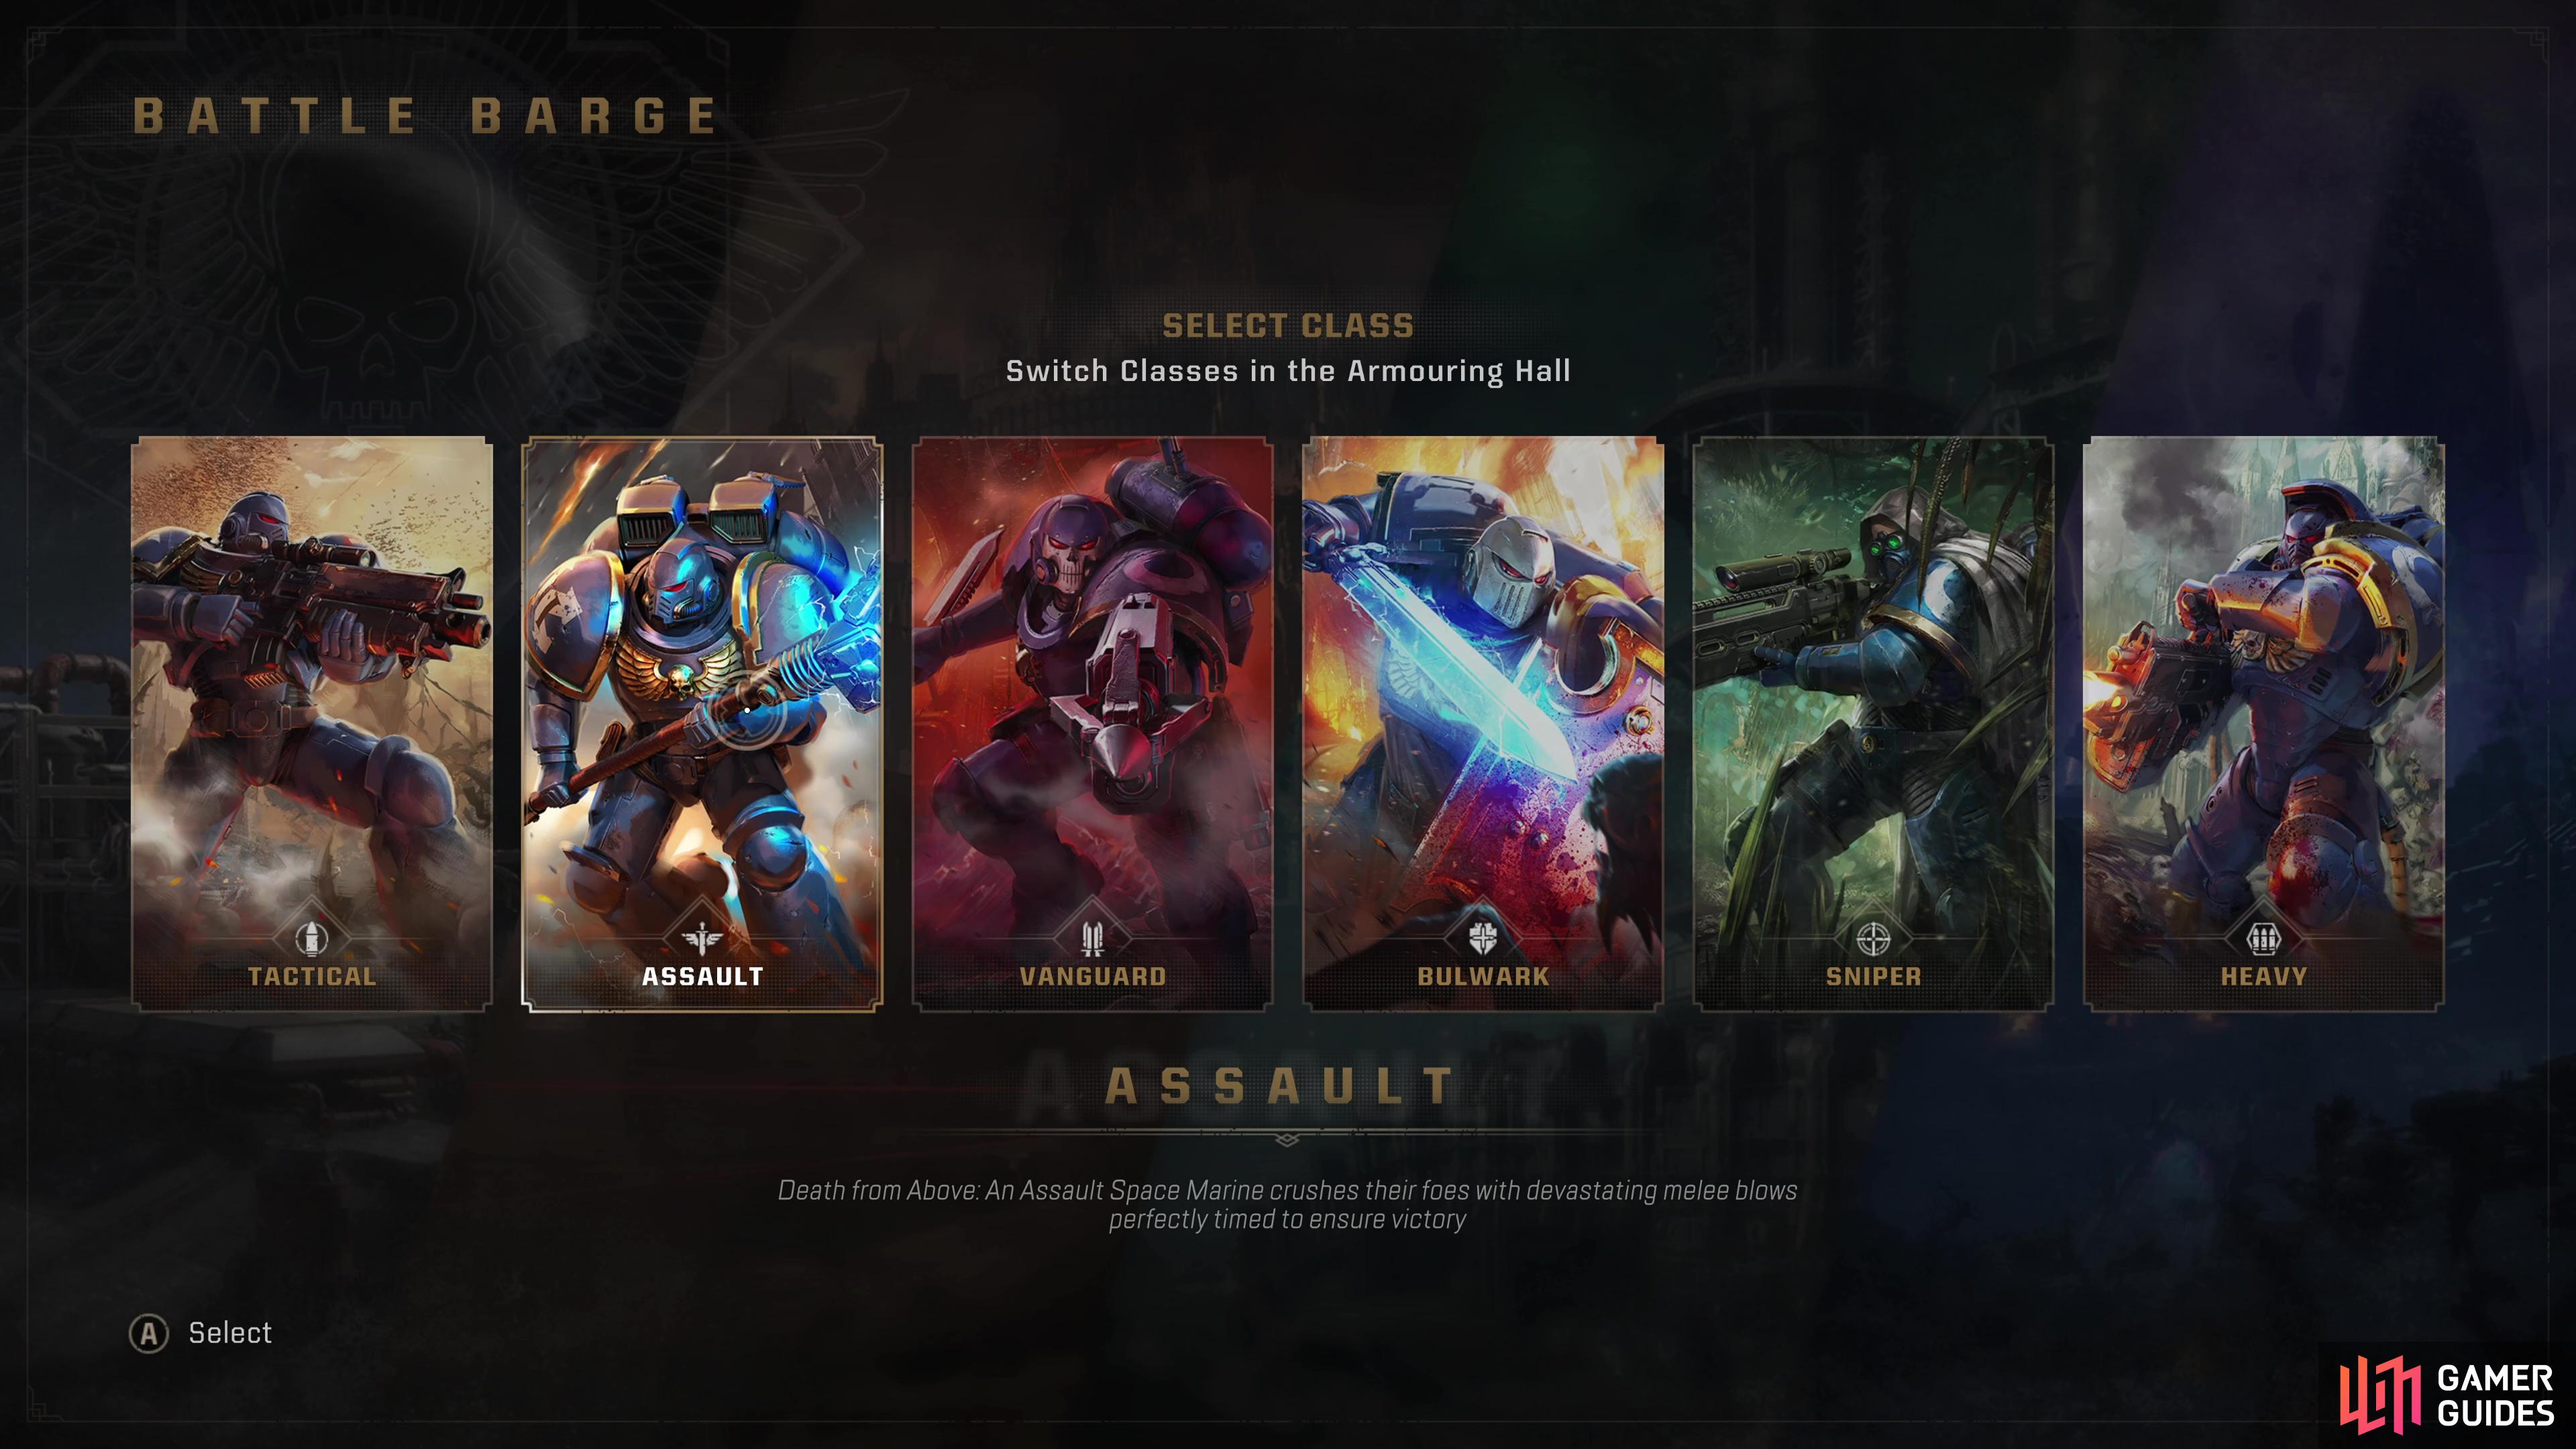
(1 of 2) Complete campaign missions to unlock Operations mode missions.
Complete campaign missions to unlock Operations mode missions. (left), In Operations mode, you’ll pick one of six classes, which determines what weapons you can wield. (right)
Unlocking Operations
| Operations Mission | Unlocked After Campaign Mission |
|---|---|
| 01: Inferno | 01: Skyfire |
| 02: Decapitation | 04: Servant of the Machine |
| 03:Vox Liberatis | 04: Servant of the Machine |
| 04: Reliquary | 05: Voidsong |
| 05: Fall of Atreus | 05: Voidsong |
| 06: Ballistic Engine | 03: Machinus Divinitus |
-
The faster you get through each Operations mode mission, the easier it’ll be. You don’t have to defeat every enemy on the map, and dawdling gives more time for enemy waves to spawn. Defeating enemies gets you almost nothing, save for progress towards earning accolades, which yields trivial EXP, and aside from hunting for Dataslates, Armoury Data and crates you can smash for loot, there’s little reason to waste time exploring.
-
It’s often best to play through each Operations mode mission on Minimal difficulty to learn each level and find the Dataslates before moving on to higher difficulties.
-
Requisition and Armoury Data are shared between all classes on an account, as are any weapon upgrades, including unlocked variants, mastery progress (EXP) and perks unlocked. Do yourself a favor and skip the slow start on new weapons/classes and just use your best class to grind out higher-tier Armoury Data and Requisition to quickly unlock new weapons and get them up to speed.
Classes
-
You can not have duplicate classes in an Operations mode mission. If two players of the same class join the same party, one must change their class via the Armoury before the mission can commence.
-
Not all classes are equally good at everything - Heavies are generally poor at melee, Bulwarks have limited ranged options, etc. Not only does the game enforce class diversity during missions, but you should be aware of who is good at what and adjust accordingly.
-
Heavies can be more ammo-dependent than other classes - when an Ammo Cache is around, they’re quite strong, but during long, barren stretches of combat they may need to be carried by other classes.
-
The Tactical and Vanguard classes play the most similarly to the characters in the campaign, if you want to lean into the comforts of the familiar.
-
The Sniper benefits a lot from having a team of competent and coordinated human allies, especially if you plan to lug around a Bolt Sniper Rifle or a Las Fusil.
-
Weapon upgrades transfer between classes, as long as both classes have access to the same weapon. A Heavy and a Bulwark can both use Plasma Pistols, and upgrading a Plasma Pistol as one class will allow the other to use the upgraded Plasma Pistol.
-
Every time a class levels up they will unlock a new class perk. These must be purchased with the Requisitions resource.
-
Perks are divided into eight columns, each of which has three perks. You can only have one of these three perks activated at time. Once unlocked, however, you can switch between them via the Armoury menu.


(1 of 2) Use Armoury Data to unlock higher tier weapons.
Use Armoury Data to unlock higher tier weapons. (left), Weapon upgrades apply to all classes, provided they can use said weapons. (right)
EXP and Requisitions
-
You will gain more EXP and Requisitions by completing Operations on higher Threat levels.
-
EXP levels up your current class and equipped weapons, allowing you to access more perks for both your class and equipped weapons, as well as access to higher-tier weapons.
Requisitions and EXP by Threat Level
| Difficulty | Requisition | EXP |
|---|---|---|
| Operations- Threat: Minimal | 35 Requisition | 630 EXP |
| Operations - Threat: Average | 55 Requisition | 945 EXP |
| Operations - Threat: Substantial | 95 Requisition | 1260 EXP |
| Operations - Threat: Ruthless | 165 Requisition | 1890 EXP |
-
In addition to the EXP listed above, you will earn extra EXP for completing mission objectives and earning certain accolades, like dealing the more melee/ranged damage, sustaining the least damage, reviving incapacitated allies, etc. If you fail to complete an Operations mode mission, you’ll still gain partial EXP based on what objectives you completed, although this is often a trivial amount compared to the completion rewards.
-
When an equipped weapon gains enough EXP, you will master it, earning one Mastery Point. Mastery Points are required to unlock new perks for that type of weapon. Note that each weapon variant can be mastered to obtain one Mastery Point each, so you will need to unlock and use every weapon variant to get as many Mastery Points as possible. For example, the Standard-Issue weapon yields one Mastery Point, as do all Master-Crafted variants, Artificer variants and Relic variants.
-
Using a weapon type (regardless of the exact weapon variant) will also earn you weapon EXP needed to unlock the next weapon tier (along with Armoury Data). For example, if you use a Master-Crafted Alpha Plasma Pistol in an Operations mode mission, you will gain EXP for the Master-Crafted Alpha Plasma Pistol variant (which will unlock a Mastery Perk once maxed) and for Plasma Pistols in general (which will allow you to unlock the next tier of Plasma Pistols when maxed).
-
Requisitions are required to unlock cosmetics as well as purchase weapon perks, class perks, and higher-tier weapons.
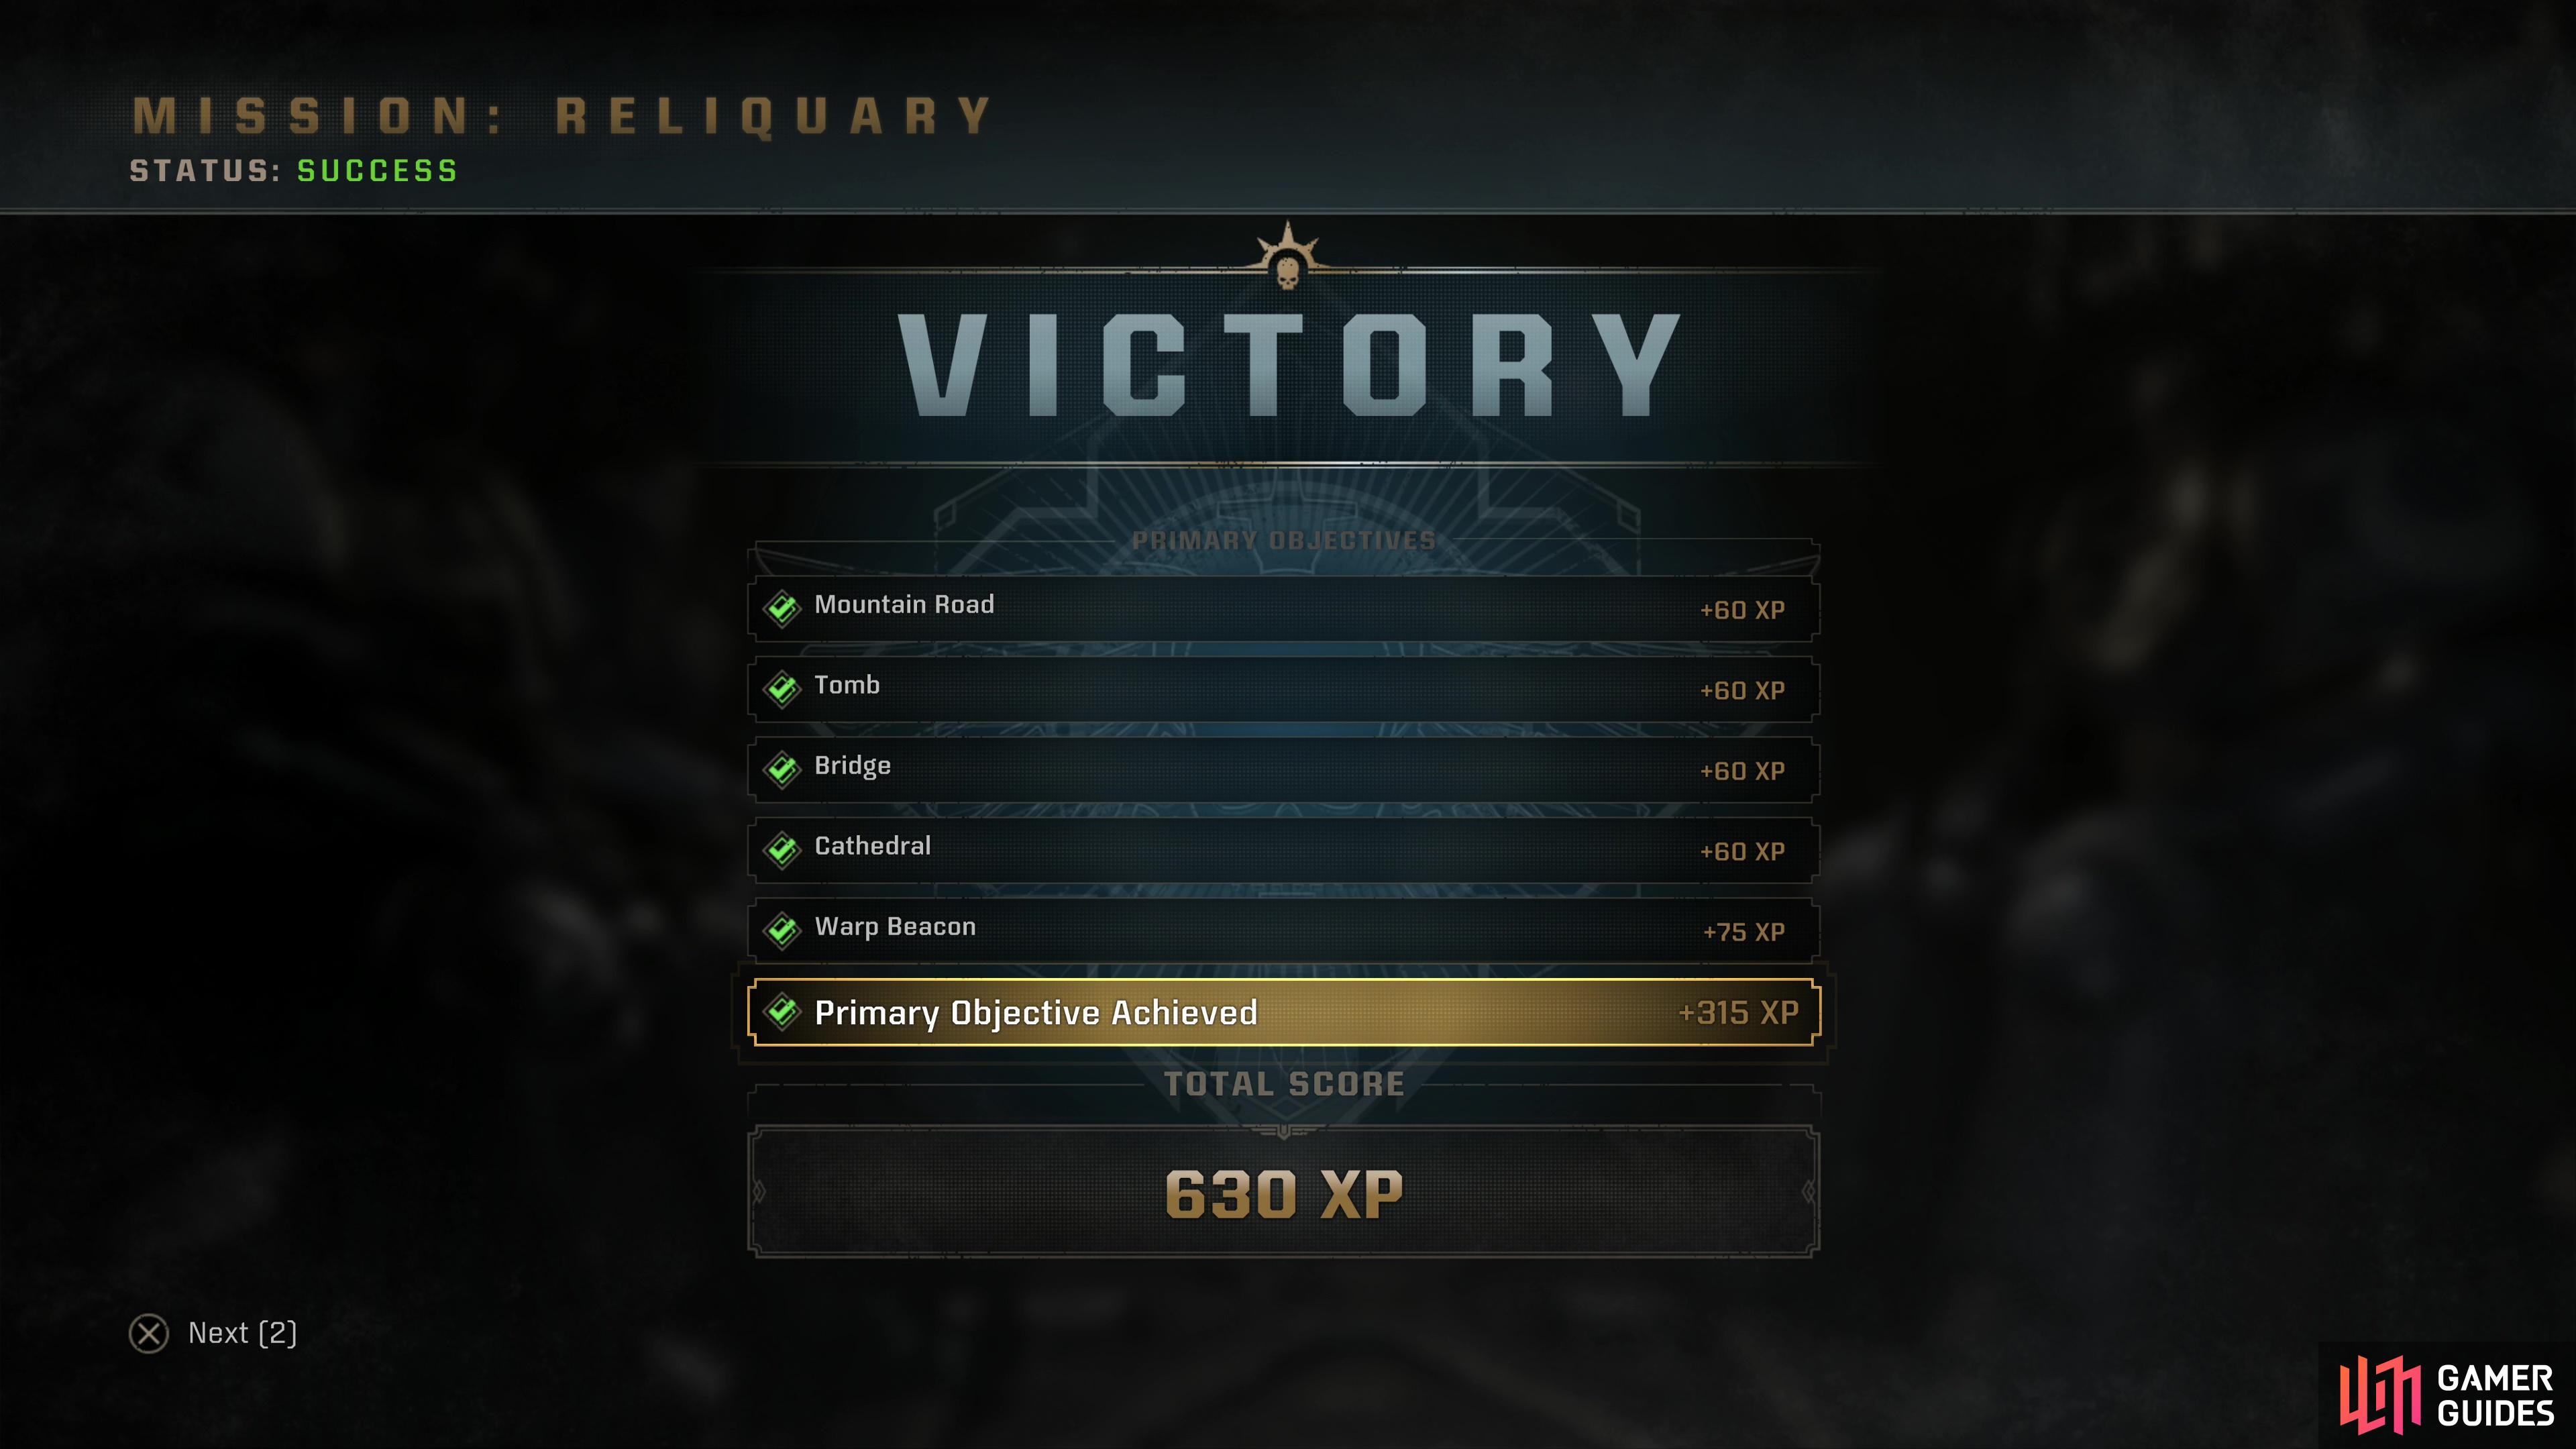

(1 of 2) Completing Operations will earn you EXP and Requisitions - better performance can yield more EXP.
Completing Operations will earn you EXP and Requisitions - better performance can yield more EXP. (left), Level up and spend Requisitions to unlock new perks to turn the odds in your favor. (right)
Armoury Data
-
To unlock higher-tier weapons you must expend Armoury Data, which can be found during Operations and, in the case of Master-Crafted Armoury Data, class Trials.
-
There are three types of Armoury Data: Master-Crafted, Artificer and Relic. You can unlock Master-Crafted Armoury Data on Minimal and Average Threat difficulty, Artificer on Substantial Threat difficulty and Relic on Ruthless Threat difficulty.
Armoury Data by Threat Level
| Armoury Data | Threat Unlocked |
|---|---|
| Master-Crafted | Minimal |
| Master-Crafted | Average |
| Artificer | Substantial |
| Relic | Ruthless |
-
You can use Armoury Data to automatically master a weapon, should you not care to actually play through missions with that specific weapon variant.
-
The locations of the Servo-Skulls that yield Armoury Data are randomized each time you play a level. That said, they can only spawn in a set number of places, so once you become familiar with a level, you might be better off just running it repeatedly.
-
Armoury Data pickups are shared by the entire squad during a mission. Do your buddies a favor - grab the Armoury Data for everybody’s benefit, and if you don’t see Armoury Data in one of its usual spots, don’t panic. One of your comrades may have grabbed it for you already!
Pickups and Loot
-
You will find more Ammo Boxes and Medicae Stimms on lower difficulties, and they will give you more ammo/health.
-
Piles of crates can be smashed to reveal Ammo Boxes, Armour Boosts, and Medicae Stimms. If you can plunder them without wasting too much time, it’s a good source of supplemental healing and ammo!
-
Armour Boosts not only kickstart your Armour regeneration, but will give you a temporary extra Armour segment. This makes Armour Boost items useful grabs in the heat of battle and as boosts for the upcoming battle. You’ll commonly find them in crates.
-
Unlike in the campaign, you will not find loose weapons lying around in Operations mode missions.
-
You will very rarely - often only twice per mission - find weapons loadout pods during Operations mode missions. These allow you to select a new loadout for your class and can be quite useful for experience players who know what’s coming up and what weapons will work best in such situations - for newer players, keep an eye out for them during your first, easier runs through levels and make note of them for later.


(1 of 3) Smash crates as you explore, as they’ll often yield Ammo Boxes, Armour Boosts and Medica Stimms.
Enemies
-
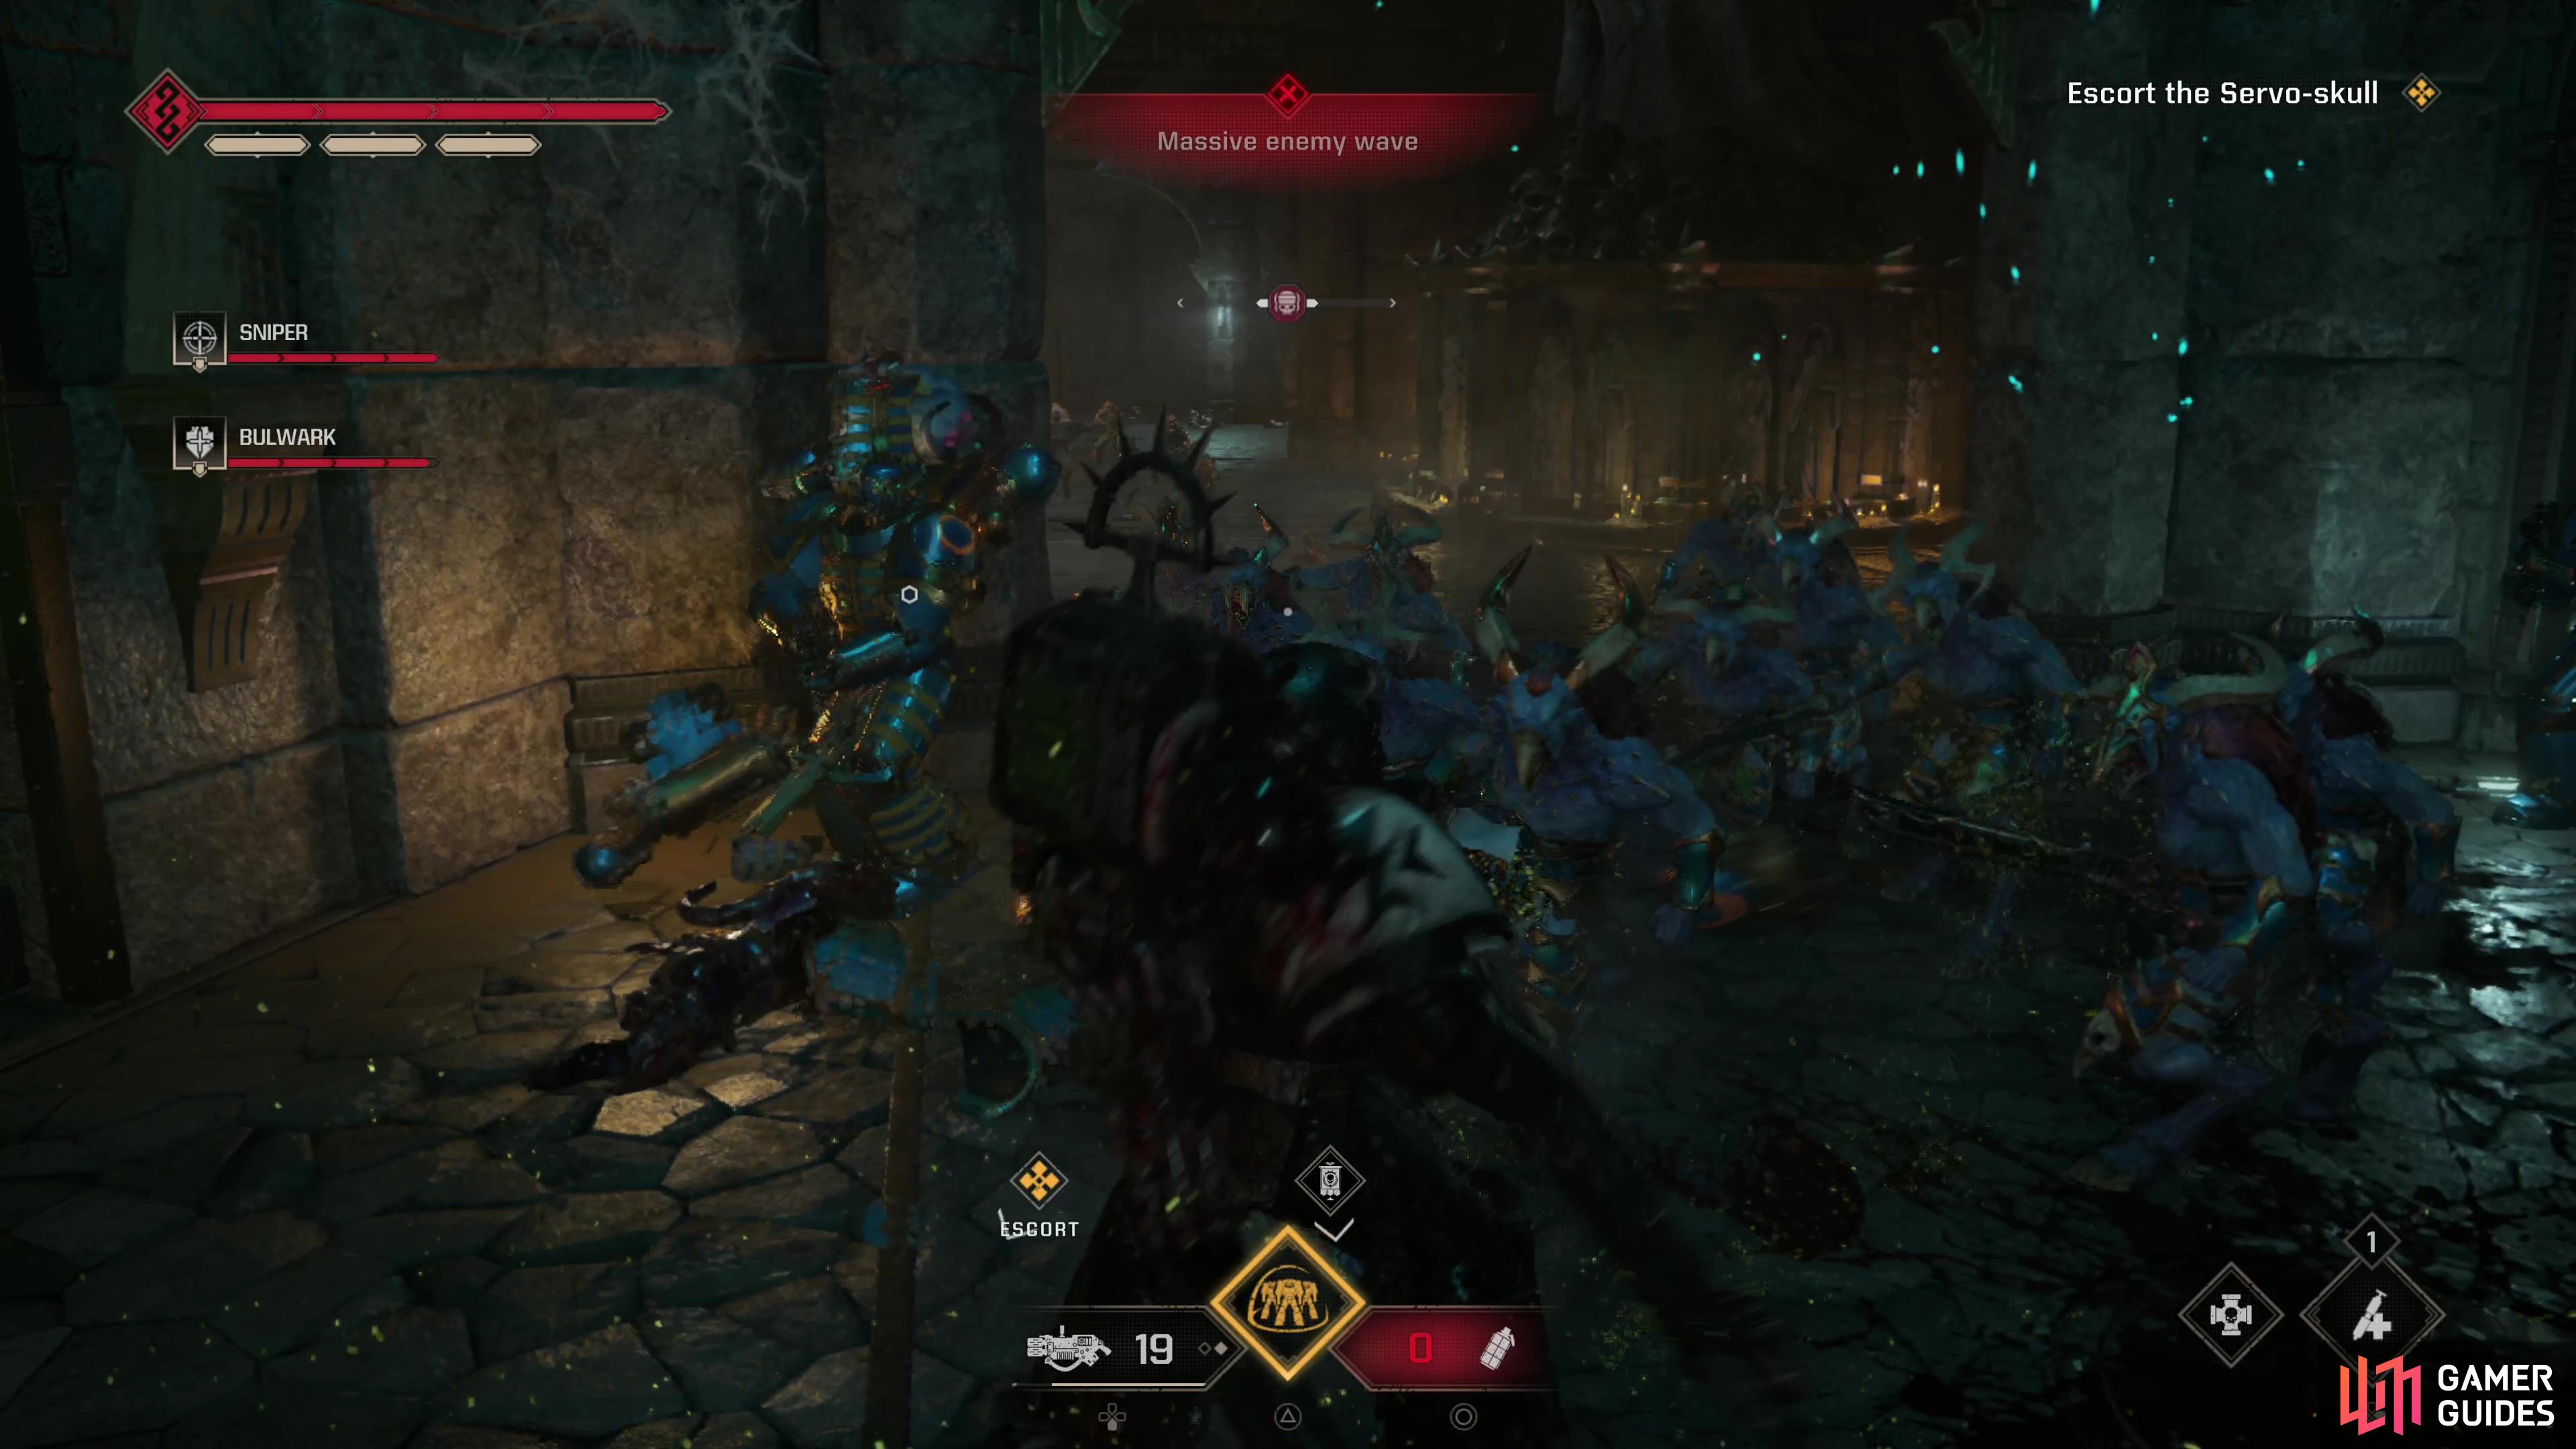
Enemy waves will spawn and attack at regular intervals in Operations mode missions, encouraging you not to waste time. Larger waves can prove particularly nasty, as they can often feature a dozen or more majoris enemies.
-
While there are exclusive bosses in Operations mode, you will also encounter the odd campaign boss, stripped of their story introductions and fanfare and thrown indiscriminately into the mix of lesser enemies. Fortunately these foes are still somewhat rare.
-
During some segments in Operations mode missions, smaller groups of enemies will constantly spawn. This normally only happens during specific objectives, but it’s worth reiterating just how relentless enemy spawns can be in Operations mode.
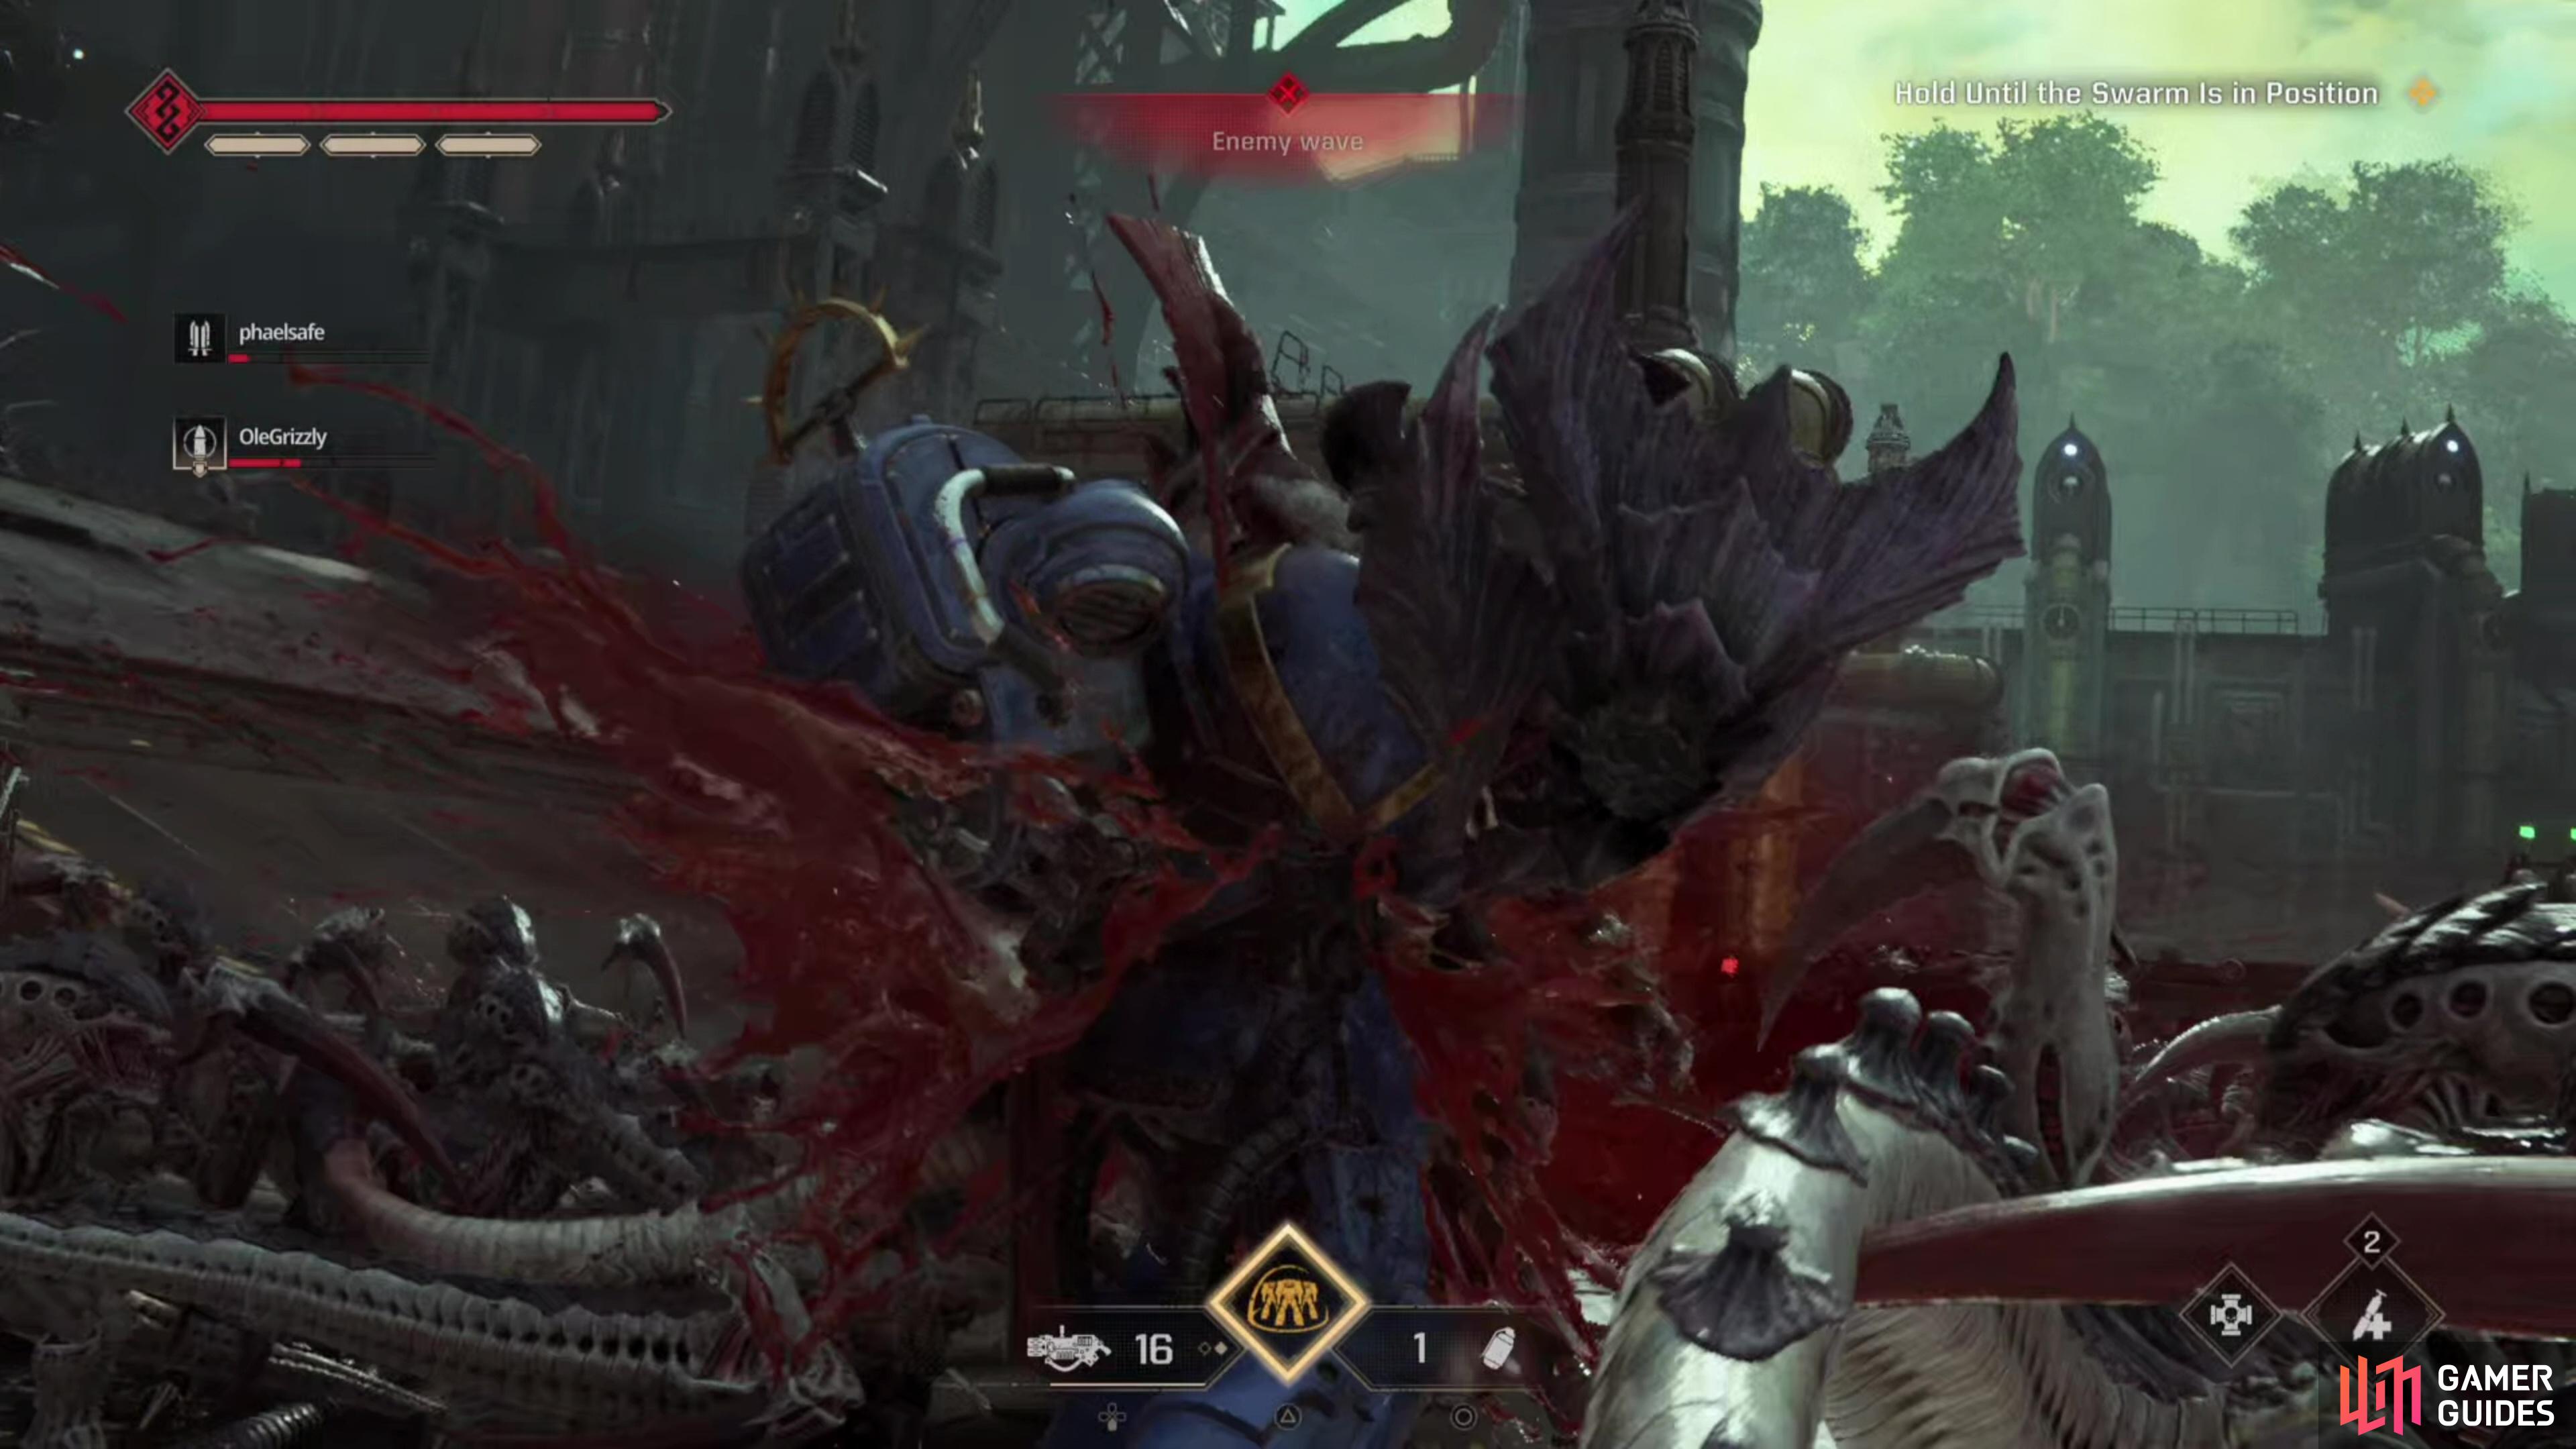

(1 of 2) Executing majoris-tier enemies can dispatch minoris-tier enemies in the vicinity.
Executing majoris-tier enemies can dispatch minoris-tier enemies in the vicinity. (left), You can encounter unique bosses in Operations mode. (right)
-
Killing majoris or extremis tier enemies will often defeat minories tier enemies as well, especially with Tyranid foes. For example, culling a Tyranid Warrior can eliminate a whole host of Gaunts. If you can pick off these more powerful foes, it can be more convenient than wasting time, ammo, Health and Armour chopping through mobs.
-
Use the iframes granted by performing executions wisely, as not only will executing them restore Armour and contested Health, but you’ll be temporarily invulnerable to damage during the execution animation.
-
Enemies in Operations mode get significantly stronger as the difficulty increases, unlike in the campaign. This is likely meant to be balanced out by class and weapon perks and upgrades.
-
In addition to facing more enemies in higher difficulties, you may also encounter stronger variants or even boss monsters on higher difficulties! For example, a Zoanthrope encounter may be replaced by a Neurothrope, for example.
-
Bosses with life bars atop the screen can yield Armoury Data when defeated, so annoying as it may be, there’s some incentive for you to kill, say, a Neurothrope if it spawns on a higher difficulty mission.

 Sign up
No Comments