
While they may not be as iconic as bolt weapons, melta weapons still play an important role in the armies of the Imperium, serving as the go-to infantry anti-armor weapons for the Adeptus Astartes. Despite anti-armor not being a meaningful mechanic in Space Marine 2 (it’s not like there are Toughness checks and Armour Saves in Space Marine 2, after all!) melta-weapons still have a worthwhile spot in your arsenal due to their high damage and piercing potential. This page will cover the Multi-Melta weapon in Space Marine 2, covering its stats, variants, the classes who can use it and how to effectively use it.
| Quick Jump |
|---|
| Multi-Melta Classes |
| Using the Multi-Melta Effectively |
| Multi-Melta Stats and Variants |
| Multi-Melta Weapon Perks |
Multi-Melta Classes
The Multi-Melta is a fairly rare weapon in the campaign, albeit one that appears several times during the final two missions on Demerium along with the odd appearance on Avarax. In Operations mode, only the Heavy class can use it, being one of that class’s three primary weapons. Suffice to say, unless you play a Heavy in Operations mode you won’t get too many chances to use it, and given the rules of heavy weapons during the campaign, it’ll functionally just work like a [Melta Rifle] with finite ammo and no reloads.


(1 of 2) You’ll find the odd Multi-Melta during the campaign, but its finite ammo means it’ll never be more than a novelty.
You’ll find the odd Multi-Melta during the campaign, but its finite ammo means it’ll never be more than a novelty. (left), In Operations mode, you can make more regular use of the weapon with the Heavy class. (right)
Using the Multi-Melta Effectively
Given the limitations mentioned above, the Multi-Melta is functionally a weapon only worth talking about in the context of Operations mode missions. Fortunately the Multi-Melta can prove very powerful in the right hands, but it does take some practice and know-how to overcome its weaknesses.
The Multi-Melta serves as the game’s super shotgun, except instead of spewing dozens of pellets over a wide area, the Multi-Melta shoots a large orb of energy. High damage output, limited range and a slow rate of fire should make this weapon familiar to genre veterans - you’ll need to grow comfortable with wading into melee with this weapon, aiming your shots strategically, and surviving by clawing back contested health with a rhythmic stream of melta orbs. It’s a feast-or-famine playstyle, and like with most things in Space Marine 2, small mistakes can cascade quickly into disaster.
On the plus side, you don’t have to commit much when it comes to the Multi-Melta, as compared to, say, a [Heavy Bolter], which requires you to maintain a barrage of withering fire for optimal damage. The slow fire rate can be a blessing on higher difficulties, as it gives you time to dodge, parry, or just line up your next shot. The Multi-Melta also punches through many forms of defense the way other guns often don’t - Tzangor shields and Tyranid Warrior blades are no match for the power of a melta blast. The Multi-Melta also has a Piercing stat of 10, meaning it will pass through all enemies, allowing you to carve through mobs.
The Multi-Melta is strictly a close-ranged weapon, and even the variants that improve its range never quite make it a midrange threat - the goal should be to deal damage to a line of enemies, wherever possible, and that means firing in close quarters. The Multi-Melta also has limited ammo, a mere 20 shots by default. Not having to reload is nice and all, but unless you’re near an Ammo Cache, you’re going to need to fret over ammo (although some class perks and weapon variants can help with the ammo problem a bit). For range and supplementary ammo you’ll need to rely on a sidearm, but most bosses and large holdout objectives feature Ammo Cache, so the ammo limitation can usually be mitigated with experience… and the odd Ammo Box scavenged as you move through levels.
As for melee… well, unlike other Primary Weapons, heavy weapons are too cumbersome to be quickly set aside for a dedicated melee weapon, and so serve as their own melee weapons. Needless to say, they don’t excel at this function, being rather slow and low damage. Your best bet is to perform a running attack whenever possible, which has good AoE and will almost always trigger a Gun Strike if you hit a minoris enemy. Failing that, perform a standard melee attack followed by a charge attack to perform an AoE stomp, which is effective at knocking away minoris enemies. You can parry just fine with a heavy weapon, however, so while it may not be as glamorous as a [Thunder Hammer] or [Power Sword], it still gets the job done!


(1 of 3) A strictly close-range weapon, some enemies, like Zoanthropes, might prove tedious to fight with a Multi-Melta.
Multi-Melta Stats and Variants
Multi-Meltas start out with a Firepower score of 8+ - tied with the [Heavy Plasma Incinerator] and [Melta Rifle] for highest in the game. This damage doesn’t scale quite as well as some initially weaker weapons, which close the gap considerably when fully leveled, but the potency of the Multi-Melta makes it a great starting choice, and its upsides keep it viable even on Ruthless threat level missions.
Rate of Fire is a paltry 1 - shots with this weapon are slow and need to be deliberate, as you just don’t have enough ammo to waste too many shots, nor can you afford to give enemies extra time with suboptimal fire. On higher difficulties you’ll find yourself well-served by dodging after each shot to create separation and avoid the relentless enemy attacks. Against majoris and extremis enemies, the cadence between shots will usually give you the time to anticipate and parry or dodge enemy attacks, ideally setting up Gun Strikes, recovering Armour, benefiting from iframes and conserving ammo. Some Multi-Melta variants boost rate of fire, making them worthwhile upgrade considerations, as it increases the weapon’s versatility.
All Multi-Meltas have a Piercing rating of 10 - they will pass through any and all enemies along their path. This rewards you for getting close to enemies before firing to damage as many foes as possible. Multi-Meltas compensate for this boon by having a Range score of 1, although this can be upgraded by selecting certain weapon variants and weapon perks, potentially boosting range as high as 6. Still, since the Multi-Melta is most effective when it’s tunneling through a horde of enemies, the extra range might not be as effective as other options.
Finally, Multi-Meltas have a Magazine Capacity of 20. The Multi-Melta does not need reload, but once its magazine is depleted, you’ll need to find more ammo. Weapon perks can boost this by 40% (up to 28 shots) and weapon variants may have Magazine Capacities of 23, 26 or 30 (not including the weapon perk bonuses), which will significantly help mitigate this weapon’s ammo woes.
| Variant | Firepower | Rate of Fire | Piercing | Range | Magazine Capacity |
|---|---|---|---|---|---|
| Standard-Issue | 8+ | 1 | 10 | 1 | 20 |
| Master-Crafted - Alpha | 10 | 1 | 10 | 2 | 20 |
| Master-Crafted - Beta | 10 | 1 | 10 | 1 | 23 |
| Master-Crafted - Gamma | 10 | 2 | 10 | 1 | 20 |
| Salvation of Bakka | 11+ | 1 | 10 | 3 | 20 |
| Drogos Reclamation - Alpha | 11+ | 1 | 10 | 3 | 26 |
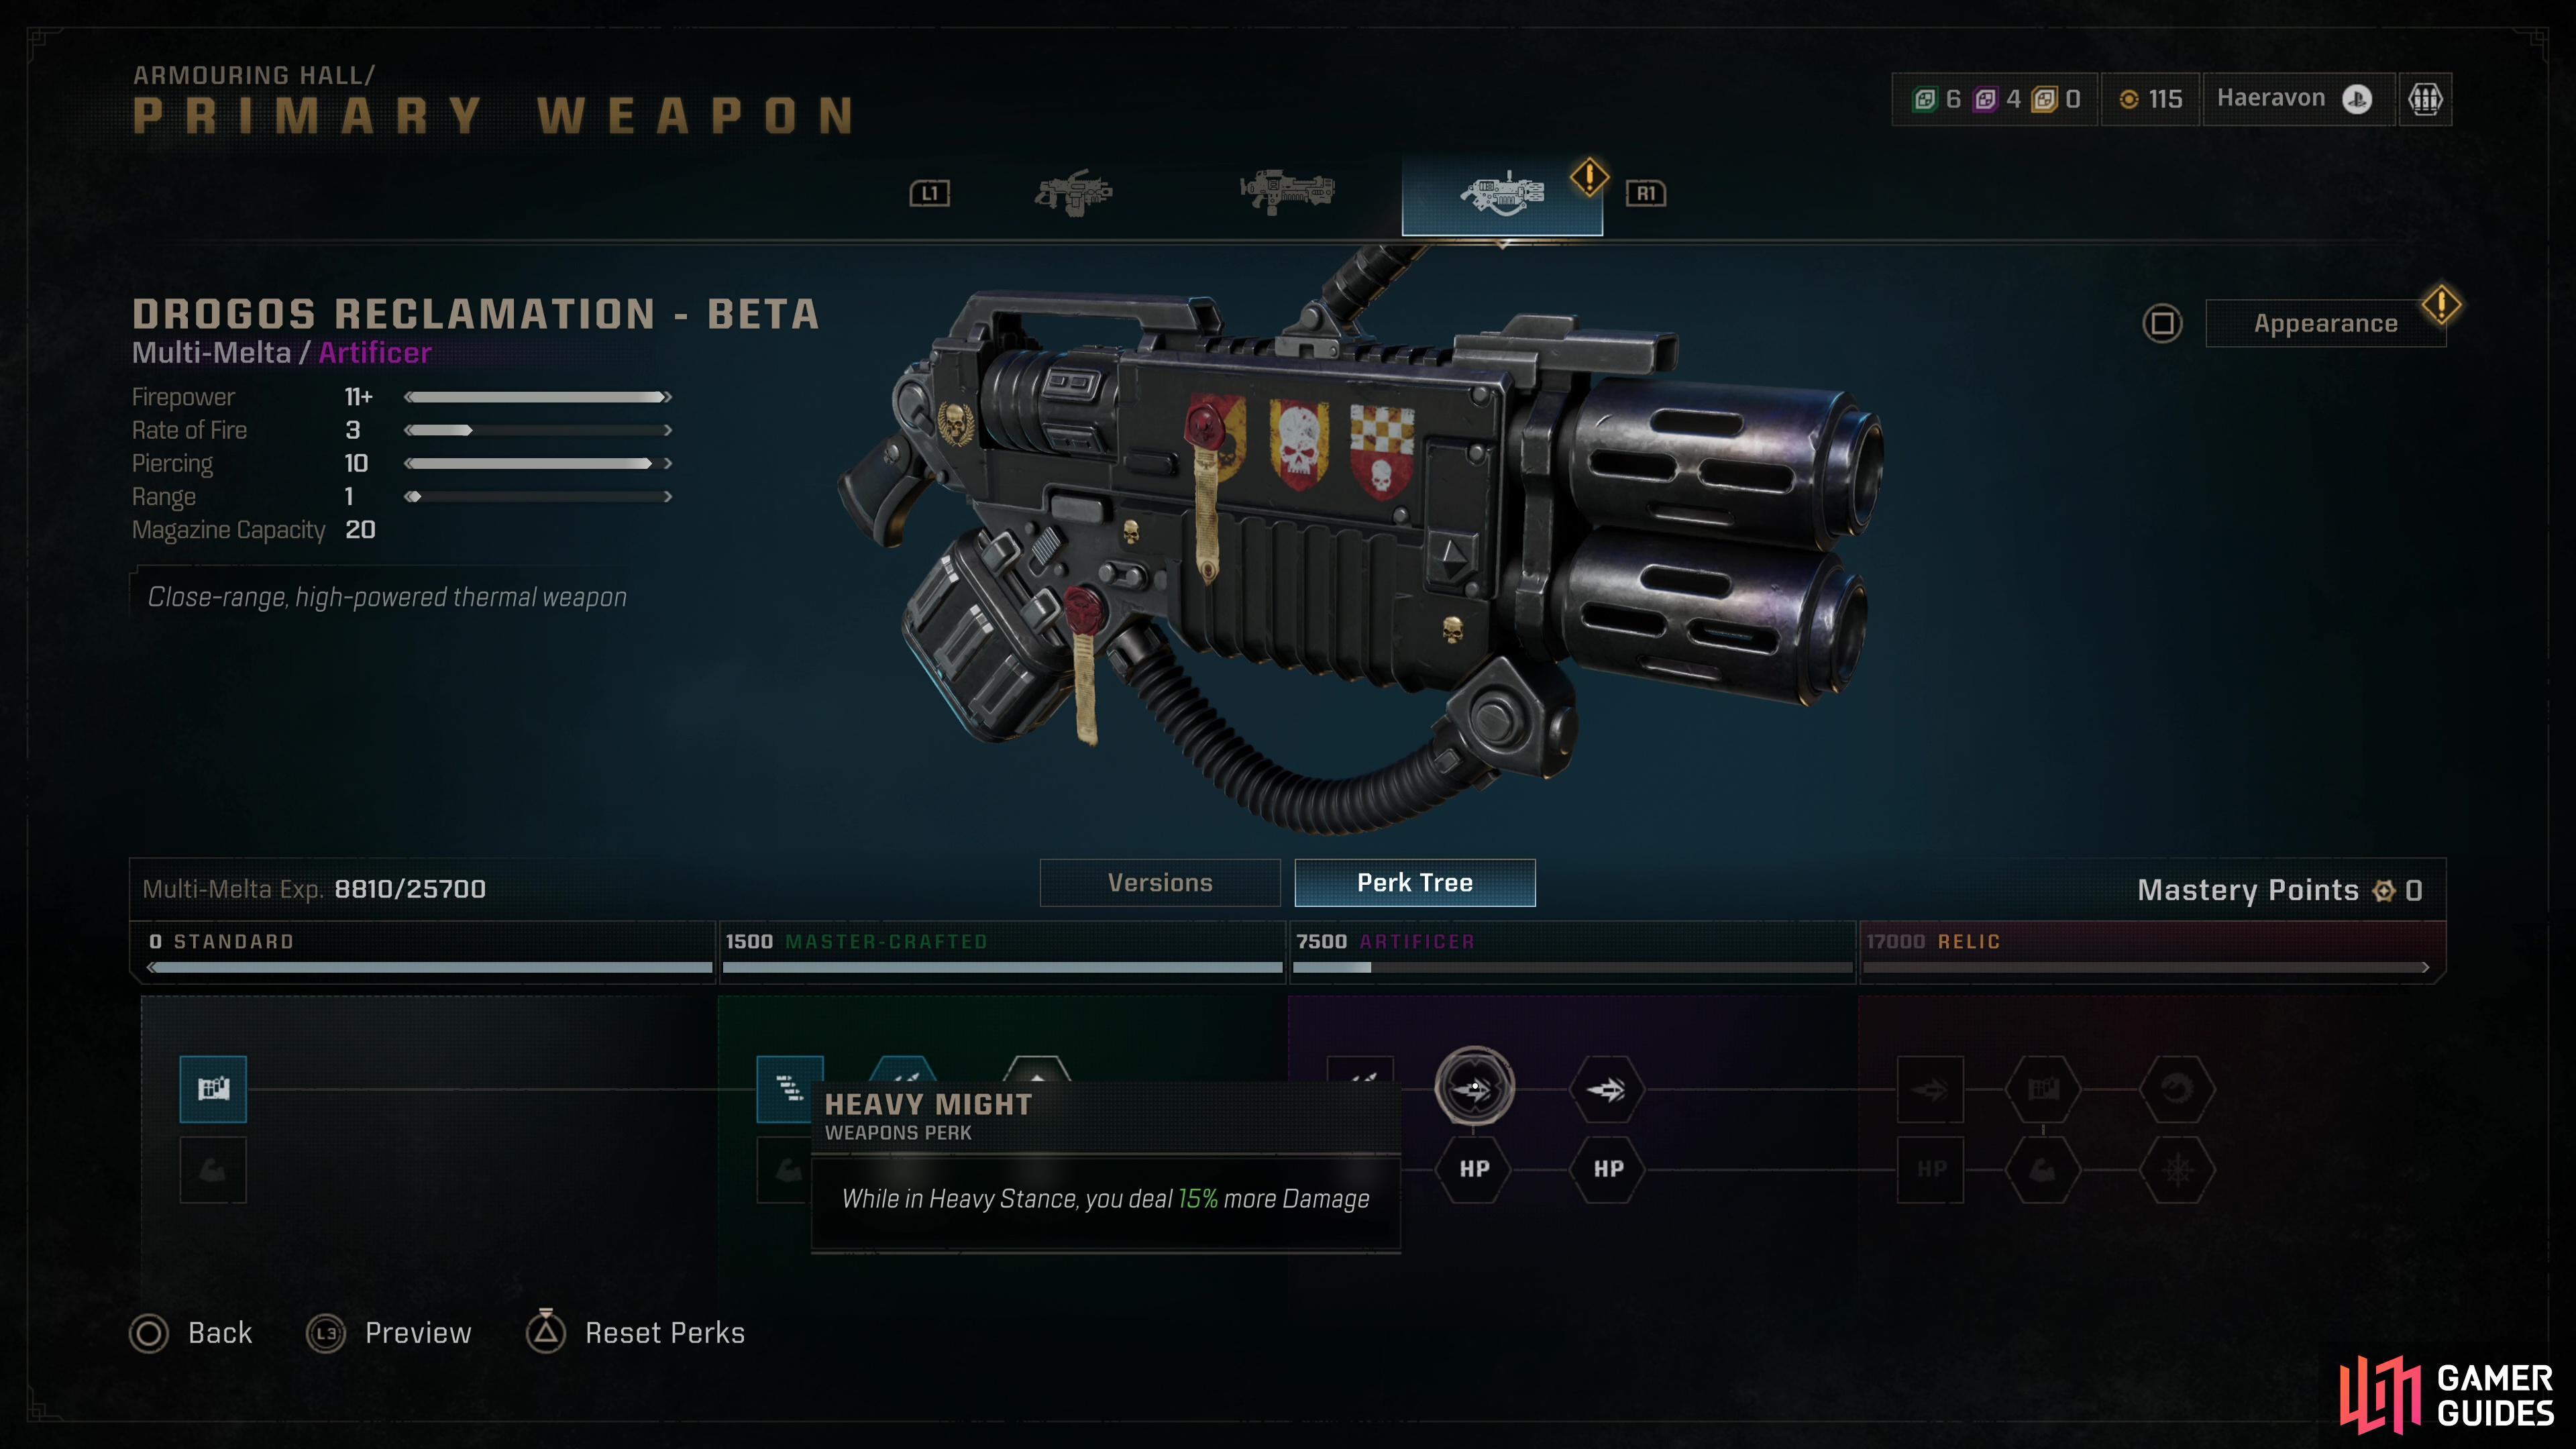
| Drogos Reclamation - Beta | 11+ | 3 | 10 | 1 | 29 |
| Gathalamor Crusade | 14+ | 1 | 10 | 4 | 20 |
| Ophelian Liberation - Alpha | 14+ | 1 | 10 | 1 | 30 |
| Ophelian Liberation - Beta | 14+ | 4 | 10 | 1 | 20 |
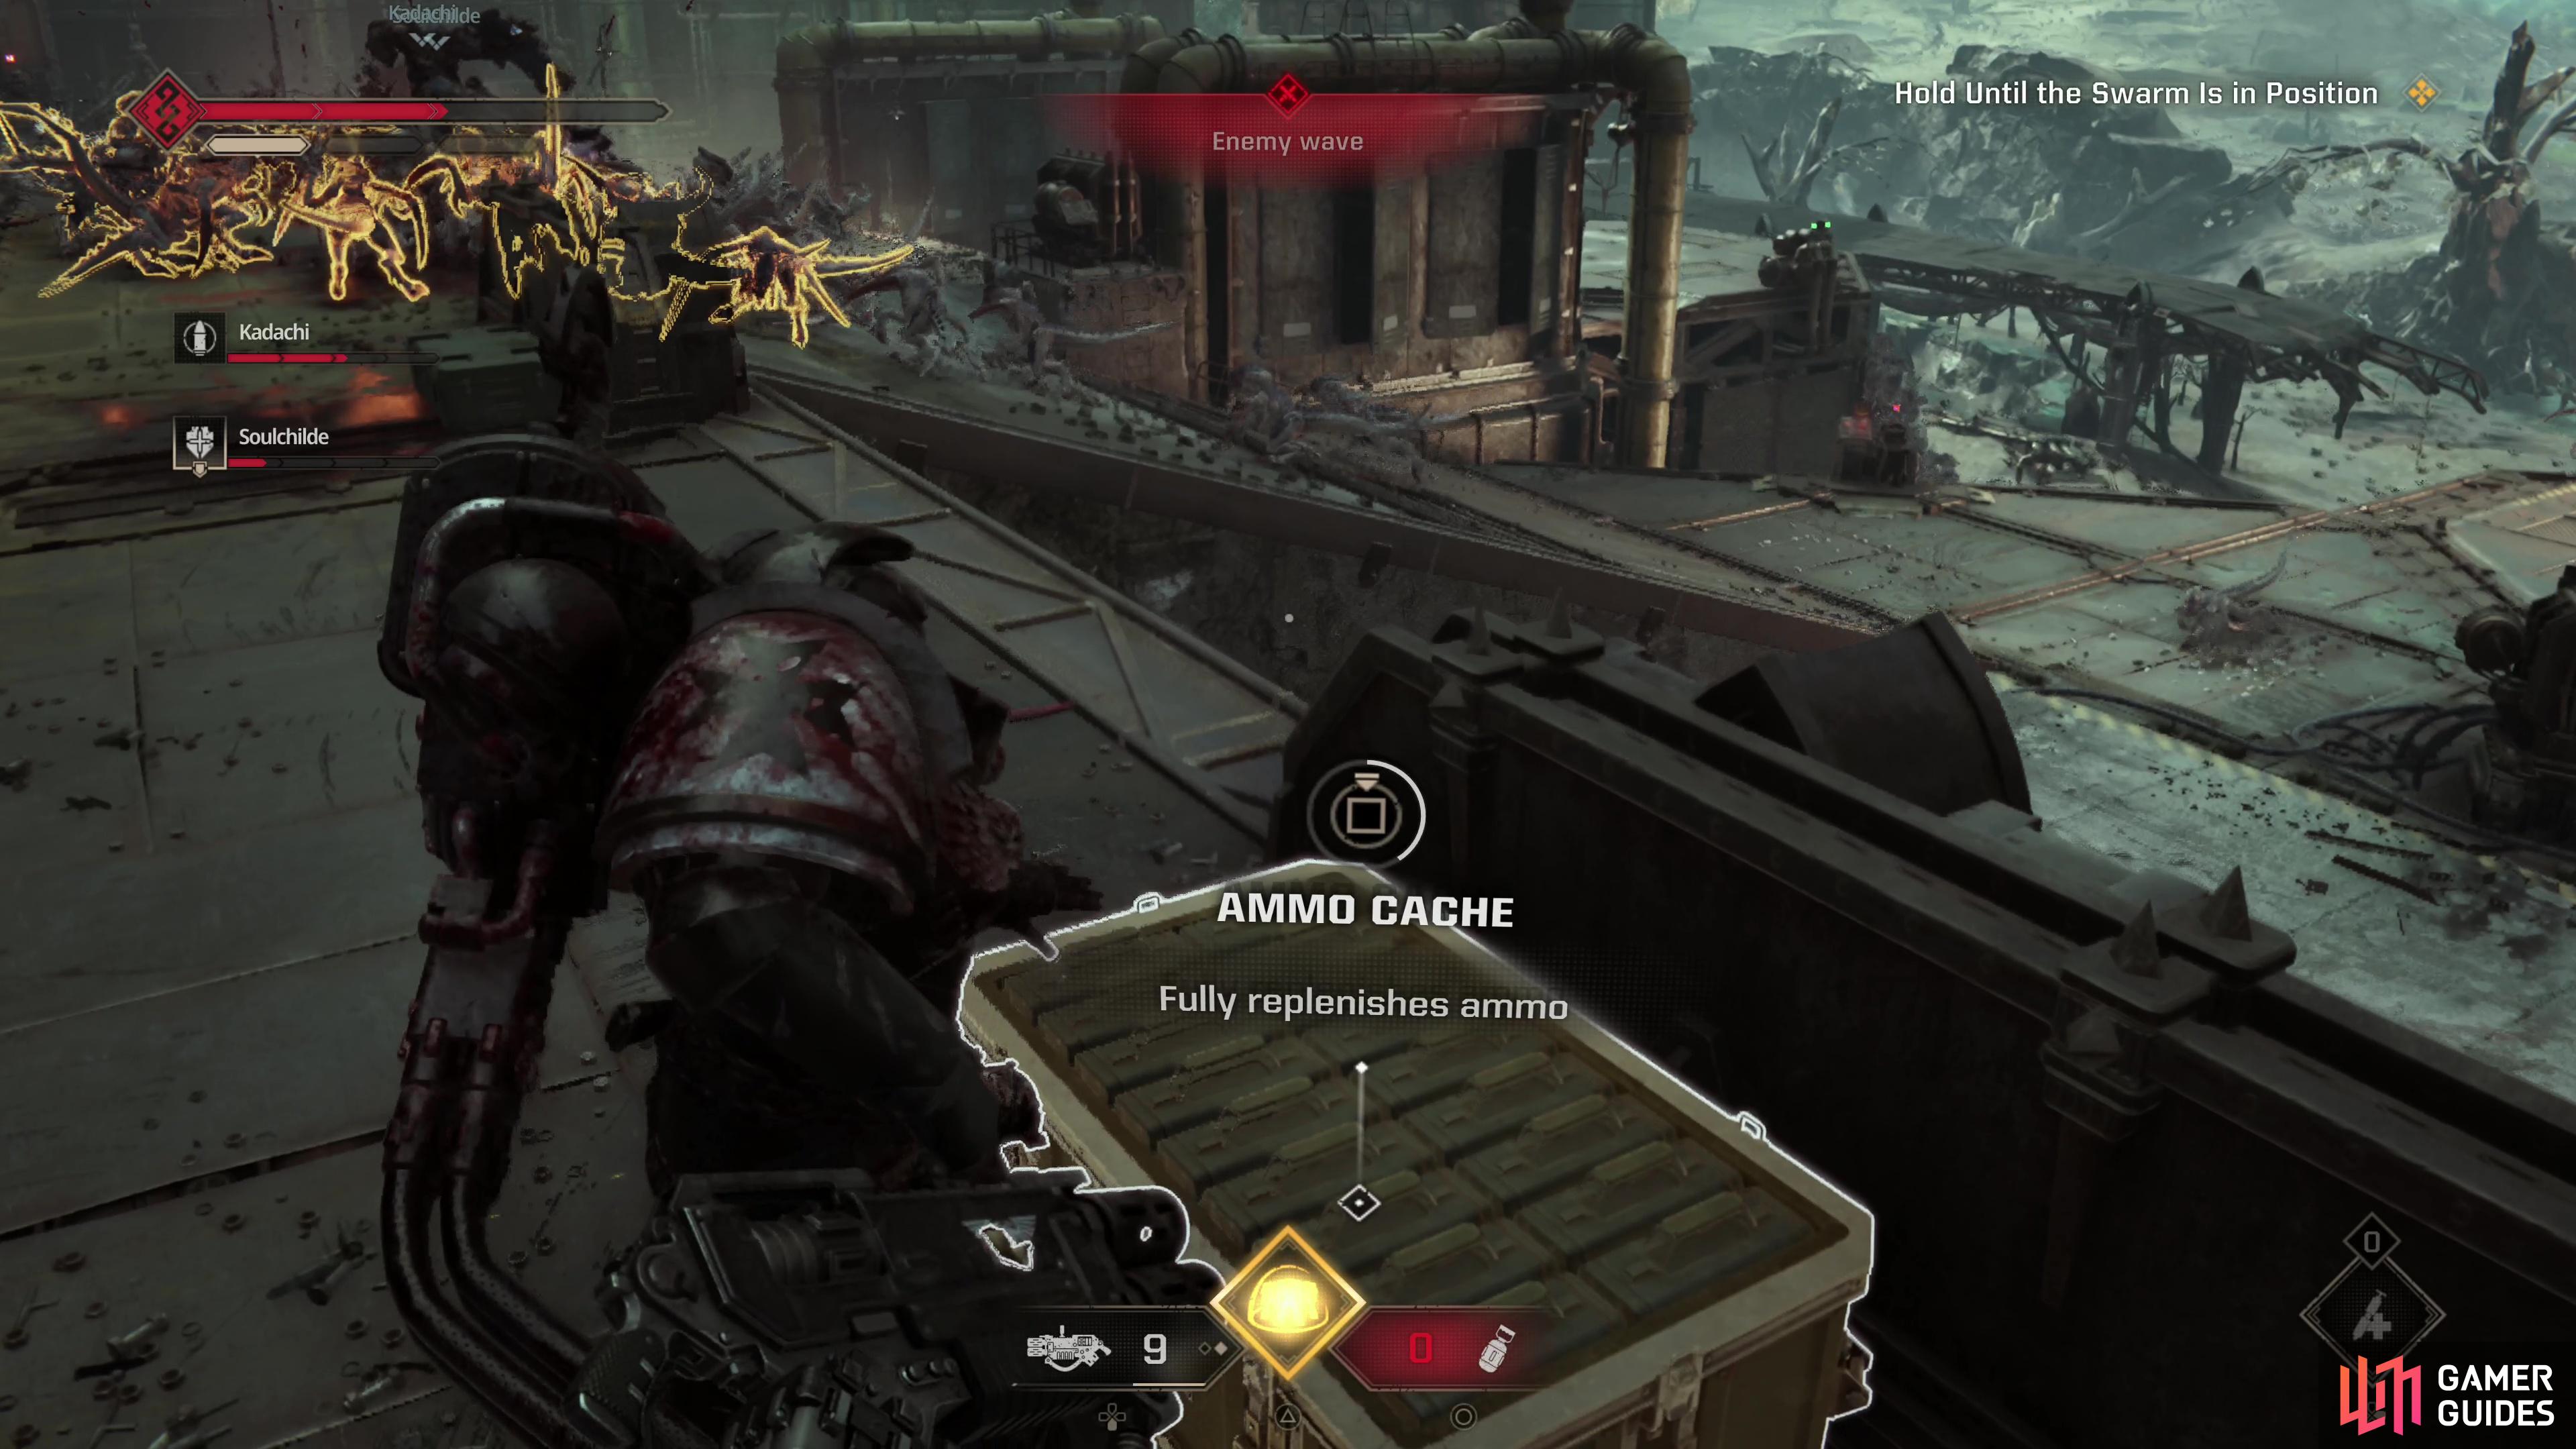
(1 of 2) The Multi-Melta has a rather low ammo count, and the weapon is at its best when there’s a steady source of ammo nearby.
The Multi-Melta has a rather low ammo count, and the weapon is at its best when there’s a steady source of ammo nearby. (left), Weapon perks can mitigate the Multi-Melta’s ammo woes and provide other boosts, like faster Armour regen, more damage in Heavy Stance, and more. (right)
Multi-Melta Weapon Perks
There are ten unique Multi-Melta variants in the game, meaning you can earn 10 Mastery Points if you master them all. The top row of the Multi-Meltas weapon perks tree yields extra Magazine Capacity, bonuses when in Heavy Stance (read: aiming), and damage against Tyranid enemies. The bottom row will improve your range, melee damage and damage to Chaos enemies. We generally find the top row’s perks to be more useful.
| Perk | Effect | Tier |
|---|---|---|
| Increased Capacity | The maximum Ammo Reserve of this Weapon increases by 20% | Standard |
| Weapon Strike | Melee Damage increases by 15% | Standard |
| Elite Restoration | Killing a Majoris-level or higher enemy restores 10% of your maximum Ammo Reserve. Cannot exceed maximum Ammo Capacity. Cooldown is 30 seconds. | Master-Crafted |
| Heavy Fire | While in Heavy Stance, Fire Rate is increased by 15% | Master-Crafted |
| Heavy Immunity | While in Heavy Stance, you do not lose control from Heavy Hits | Master-Crafted |
| Contingency Plan | When your Ammo Reserve is less than 20% of your Ammo capacity, Melee Damage increases by 10% | Master-Crafted |
| Perpetual Range | Effective Range increases by 1 metre | Master-Crafted |
| Perpetual Range | Effective Range increases by 1 metre | Master-Crafted |
| Executioner’s Fire | After a Finisher, Fire Rate increases by 25% for 5 seconds | Artificer |
| Heavy Might | While in Heavy Stance, you deal 15% more Damage | Artificer |
| Heavy Might | While in Heavy Stance, you deal 15% more Damage | Artificer |
| Executioner’s Range | After a Finisher, Effective Range increases by 3 metres for 5 seconds | Artificer |
| Fast Regeneration | Killing an enemy restores Armour 0.5 second earlier | Artificer |
| Fast Regeneration | Killing an enemy restores Armour 0.5 second earlier | Artificer |
| Death Strike | After killing a Majoris-level or higher enemy with a Melee Weapon, you deal 25% more Damage for 5 seconds | Relic |
| Increased Capacity | The maximum Ammo Reserve of this Weapon increases by 20% | Relic |
| Tyranid Eliminator | Damage against Tyranid enemies increases by 10% | Relic |
| Elite Health | When your Health is below 30%, killing a Majoris-level or higher enemy with Melee Damage restores Health by 5% | Relic |
| Weapon Strike | Melee Damage increases by 15% | Relic |
| Chaos Eliminator | Damage against Chaos enemies increases by 10% | Relic |

 Sign up
No Comments