There are some pretty difficult shrines in Tears of the Kingdom which certainly test your resolve. An argument can be made for the ![]() Zakusu Shrine to fit right into this category since it’s not only difficult to unlock it, the challenge within is also a bit of a tricky one.
Zakusu Shrine to fit right into this category since it’s not only difficult to unlock it, the challenge within is also a bit of a tricky one.
Because of this, and to save you some time, this guide will reveal all on where to find and unlock the Zakusu Shrine as well as how to complete it. This will hopefully give your brain a little rest if you’re doing some serious shrine hunting for that 100%.
Where to Find Zakusu Shrine in Tears of the Kingdom
As just alluded to, the Zakusu Shrine isn’t simply on the surface waiting for you to activate it. Instead, you’re going to have to jump through some hoops (quite literally) just to have a chance of taking on what’s inside.
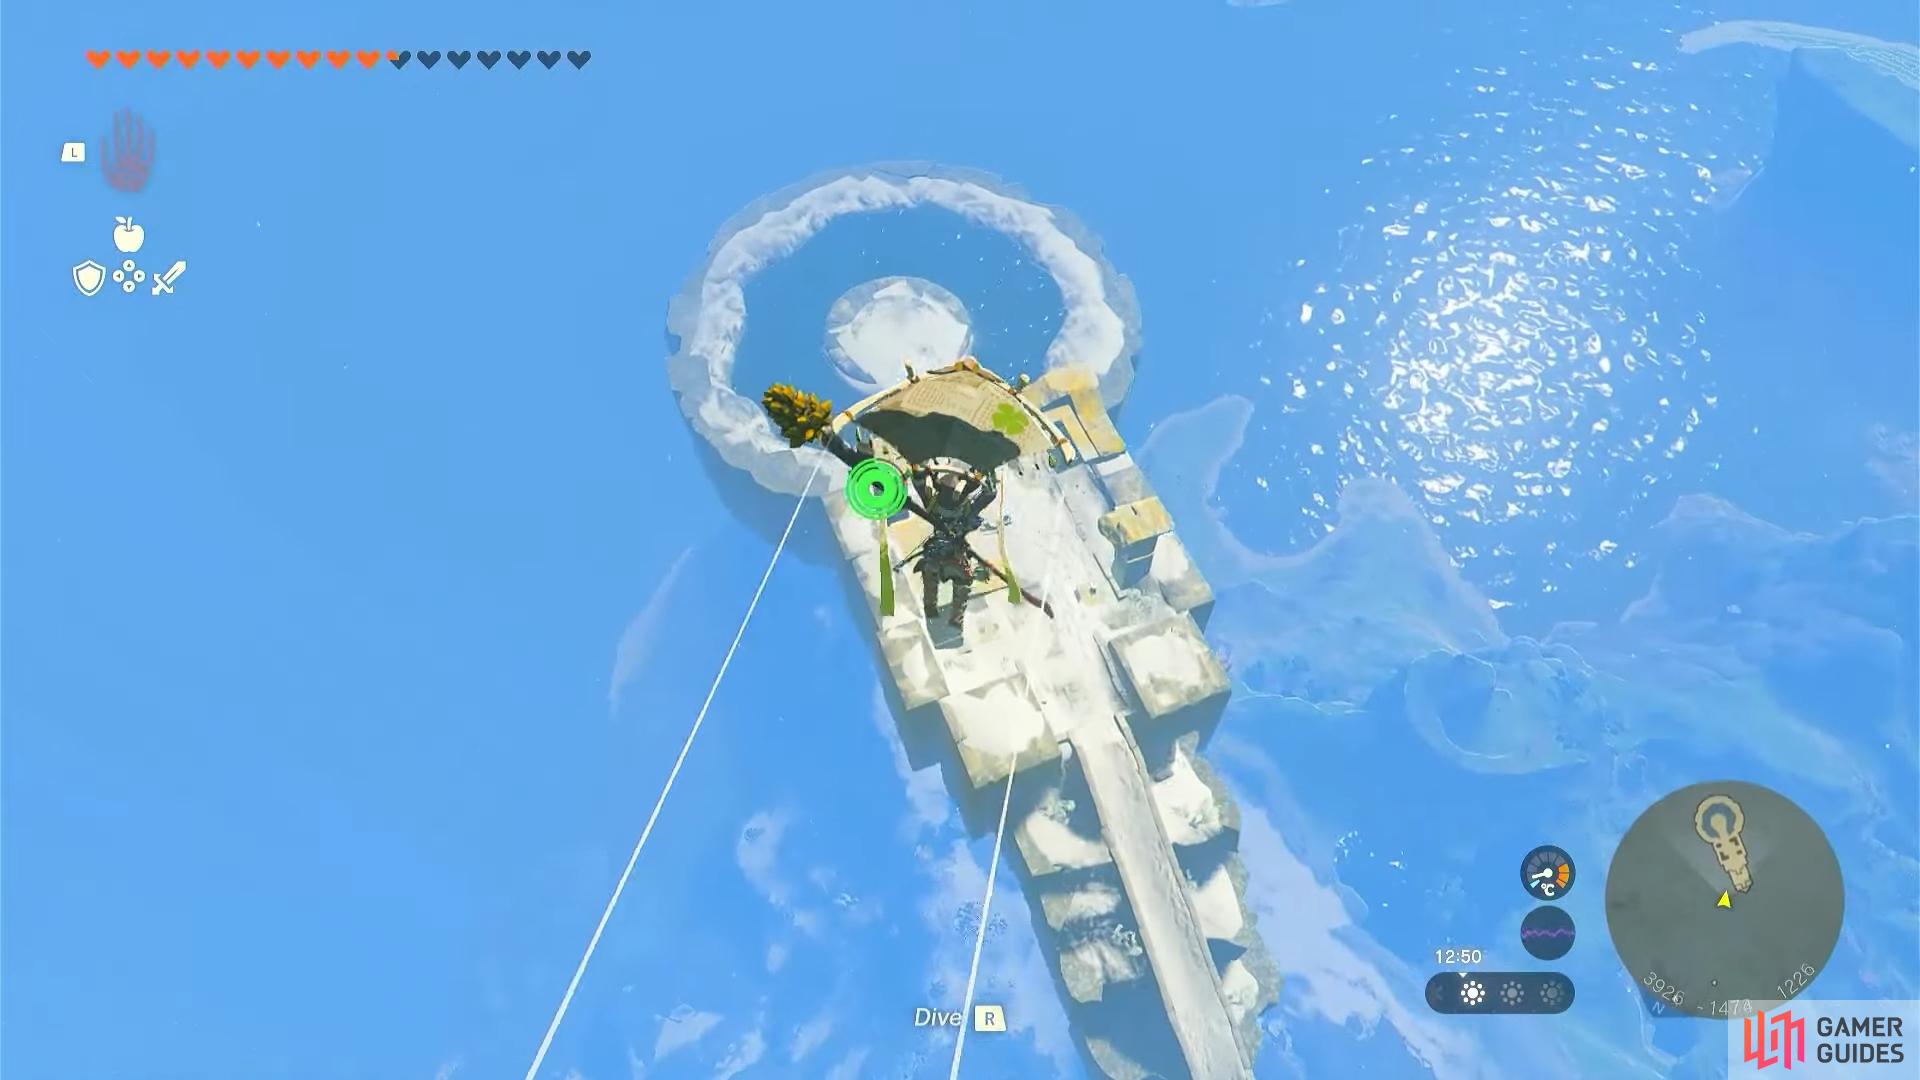
To begin, you’ll need to head to the Mount Lanaryu Skyview Tower and launch yourself in the air so you’re able to land on the South Lanaryu Sky Archipelago. Once you do, you should see an activation point which is the precursor to the all-important shrine. Before you get this activated though, ensure you pick up the !Sled Shield that is provided for you on the right side as you’ll be shield surfing shortly. We also suggest that you equip part of the Glide armor if you have it as it will help you with traversal.
(1 of 2) Landing on the South Lanaryu Sky Archipelago after launching from the tower
Landing on the South Lanaryu Sky Archipelago after launching from the tower (left), Picking up the available Sled Shield (right)
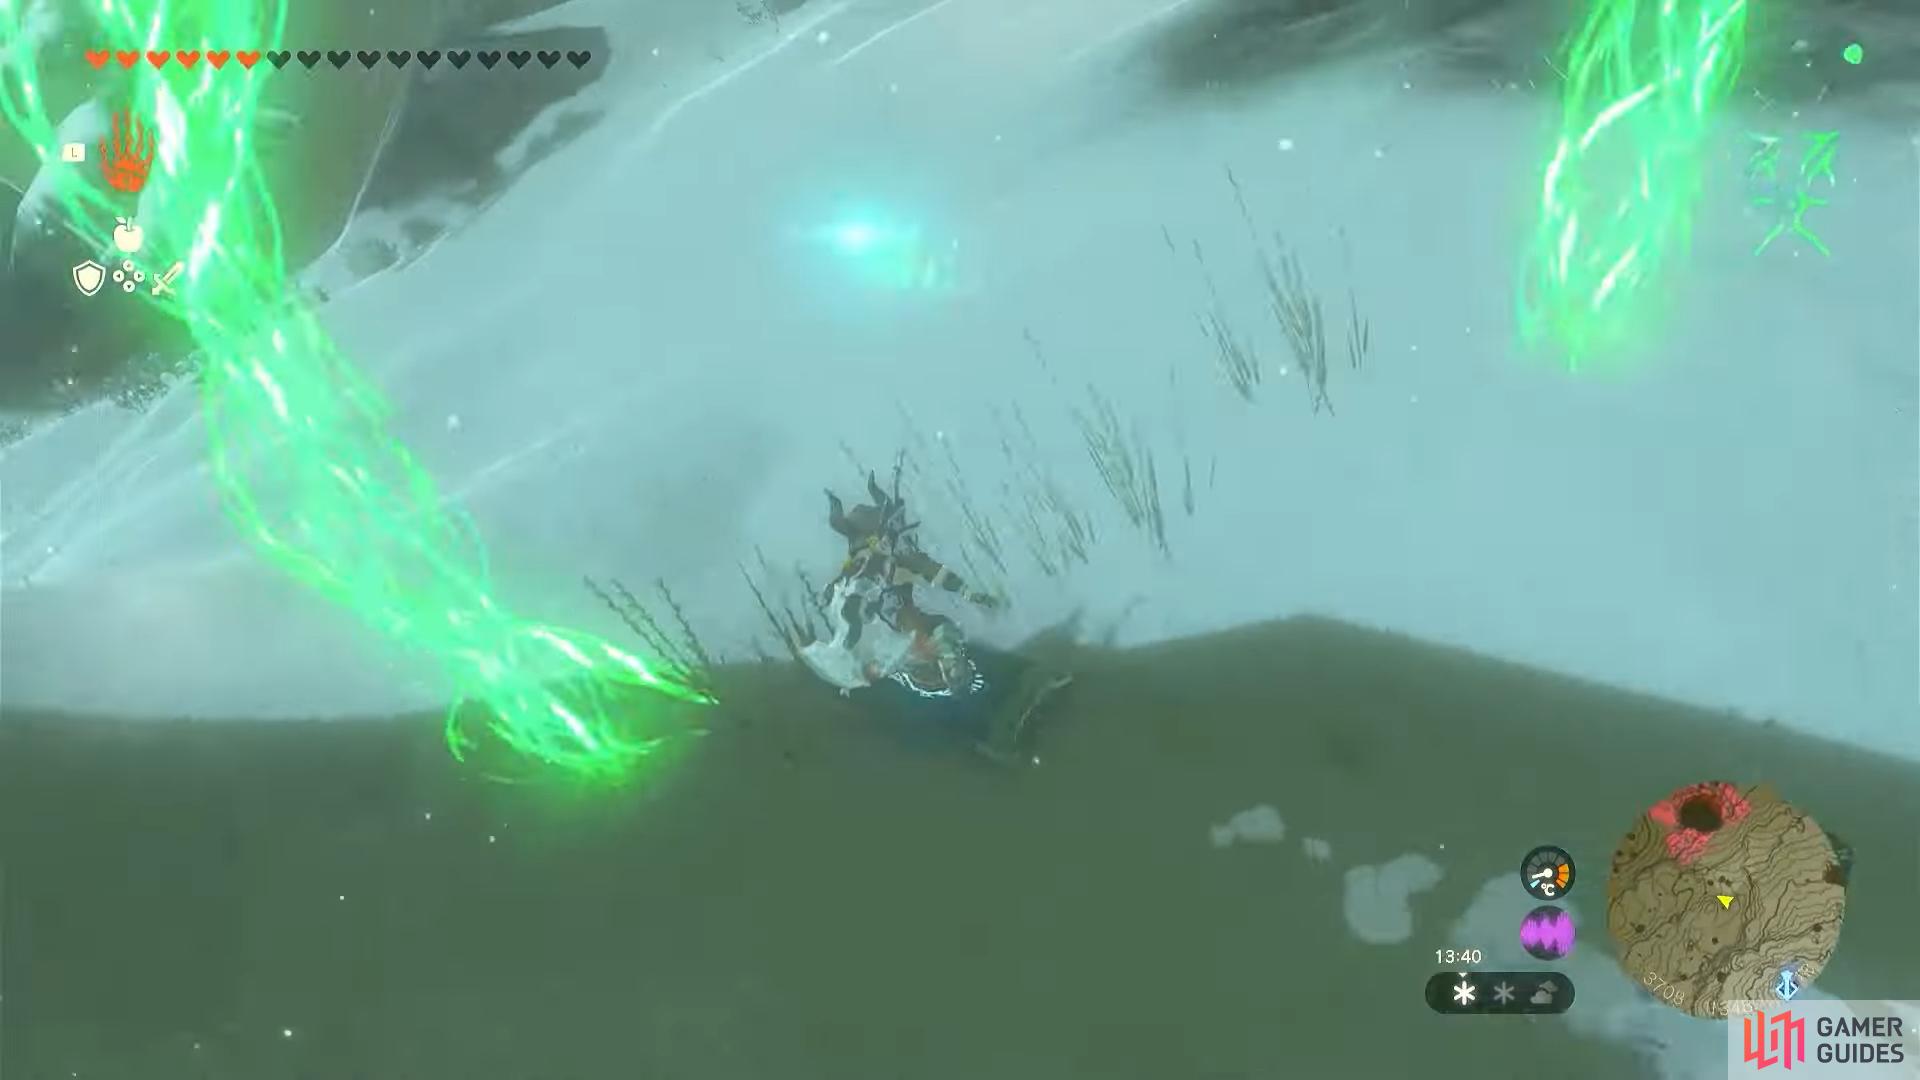
Now activate the challenge and head down the chute while shield surfing. Make your way through the first ring and follow the green light that falls to the surface. You must be quick here as you are on a timer so having Glide armor equipped as previously stated can aid you.
Once on the surface, you’ll be shield surfing once more progressing through a few more rings until you reach the end point. If done successfully, this will reveal the shrine and allow you to activate it.
(1 of 3) Sliding through the first ring
How to Complete Zakusu Shrine in Tears of the Kingdom
After getting the shrine to appear, you’ll be taking on another Proving Grounds challenge when inside. As usual, you’ll be fighting some Constructs and this one is particularly tricky due to the design of the shrine.
What we recommend as a starting point here is to get as high as you can as quick as you can. You can do this by using ![]() Recall on the platform that makes its way down on the right side. Use Recall, jump on the platform, and take it up to its stopping point. You’ll be greeted by a Construct which you will need to defeat using one of the weapons from the starting area. Take your time, break its defenses, and defeat it. Ensure you pick up the
Recall on the platform that makes its way down on the right side. Use Recall, jump on the platform, and take it up to its stopping point. You’ll be greeted by a Construct which you will need to defeat using one of the weapons from the starting area. Take your time, break its defenses, and defeat it. Ensure you pick up the ![]() Spiked-Iron-Ball Hammer that it drops as this is a much higher-powered weapon that’ll be required for the next enemy, as well as the
Spiked-Iron-Ball Hammer that it drops as this is a much higher-powered weapon that’ll be required for the next enemy, as well as the ![]() Fire Fruit here.
Fire Fruit here.
(1 of 3) Using Recall on the specified platform
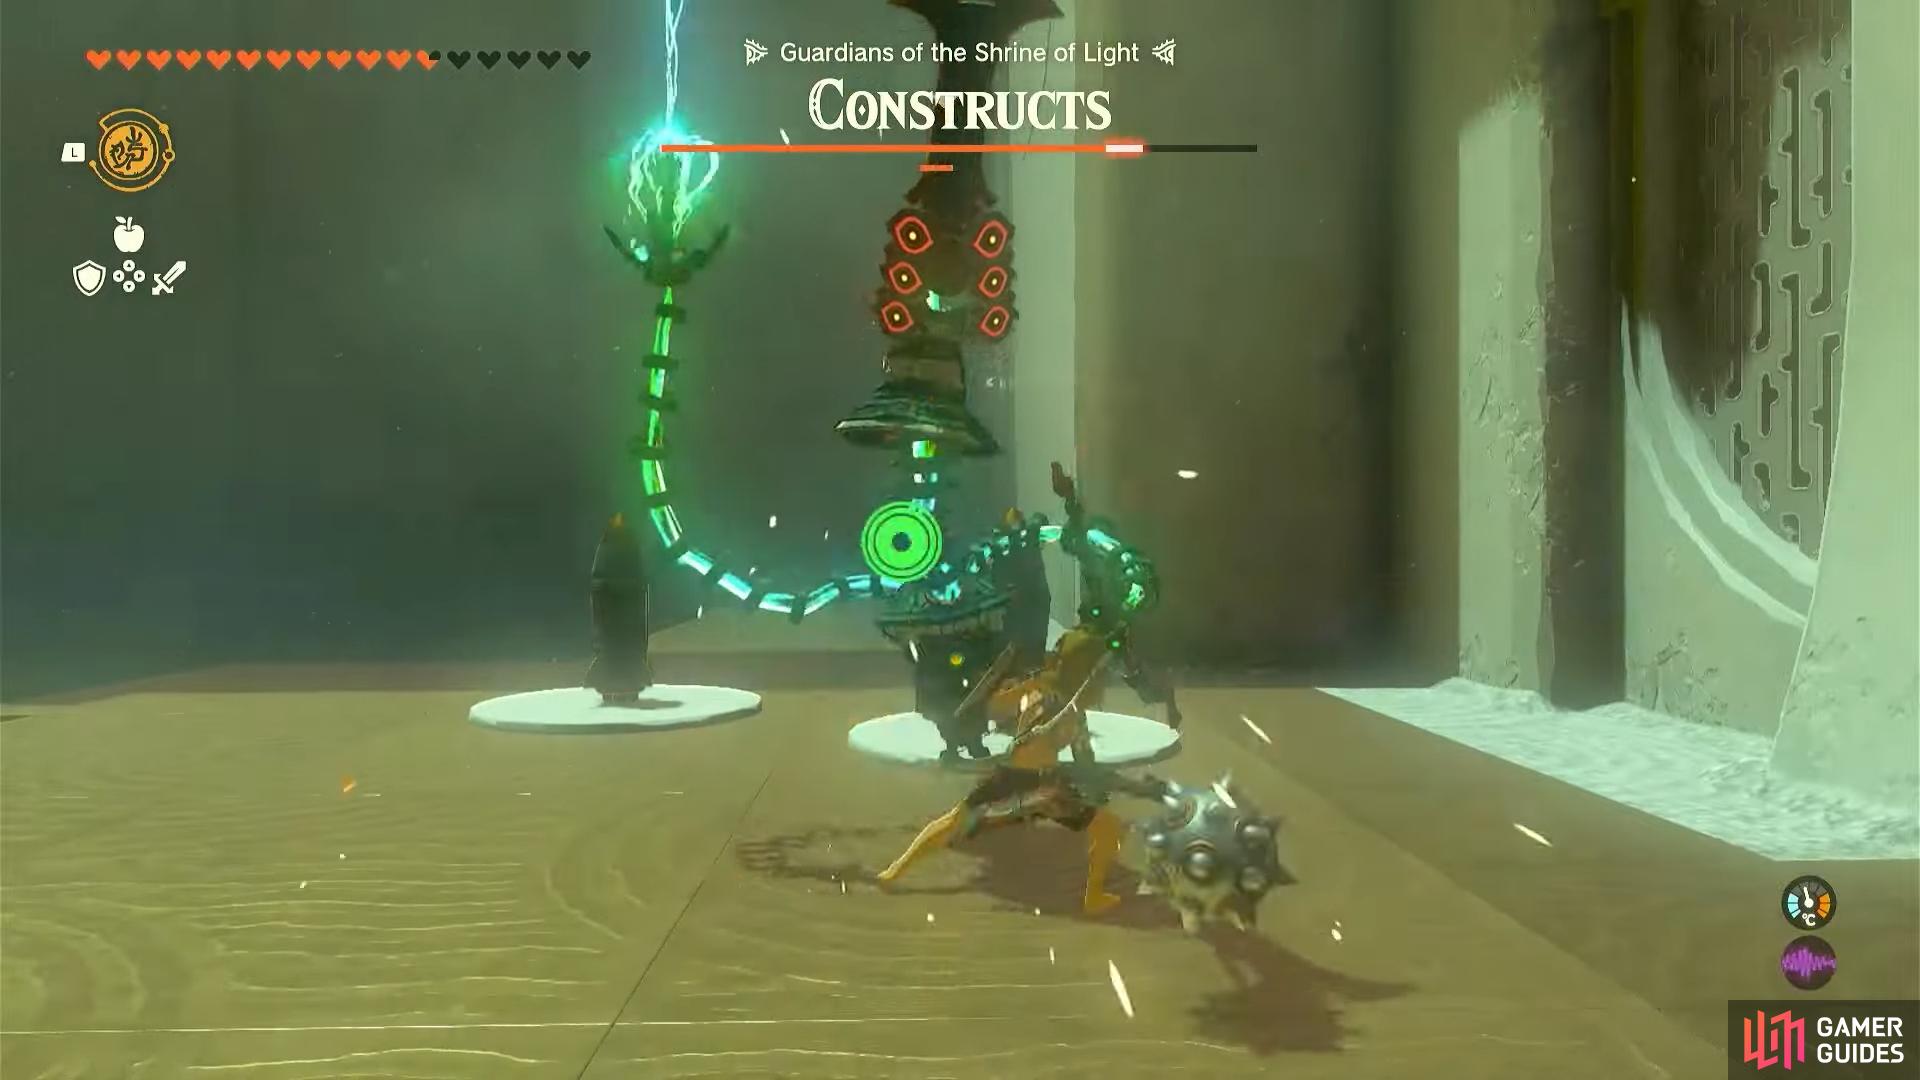
Then, make your way up to the top of the shrine where the most powerful enemy will be waiting. Using a combo for Fire Fruit arrows and the Spiked-Iron-Ball Hammer should be able to take this one down pretty quickly, just ensure you go all-out attack to remove any chance of the Construct fusing any of the Rockets in this area to its gear.
(1 of 2) Fighting the hardest Construct
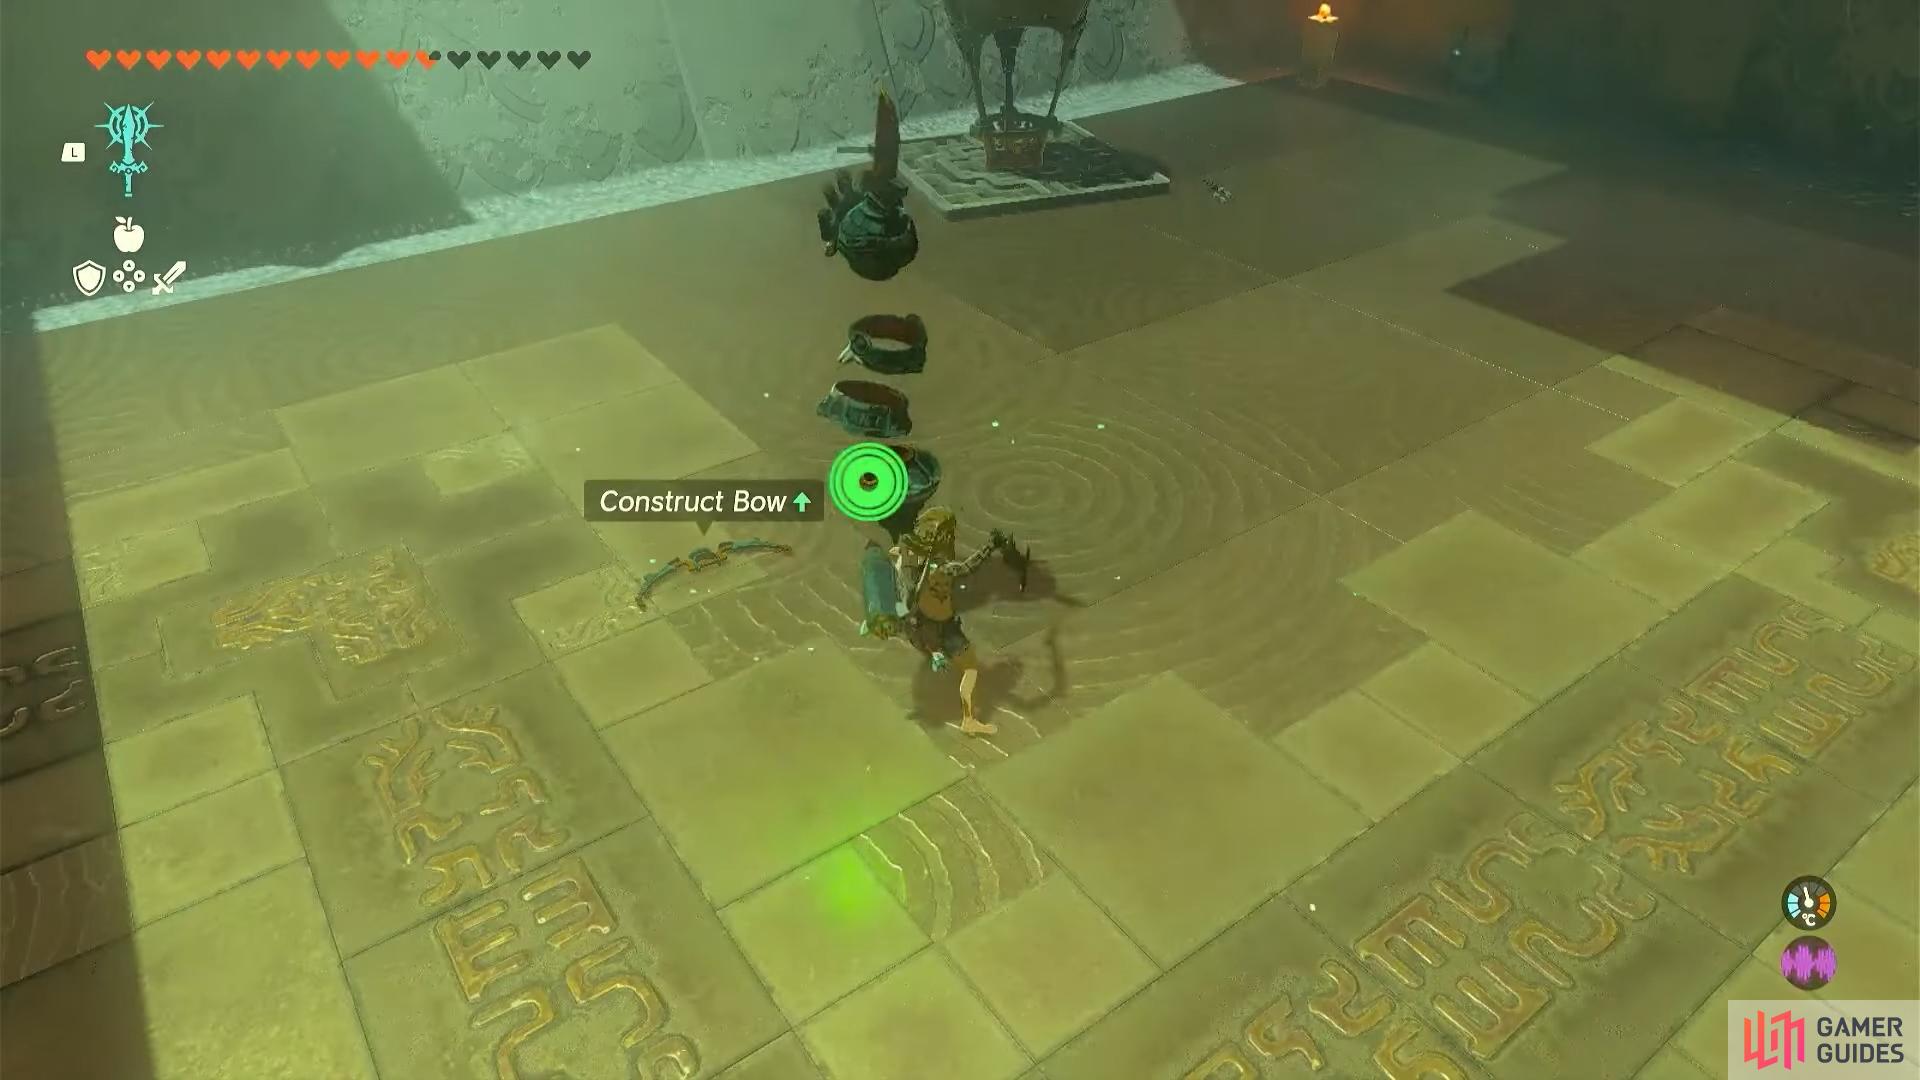
Fighting the hardest Construct (left), Fusing its dropped materials to make a good weapon (right)
Now you should have a bunch of materials/weapons that you can use to take out the further three Constructs that will be below, making the shrine far easier than it would have been. Still be careful, especially if you took damage from the harder Construct, but you should be able to get each of these down quickly with that aforementioned gear.
After you do, you will have completed the shrine and you can make your way to the very top using the convenient Balloon. As you head through the exit, you’ll get a new weapon from the chest that’s waiting for you.


 Sign up
No Comments