Fen’harel Altars are large statues that give you a skill point when found. These Altars are scattered around the world of Dragon Age: The Veilguard and, when found, require you to complete a simple puzzle to collect your reward. Read on to find exactly where you can find them.
Table of Contents
If you want to jump to a specific Altar, click on the links below.
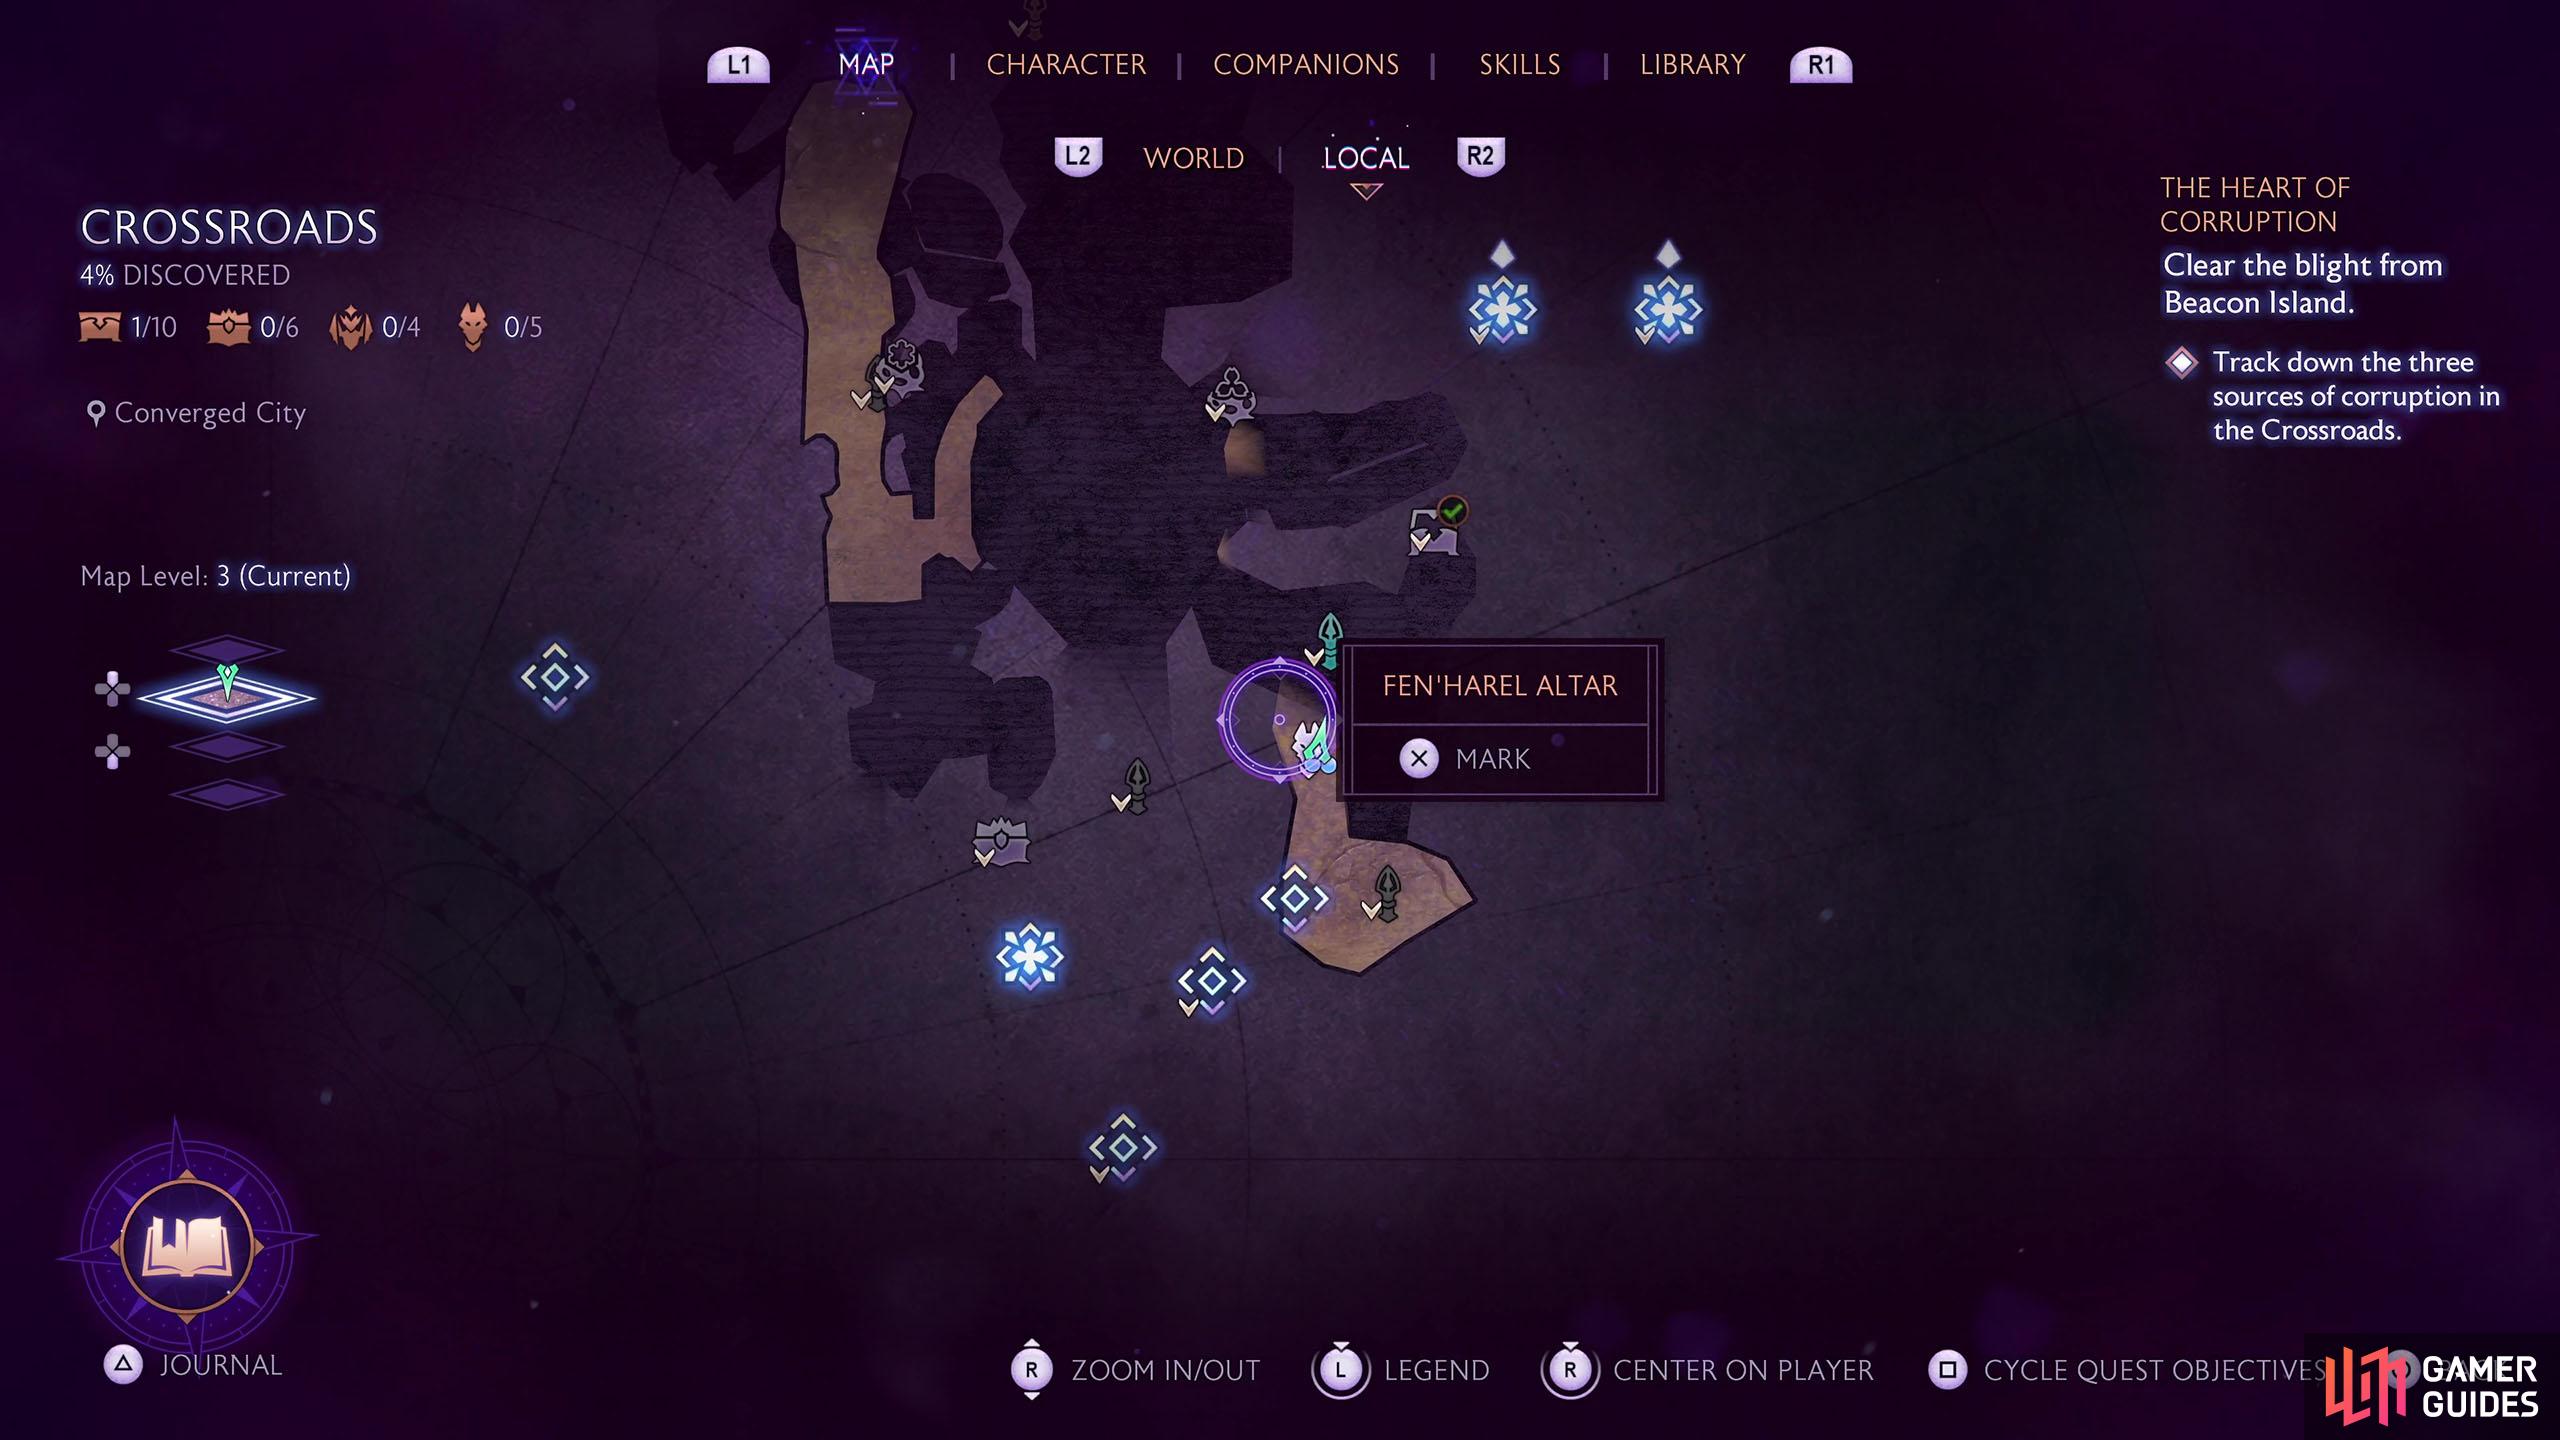
The Crossroads - Converged City Altar 1
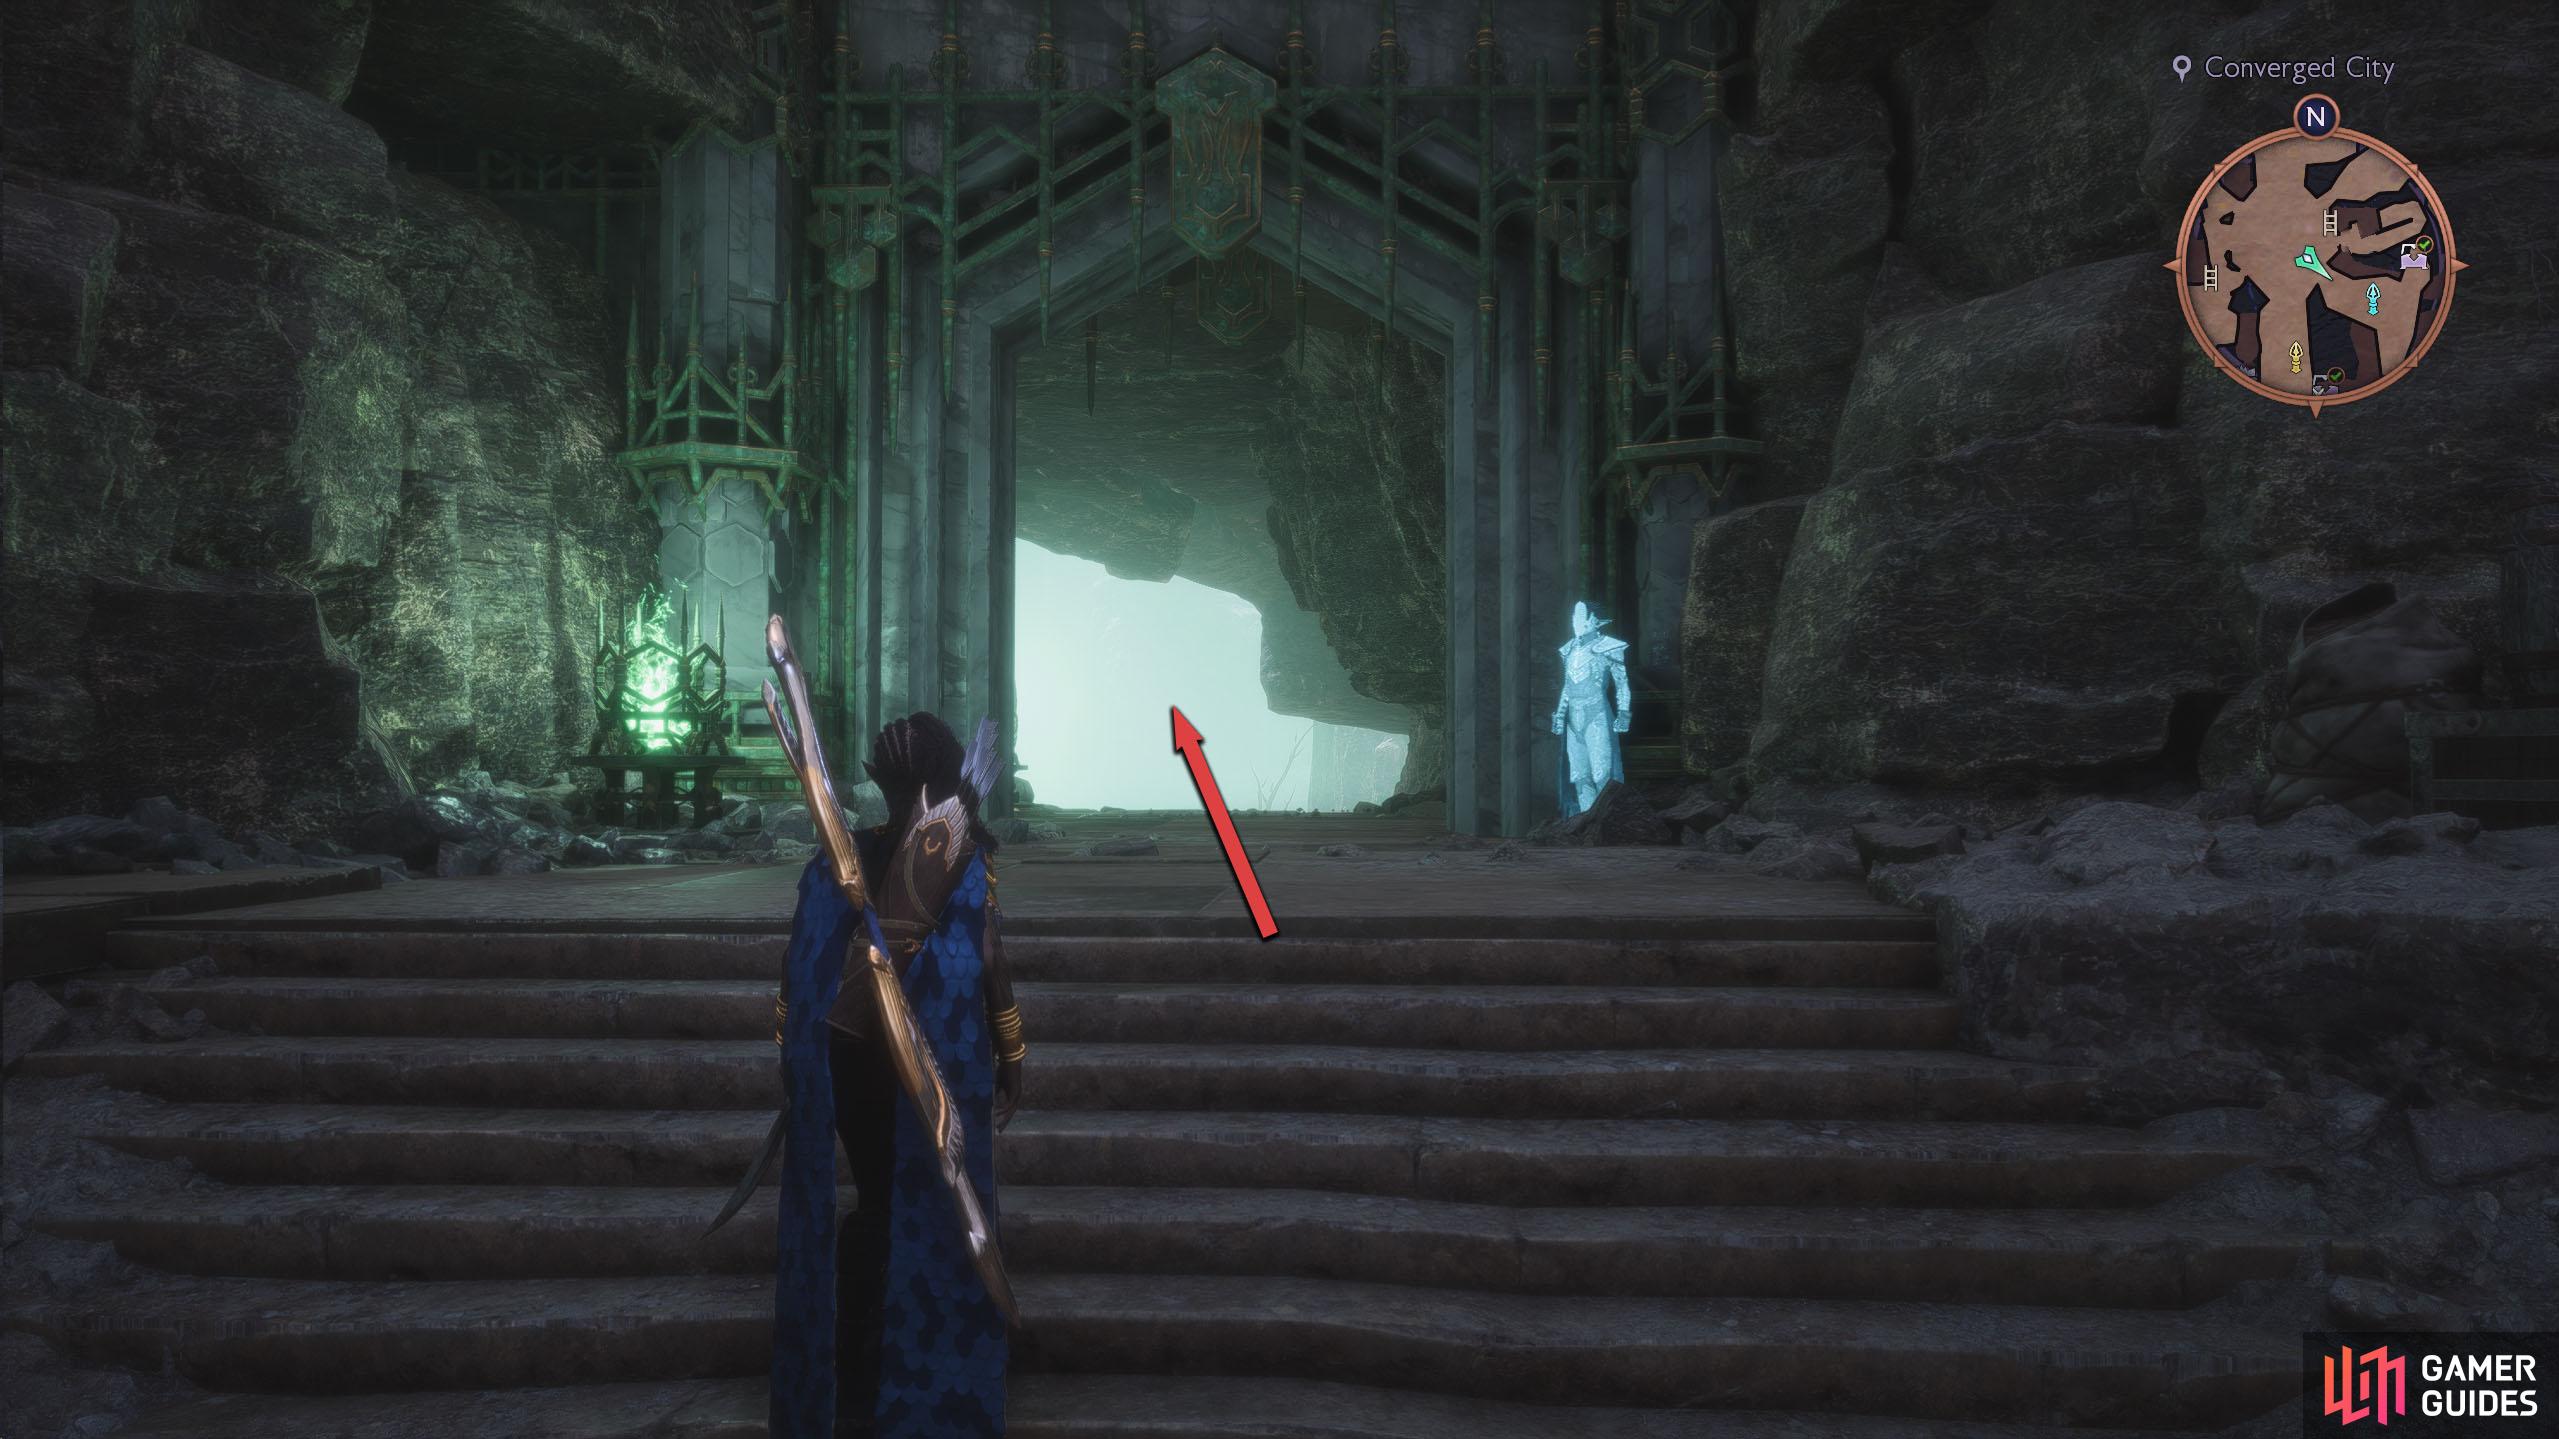
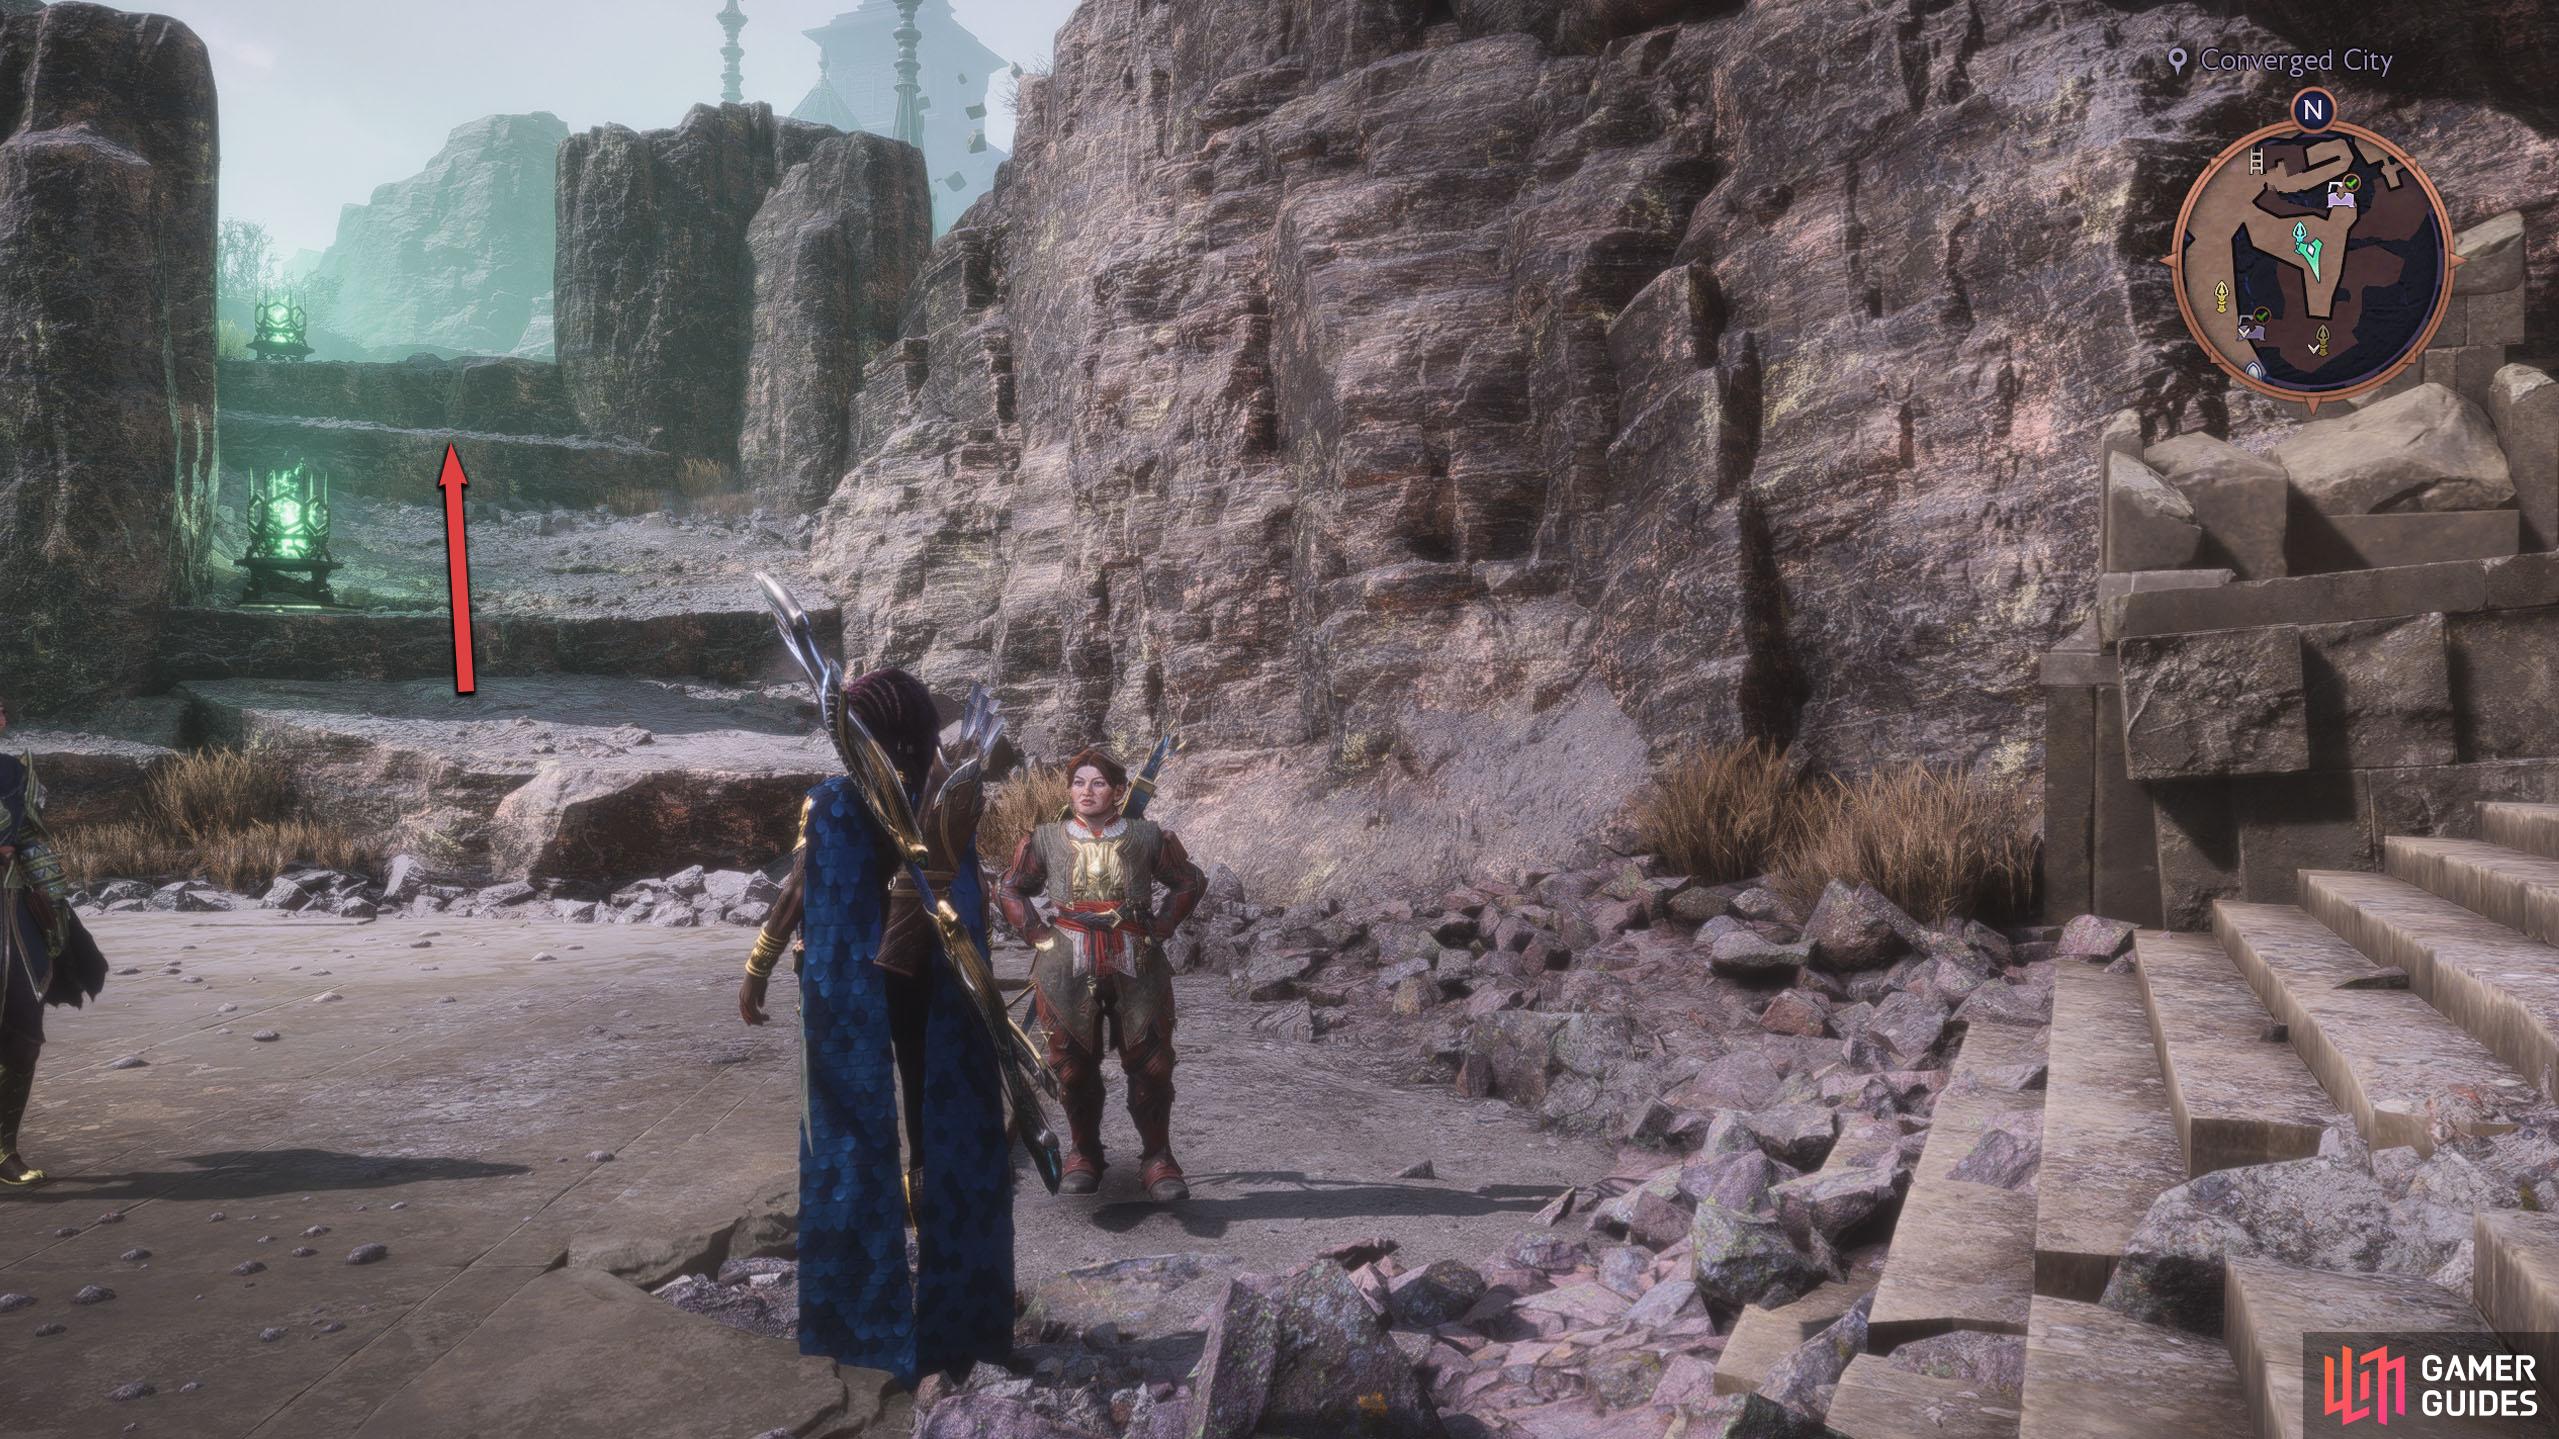
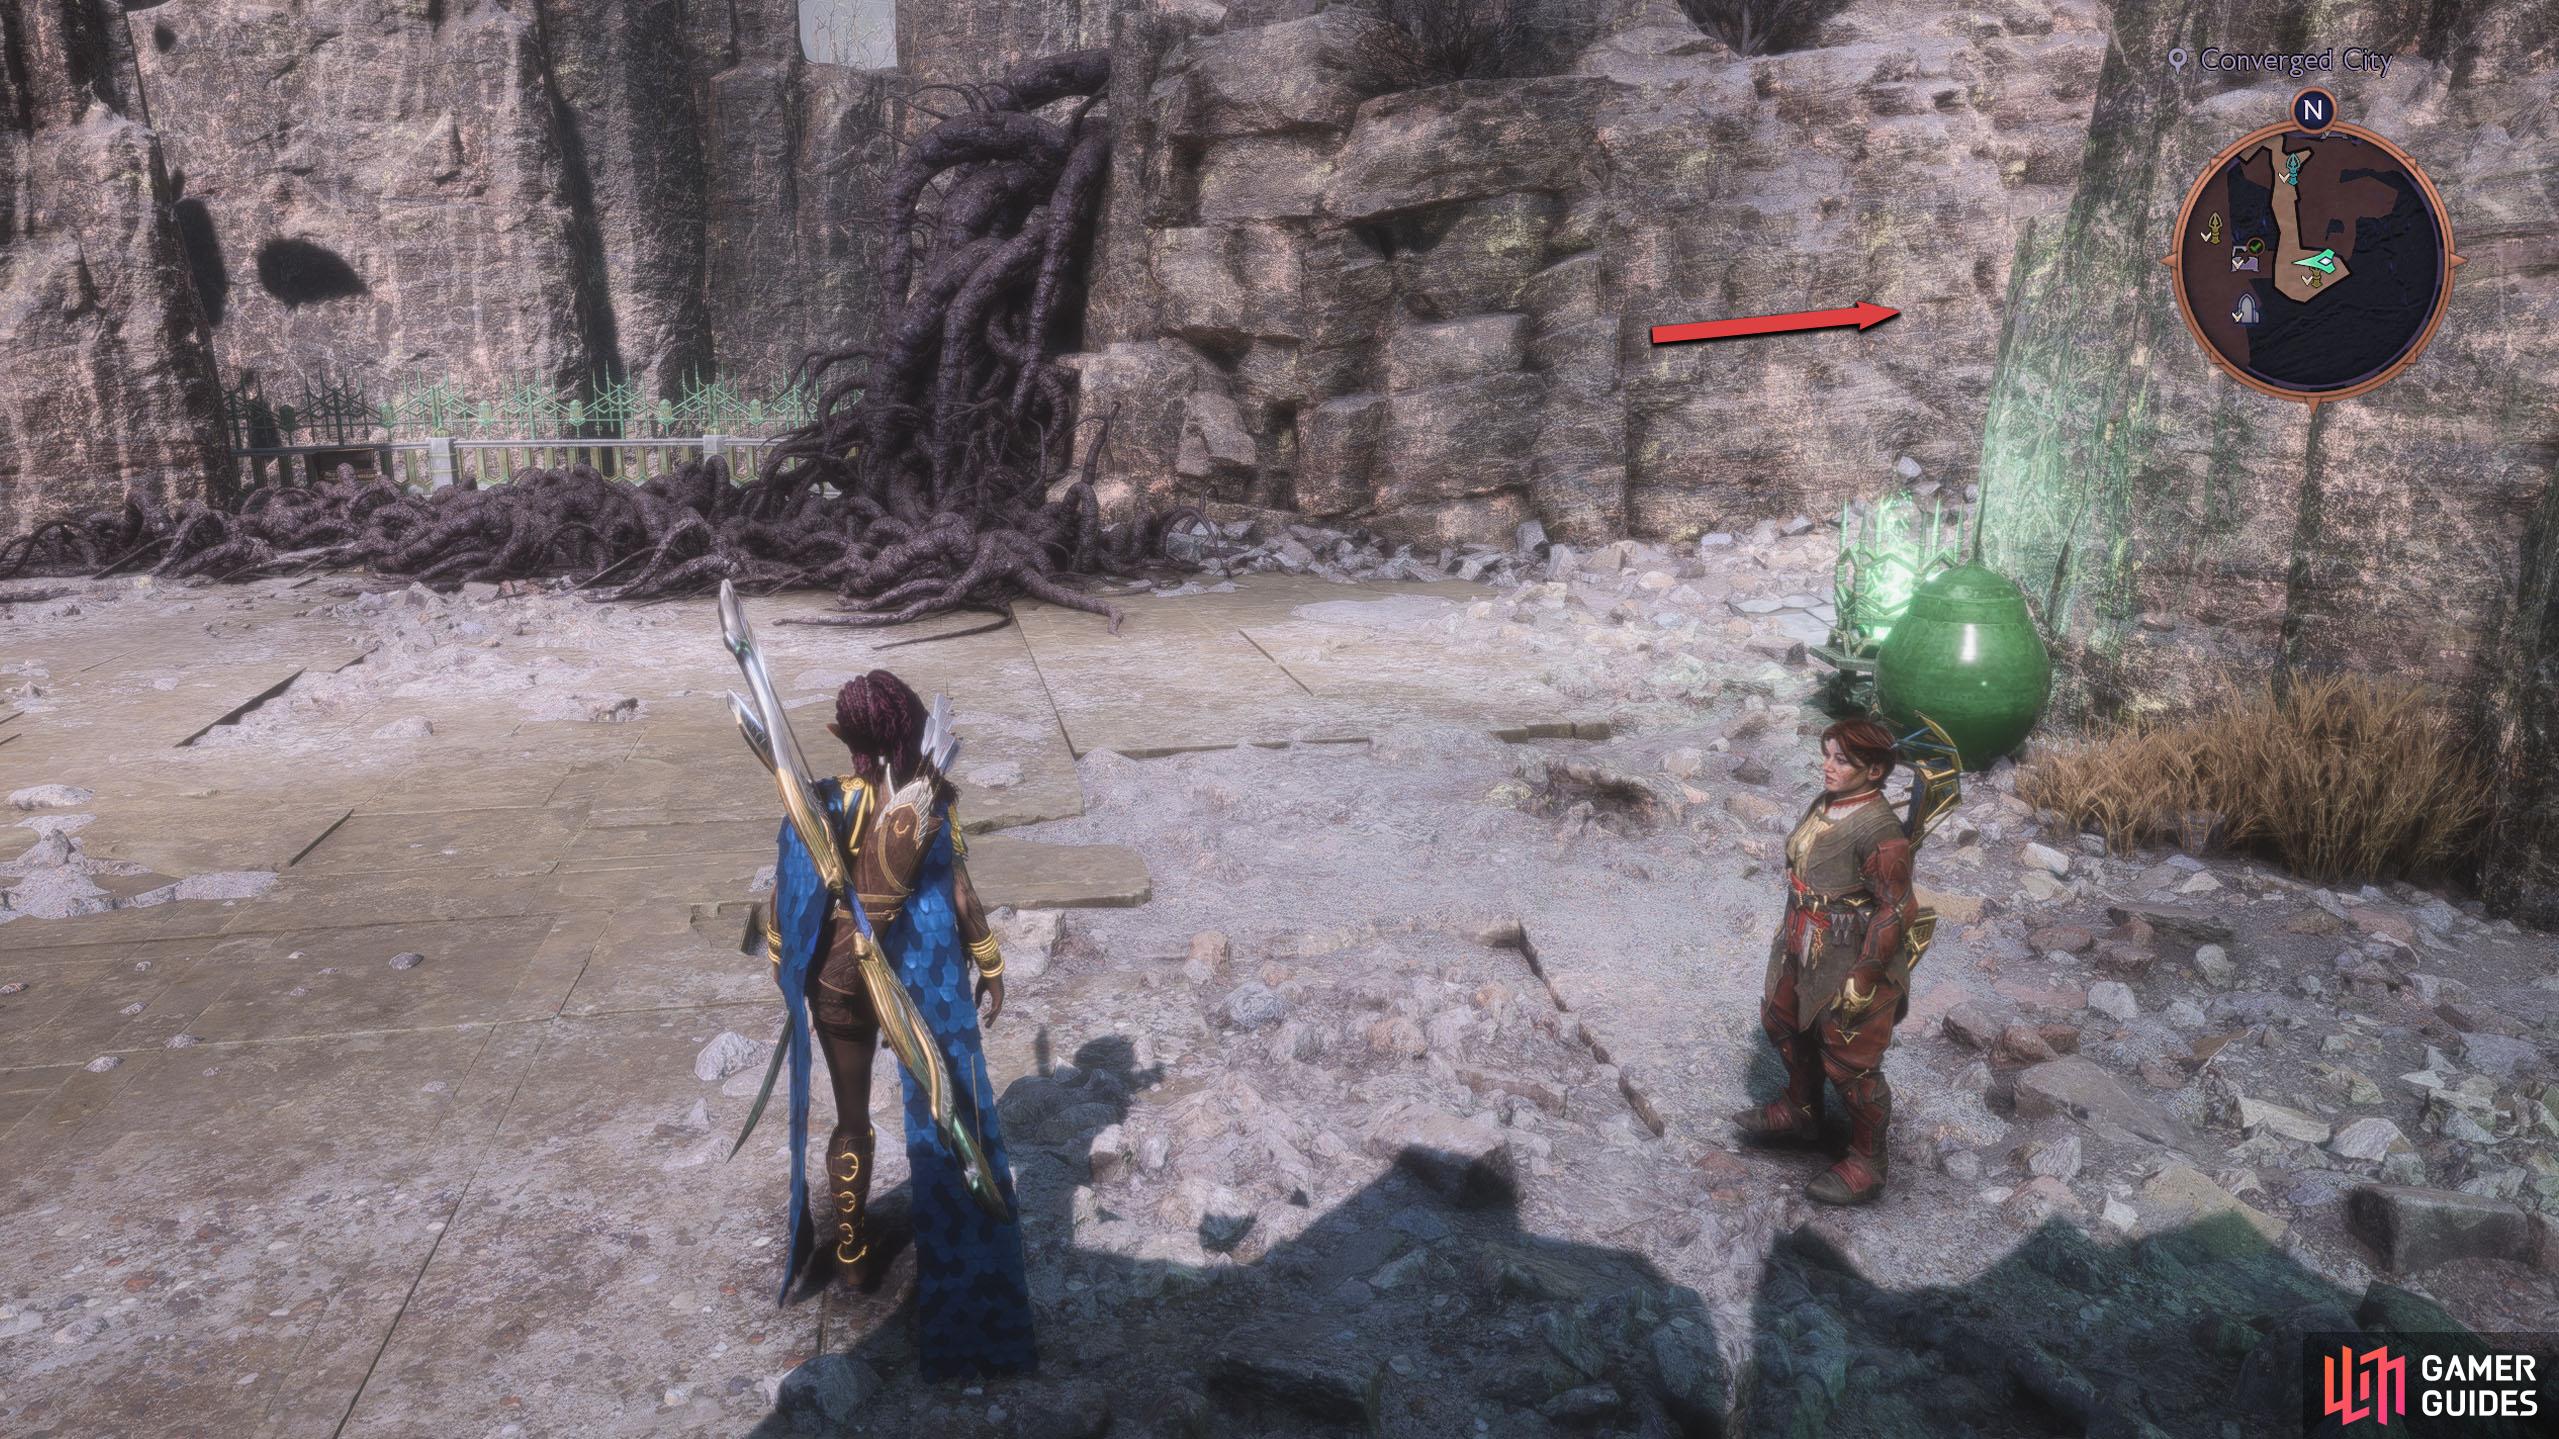
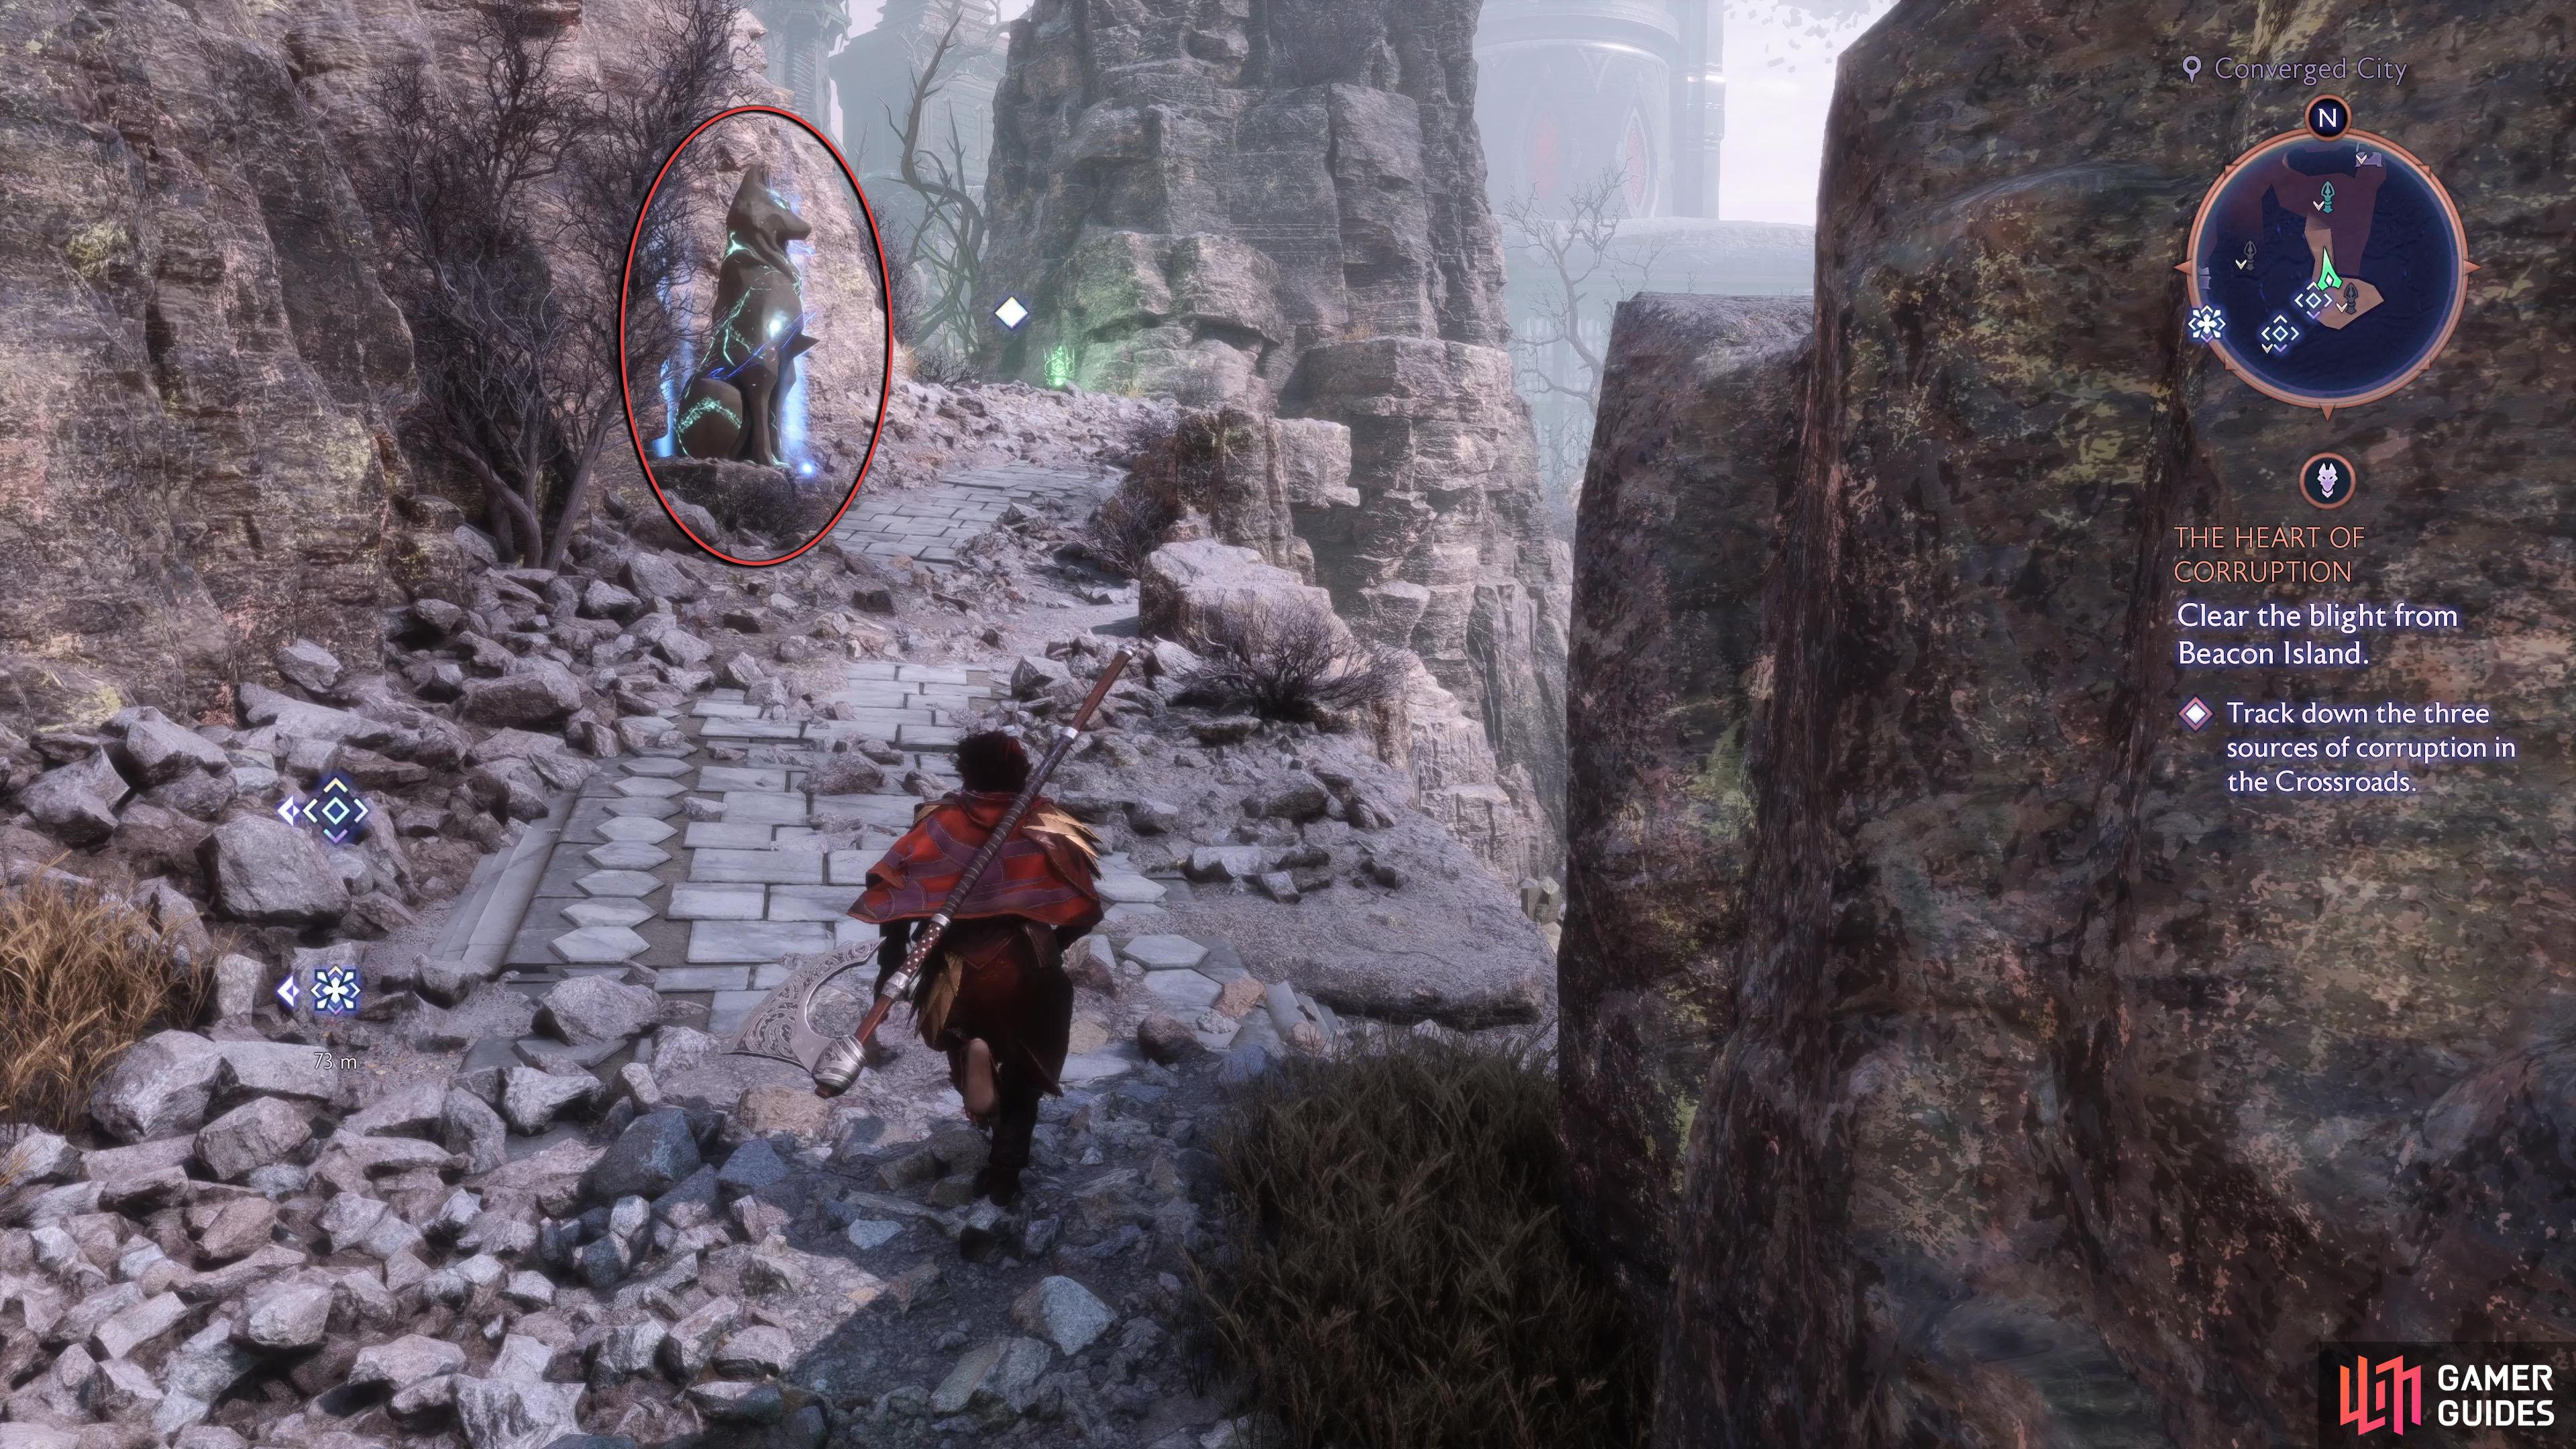
The first Altar can be found in the Converged City subregion of The Crossroads. Make your way through the story until you reach the city. Take the third exit on the east and follow the path south. Continue up the path until you reach the area with the blighted vines, and immediately go up the path to the north (next to the green brazier). The Altar will be halfway up on the path to your left.
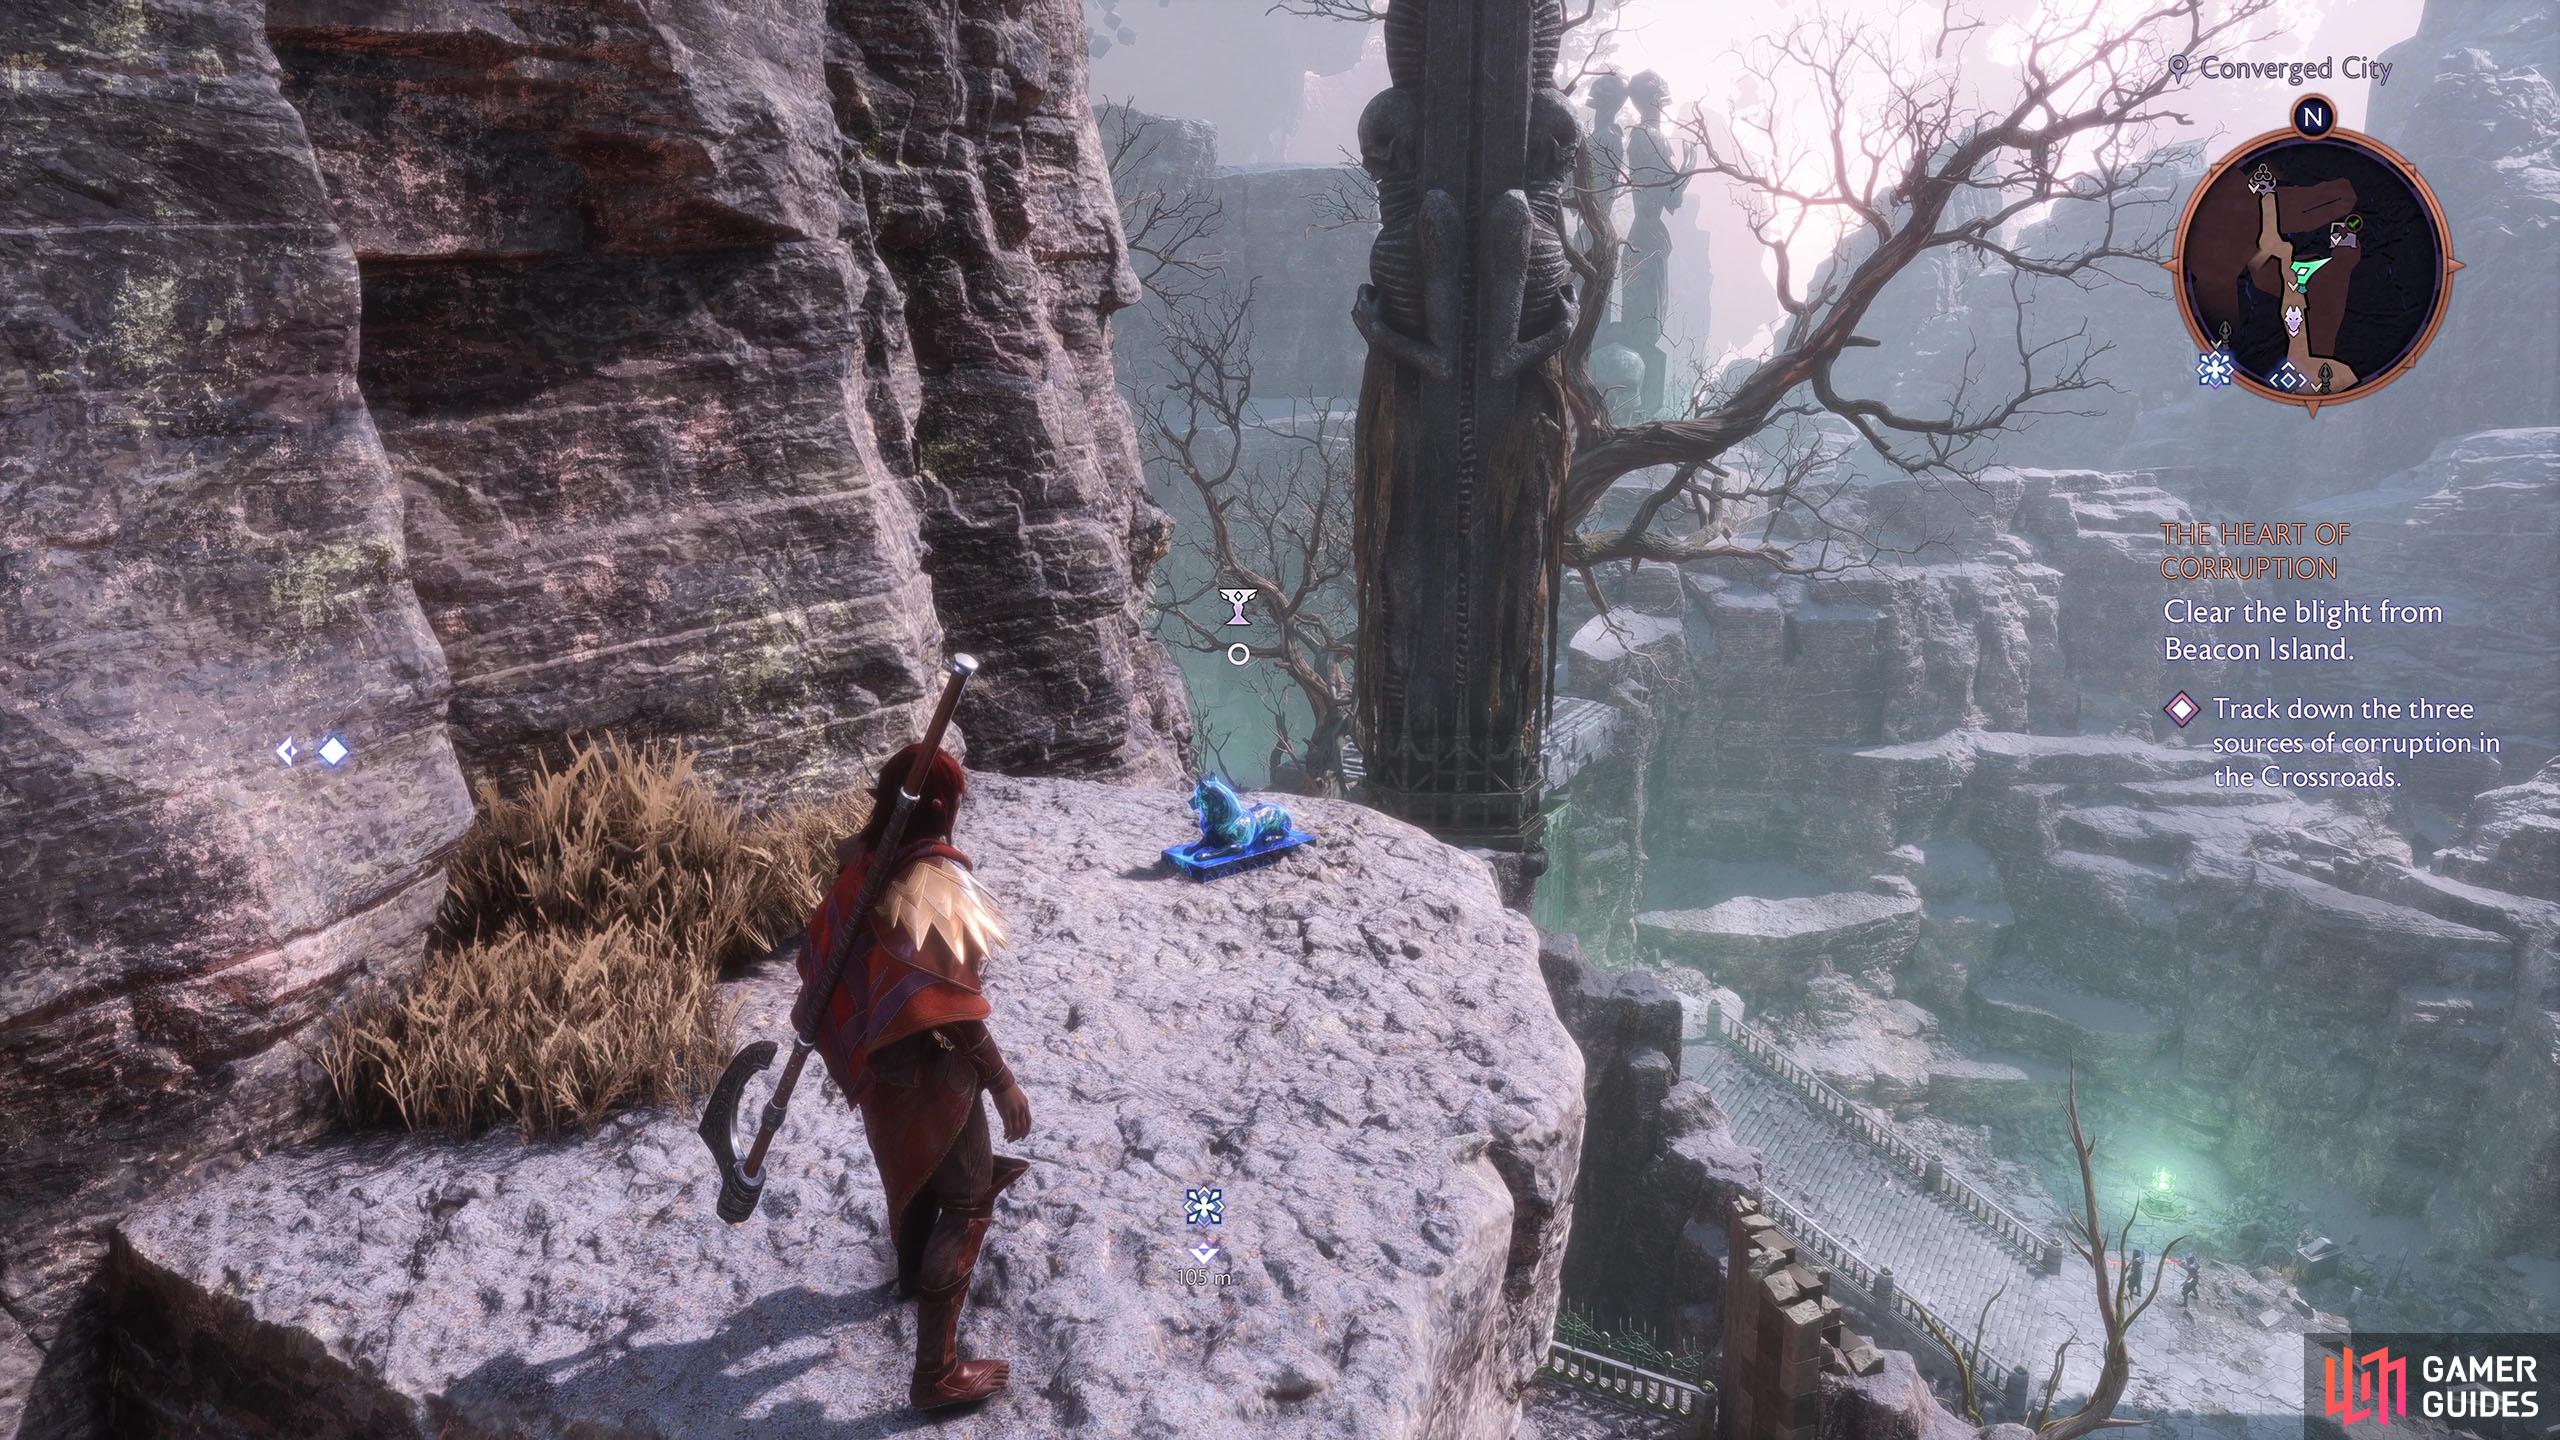
Activate the Altar, and continue north to the end of the path, and then jump over the small gap to reach the upper platform to the north. Interact with the blue statue to collect your skill point.
(1 of 6) The first Altar can be found in the Converged City area of The Crossroads.
Arlathan Forest - Nameless Building Altar
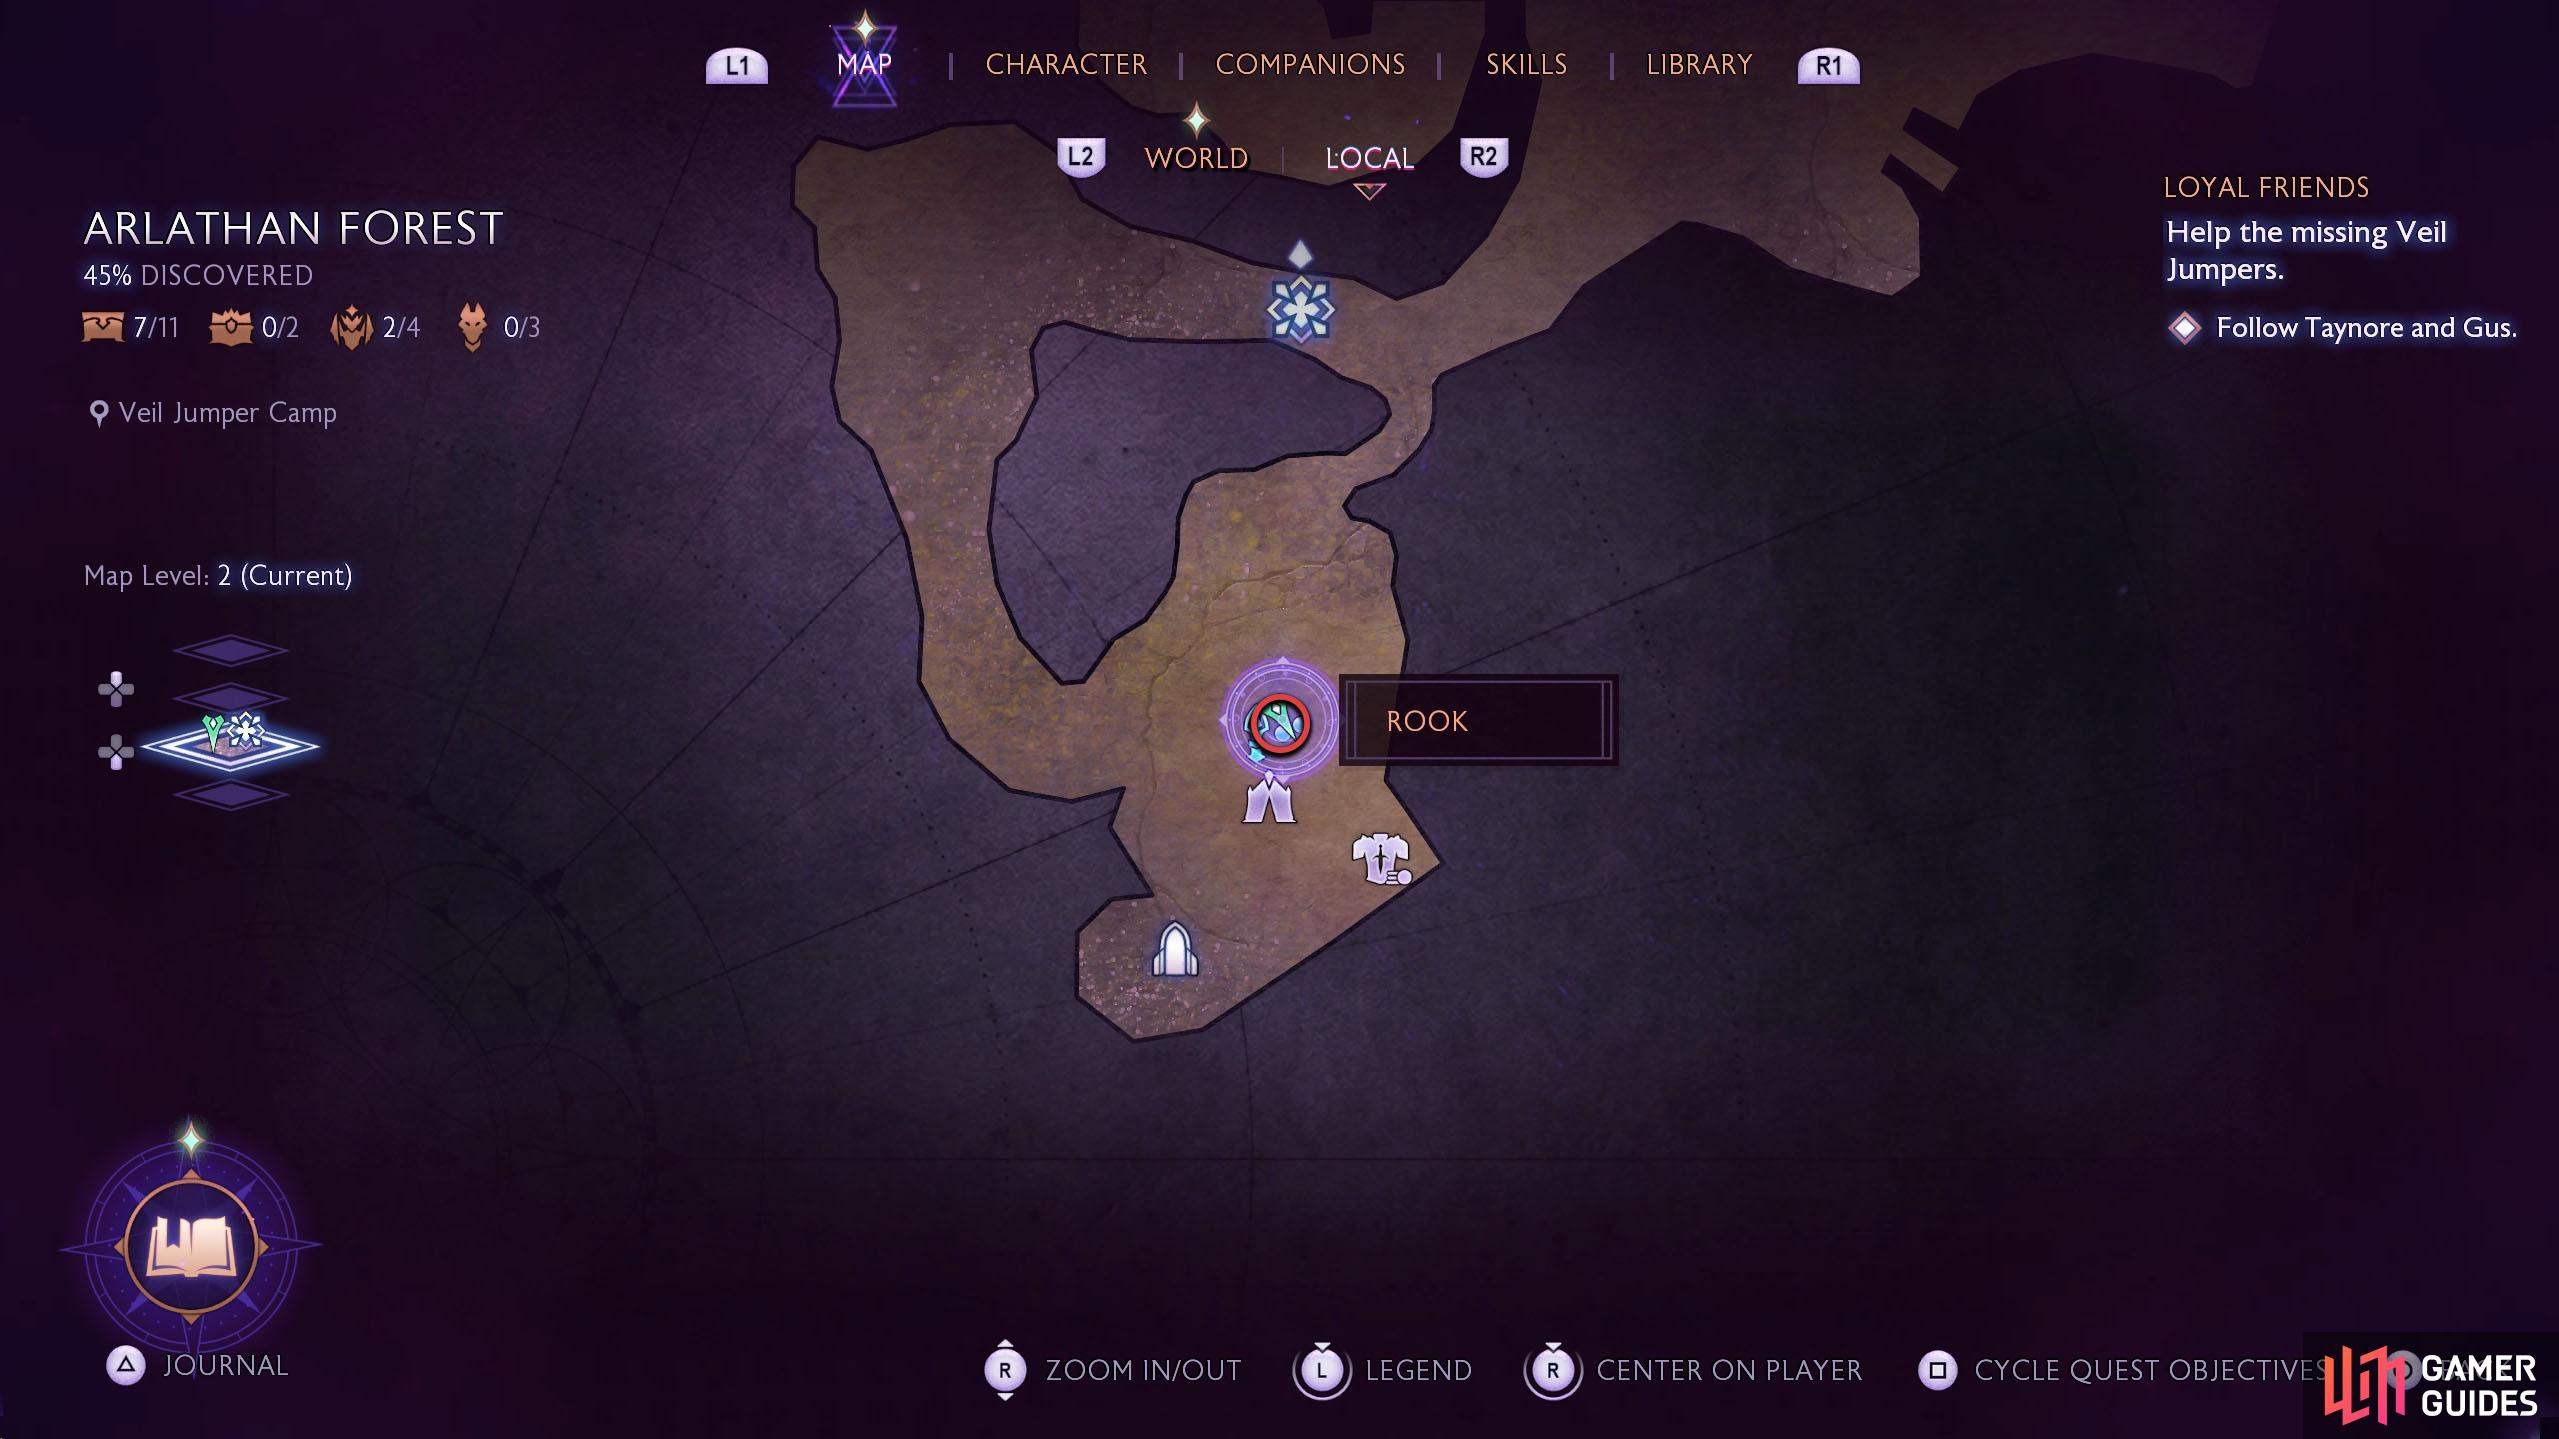
To reach the Altar, you’ll need to be able to accept the Loyal Friends quest, which you pick up in the Veil Jumper Camp. If it’s not there, teleport somewhere else and teleport back. We got this quest while on the Sea of Blood main quest to give you an idea. If you’re still not having much luck, you may need to complete Harding’s companion quest first.
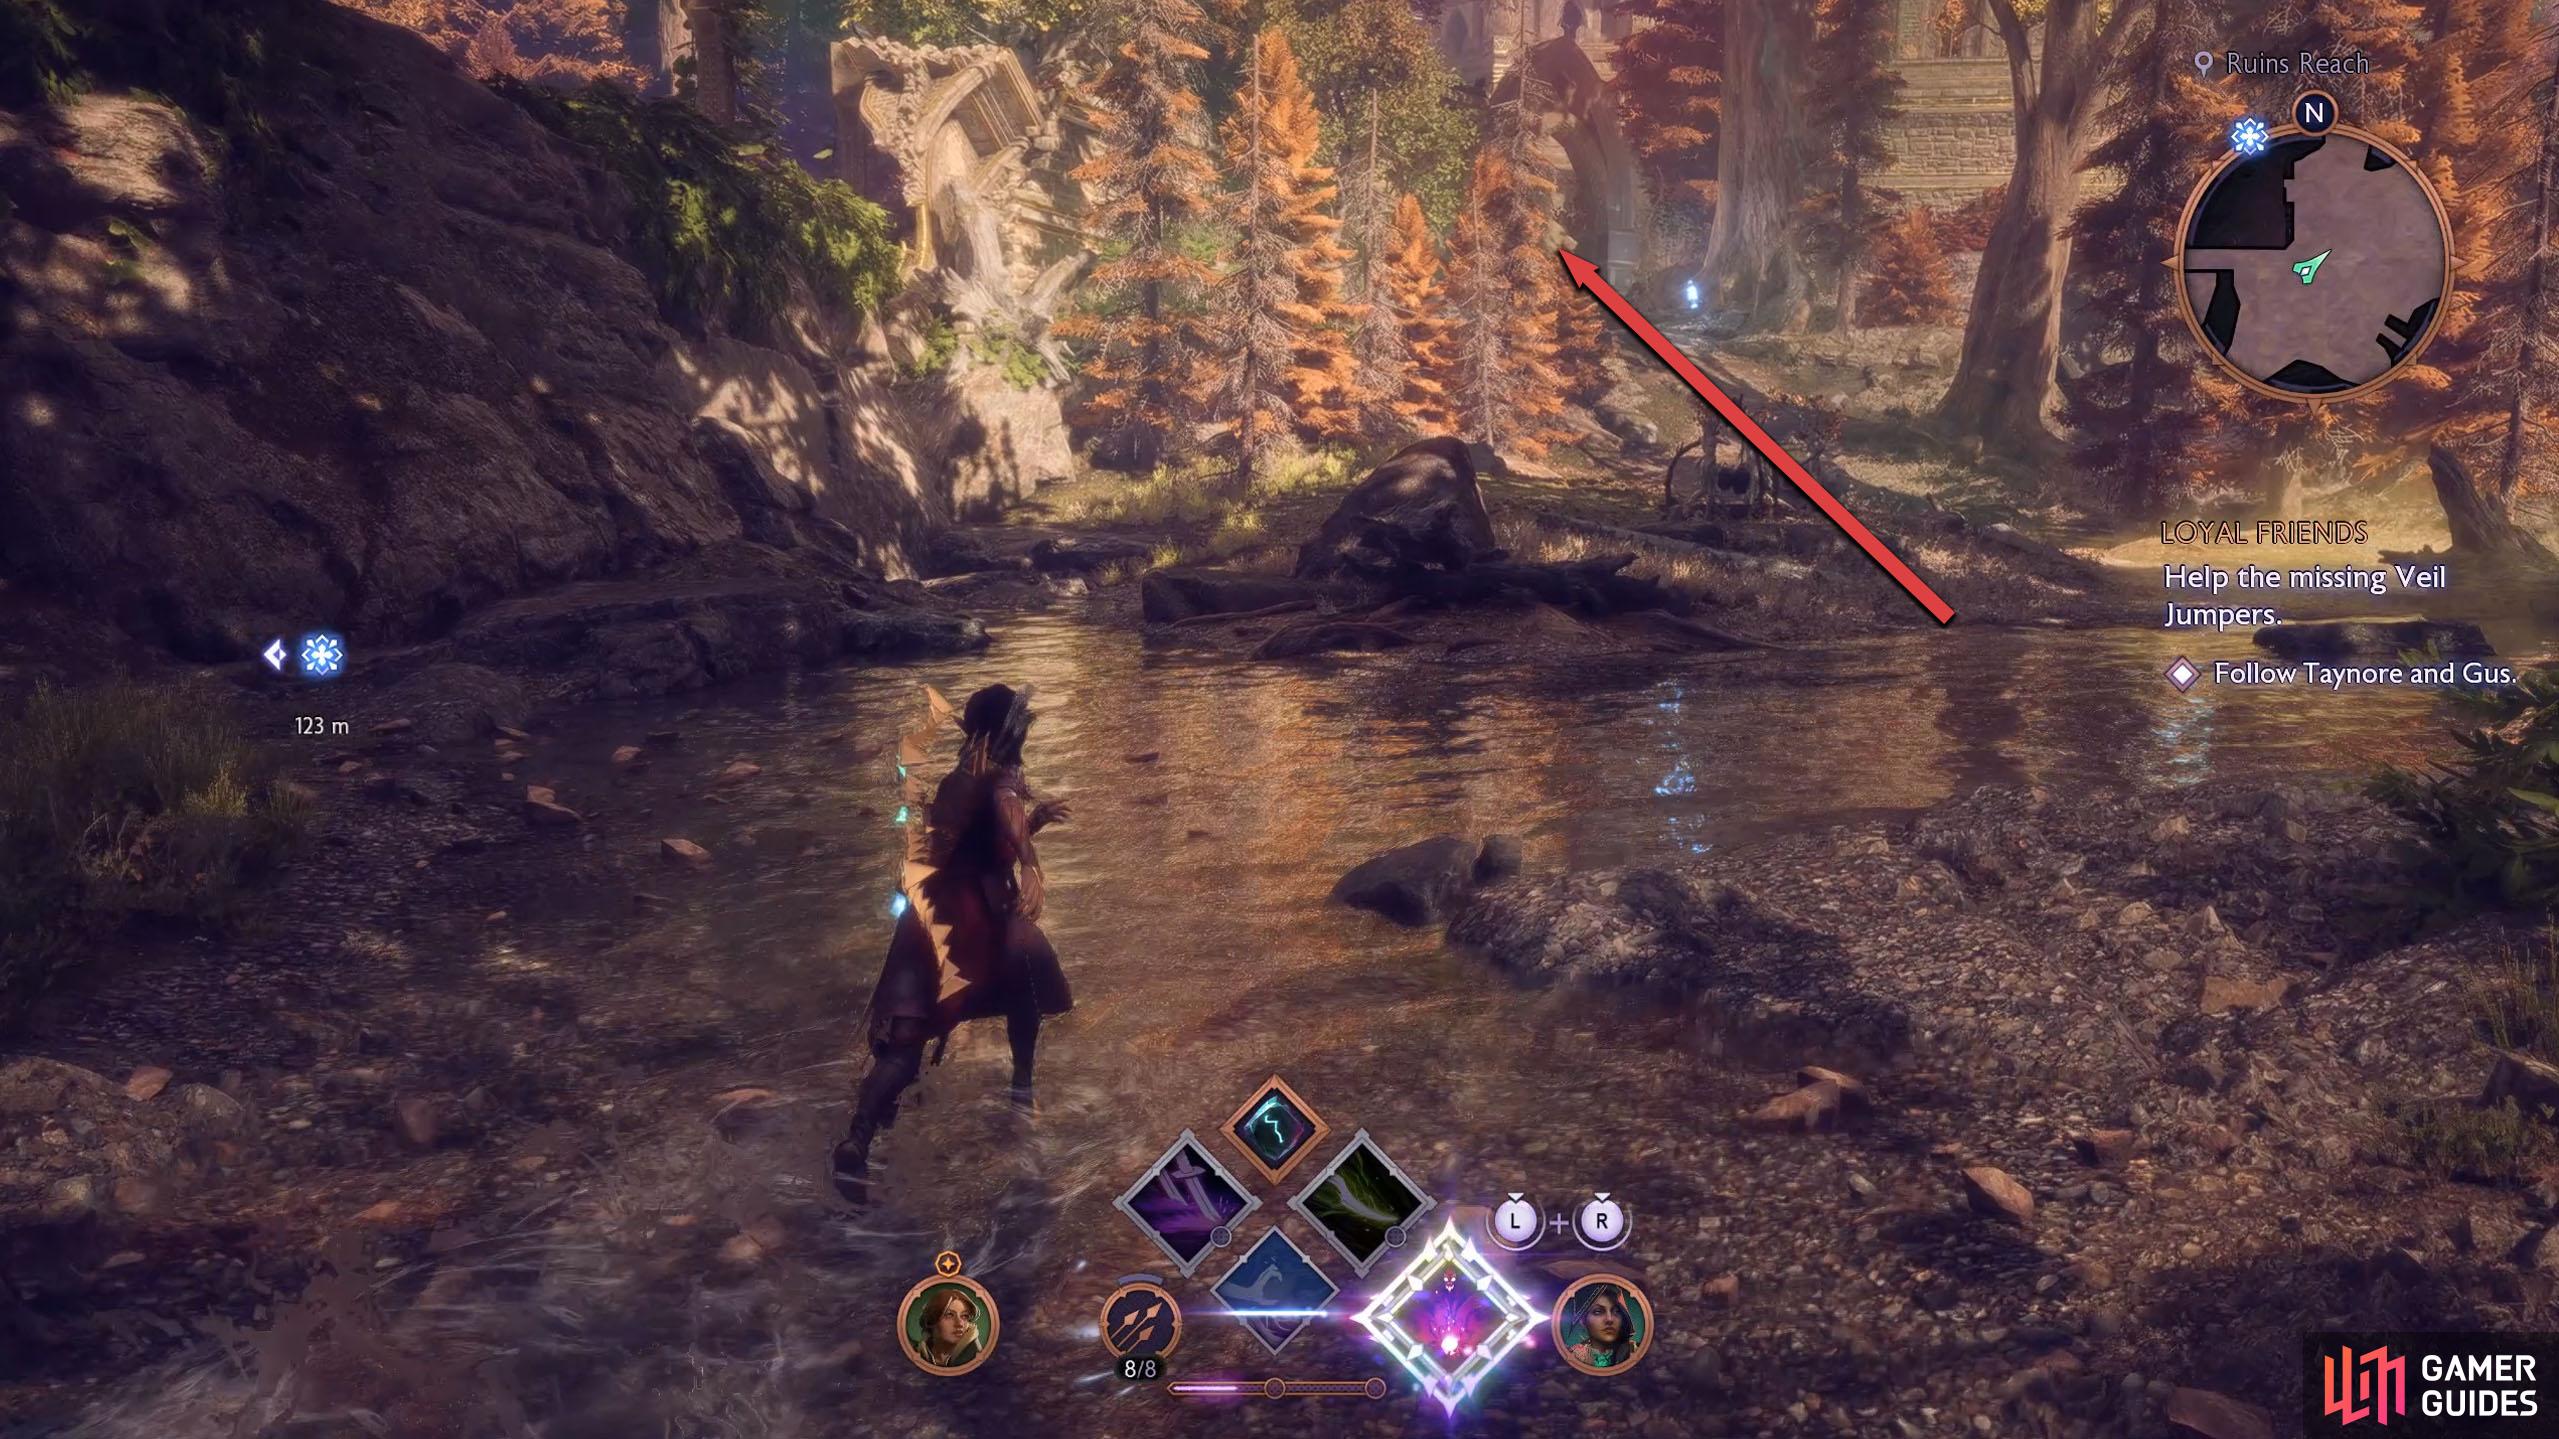
Anyway, teleport to the Veil Jumper Camp in Arlathan Forest, accept the quest by examining the note on the table near the cages, and exit the camp via the northern path. Follow the path around through Sanctum Outlook to reach the Ruins Reach area.
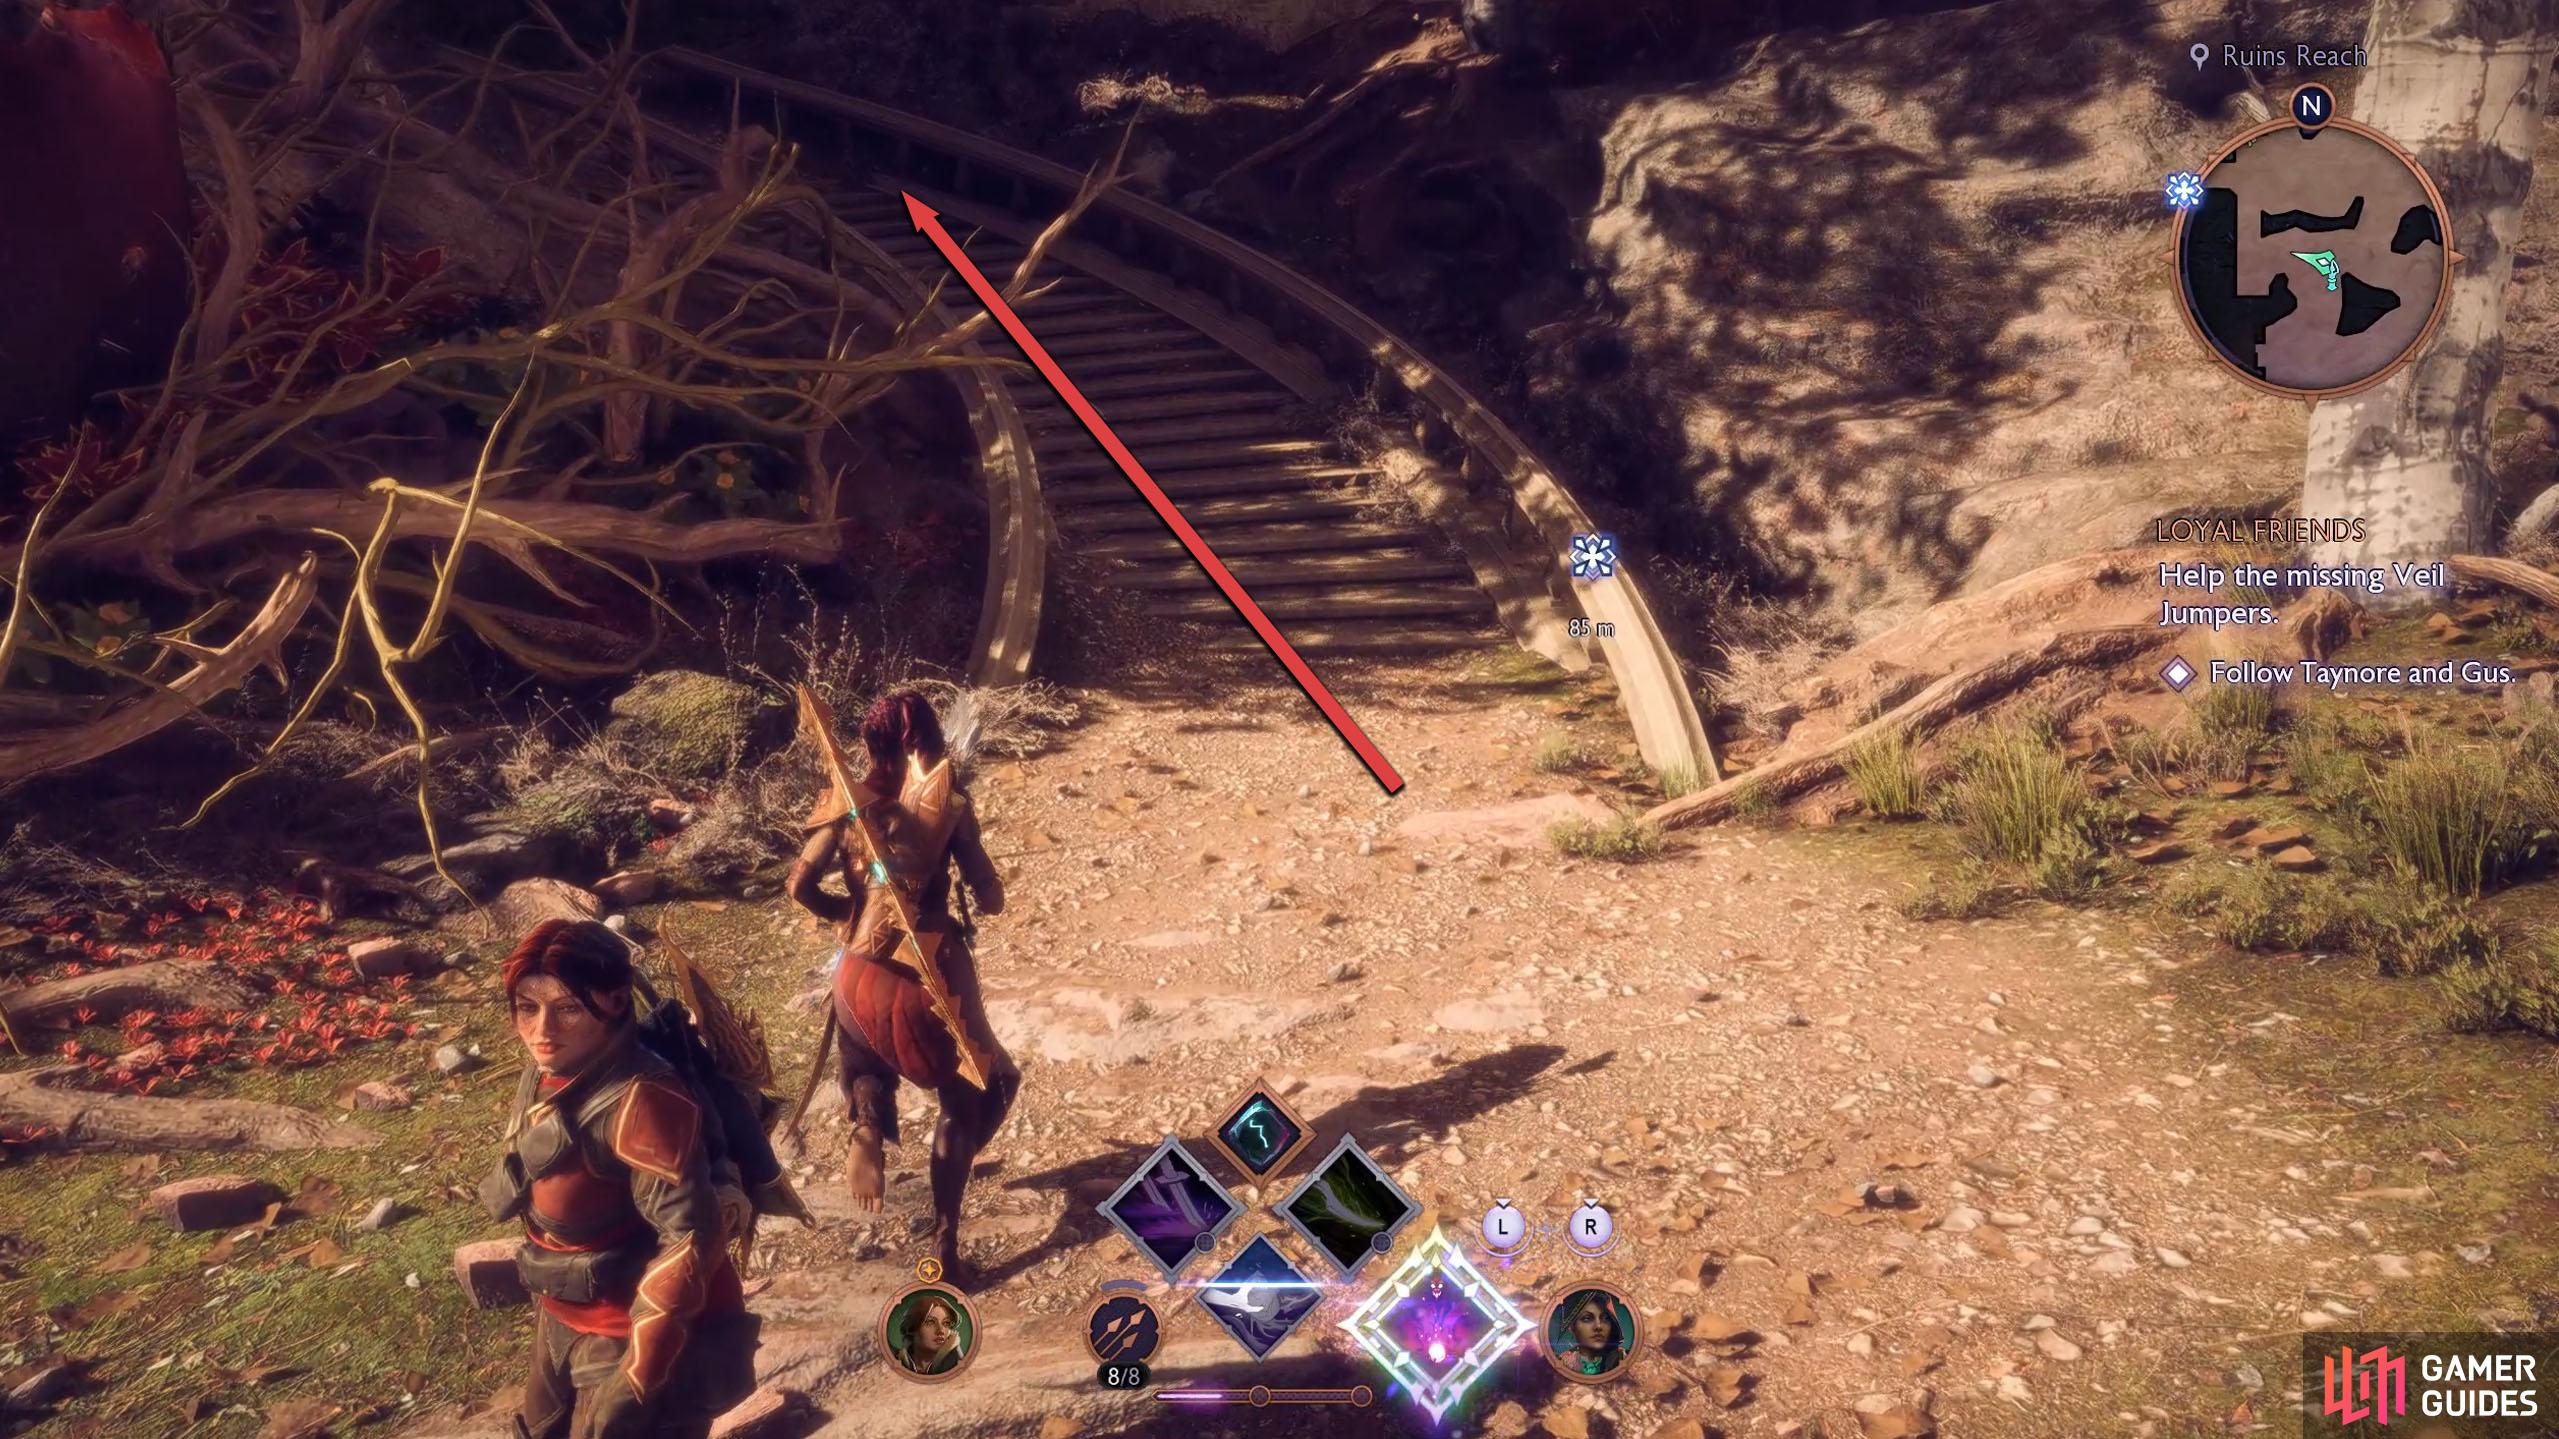
When you were here earlier, the door to the north had a blue barrier, but now, you should be able to go through it. Head up the northern path through the archway and follow it around until you unlock the Ruins Reach Fast Travel.
(1 of 3) You can accept the Loyal Friends side quest in the Veil Jumper Camp in this location. Examine the note on the table to start it.
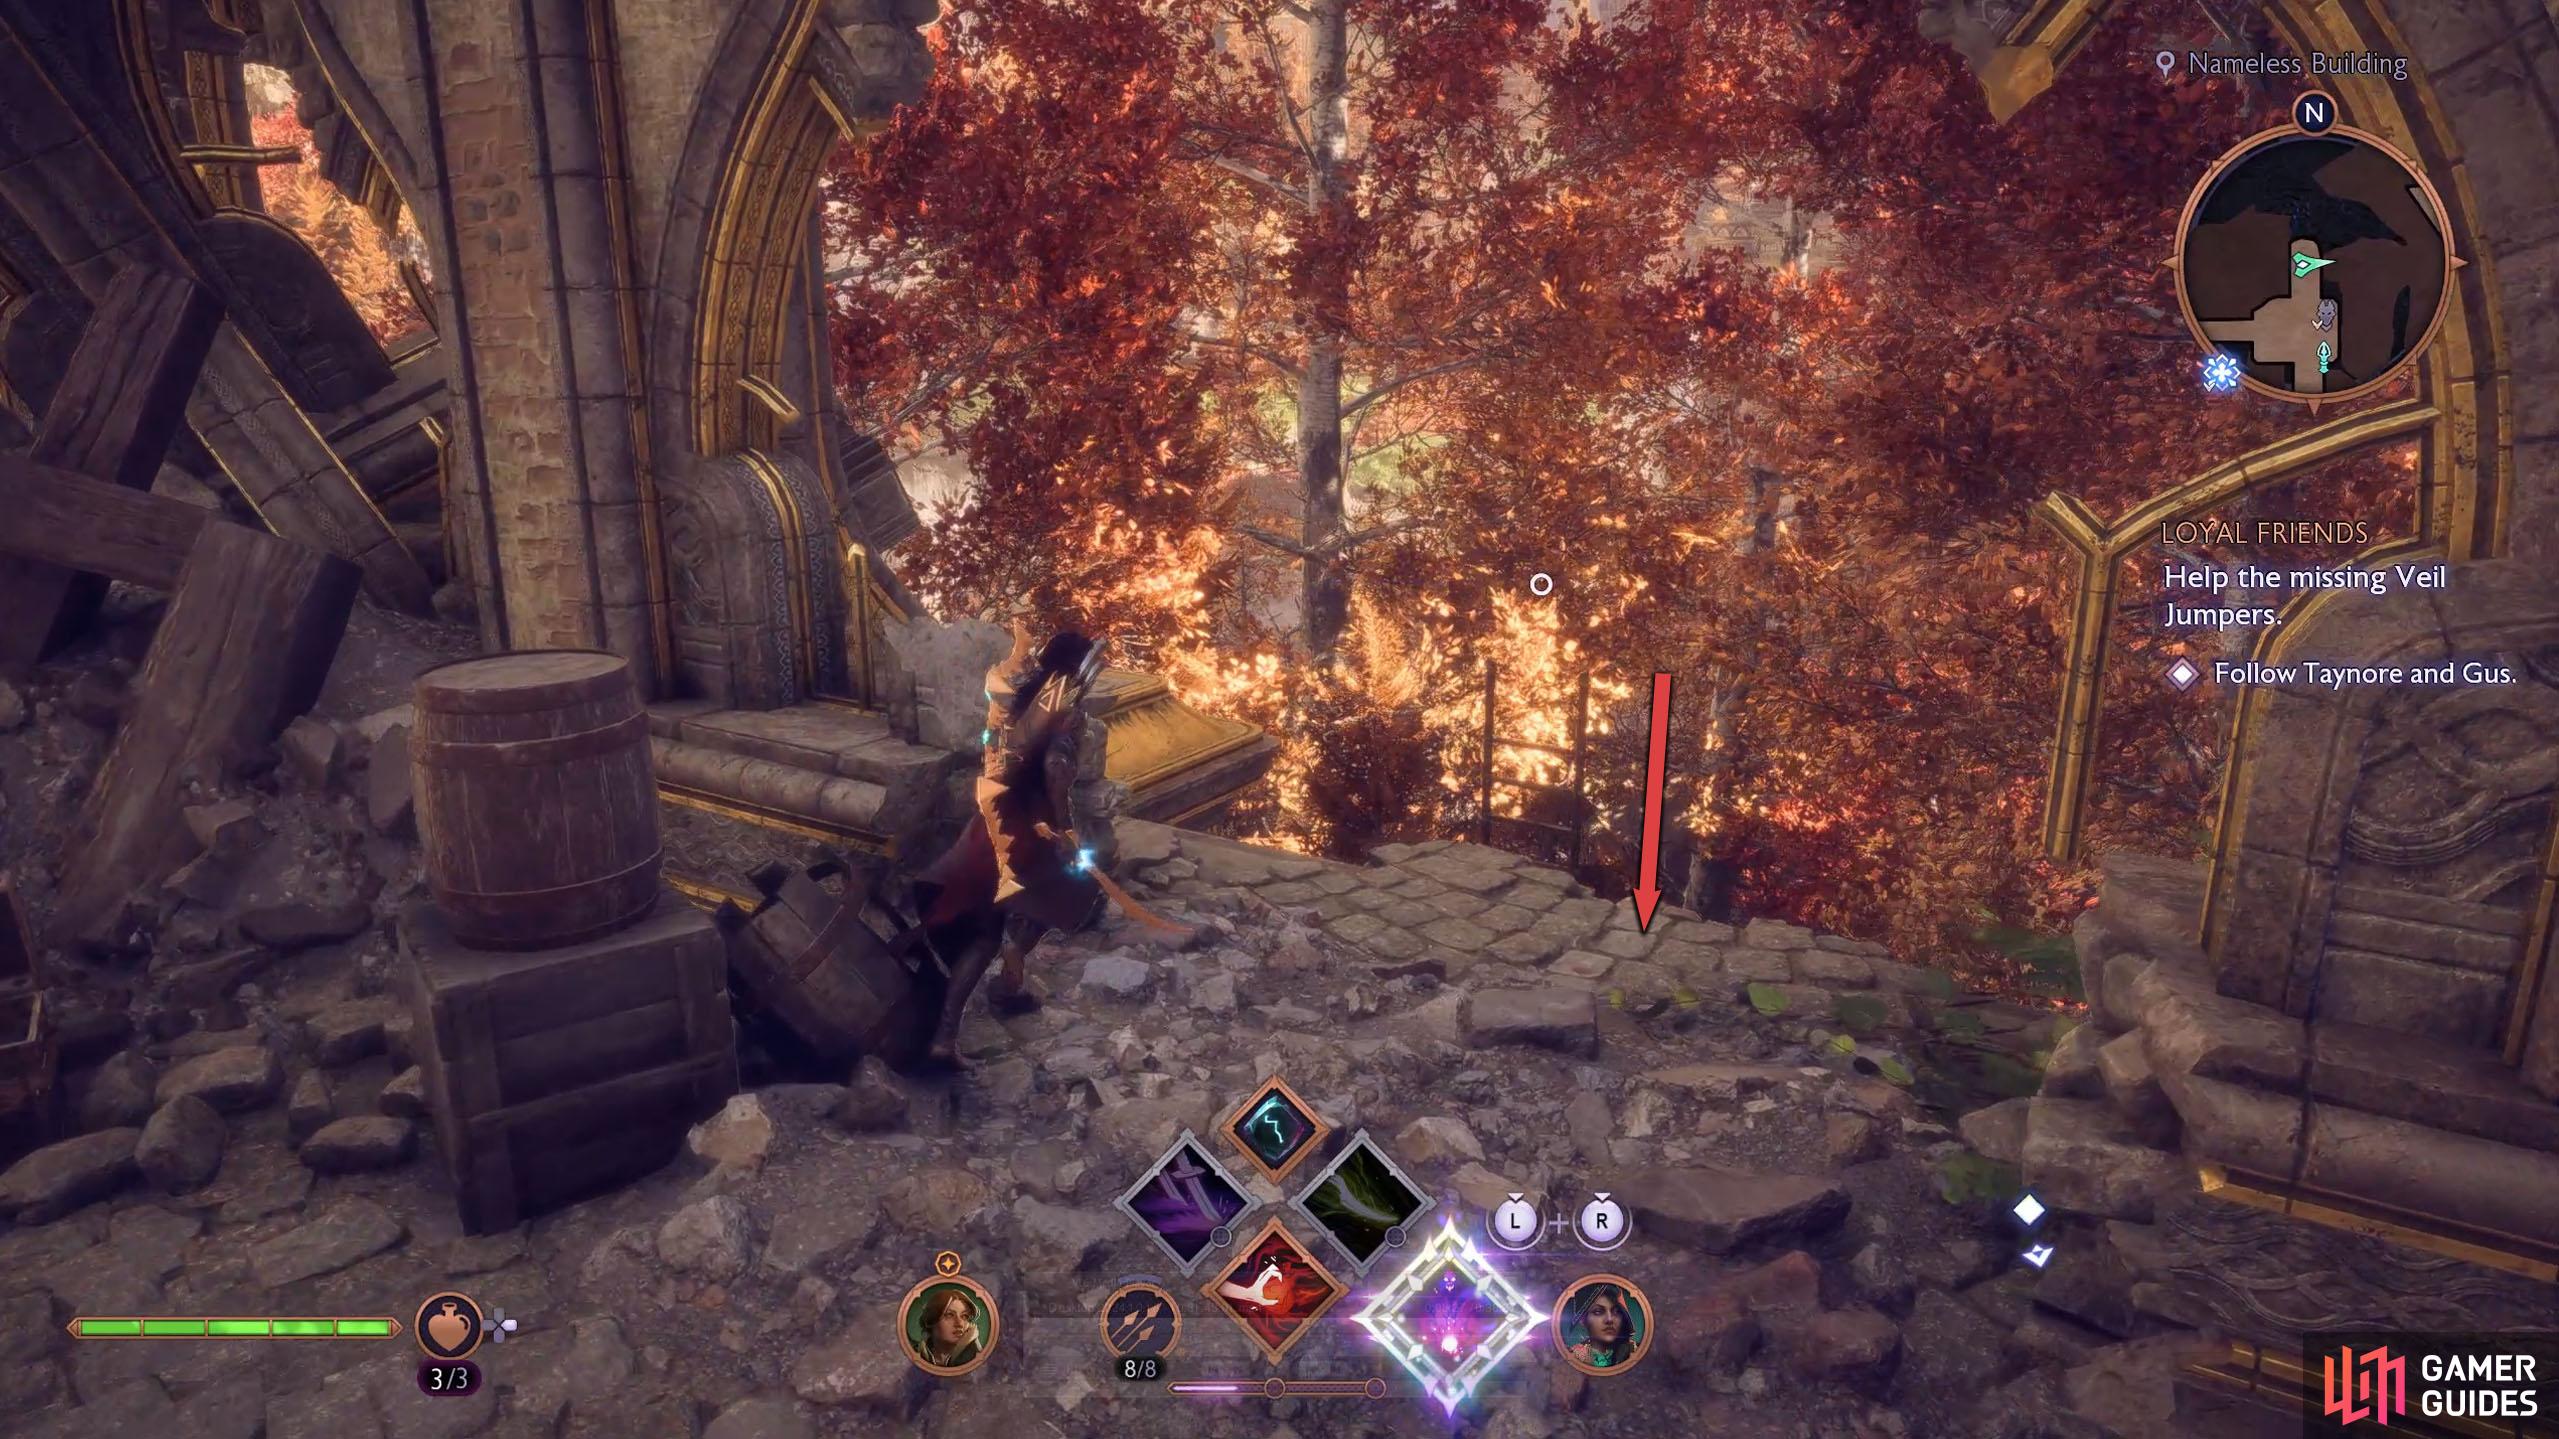
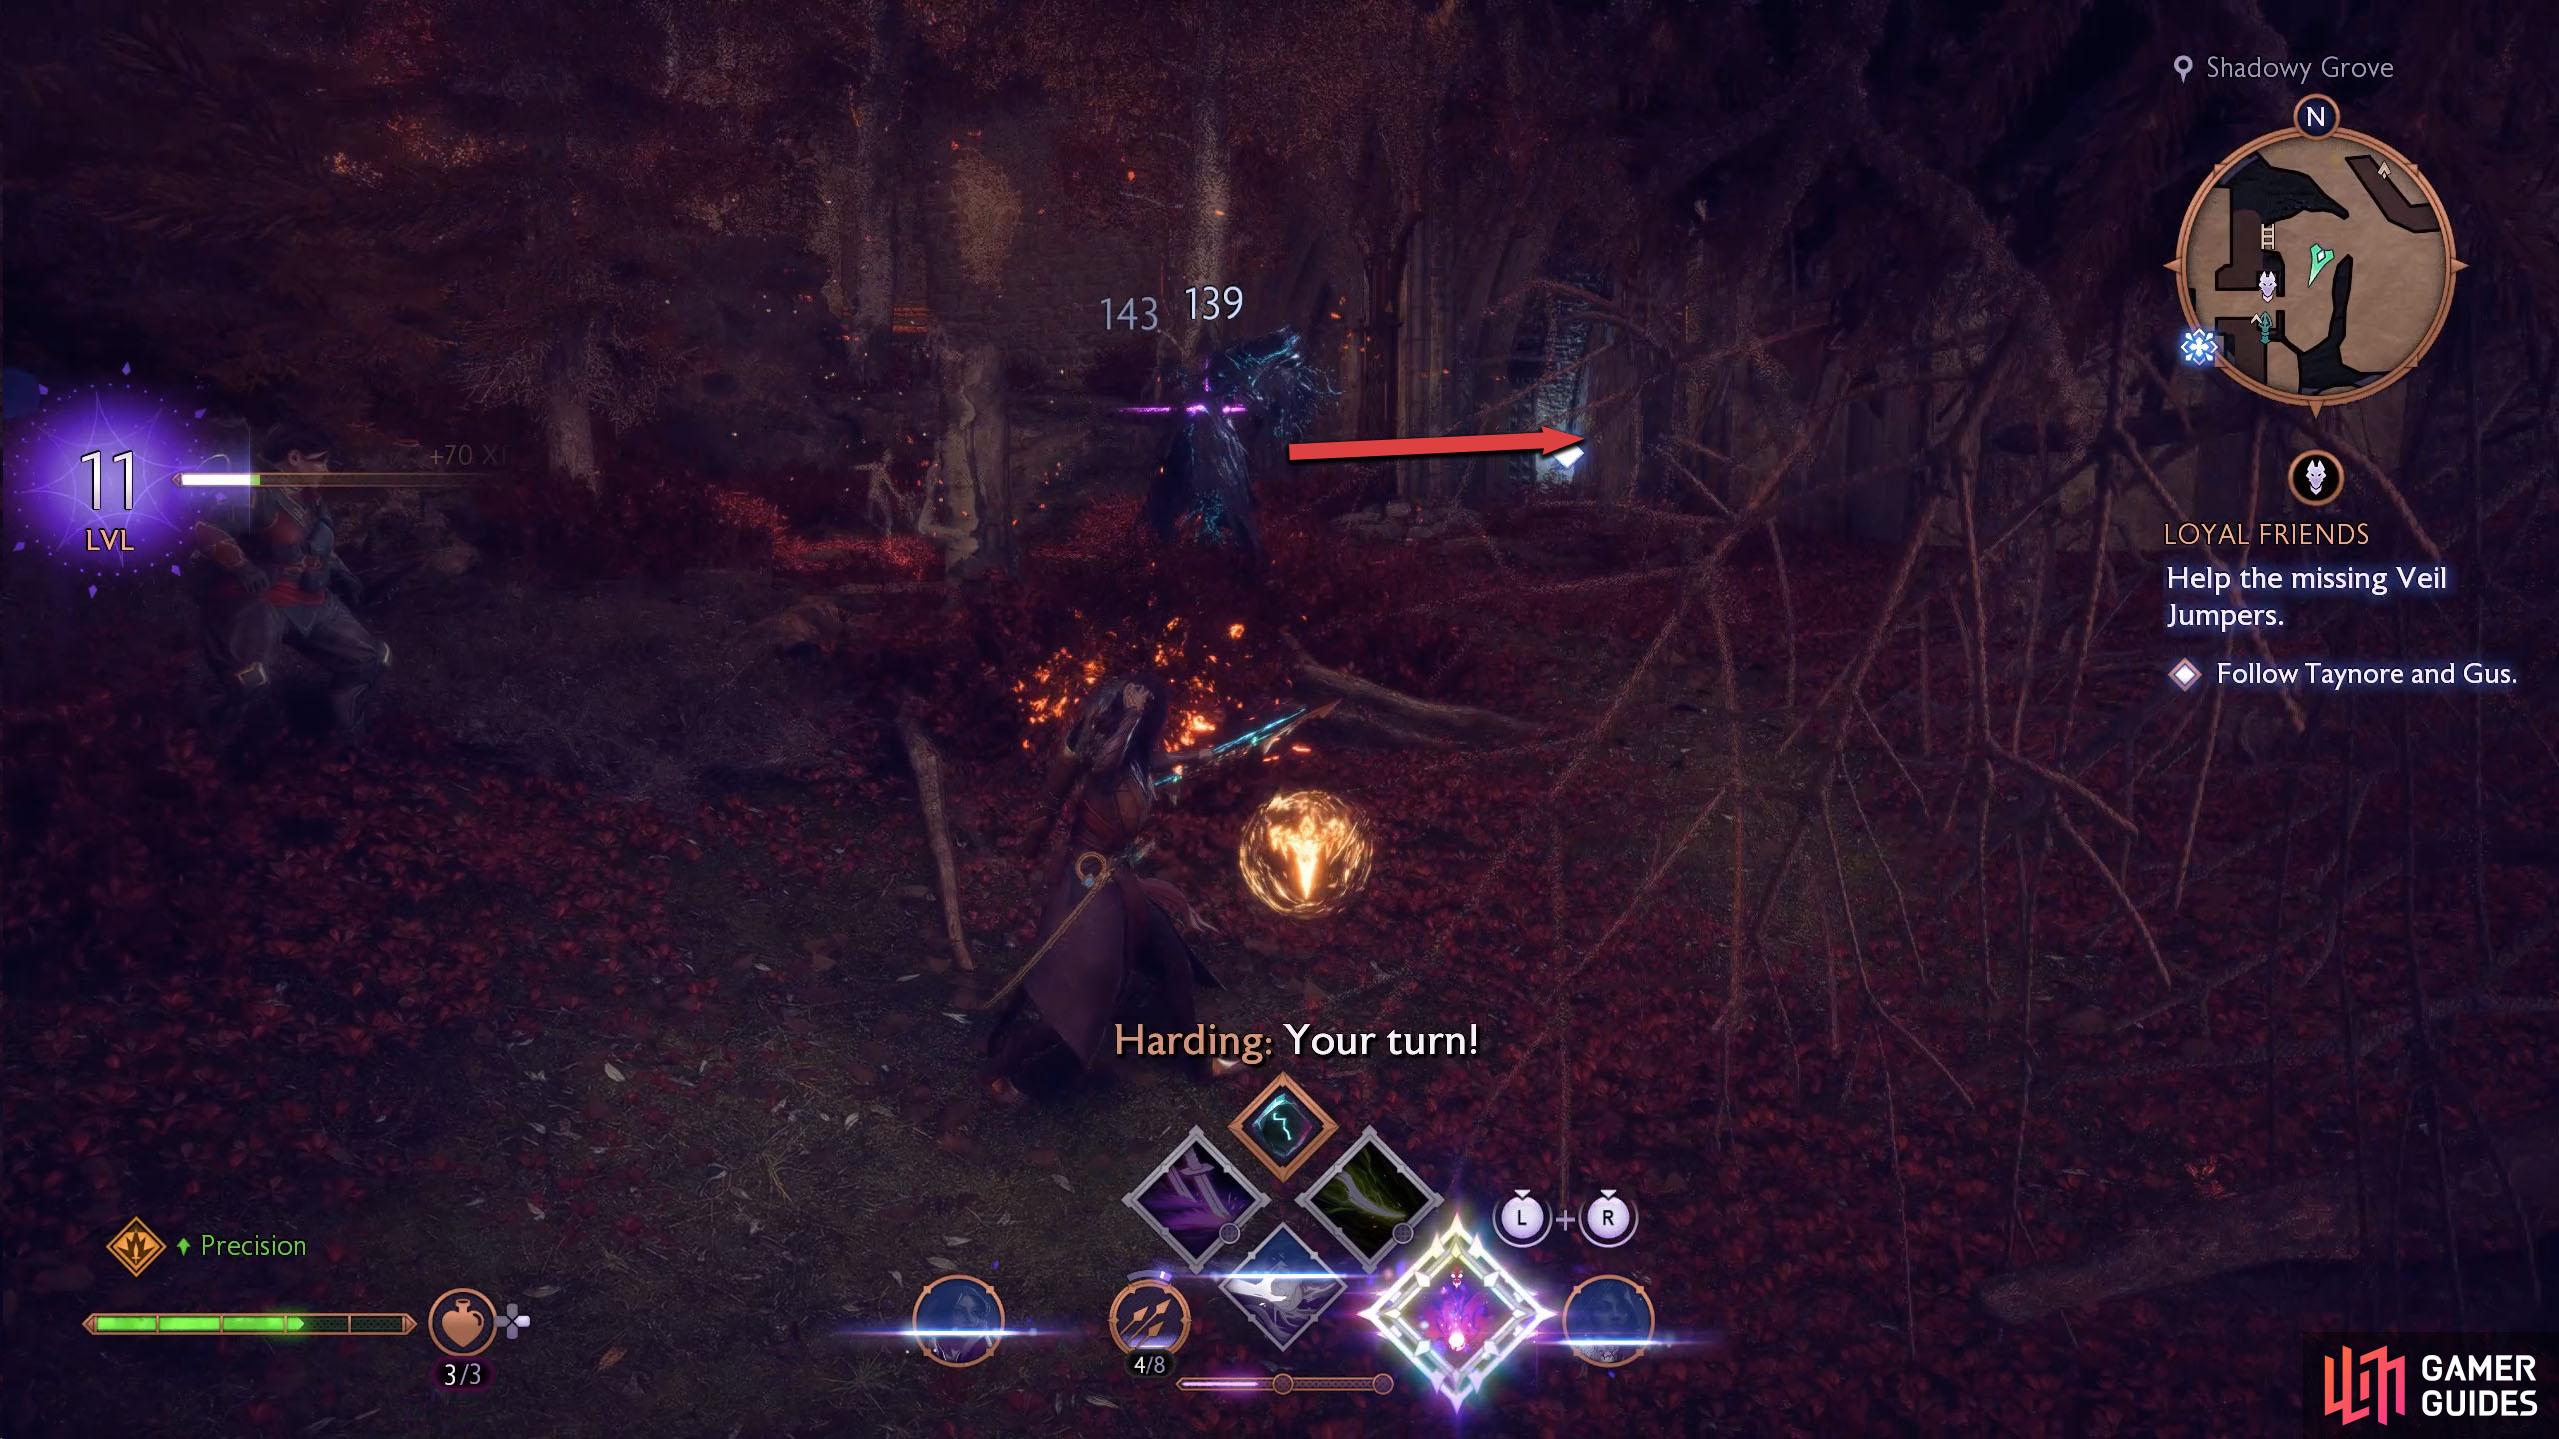
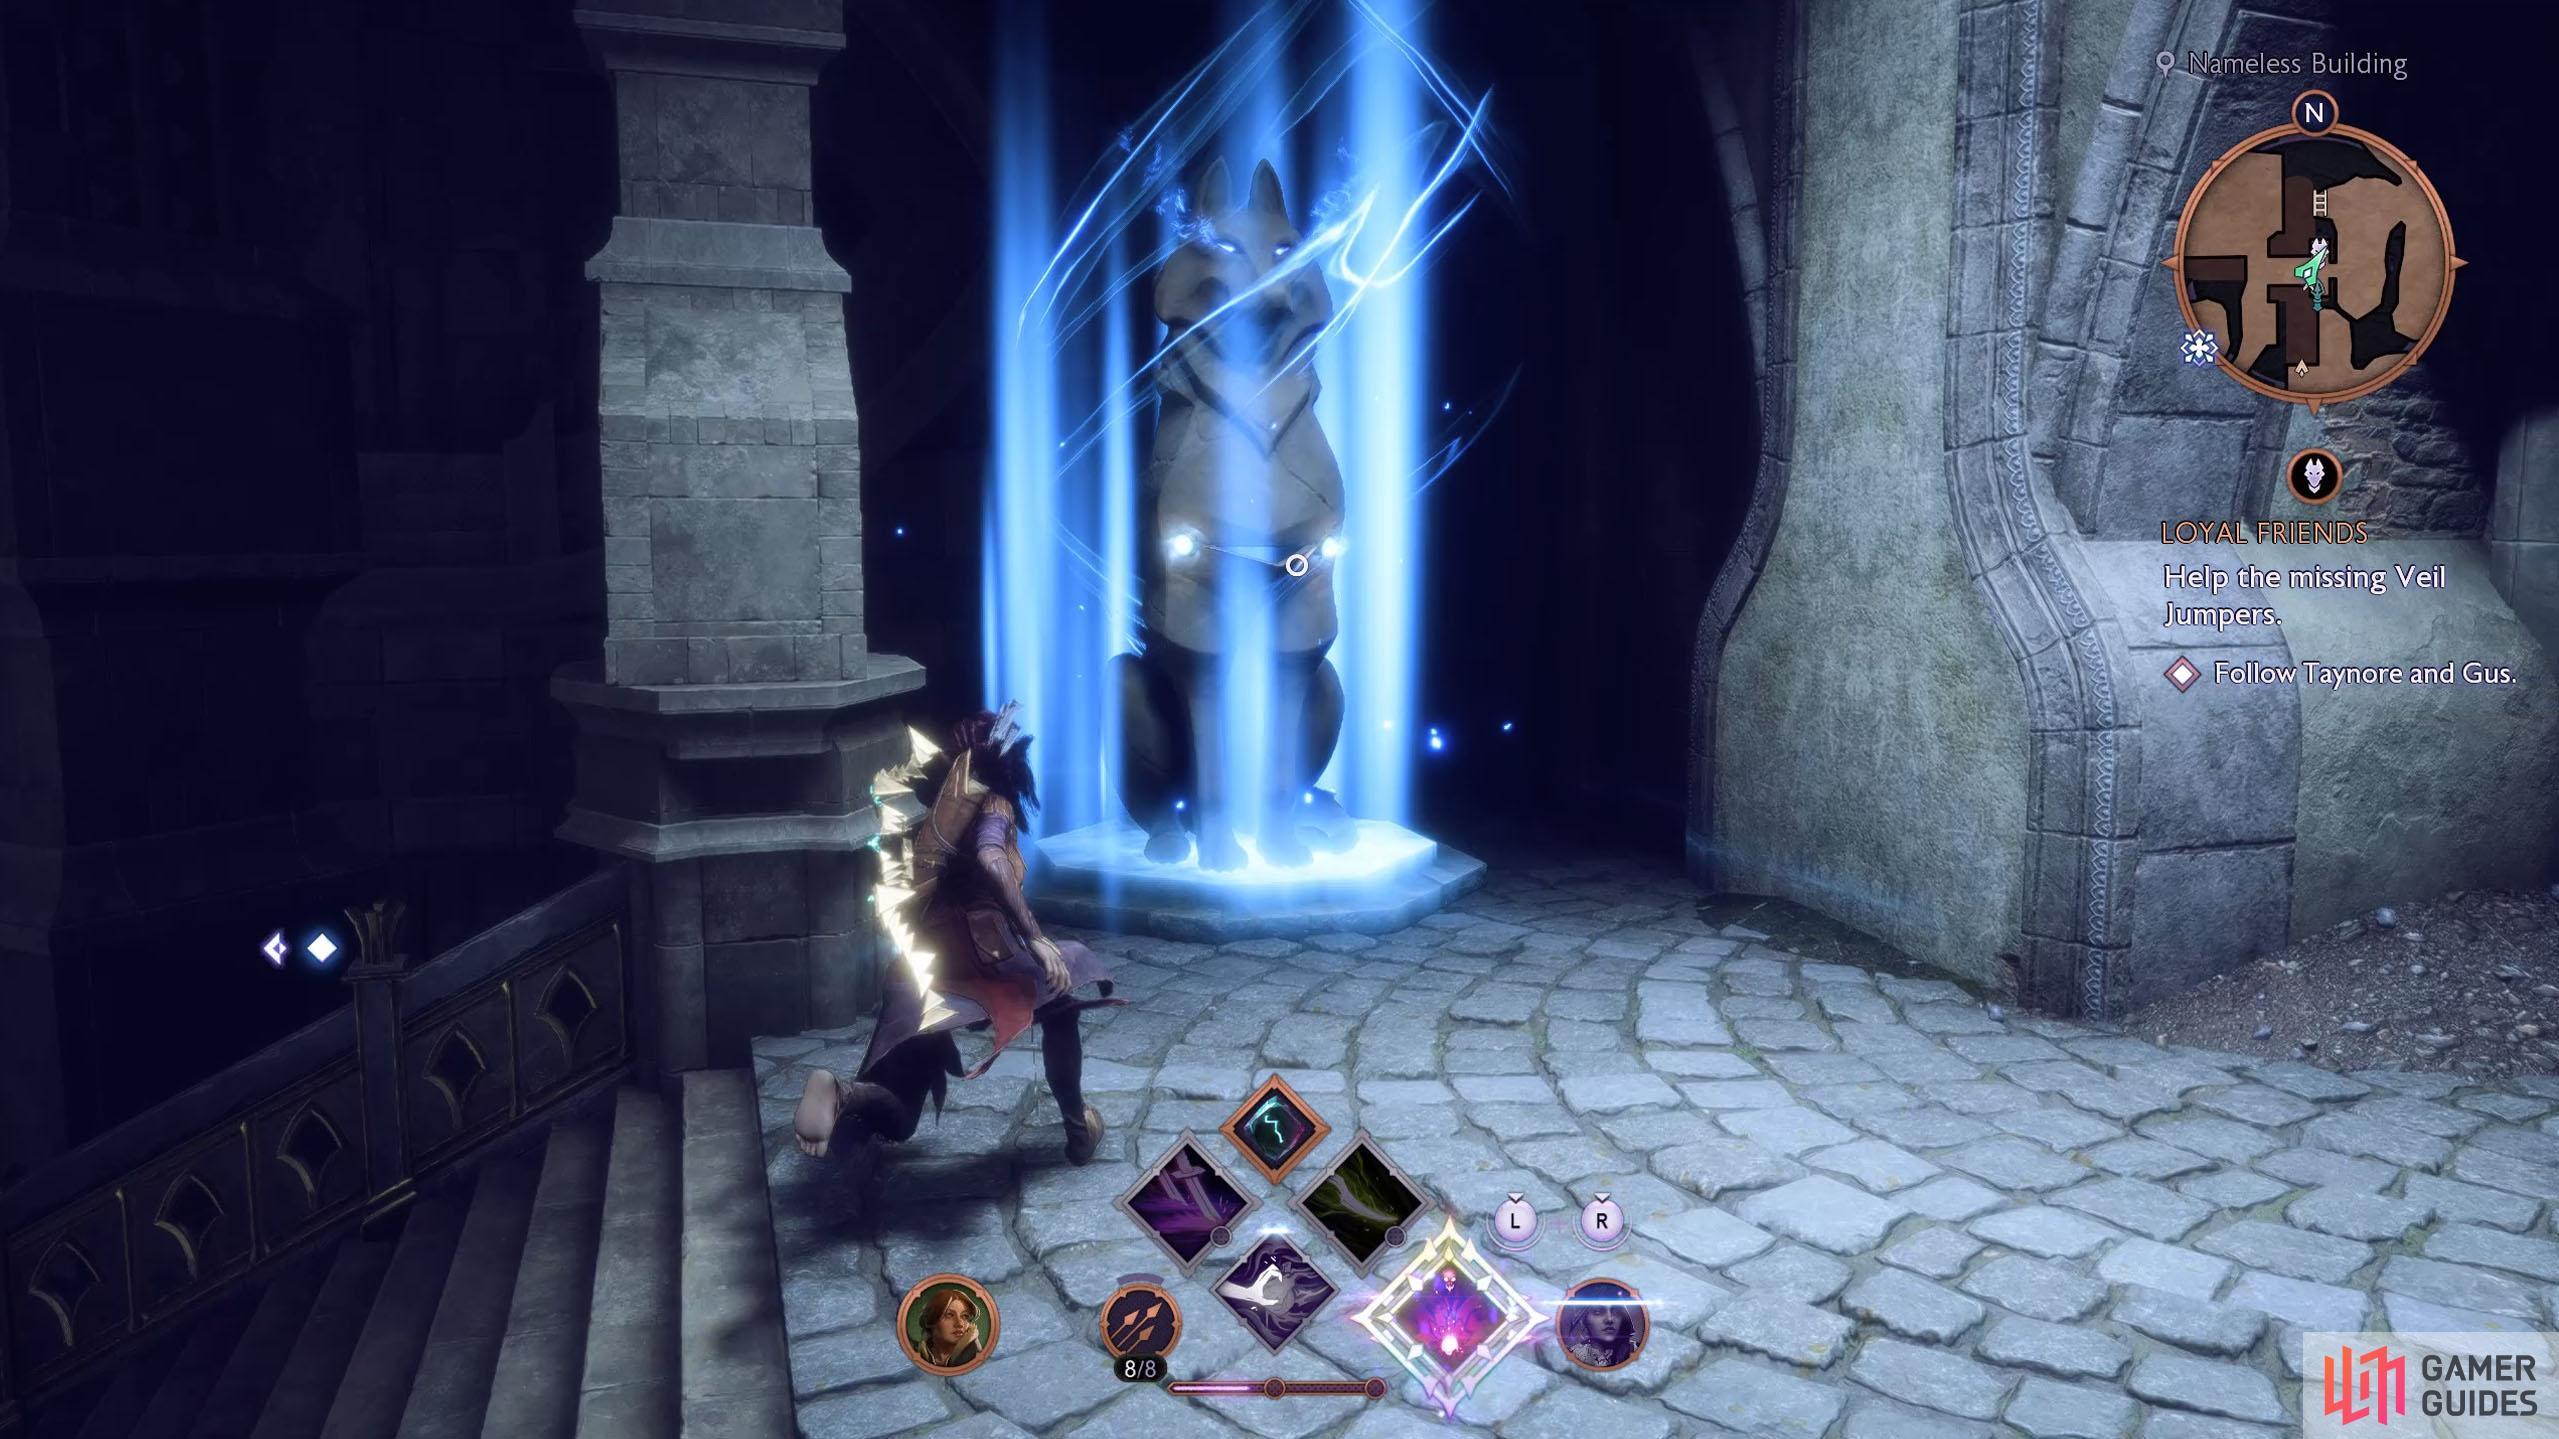
Take the stairs on the right and continue across the broken path north, which will take you to the Nameless Building, while also unlocking the Fast Travel. Continue north and climb down the ladder to the east, which will take you to Shadowy Grove. Defeat the enemies and hug the wall to the west, and south. This door will be unlocked now, and to the right of the door is the Altar.
(1 of 3) Head north from the Nameless Building, Fast Travel, and take the ladder down to the Shadowy Grove.
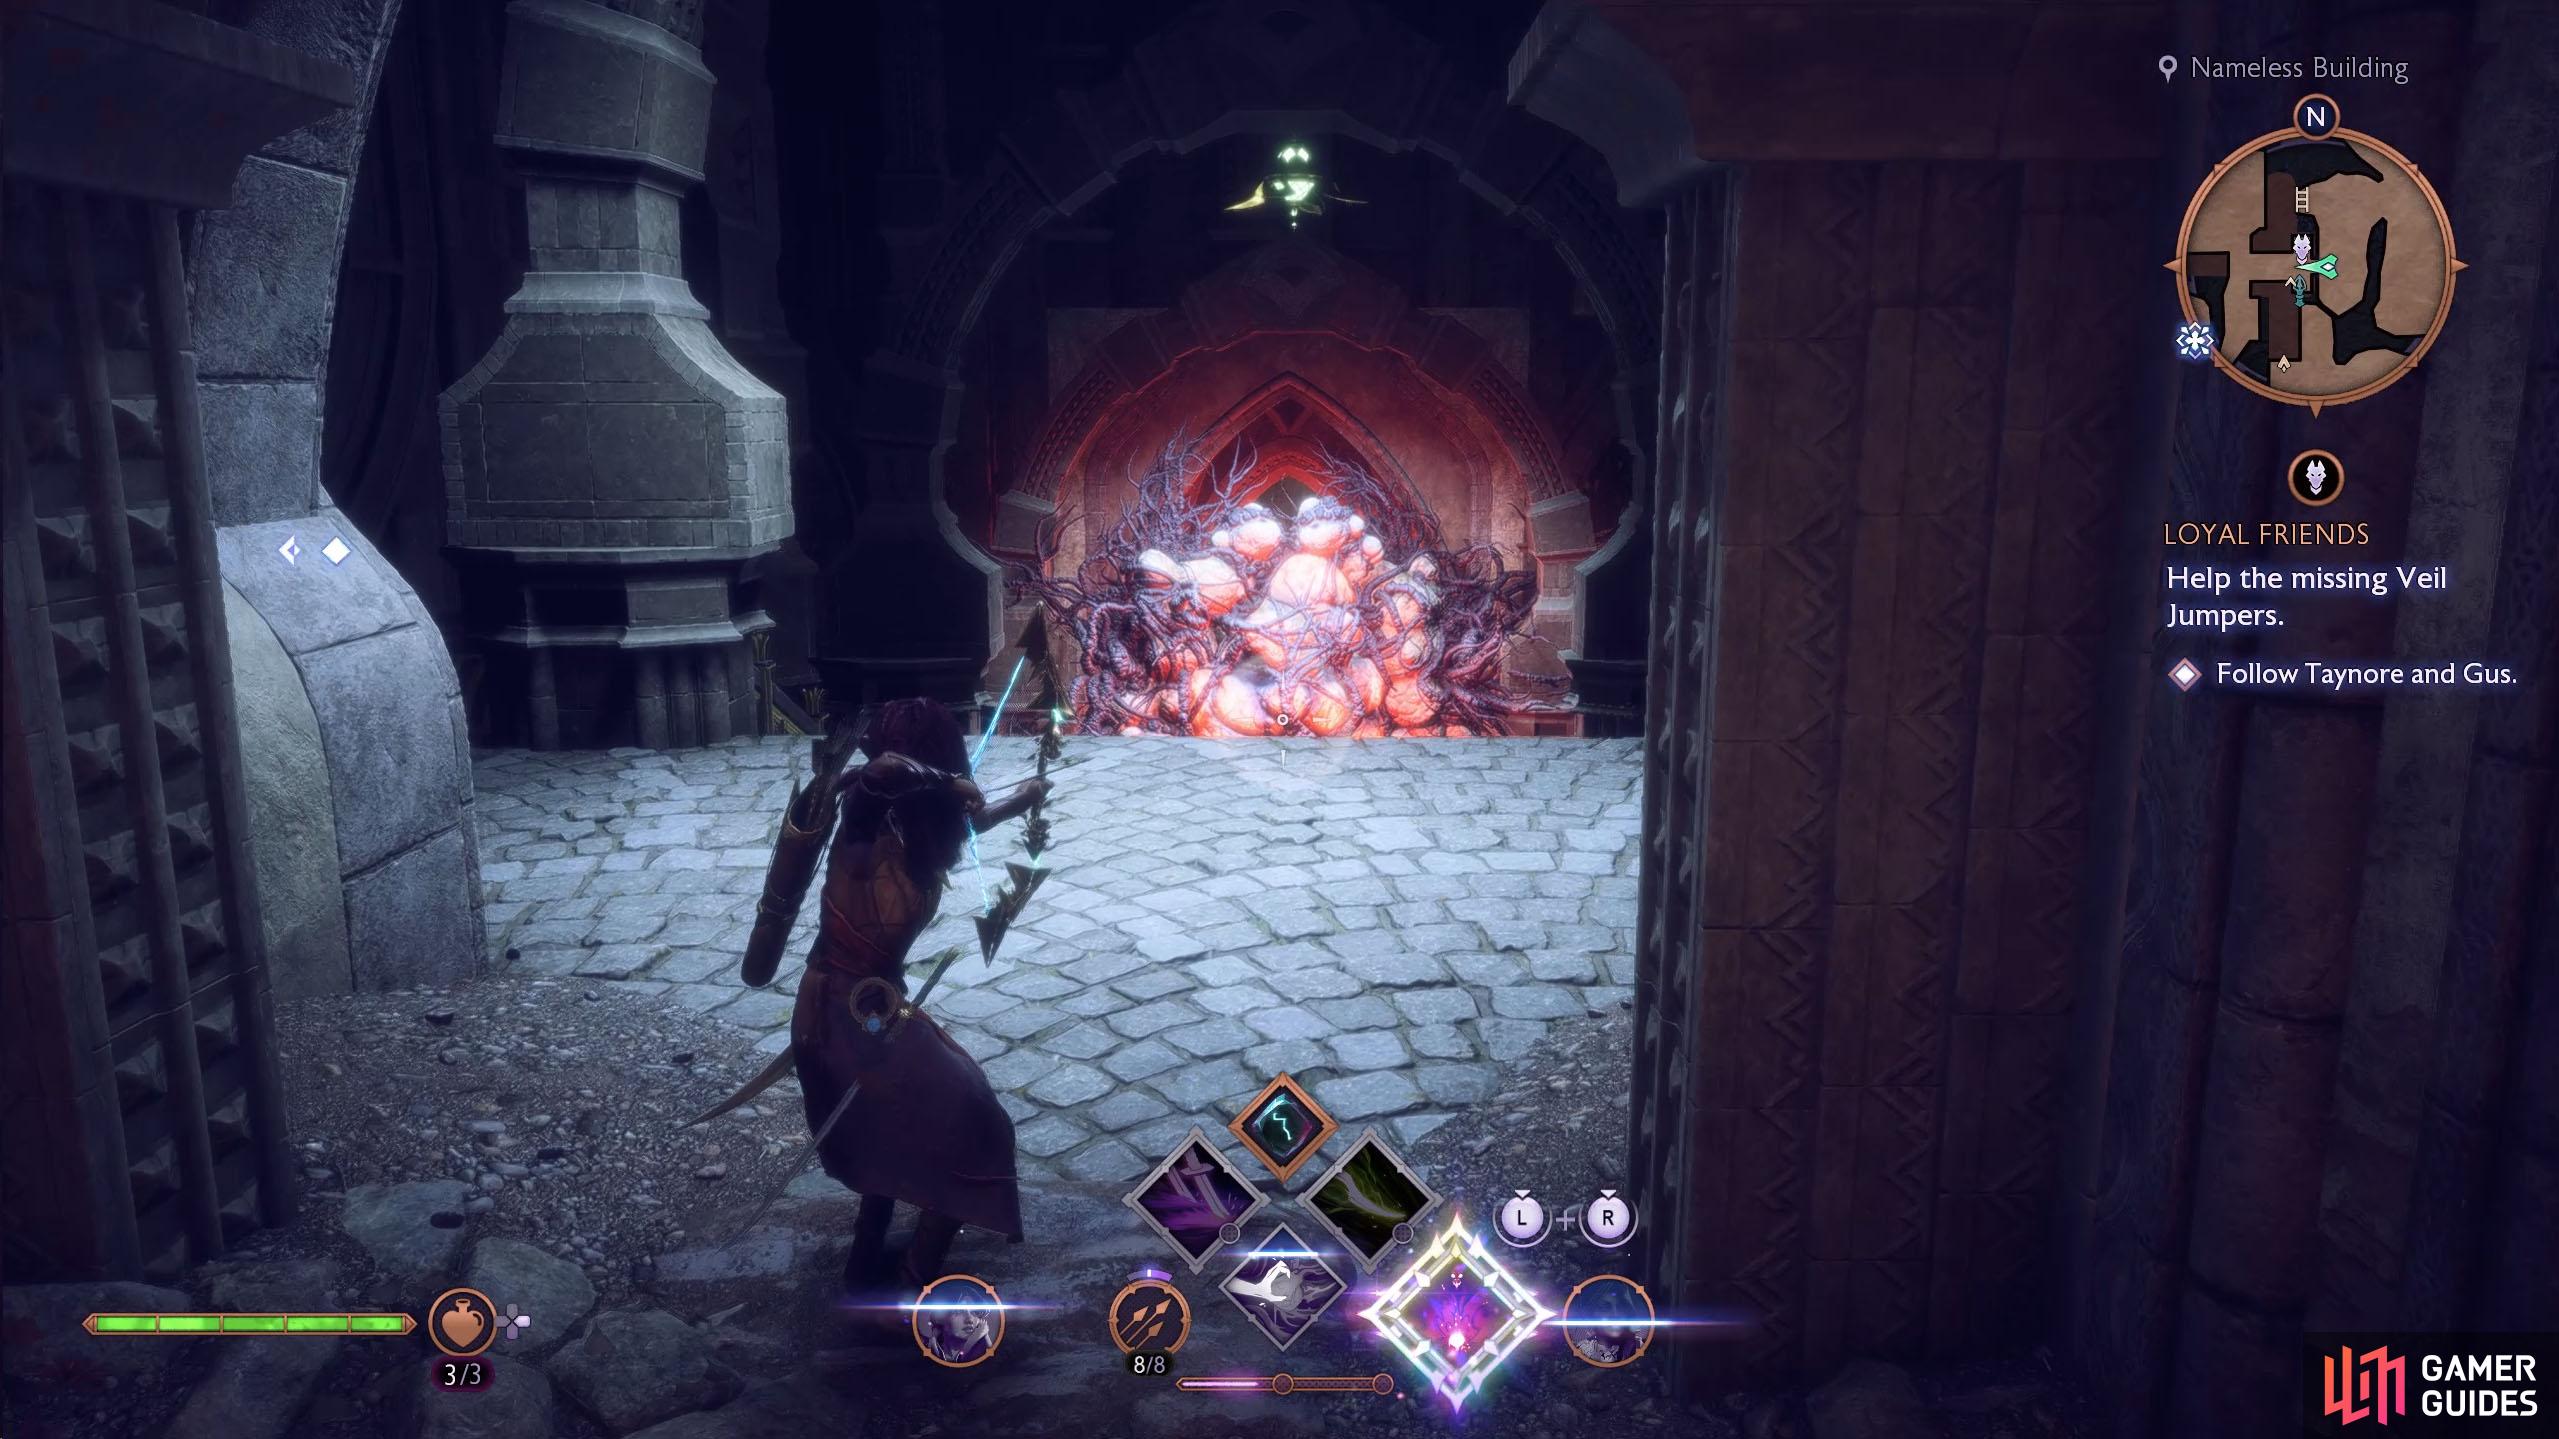
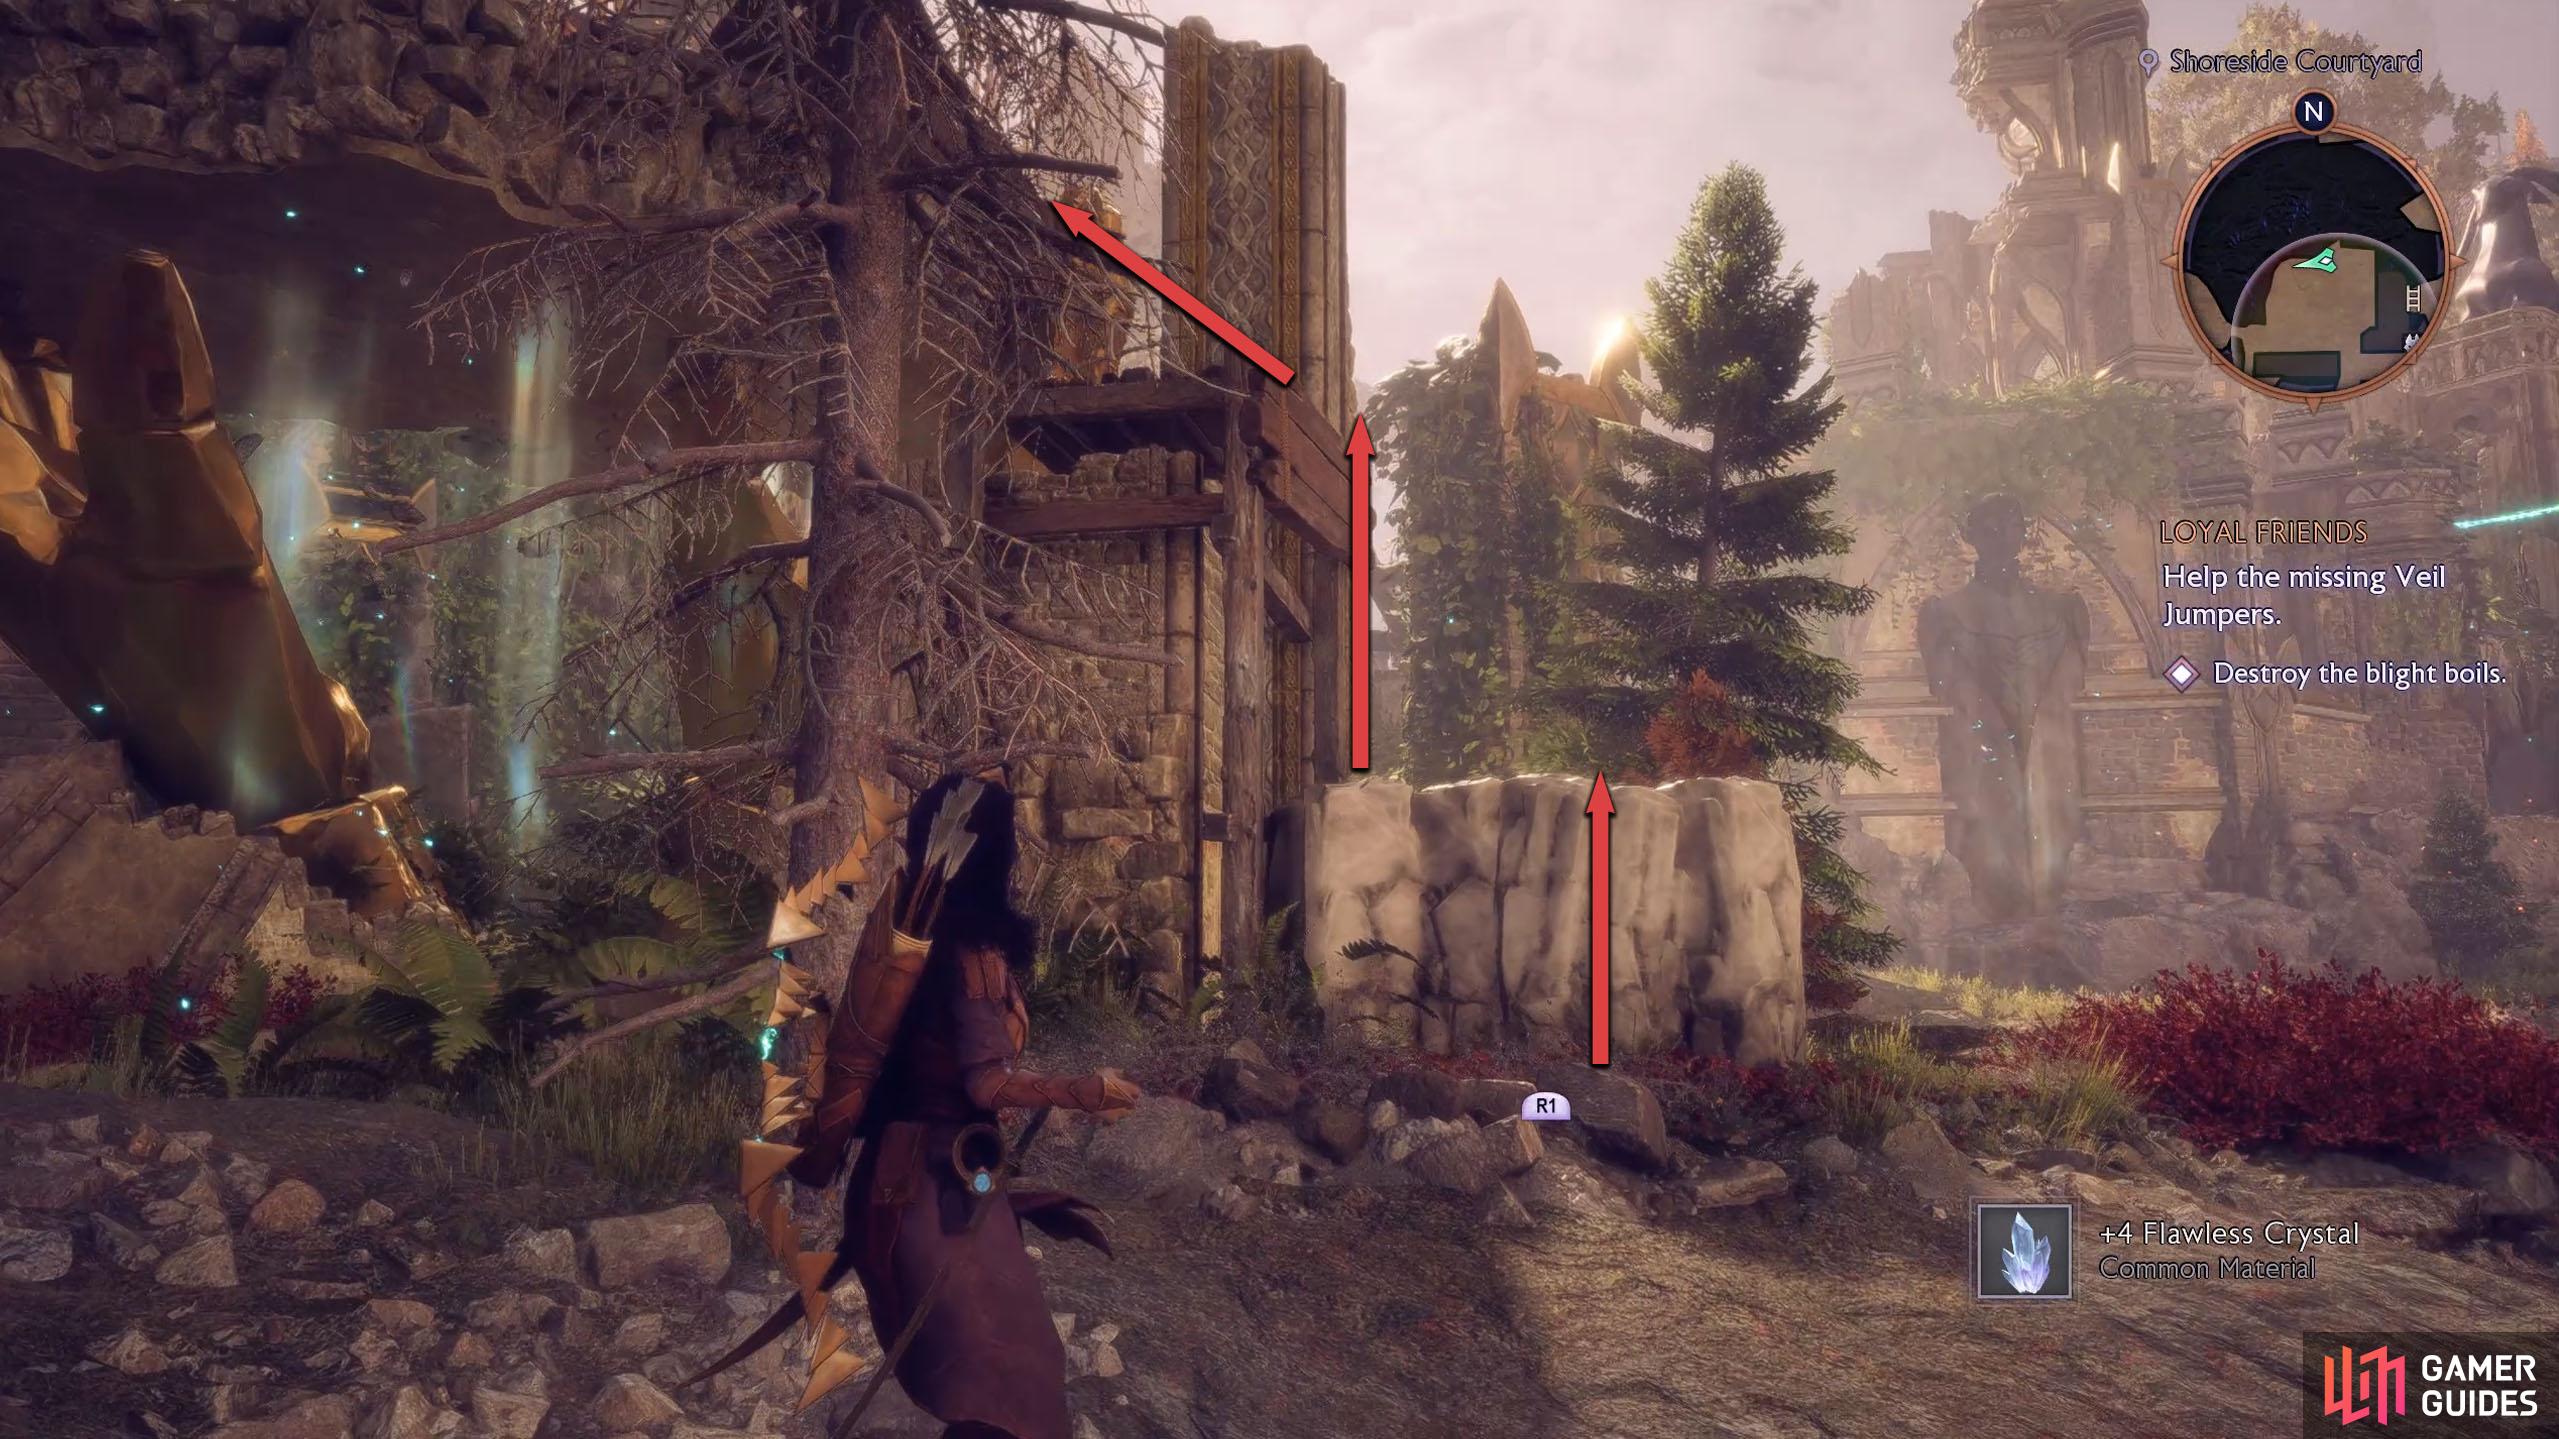
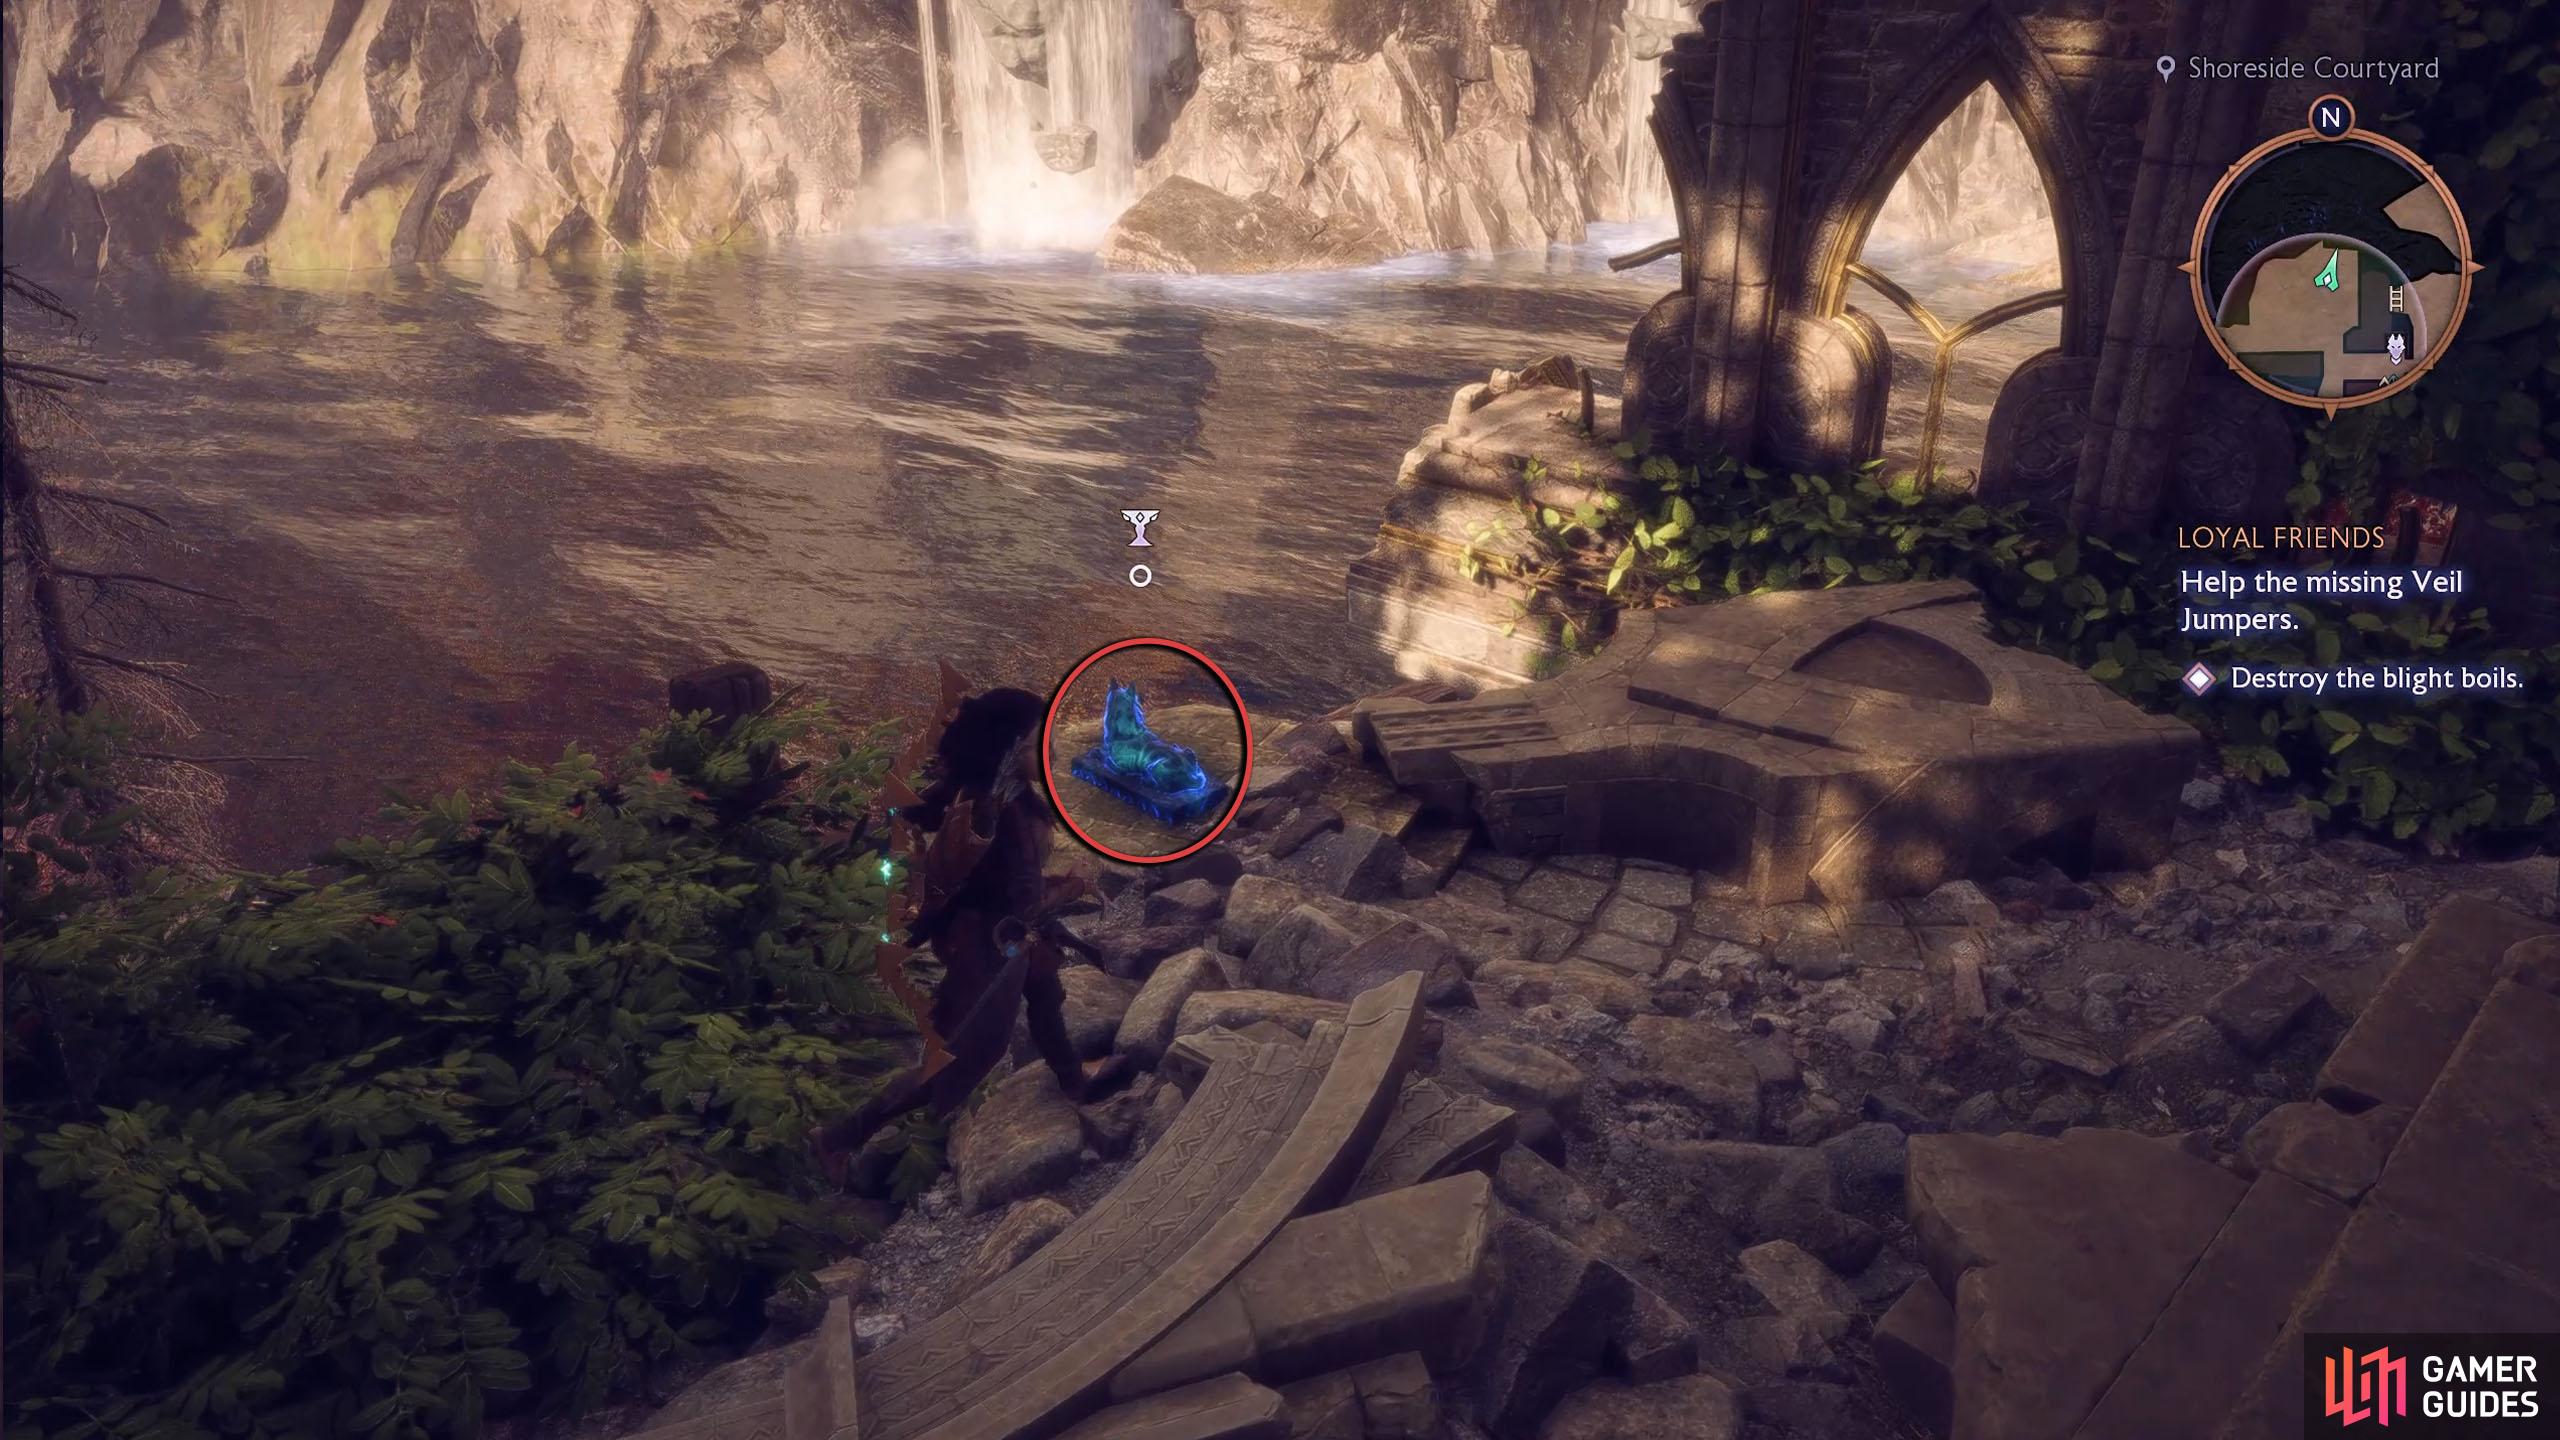
Interact with the Altar, destroy the blight to the west, and enter the new area. At the first intersection, go north, and you’ll see the place is filled with the blight due to the quest. Destroy the Blight Cysts, and then use Harding’s power to raise the stone block in the northwest corner. Climb up the platforms, go across the makeshift bridge to the east, and you’ll find the statue among the rubble on the northern edge of the platform.
(1 of 3) Attack the blight cyst, go through the doorway, and take a right.
Arlathan Forest - Mystical Tower Altar
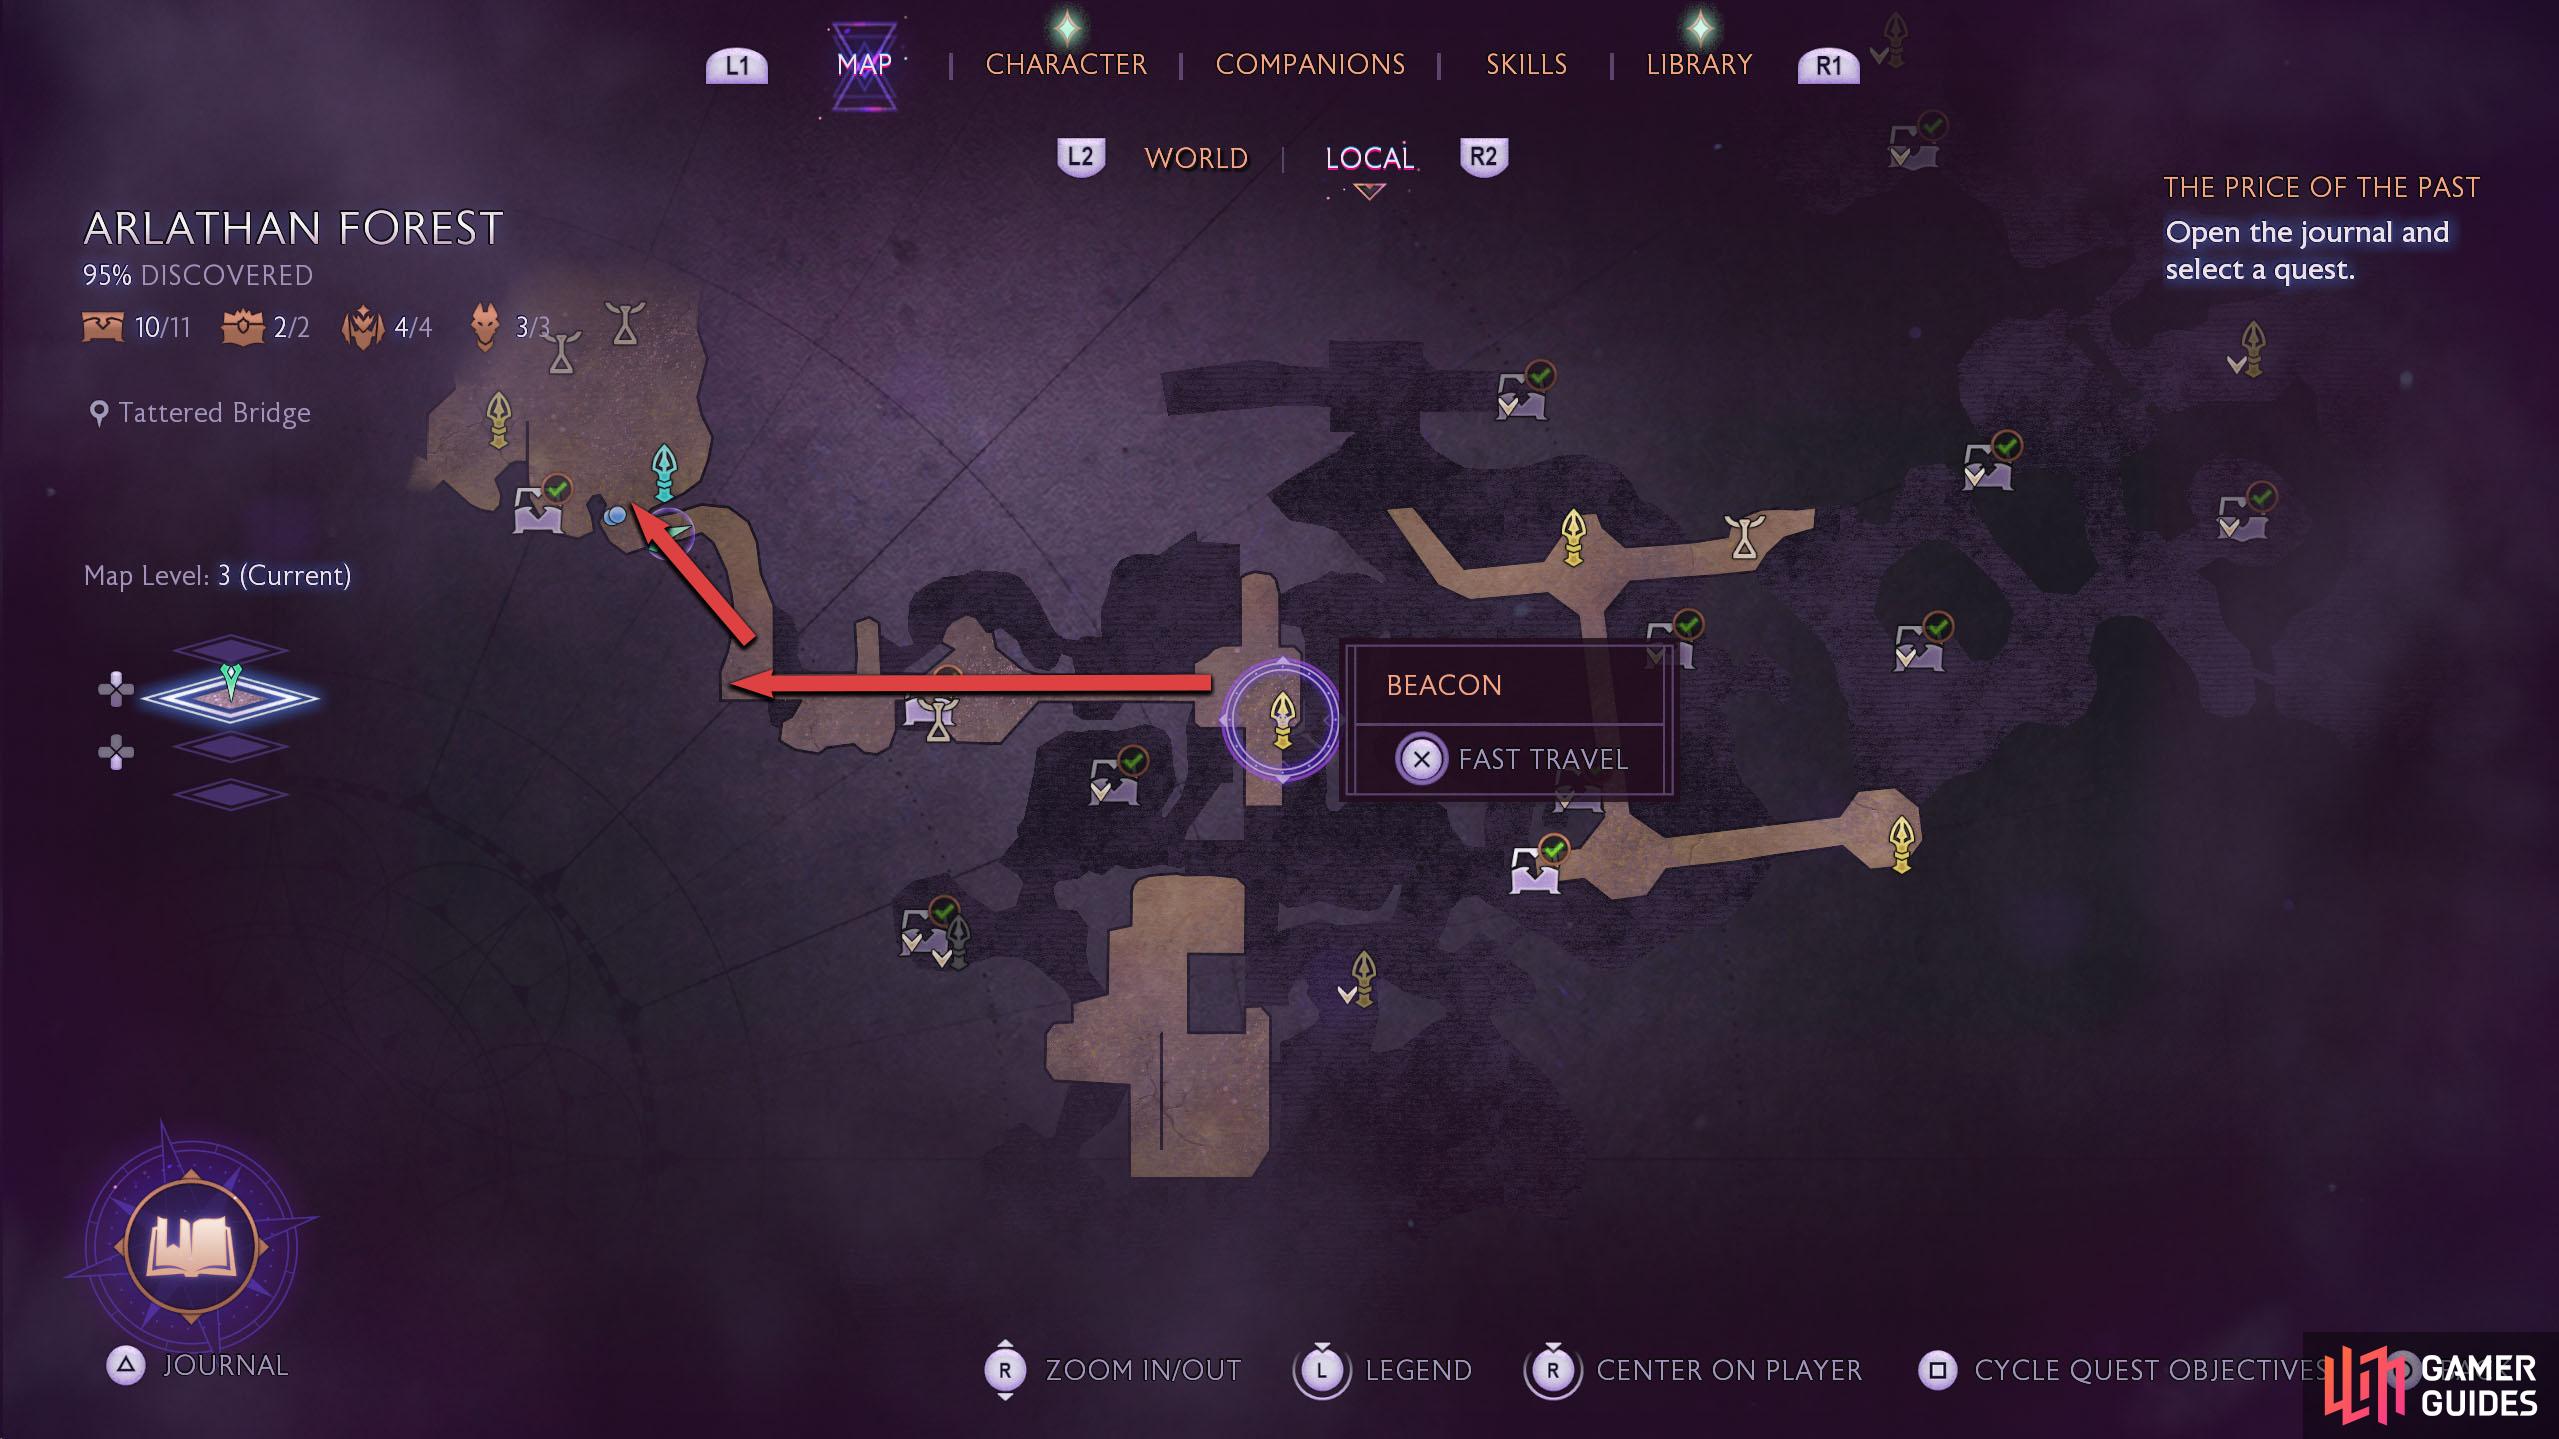
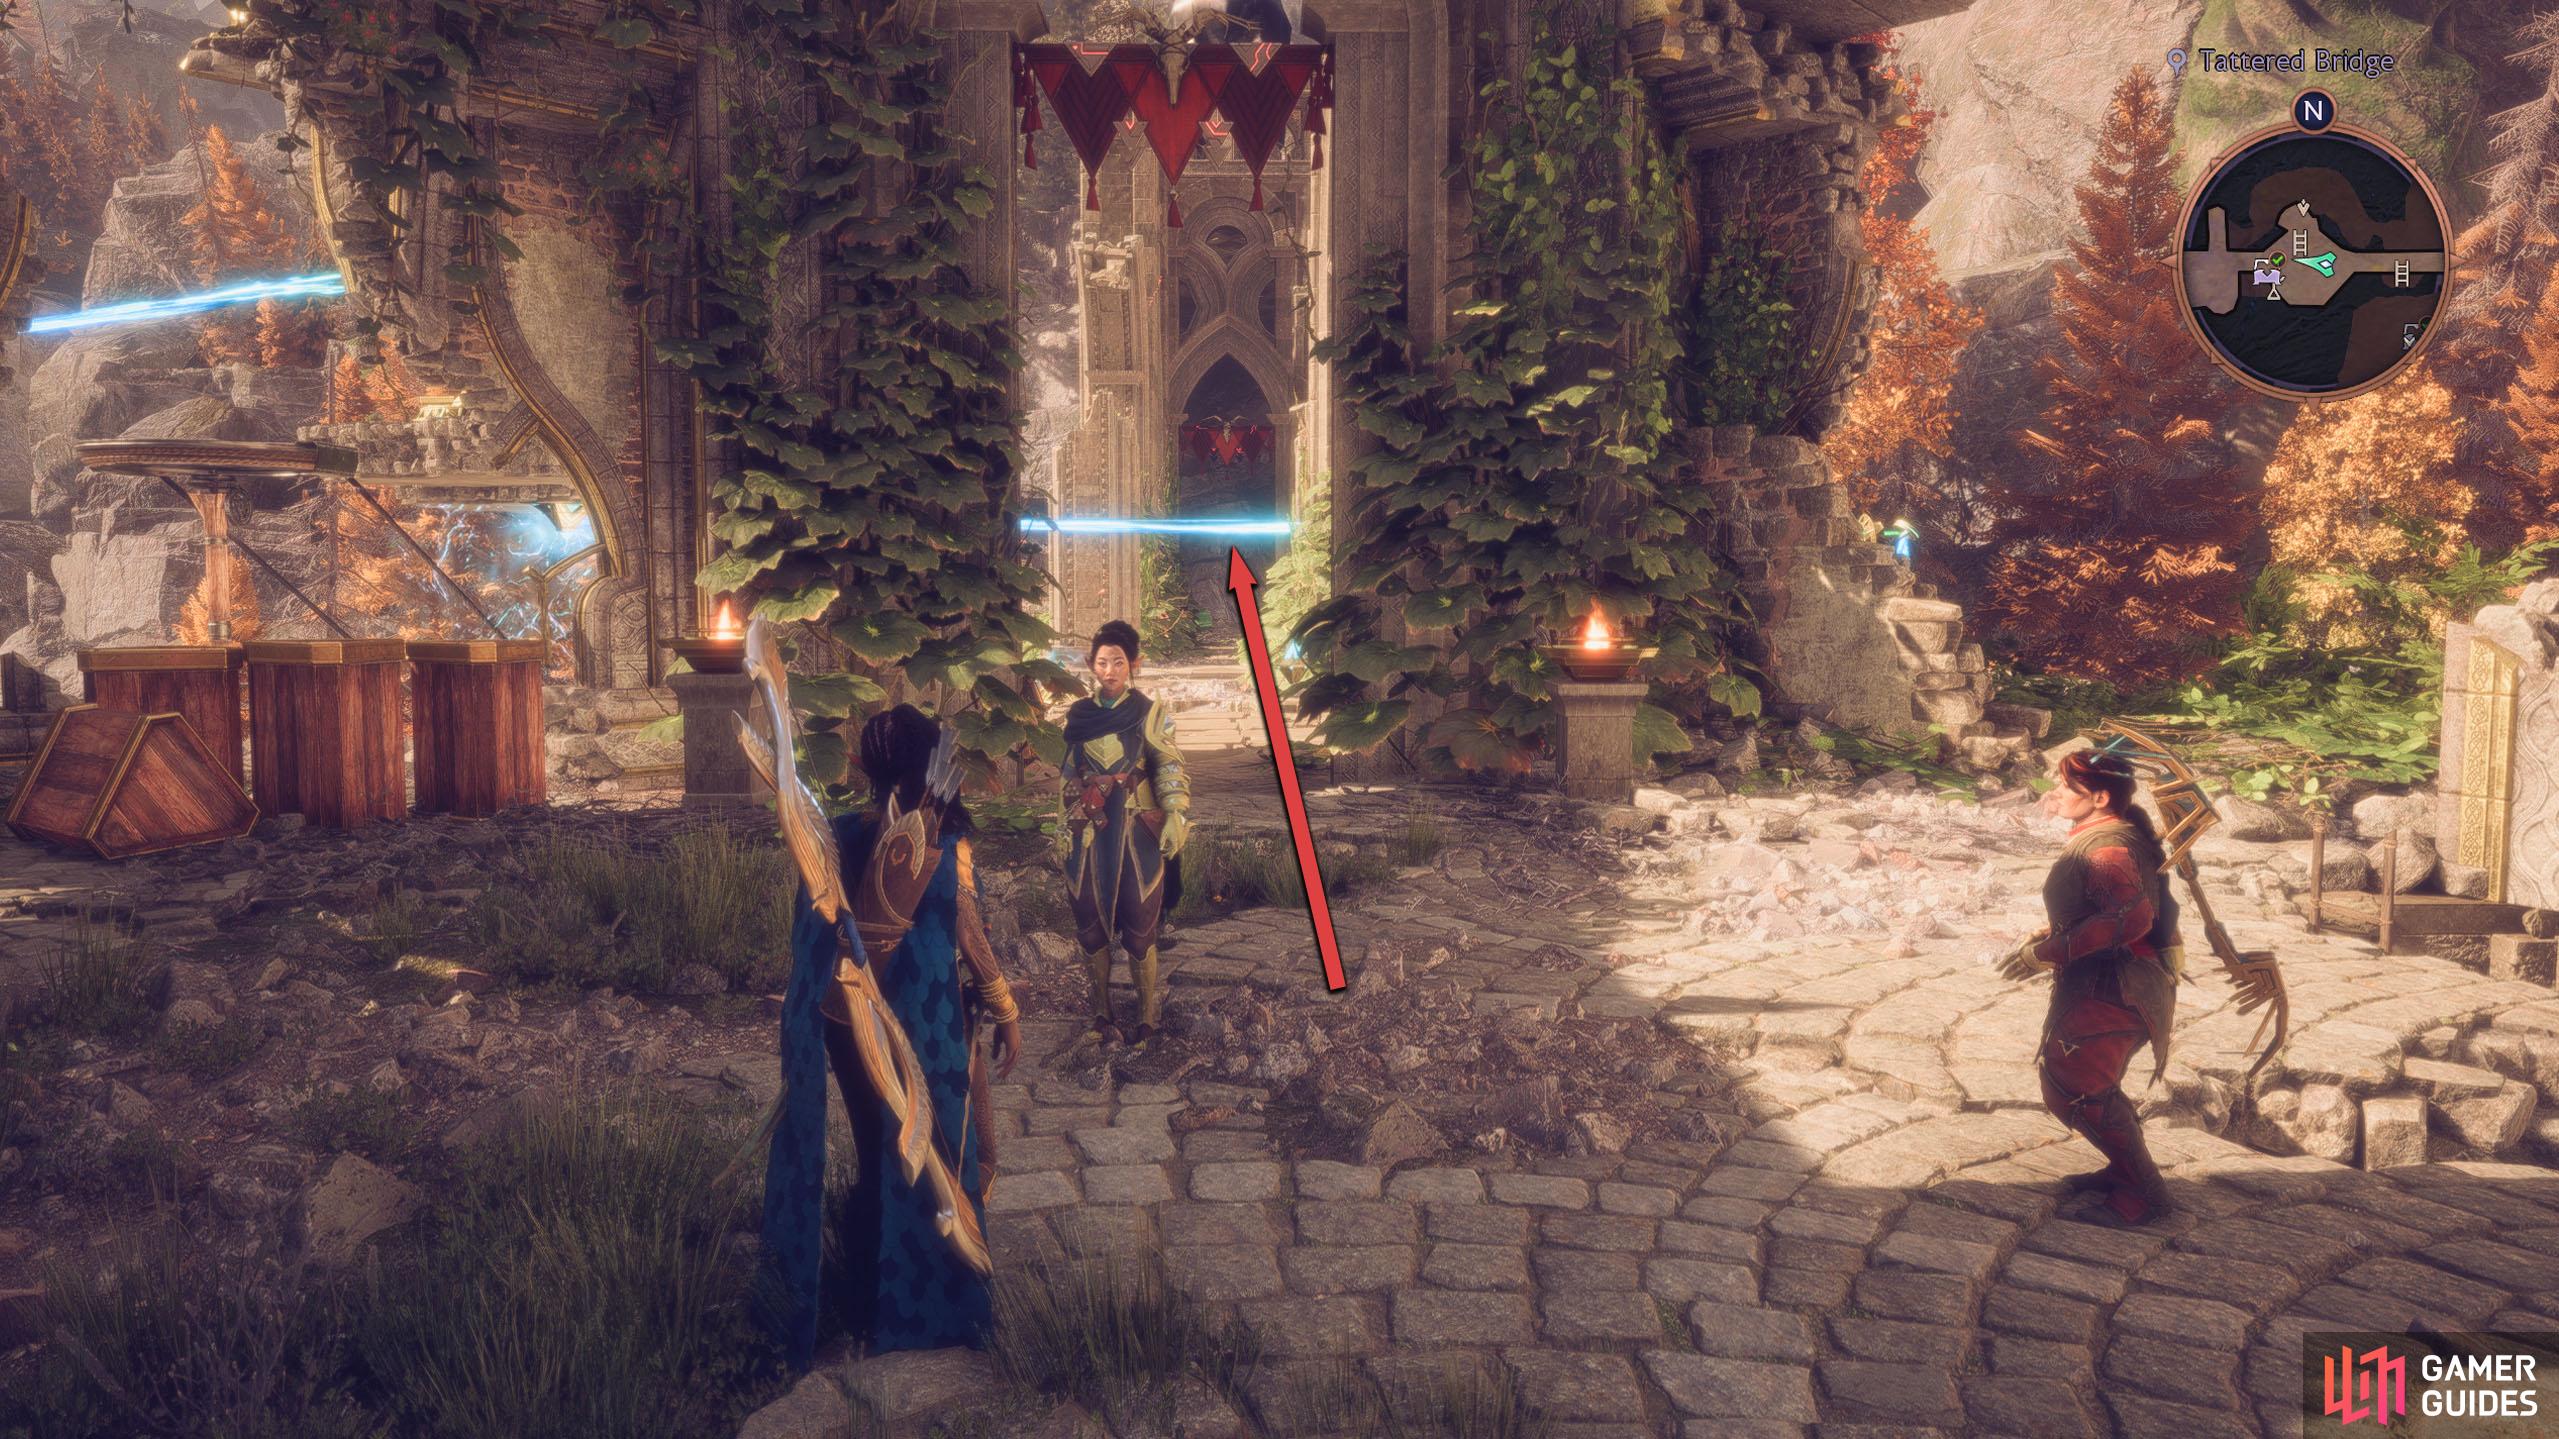
The Mystical Tower can be found in the Jagged Ruins area of Arlathan Forest, and this is situated in the far northwest of the map. Teleport to the Nameless Building, Fast Travel, and take the path west across the Tattered Bridge.
To get across here, you’ll need to do a couple of easy beam/power crystal puzzles. Once you’ve done the puzzles, continue west and follow the path north at the end of the bridge. This will bring you to the Jagged Ruins. In front of you is The Magic of the Ancients quest and to your right a Fast Travel.
(1 of 4) The Altar is in the Mystical Tower in the Jagged Ruins.
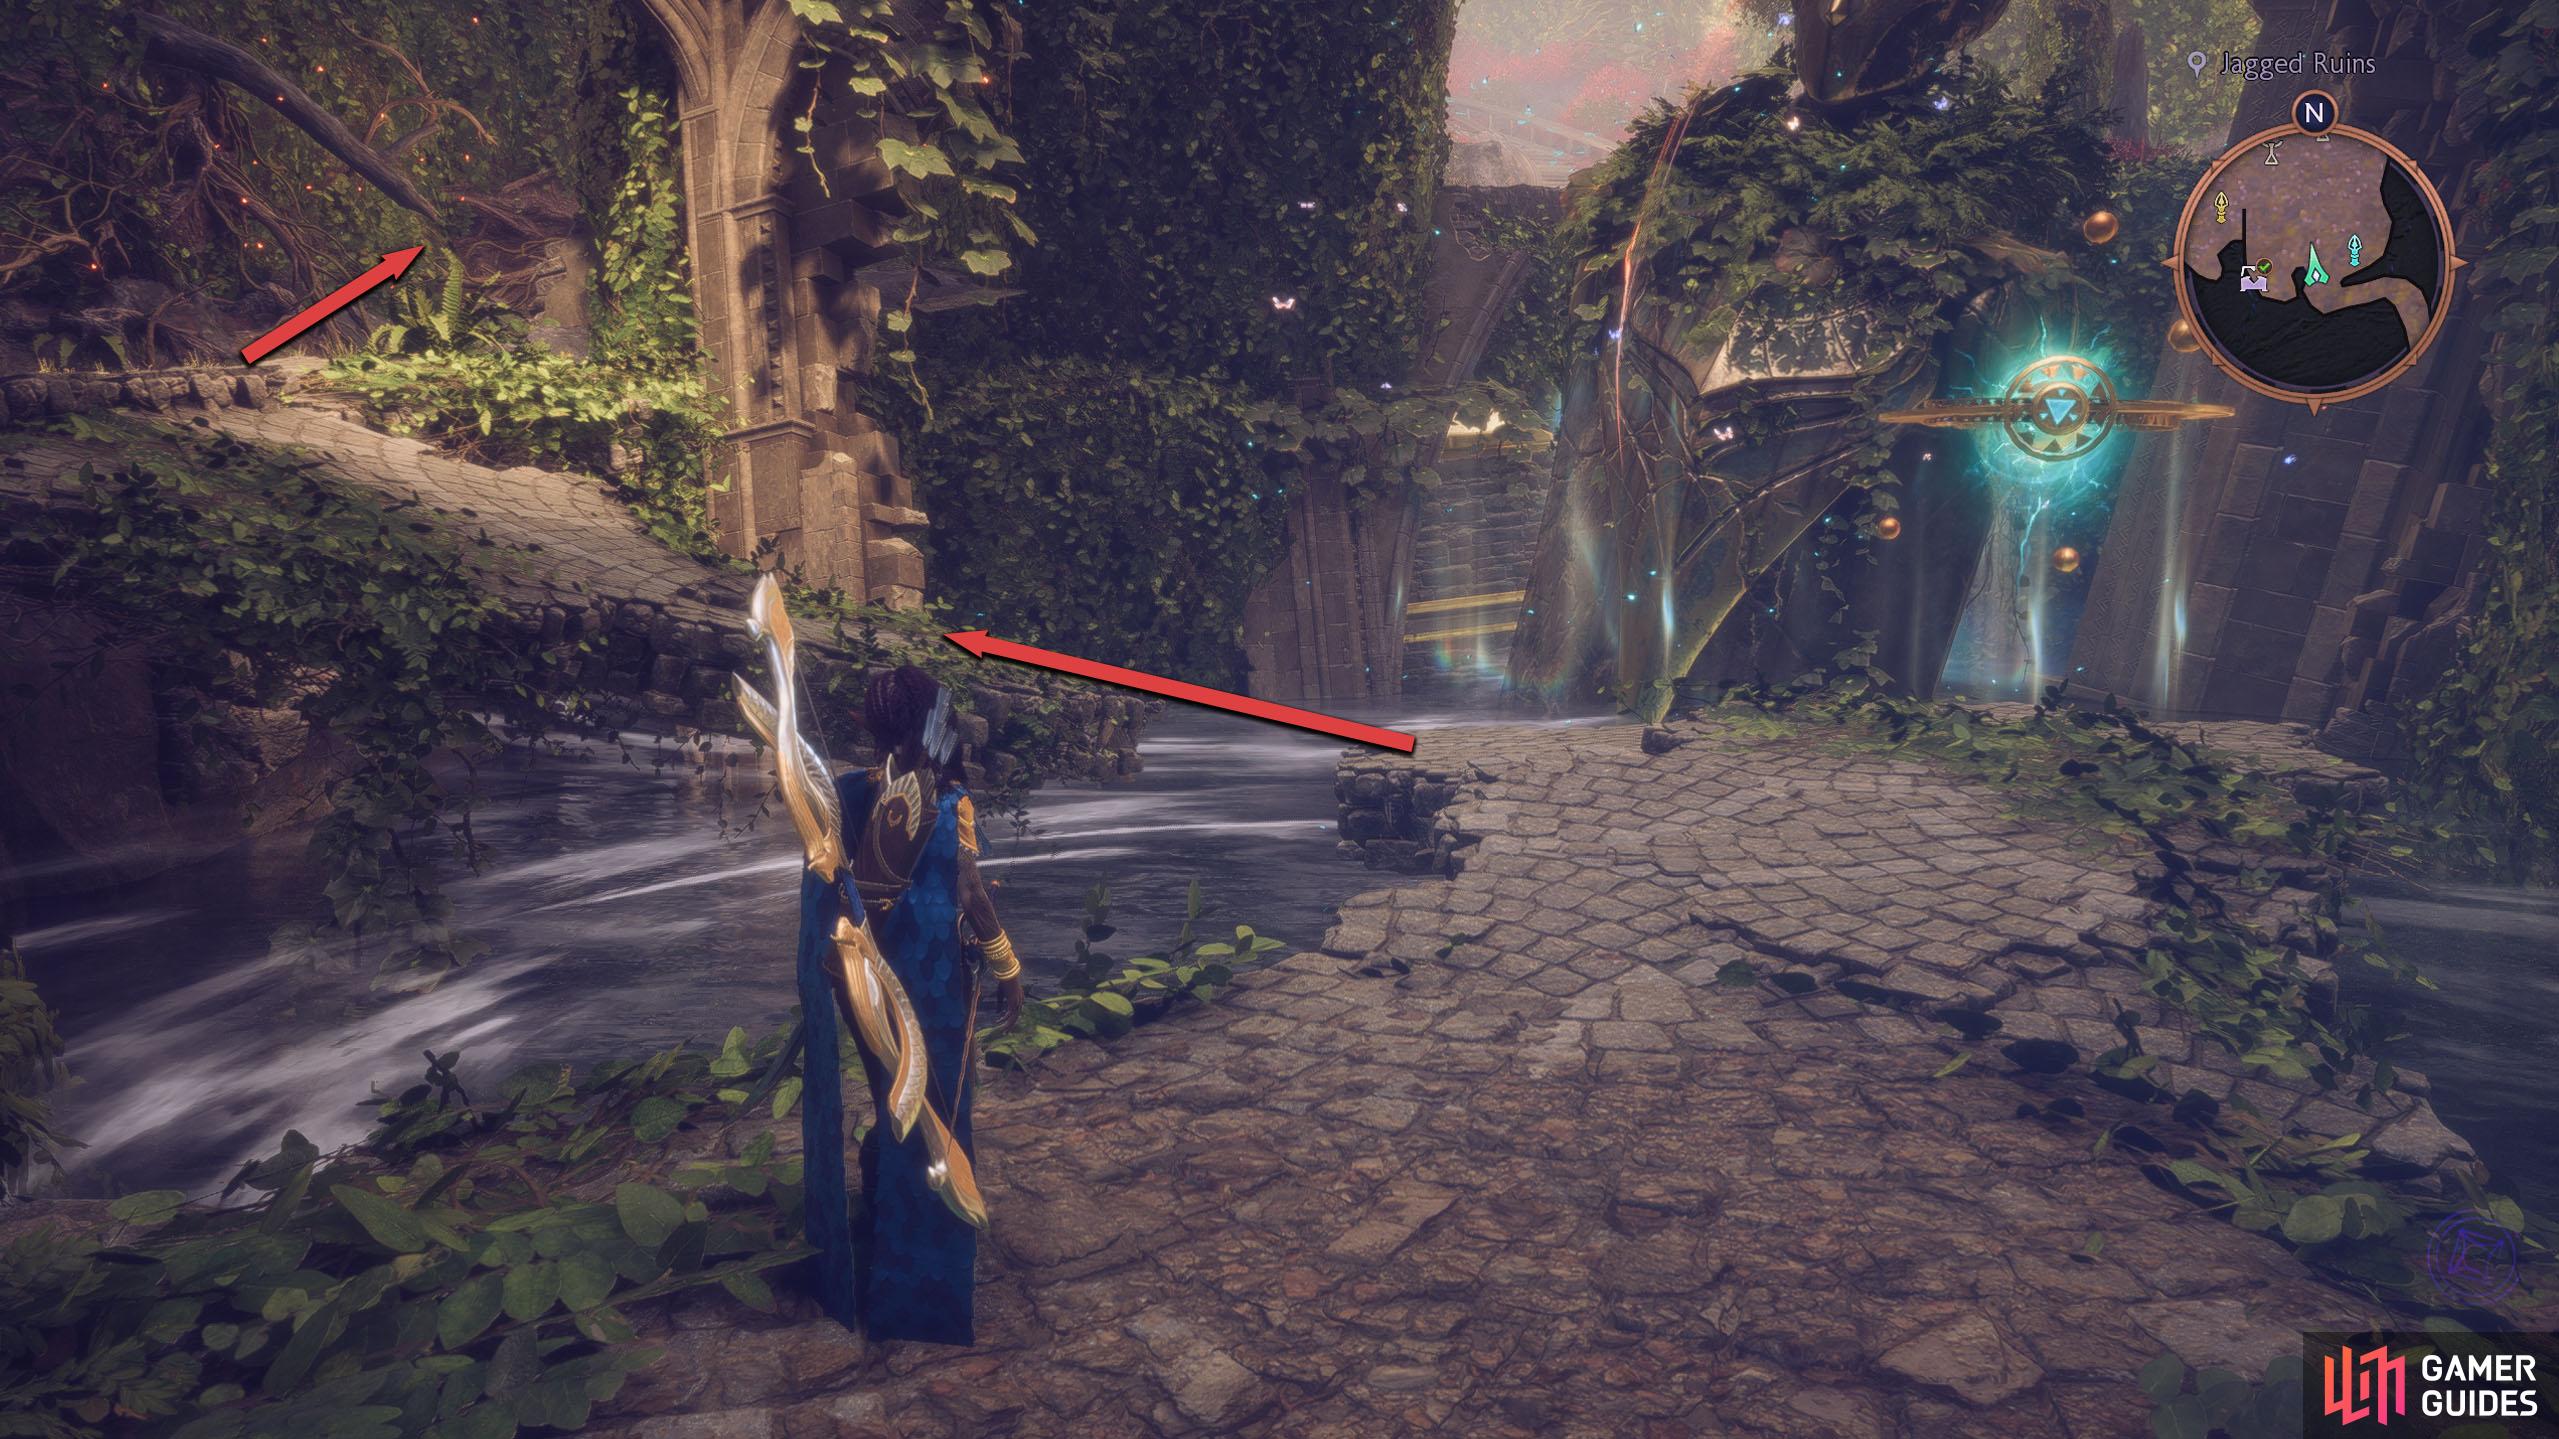
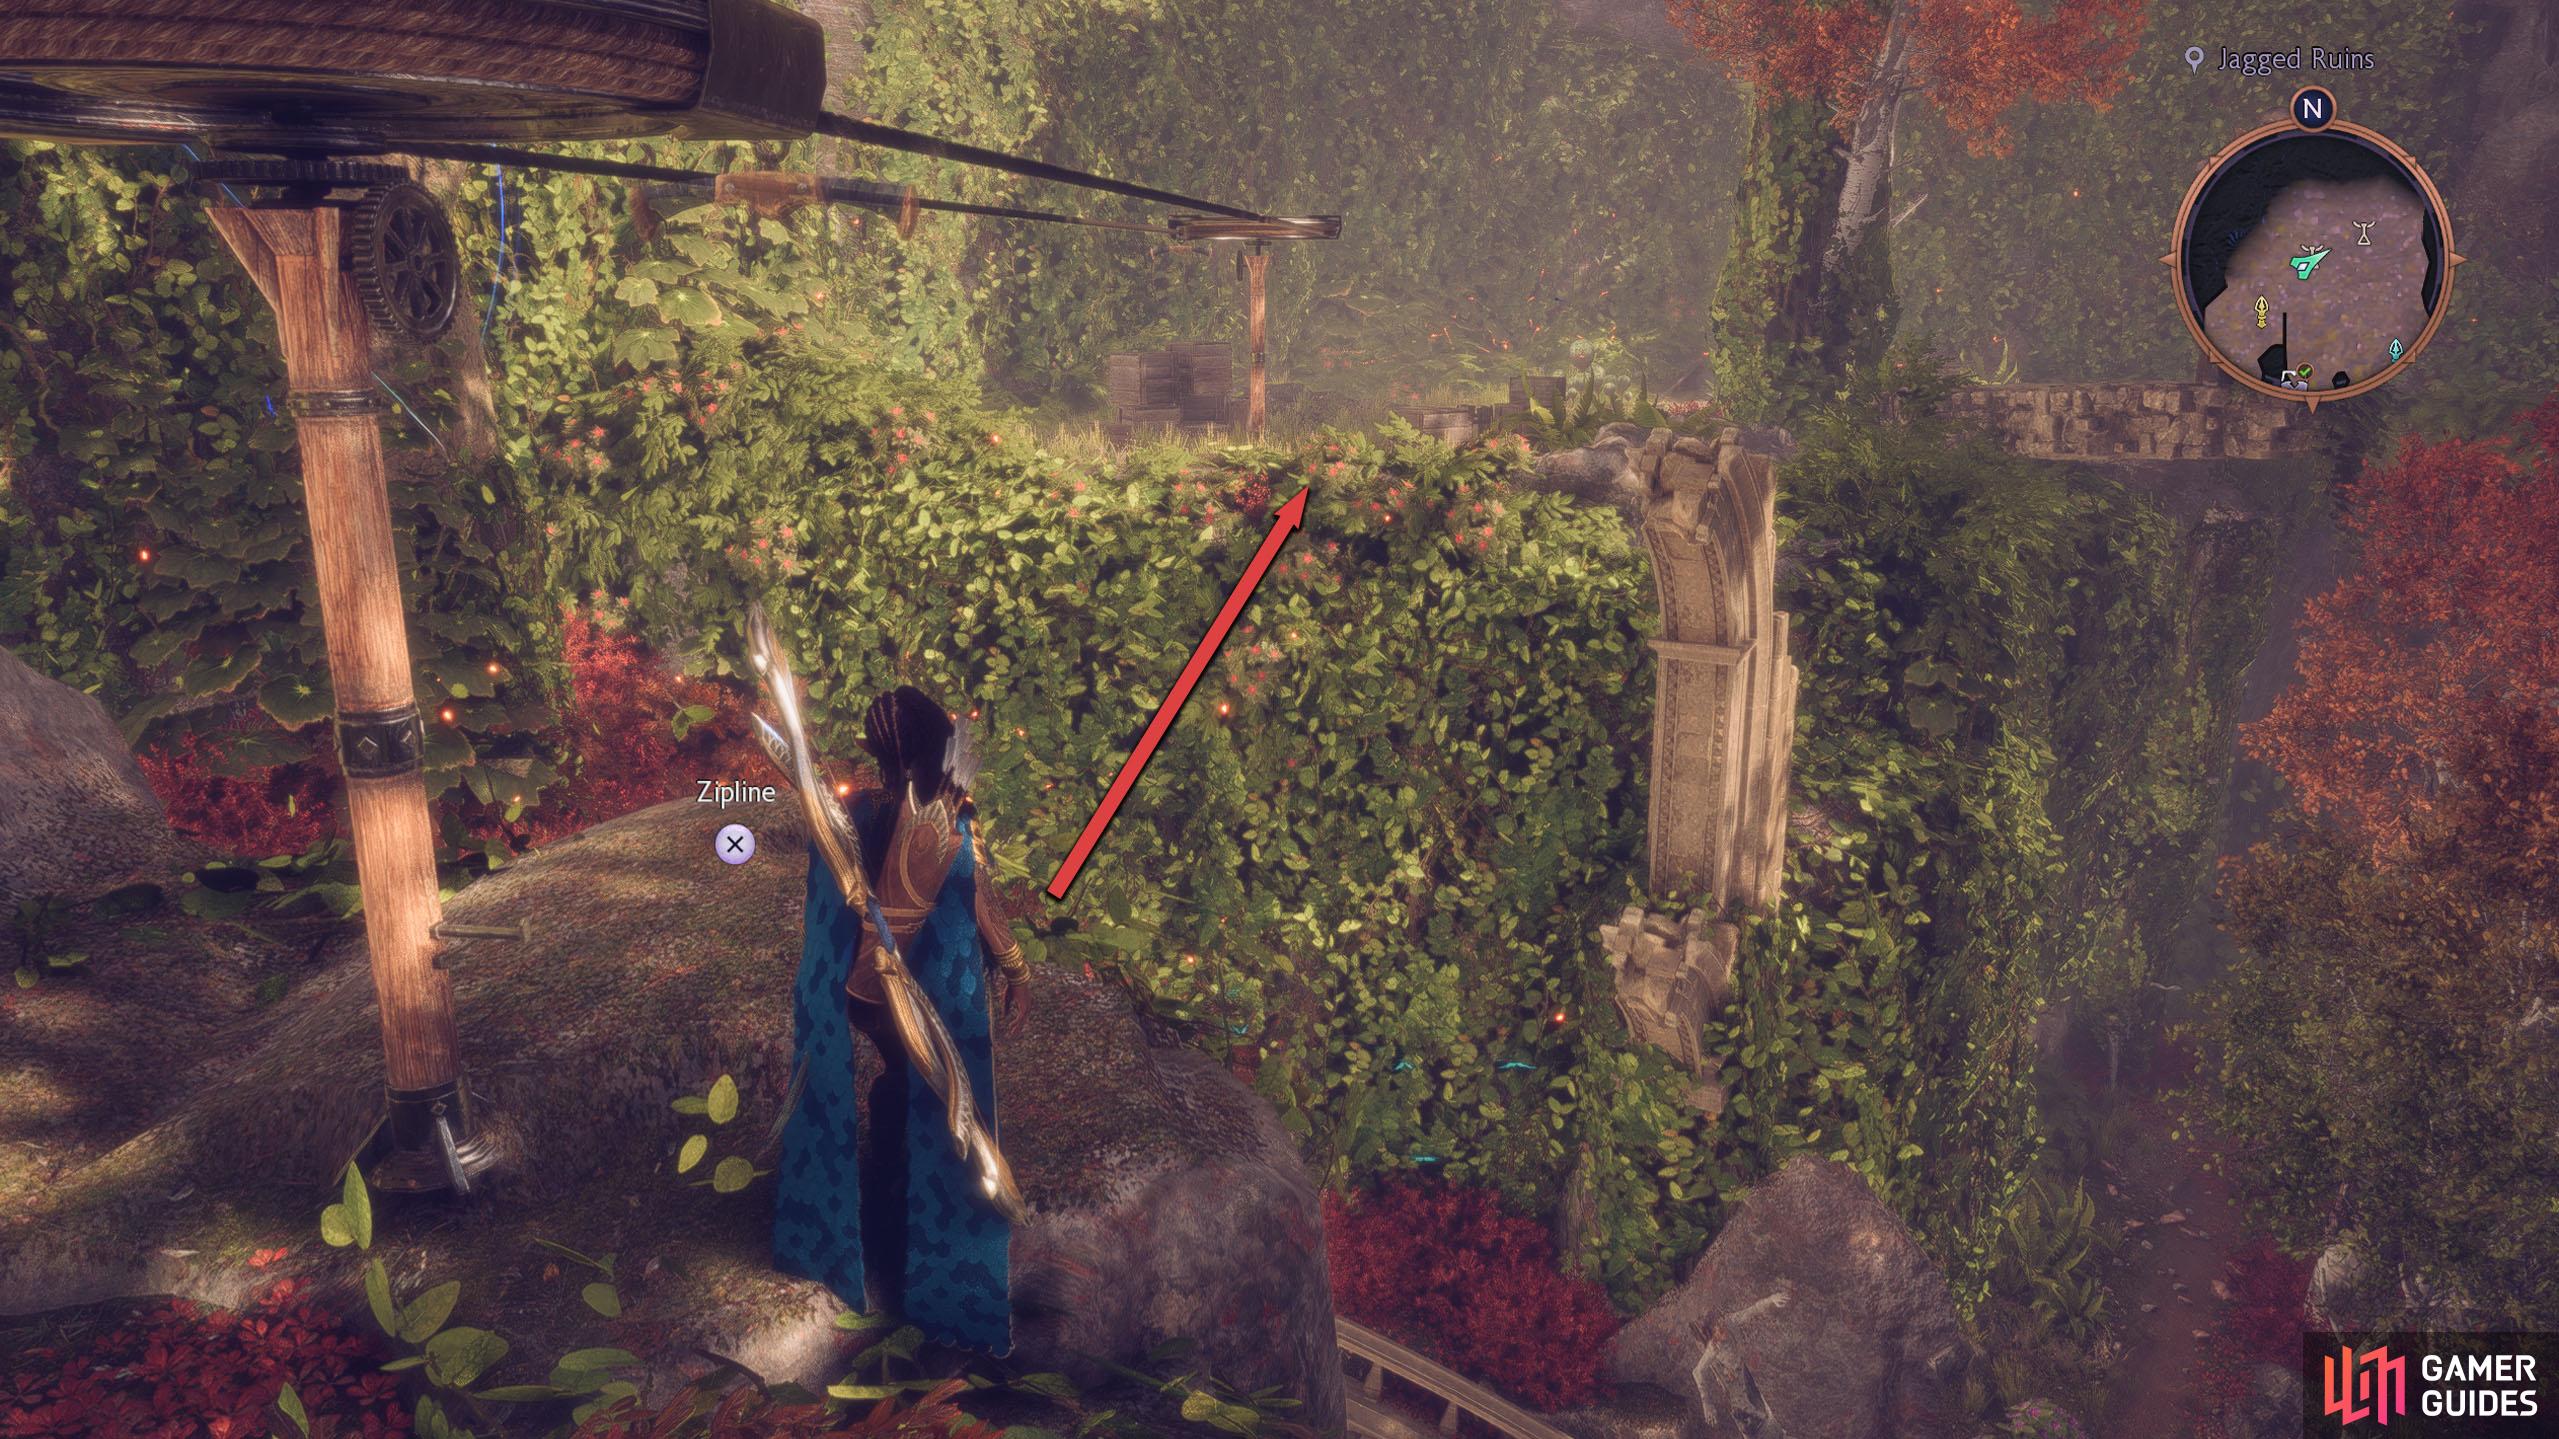
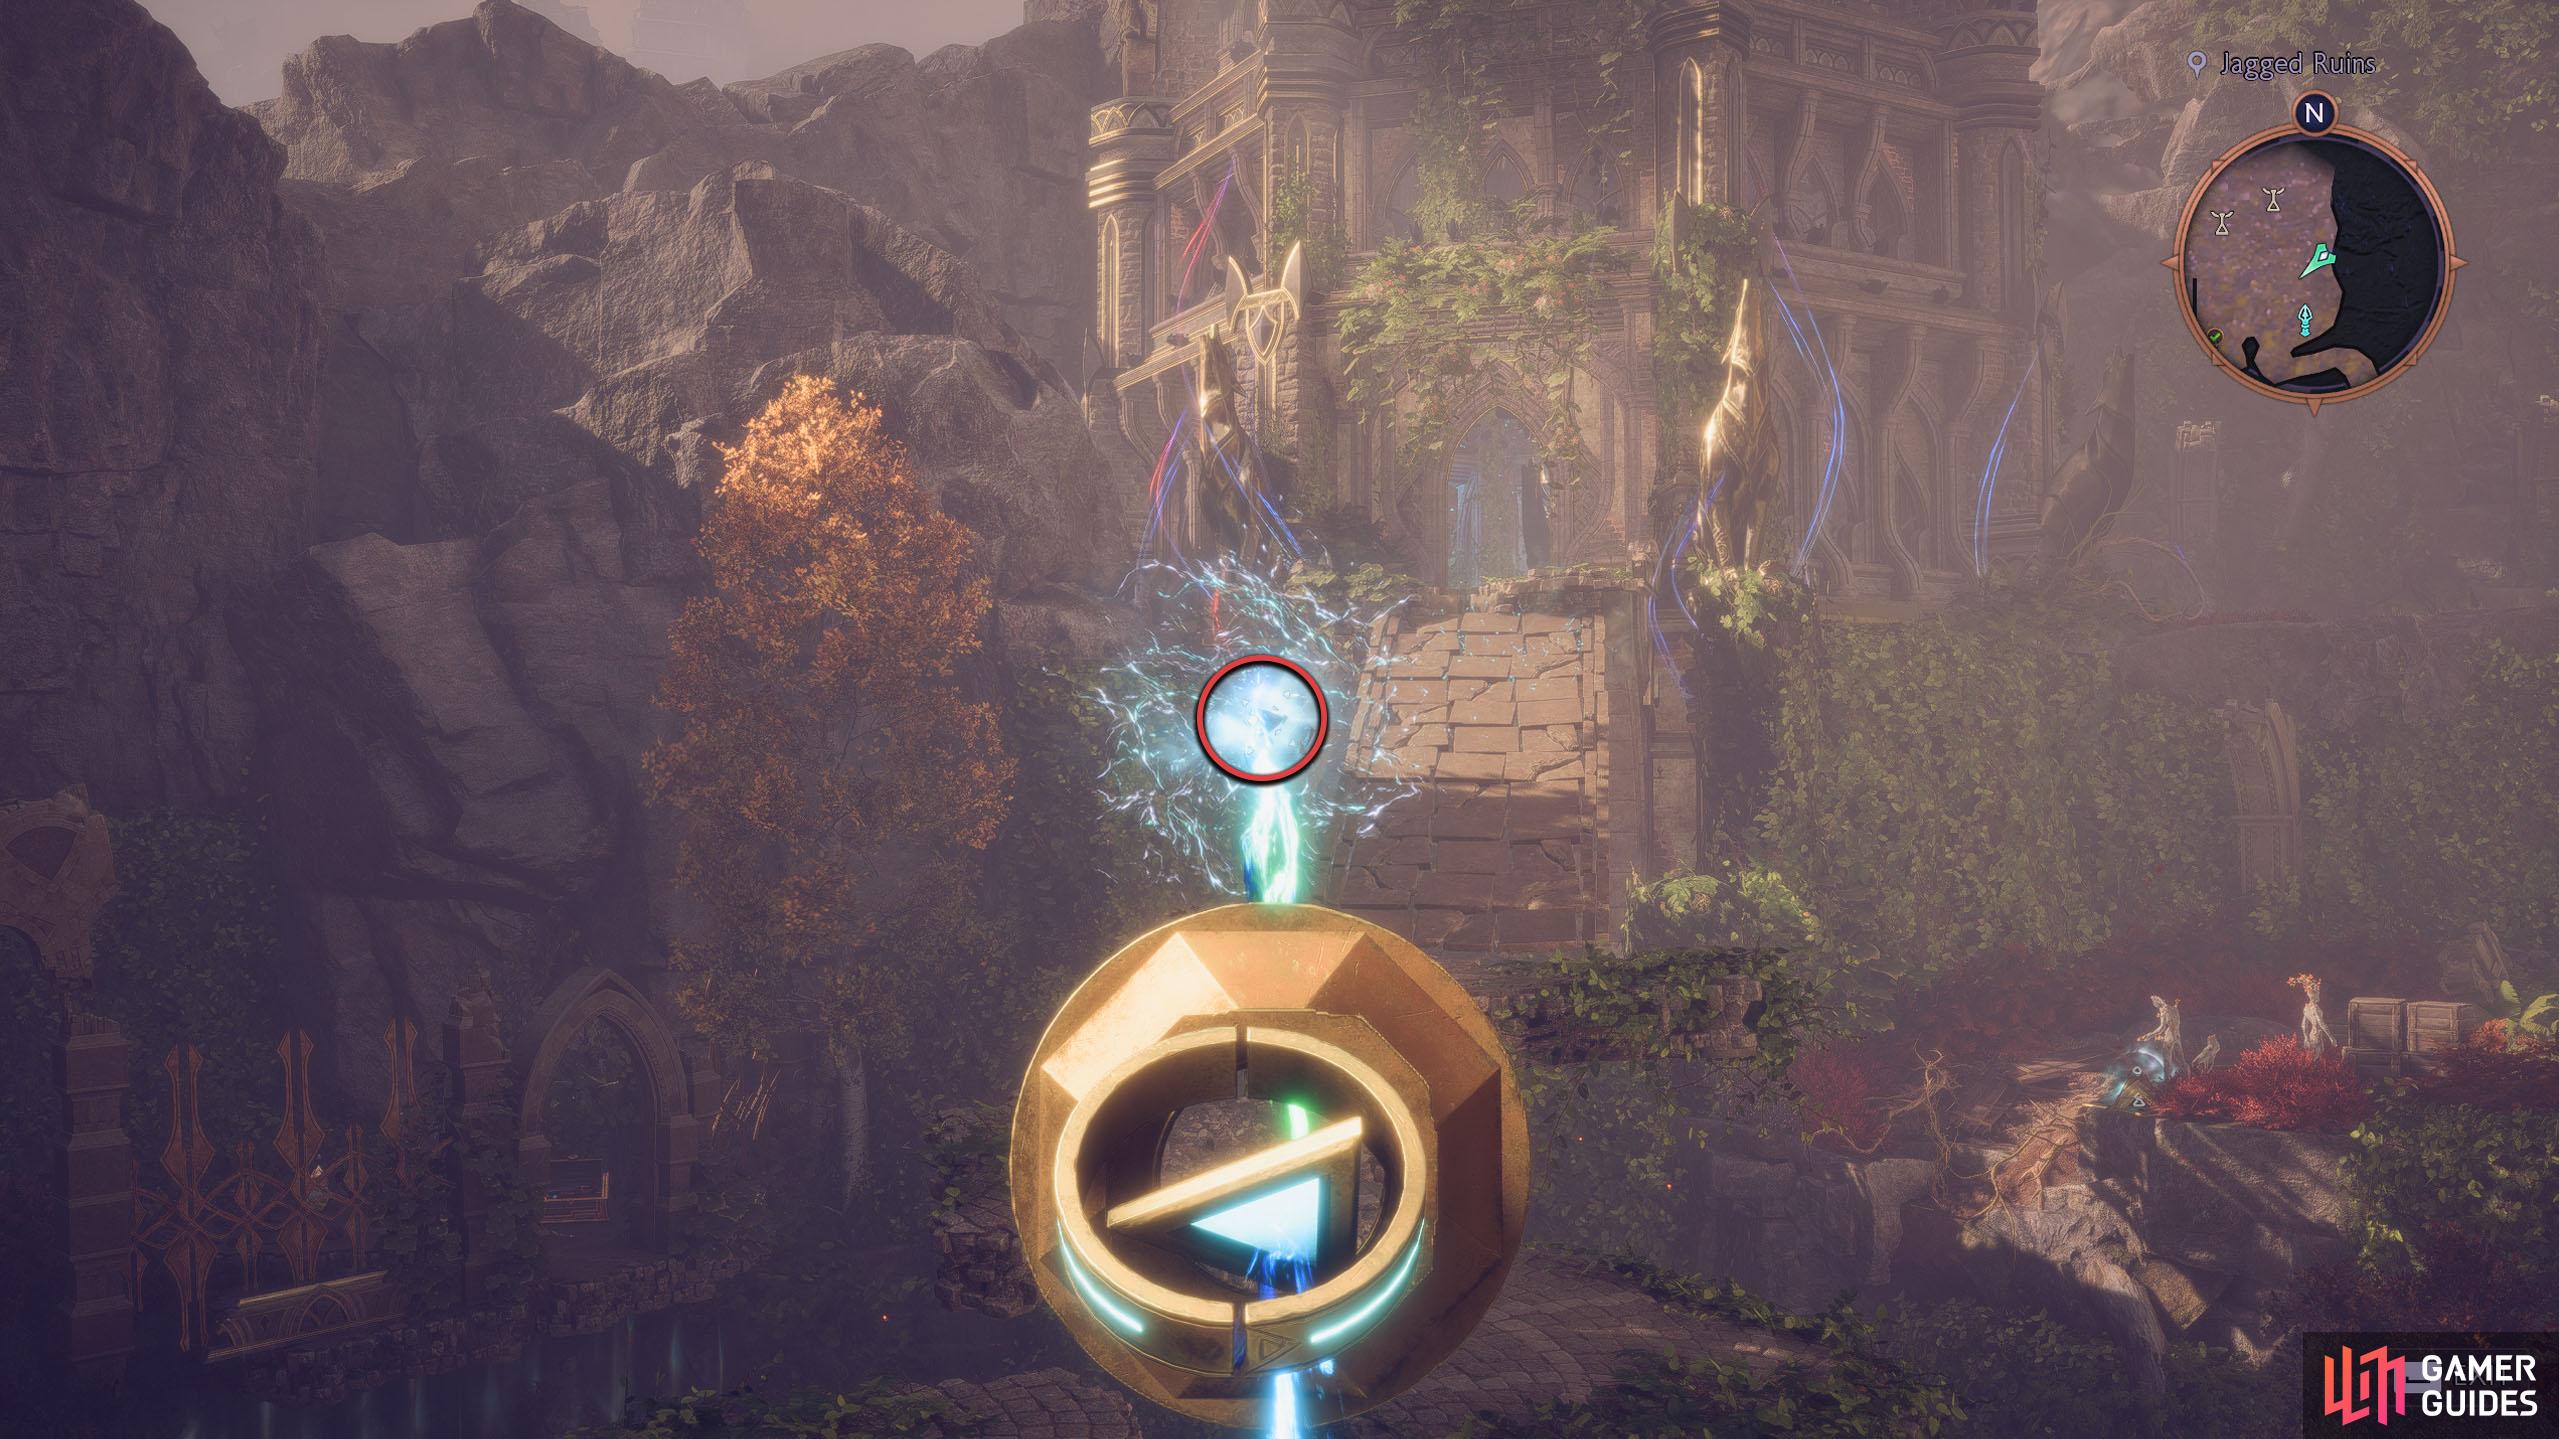
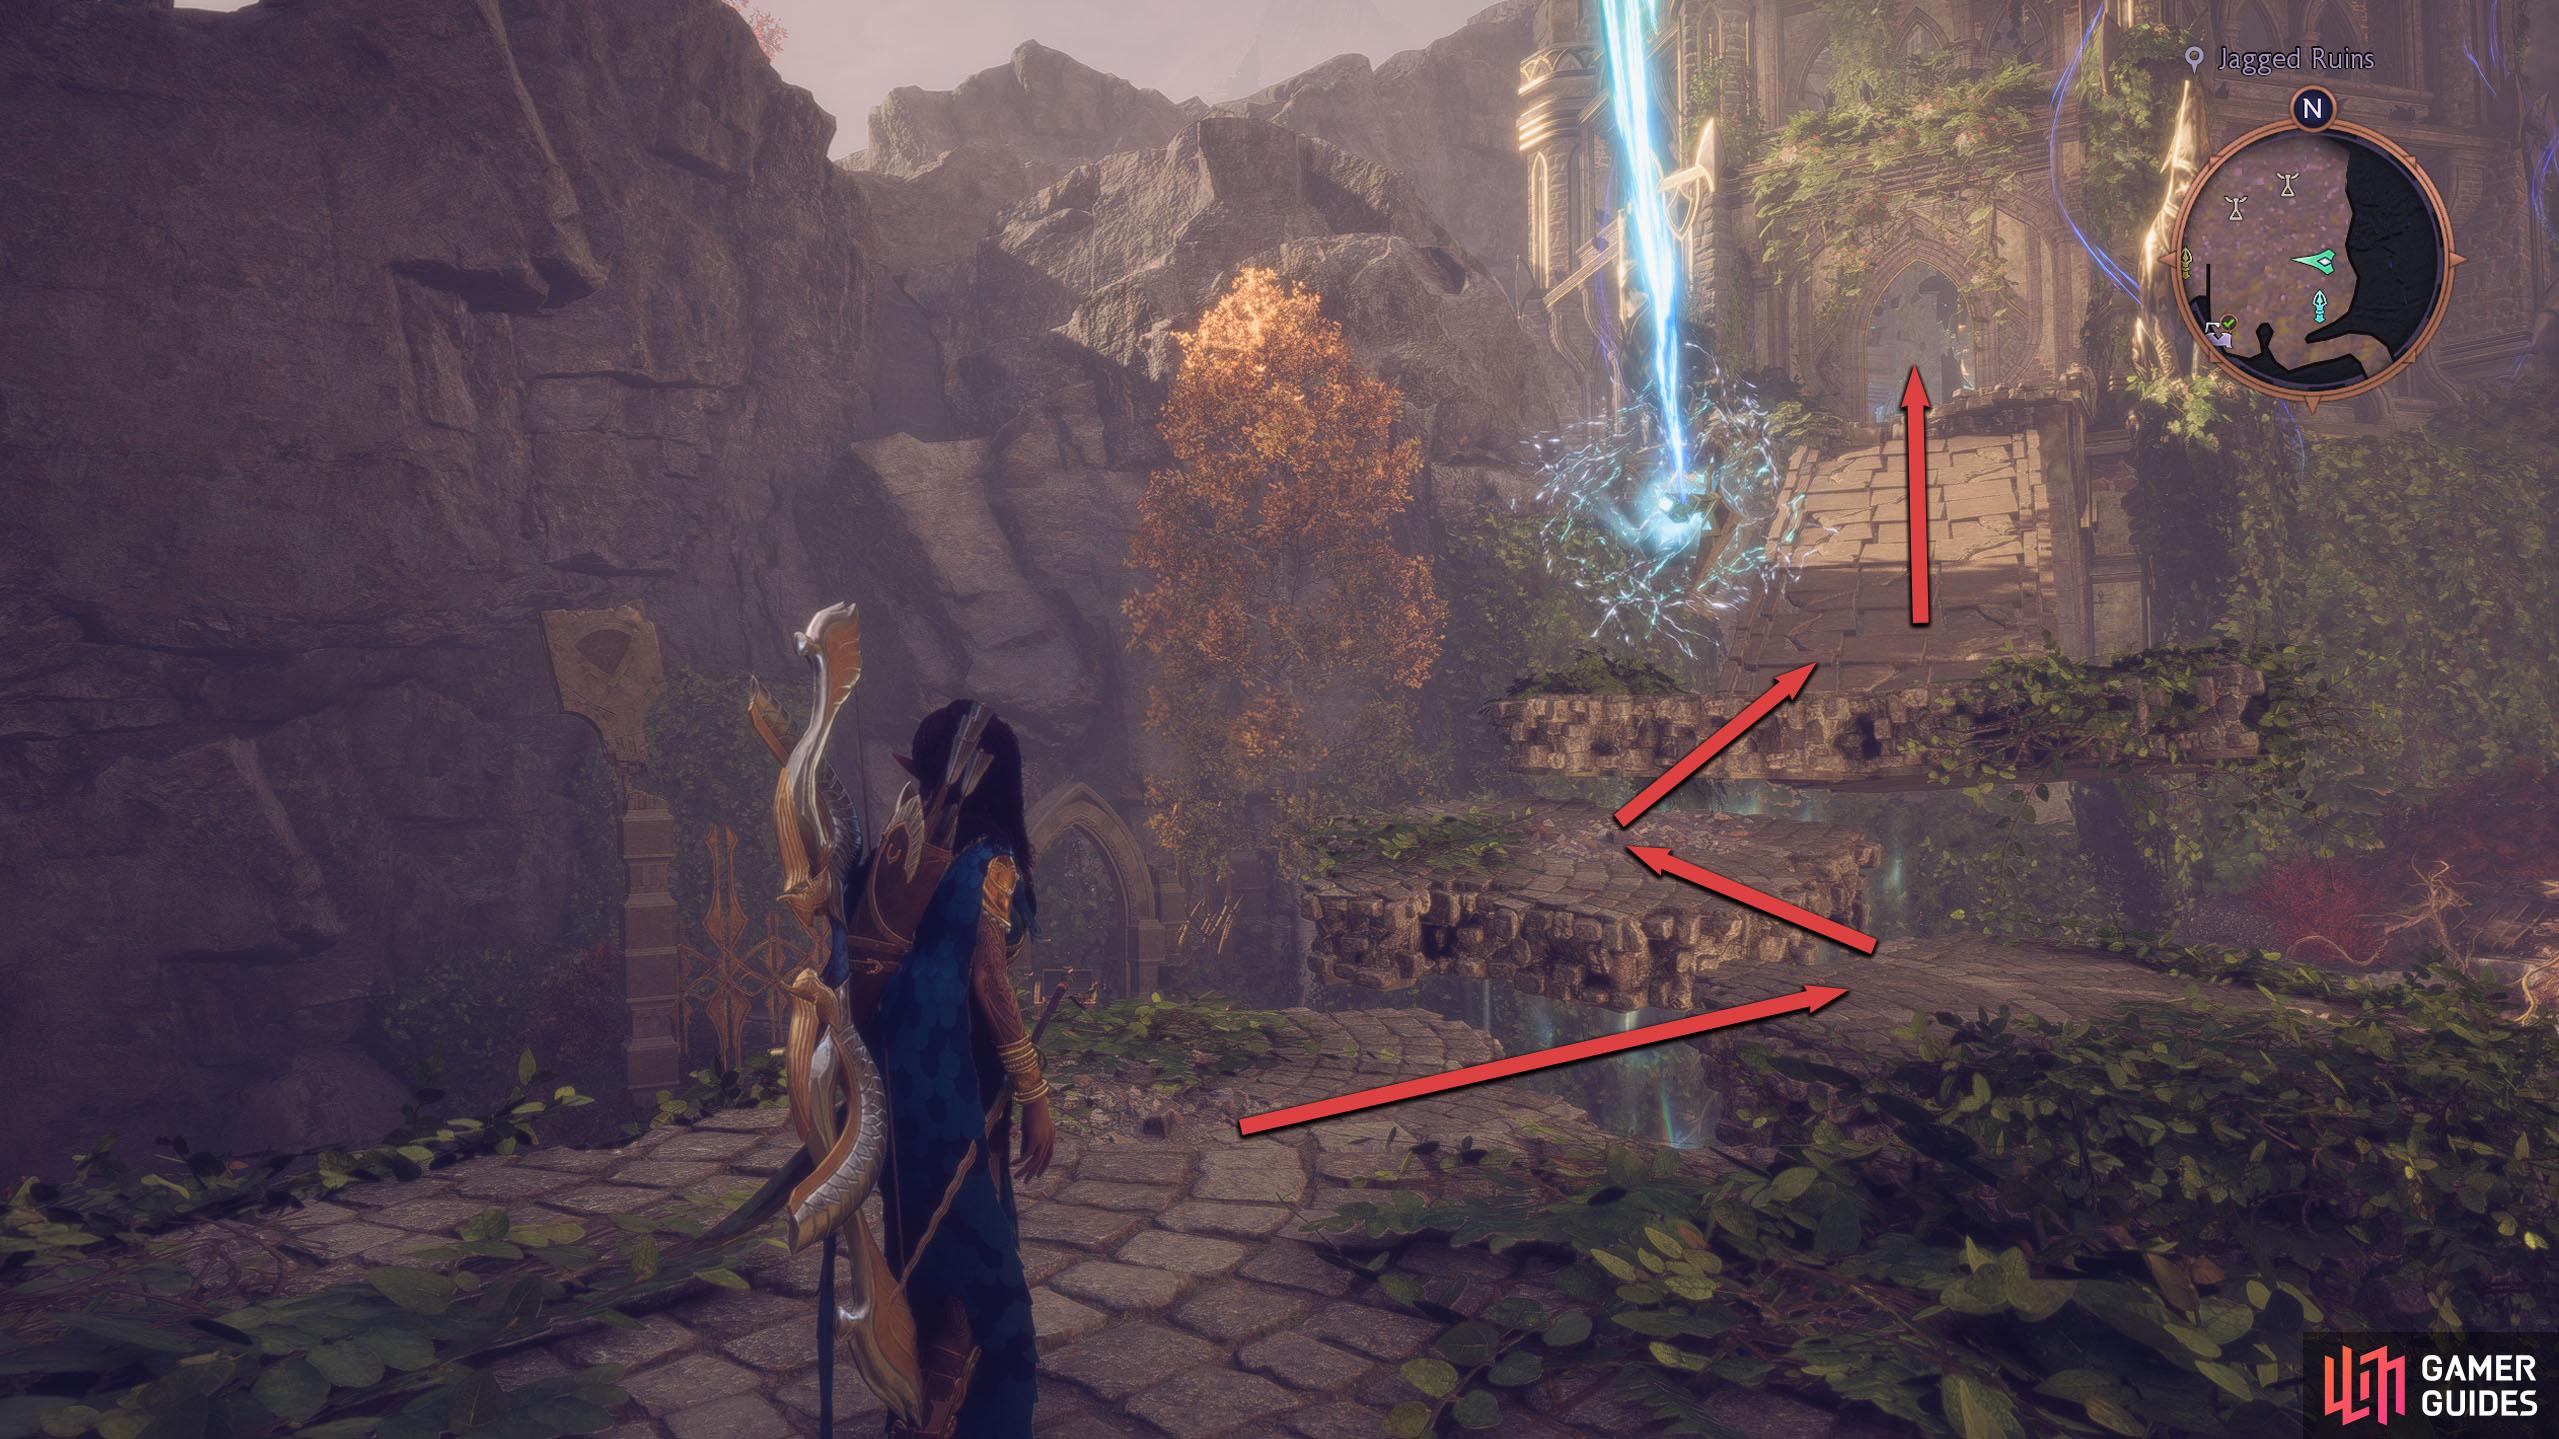
Accept the quest, and jump across the gap to the West. Follow the winding path to the top until you reach the Zip Line, and then take that over to the east. Interact with the relic device and direct the beam to the power receptor on the floating rock to your north. This will create a bridge to the Mystical Tower. Now, jump across the floating platforms, go over the makeshift bridge, and enter the tower.
(1 of 2) Rotate the beam so it sits on the floating crystal opposite the tower.
Rotate the beam so it sits on the floating crystal opposite the tower. (left), Jump across the floating platforms and over the bridge into the tower. (right)
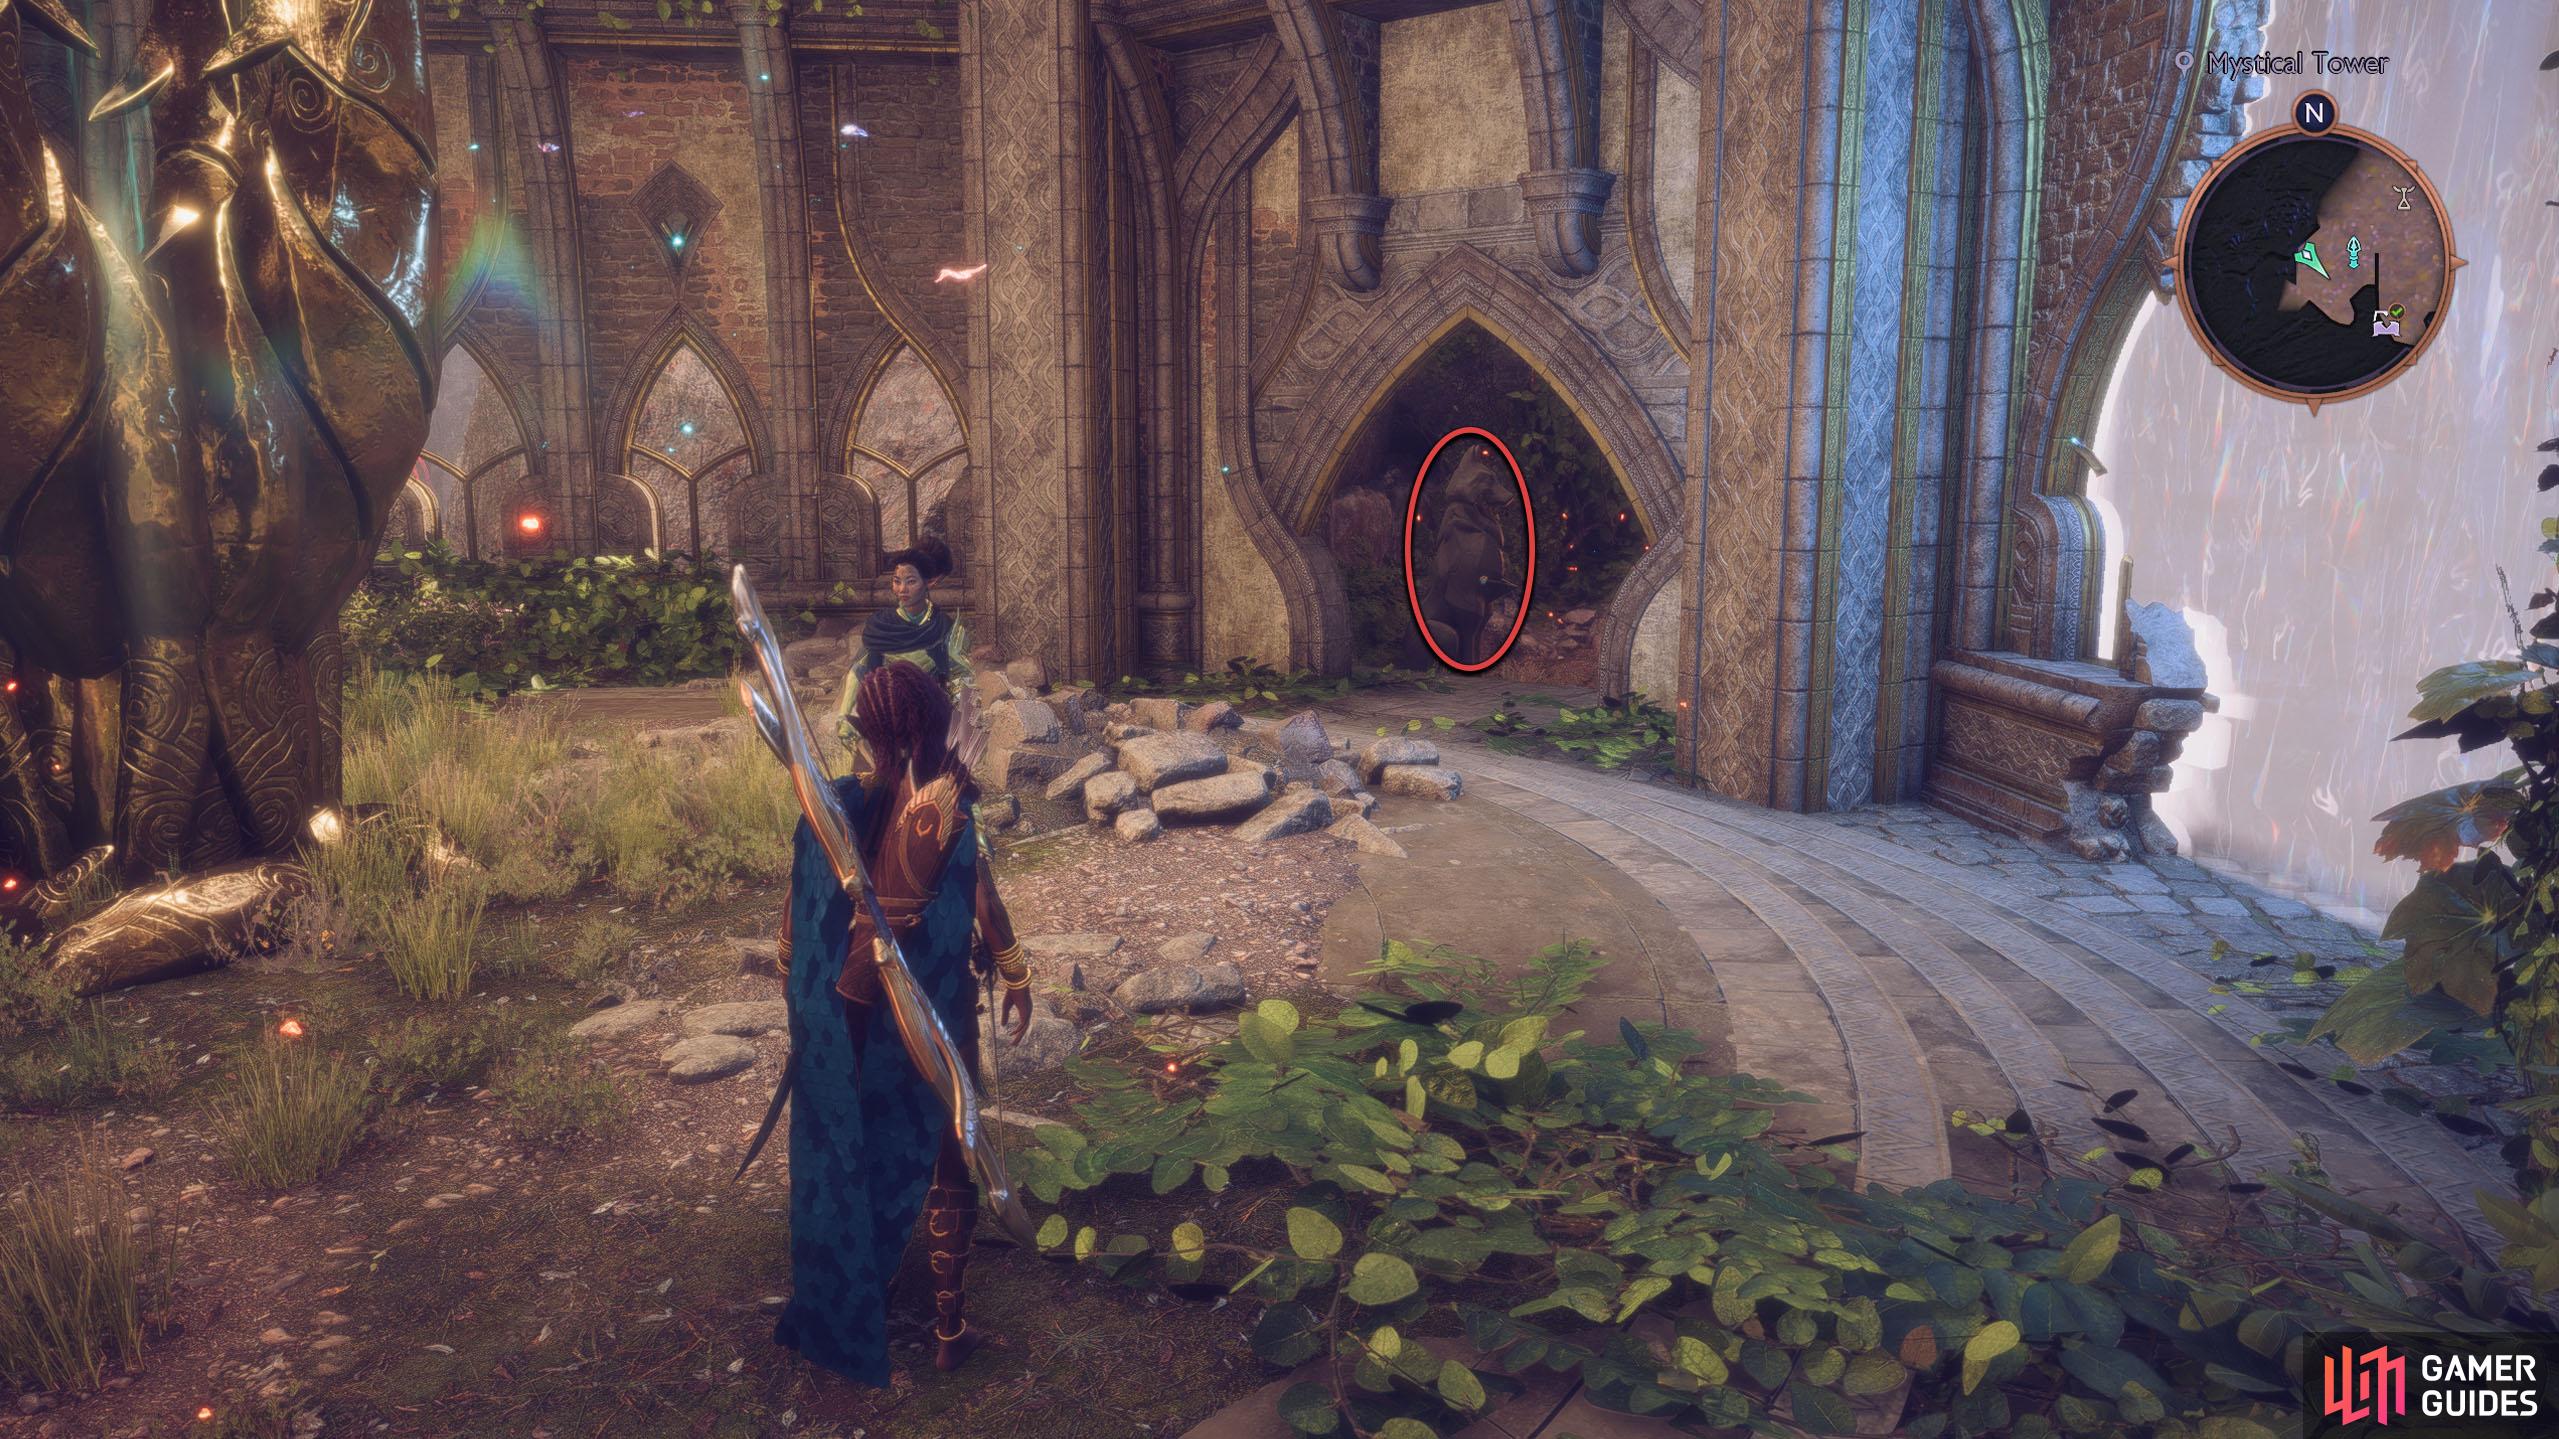
Inside the tower, enter the doorway to the left of the statue in the center, and you’ll find the Altar to the left. Interact with the Altar to make the statue appear, and then head back down.
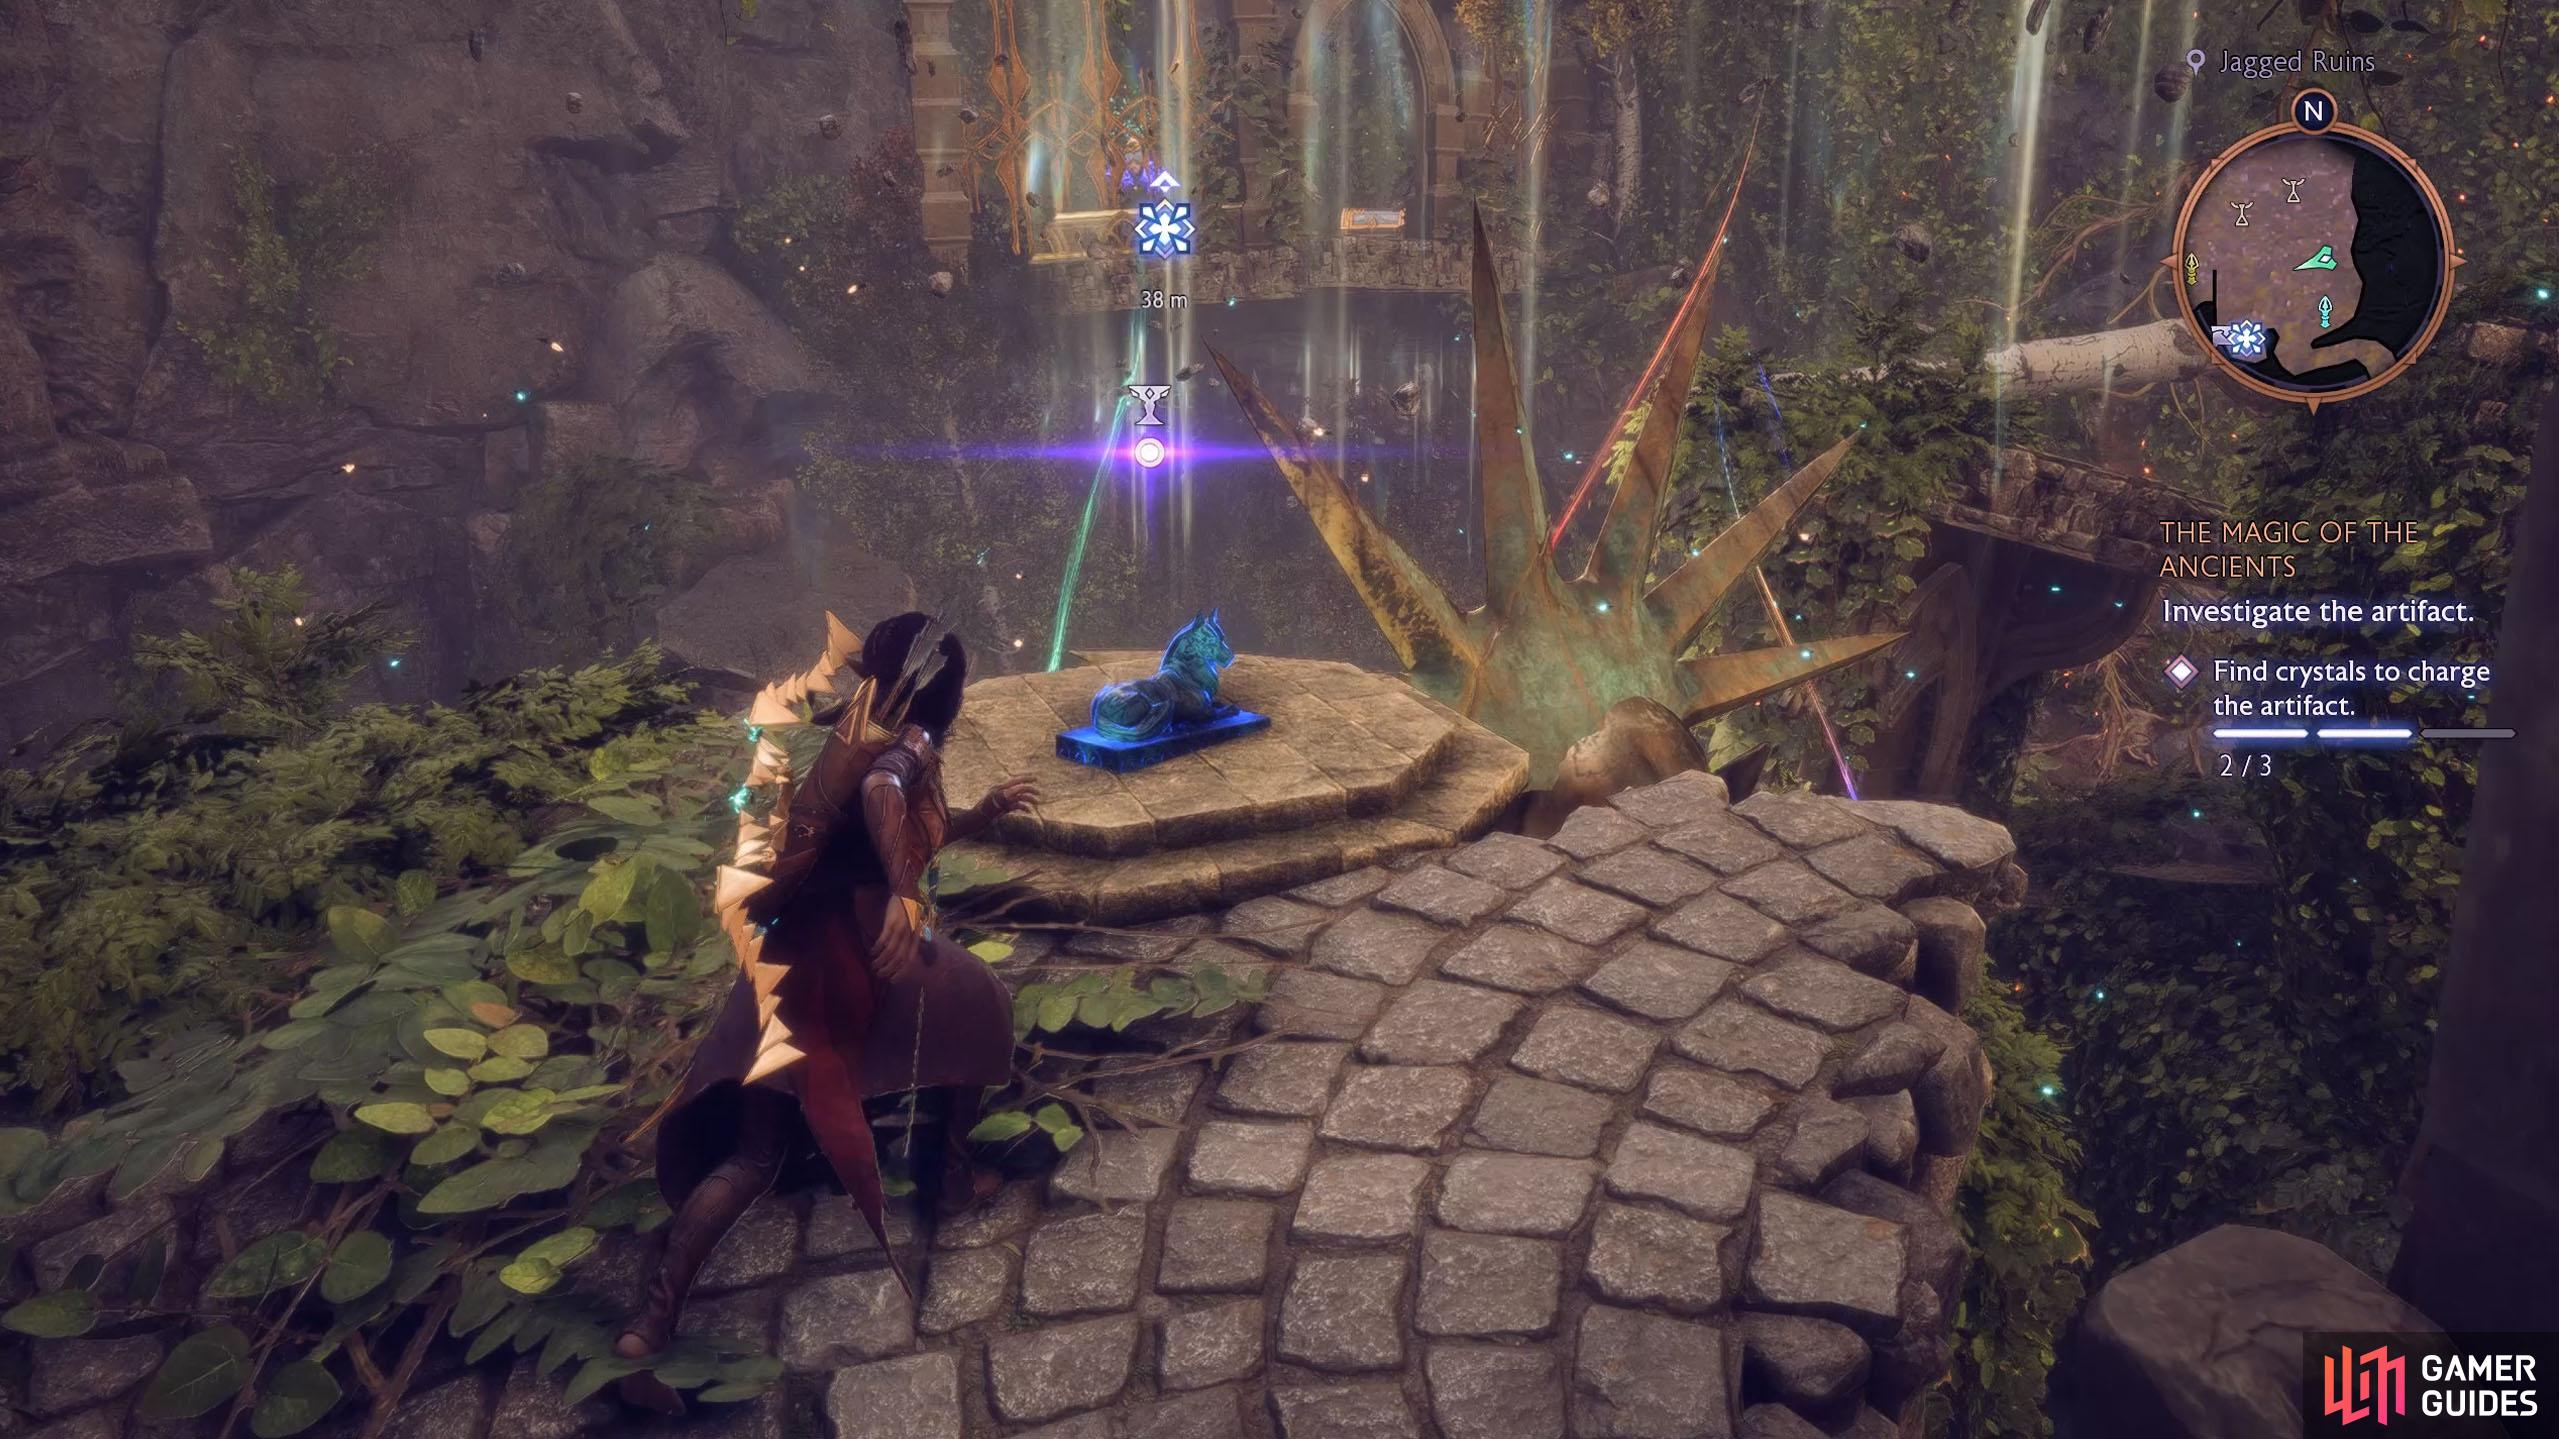
The statue will be on a floating platform opposite the statue in the center, not far from where the golden spikes from its head are. If you have trouble finding it, complete The Magic of the Ancients quest and the platform is near one of the relic devices you need to disable.
(1 of 2) The Altar is hidden deep within the archway to your left.
The Altar is hidden deep within the archway to your left. (left), After activating the Altar, the statue will appear on the platform underneath the first couple of floating platforms. (right)
Treviso - Heart and Central Altar
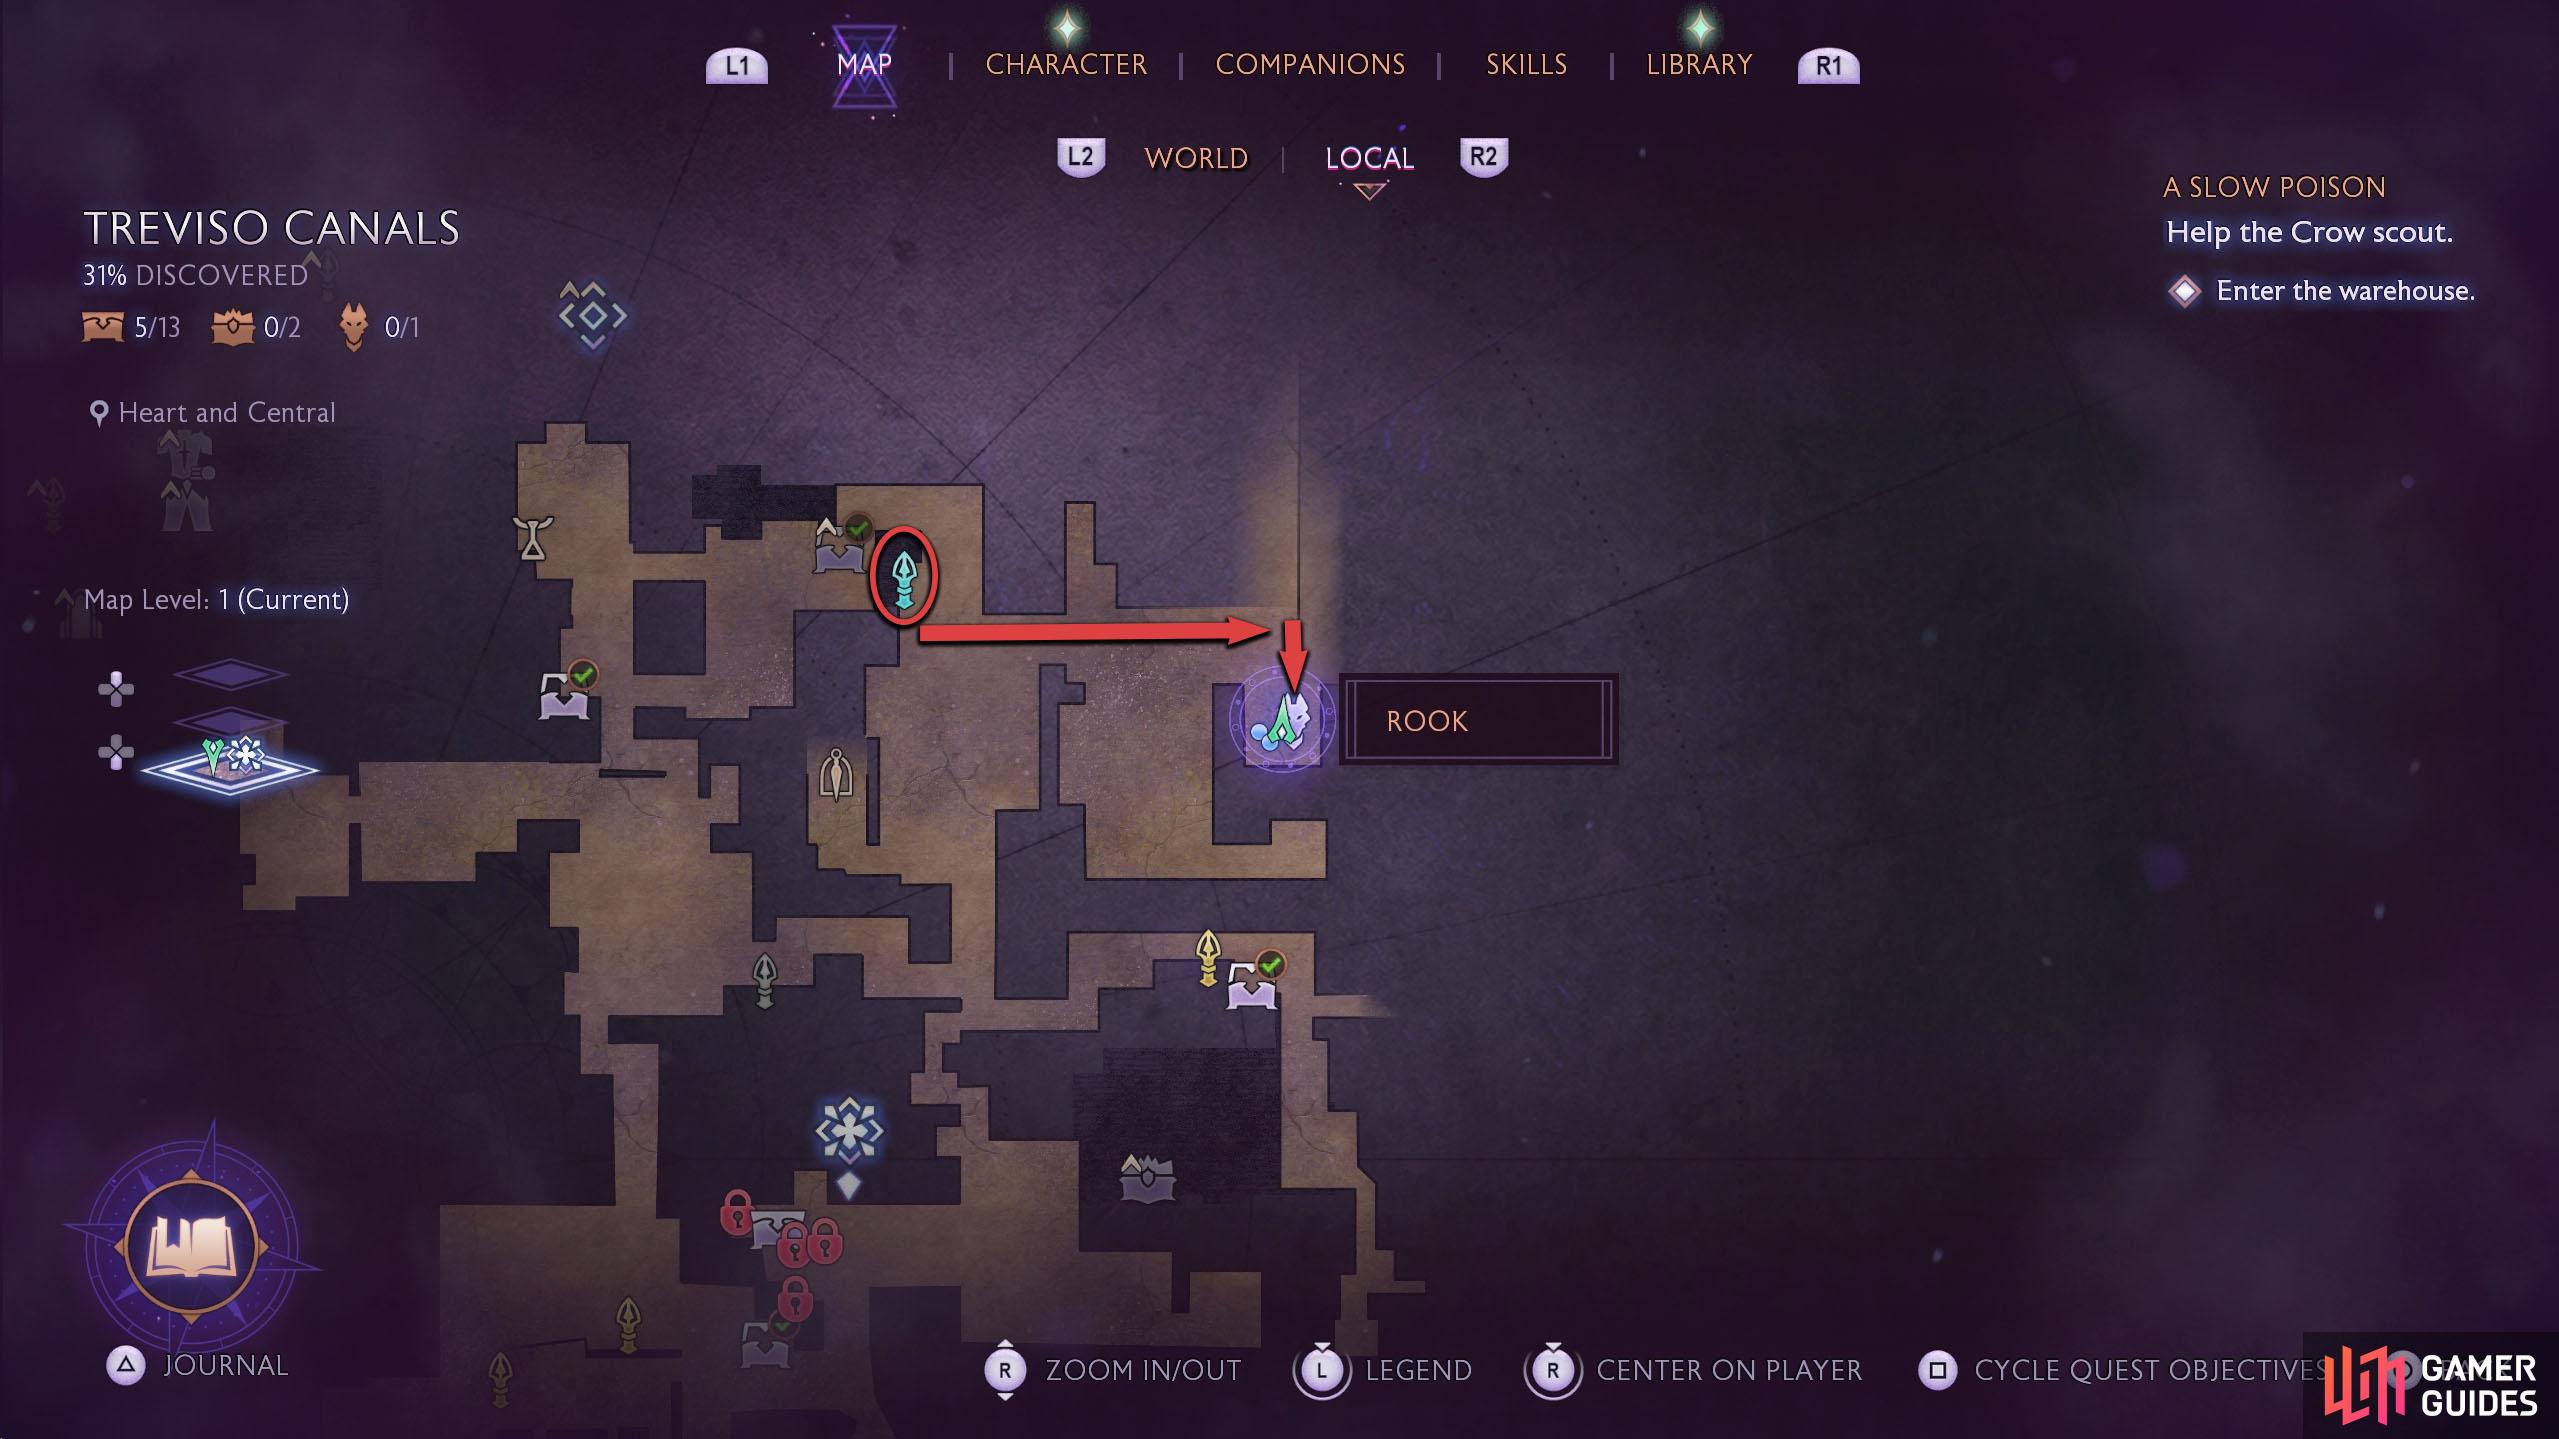
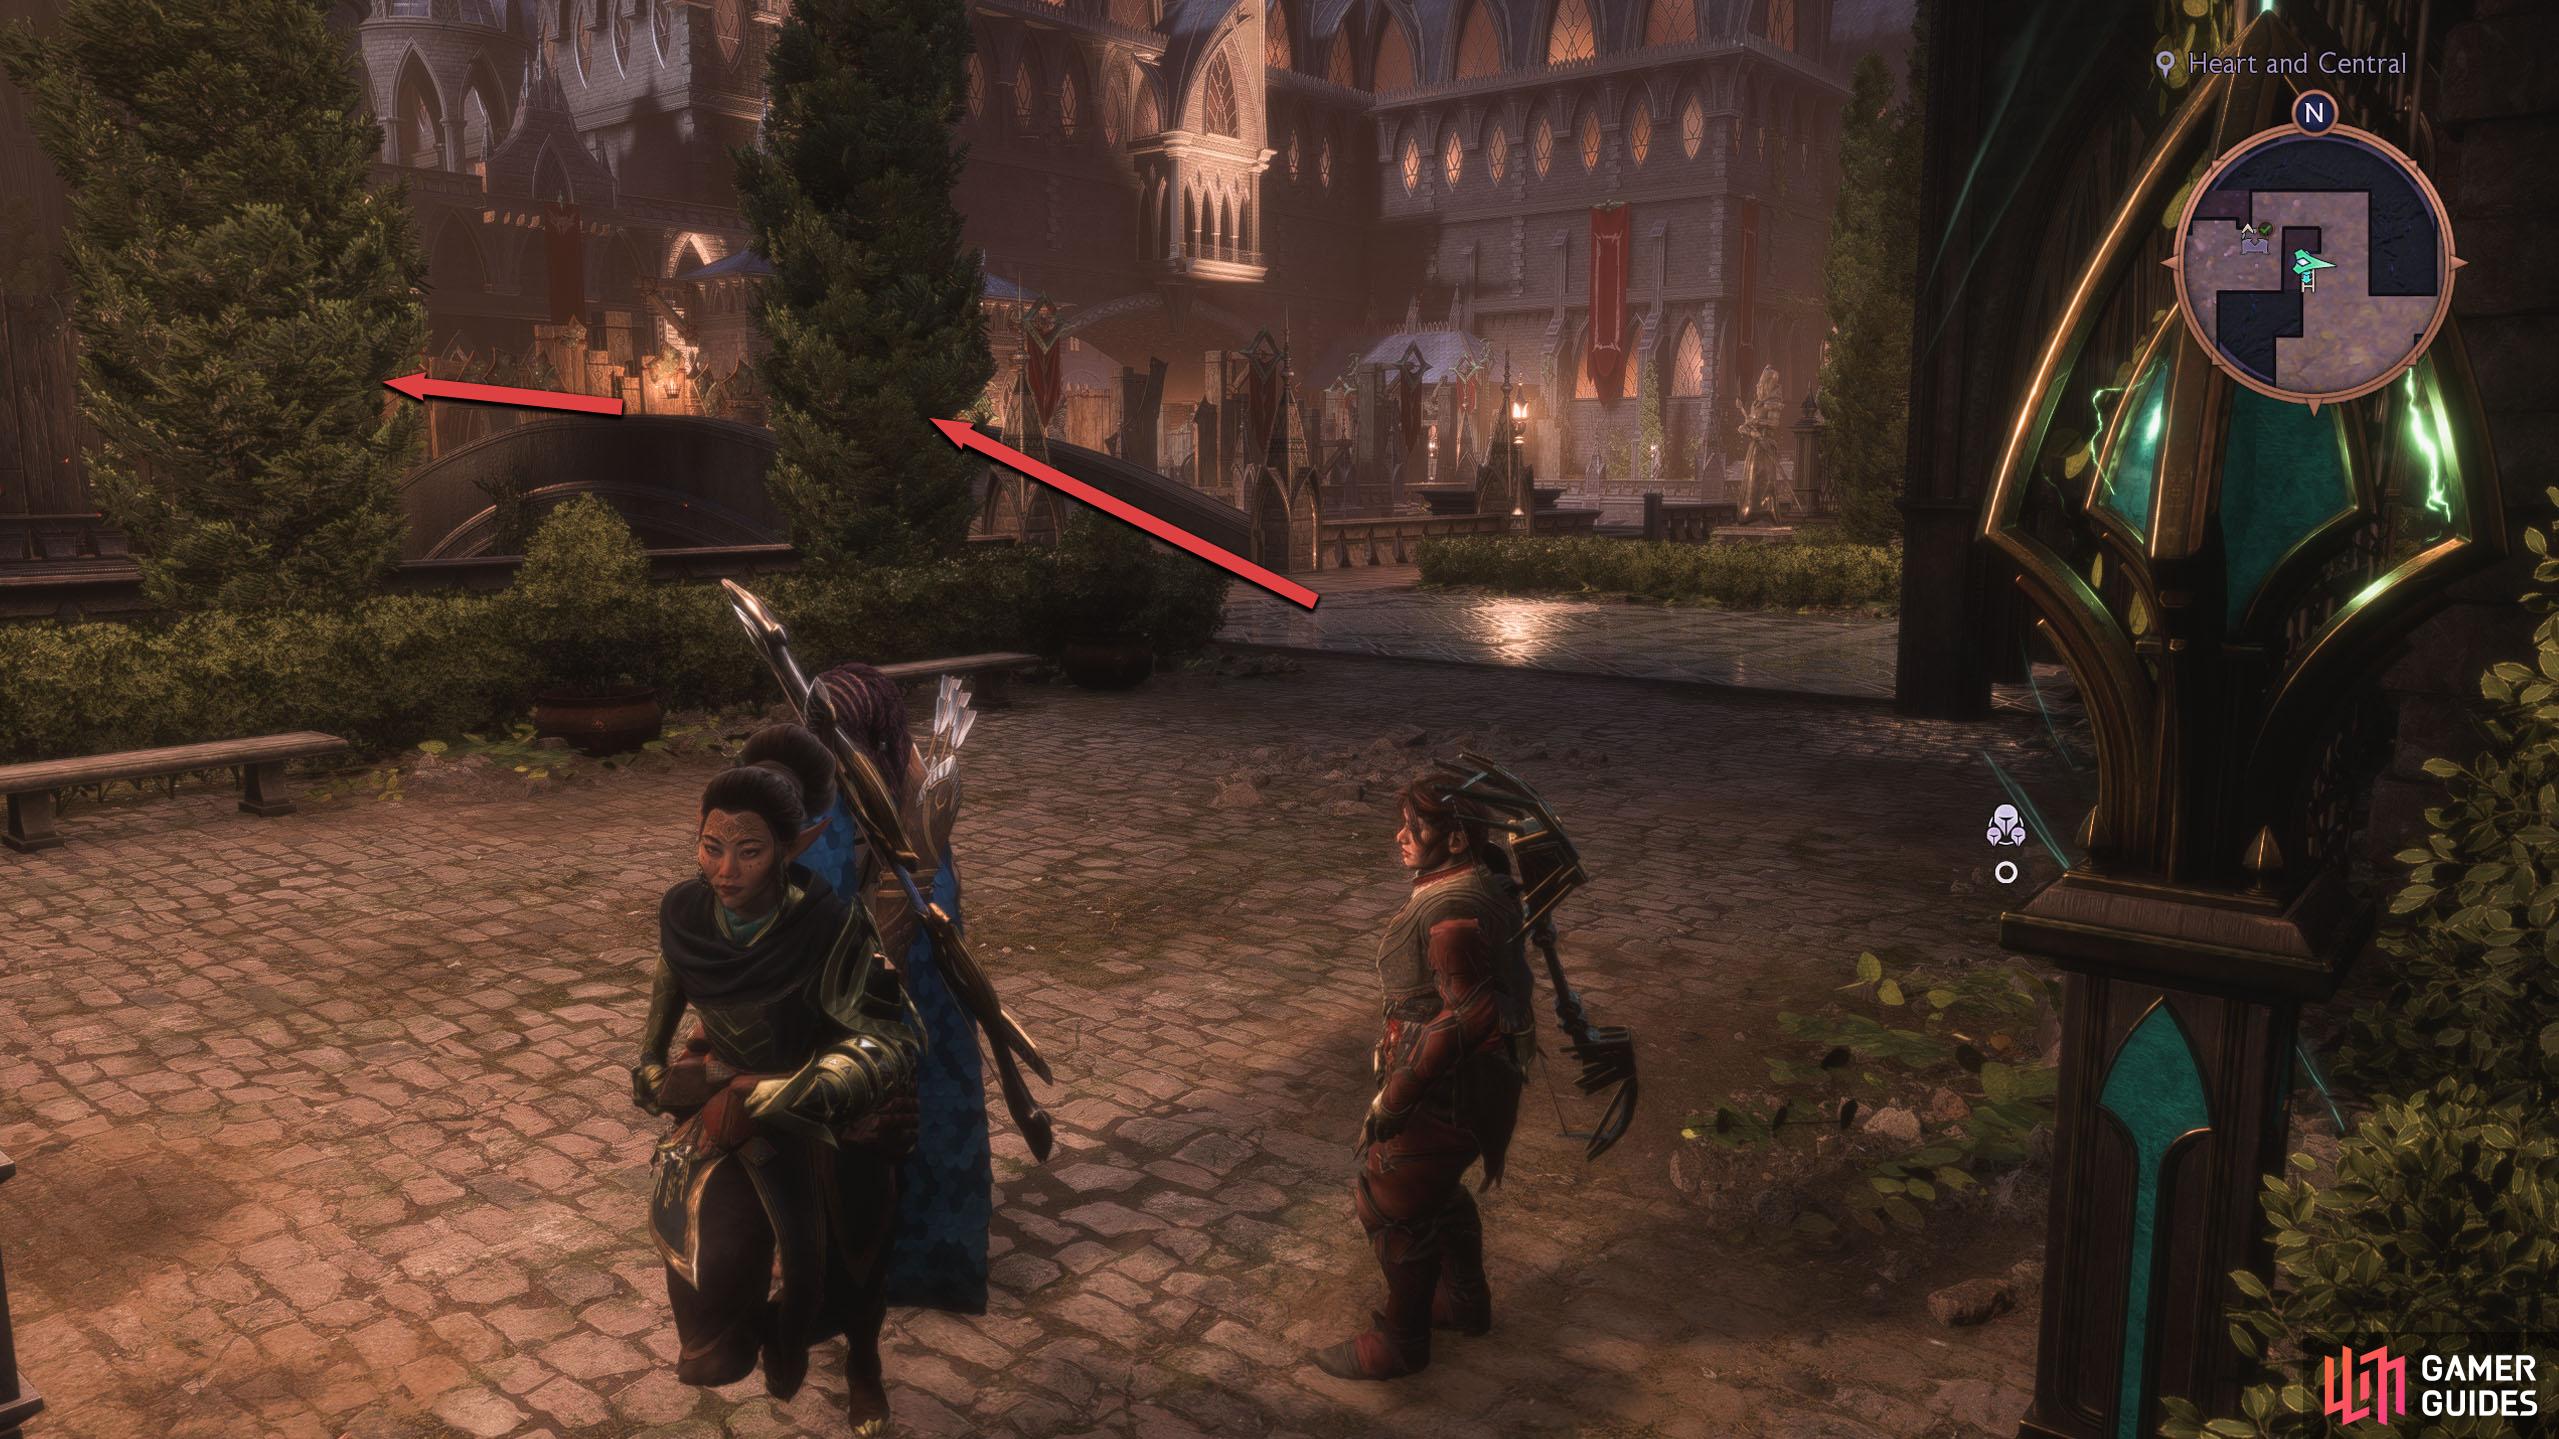
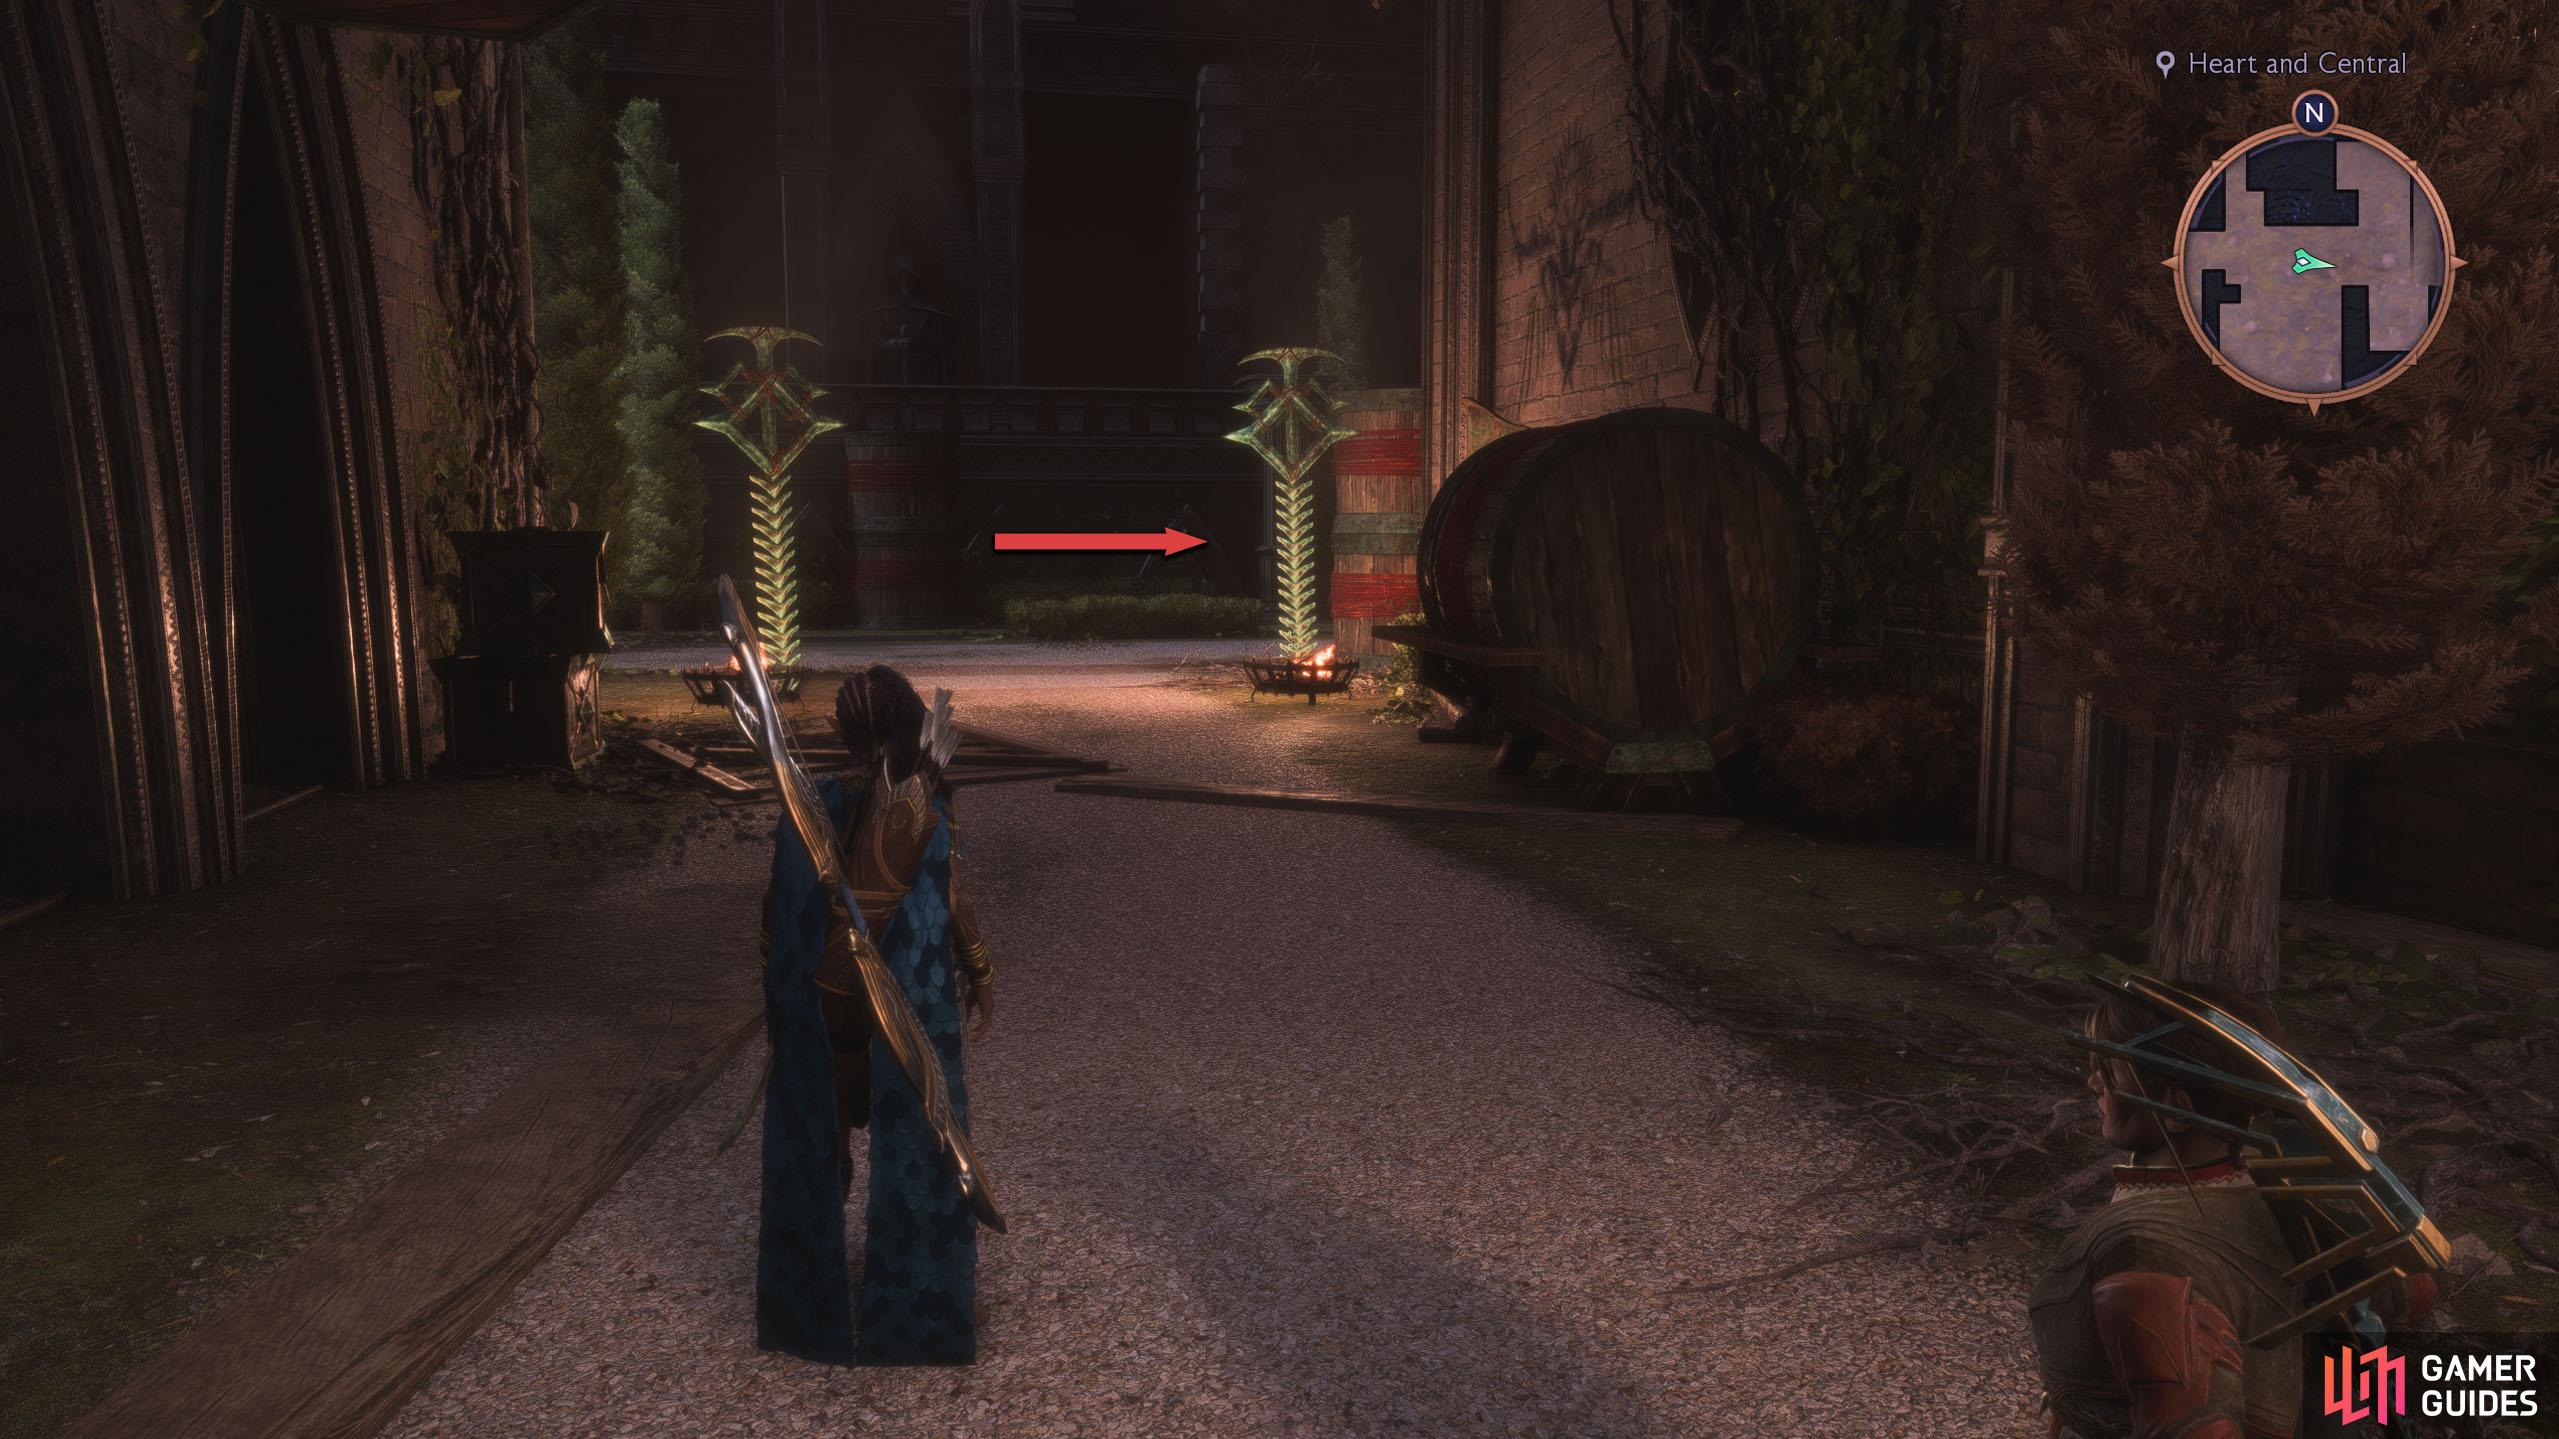
This Altar can be found in the far northeast of the map, in the Heart and Central district of Treviso. Teleport to the Heart and Central Fast Travel and head across the nearby bridge to your east into the Antaam camp. Defeat the enemies, and continue east past the green posts into the Dellamorte Estates.
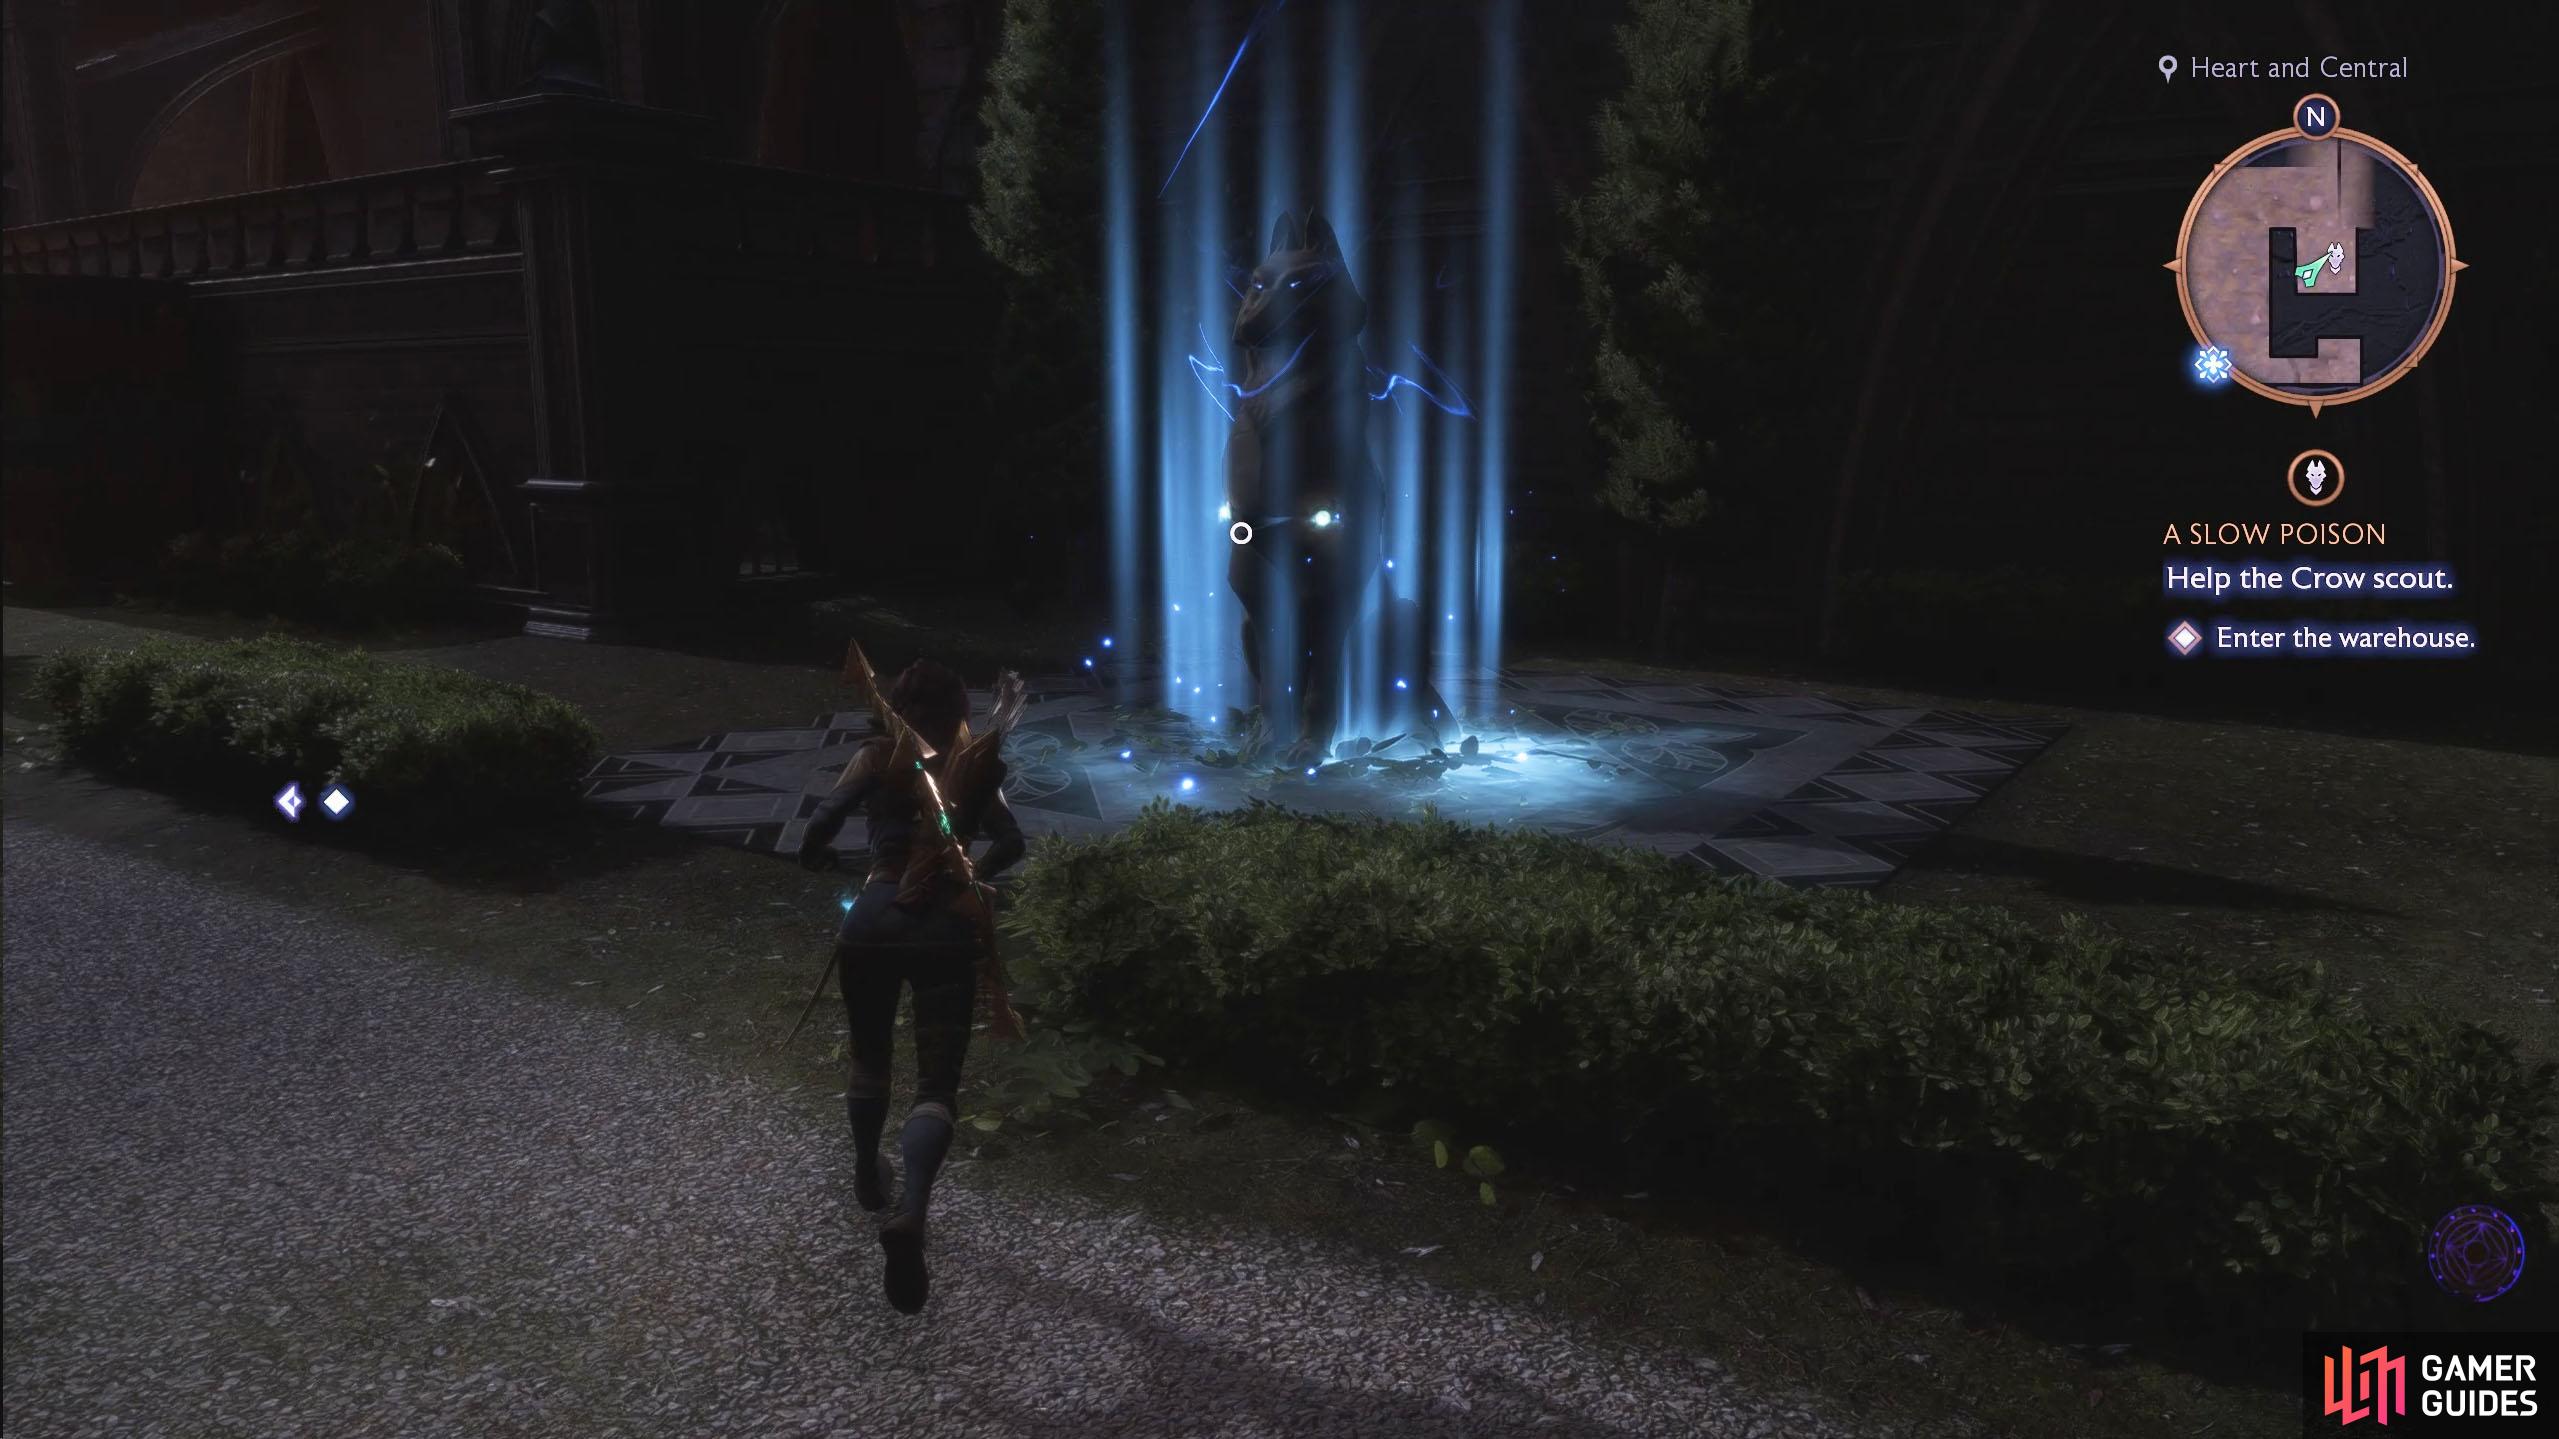
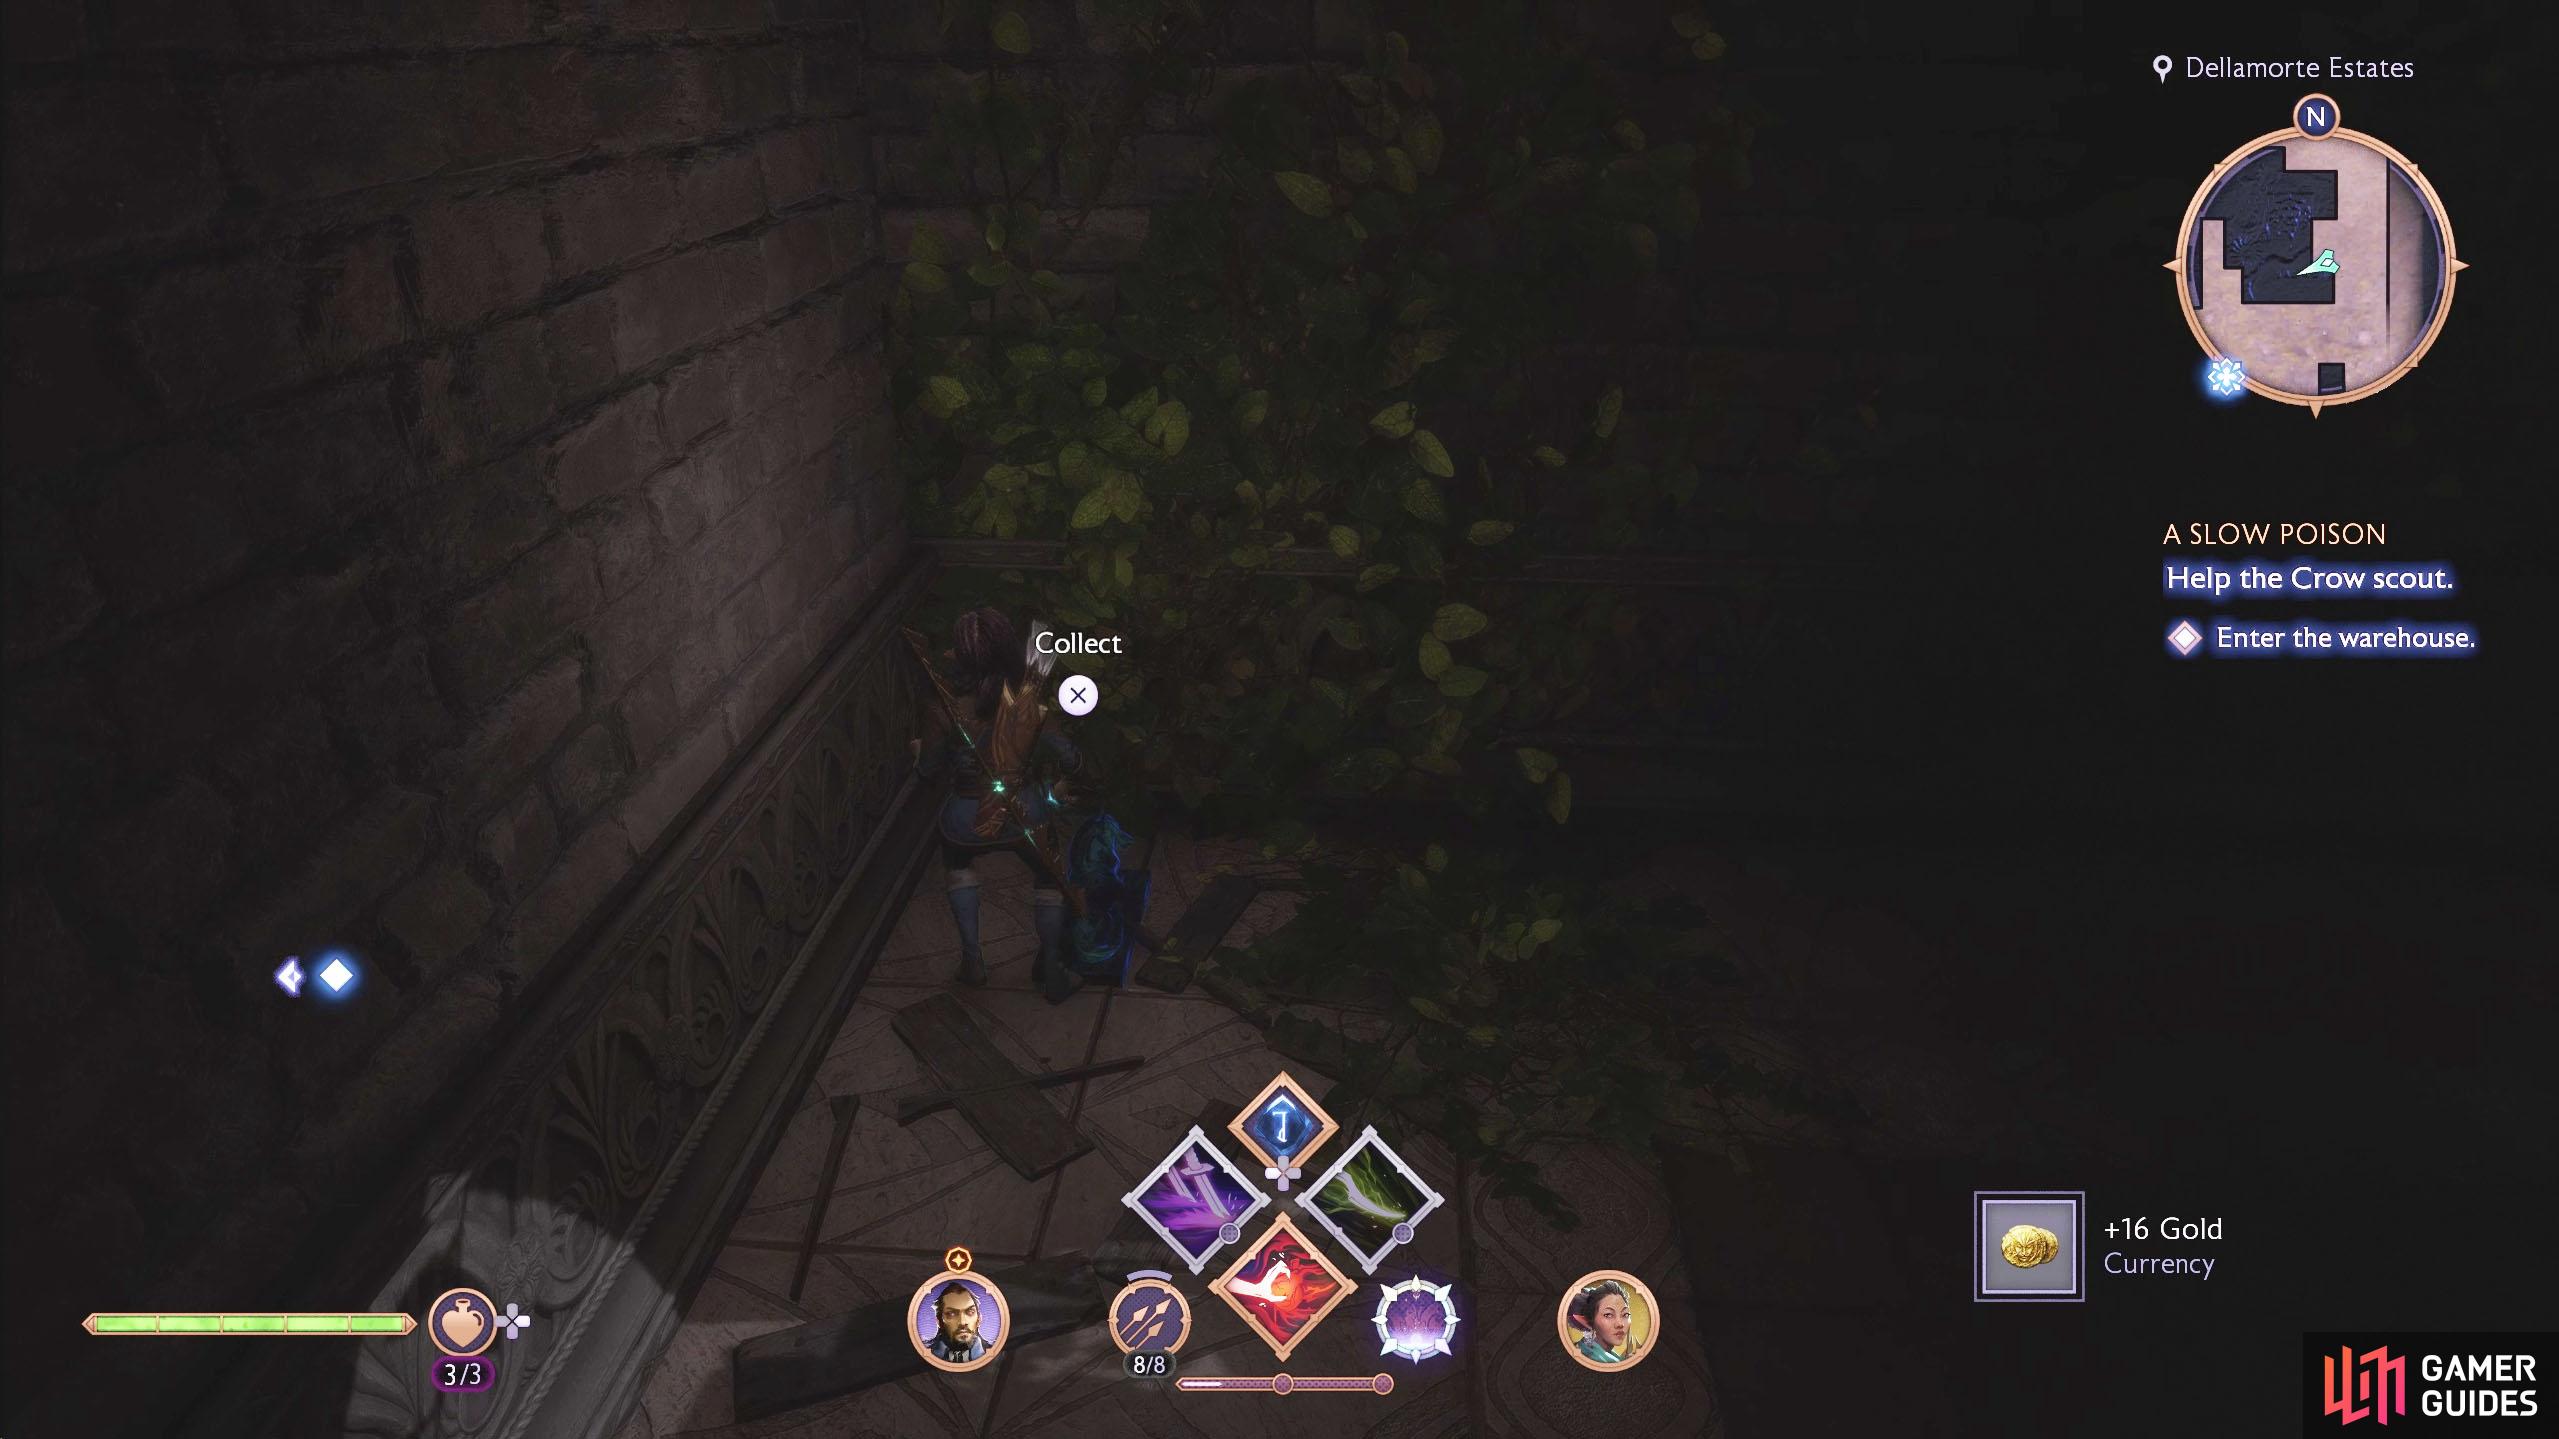
As you reach the green posts, go south to find the Altar on your left. Interact with the Altar and then turn around and go north until you reach the doorway. The statue is in a barrel in the cubby to your left, just before the doorway.
(1 of 5) From the Heart and Central beacon, go east into the Estate and turn south to find the Altar.
The Crossroads - Heights of Athim Altar
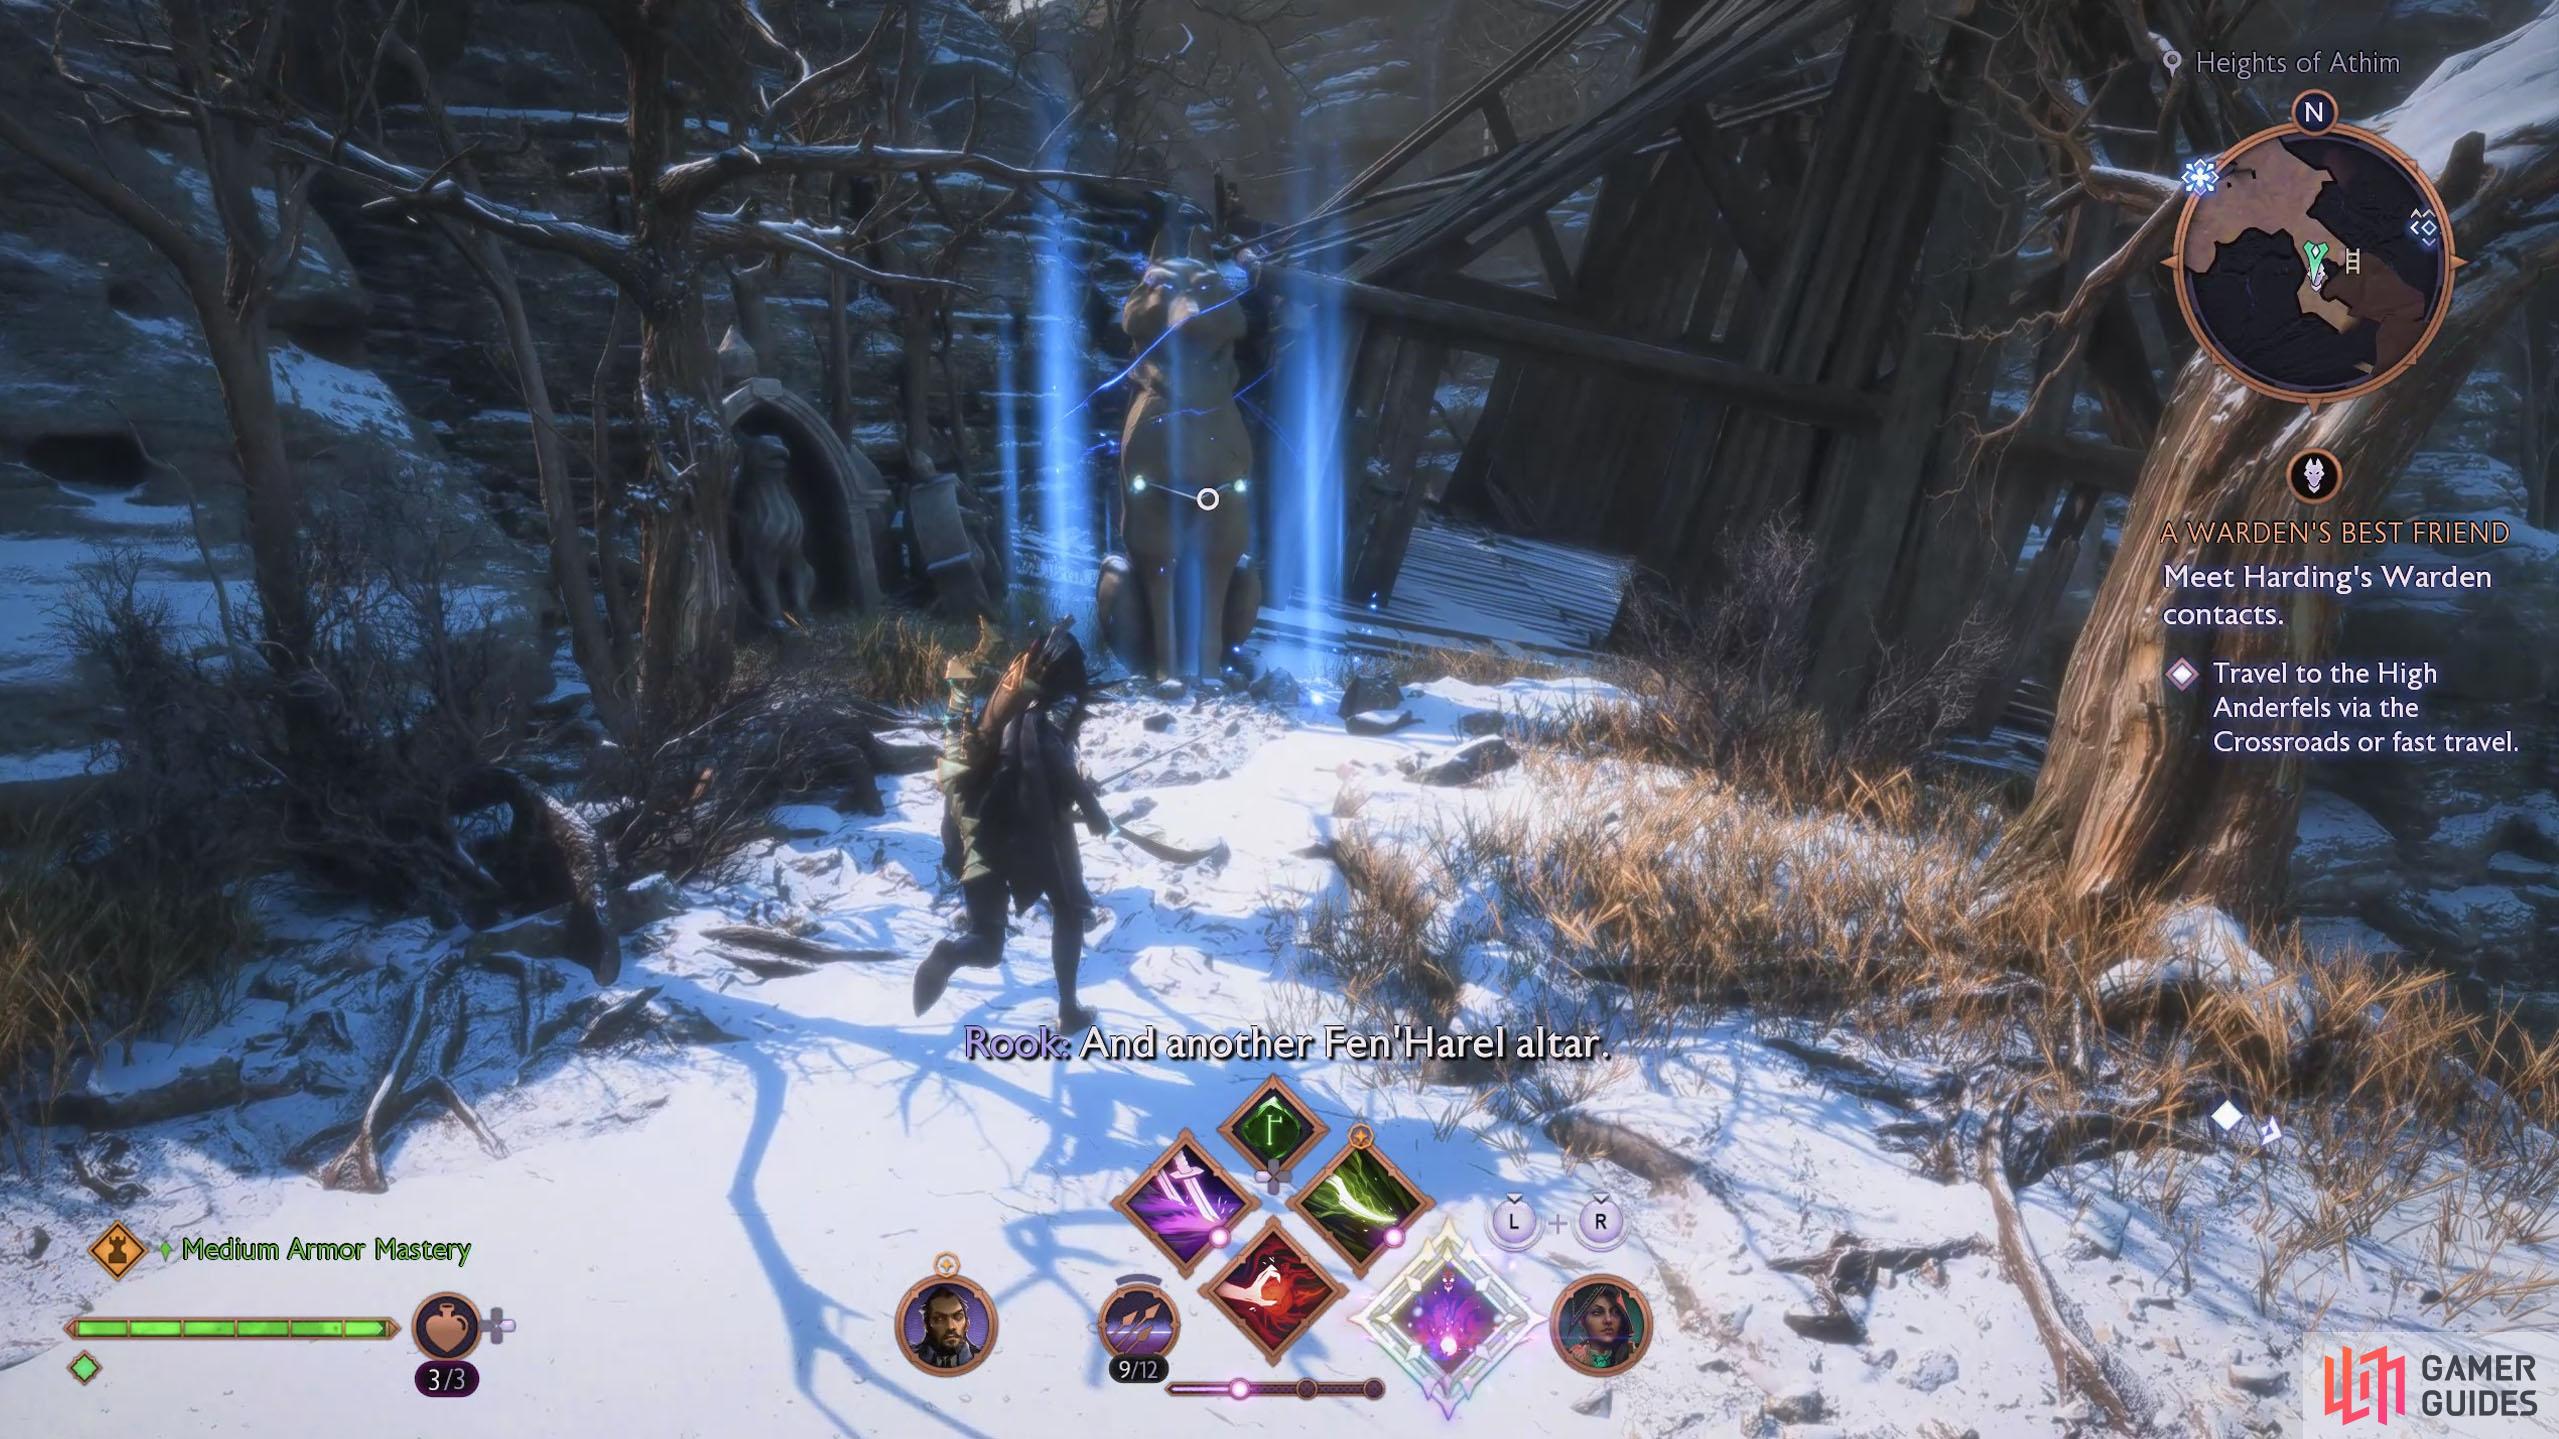
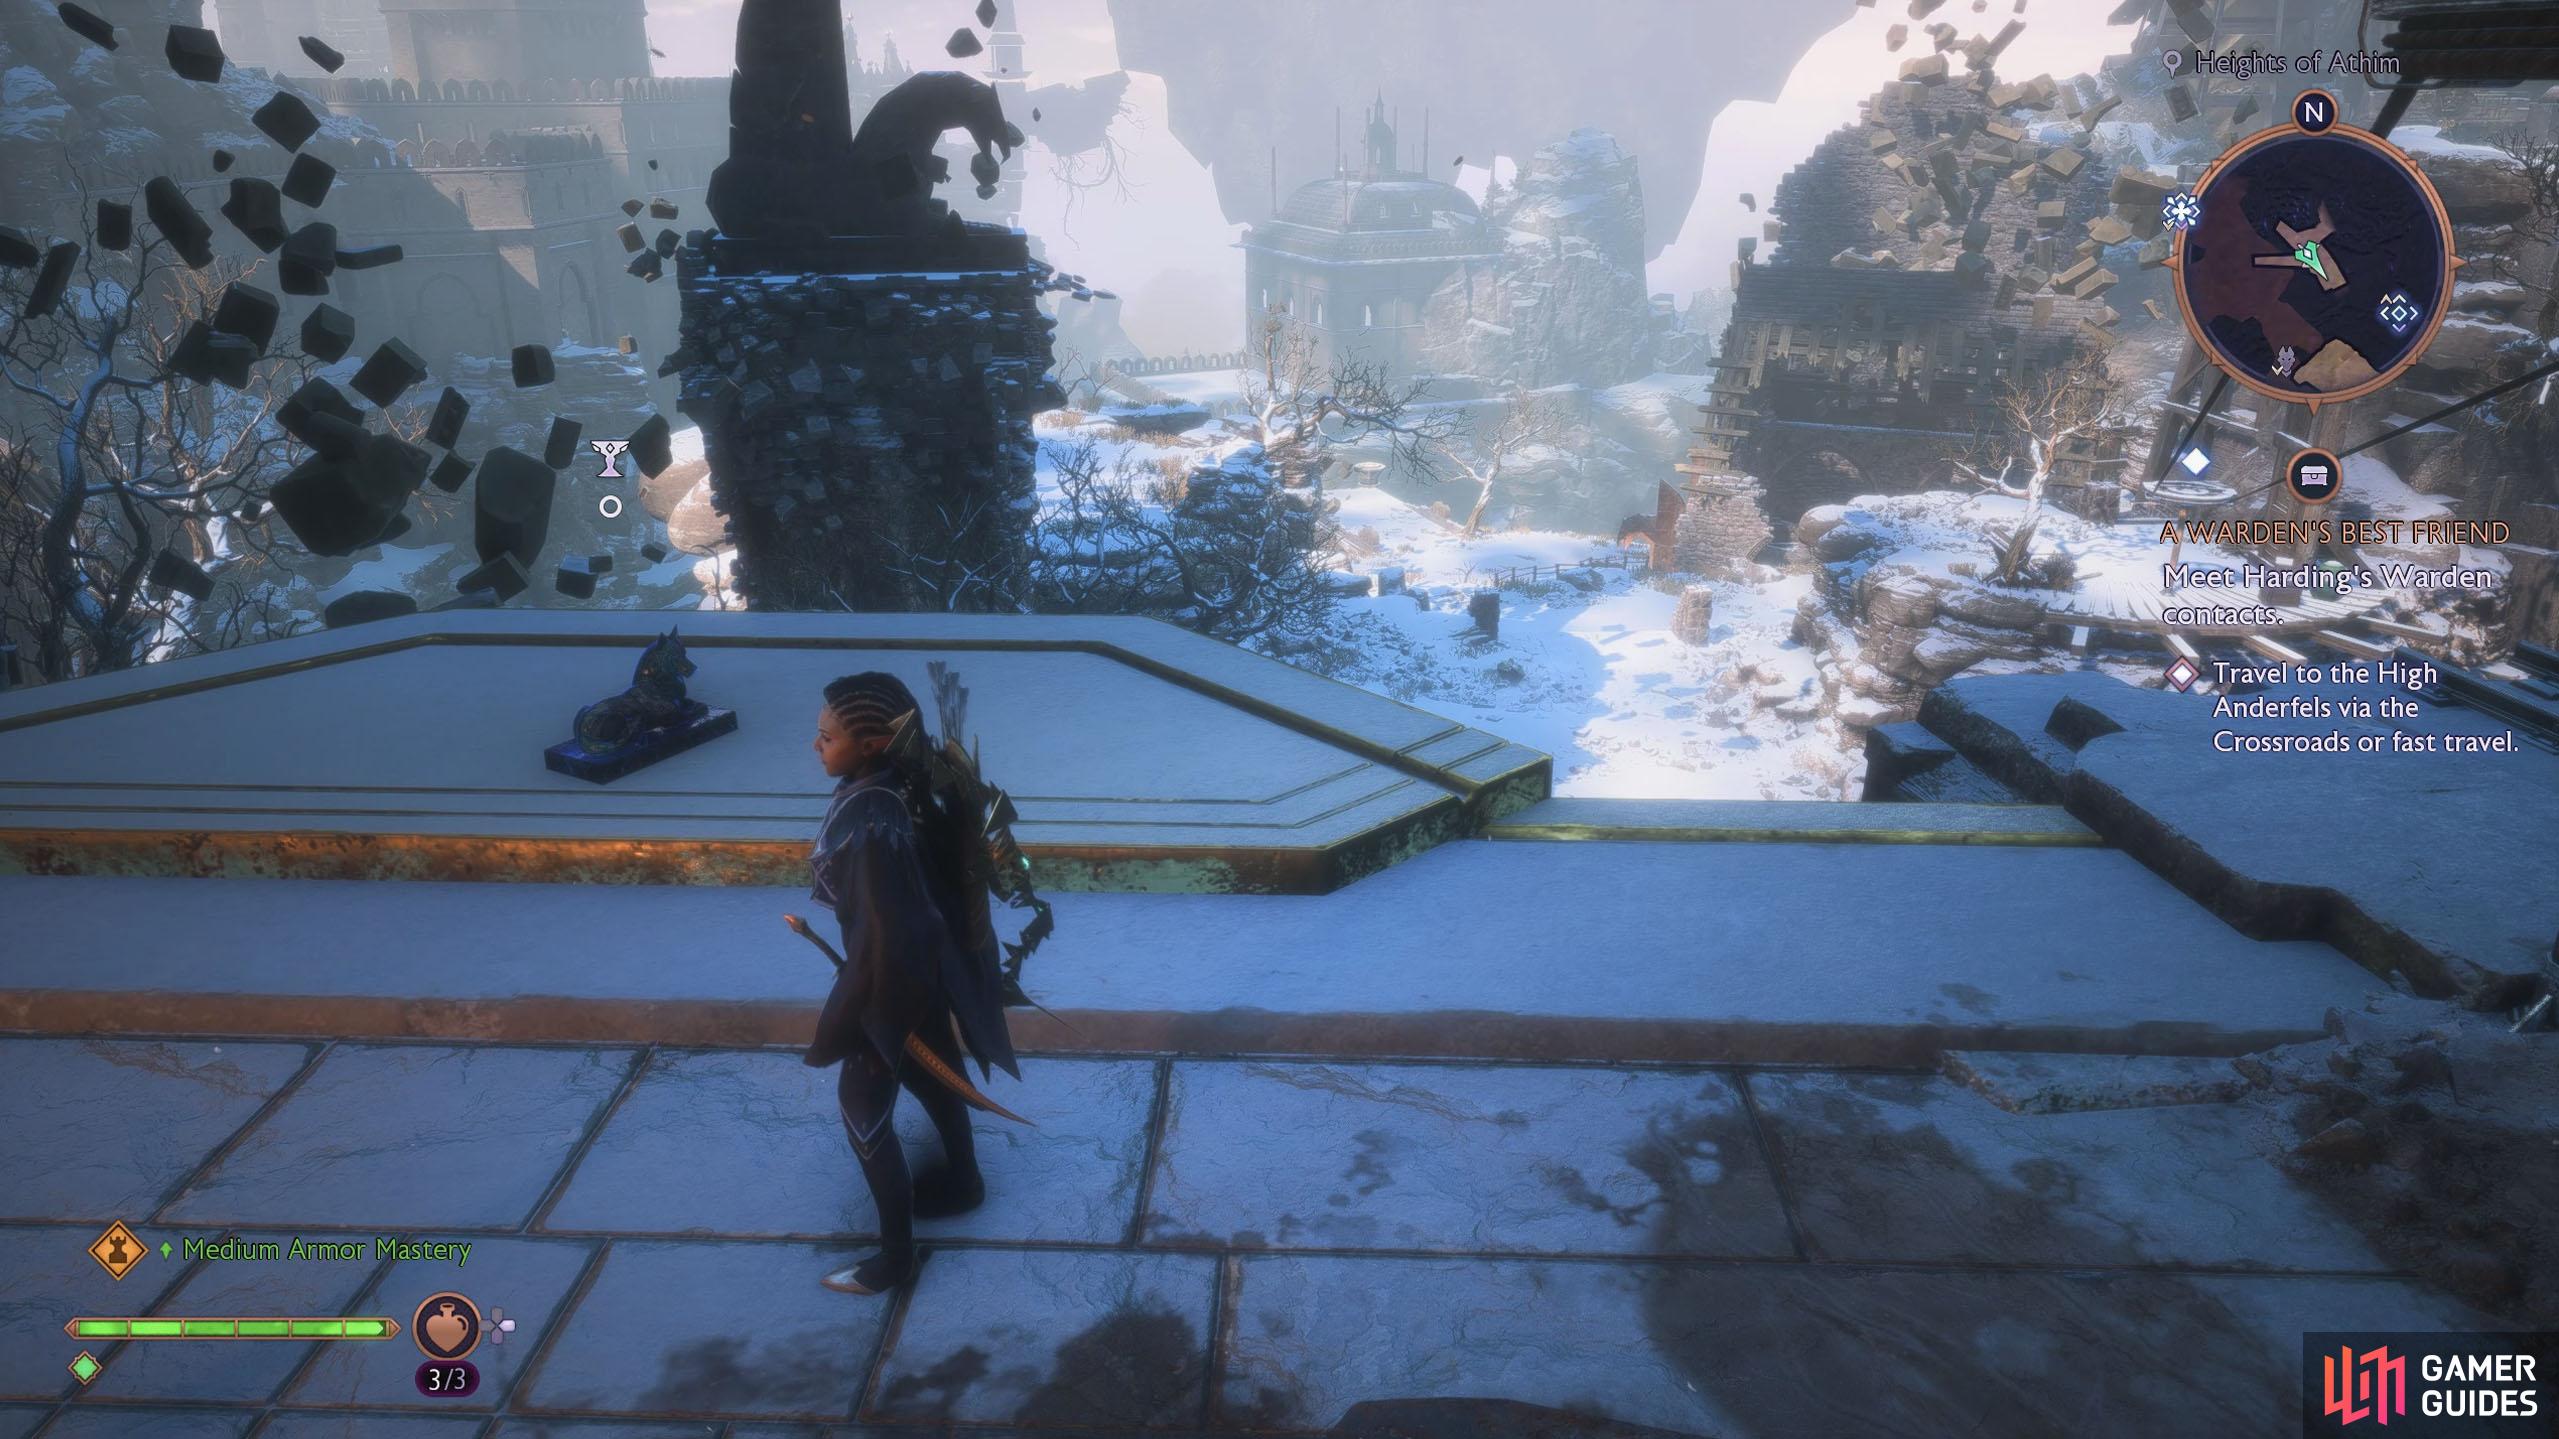
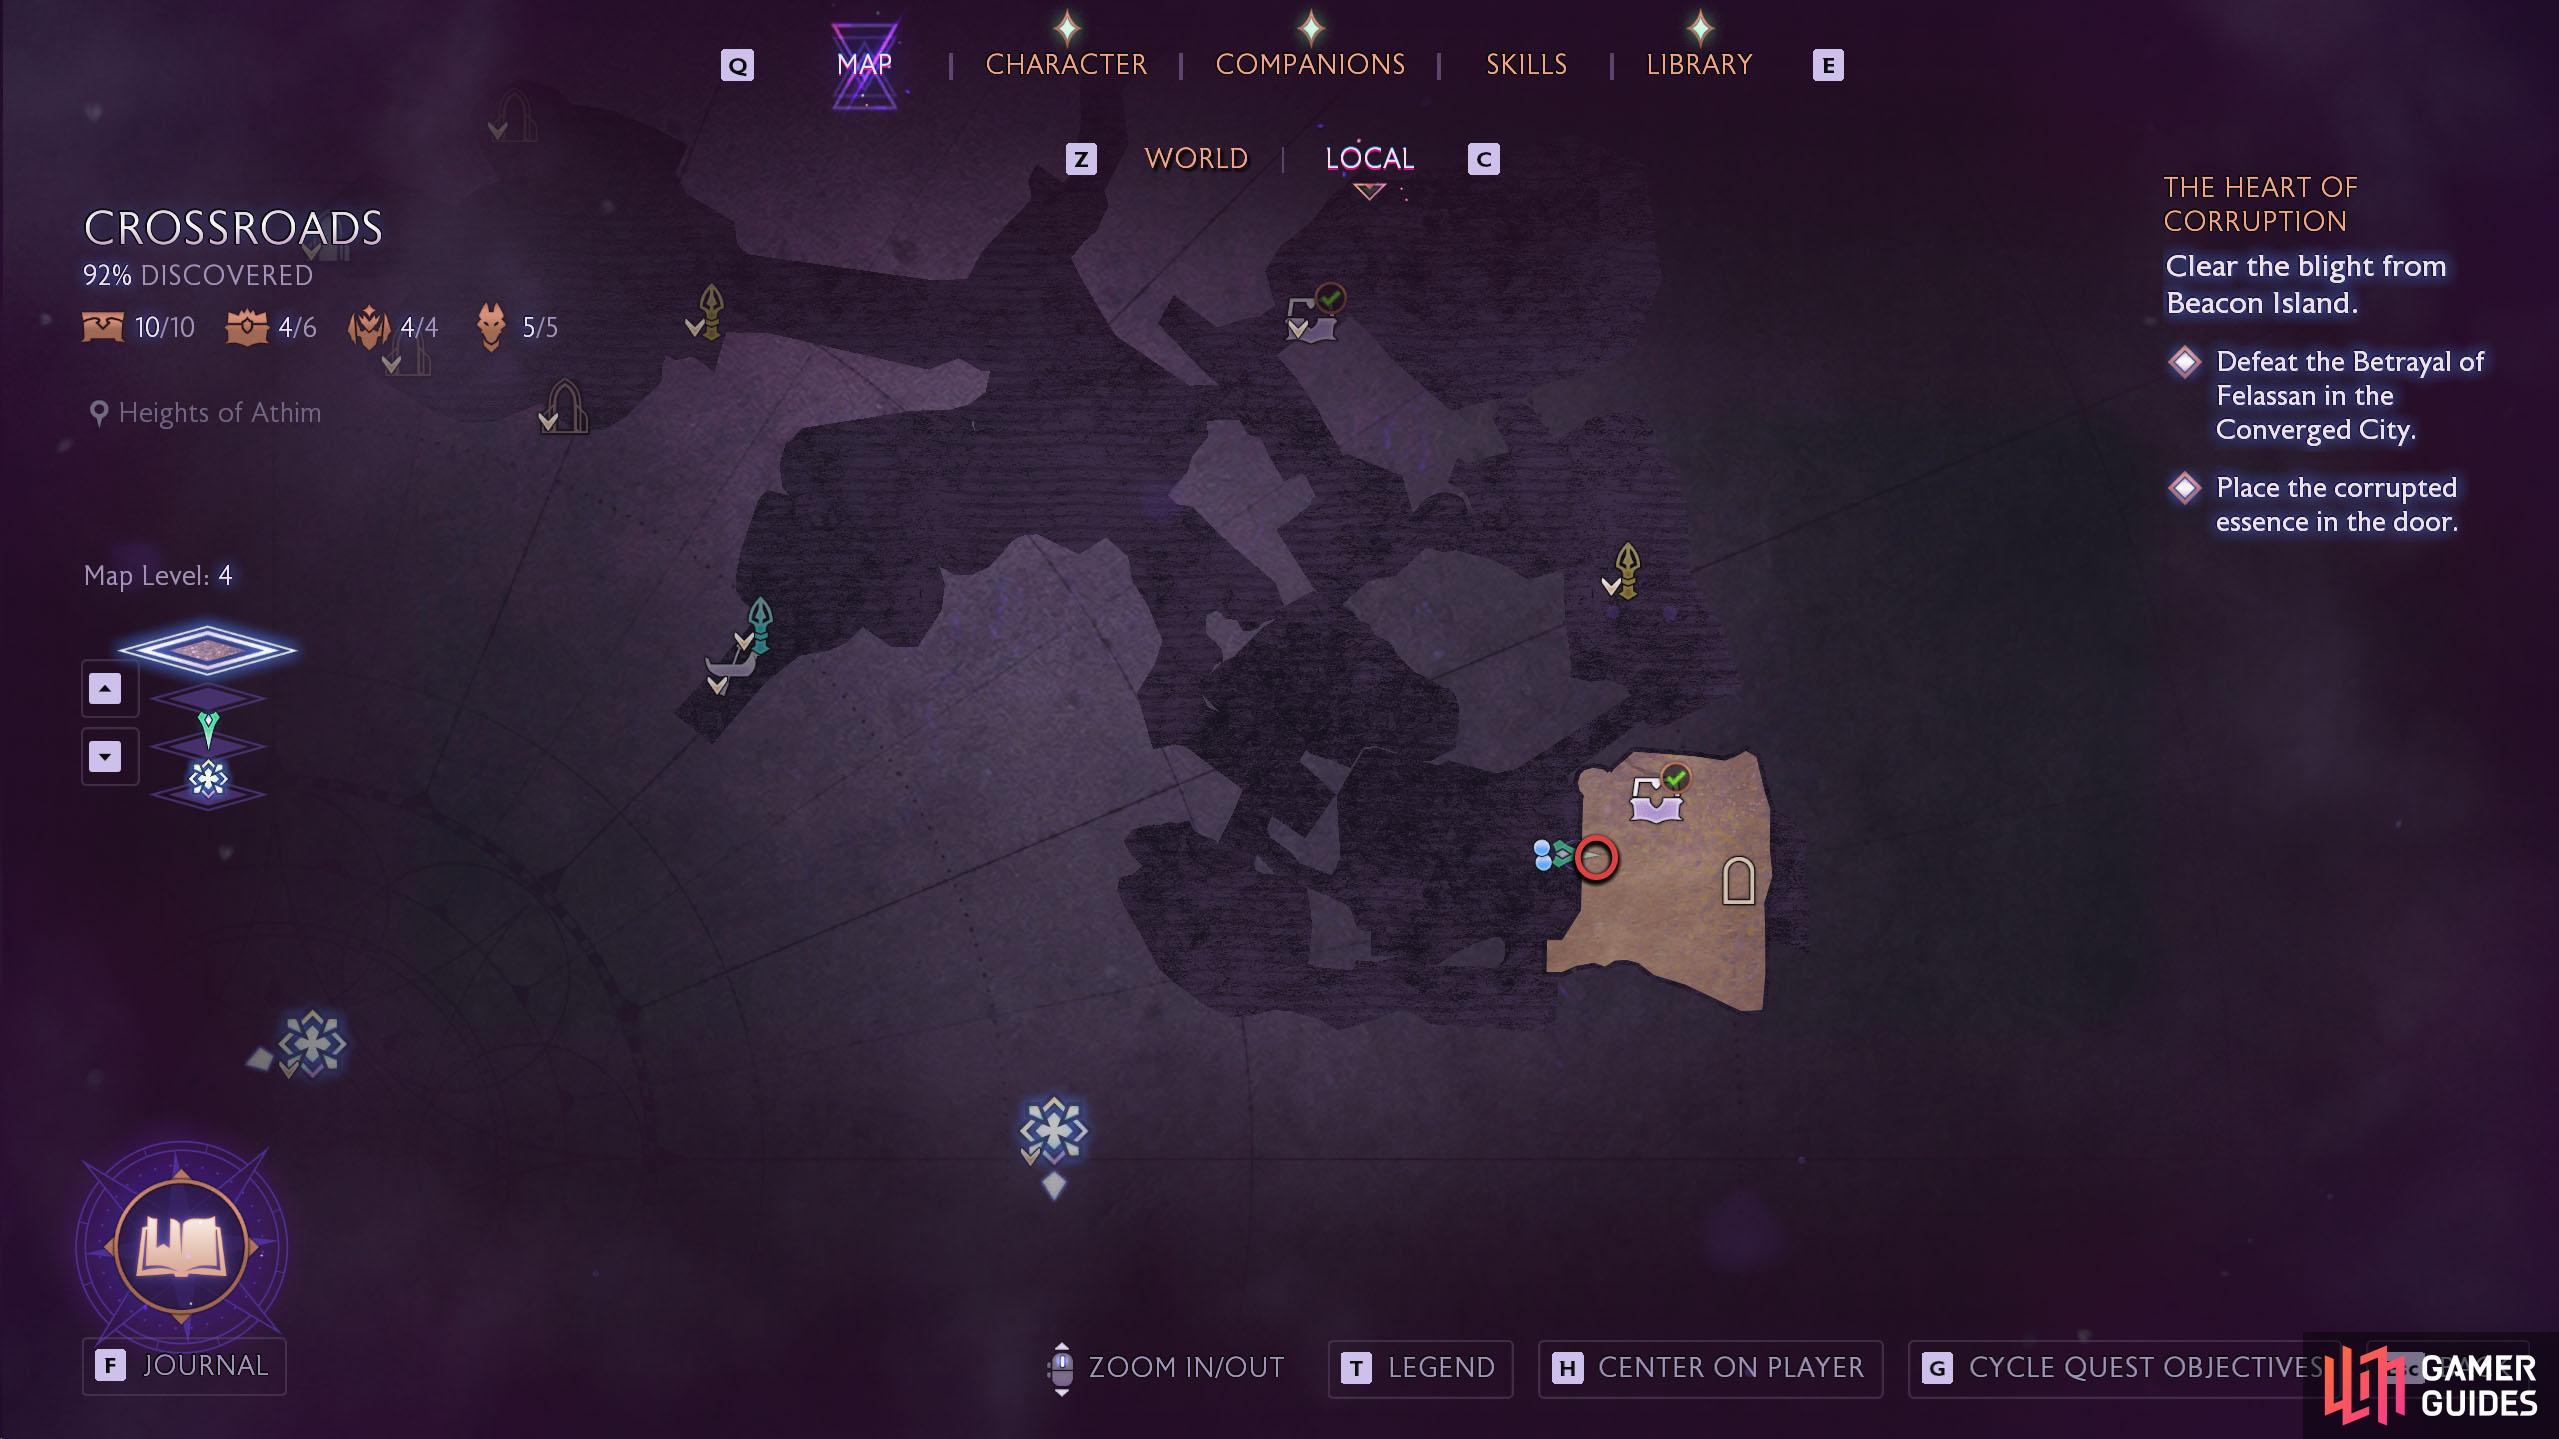
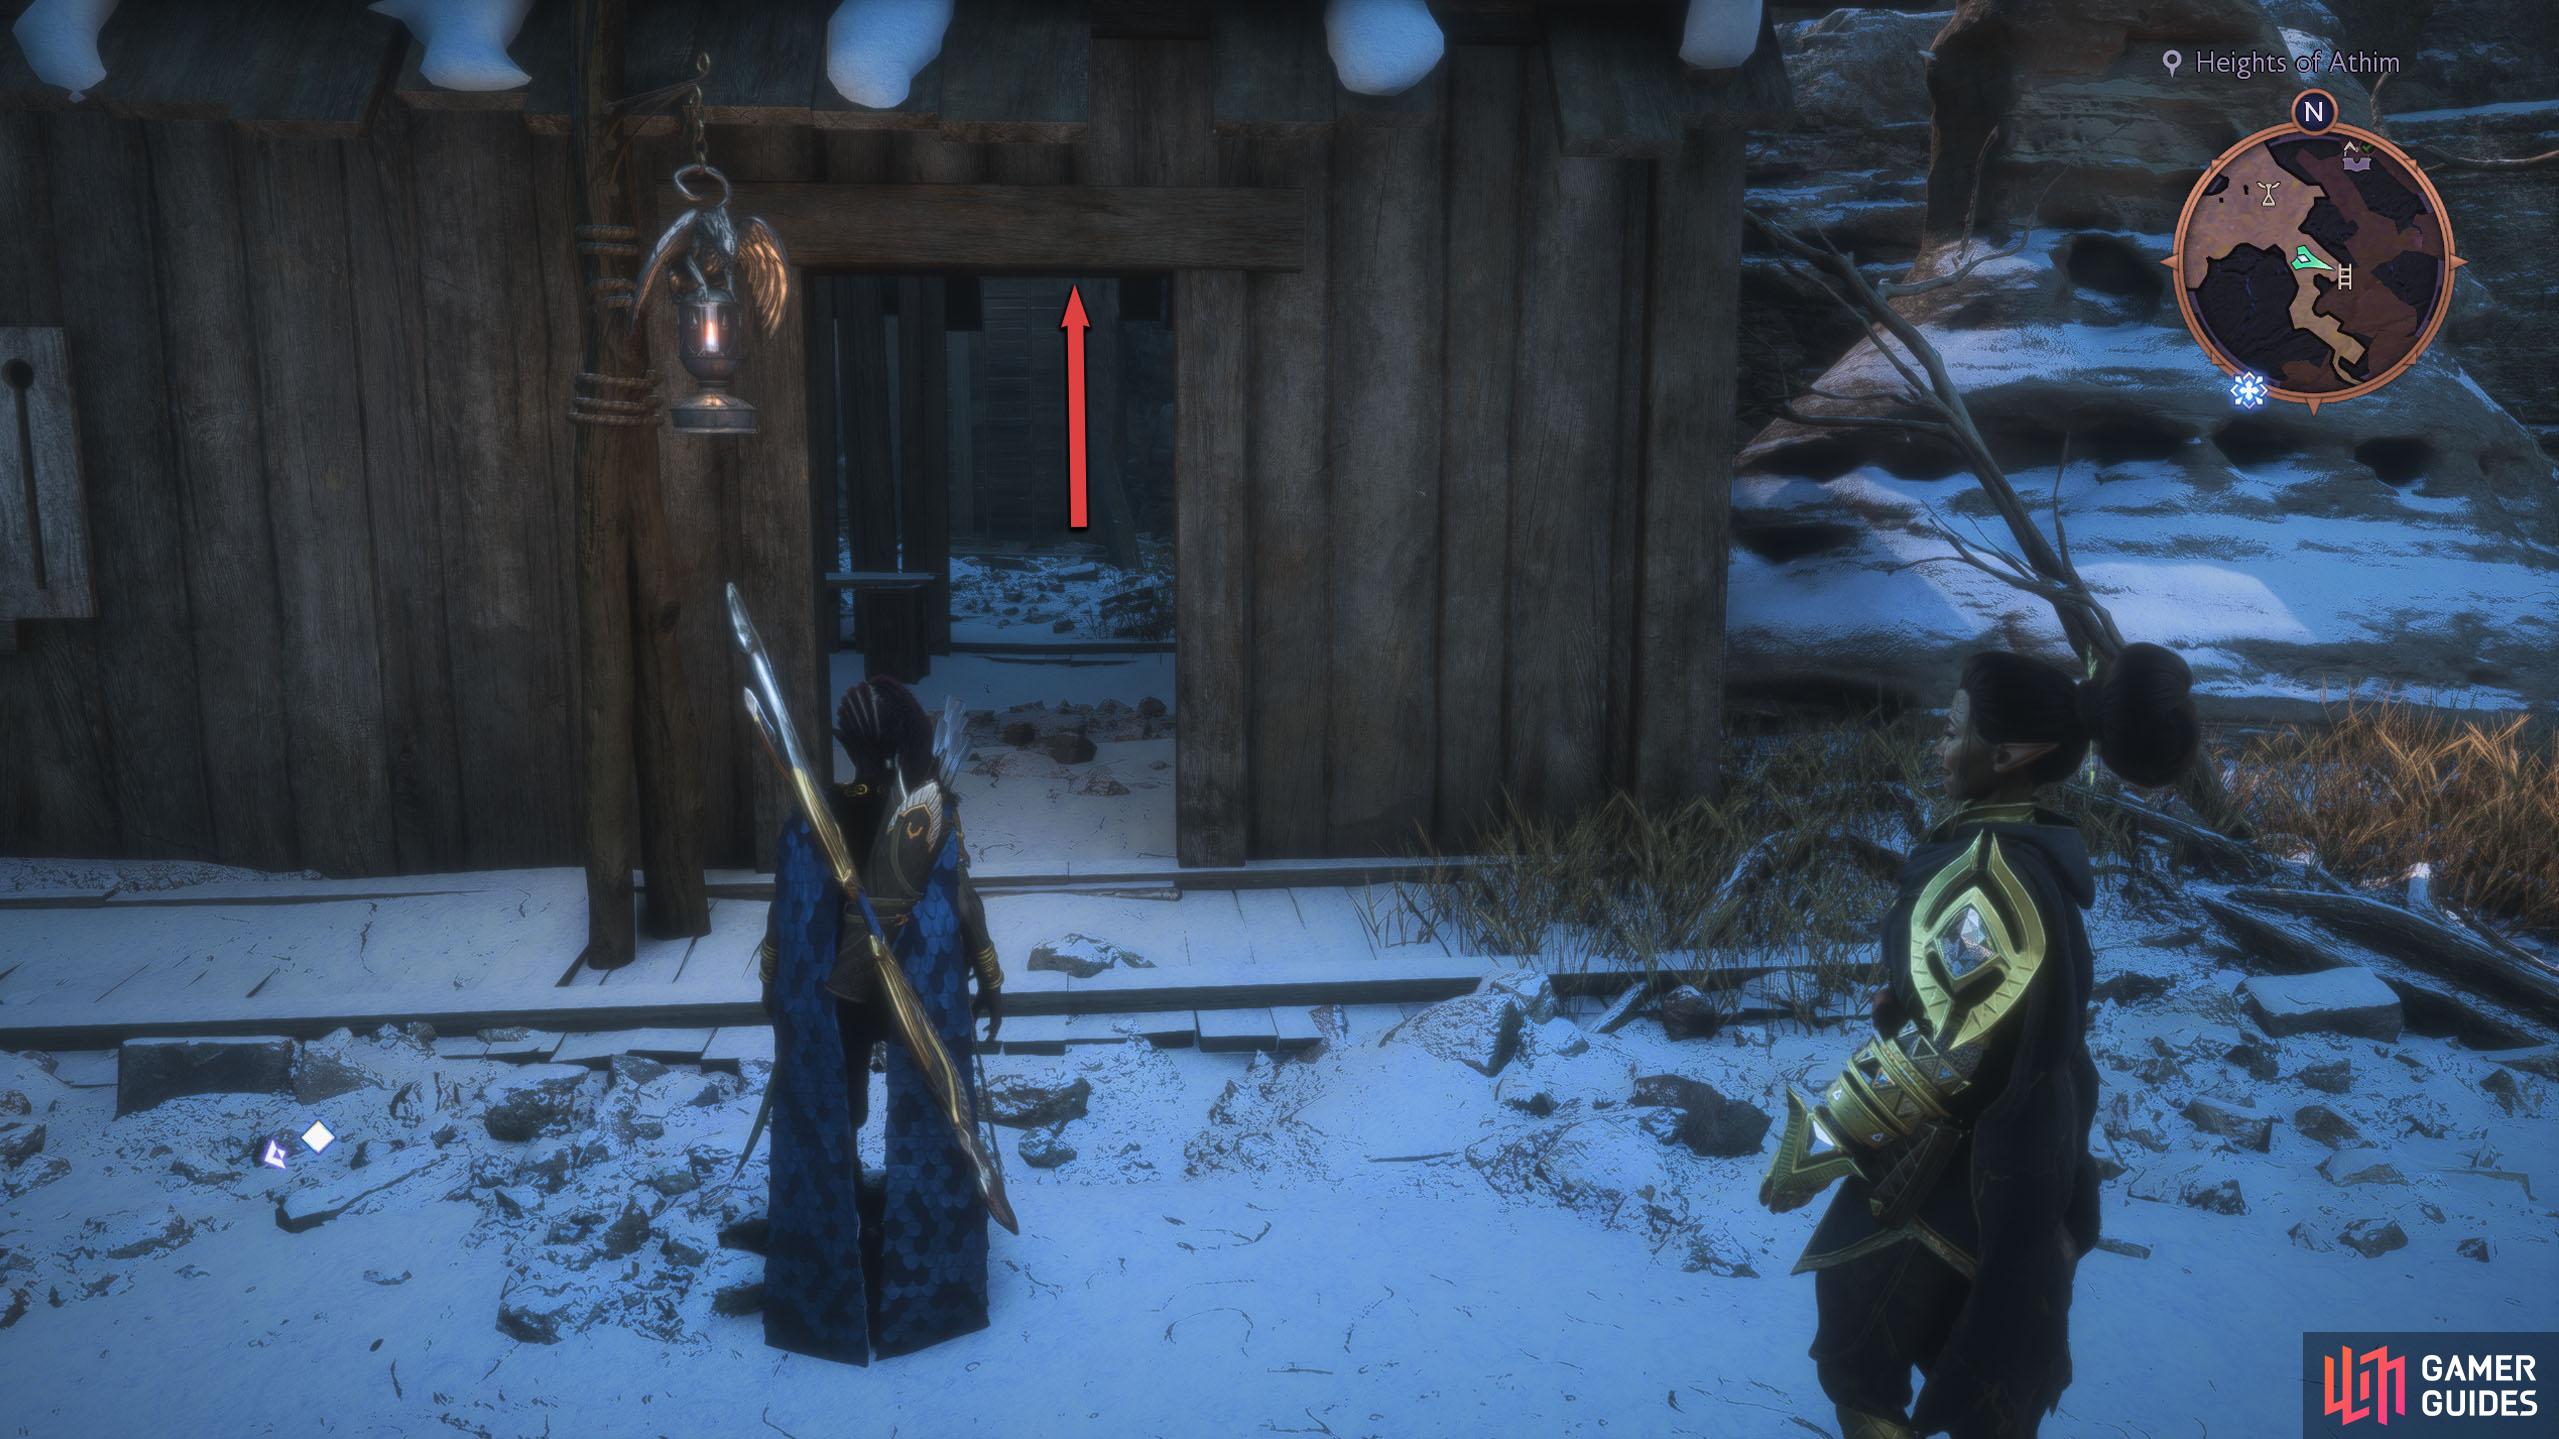
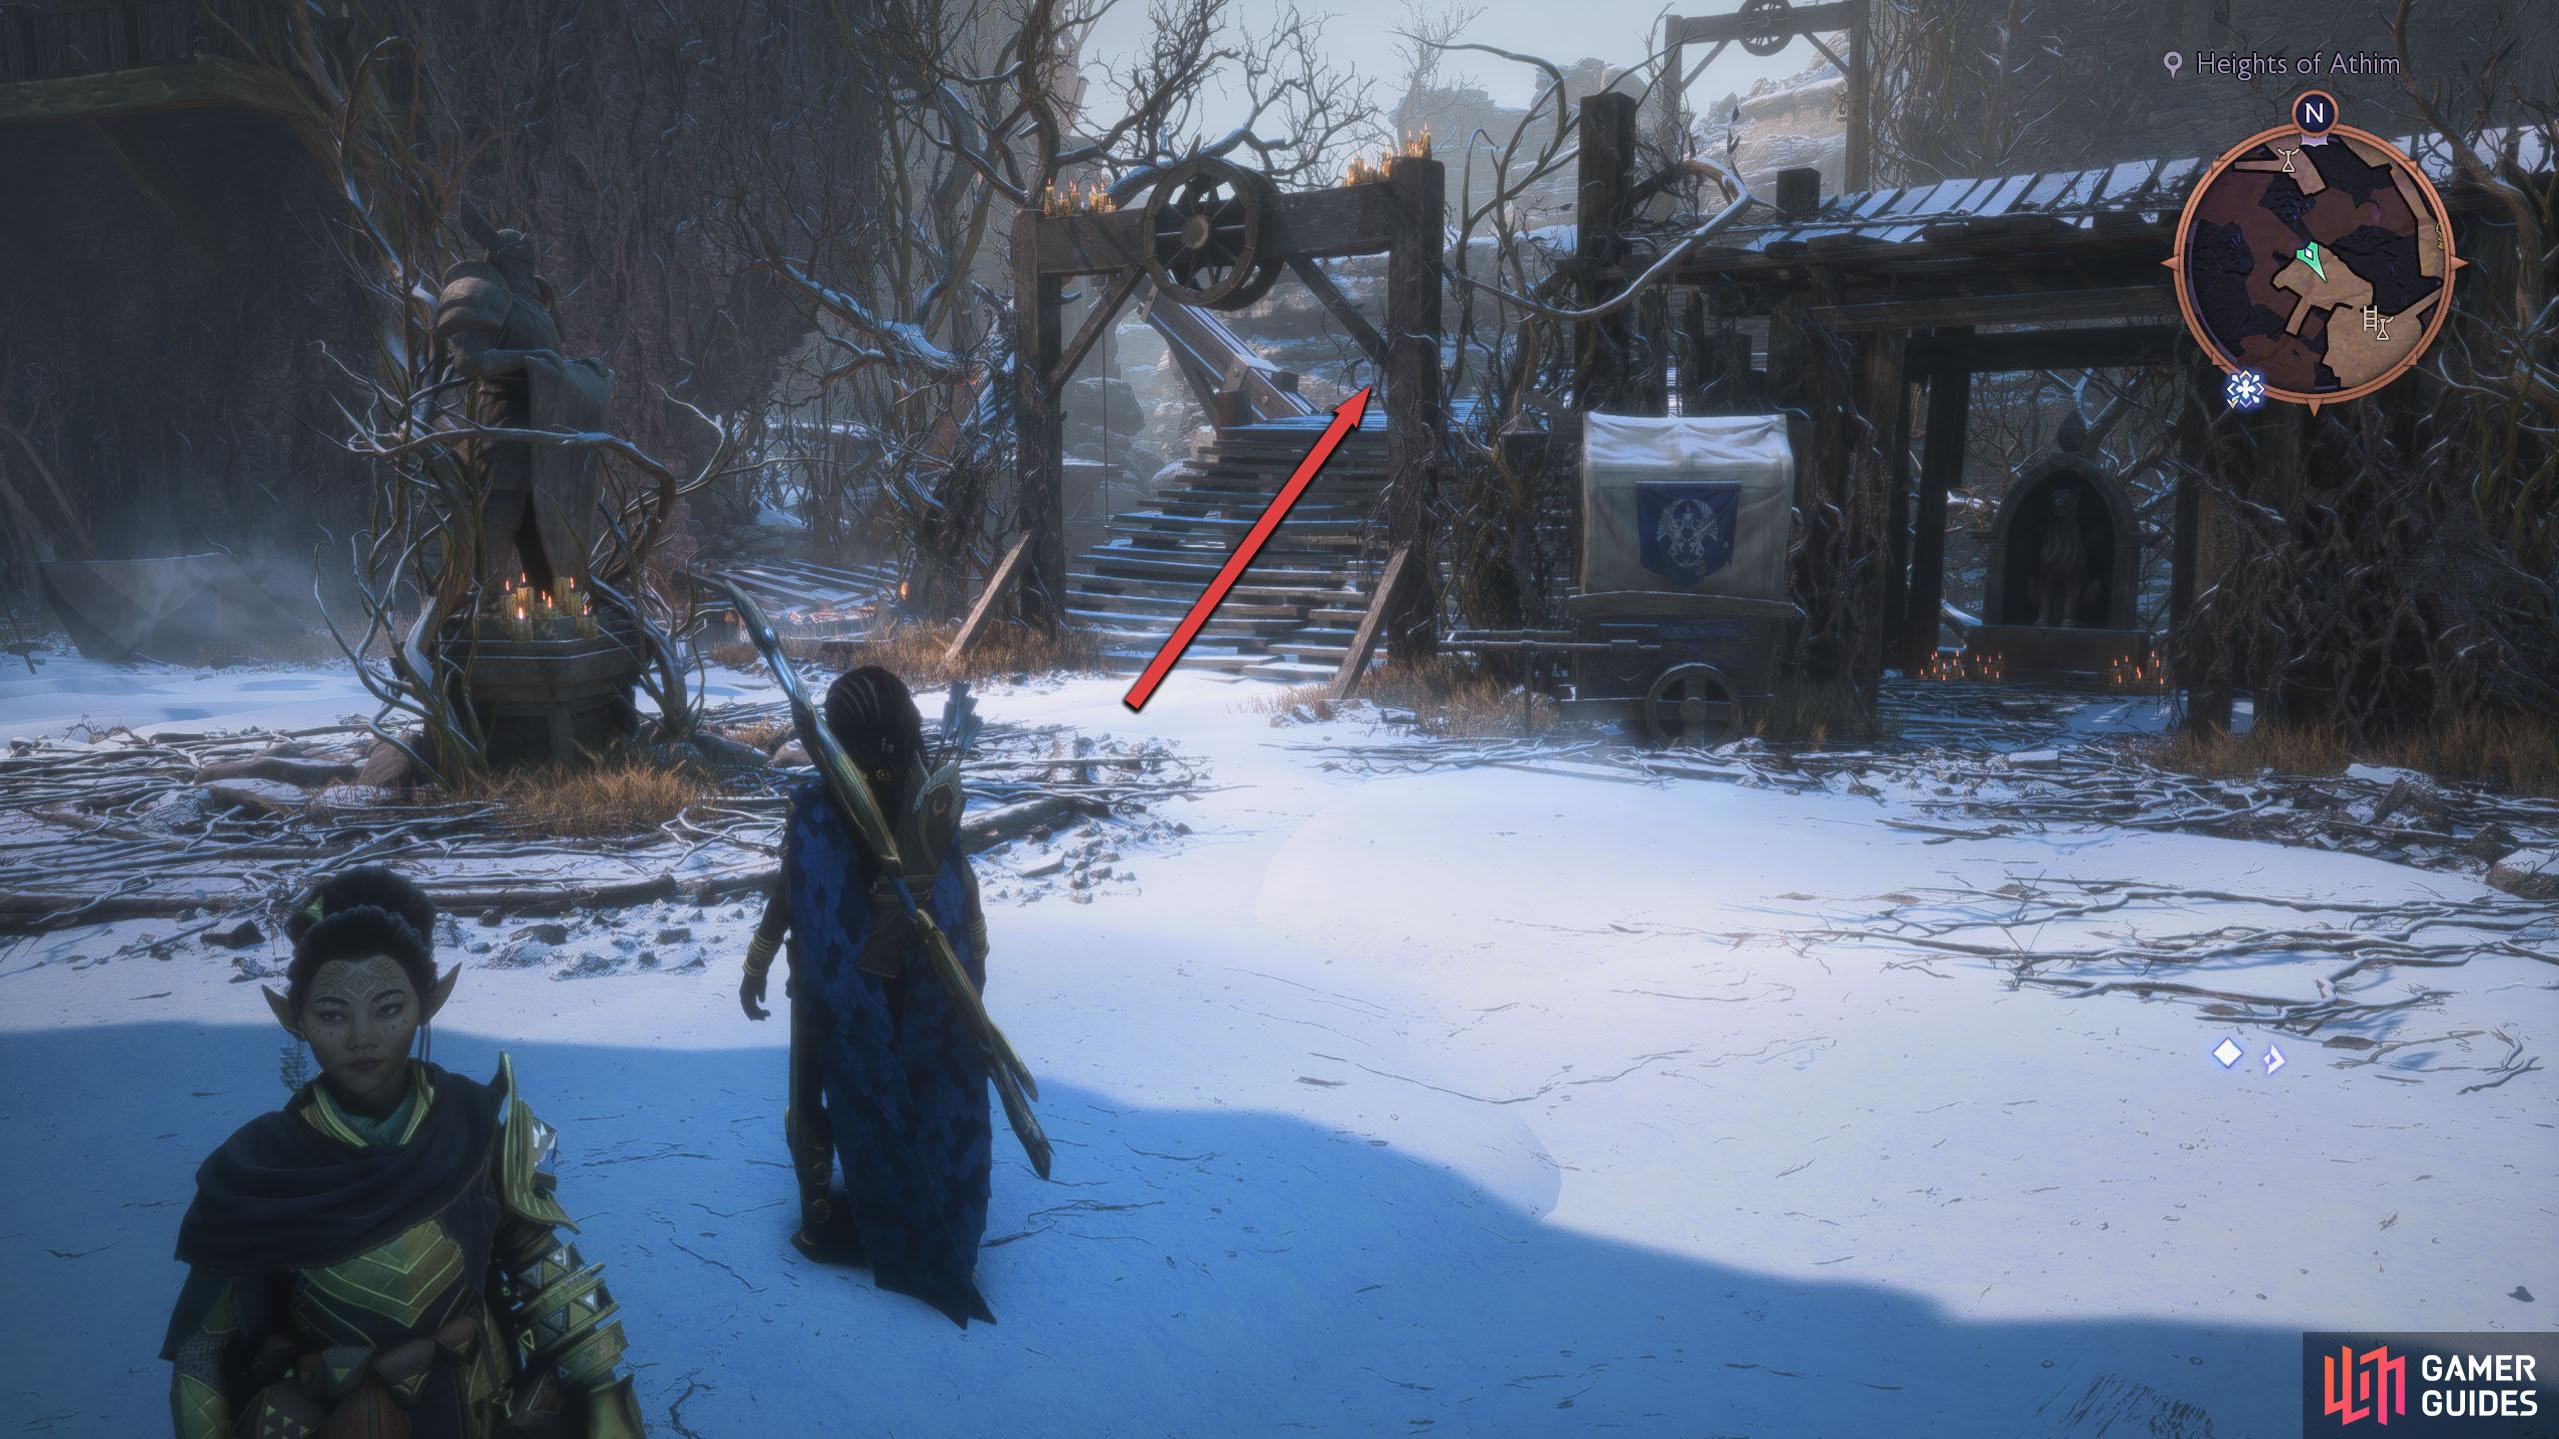
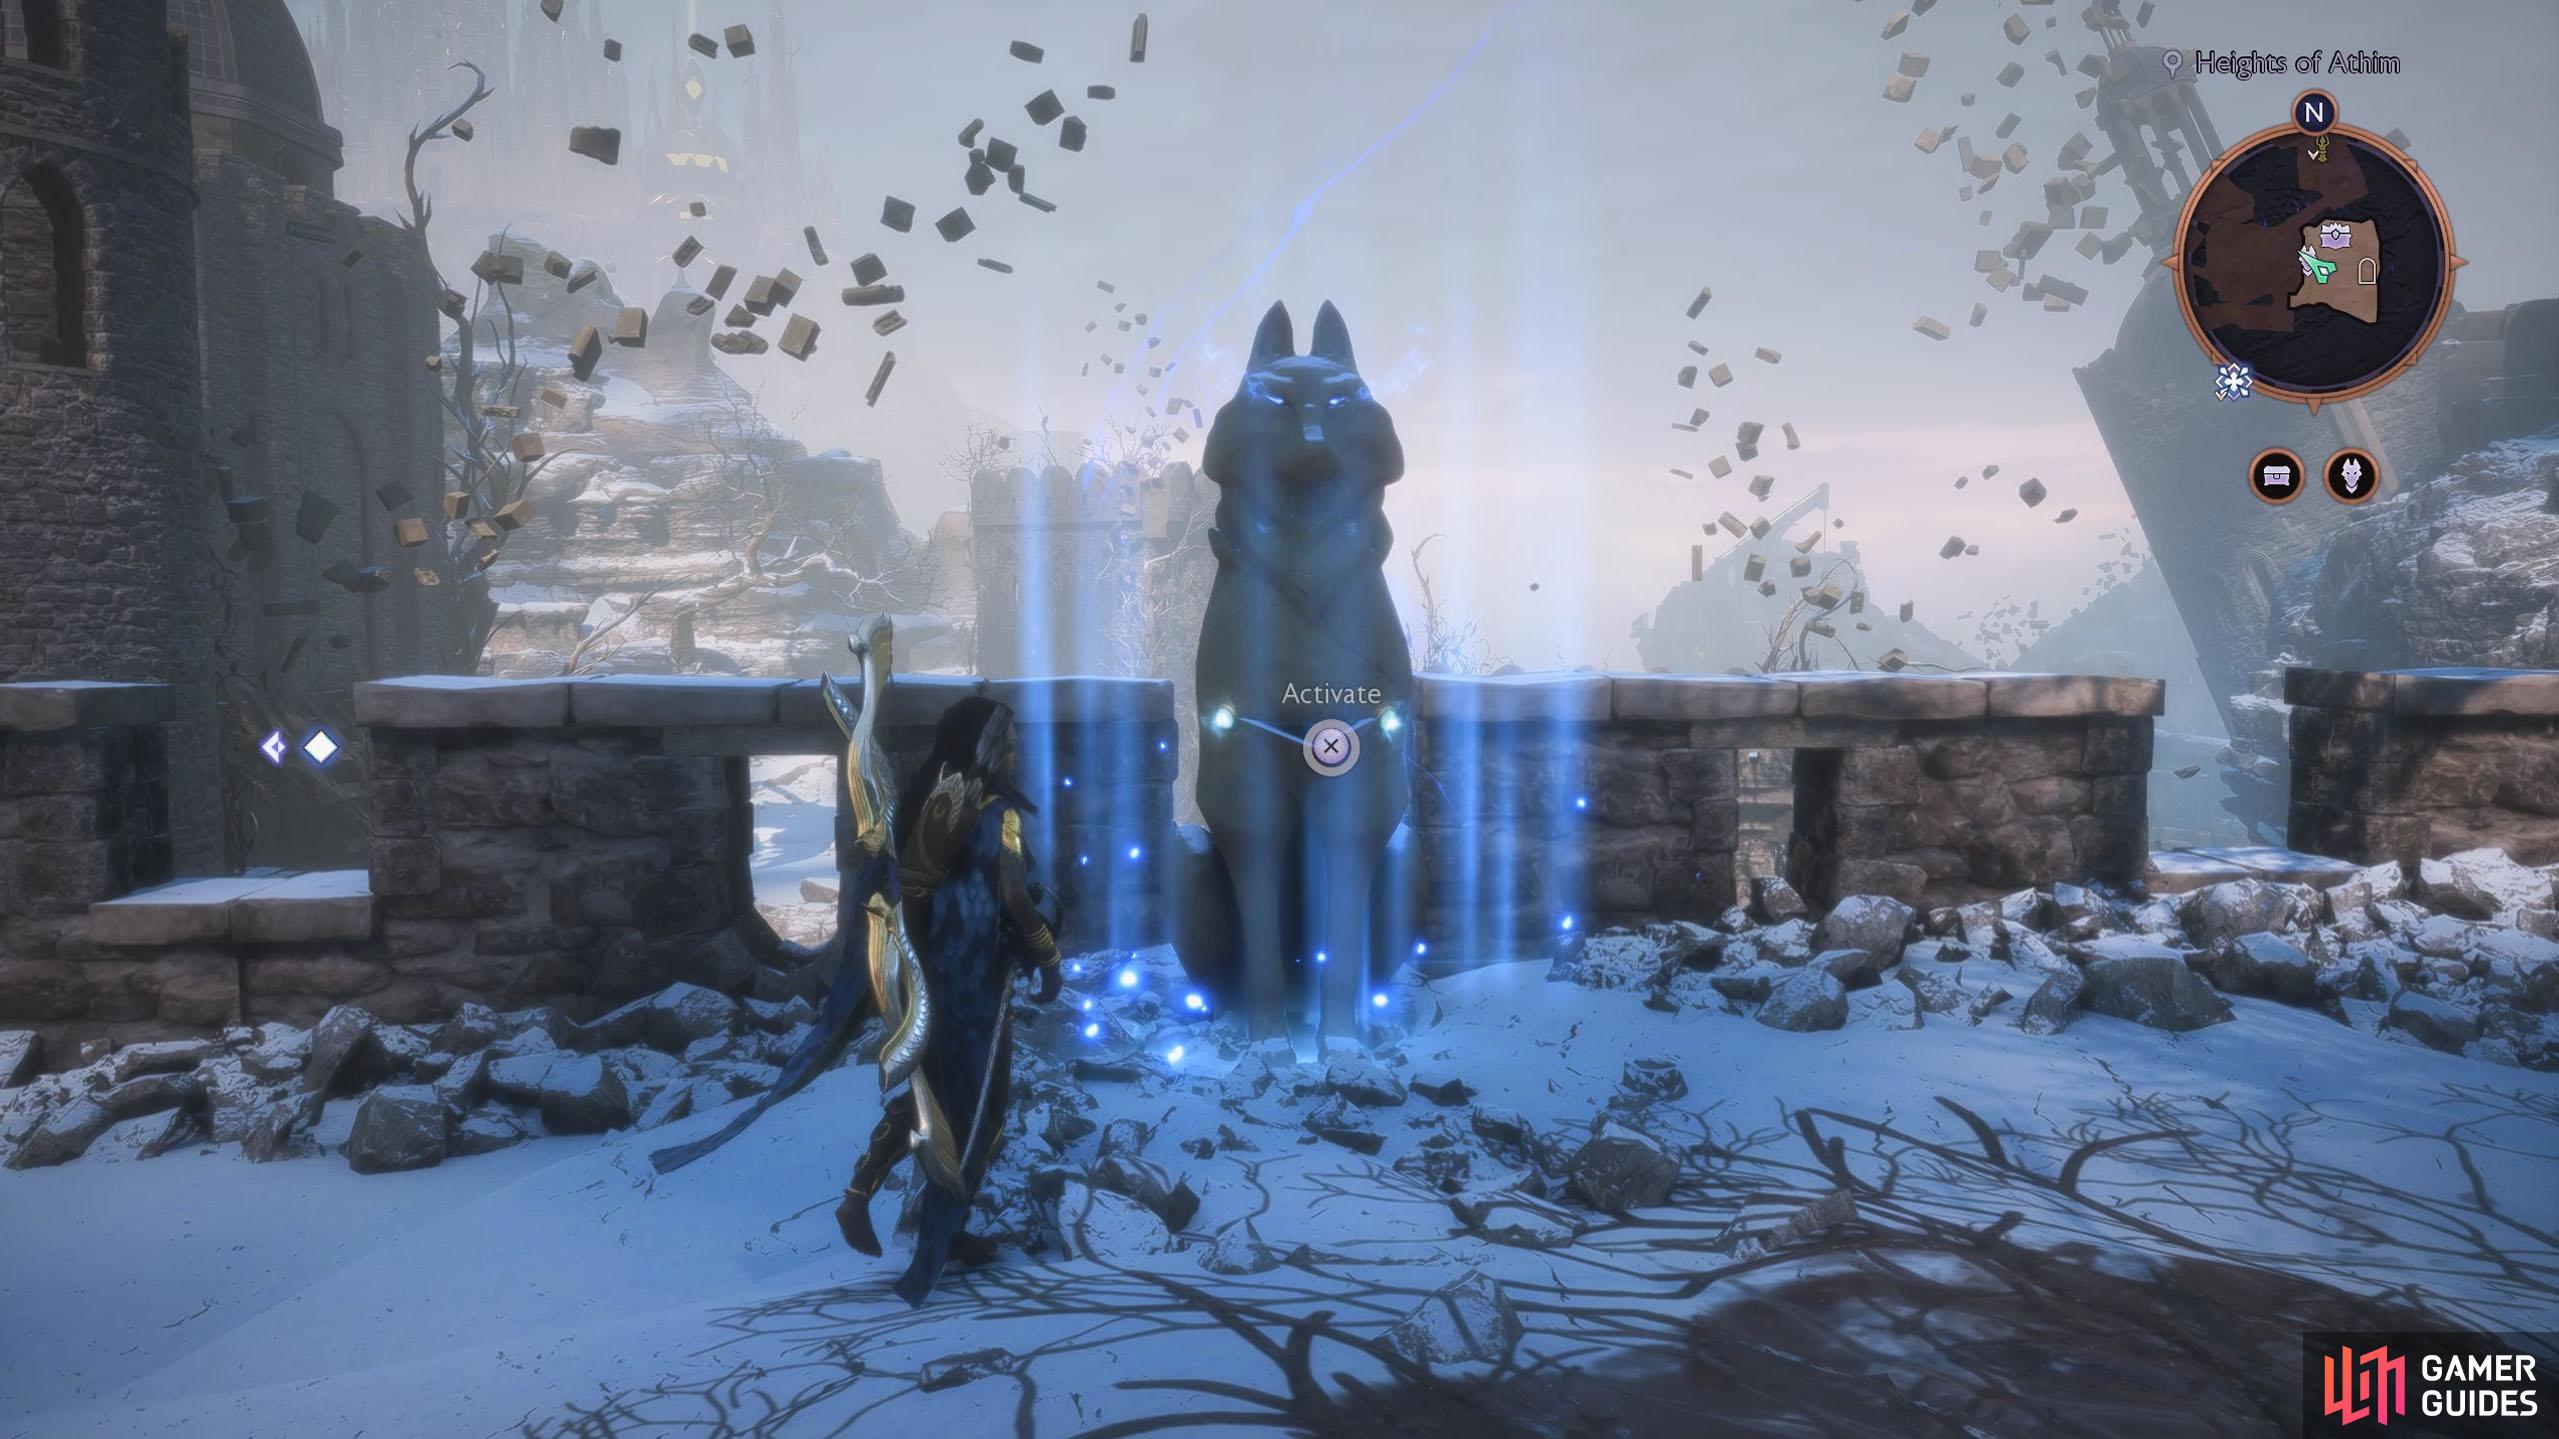
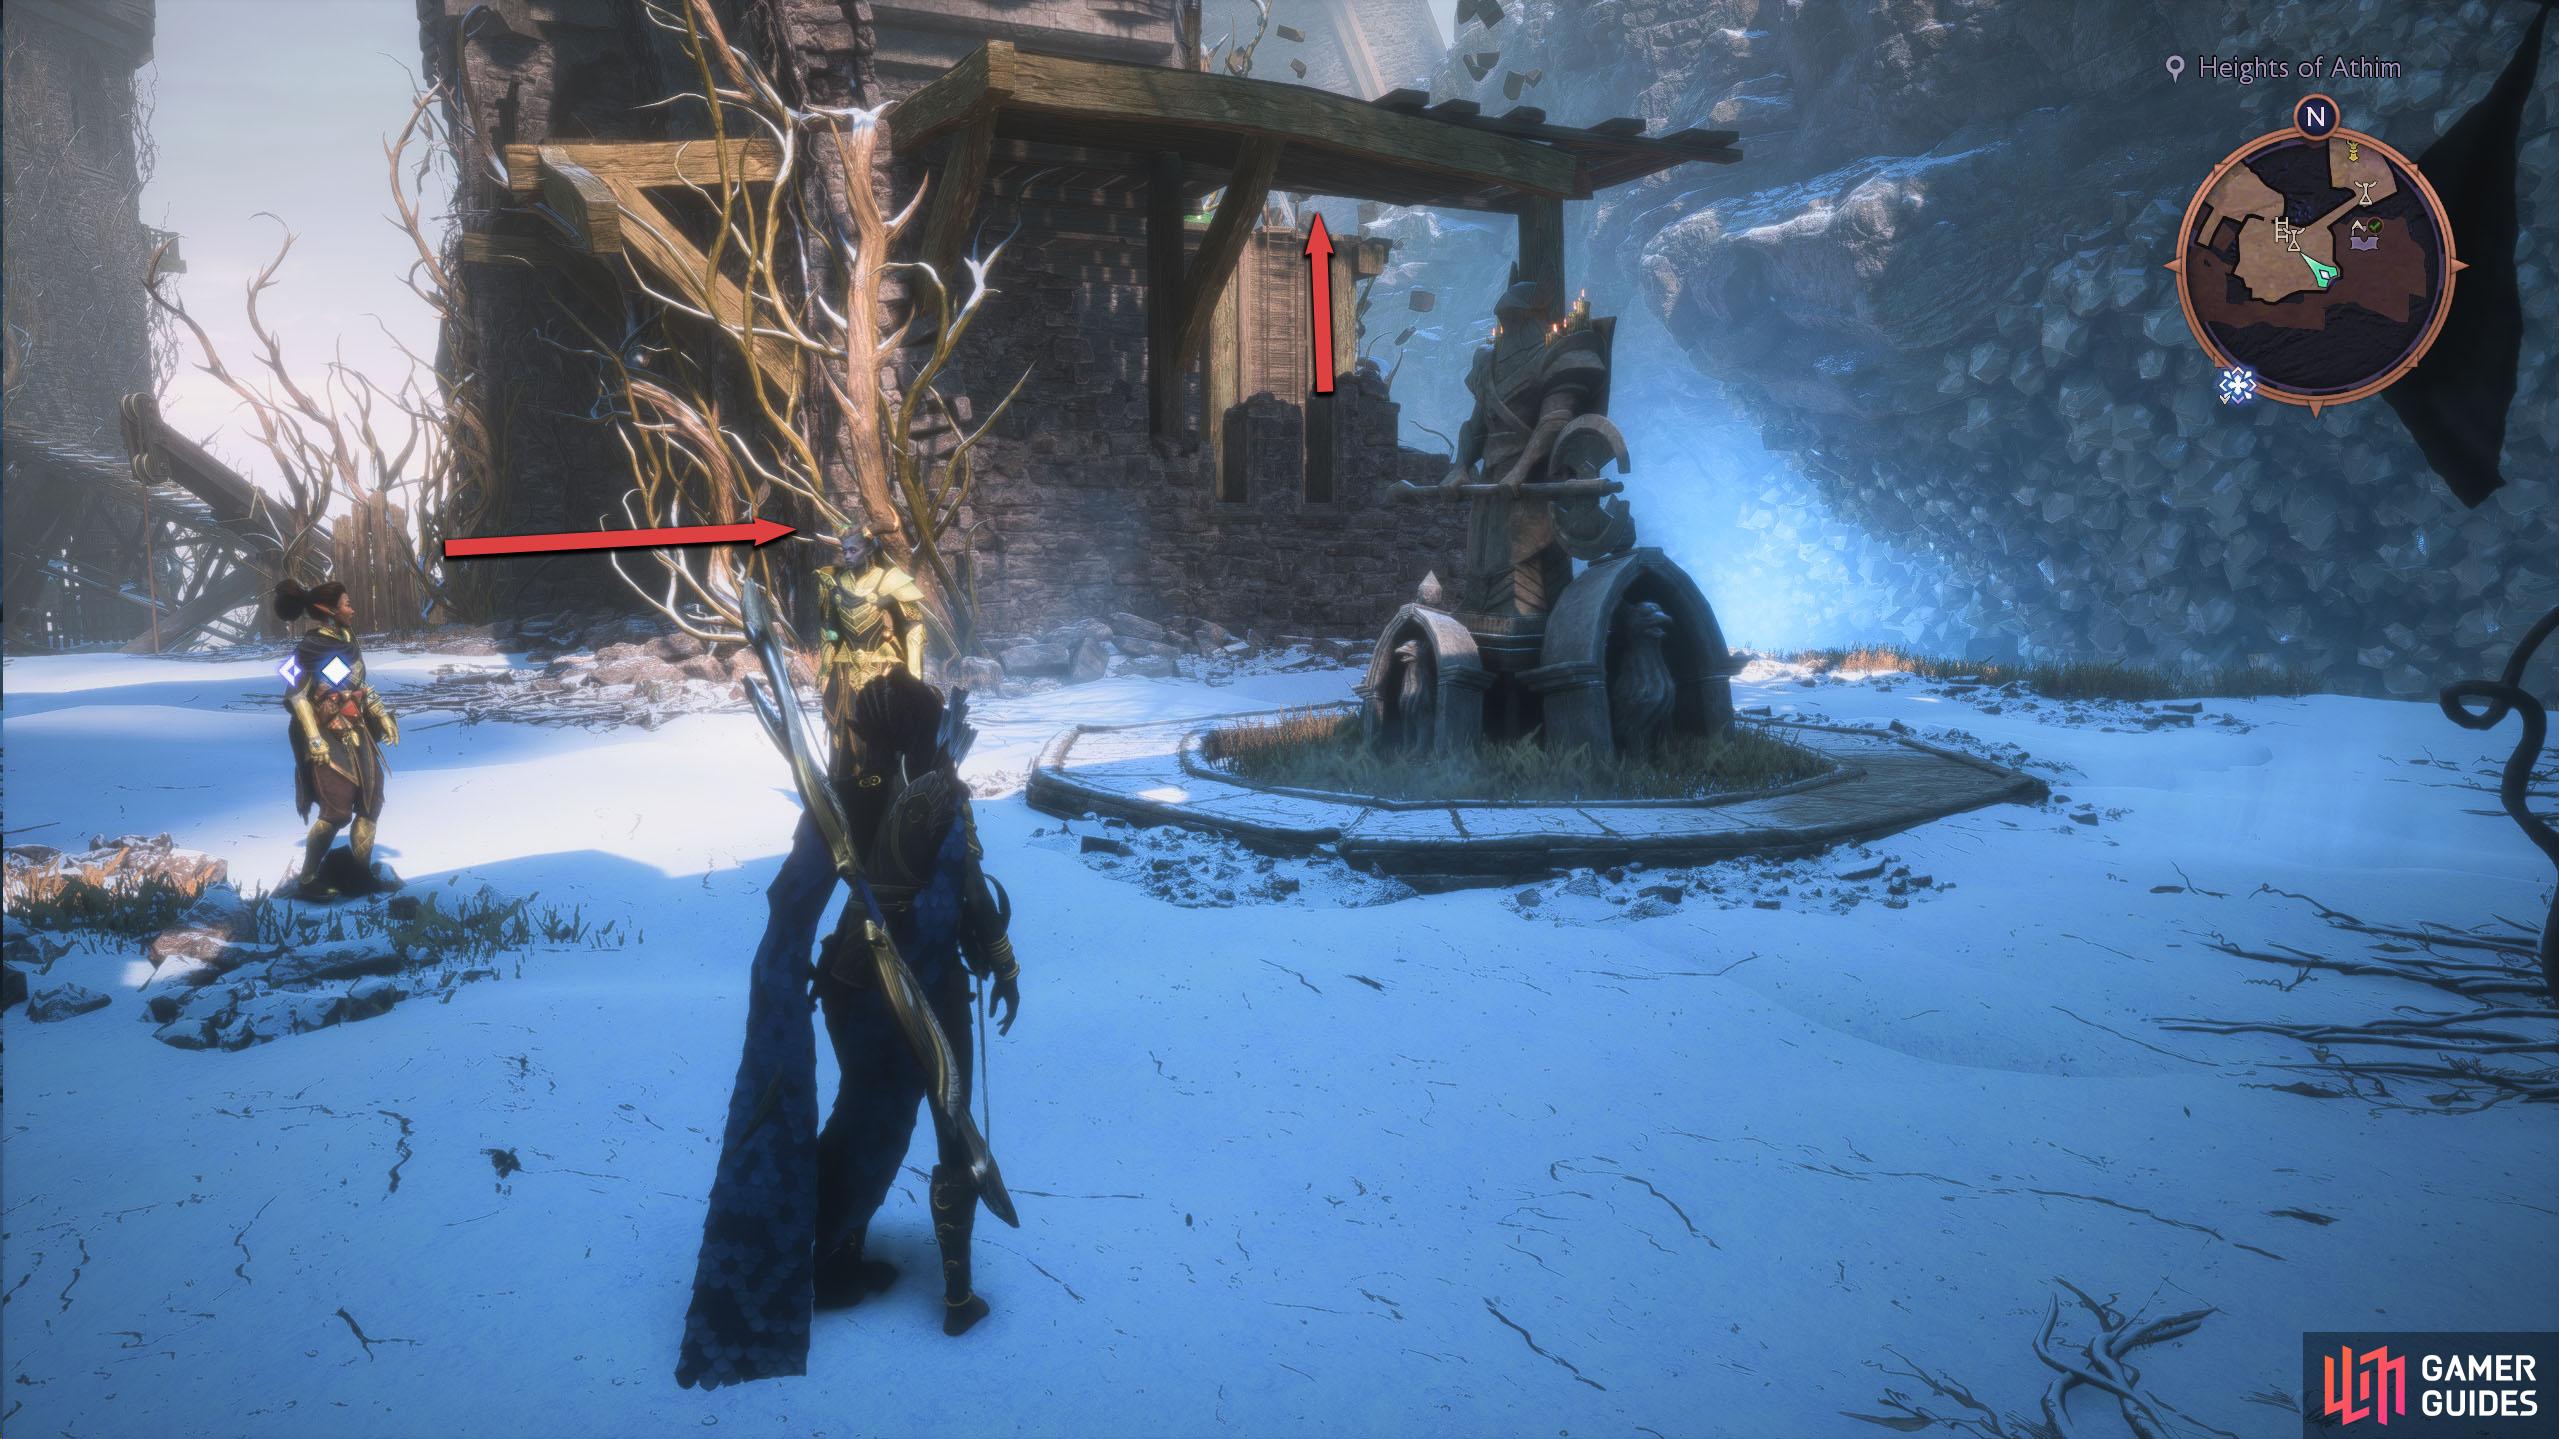
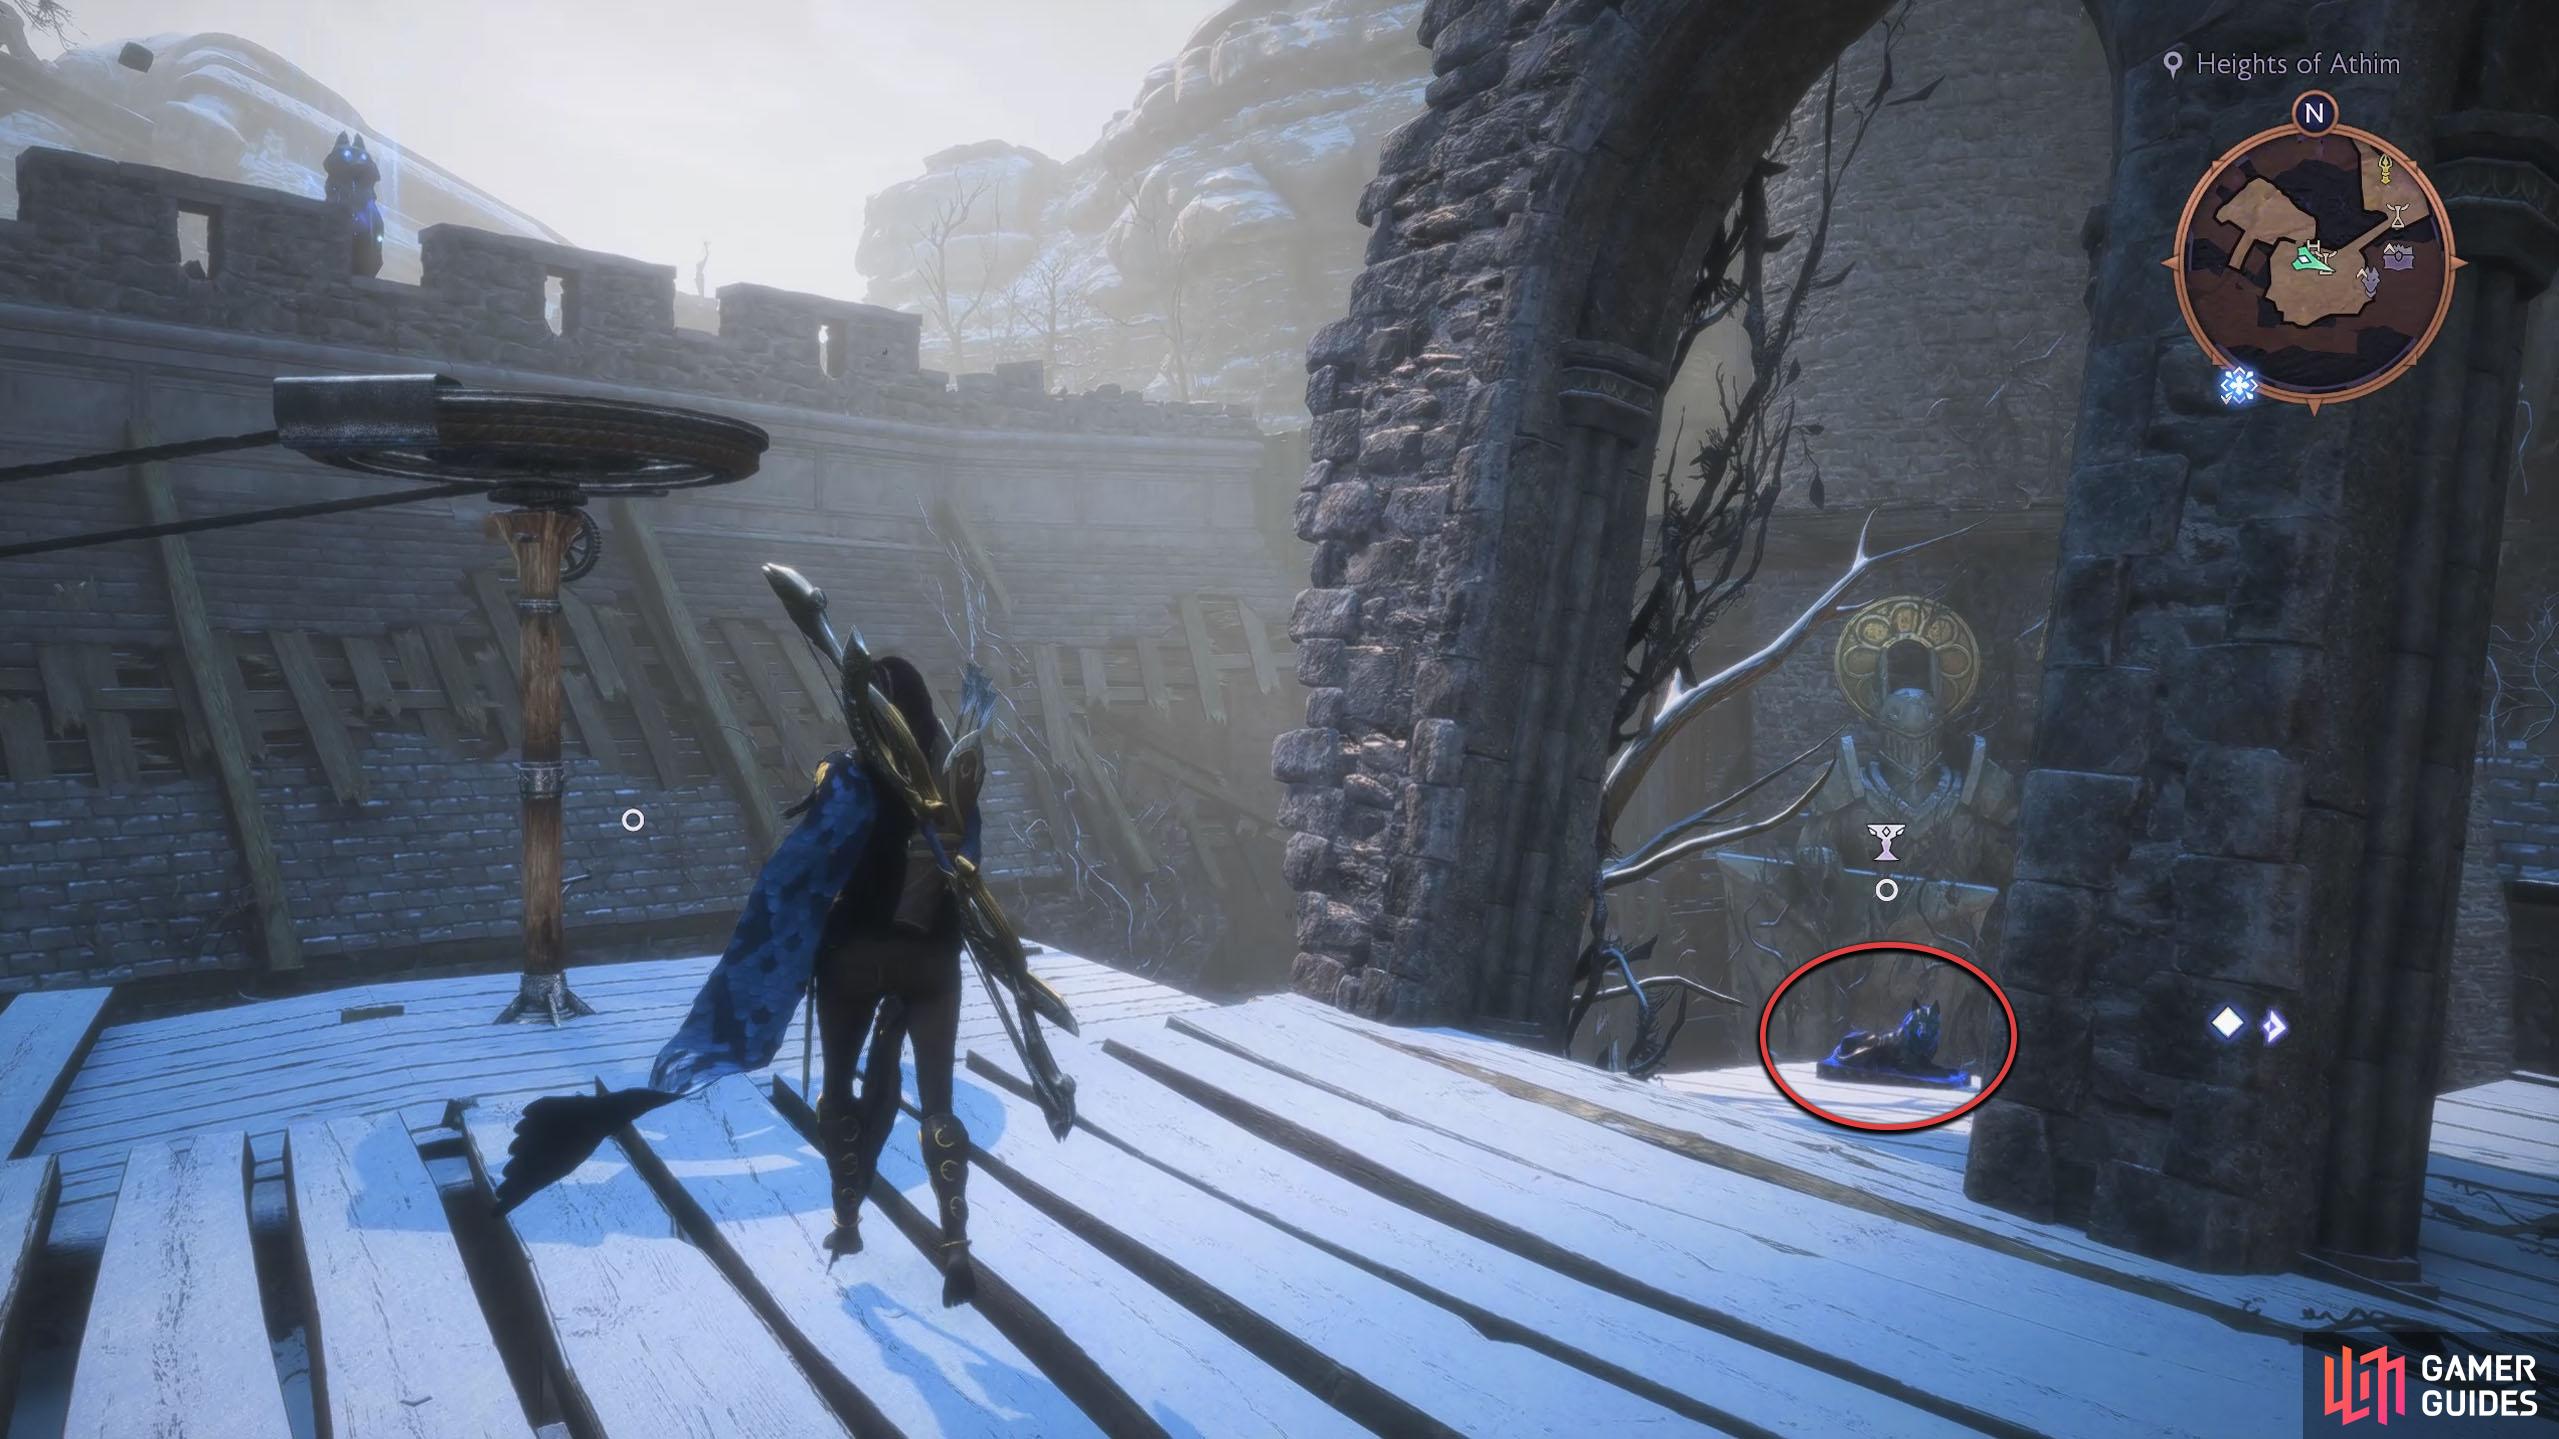
In the Heights of Athim area during the “A Warden’s Best Friend” story quest, teleport to the Fast Travel, and walk forward up the stairs until you encounter some Darkspawn. Defeat the enemies and head southeast toward the shack. The Altar will be to the right of the Shack. Interact with the Altar, and then head back to where you fought the Darkspawn. The statue is on the high ledge to the east.
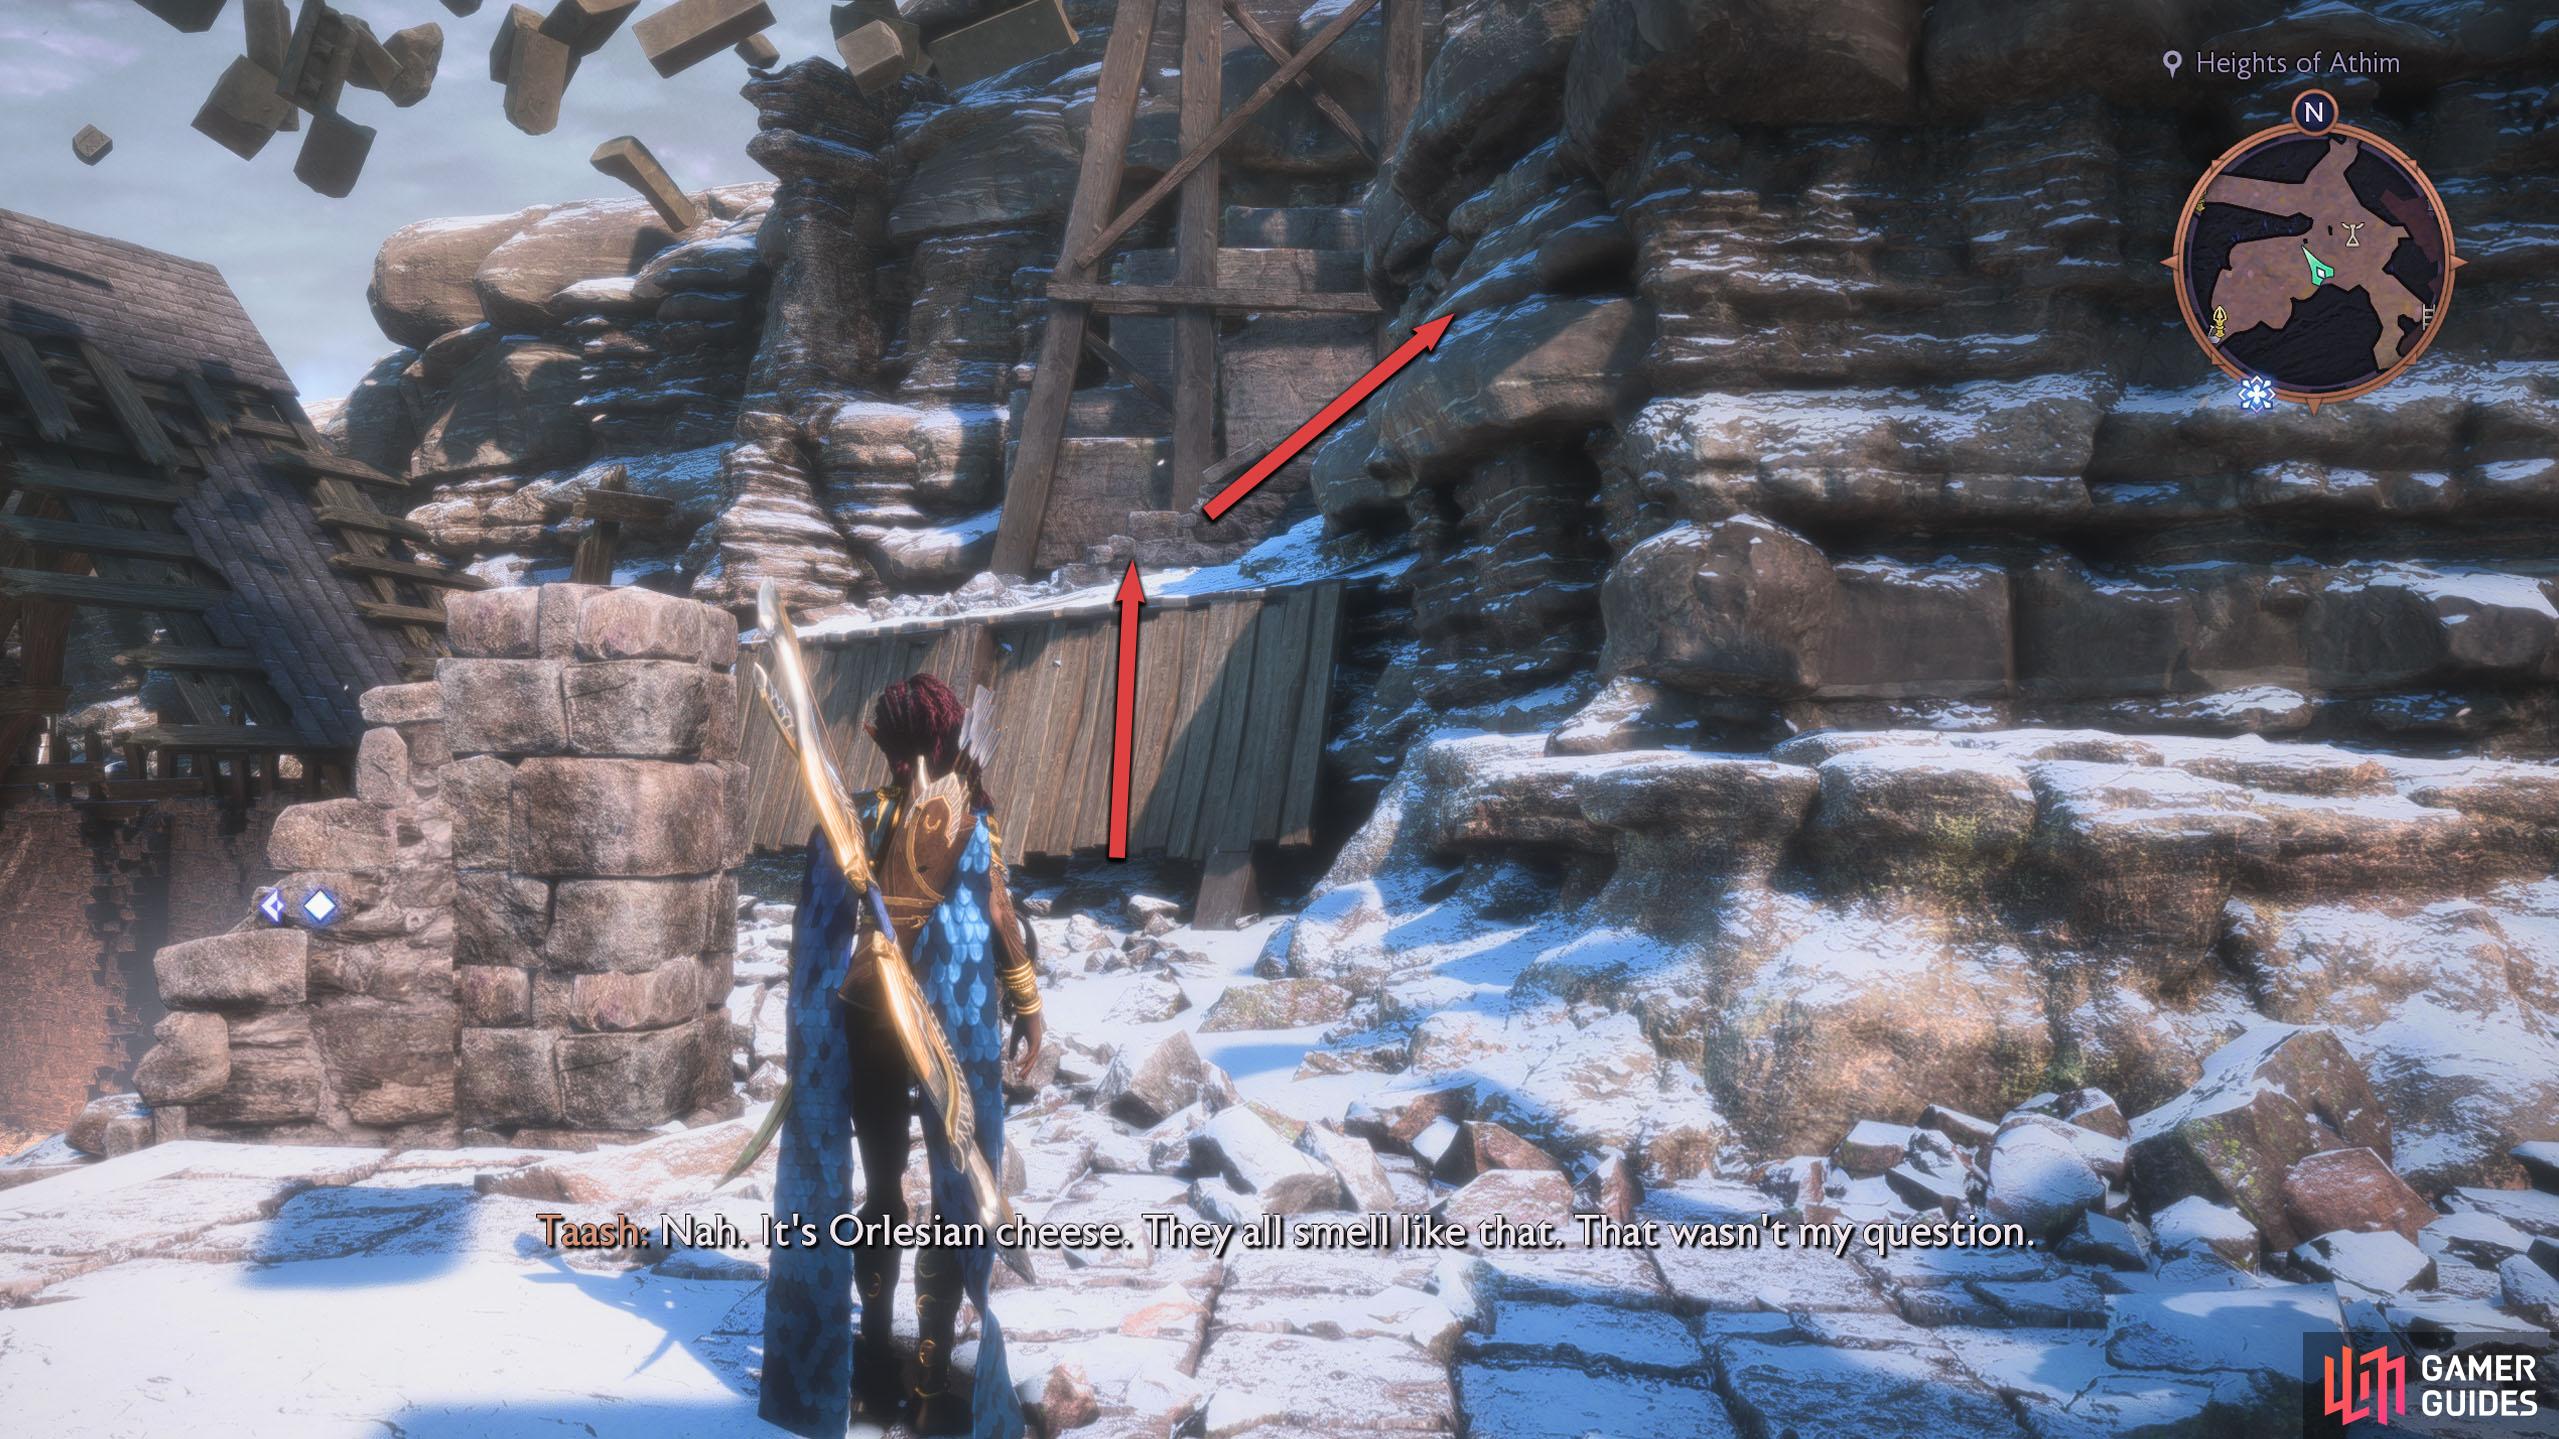
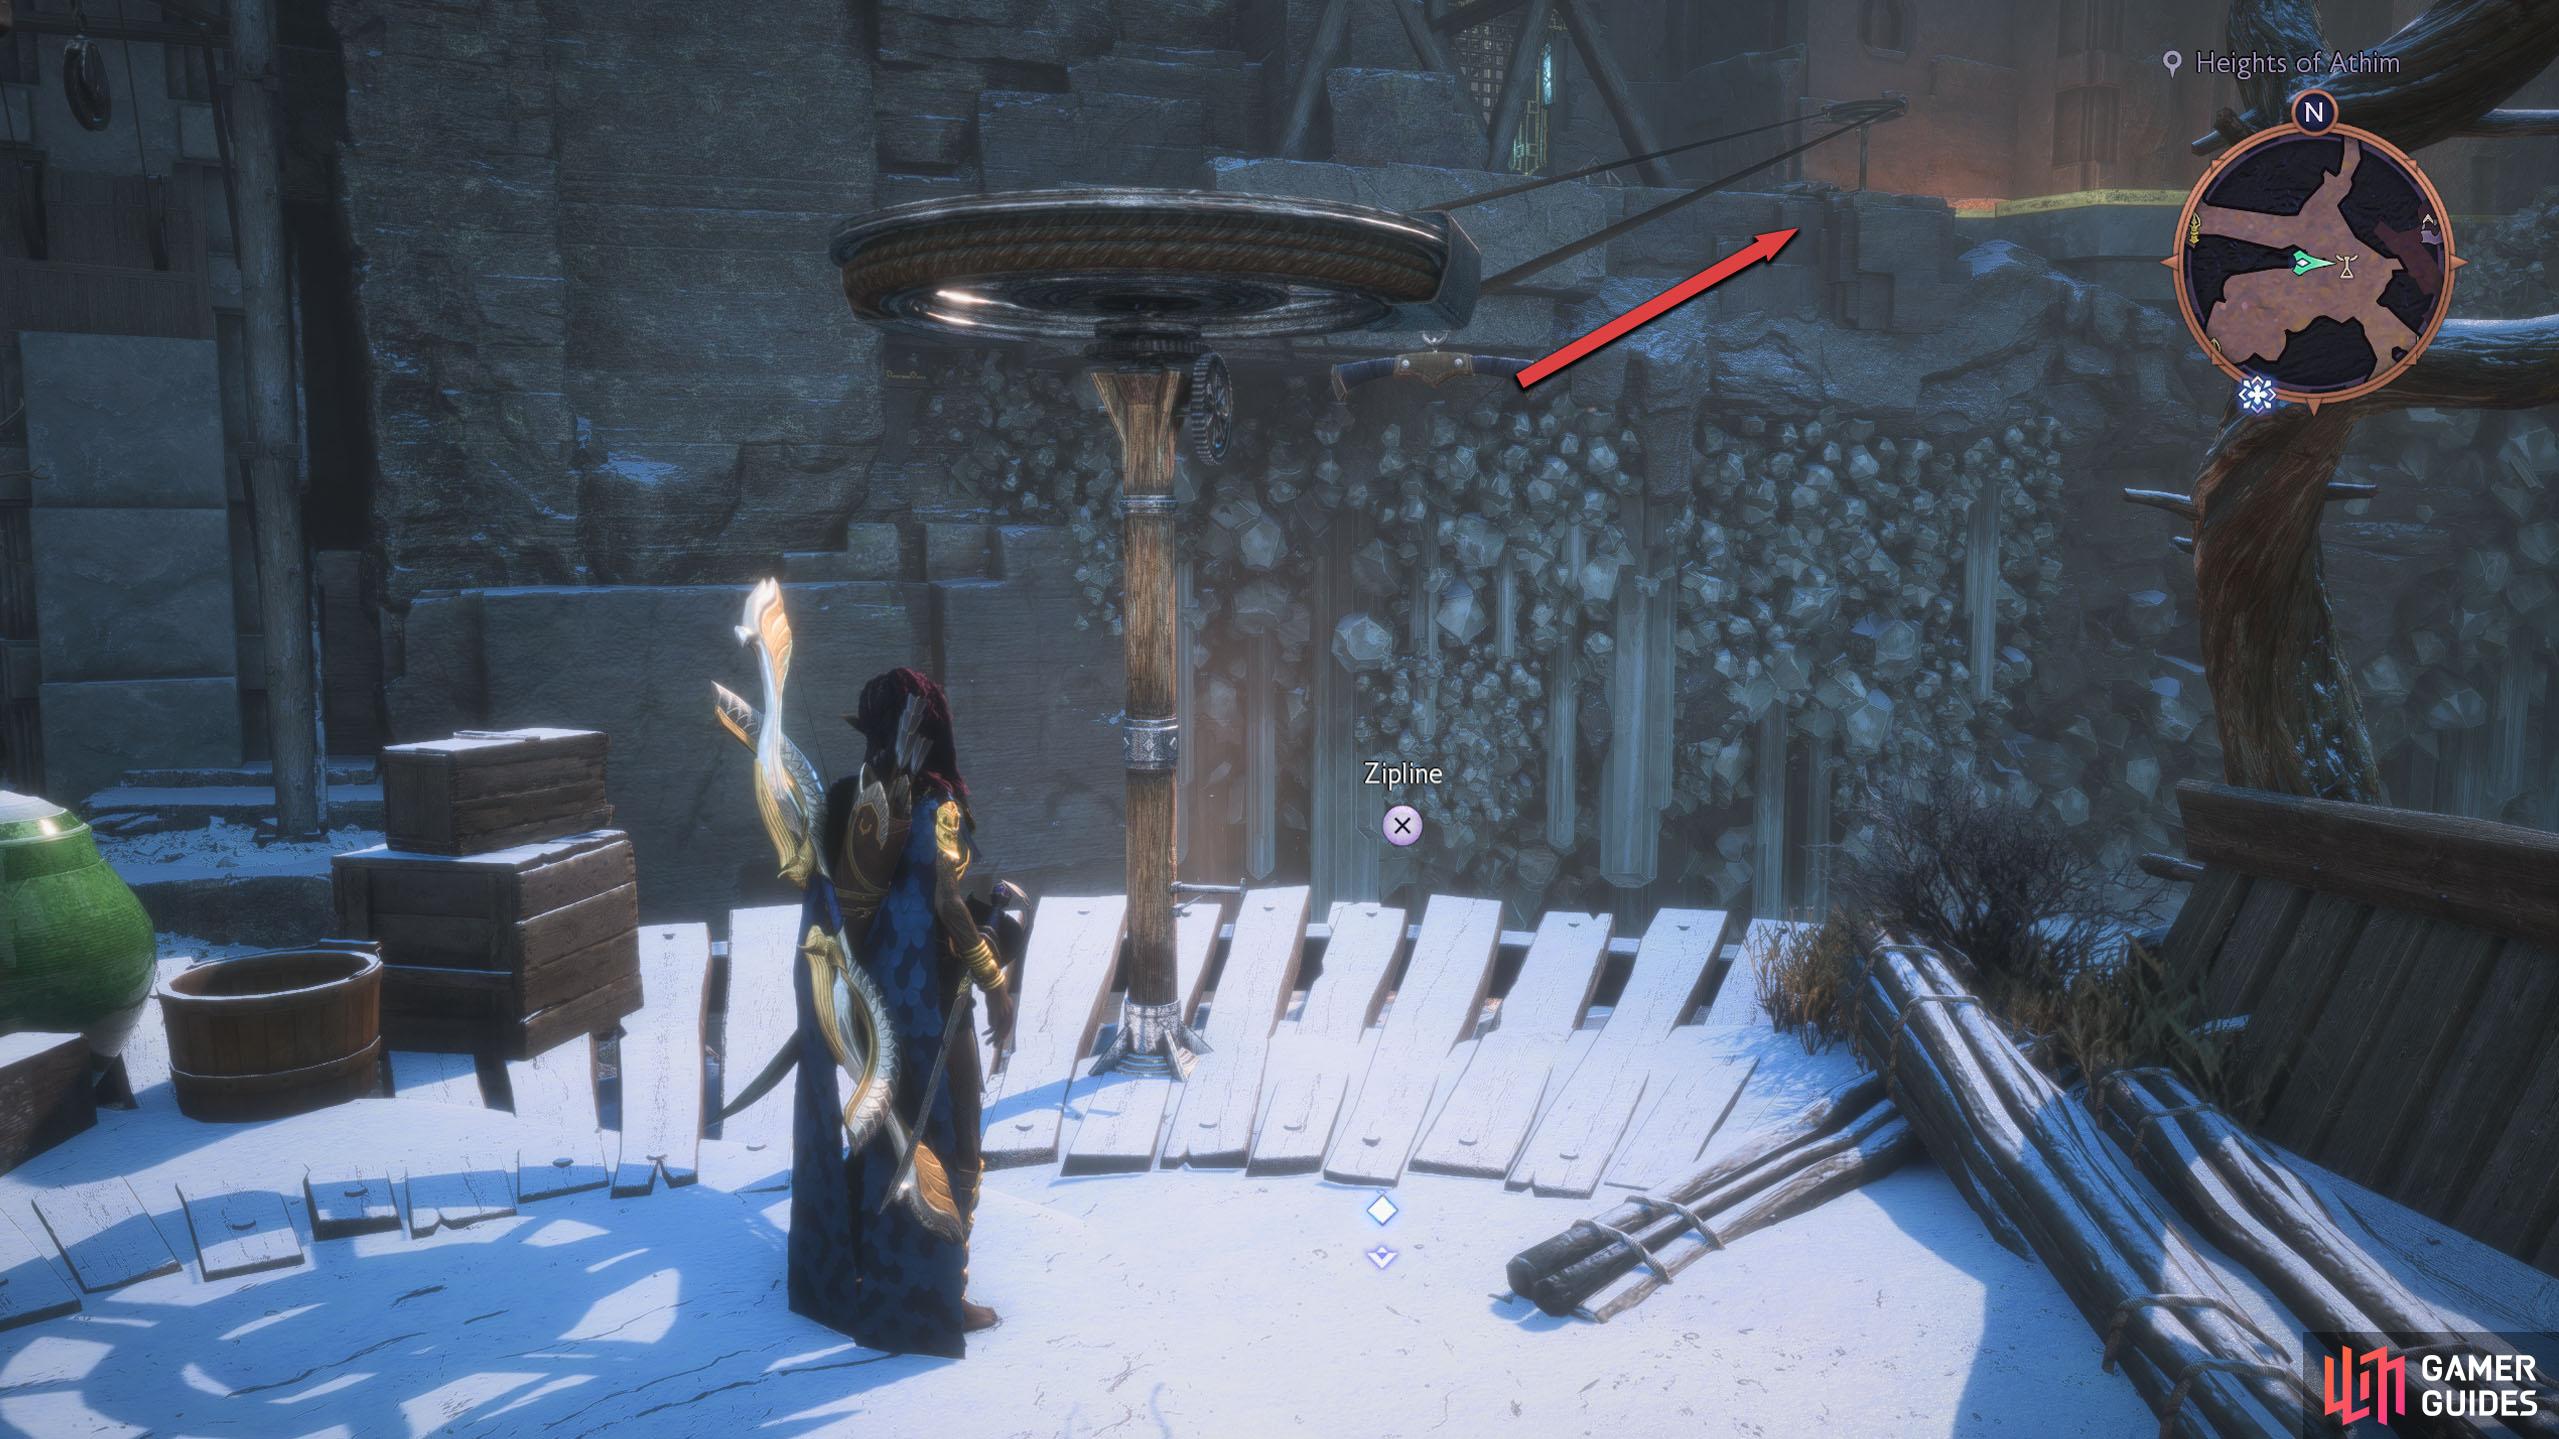
Go back to the stairs that lead to this room, and to the left of them is a wooden platform you can climb up. Go up the platform and follow the short path to the Zip Line. Use the Zipline to take you across to the high ledge, and you’ll find the statue on the edge to your right.
(1 of 5) The Altar can be found near the entrance to the right of the stairs as you enter the first open area.
Dock Town - Andraste’s Watch Altar
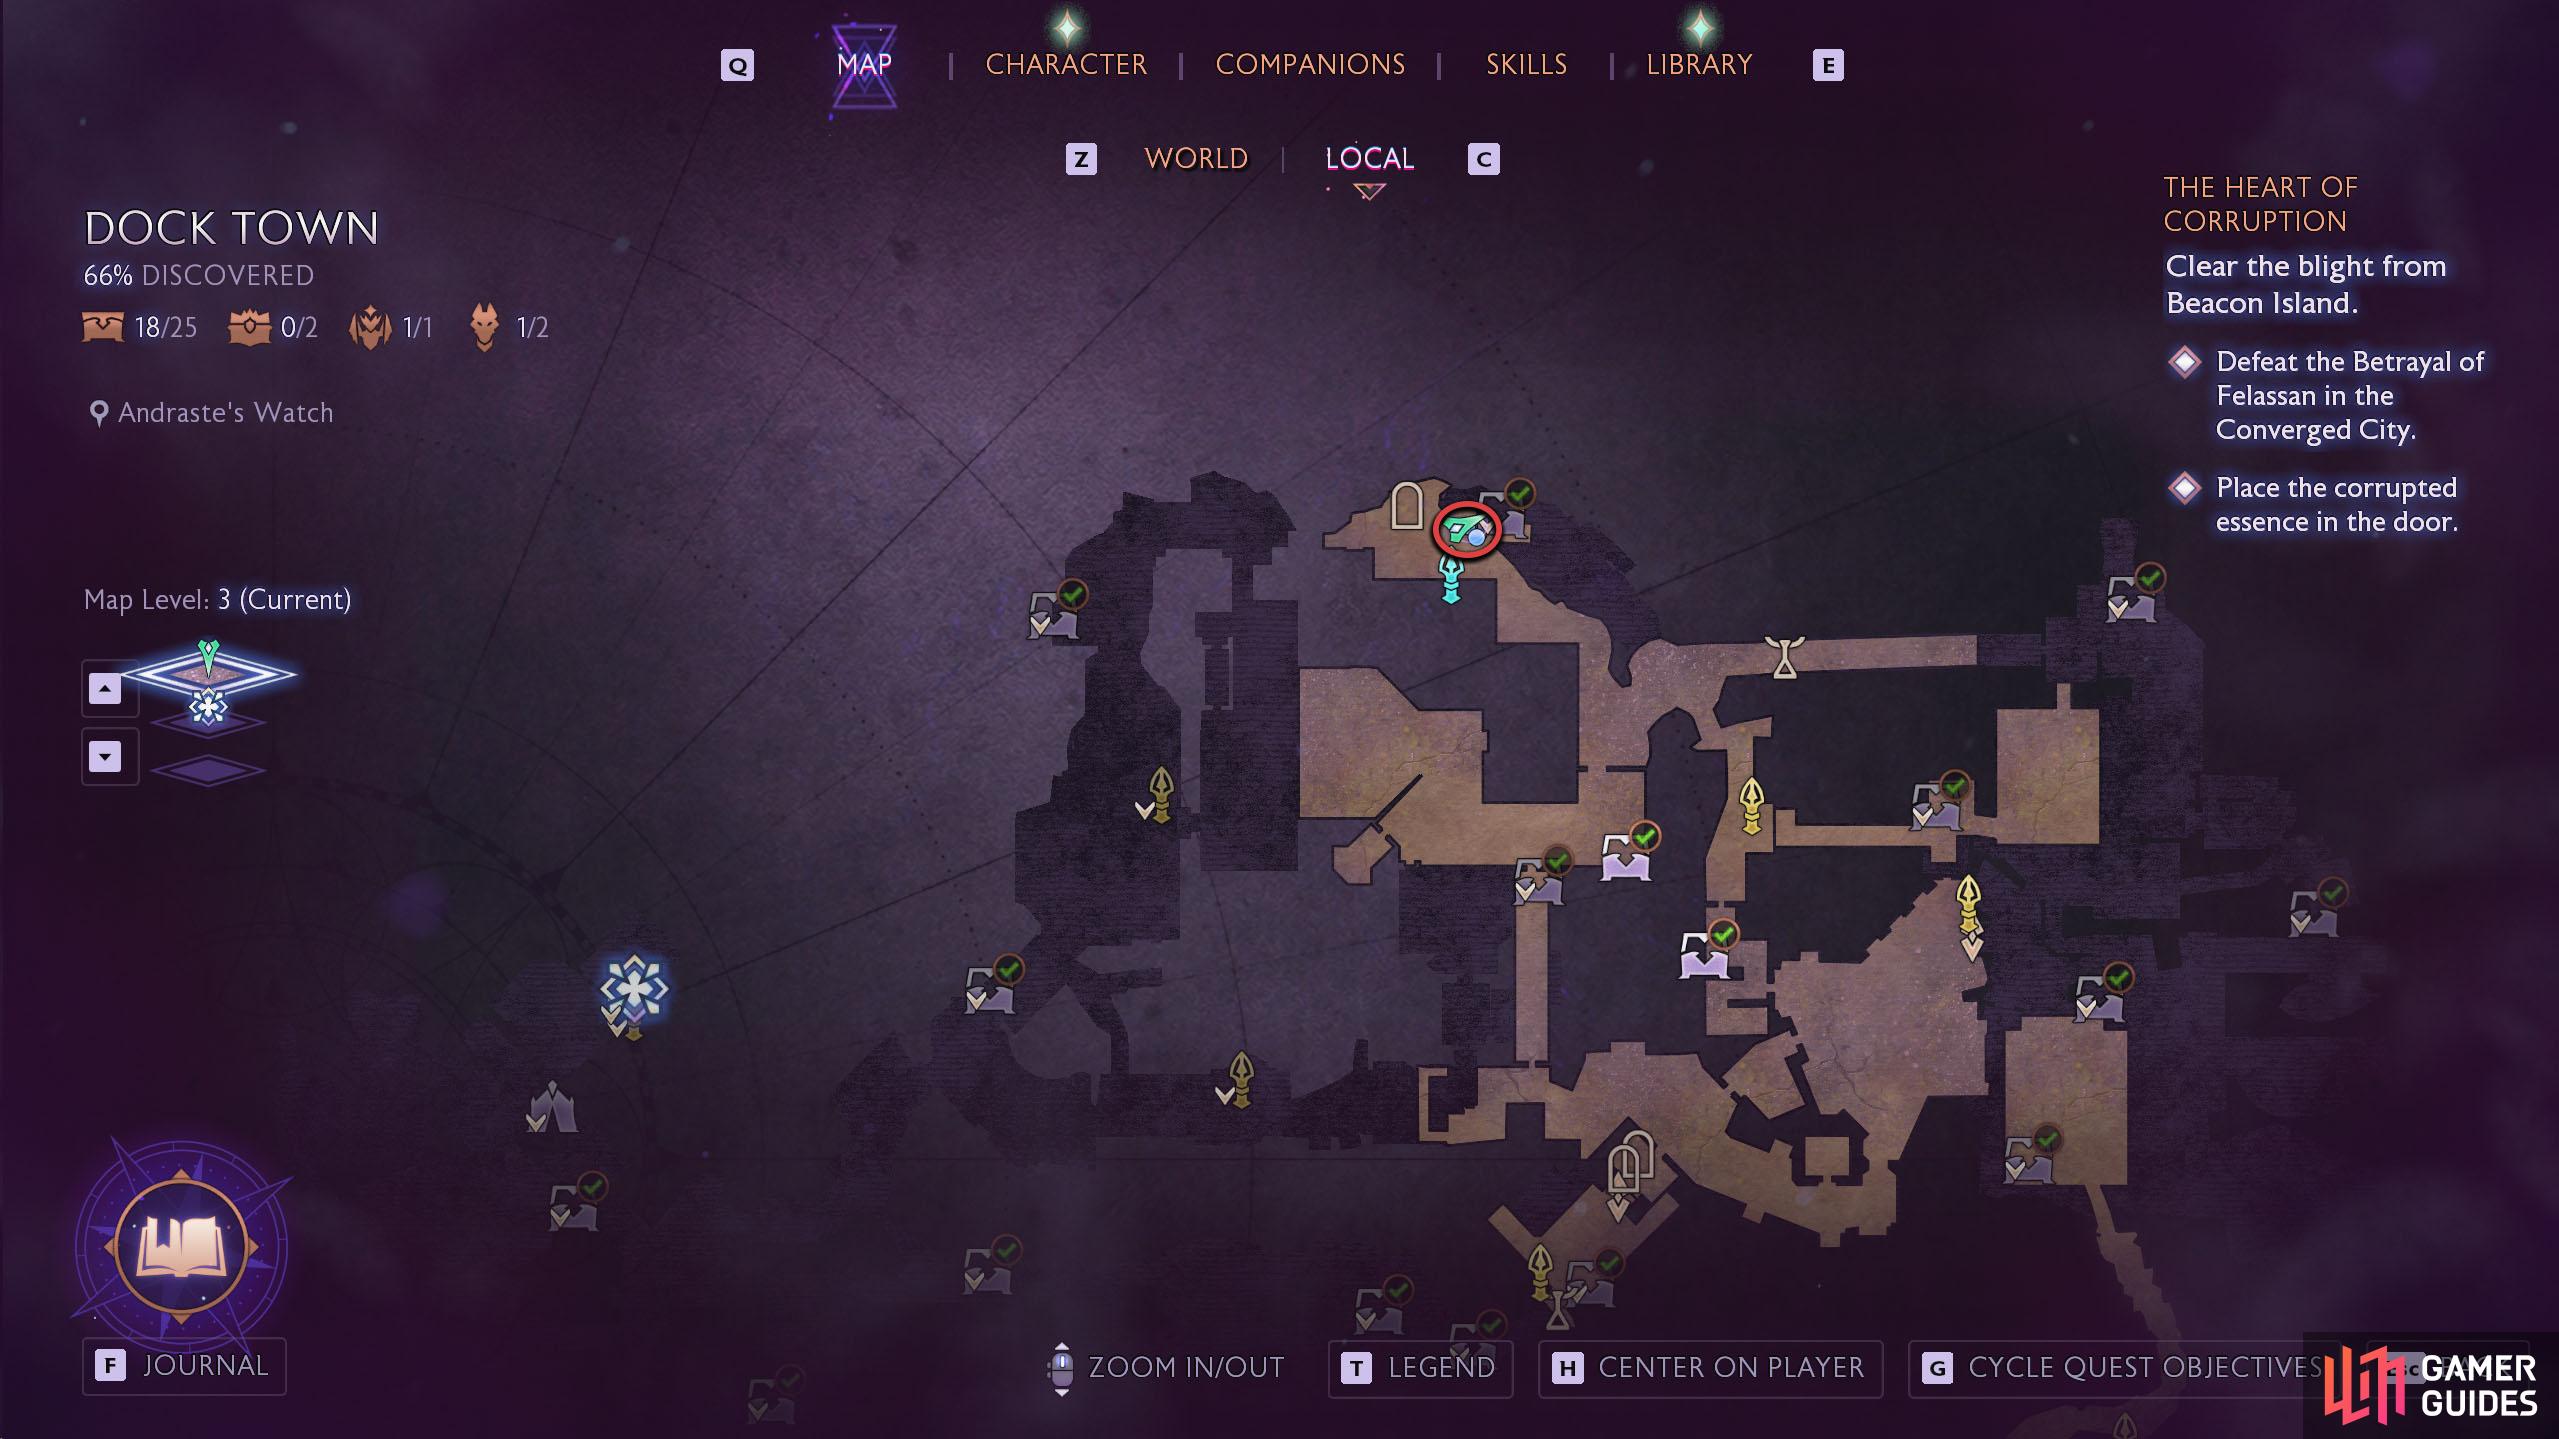
This Altar becomes available after obtaining Dock Town Exploration. You’ll want to make your way to Andraste’s Watch, which is located in the northwest of the map. If you have trouble finding it, complete the “In Memoriam” side quest to completion, as the last part takes place there.
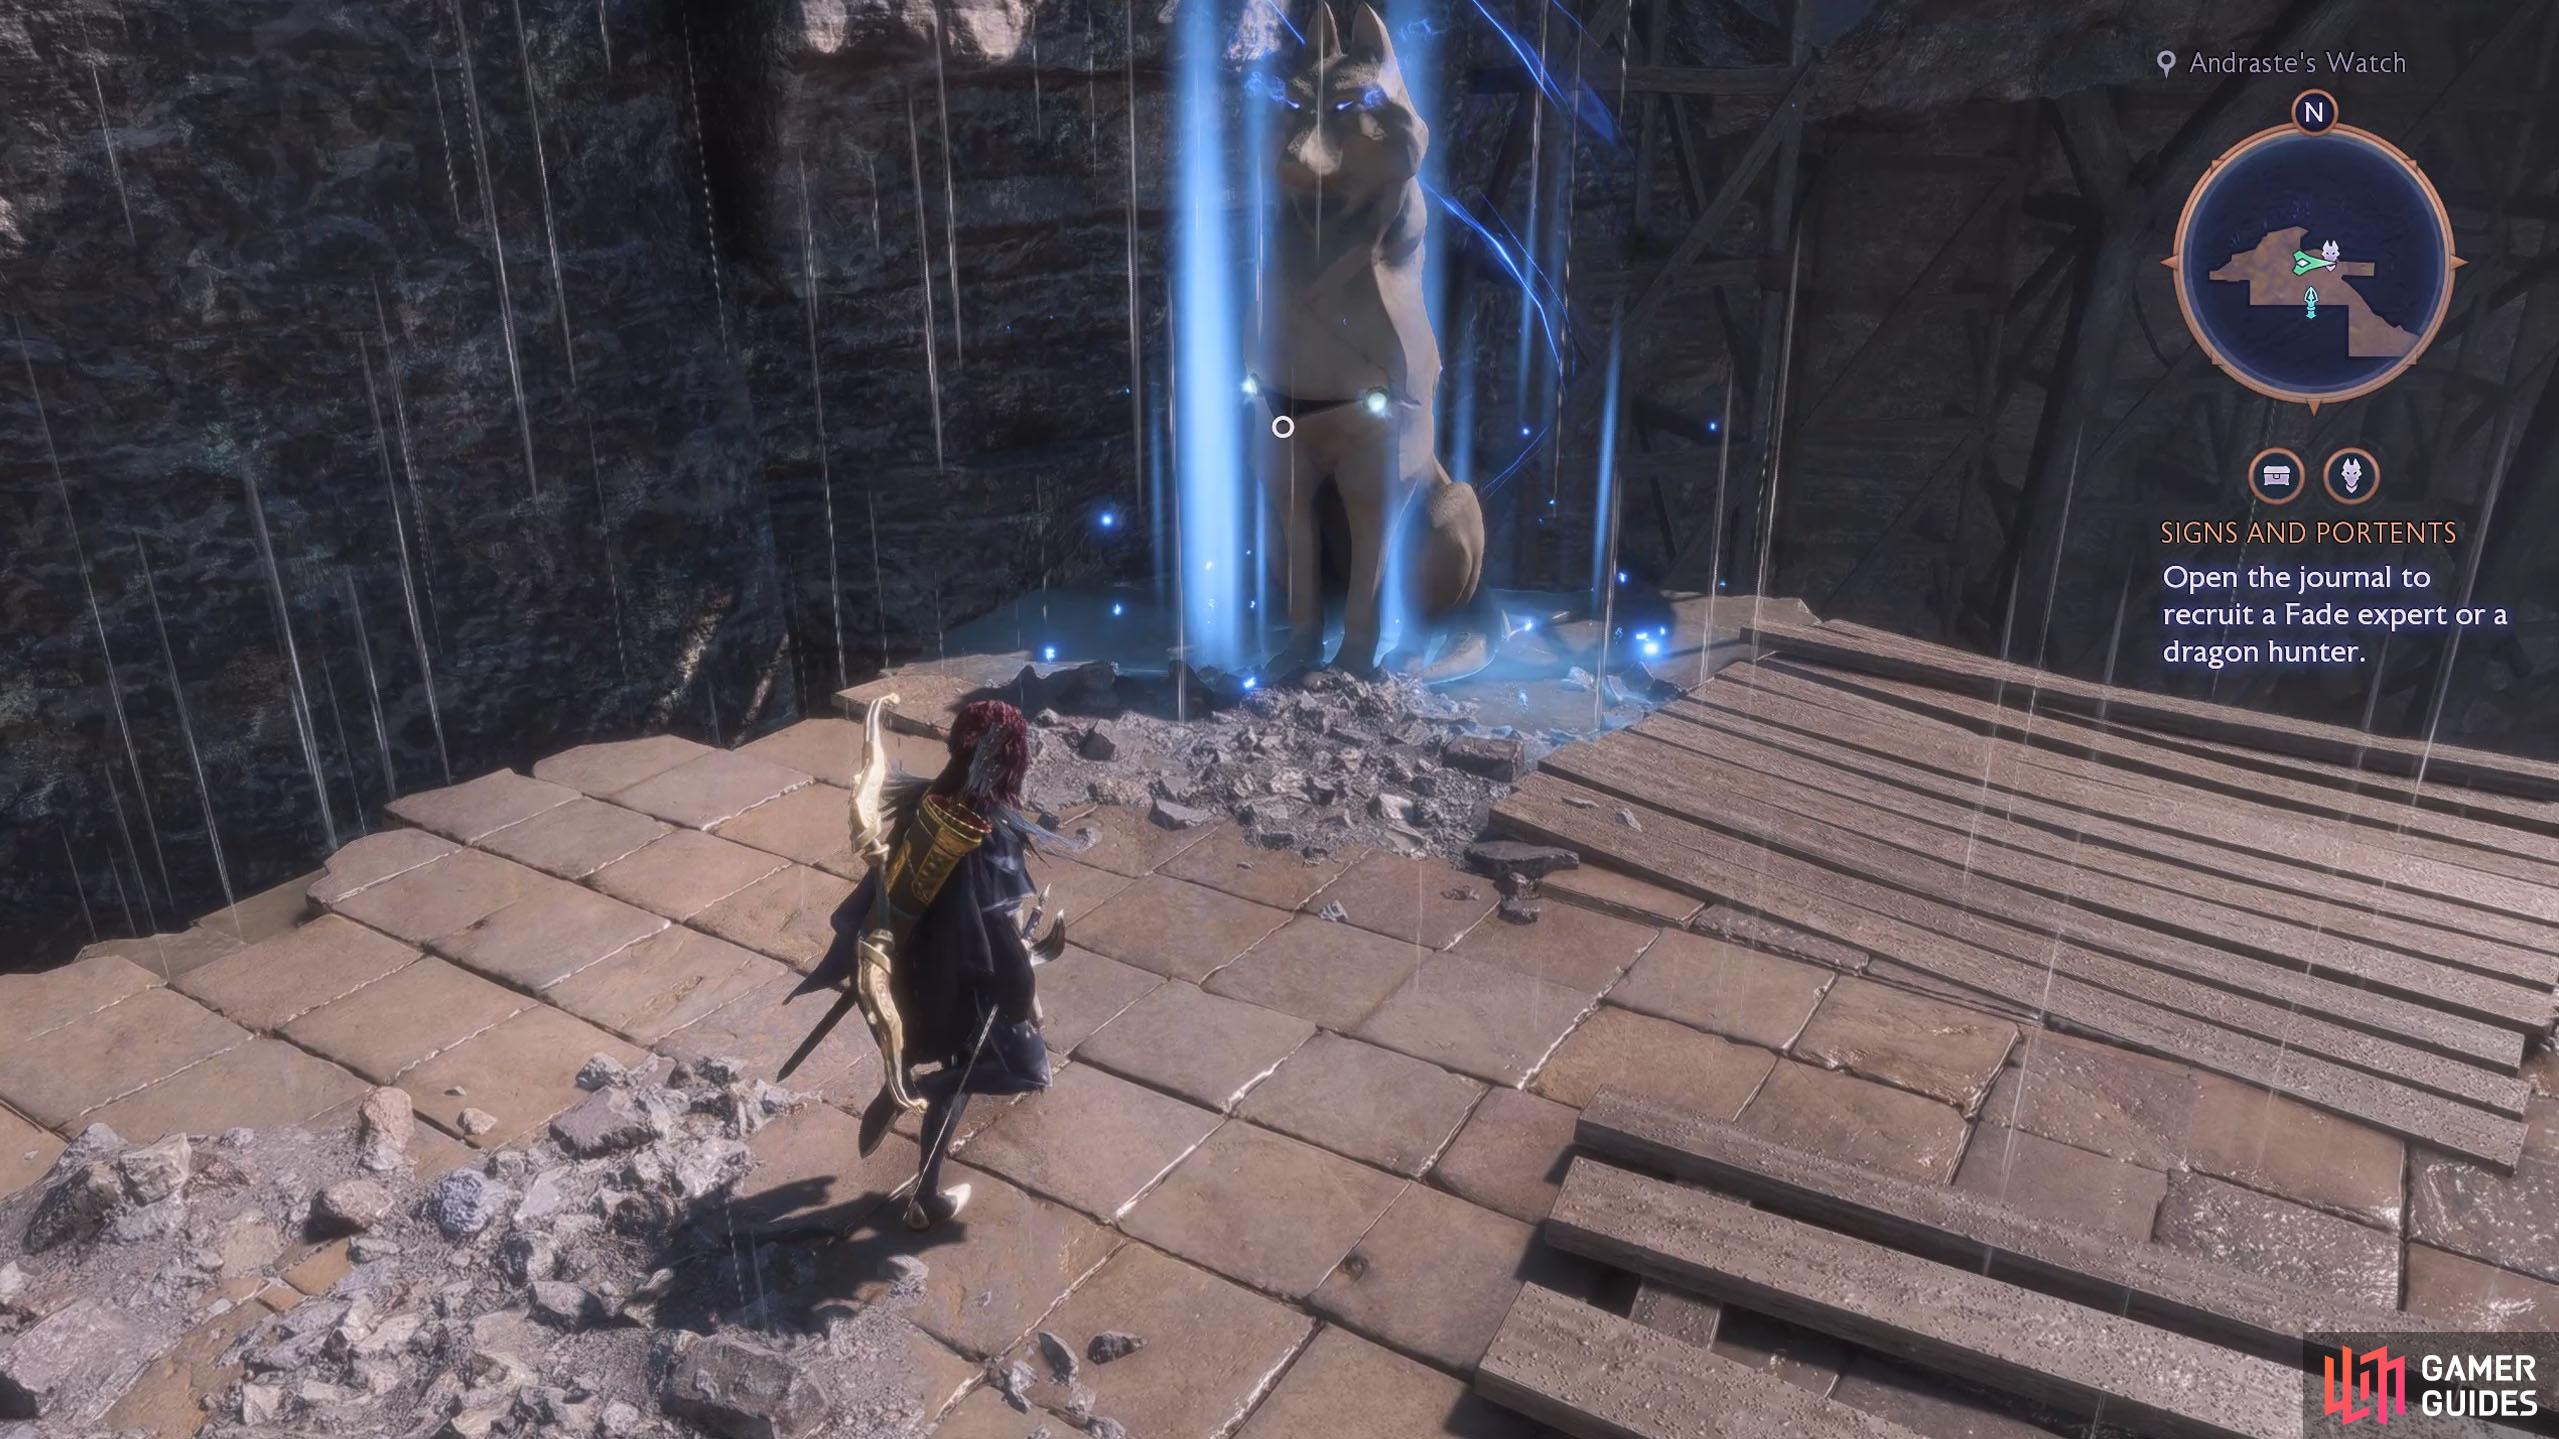
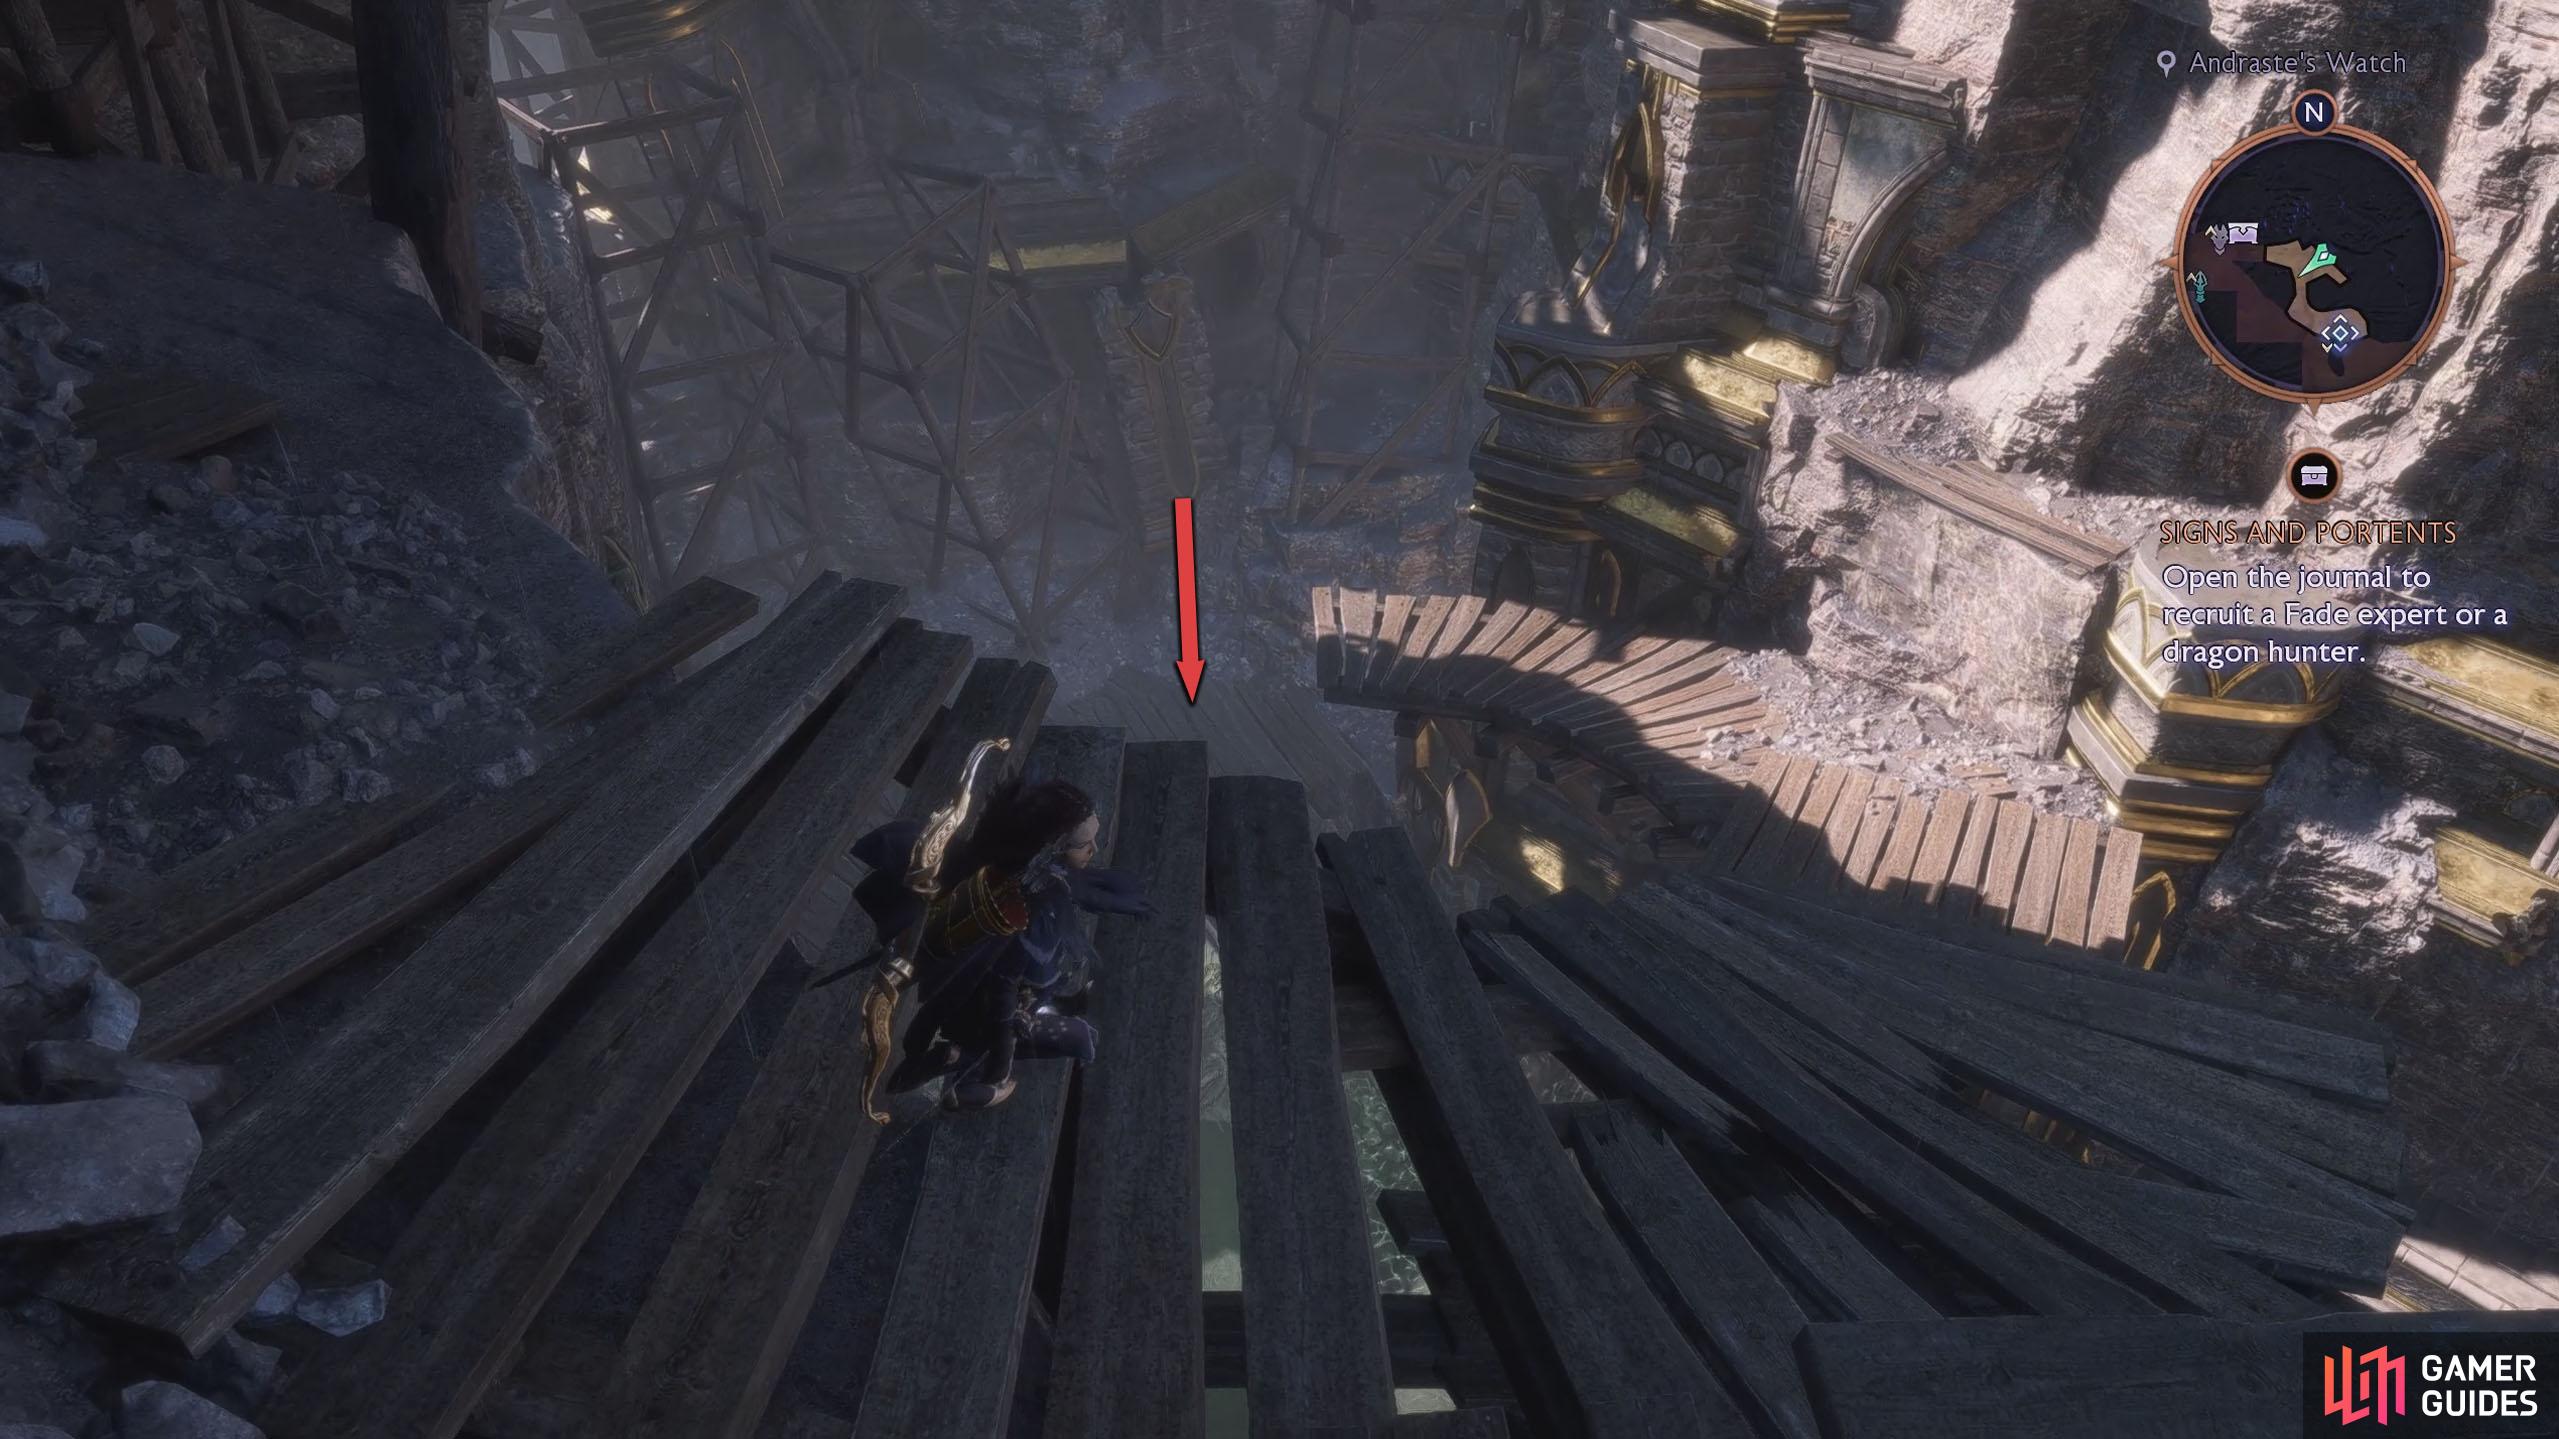
In Andraste’s Watch, make your way northwest until you unlock the Fast Travel. The Altar will be to the north of it. After activating the Altar, a new path will appear below it. Follow the path down to the bottom and jump into the shallow water to find the statue. Note that if you attack the nearby Blight Cyst, be ready for a difficult battle.
(1 of 4) The Altar is in Andraste’s Watch in Dock Town. This is located in the northwest of the map.
The Crossroads - Converged City Altar 2
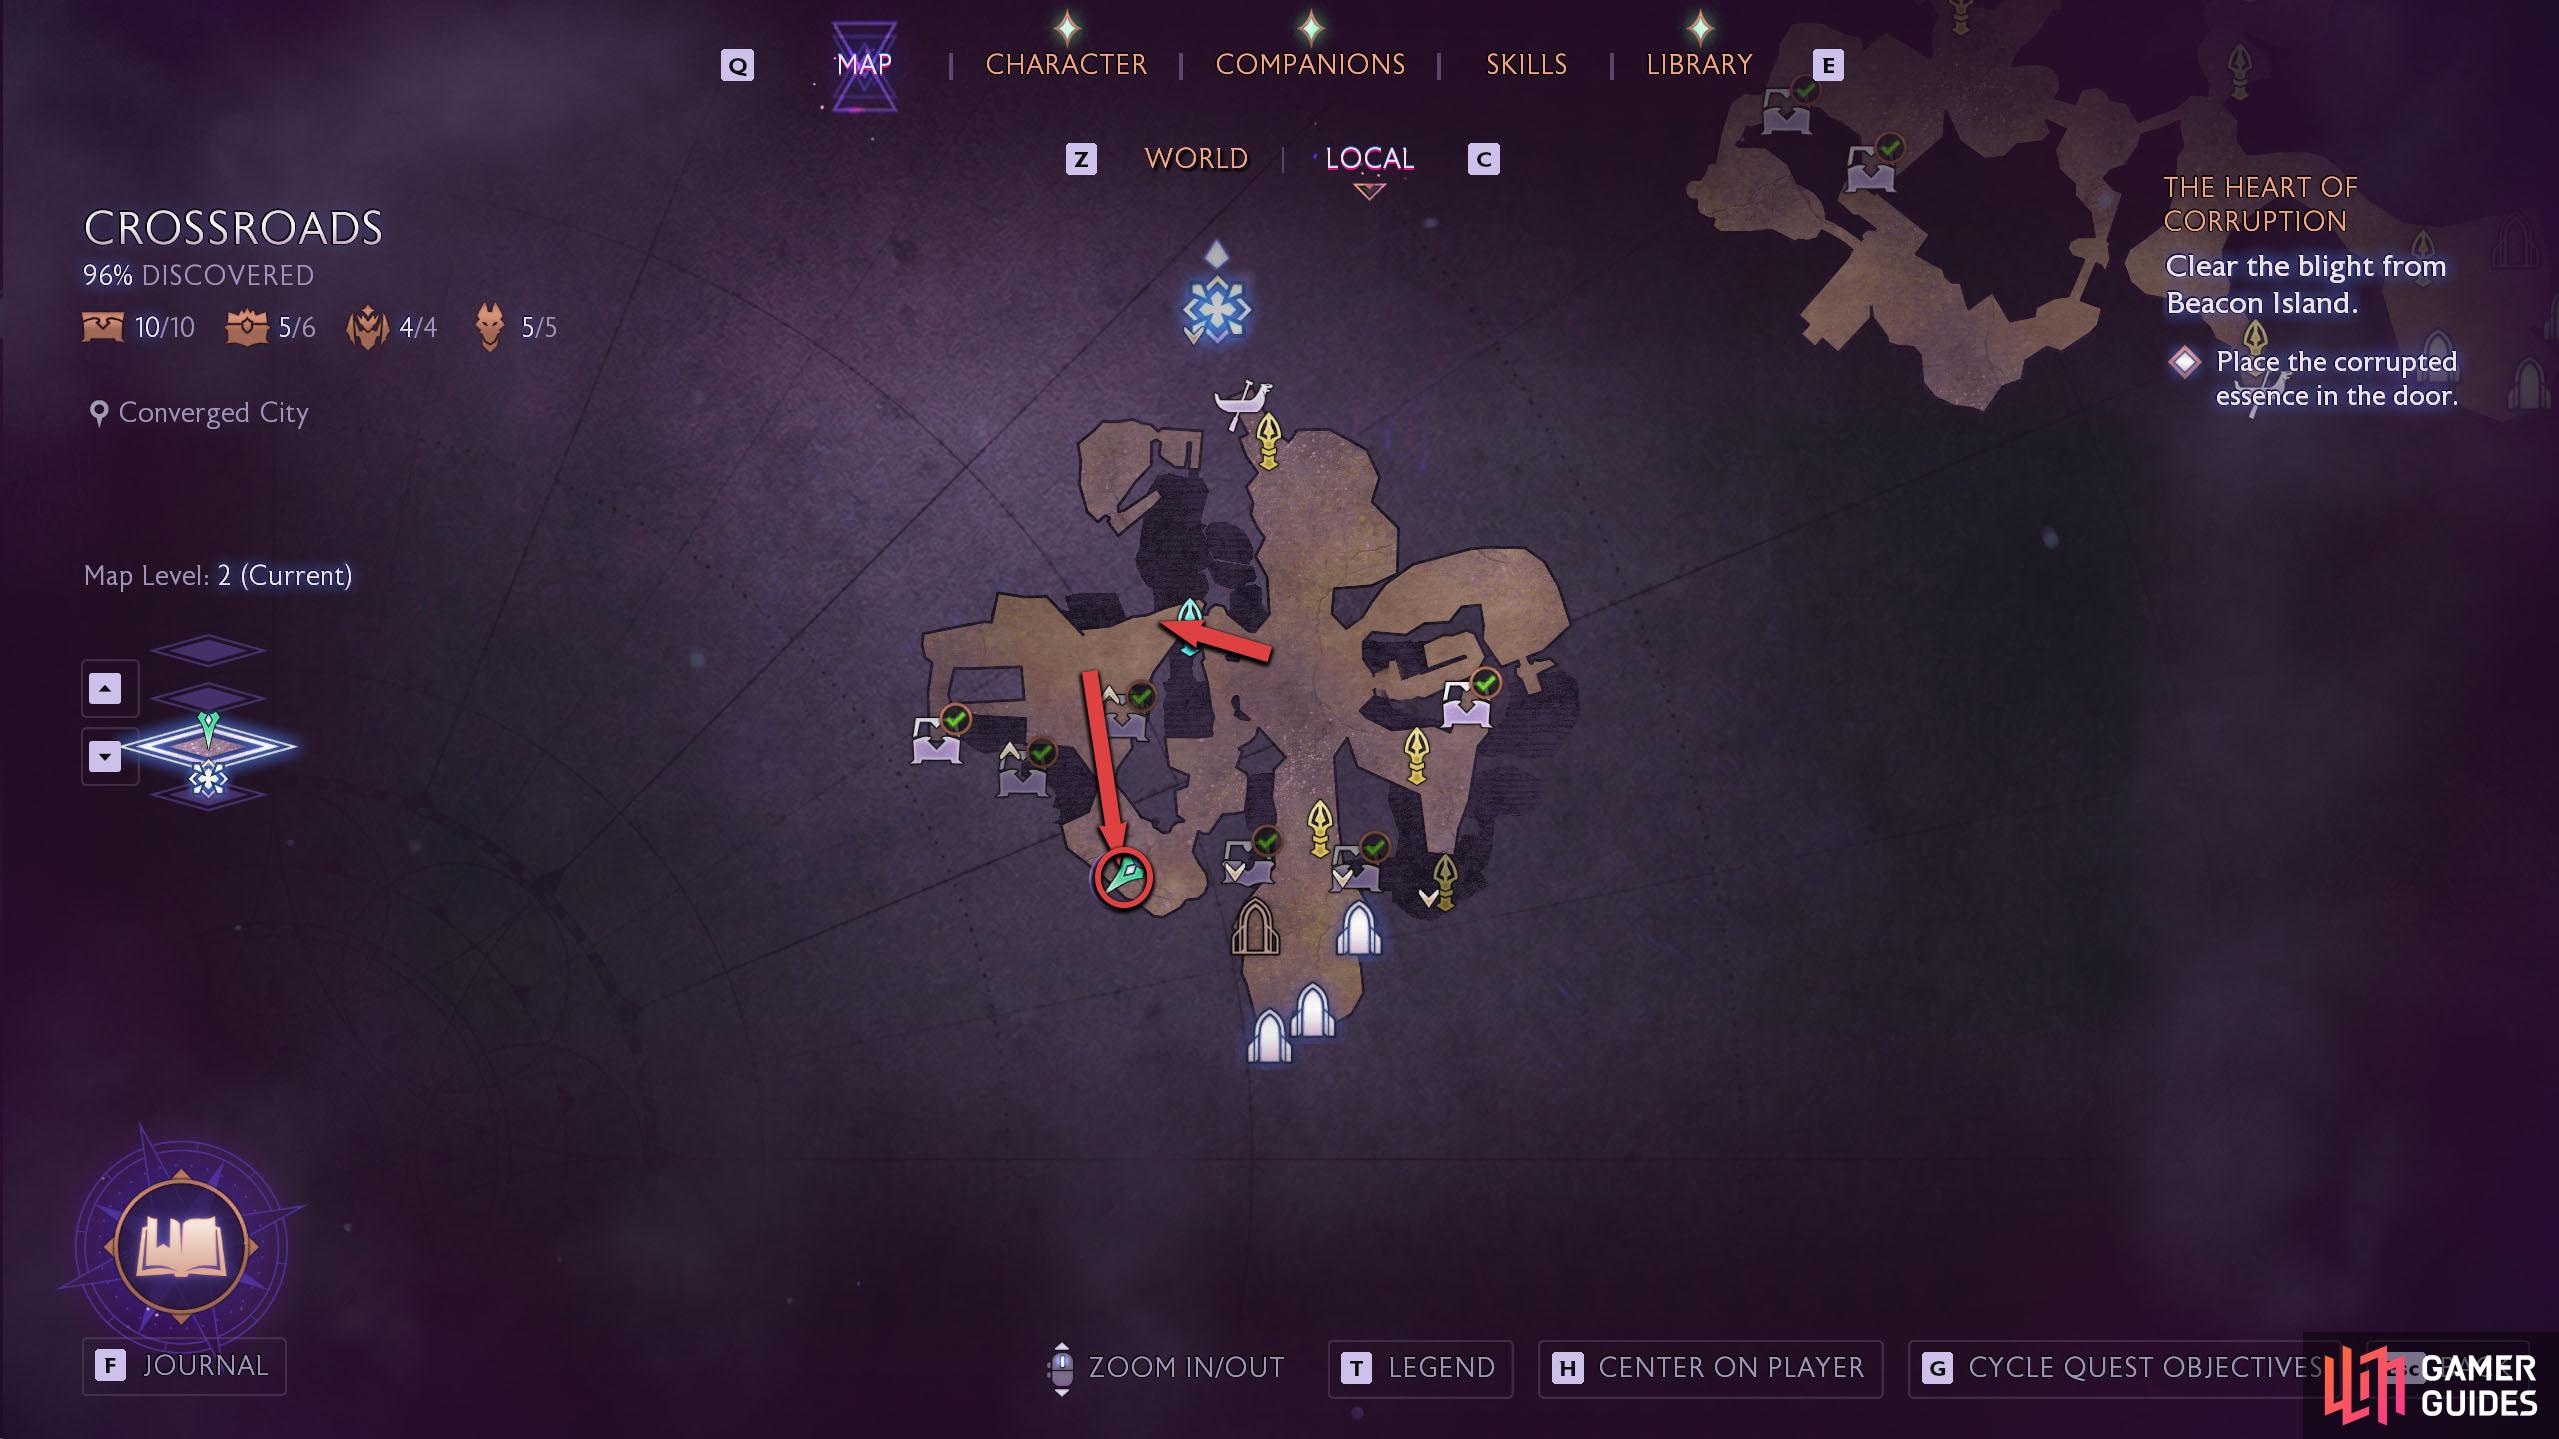
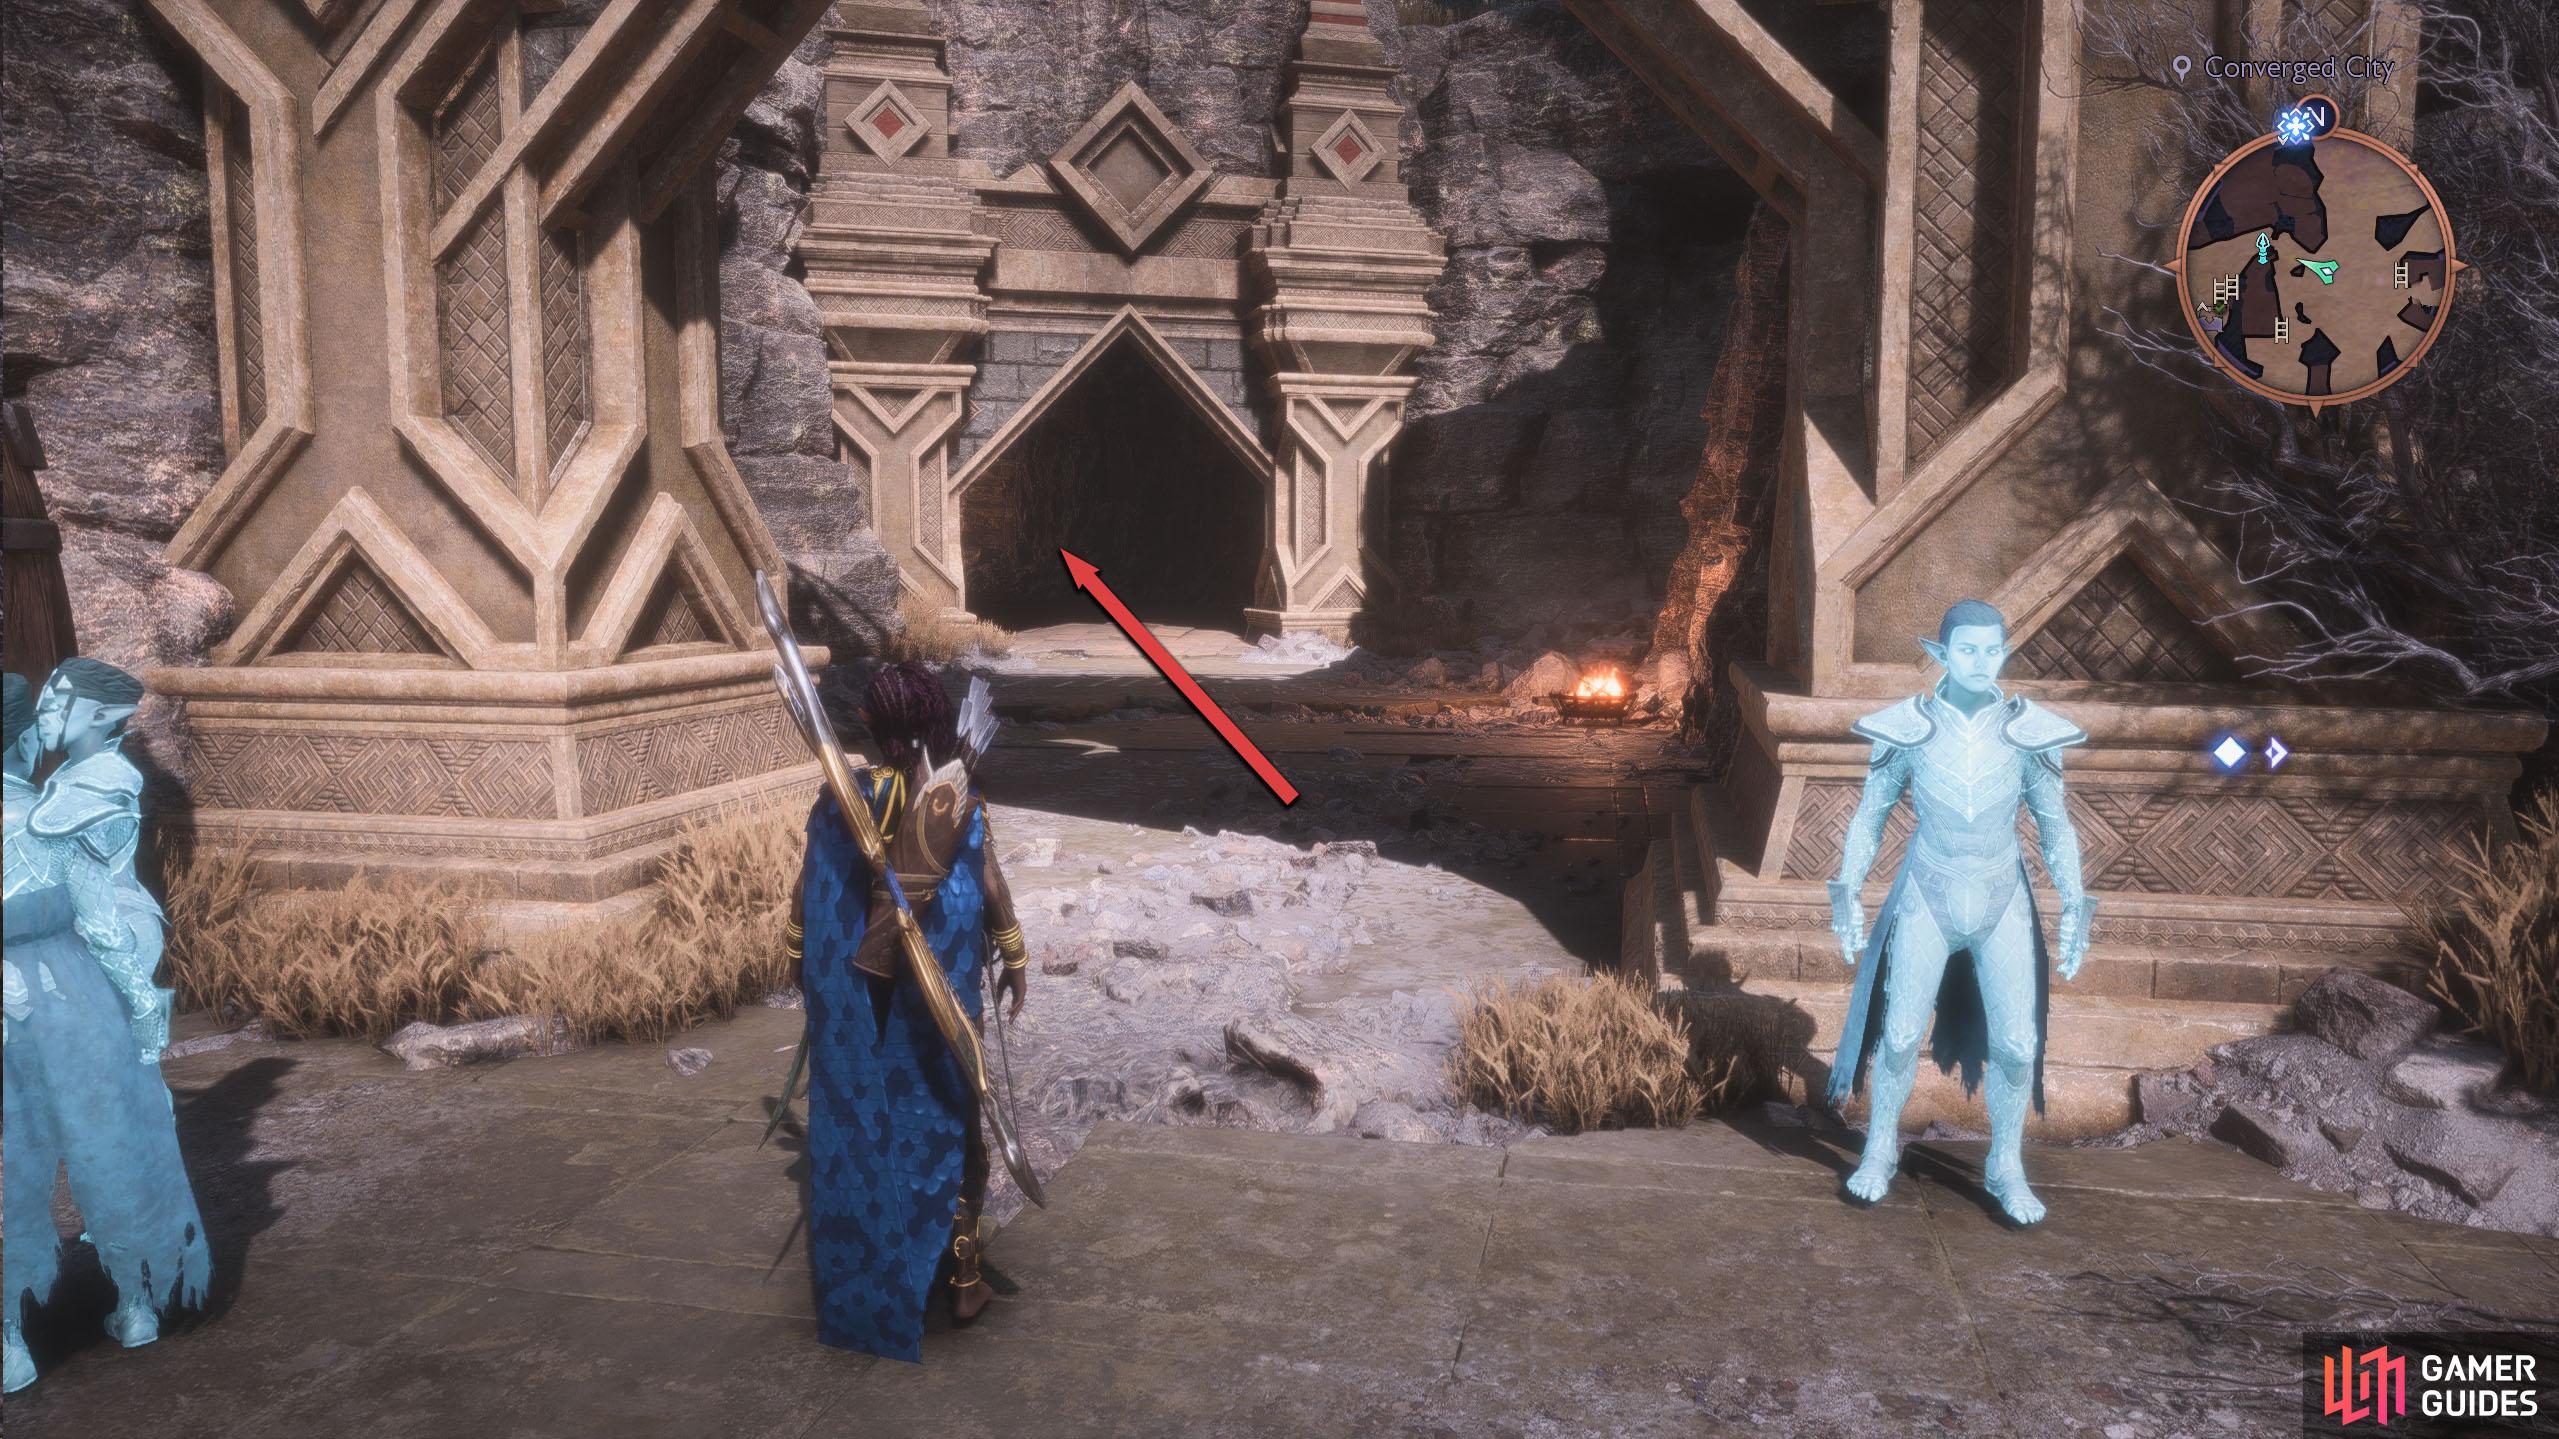
Requires opening the Gate of Lost Ages door. In the Converged City camp, head through the northwestern archway (this will be blocked if you haven’t completed the Gate of Lost Ages) and enter the next area with the floating device in the center.
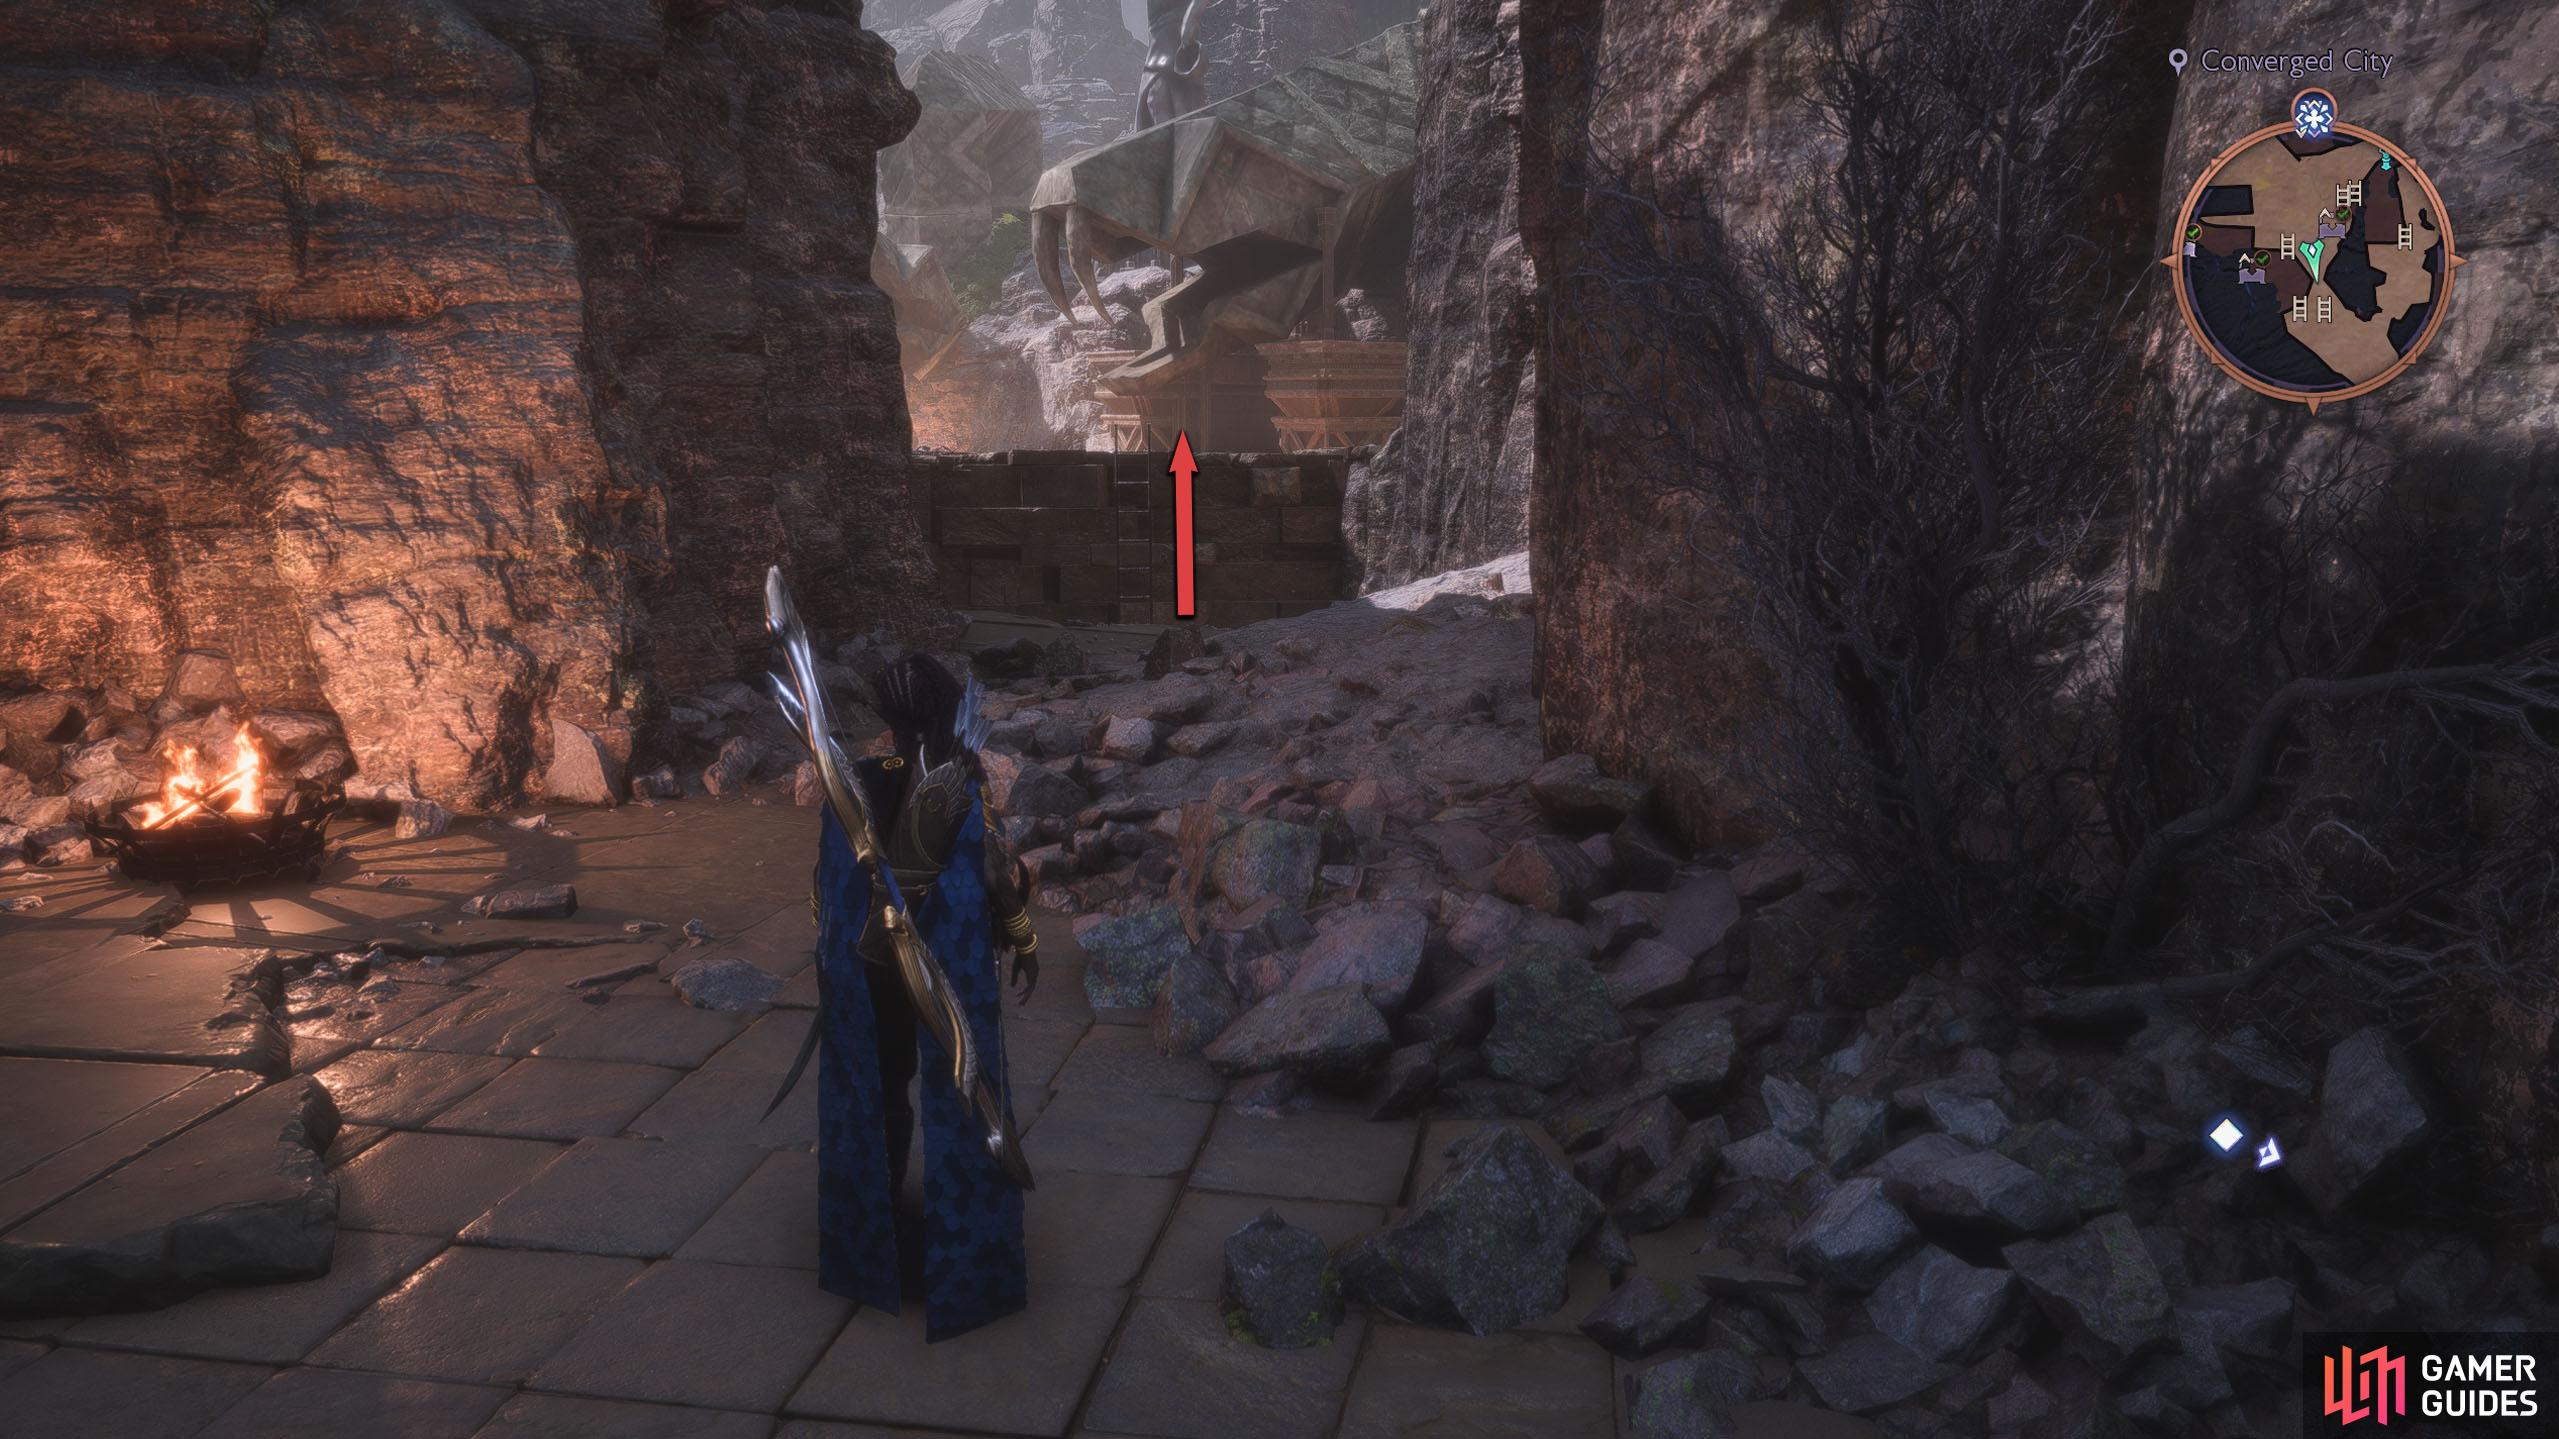
Head south to the end and shoot the padlock of the ladder so you can climb up into the next area. Before you can do anything in this area, you’ll need to defeat the enemies and destroy the red crystals. The majority of the crystals are under the statue’s roof or behind a gate.
(1 of 3) The Altar can be found in the southwest area of the Converged City.
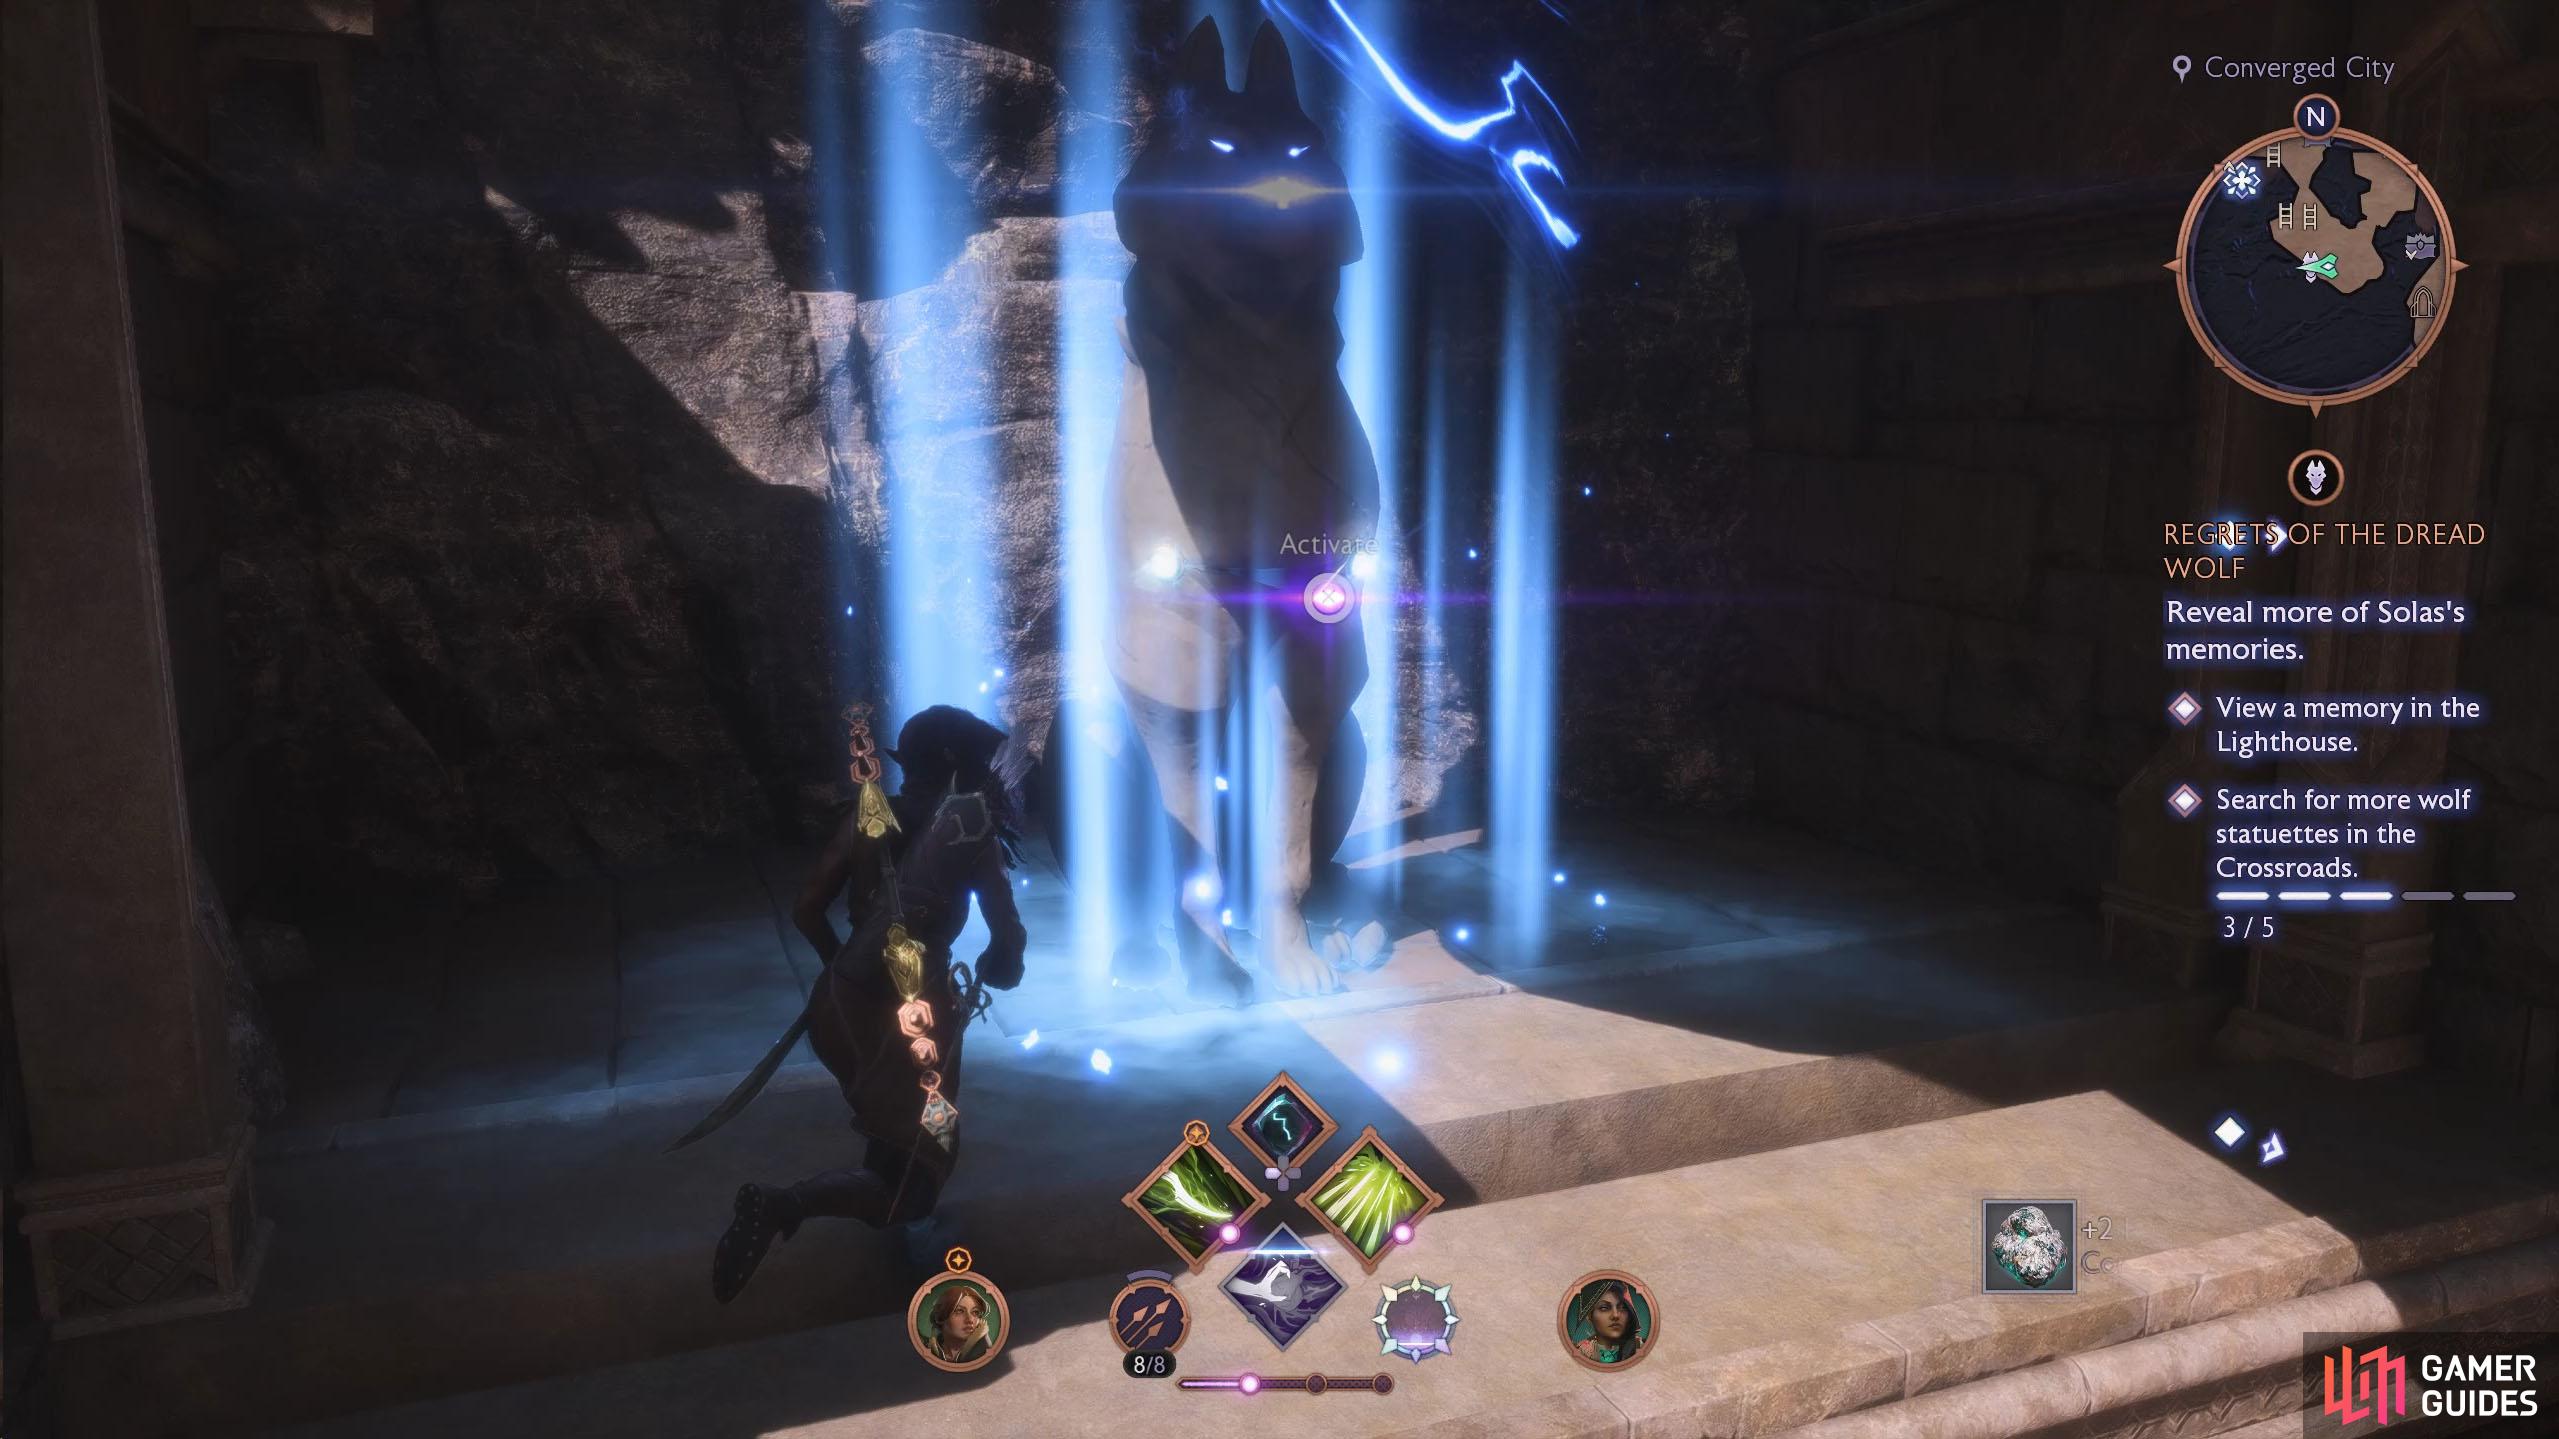
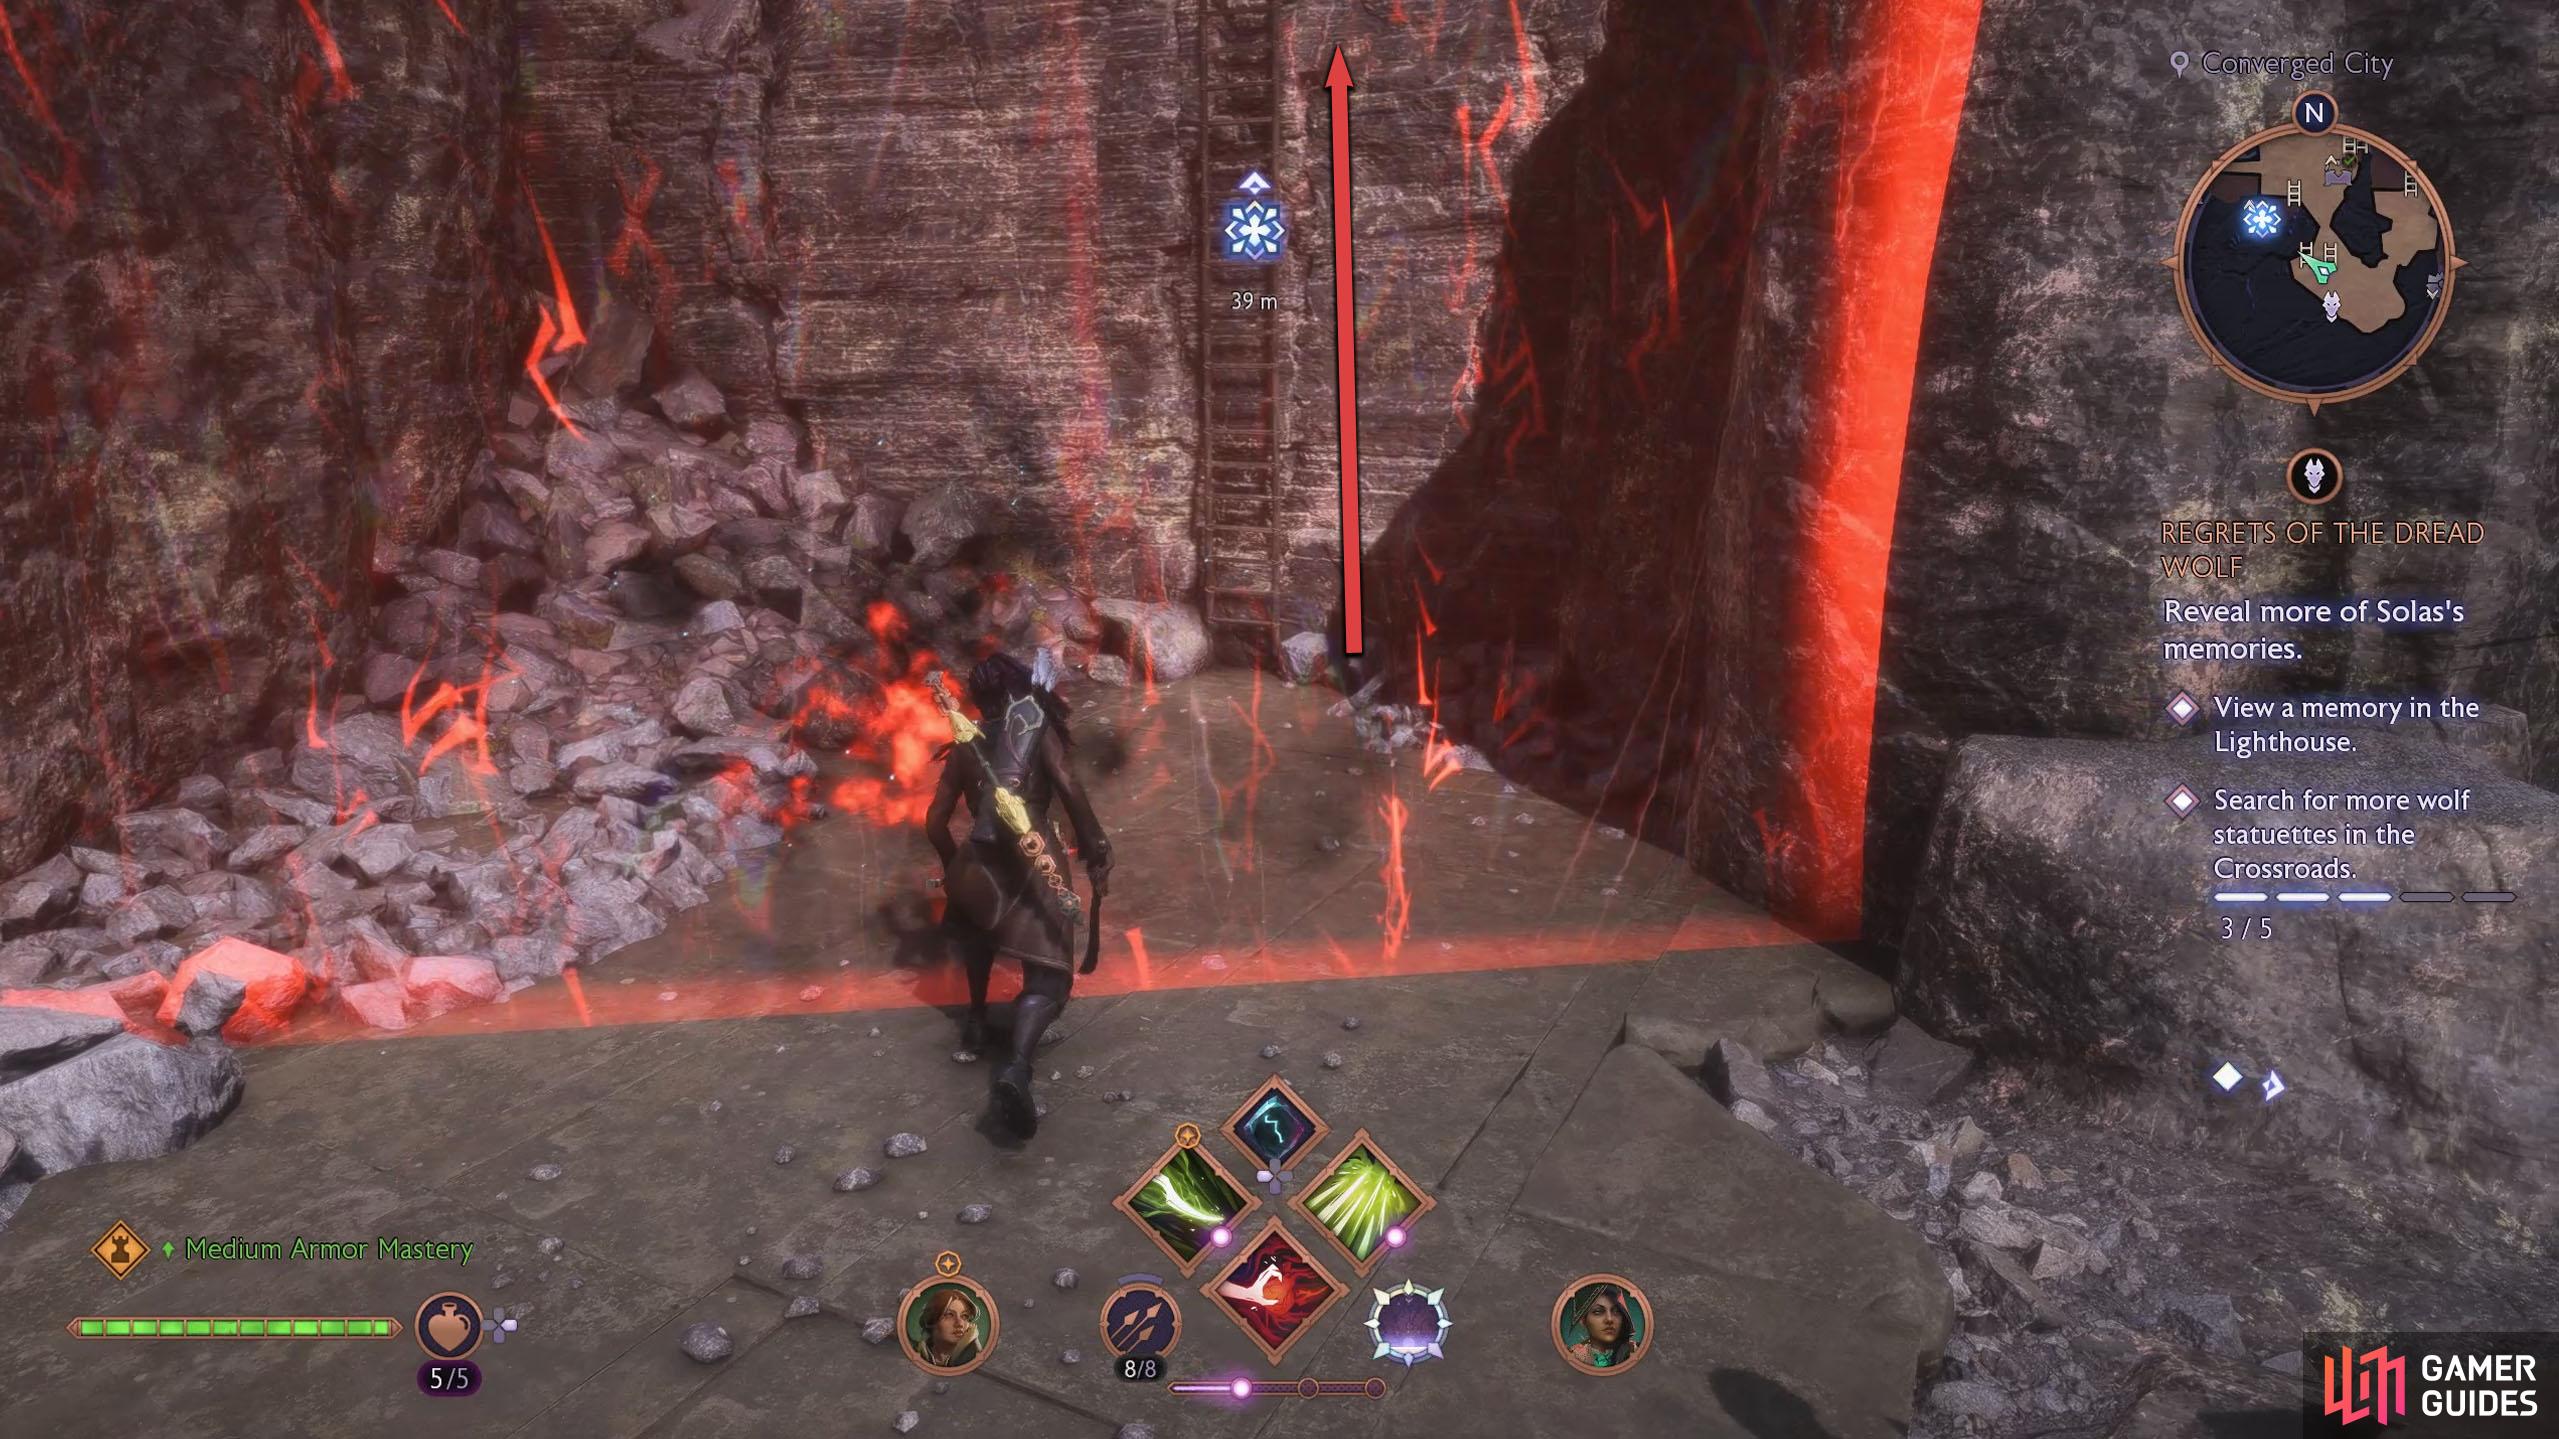
Once you’ve smashed the crystals, interact with the Altar under the southwest statue. Now, head to the wall where the red barrier was, to the right of the ladder where you entered the area, and climb the ladder up.
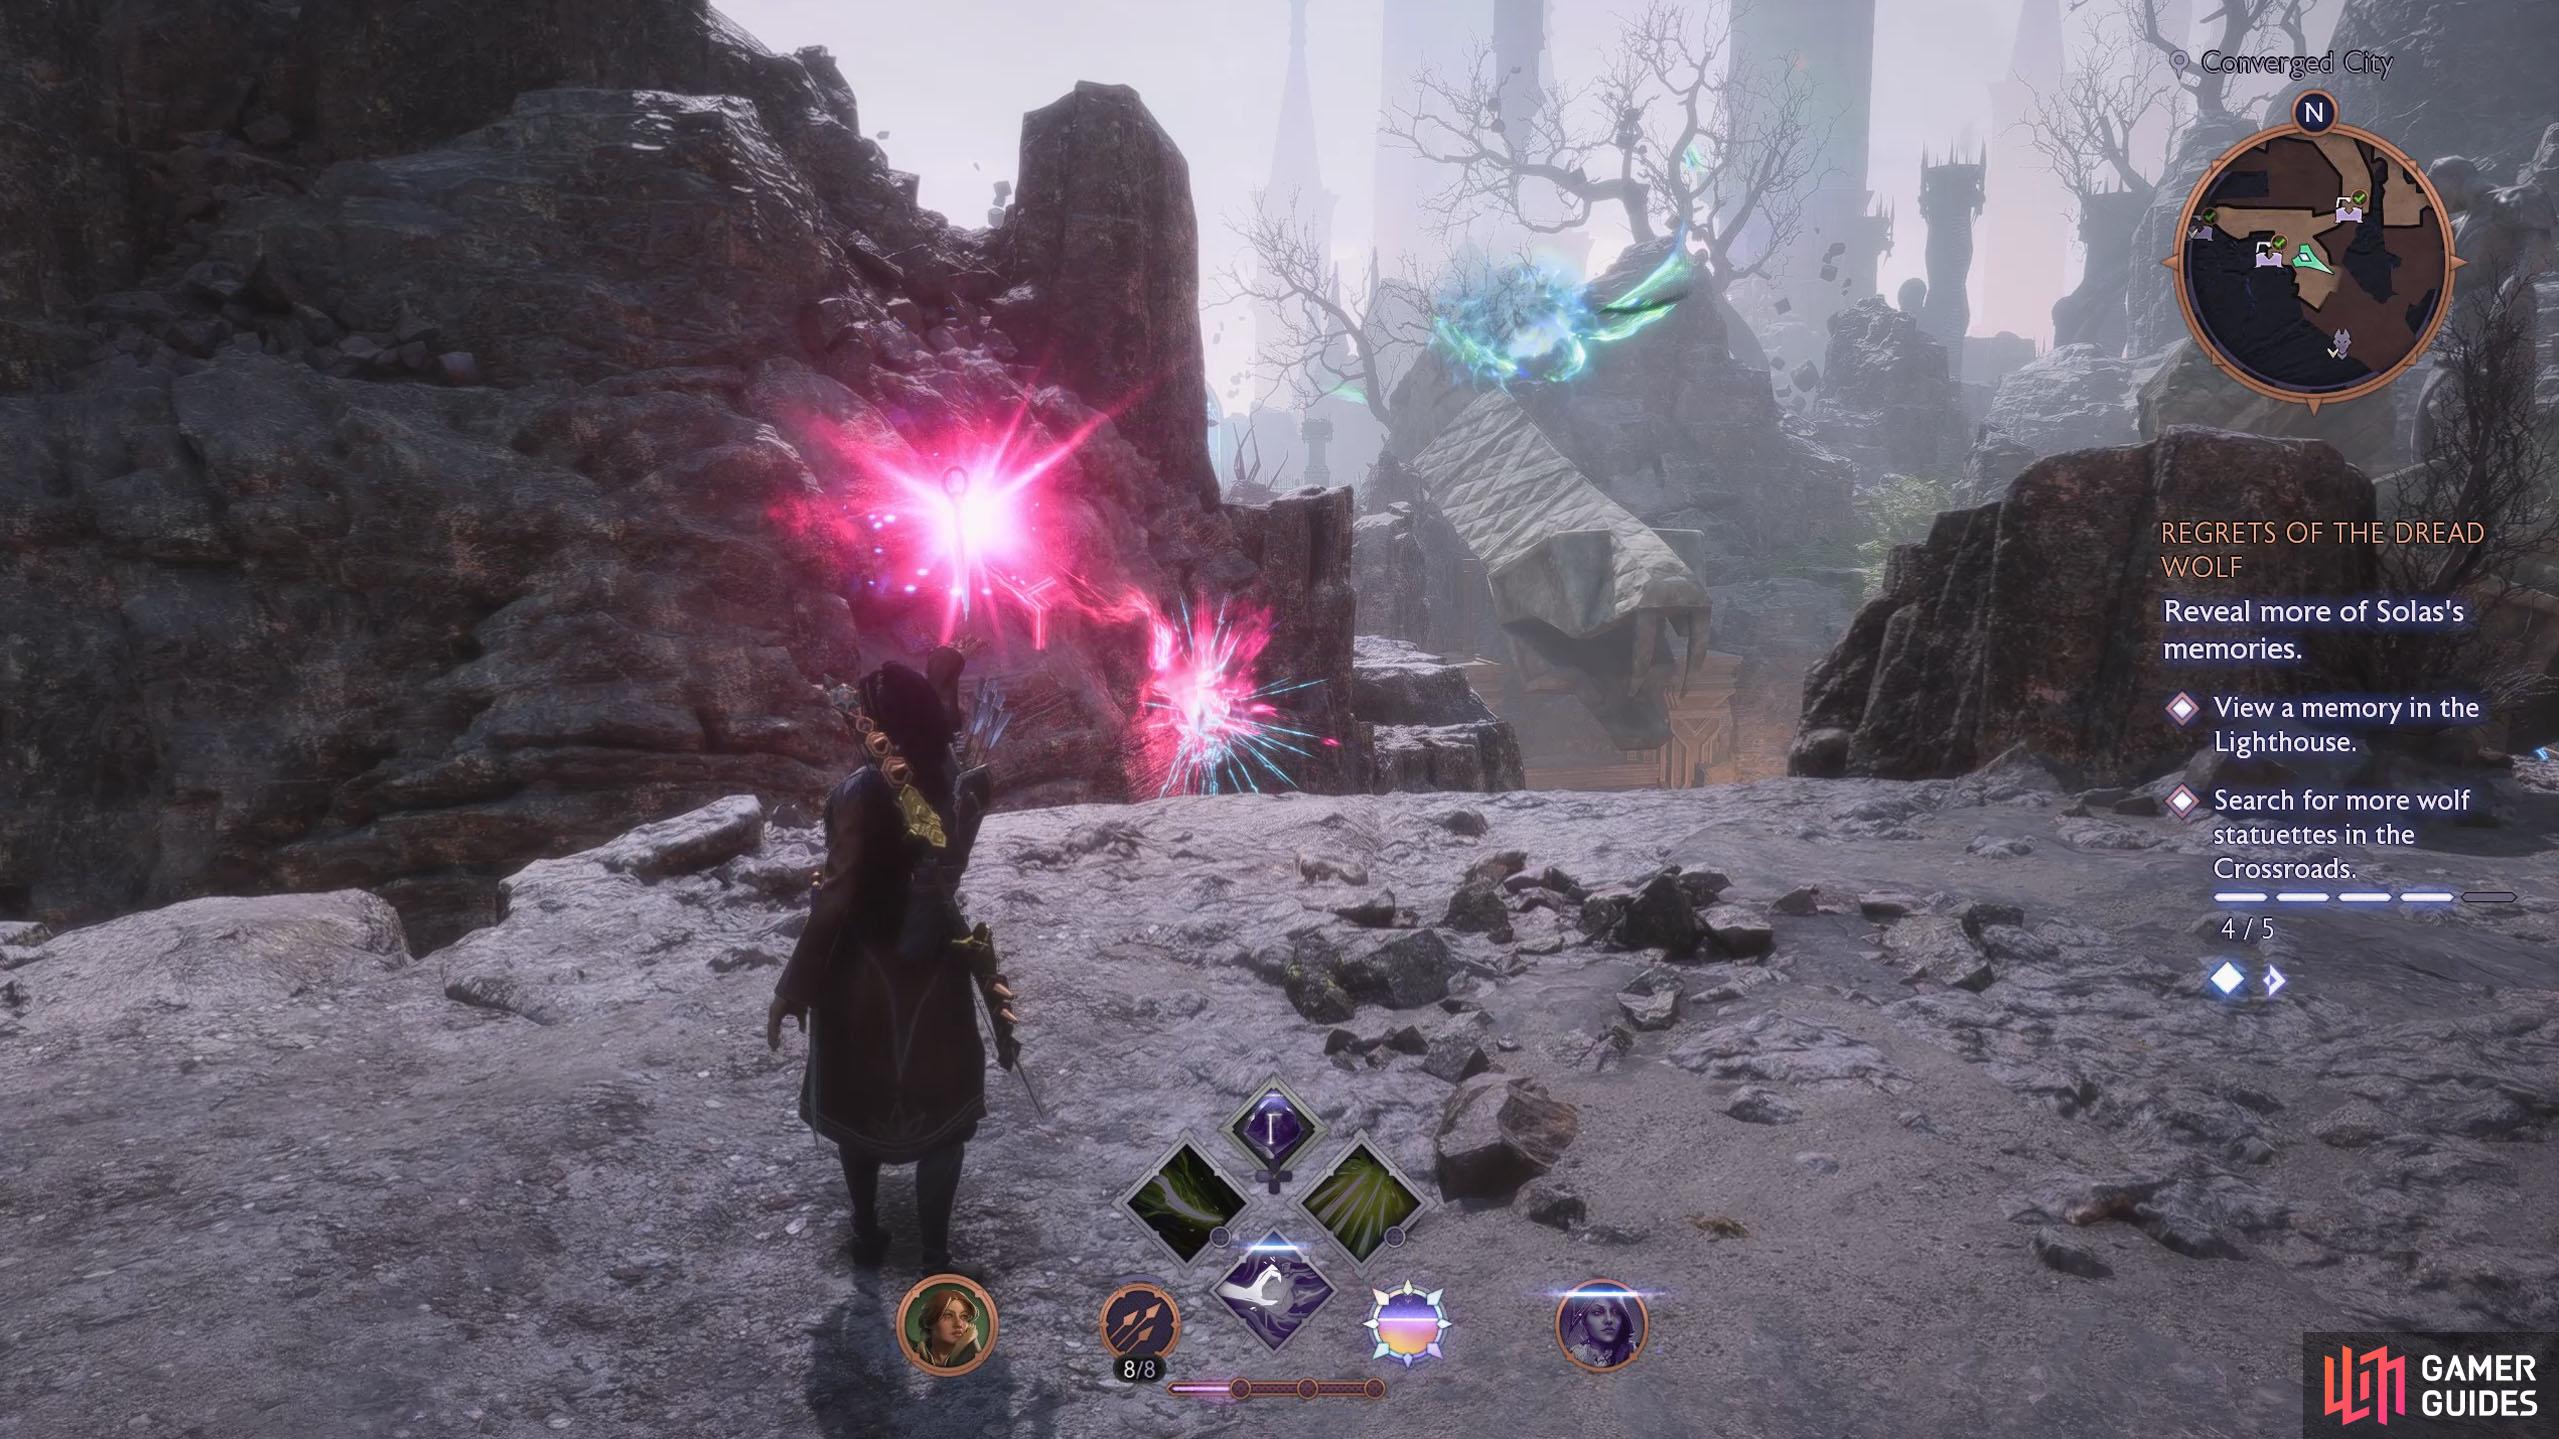
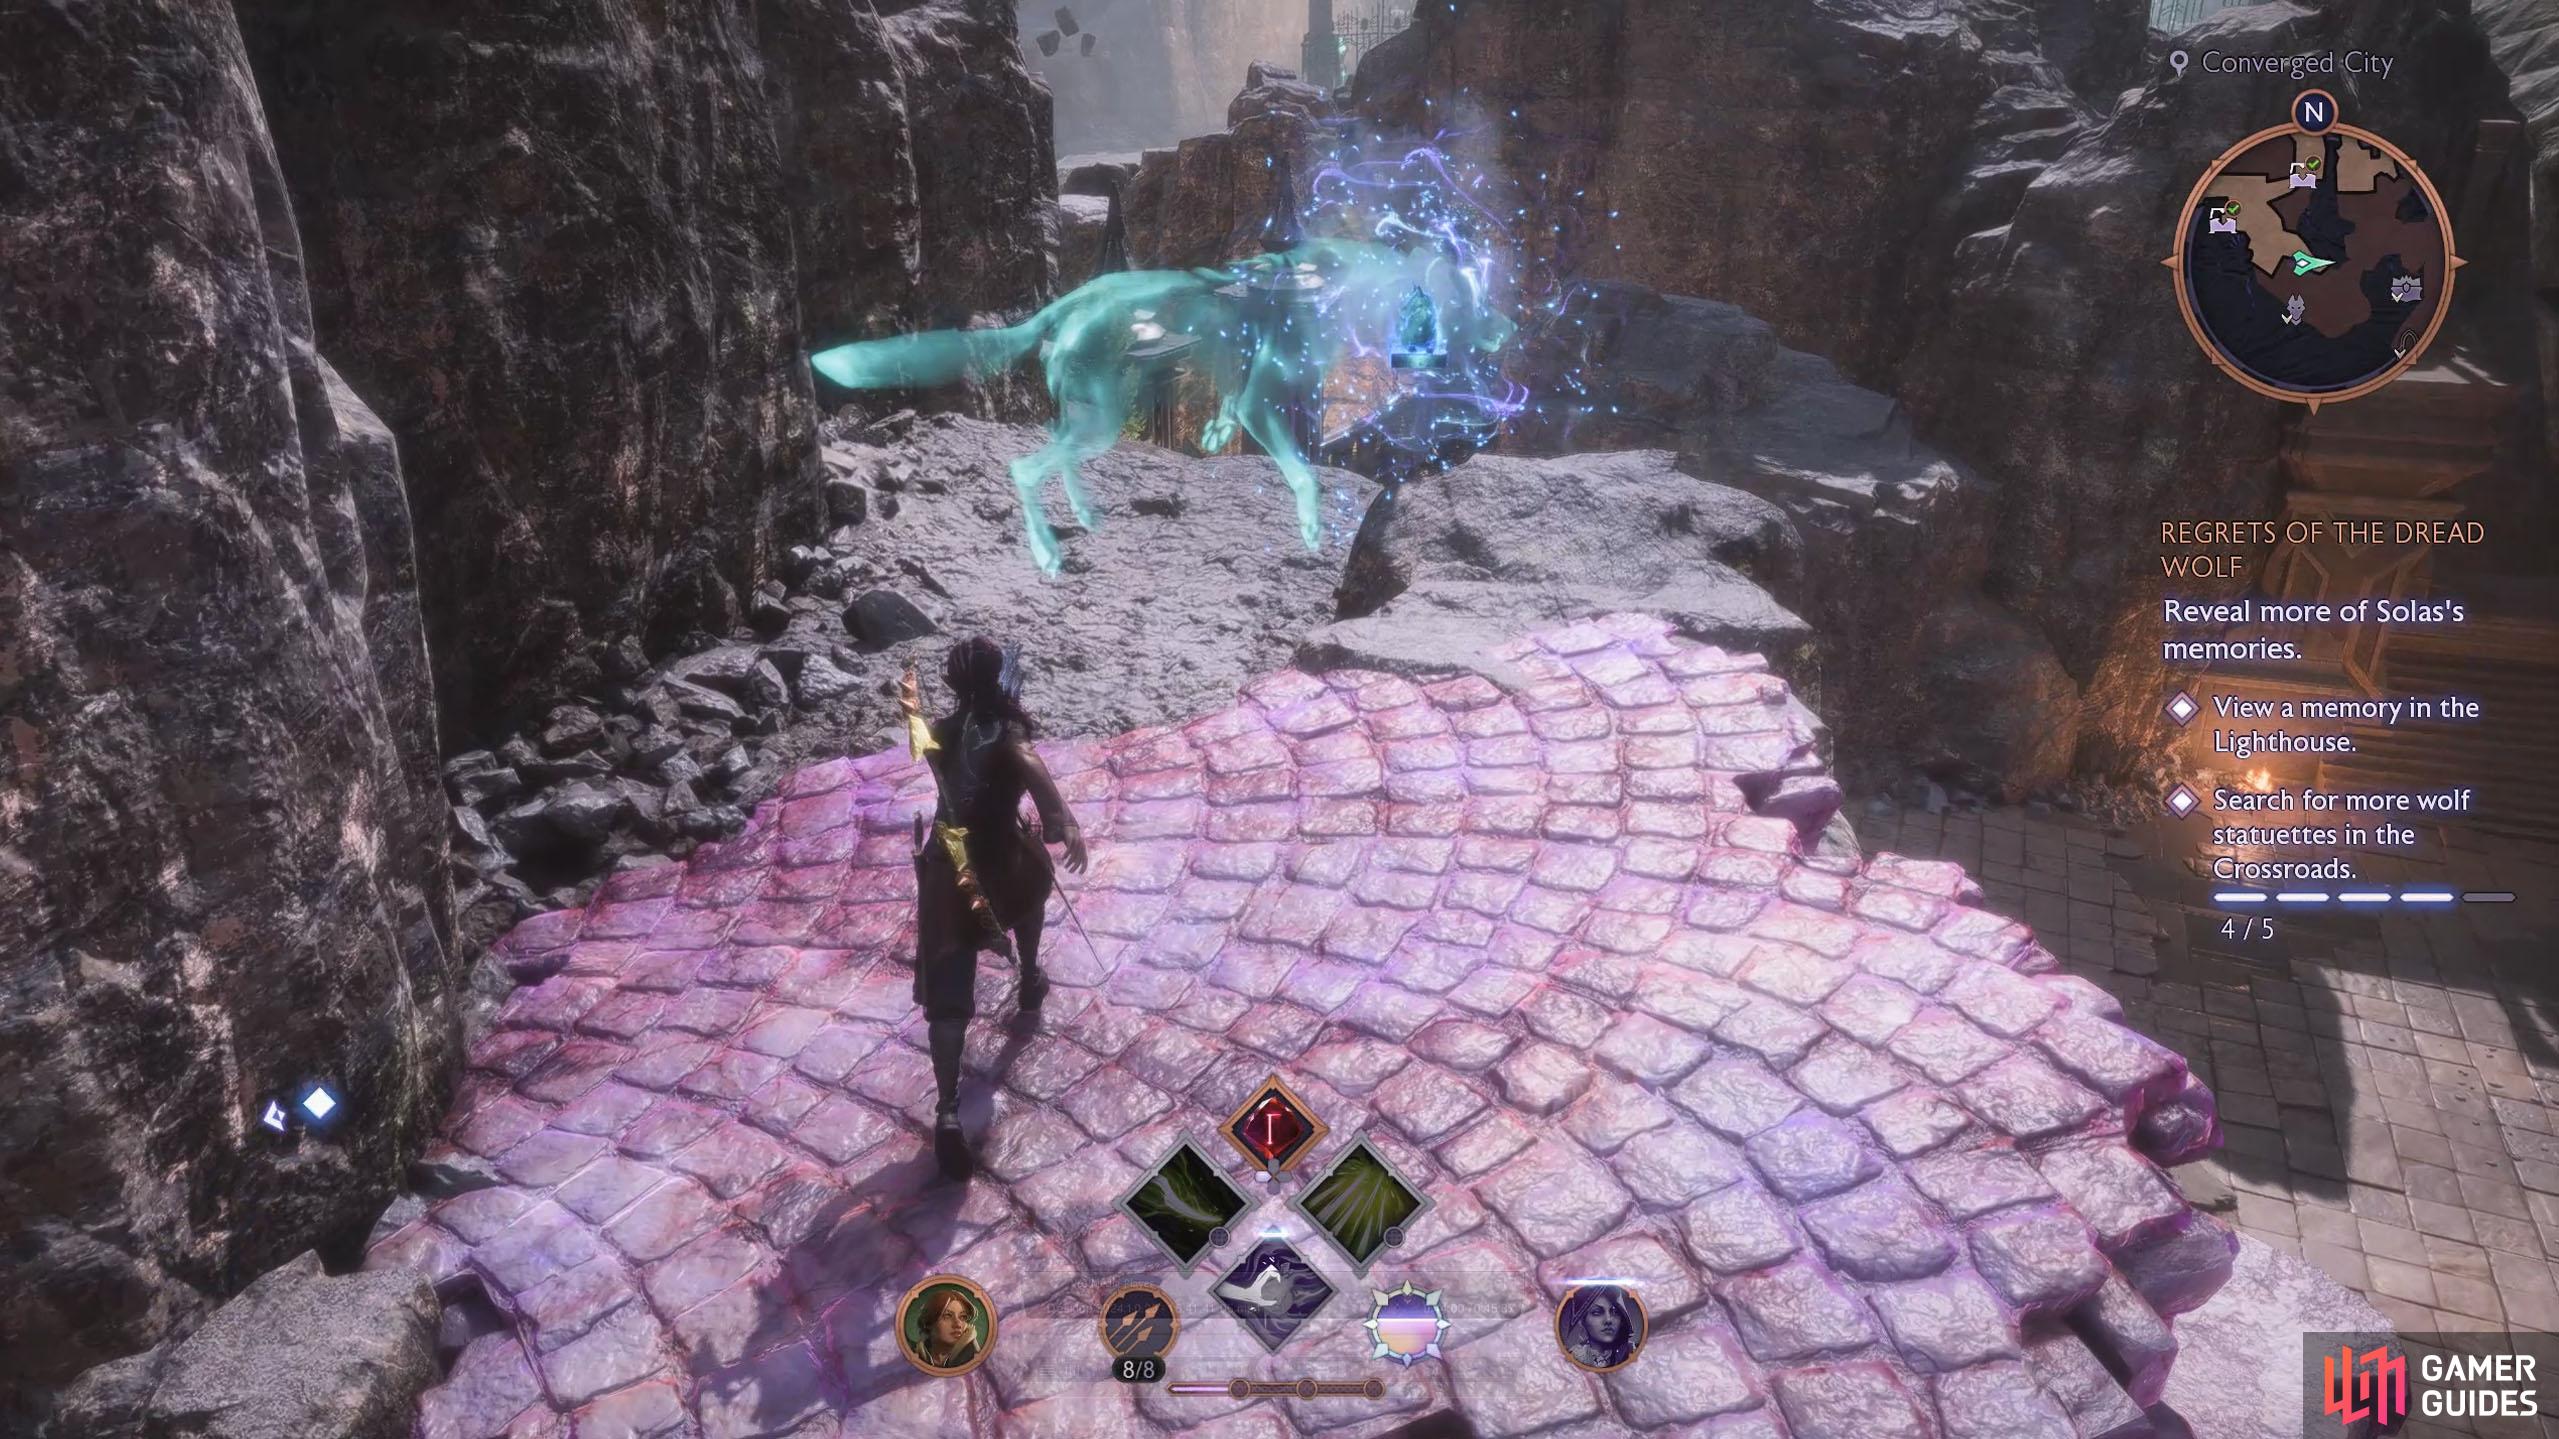
At the top of the ladder, you’ll be ambushed by two more enemies, defeat them, and you’ll unveil a Dread Wolf Statue. Now, walk over to the southeastern edge, and use Lucanis’ Fade power to create some platforms. Jump across these platforms to find the statue.
(1 of 4) You’ll find the Altar behind the red barrier under the southwest statue.
The Crossroads - Heights of Athim Altar 2
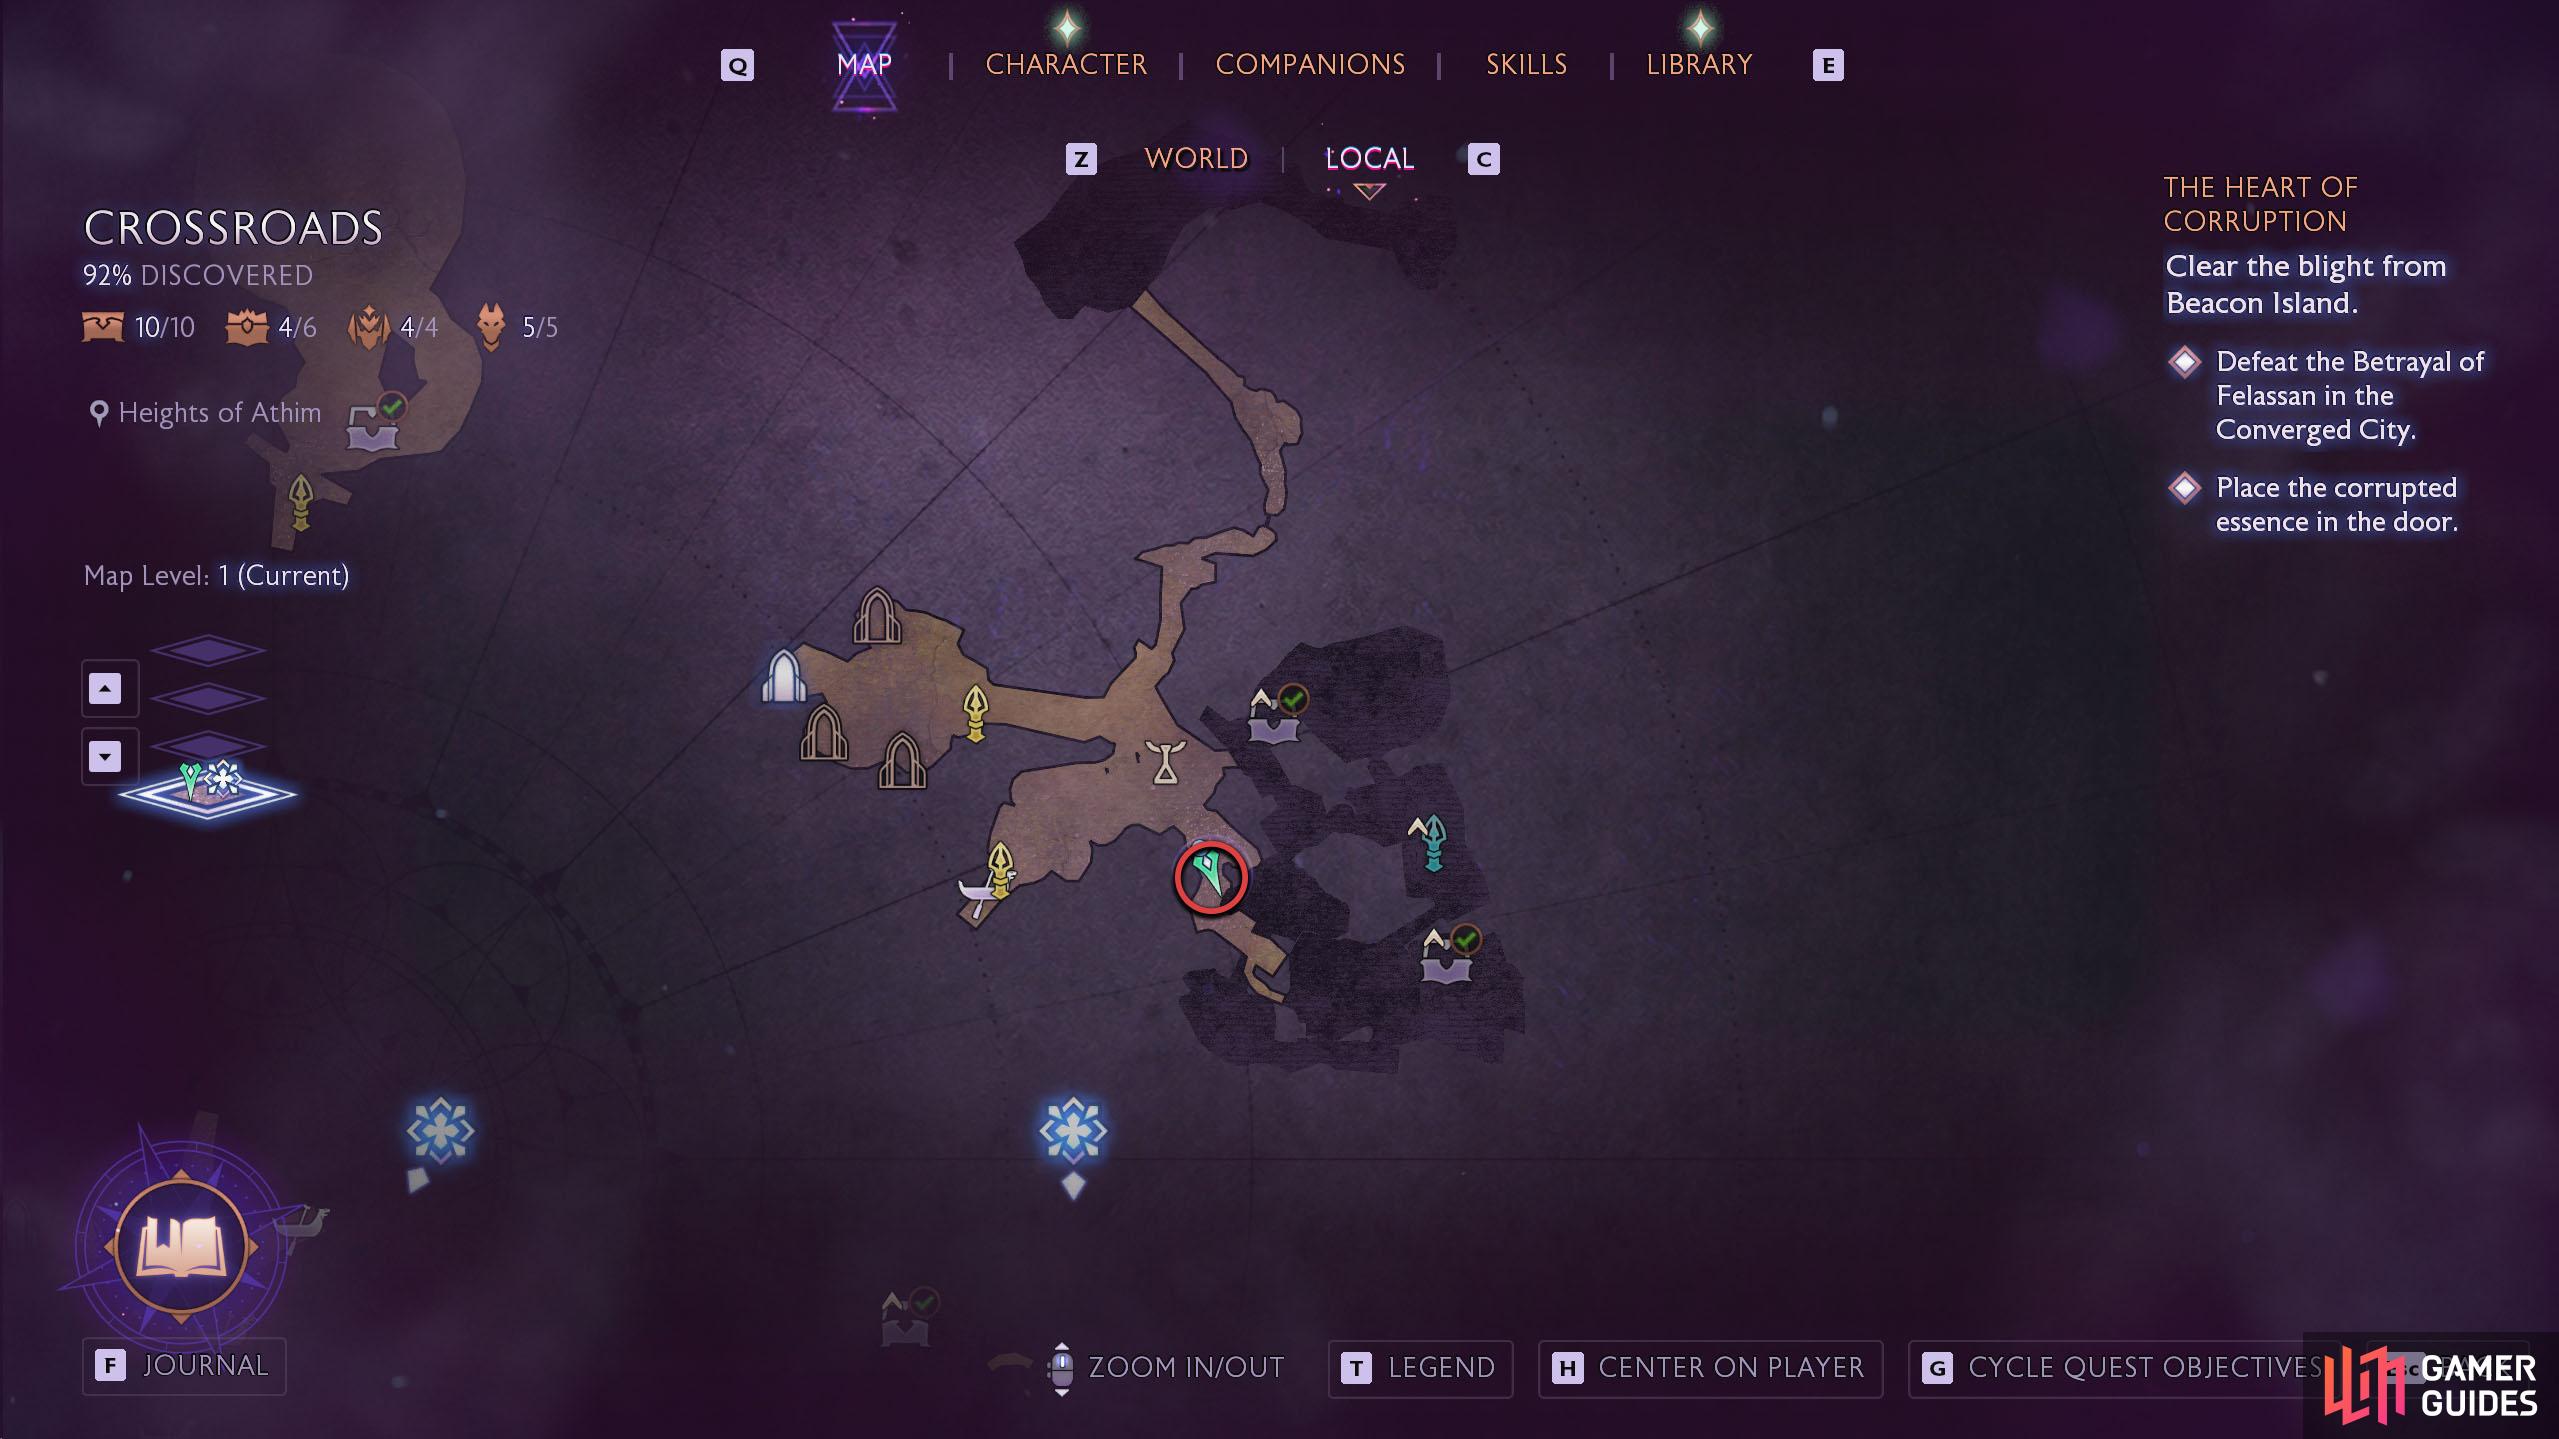
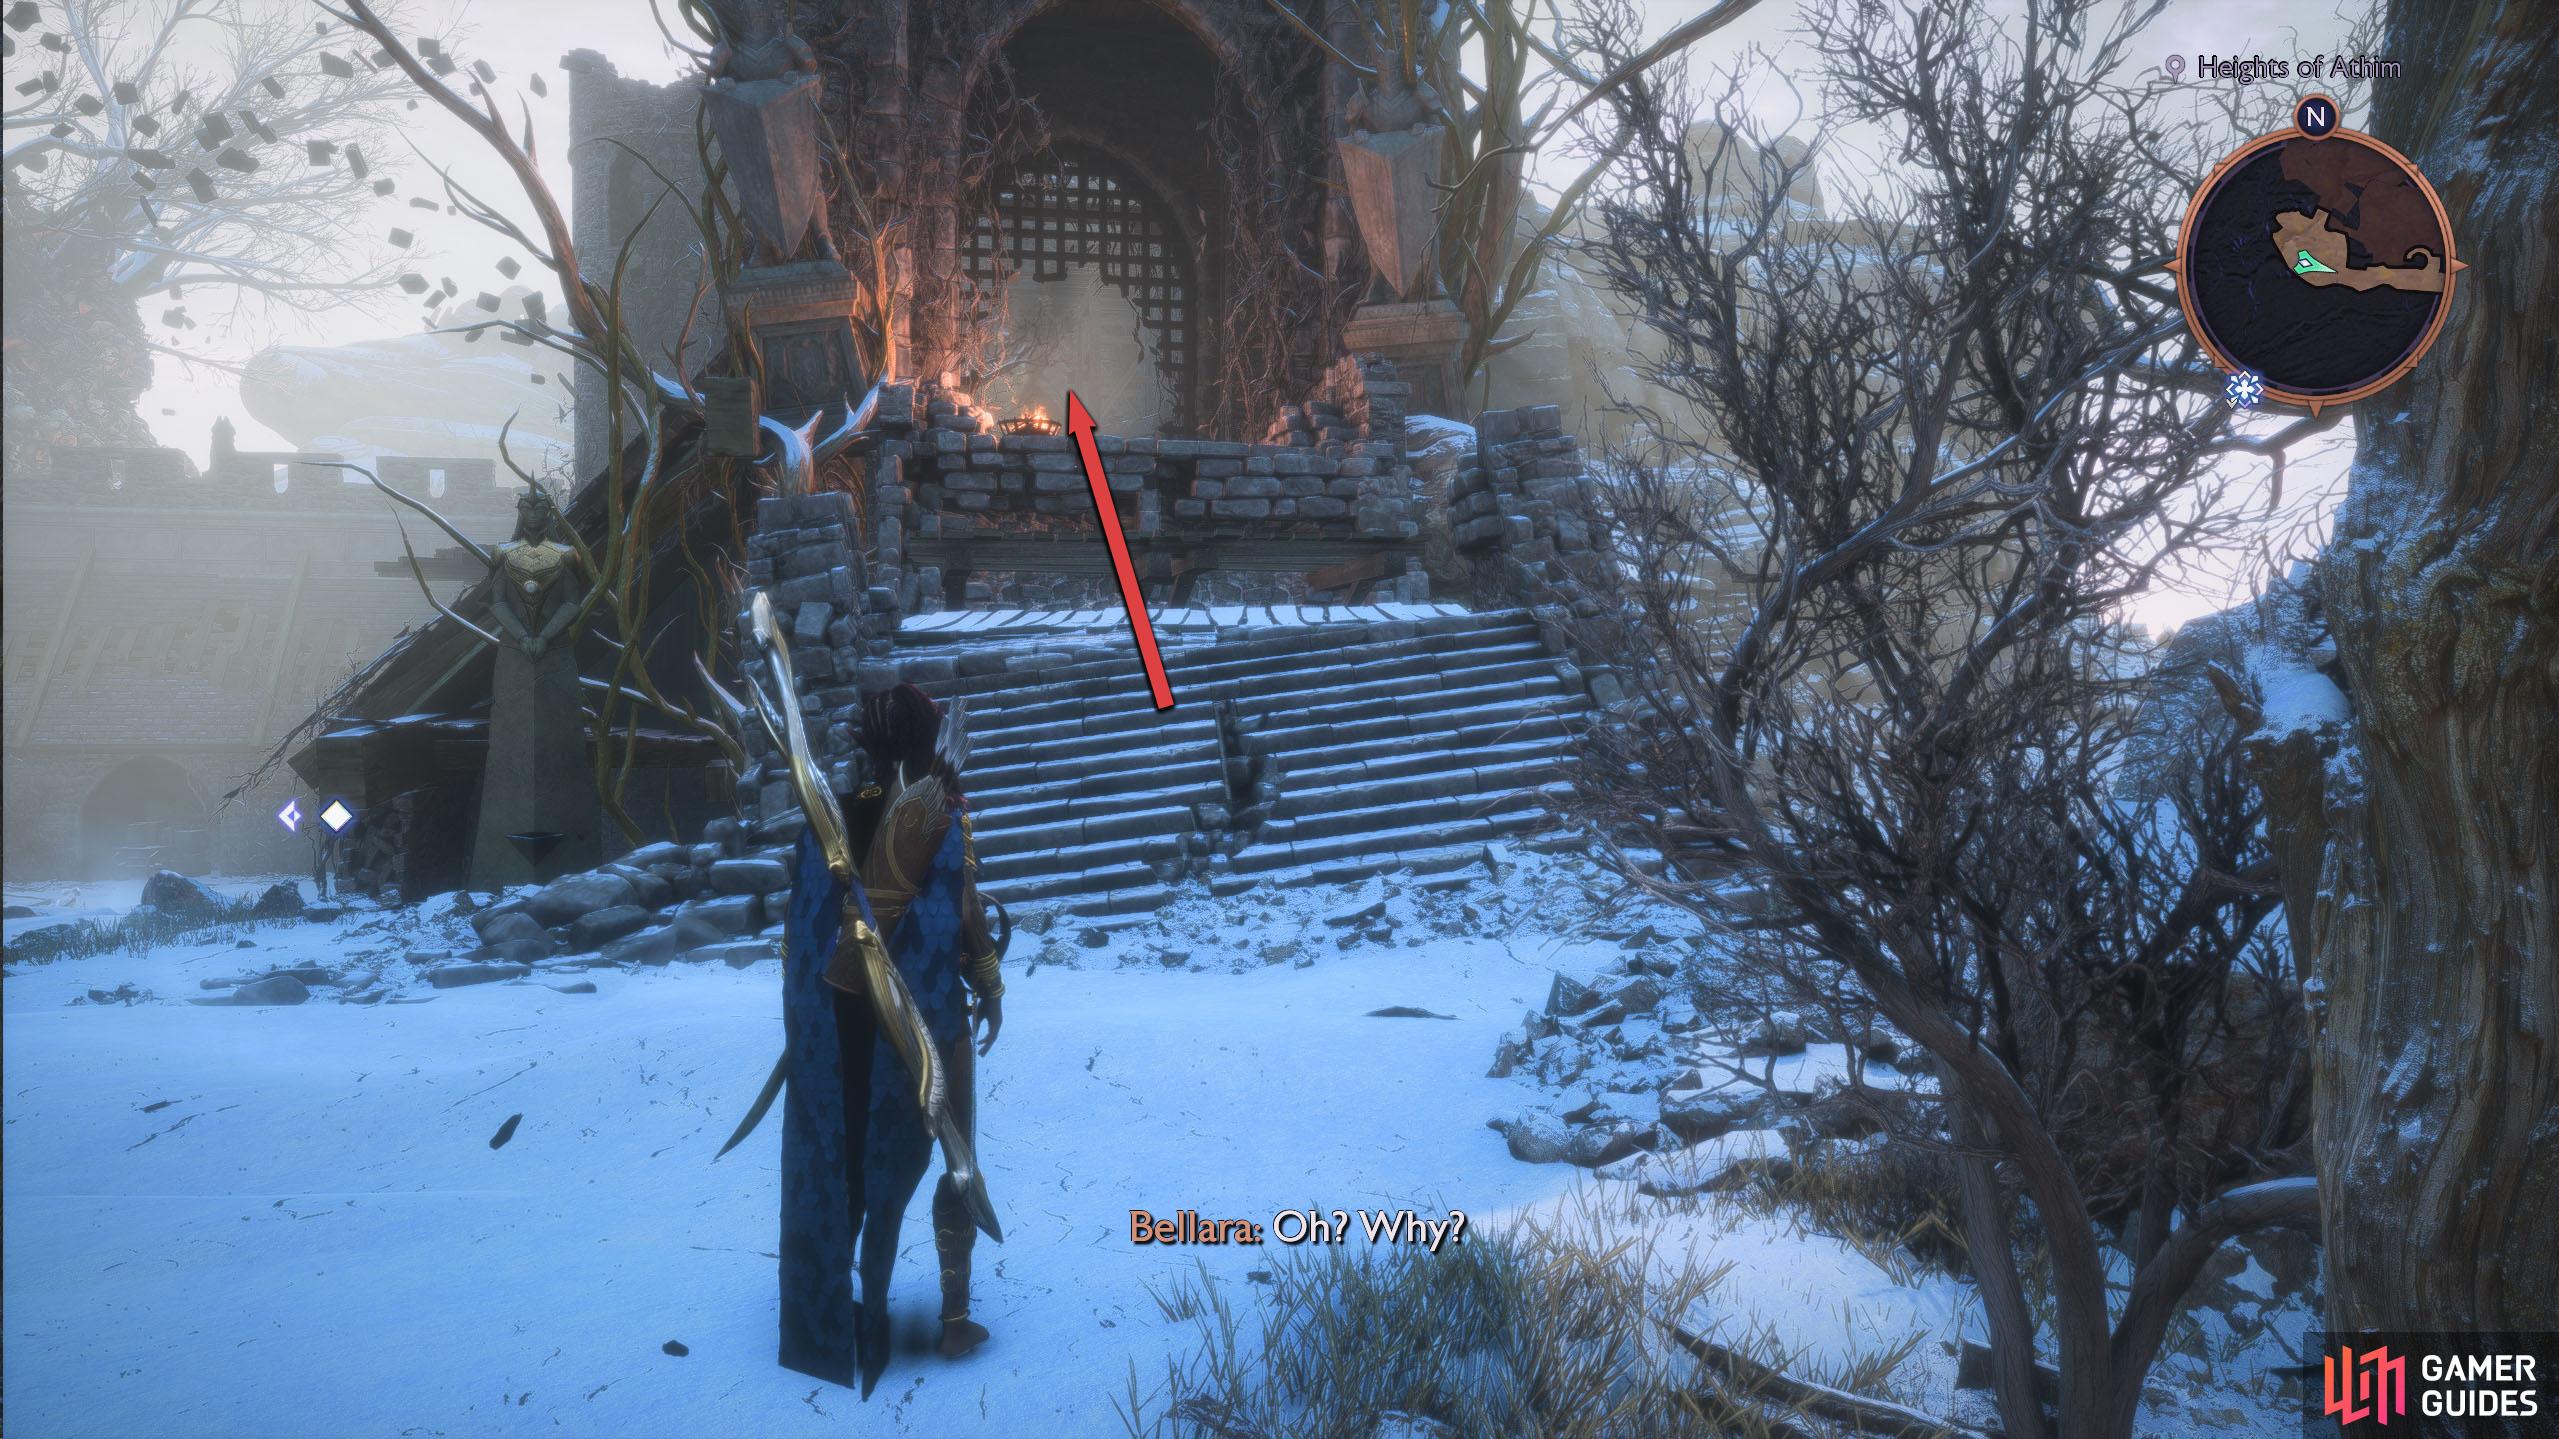
You gain access to this Altar where you get access to the Heights of Athim, which is available during and after the “A Warden’s Best Friend” story quest. From the Fast Travel, head up the nearby stairs, and follow them up to the open area.
Defeat the enemies, and then head through the shack in the southeast, and go up the ladder. At the top, go up the wooden stairs to the southwest and follow them east into the castle ruins.
(1 of 4) The Altar is at the very top of Heights of Athim, next to the blighted tree.
Follow the path back outside and go up the next set of stairs. Defeat the Darkspawn here, and then interact with the Altar to the left of the blighted tree.
Note that the Unique Chest here is hidden within the blighted tree, and can be obtained by defeating a specific amount of Darkspawn in the area. Furthermore, there is a well here that is related to the Echo demon in the Hossberg quest.
Continuing on, the statue for the Altar is back down below. Fortunately, you can slide down the roof behind the Altar to get down quicker. In the courtyard, head inside the dilapidated building to the west, and climb the ladder. The statue will be to the right of the Zip Line behind you.
(1 of 3) As you exit the castle ruins, you’ll notice a huge blighted tree. The Altar is to the left of the tree.
Rivain - Winding Shoreline Altar
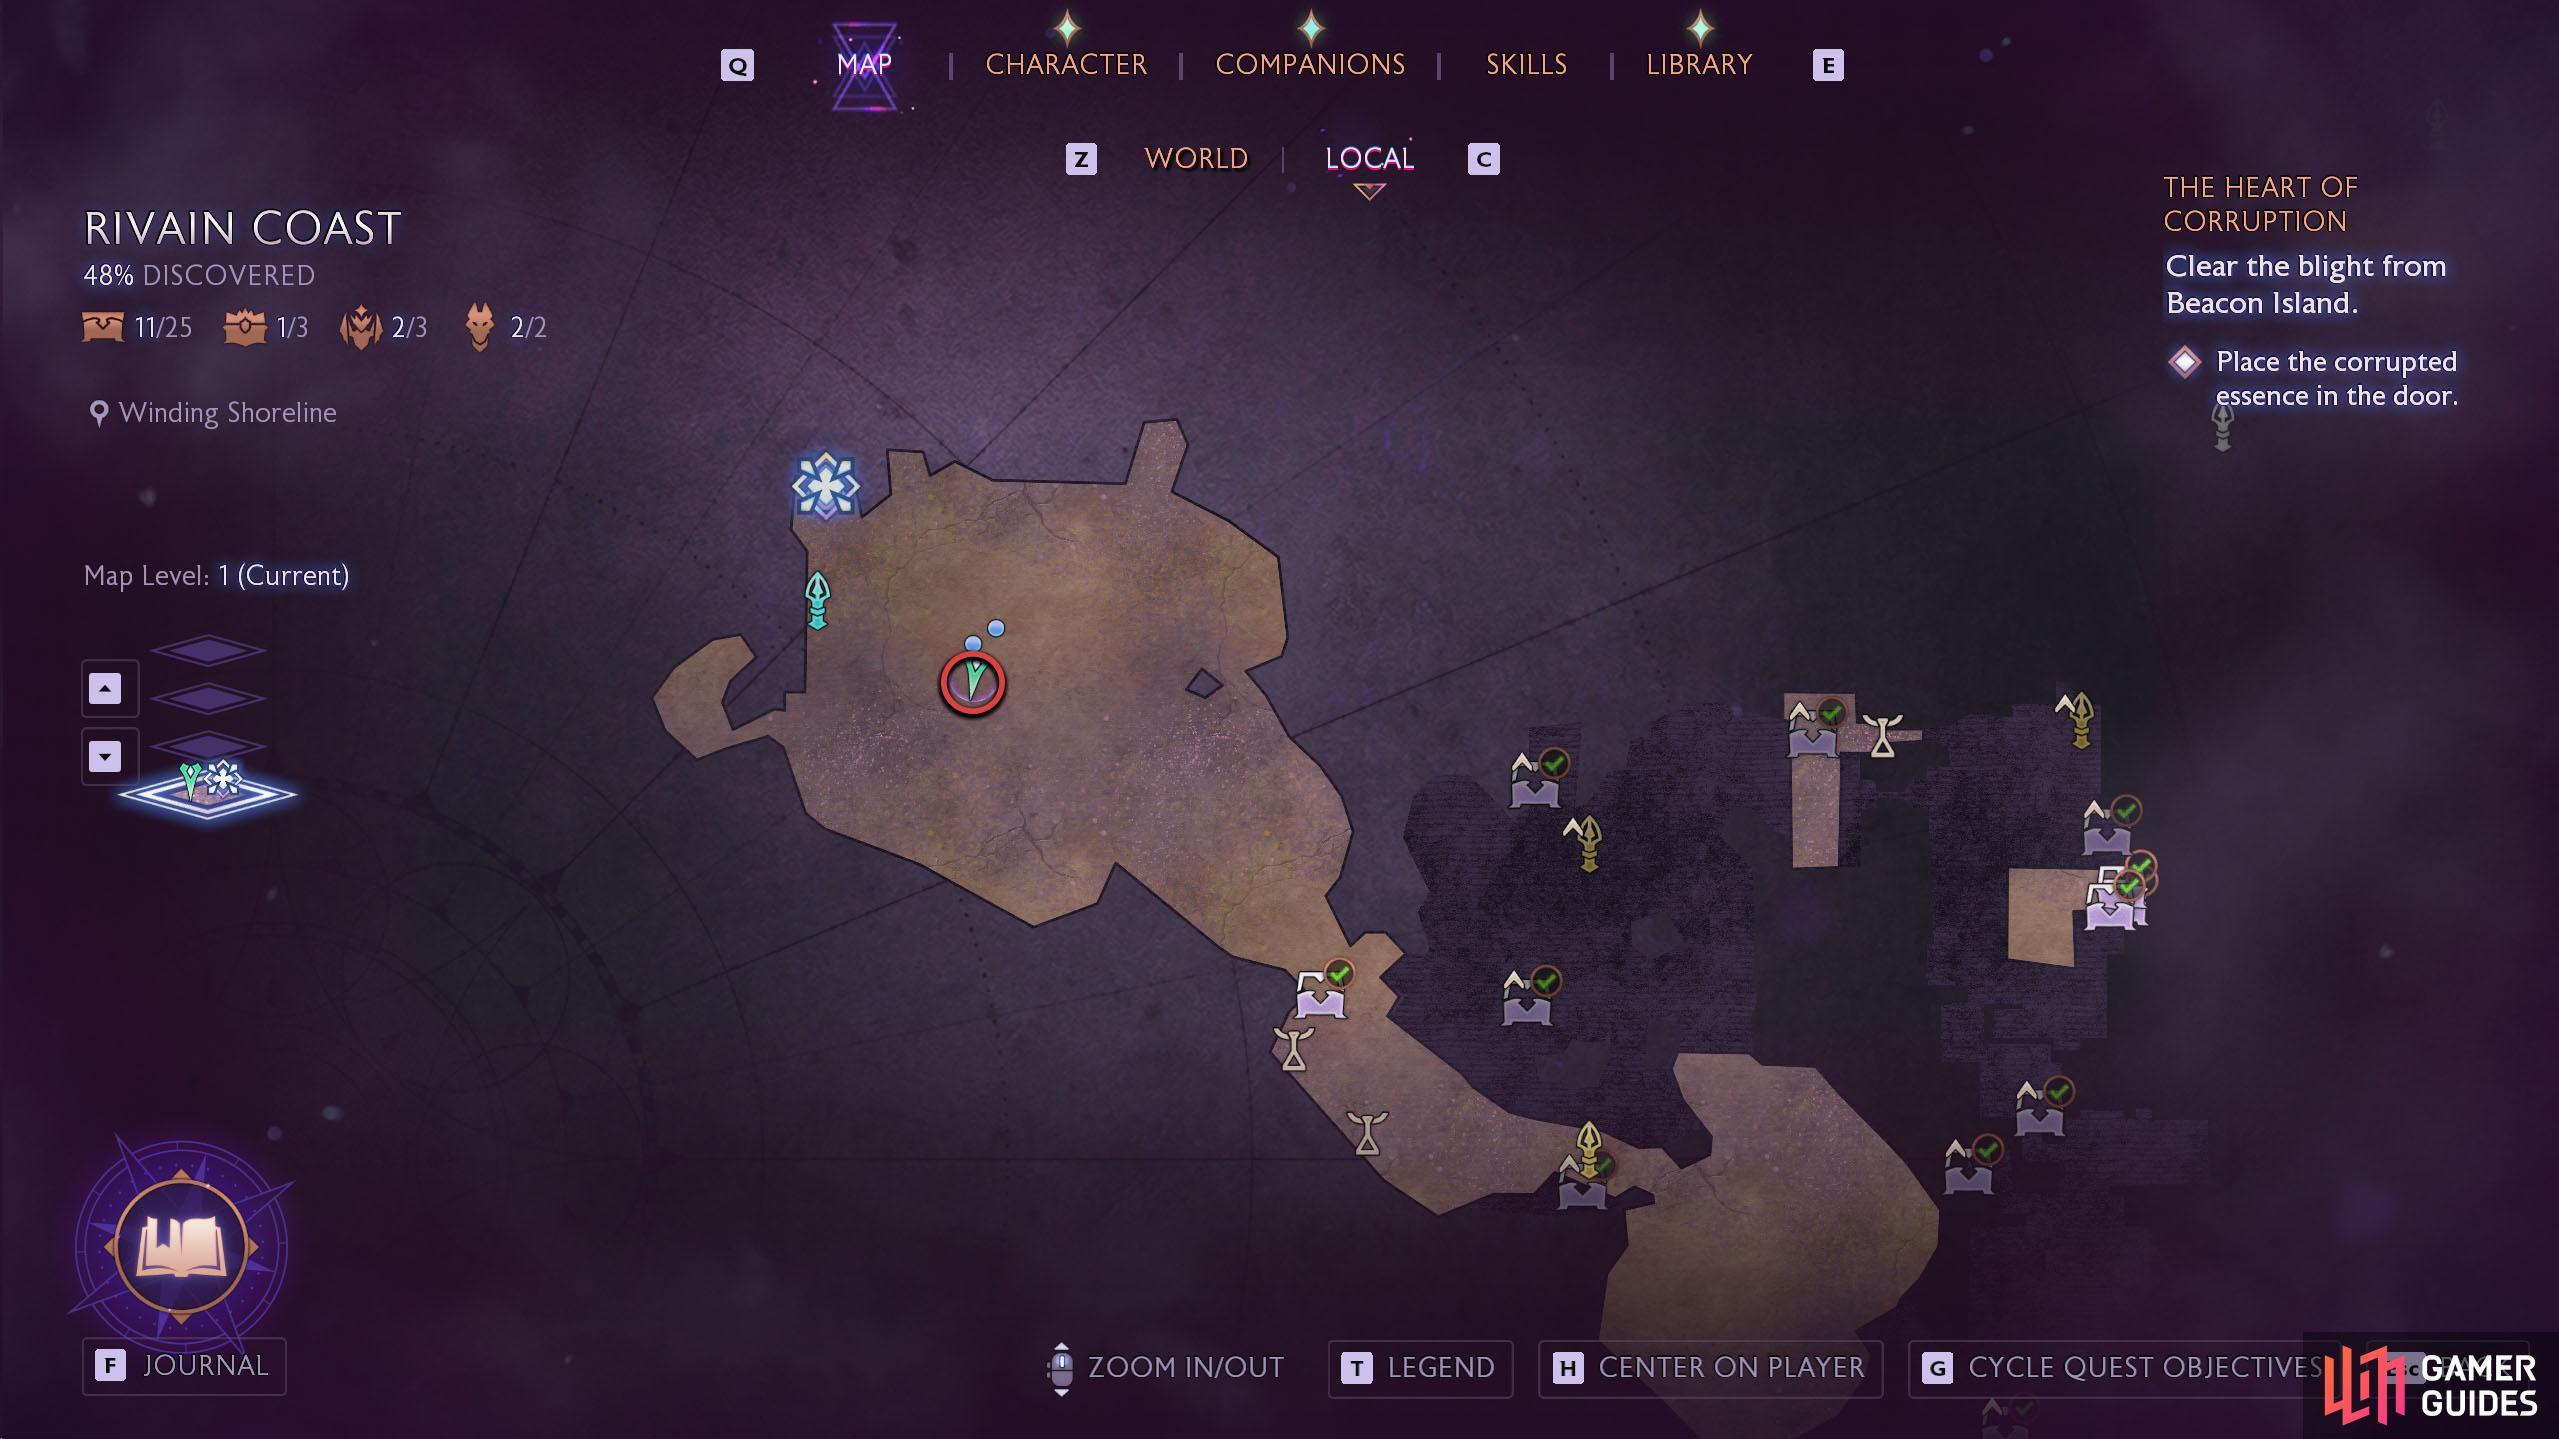
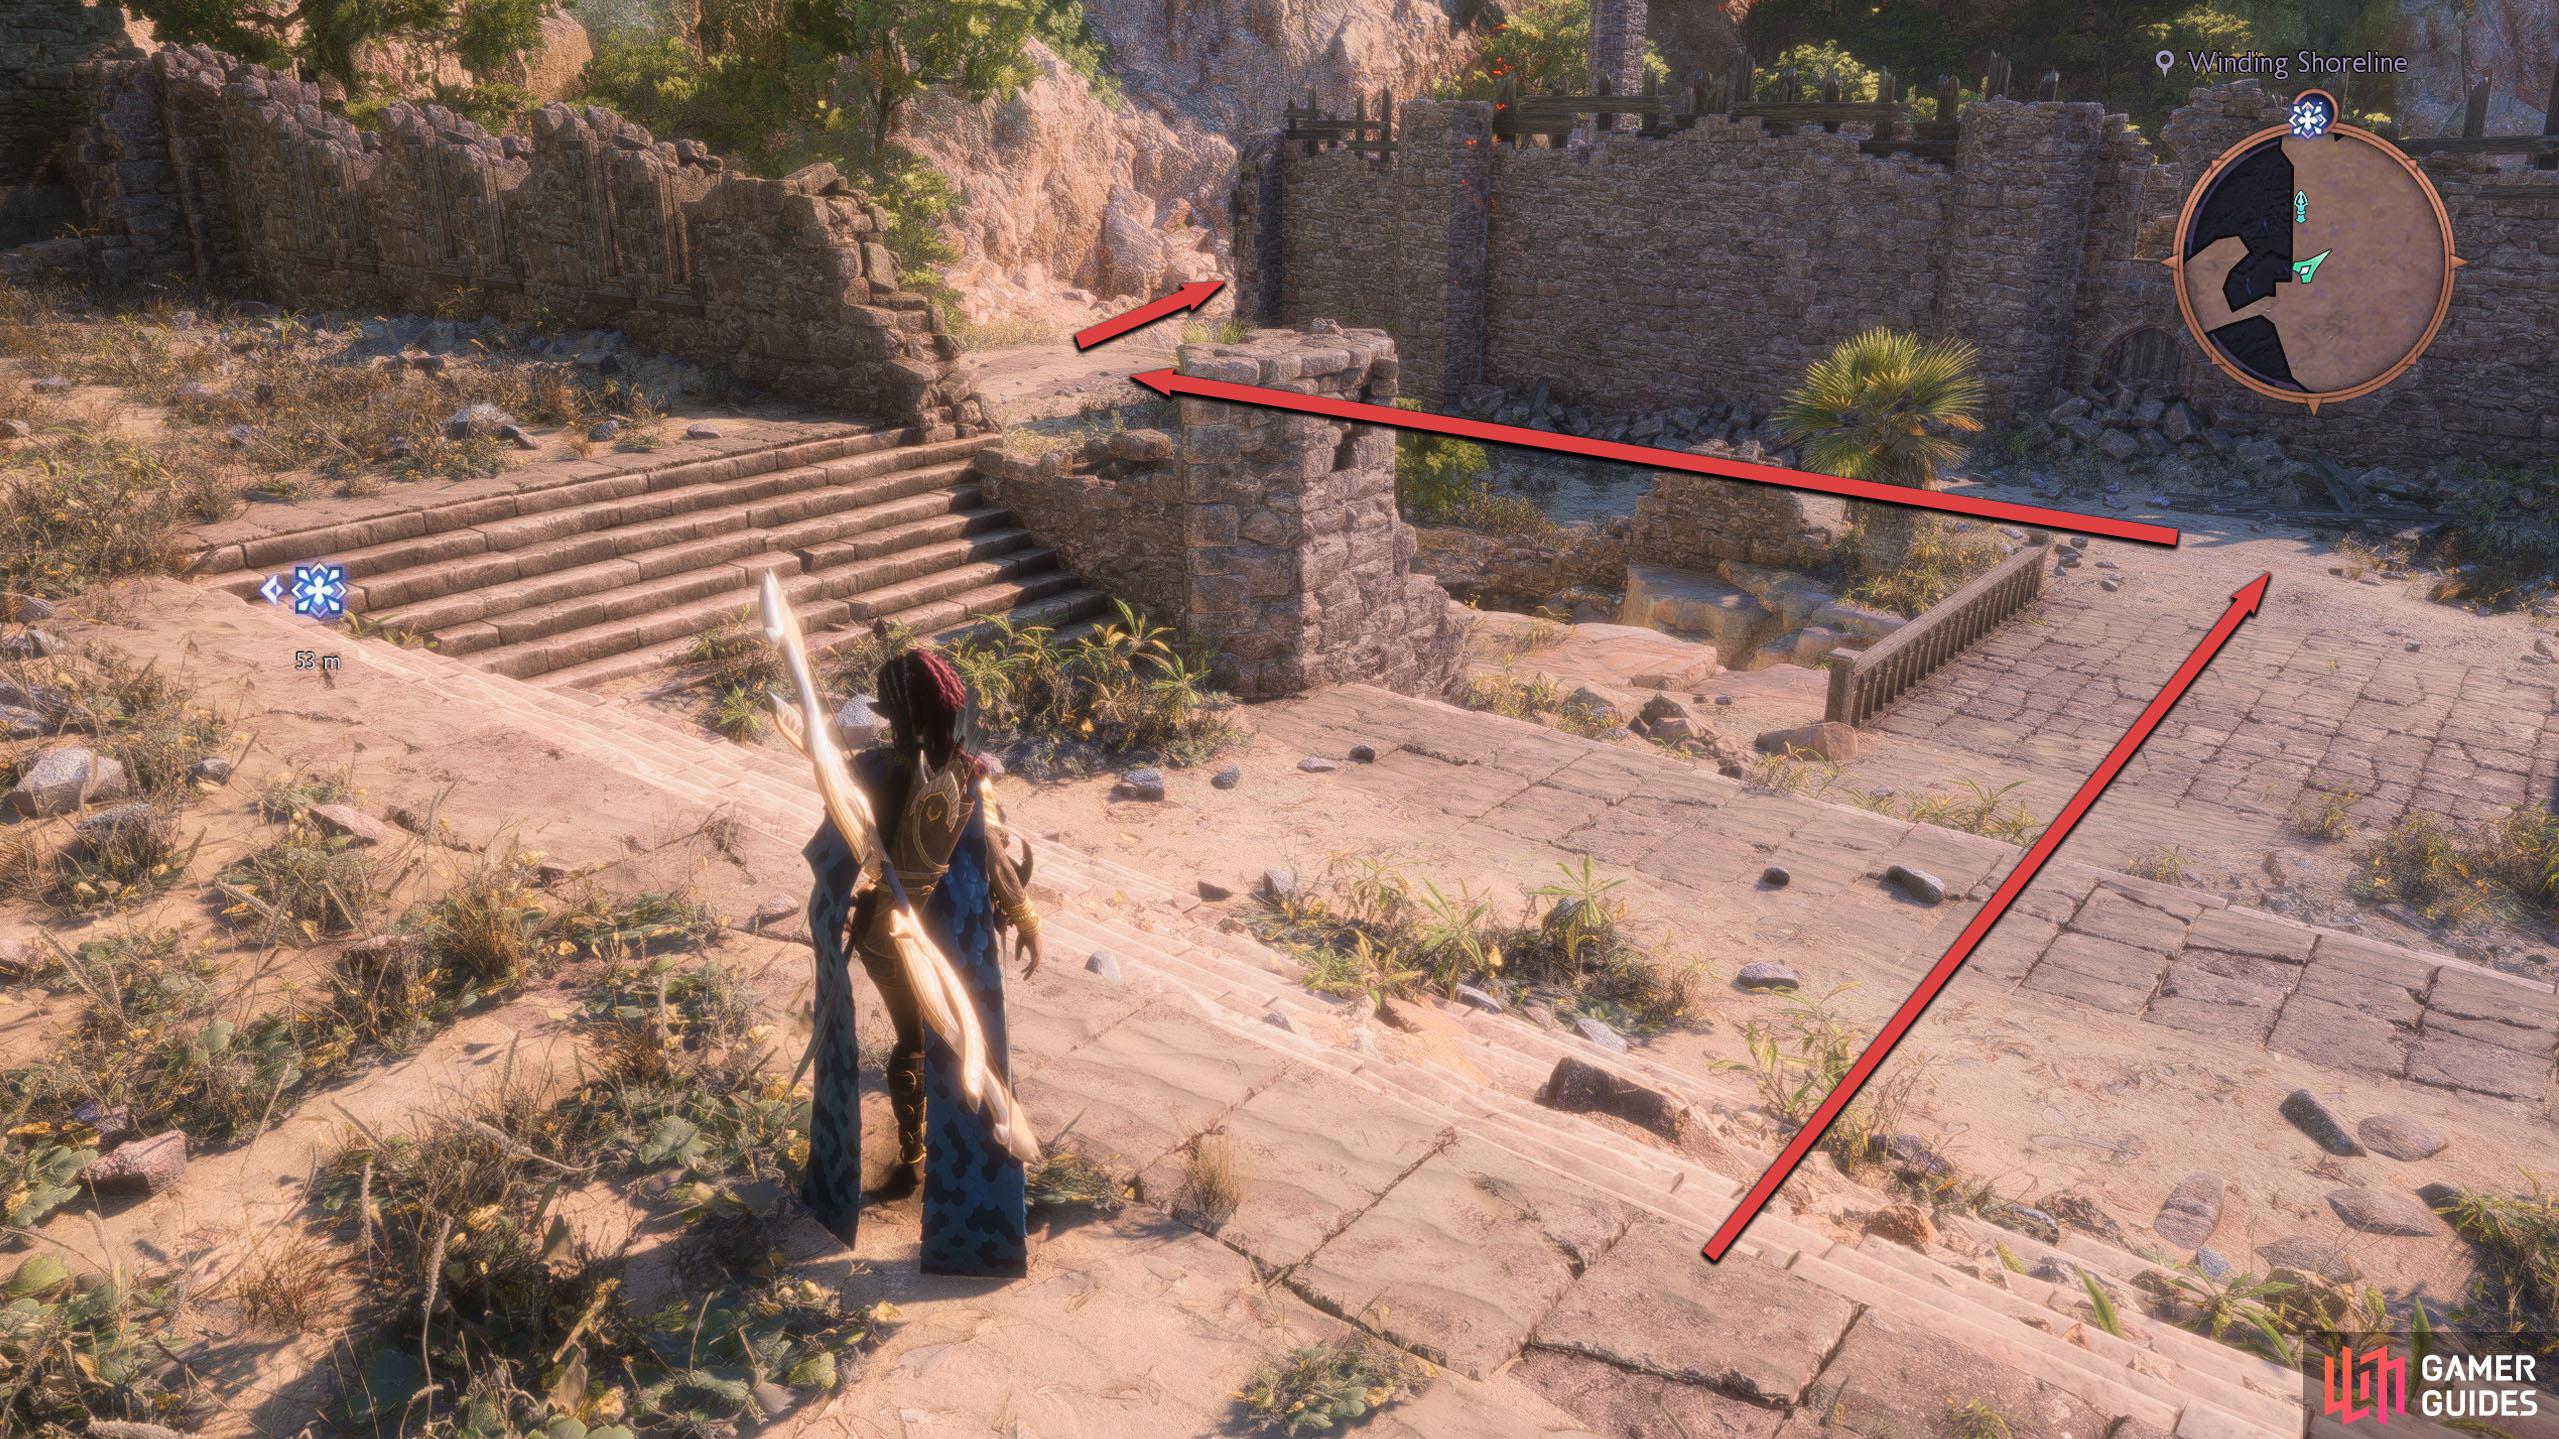
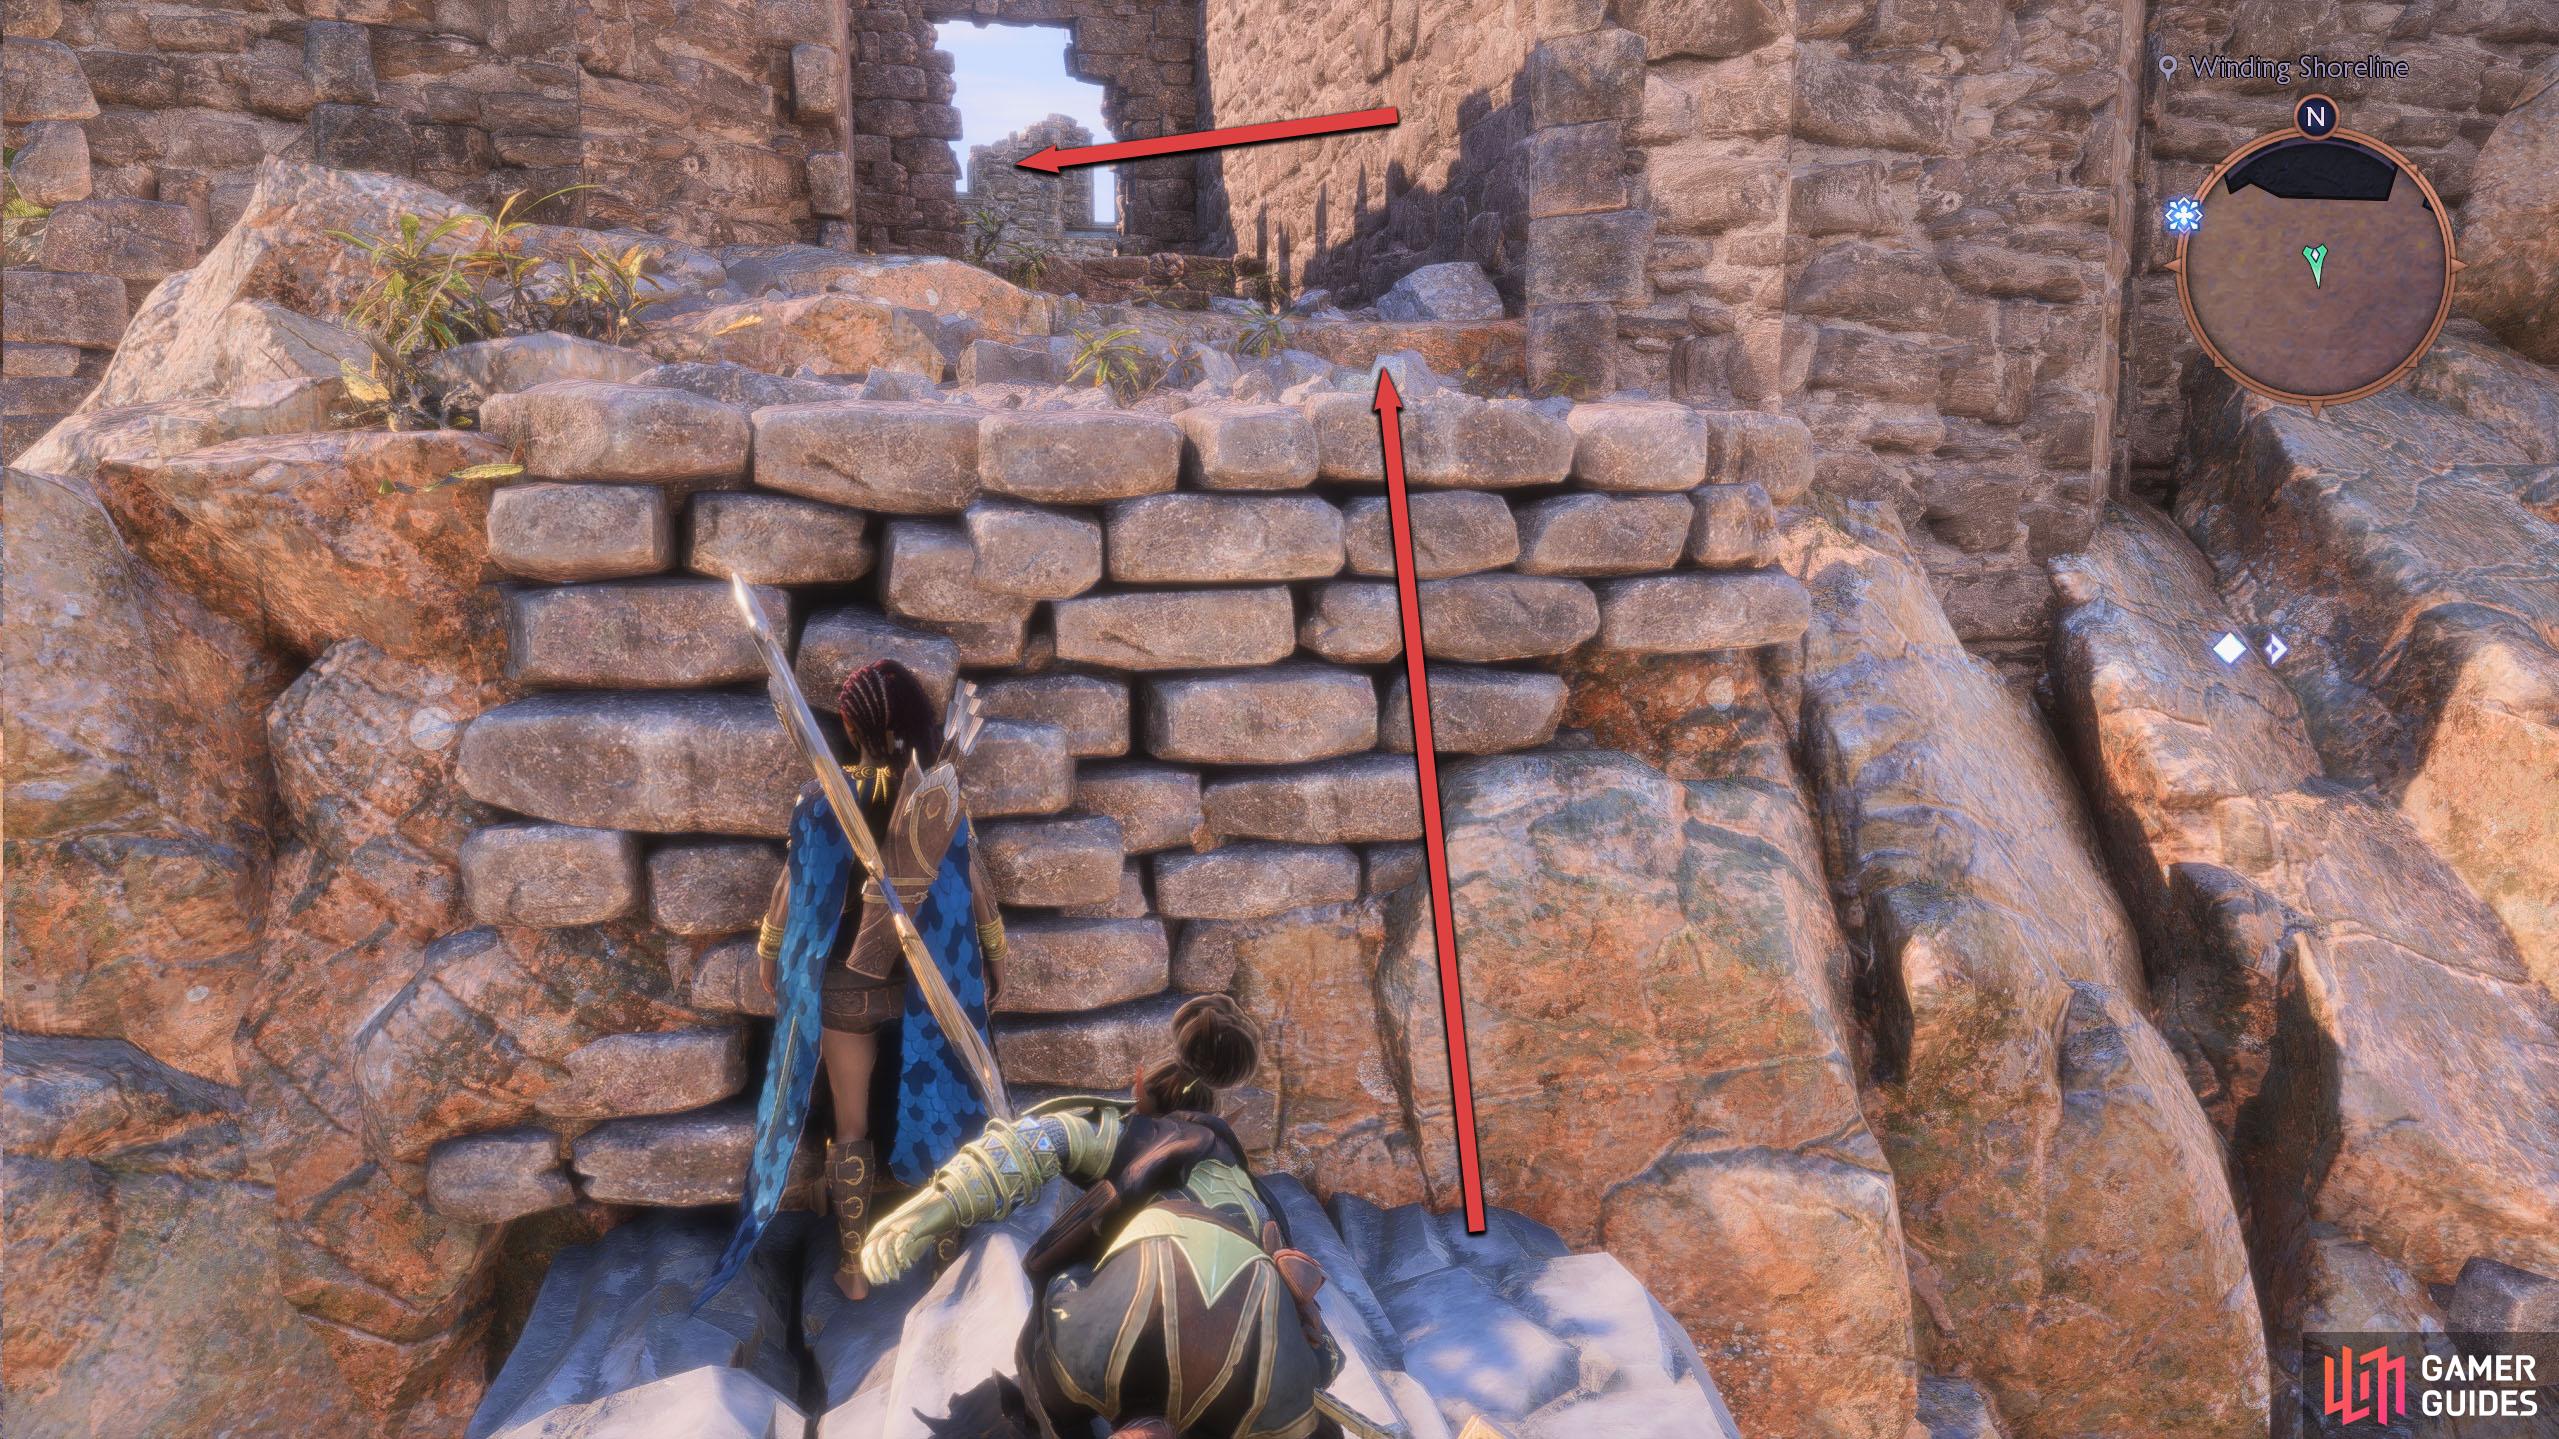
From the entrance of Rivain, continue onwards until you reach the ruins nearby. Take the stairs down to the north and follow the ruins wall around to the east, where you’ll find another set of stairs. At the bottom of the stairs is a stone block you can pull out with Harding’s power.
(1 of 3) The Rivain Altar can be found in the ruins of the Winding Shoreline.
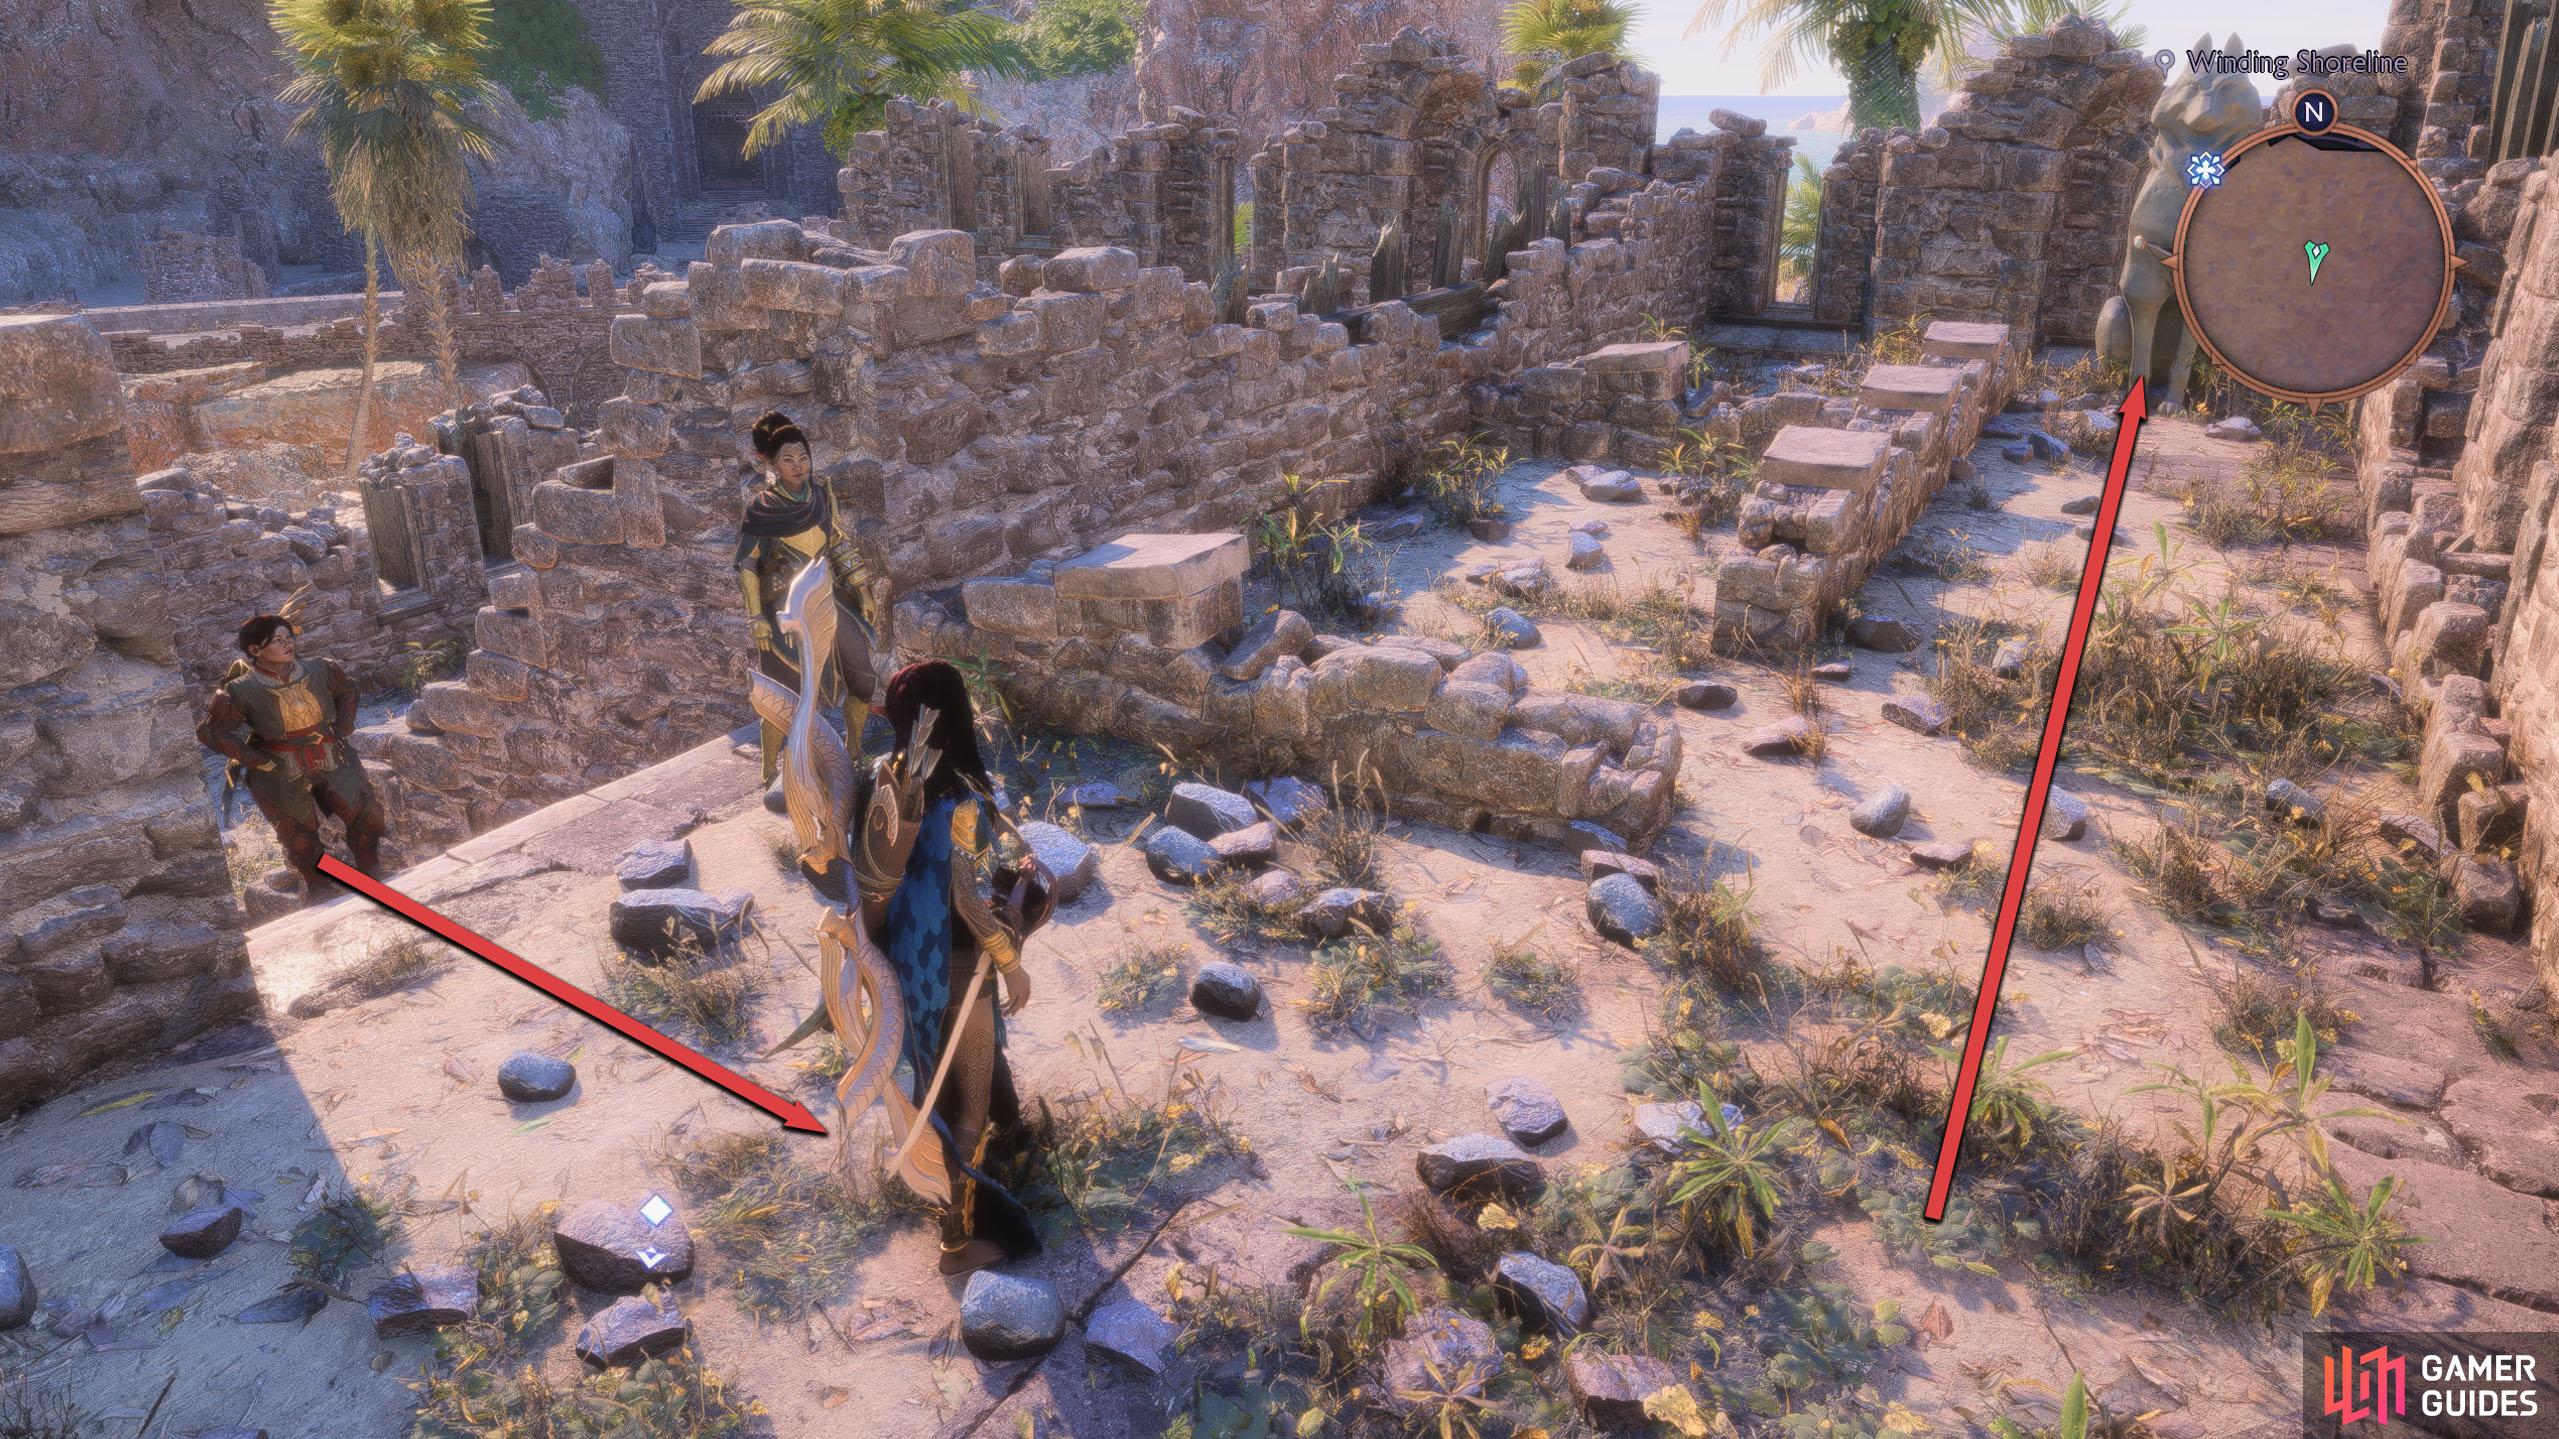
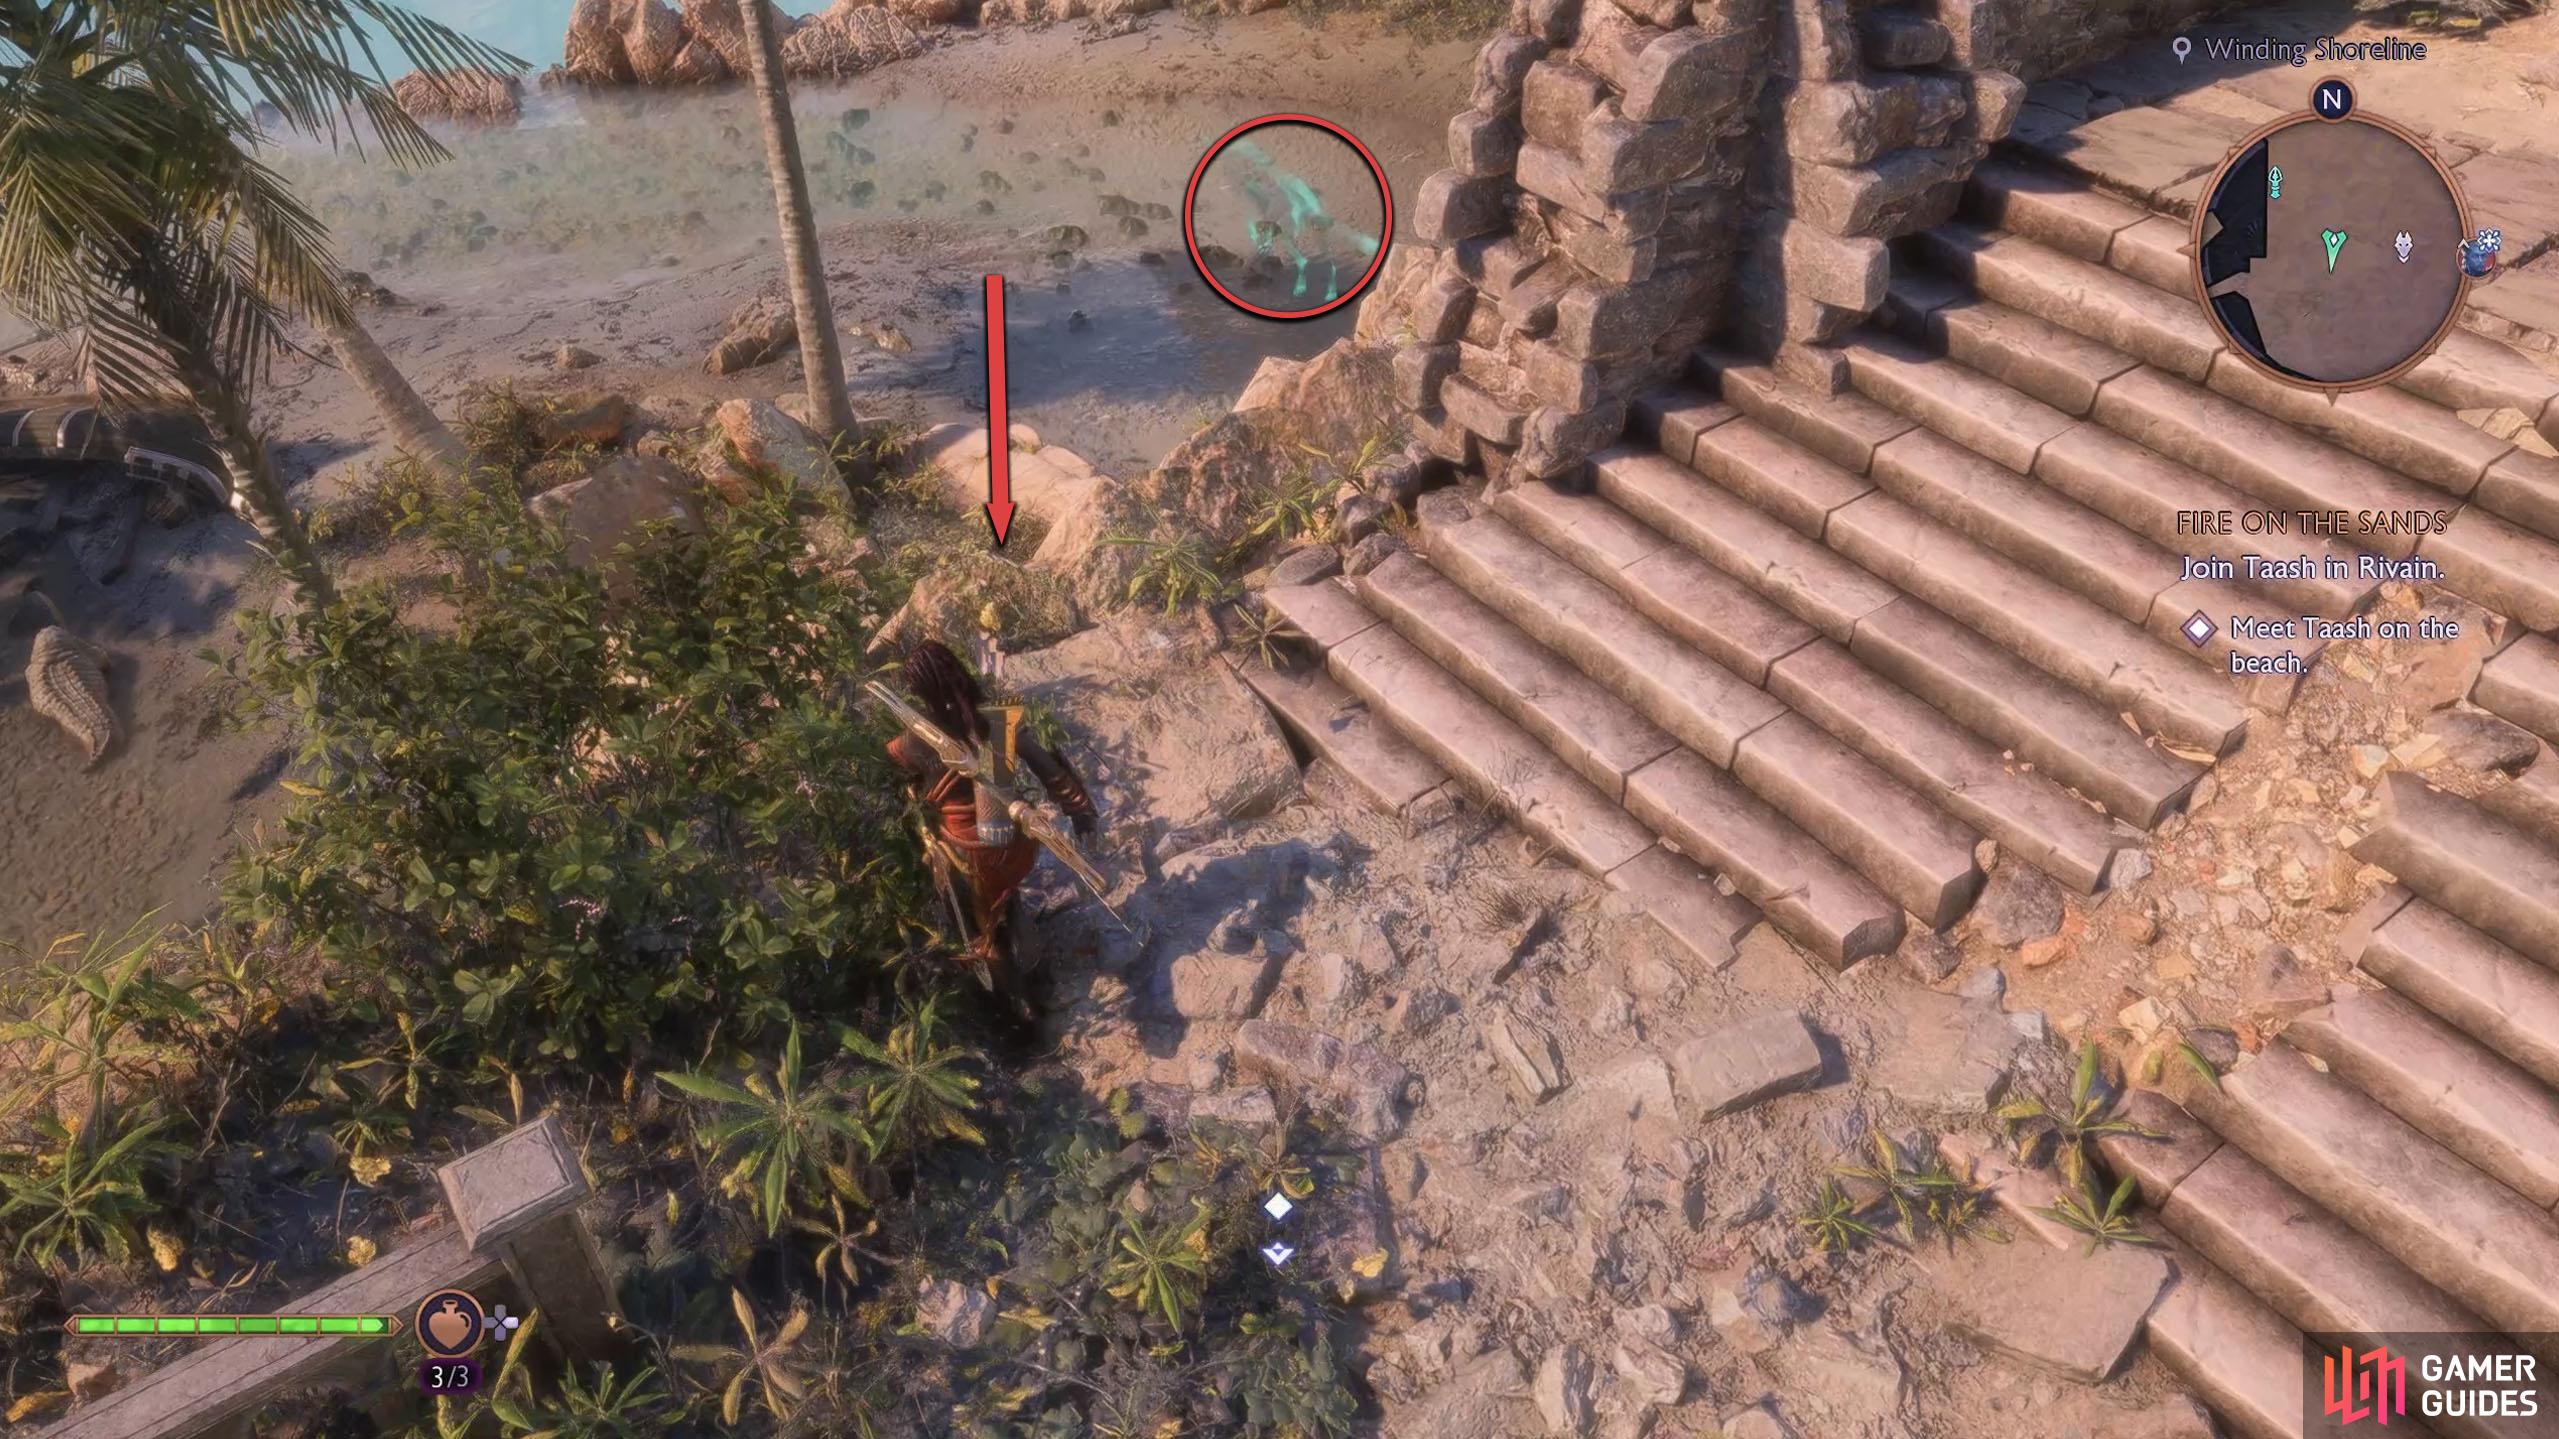
Do so, climb the block, shoot the explosive by the wall, and go into the ruins. Immediately turn right and go up the western stairs. At the top, run to the southern corner to find the Altar. Make your way back to the entrance and you’ll go over a bridge. Just after the bridge, you can drop to your south, where you’ll find the statue.
(1 of 2) Immediately go up the stairs to your right, and you’ll find the Altar at the end of the path to the south.
Immediately go up the stairs to your right, and you’ll find the Altar at the end of the path to the south. (left), Go back toward the entrance until you reach the bridge, and then drop to the area below to find the statue. (right)
Arlathan Forest - Tainted Woods Altar
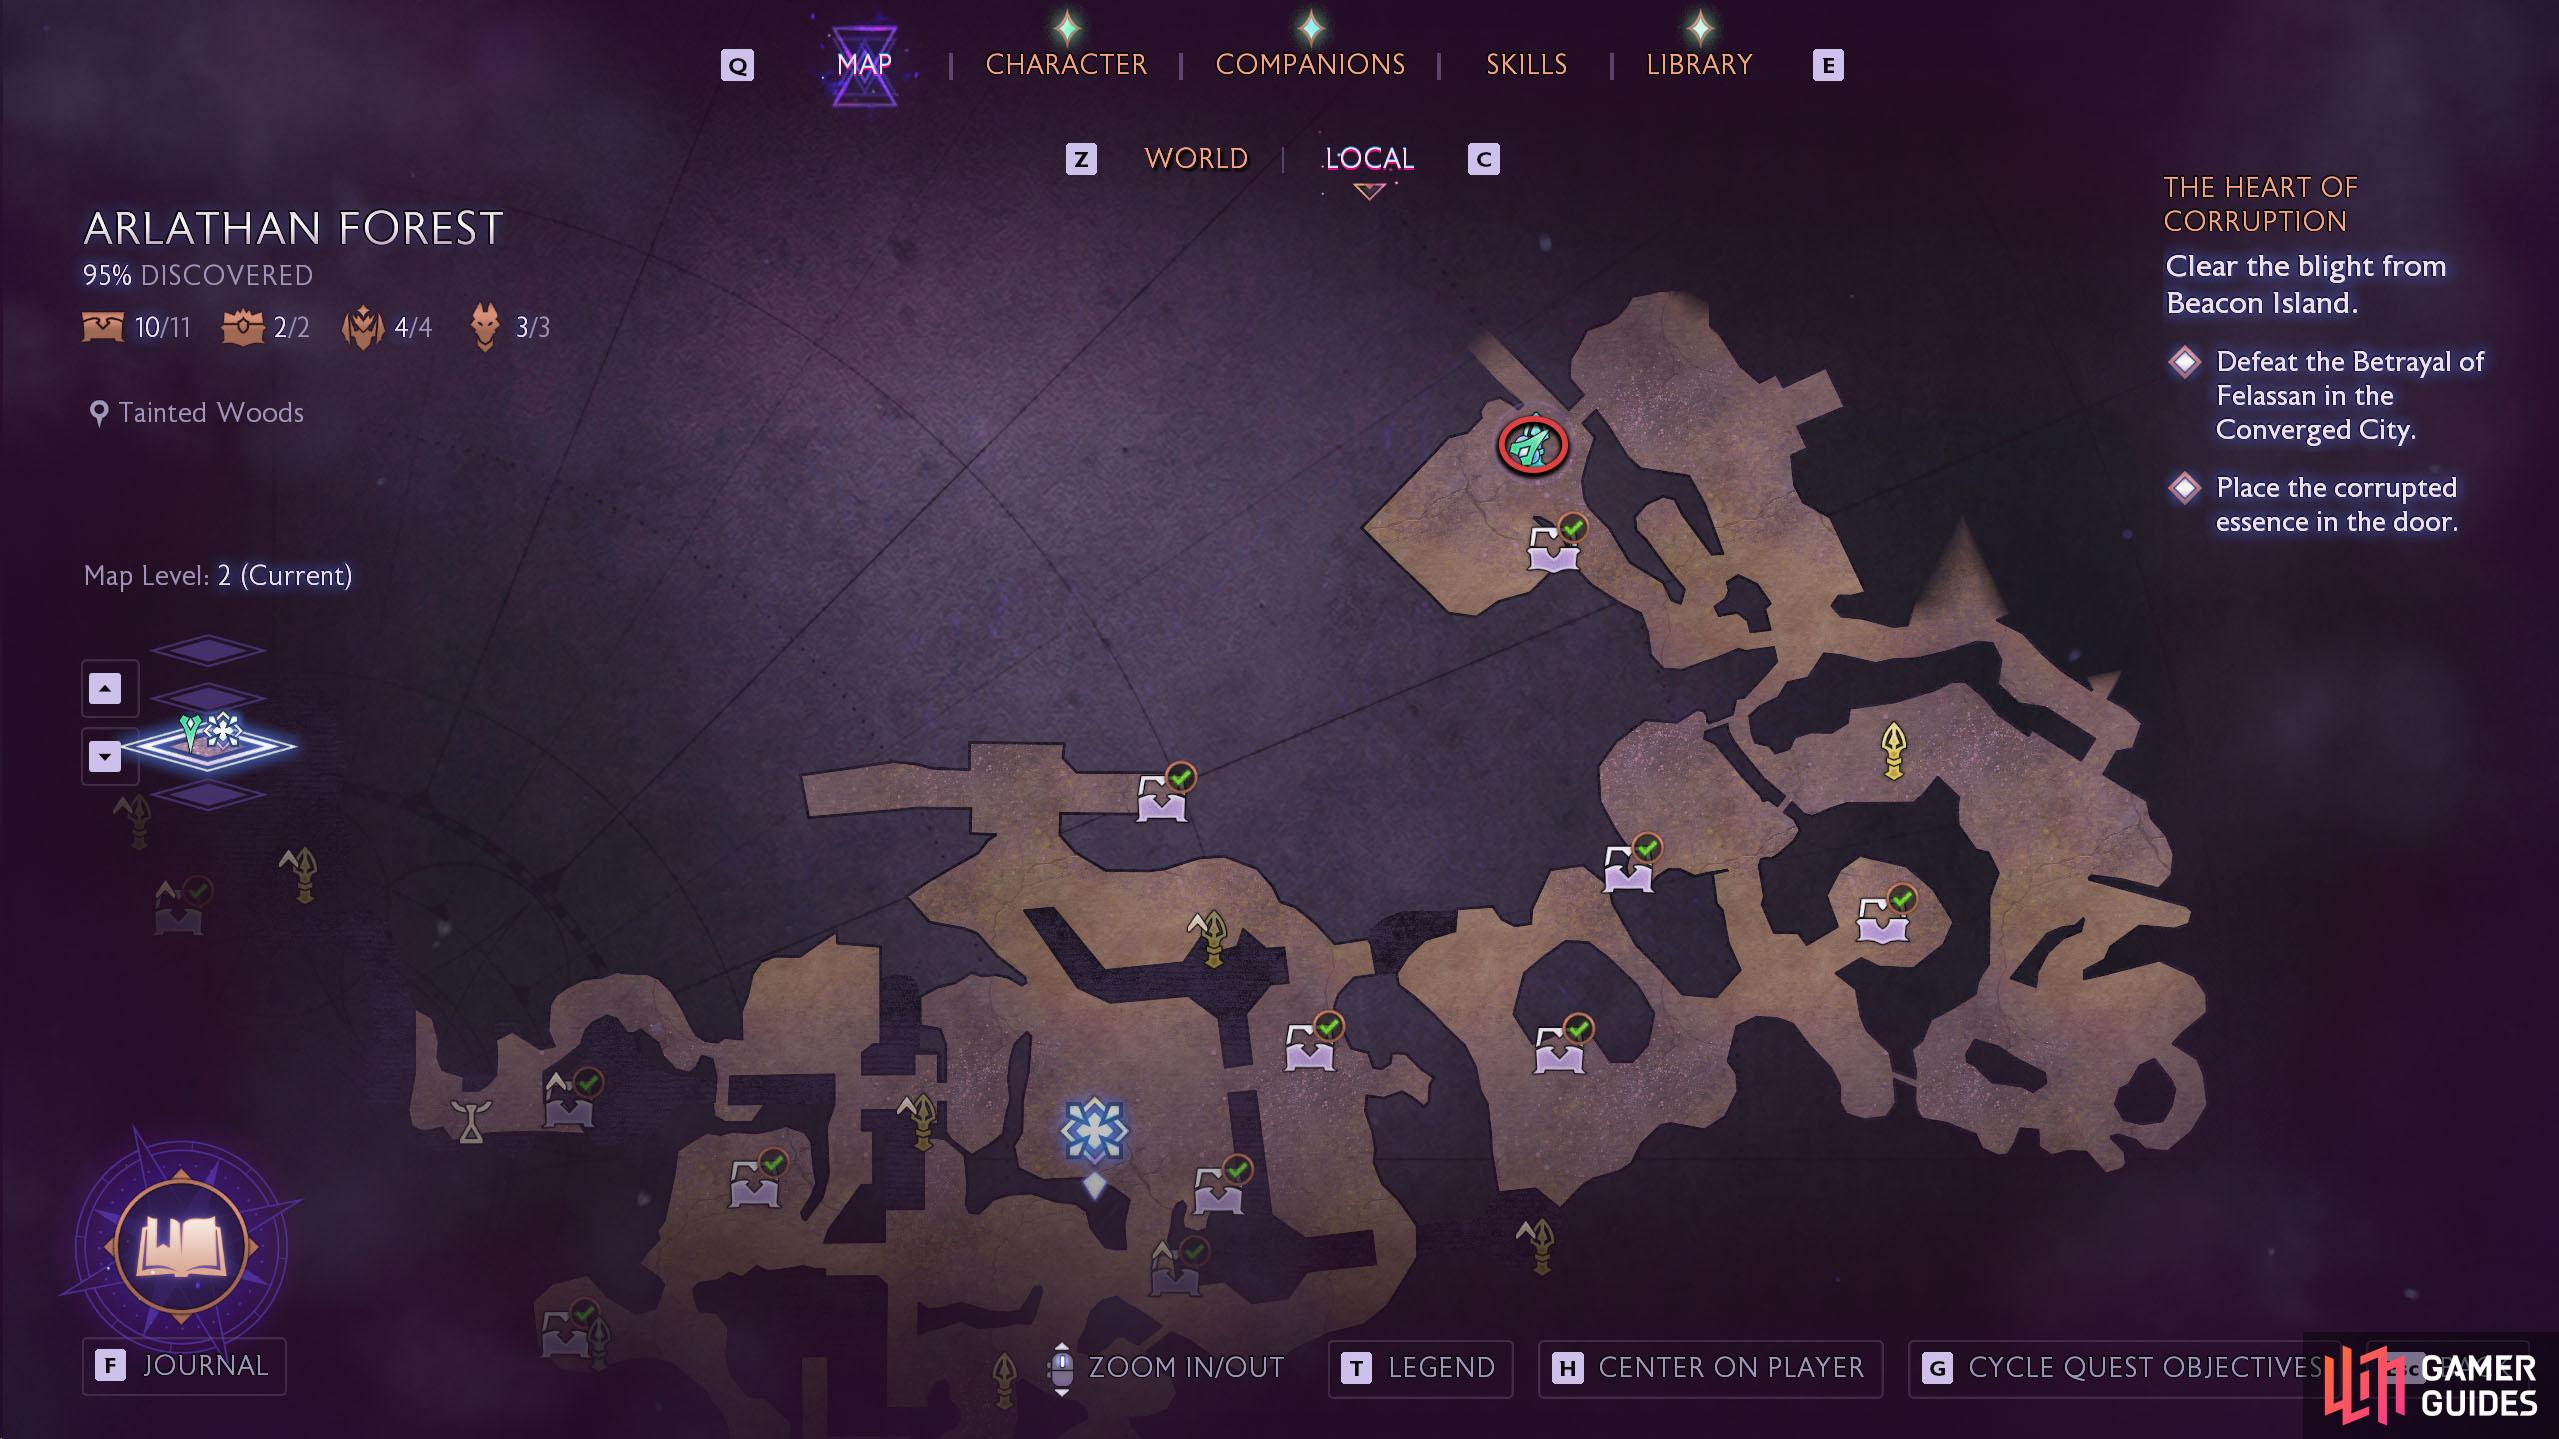
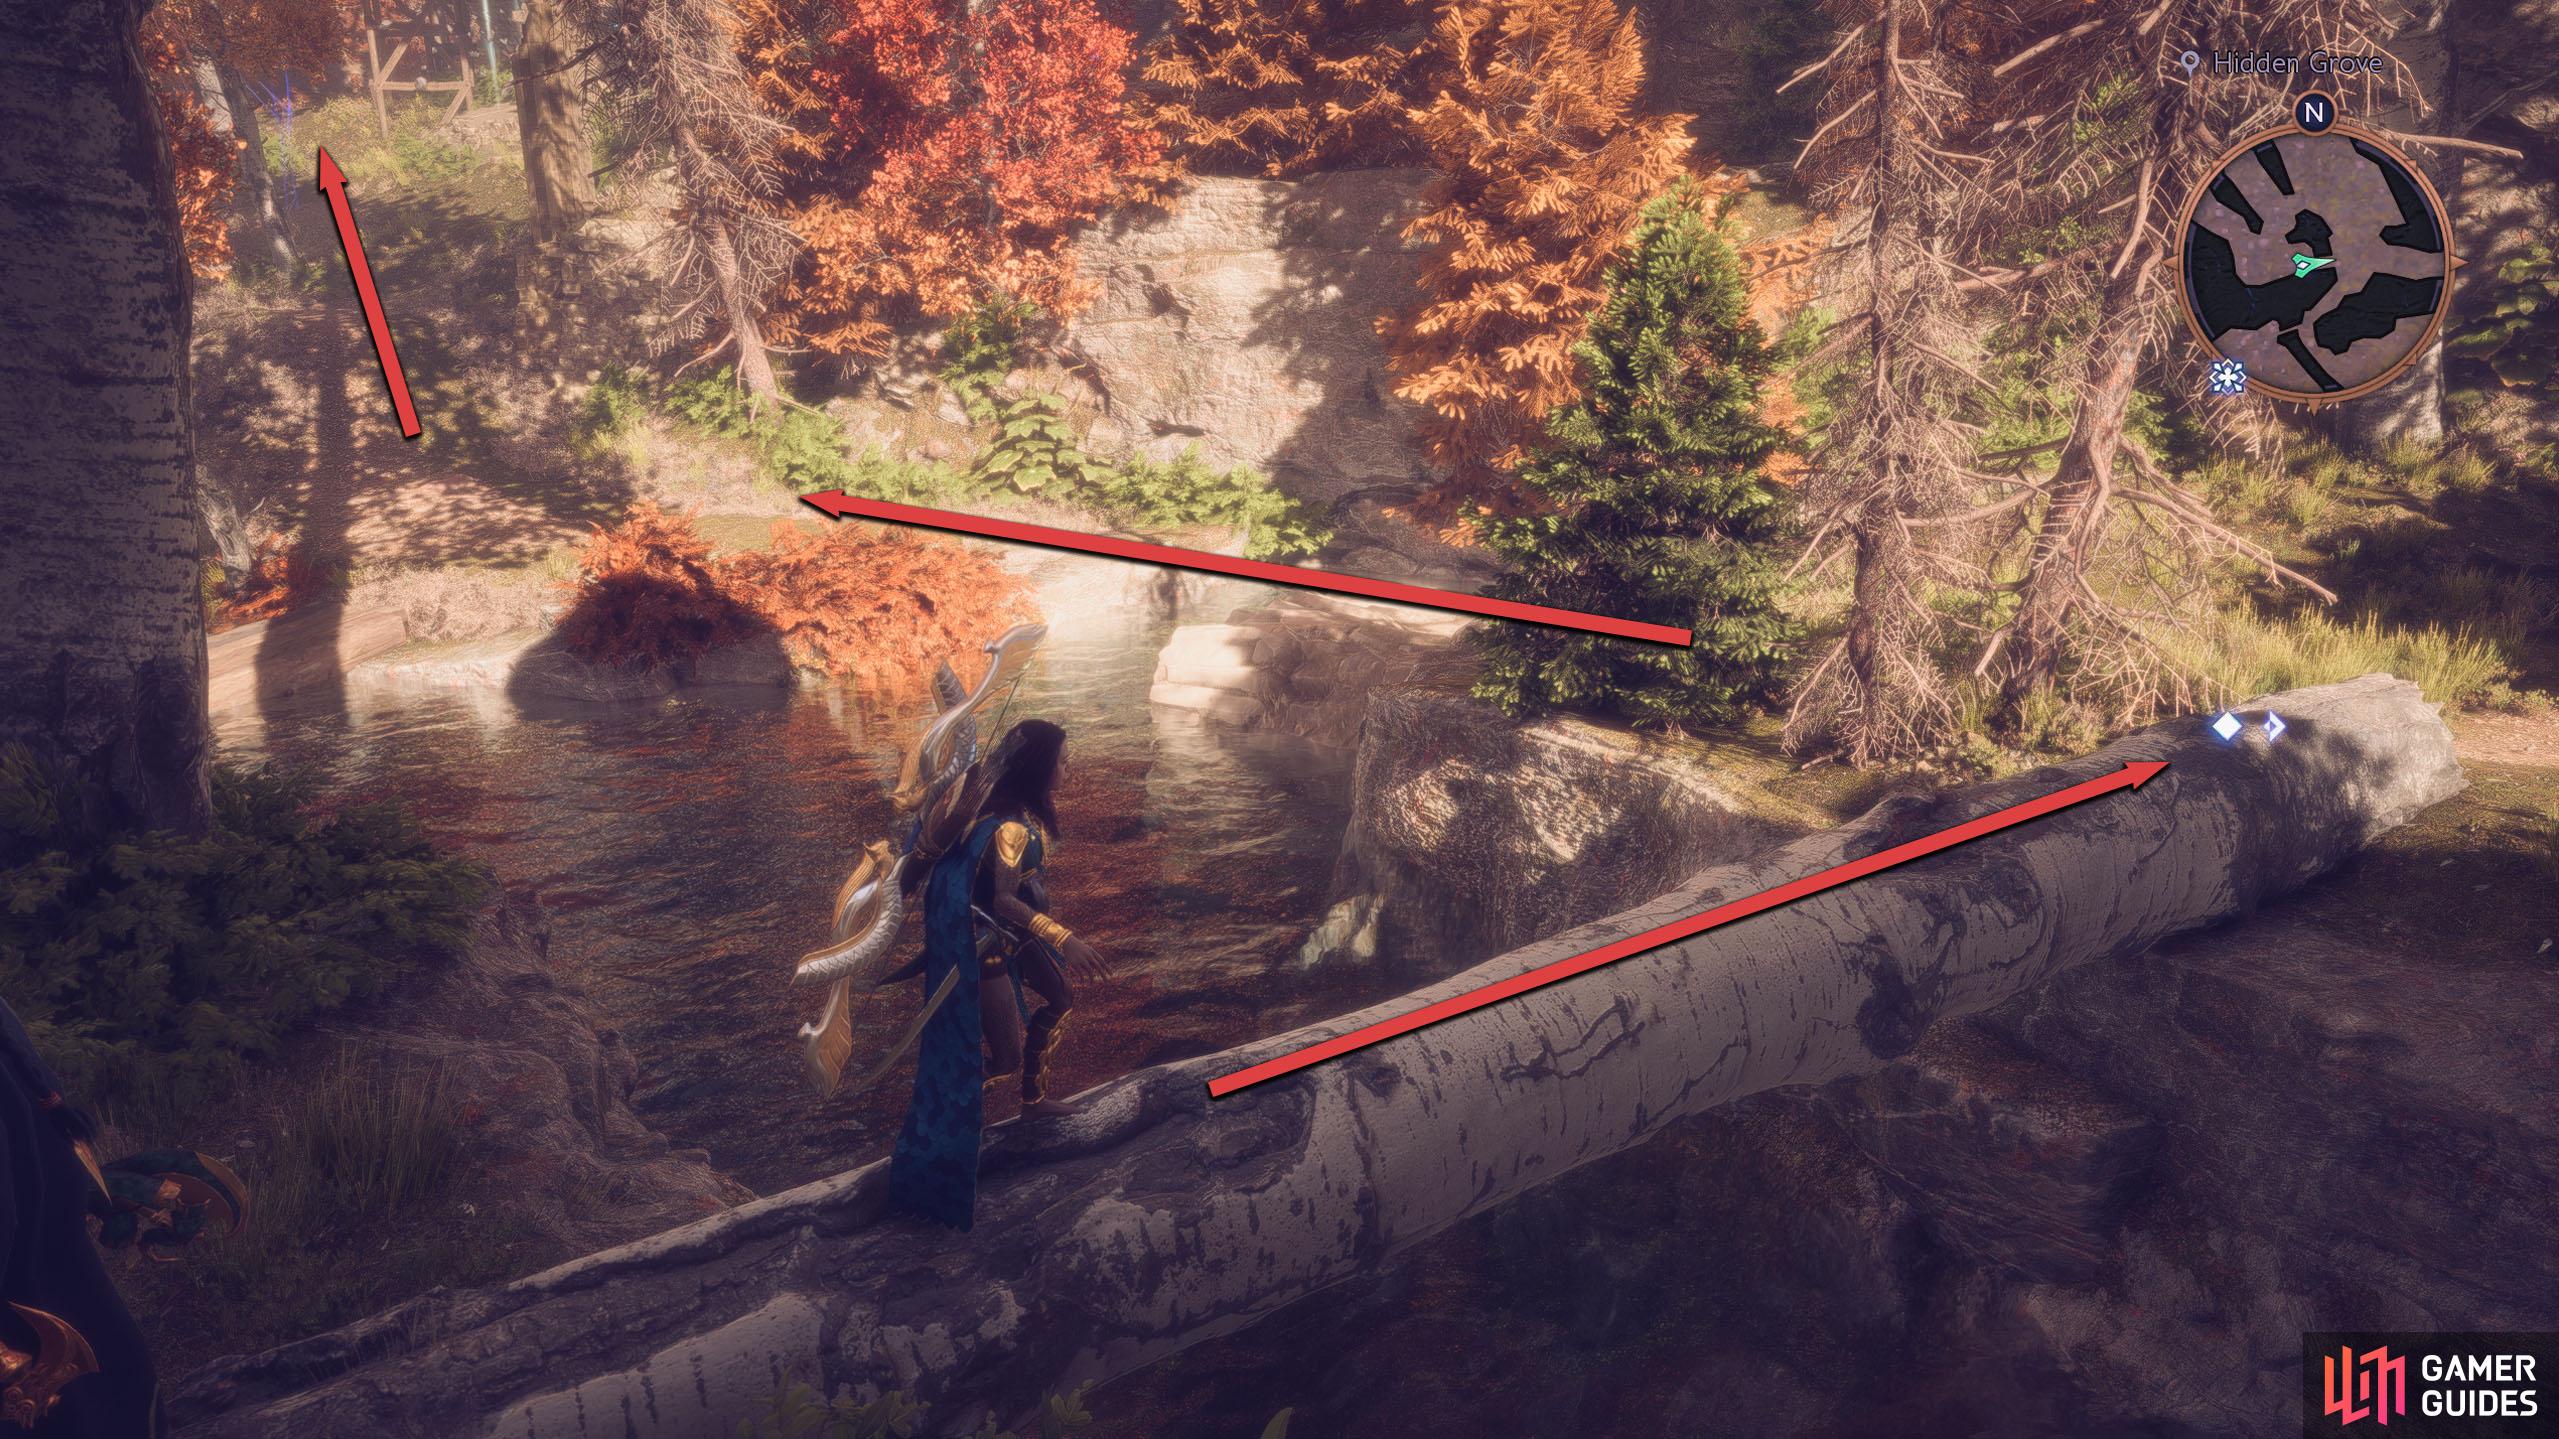
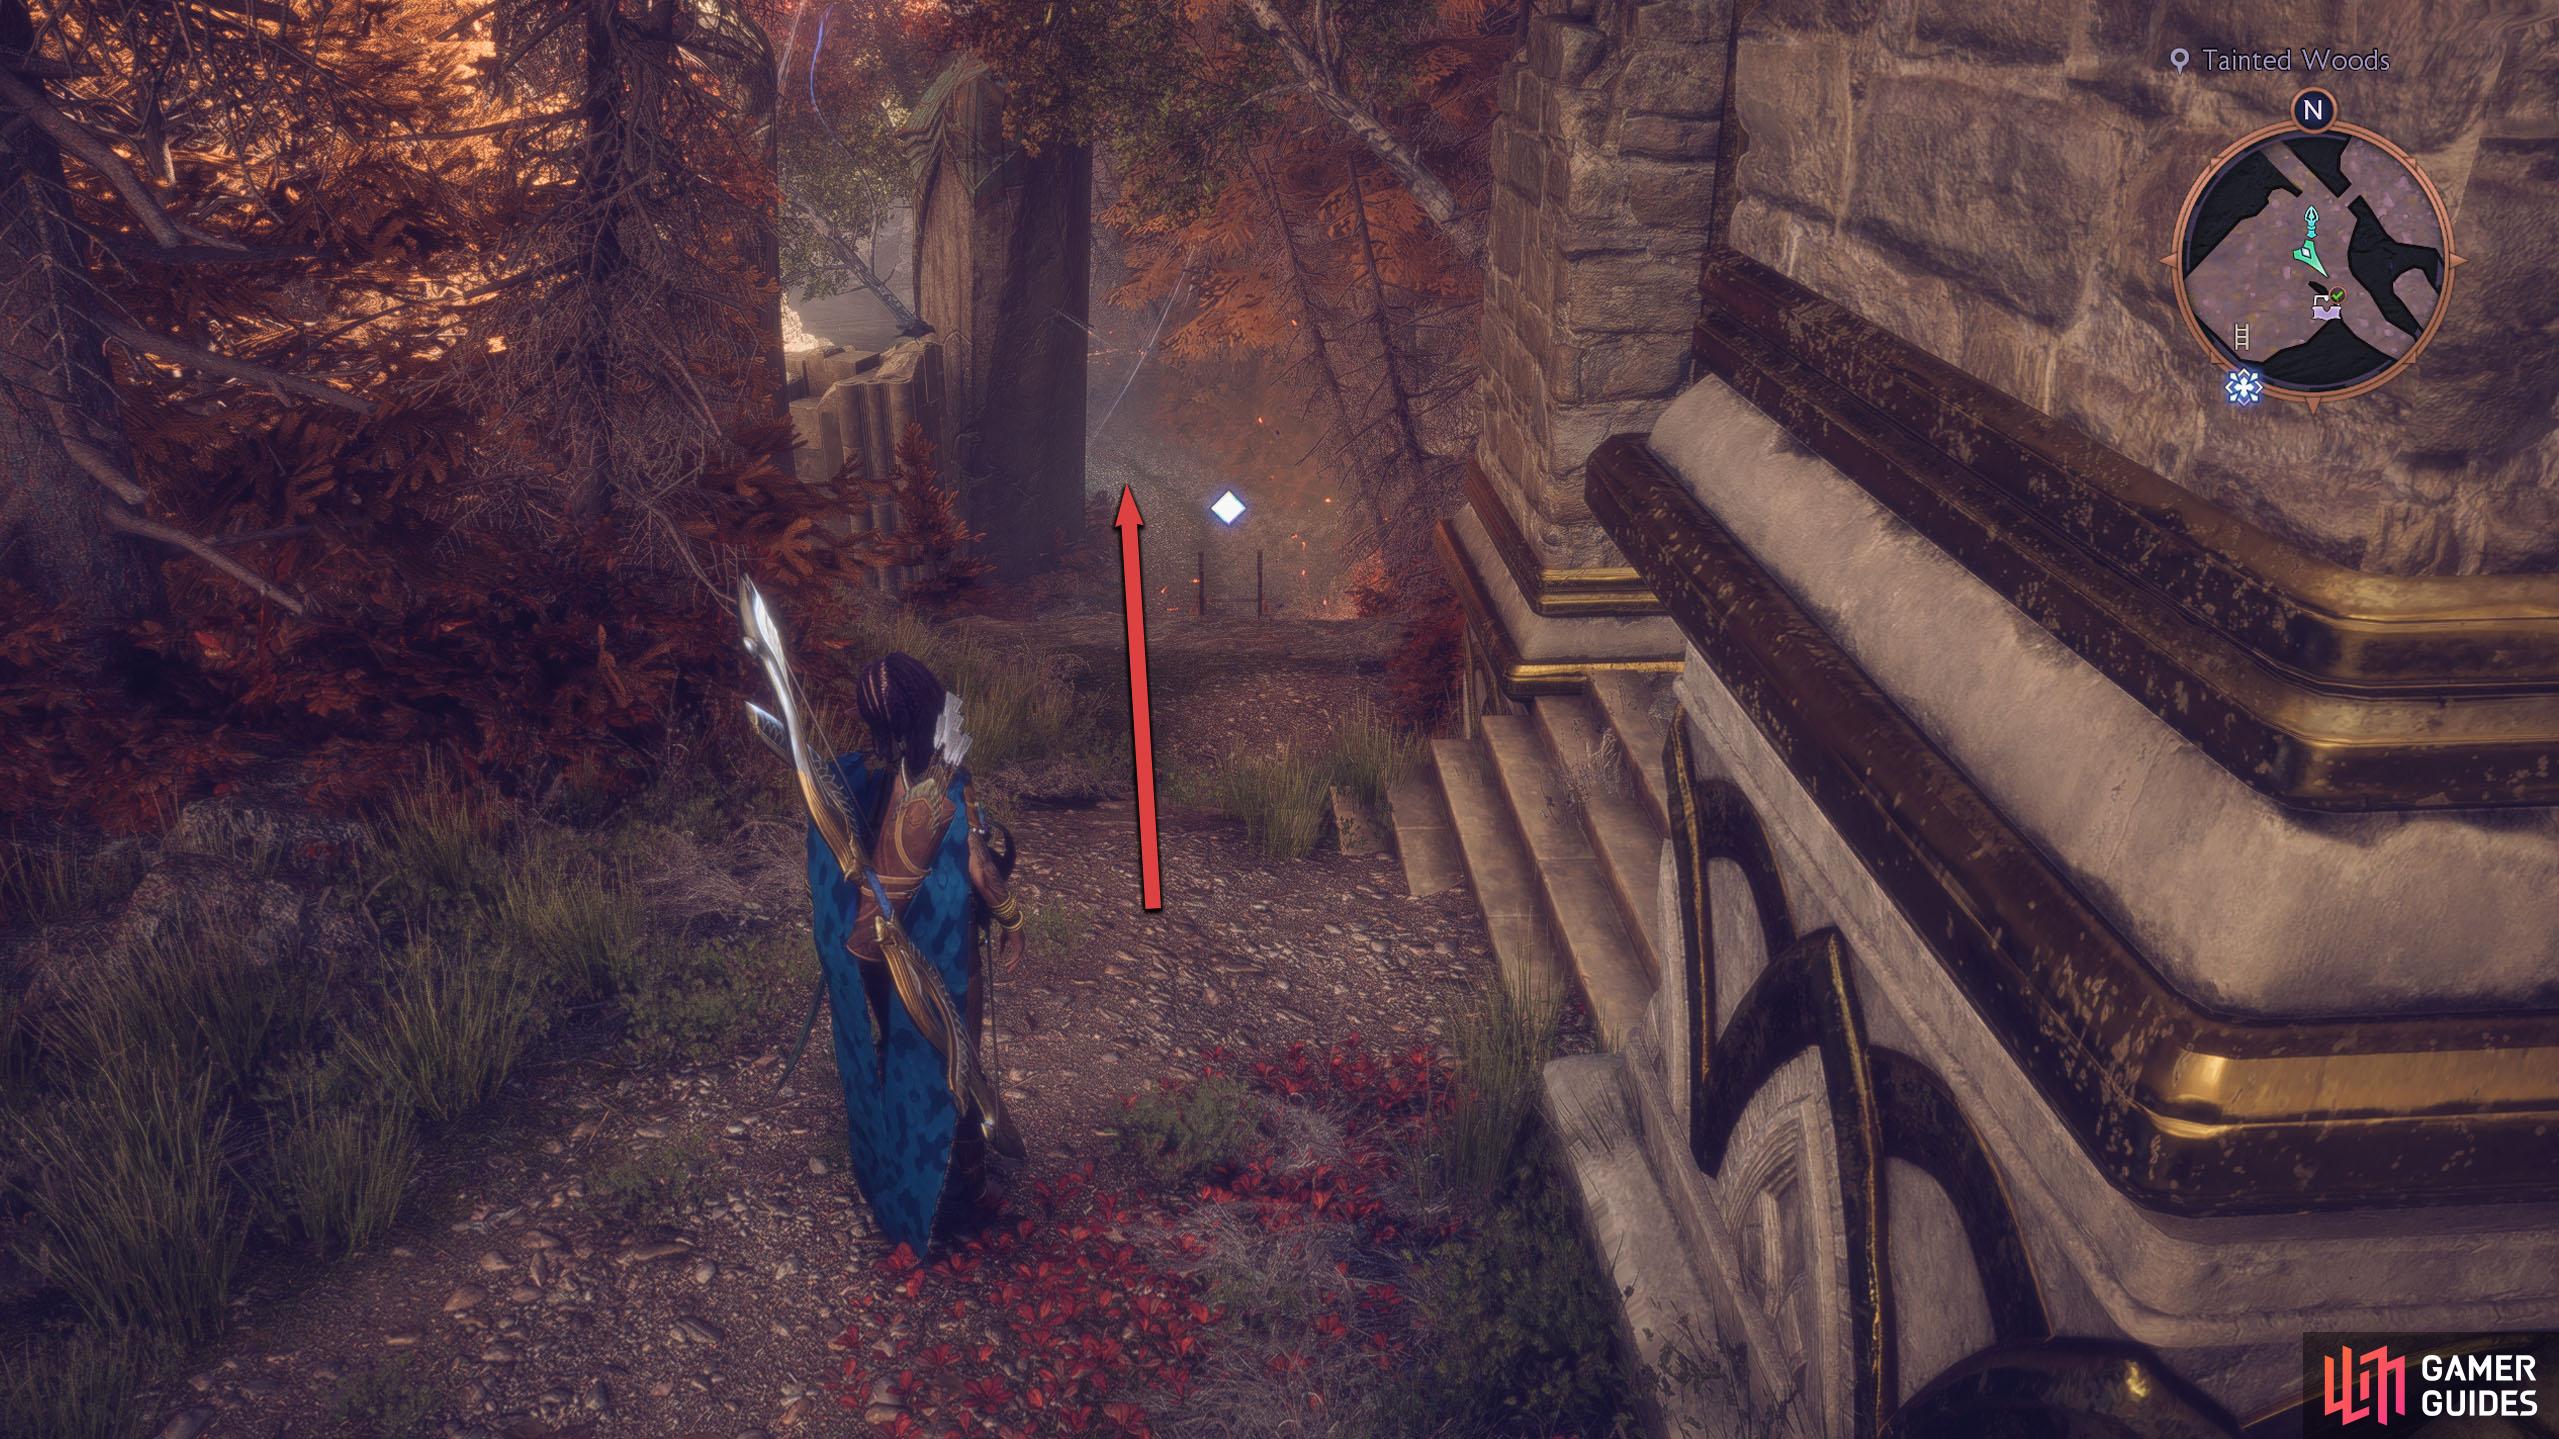
The Tainted Woods is accessible after completing Davrin’s Training for a Griffon Companion Quest. Teleport to the Tainted Woods Fast Travel and head southeast, where you’ll find a ladder shortcut (shoot the padlock to release it). Go down the ladder and continue southeast until you reach the river and then head east across the log. Immediately after going across the log, head north to the edge of the river and use Harding’s power to move the stone block below you.
(1 of 3) Tainted Woods can be found in the northeast of Arlathan Forest.
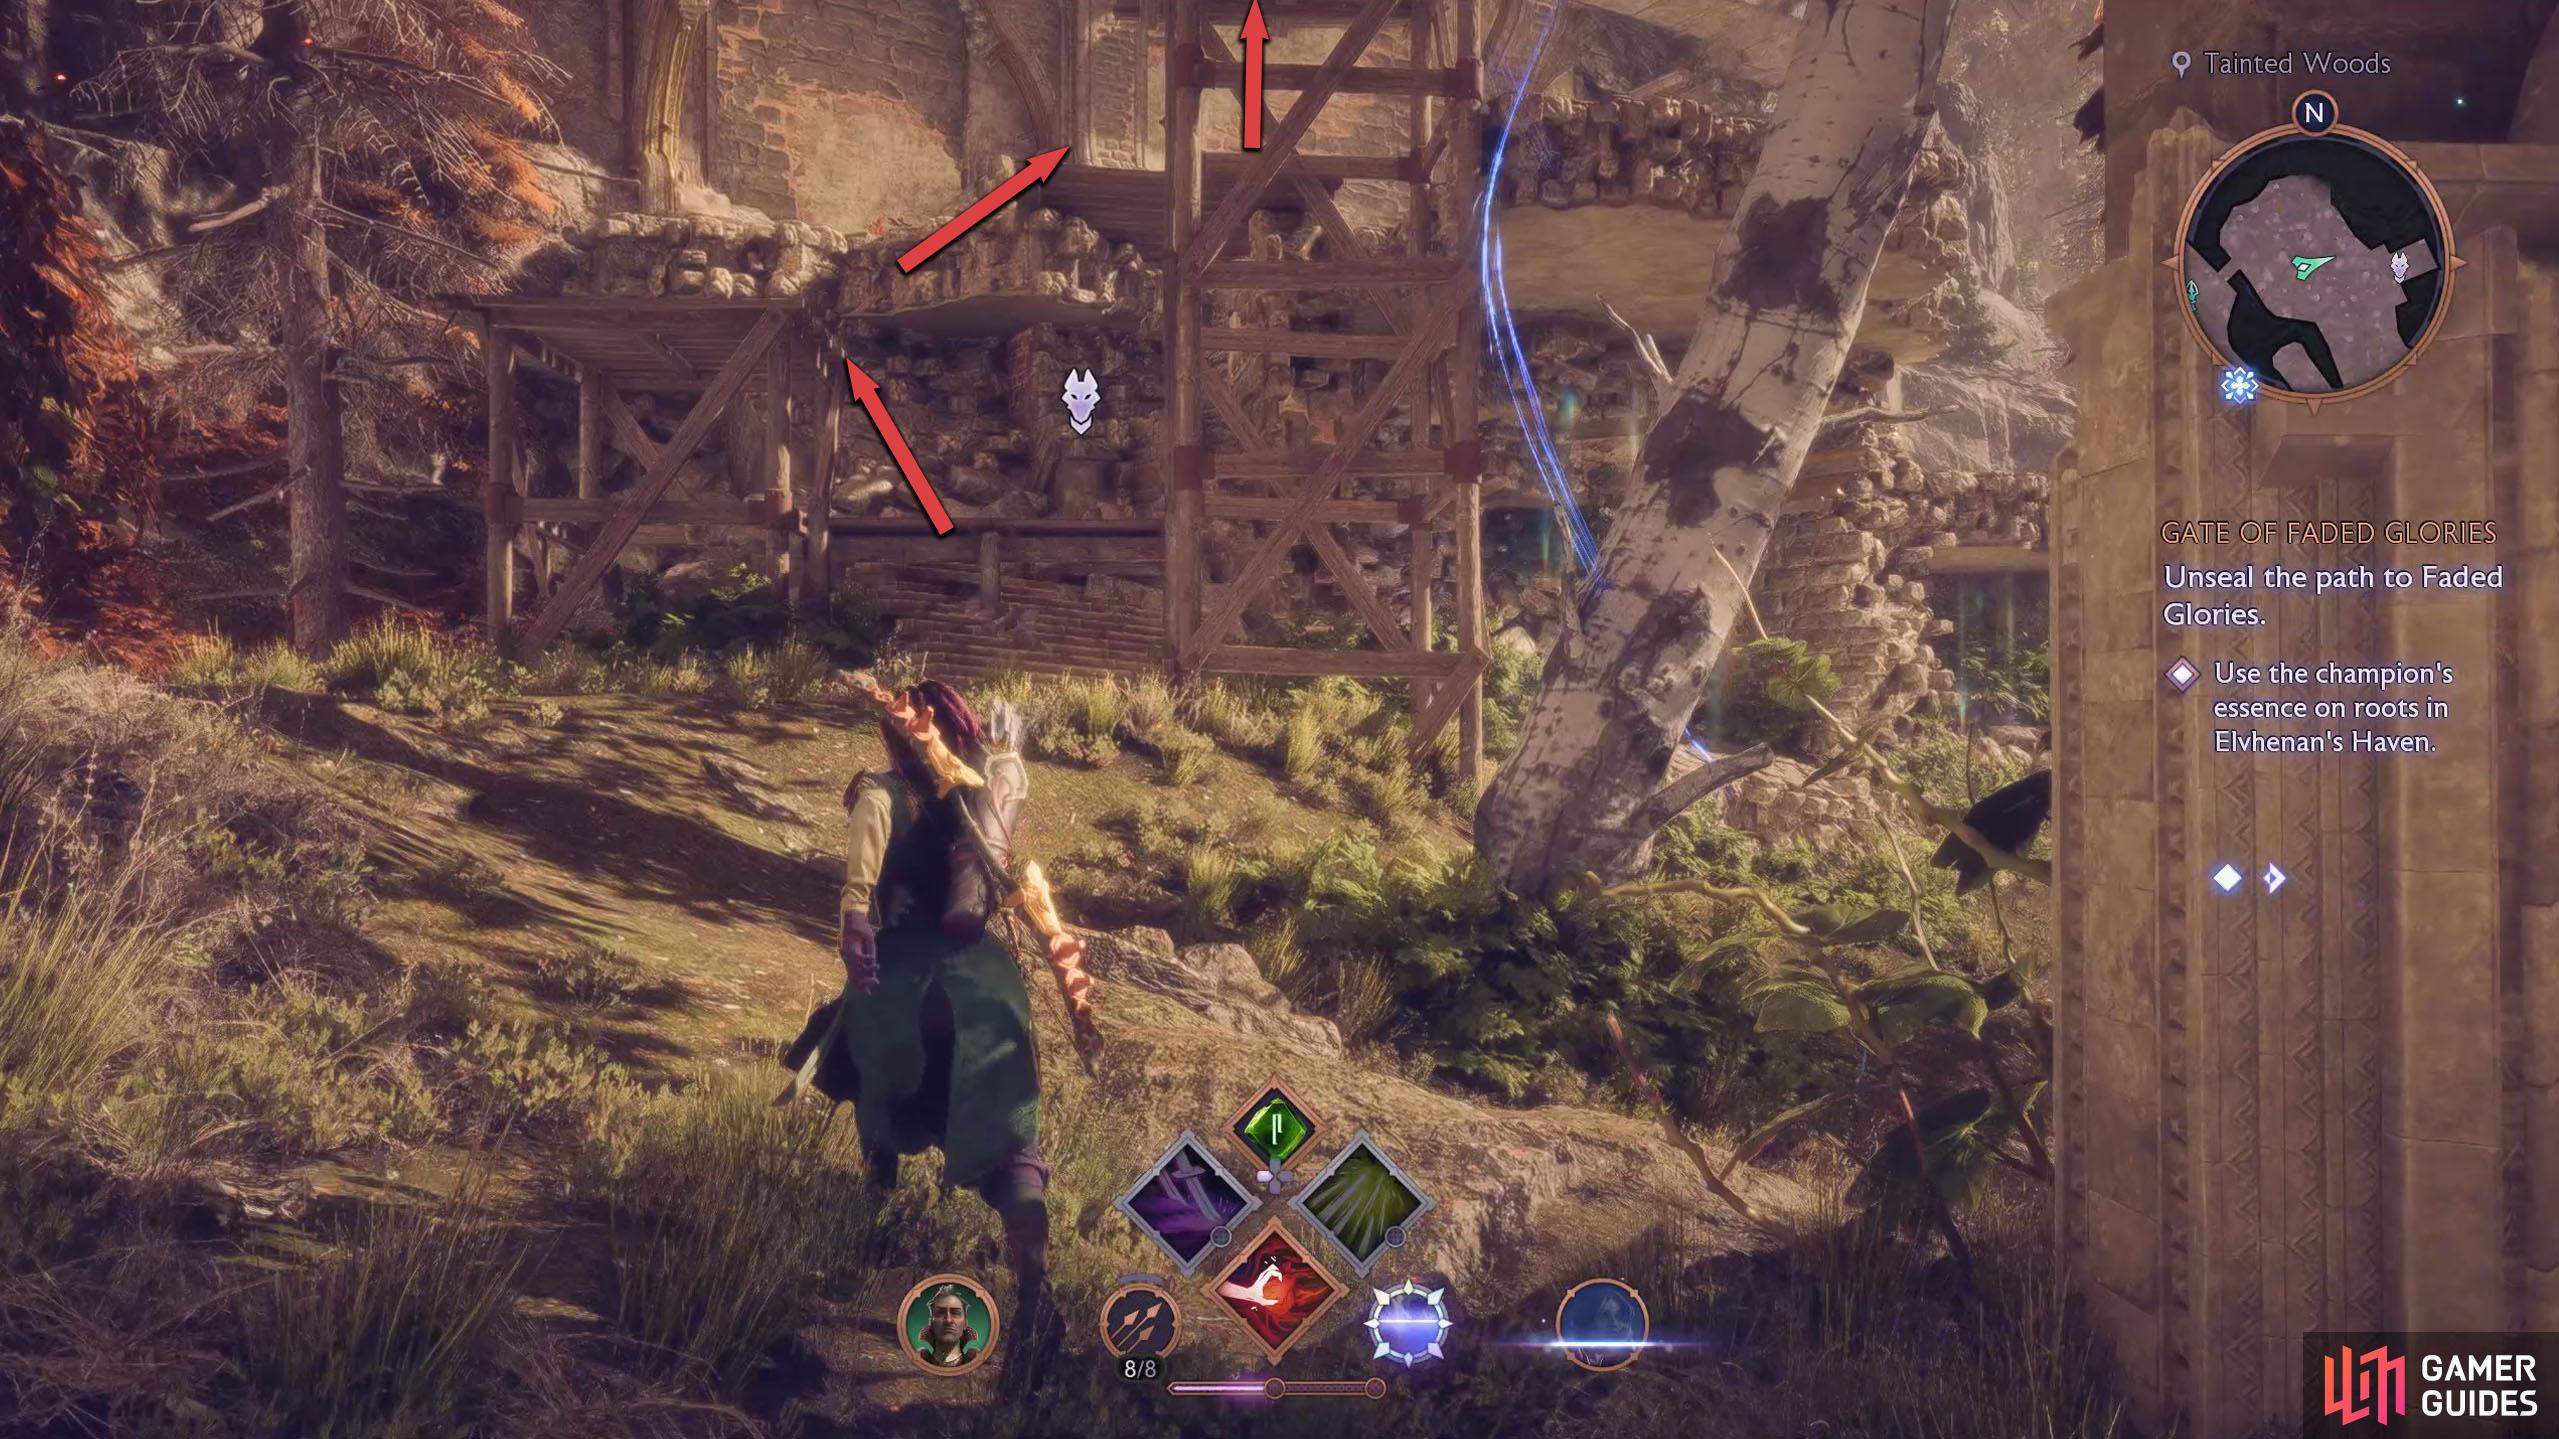
Use this to jump across to the other side and defeat the nearby enemies. In the area, you’ll find some scaffolding to your right. Climb the scaffolding and then climb up the wooden platform at the top before turning to the east.
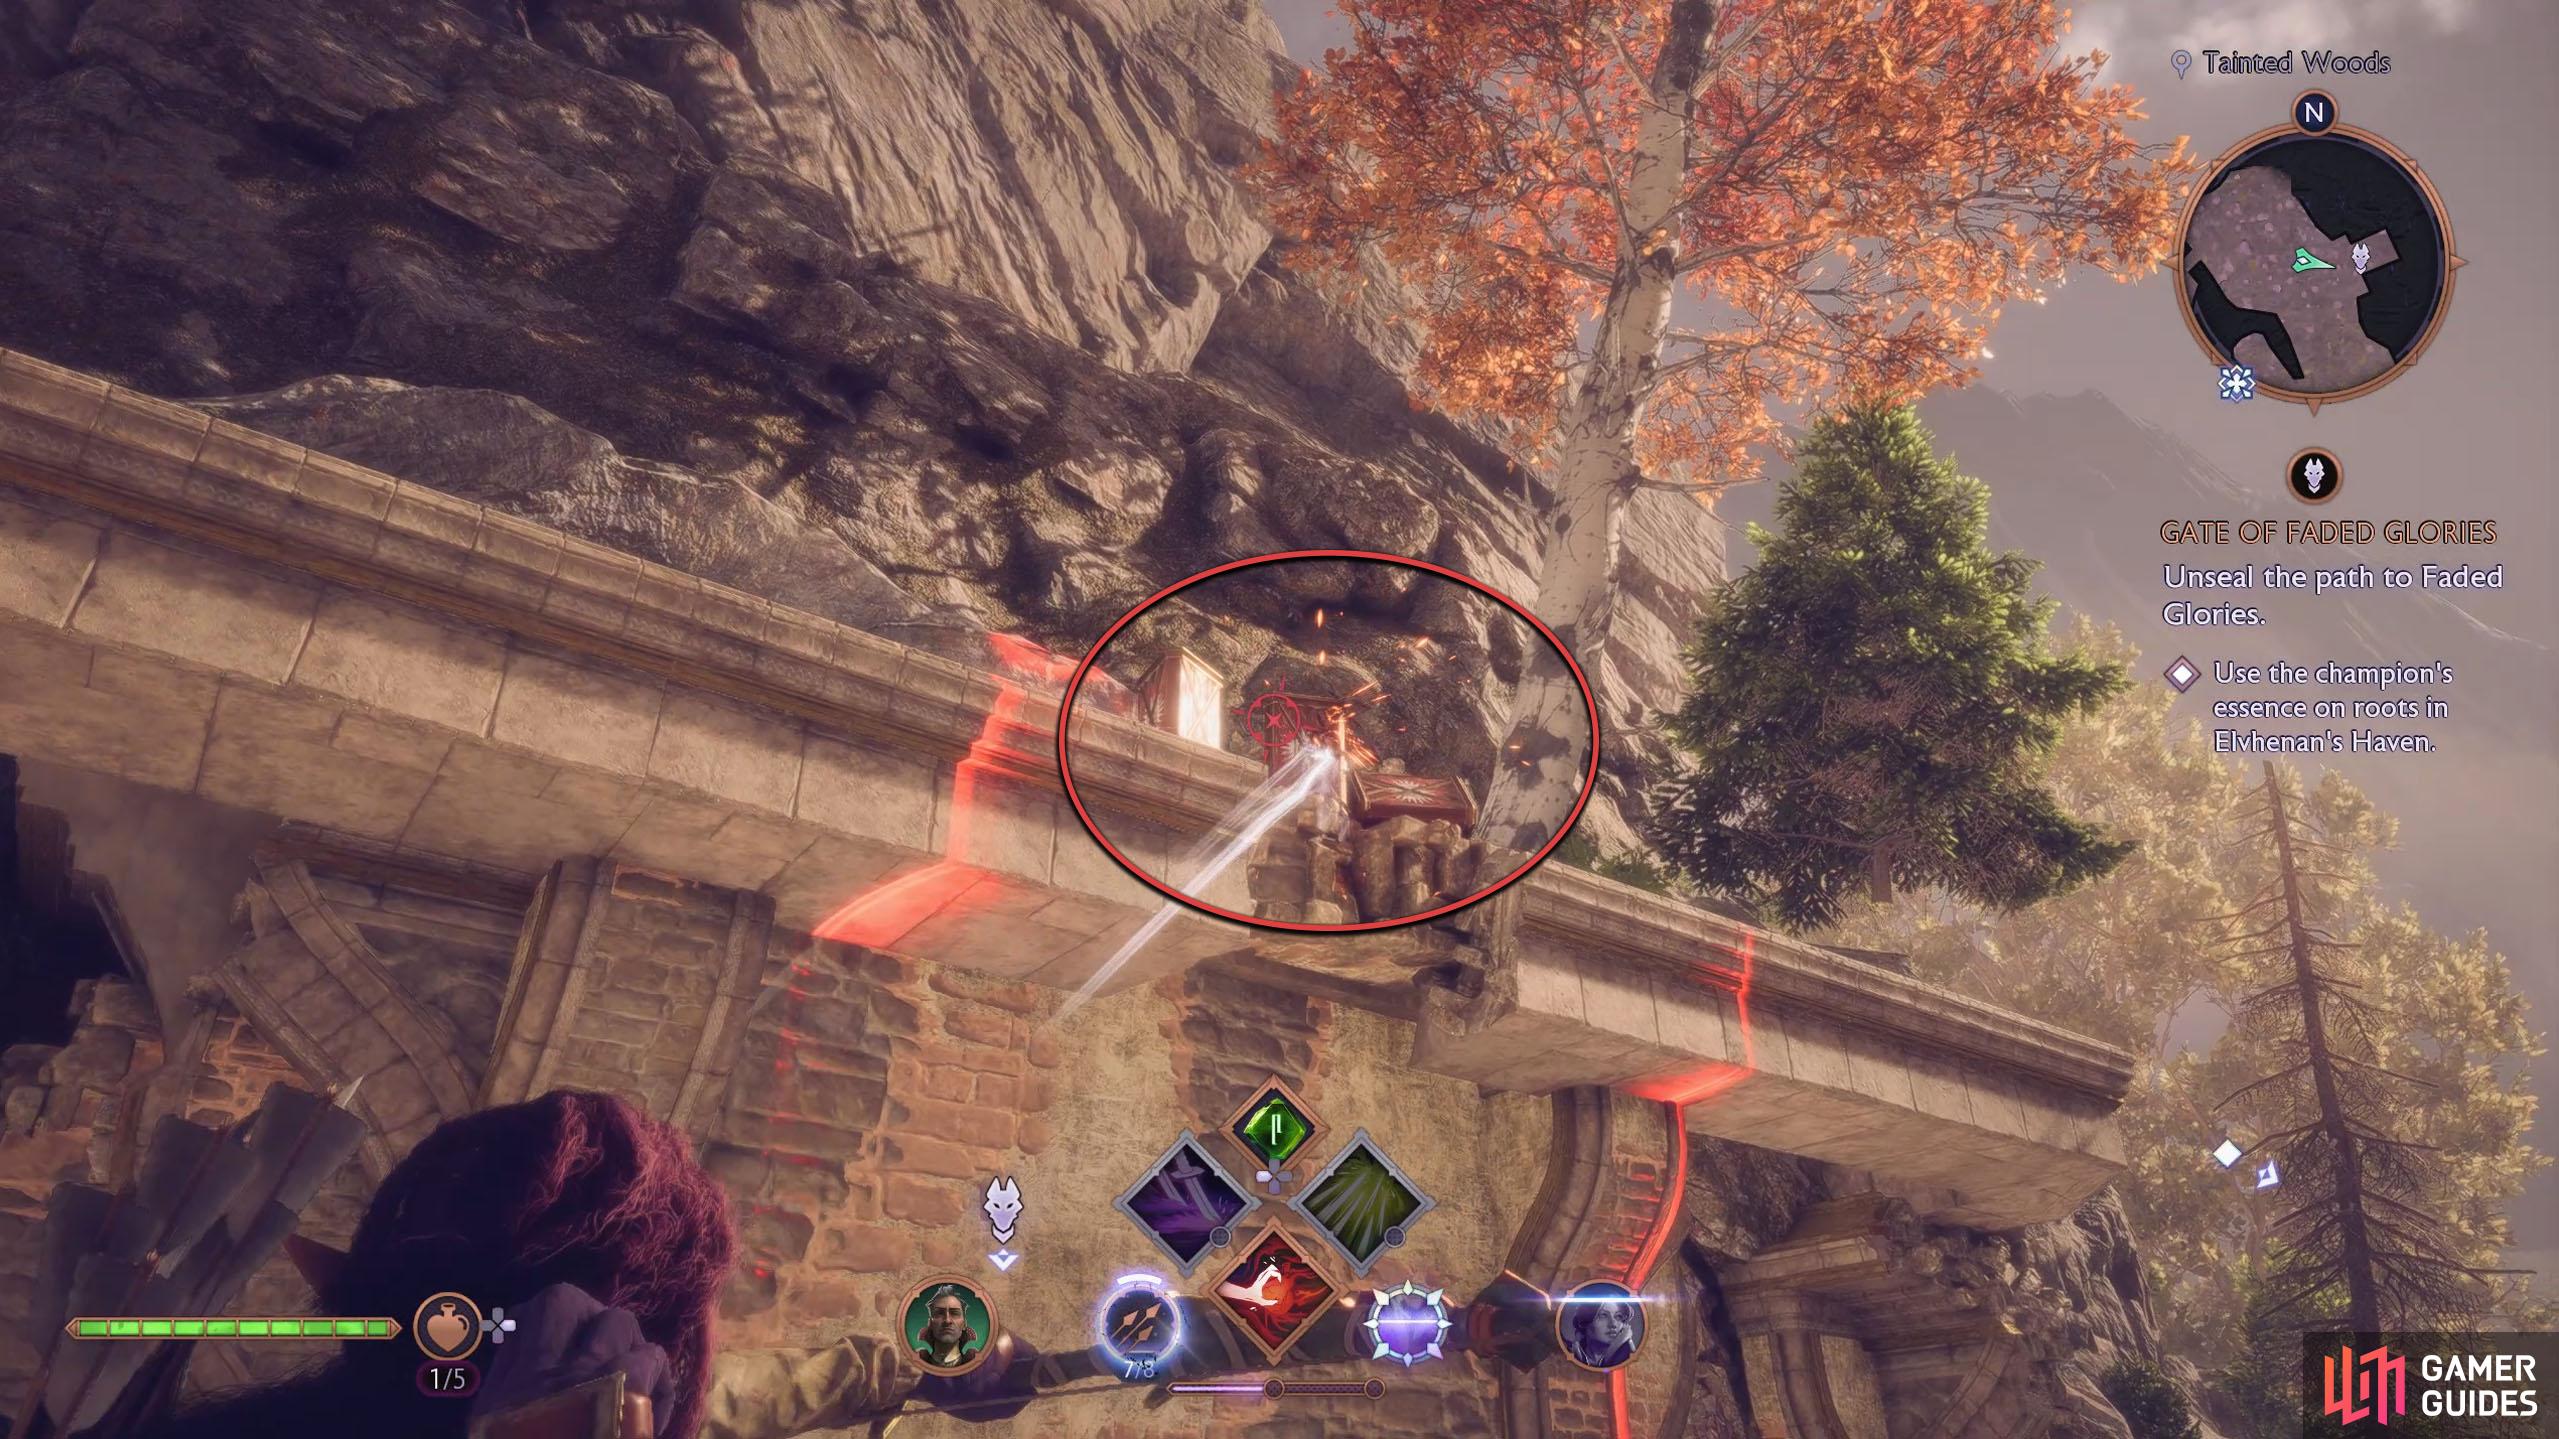
Aim with your ranged weapon at the barrels on the roof and shoot them to make them explode and destroy the wall hiding the Altar. Interact with the Altar, come back out, drop off to the south, and follow the path to the end, where you’ll find the statue.
(1 of 4) Climb up the scaffolding to your right.
The Crossroads - Elvhenan’s Haven Altar
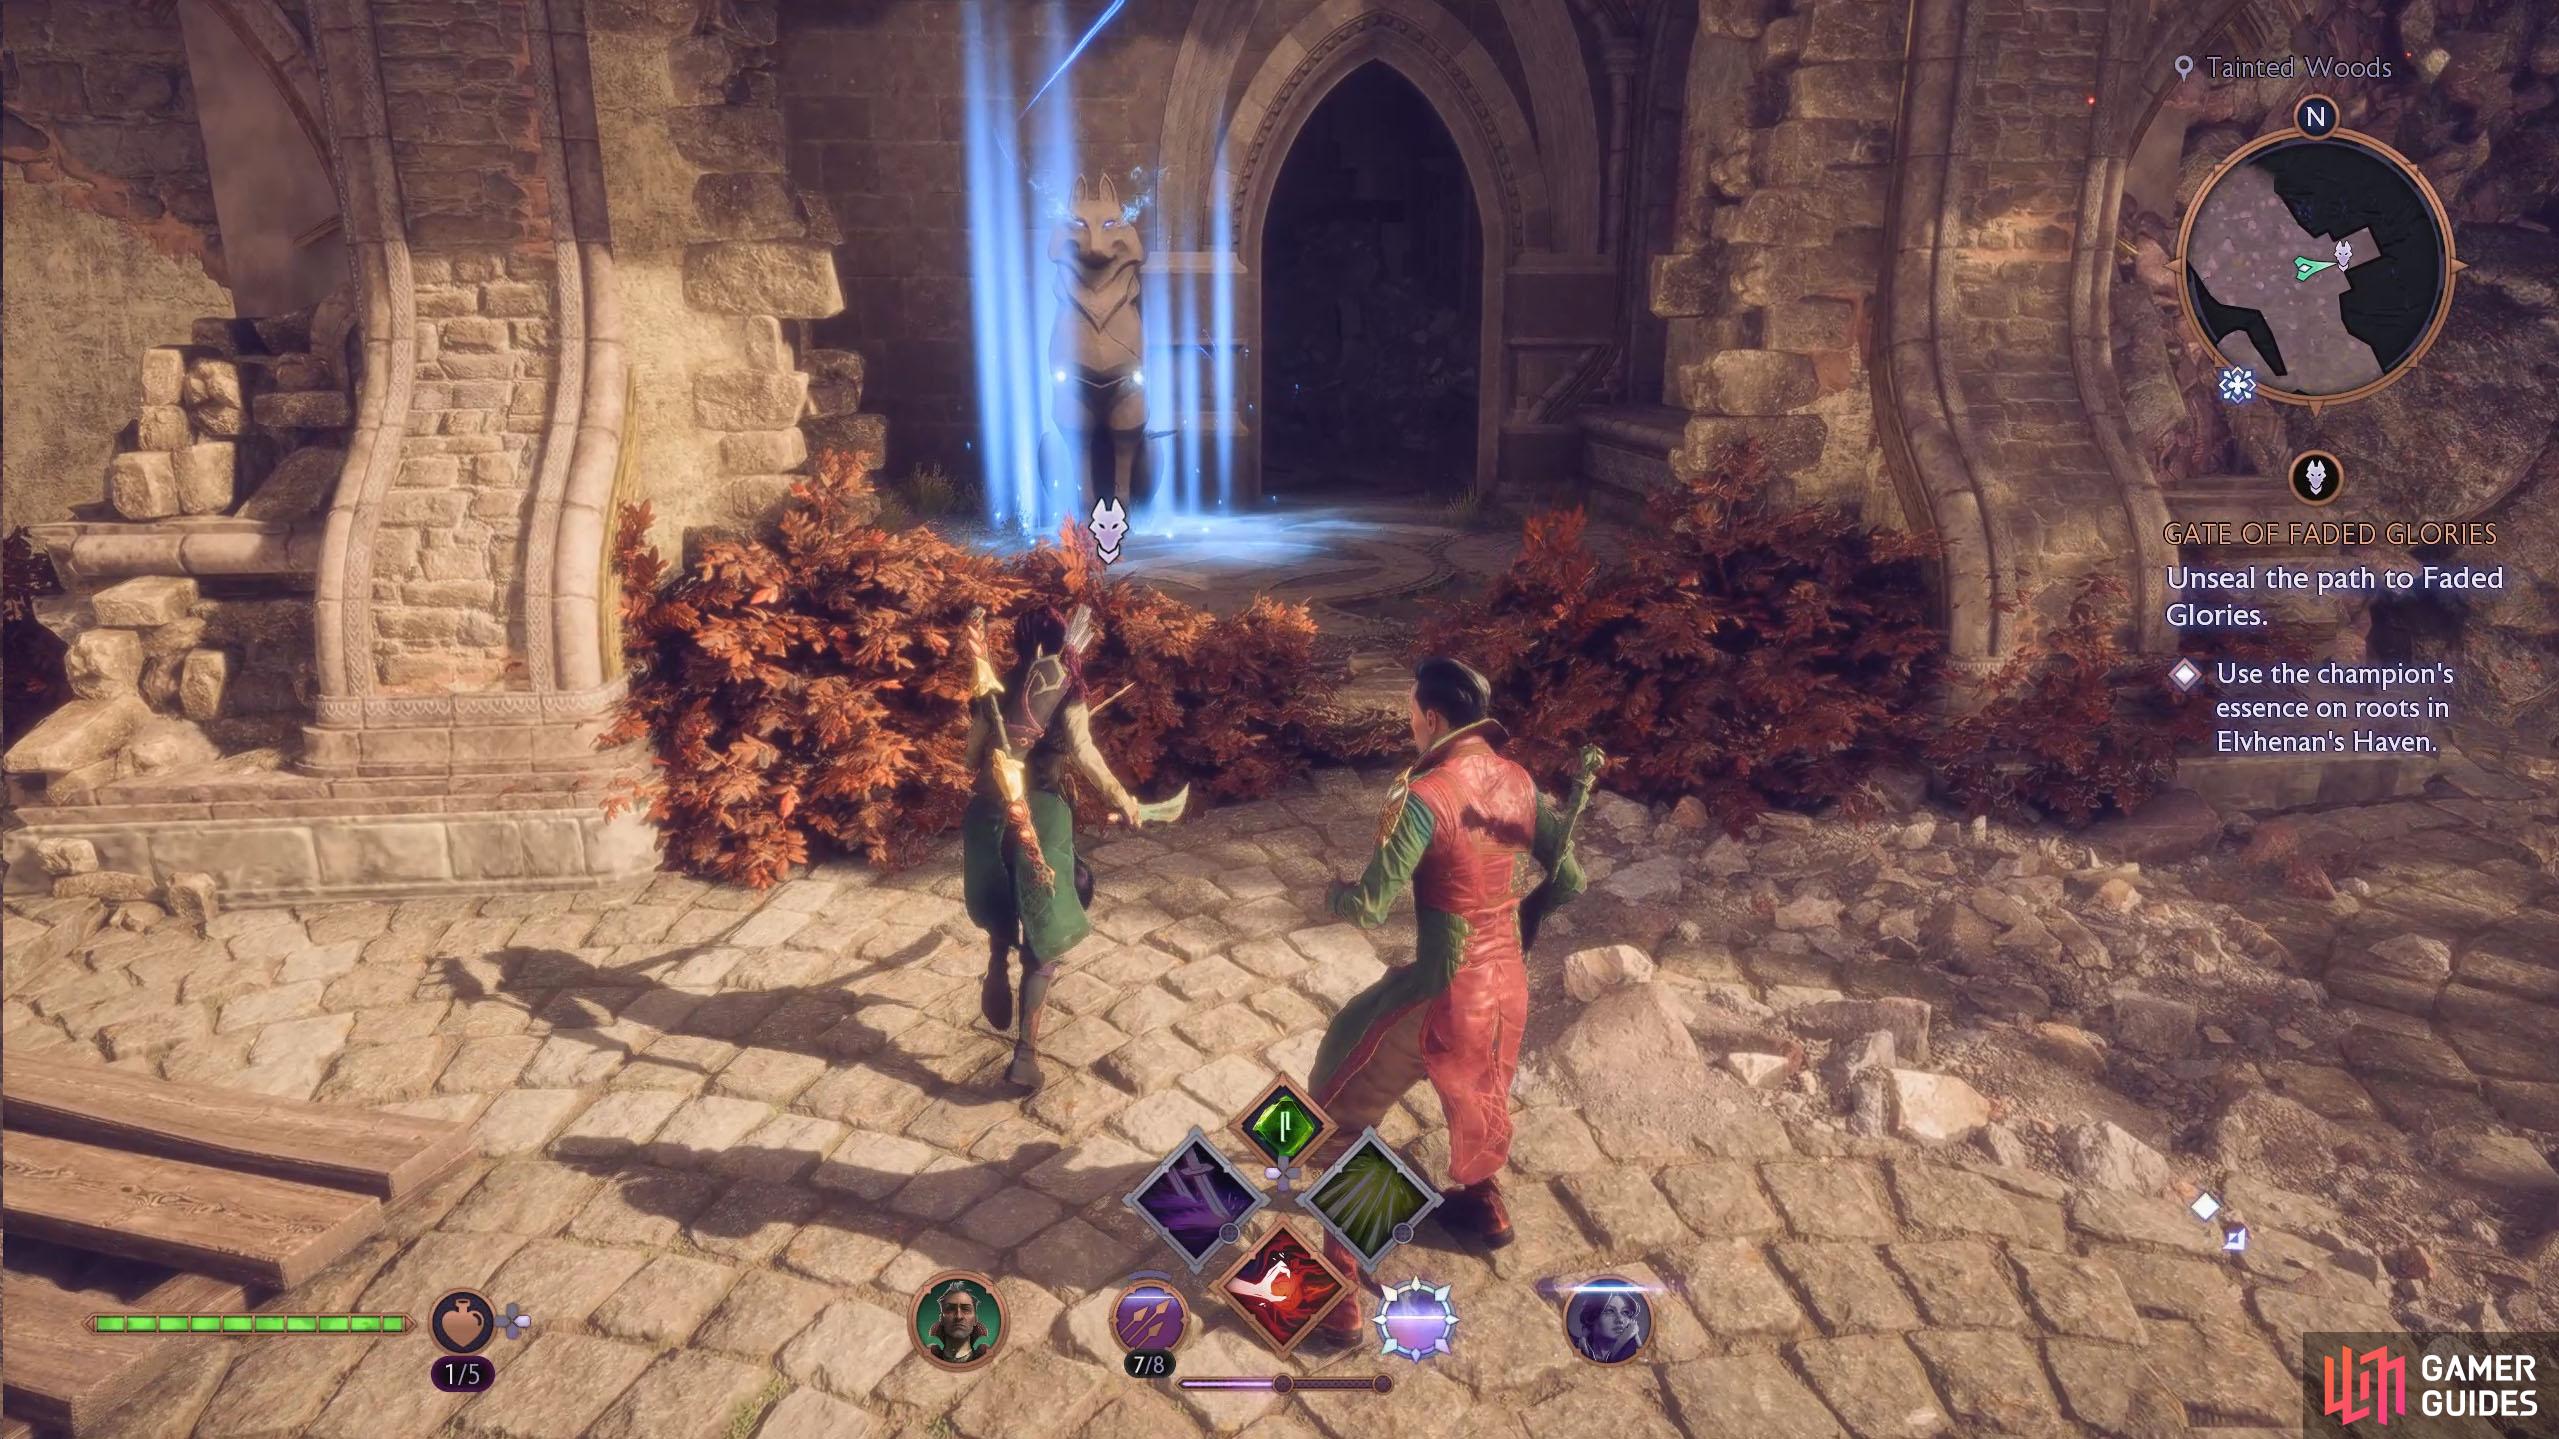
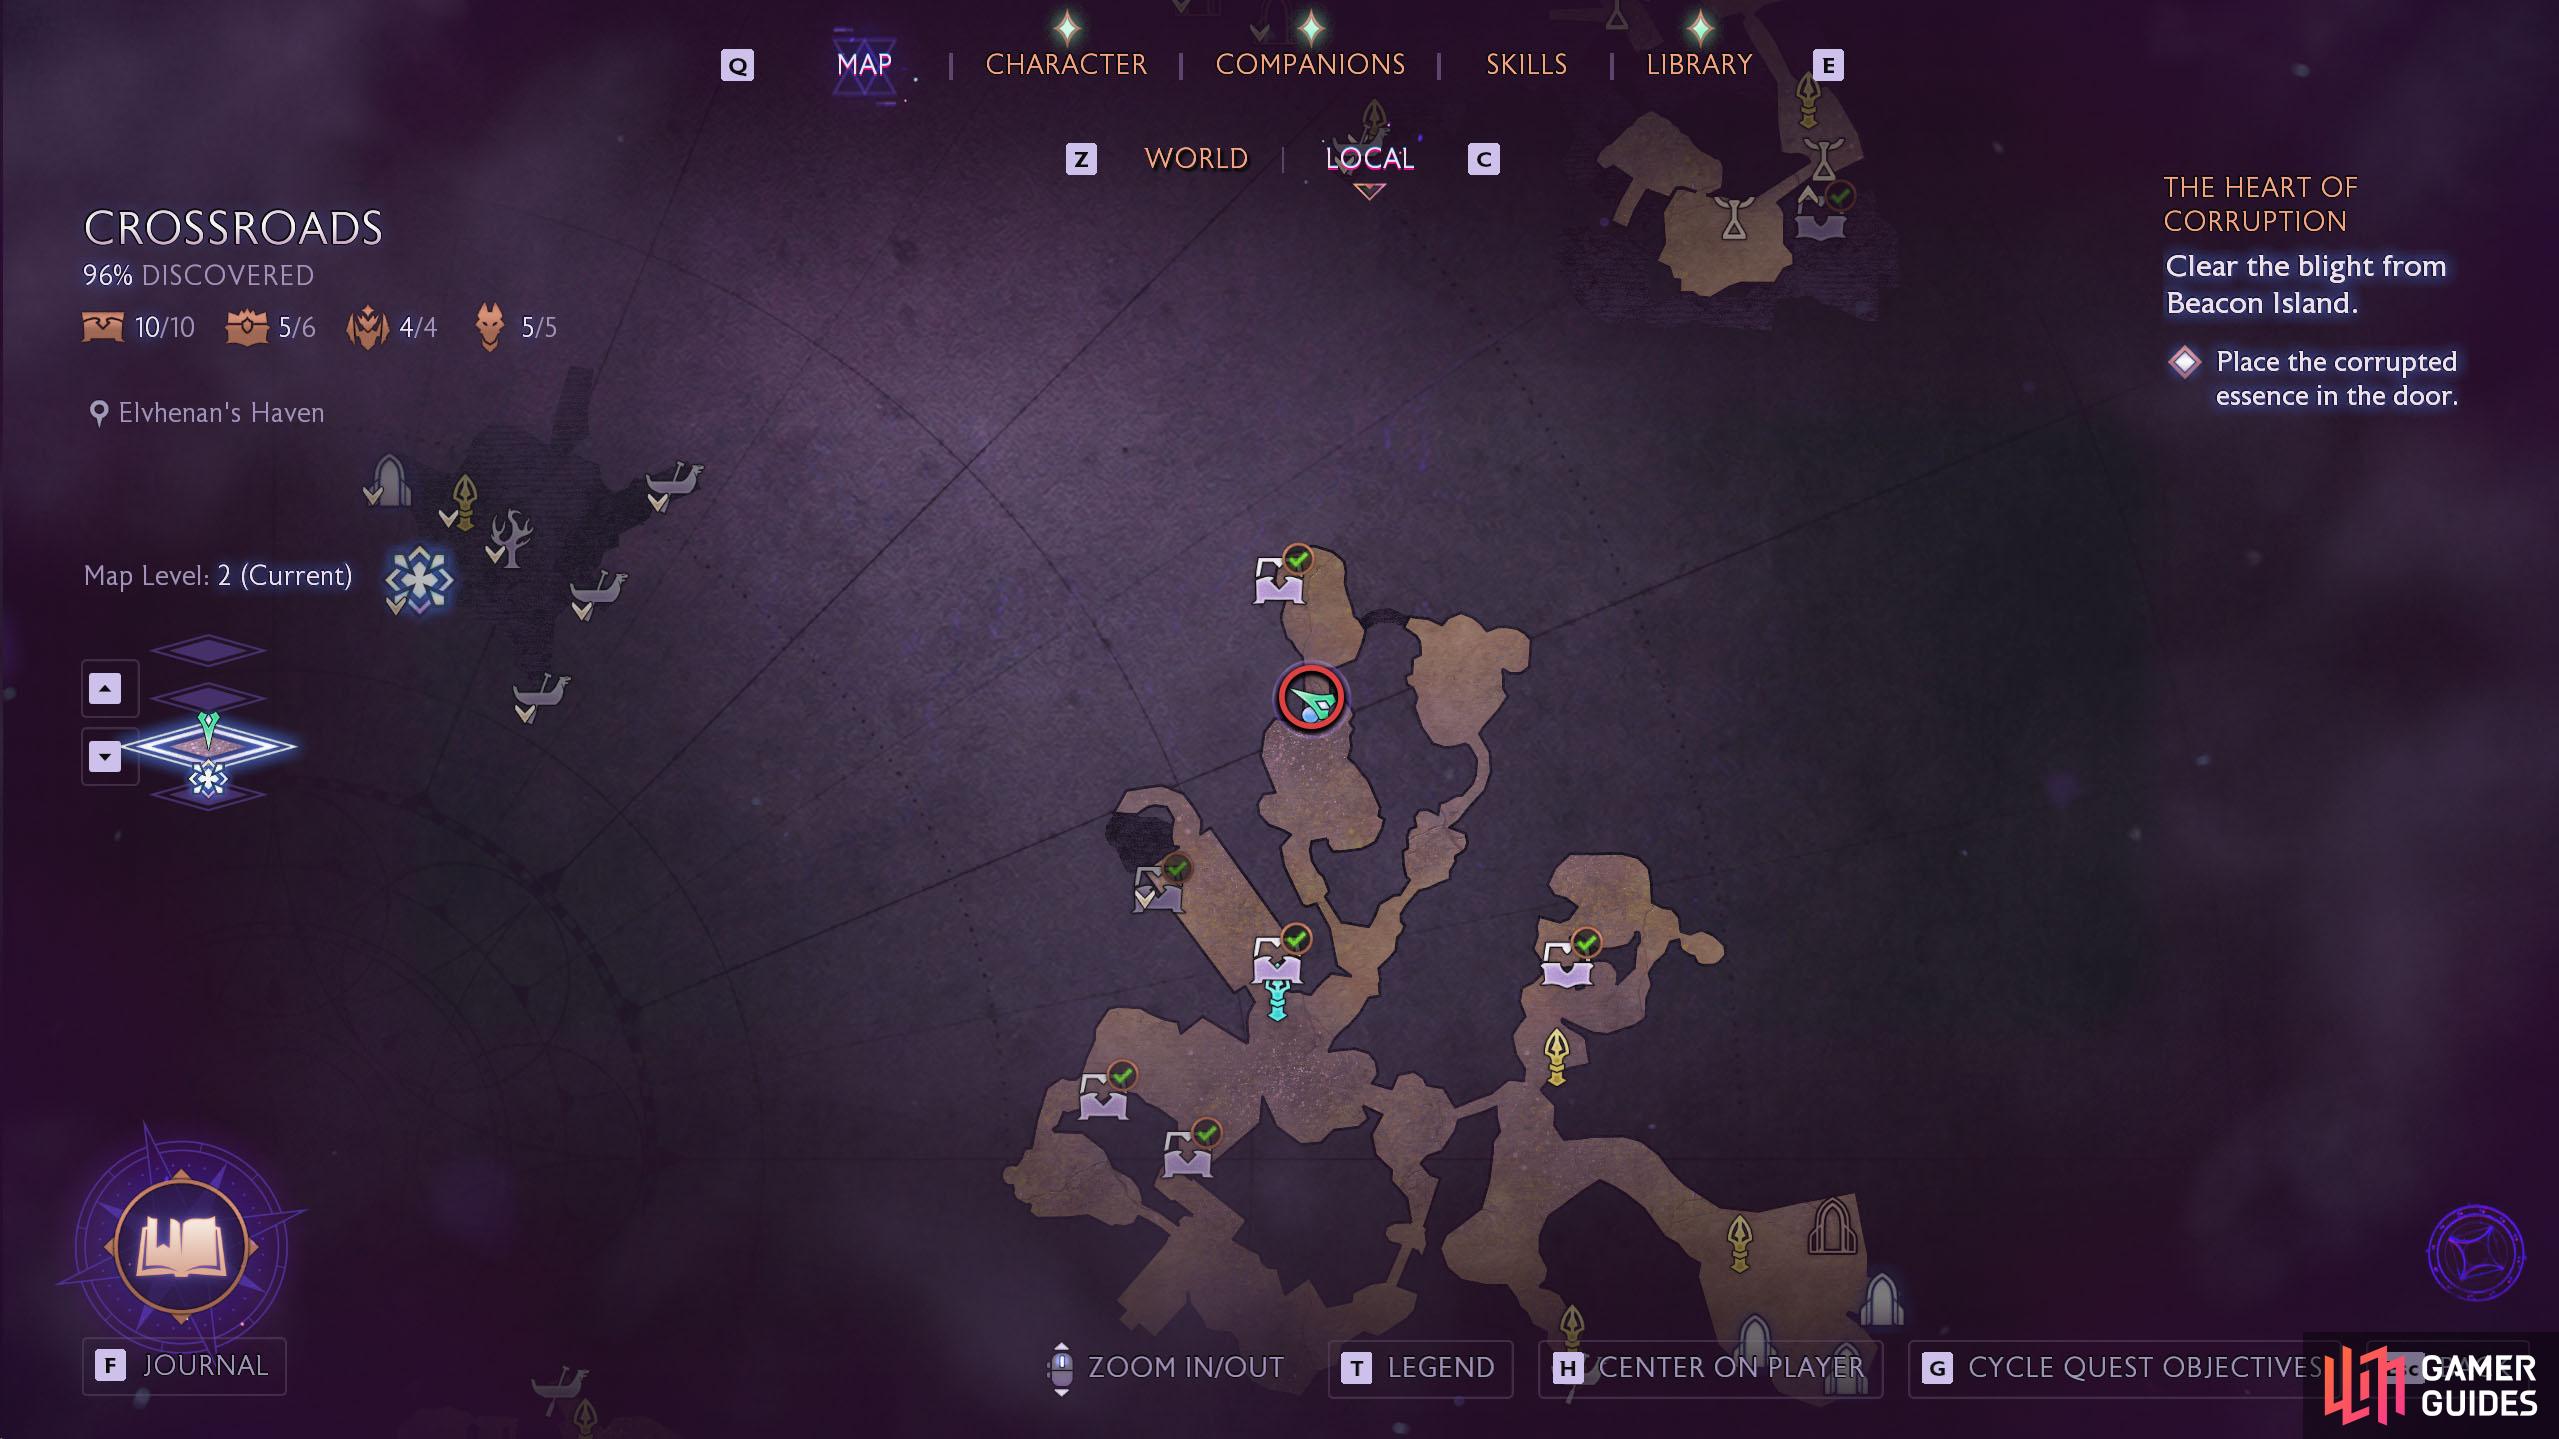
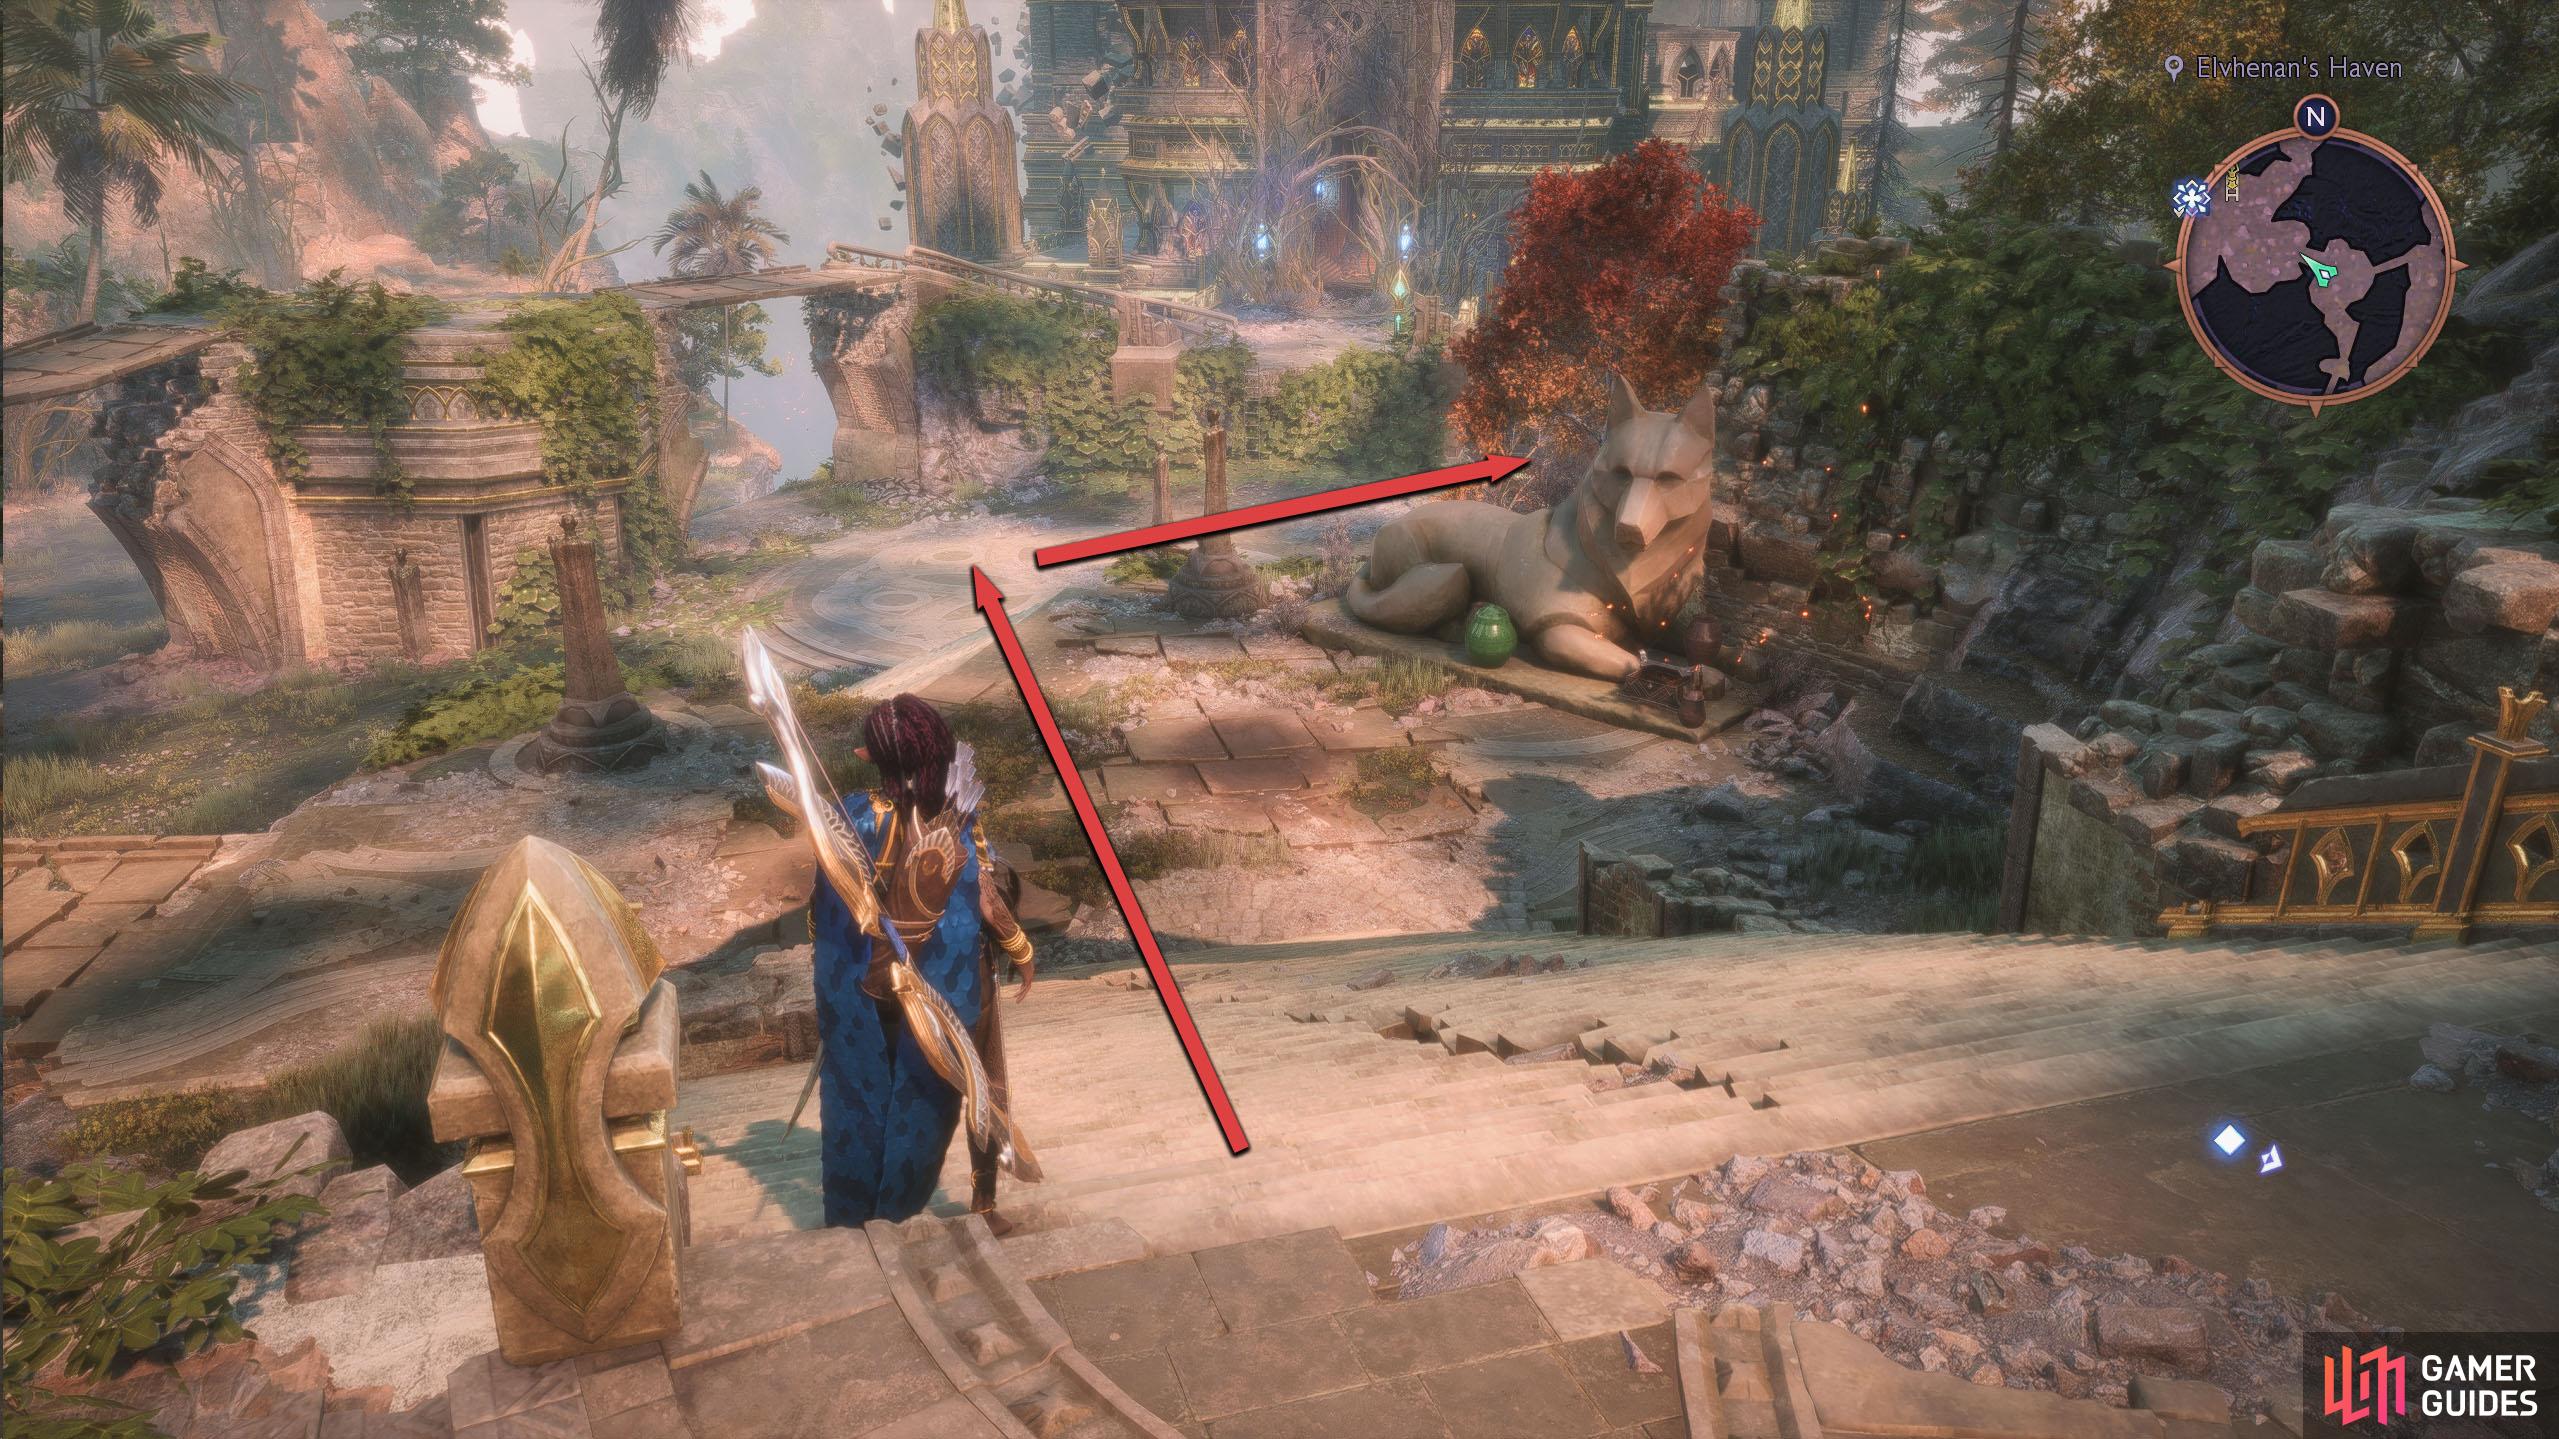
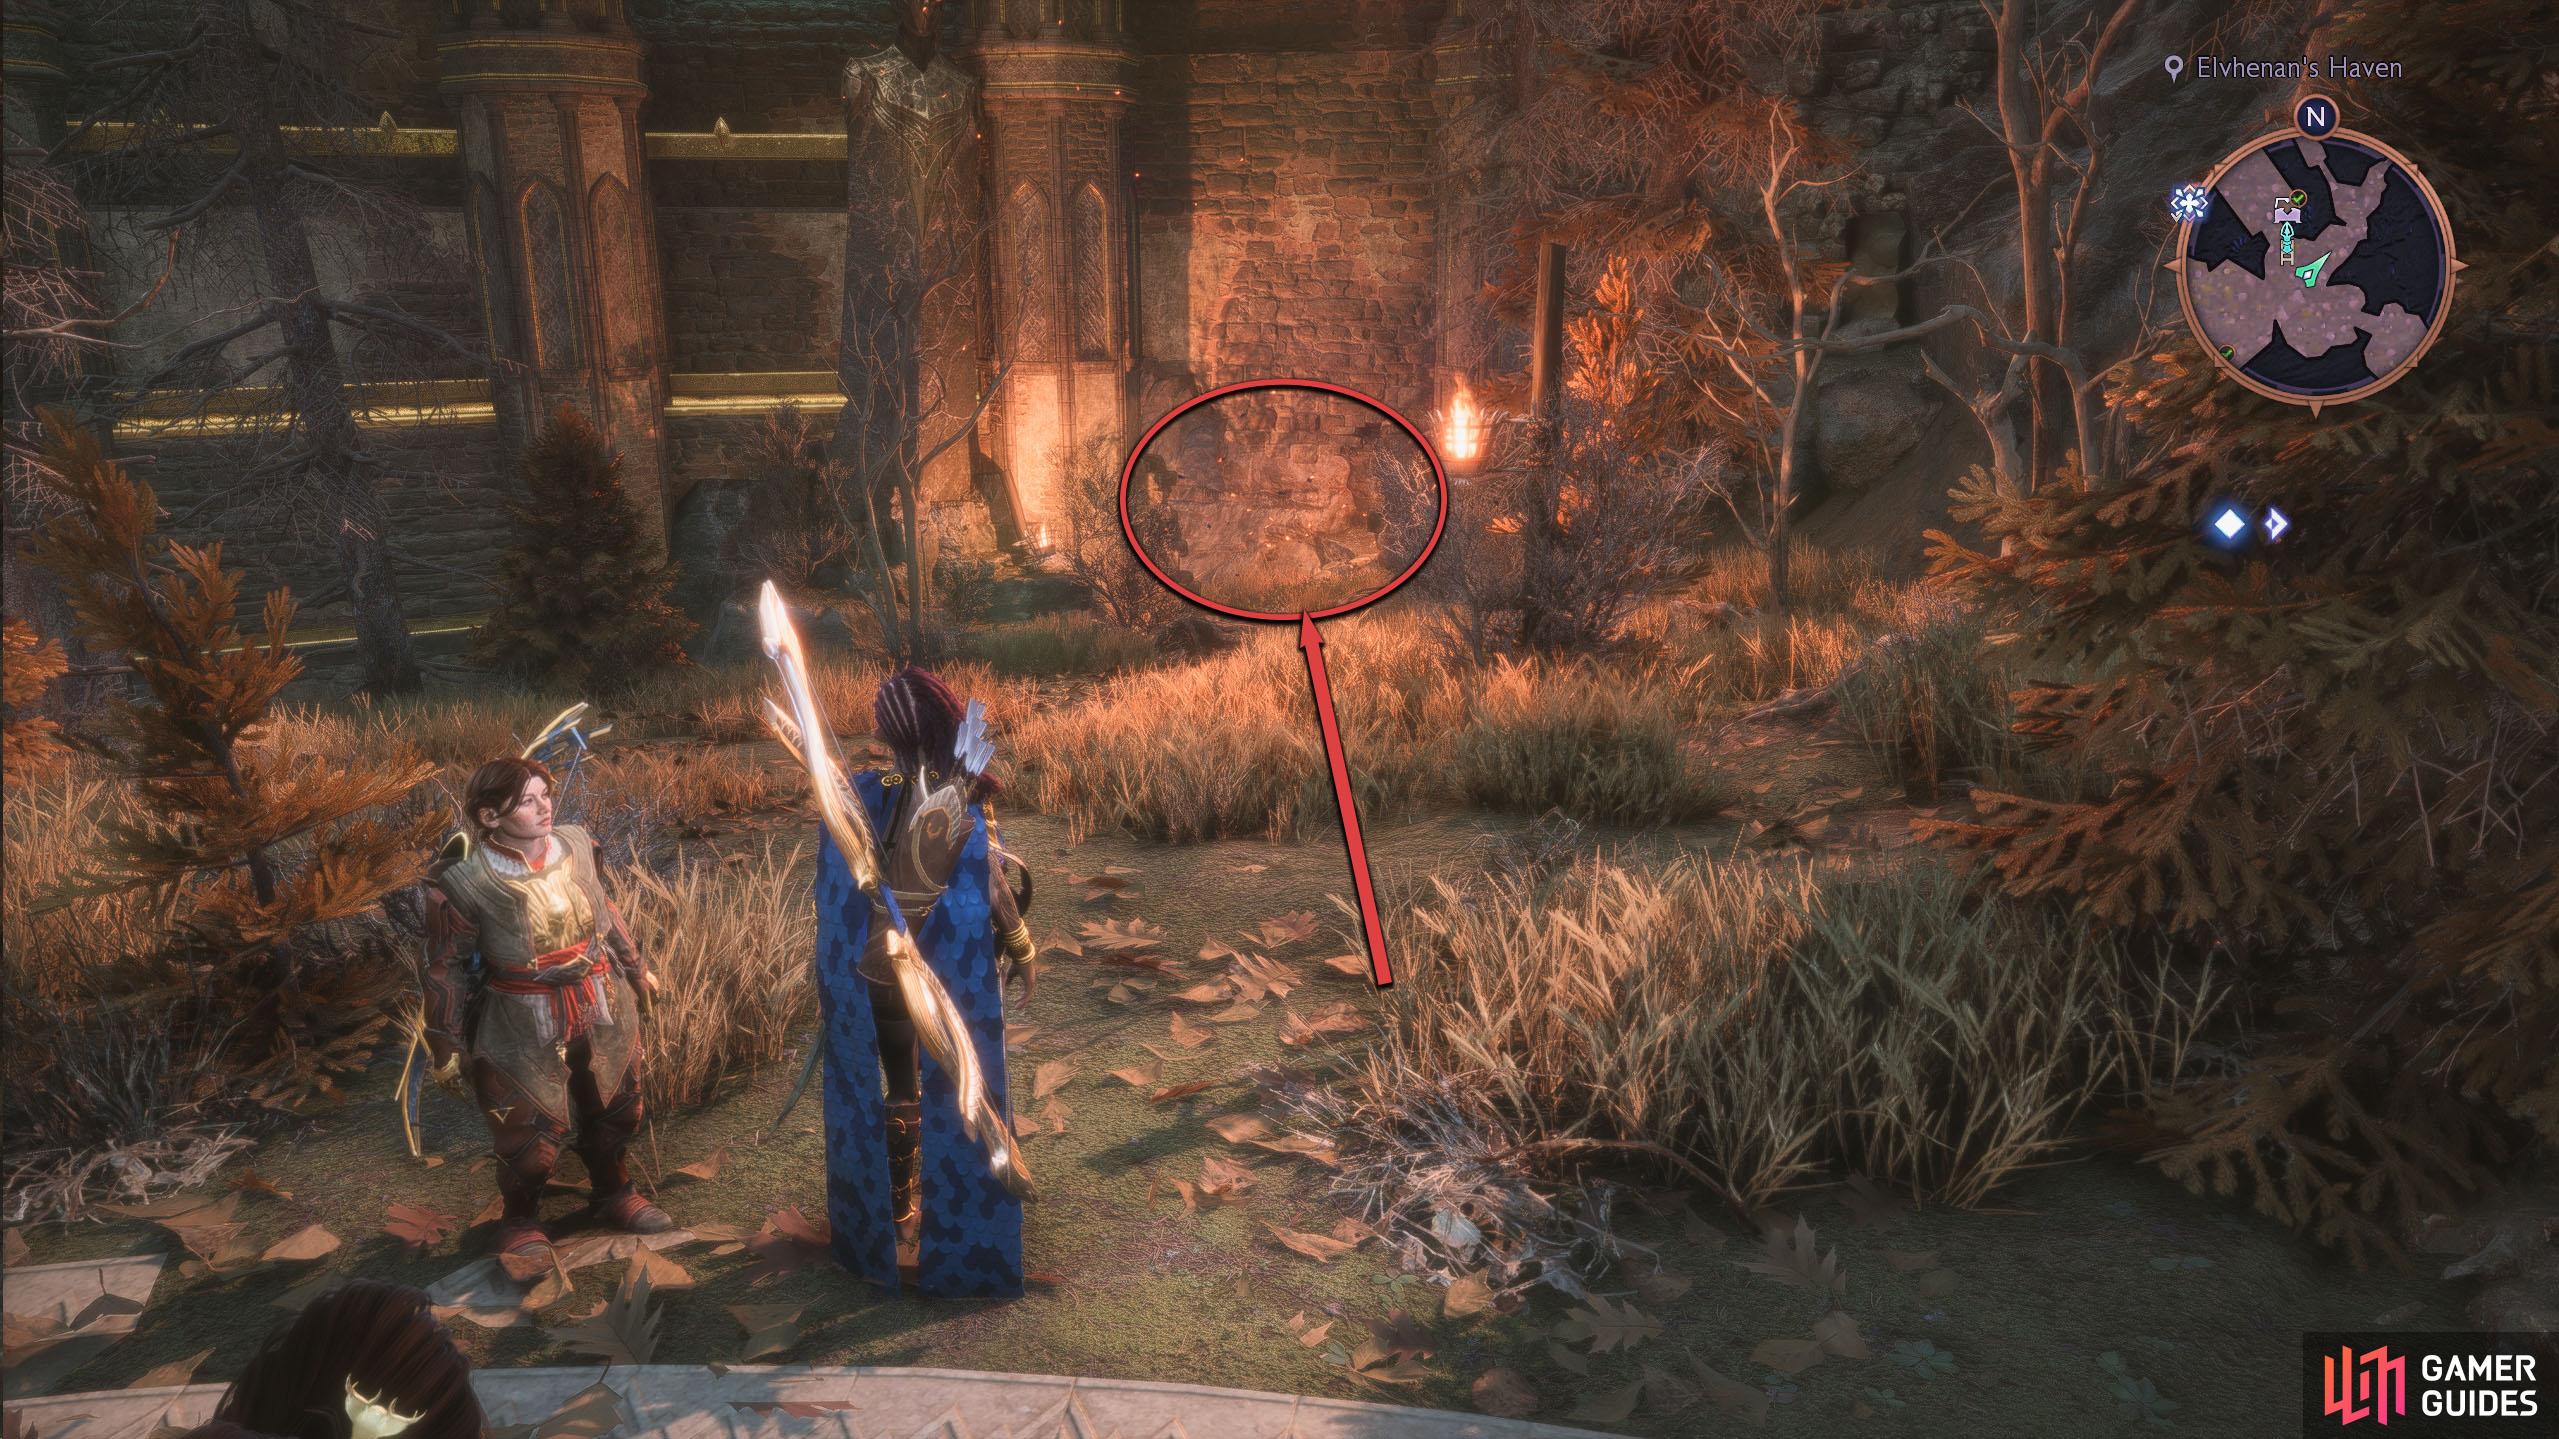
Requires completing the Gate of Lost Ages quest for the essence to open the way forward. From the Fast Travel, follow the path northwest until you reach the area with the large wolf statue by the stairs. Take the stairs down to the central area, and then head northeast through the hole in the wall (requires the Gate of Lost Ages essence).
This will lead to another large area where you’ll need to complete a puzzle to get where you need to go. You need to do these puzzles for one of the objectives in the Dread Wolf quest, so follow our Elvhenan Puzzle Guide if you want to know how to get to the other side.
(1 of 4) The Altar can be found below the broken bridge in the central area of Elvhenan’s Haven.
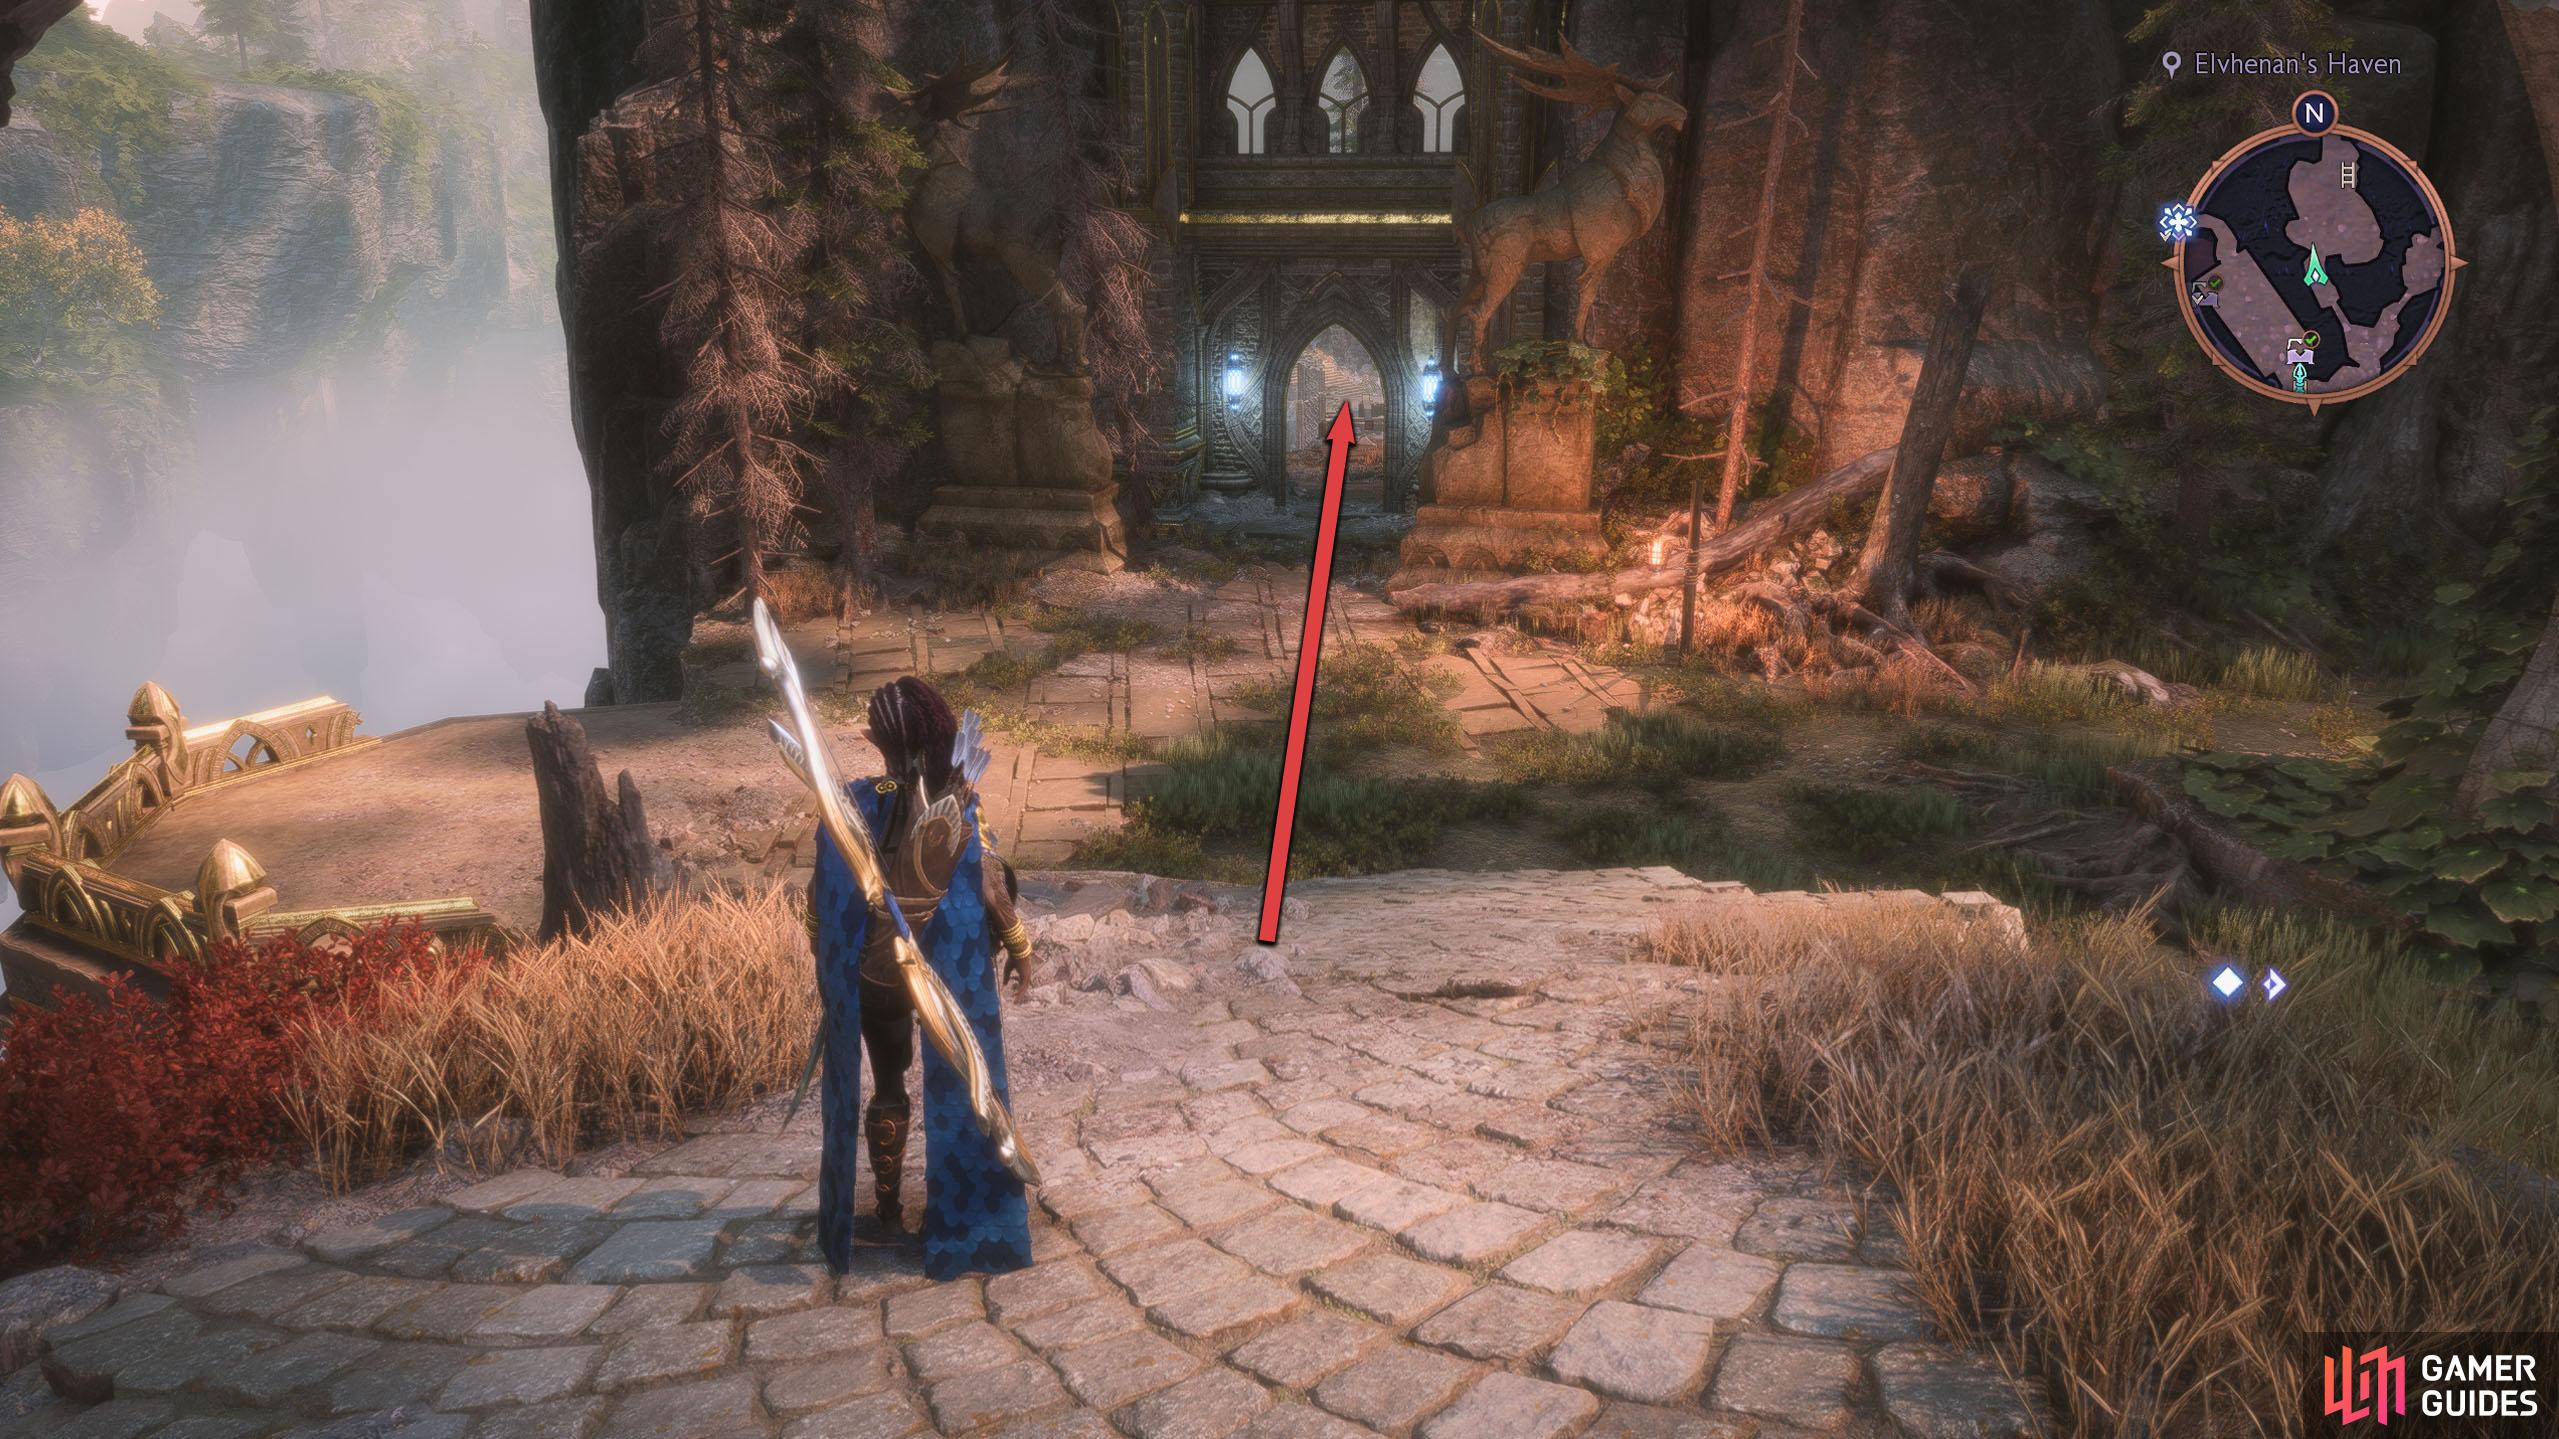
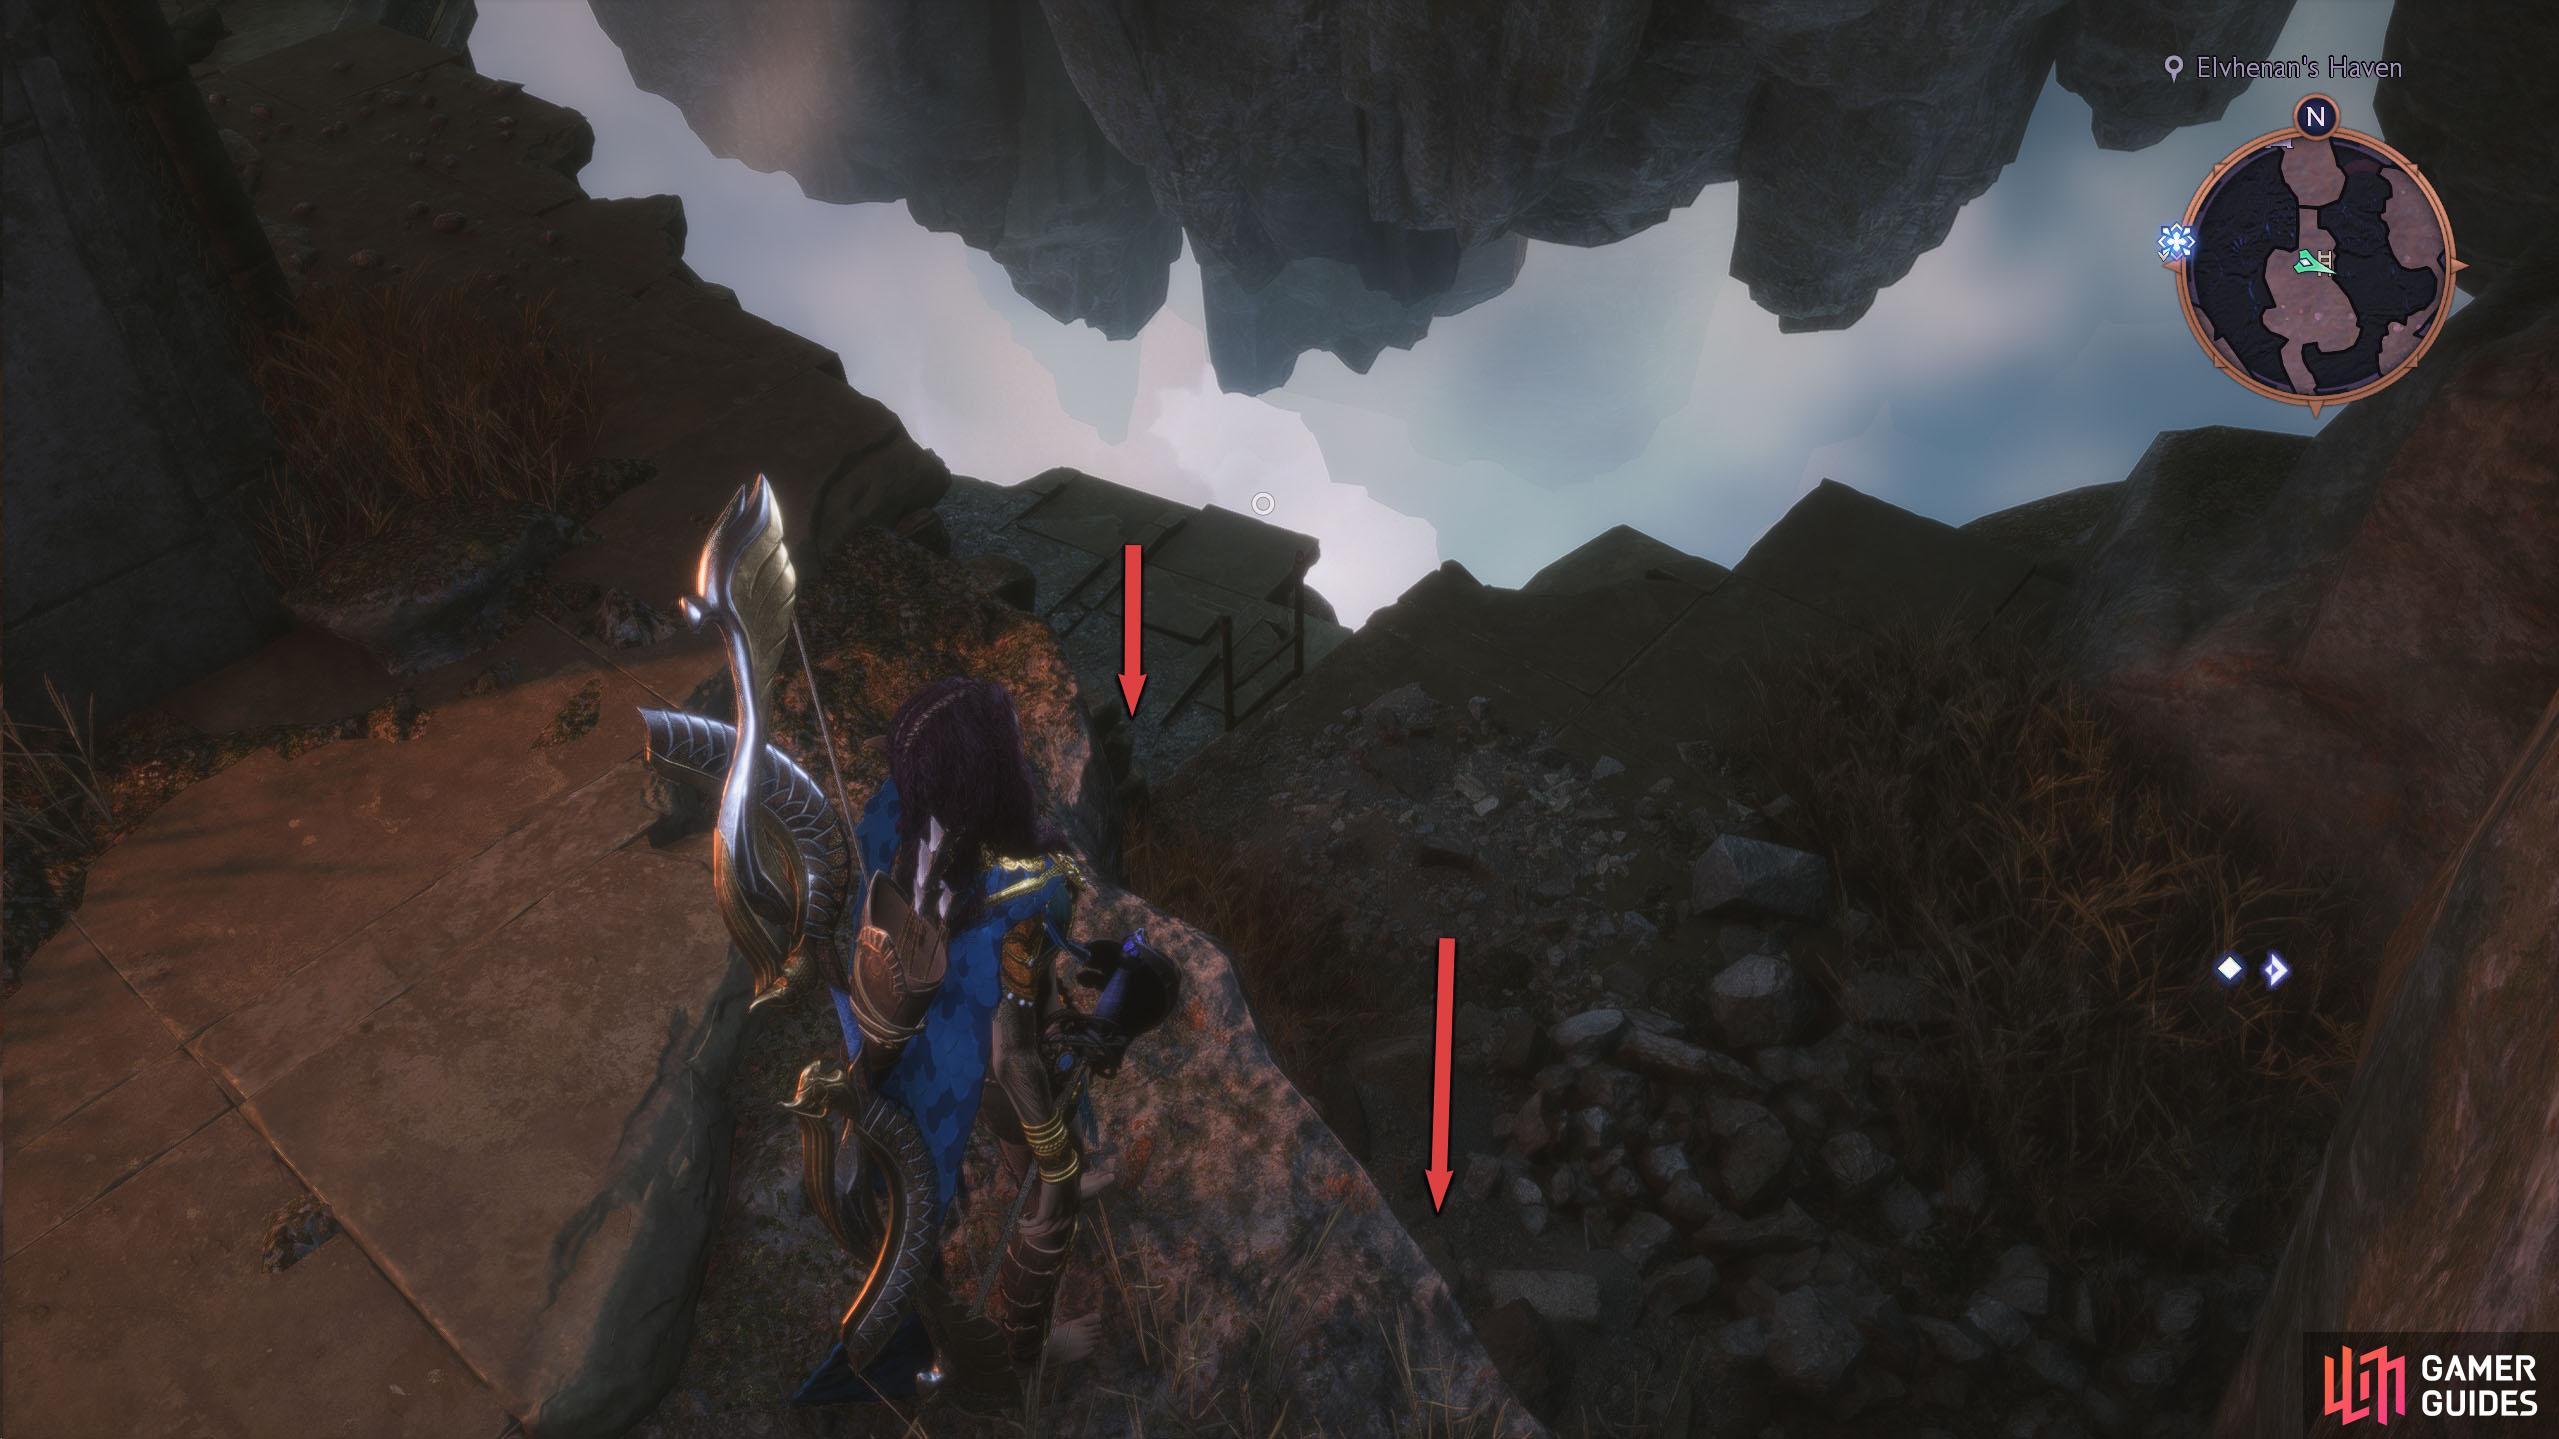
Once you’ve completed the puzzle, head through the doorway to the north. This will lead to a broken bridge, but, if you look down and to the right of the door, you’ll find a ladder leading down. Follow the path around, and you’ll find the Altar below the broken bridge.
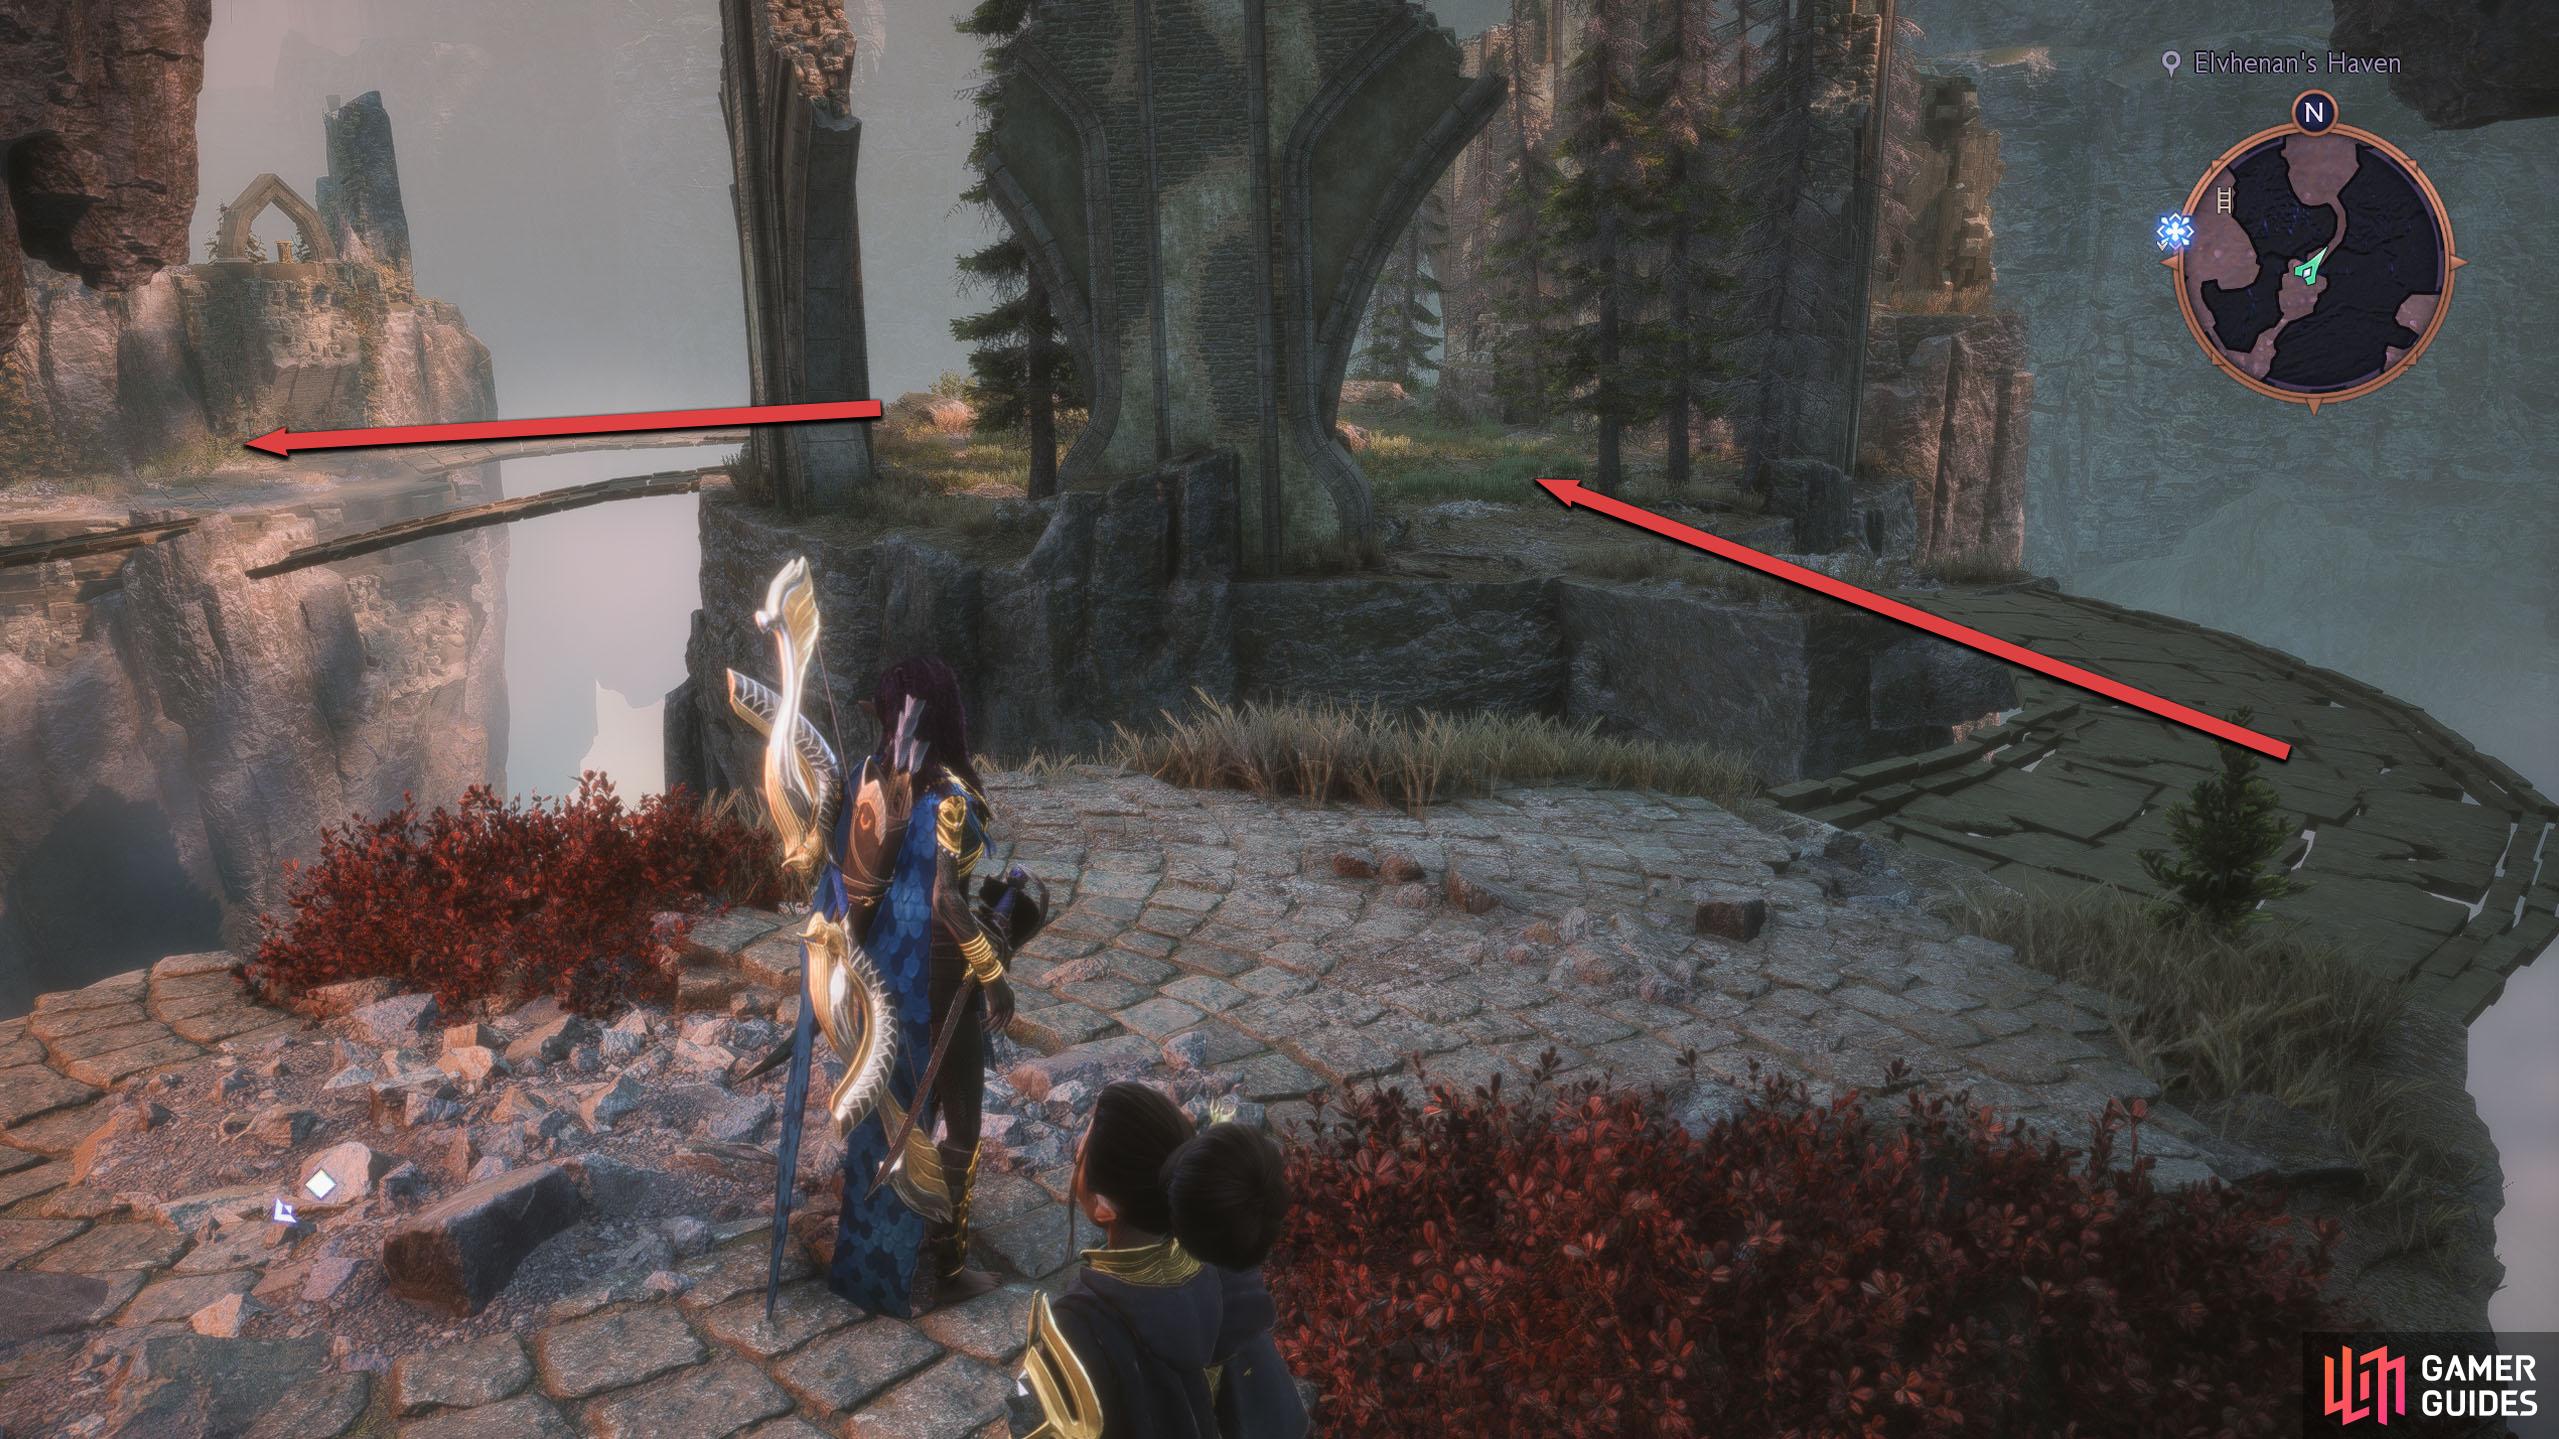
Interact with the Altar, and go back the way you came. The statue is on the plateau to the north, but you’ll need to go back to the entrance of this area (where the first lever is), and take the eastern path south across the bridges you made when you completed the lever puzzle to get there.
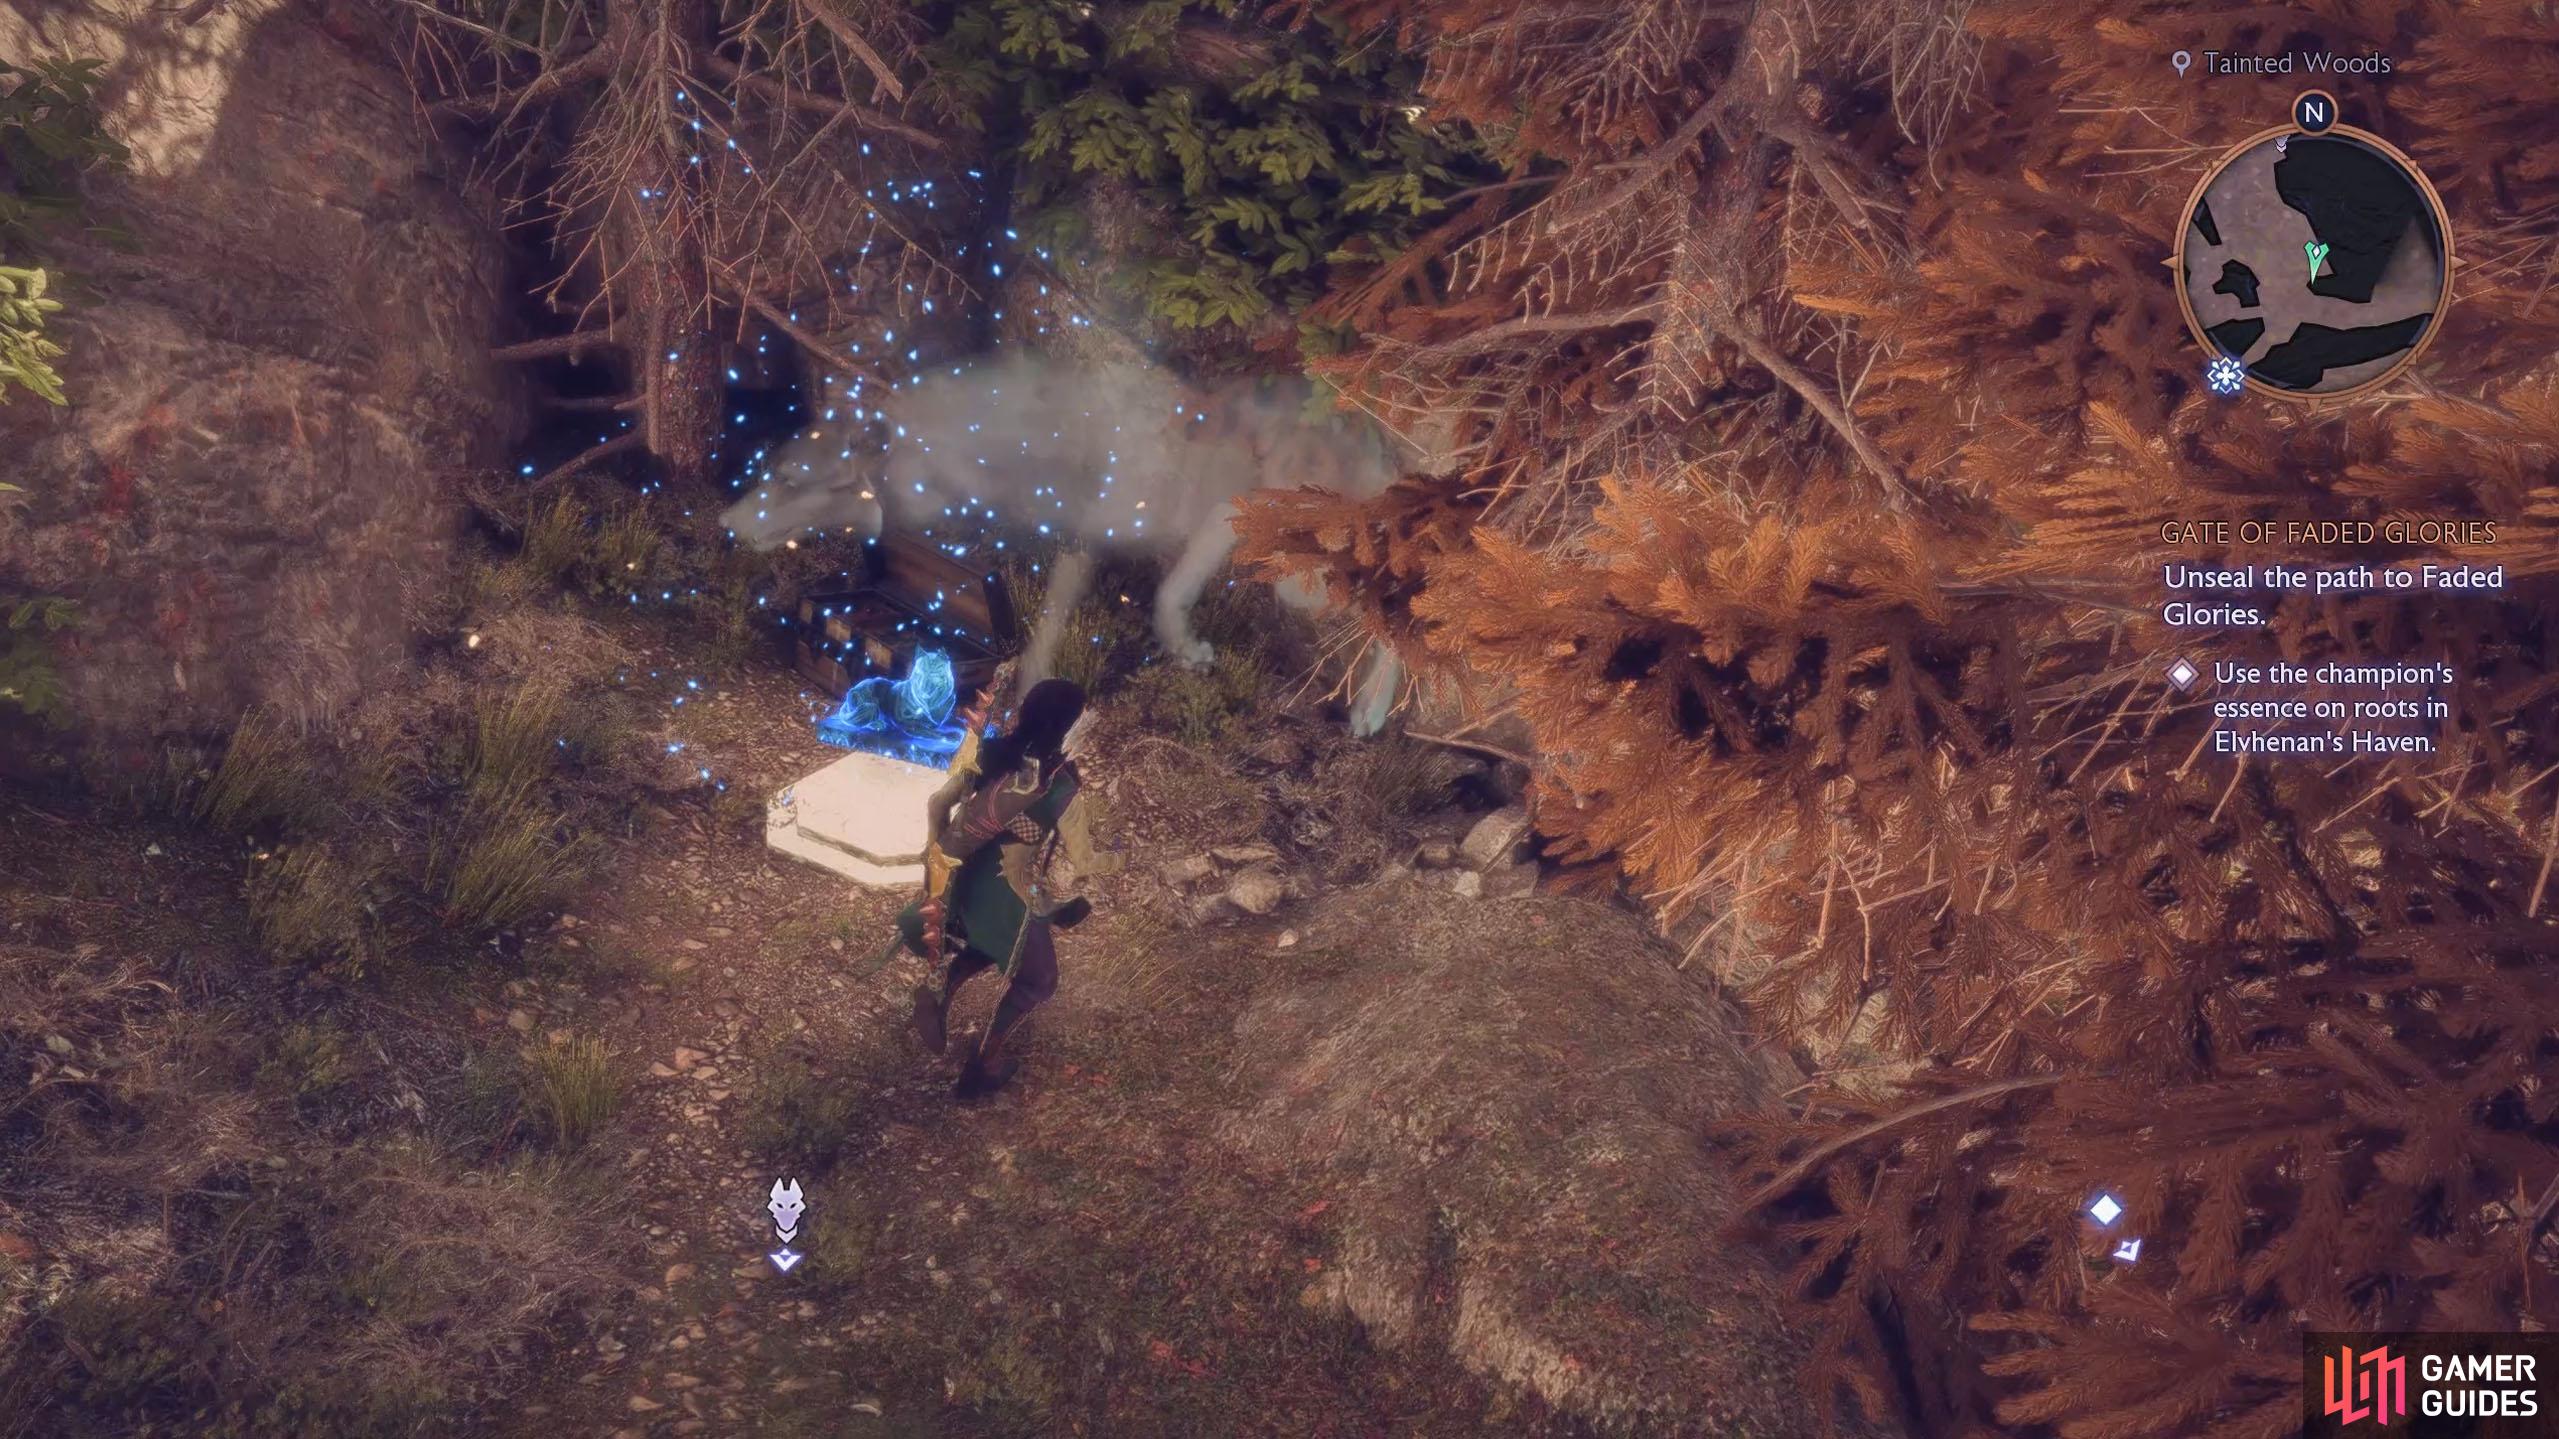
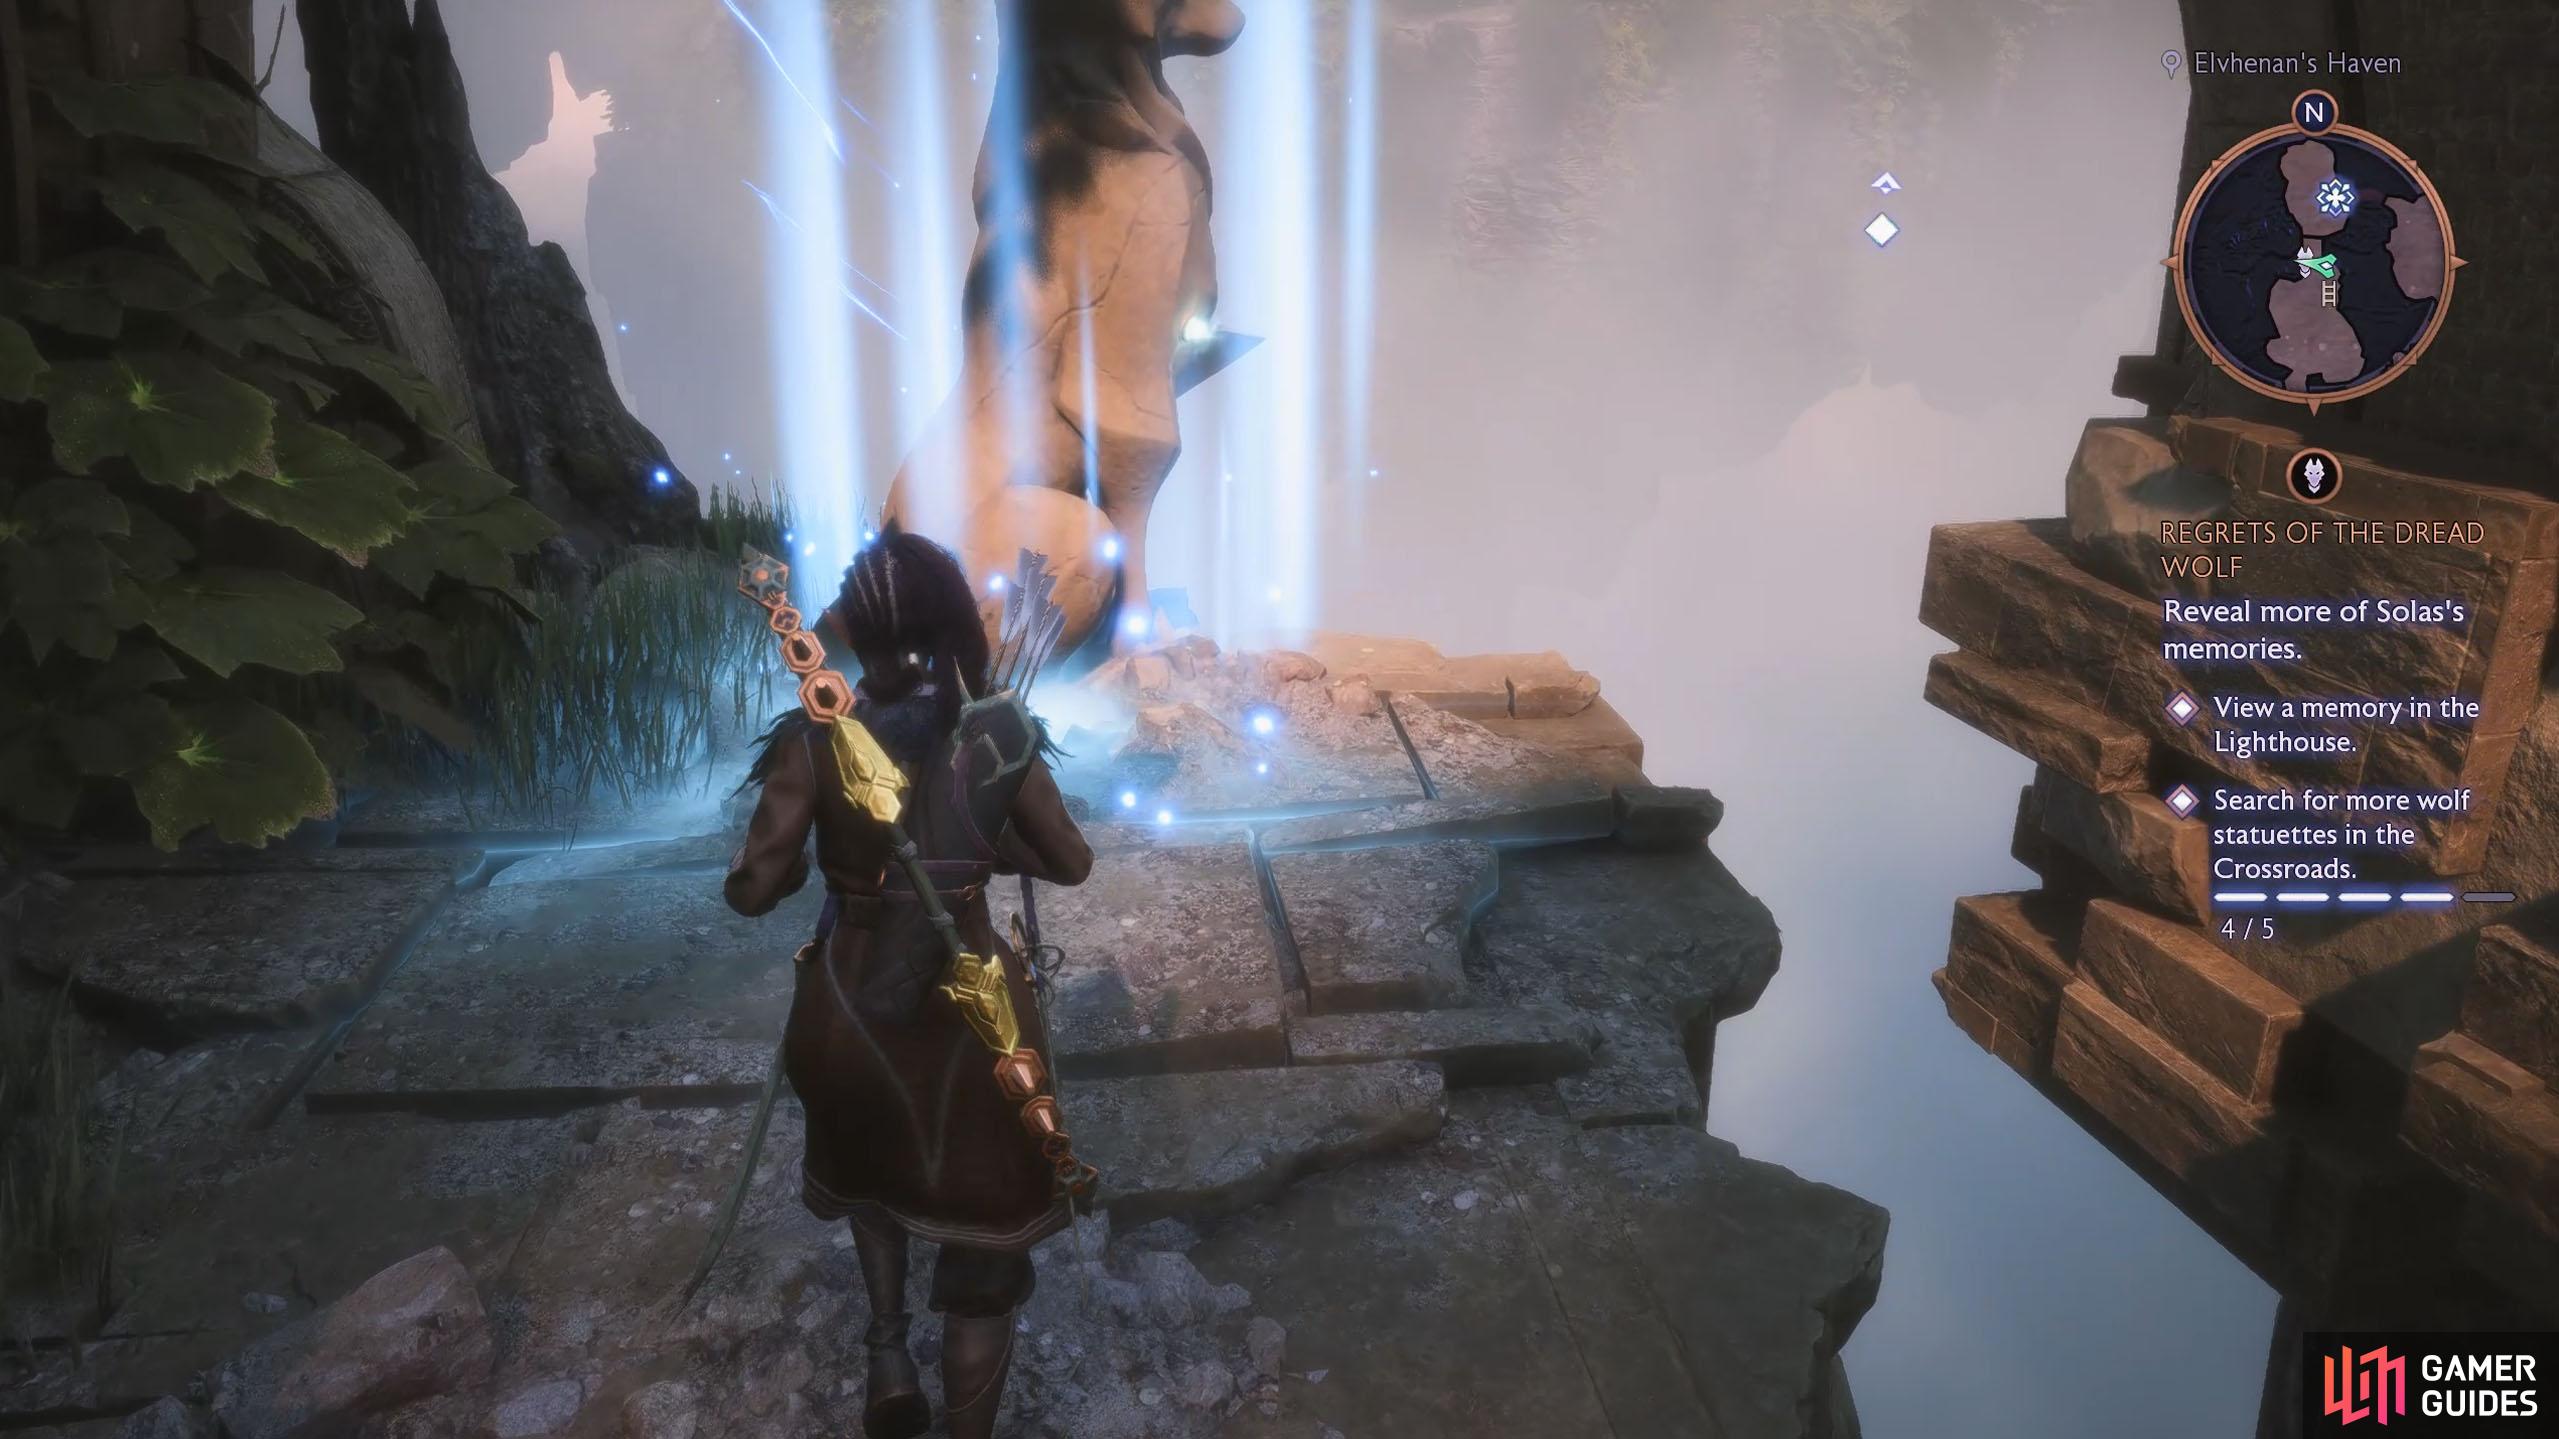
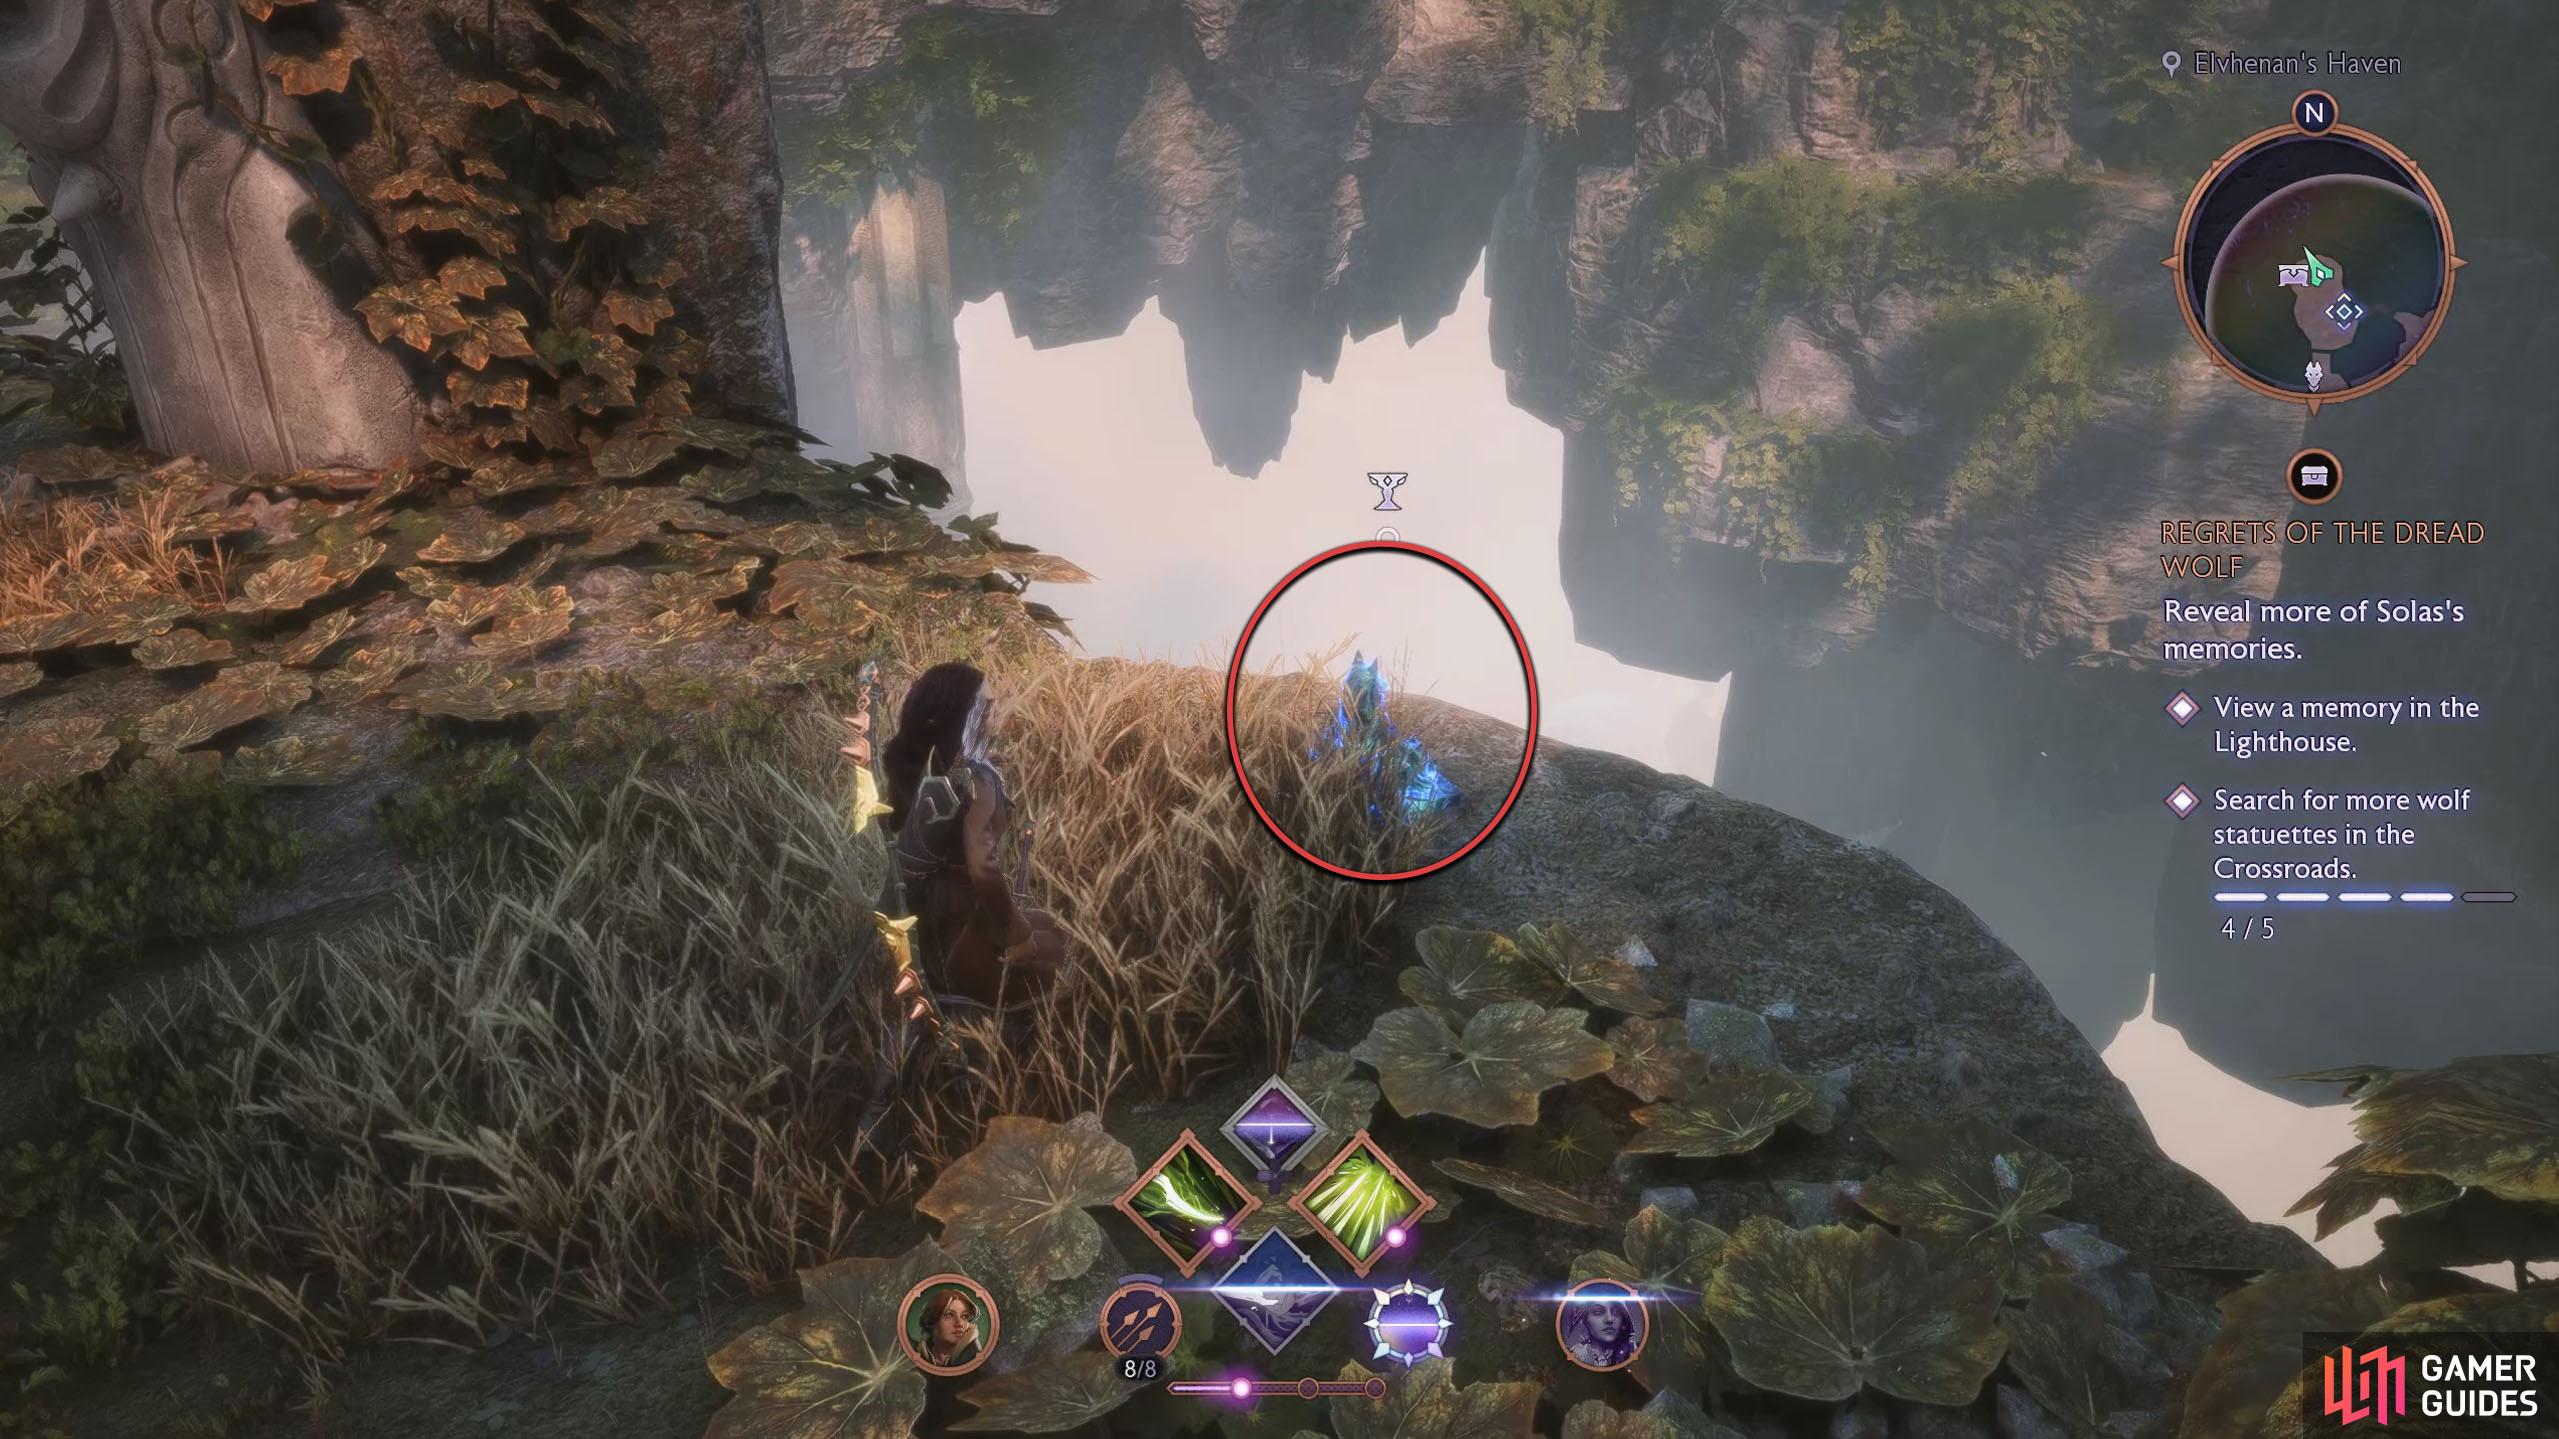
When you reach the northern plateau, take the stairs to the top, defeat the enemies, and pick up the statue from the northern edge of the cliff. Note that to your right will be the statuette related to the Dread Wolf quest.
(1 of 4) To the right of the doorway is a hidden ladder. Make your way down to the bottom.
Hossberg Wetlands - Lost Village Altar
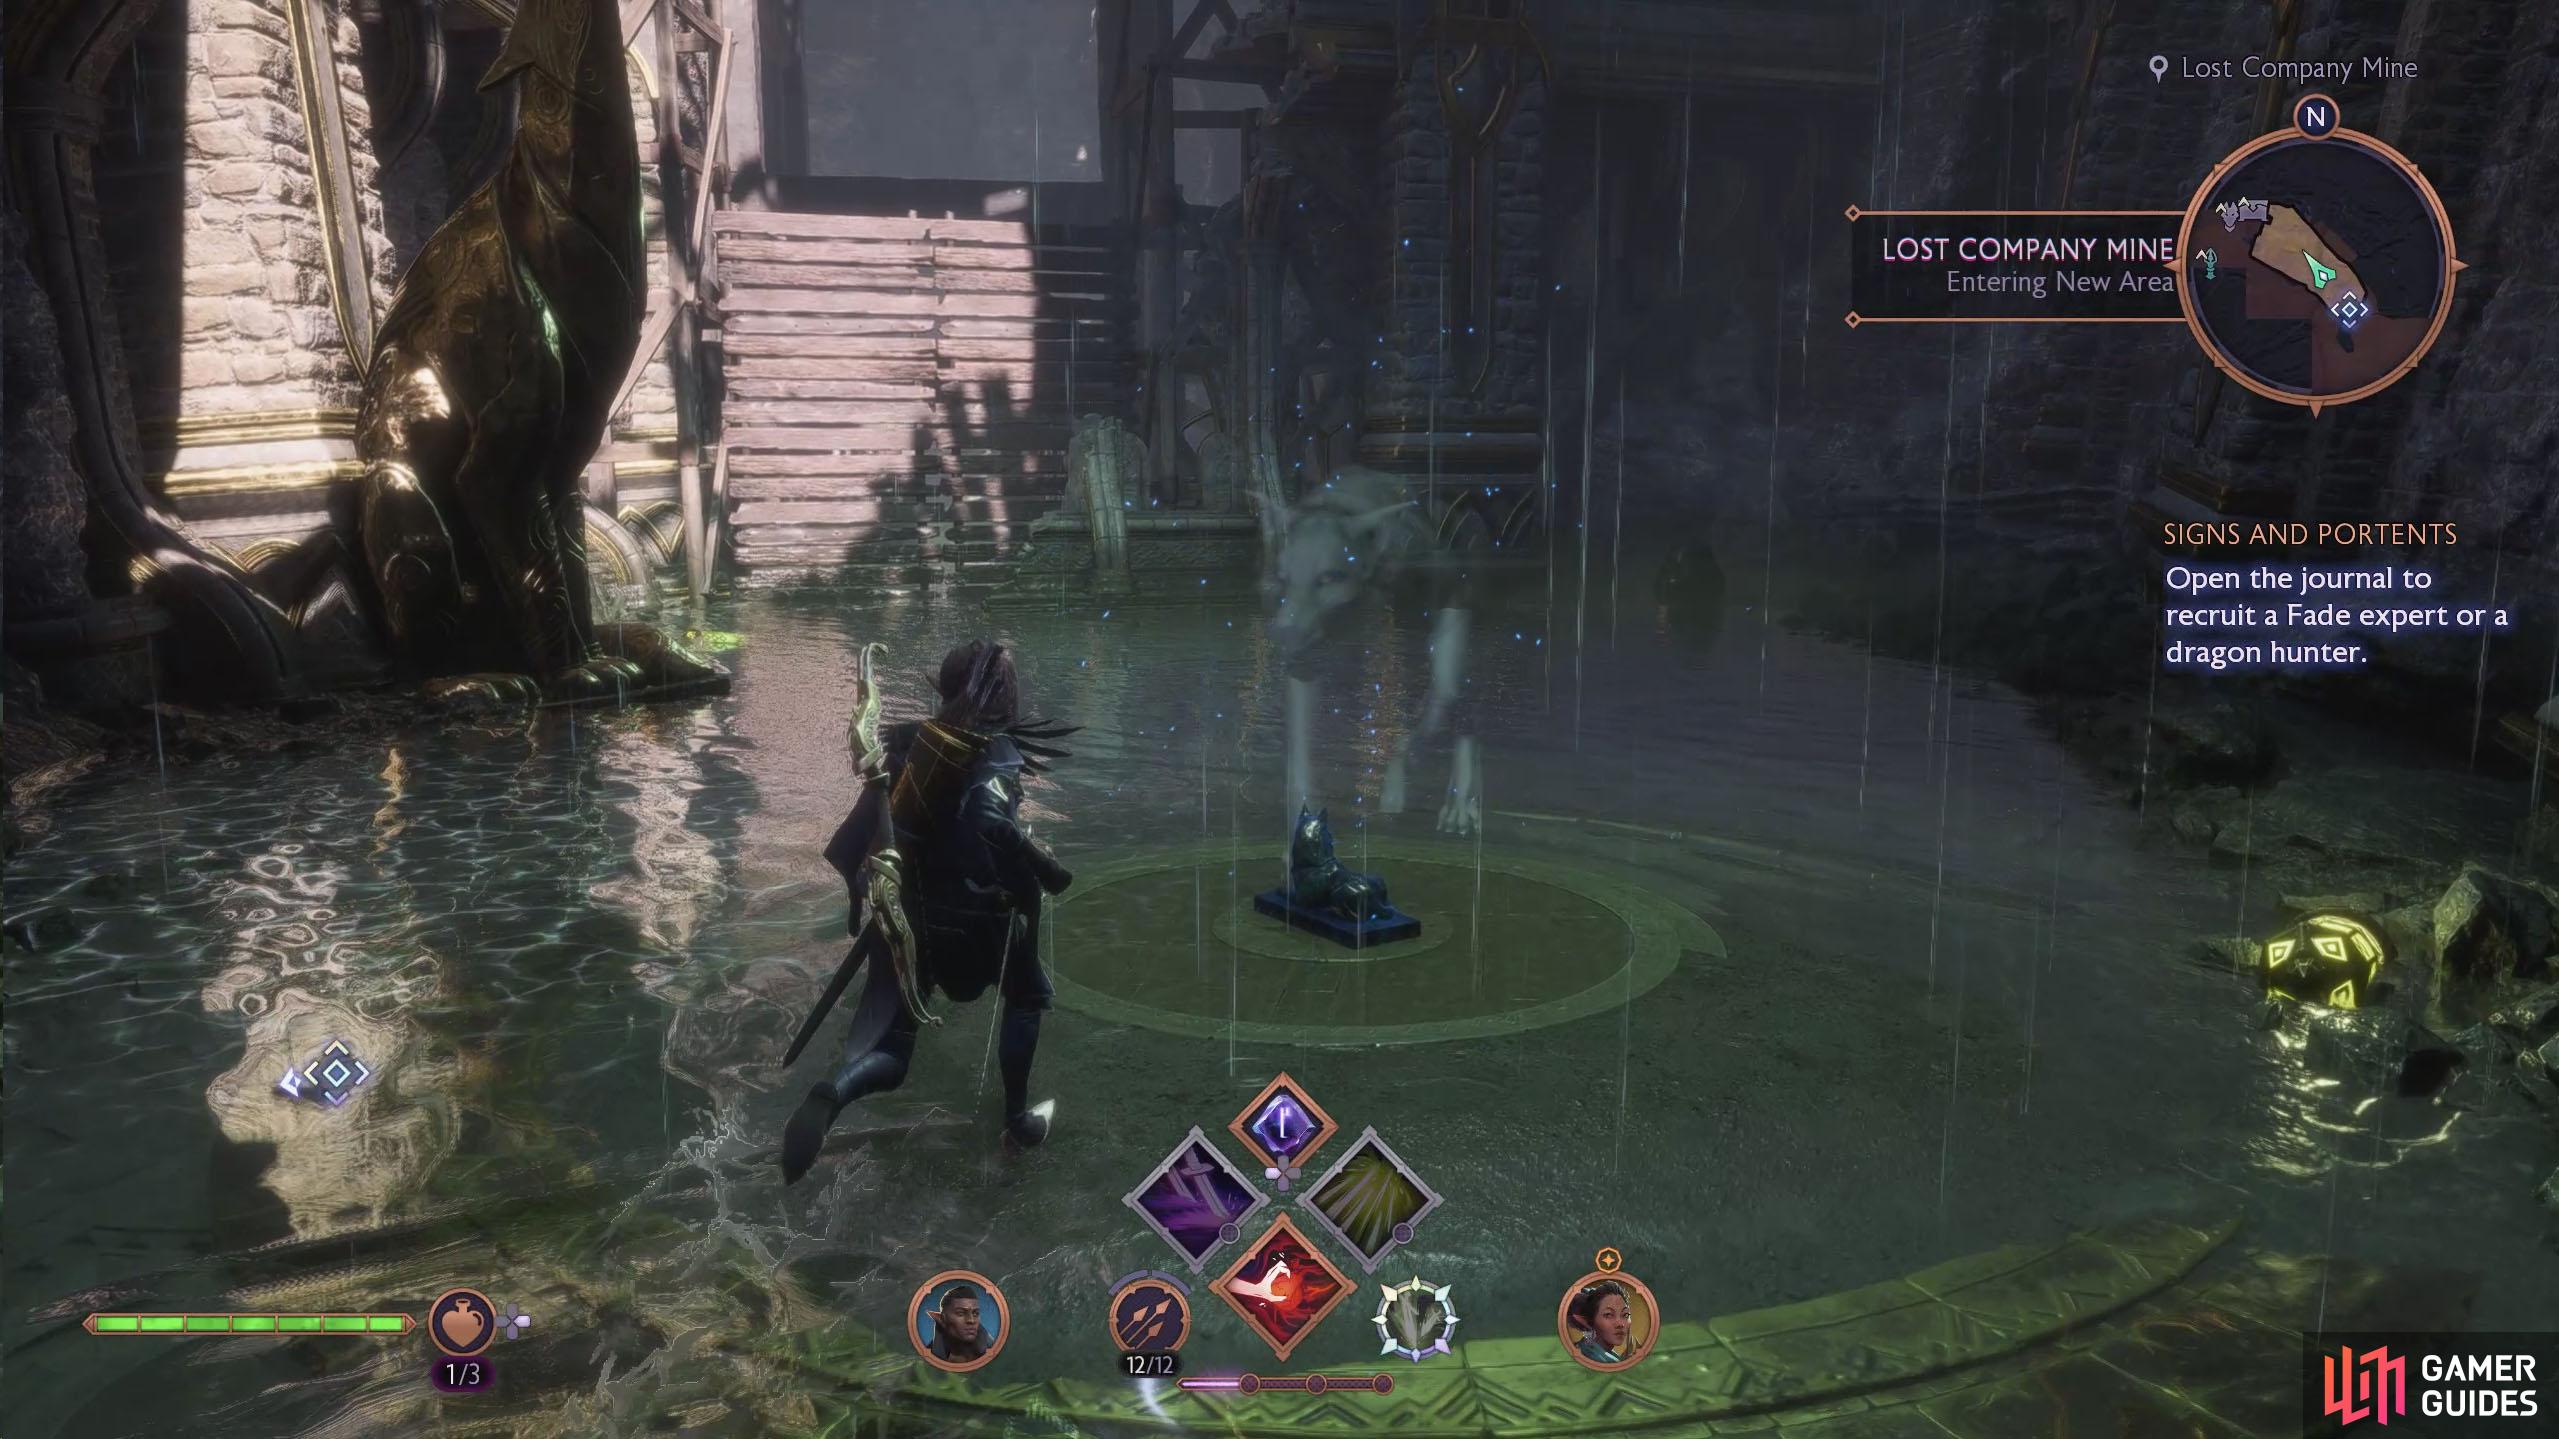
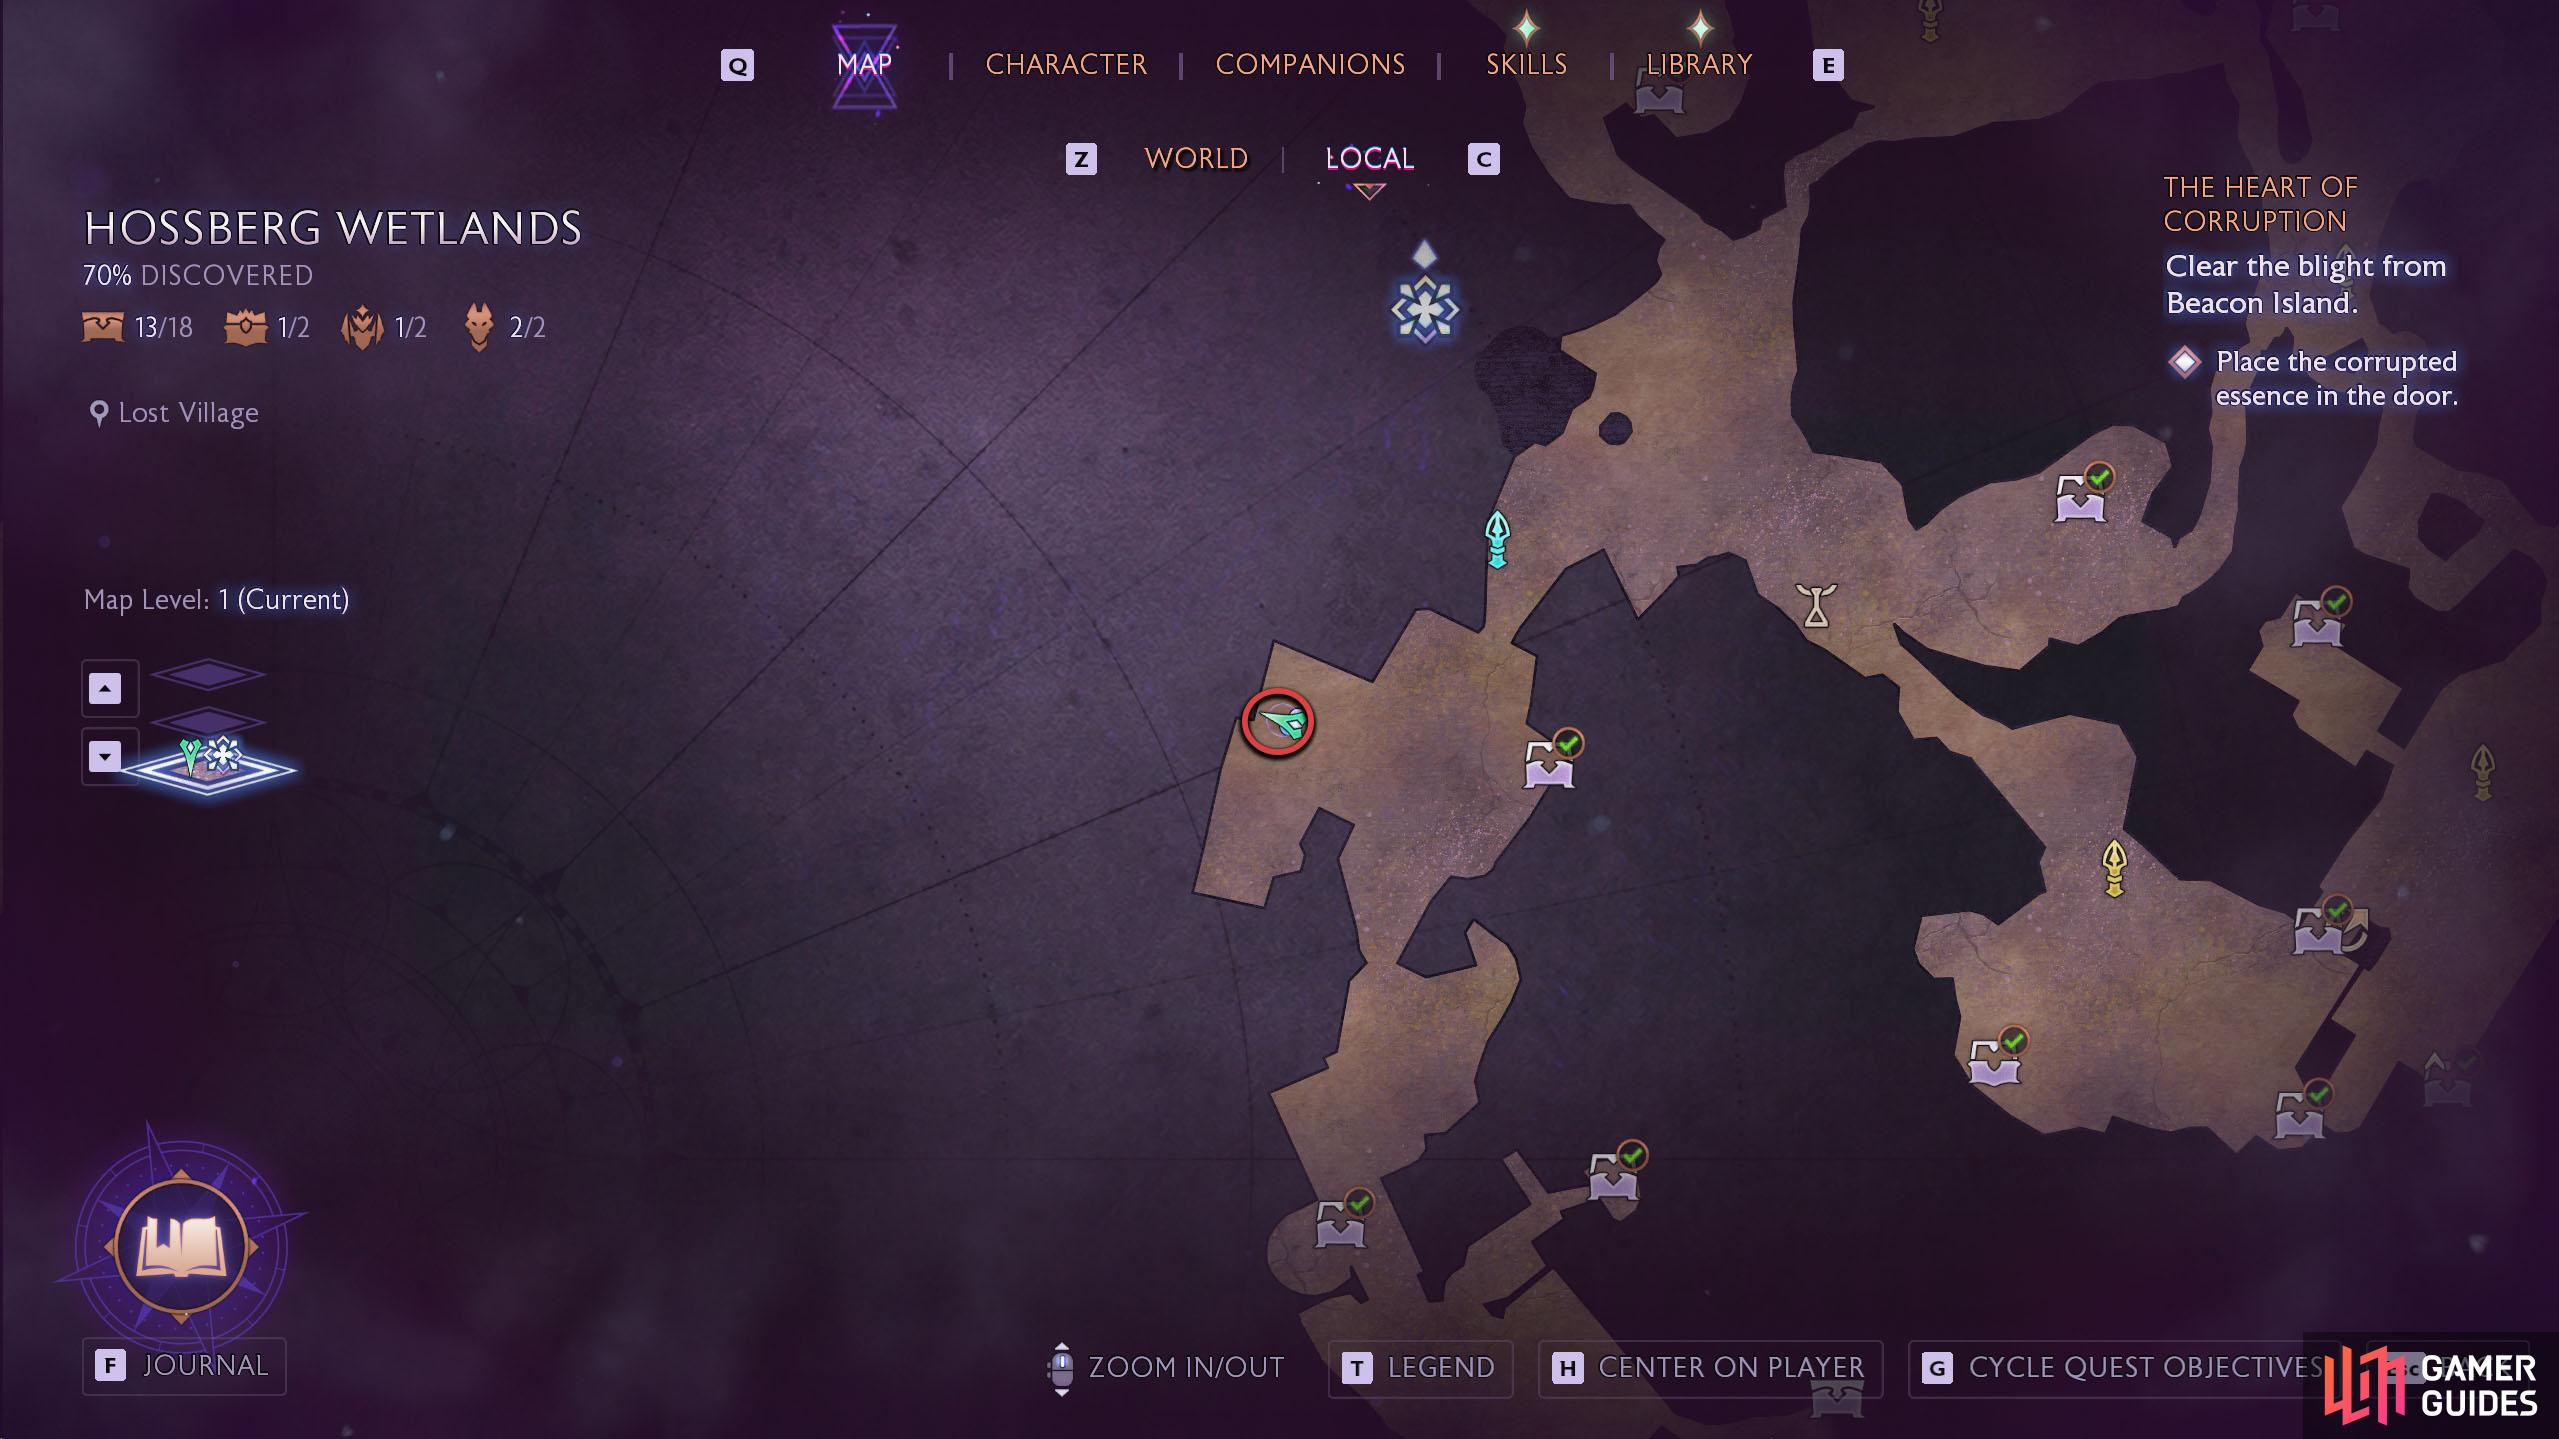
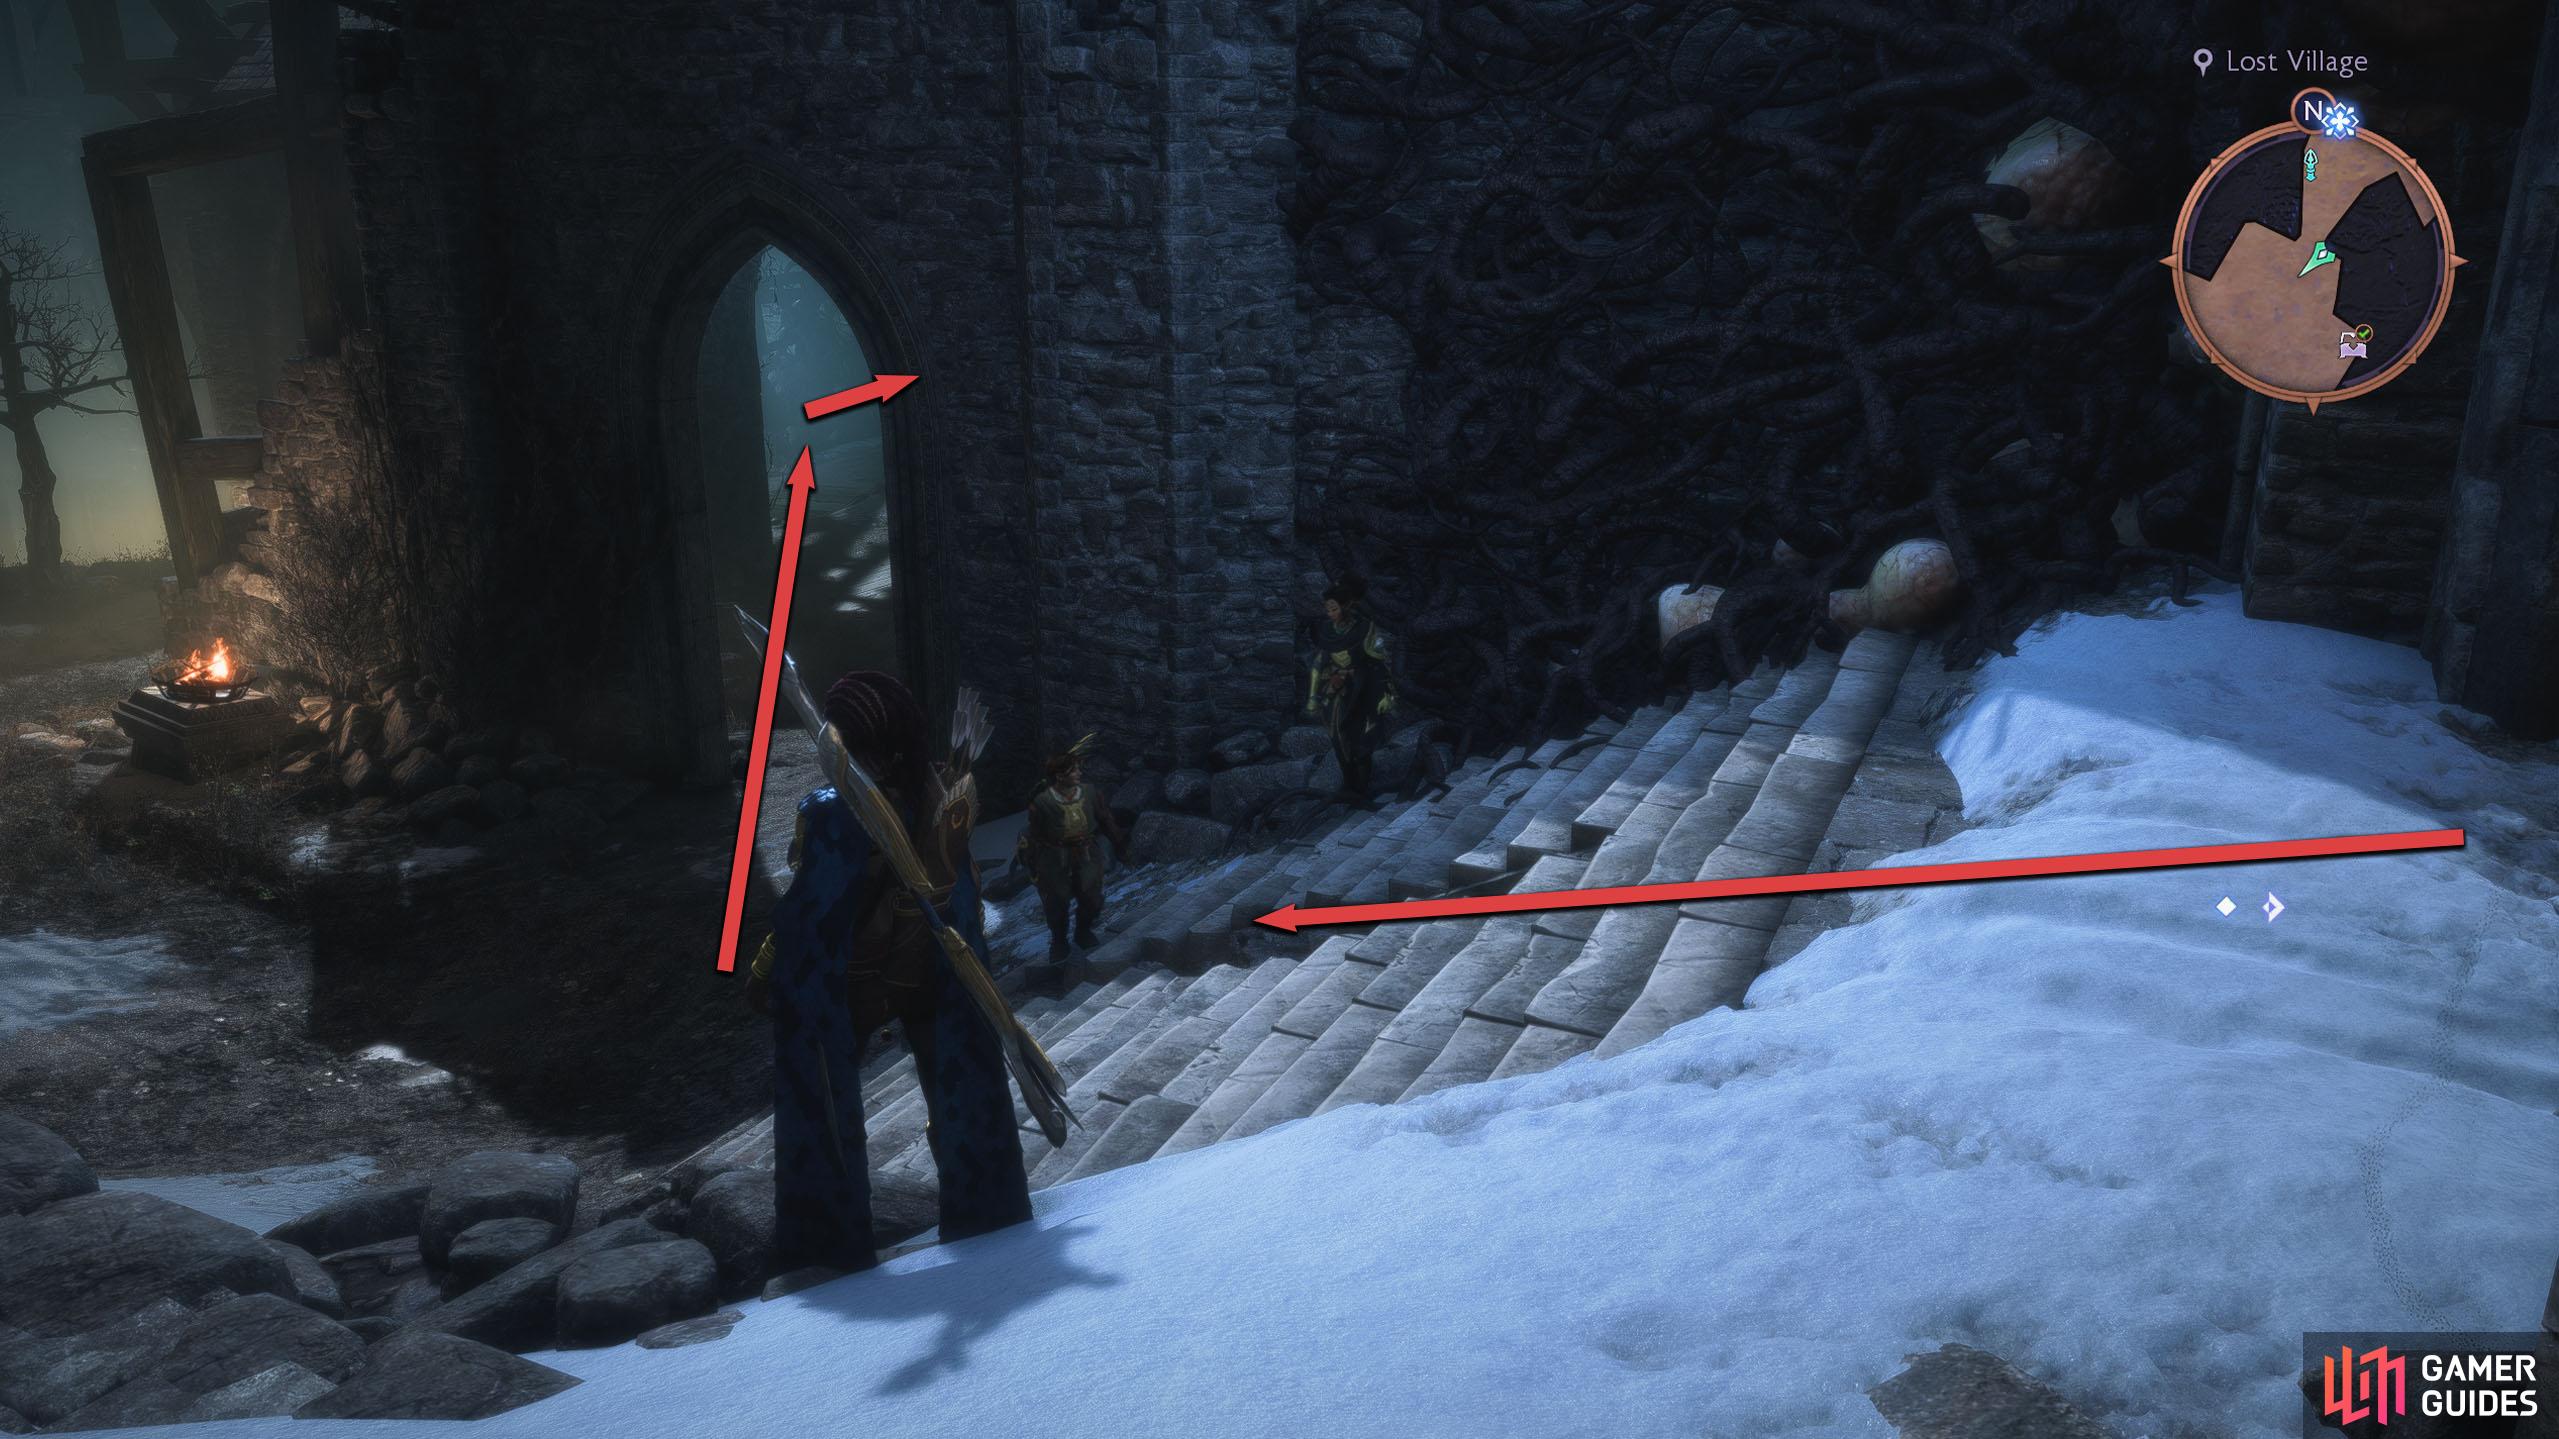
The Lost Village can be accessed from the Swamp Road area. From the Fast Travel, head down the southern stairs and enter the open building to the west. Exit the building almost immediately to the southwest, and then turn northwest and destroy the nearby Blight.
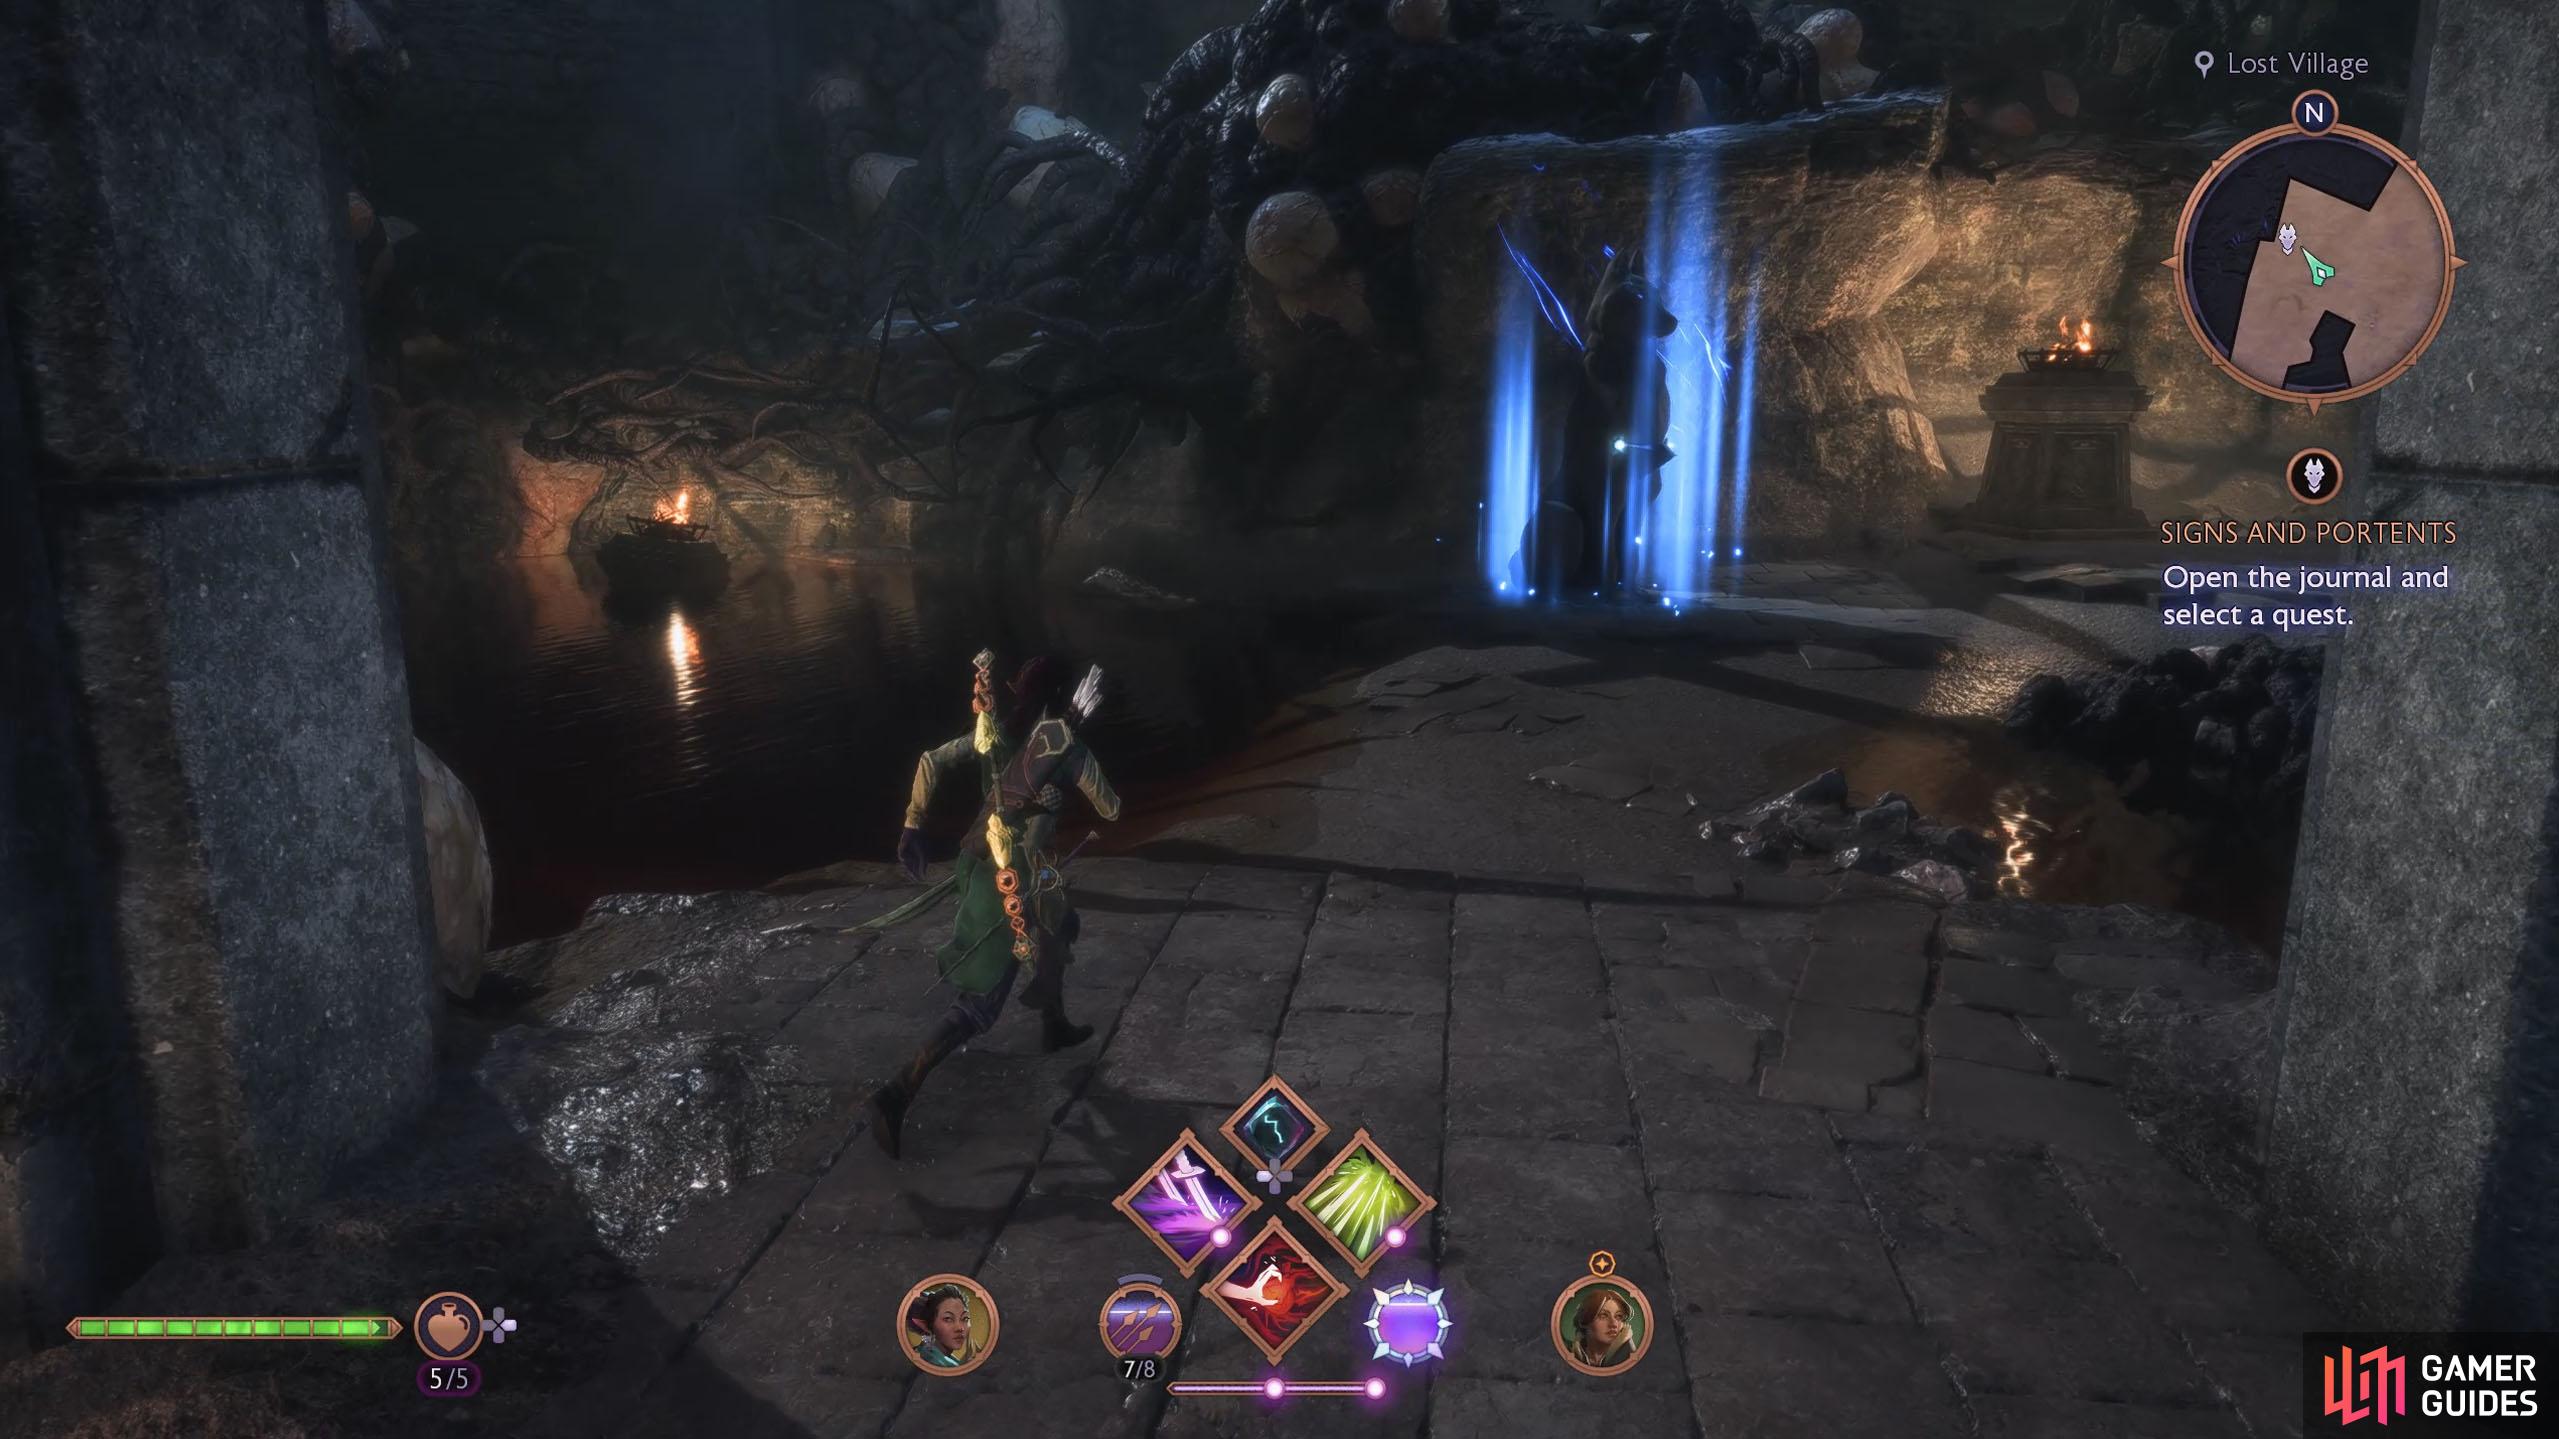
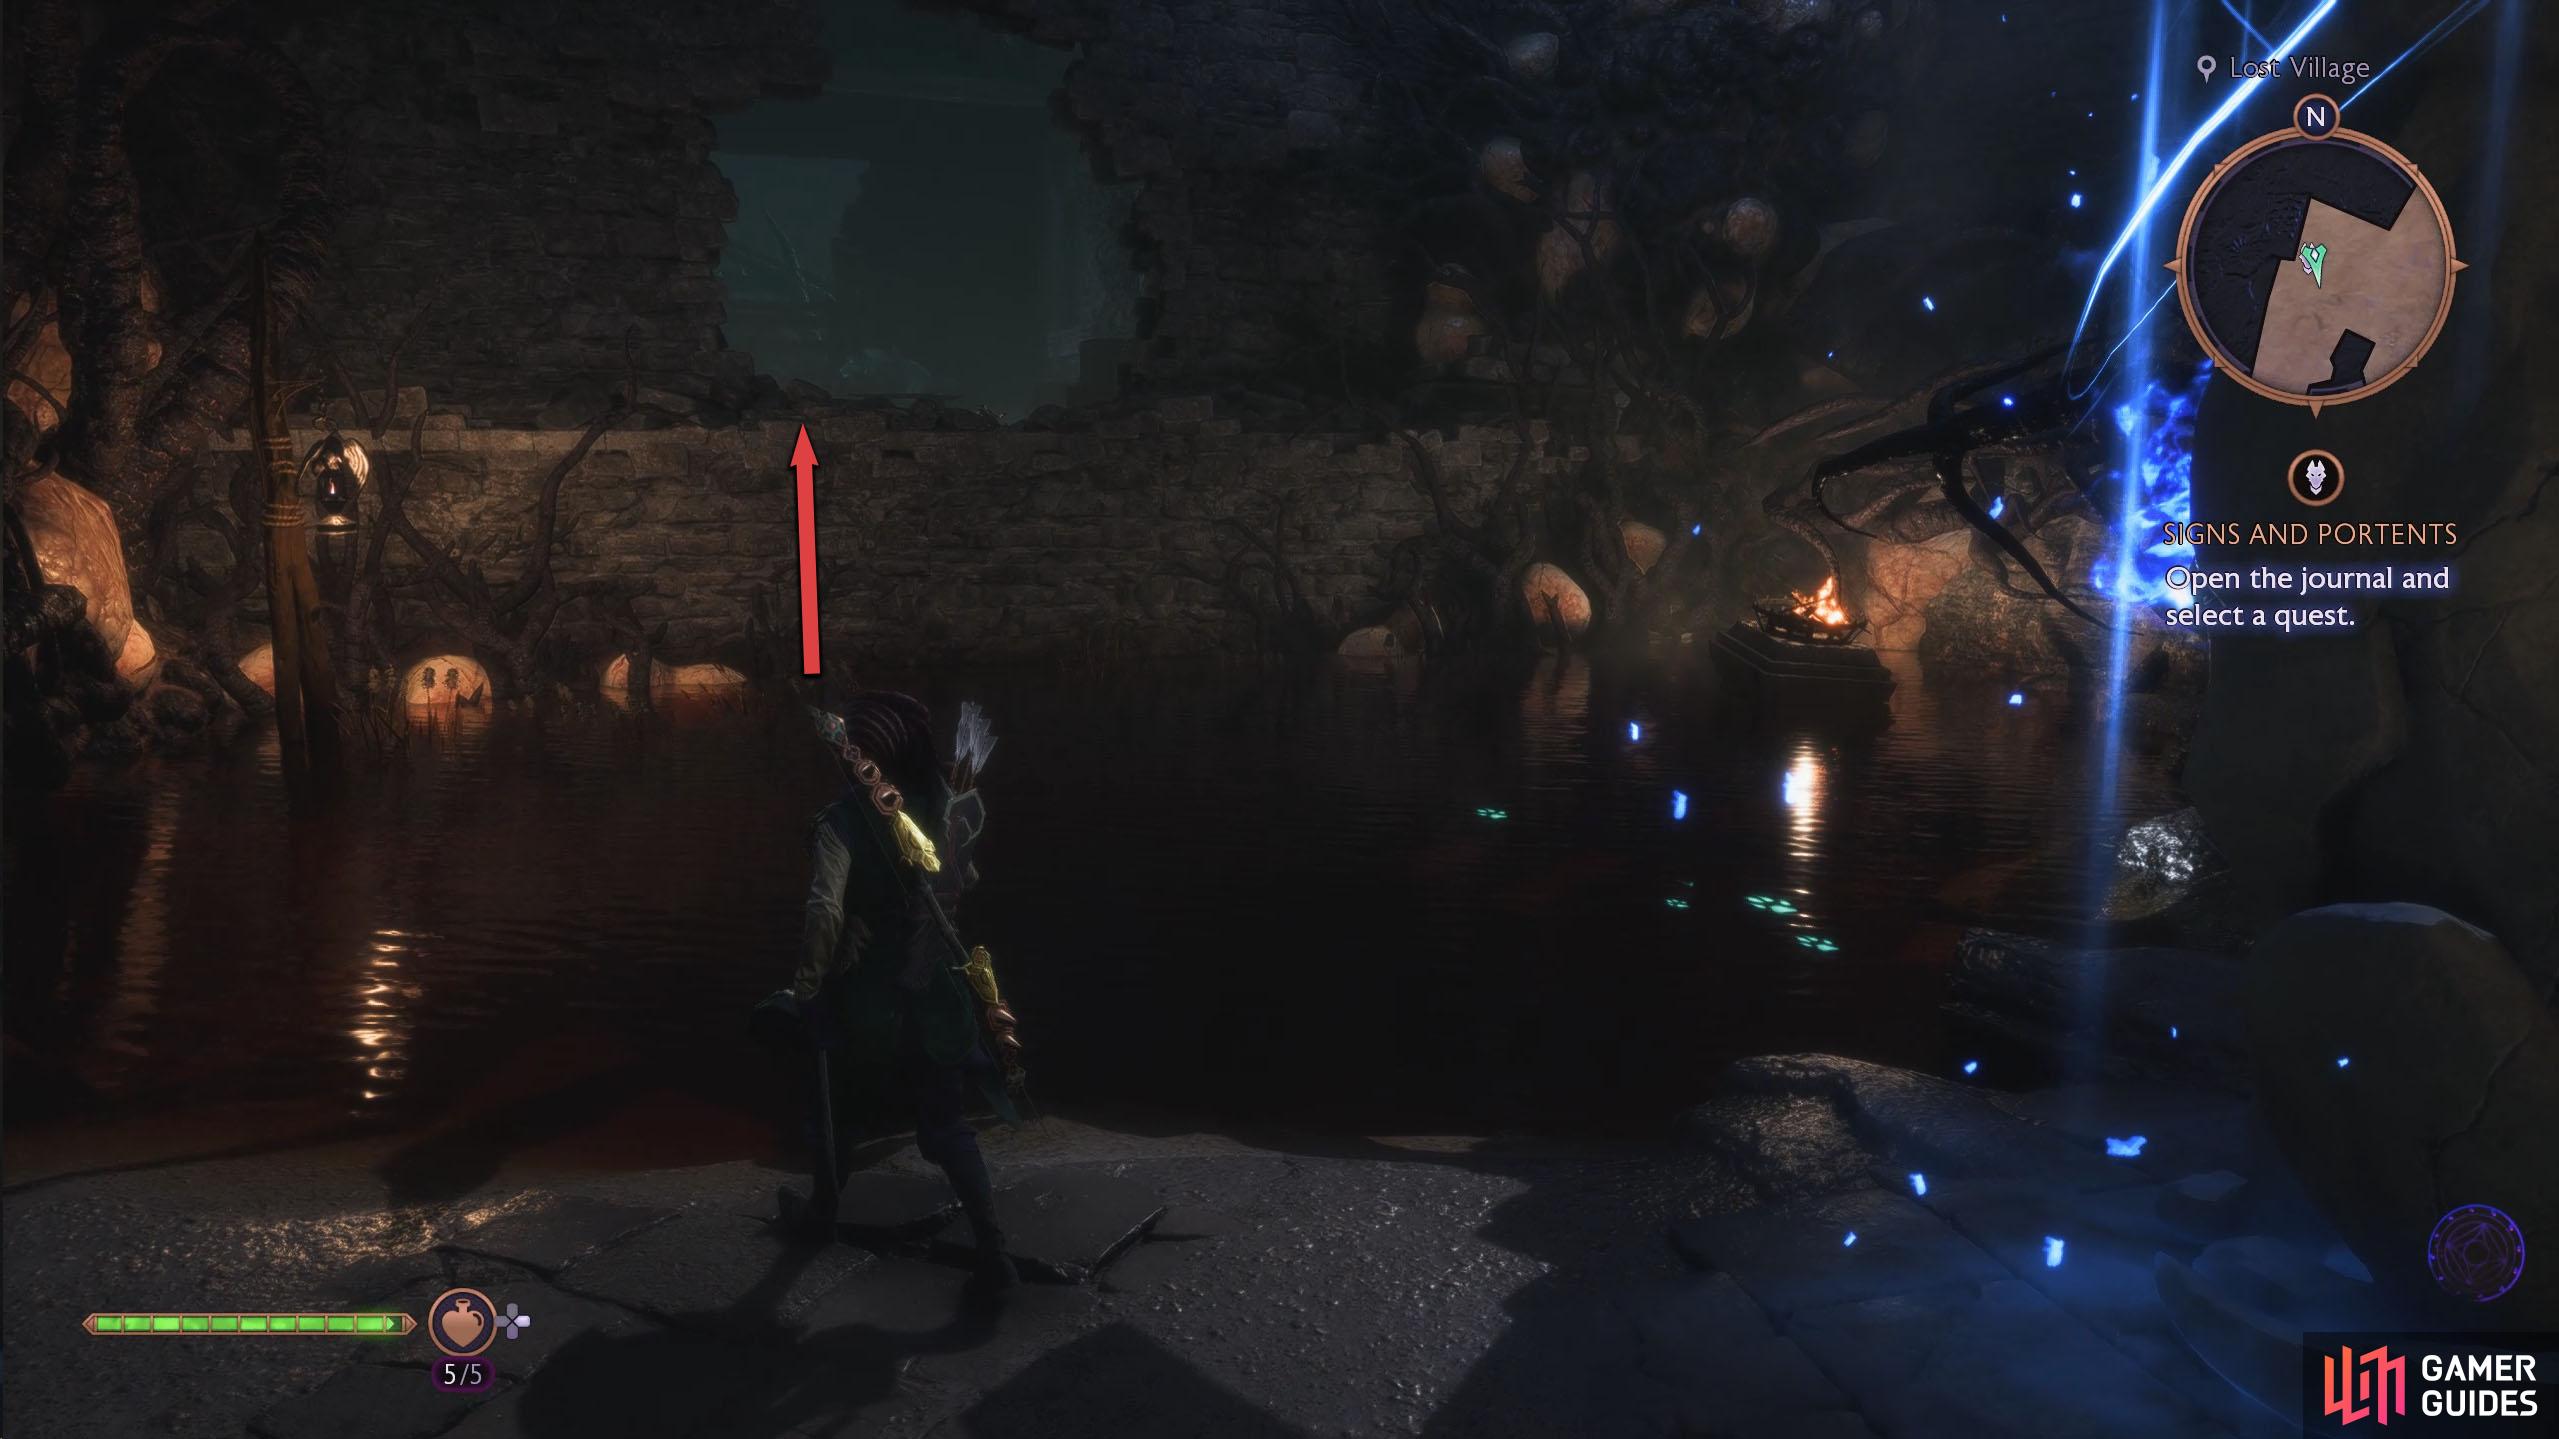
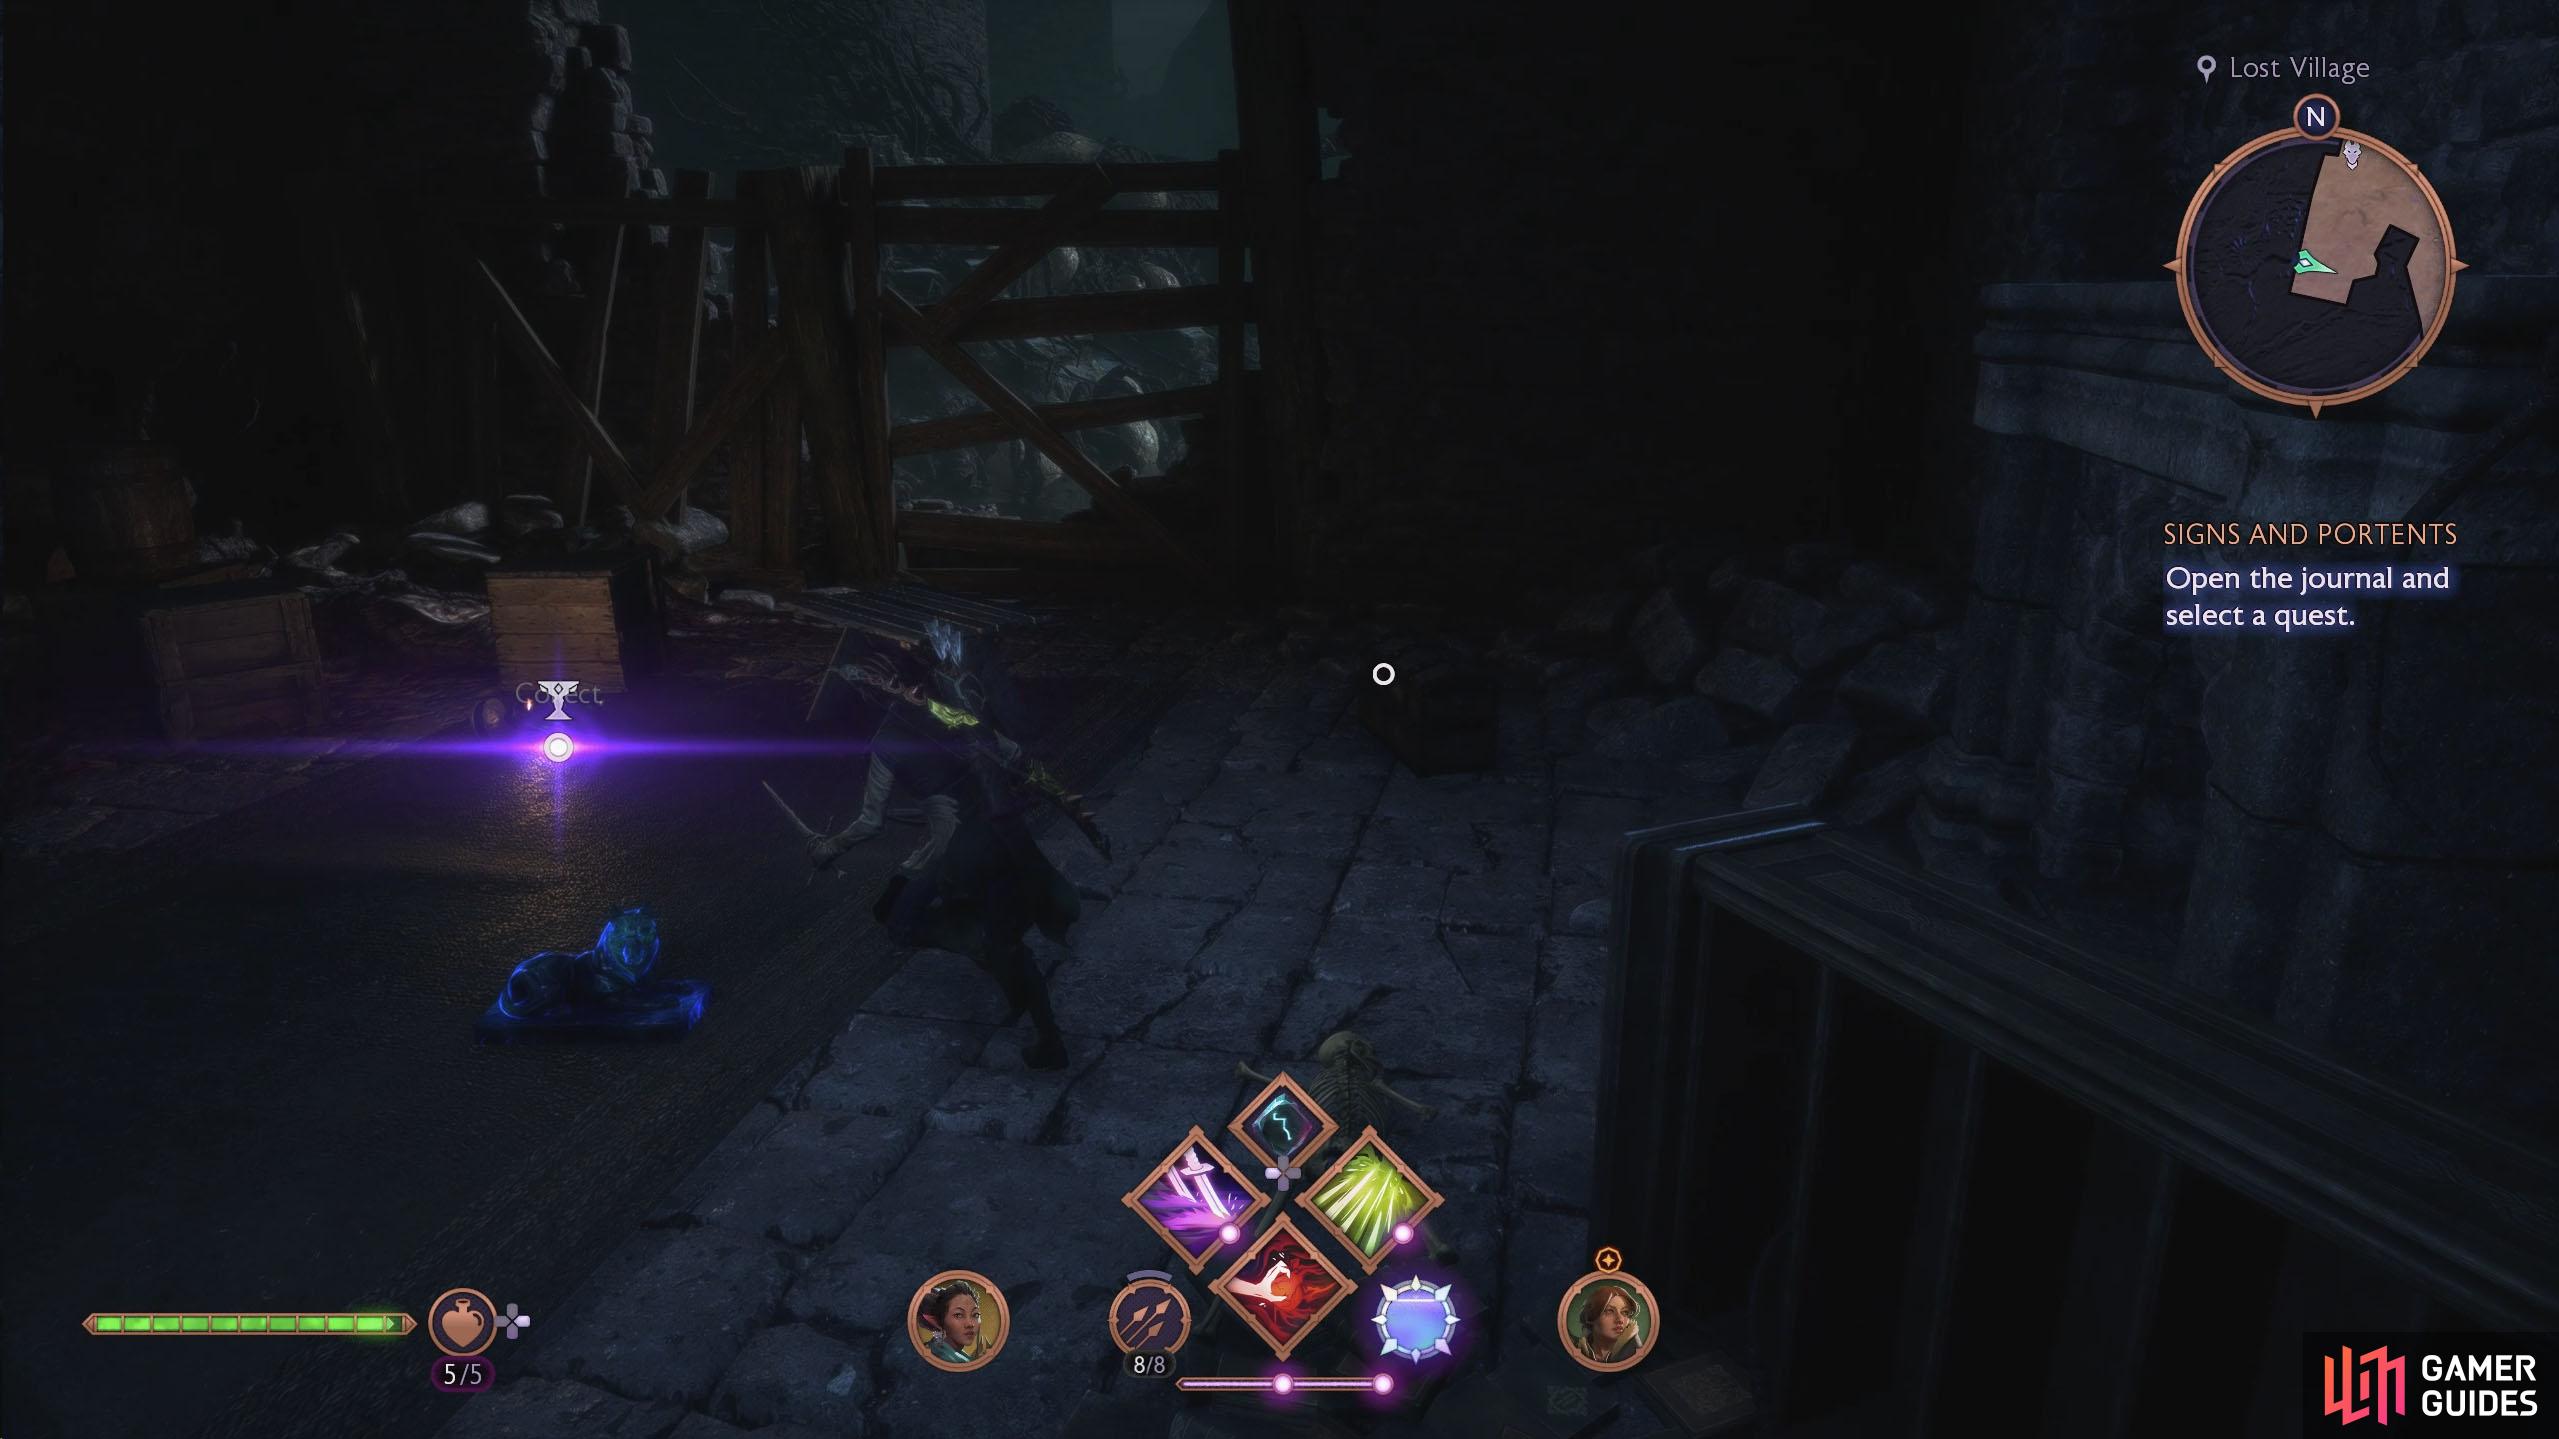
The Altar will be behind the Blight. Run through the shallow water south from the Altar (behind it) and jump up to grab the edge of the wall. You’ll find the statue in the center of the room.
(1 of 5) The Lost Village is situated in the west of Hossberg Wetlands, through Swamp Road.
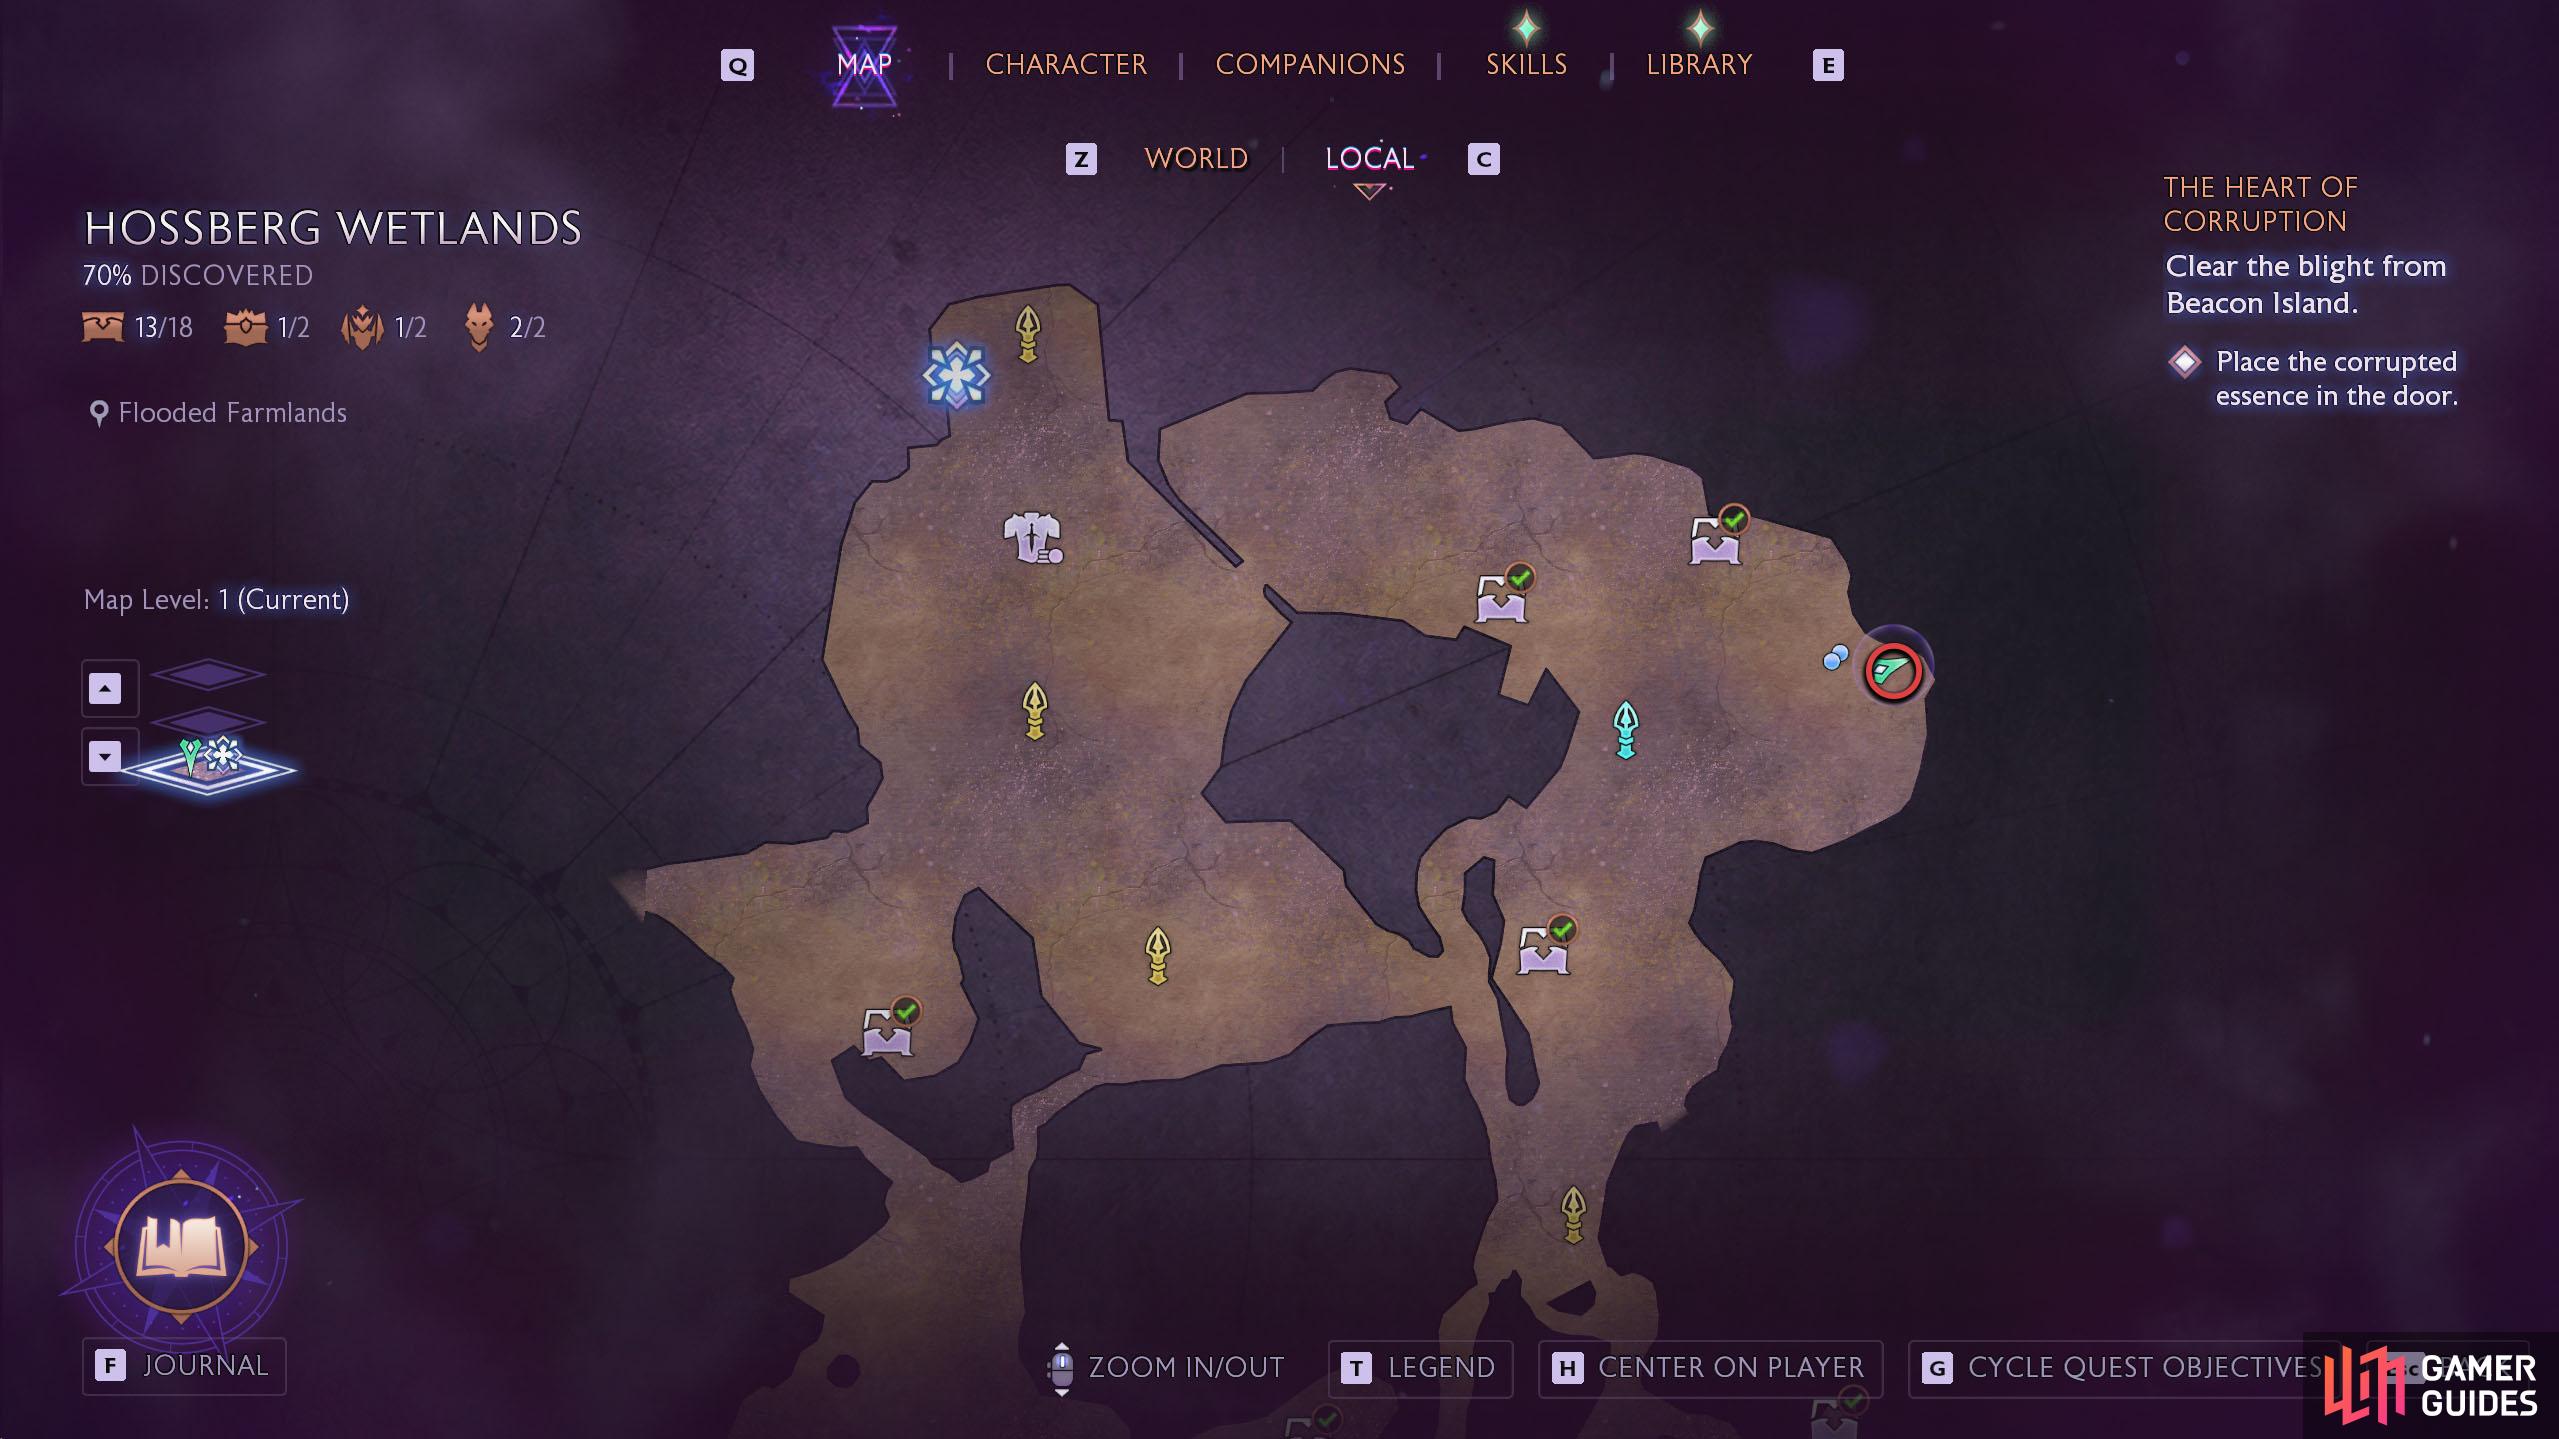
Hossberg Wetlands - Flooded Farmlands Altar
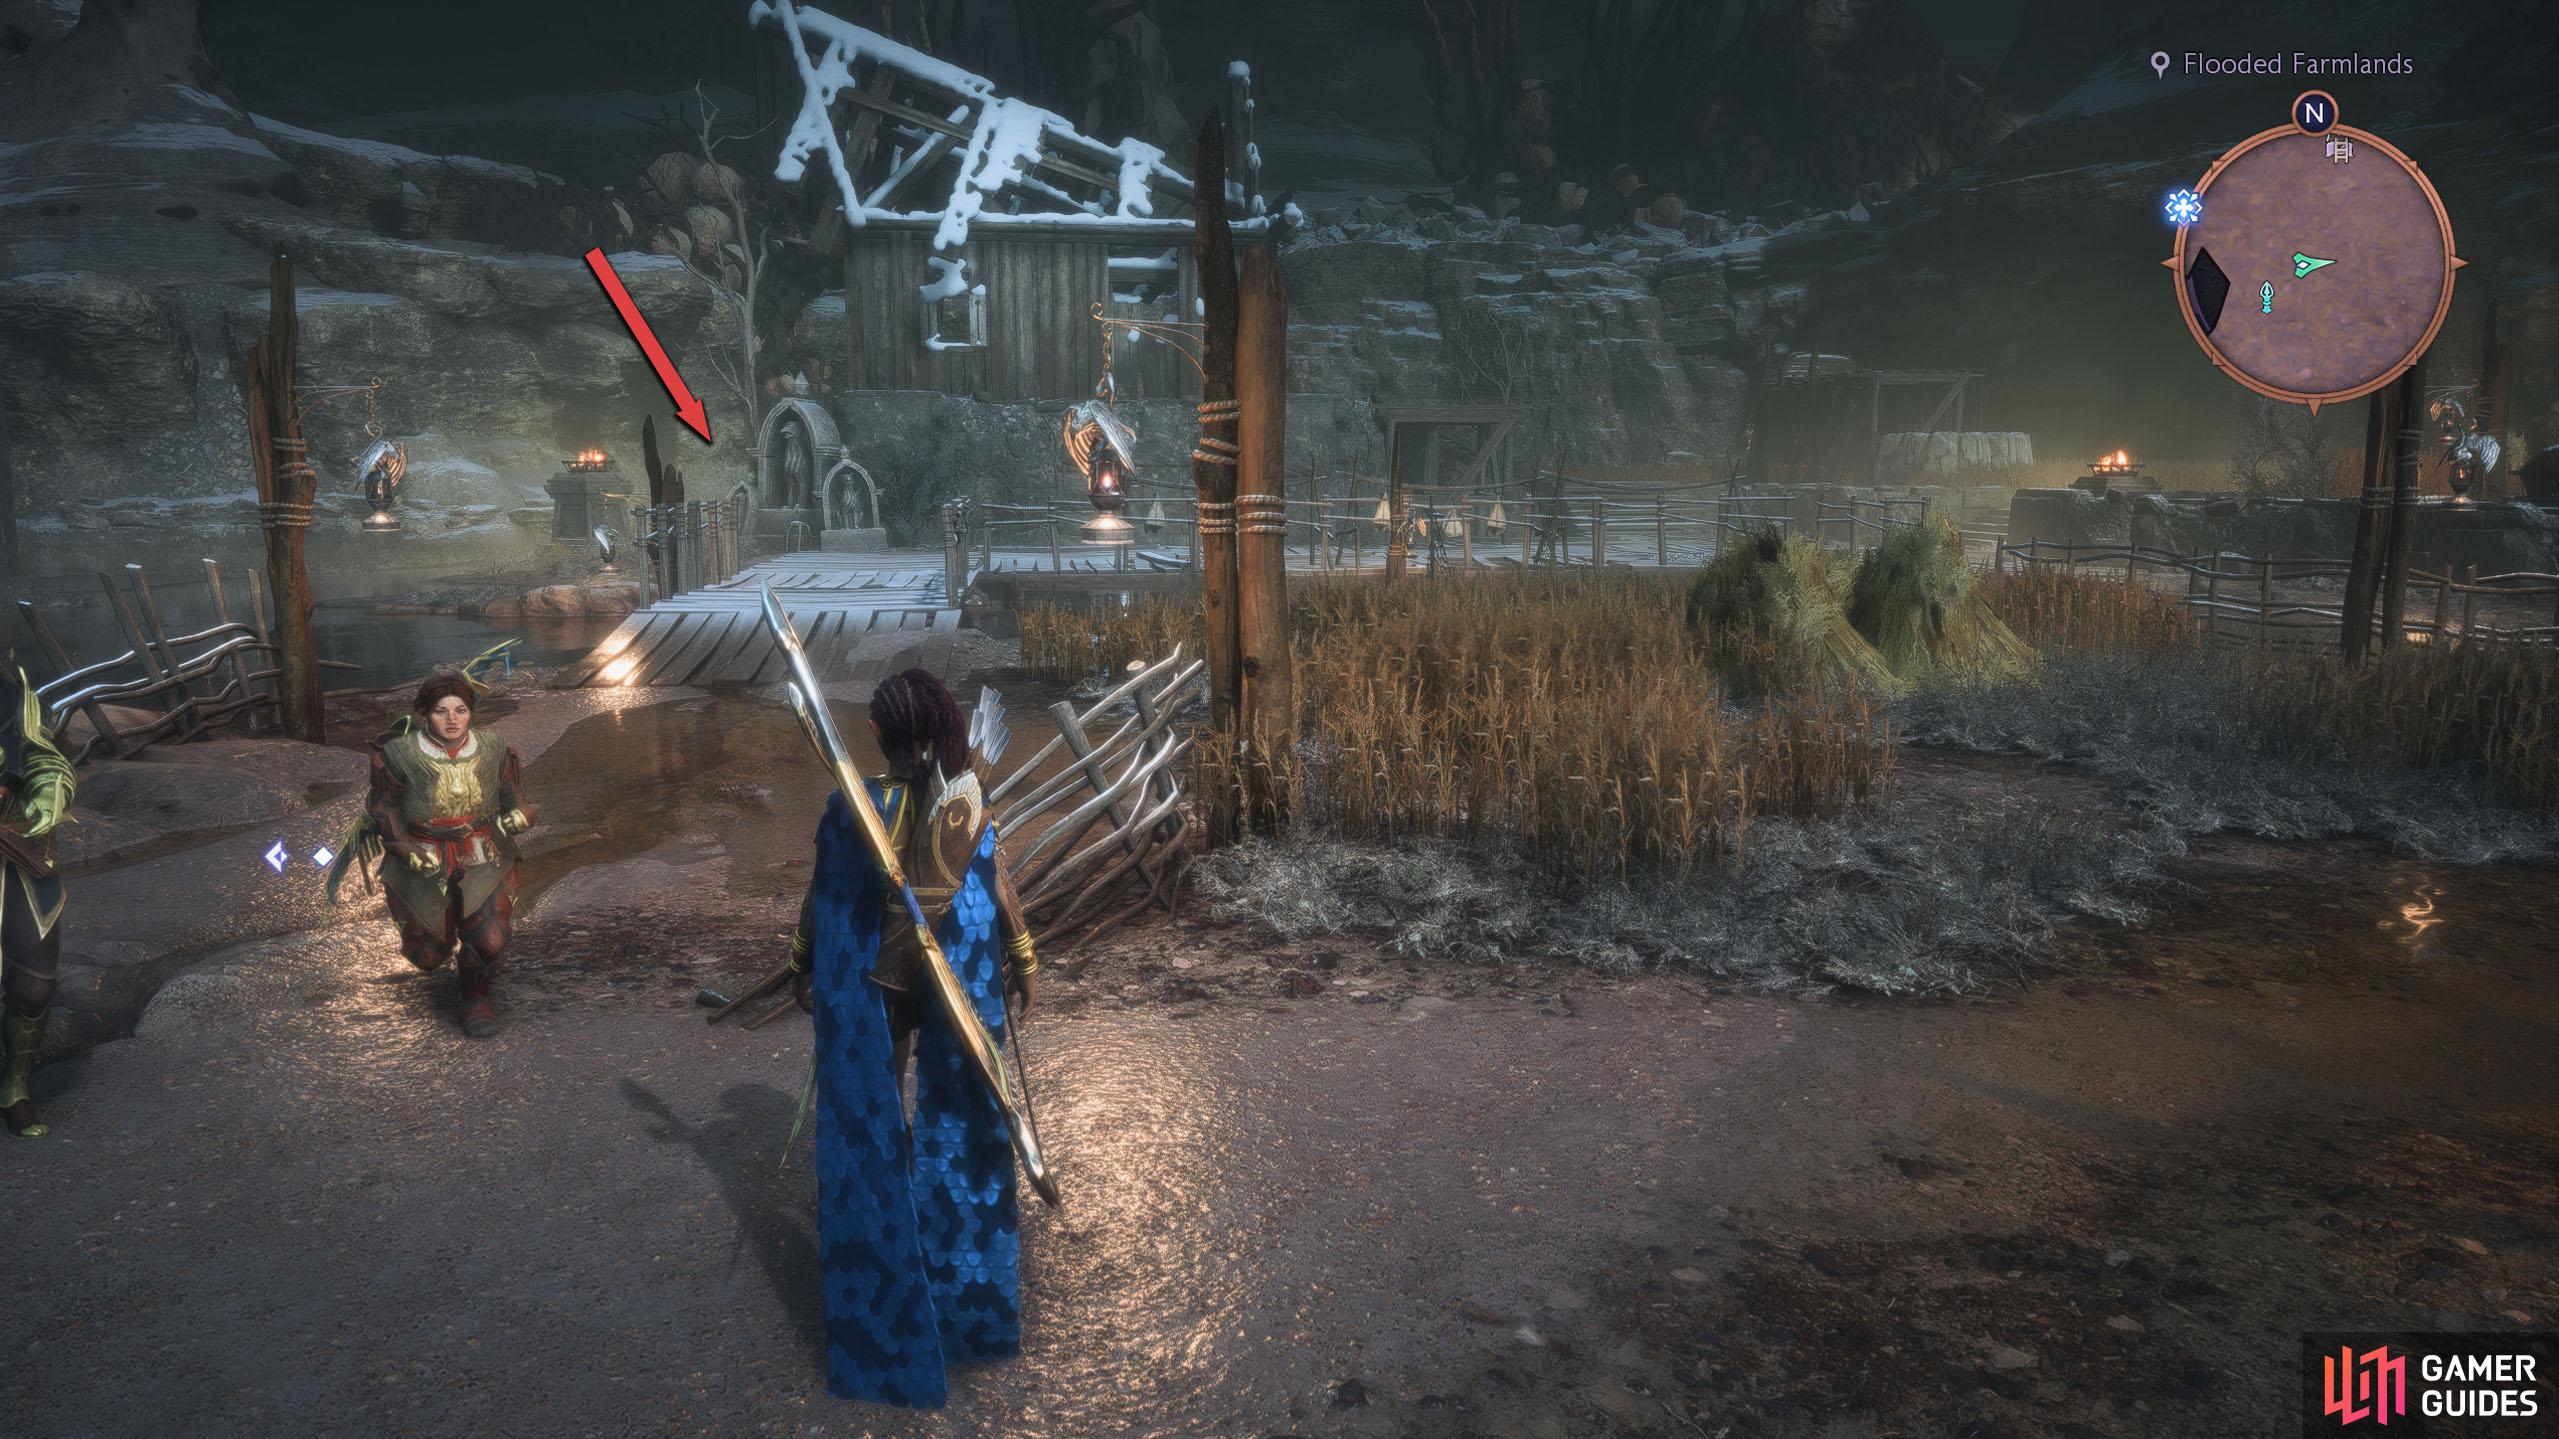
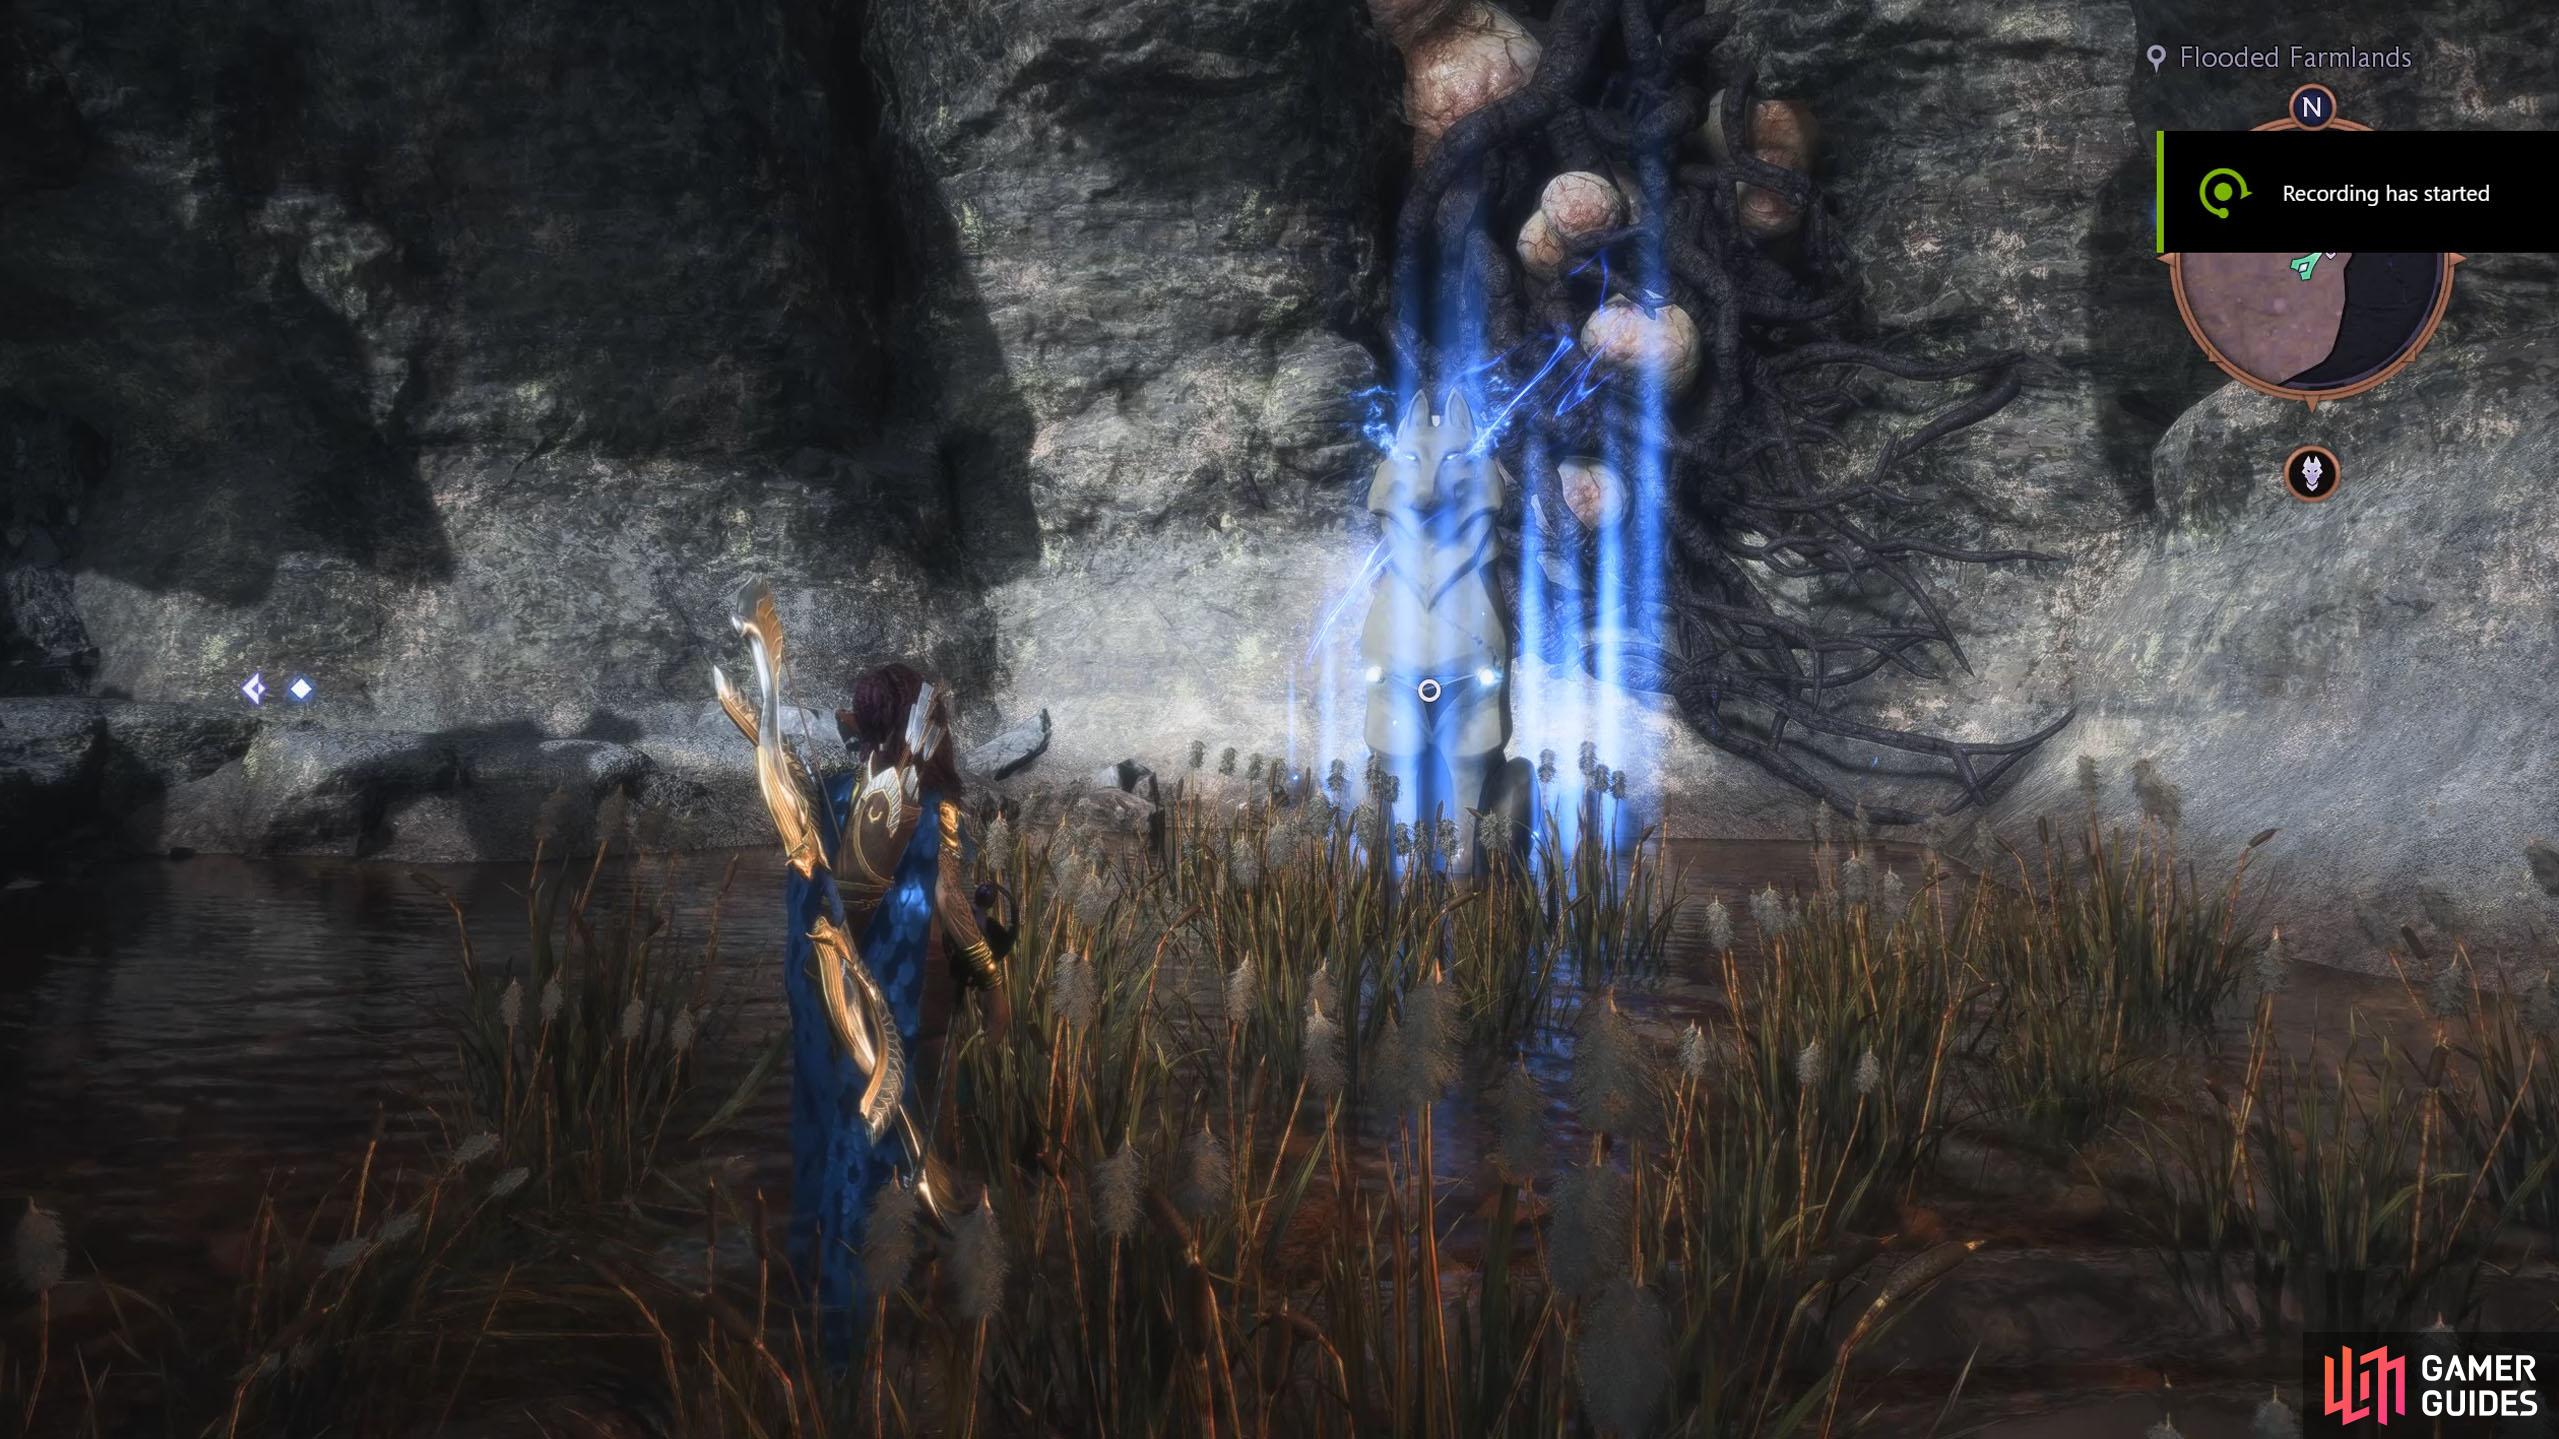
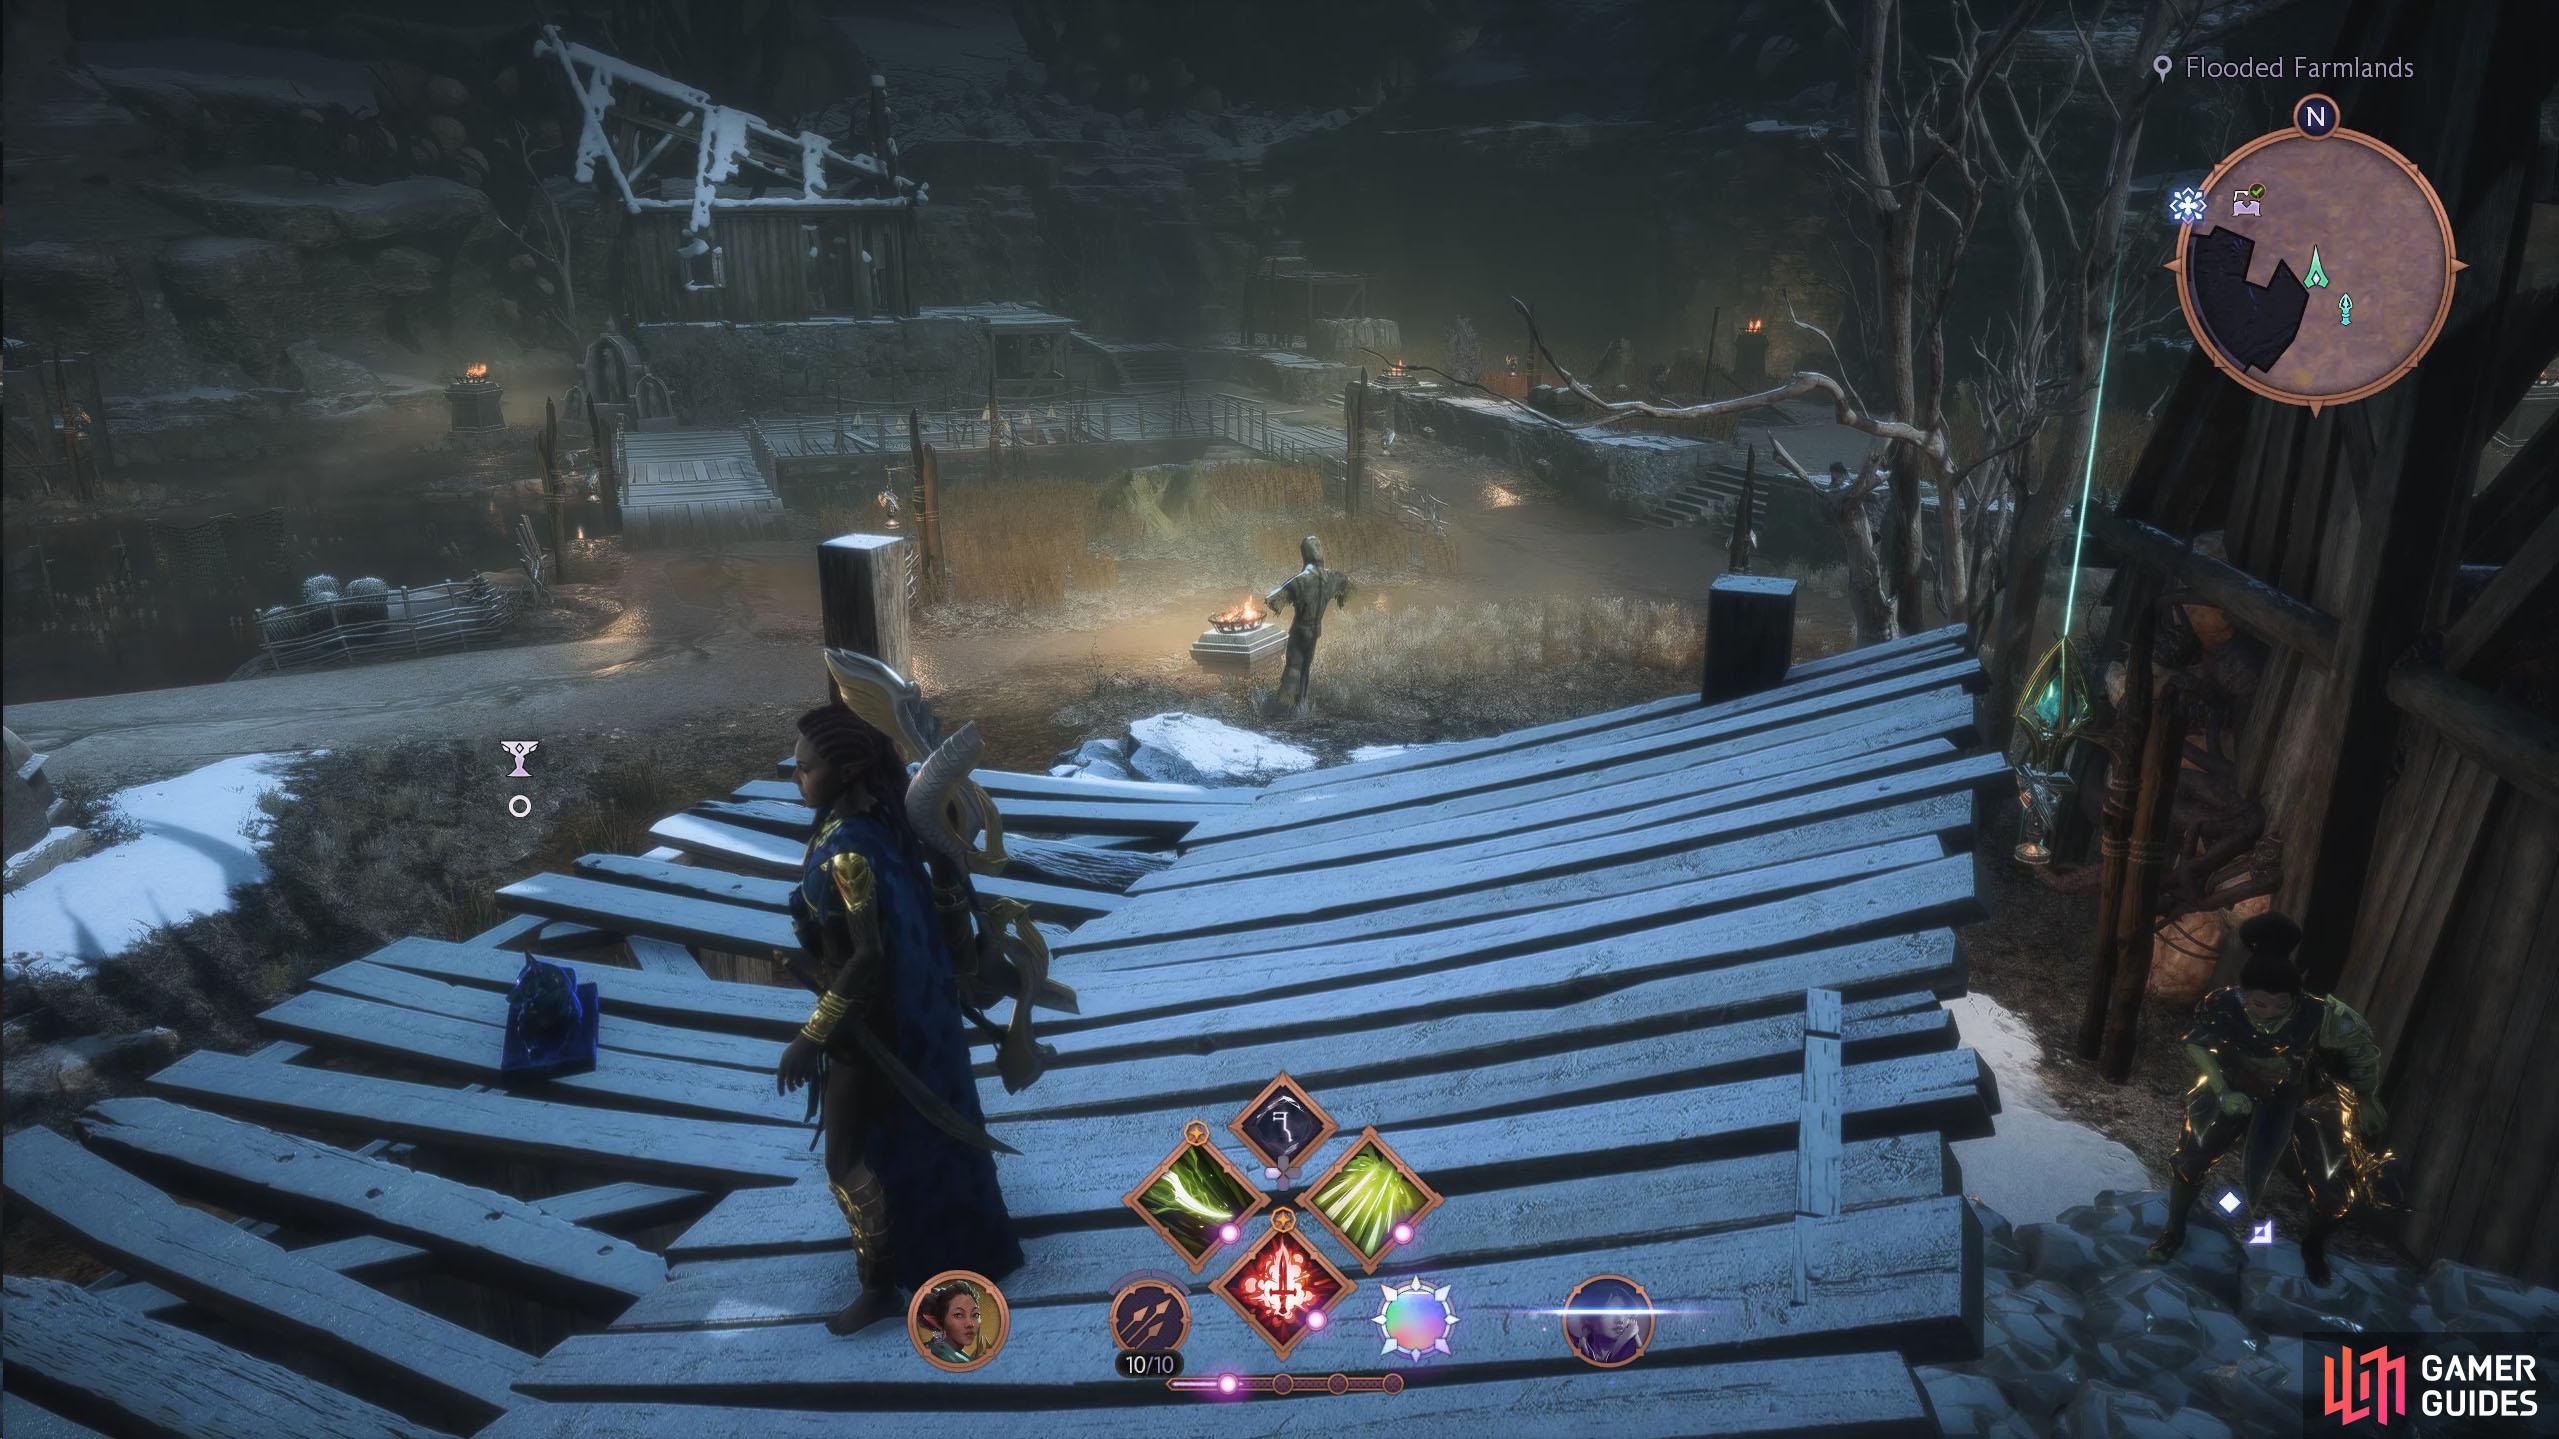
The Flooded Farmlands is situated in the northeast of Hossberg Wetlands. From the Fast Travel, head northeast until you reach a snow-covered building. You’ll find the Altar sitting behind it. Interact with the Altar and then head back to the Fast Travel to the west.
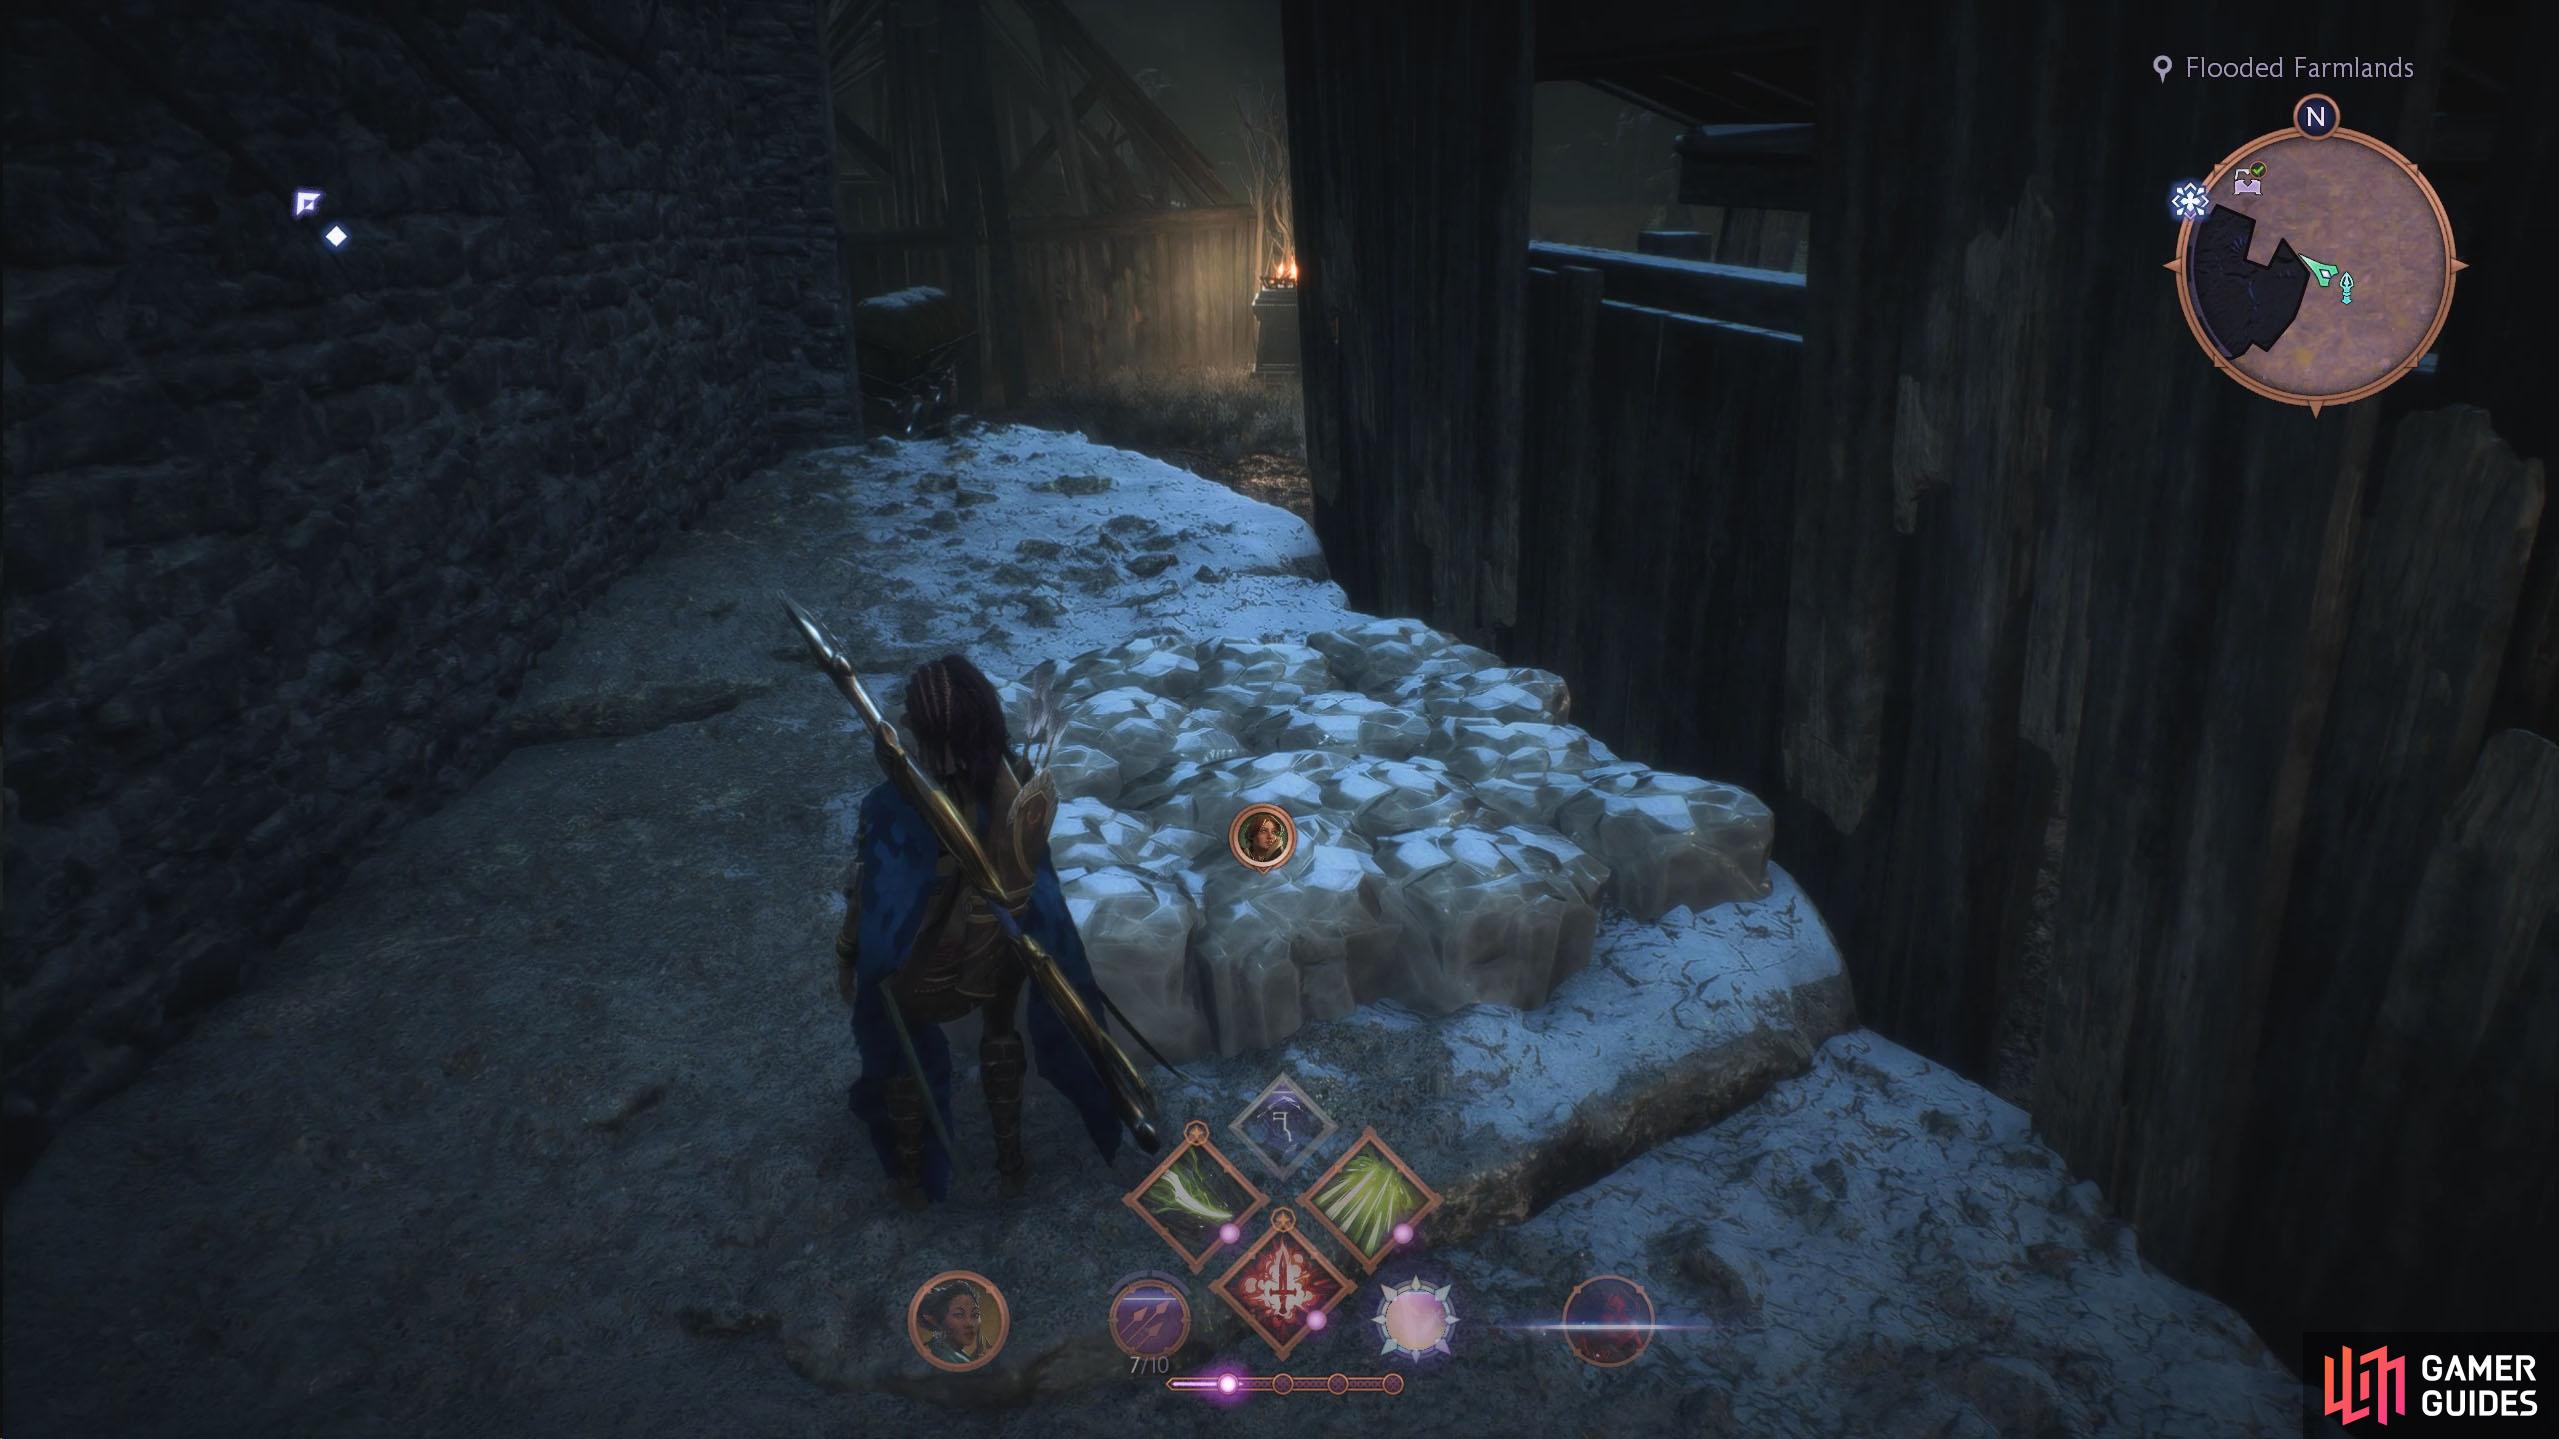
The statue is sitting atop the shack to the north of the beacon, but to get on top, you’ll need to use Harding’s power to raise the stone block behind it. If you can’t activate the stone block, make sure you’re not in combat.
Dock Town - The Seclusion Altar
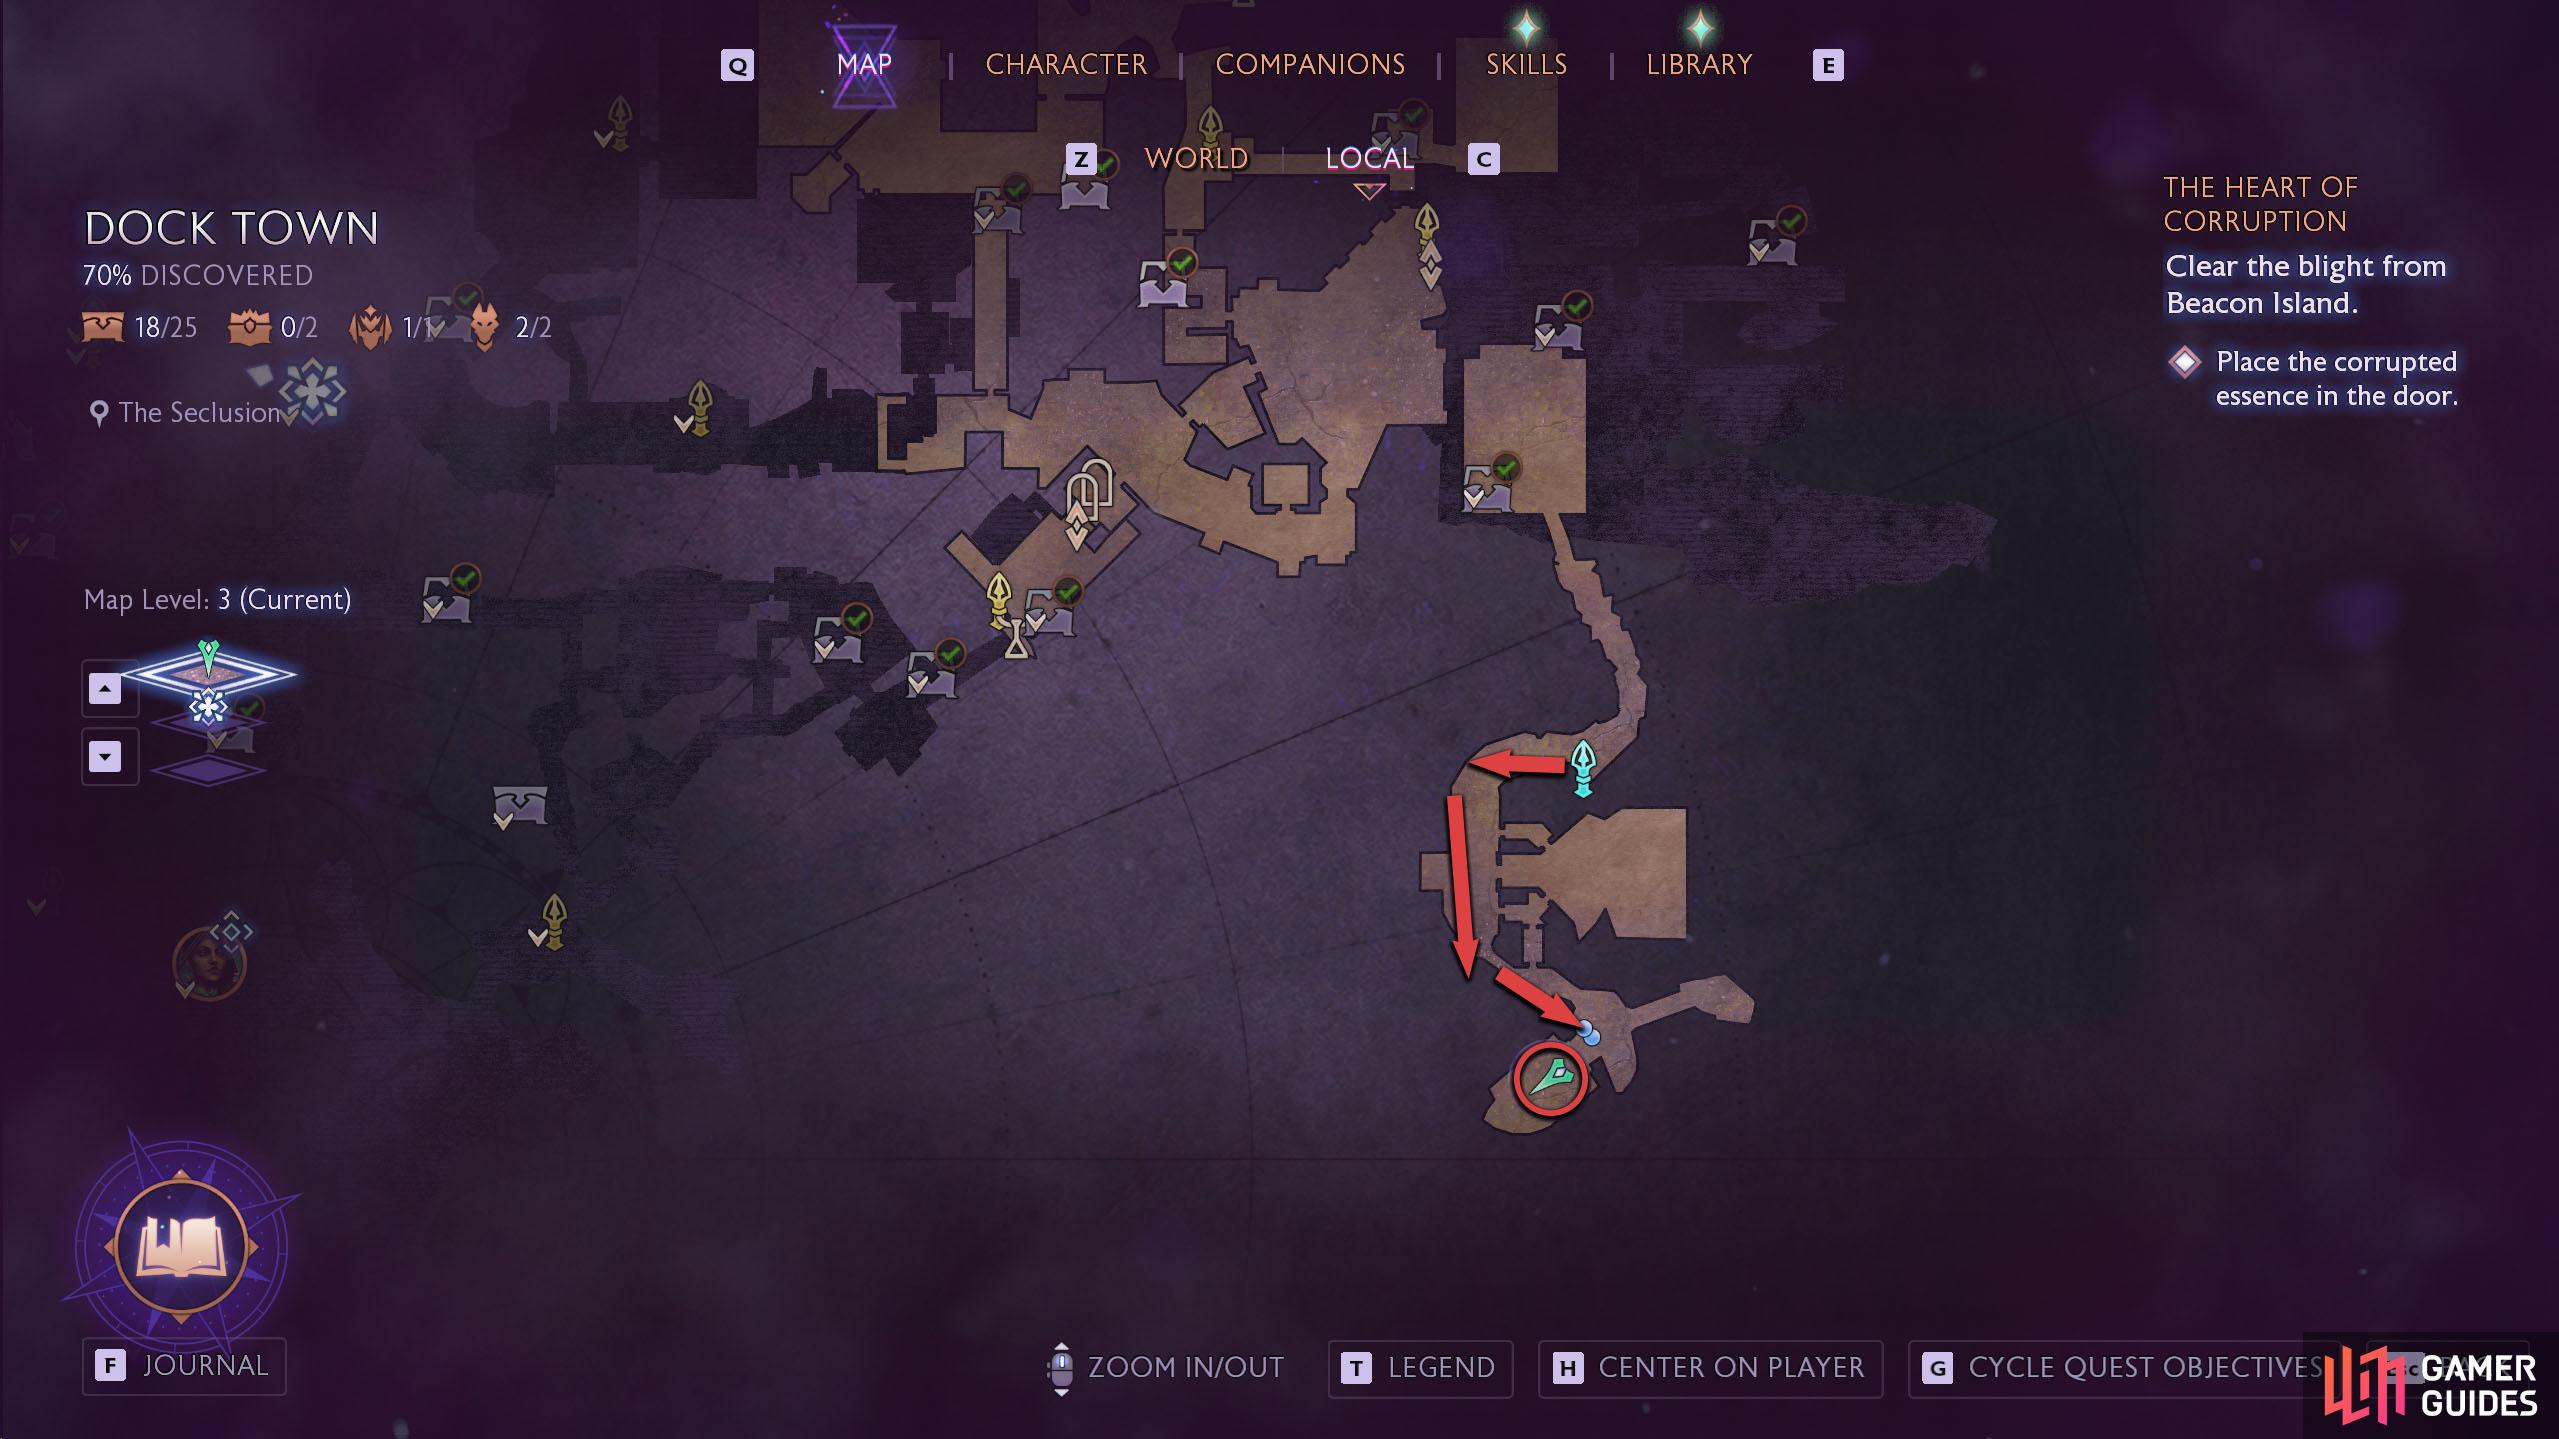
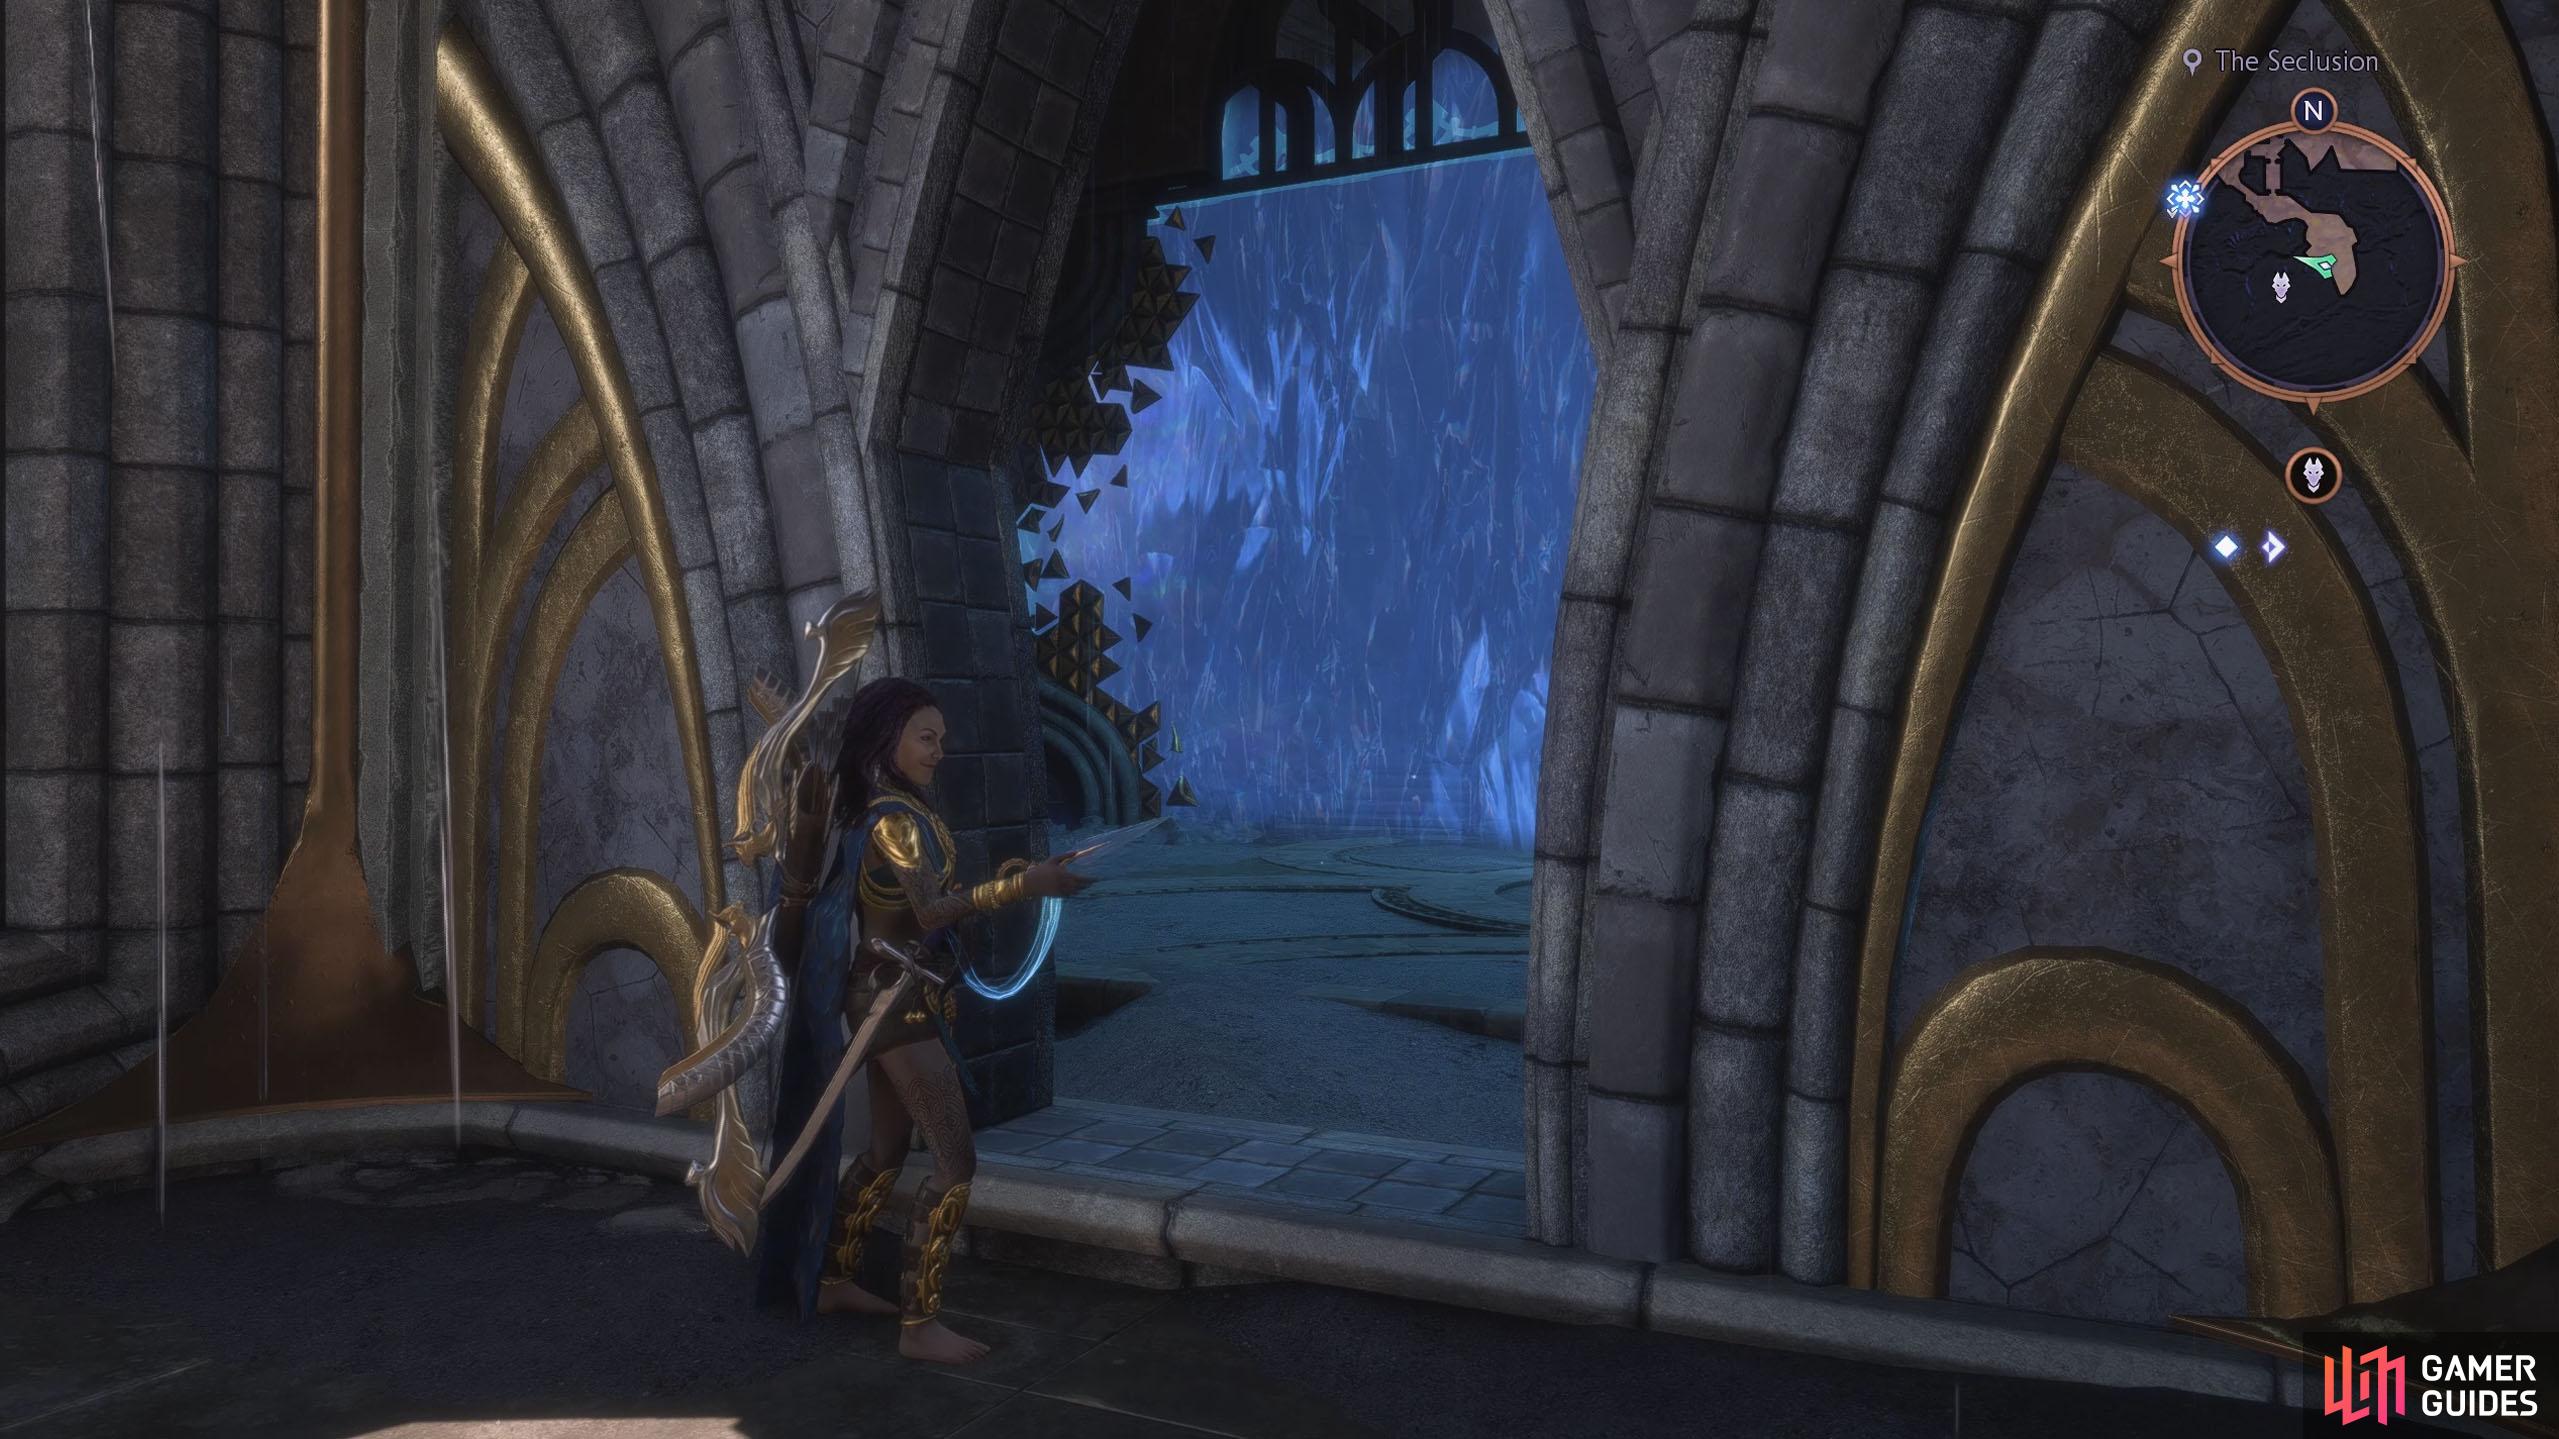
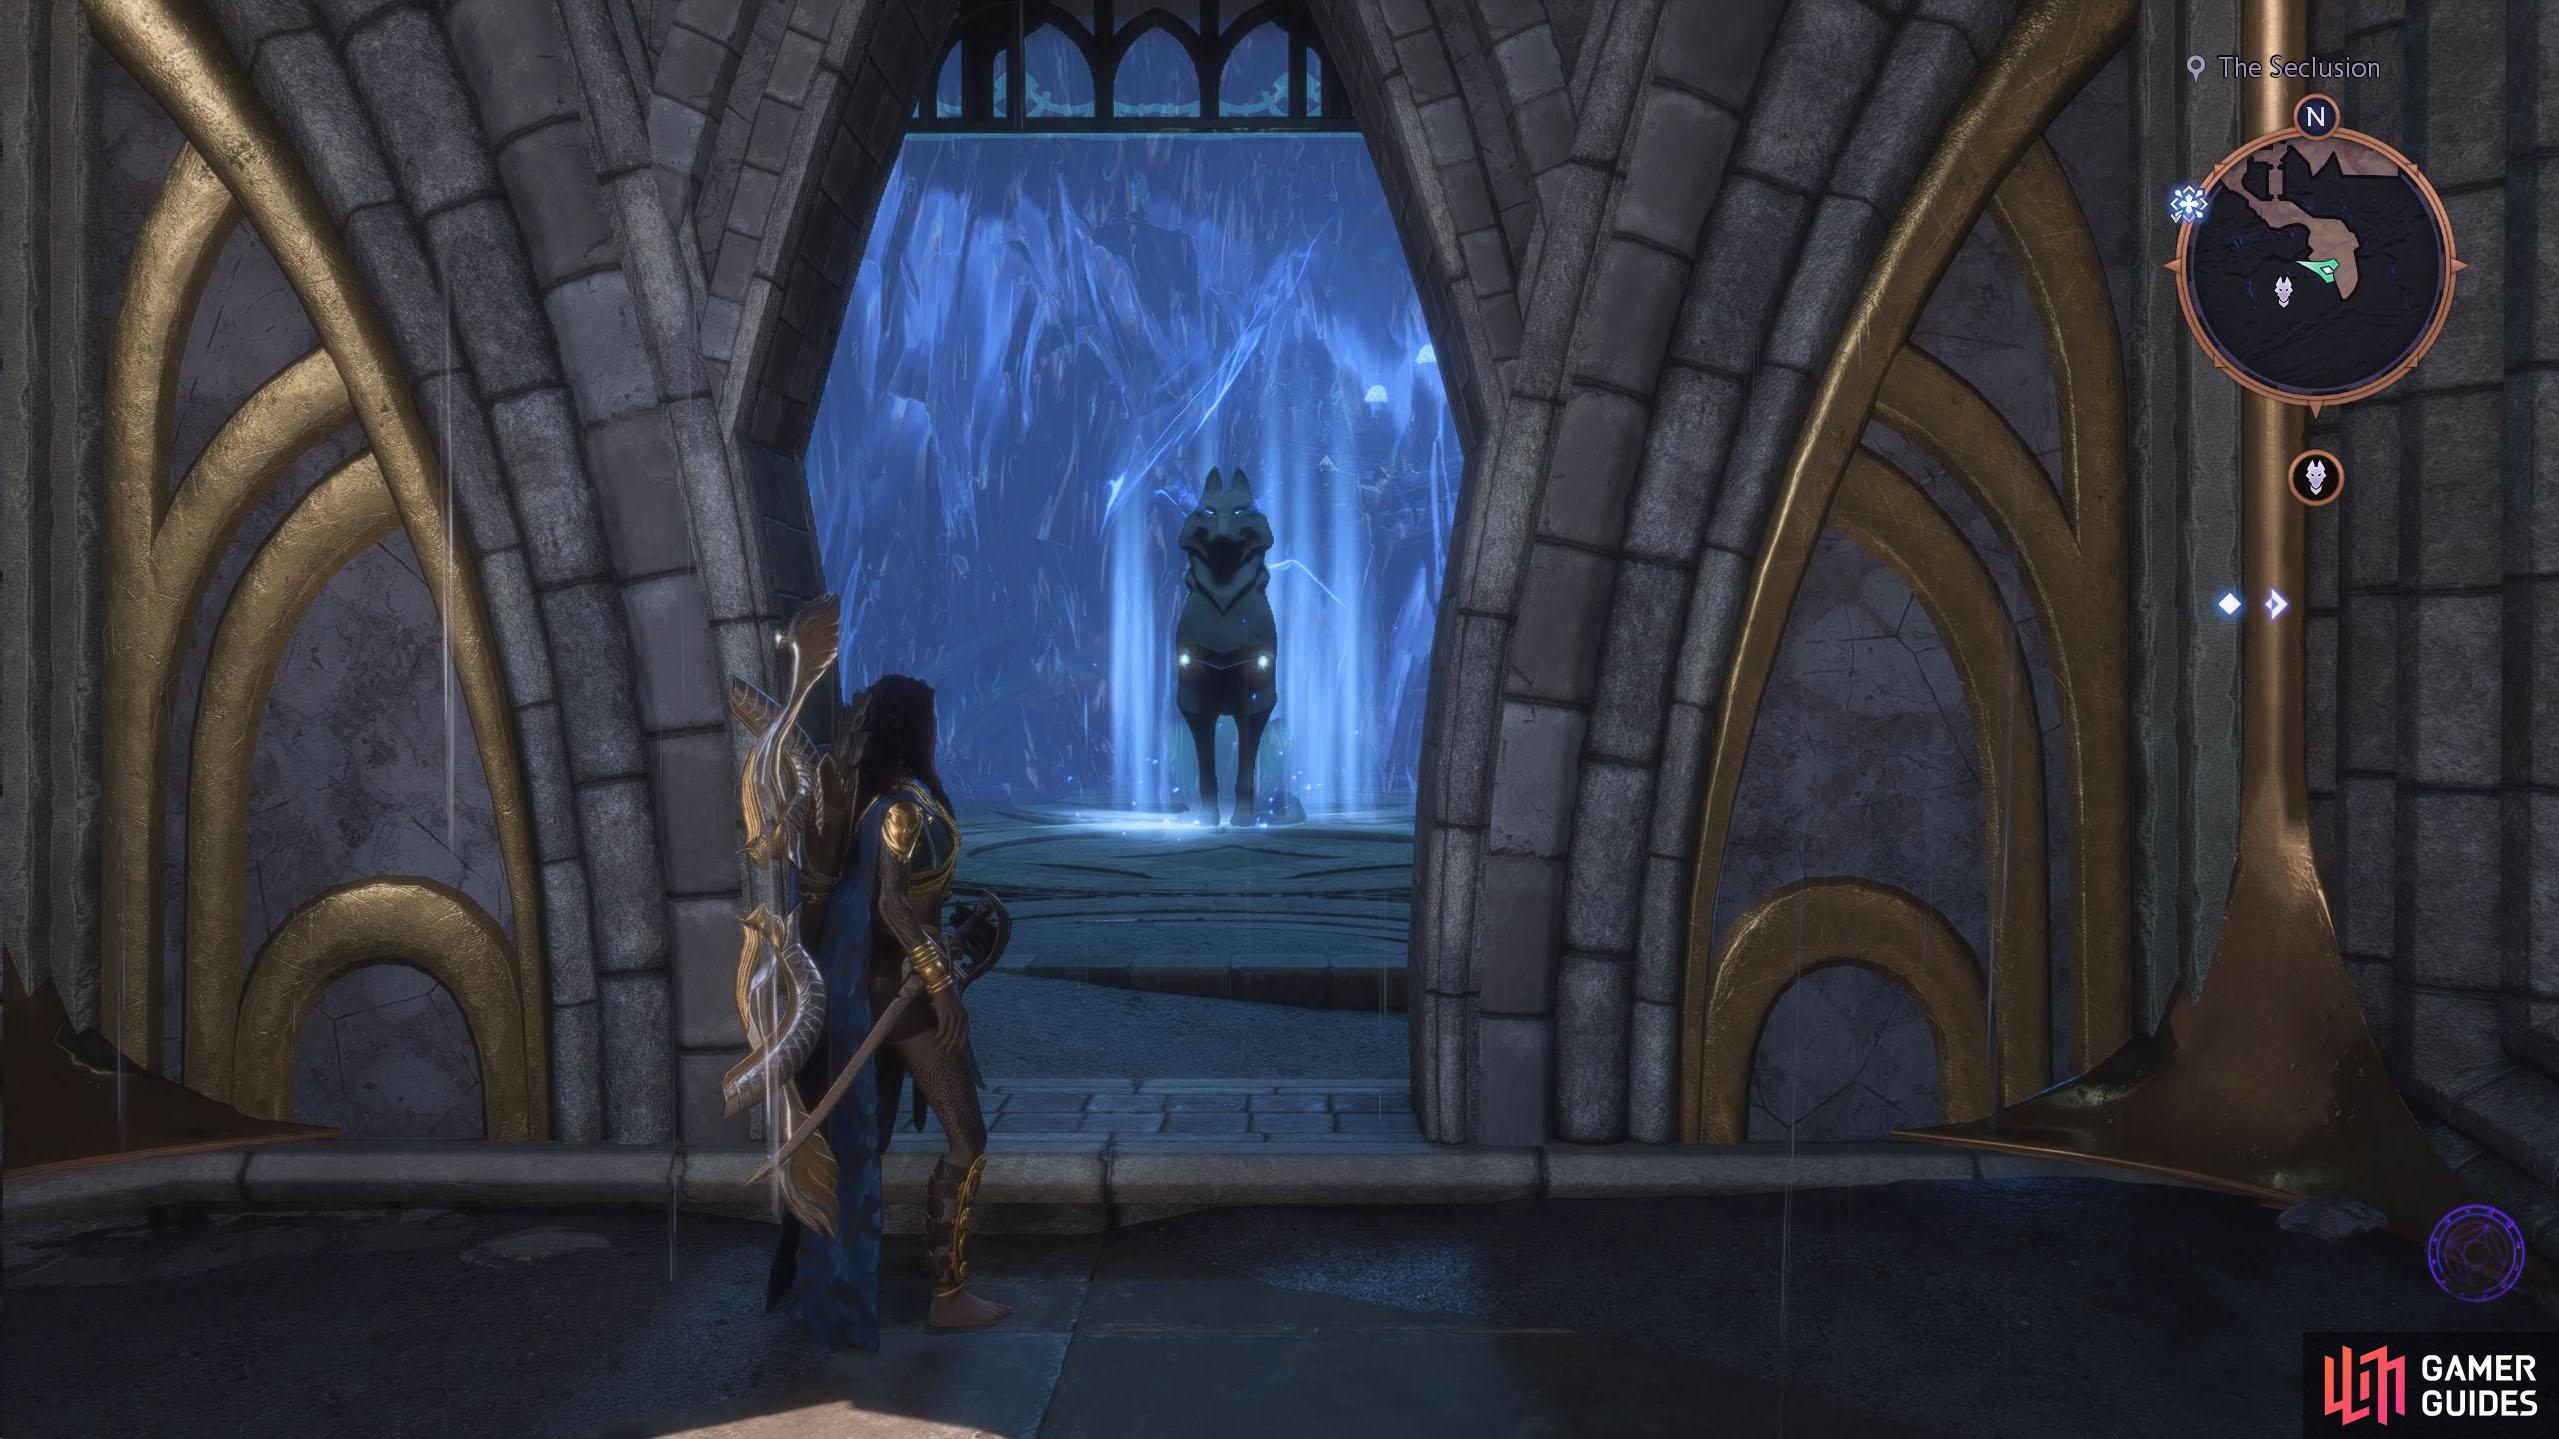
This Altar is behind the door where you fought the magister in the Shadows of Minathrous quest. Fast Travel to The Spillway Beacon and follow the winding path south until you reach the large door by the waterfalls. Walk up to the door and interact with it and your blade will open it up. Directly in front of you is the Altar.
(1 of 4) The Seclusion can be reached by heading south from The Spillway Fast Travel in the southeast of Dock Town.
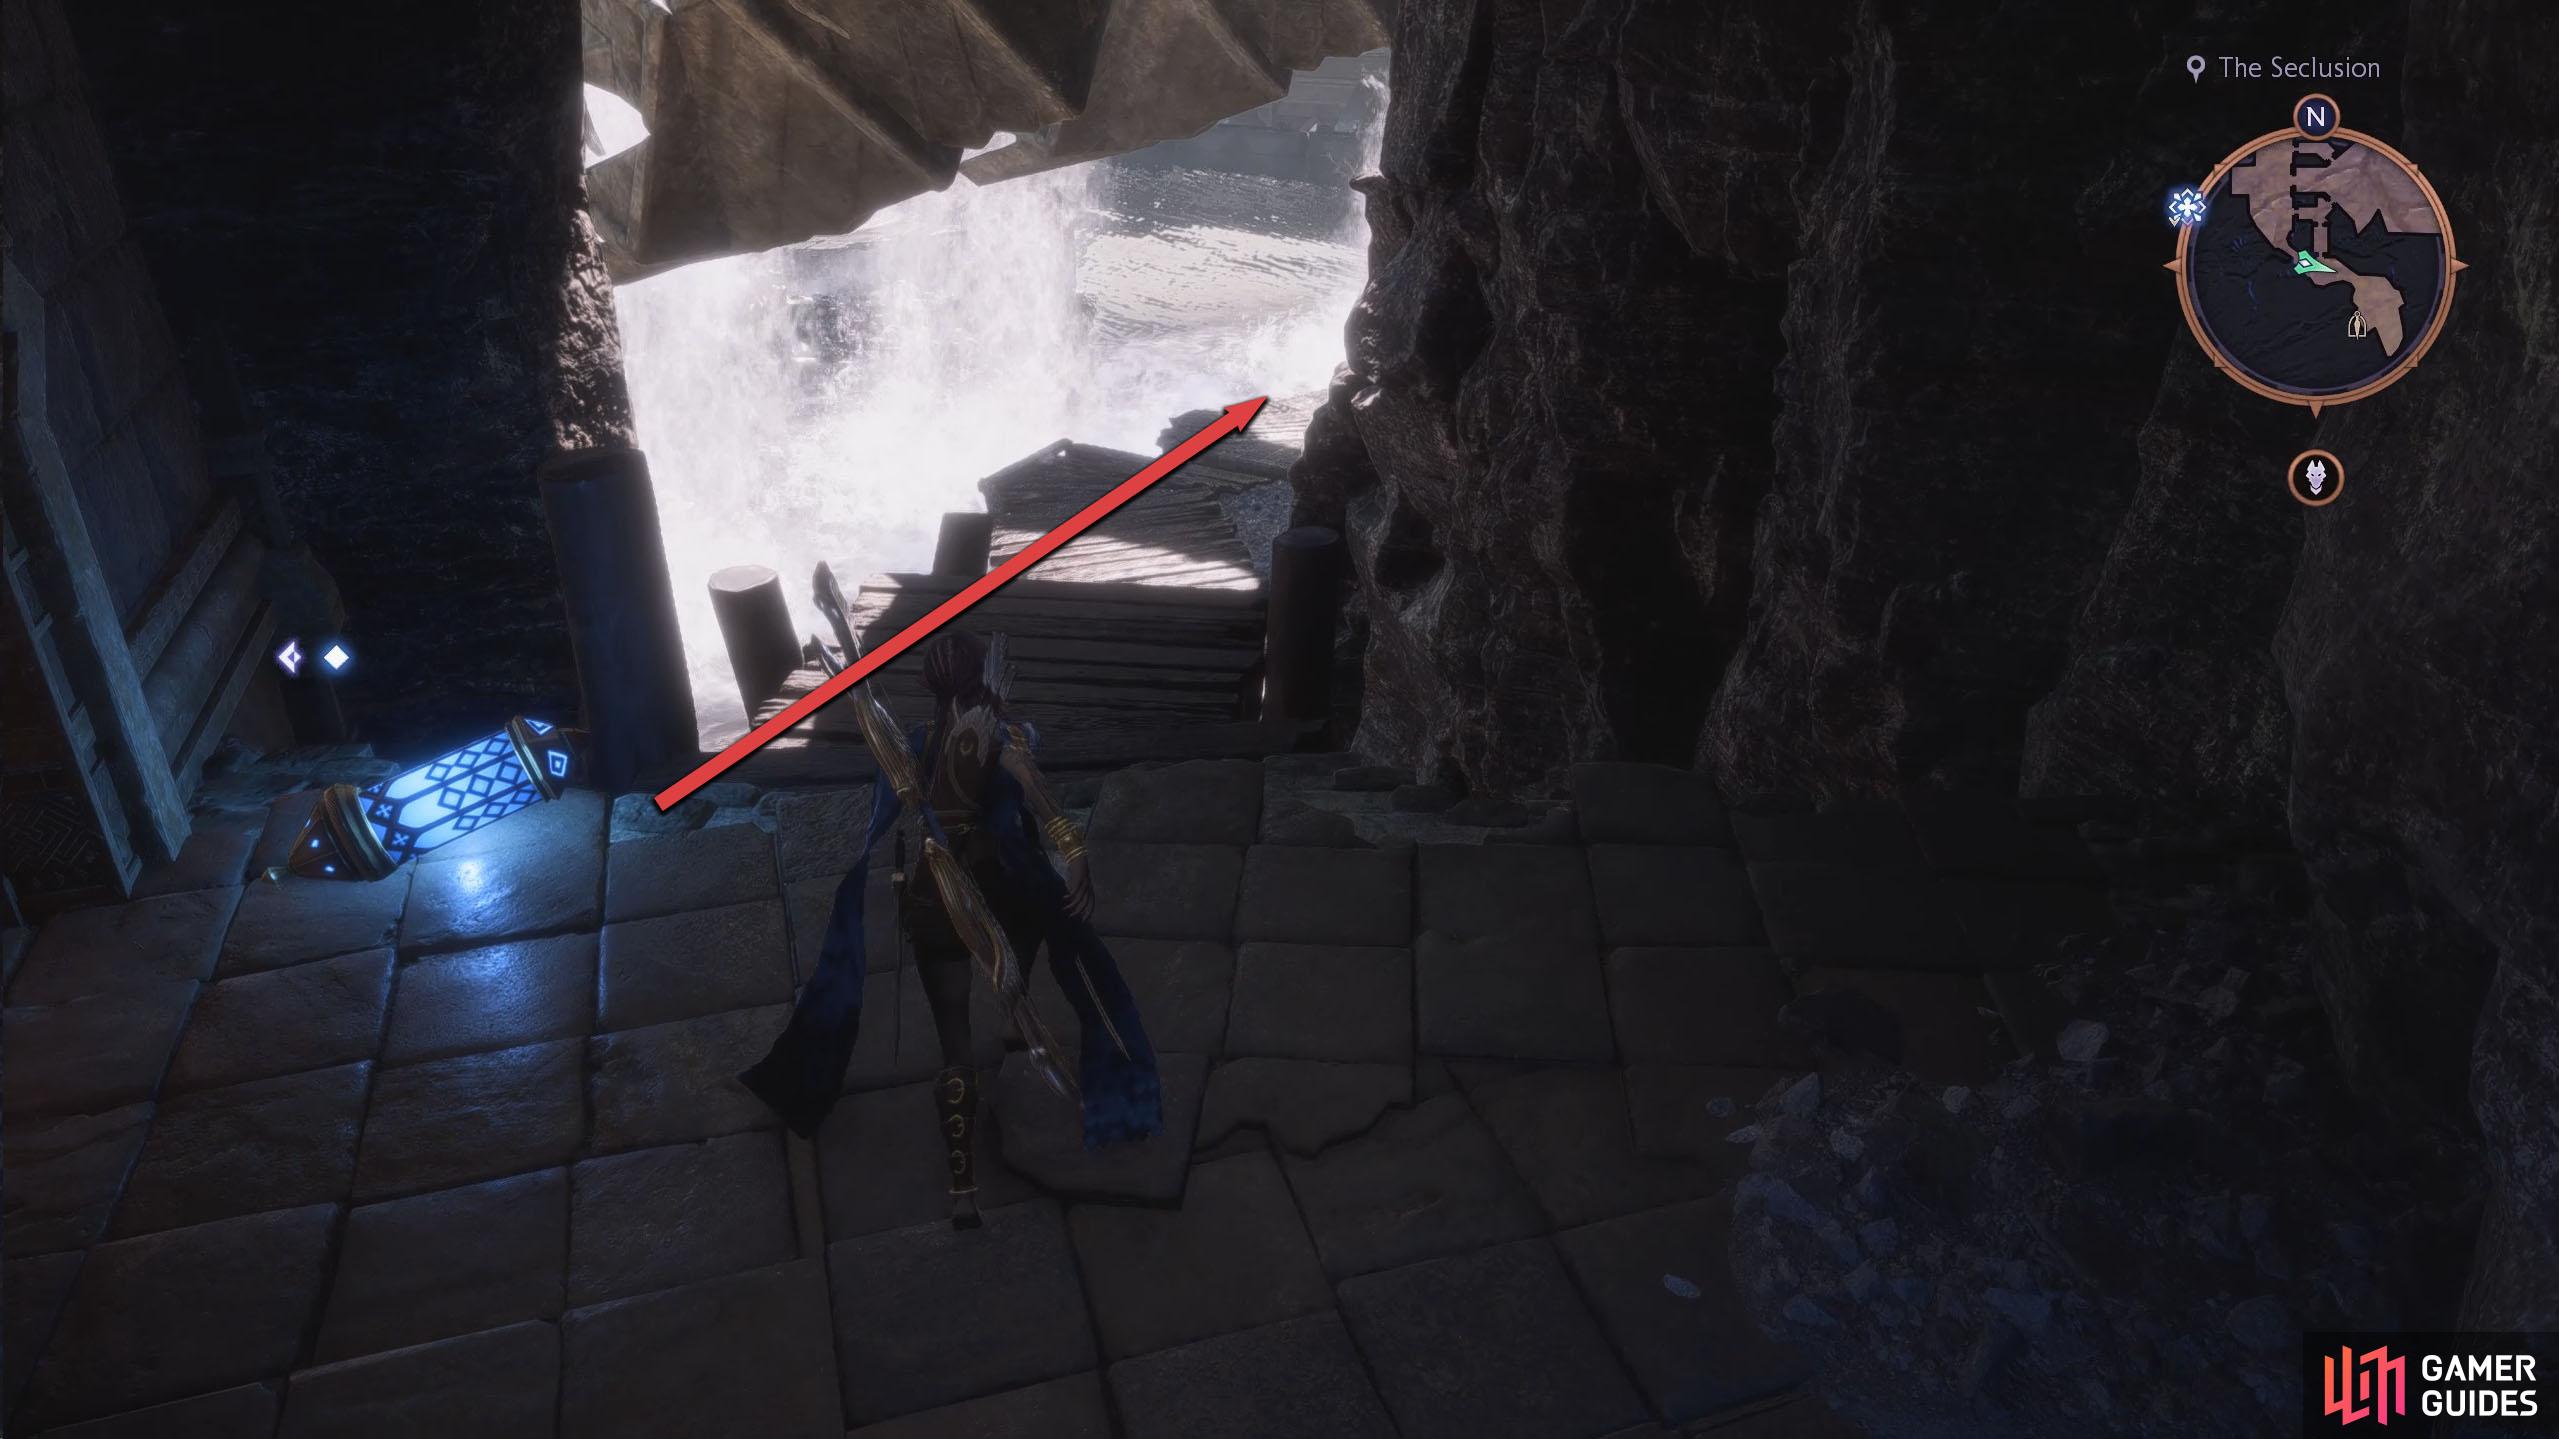
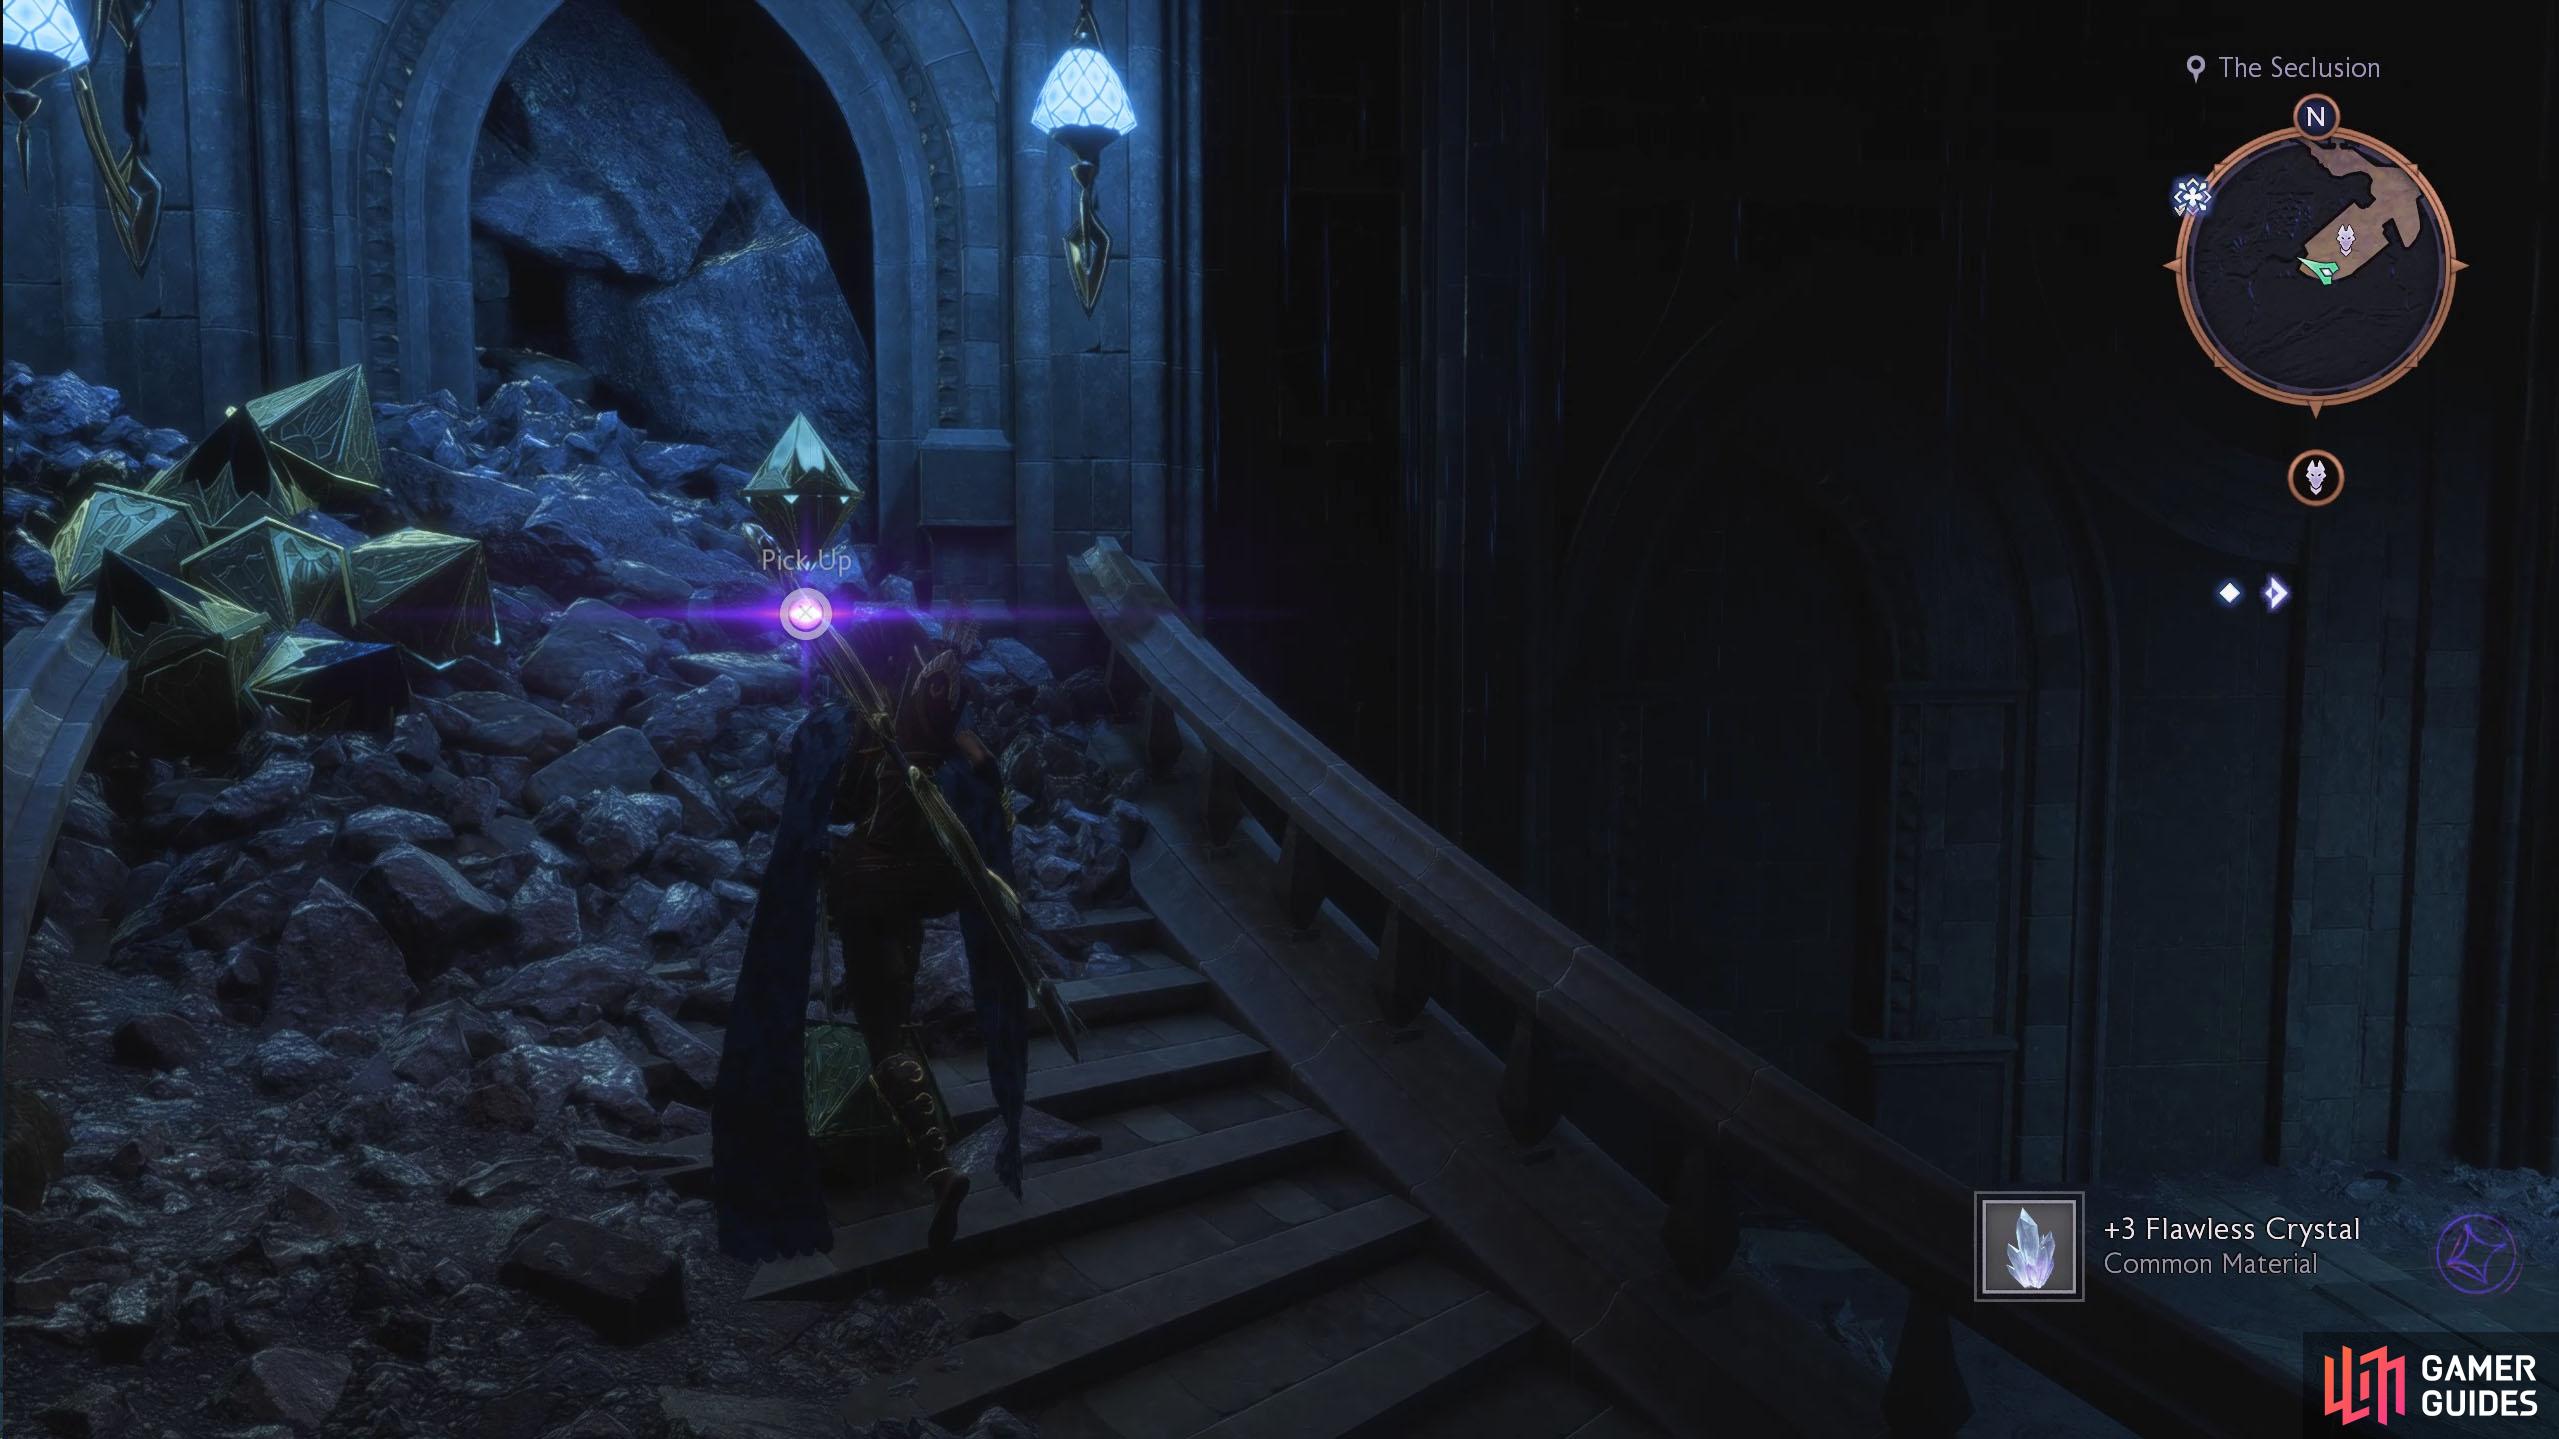
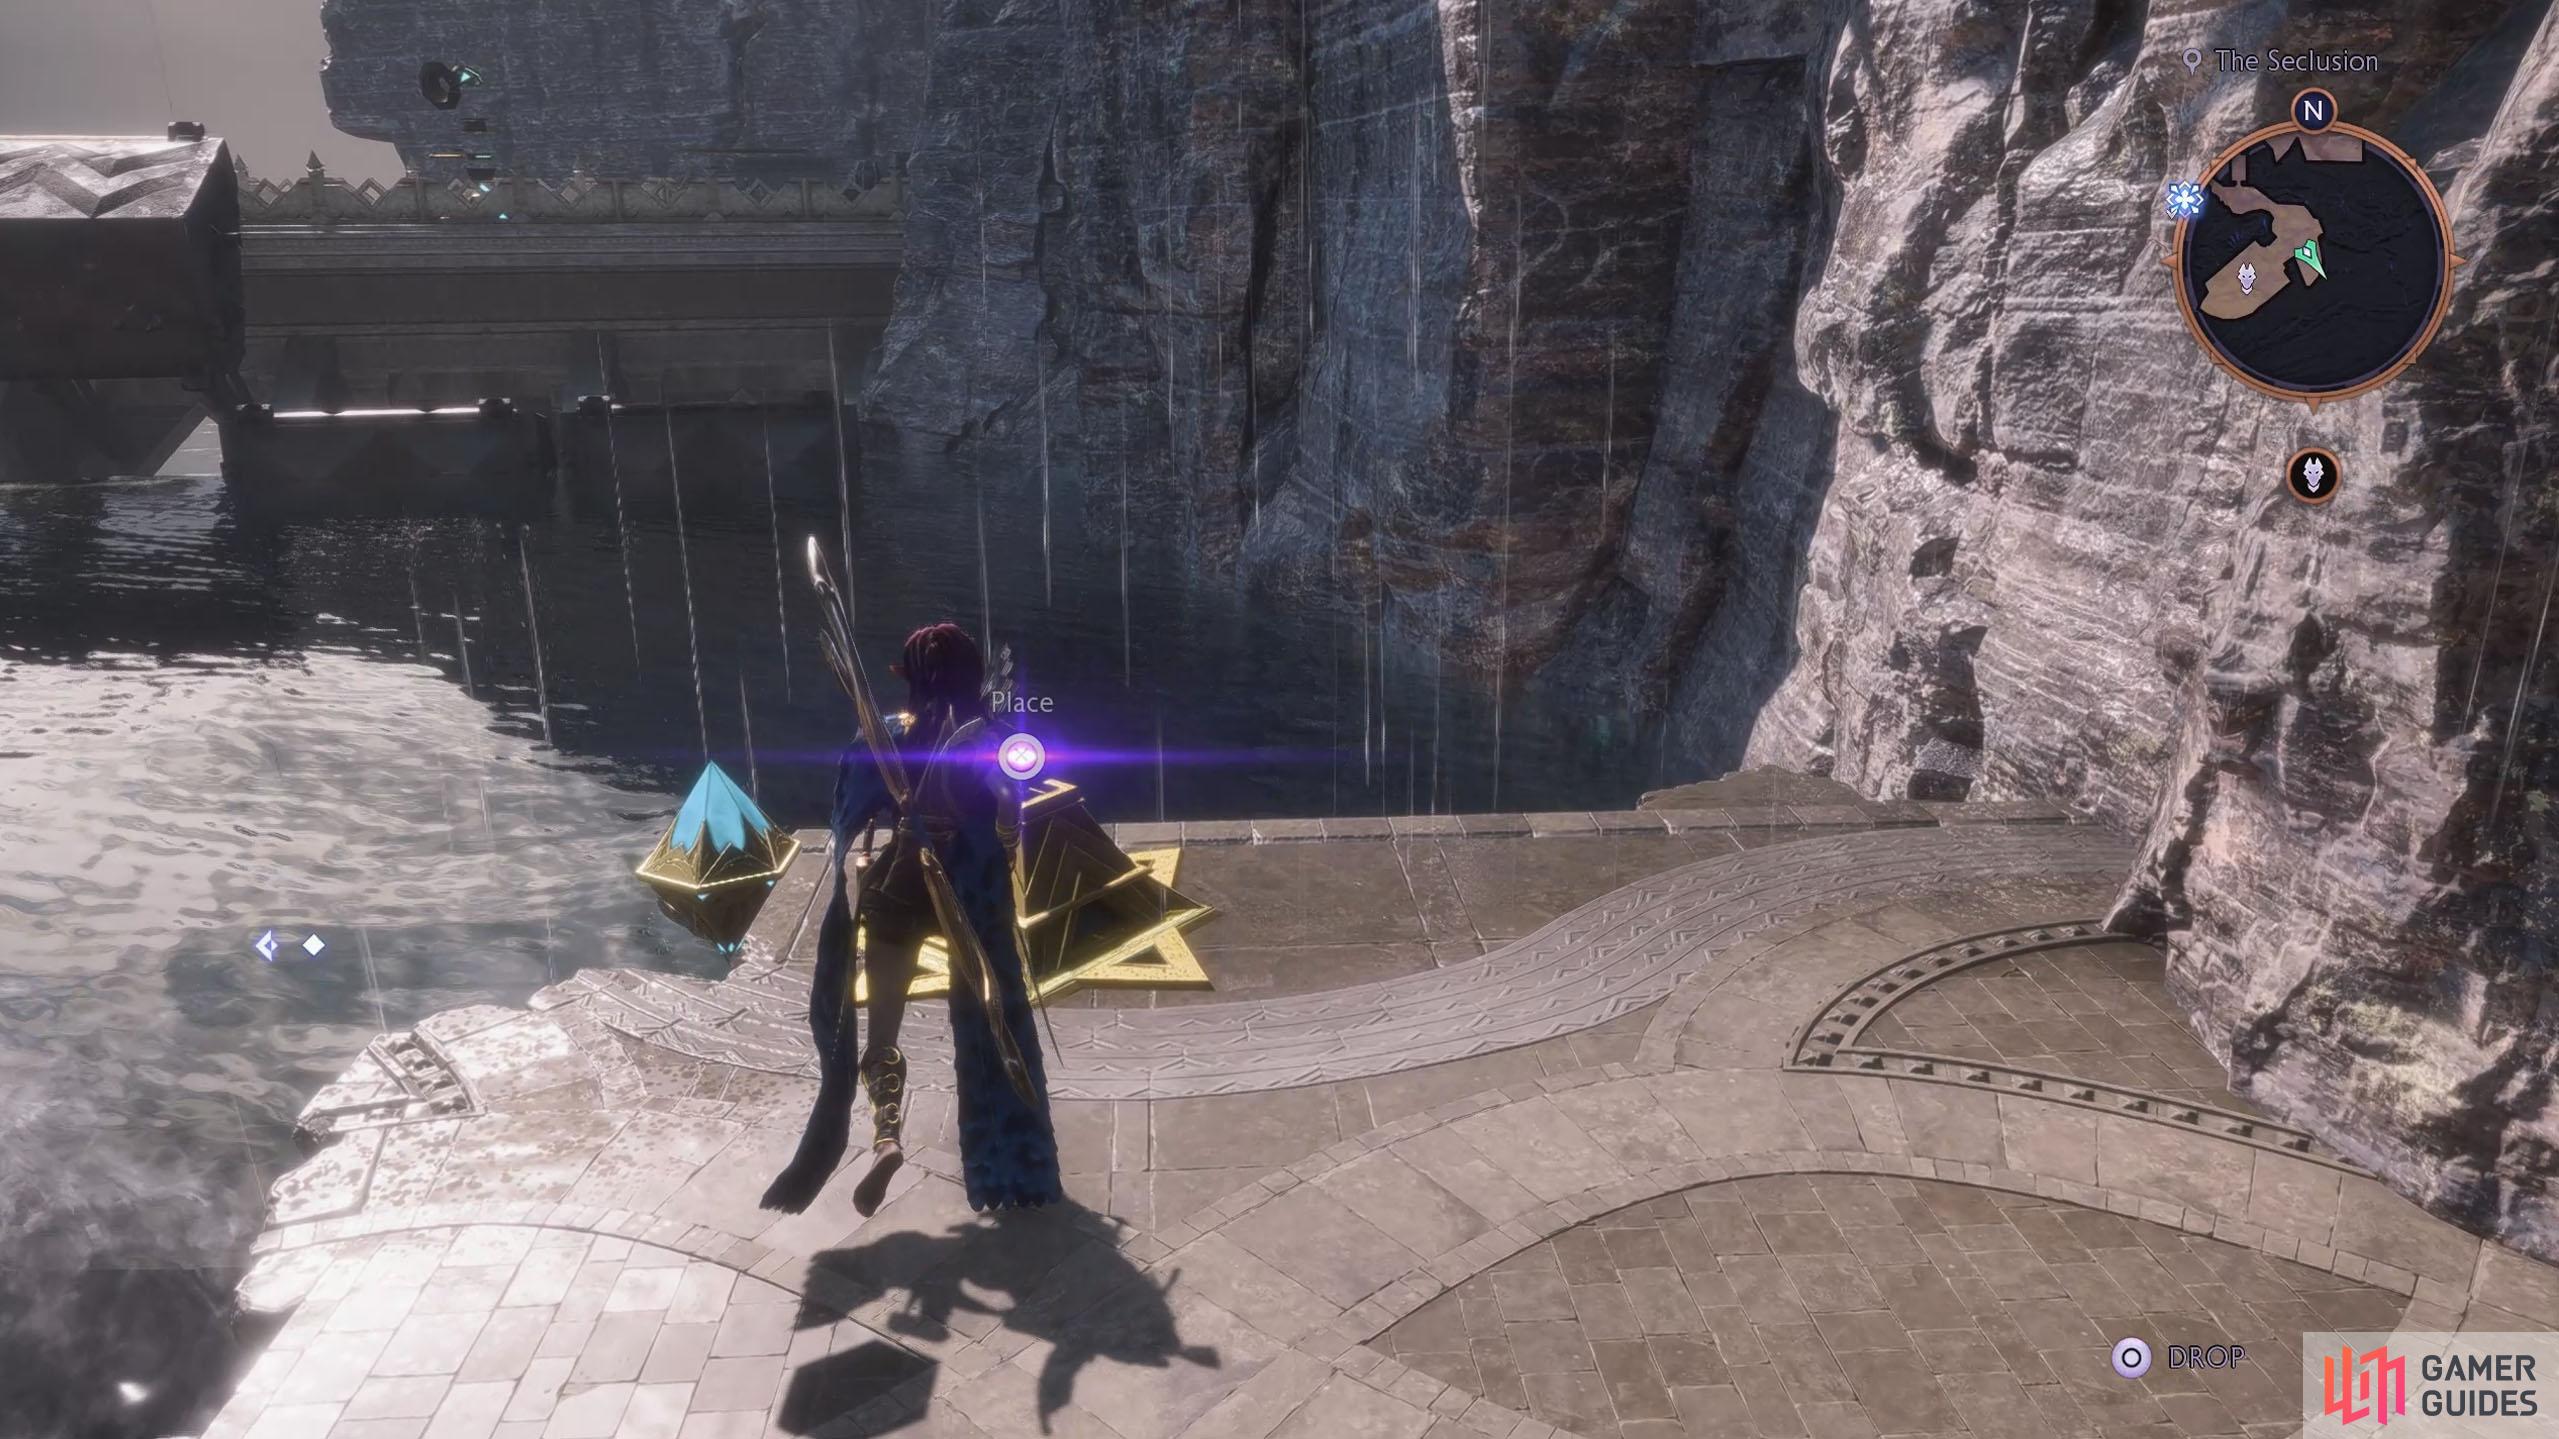
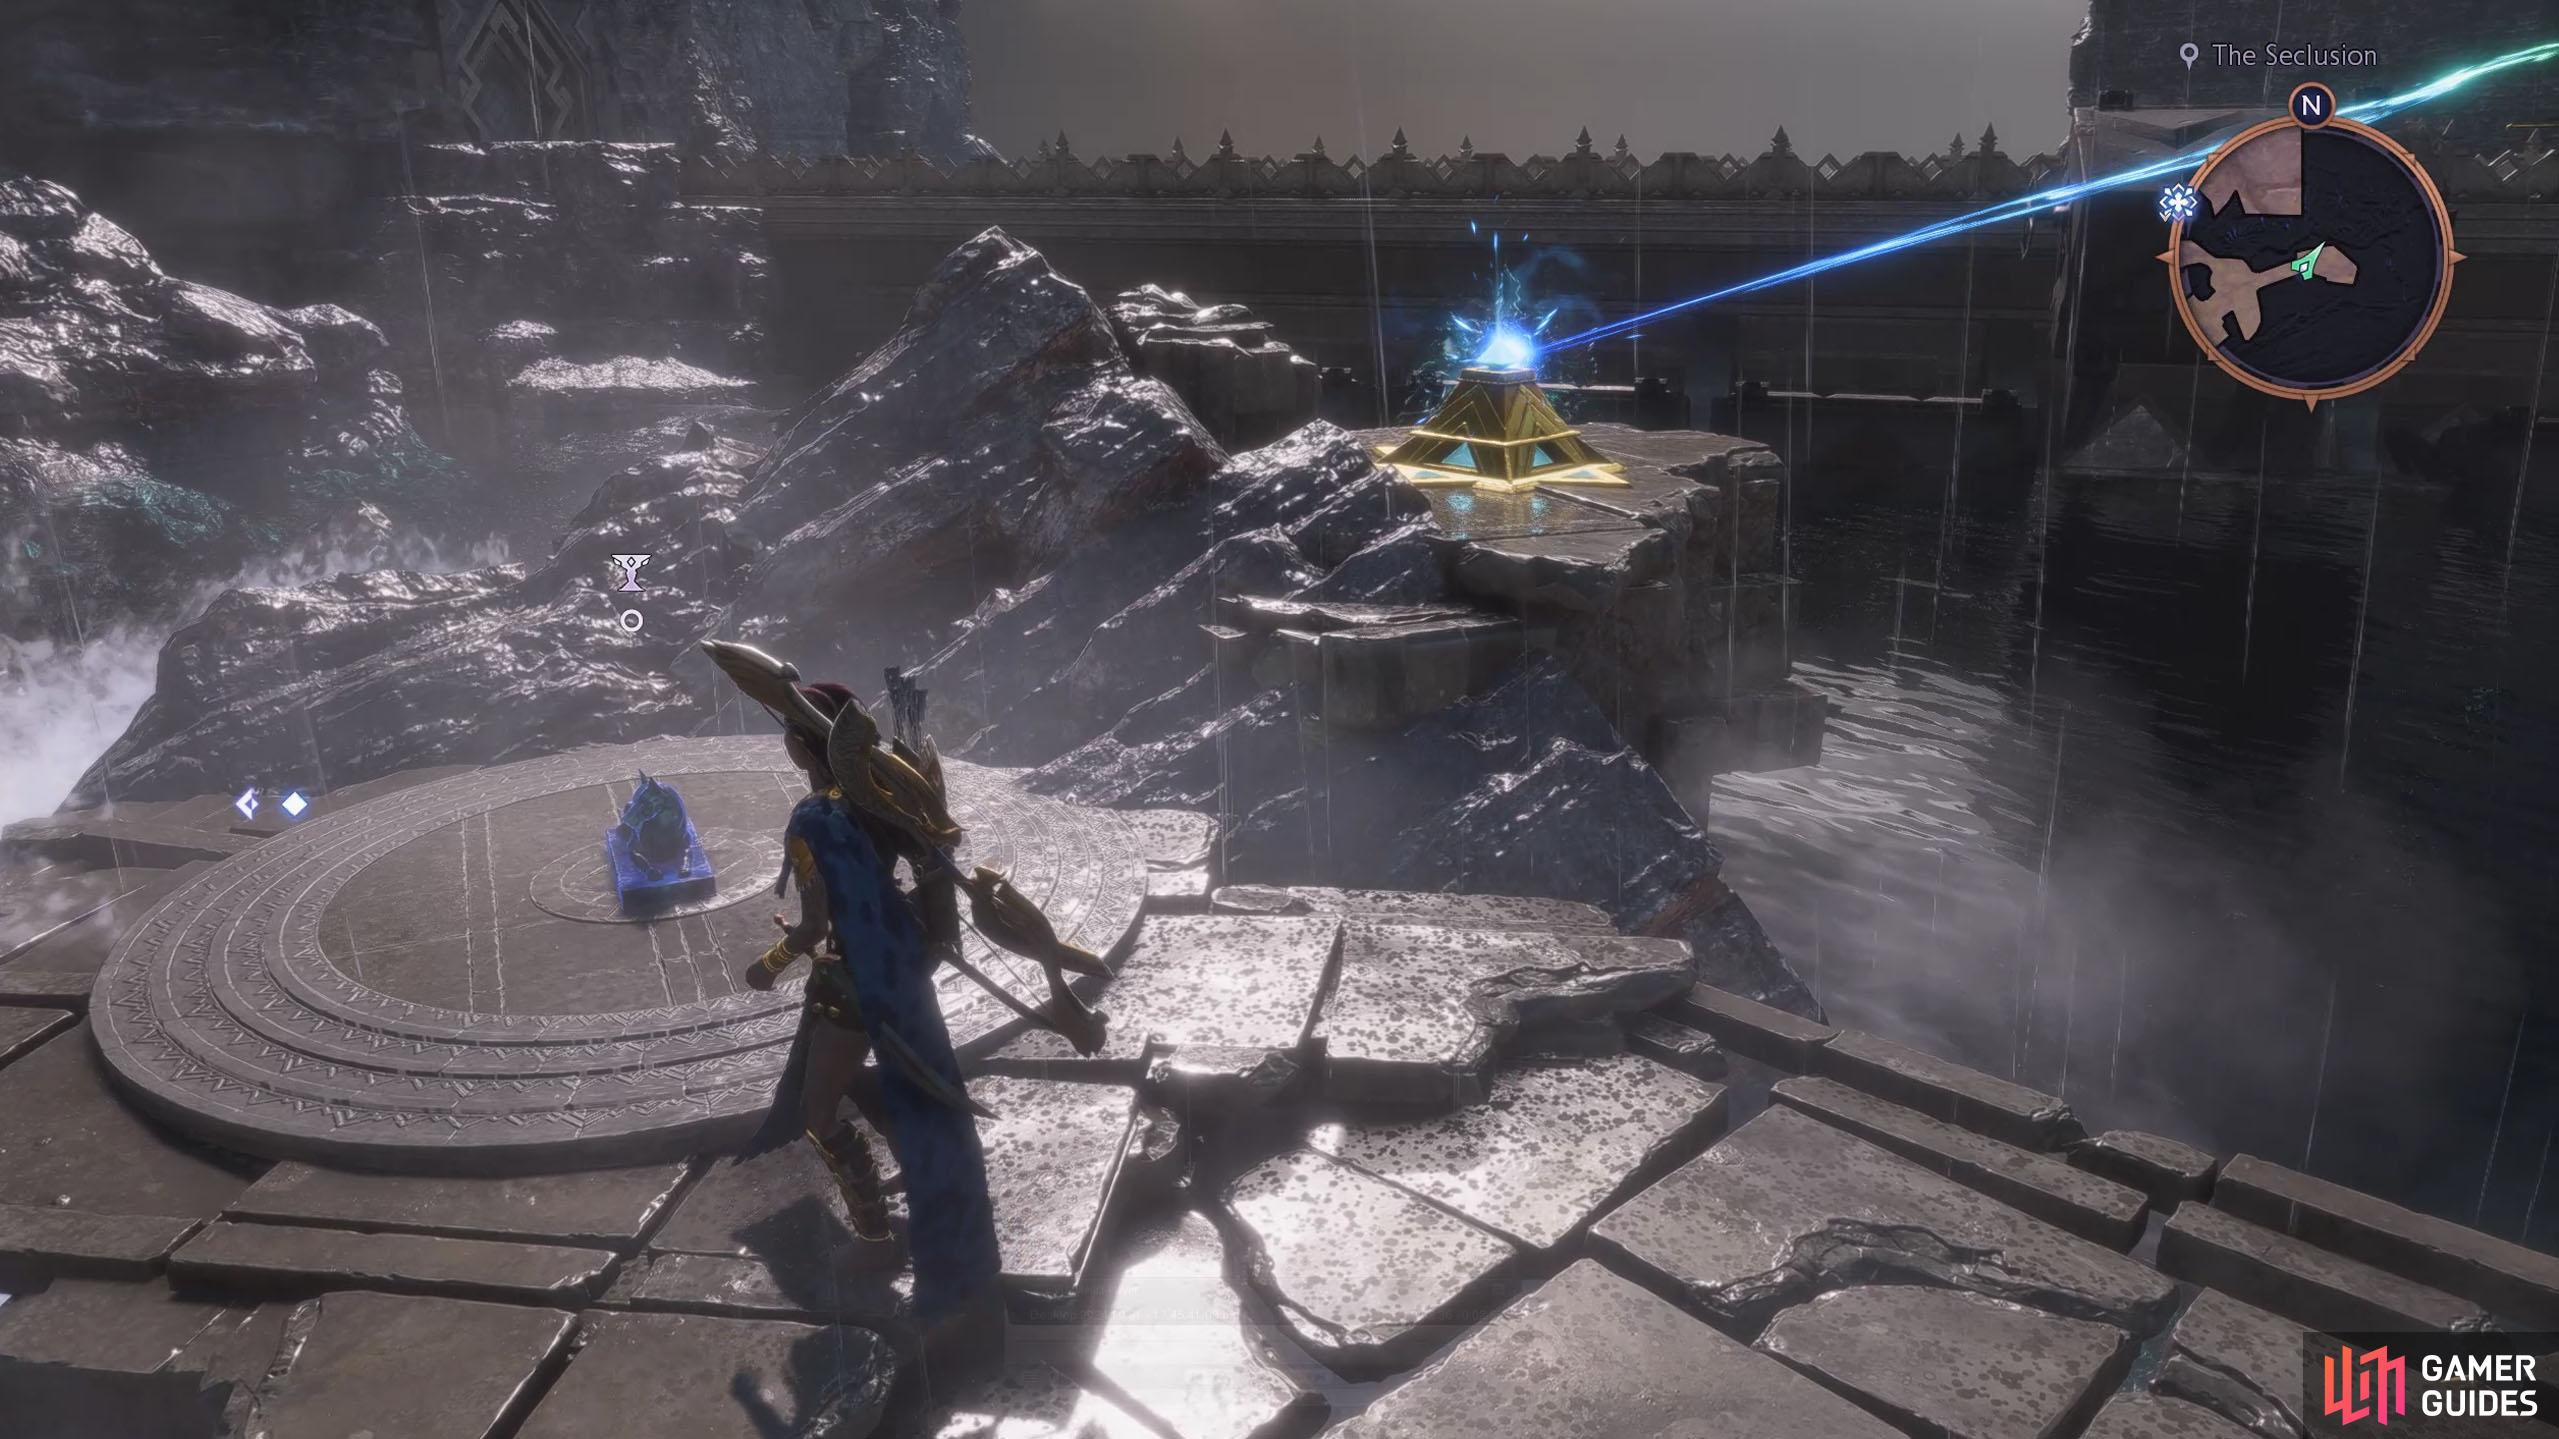
Interact with the Altar and the barrier behind it will disappear, exposing a floating power crystal. Pick up the crystal, take it outside, and place it on the power bank in front of the door. This will create a bridge going across the water, where the statue will materialize when you reach the end of the path.
(1 of 3) Activating the Altar will dispel the barrier, allowing you to grab the power crystal at the back.
That’s it for the Fen’harel Altars. Note that if some of these aren’t available to you as you get to them on the list, you may need to start one of the quests in the area. If no quests are available, and the way is still blocked, you may need to progress the story.

 Sign up
No Comments