Following your run-in with the dragons attacking Treviso and Minrathous, the most dire threat to your cause seems to be… well, the dragons. You clearly lack the expertise required to efficiently deal with these fanged, flying, scaly massive engines of destruction. More than that, however, your knowledge of the fade is insufficient to deal with the gods, and at this point you’re both out-maneuvered and out-gunned. In addition to a dragon slayer you’ll also need a fade expert to close the magical proficiency gap, and who knows the fade better than mages who spend all their lives in the company of spirits of the dead? This page will provide a walkthrough for the main quest Where the Dead Must Go in Dragon Age: The Veilguard.
Page Breakdown
Starting Where the Dead Must Go
After completing the main quest ![]() A Warden’s Best Friend you will have to make a choice between bailing out Treviso or Minrathous, starting the quests
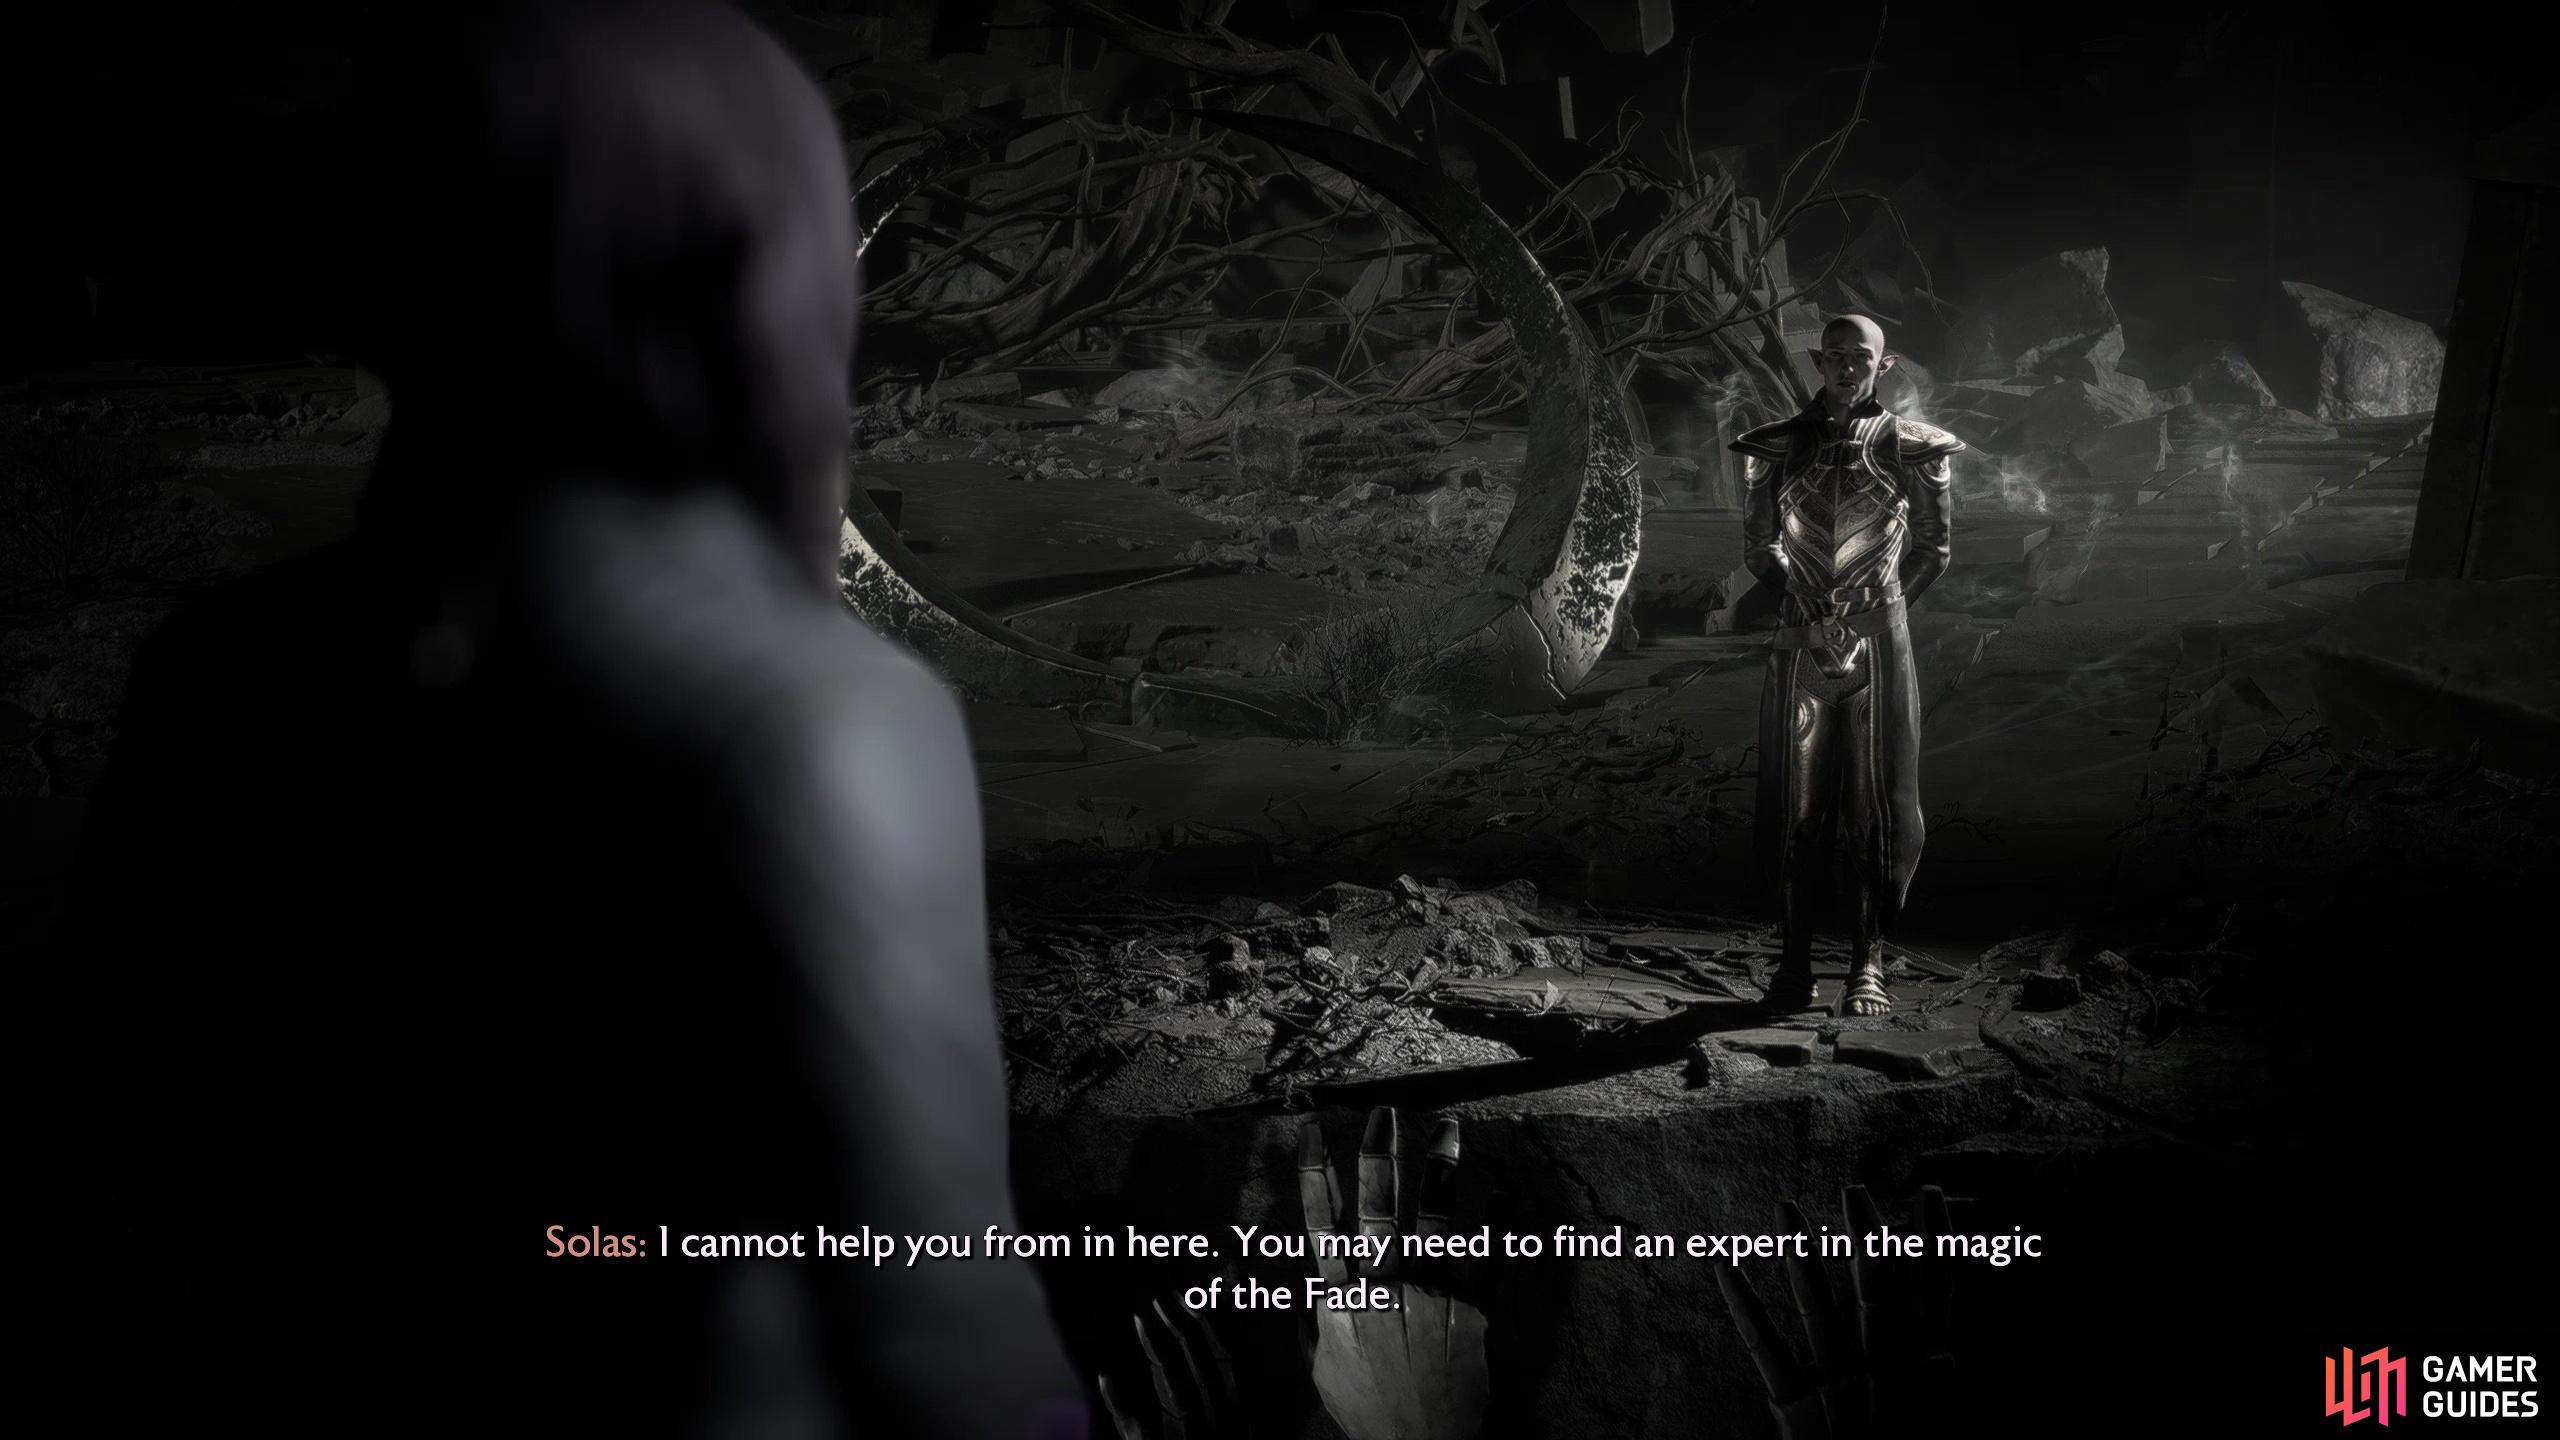
A Warden’s Best Friend you will have to make a choice between bailing out Treviso or Minrathous, starting the quests ![]() On Deadly Wings or On Blighted Wings, respectively. After this you’ll need to finish the quest Completing the Veilguard where you’ll talk to Solas, who recommends you recruit a dragon slayer and a fade expert Talk to Bellara afterwards to start the quest Where the Dead Must Go, unlocking the Necropolis as a fast travel destination, albeit temporarily.
On Deadly Wings or On Blighted Wings, respectively. After this you’ll need to finish the quest Completing the Veilguard where you’ll talk to Solas, who recommends you recruit a dragon slayer and a fade expert Talk to Bellara afterwards to start the quest Where the Dead Must Go, unlocking the Necropolis as a fast travel destination, albeit temporarily.
After running afoul of Ghilin’nain’s pet dragons, consult with Solas to start this quest.
Defeat the Despair Demon in the Lost Watcher’s Wing
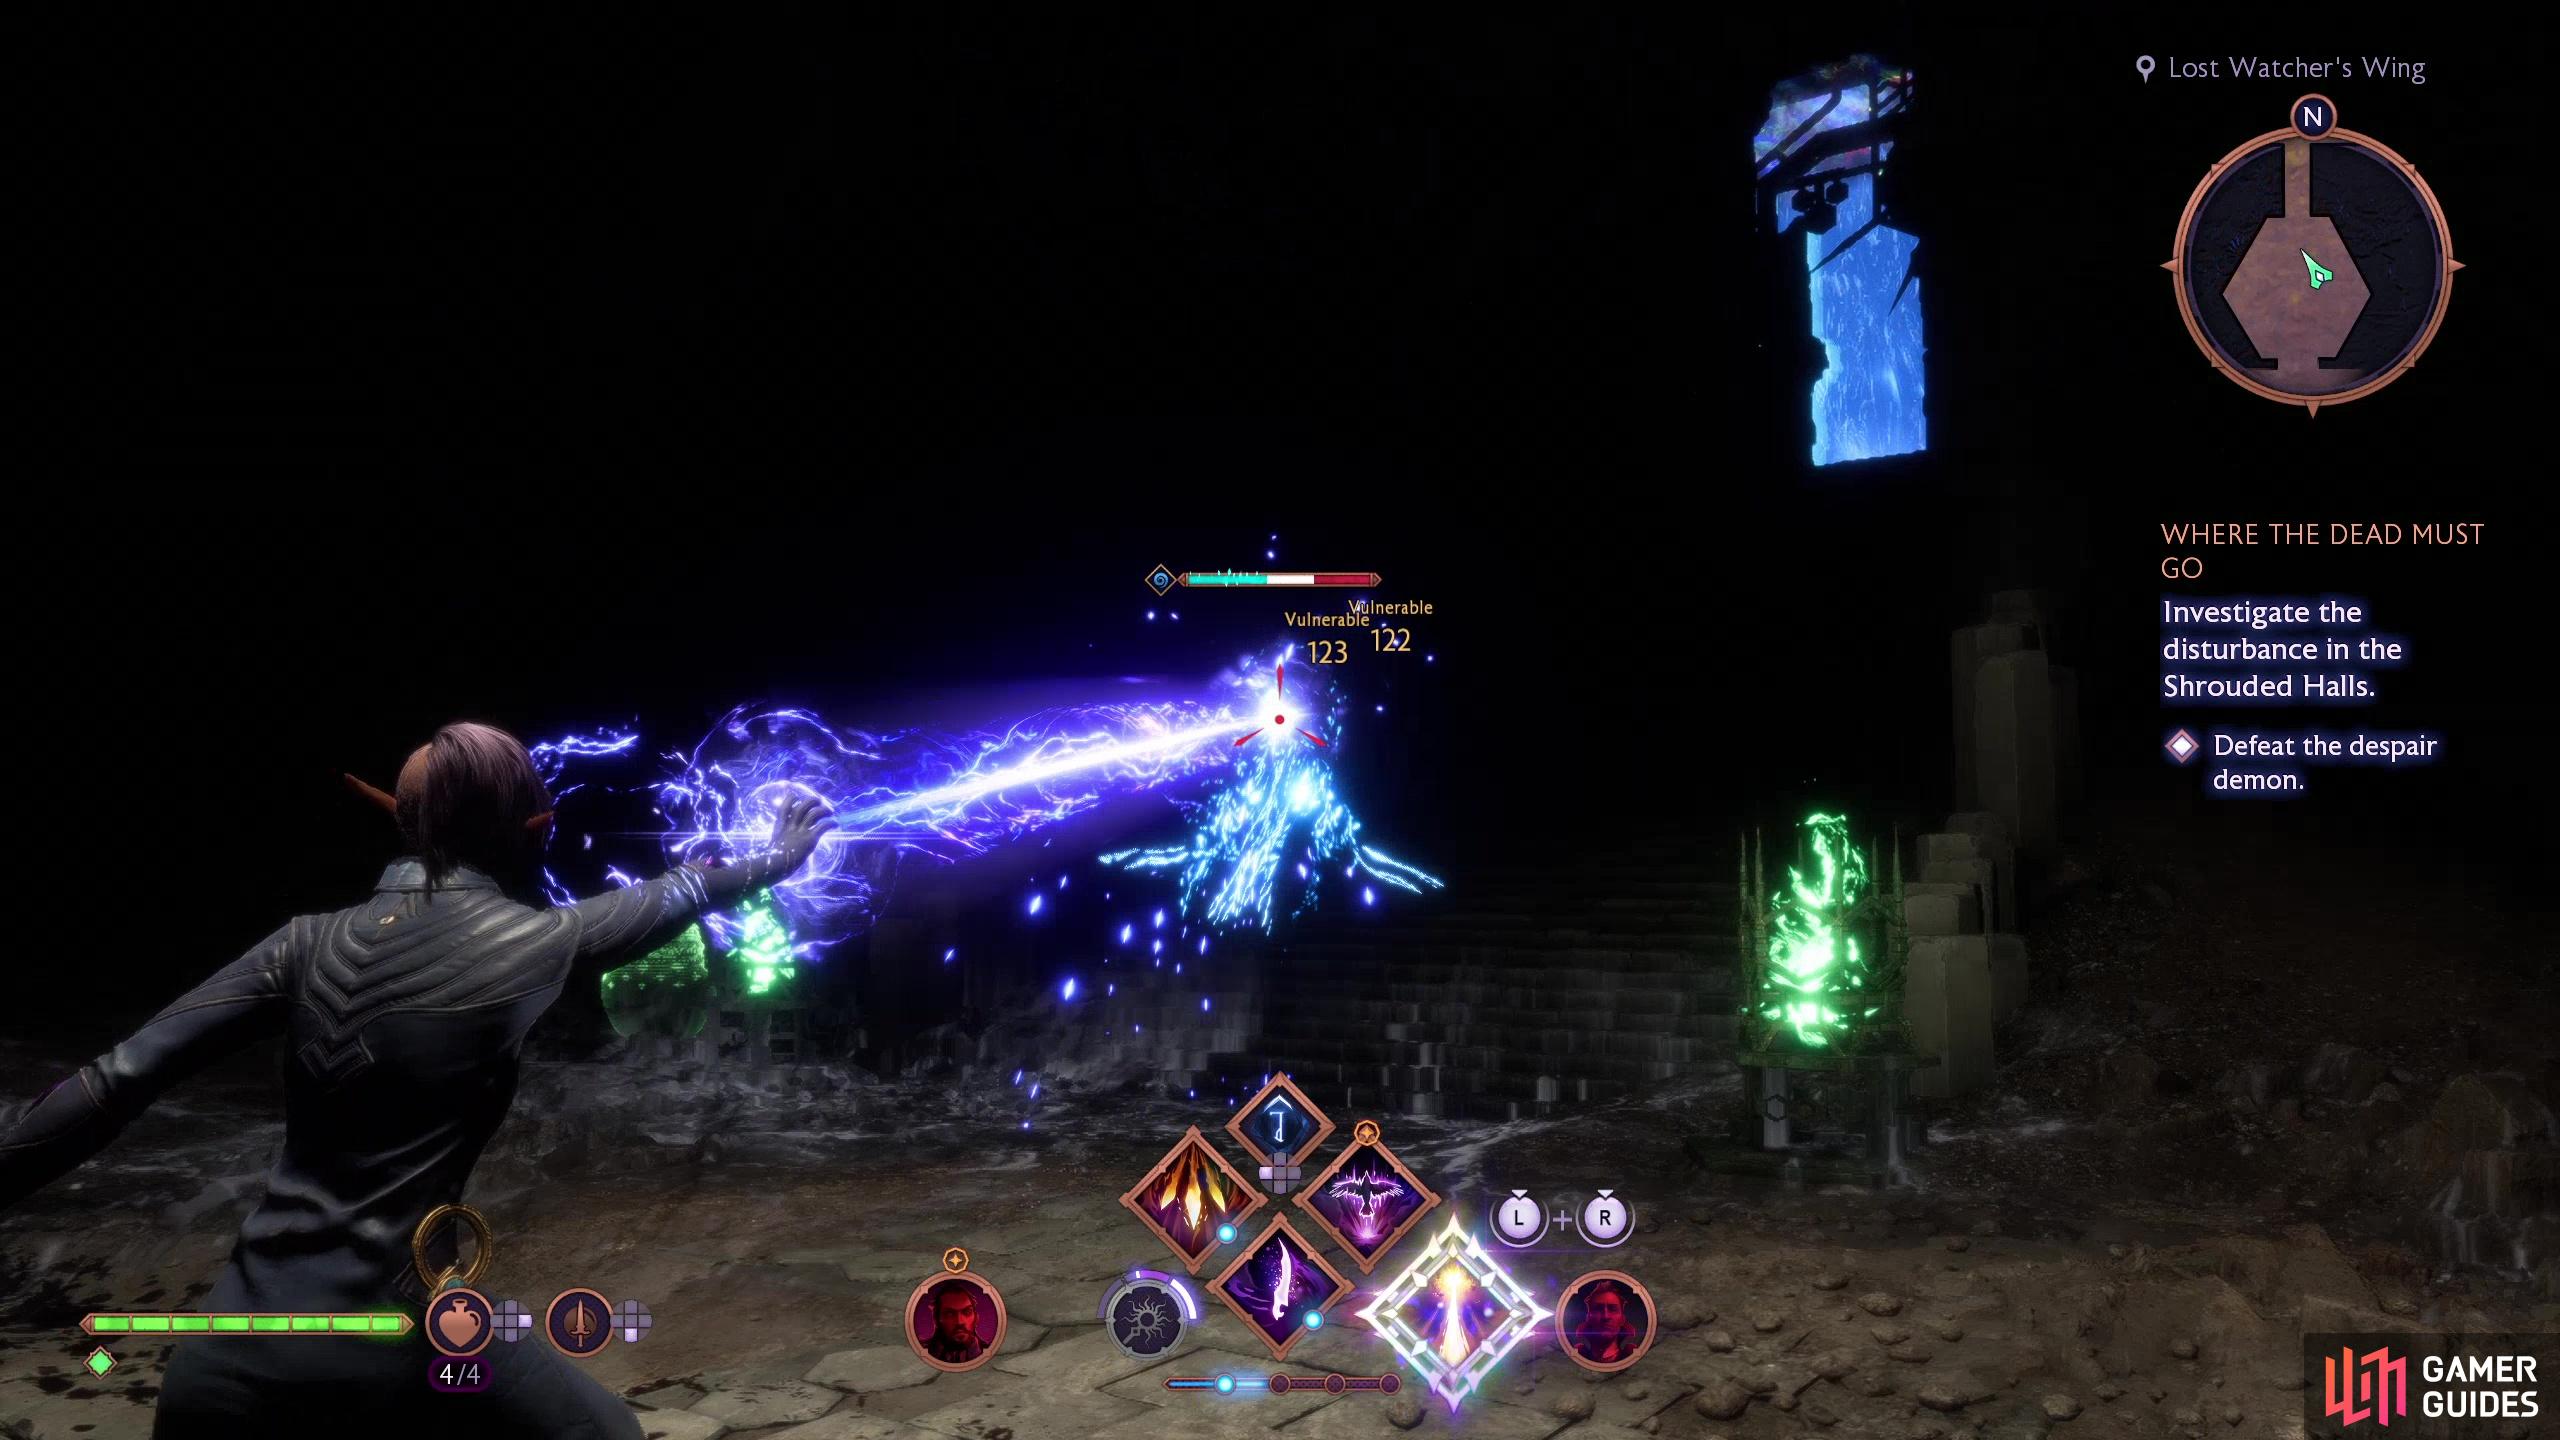
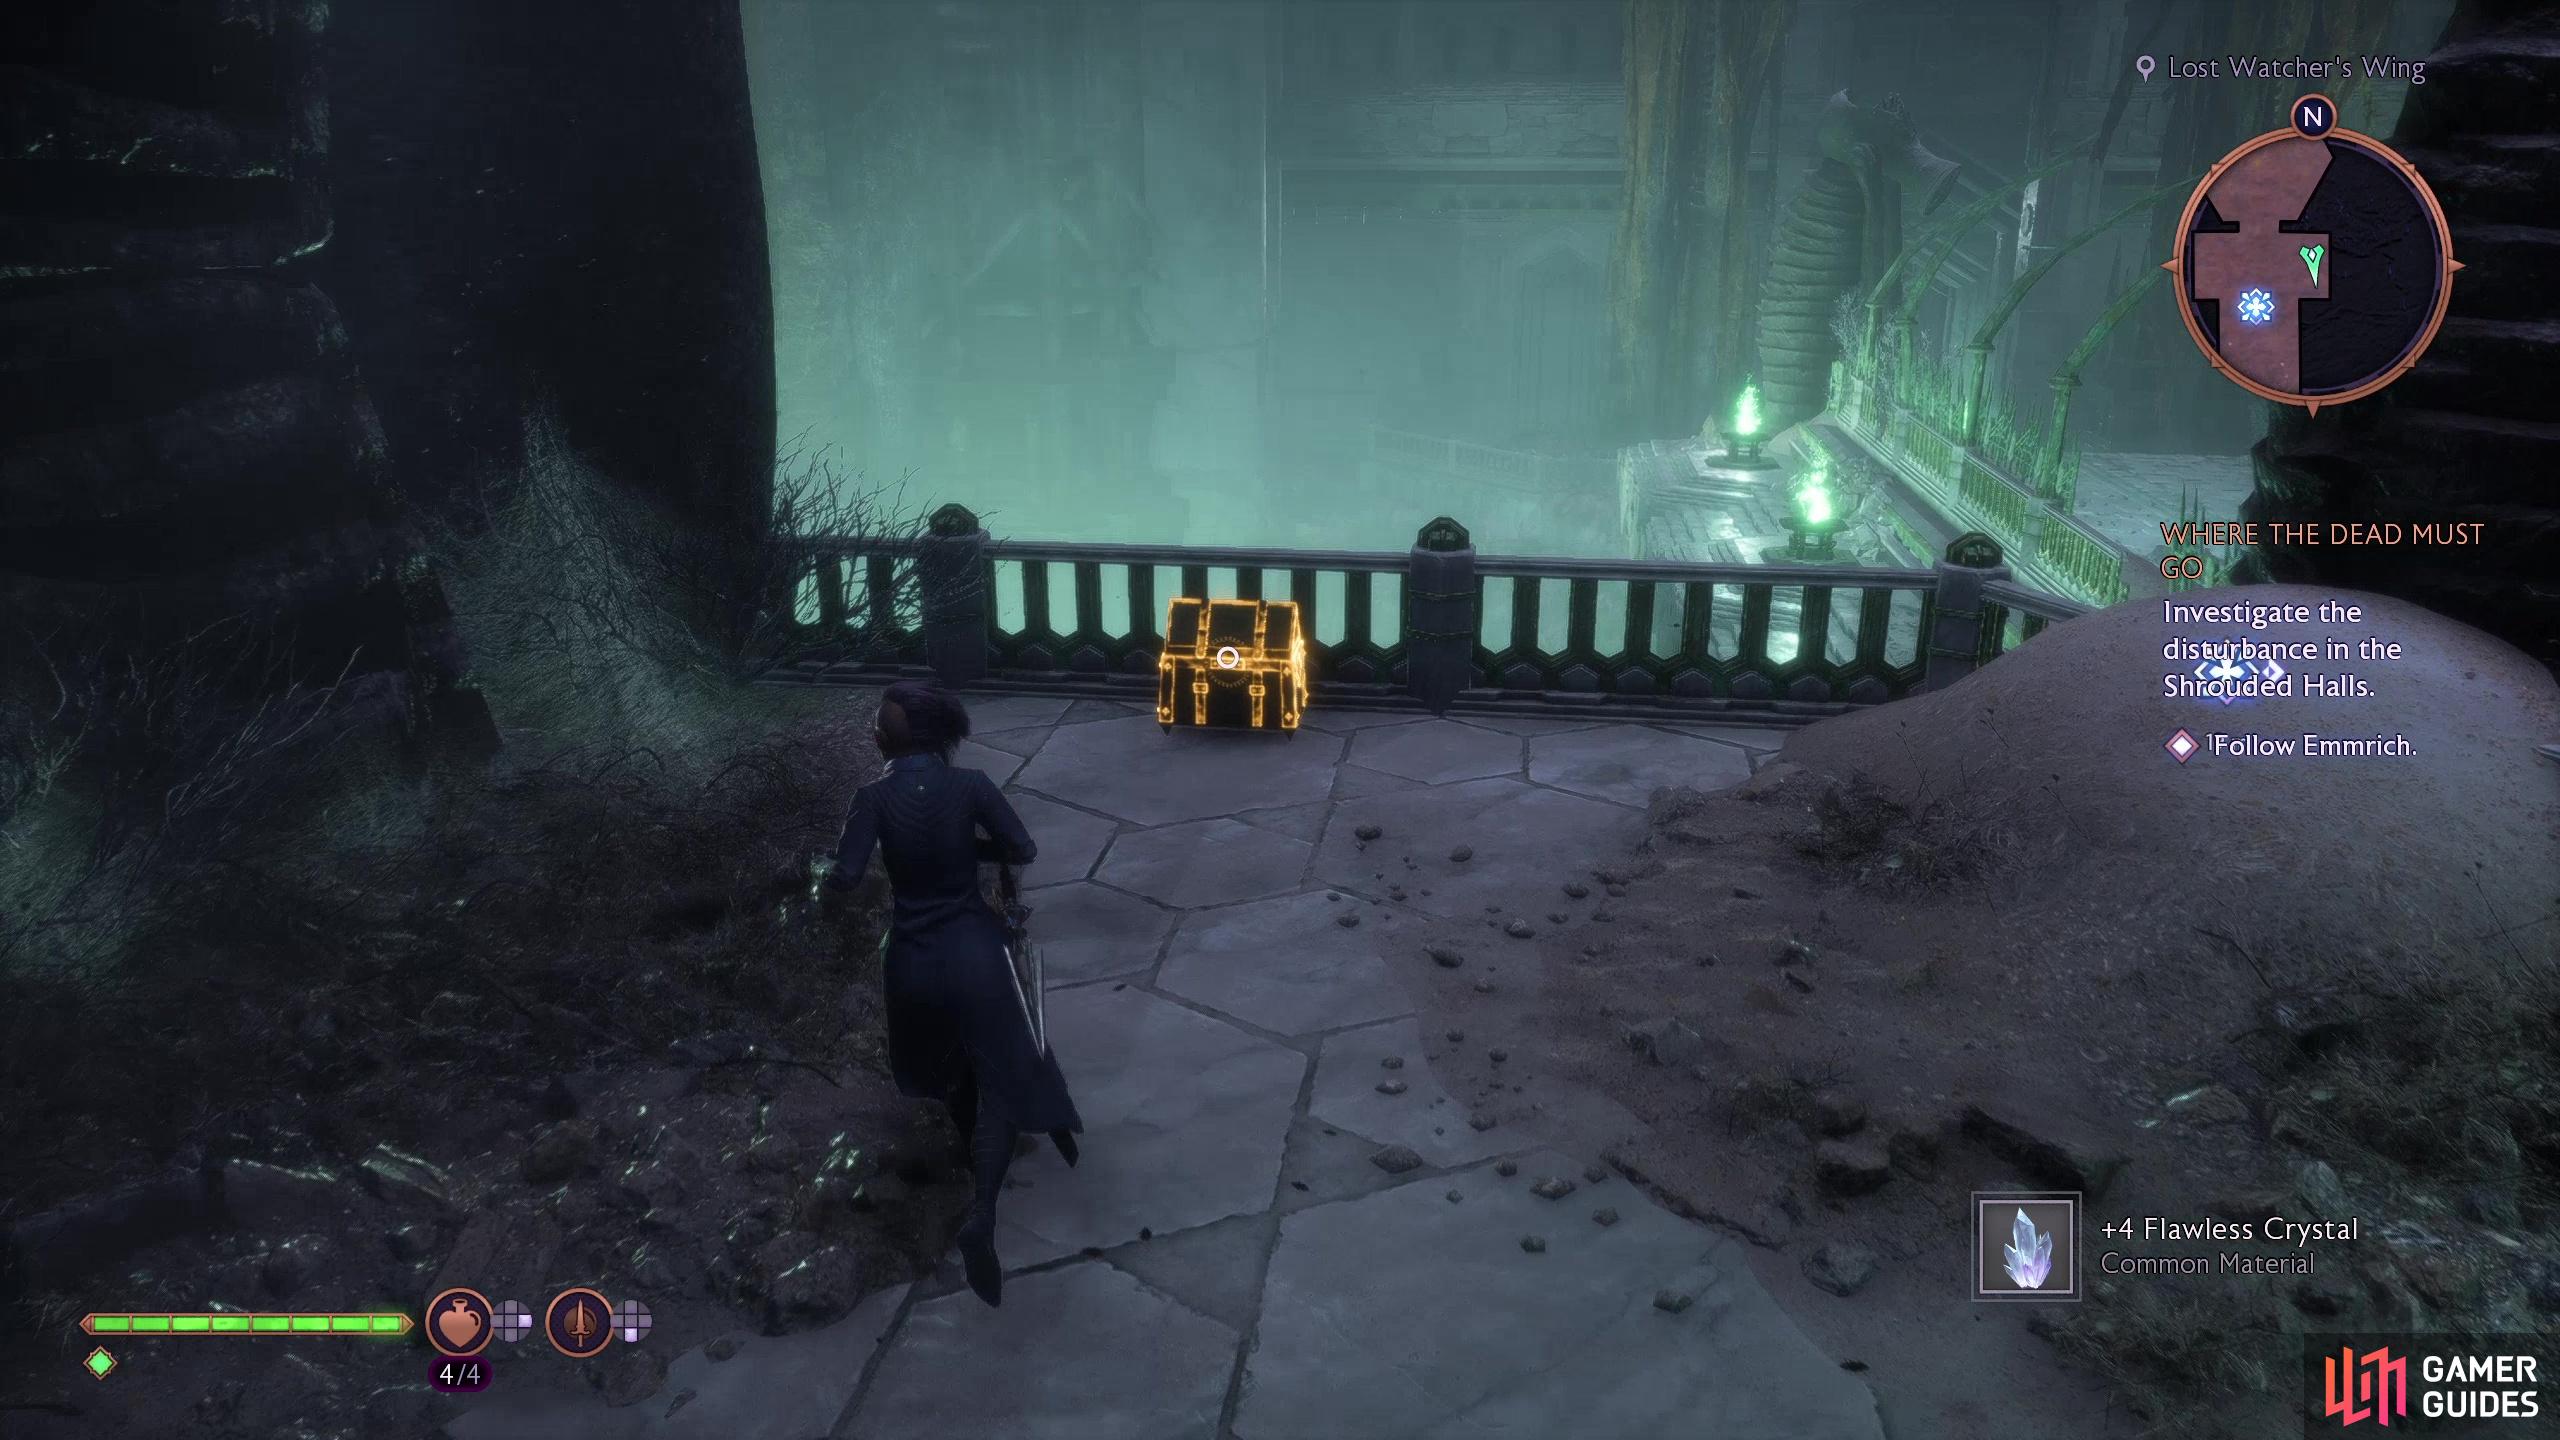
When you arrive you’ll be introduced to the fade expert you seek, Emmrich, and after some chatter he’ll escort you through the Lost Watcher’s Wing. There’s a bit of trivial loot to find along the way, but nothing noteworthy. Eventually you’ll find a Despair Demon, a foe you might be familiar with if you completed the side quest In Memoriam. They can shoot frost beams and conjure frozen orbs, the latter of which move slowly and home in on their target, but mostly Despair Demons are just nuisances who blind the rest of your party, isolating Rook, and teleporting around frequently. Defeat it and it’ll drop an ![]() Abyssal Helm cosmetic as well as some materials, then keep following Emmrich south through a doorway. Turn left (east) to find a small chest containing the
Abyssal Helm cosmetic as well as some materials, then keep following Emmrich south through a doorway. Turn left (east) to find a small chest containing the ![]() Shatter rune.
Shatter rune.
(1 of 2) Defeat the Despair Demon, which likes isolating Rook,
Defeat the Despair Demon, which likes isolating Rook, (left), then press on and loot a chest containing the Shatter rune. (right)
Hollow Belfry, Lower
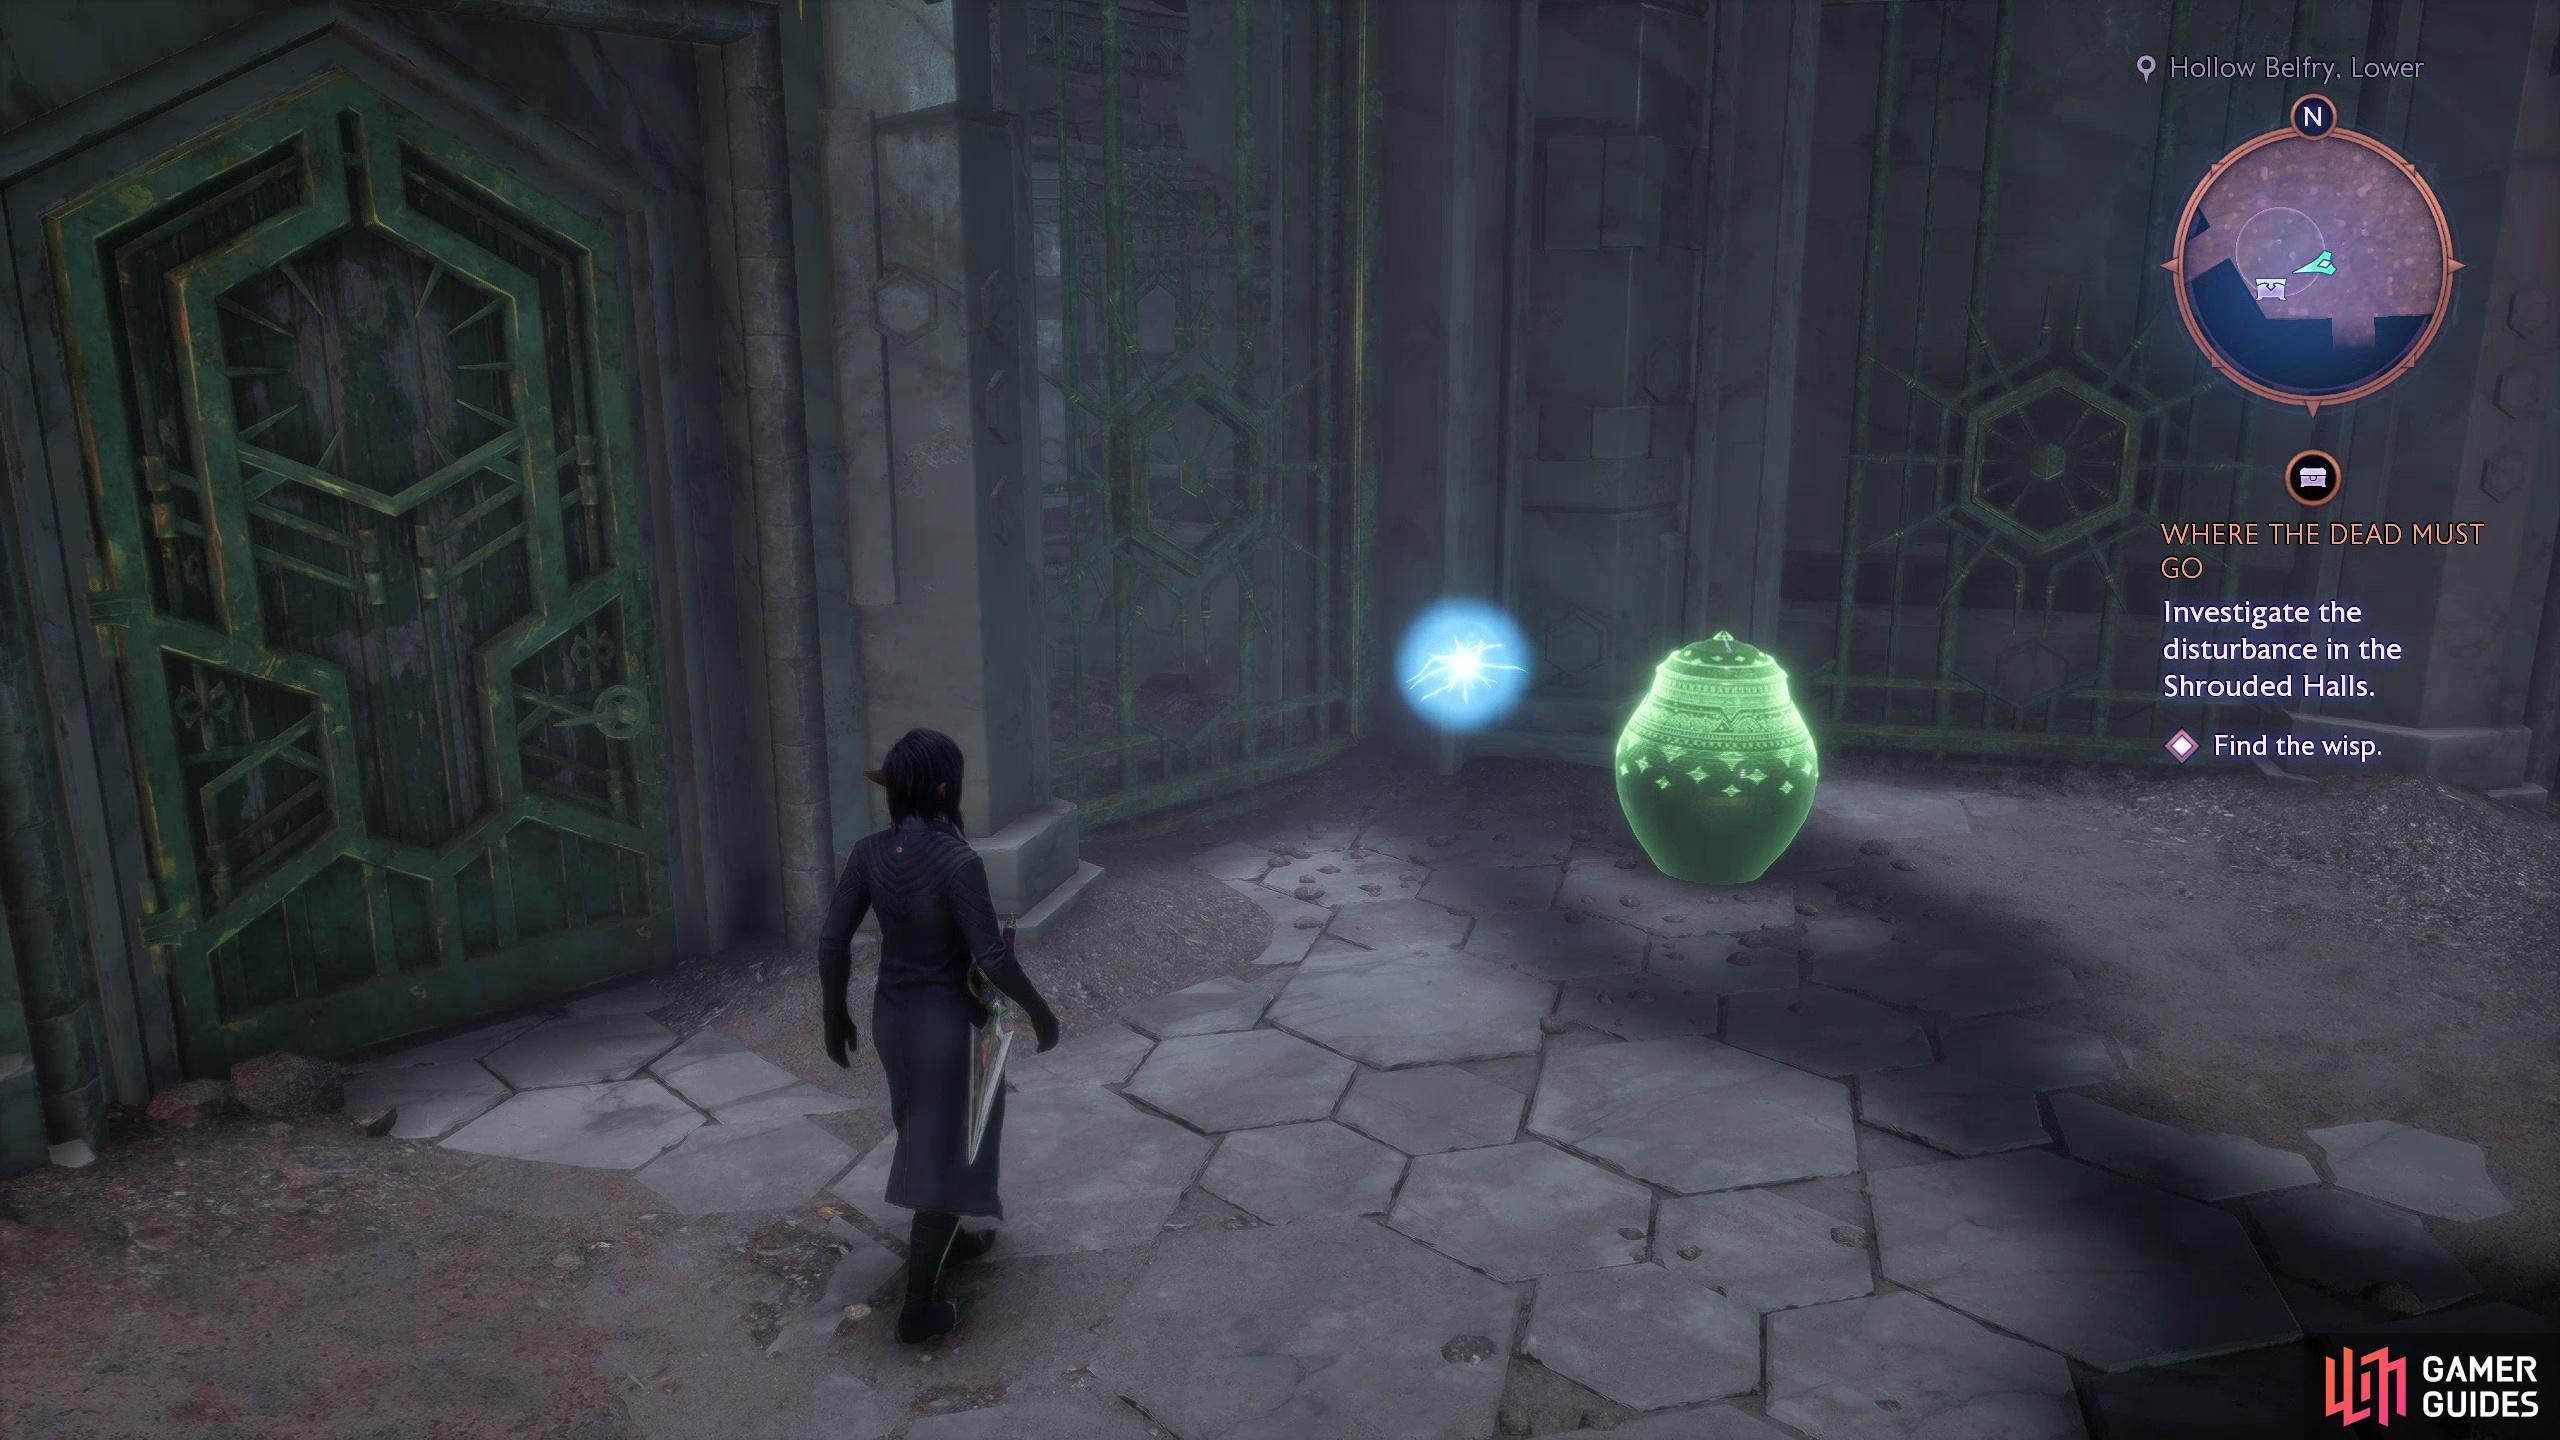
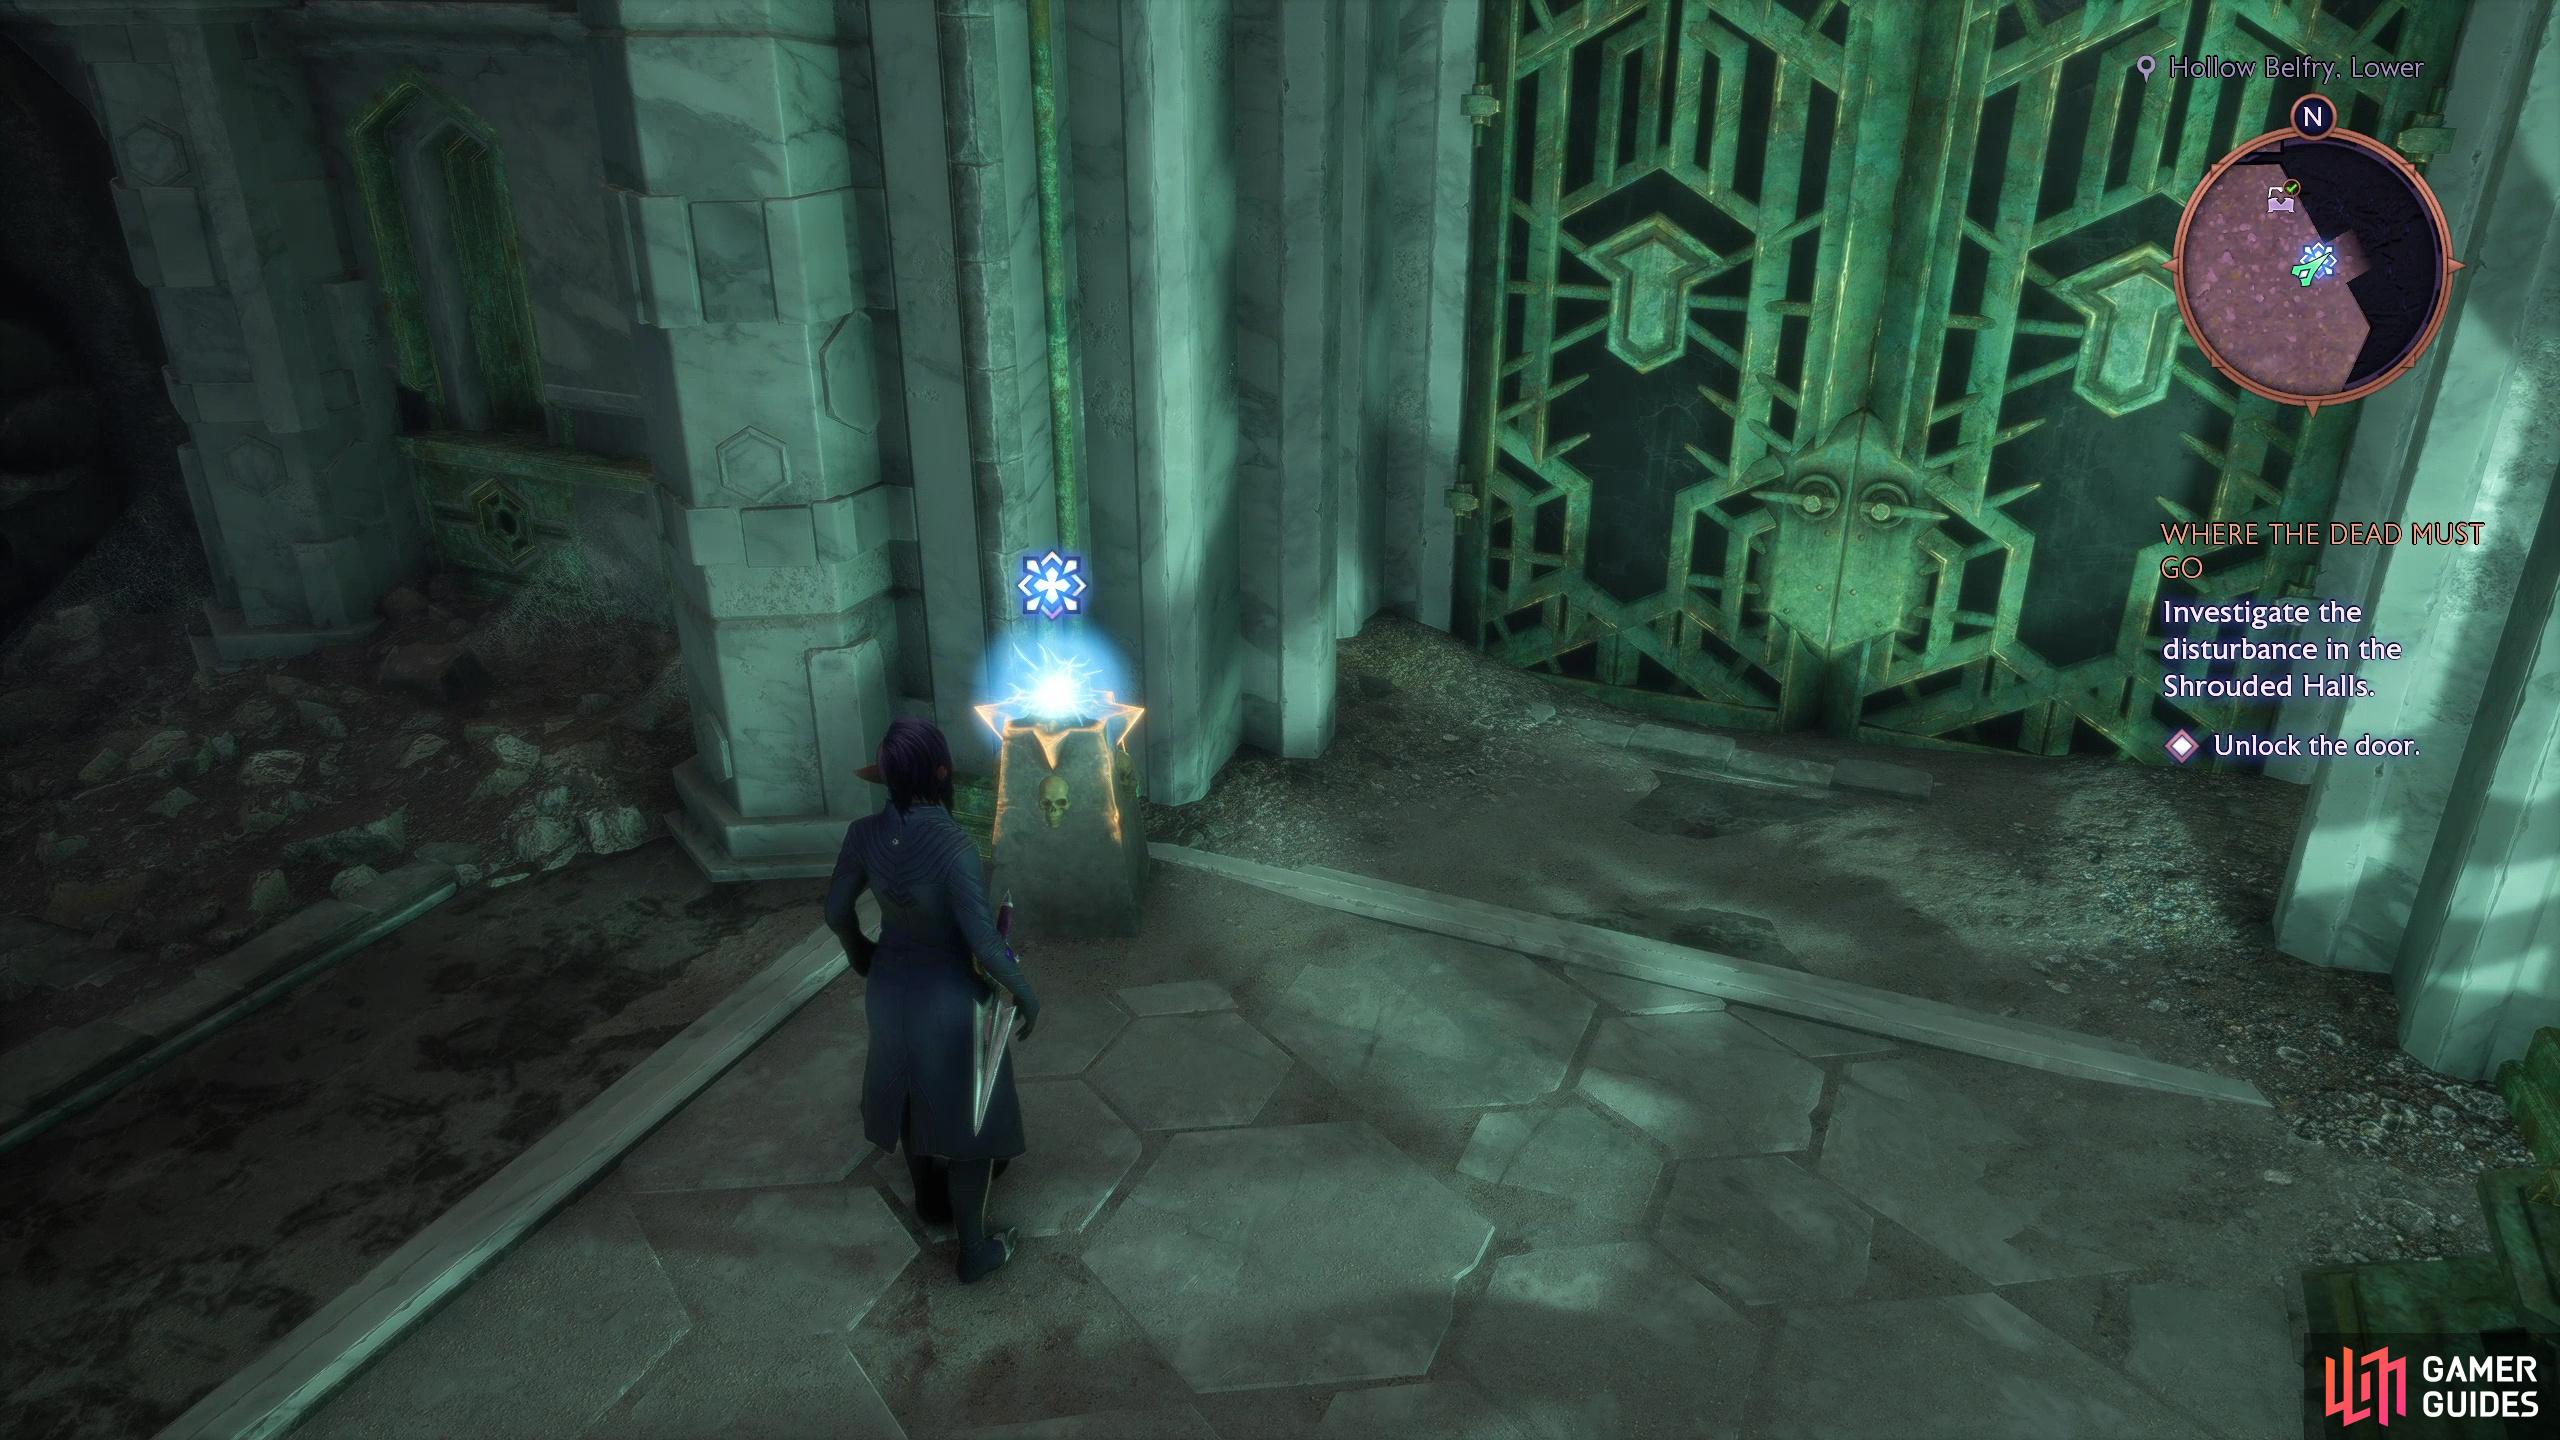
Cross a bridge to the south and accompany Emmrich into the Hollow Belfry, Lower area, which will become the hub of the Necropolis later. For now, however, it just contains evidence that the Sunken Star - the bell that keeps the spirits at bay - has been sabotaged. Defeat the mobs of Frenzied Dead that arise, then follow Emmrich to a door to the northeast, where you’ll explain a puzzle element that’ll become somewhat familiar going forward - wisps and receptacles. The receptacle near which he stands is empty, and you need to find a wisp and lure it back to said receptacle to proceed.
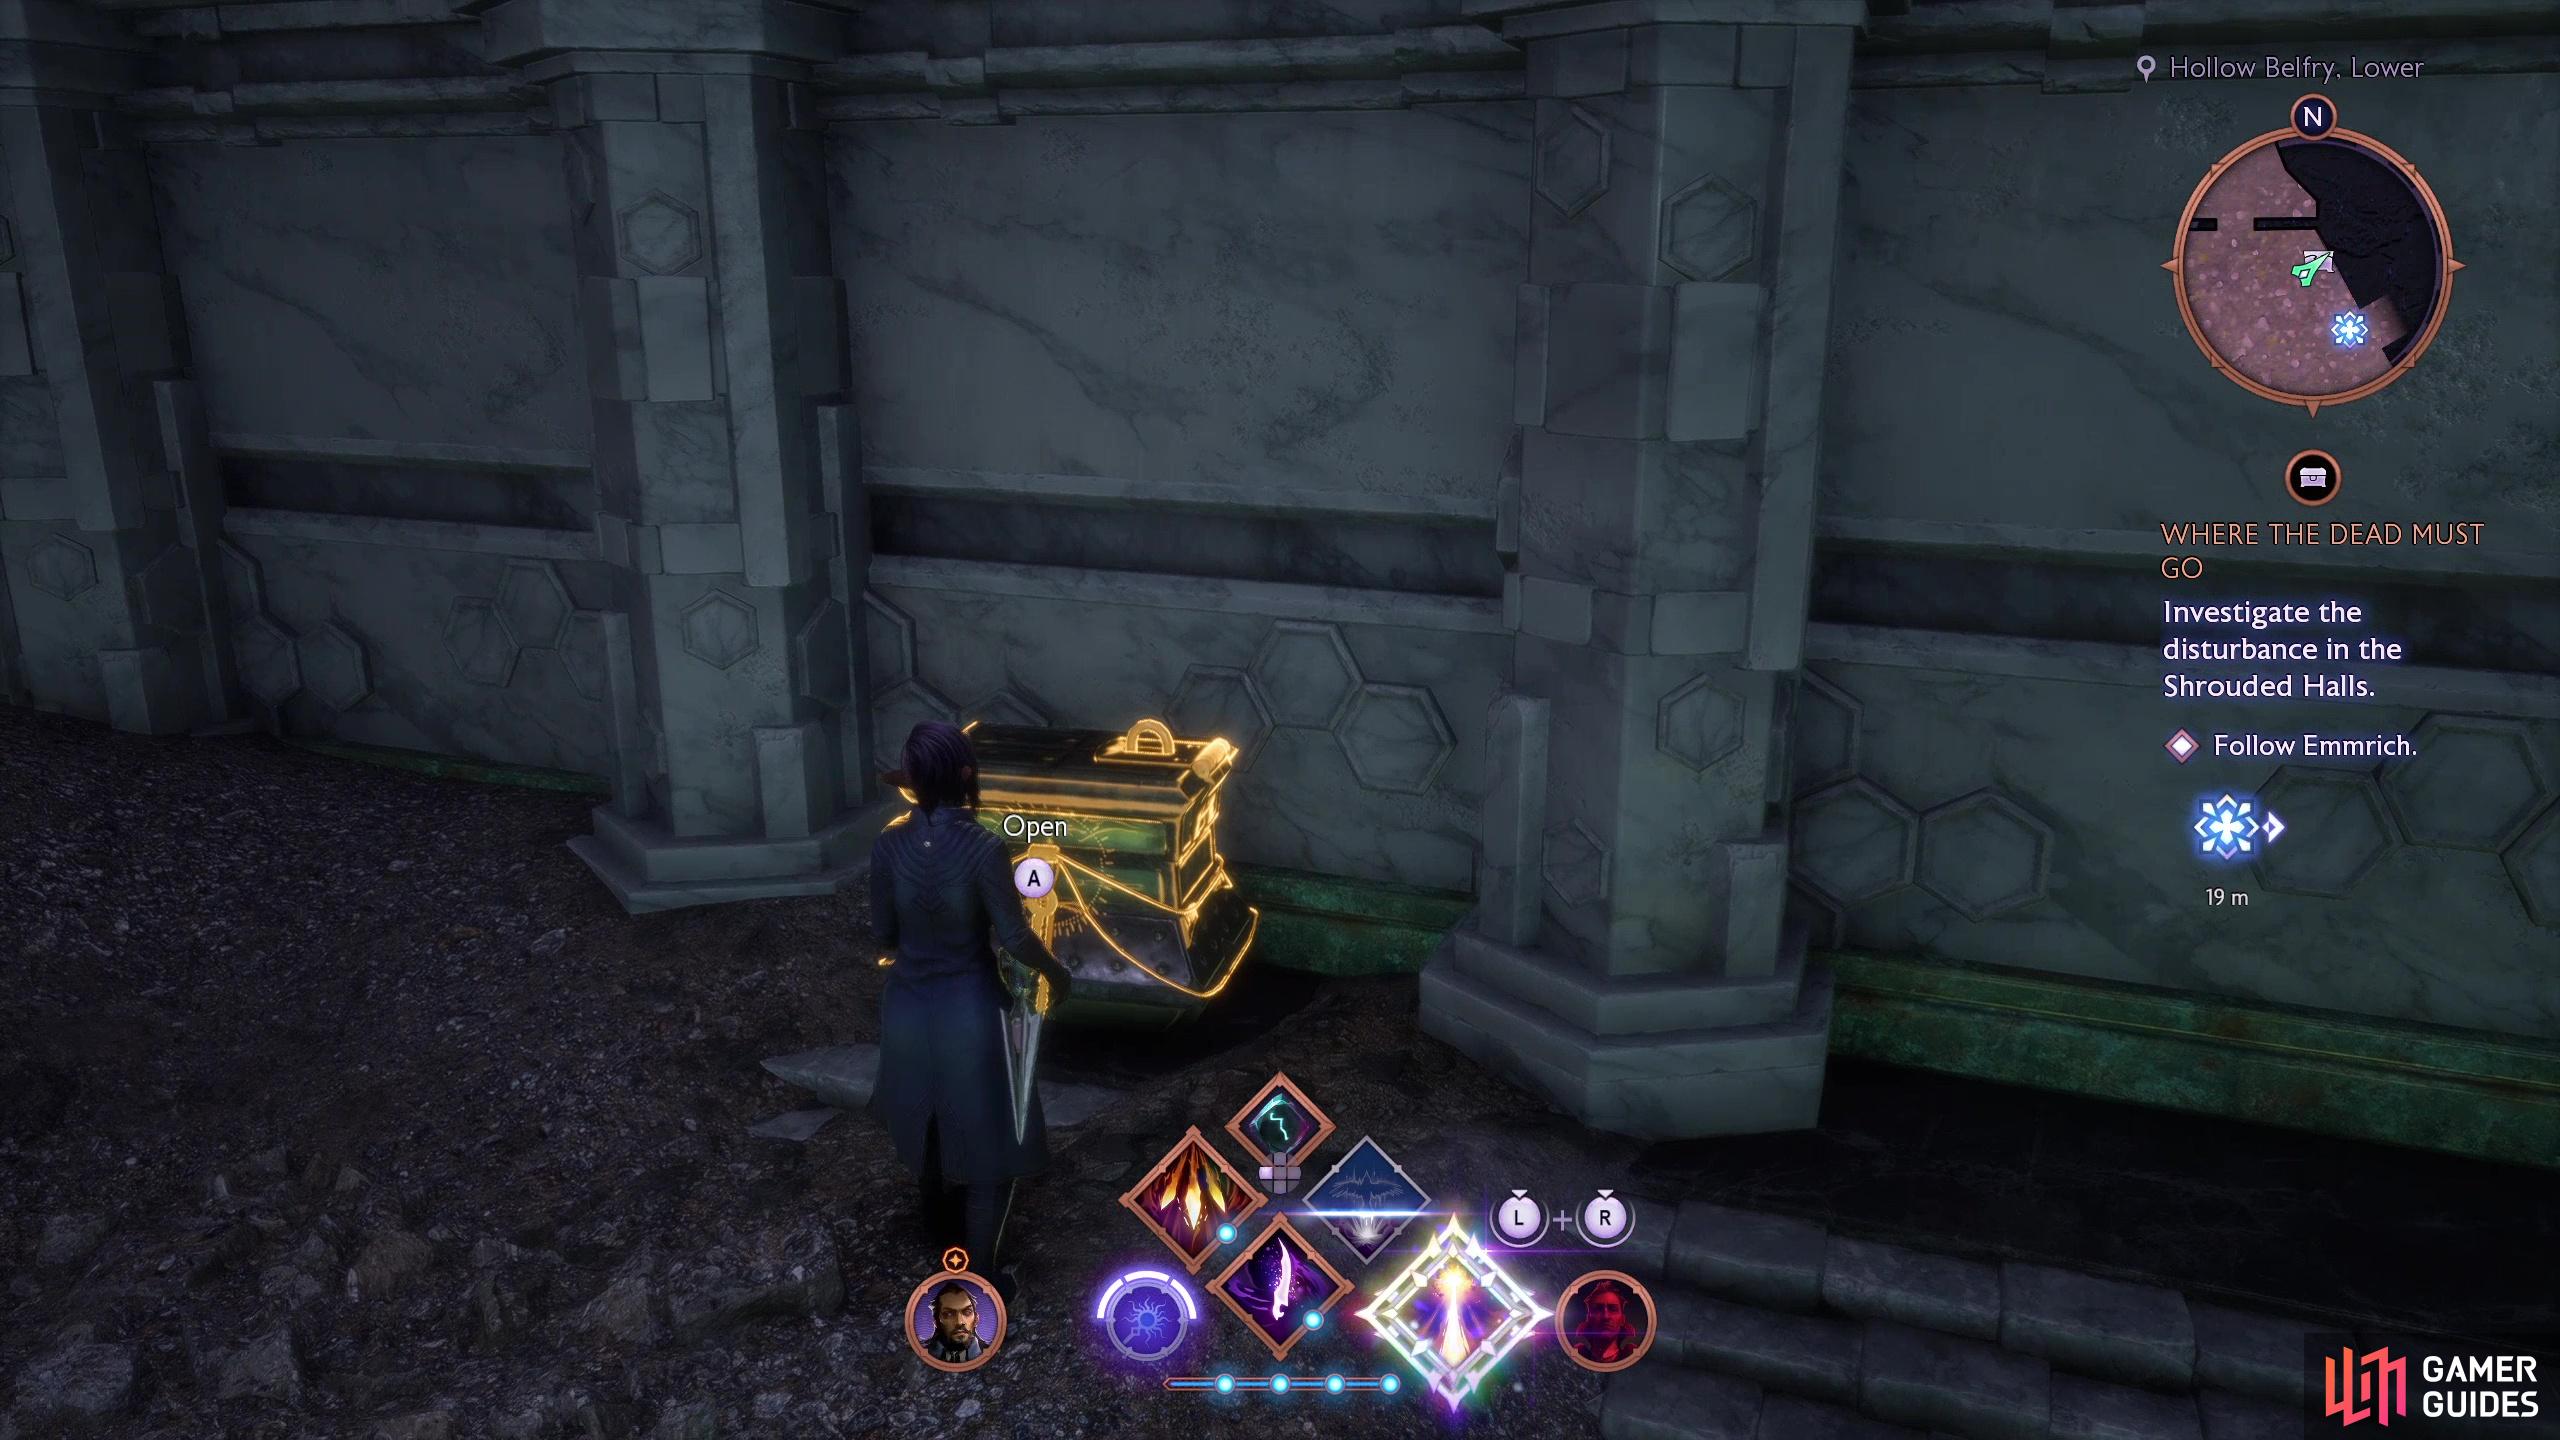
First things first, turn left (northwest) from these doors to find a chest you can loot, then note the numerous doors and barriers blocking your way - don’t fret about them too much, you can’t explore these areas until you’re done with this quest and can explore the Necropolis properly. To that end, find the wisp you need floating around in the southwestern corner of the Hollow Belfry, get close to it until it follows you, then return to the receptacle in the northeastern corner of the chamber. Wisp puzzles are inherently timed, as wisps will only follow you for a while before growing restless and returning to where you originally found them, but this shouldn’t be much of an issue here.
(1 of 3) Loot a chest in the Hollow Belfry, Lower,
The Path of Sighs
Once the wisp is in place in its receptacle, the doors will open, allowing you to continue northeast to The Path of Sighs. Press on until you head downstairs and through a doorway, past which is a large, two-story room filled with Undead Warriors, Undead Mages, and lesser undead. The former are notably more durable than Frenzied Dead, capable of performing clumsy but unblockable charge attacks, while the latter will pelt you with magic from afar. Vanquish them, head downstairs, and exit via a doorway to the southeast (note that there’s a wisp receptacle near a gate to the northeast, but you can’t solve this puzzle during this visit).
Vault of the Beloved - Despair Demon Puzzle
Drop off a ledge to the southwest and turn southeast to reach the Vault of the Beloved, a large chamber with numerous alcoves that happens to be presently infested by despair demons. Or rather, their auras - swirling clouds of frost which, if disturbed, will spawn two Shades and a frozen orb. No actual despair demons, however. There’s no penalty for picking a fight with these Shades and eradicating them, but there’s no reward, either, and given enough time and distance the frost patches will return.
Save yourself some bother and work your way southeast, avoiding or dispersing the despair demon auras as you go. When you reach the second one, search an alcove to the northeast to find the Ancient Illustration memento (+50 Caretaker Power), and after the third aura turn southwest to find a sealed door with three receptacles outside of it. Approach and investigate the door and Emmrich will summon the wisps you need to proceed, but you still have to track them down and lure them back to their receptacles in a timely manner, dodging the despair demon auras as you go. The locations of these wisps are as follows:
-
At the southeastern end of the chamber, down some stairs. Skirt the despair demon aura to the right to avoid it, or climb a ledge to the left, loot a small chest, then drop down behind the aura to reach the wisp.
-
In an alcove up some stairs to the northeast of the third aura.
-
In an alcove up some stairs to the southwest of the first aura.
With all three wisps in place the doors will open, allowing you to advance. Grab a chest just through the door, head downstairs, drop off a ledge, then go through a doorway to reach the Cascades.
(1 of 3) Grab the Ancient Illustration memento in the Vault of the Beloved,
Cascades
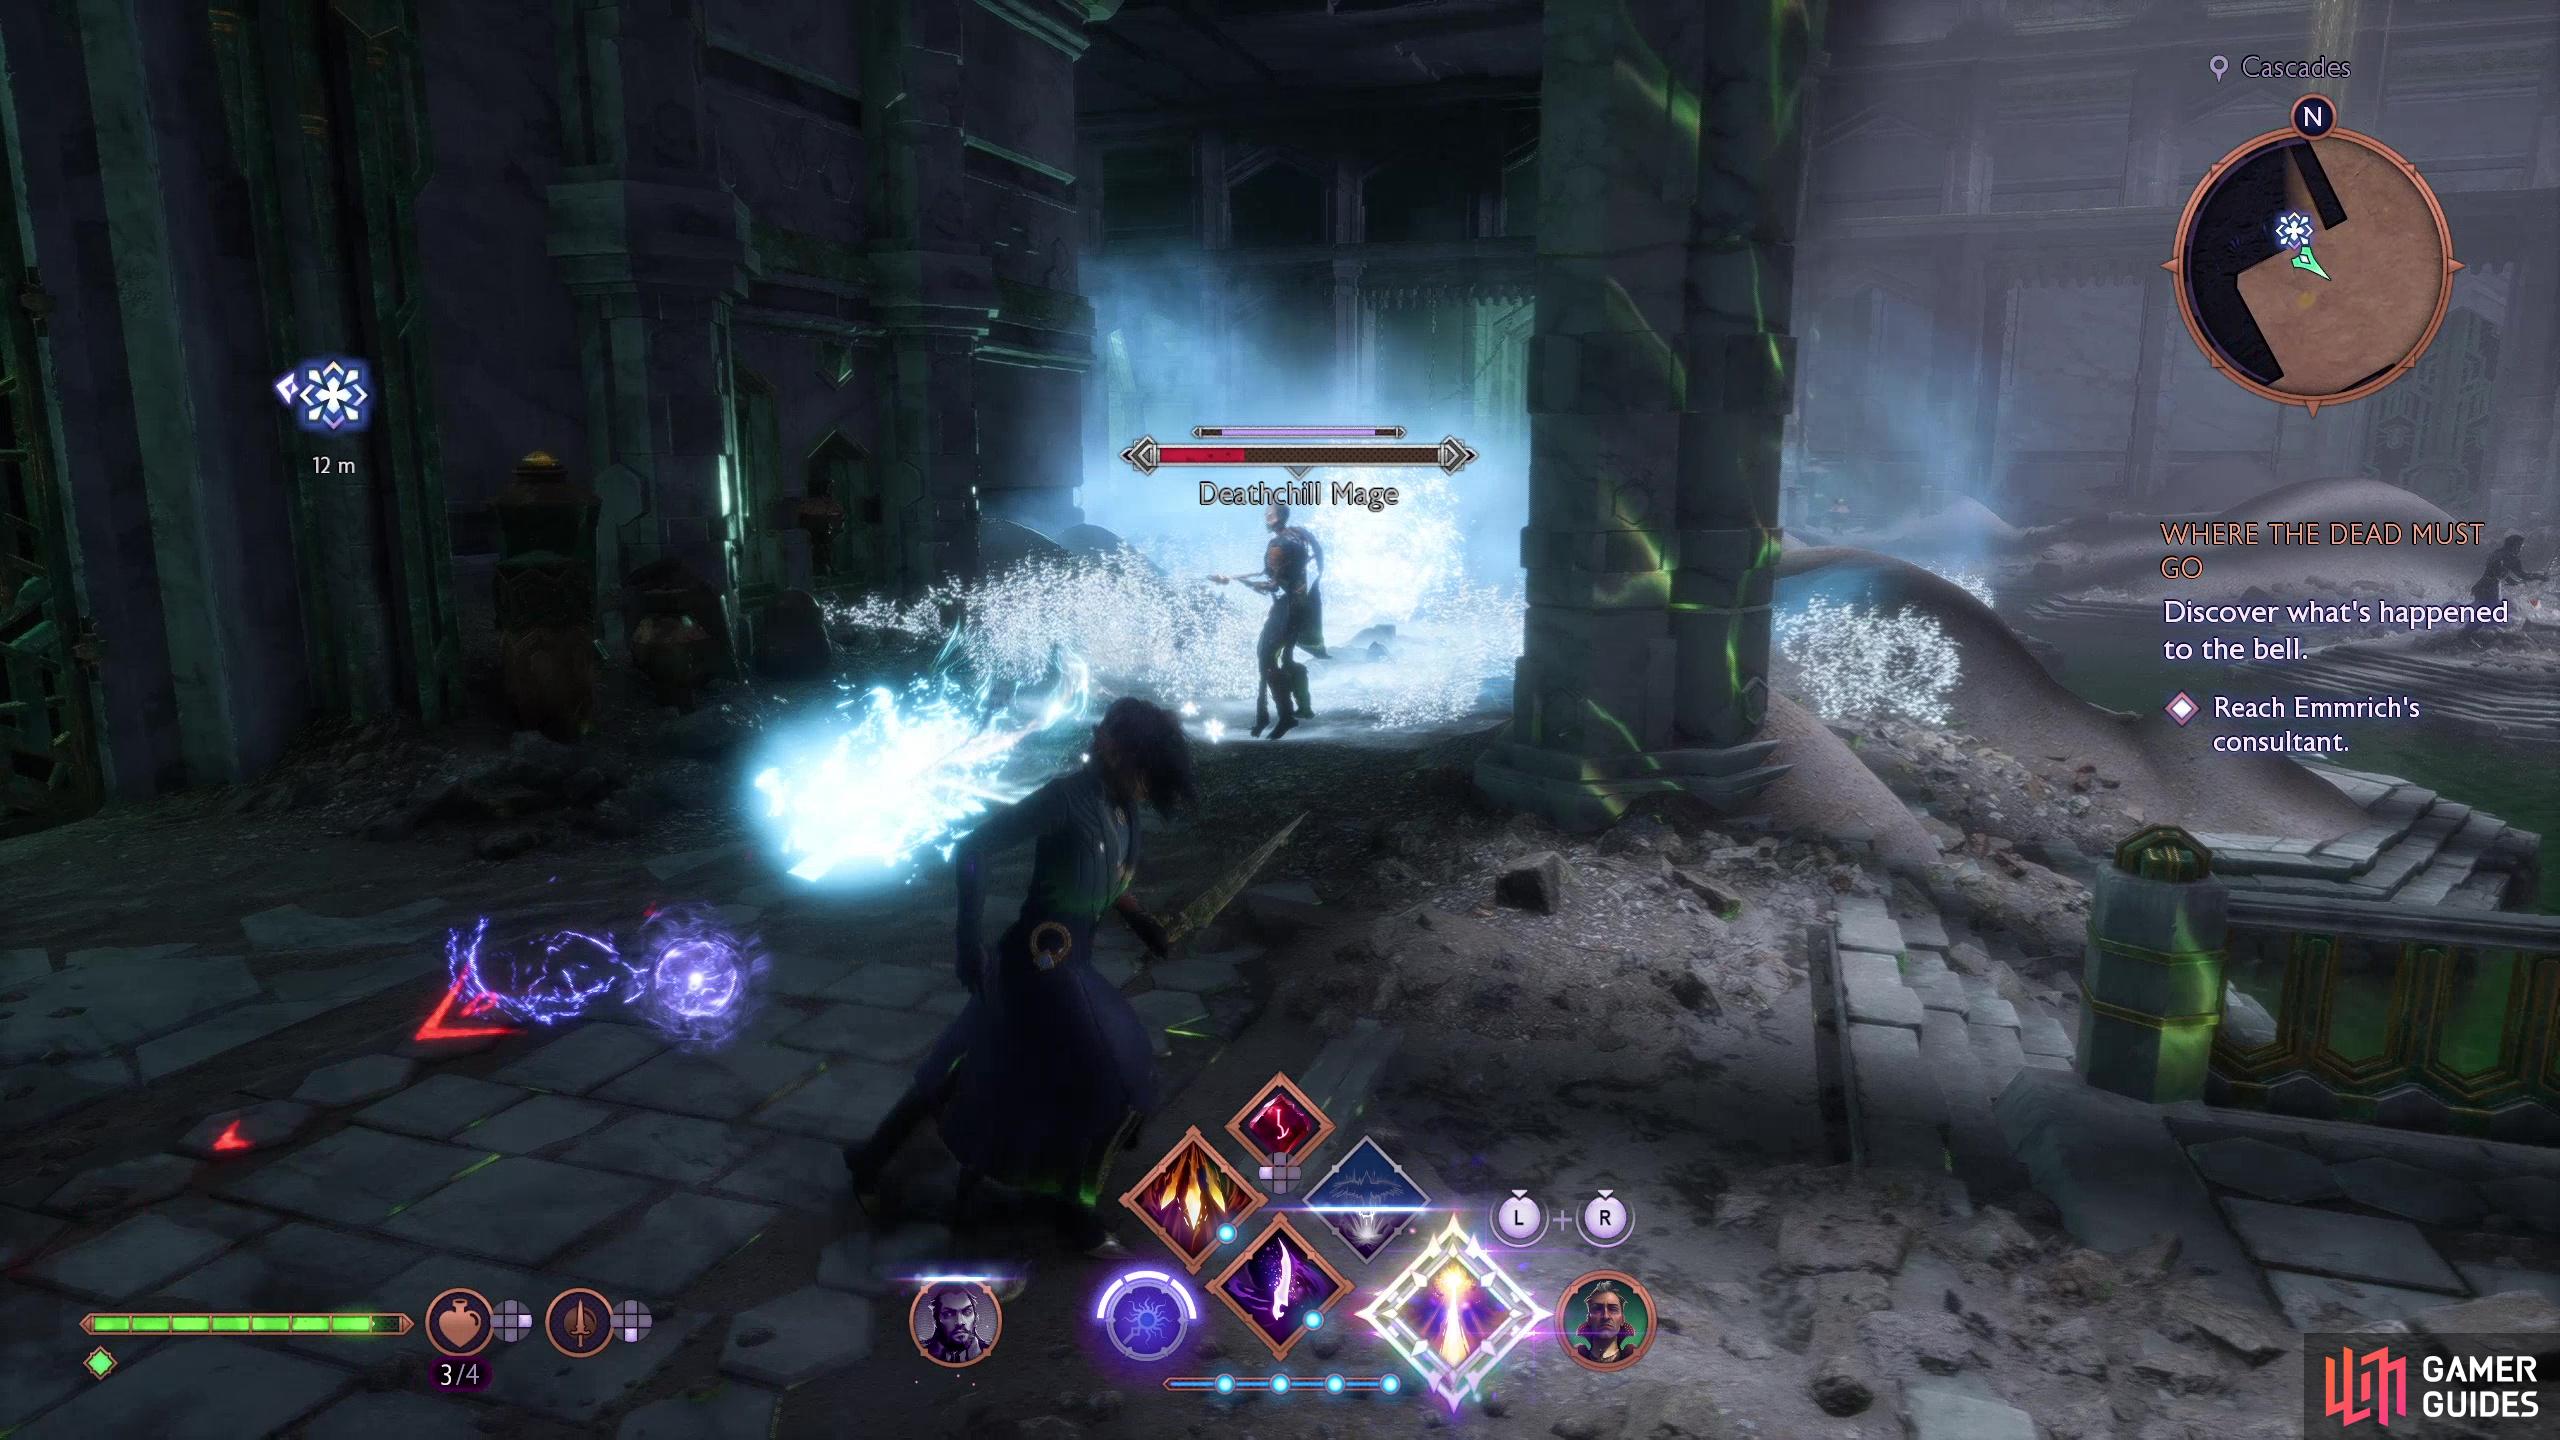
This large, watery room is occupied by despair demon auras and a trio of Deathchill Mages, which are more durable than Undead Mages and have some additional spells. Defeat the Deathchill Mages and avoid or disperse the despair demon auras (a ranged attack can do this safely), then head to some doors leading northwest. Once through, continue northwest to find a small chest, then head upstairs to the south to find a part of the Necropolis that has clearly suffered from cave-ins.
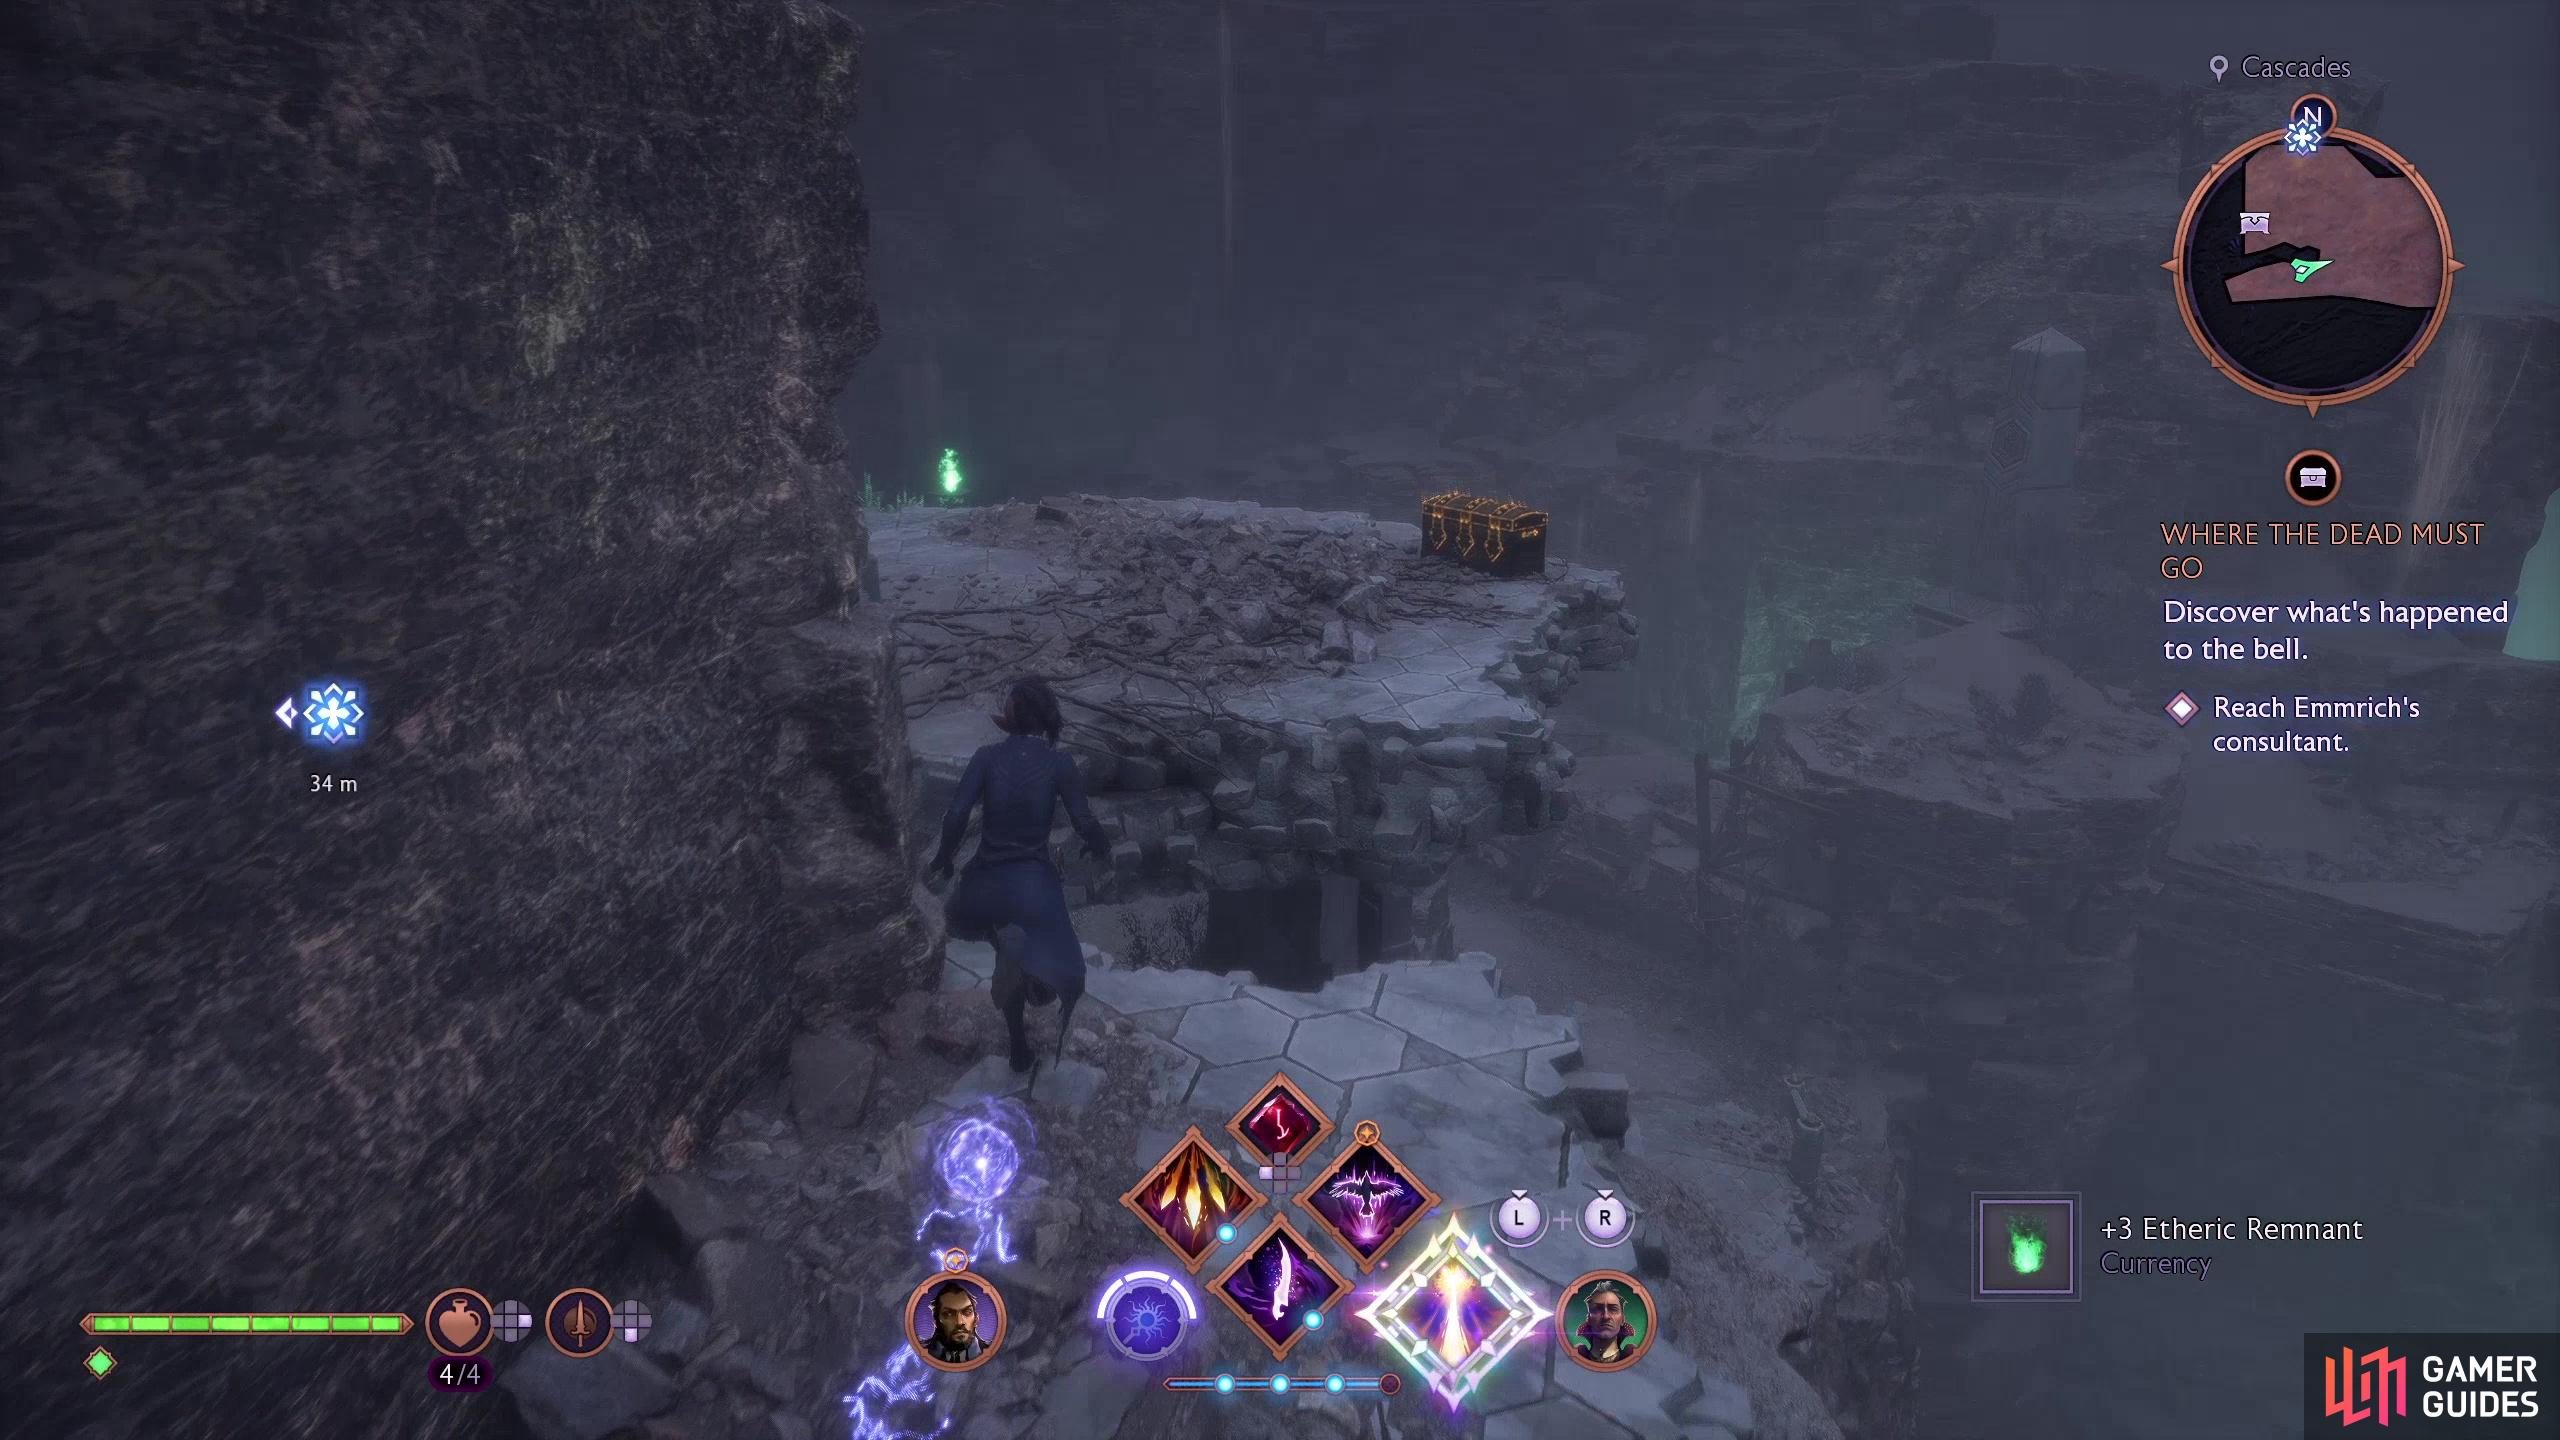
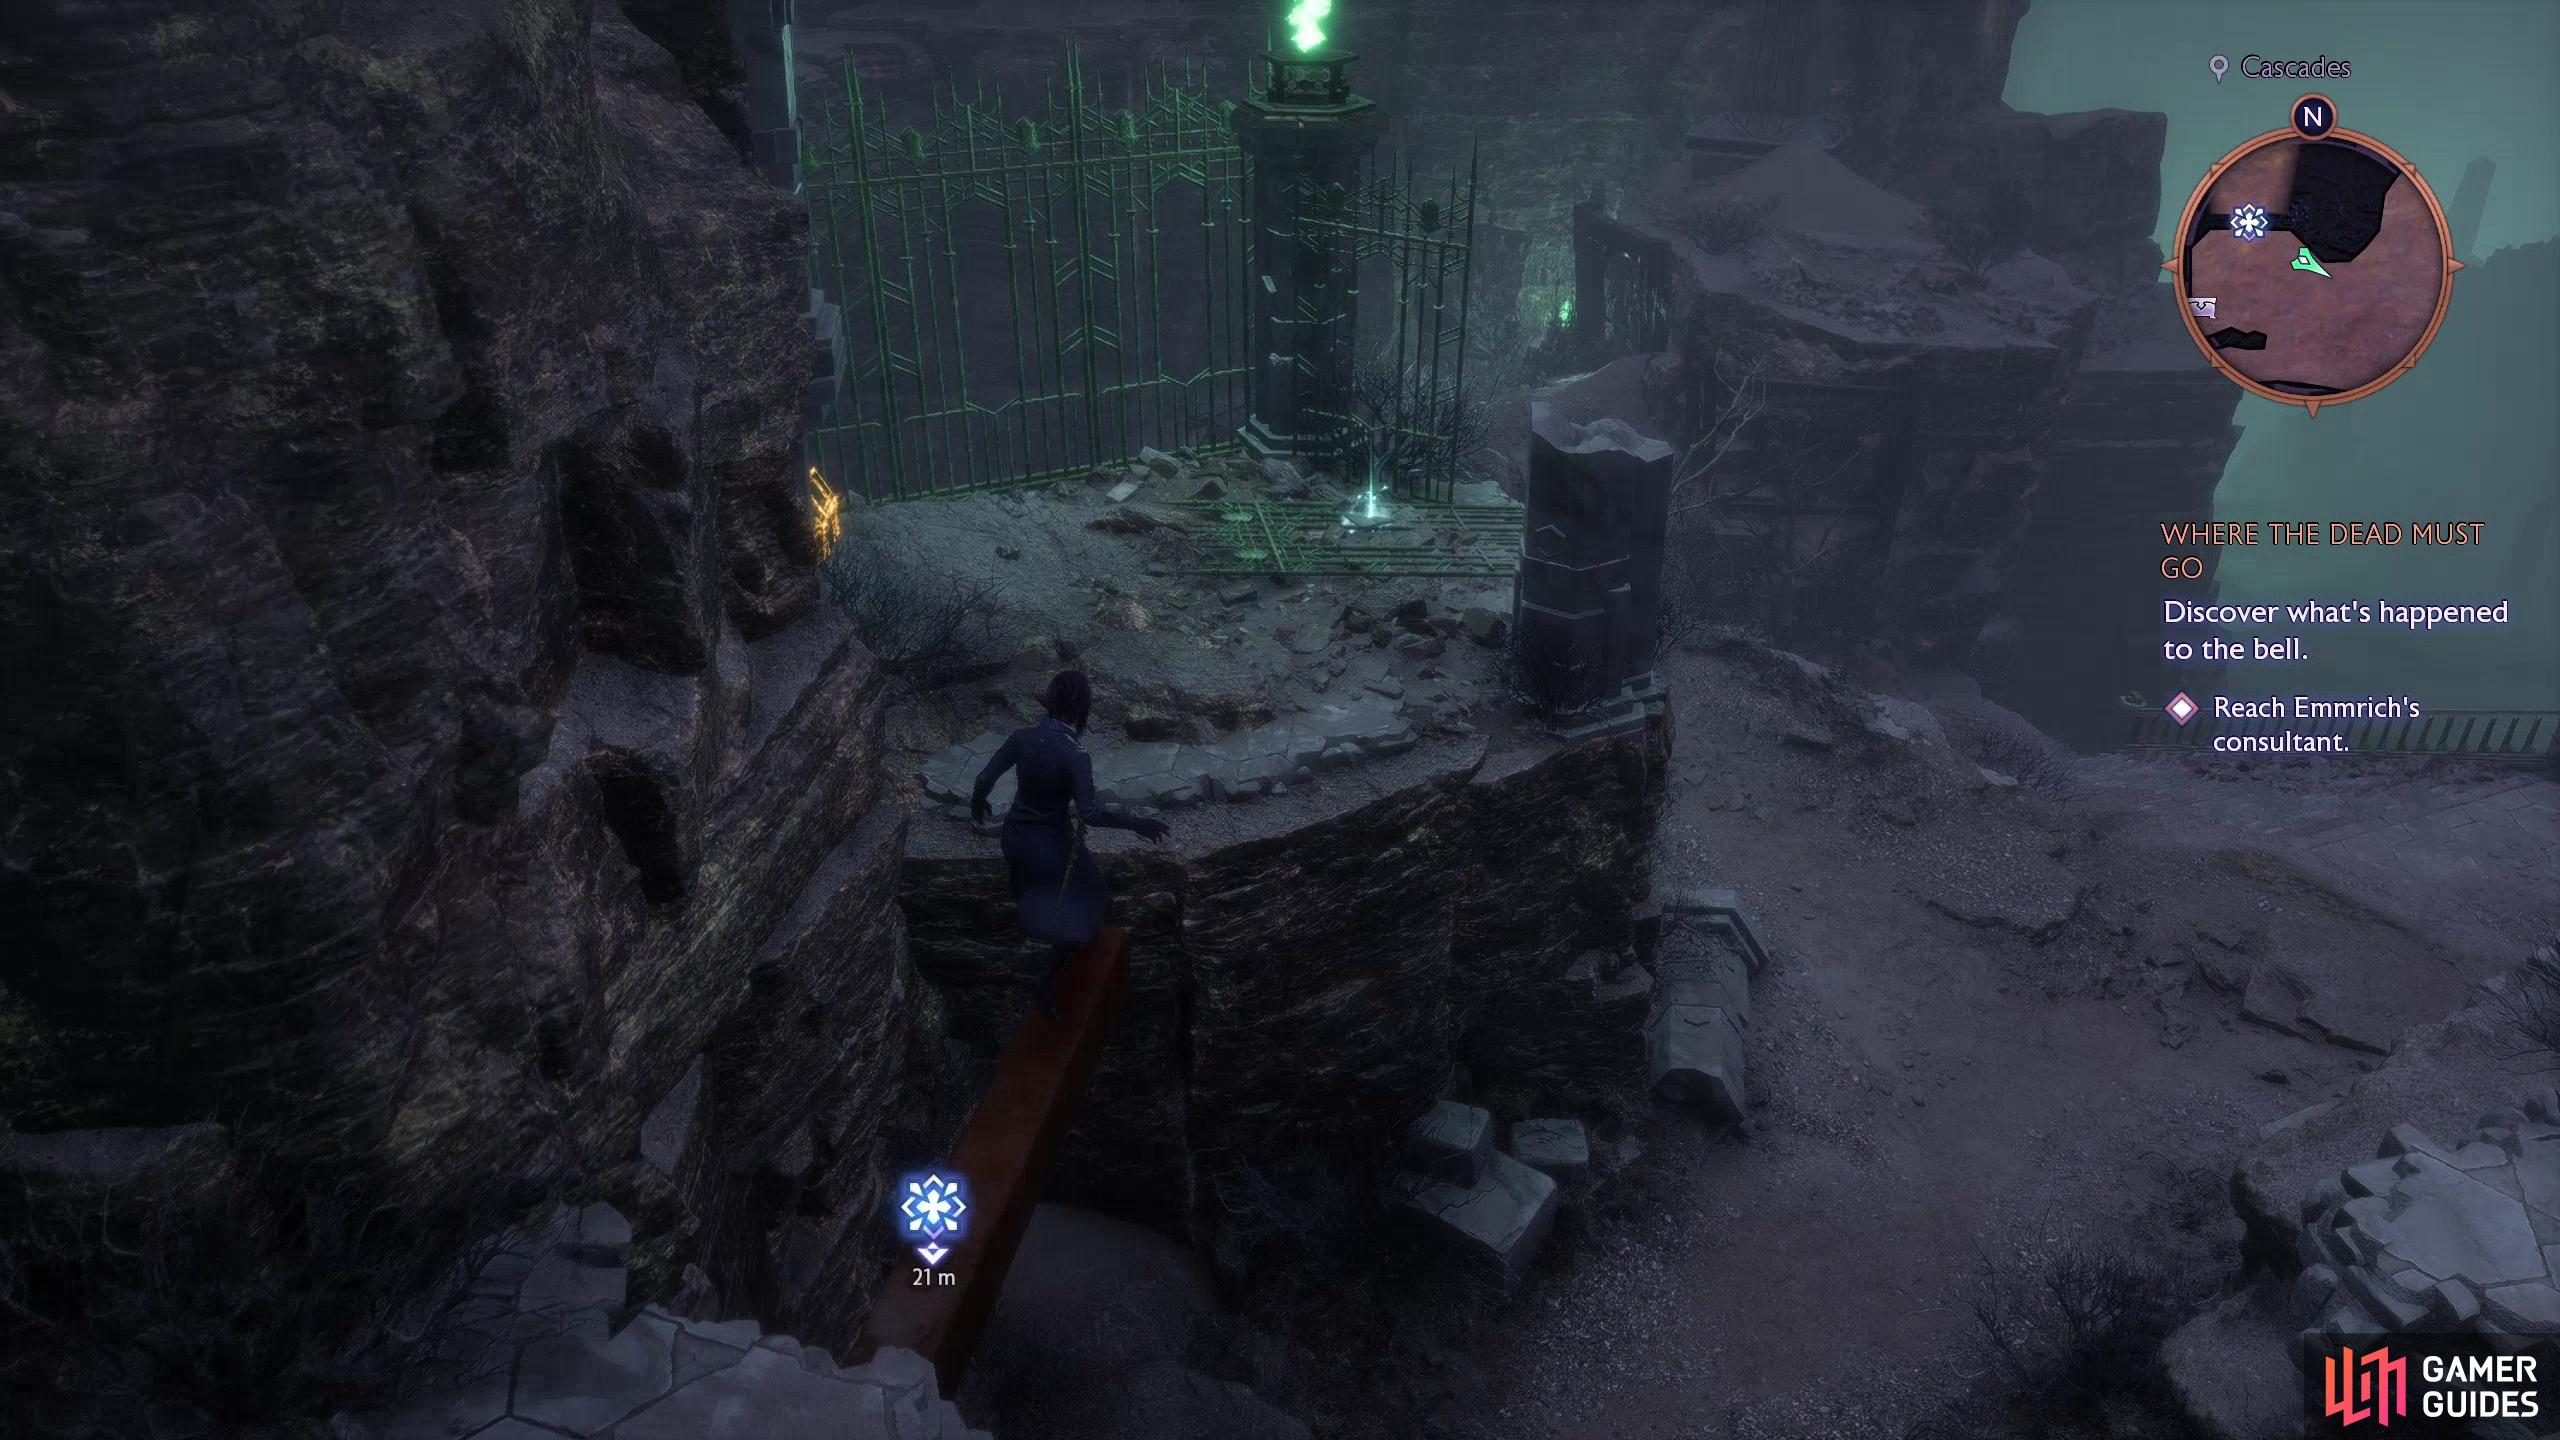
Climb a ledge to the east, go uphill to the south and climb another ledge, then cross some beams to the northwest to reach the far side of this chamber. Drop off a ledge to the south, climb up to the west and ascend some stairs, climb yet more ledges to the north and southwest to find yourself at another flight of stairs. If you go upstairs and turn north you’ll find a door leading you further into the Necropolis, but first, let’s get some optional loot.
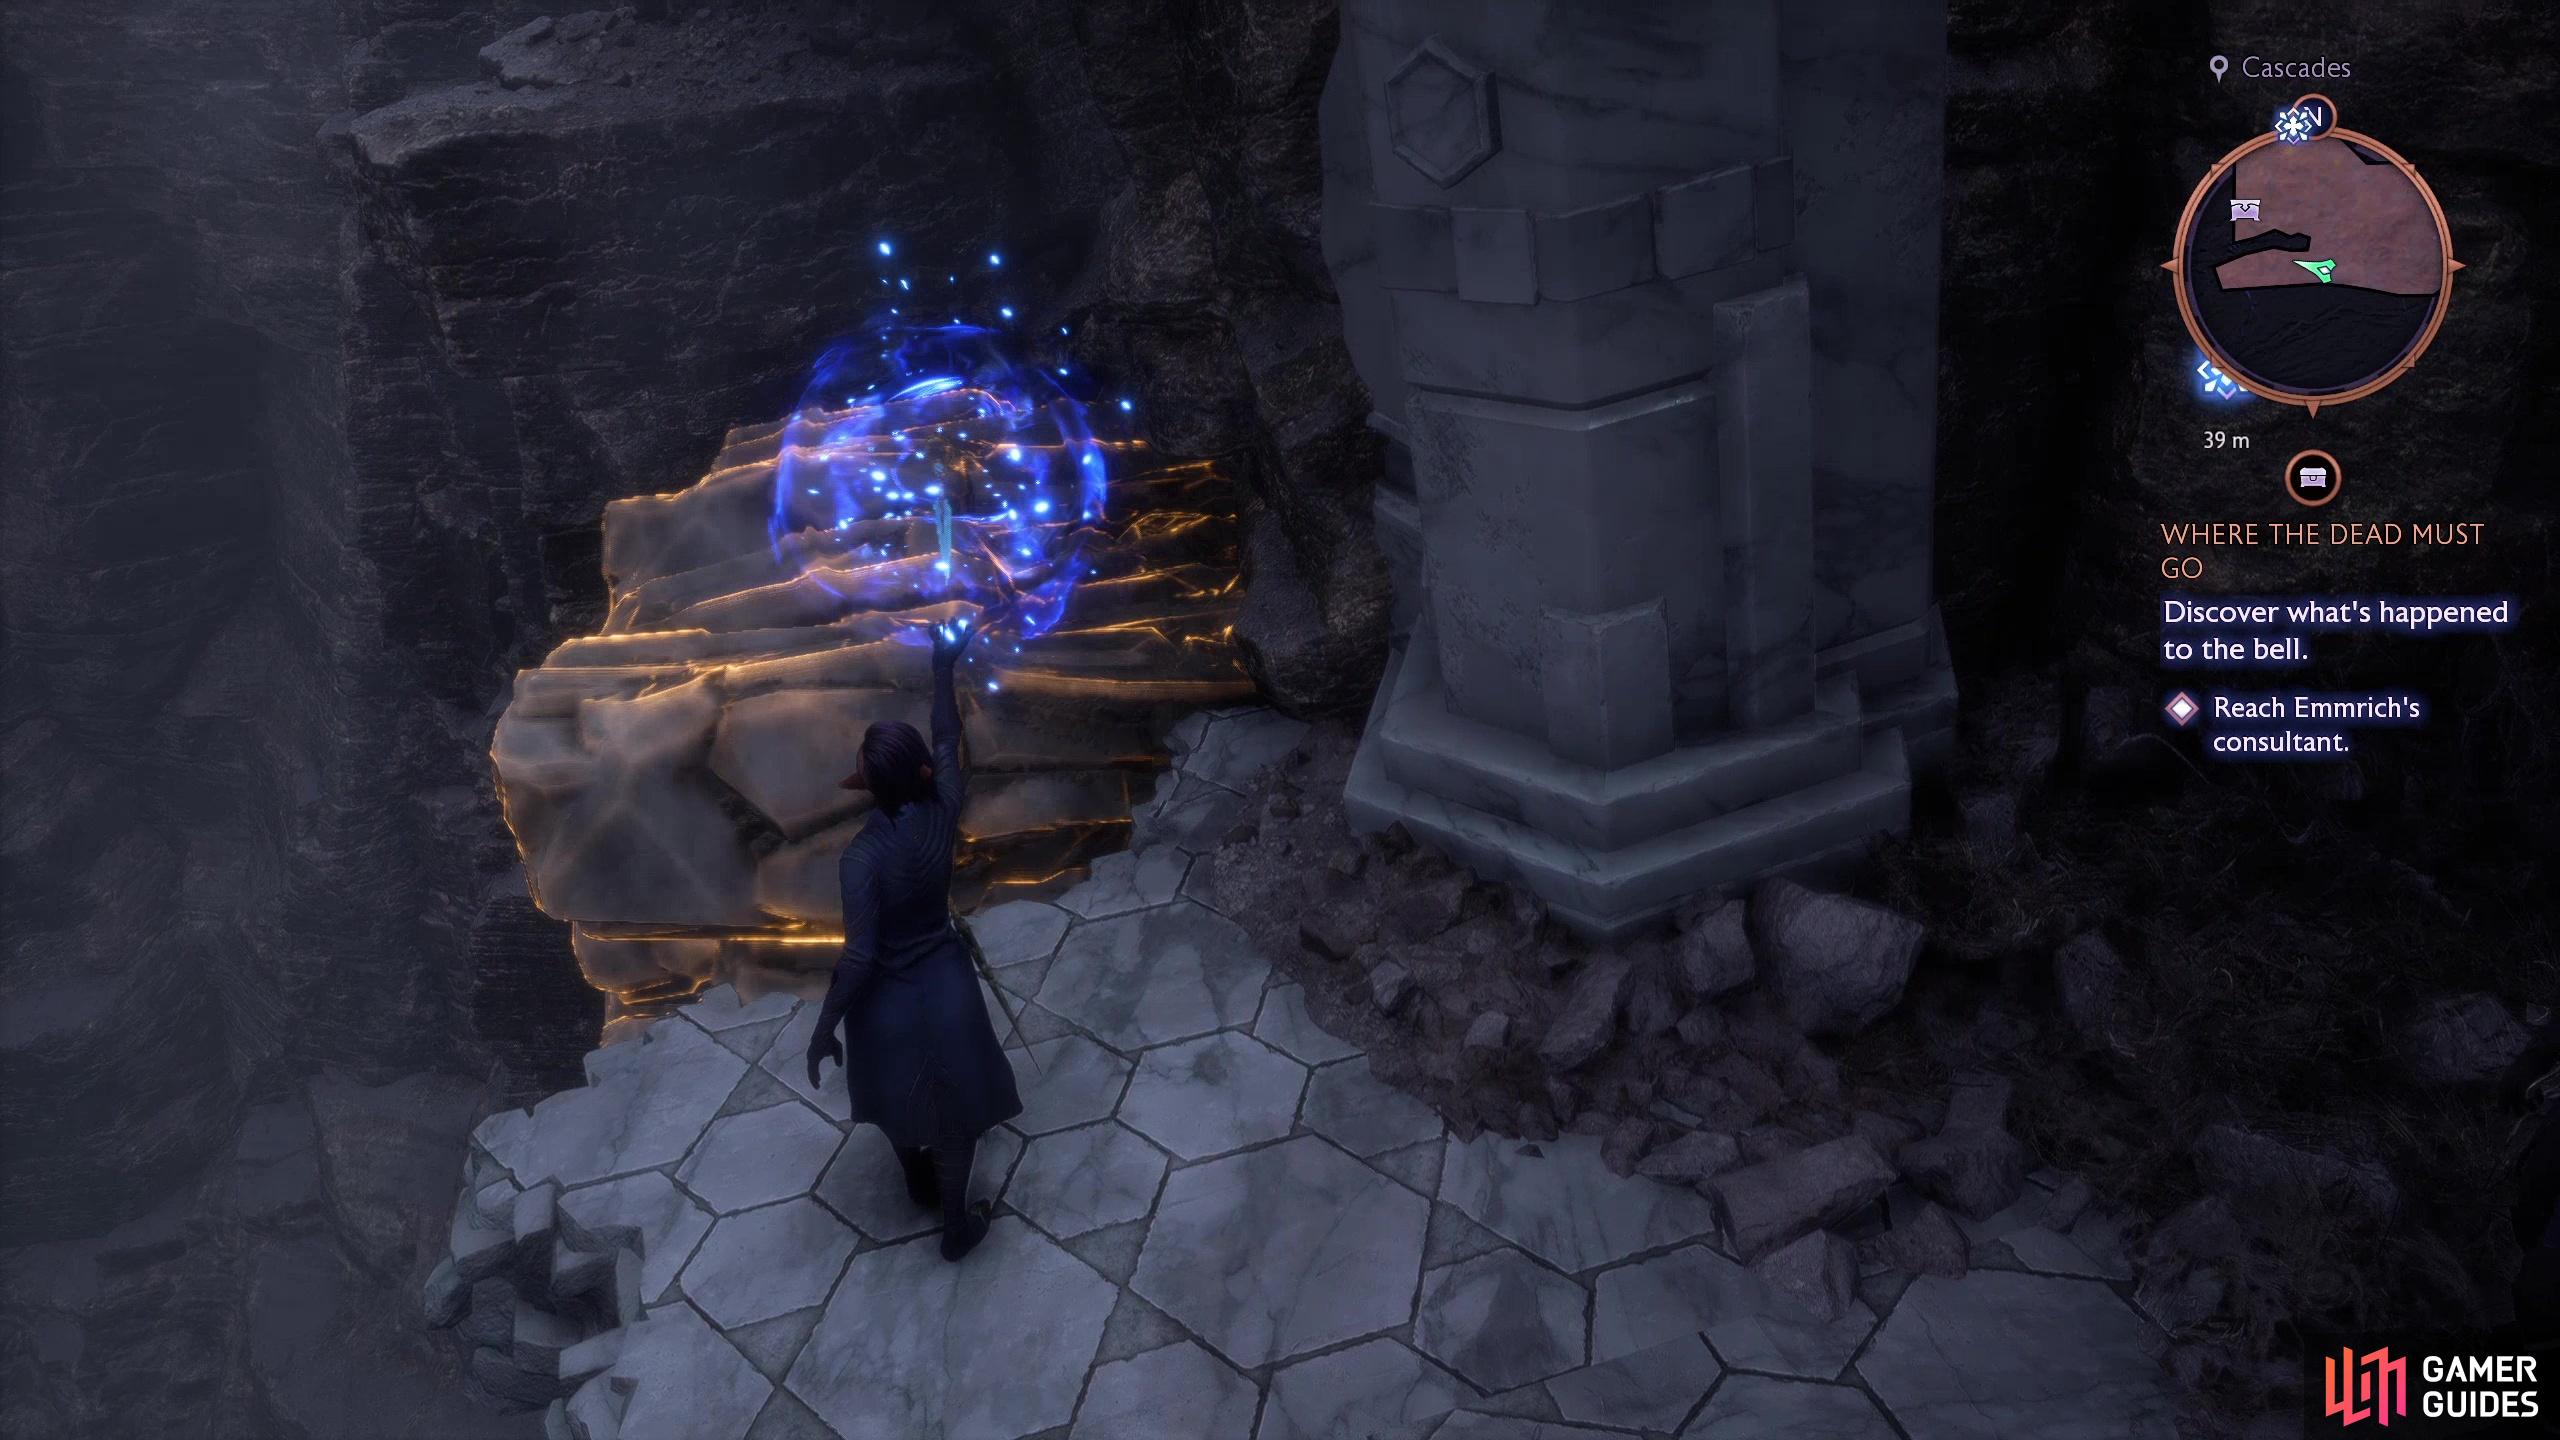
From the stairs turn south and when you reach a dropoff, turn west. Use “Eternal Hymn” to move a slab you can use as a platform and jump your way west, then climb a ledge to the north and follow the path to the east, destroy some junk, then jump across a gap to the east. Loot a chest to obtain the Minrathous Citizen’s Outfit cosmetic as well as other goodies, kick a ladder down to the north and descend.
Head upstairs and instead of going through the doors, turn east, walk out onto a beam, and jump a gap to reach a ledge to the southeast. Loot a collapsed gate to score some Voluminous Notes (+50 Caretaker Power), then loot a chest to the northeast. Once you have this treasure, drop down and work your way back up to the door, this time going through it to reach The Spectral Court.
(1 of 4) Defeat the Deathchill Mages in the Cascades,
The Spectral Court
Enter The Spectral Court and after some chatter you’ll be tasked with lighting four braziers. Before you get around to that, climb up to the southwest to find a small chest, then light the braziers and investigate the corpse Emmrich is interested in to trigger a scene. Now that you know your enemy, lure a wisp that emerges from the corpse Emmrich just talked to and join Emmrich near a gate to the north. The wisp should settle in a receptacle, opening the gate and allowing you to advance back to The Path of Sighs.
Reach the Upper Belfry
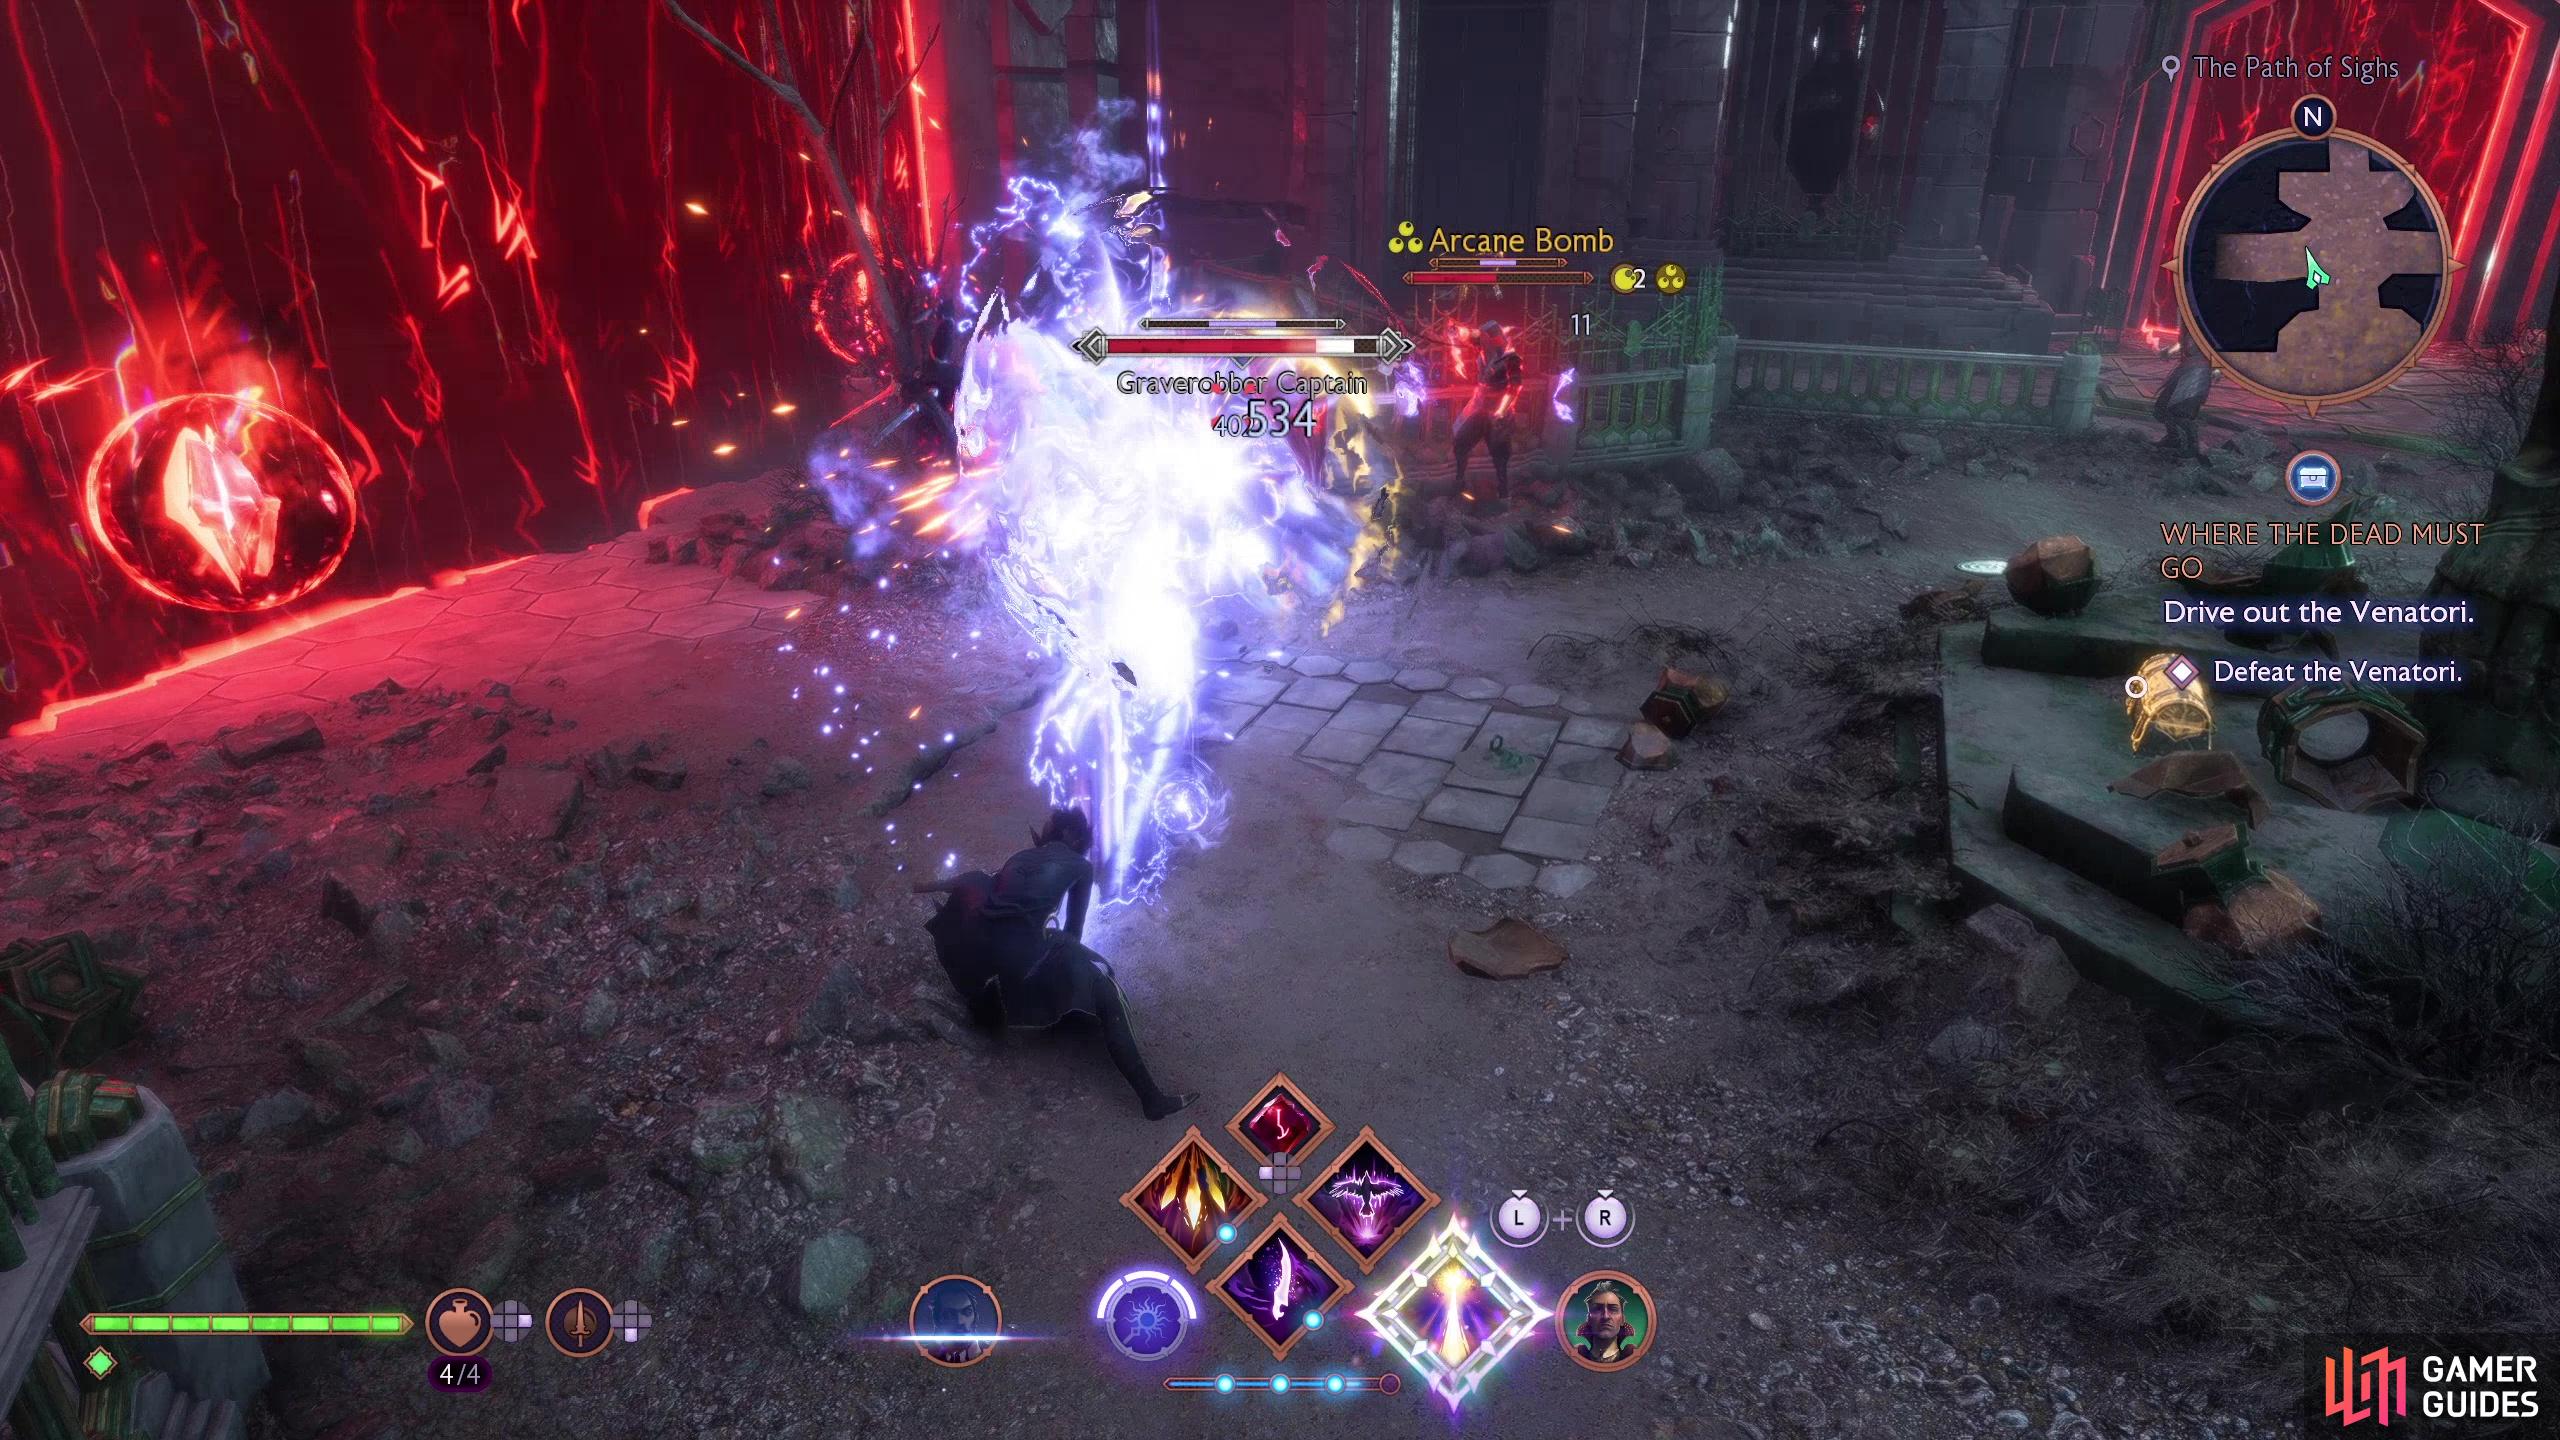
Continue north past a pair of statues and you’ll encounter a Graverobber Captain and some Venatori Soldiers. Engage them, but be wary as more Venatori Soldiers and some Cult Mages will eventually approach from the east. Once all the Venatori are dead, set about looting - the Graverobber Captain drops the ![]() Overflow rune, while to the north you’ll find a barrier, west of which is a small chest. Your way north and east are blocked by barriers (the Venatori really should hide their crystals behind their barriers!), so go west instead, follow the path ahead northwest. Dispatch a group of Venatori (soldiers and a mage) hanging out with a Despair Demon (a proper one this time) and when they’re gone continue forward until you find a discarded slave. Talk to him, and when you’re done destroy some crates to the southwest to find a small chest.
Overflow rune, while to the north you’ll find a barrier, west of which is a small chest. Your way north and east are blocked by barriers (the Venatori really should hide their crystals behind their barriers!), so go west instead, follow the path ahead northwest. Dispatch a group of Venatori (soldiers and a mage) hanging out with a Despair Demon (a proper one this time) and when they’re gone continue forward until you find a discarded slave. Talk to him, and when you’re done destroy some crates to the southwest to find a small chest.
(1 of 3) Defeat the Graverobber Captain and his minions, then loot him for the Shatter rune,
Survive the Venatori Attack
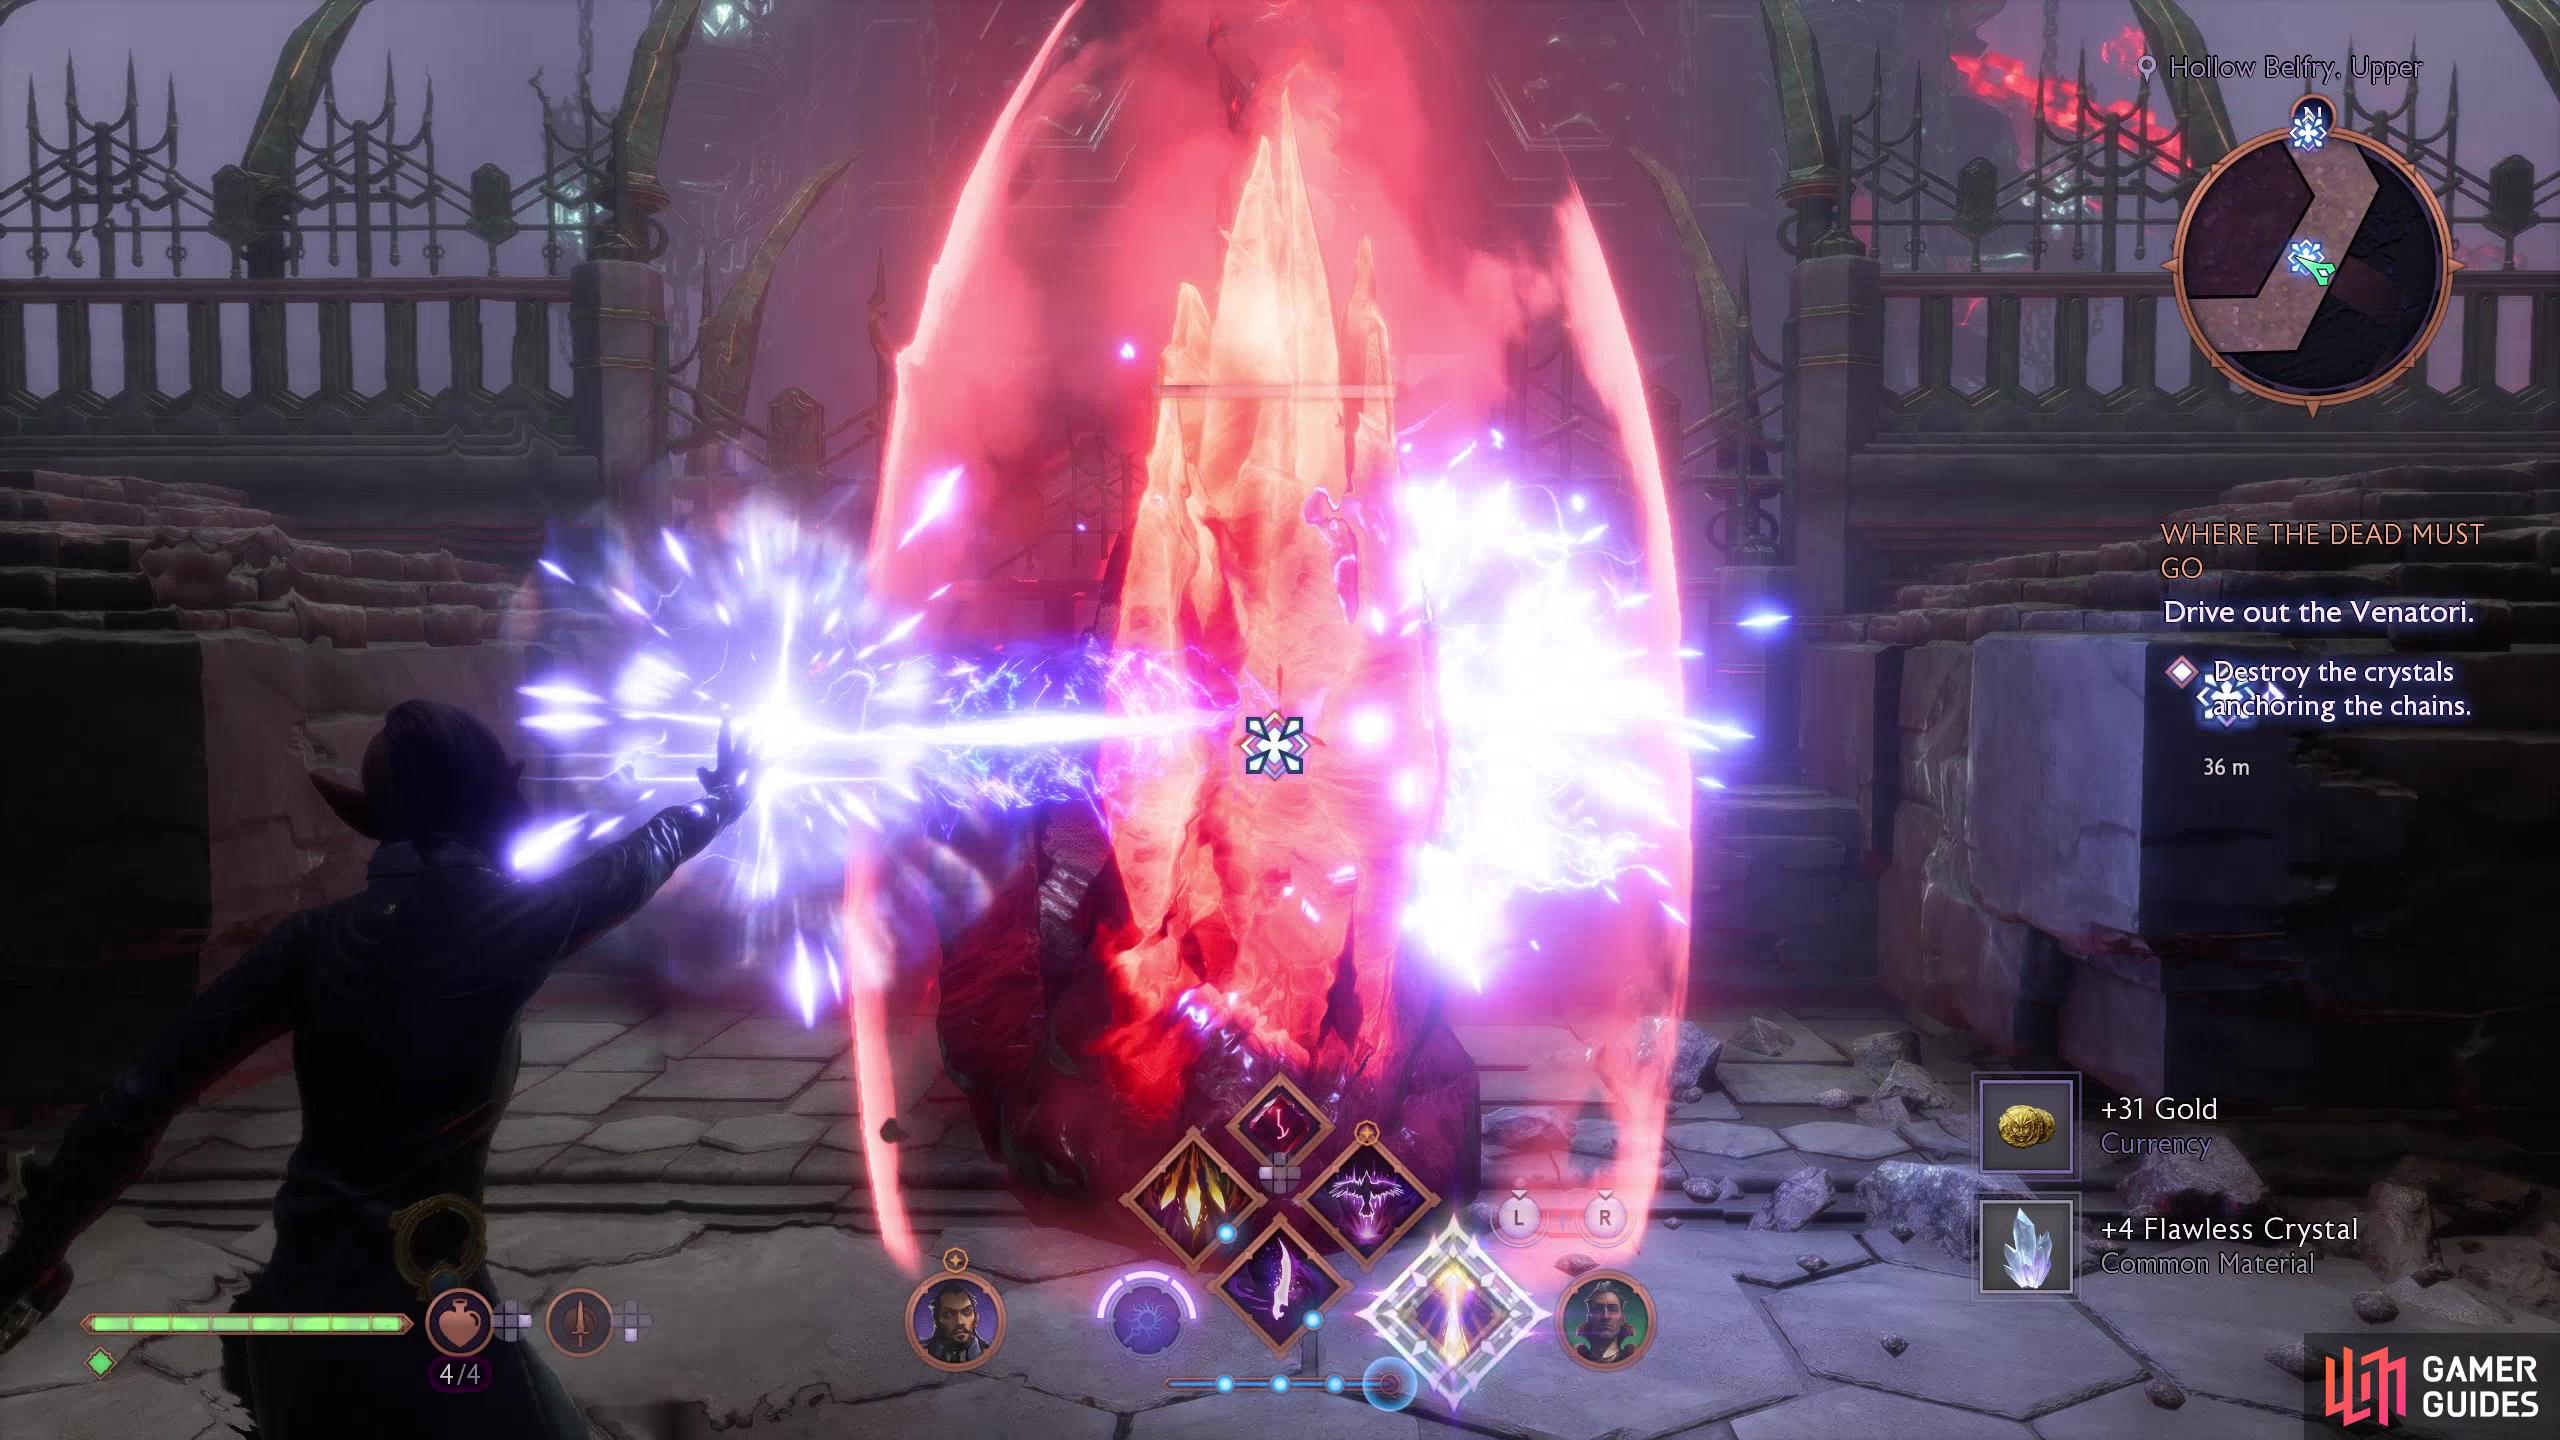
When you’re done, go upstairs to the northeast to reach the Hollow Belfry, Upper. Go through some doors and you’ll find some Venatori chains binding the Sunken Star - you’ve now got to work your way counterclockwise, killing Venatori and breaking the crystals powering their binding chains as you go. Once all four chains are broken, smash some crates to the northwest to reveal a hidden chest, then drop down to the Hollow Belfry, Lower.
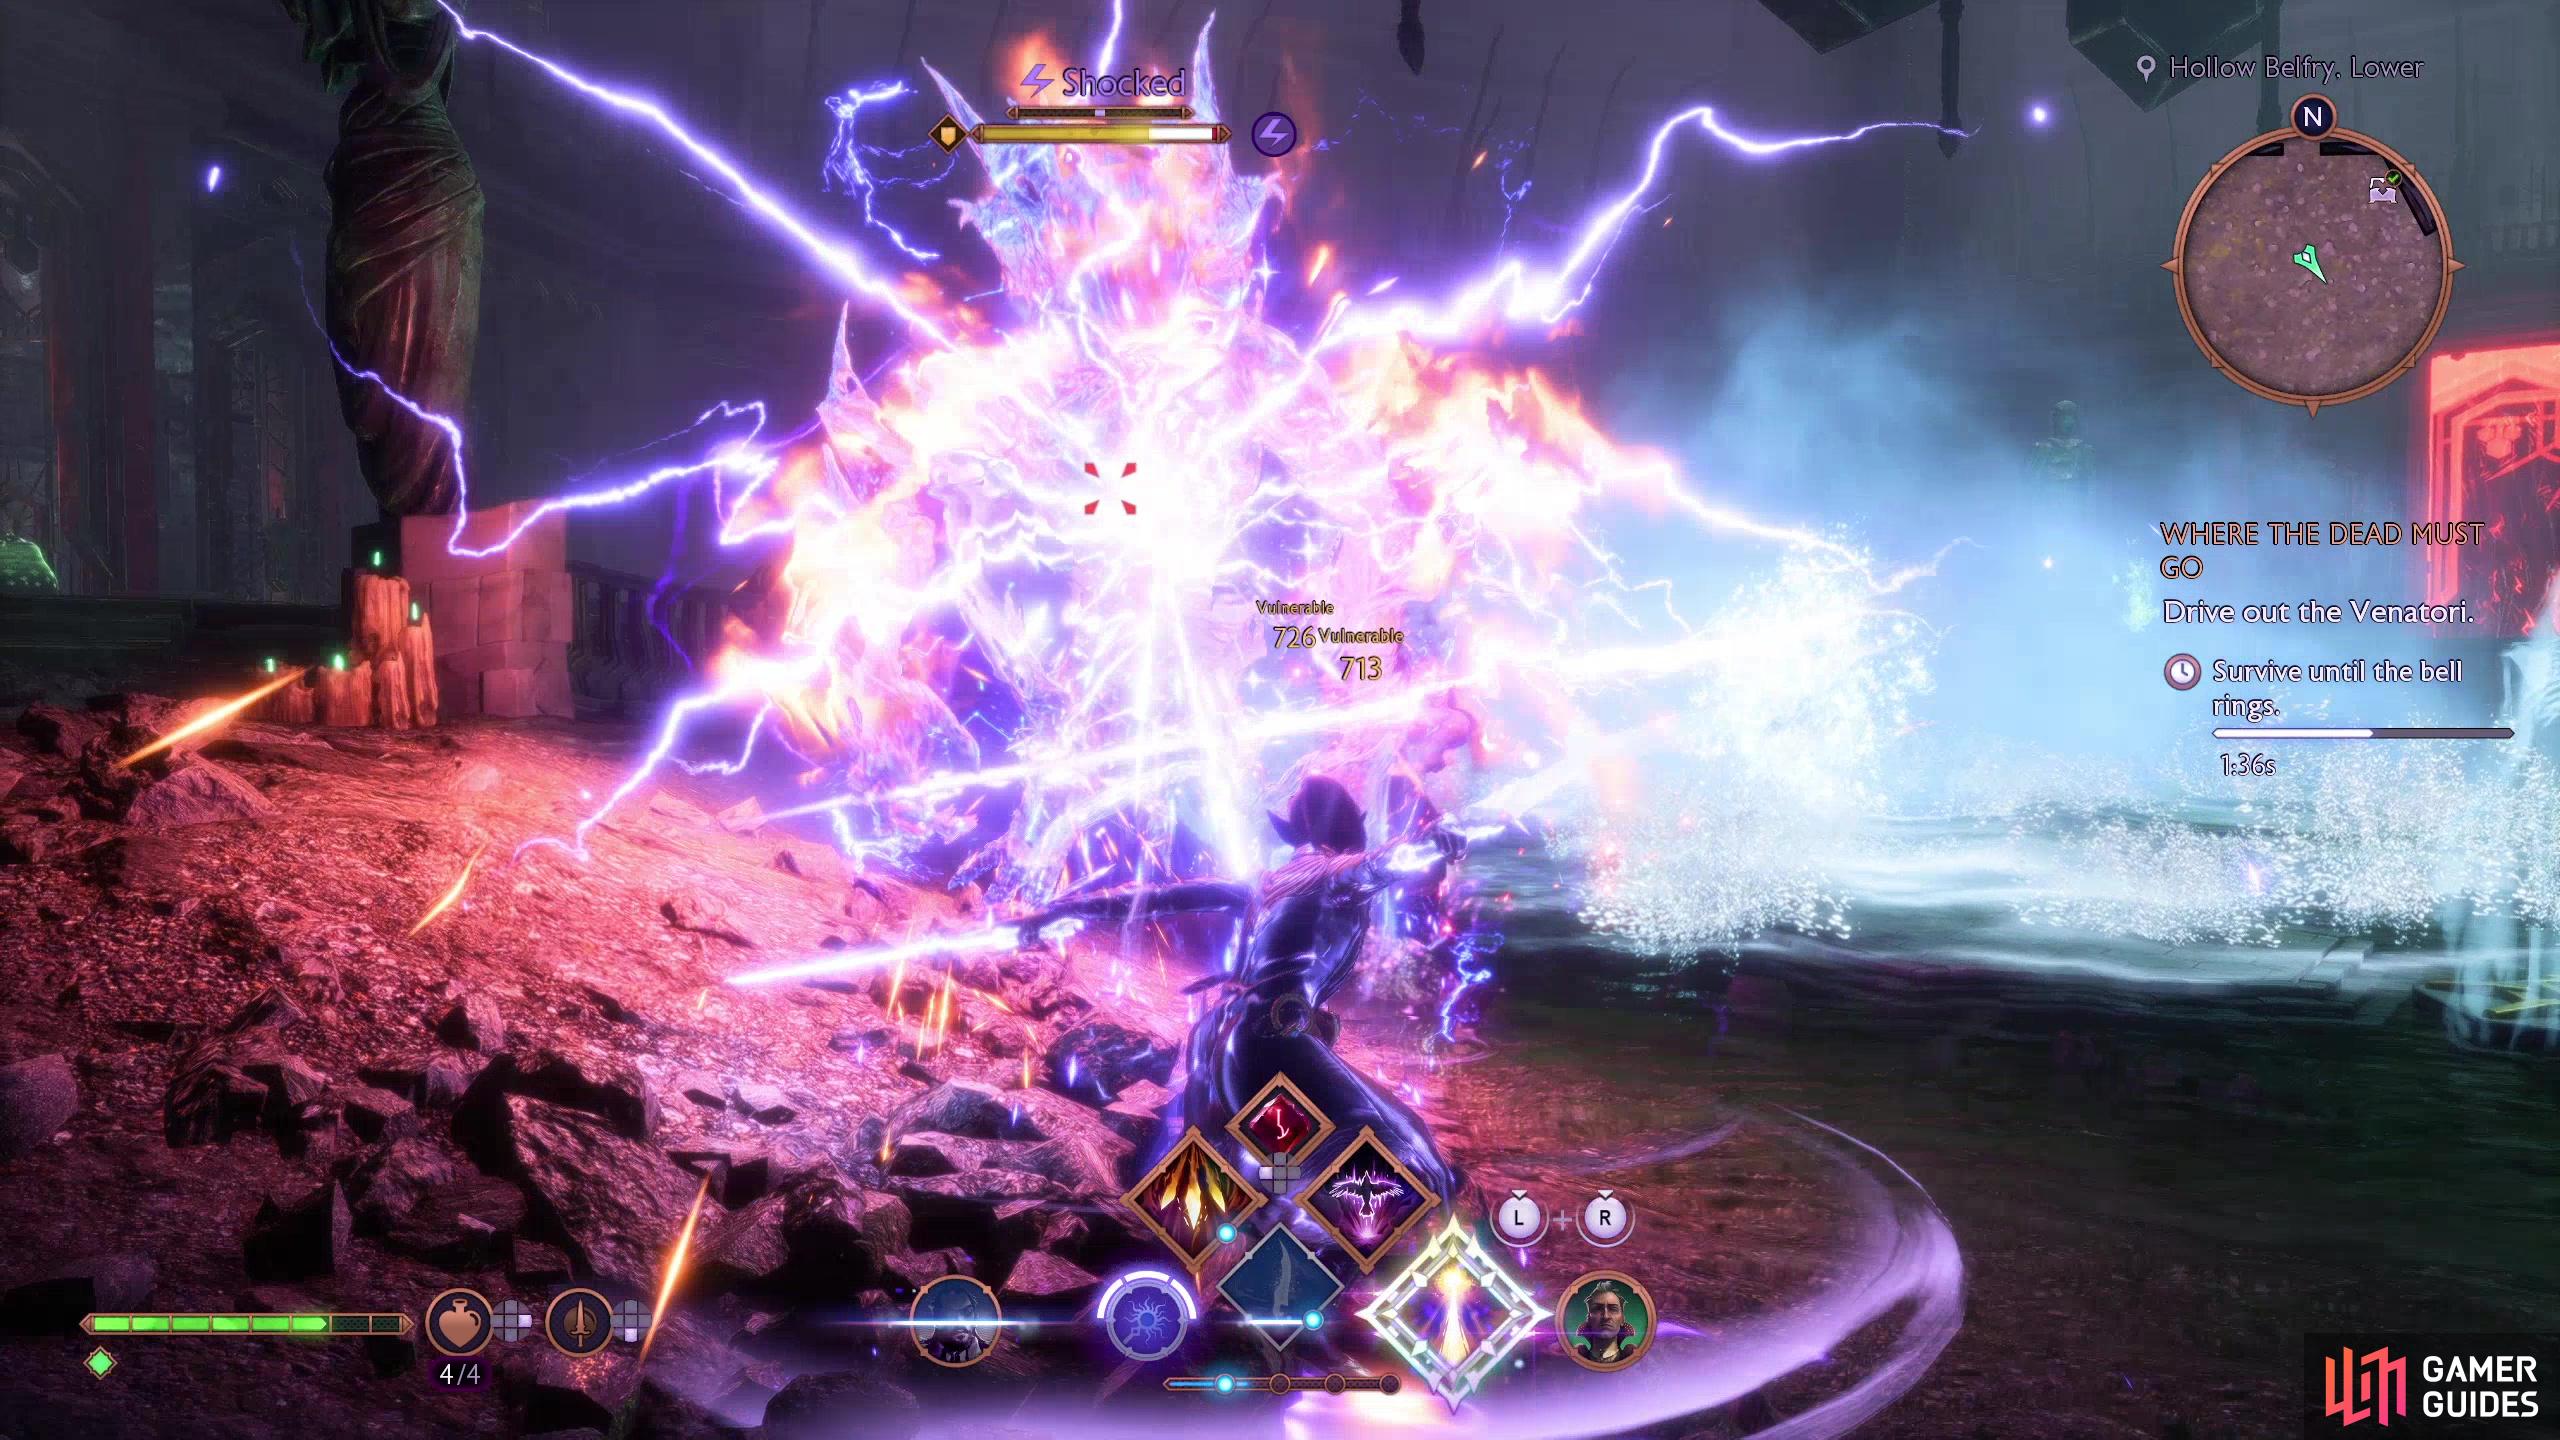
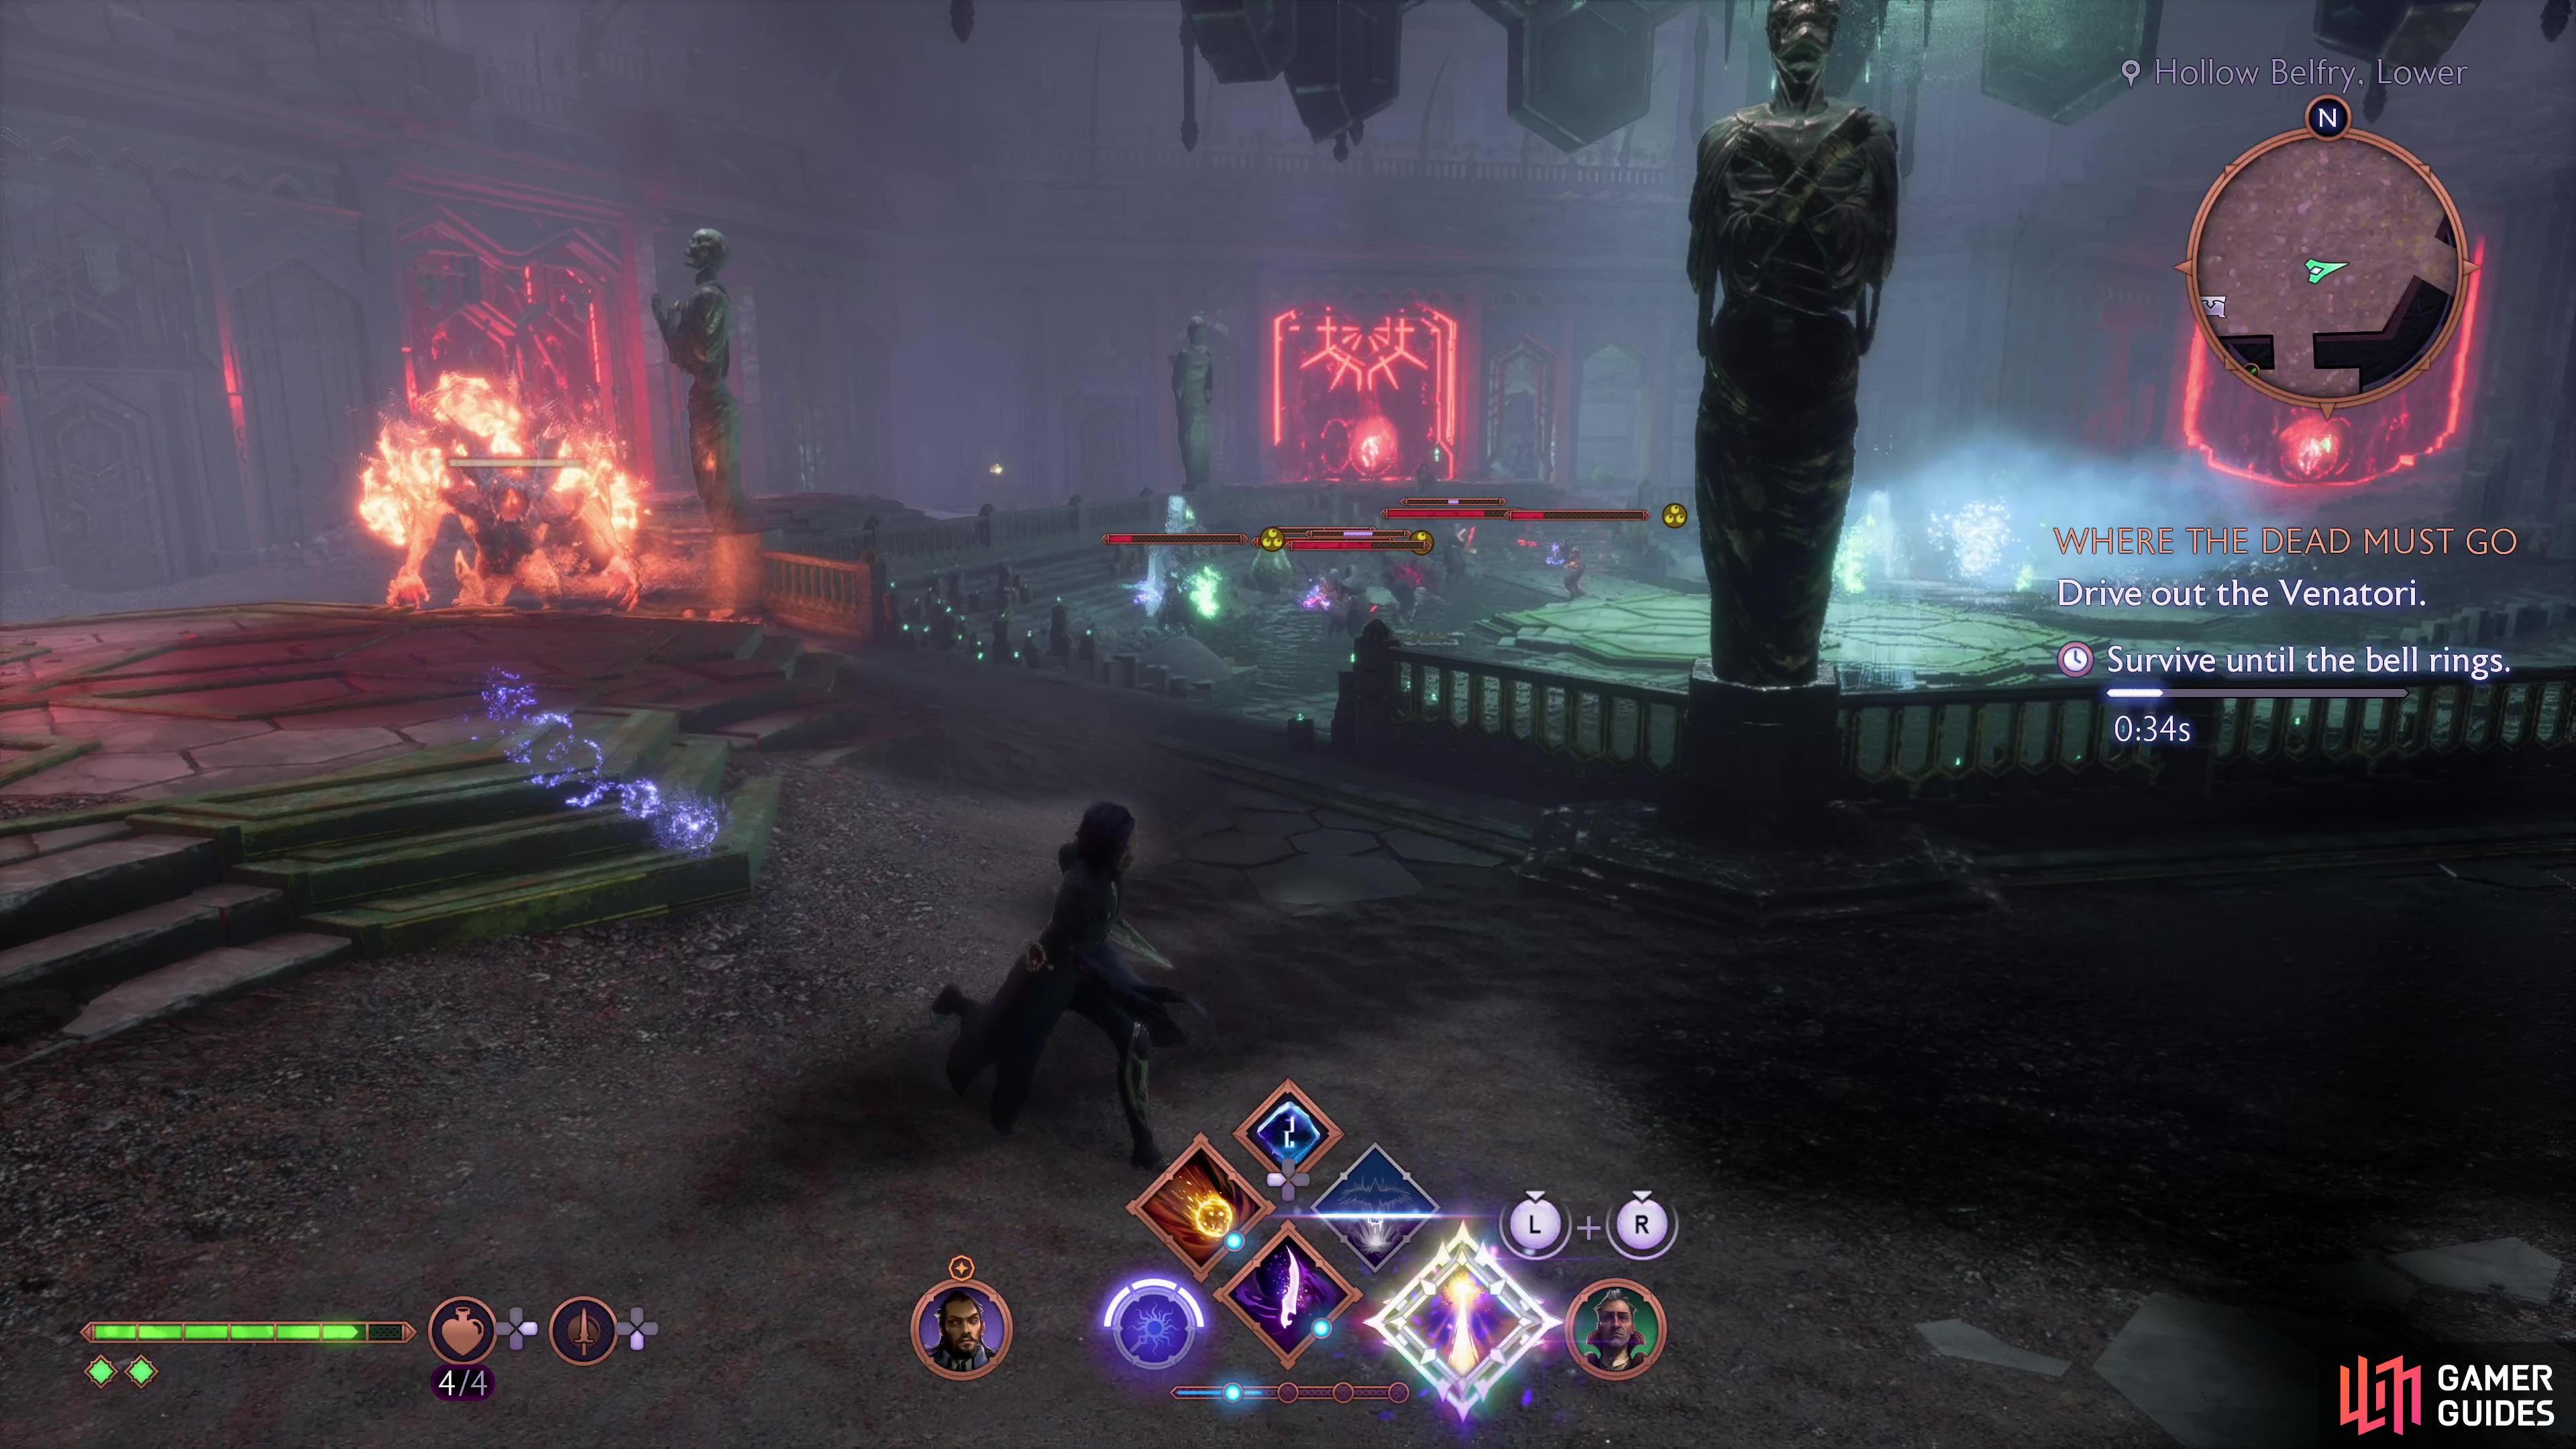
Talk to Emmrich and after some chatter you’ll begin a holdout sequence, where you need to survive attacks by Venator, Shades and even a Rage Demon for three minutes. Emphasis on the word “survive” here - you don’t actually have to do any fighting if you don’t want to. Run laps around the edge of the Hollow Belfry if you wish, the enemies are bad at actually landing any attacks if you keep moving, and once the timer reaches zero the bell will toll and your foes will be vanquished. New enemies will keep spawning regardless of how well you clear them out, so there’s really no great benefit to standing and fighting unless you’d rather spend the three minutes required to complete this segment doing so.
(1 of 2) Fend off the Venatori and the demons they bring with them,
Fend off the Venatori and the demons they bring with them, (left), or just run around for three minutes - either way, once the bell tolls, you win! (right)
Once the bell tolls and the spirits are banished, loot a chest to the northwest of Emmrich, near some railing, search some Venatori equipment nearby, then talk to the necromancer in the middle of the Hollow Belfry to complete the quest. After some chatter, Emmrich will join your squad along with his manservant, Manfred, and this quest will end.




 Sign up
No Comments