After encountering Ghilan’nain’s blighted dragons in Treviso and Minrathous, it becomes abundantly clear that you do not have the expertise required to defeat such foes efficiently enough. Sure, you drove one dragon off, but it will live to fight another day, able to bring to bear overwhelming might anywhere its masters send it at little serious risk to itself. Simply put, you’re overmatched and you cannot keep settling for pyrrhic victories against Ghilan’nain’s pets - you will lose such a war of attrition. You need a dragon slayer to help tip the odds in your favor and ensure that when Ghilan’nain deploys her dragons, she’ll do so at great risk. This page will provide a walkthrough for the quest ![]() The Dragon Slayer in Dragon Age: Veilguard.
The Dragon Slayer in Dragon Age: Veilguard.
Page Breakdown
Starting The Dragon Slayer
Complete the main quest ![]() A Warden’s Best Friend, after which you’ll have to make a choice to personally show up to repel a dragon attack in Treviso or Minrathous. This will begin
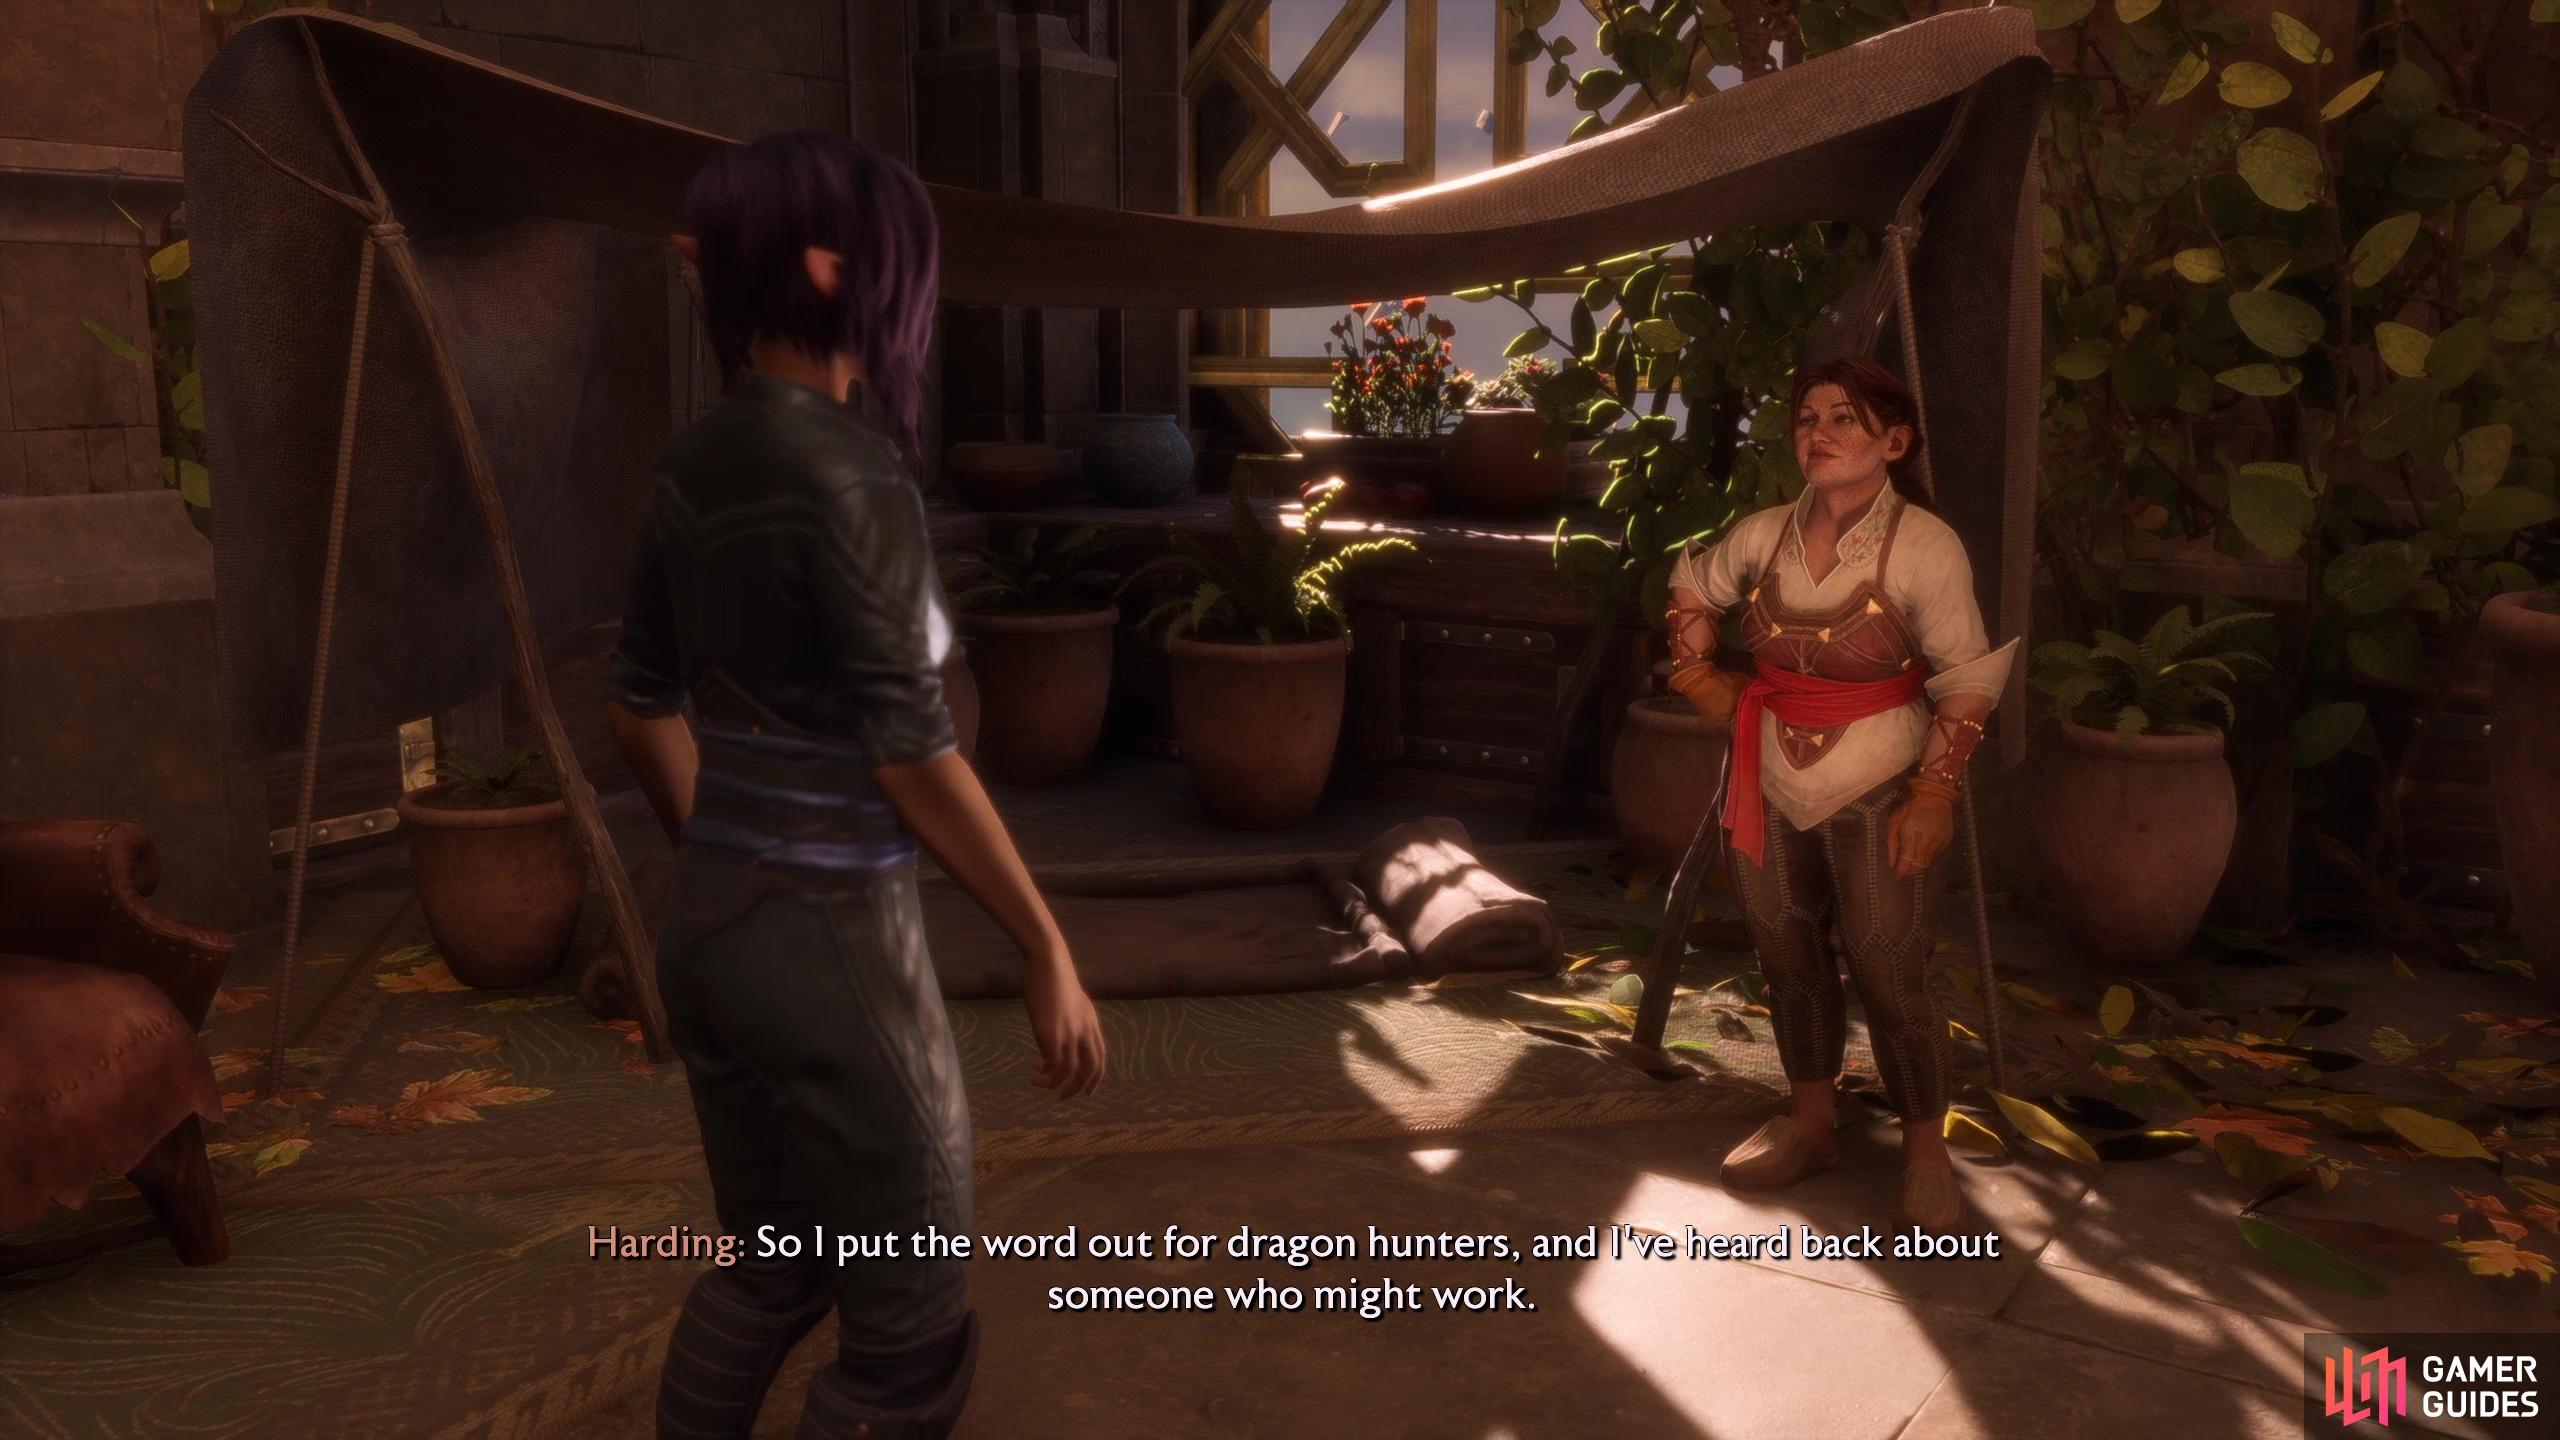
A Warden’s Best Friend, after which you’ll have to make a choice to personally show up to repel a dragon attack in Treviso or Minrathous. This will begin ![]() On Deadly Wings or On Blighted Wings, respectively, and once those quests are done you’ll begin the transitional quest Completing the Veilguard - talk to Solas, then Harding, and the quest The Dragon Slayer will begin. Just fast travel to the newly unlocked Rivain Coast region to get it started properly.
On Deadly Wings or On Blighted Wings, respectively, and once those quests are done you’ll begin the transitional quest Completing the Veilguard - talk to Solas, then Harding, and the quest The Dragon Slayer will begin. Just fast travel to the newly unlocked Rivain Coast region to get it started properly.
Talk to Solas and he’ll recommend getting a dragon expert onboard, then confer with Harding and she’ll find you a dragon slayer.
Reach Dragon Beach
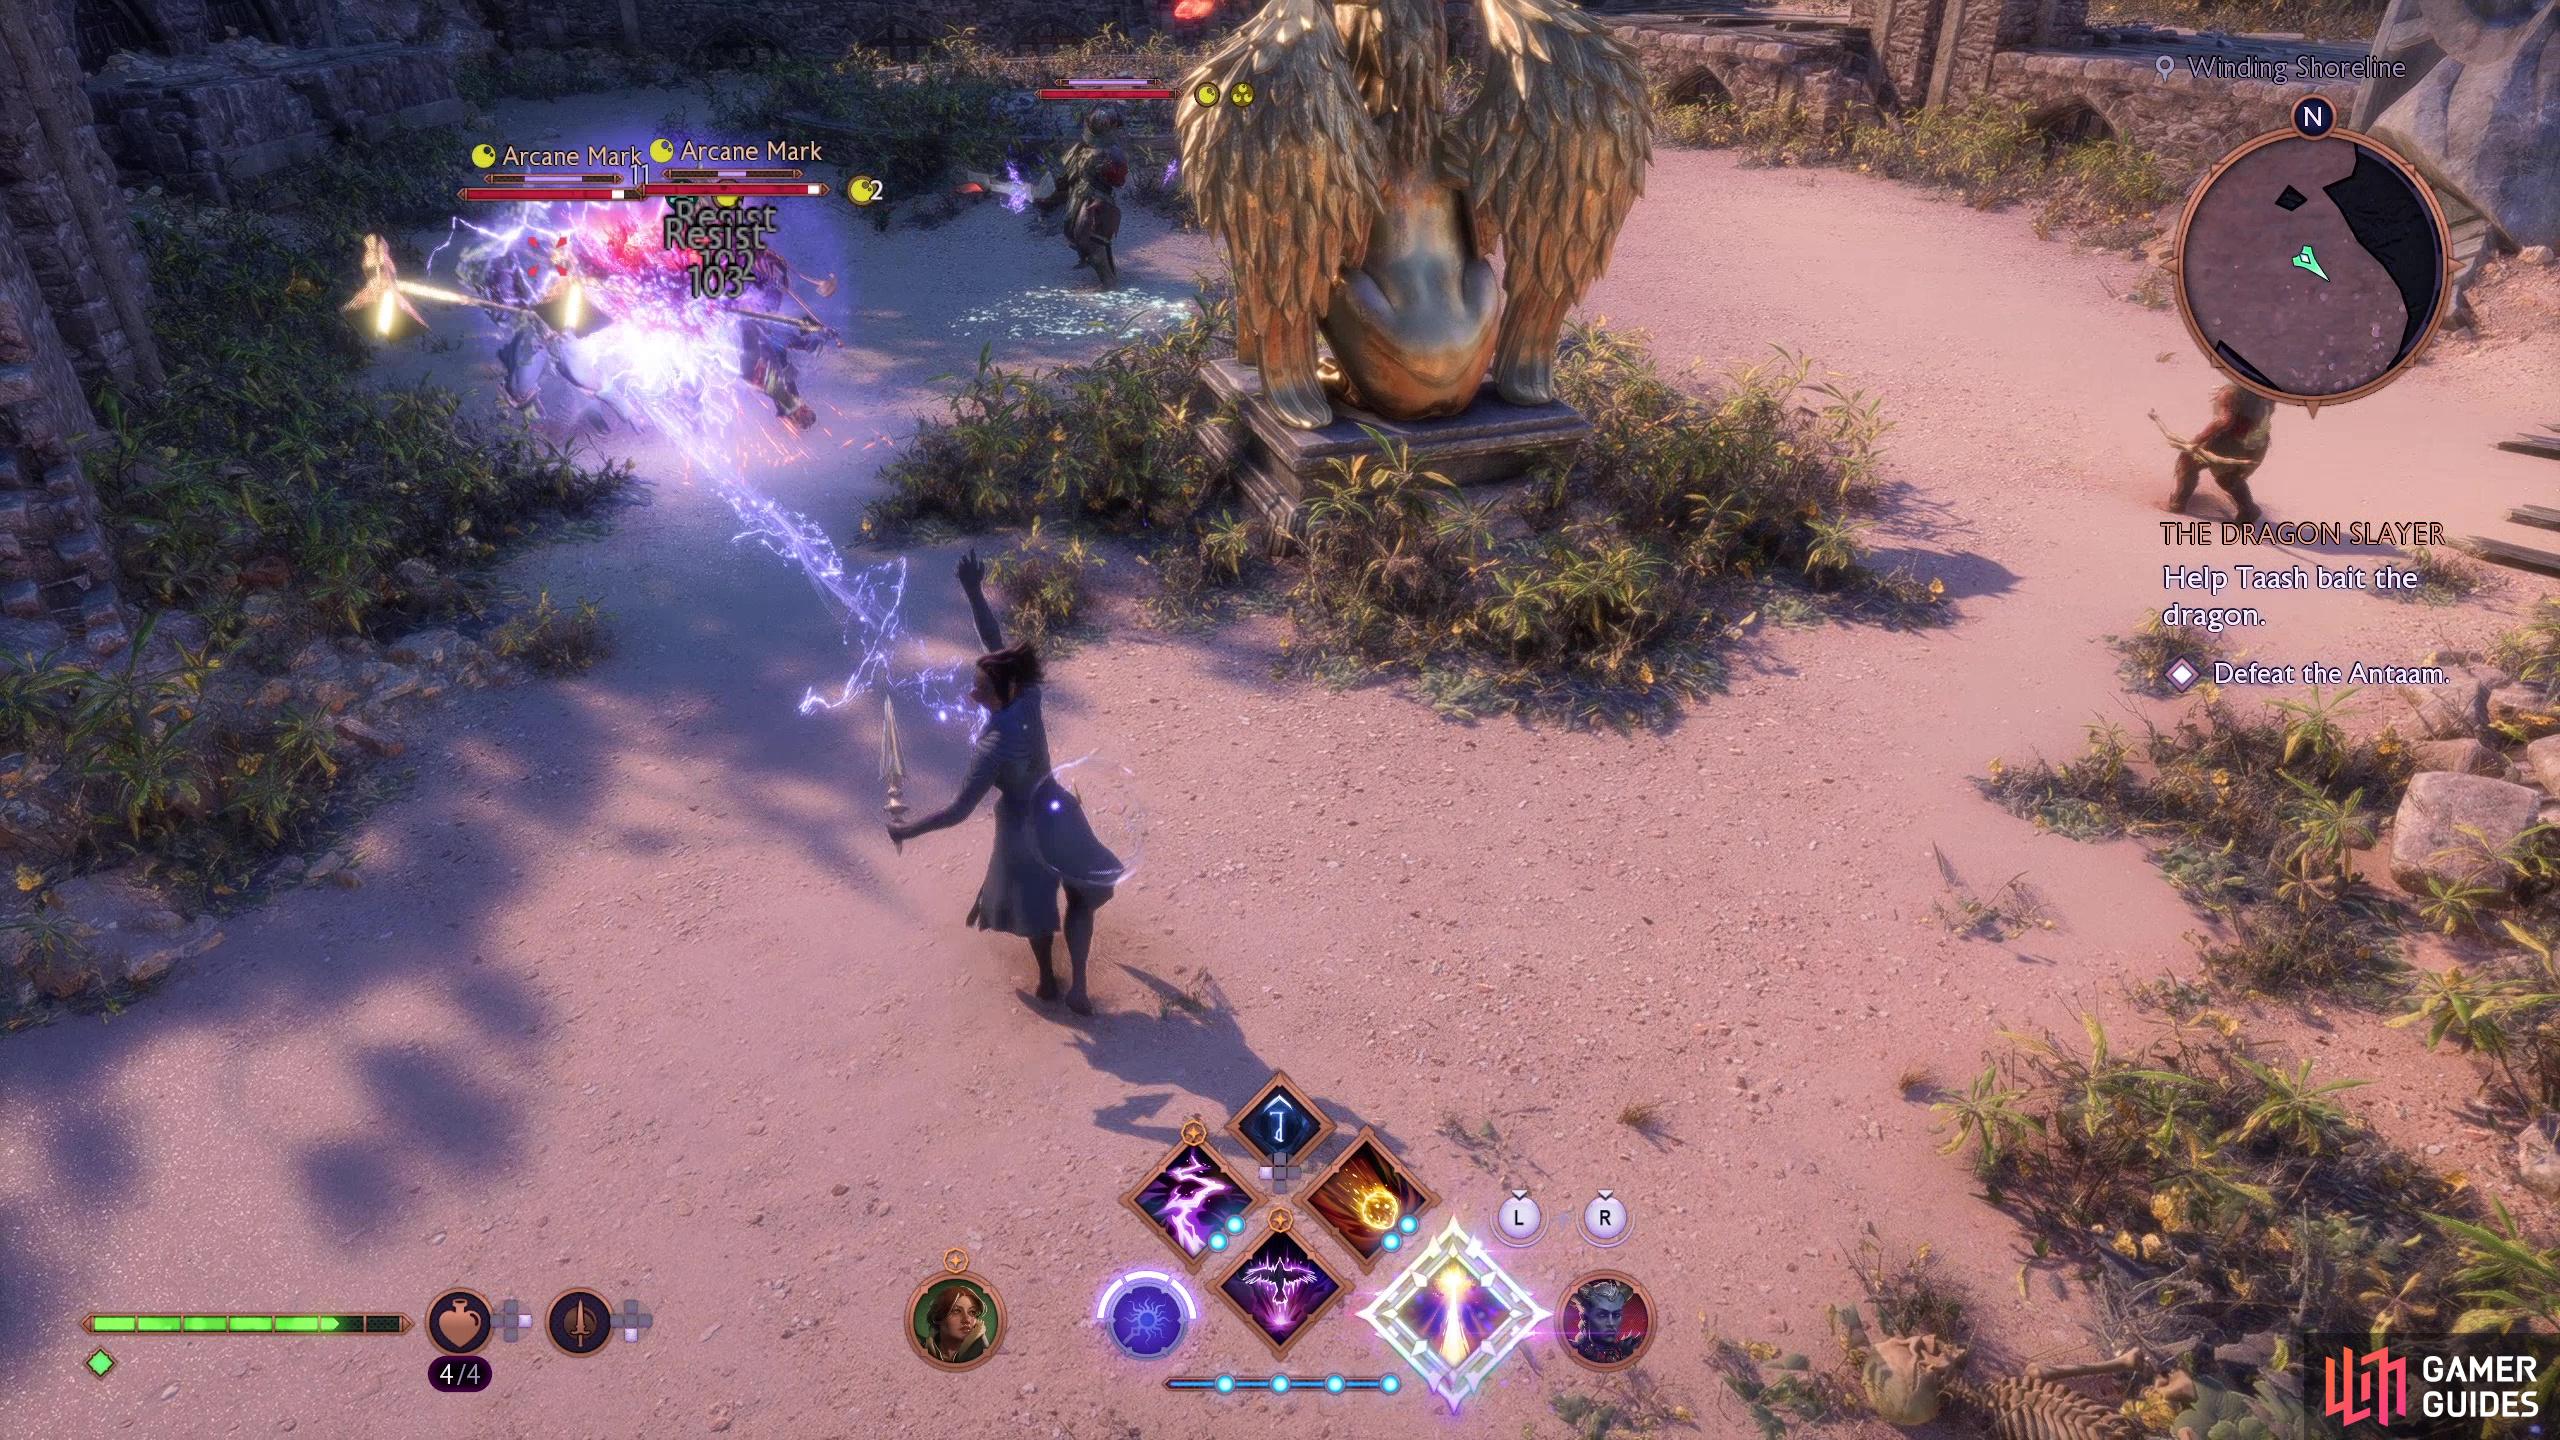
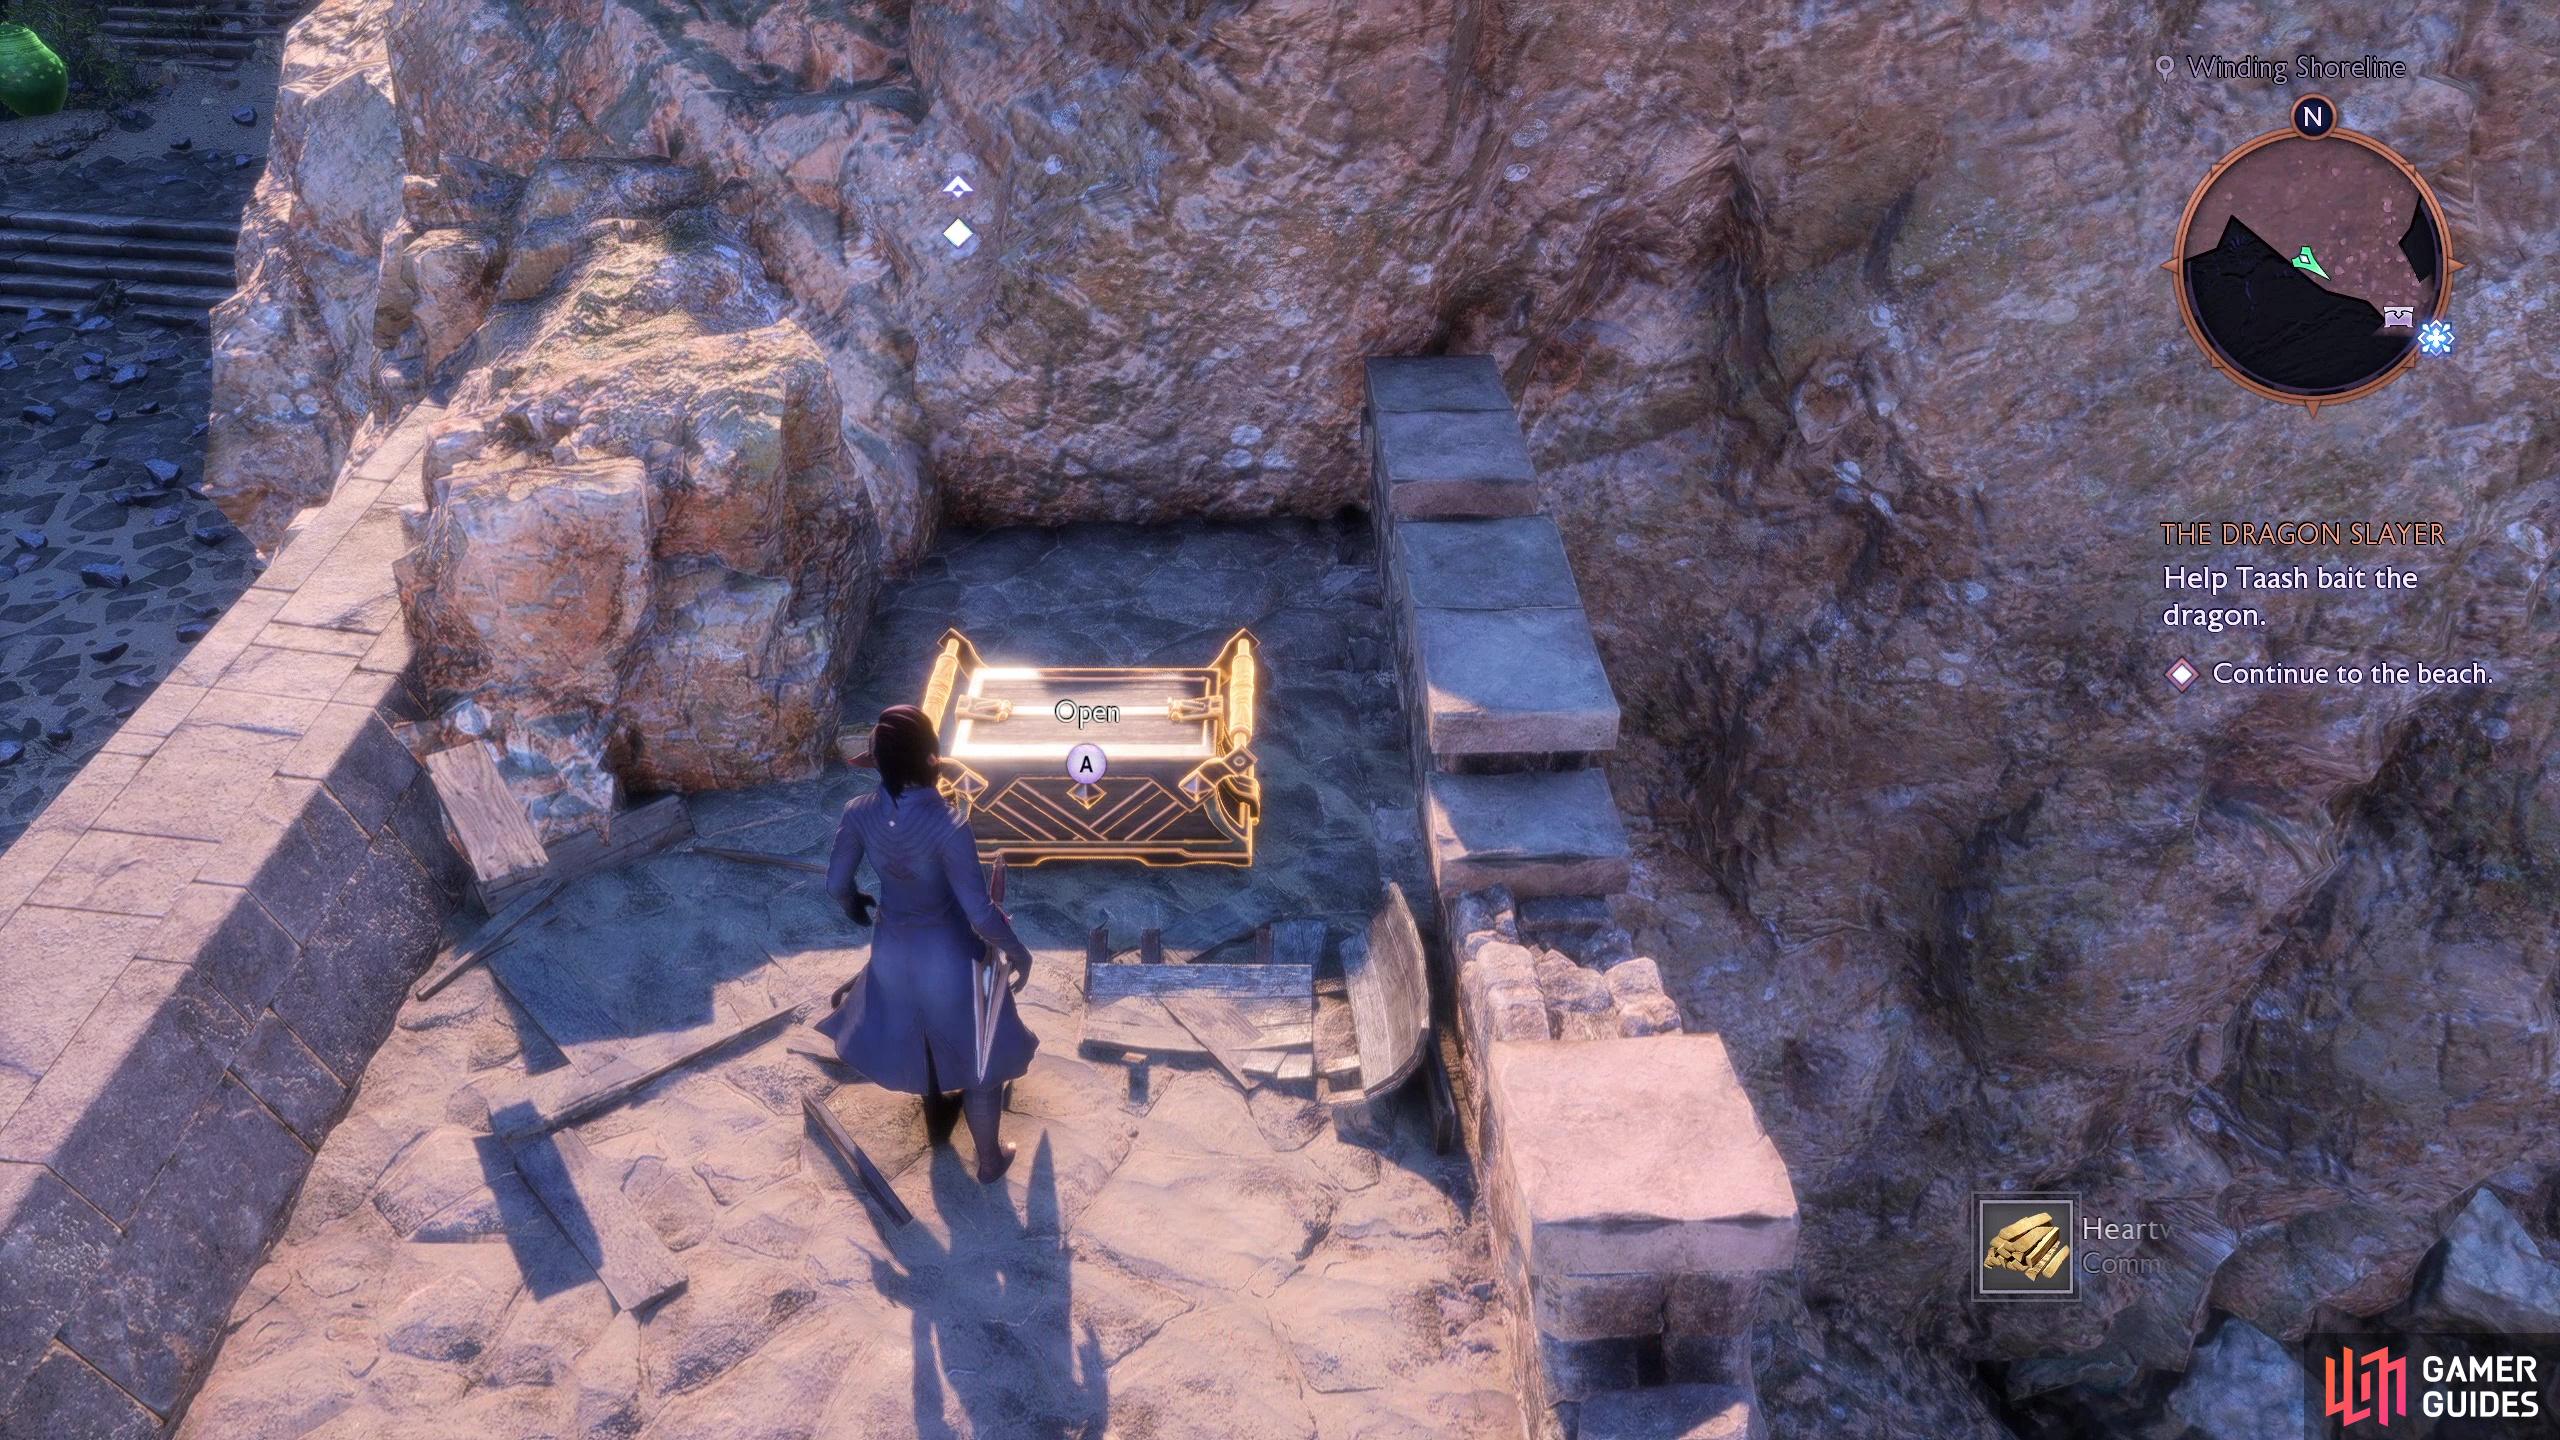
When you zone-in you’ll be introduced to your prospective dragon slayer, and after some slaughter and chatter she’ll tell you her objective before… well, not exactly rolling out the welcome mat. Nevertheless, accompany her southeast through the Winding Shoreline until you have to drop down into an arena and fight some Antaam, including several armed with cannons. Defeat them and note the entrance to some ruins to the southeast. Before you head through the ruined portcullis, however, climb a ledge to the northeast to find the note Dragon’s Breath and the Antaam Schism, then head northwest, go upstairs, work your way around to the southern wall and destroy some crates at the end to find a small chest, which contains the Light Guard Helm cosmetic.
Enter the aforementioned ruins and turn southwest to find a chest, then kick down a door to the southeast, sidle across a narrow ledge, exit out into daylight and ride a zipline back to the northwest, loot a small chest and destroy an explosive barrel to make a shortcut back into the ruins. This will prove useful on subsequent visits, not so much now. Ride the zipline back, enter the ruins via some stairs near a crane, jump over a partially collapsed wall and continue southeast through a cave, sliding down a slope to reach Dragon Beach.
(1 of 3) Defeat the Antaam outside some ruins in the Winding Shoreline,
Defeat the Deepstalkers and Bait the Dragon
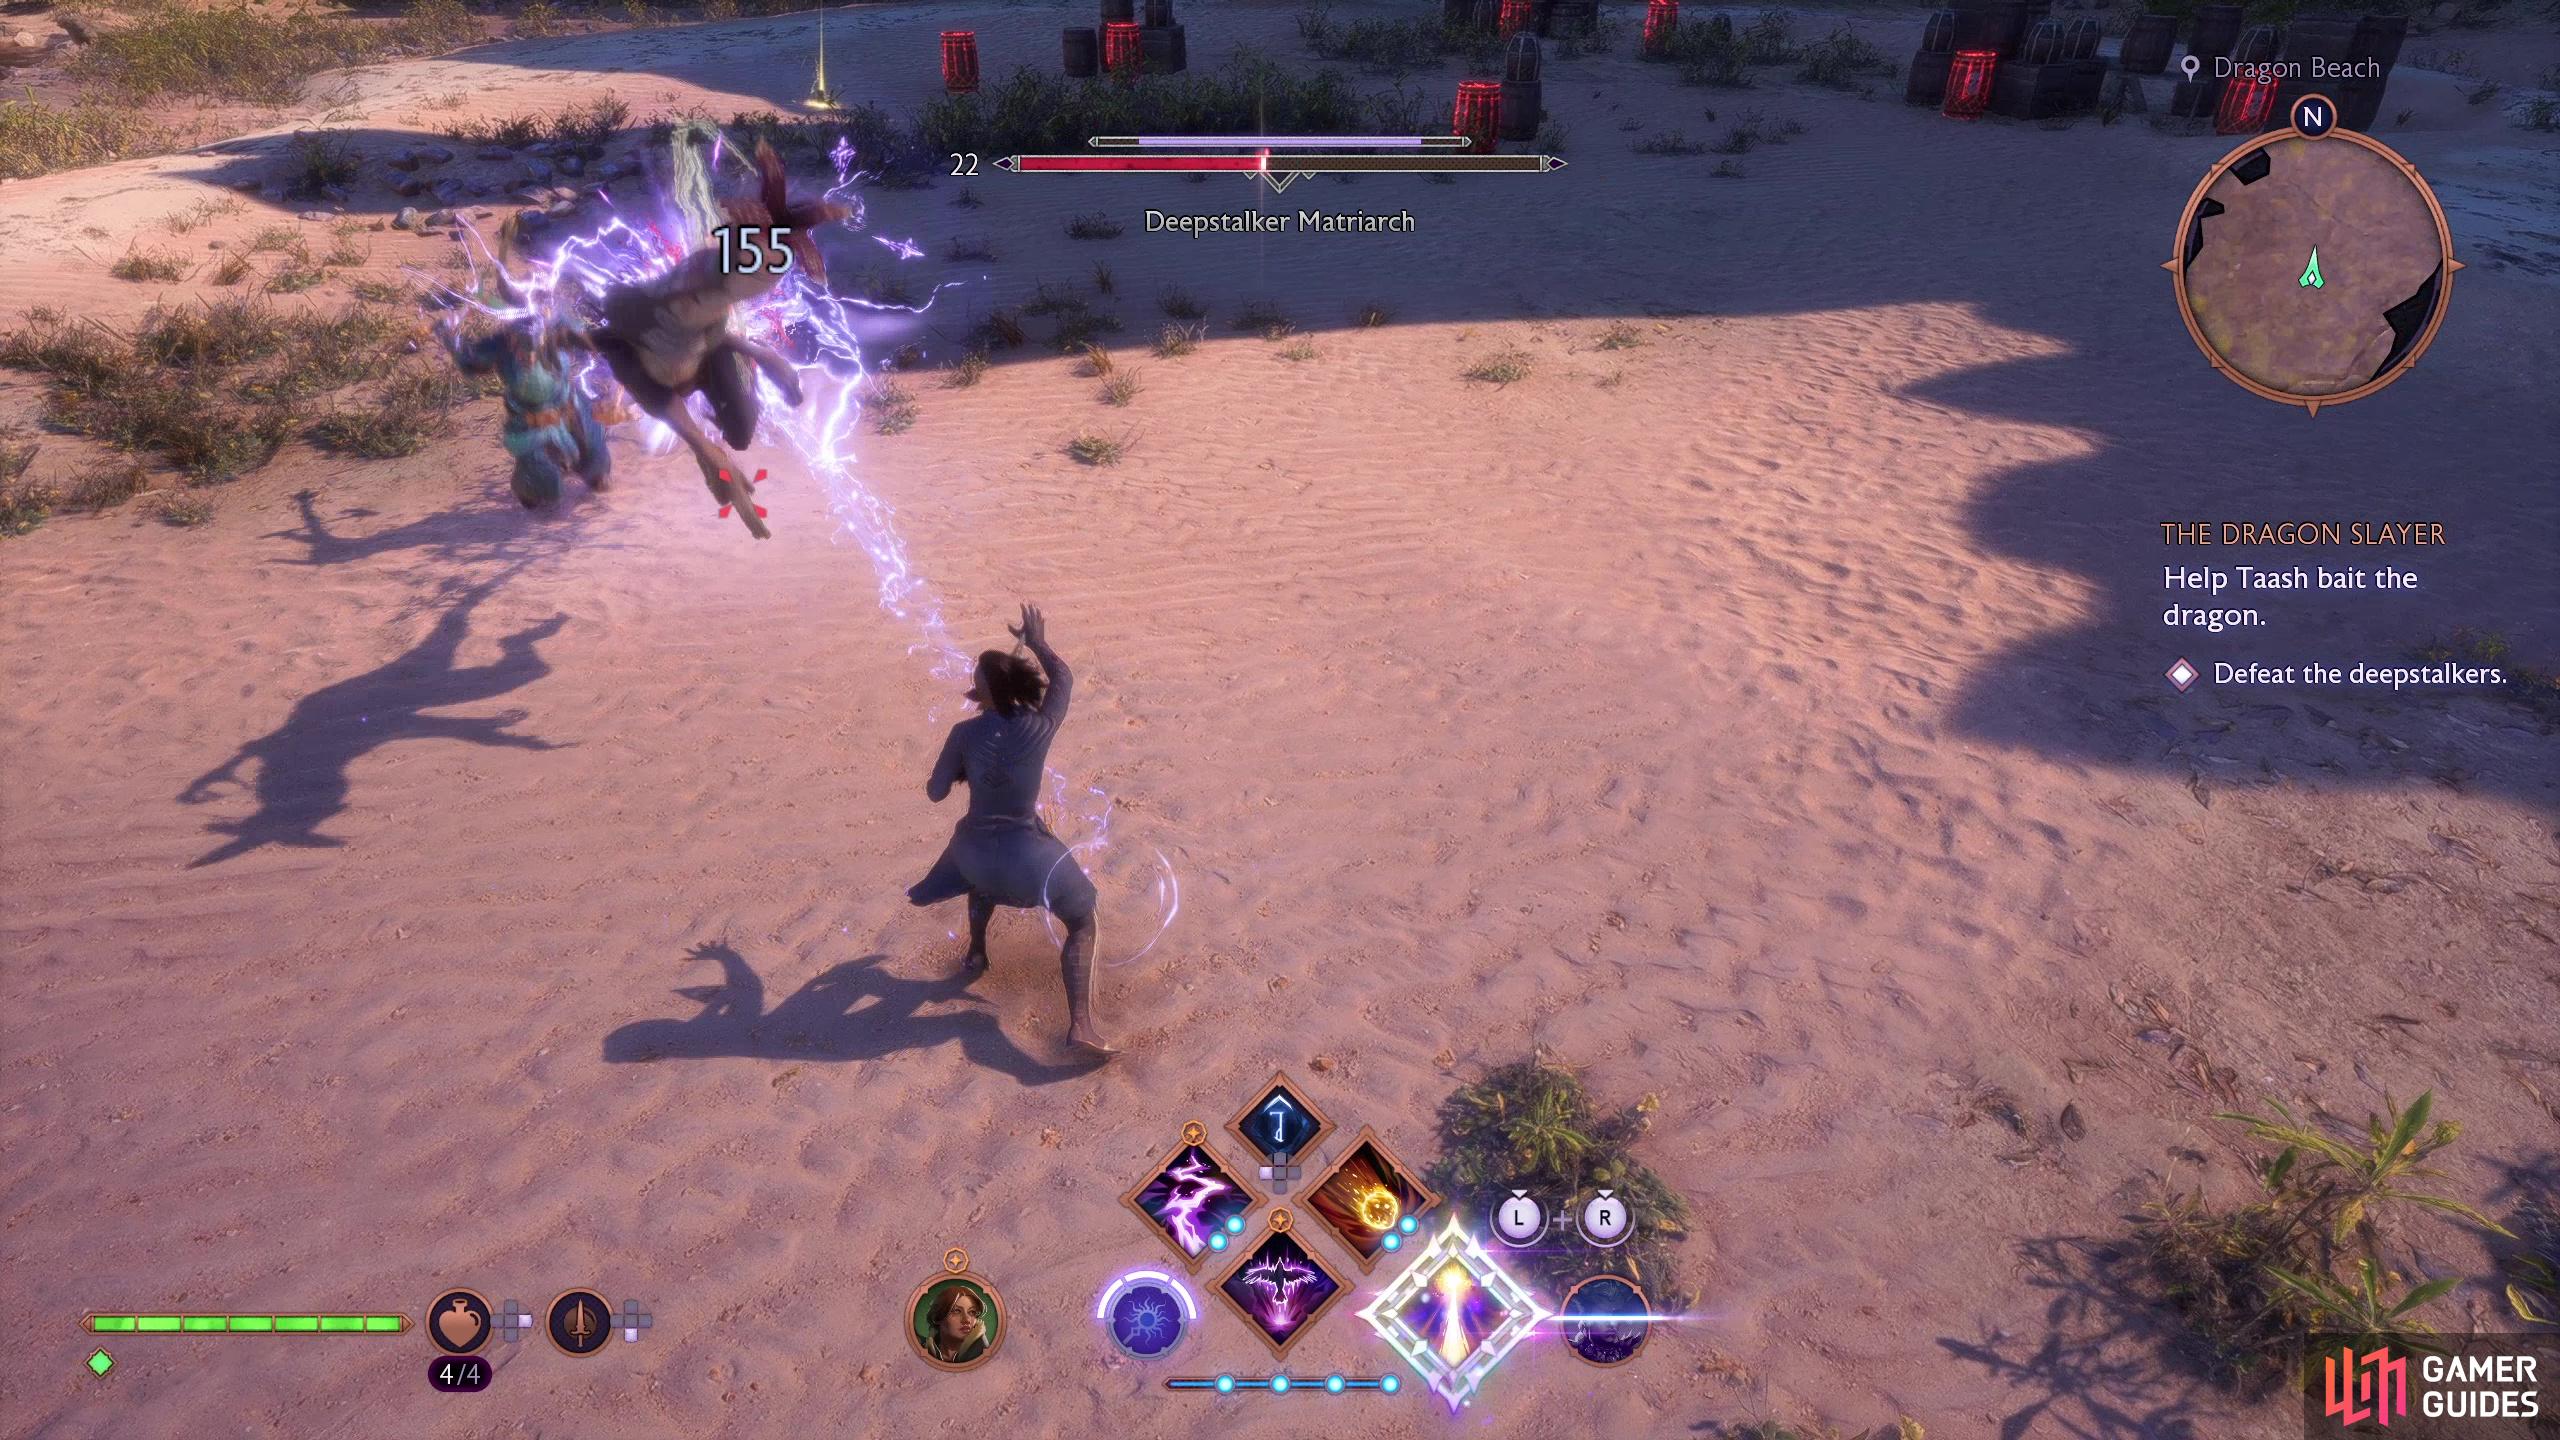
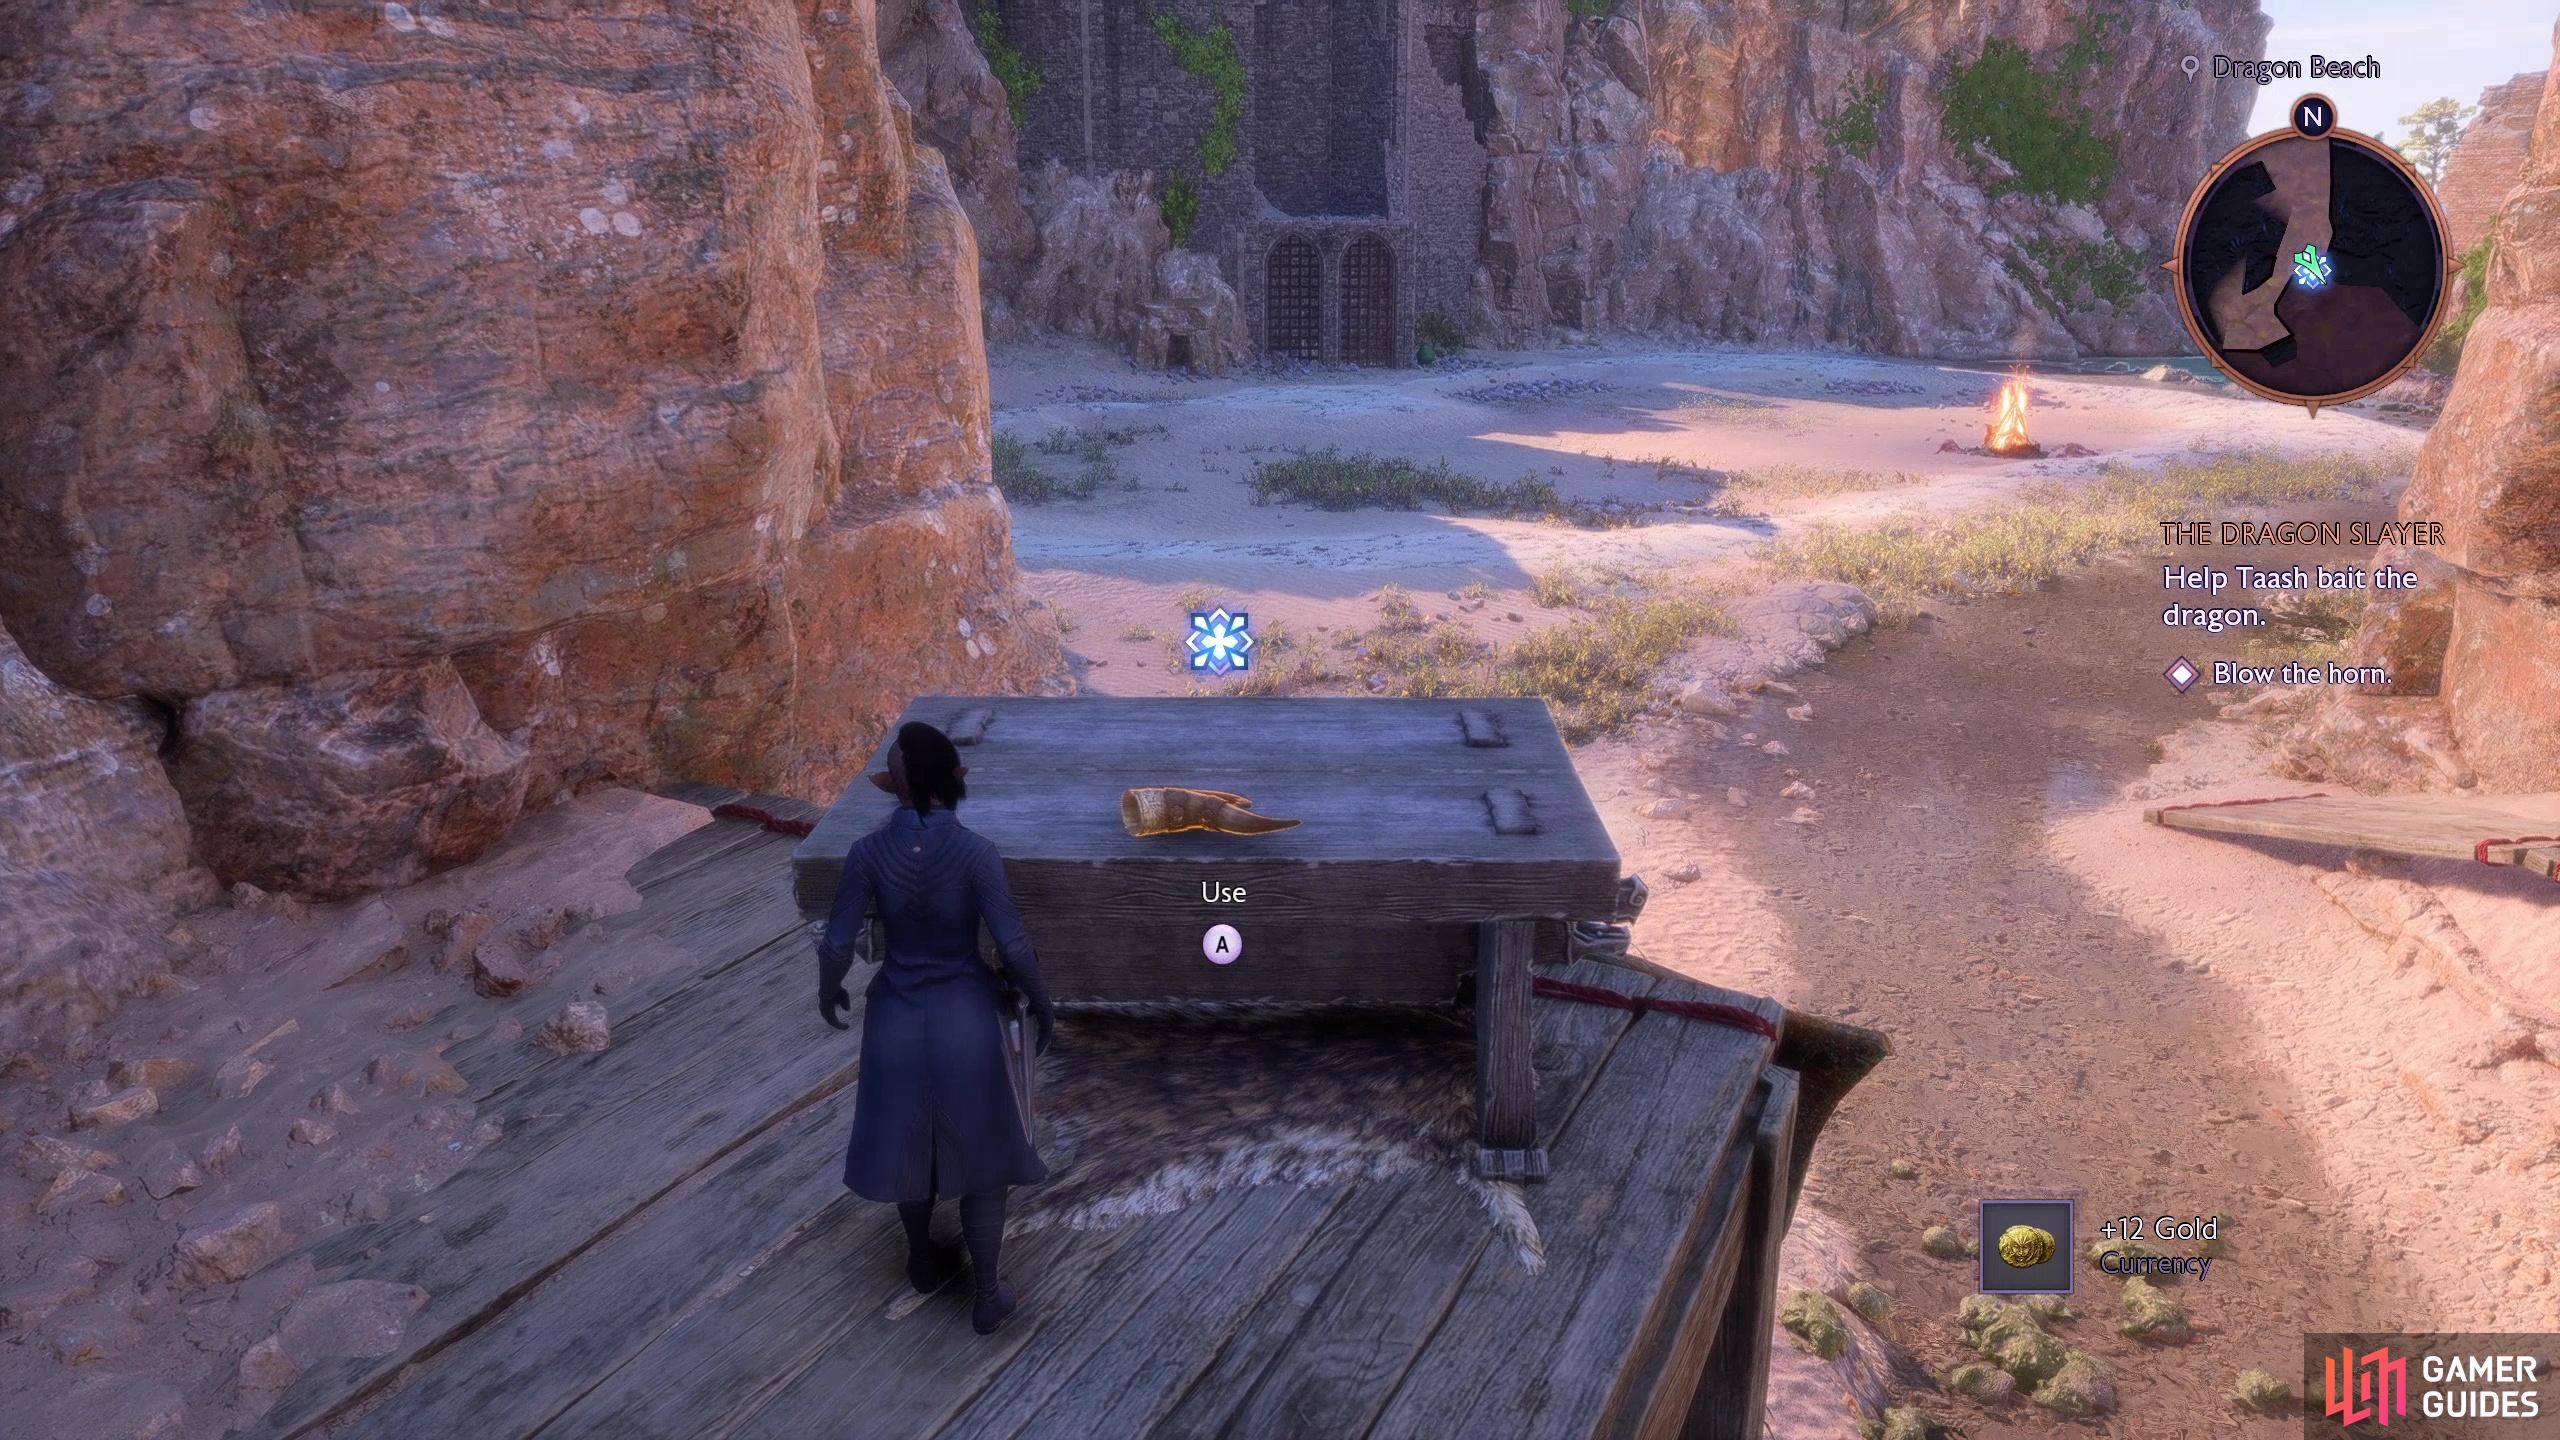
When you slide down the slope some Deepstalkers will spawn, including, eventually, a Deepstalker Matriarch, which is an incredibly annoying enemy with floaty delayed attacks. Kill the critters and after a scene, loot the Deepstalker Matriarch to obtain the Scorch rune. Head north and climb a ladder, jump a gap and climb a ladder to the northeast, then blow the horn to trigger another scene.
(1 of 2) Defeat some Deepstalkers and the Deepstalker Matriarch,
Defeat some Deepstalkers and the Deepstalker Matriarch, (left), then pick up the Scorch rune the Deepstalker Matriarch drops. (right)
Reach the Grey Warden Fort
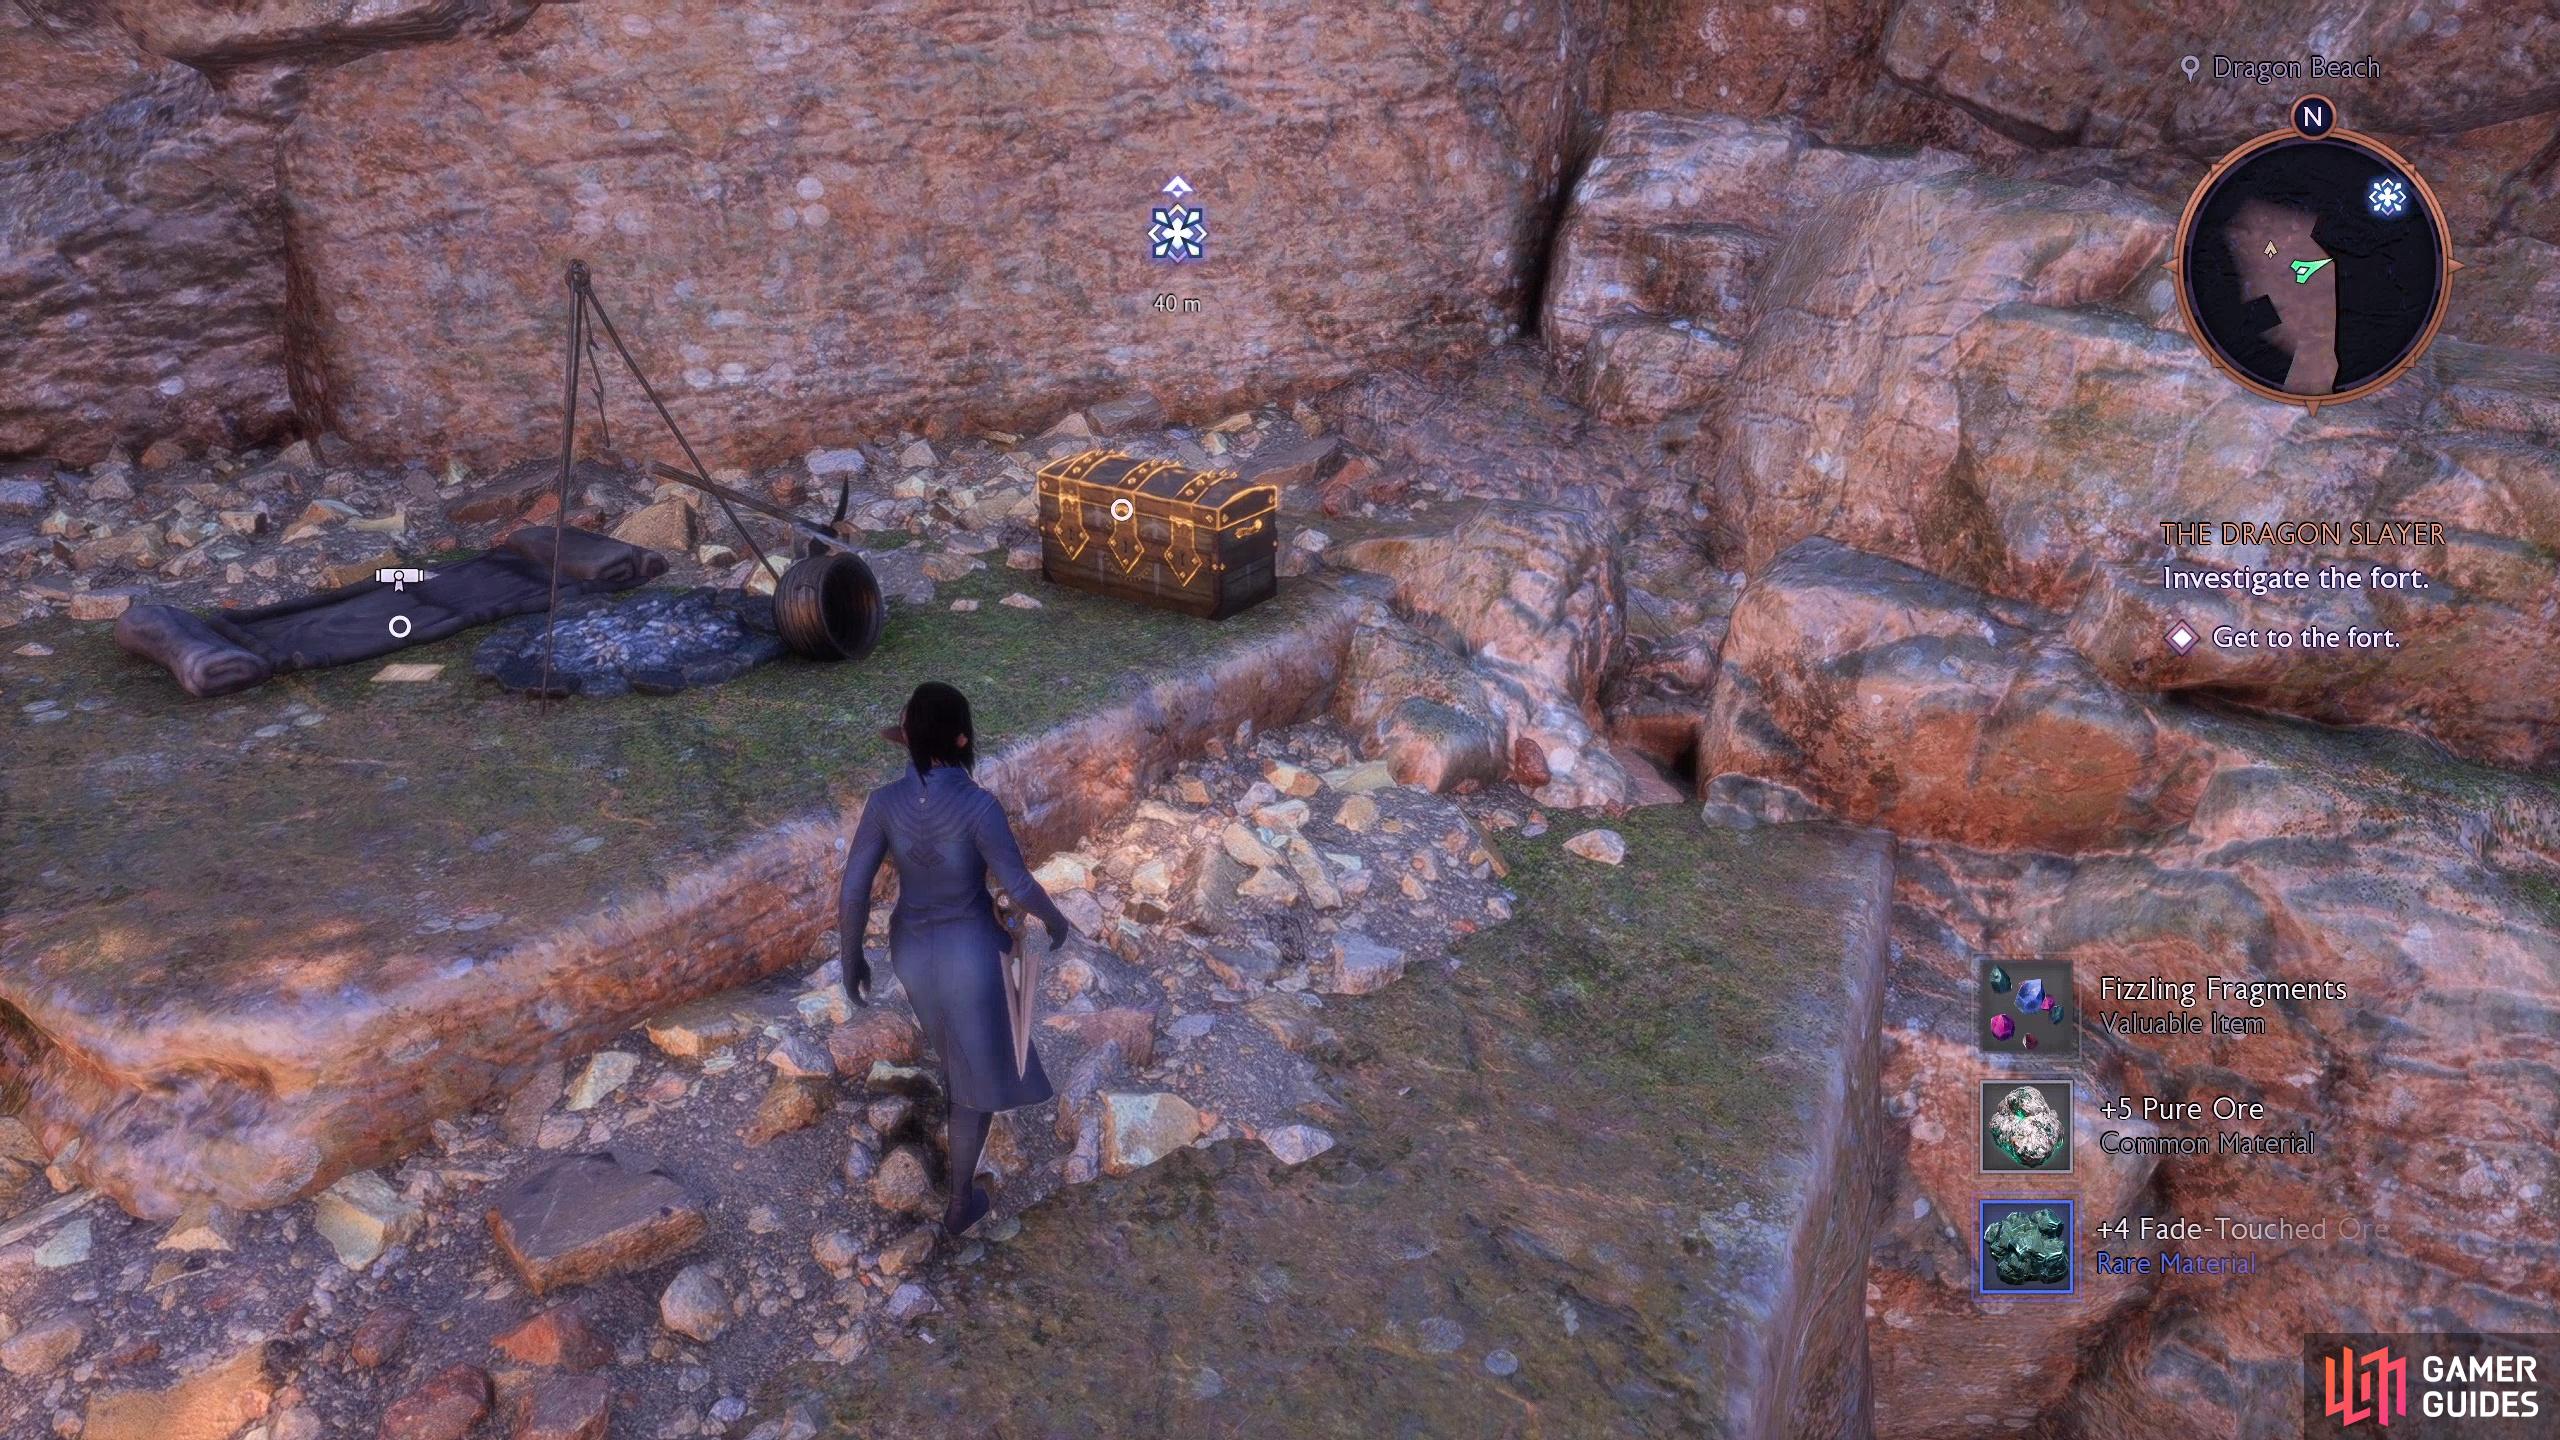
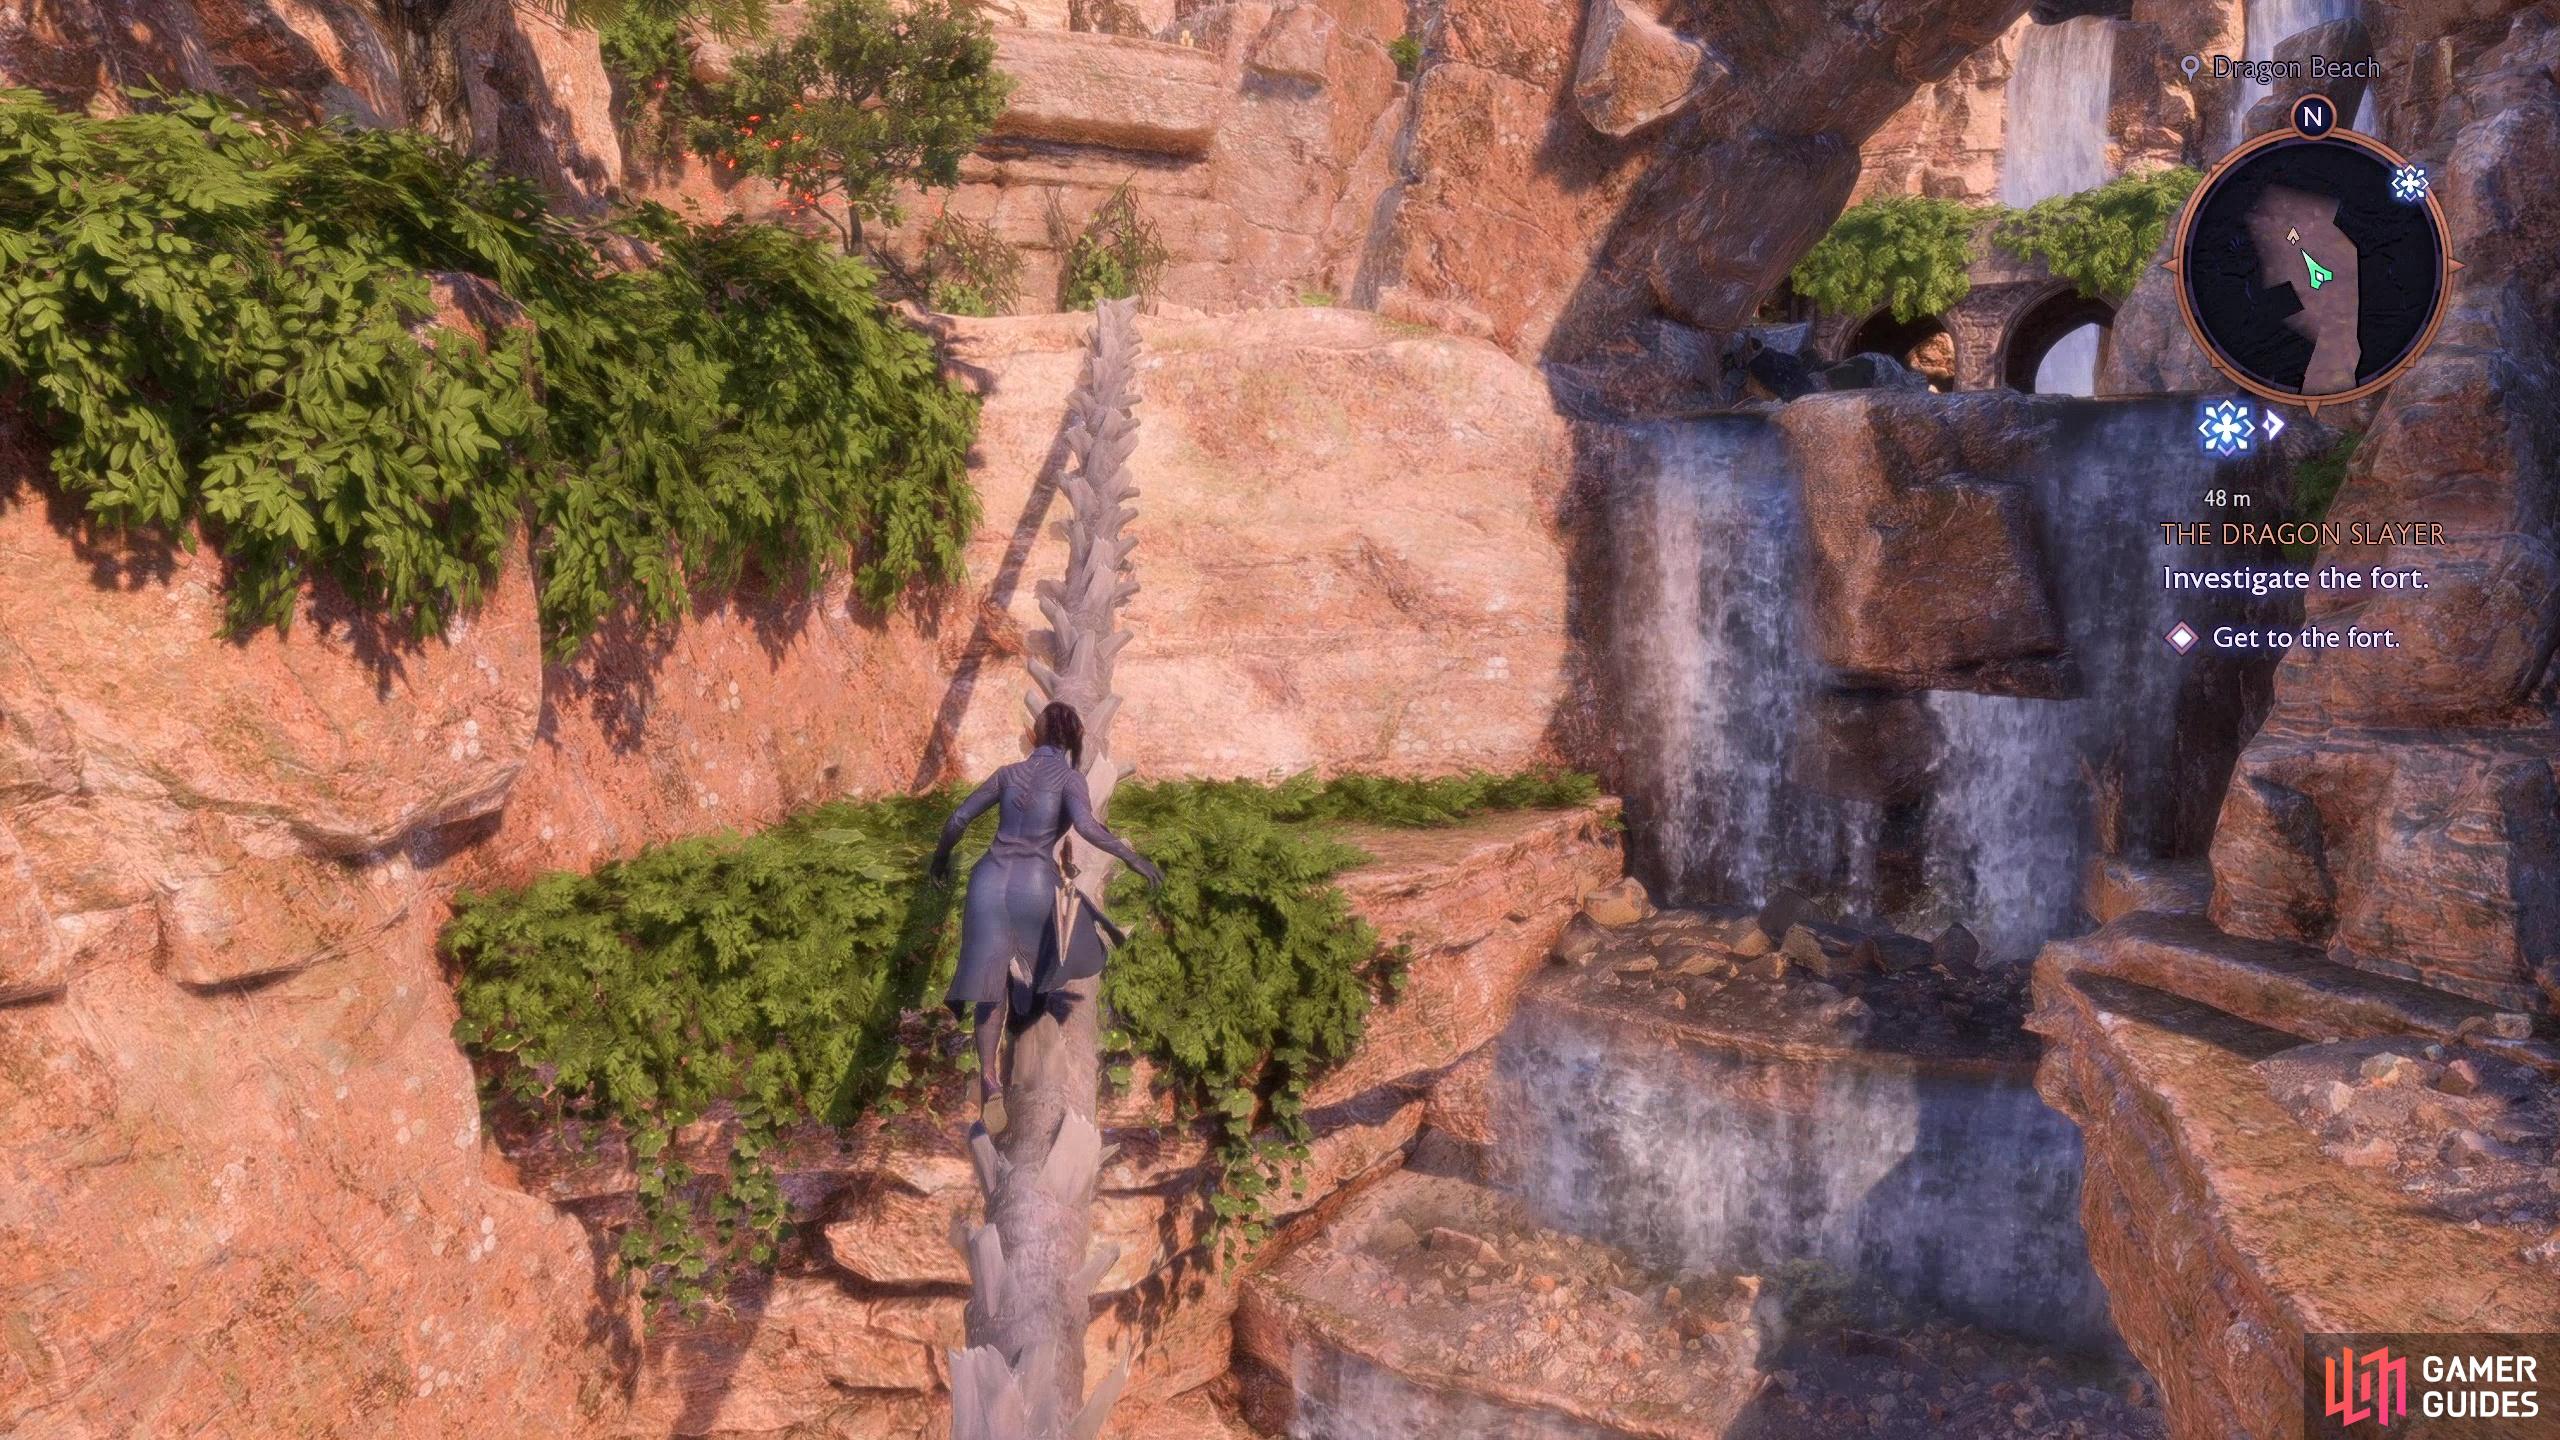
After blowing the horn, climb several ledges to the north and kick down another door, then continue north and climb numerous waterfall ledges and work your way onto an eastern ledge to find a small chest containing the Skull Display decor. Drop down, climb a ledge to the south, jump across to a stone ledge and cross a tree to reach the Clifftops area. There’s a lot of area to explore to the southwest, but you can’t explore it until you return later.
(1 of 3) Blow a horn to summon the dragon,
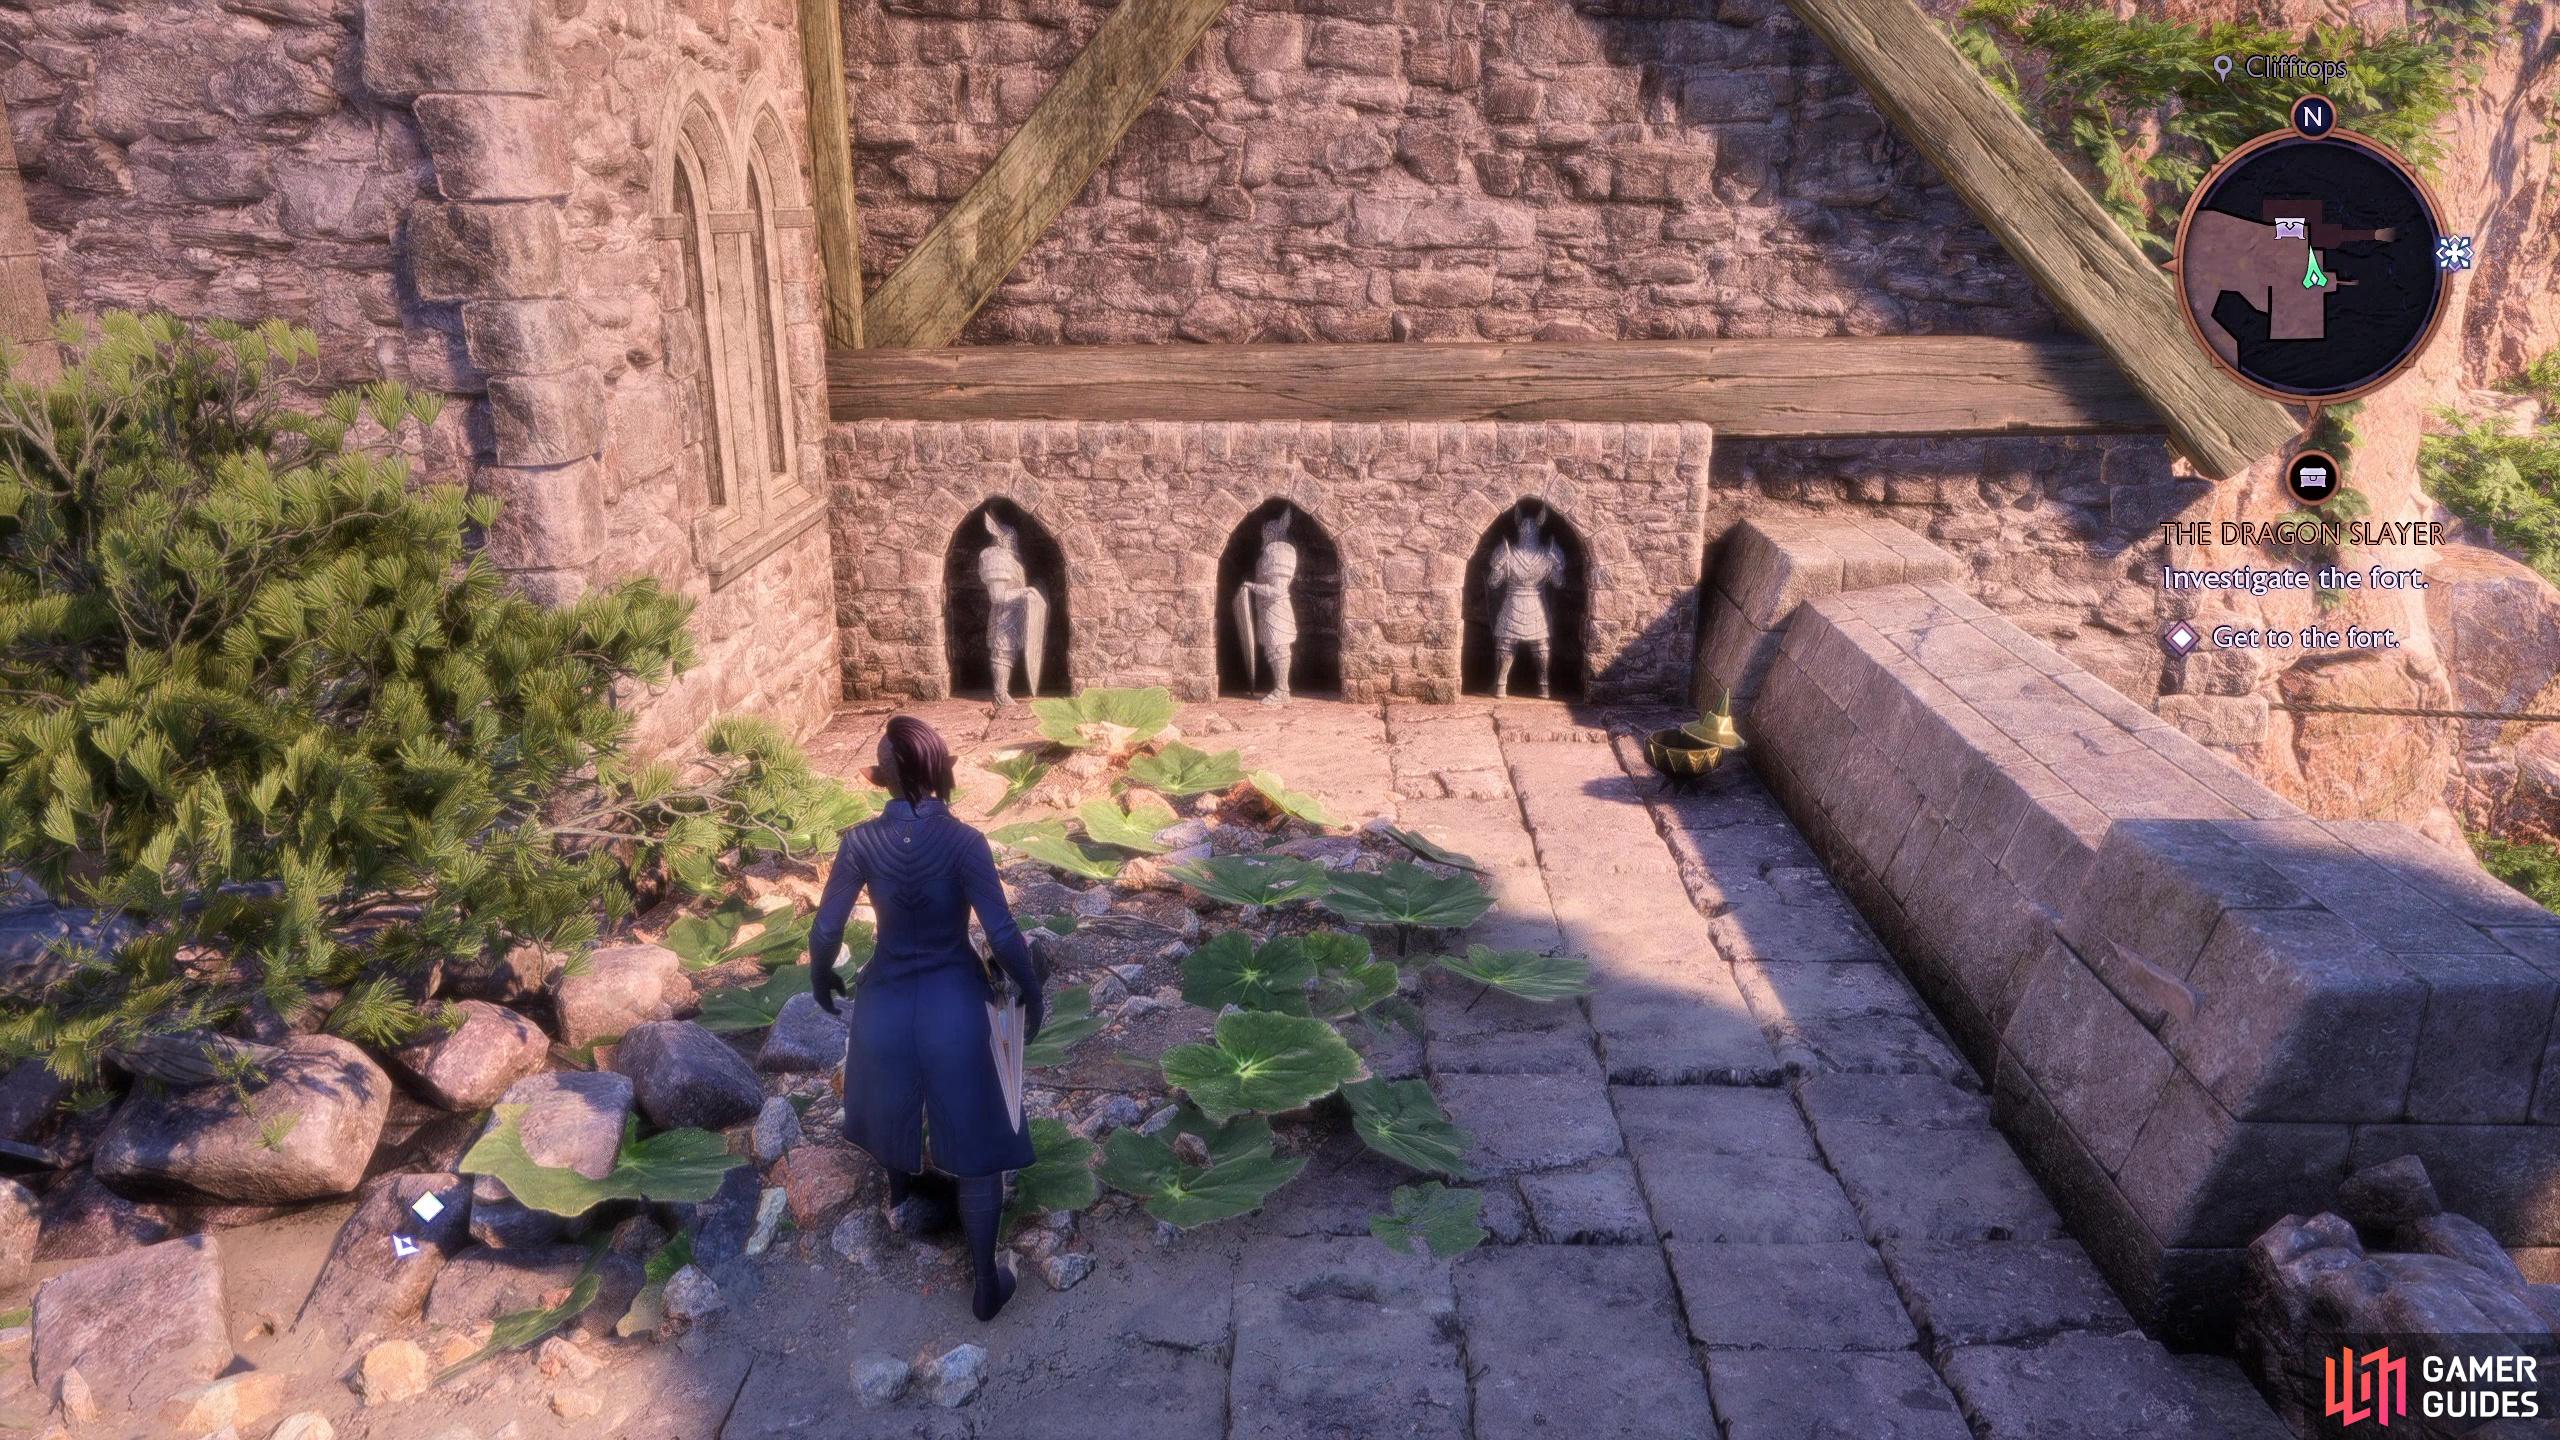
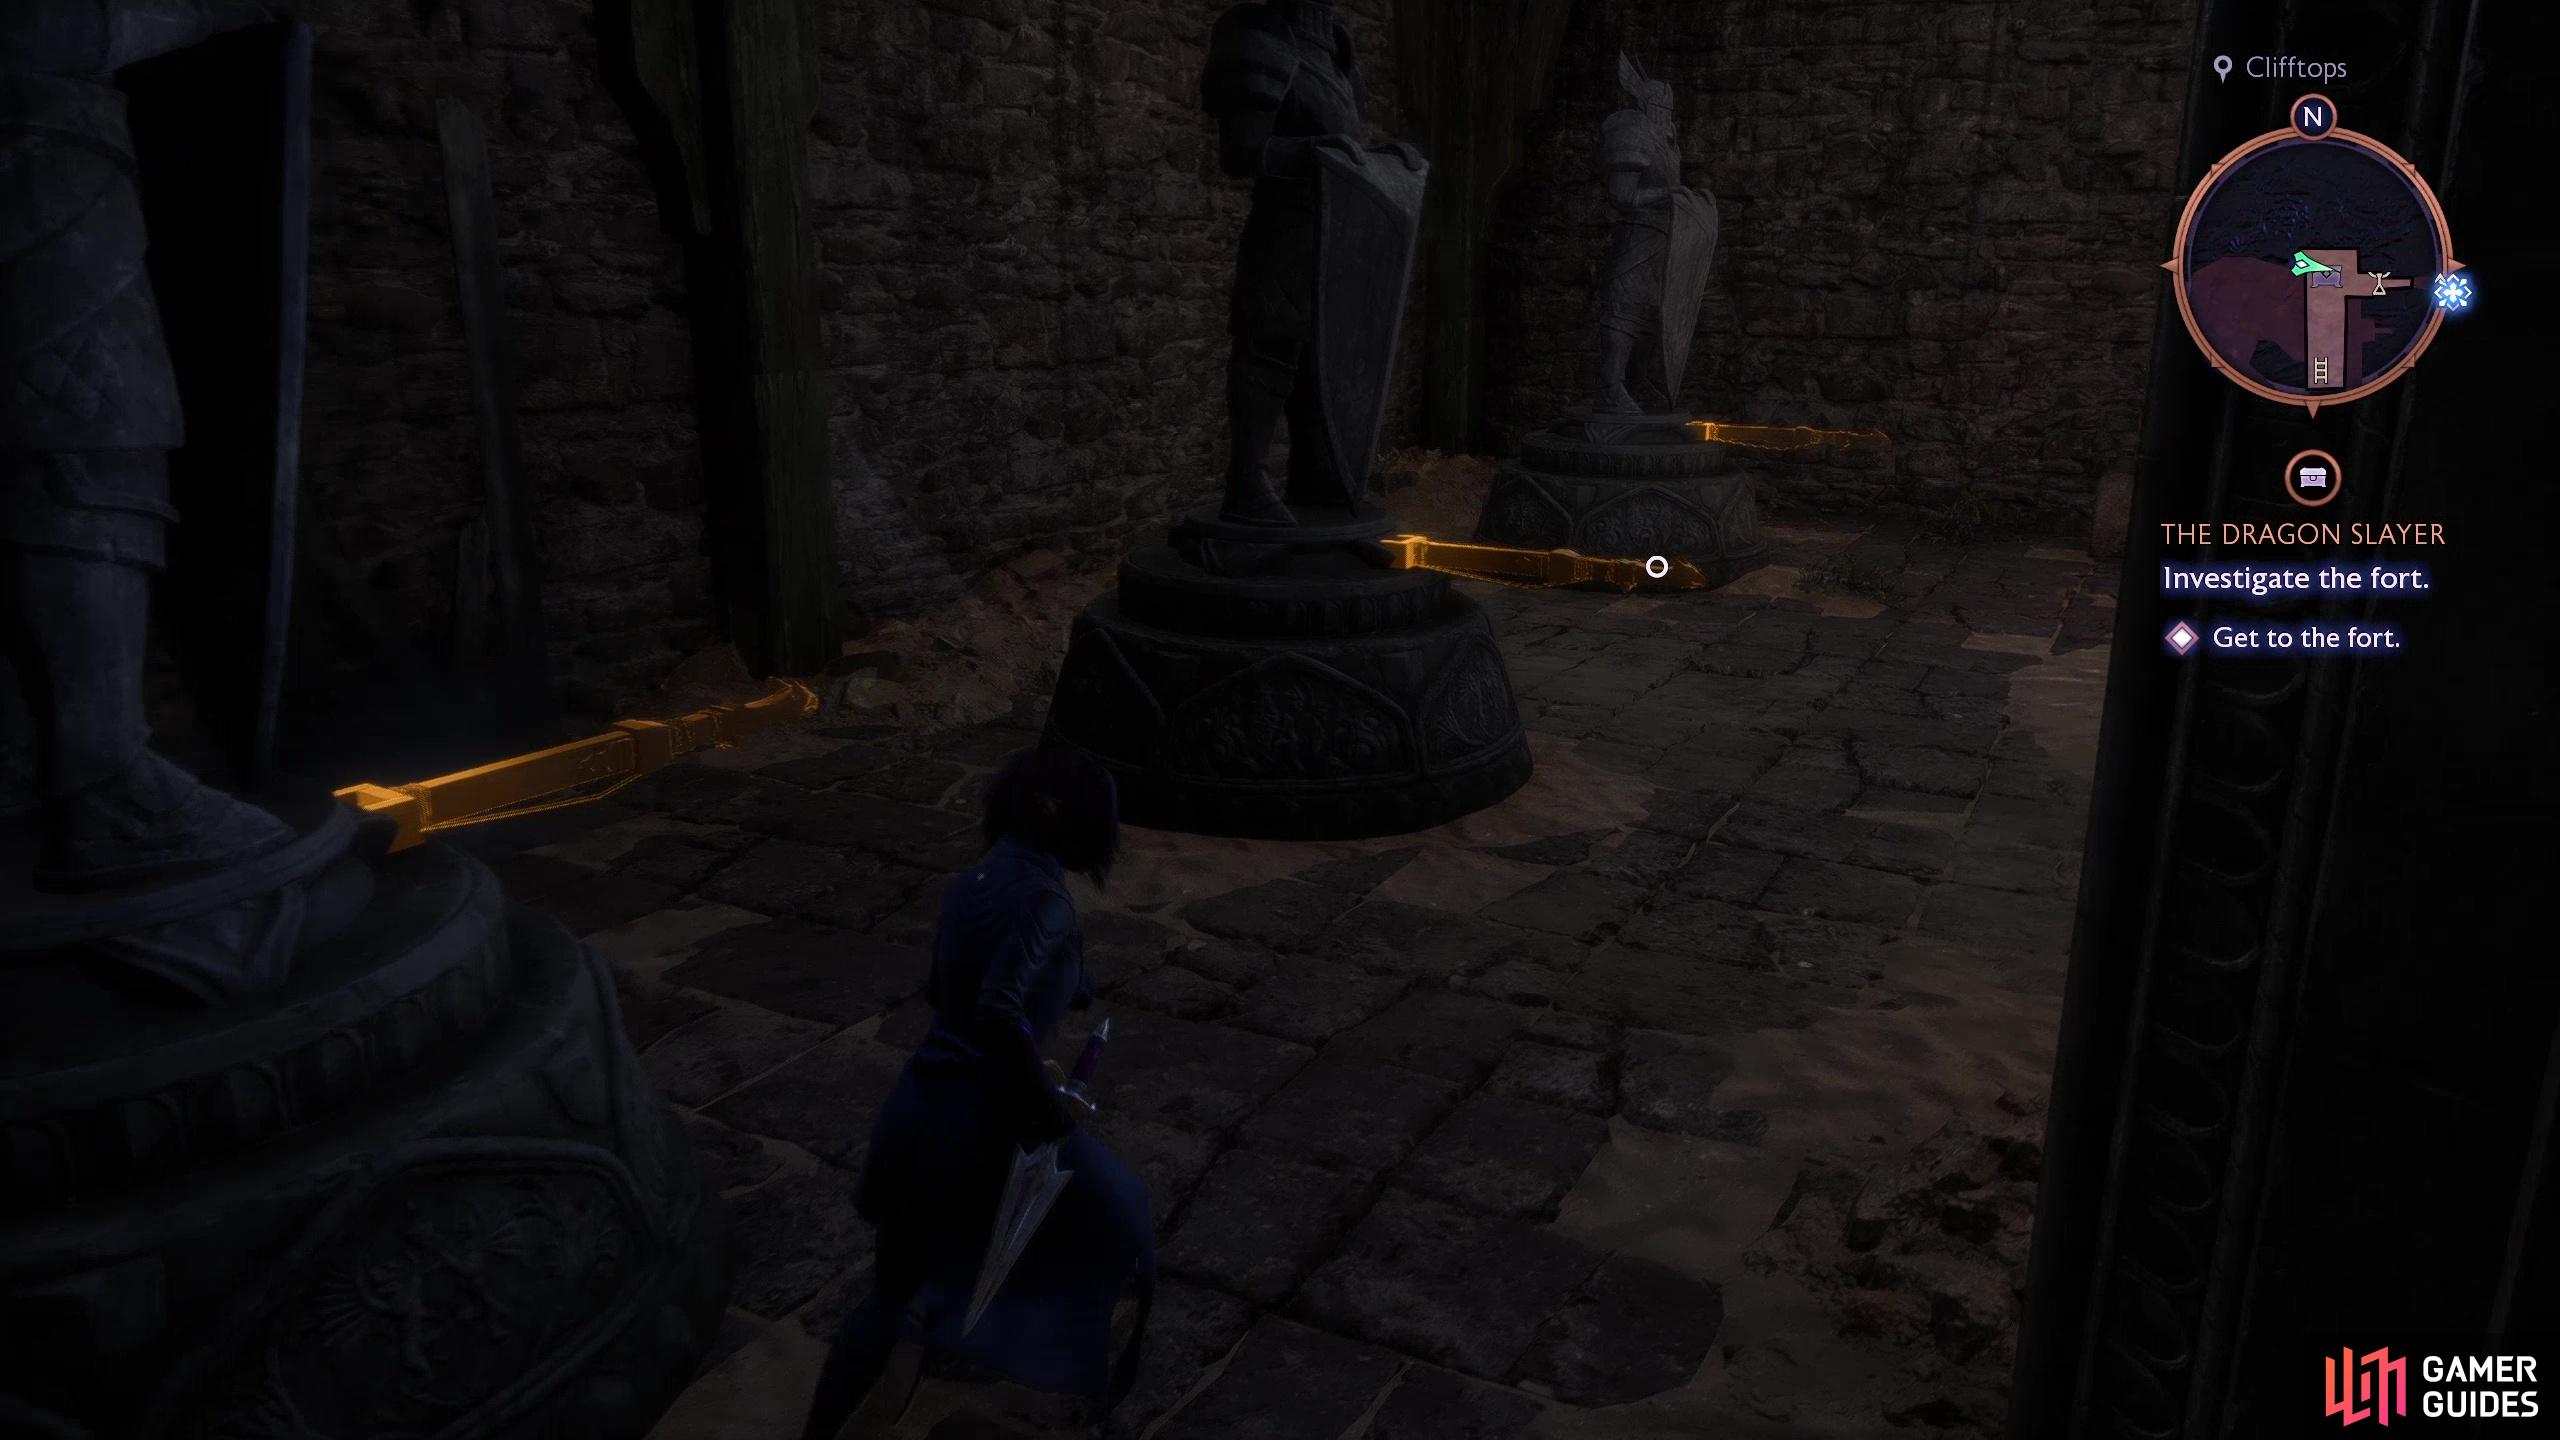
Climb some stairs to the northeast then work your way through the ruins to the east, dropping off a ledge and continuing east to spot the dragon you’ve been manipulating. The entrance to the keep is just to the east, but time has deprived you of easy access, so you’ll have to get creative. First, note a gate to the north, and east of this gate you’ll find some alcoves housing shielding-bearing statues. One is facing east, one west, and the third north. Remember that, or not… we’ll remind you.
Enter a building to the south and descend a ladder, smash a barricade and some barrels to the north and eventually you’ll spot three statues ahead and some stairs to the east. Rotate the statues as follows:
- Left statue: Facing east
- Center statue: Facing west
- Right statue: Facing north
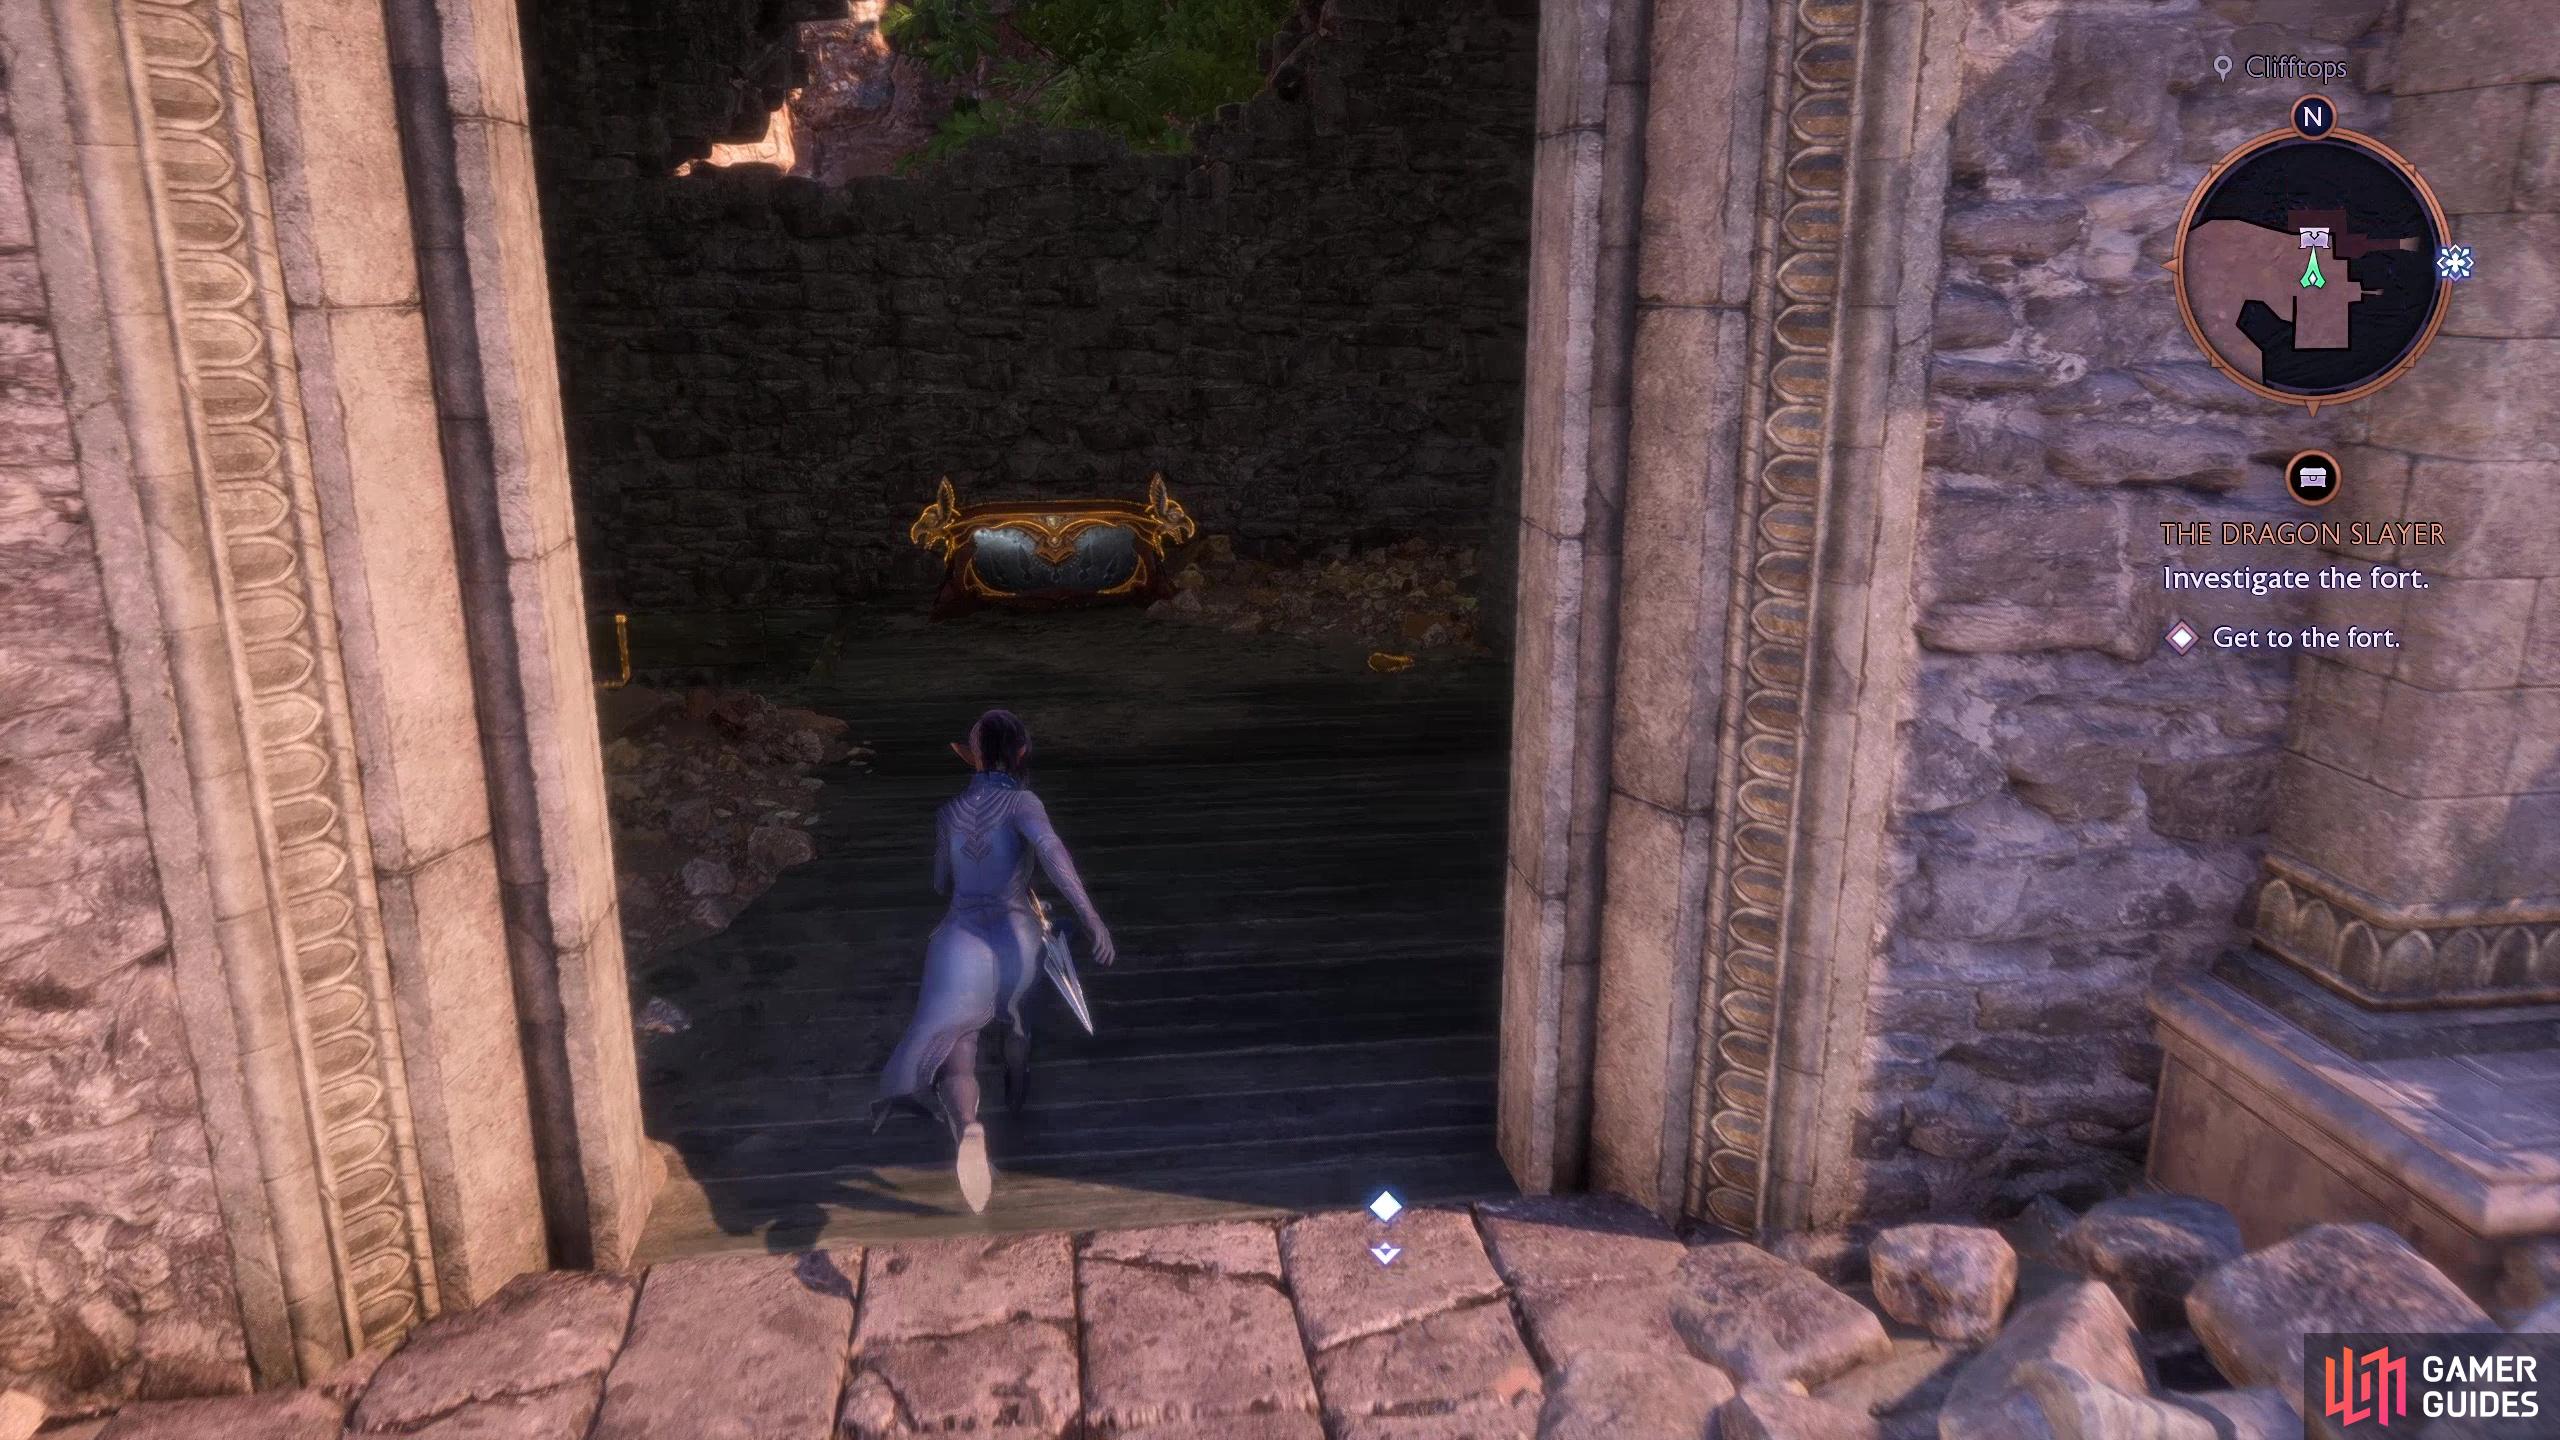
This will lower a ladder nearby. Climb it and loot the large chest you find atop the ladder. The gate that blocked you earlier is also raised, although that’s not all that useful just yet.
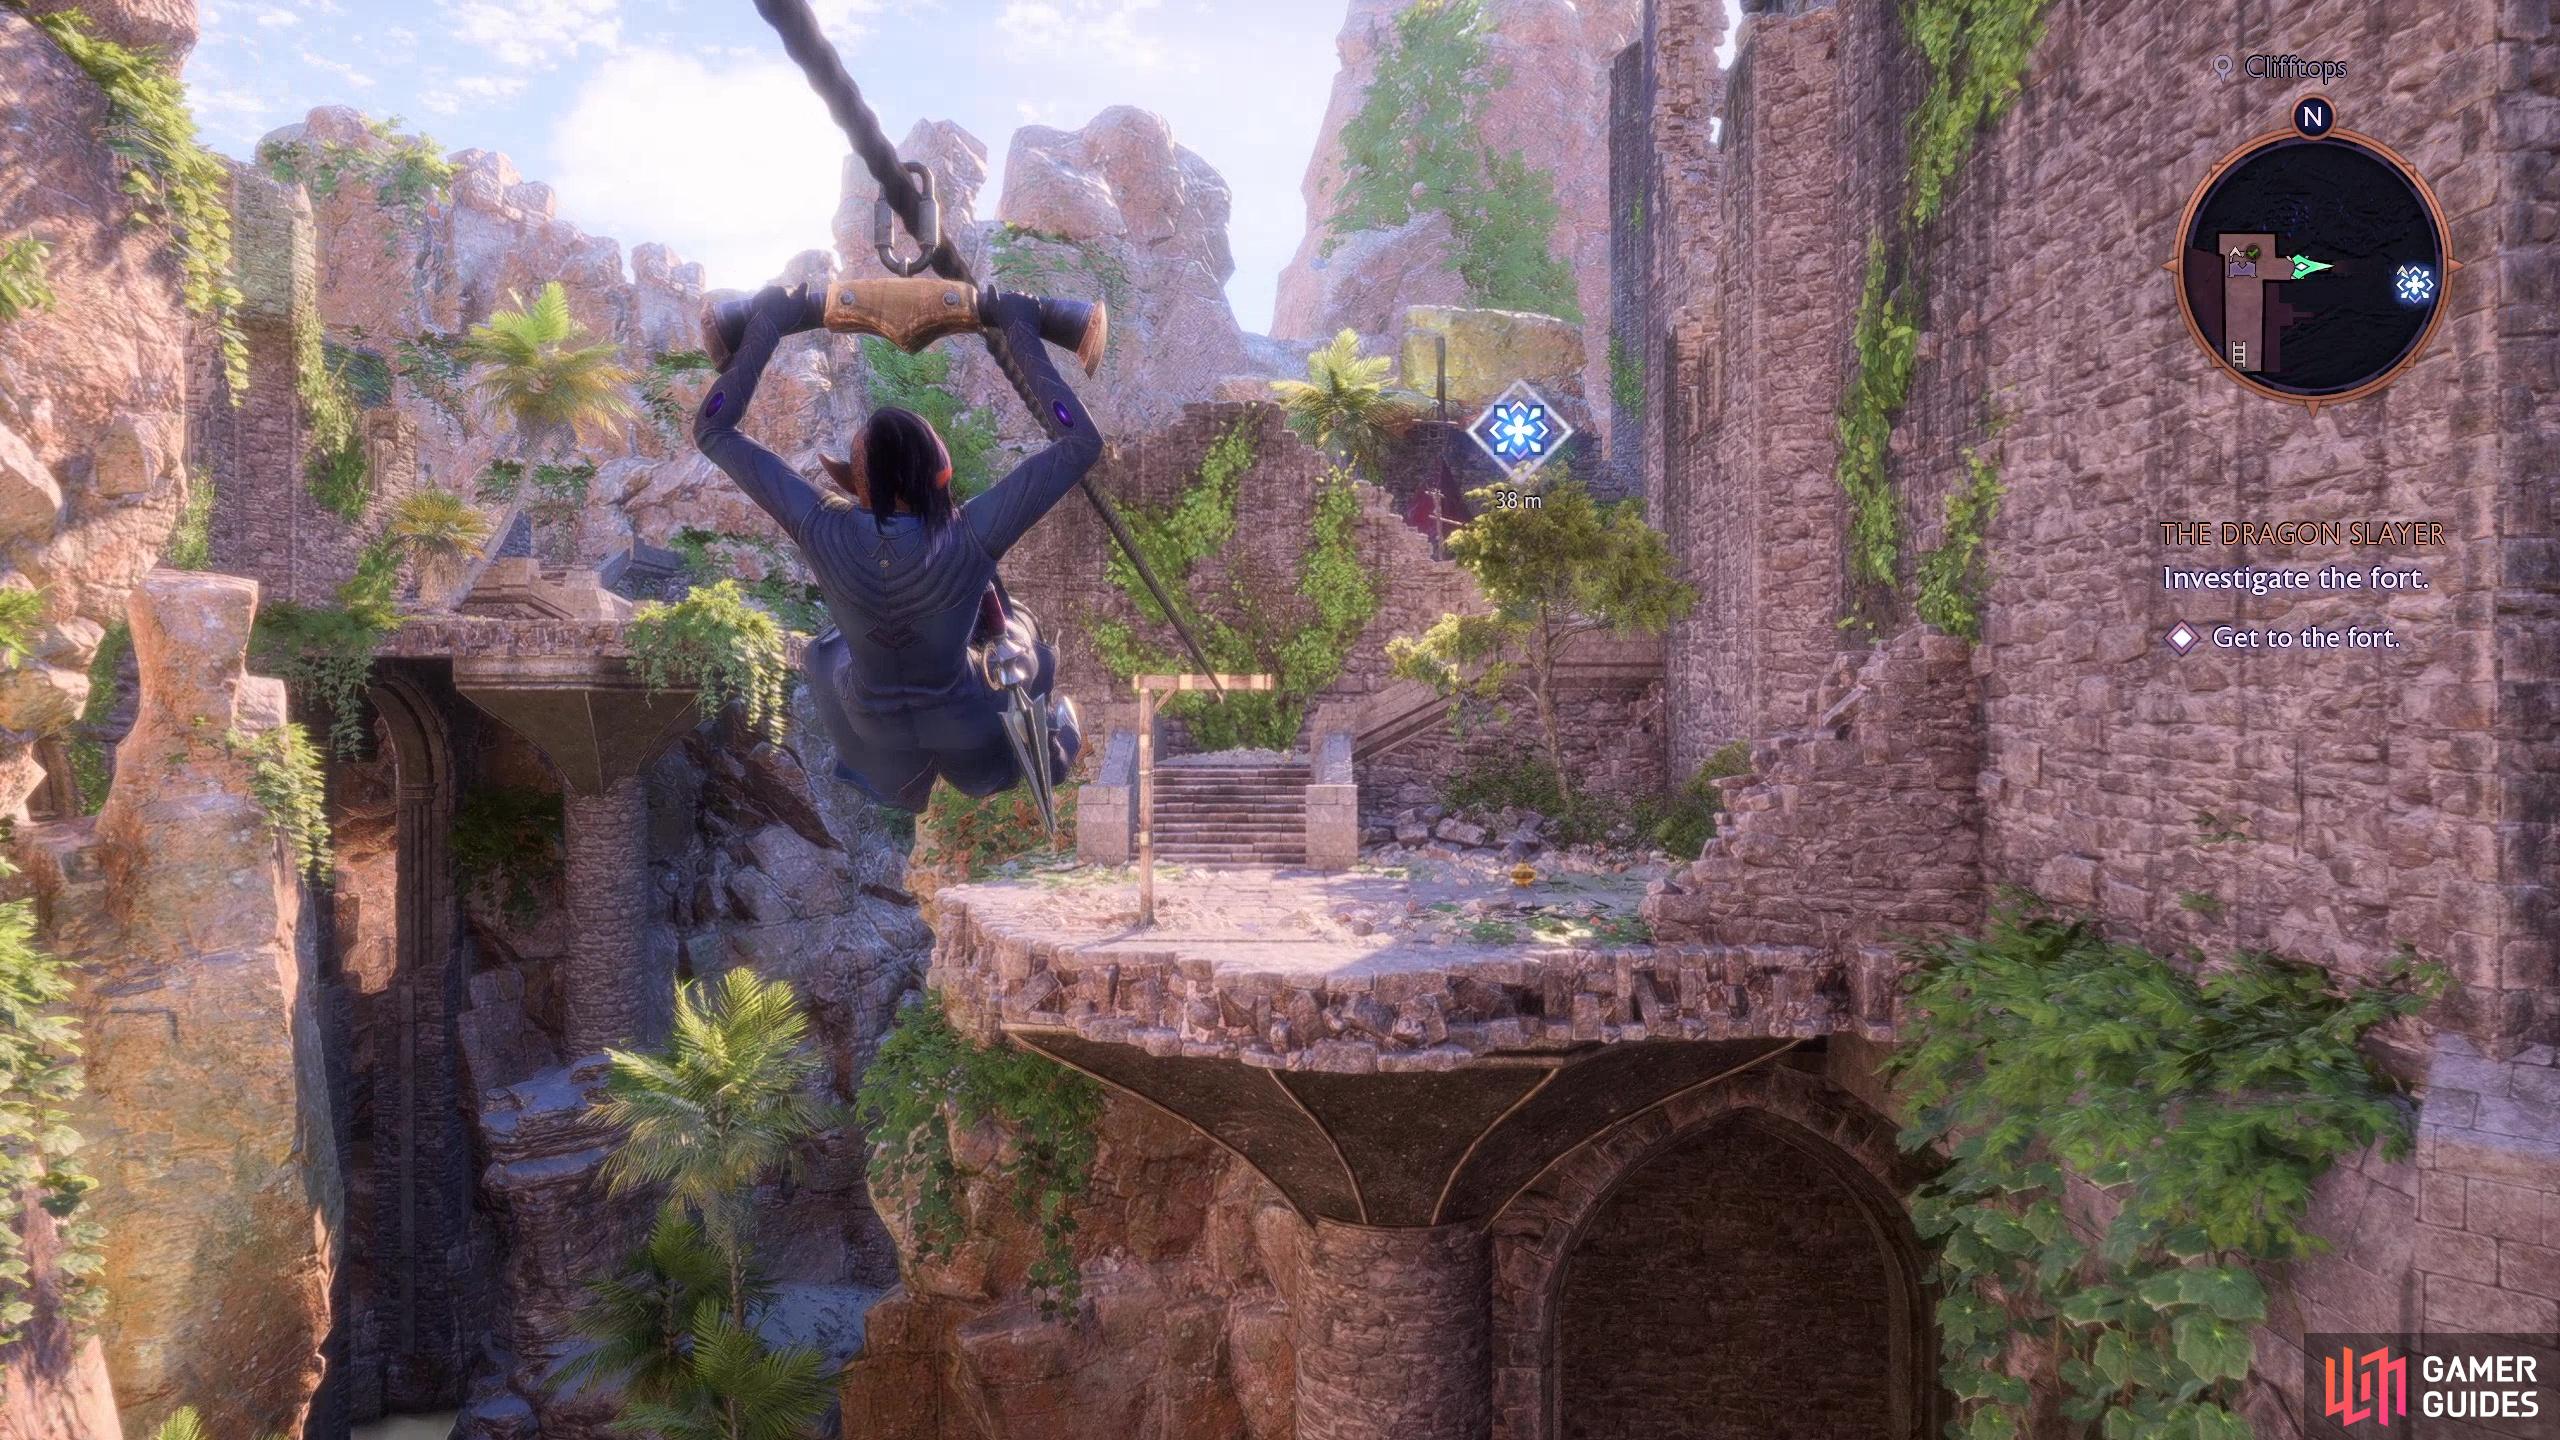
Drop back down the ladder, ascend the stairs to the east and use a zipline to cross a gap to the east. Once across the zipline you’ll reach the Warden Castle.
(1 of 4) Loot east of a closed gate to find some statues in alcoves, hinting at the solution to a nearby puzzle.
Search the Warden Fort
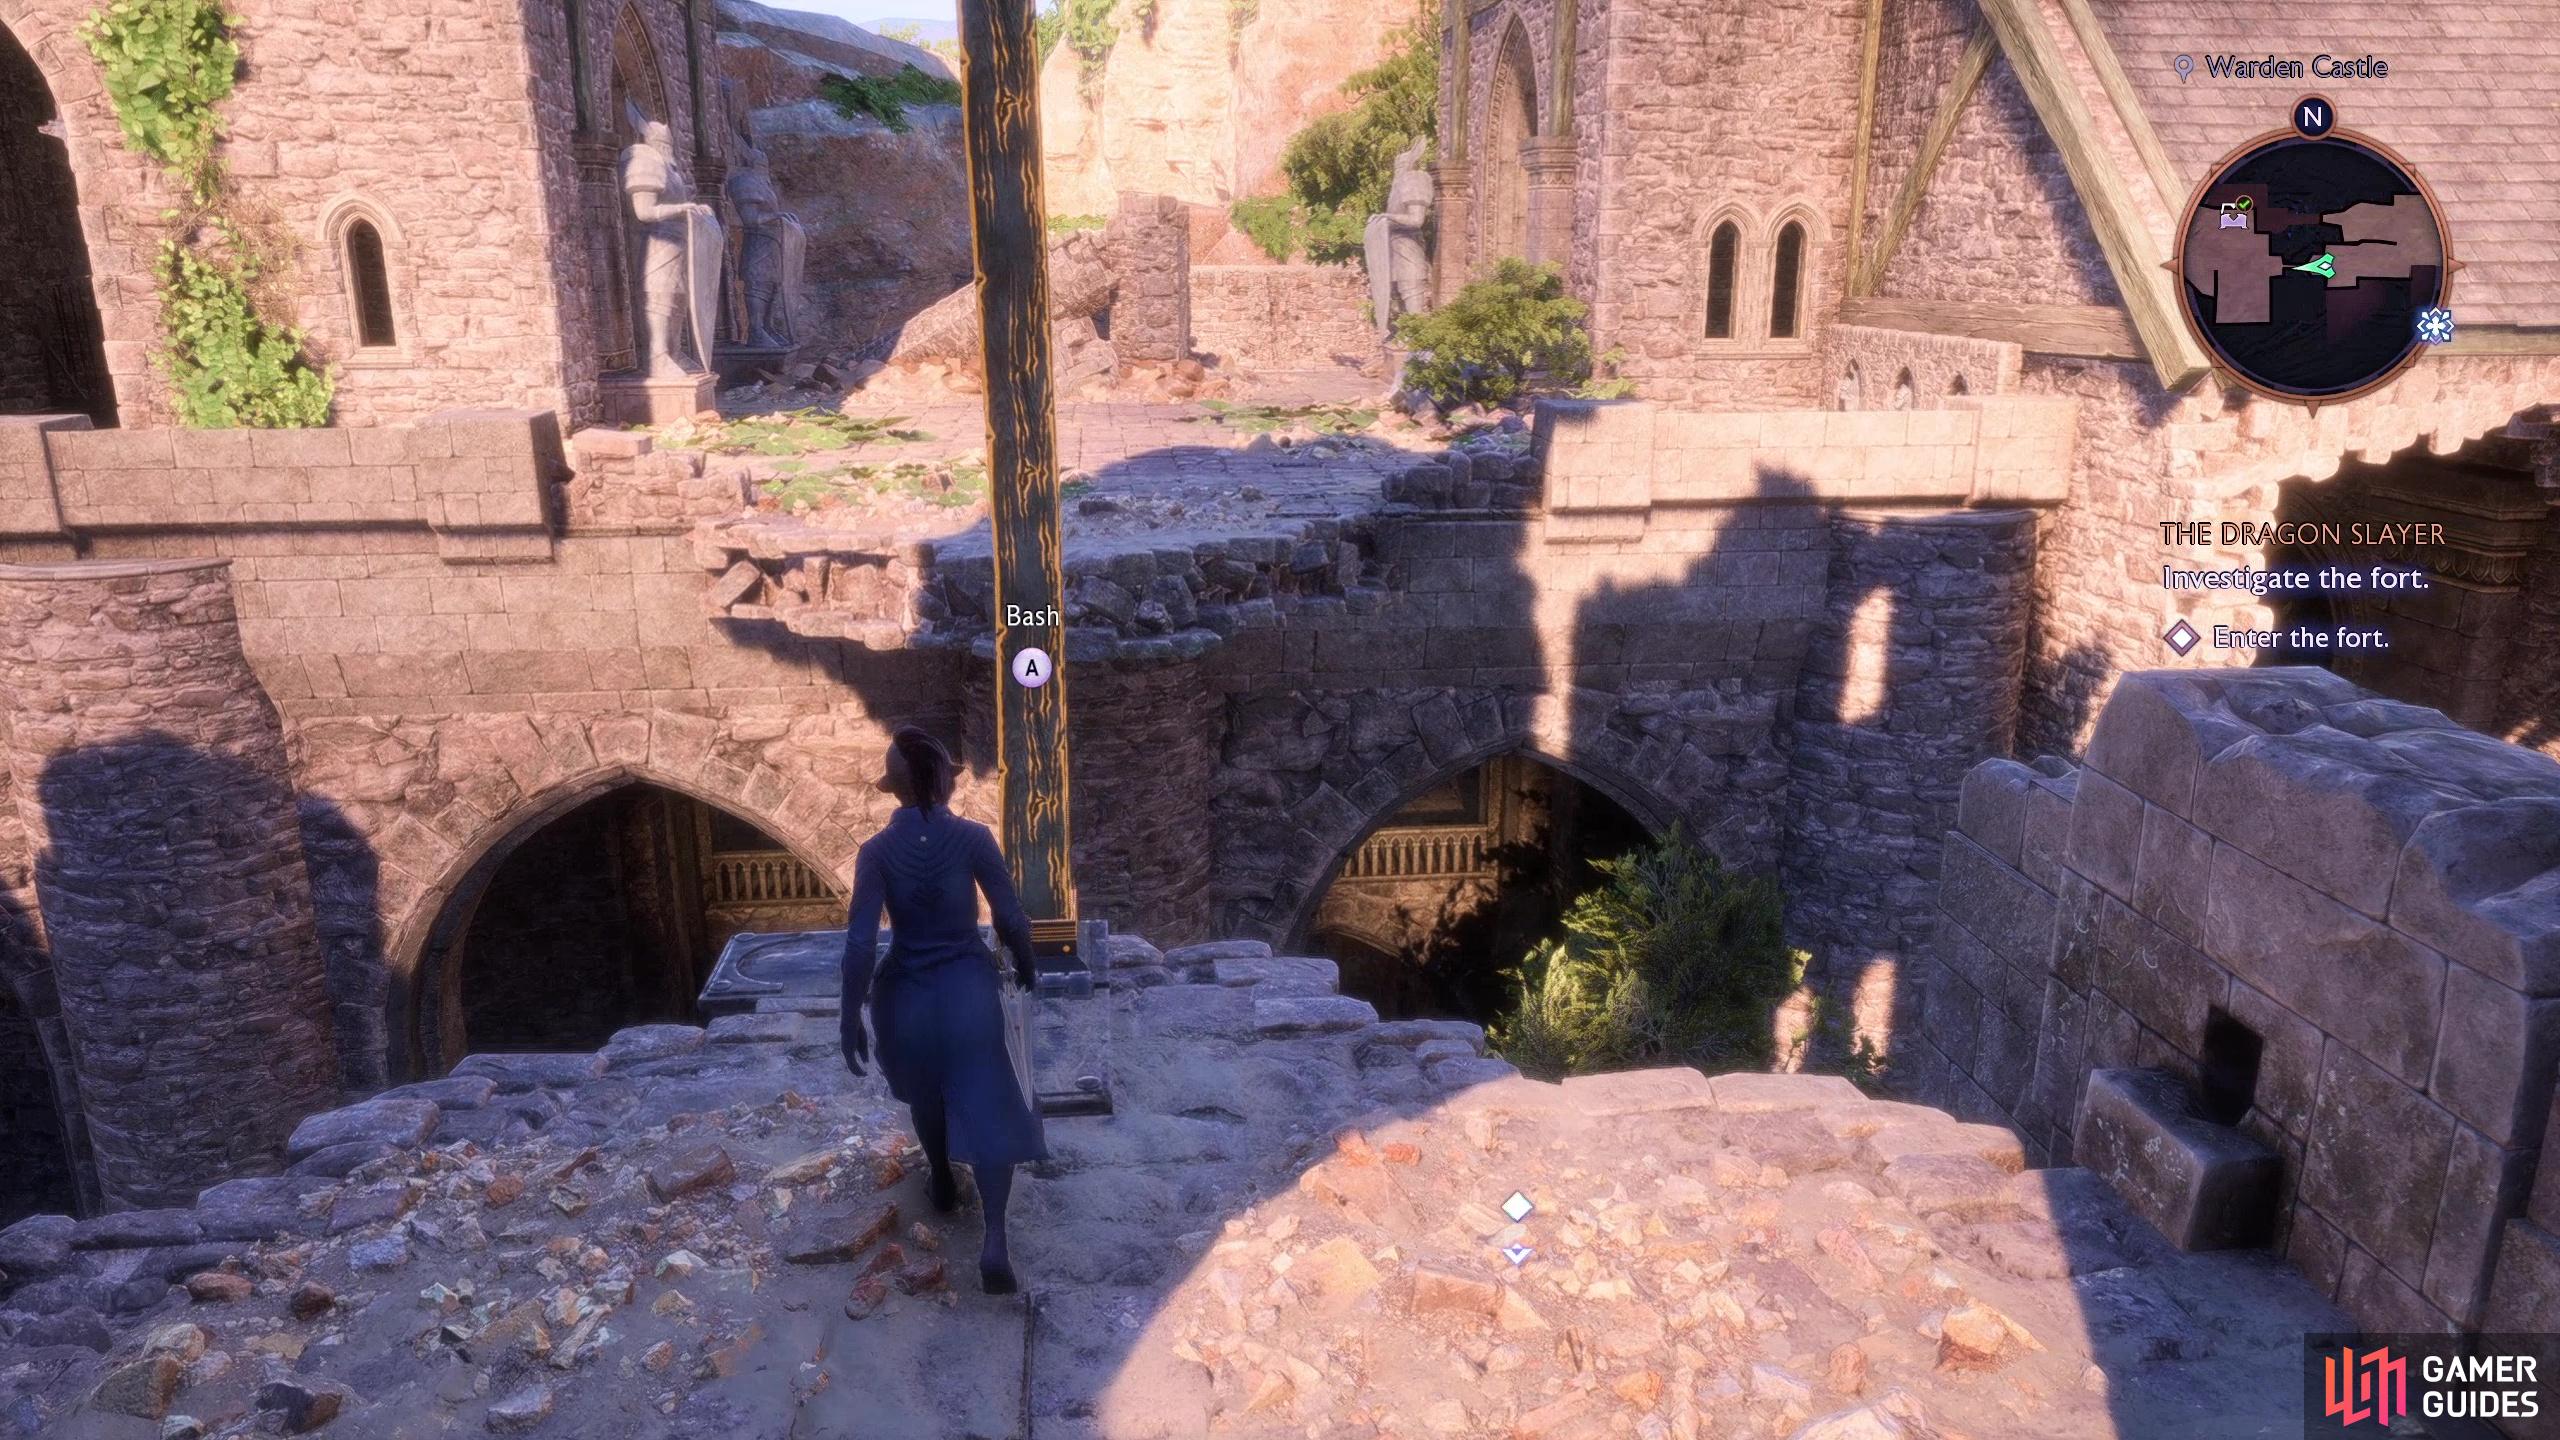
Head up several flights of stairs to the east, then turn south to find two doorways, one leading into the keep to the south and another to the west. Go west, press on through some doorways until you reach a gap. Loot a chest, then kick down a beam to create a shortcut back to the Clifftops. Another nice shortcut to have for later.
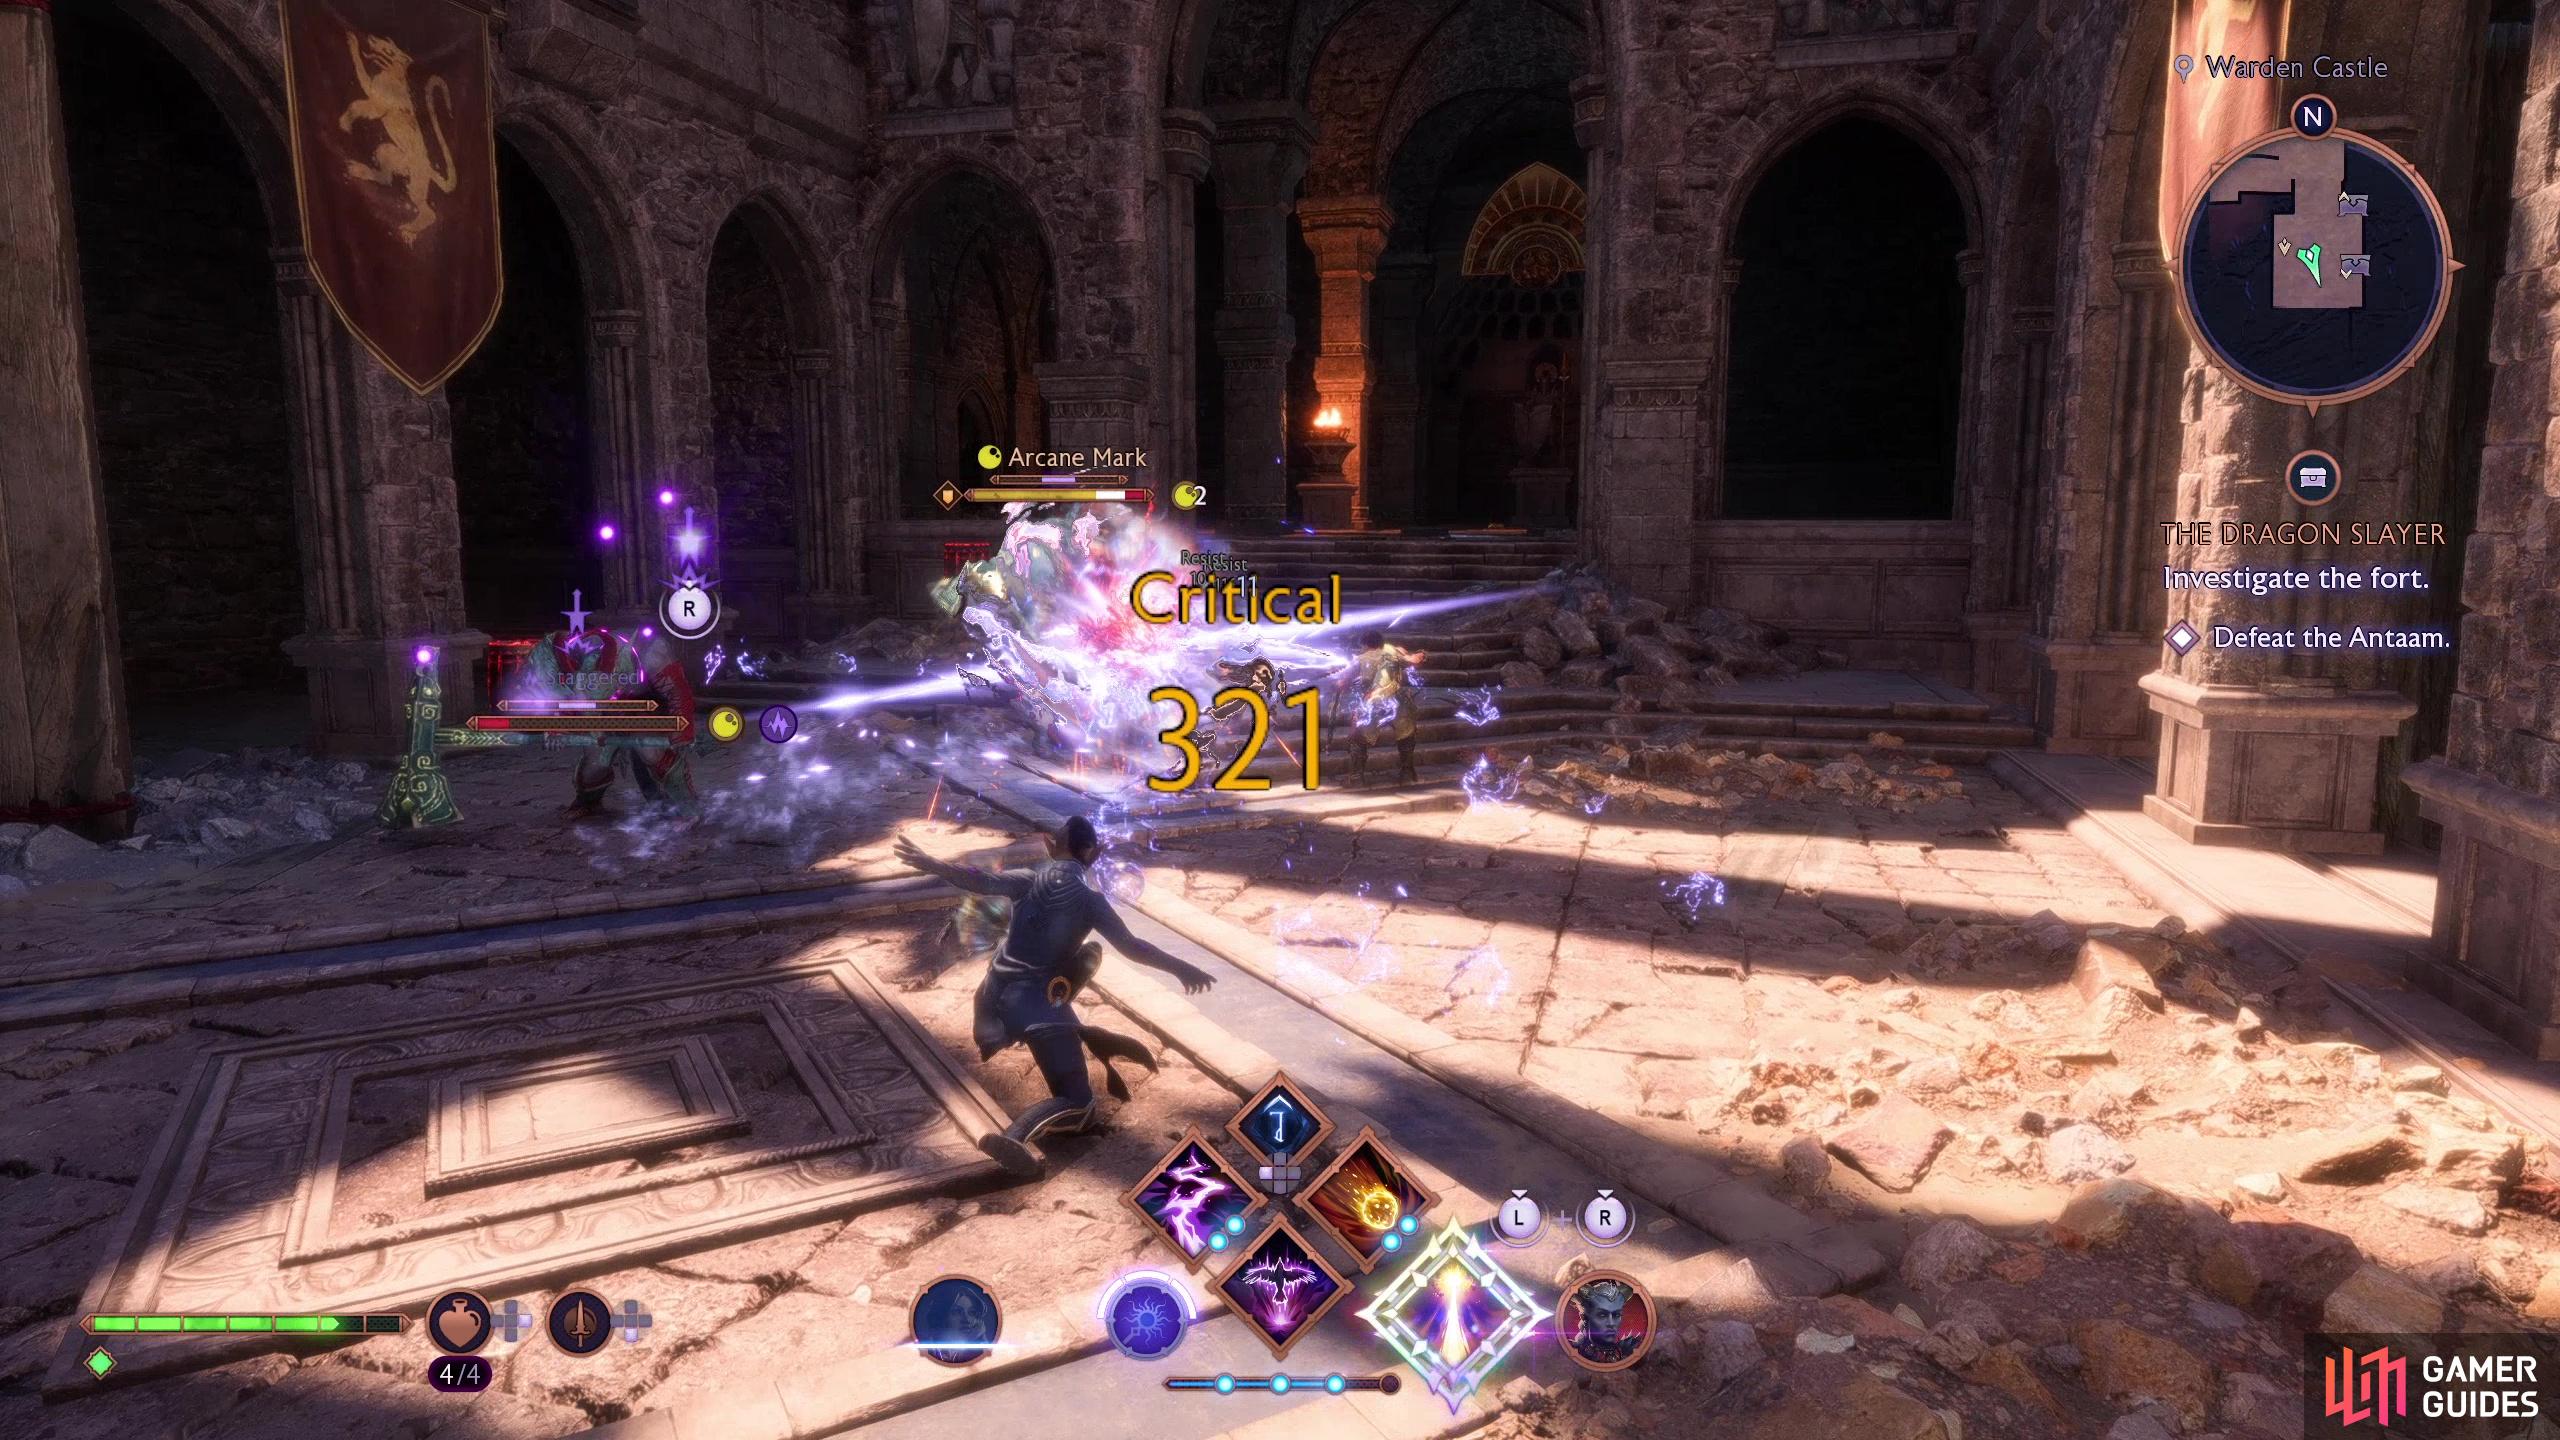
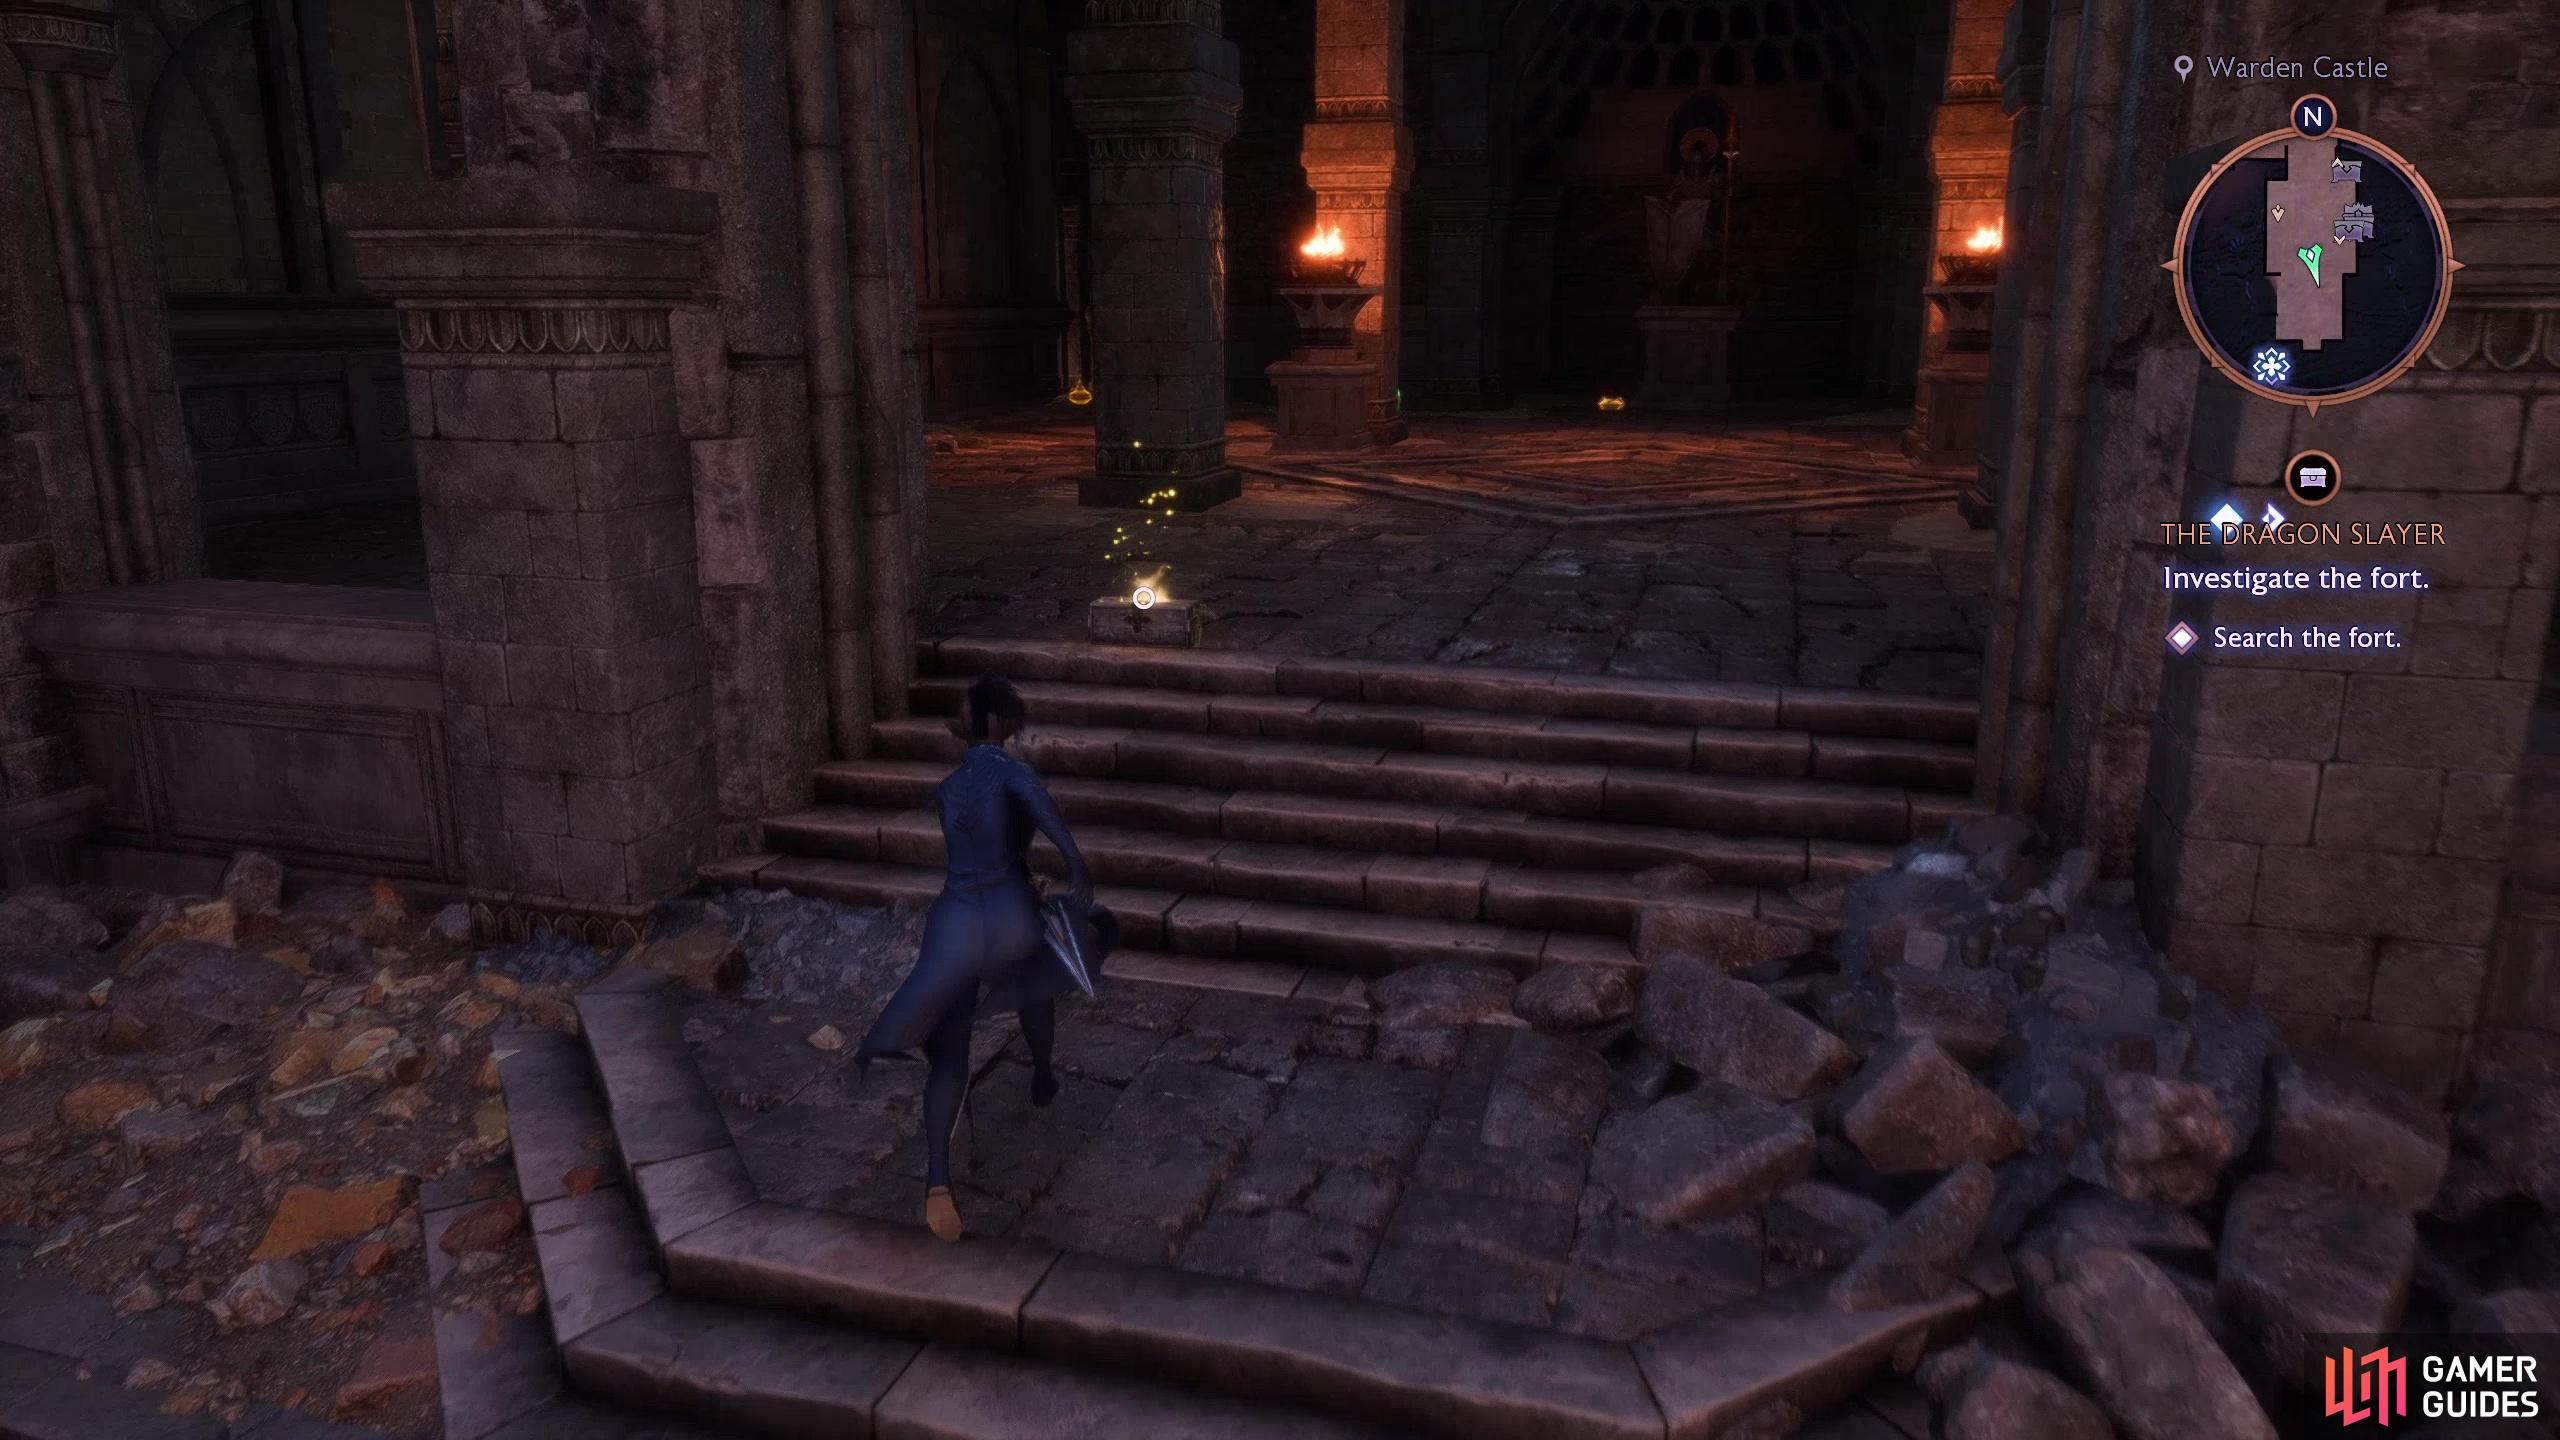
Enter the fort and continue south until you reach a large chamber with a vaulted roof. Or the remains of a vaulted roof, anyways. Inside you’ll find several Antaam, including a cannoneer on high ground. Kill your foes and note some stairs to the west. These lead to a doorway blocked by drakestone - an obstacle you can’t bypass… yet. You’ll have to return later to open it, but take the ![]() Spellcaster’s Stiletto dropped by the Antaam cannoneer as a consolation prize, then continue up some stairs to the south and go through a door to the west.
Spellcaster’s Stiletto dropped by the Antaam cannoneer as a consolation prize, then continue up some stairs to the south and go through a door to the west.
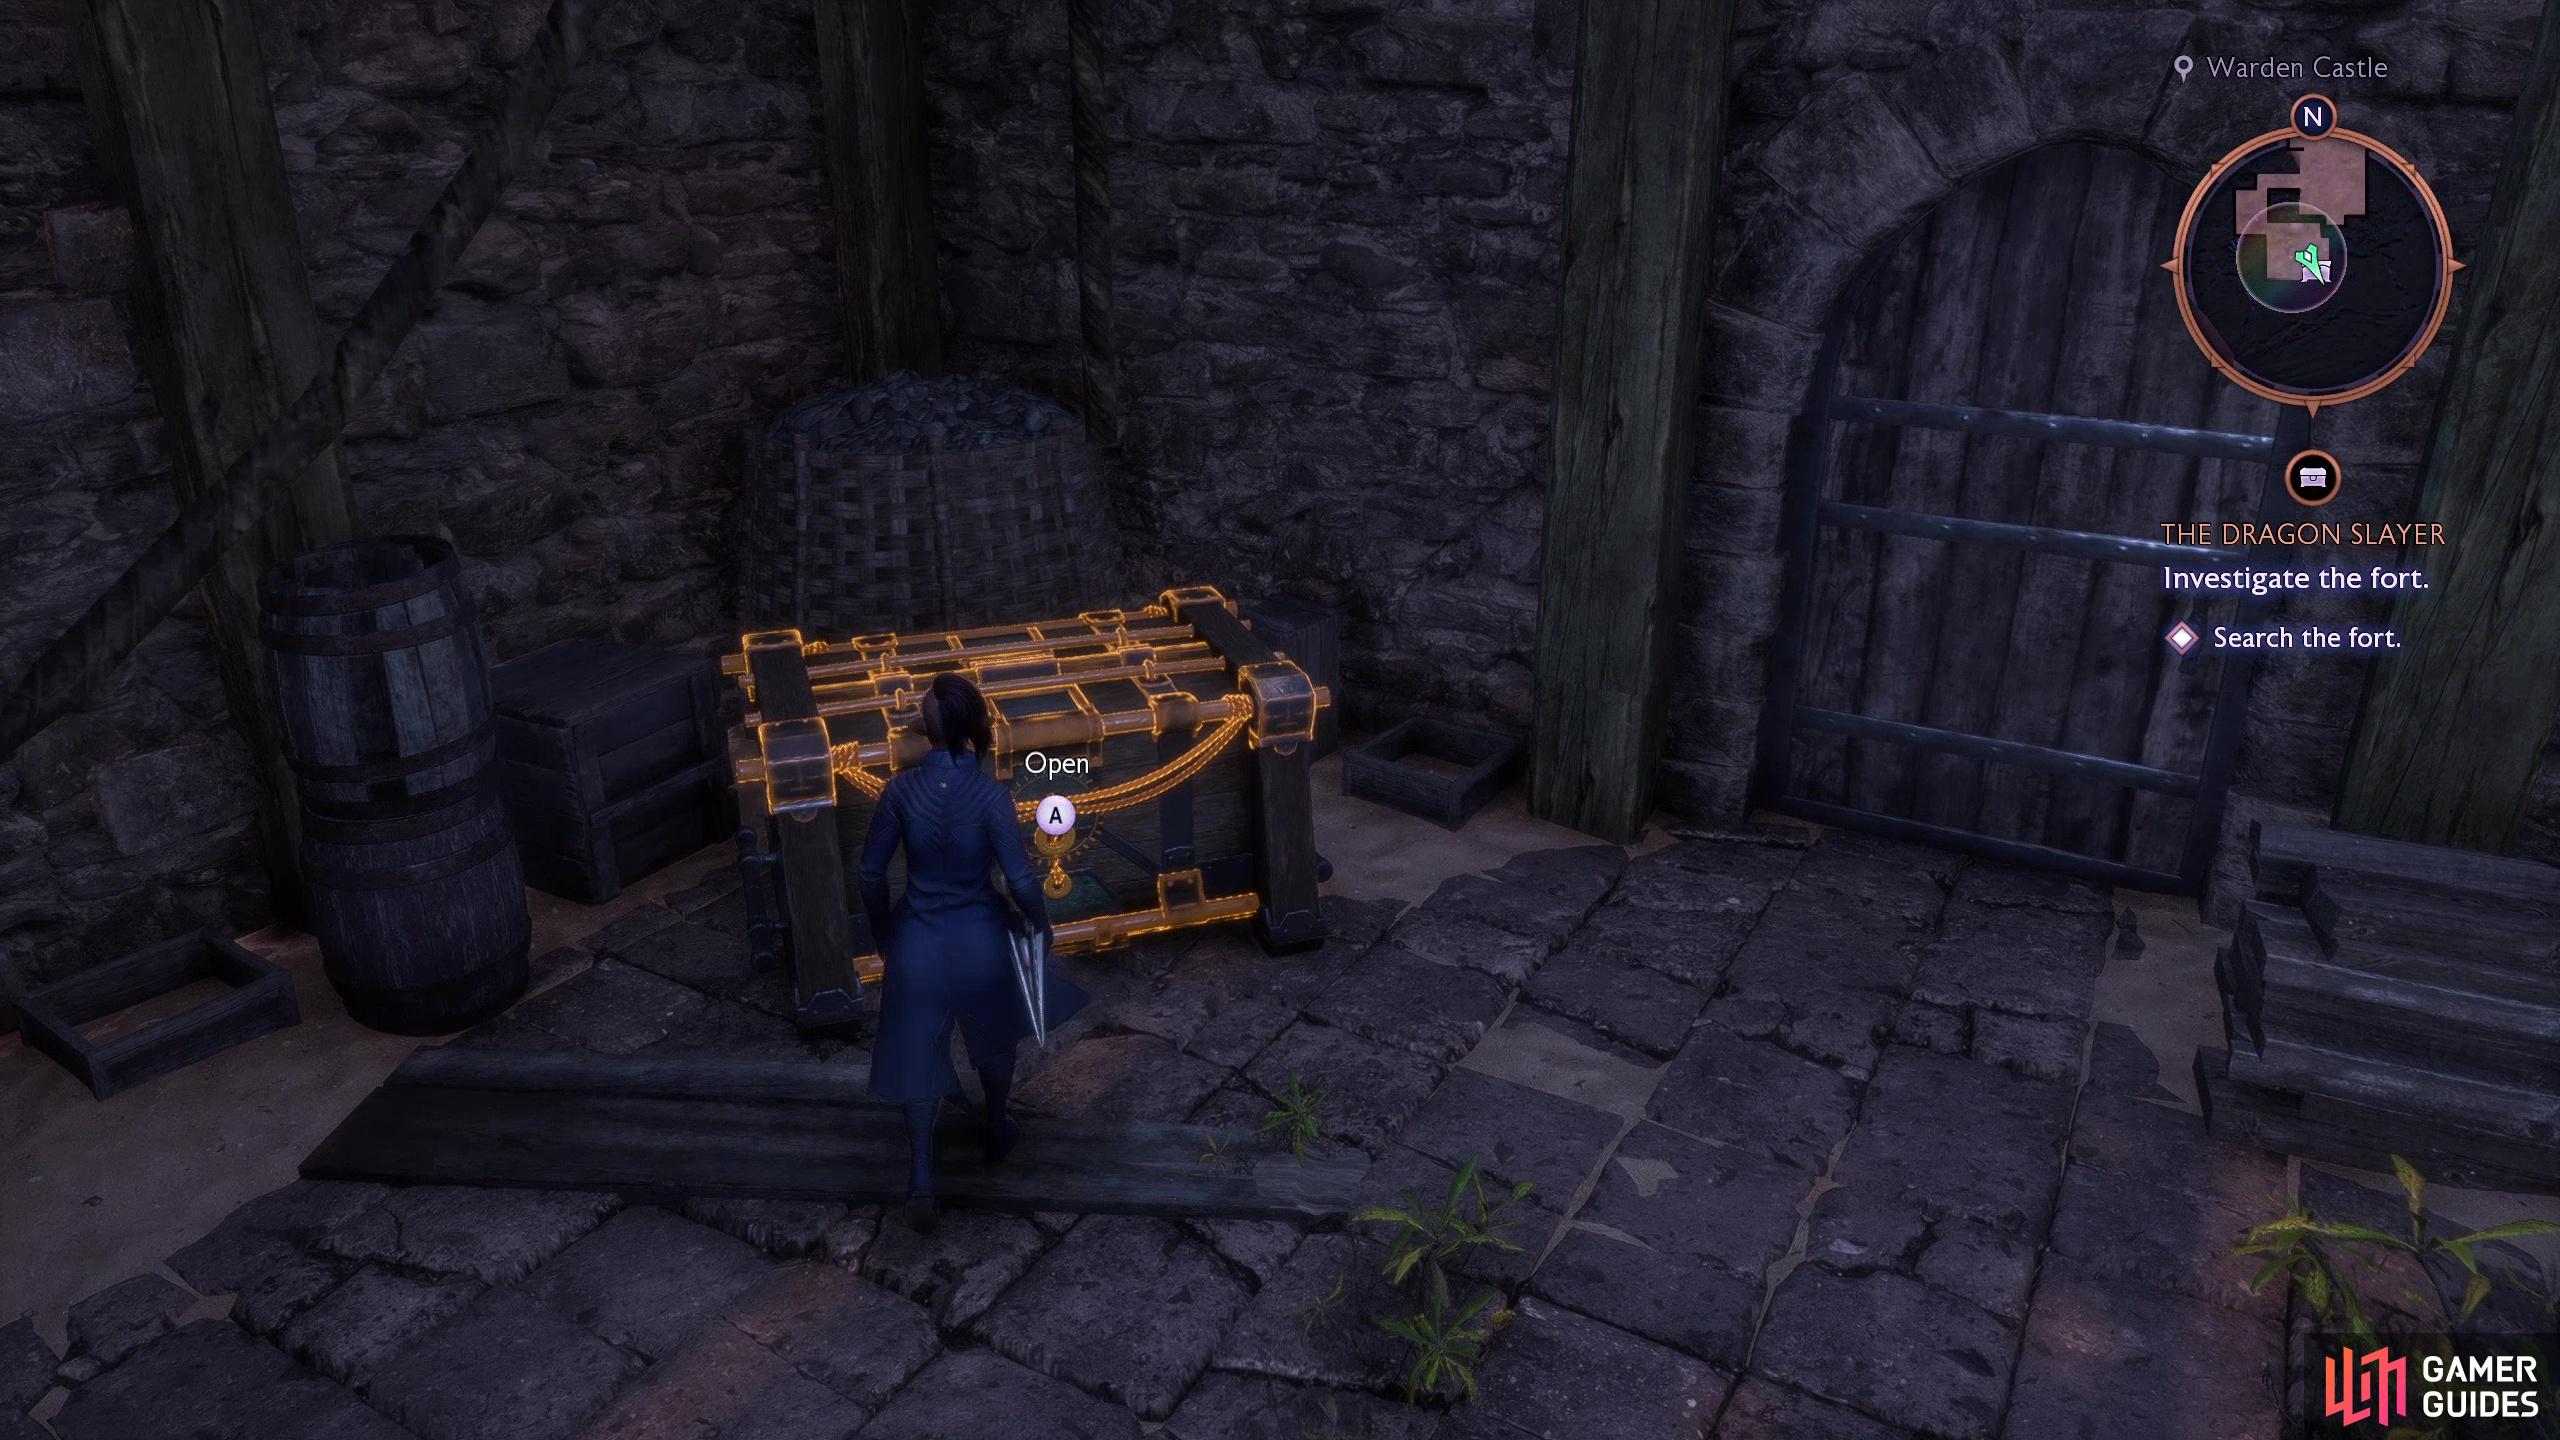
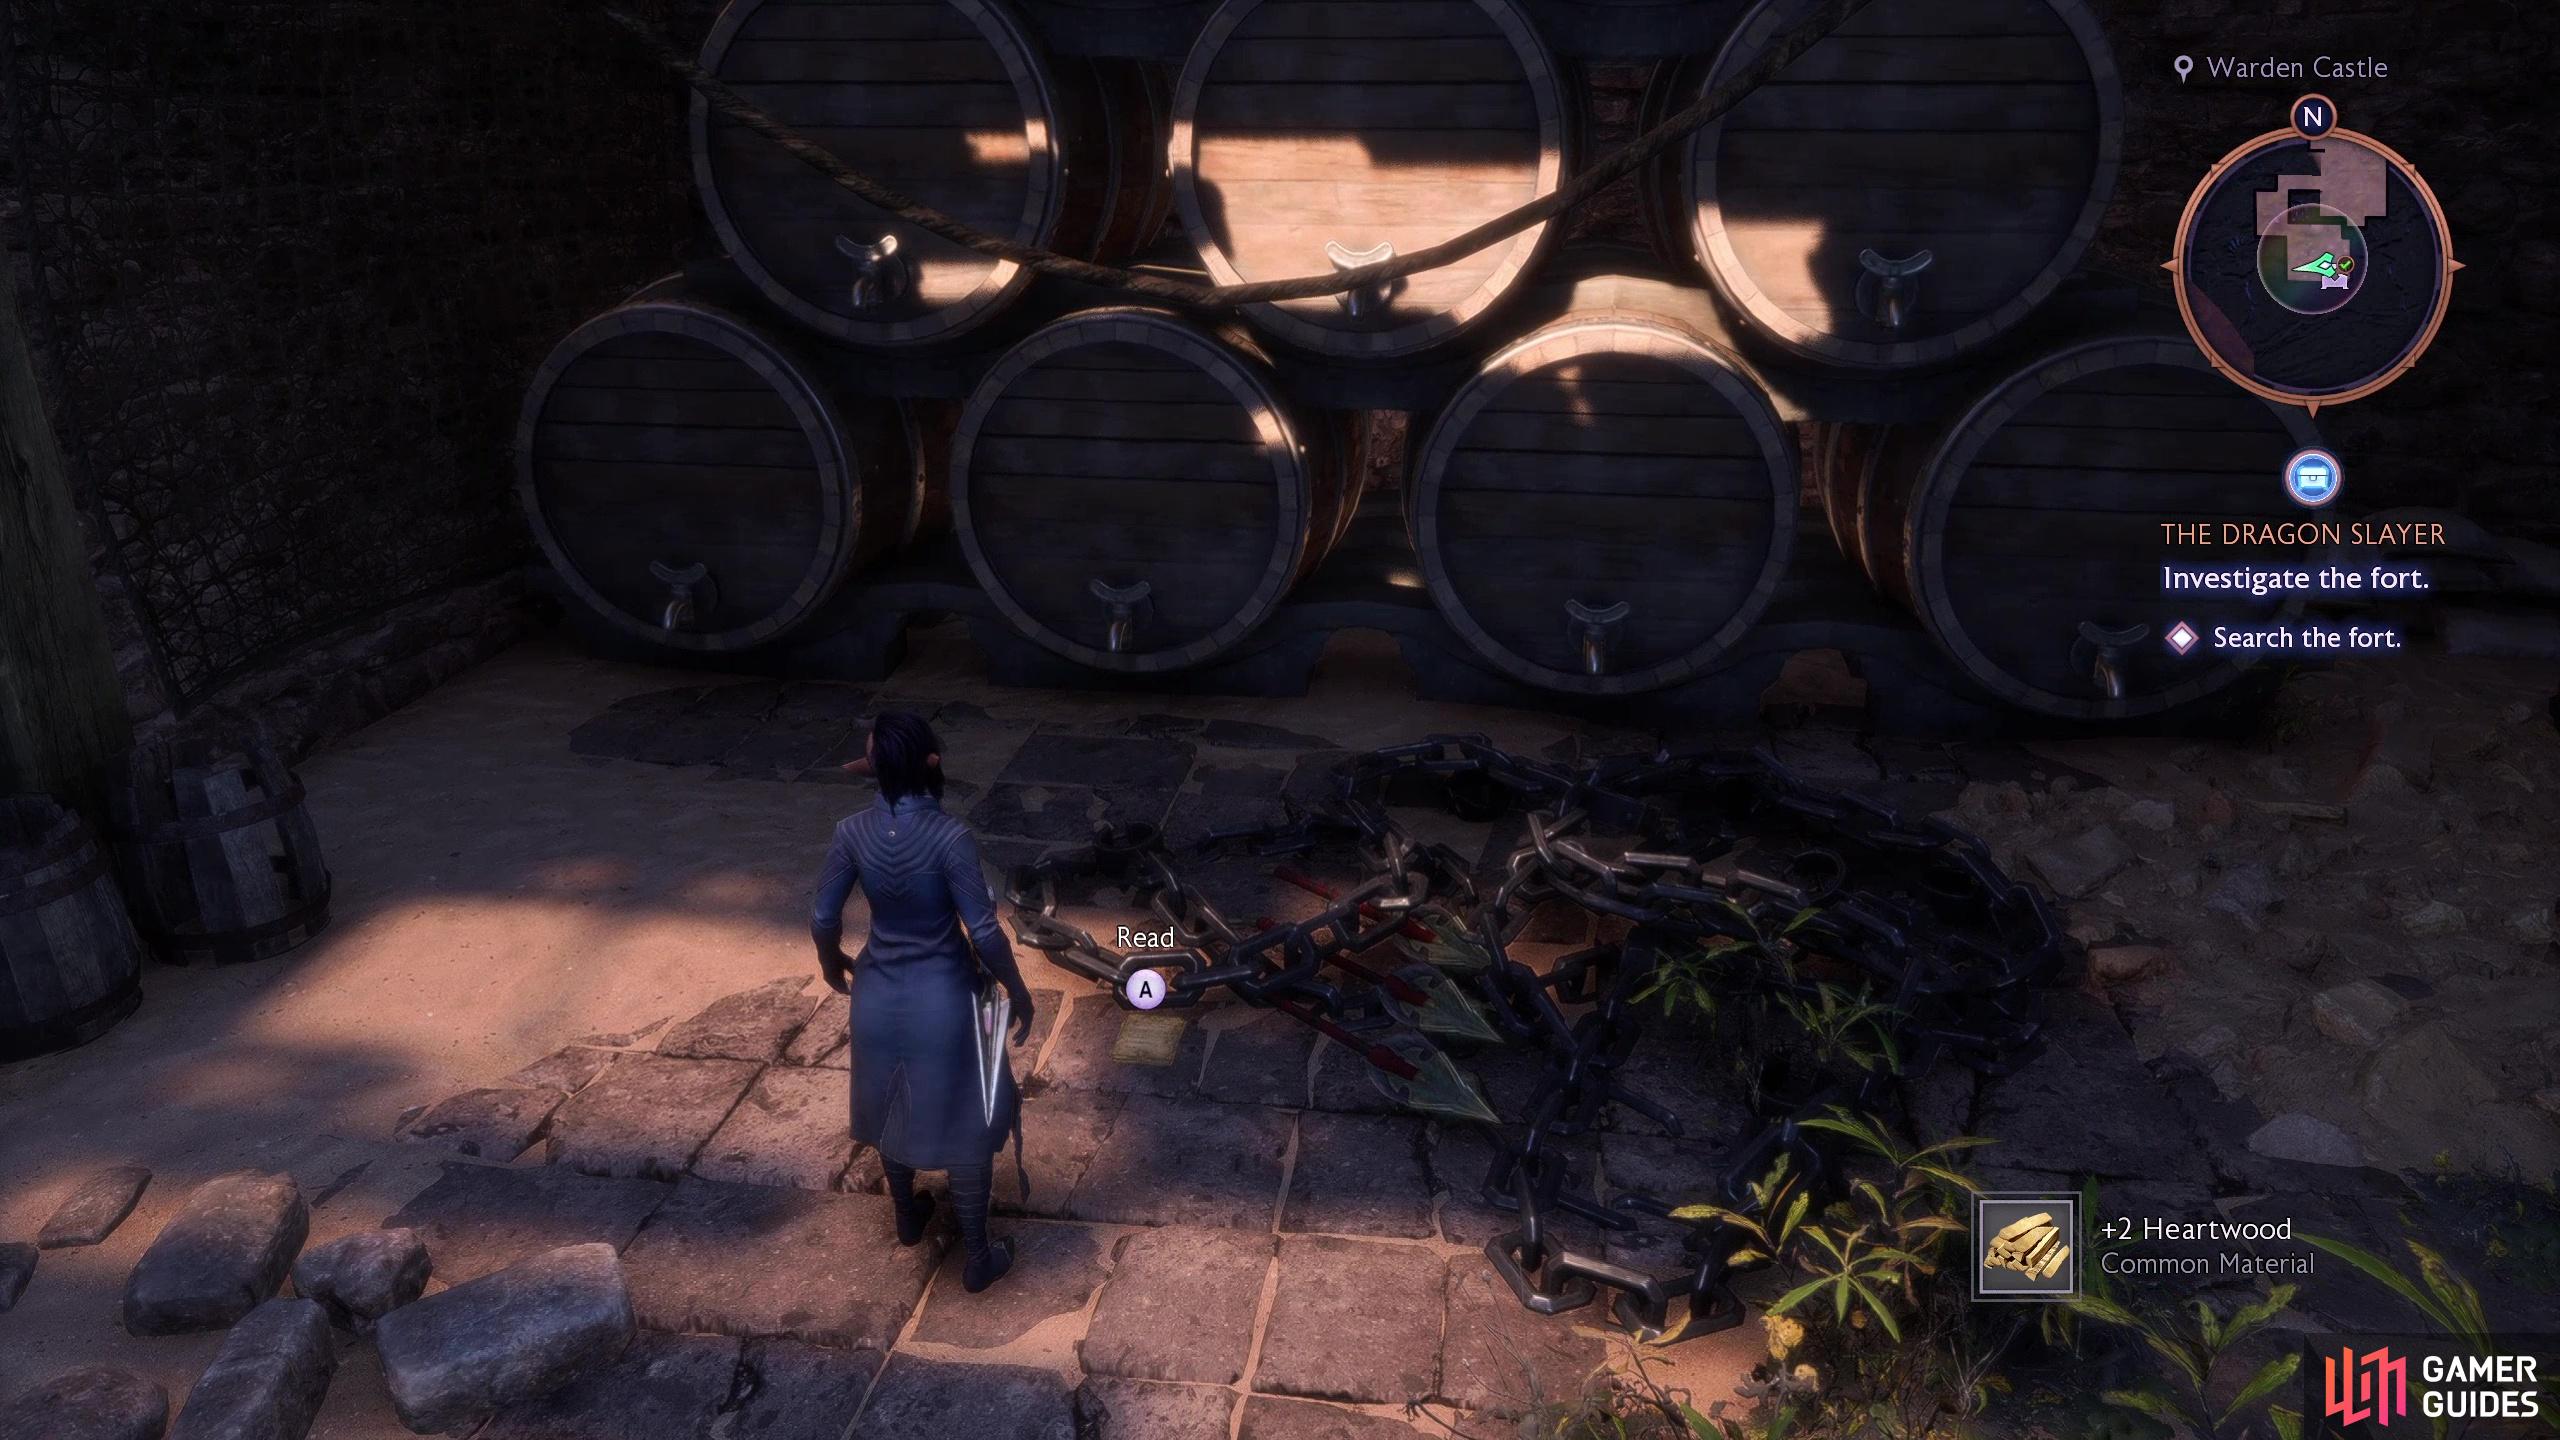
Follow the linear path ahead until you reach a chamber with a large chest beckoning you to the southeast. Vault over a wooden balcony, open the chest, then read an Antaam Note on the ground to learn about the plans of the Antaam. Suffice to say, it doesn’t jive with Taash.
(1 of 5) After reaching the Warden Castle, head west and knock down a beam to create a shortcut back to the Clifftops.
Get Back to the Dragon
Go through the door to the south and down some stairs to the east to encounter a Karataar - an elite Antaam with a shield and spear. After it’s dead, go through a door to the south, note some more drakestone to the west, then continue south to reach the Castle Bailey, where you’ll find the most powerful Antaam force yet - two cannoneers, two shield-bearing Karataar and some standard axe-bearing grunts. We’re keen on headhunting the cannoneers, as they’re the most annoying foes out of this bunch. Once they’re dead, climb a ledge to the southwest, destroy a barricaded doorway, then slide down to conveniently return to Dragon Beach.
Defeat the Antaam Dragonnappers
Taash insists on being a pain in the ass - a trend that will persist throughout the game - and pick a fight with the Antaam, albeit after showing off an unexpected ability. Oh well, the Antaam and Rook aren’t fond of each other, so this was probably going to end in a fight anyways.
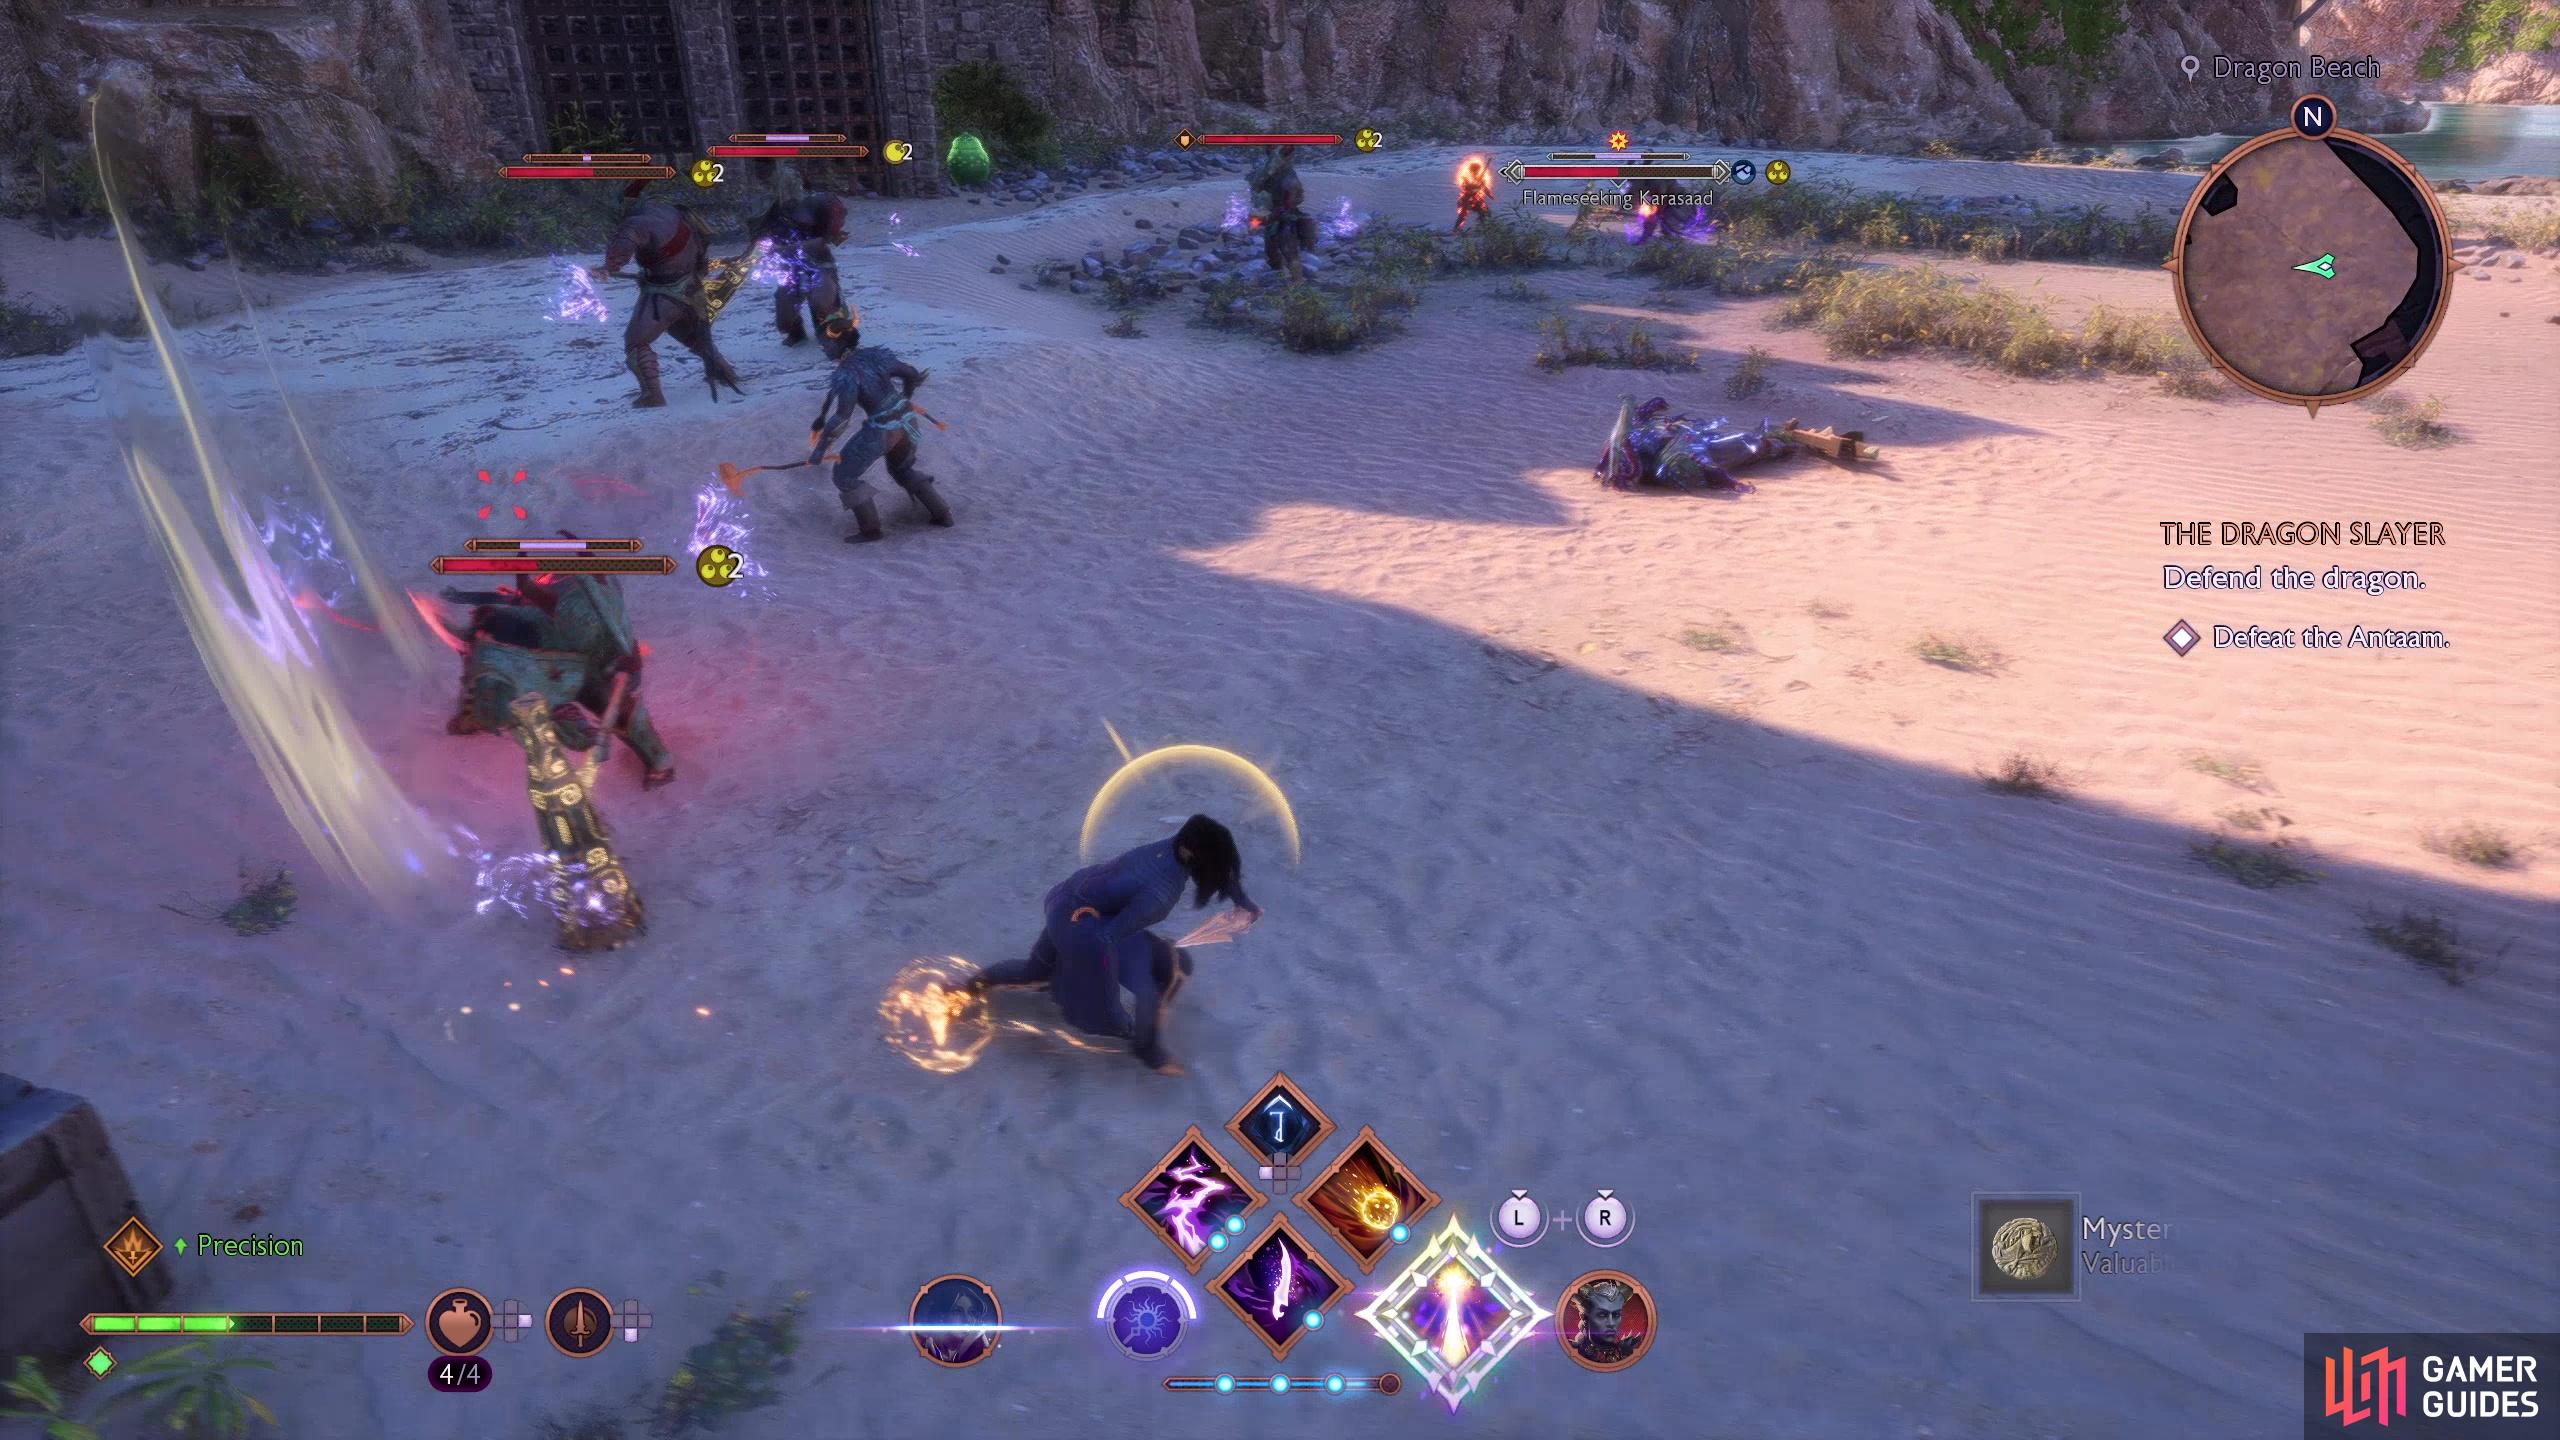
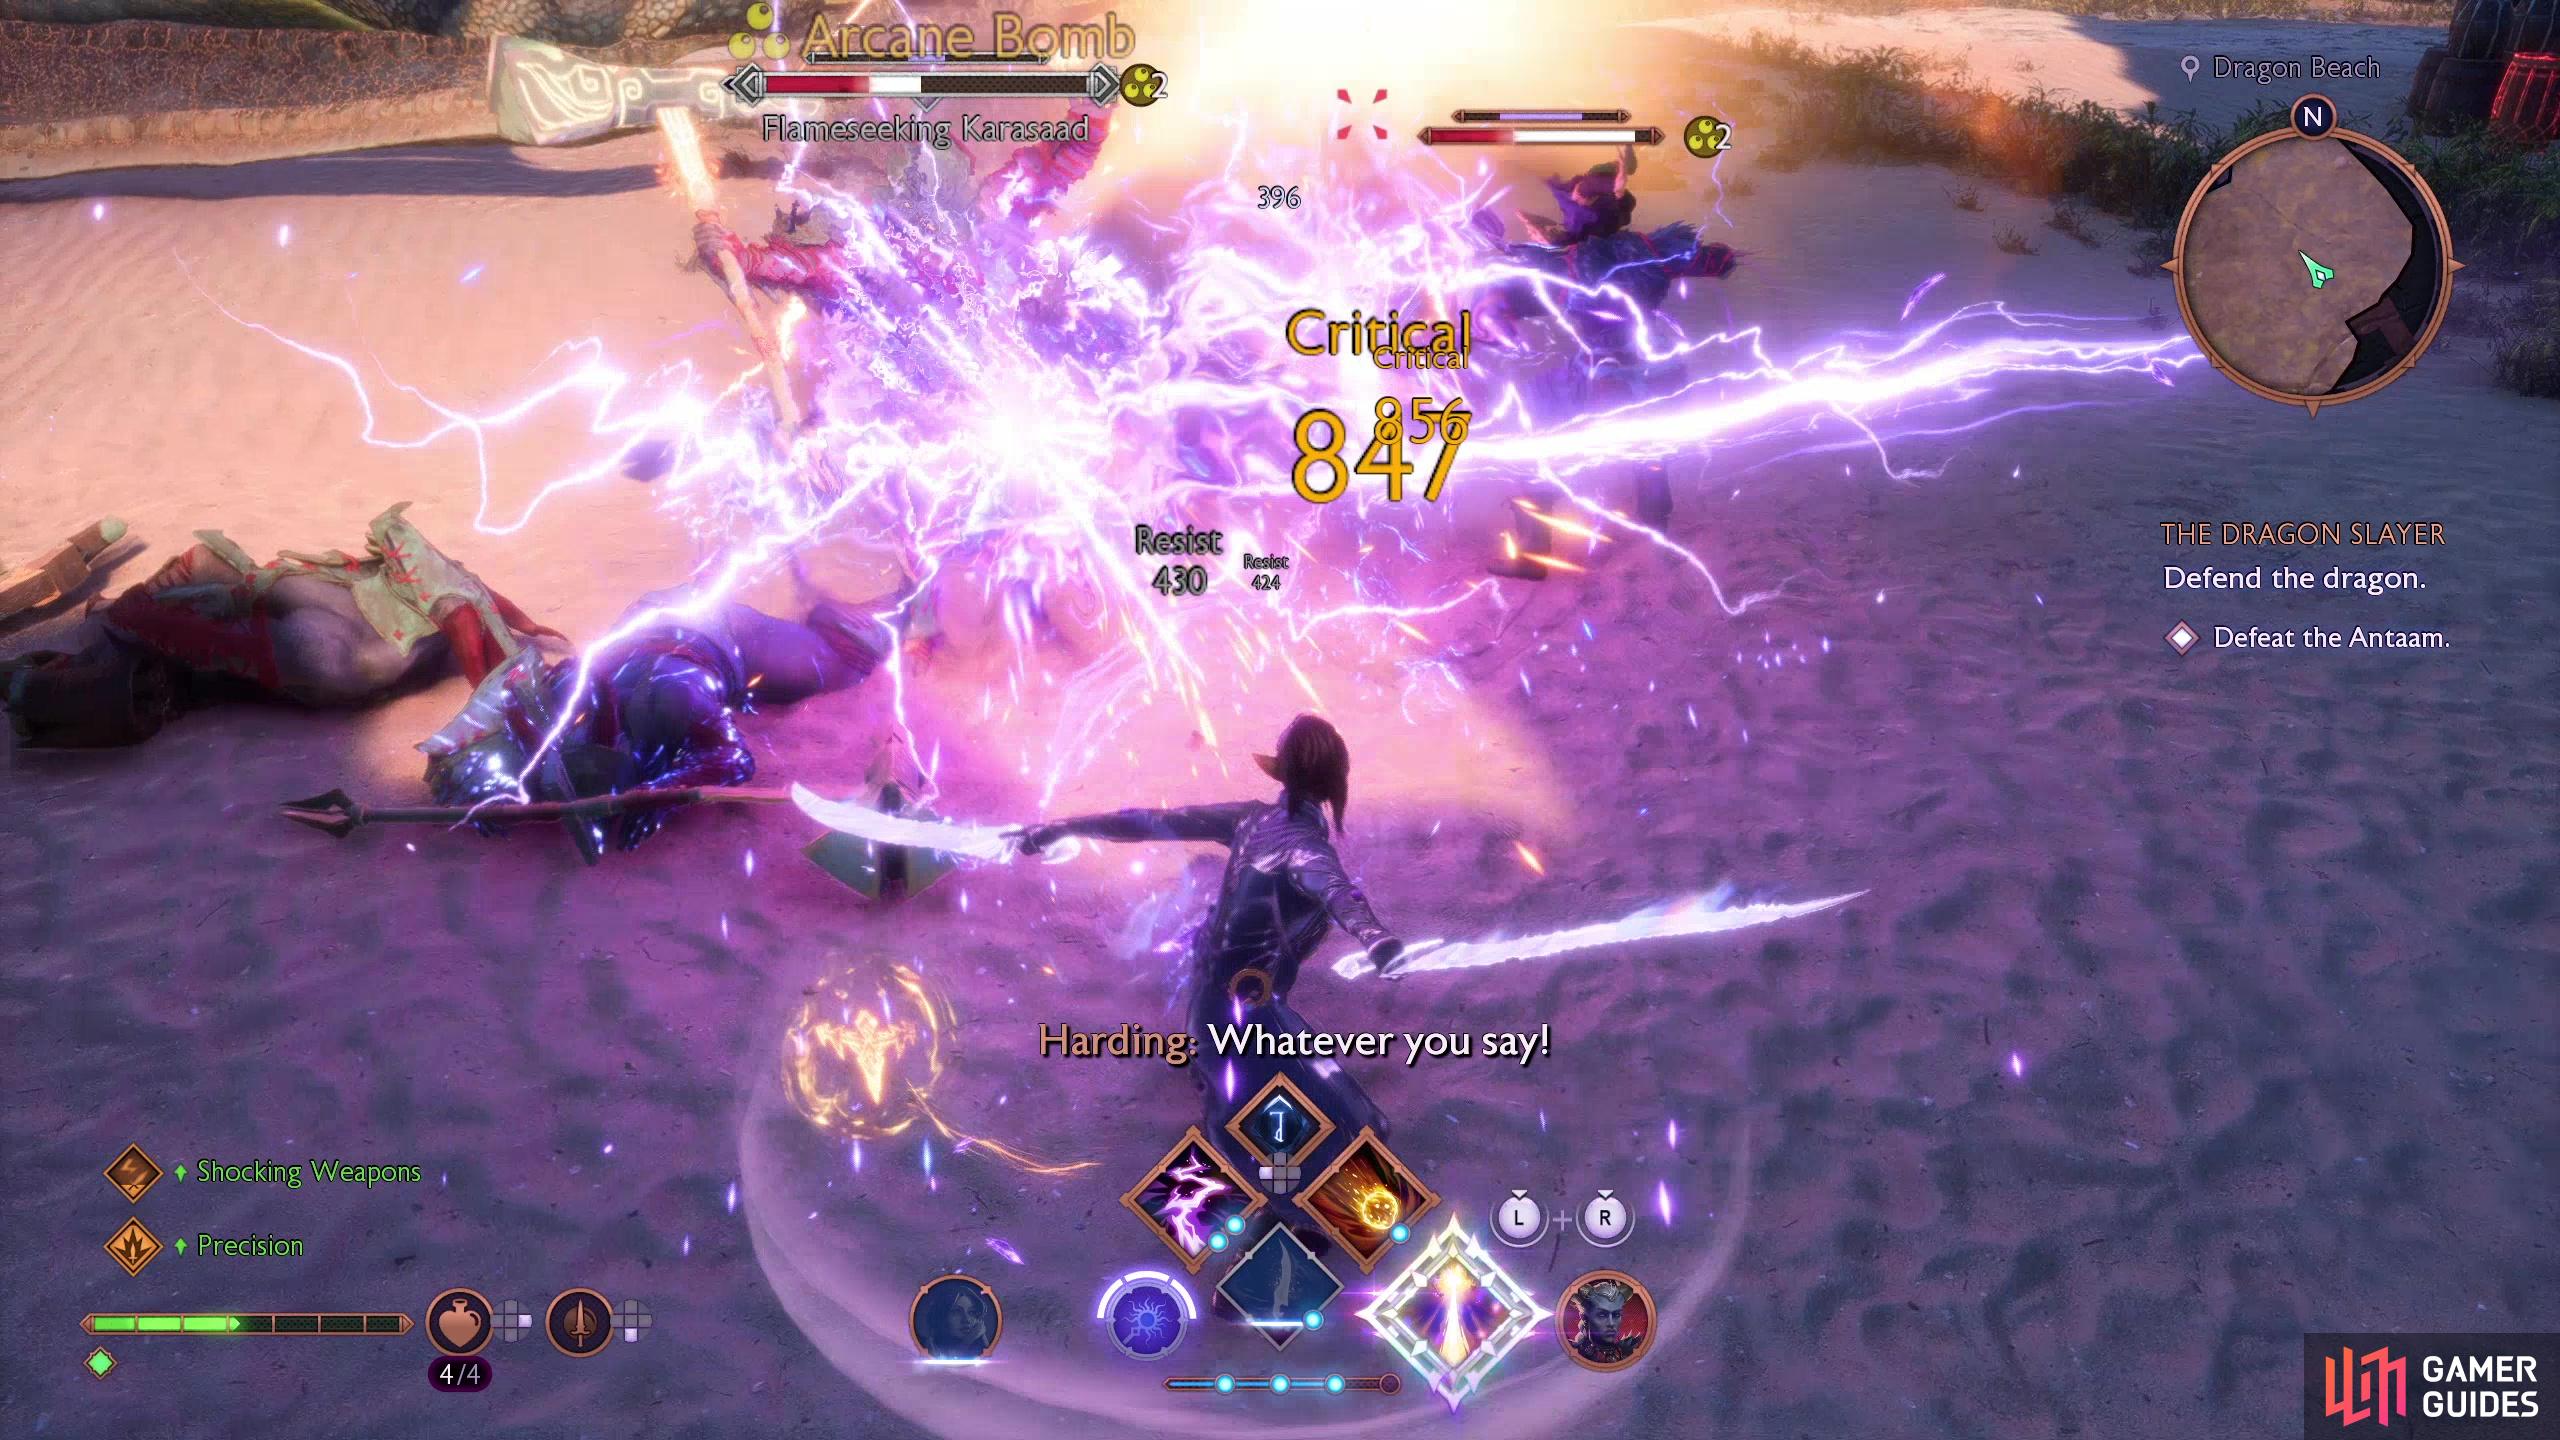
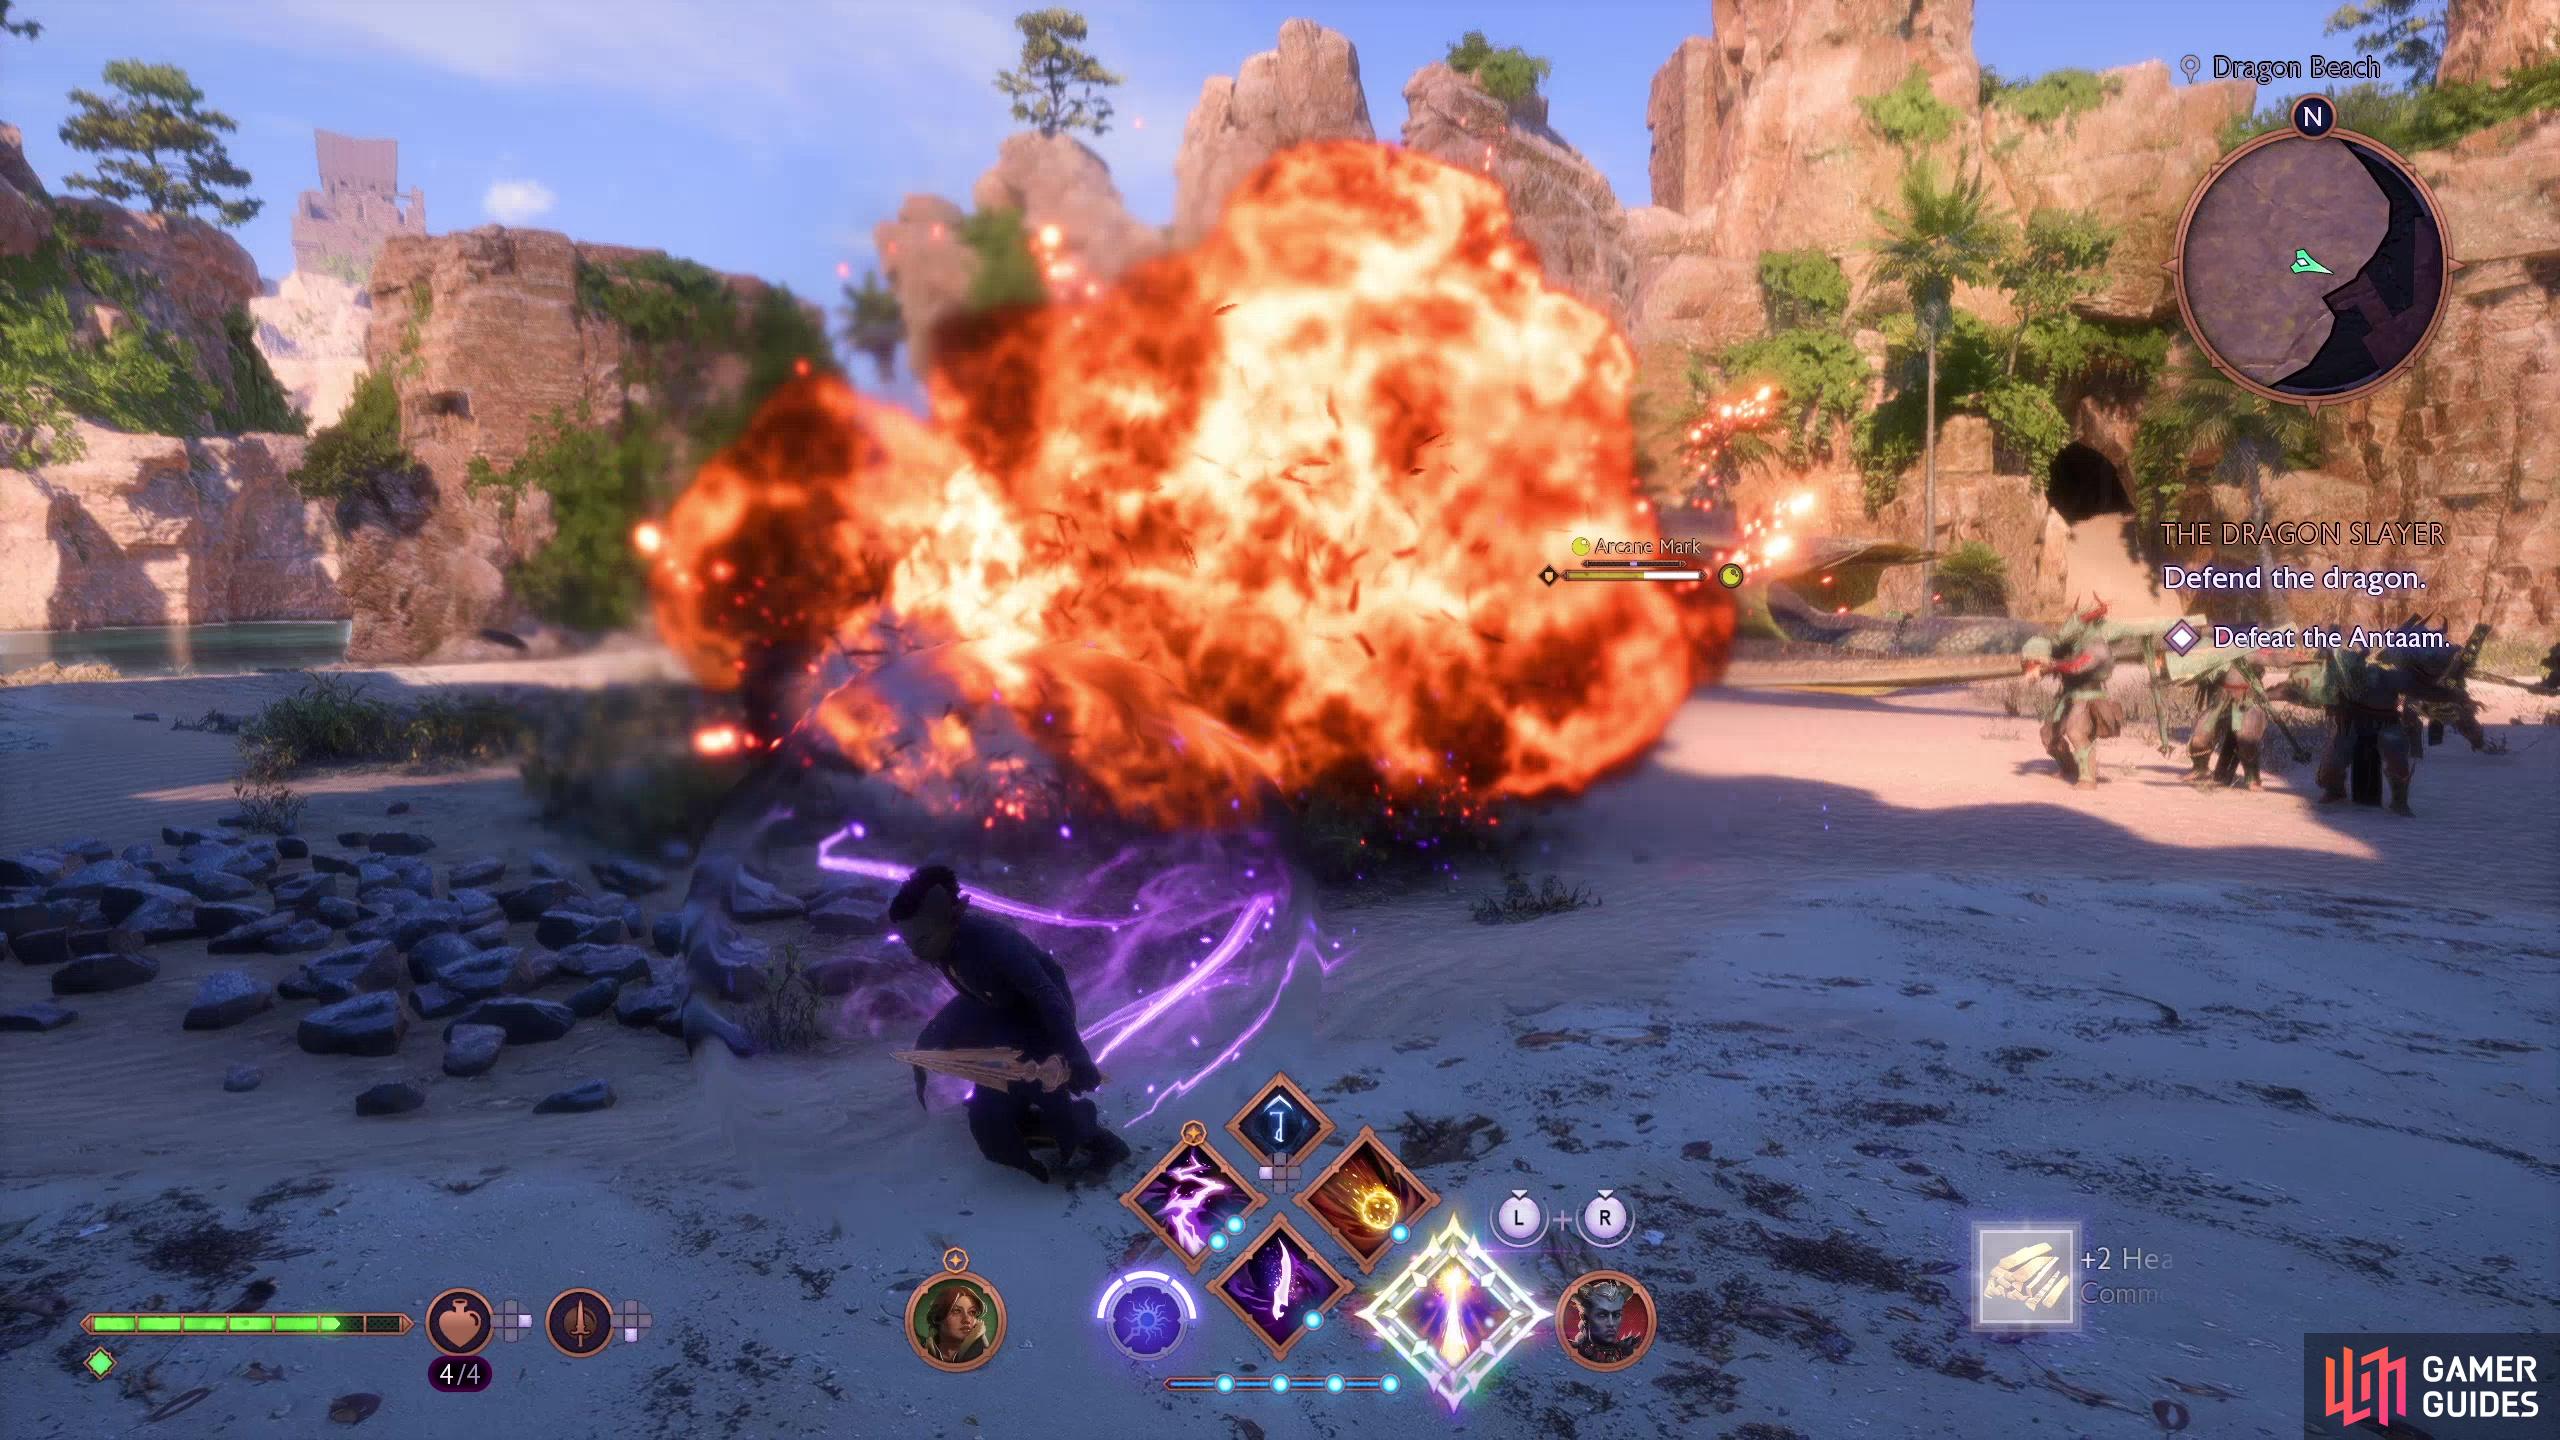
While the enemies aren’t much more numerous than in the last fight, your foes this time include two cannoneers, plenty of axe-wielding Valotaar and led by a Flameseeking Karasaad, which is just a Valotaar, but with a lot more health. Needless to say, you’ll be dodging endless barrages of overhead axe chops. You can parry these if your timing is good, but given how many enemies will be attack you at once, you’re unlikely to get much sustained offense until you thin the herd. Spam skills and headhunt the cannoneers. There are explosive barrels scattered about, and if you can lure Antaam nearby it’s worth detonating them.
(1 of 4) The Antaam guarding the dragon aren’t very diverse, but they can still be annoying by spamming overhand axe chops,
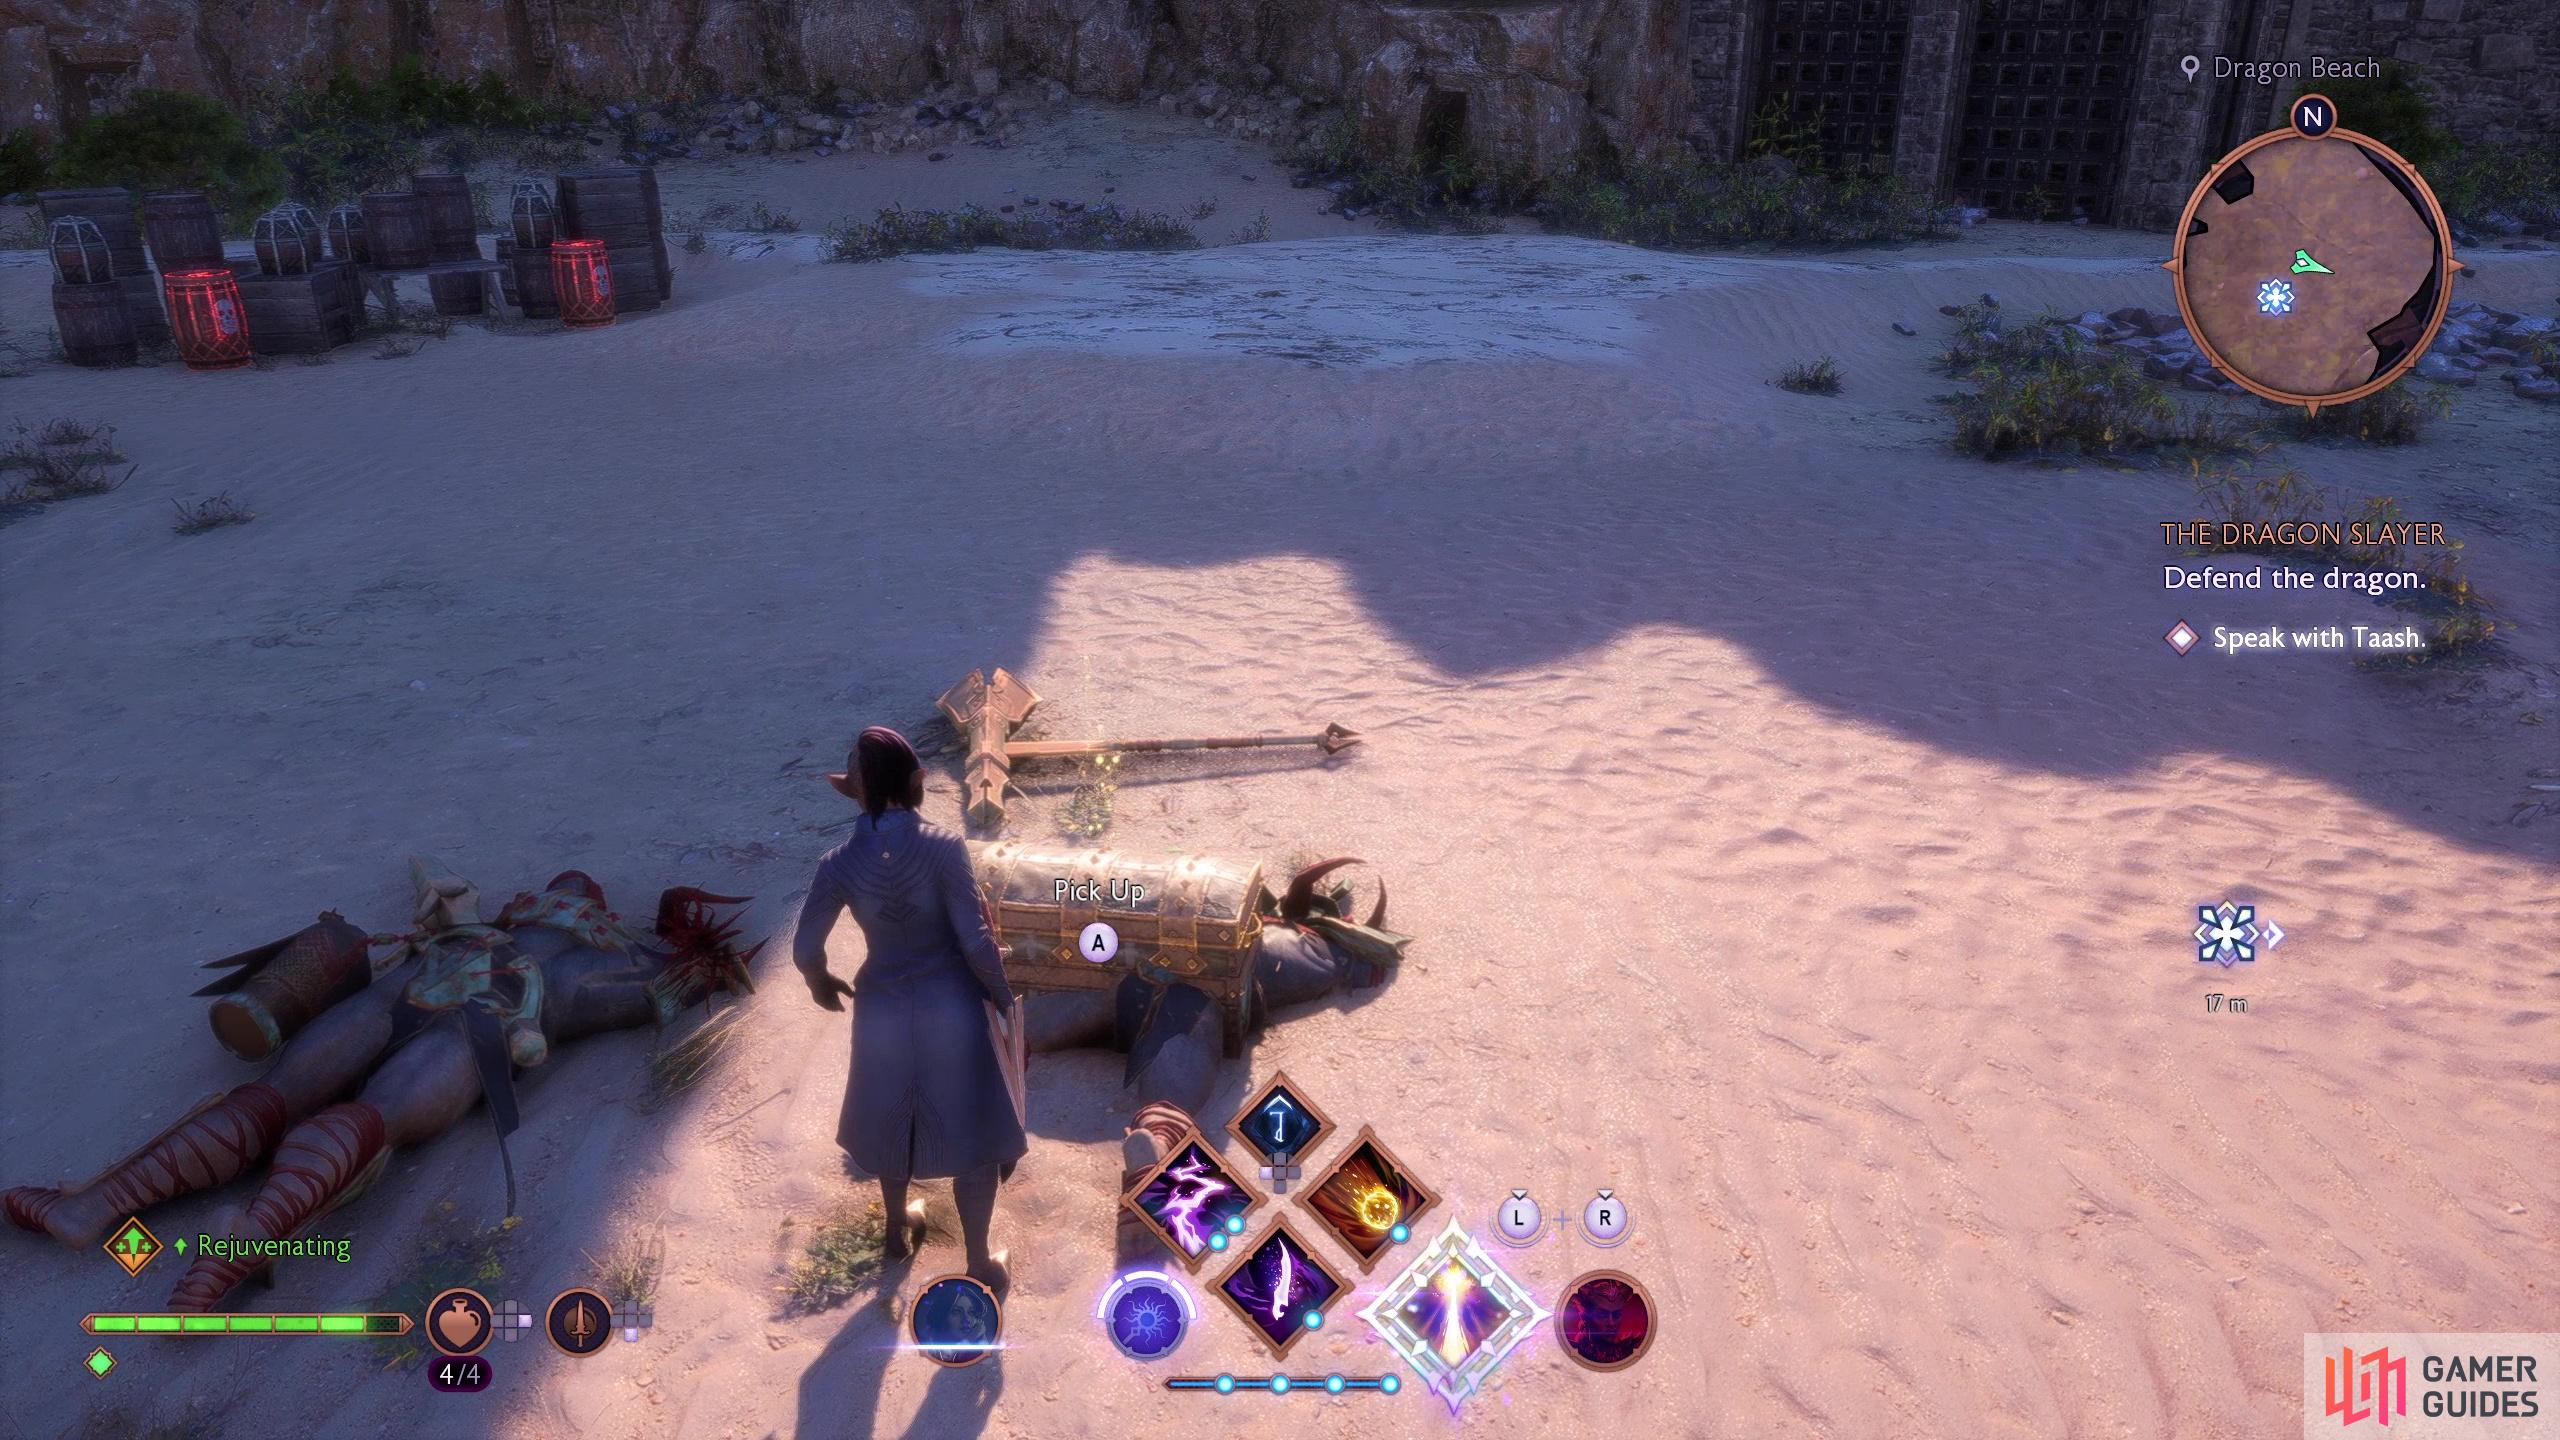
Defeat your foes and before you consult with Taash again, loot the chest dropped by the Flameseeking Karasaad. Once done, talk to Taash and after some scenes this quest will end… after quite a lot of chatter, anyways. In addition to EXP rewarded after defeating the last batch of Antaam you’ll get +100 Lords of Fortune Strength and you’ll be able to explore the Rivain Coast. There’s more chests you can plunder, but it’ll be a long time before you can explore more than half the area.



 Sign up
No Comments