Treviso is an odd environment for a Dragon Age game. Cities aren’t new to the franchise, but Treviso is compact, criss-crossed by canals, chaotic,and perhaps most of all, vertical. While the number of chests in this area is on the low side - a mere fifteen (thirteen regular chests, two unique chests, and a statue for good measure), this is also a somewhat small map. Loot is packed into every nook and cranny, and where there’s not treasure to hunt down, merchant stalls tempt you to waste your gold. You’ll be doing a lot of climbing and jumping along with the odd use of companion traversal abilities and puzzle-solving to find everything here, and this page will help out by pointing out how to find every marked chest and statue in Treviso in Dragon Age: The Veilguard!
Page Breakdown
Early Game Chest and Statue Locations
Treviso is a great place to accumulate gear in the early-game, as you can get most of the chests - 12 out of 15 - as soon as you can explore this area. Most of these chests only require a keen eye to find the way to them, but those hidden behind companion abilities can usually be reached by Harding or Lucanis, with Taash being required for one of the chests. The remaining two can only be obtained during side quests. The follow chests are unlockable immediately after completing Sea of Blood.
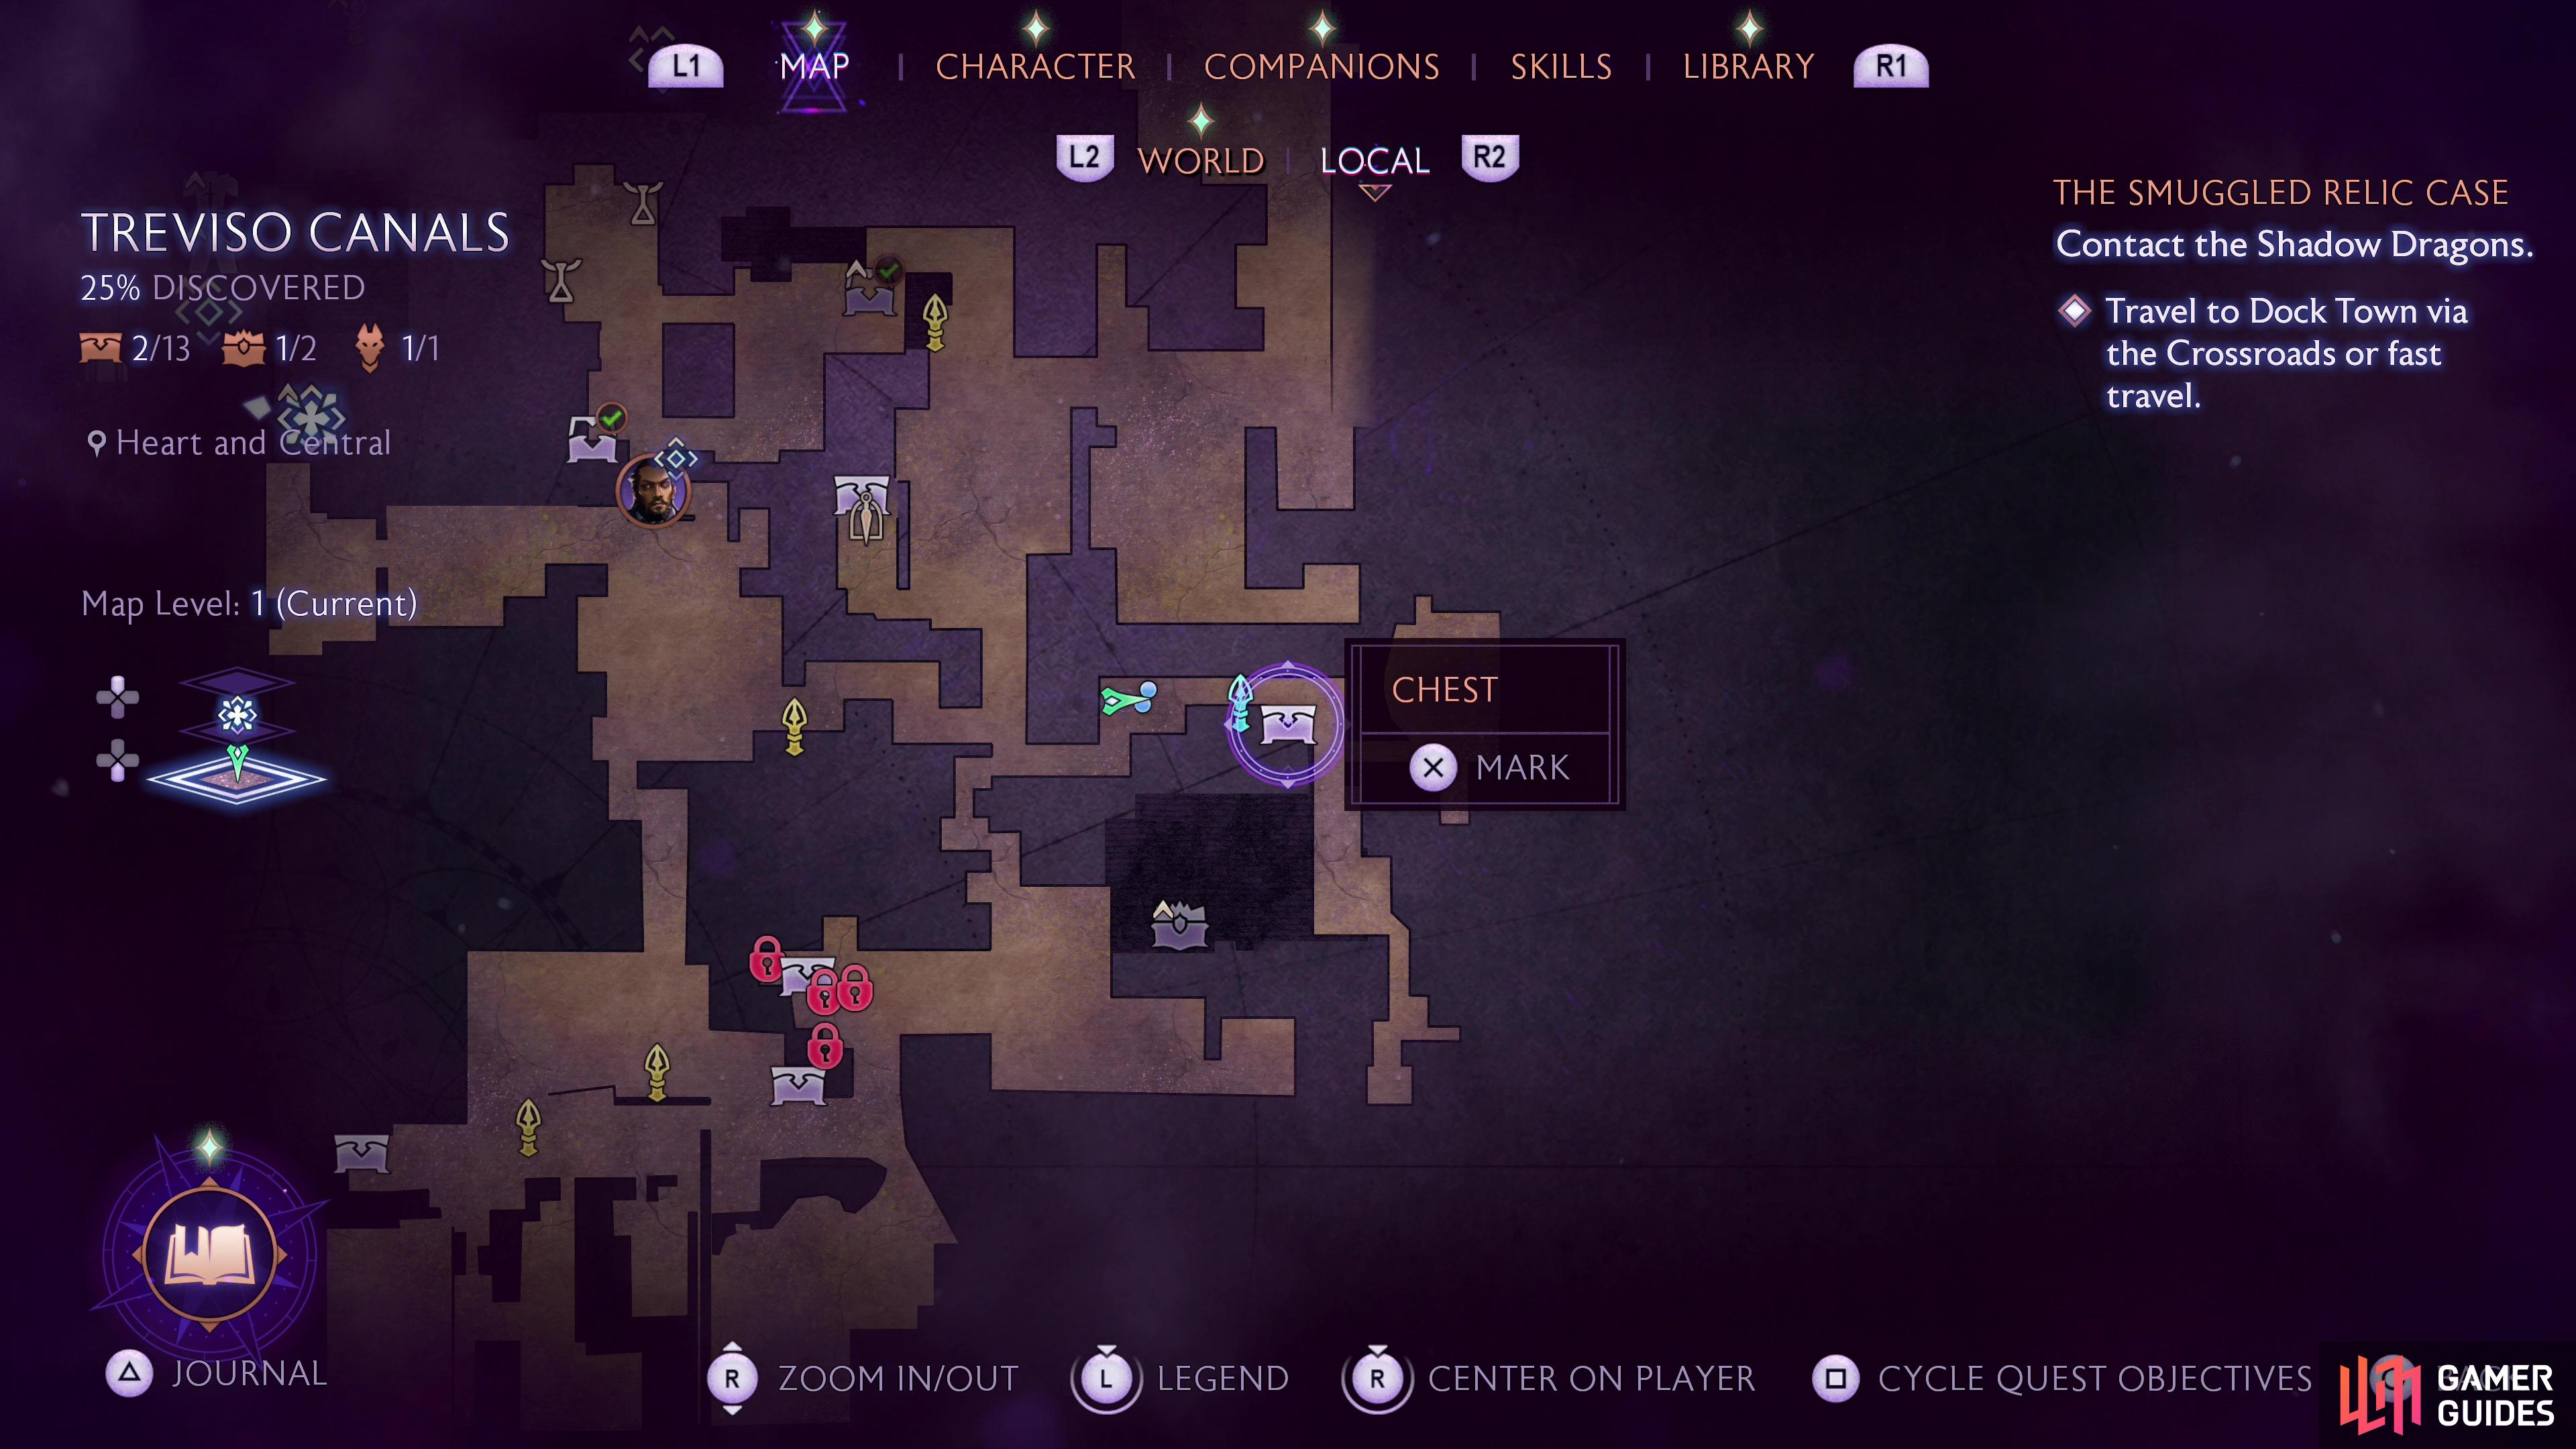
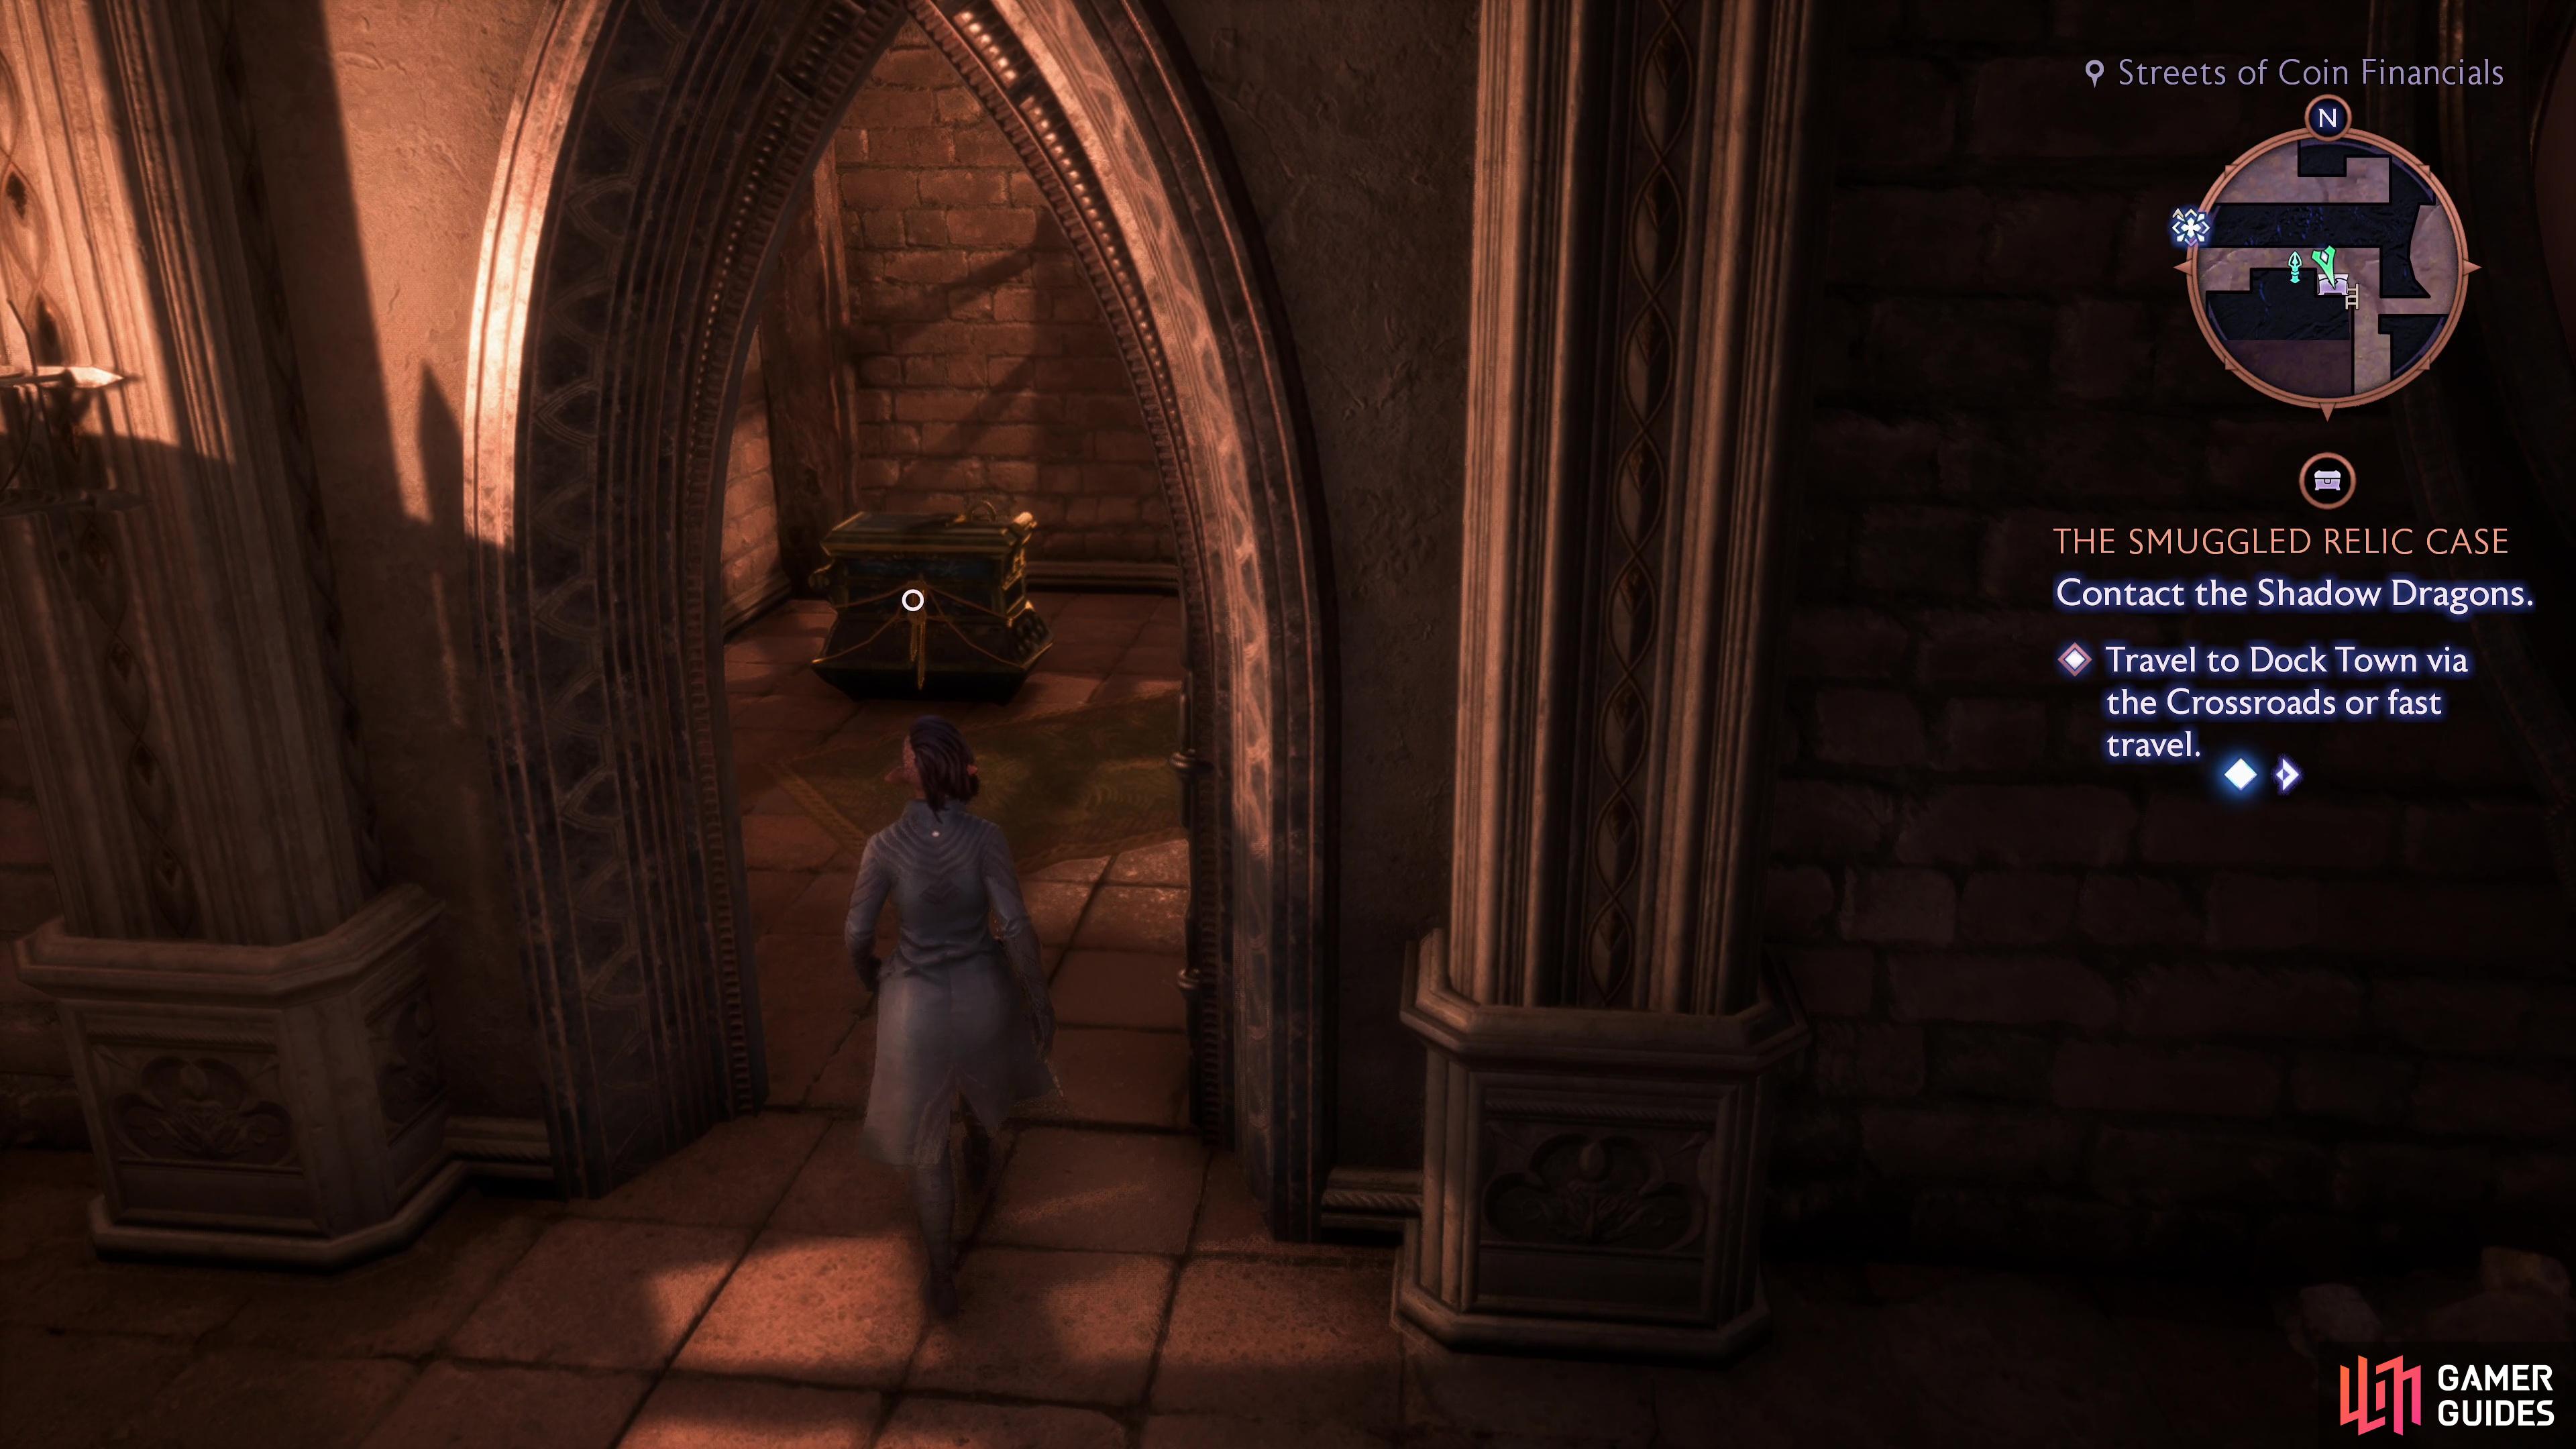
Chest 1: Heart and Central 1F
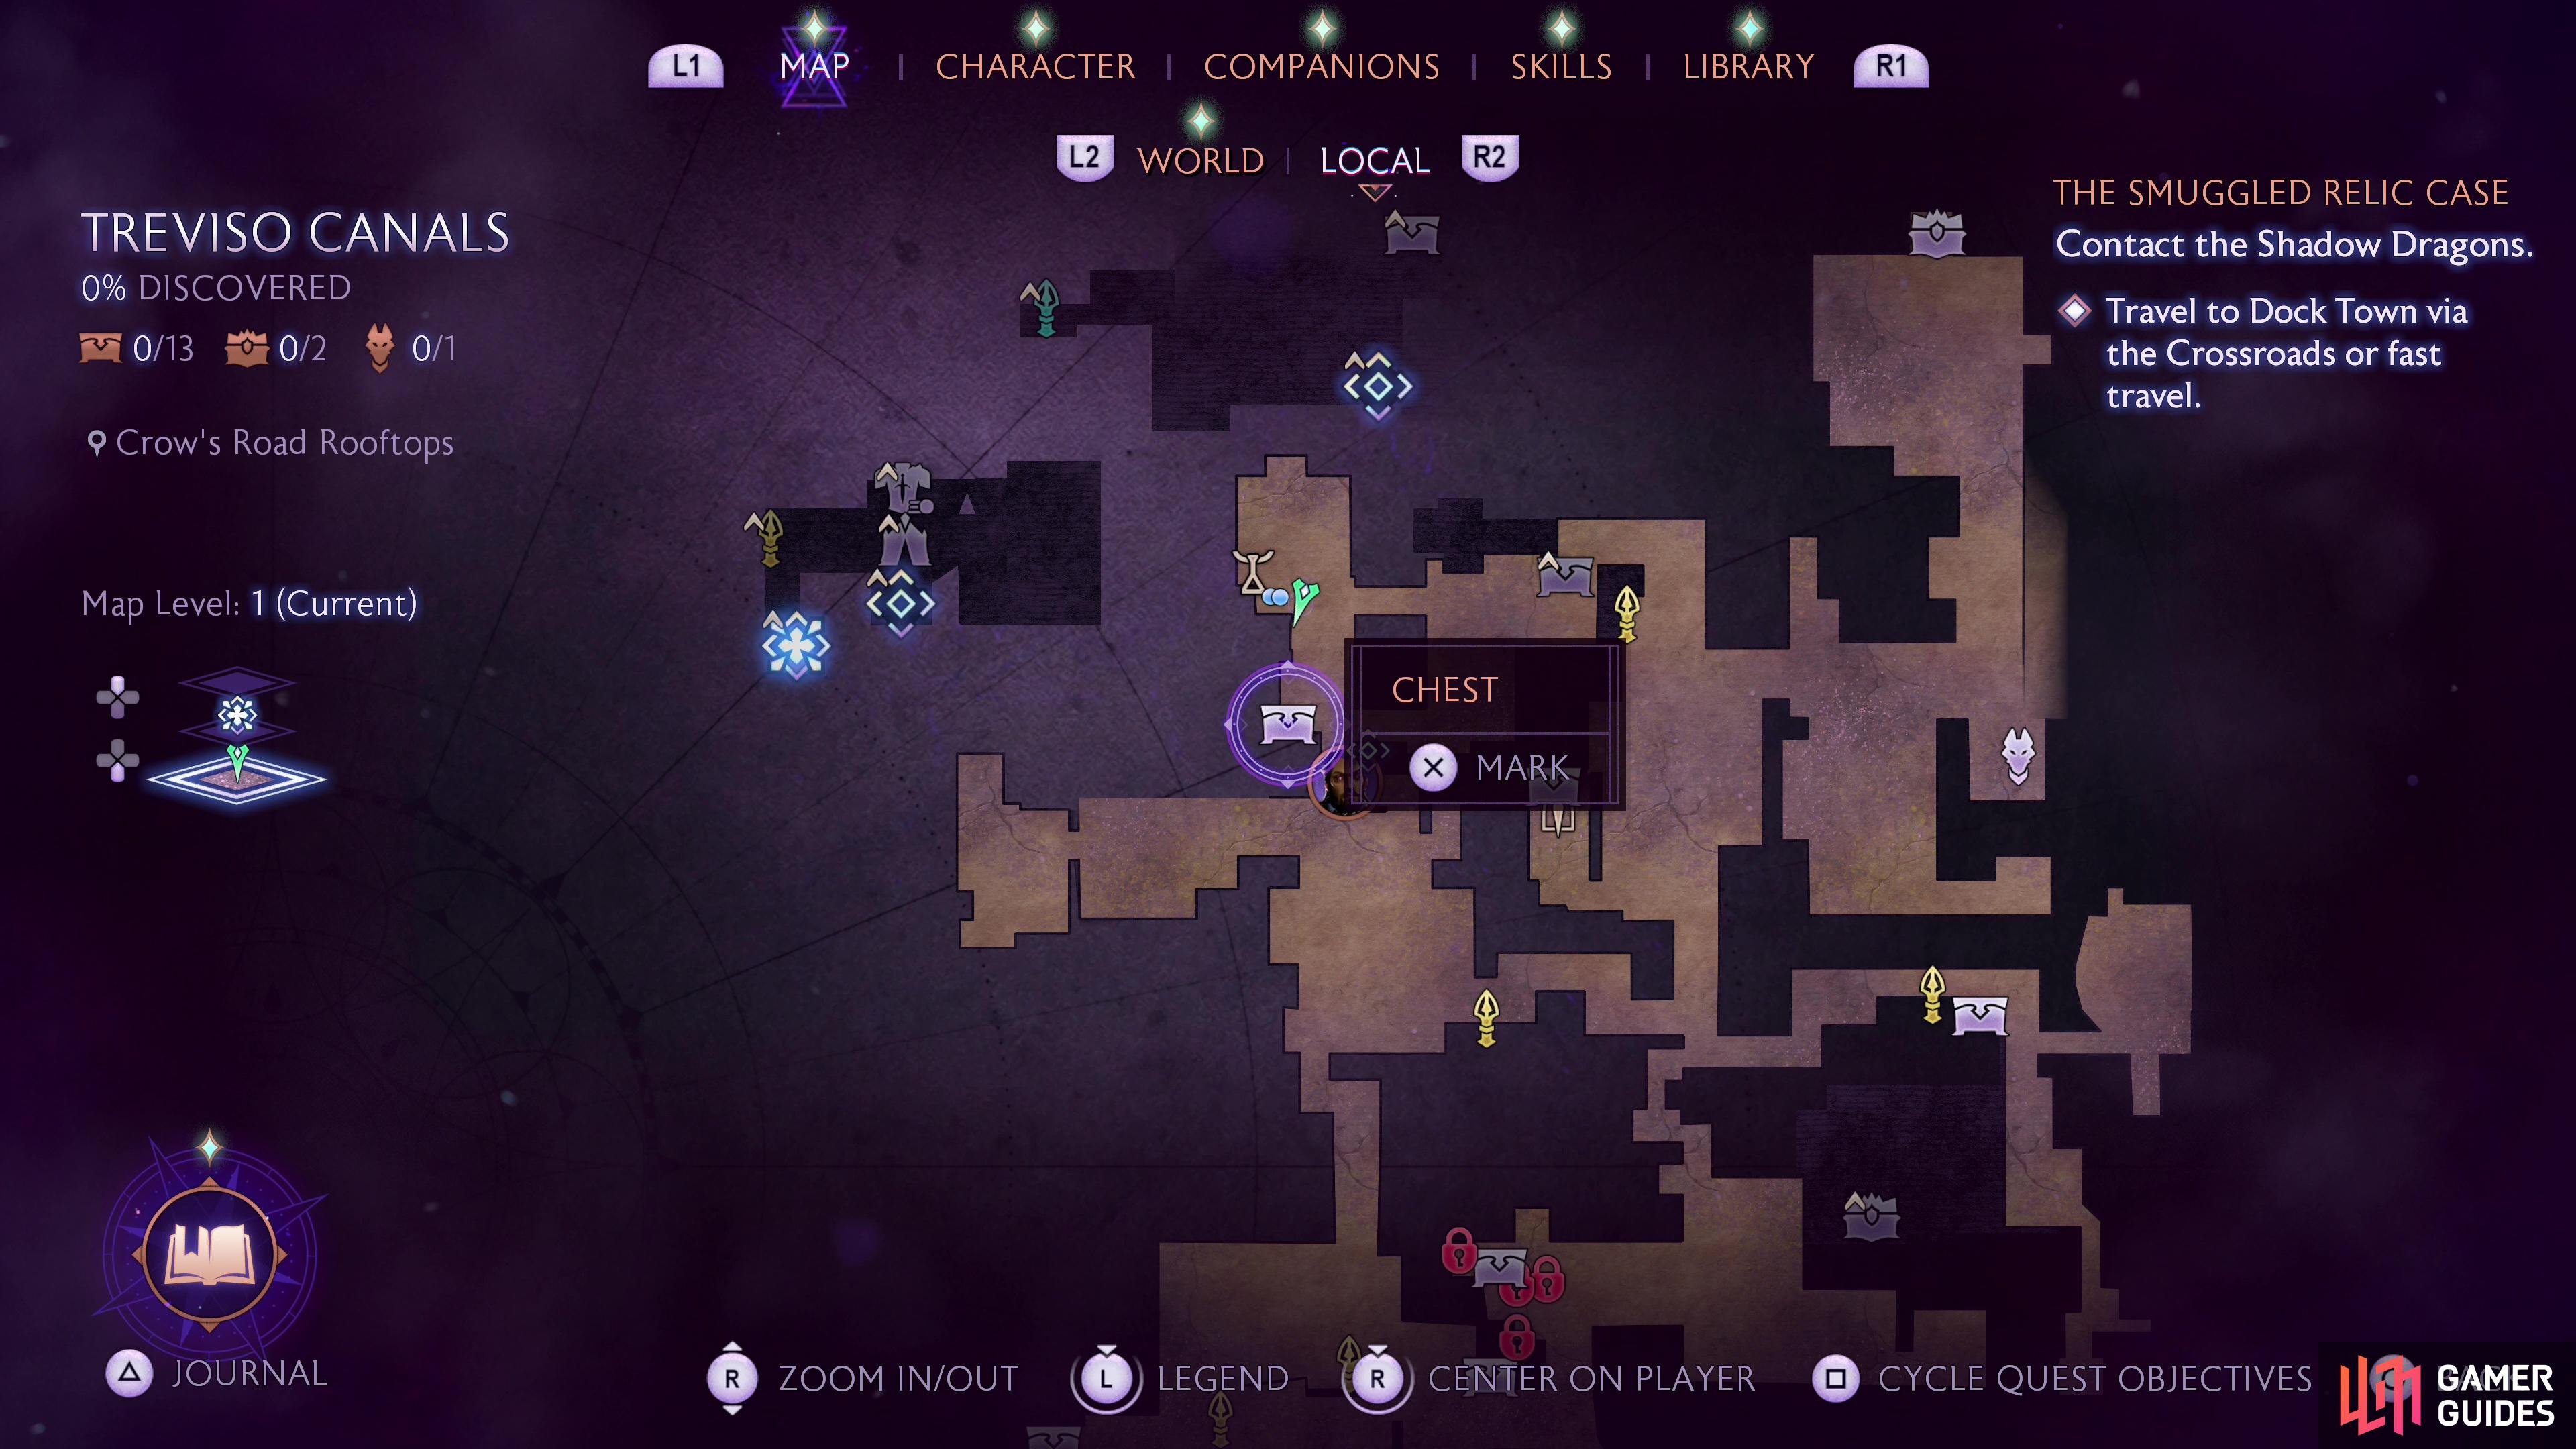
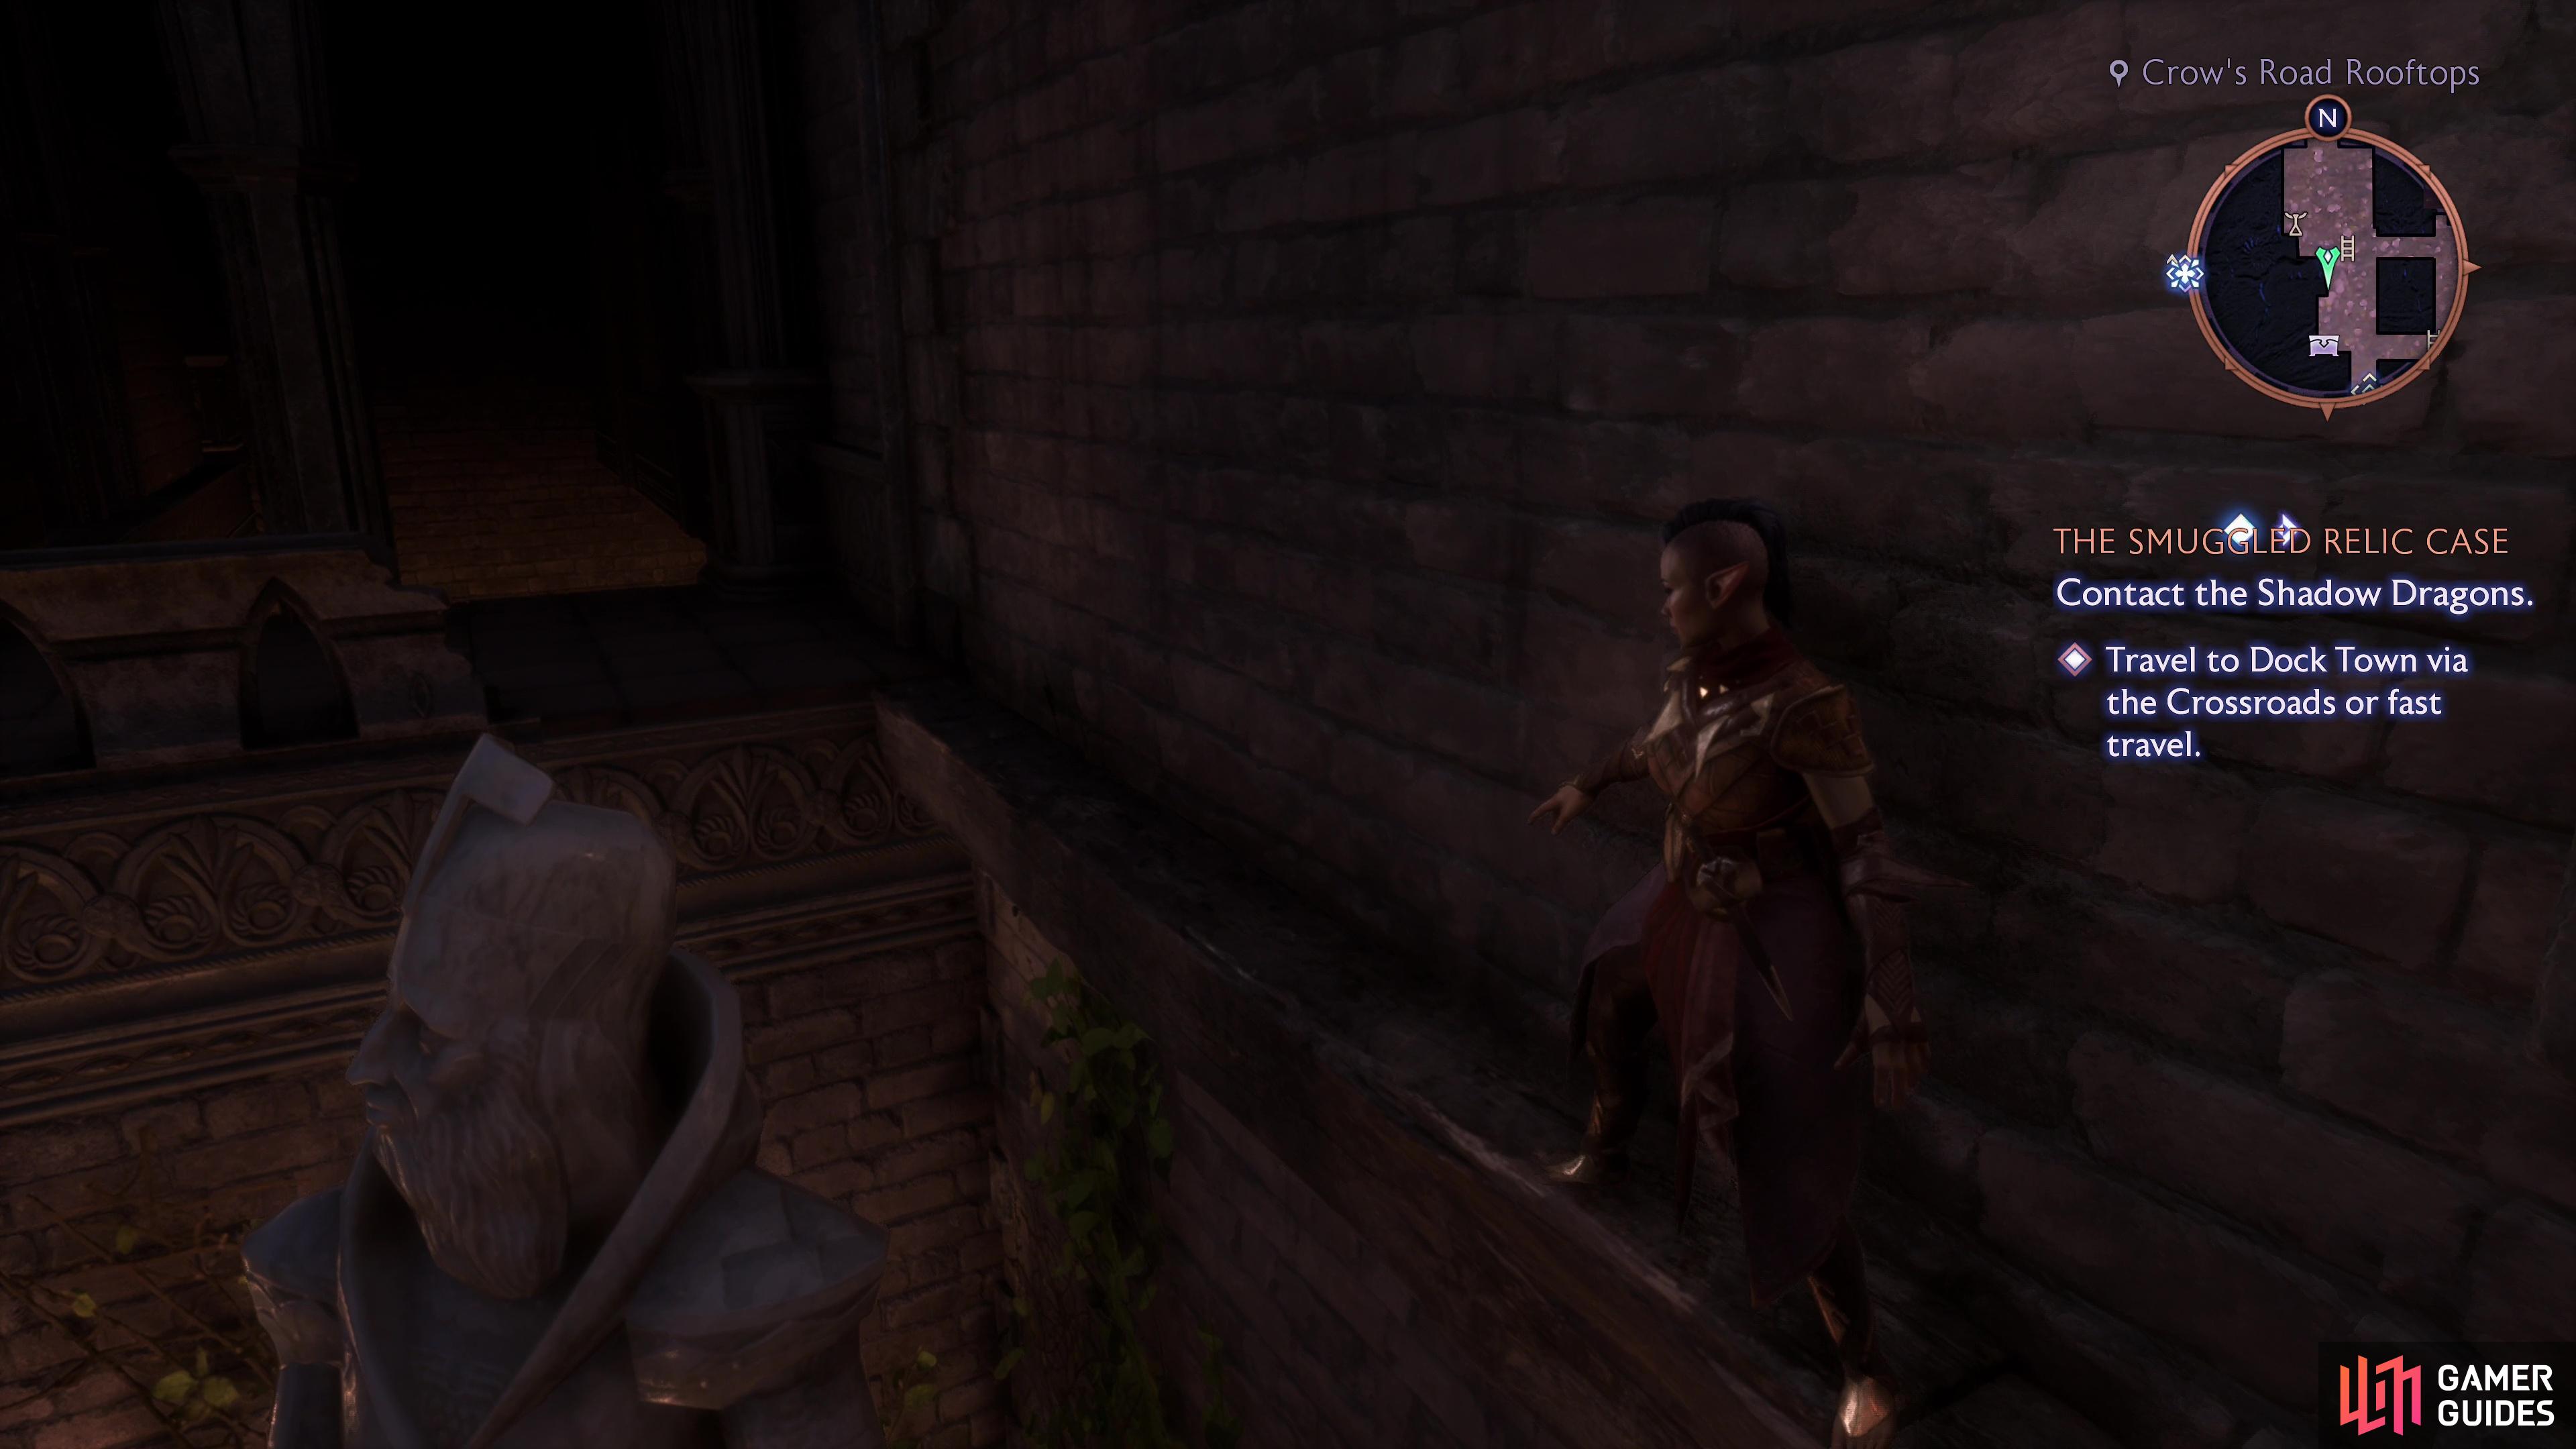
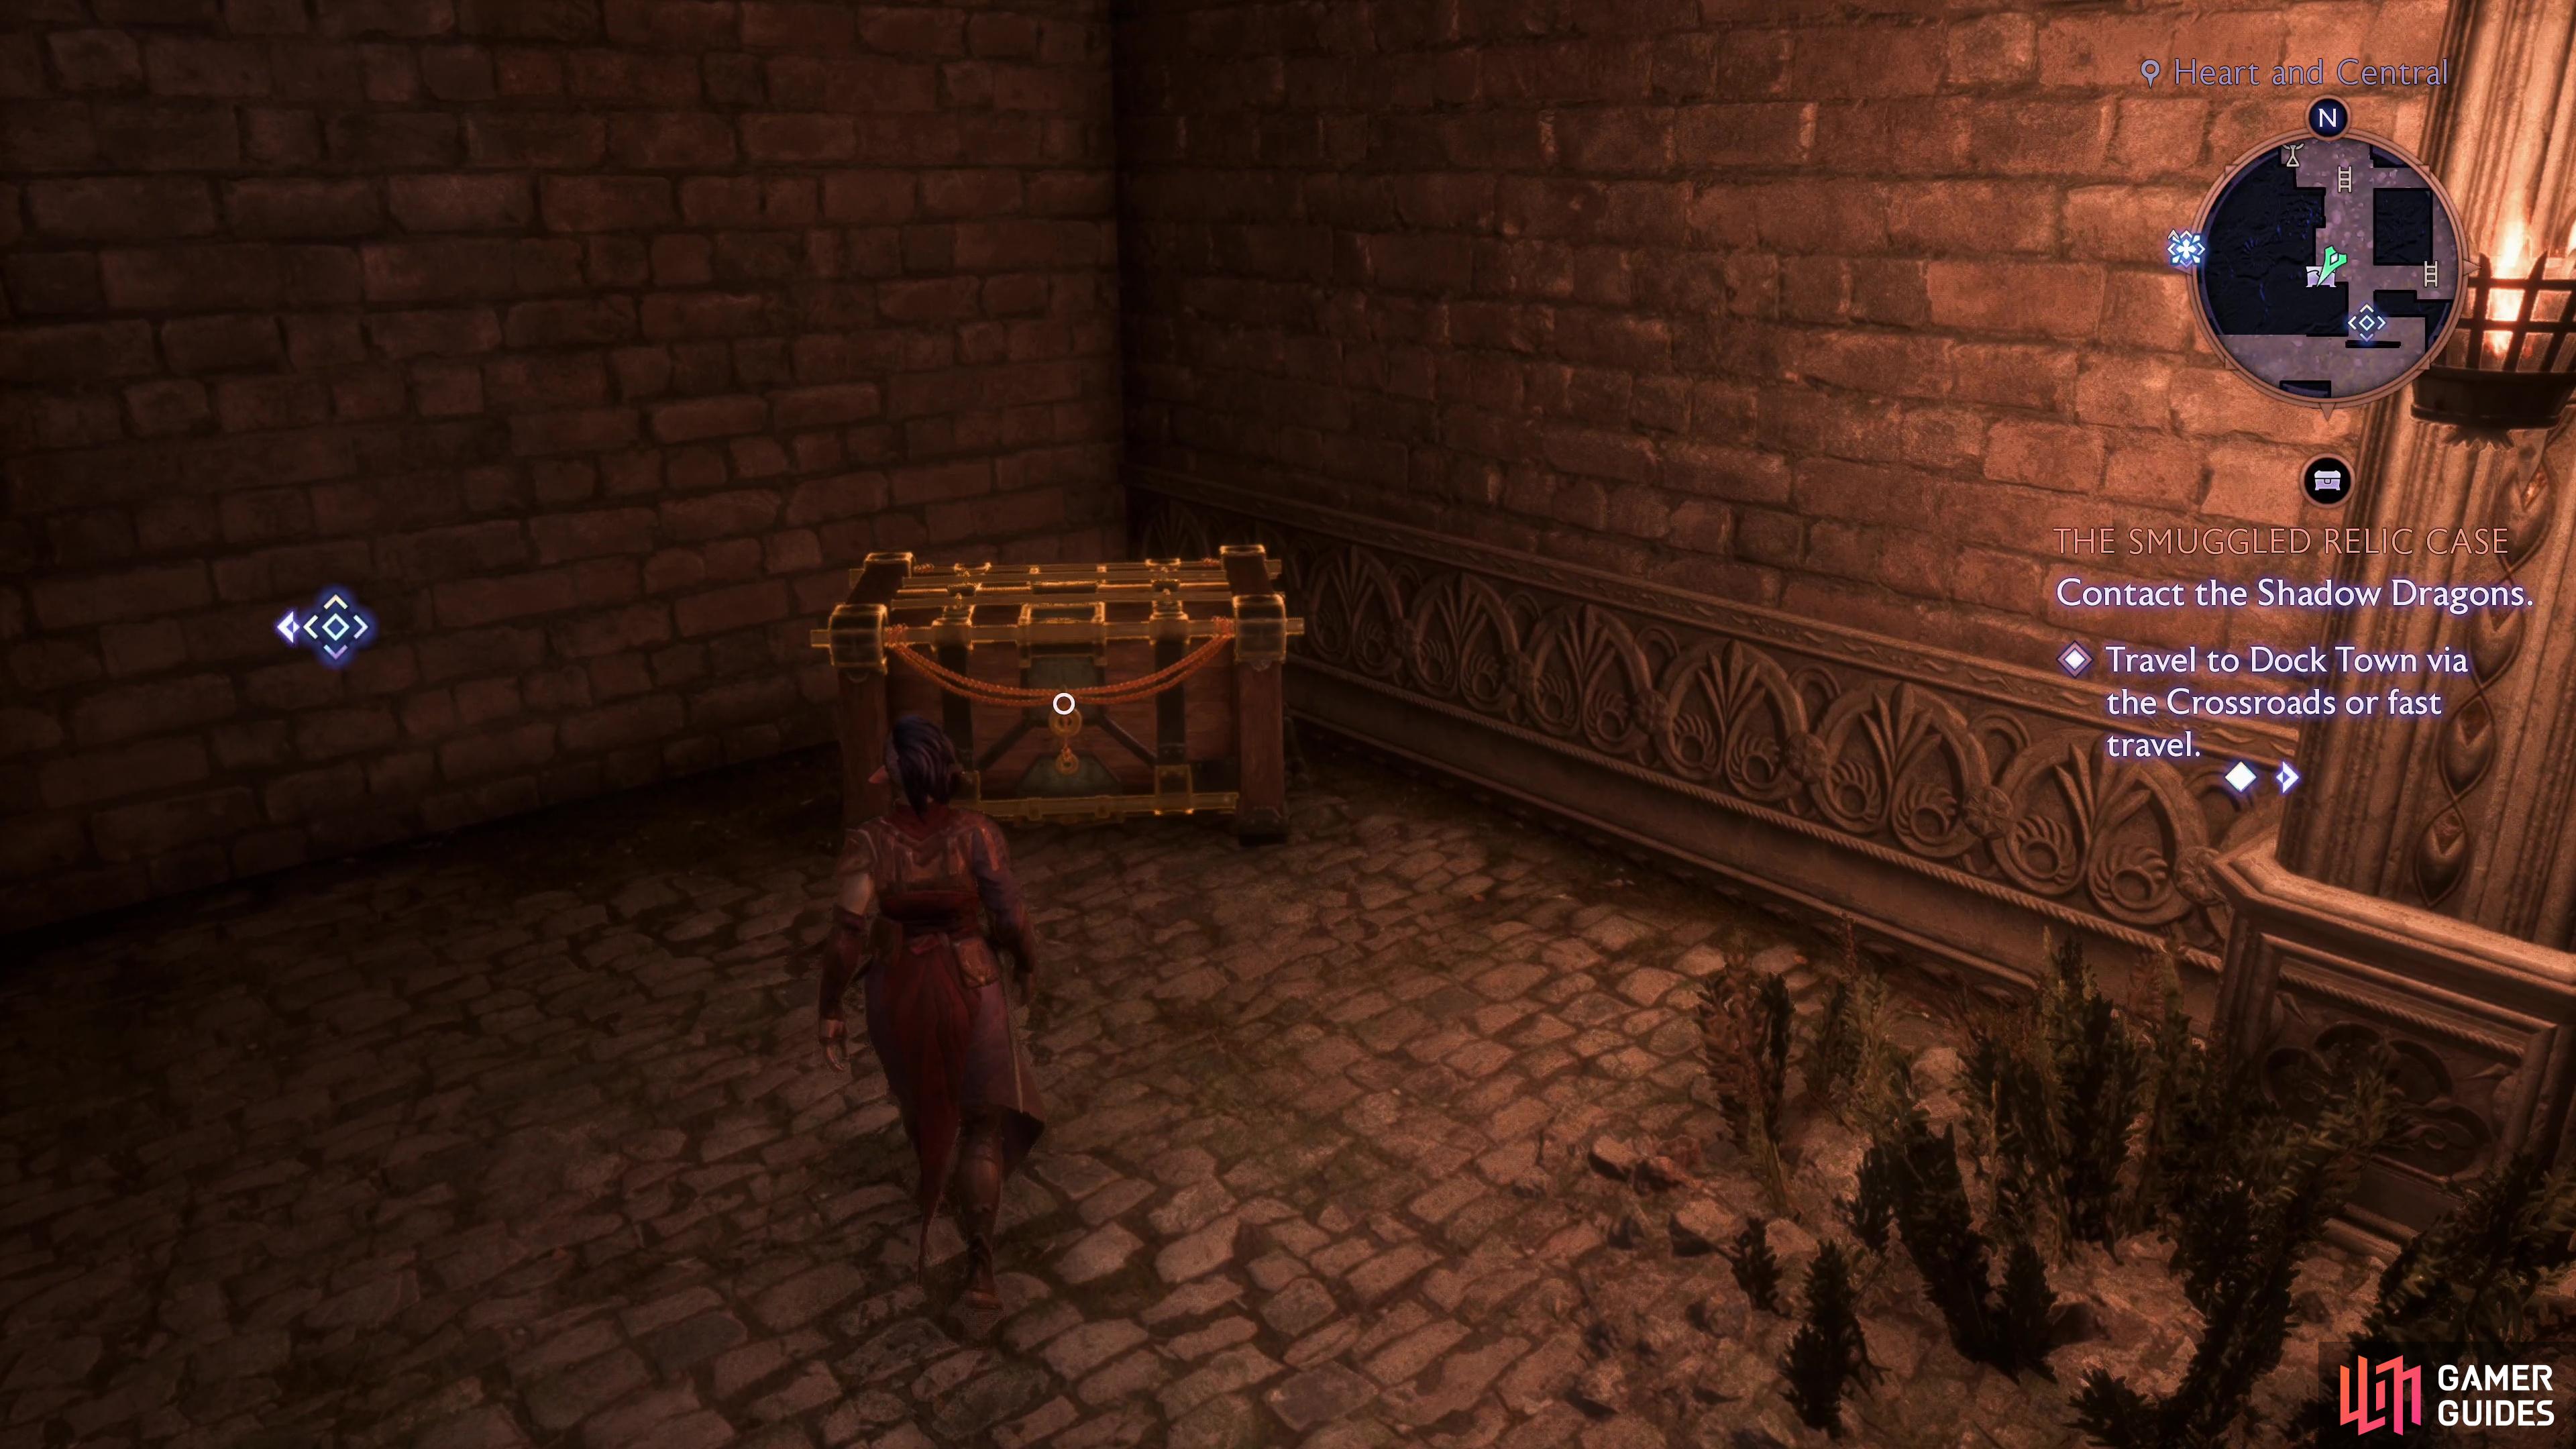
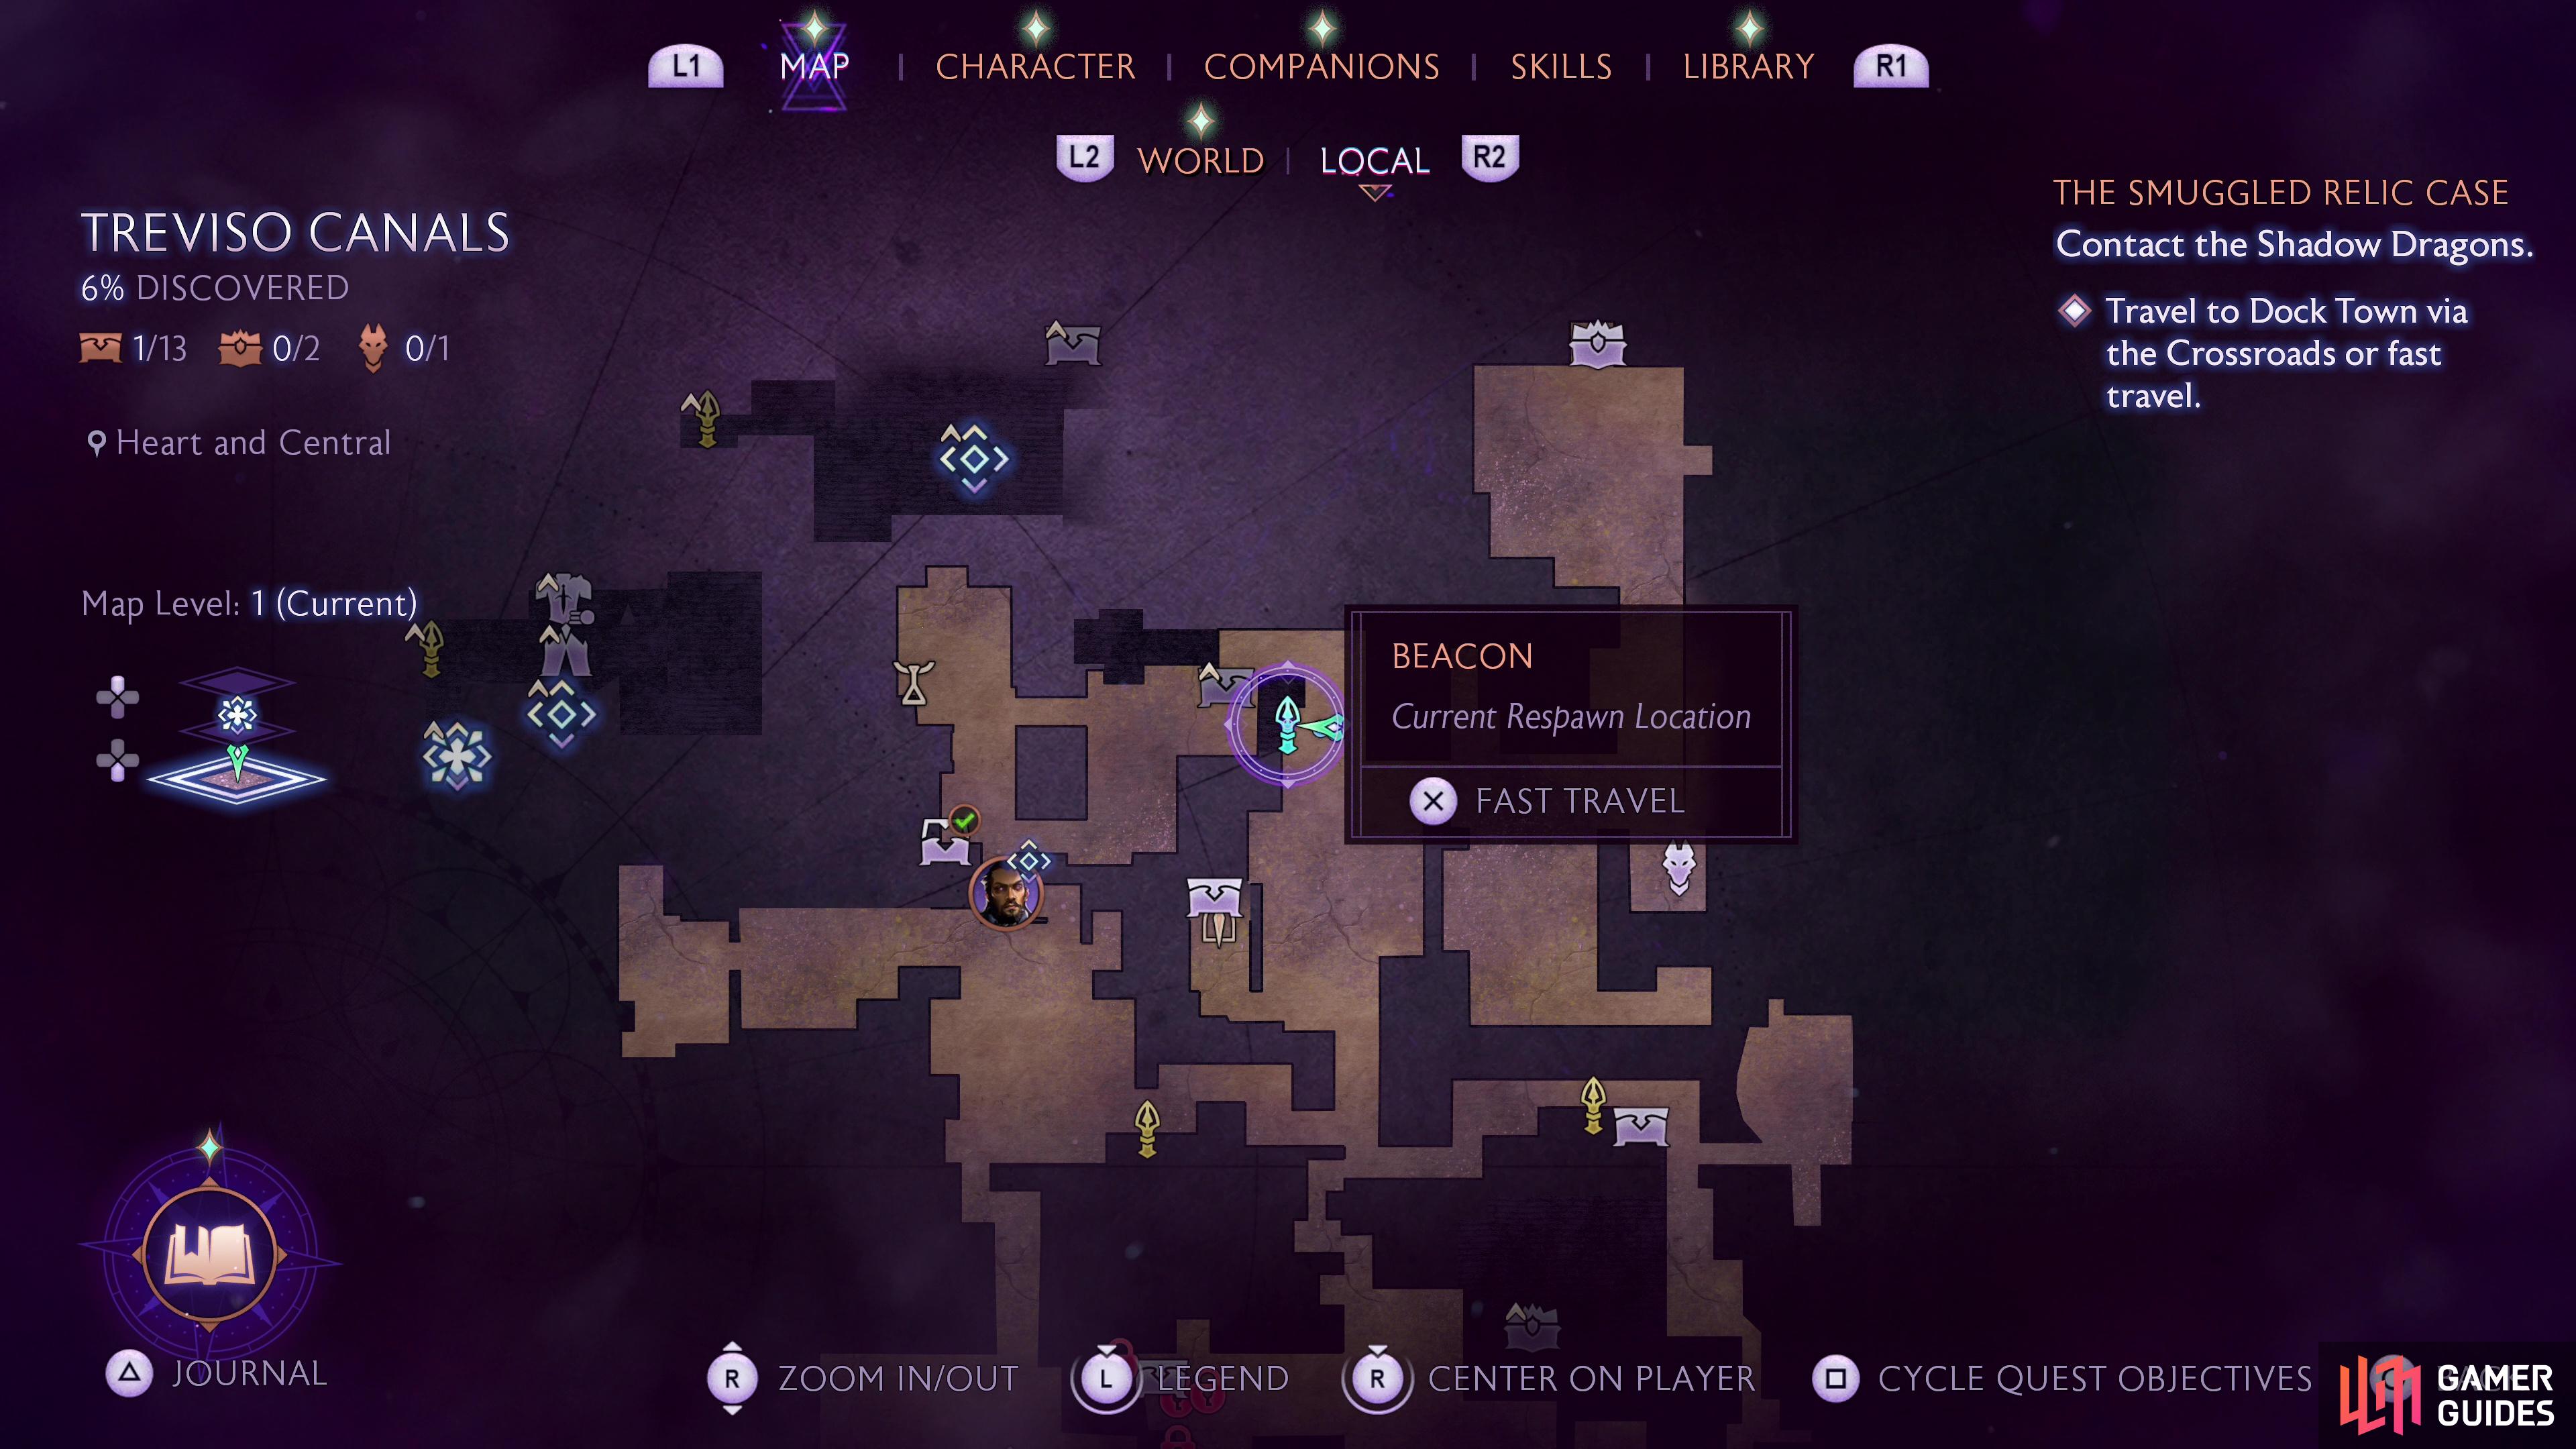
From the Cantori Diamond, ride the zipline to the east to reach the Crow’s Road Rooftops. Drop down to the south and look south past a statue to find a narrow ledge you can sidle across. Do so and drop down to land behind a gate - the chest you seek will be in the corner to the southwest. Once you loot it, pull a lever to open the gate and exit out to the Heart and Central district.
(1 of 3) The location of chest #1 on the map.
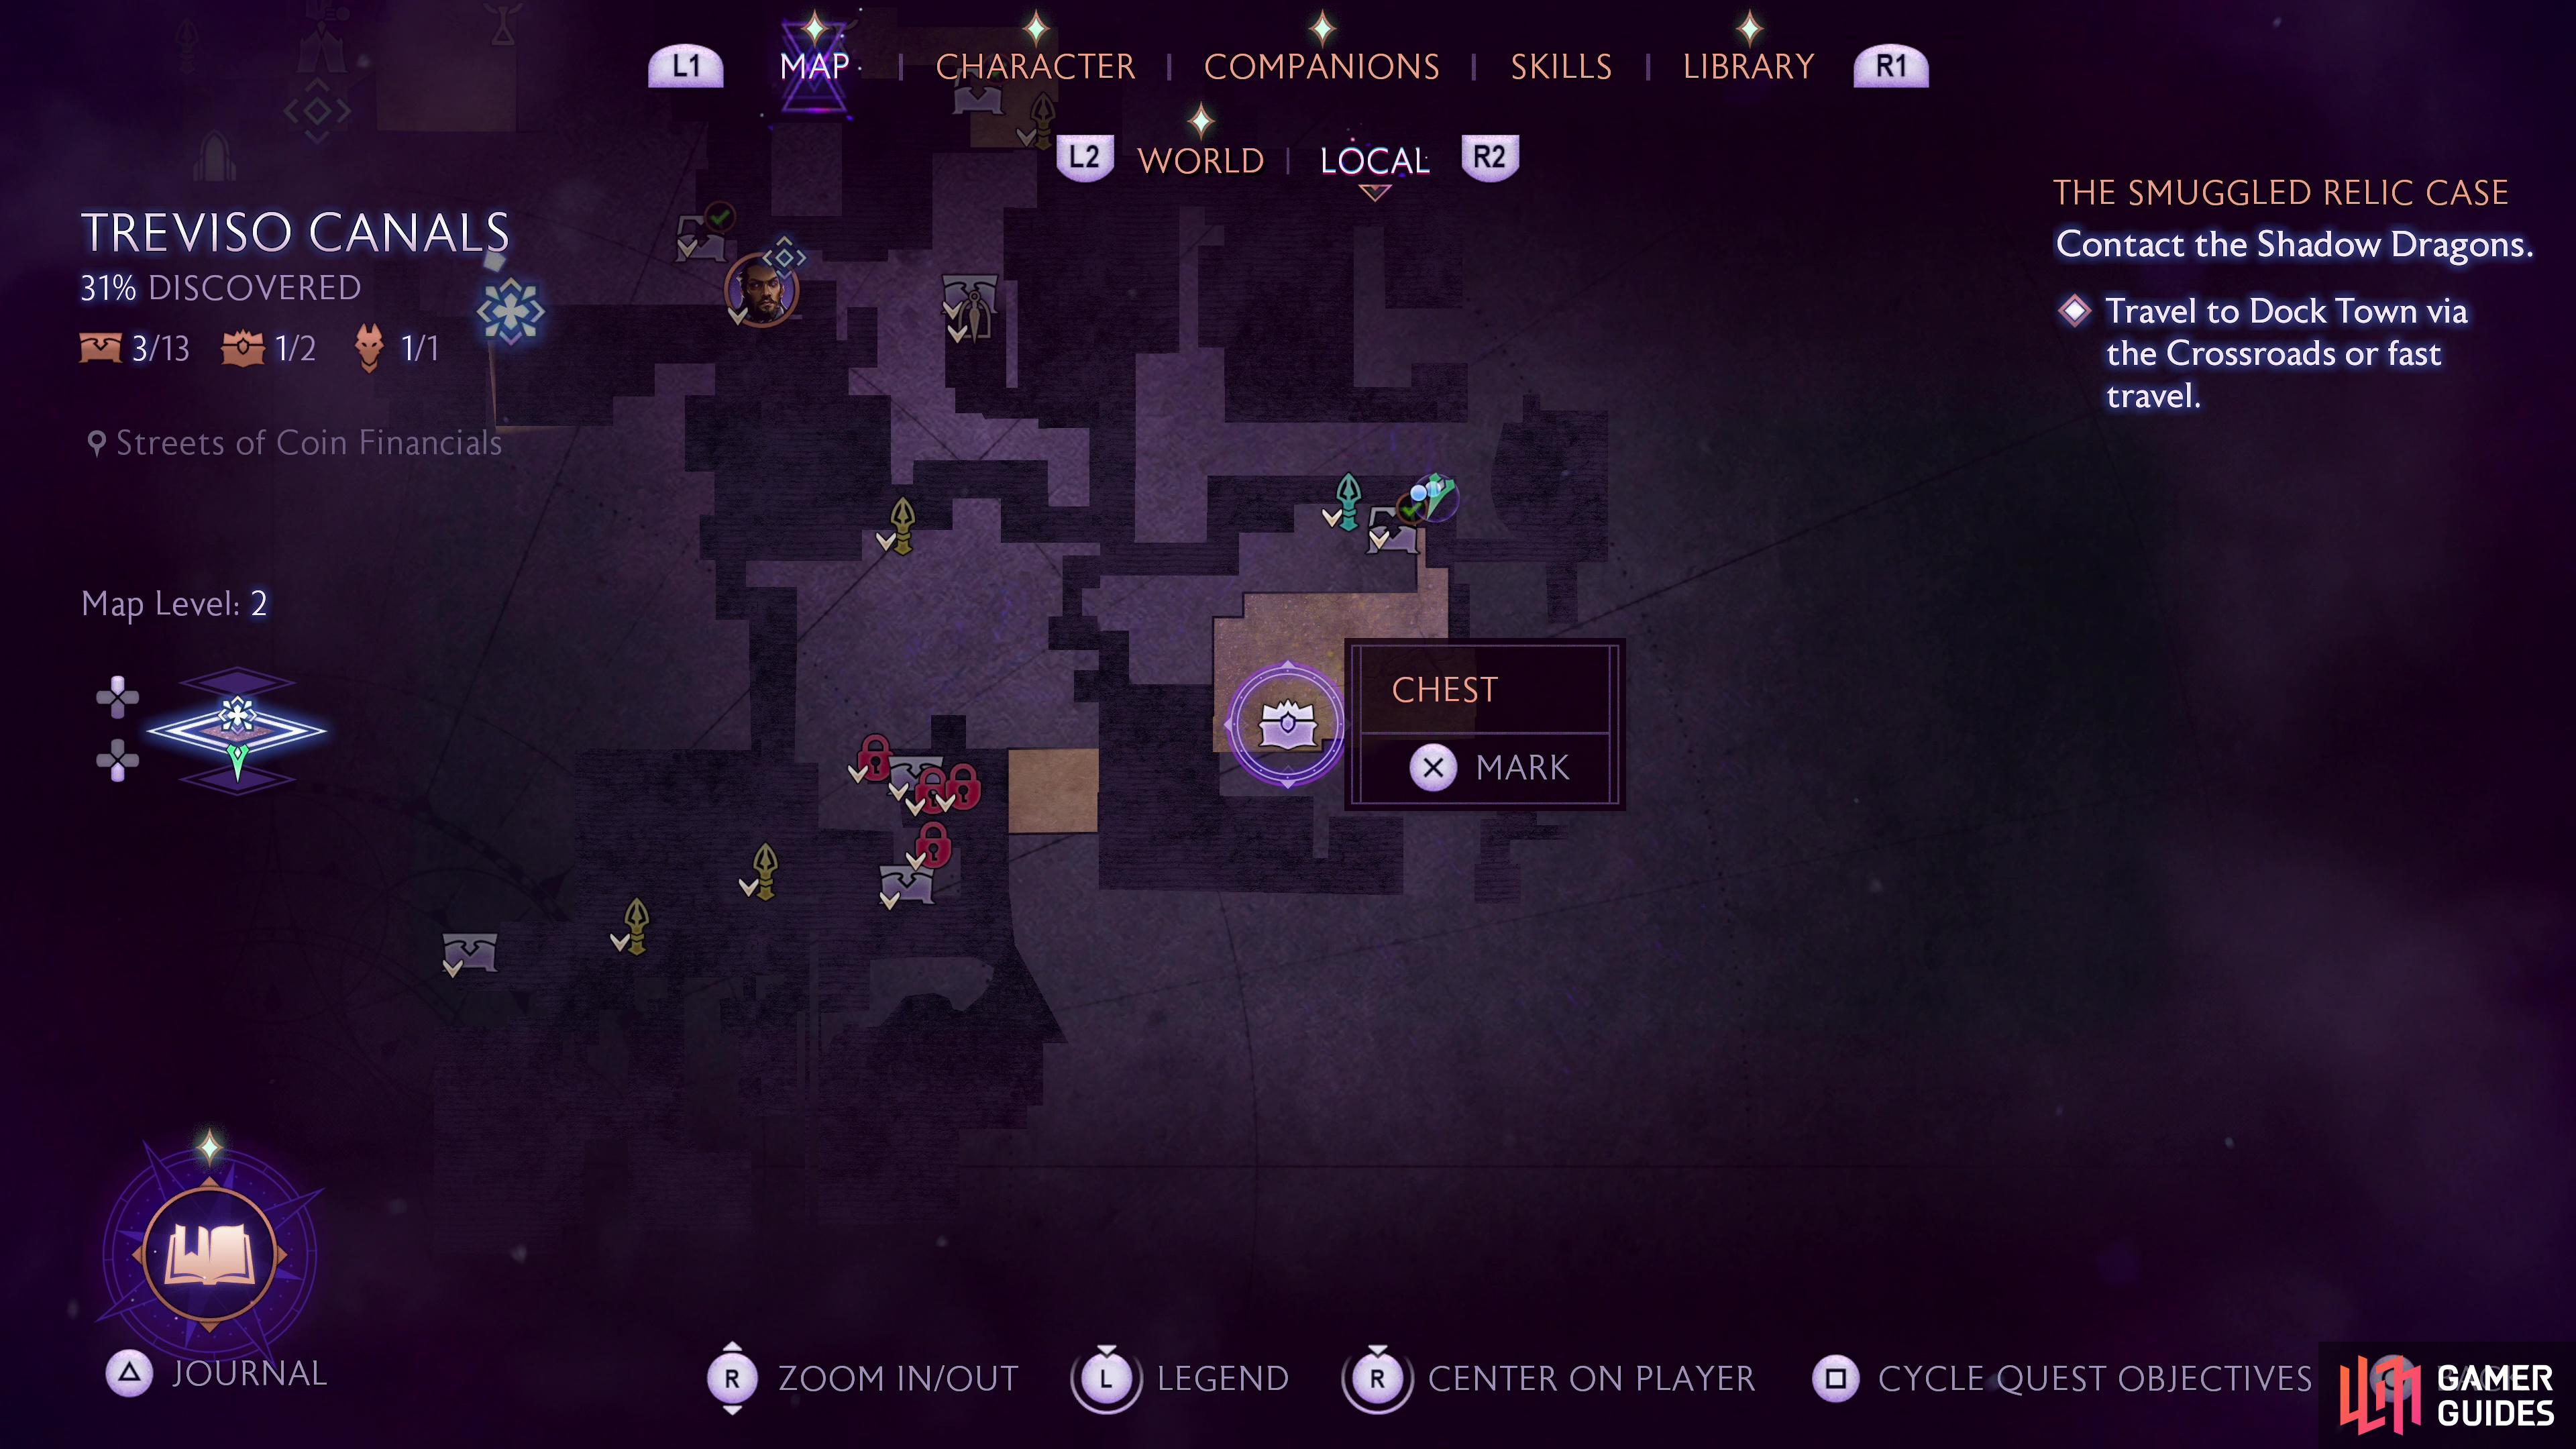
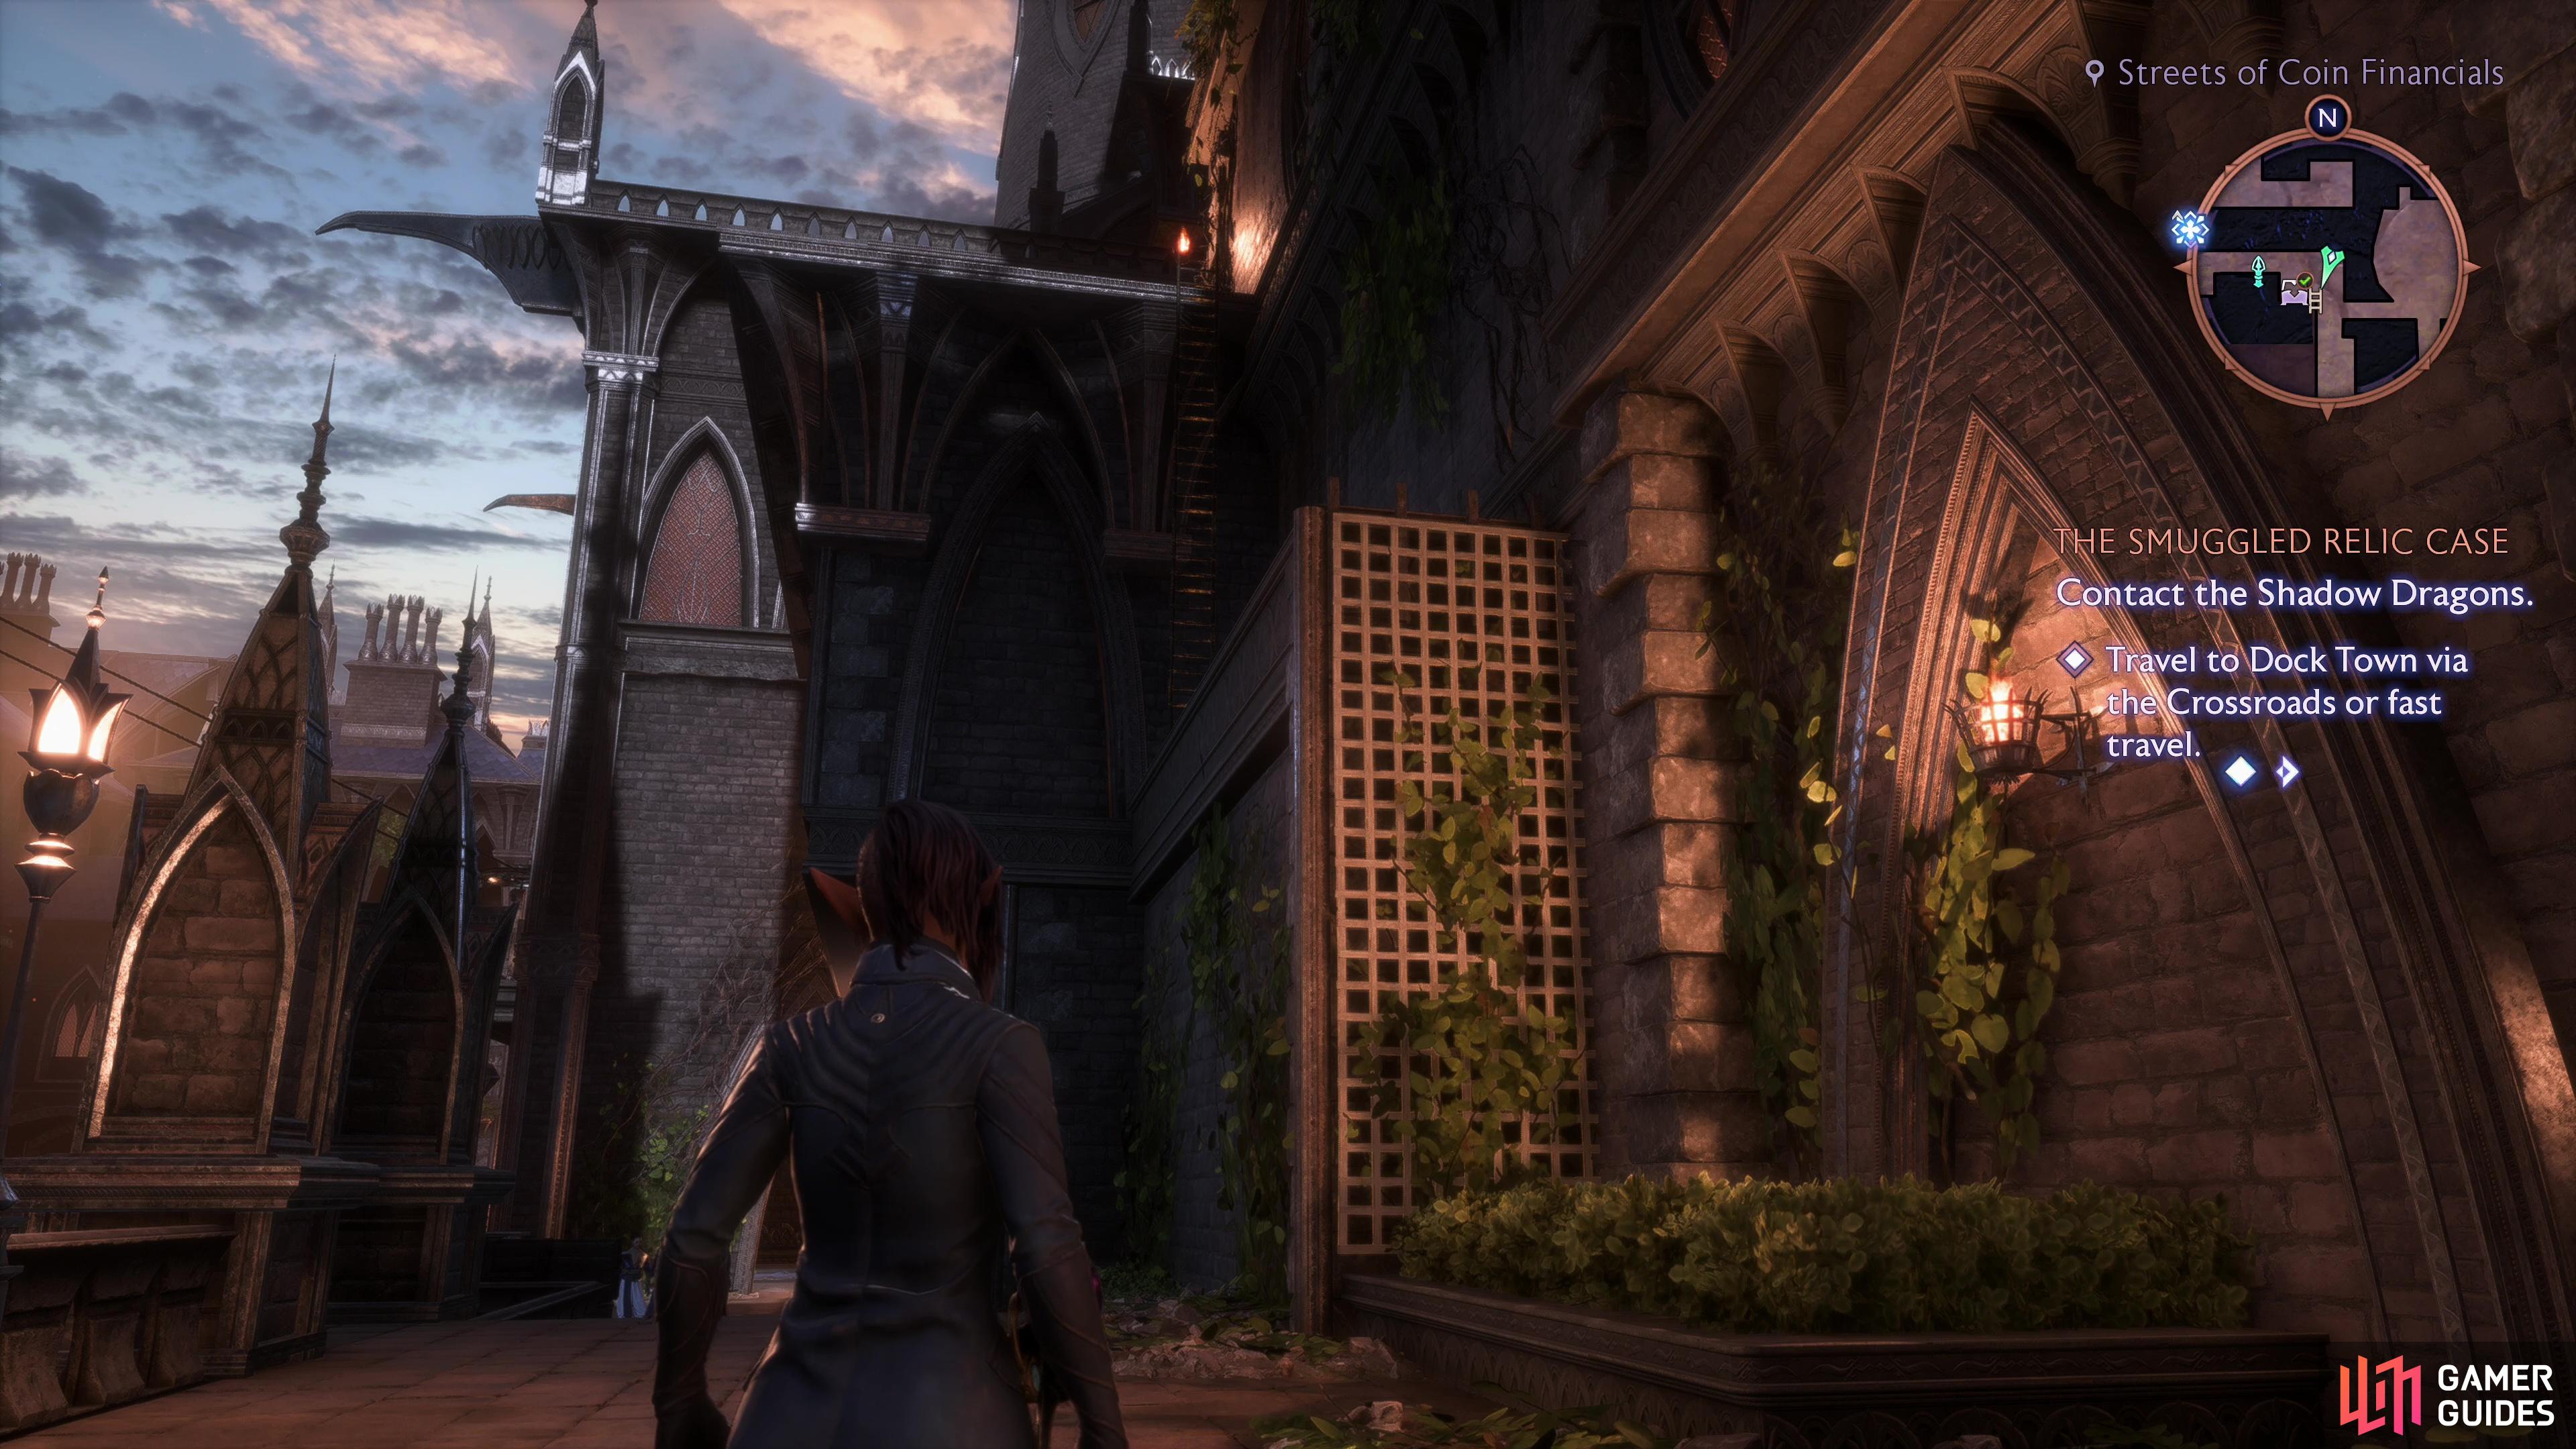
Chest 2: Heart and Central 2F
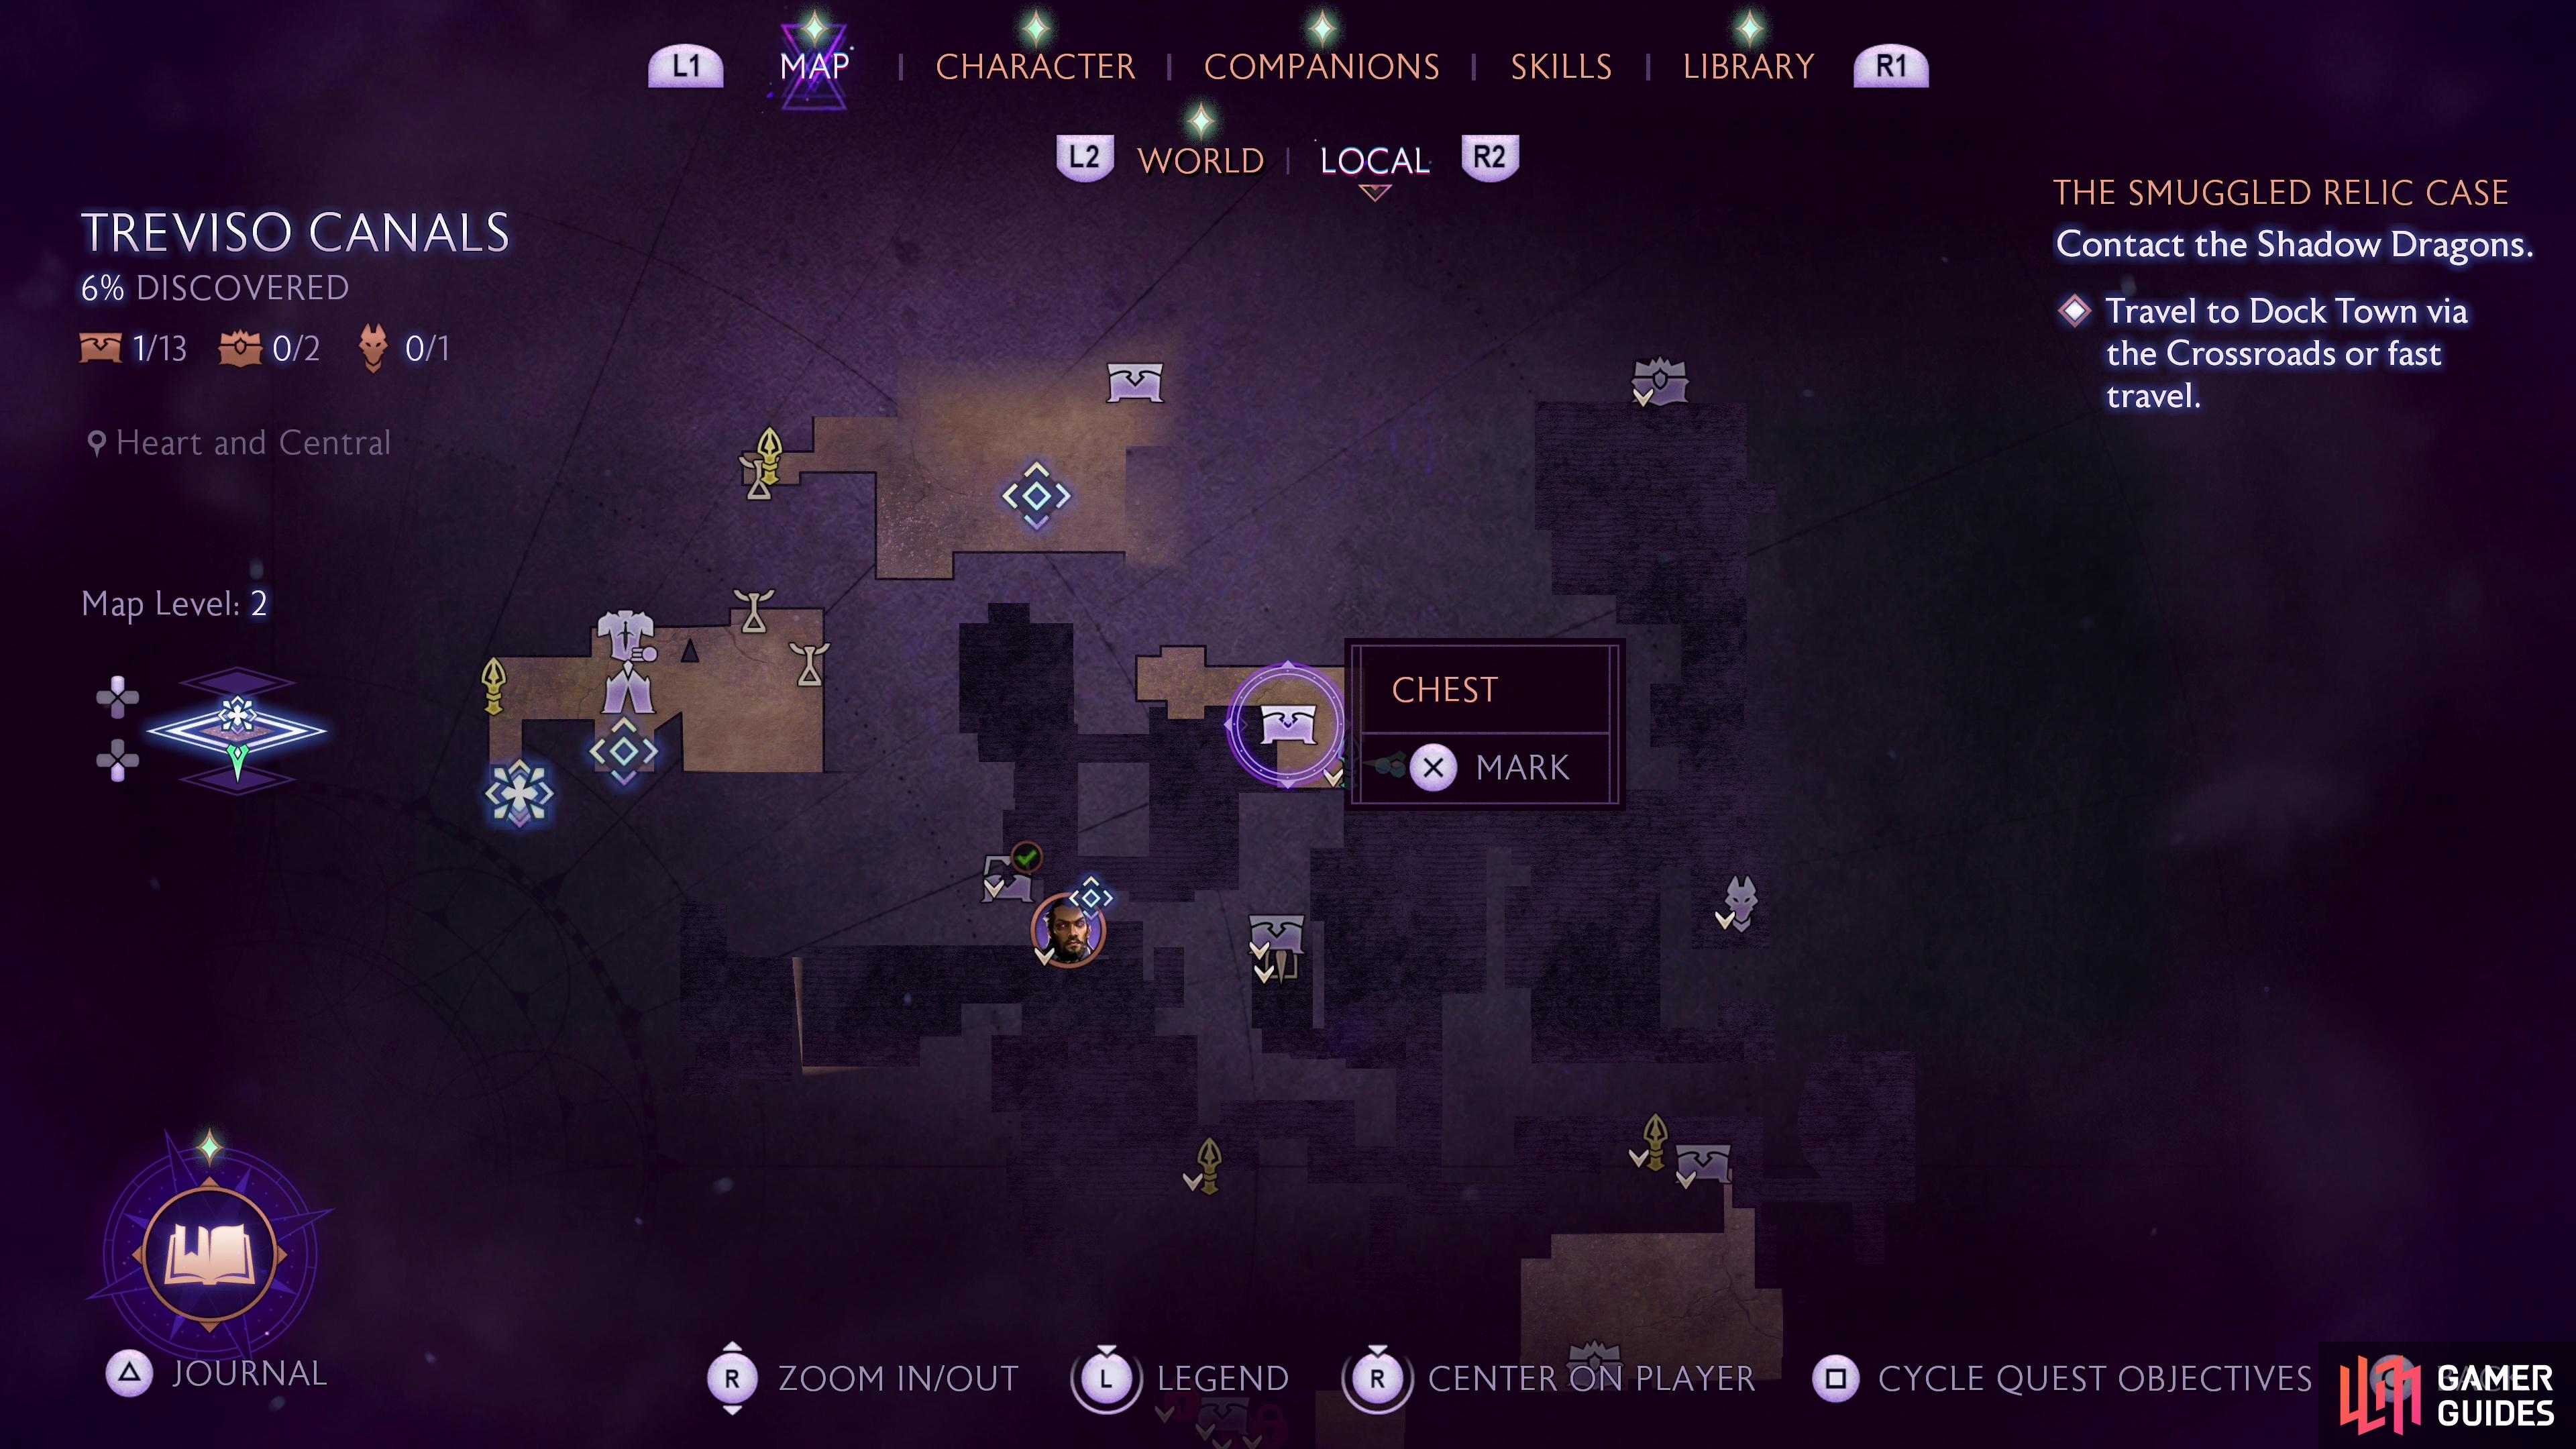
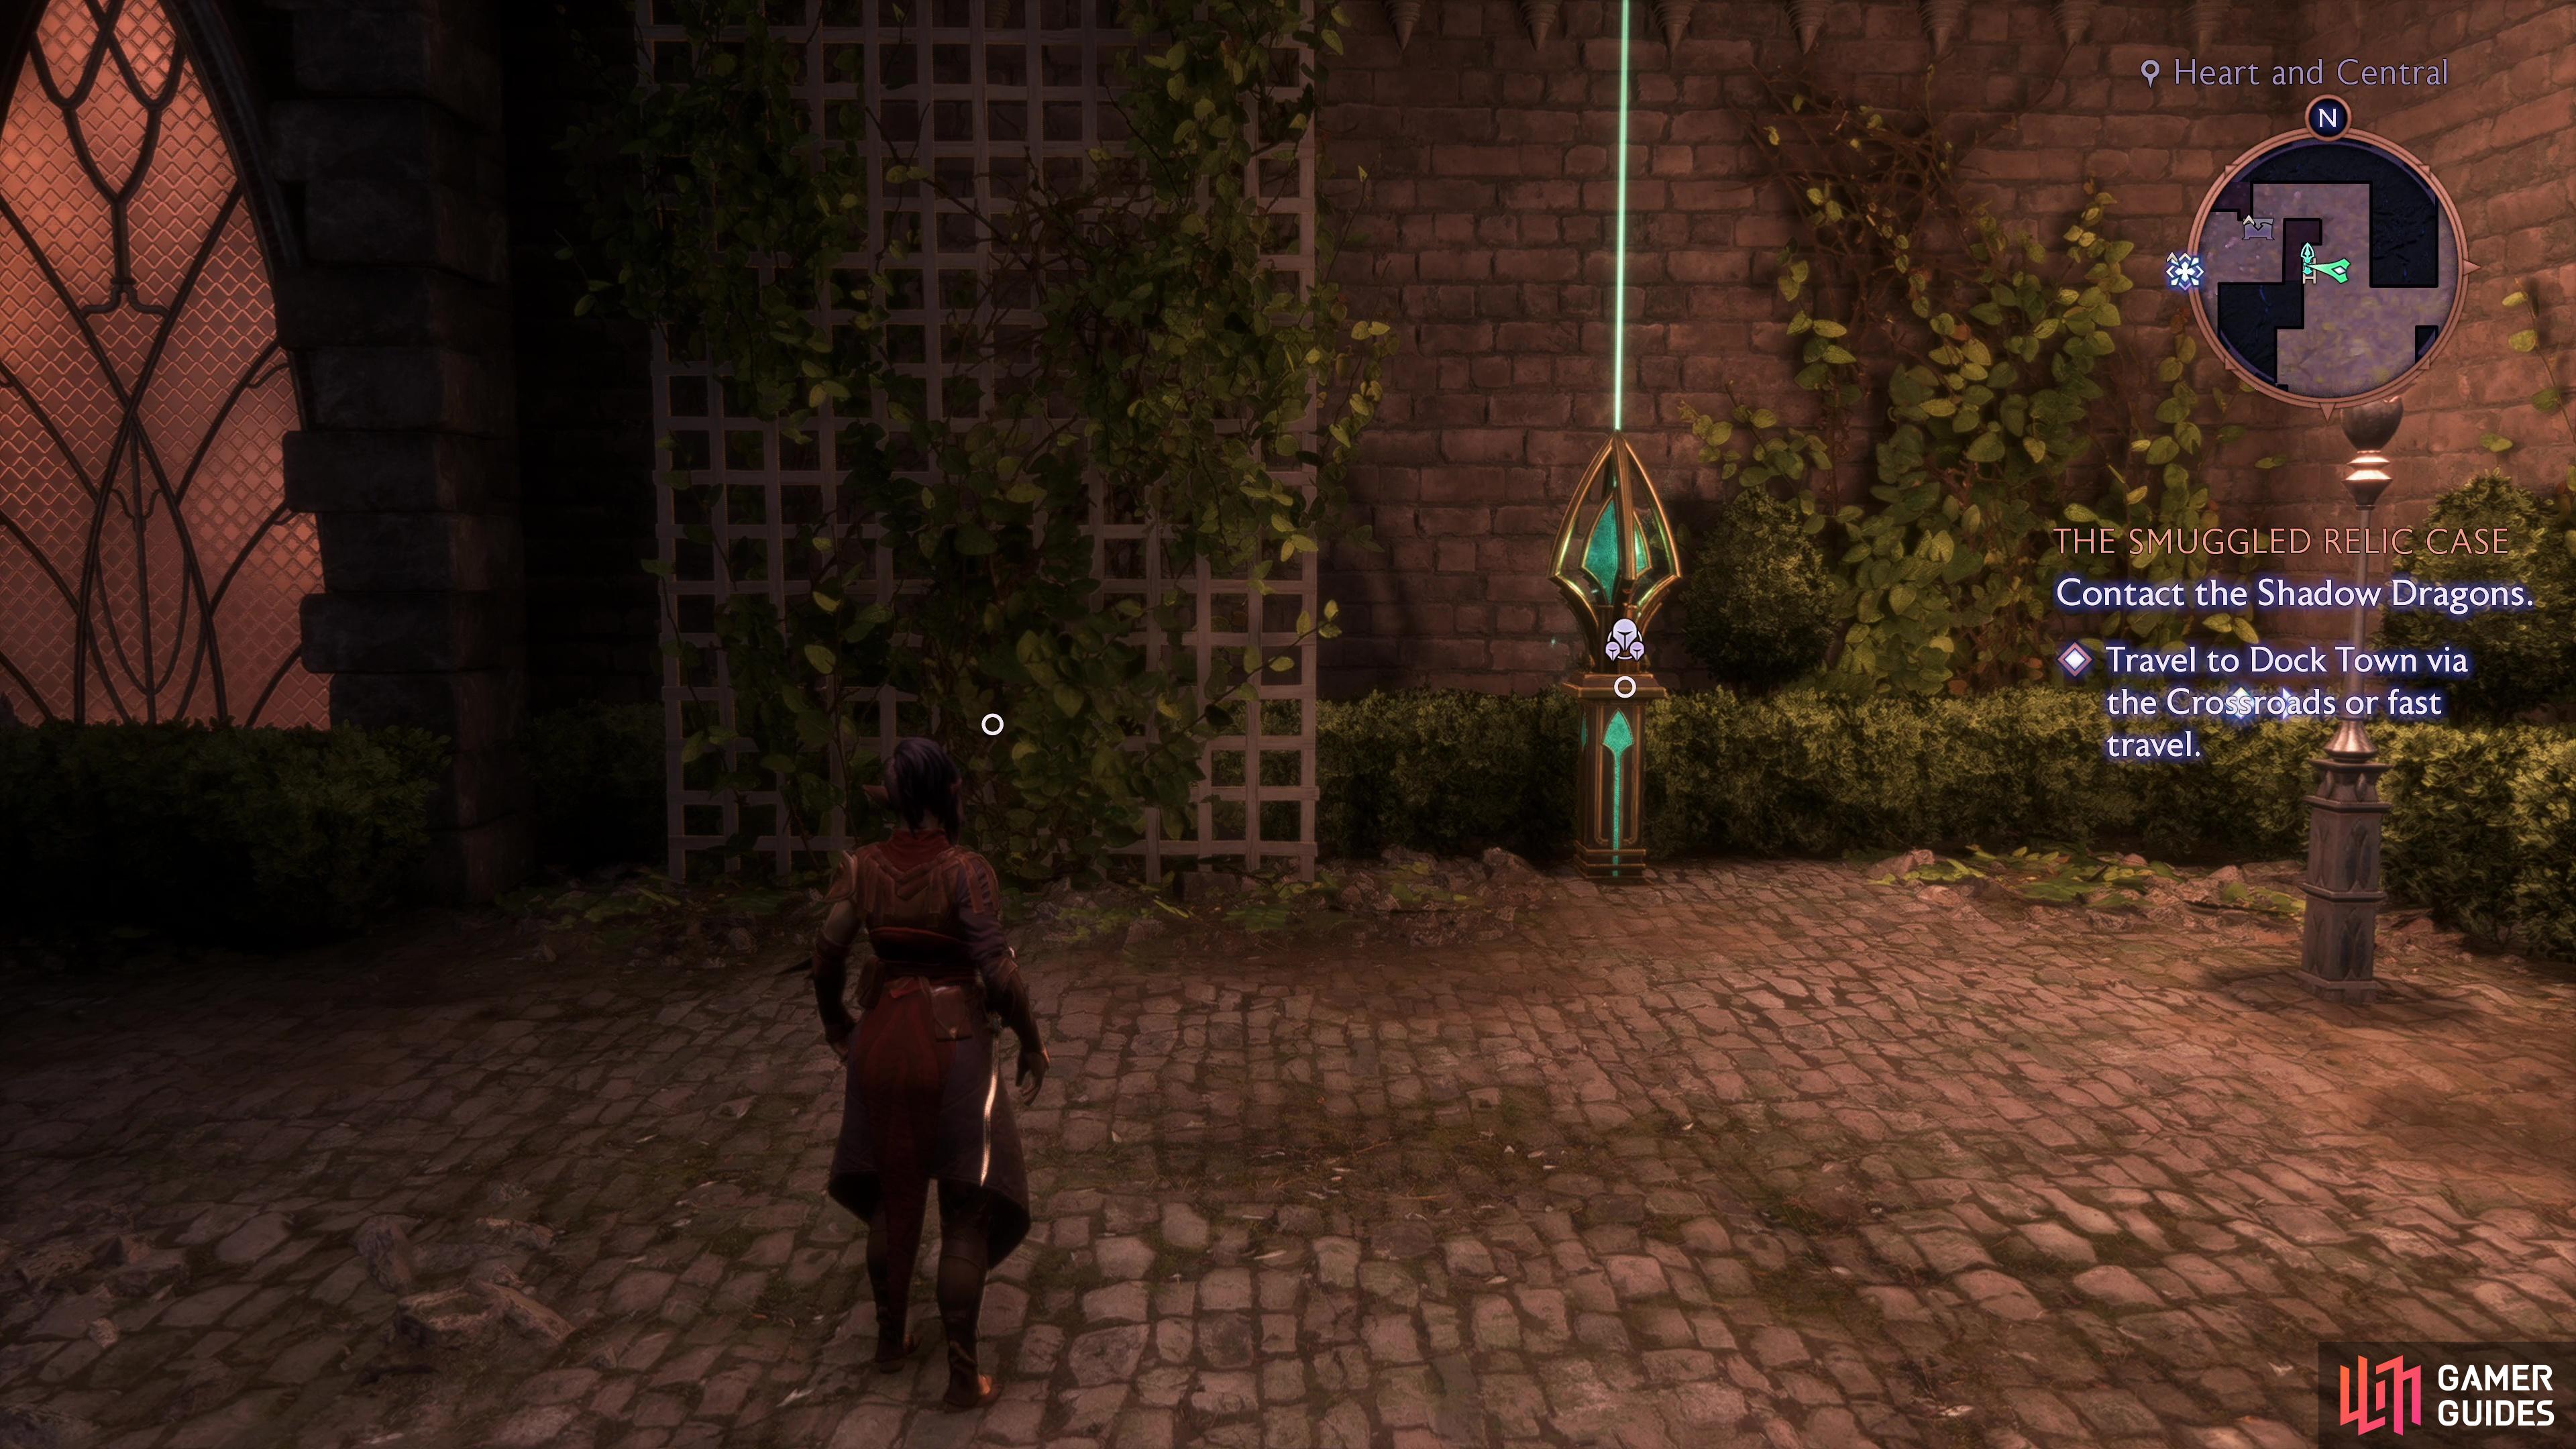
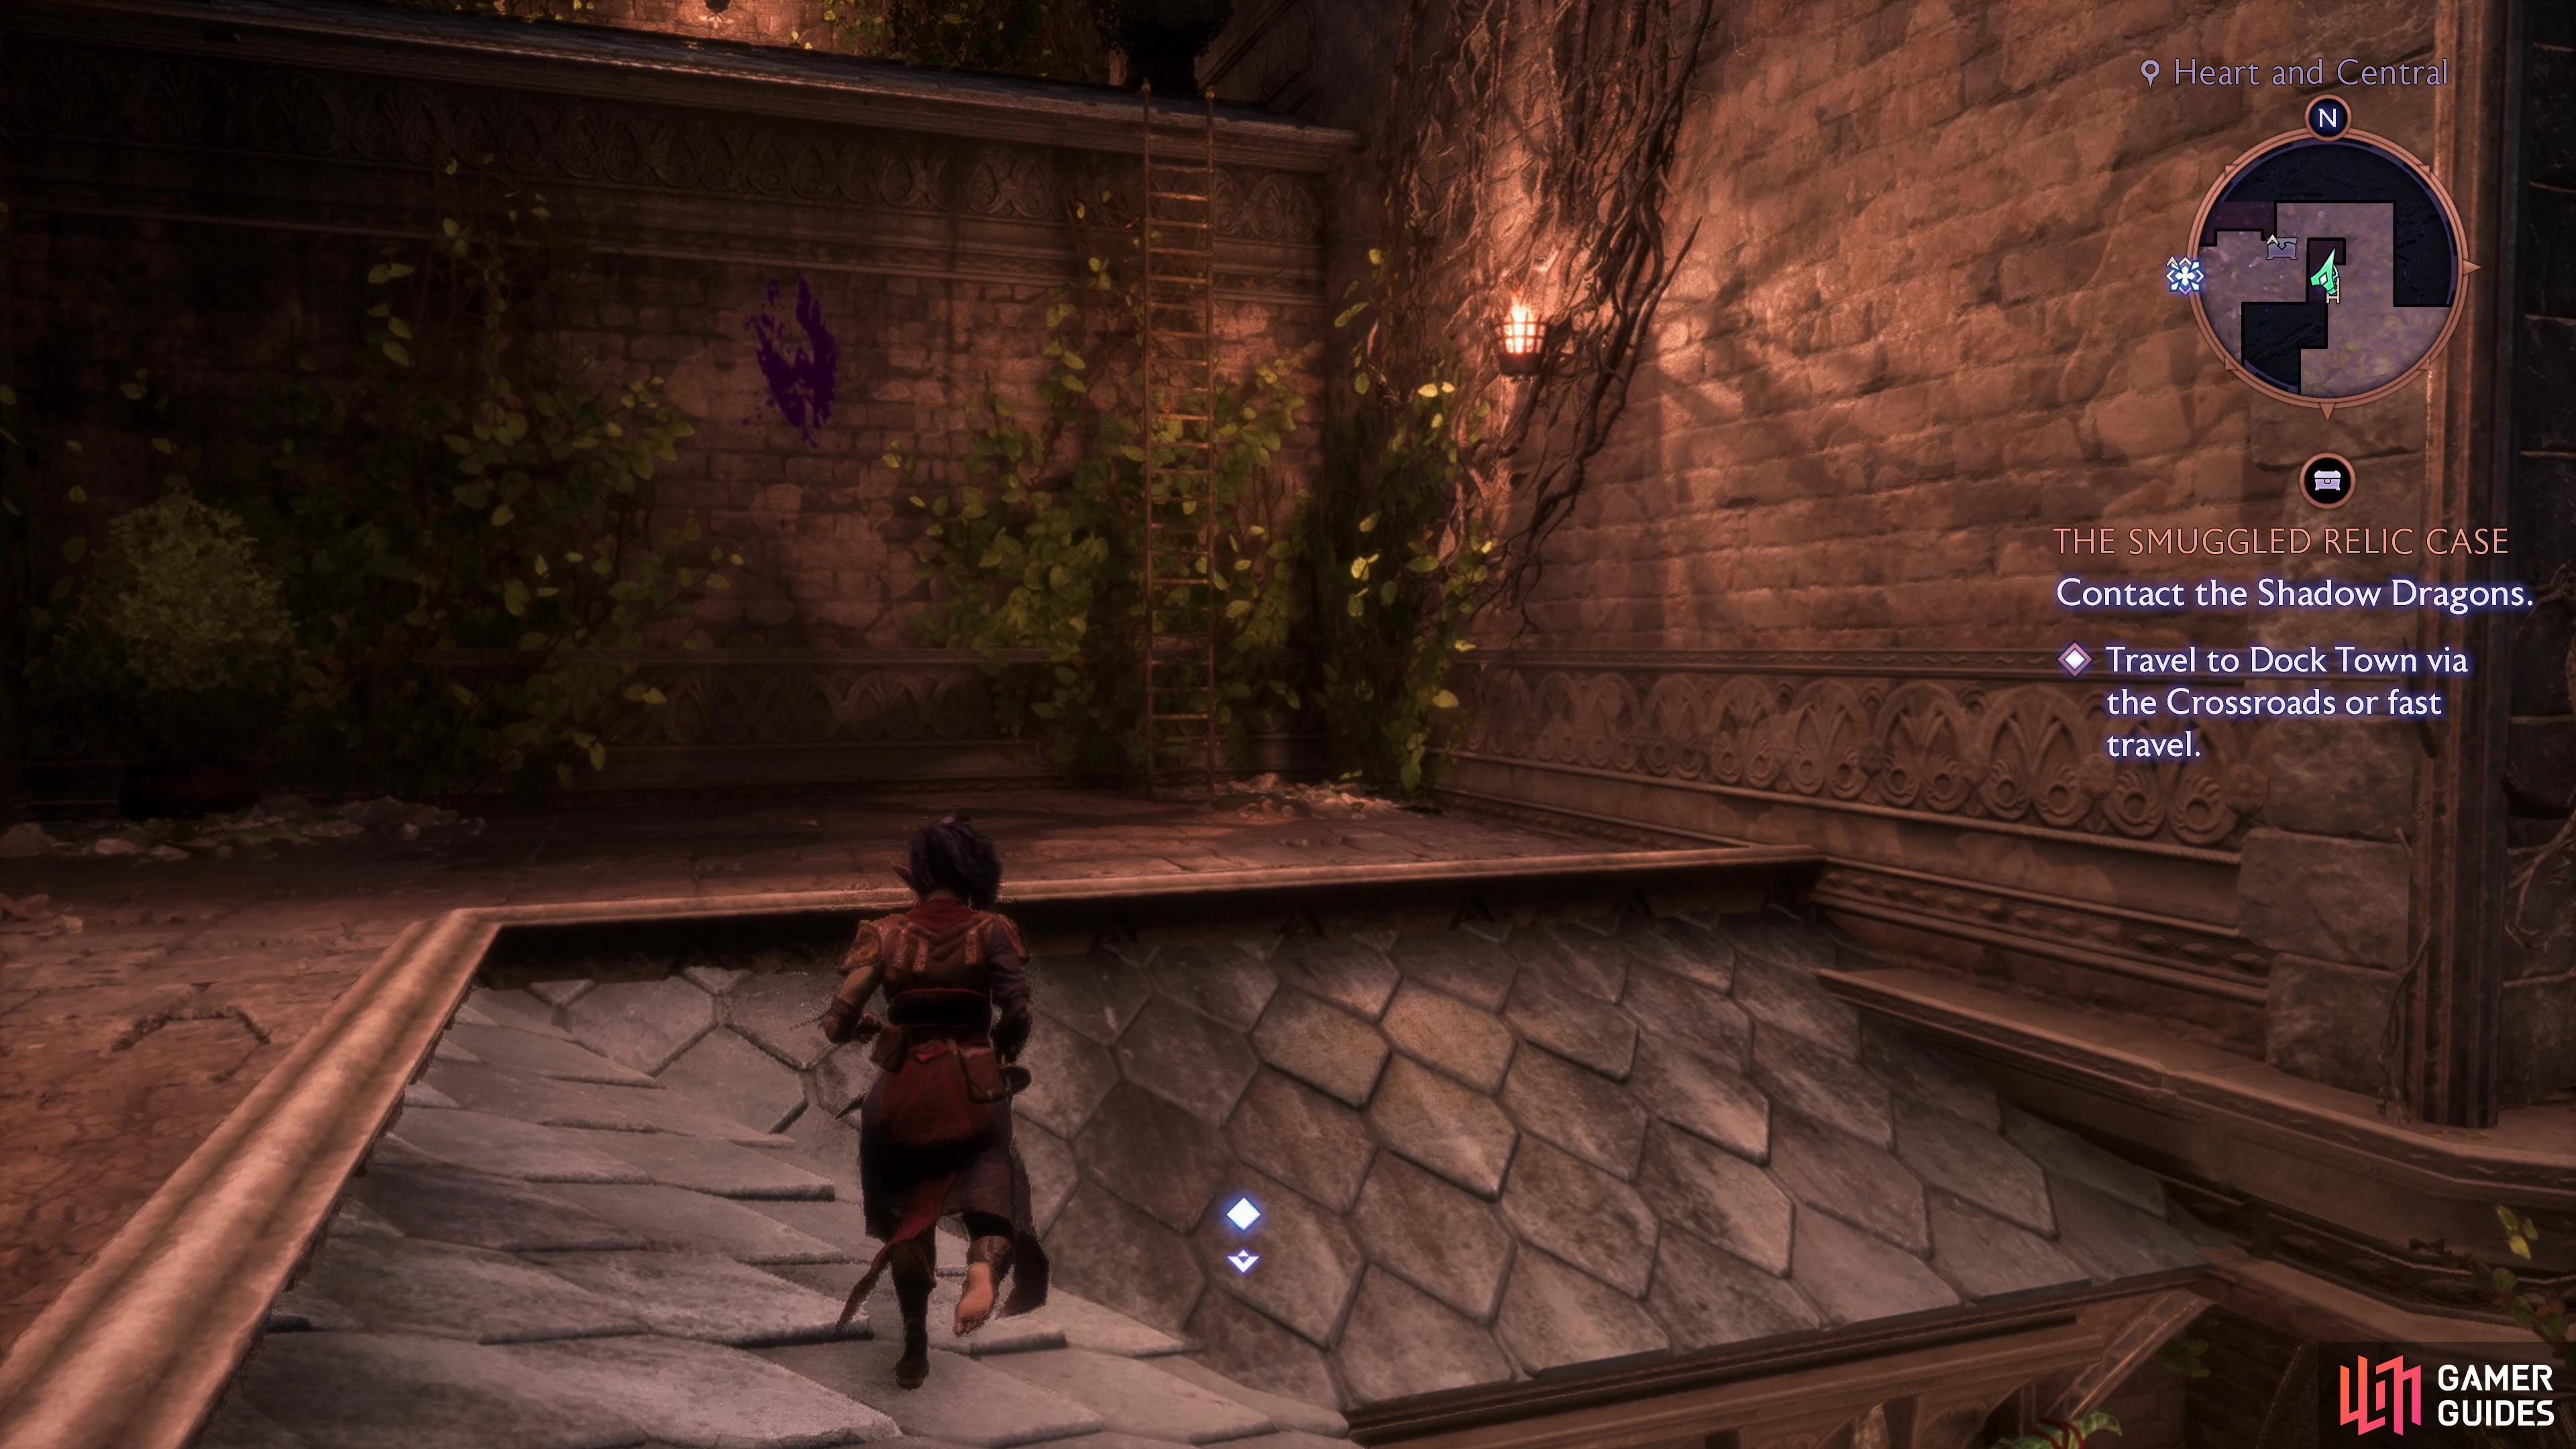
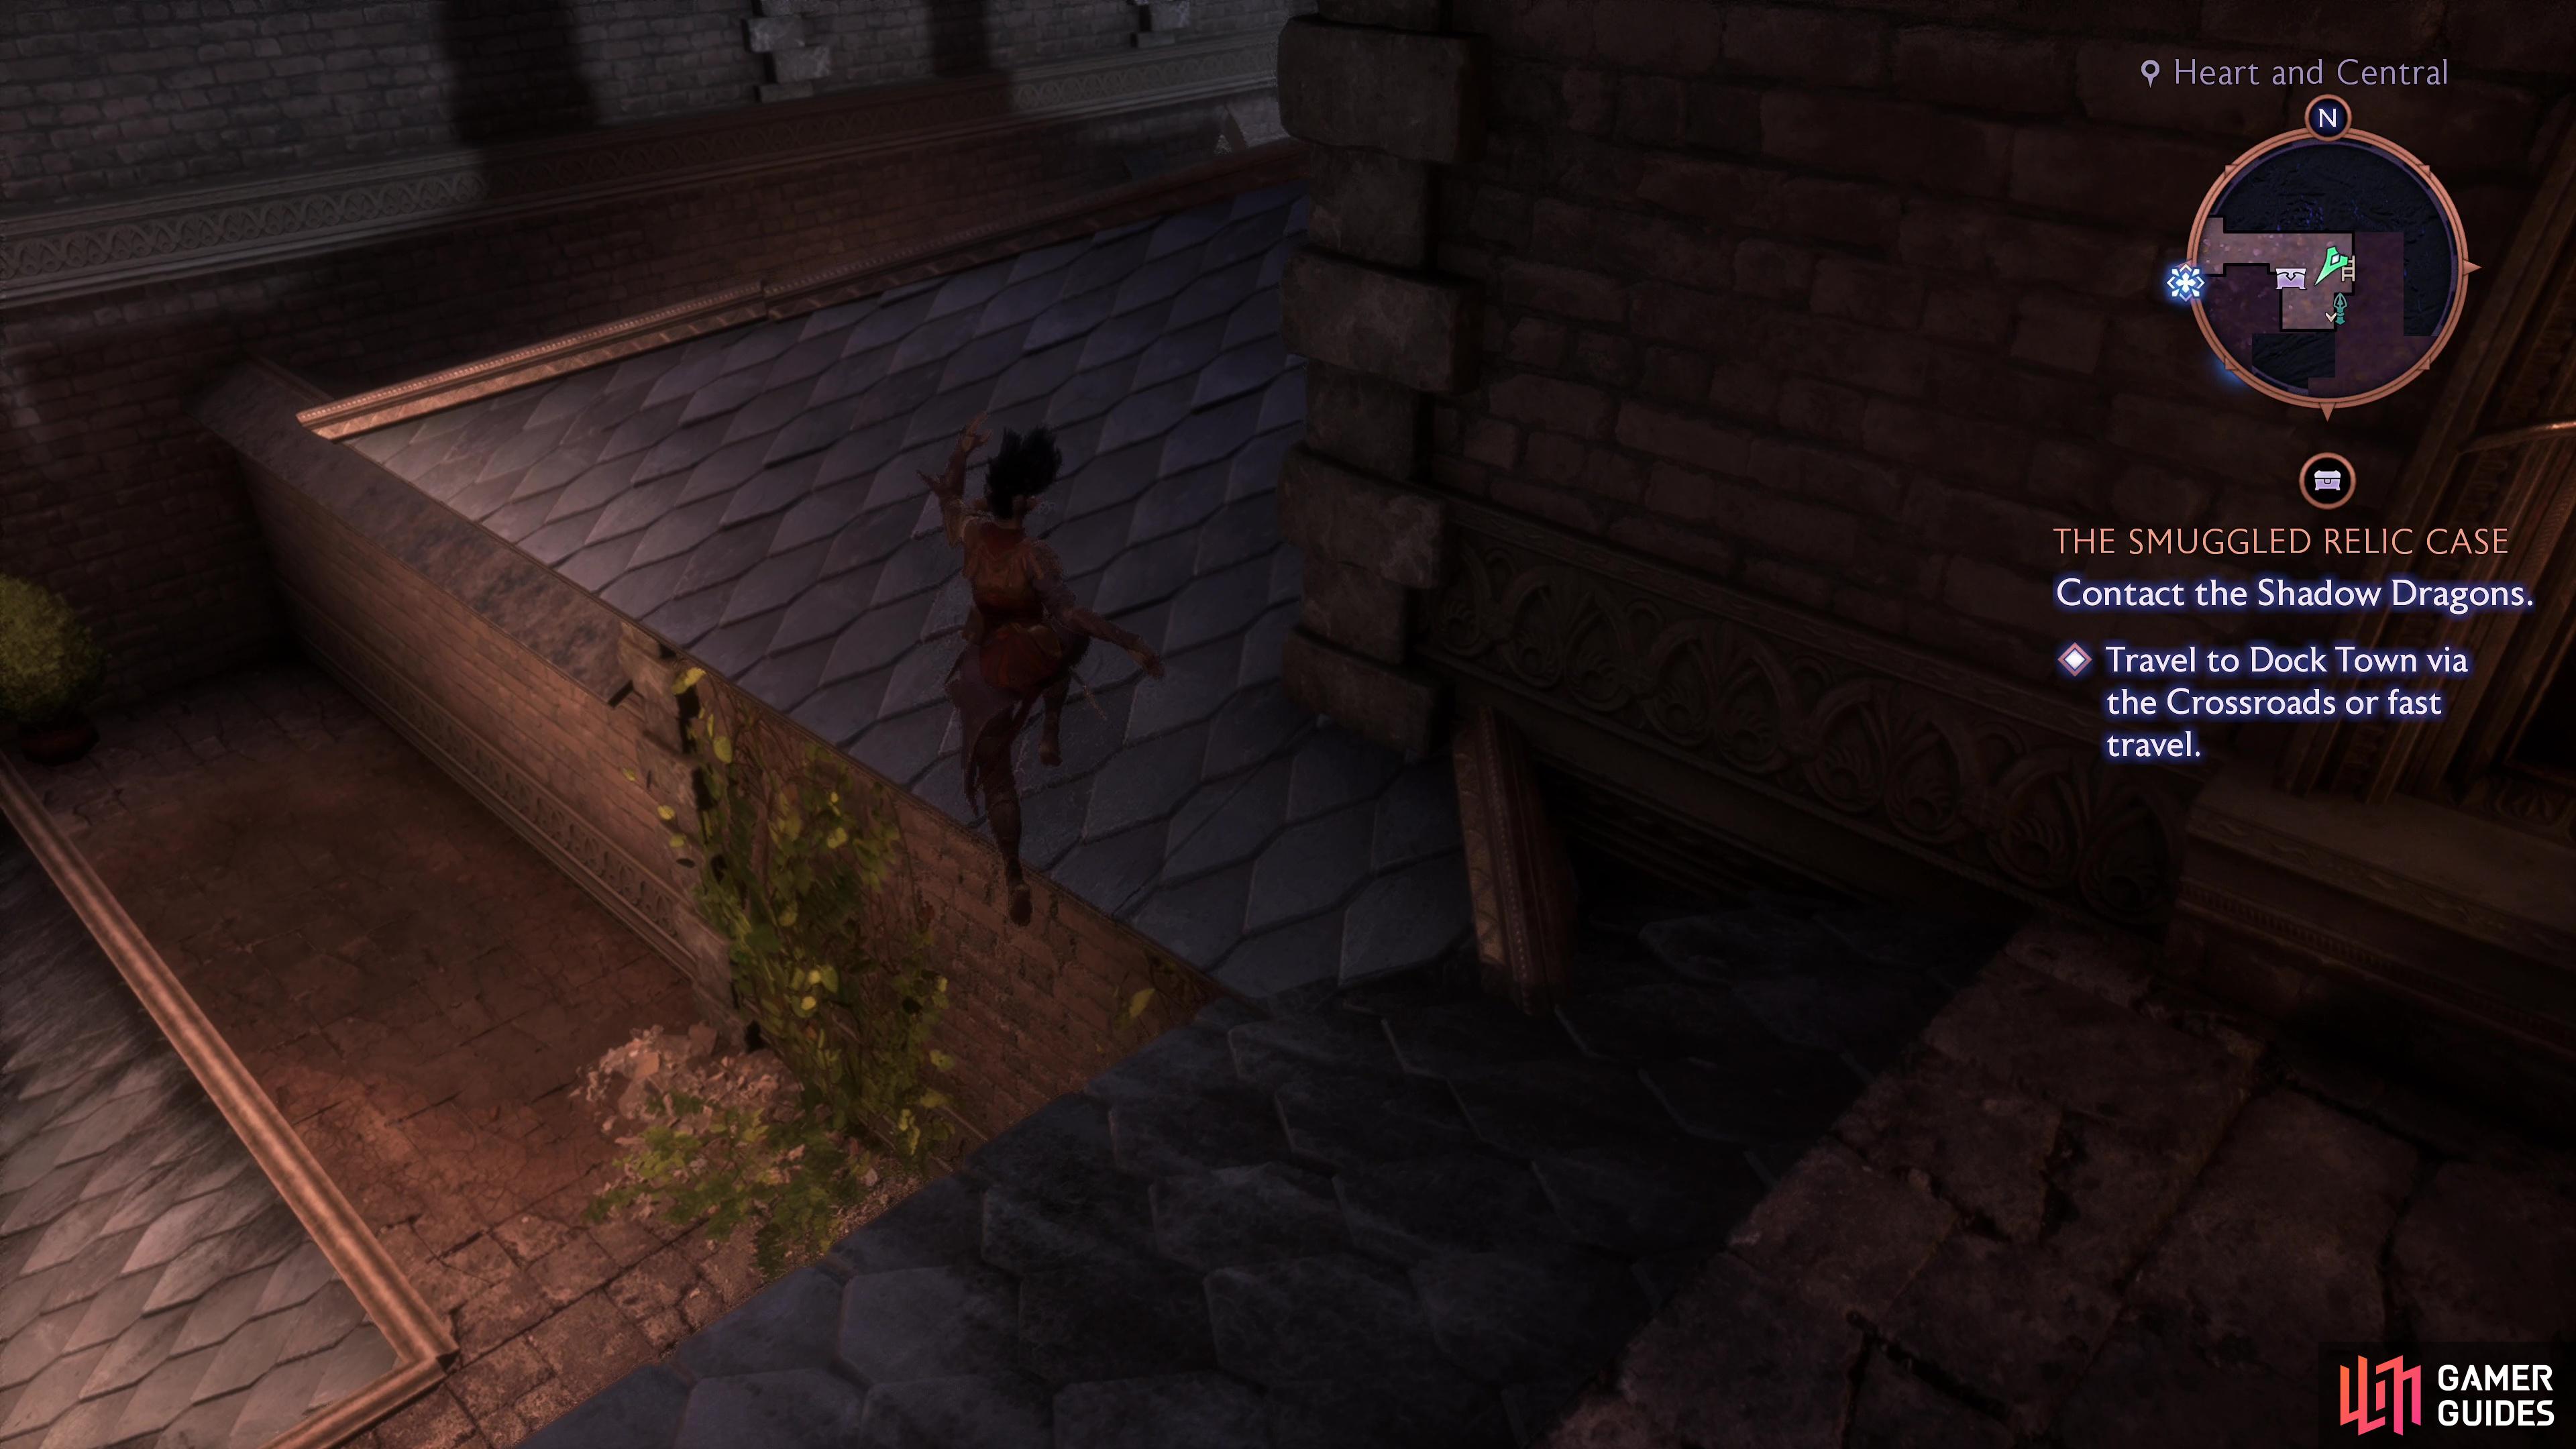
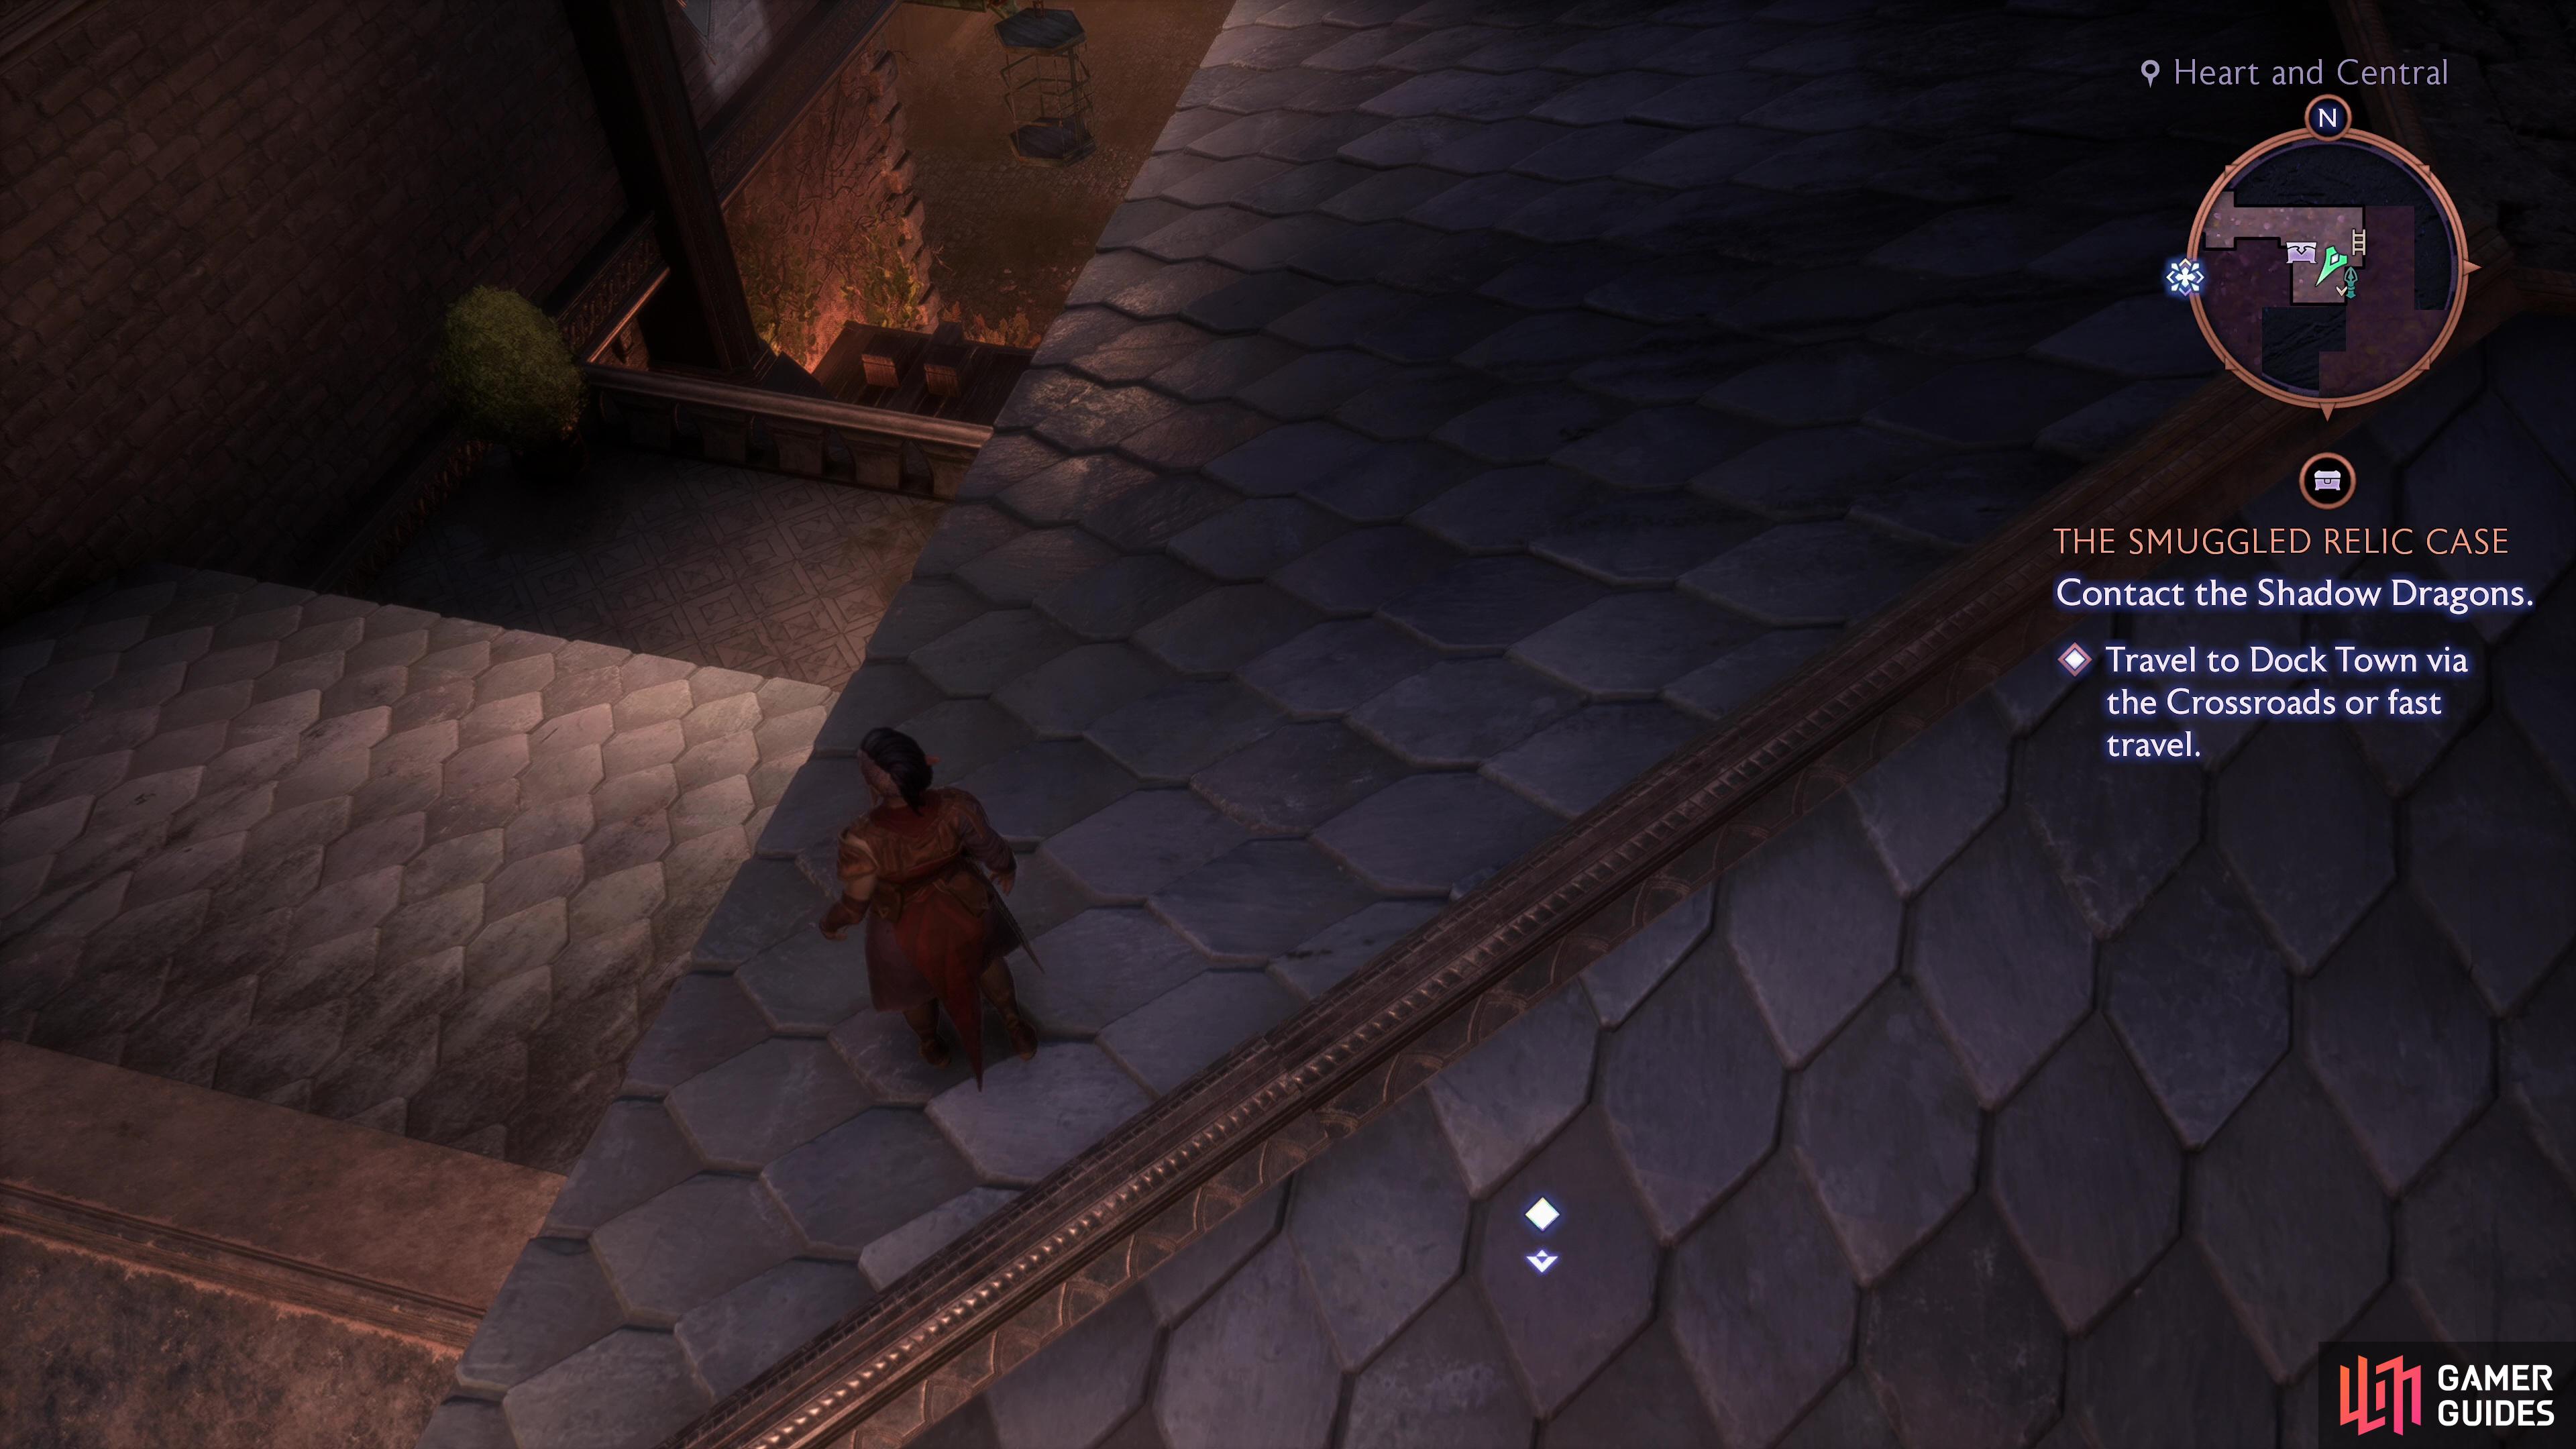
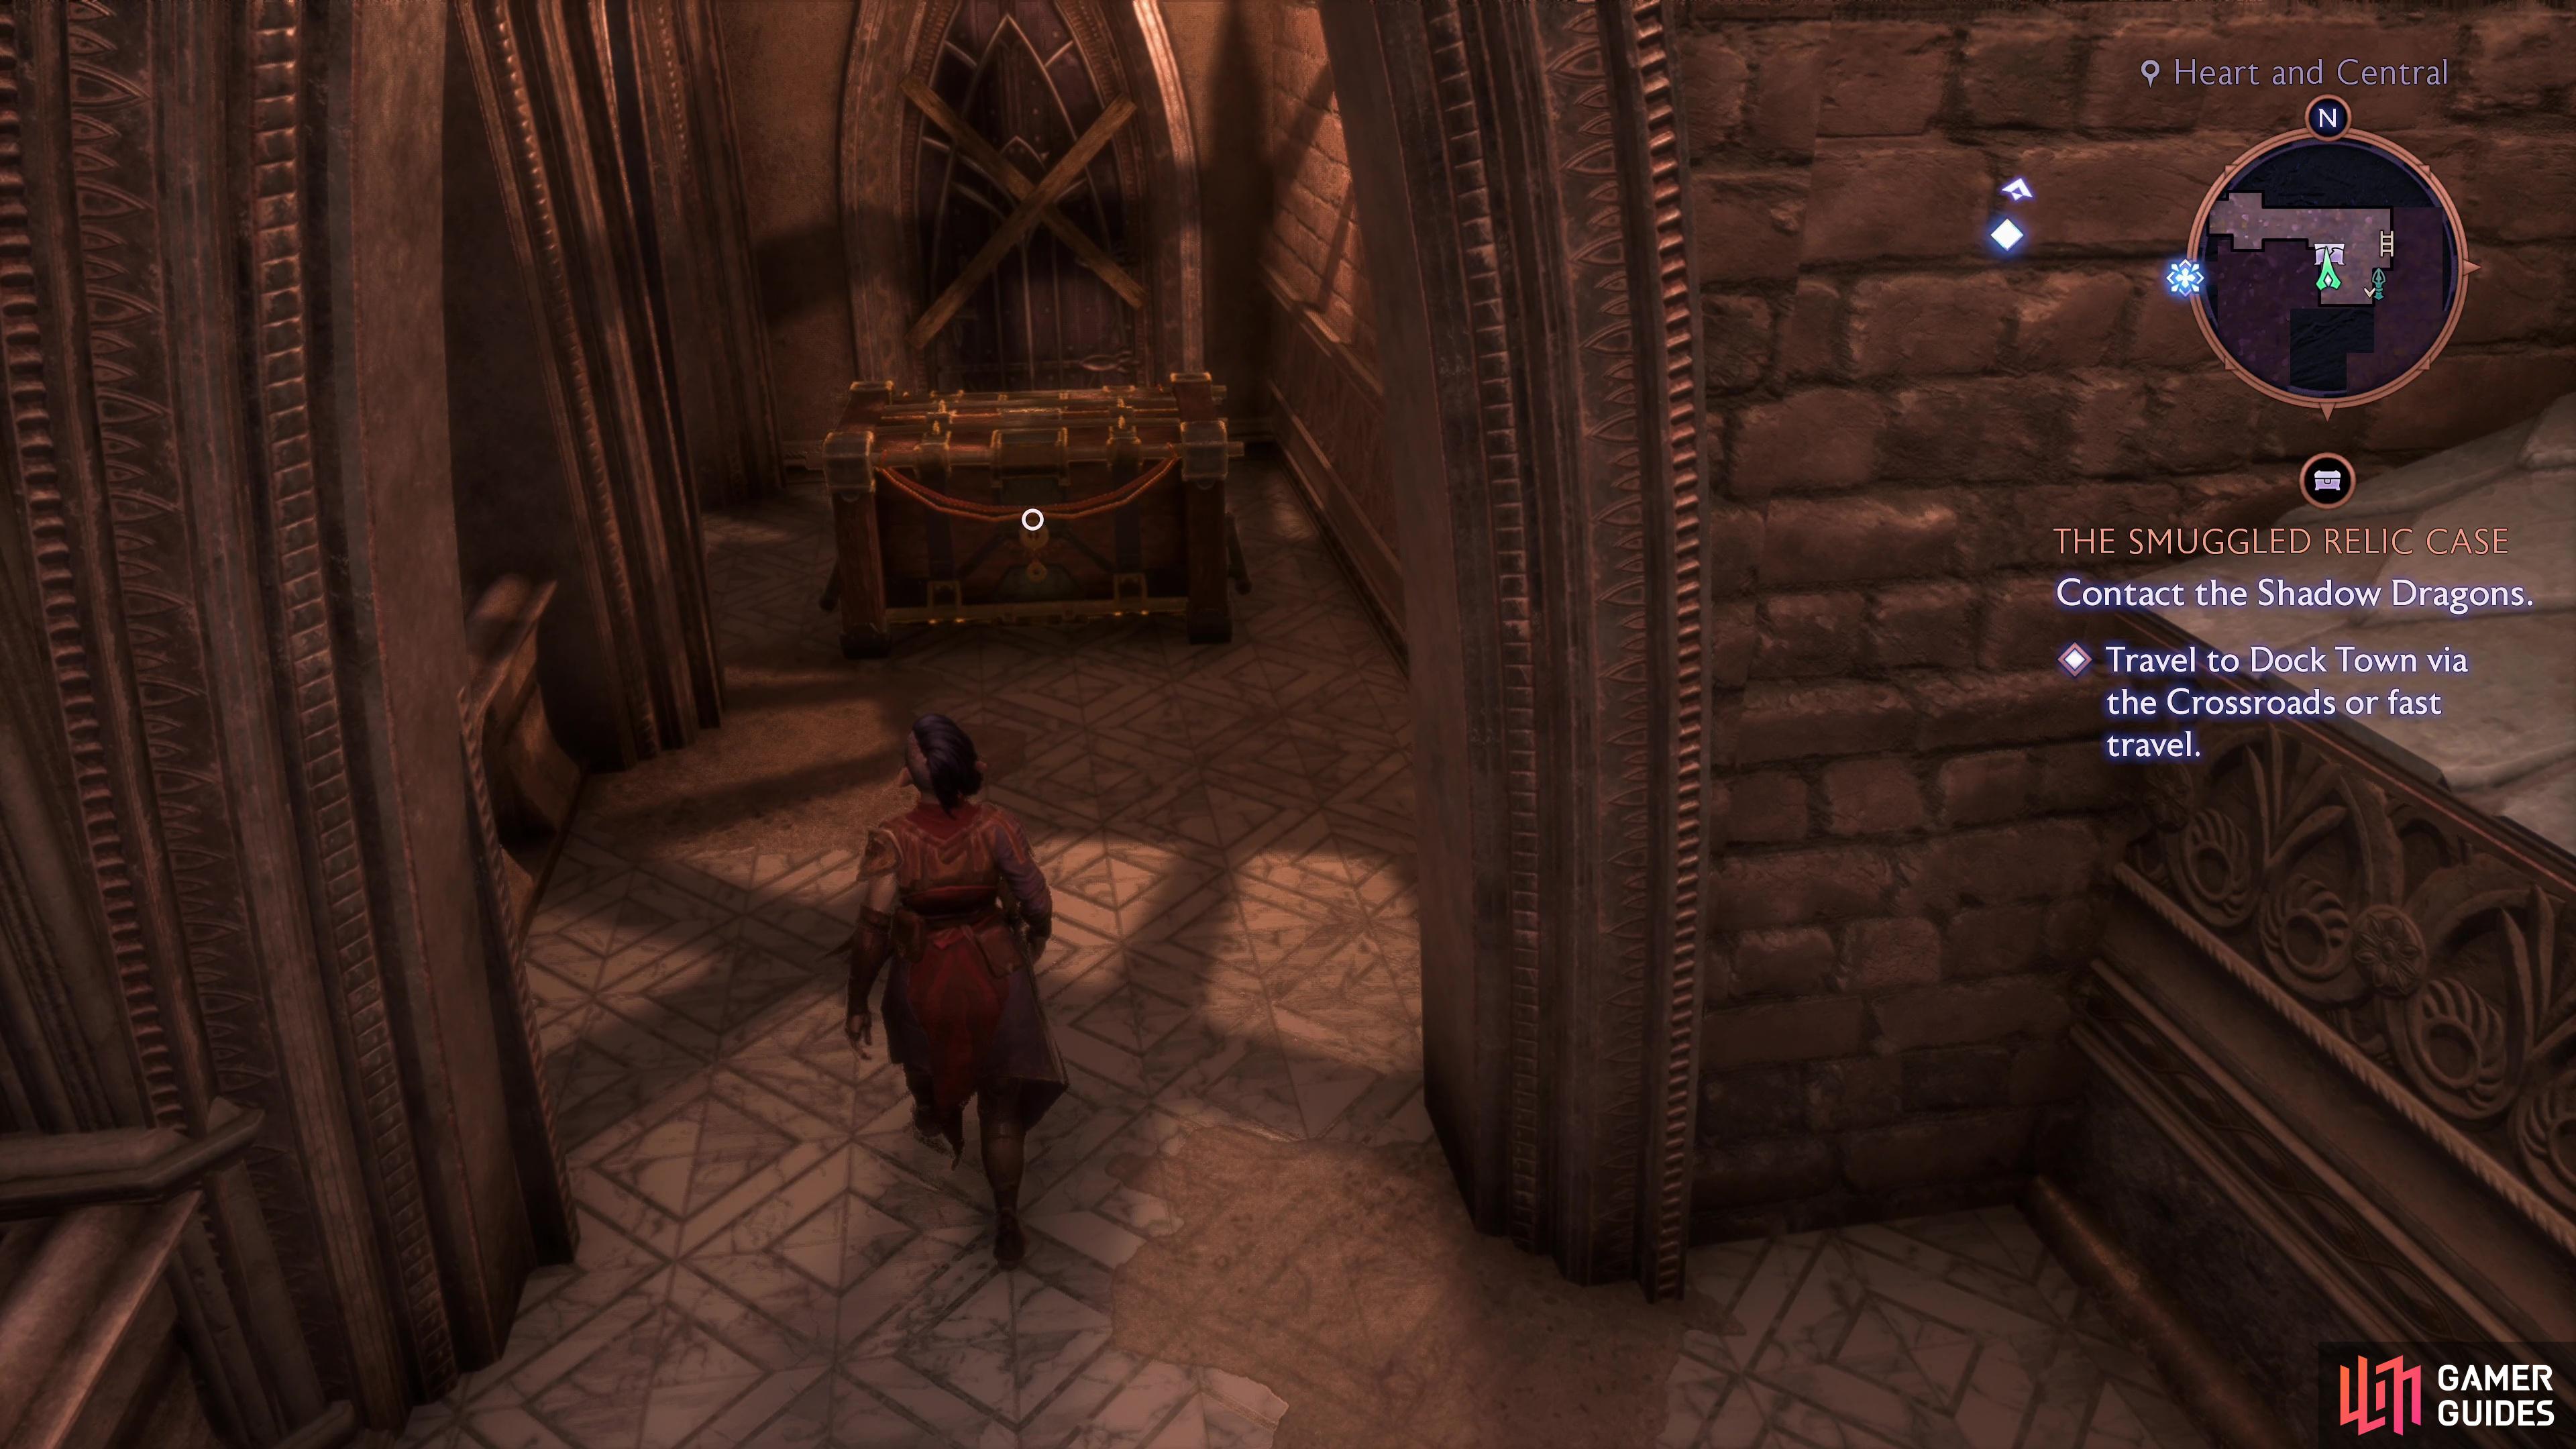
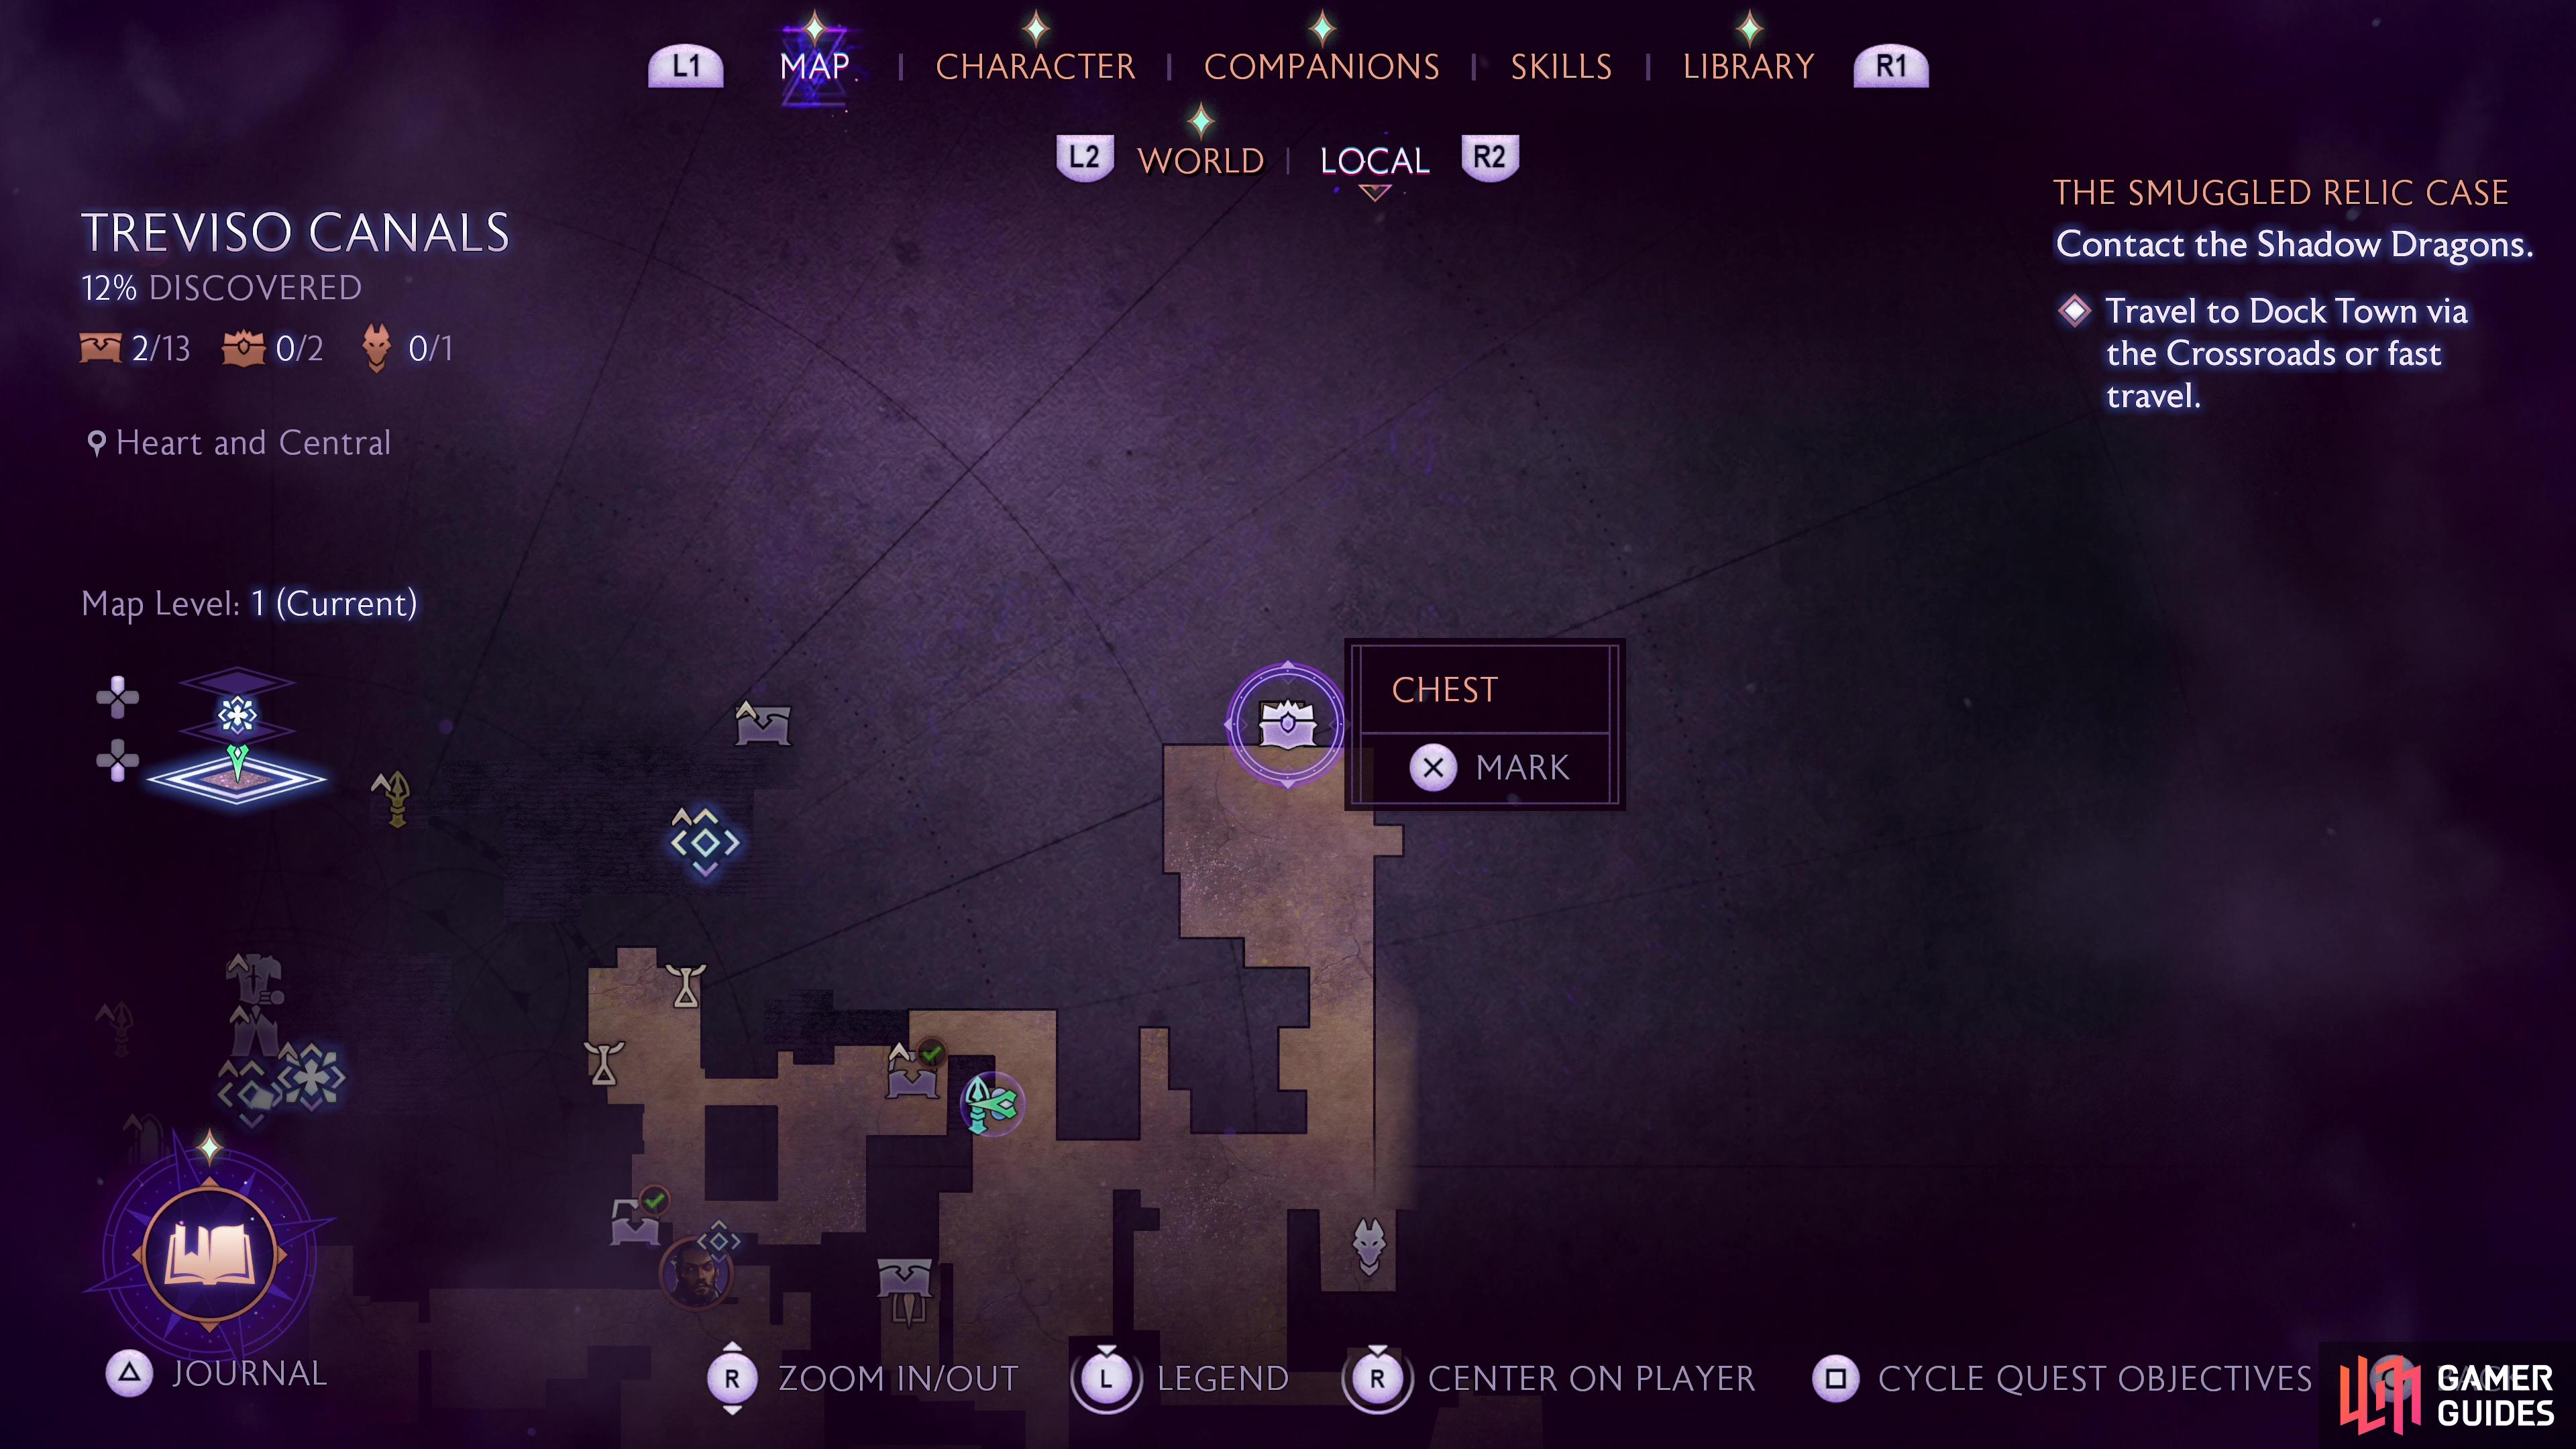
Find the Heart and Central Beacon in the north-central part of Treviso (1F) - if you take the eastern zipline from the Cantori Diamond to the Crow’s Road Rooftops and drop down the building to the east to reach the street, then cross a bridge to the east (defeating an Antaam squad) to find this beacon. Once there, turn west to find a lattice you can climb to reach the roof, and once there, turn north to find a ladder to reach an elevated walkway. Once atop the ladder turn southwest and jump over to another section of roof, head to the southwestern edge of this roof and look down to find a flat area below you. Drop down onto it and turn north to find this chest.
Unique Chest 1: Dellamorte Estates 1F
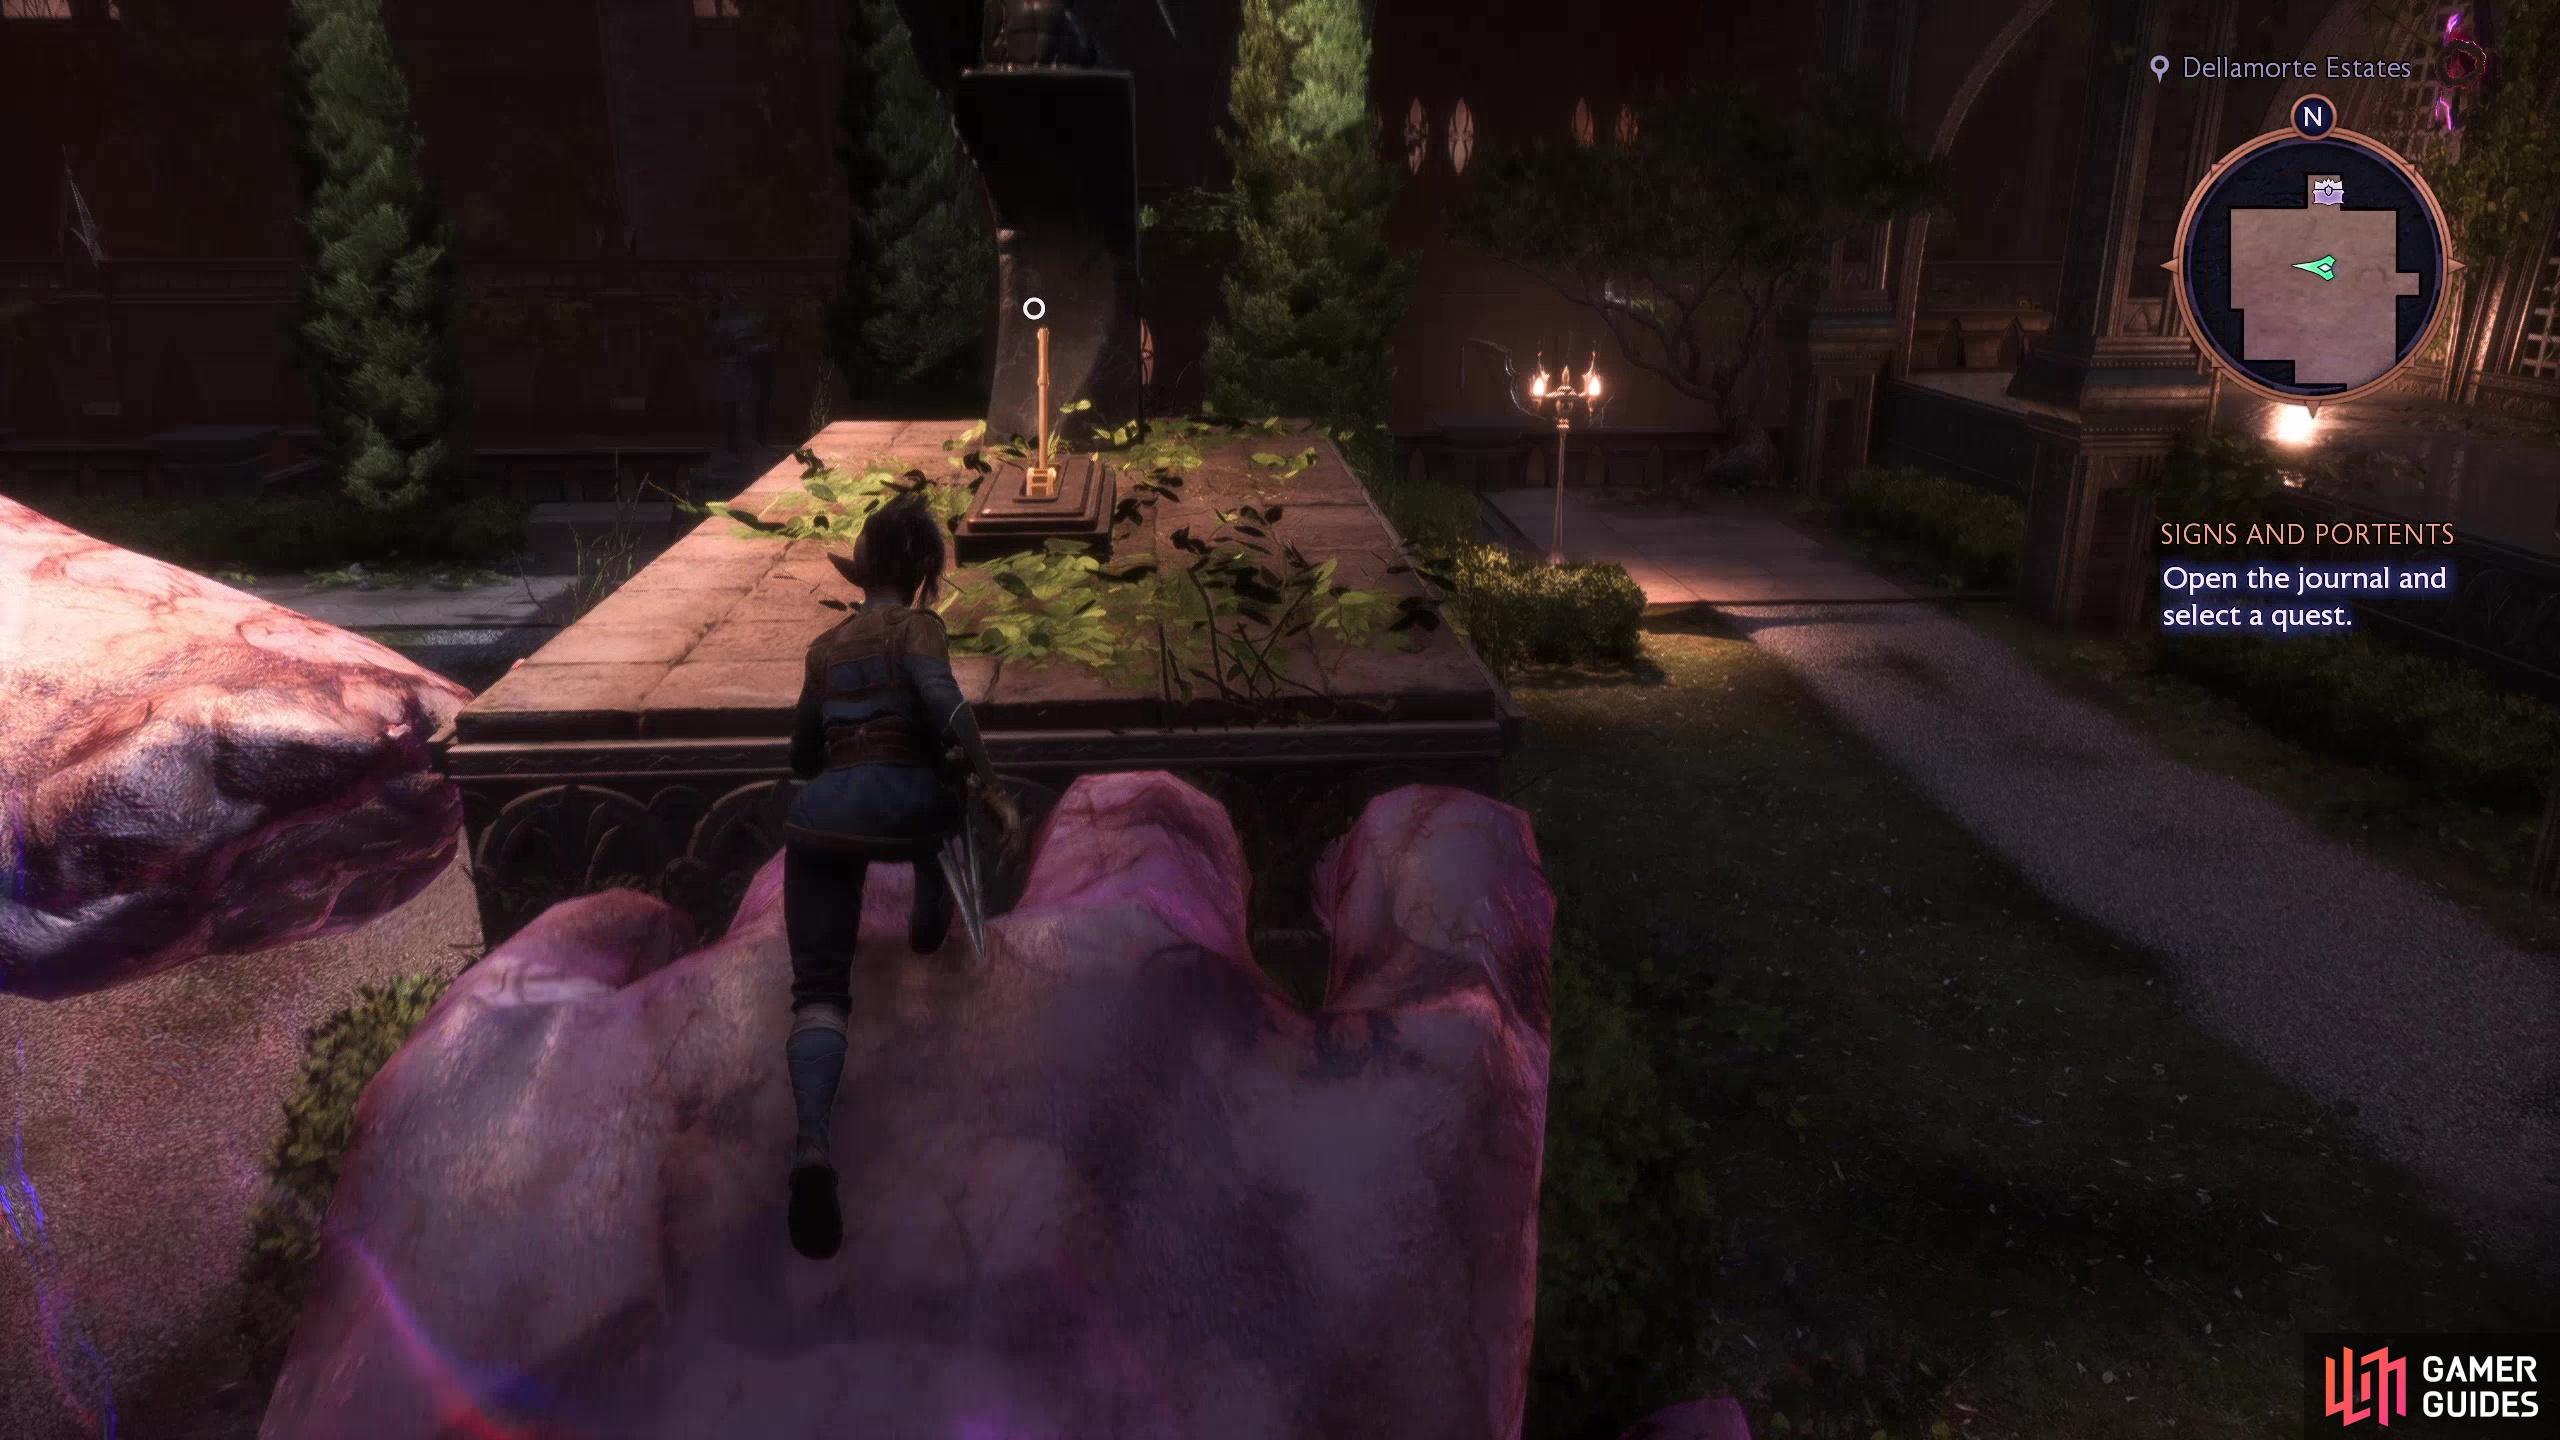
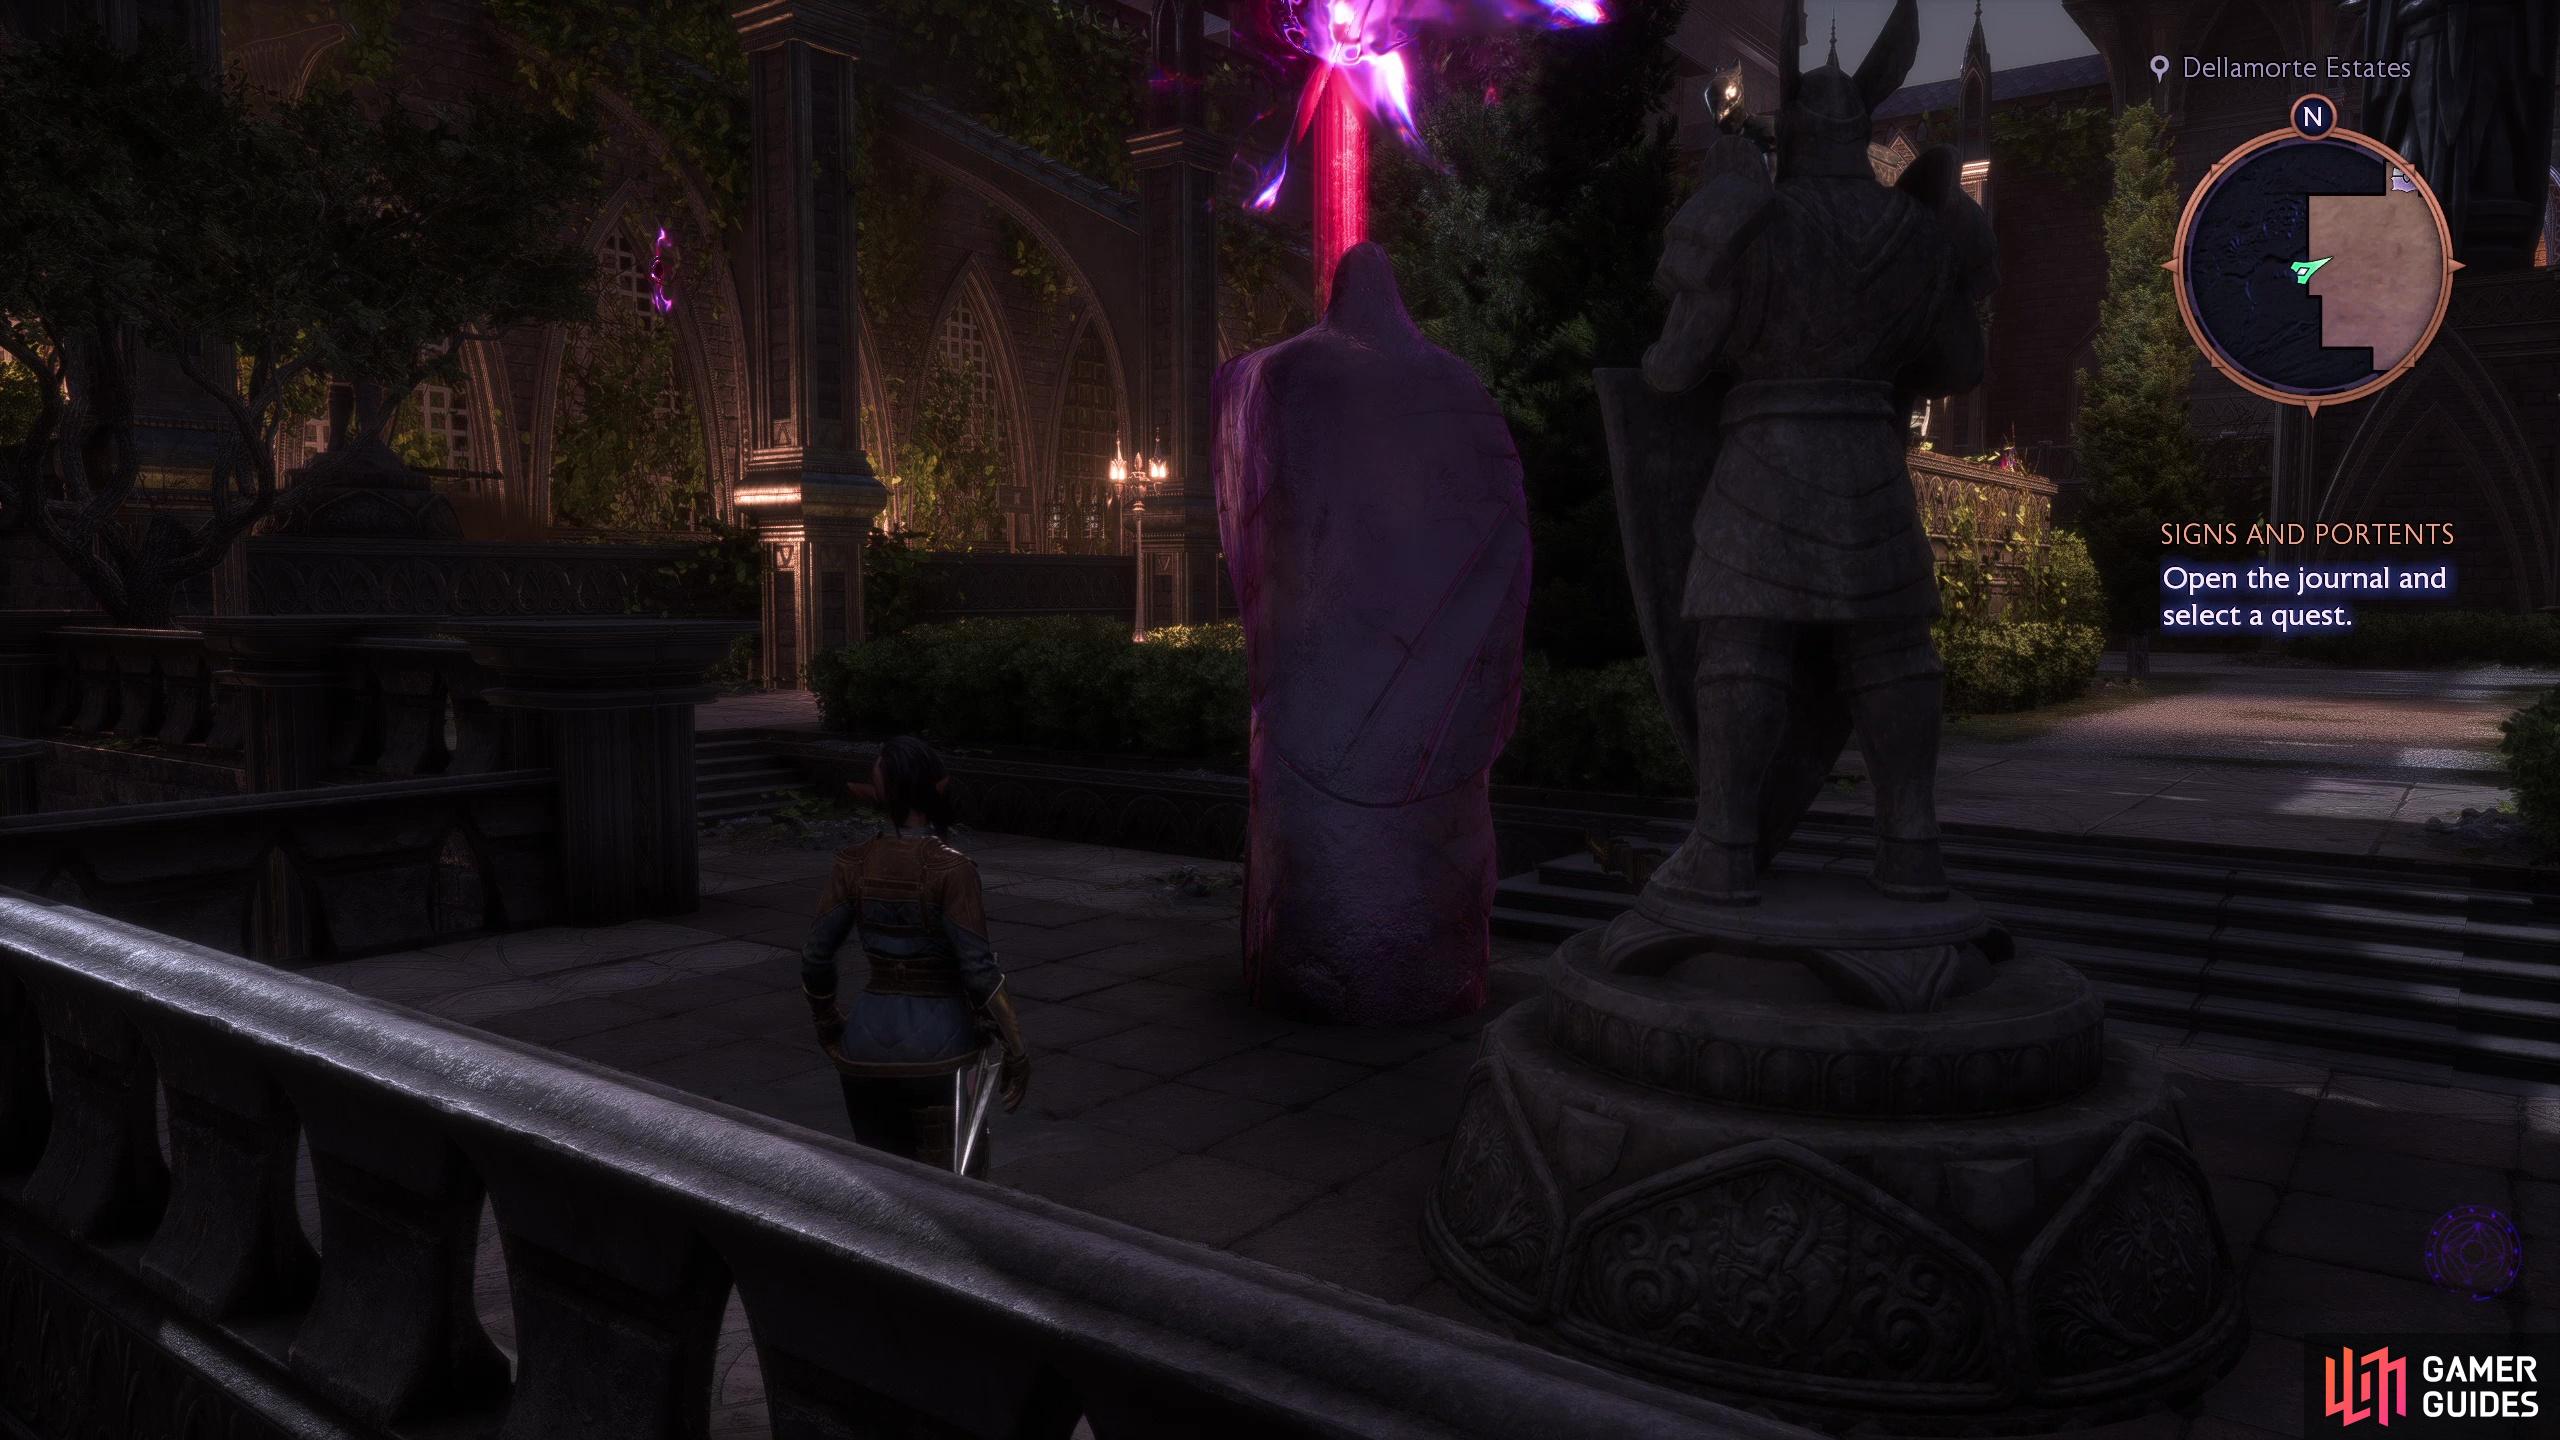
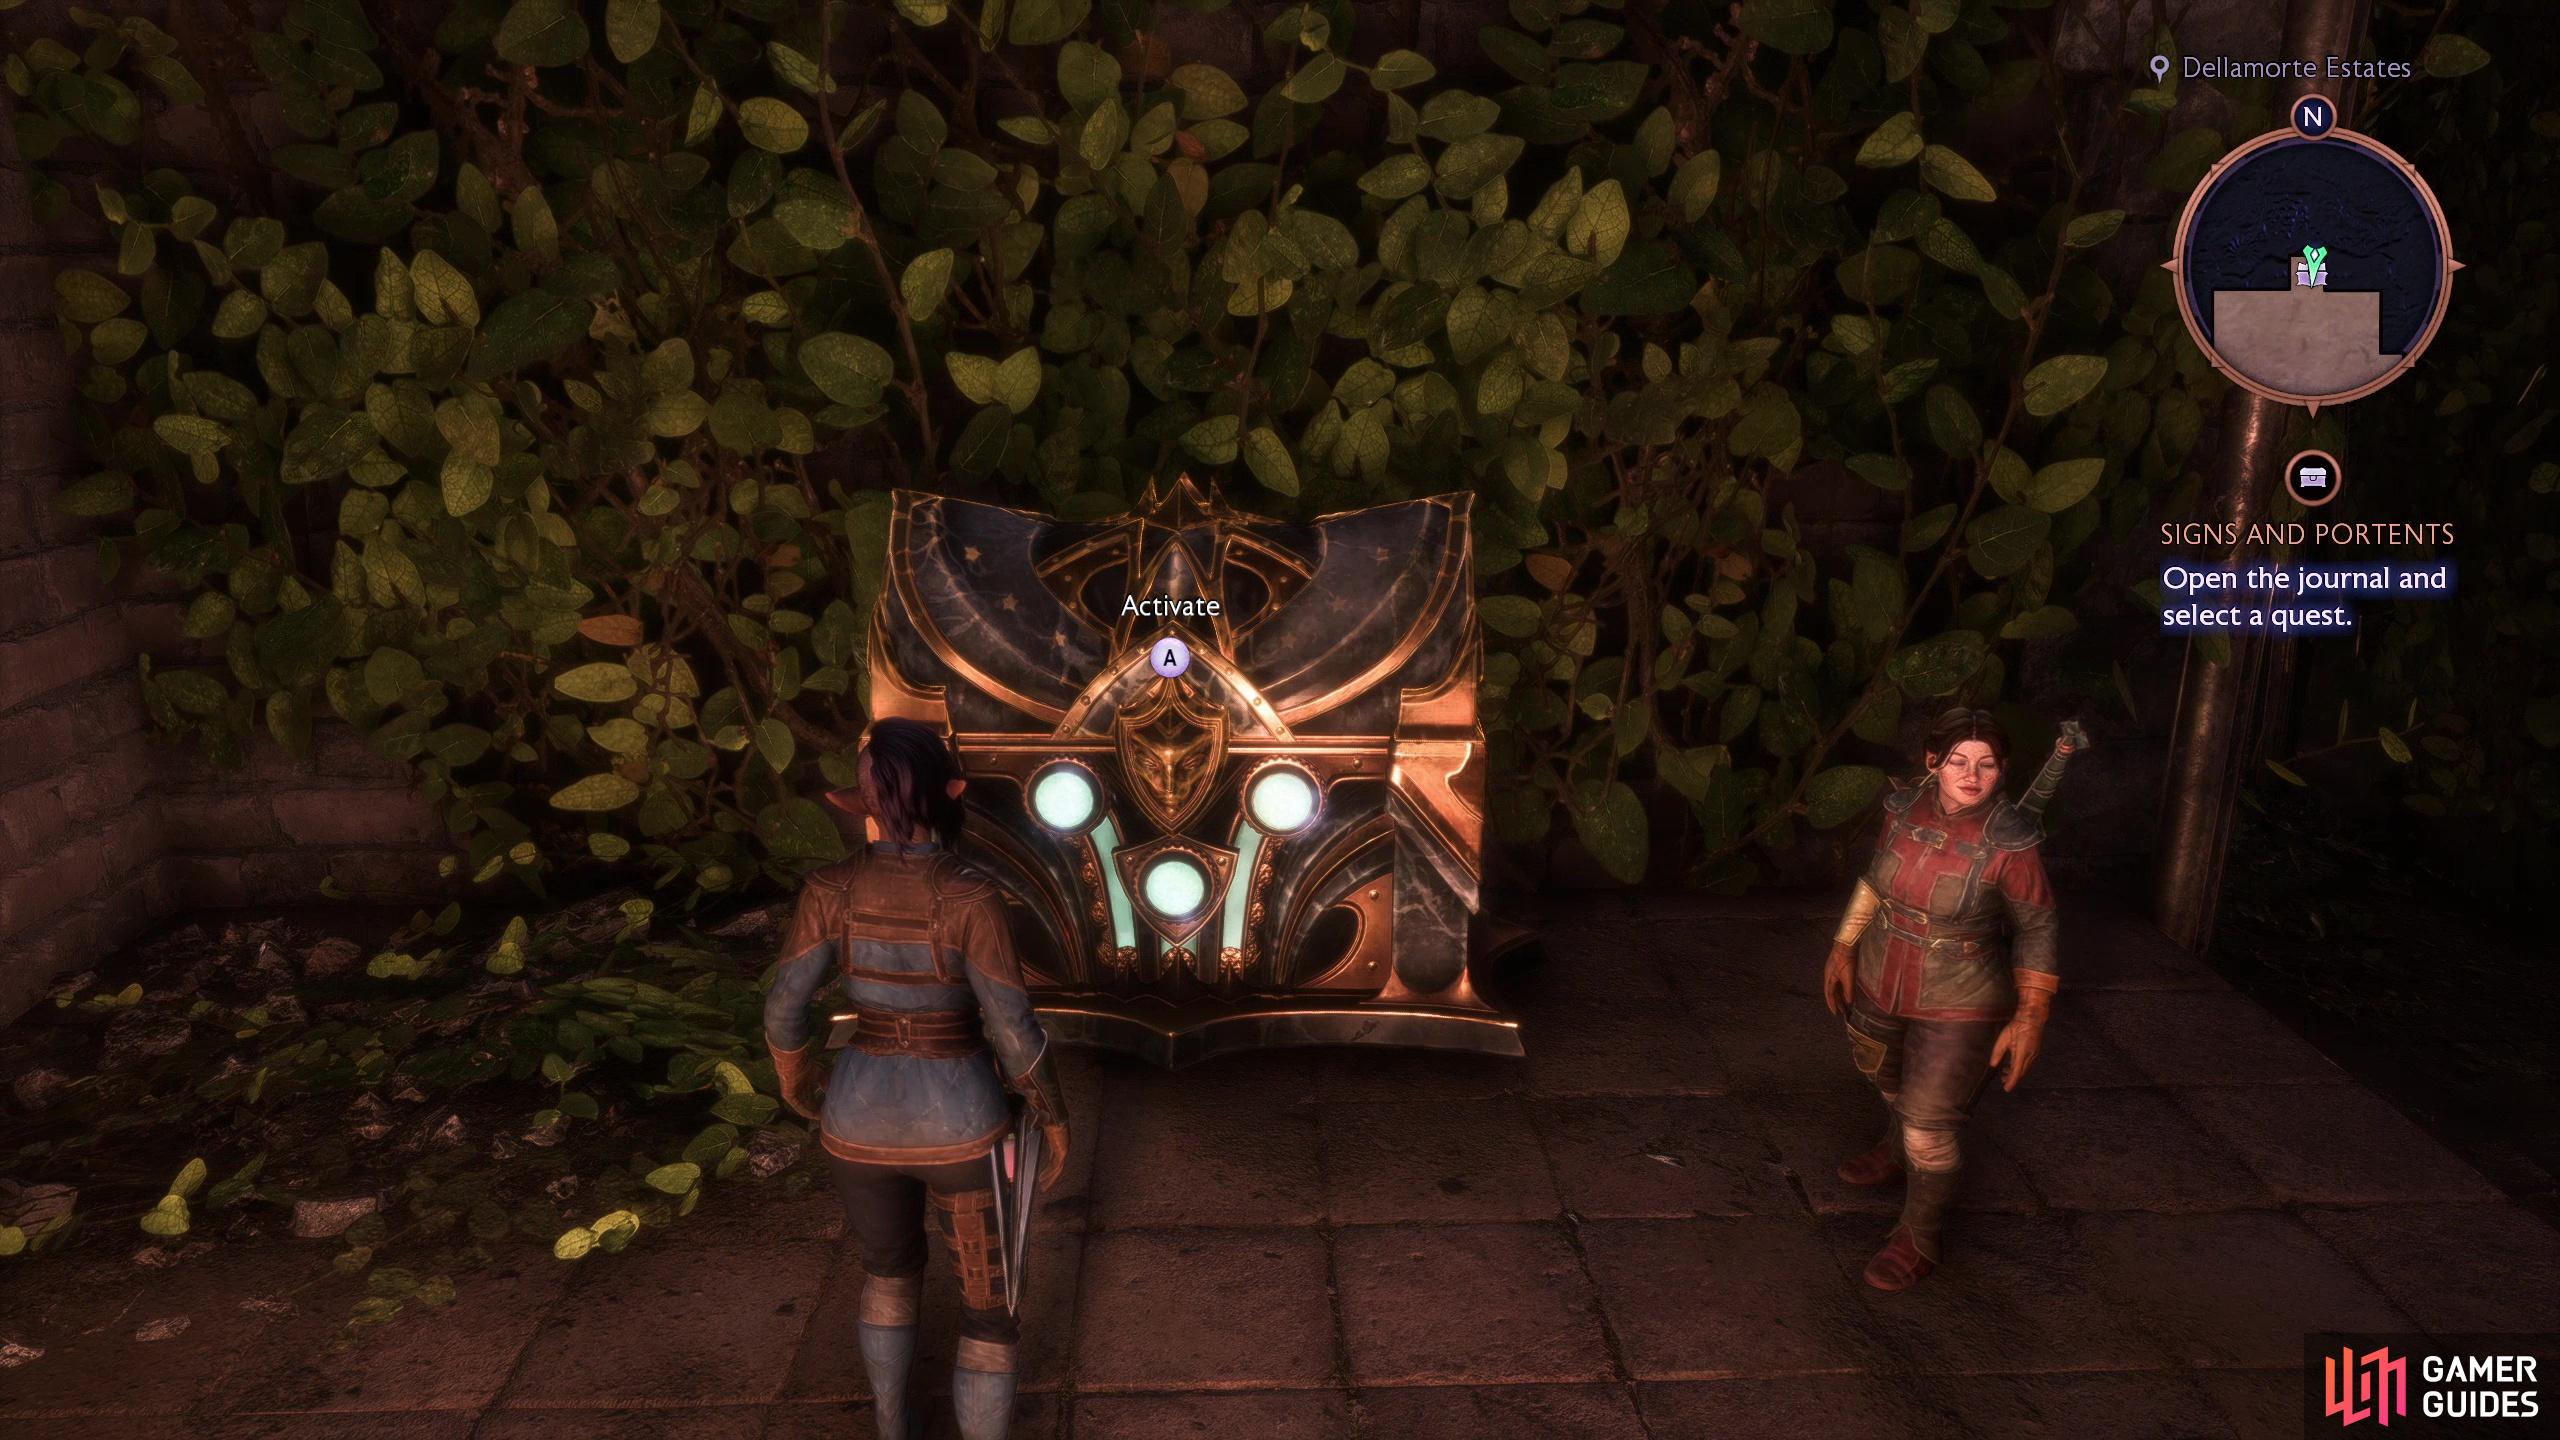
From the Heart and Central Beacon, cross a bridge to the east to enter another Antaam camp. Defeat the Antaam here, then continue east to reach a well-manicured estate. To the south is a Fen’Harel statue, while if you go north you’ll reach the Dellamorte Estate. Go through a gate, turn left (west) then north through an arch to reach a garden occupied by several statues. To reach the unique chest here you’ll need to solve the Dellamorte Estates Statue Puzzle. You can find more details on the linked page, but essentially you need to use Lucanis’s Spite’s Reach ability to reach some levers behind some winged statues to open a gate along the eastern edge of the garden, then rotate four other statues to face another gate to the north. Once all four statues are facing the right way the gate will open and you can loot the unique chest.
(1 of 4) The location of the first unique chest on the map.
Fen’Harel Statue: Heart and Central 1F
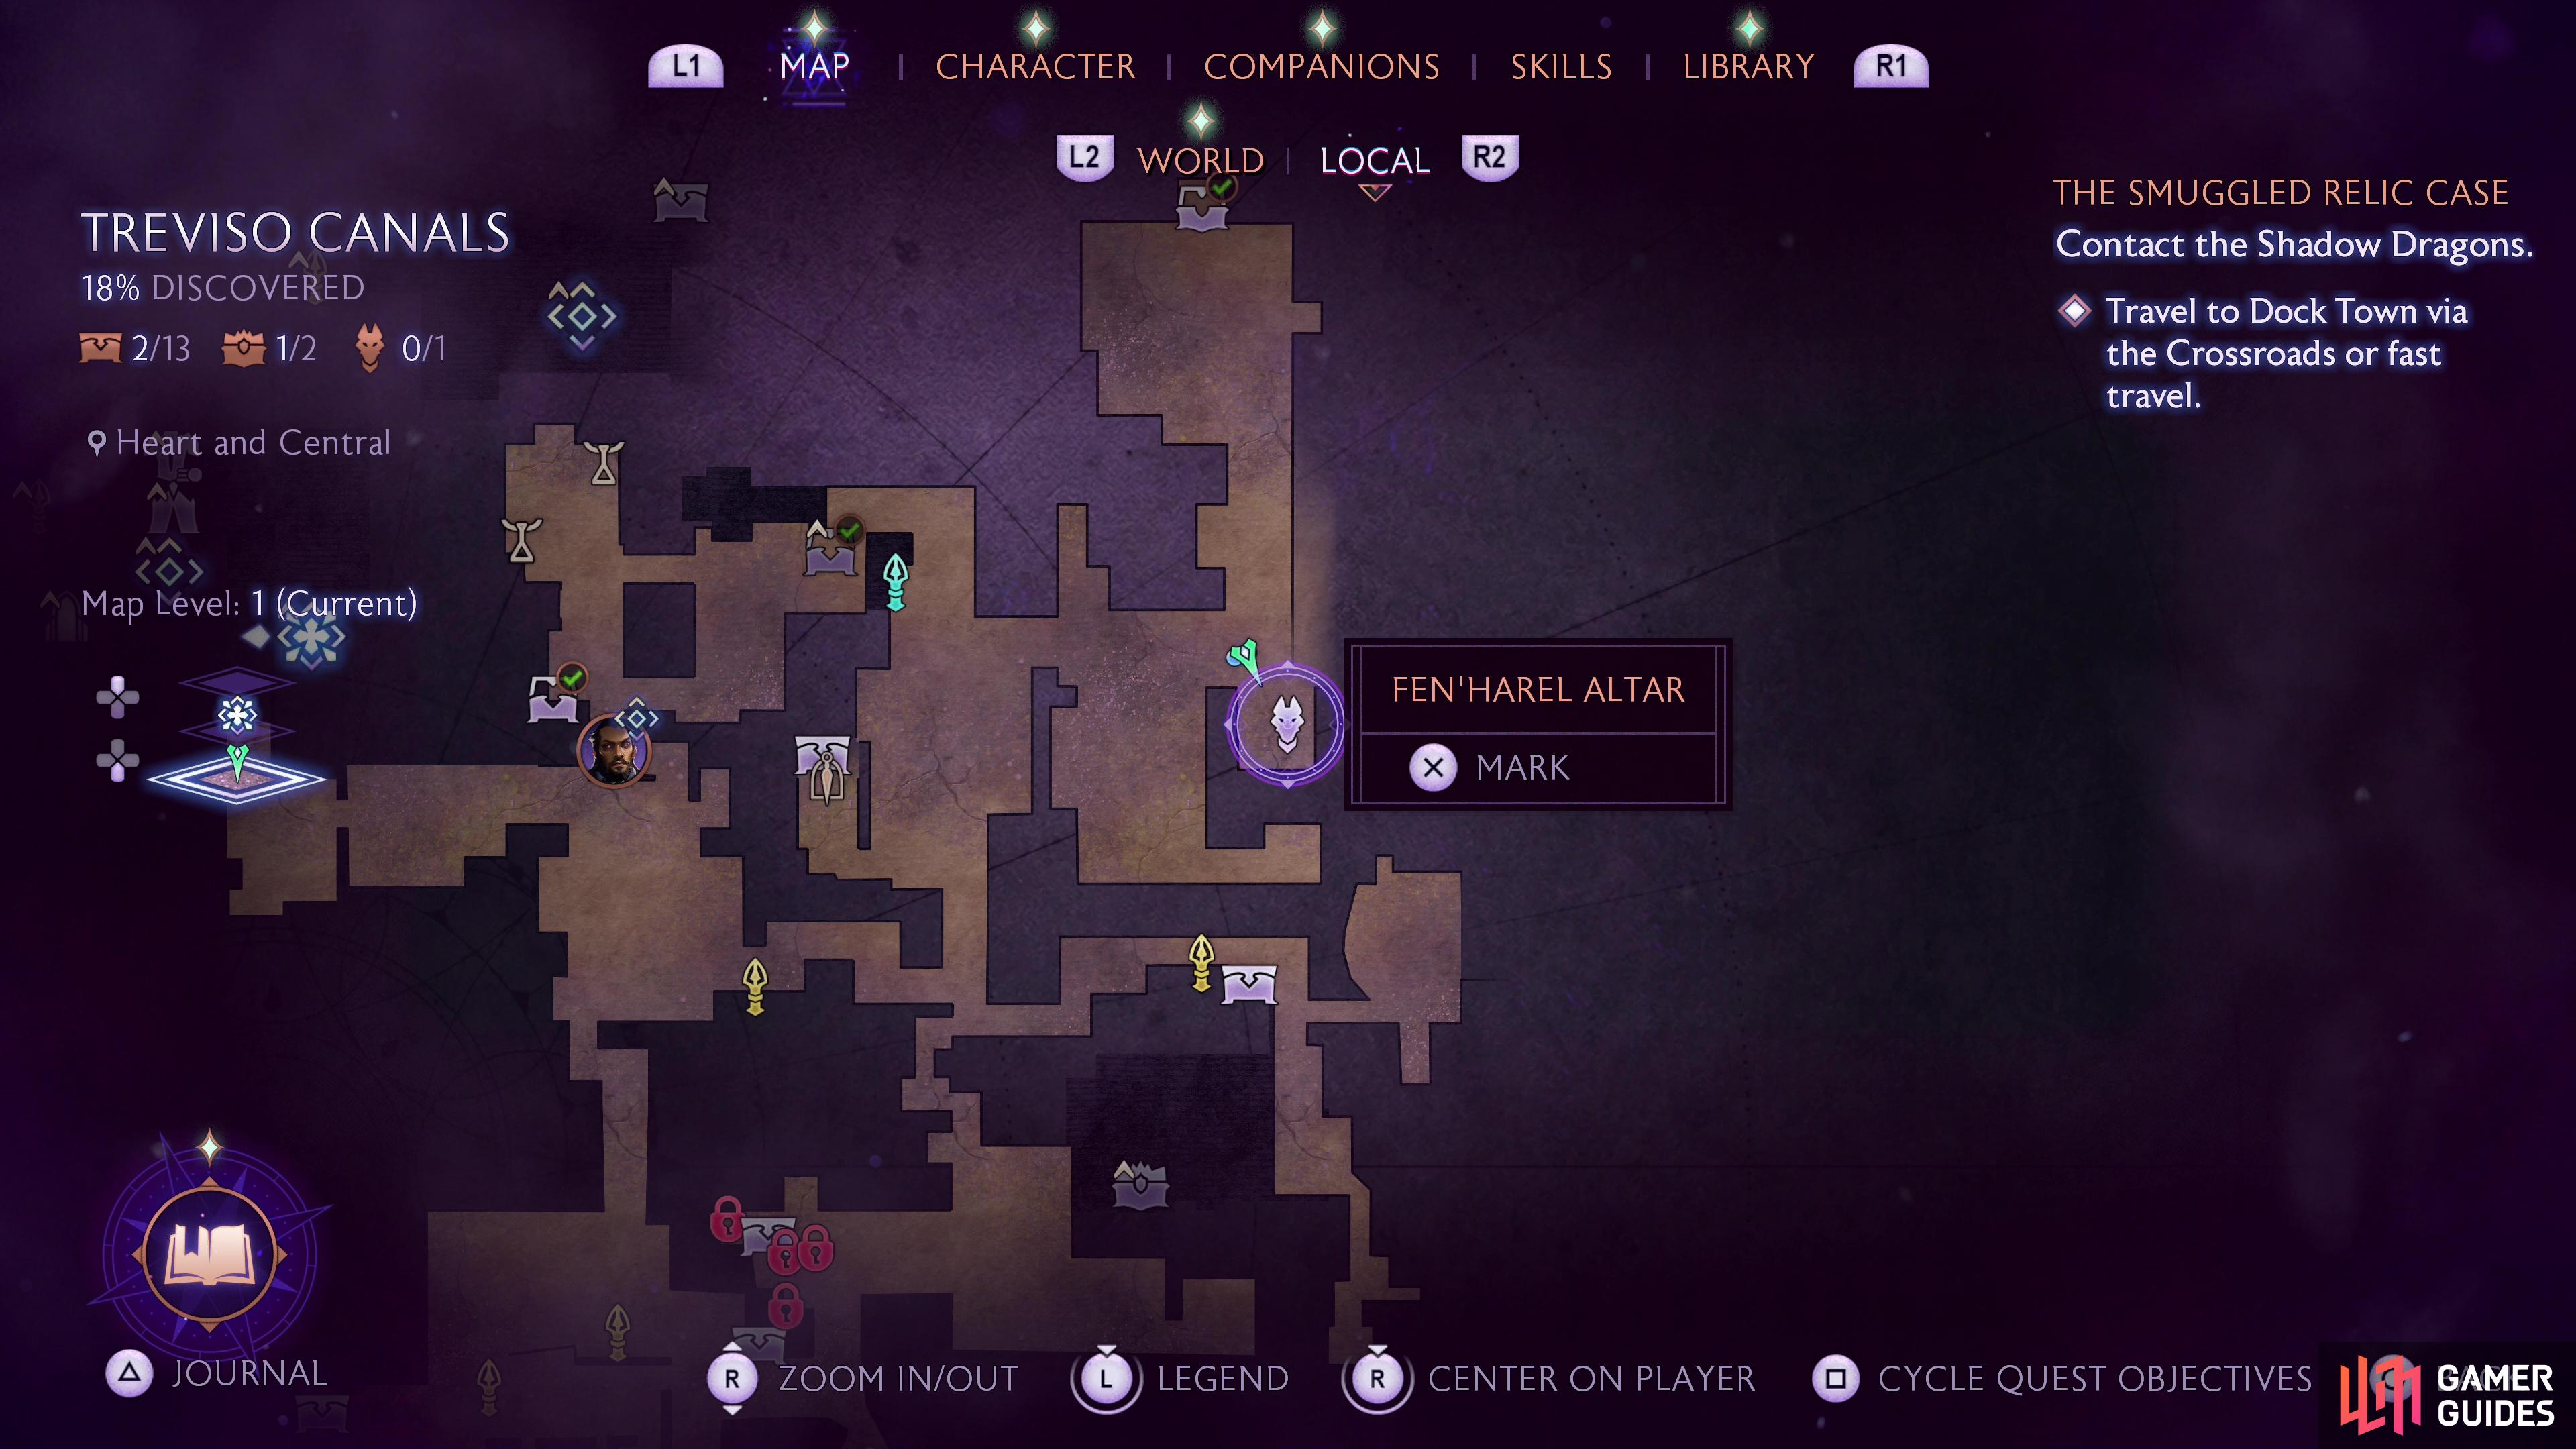
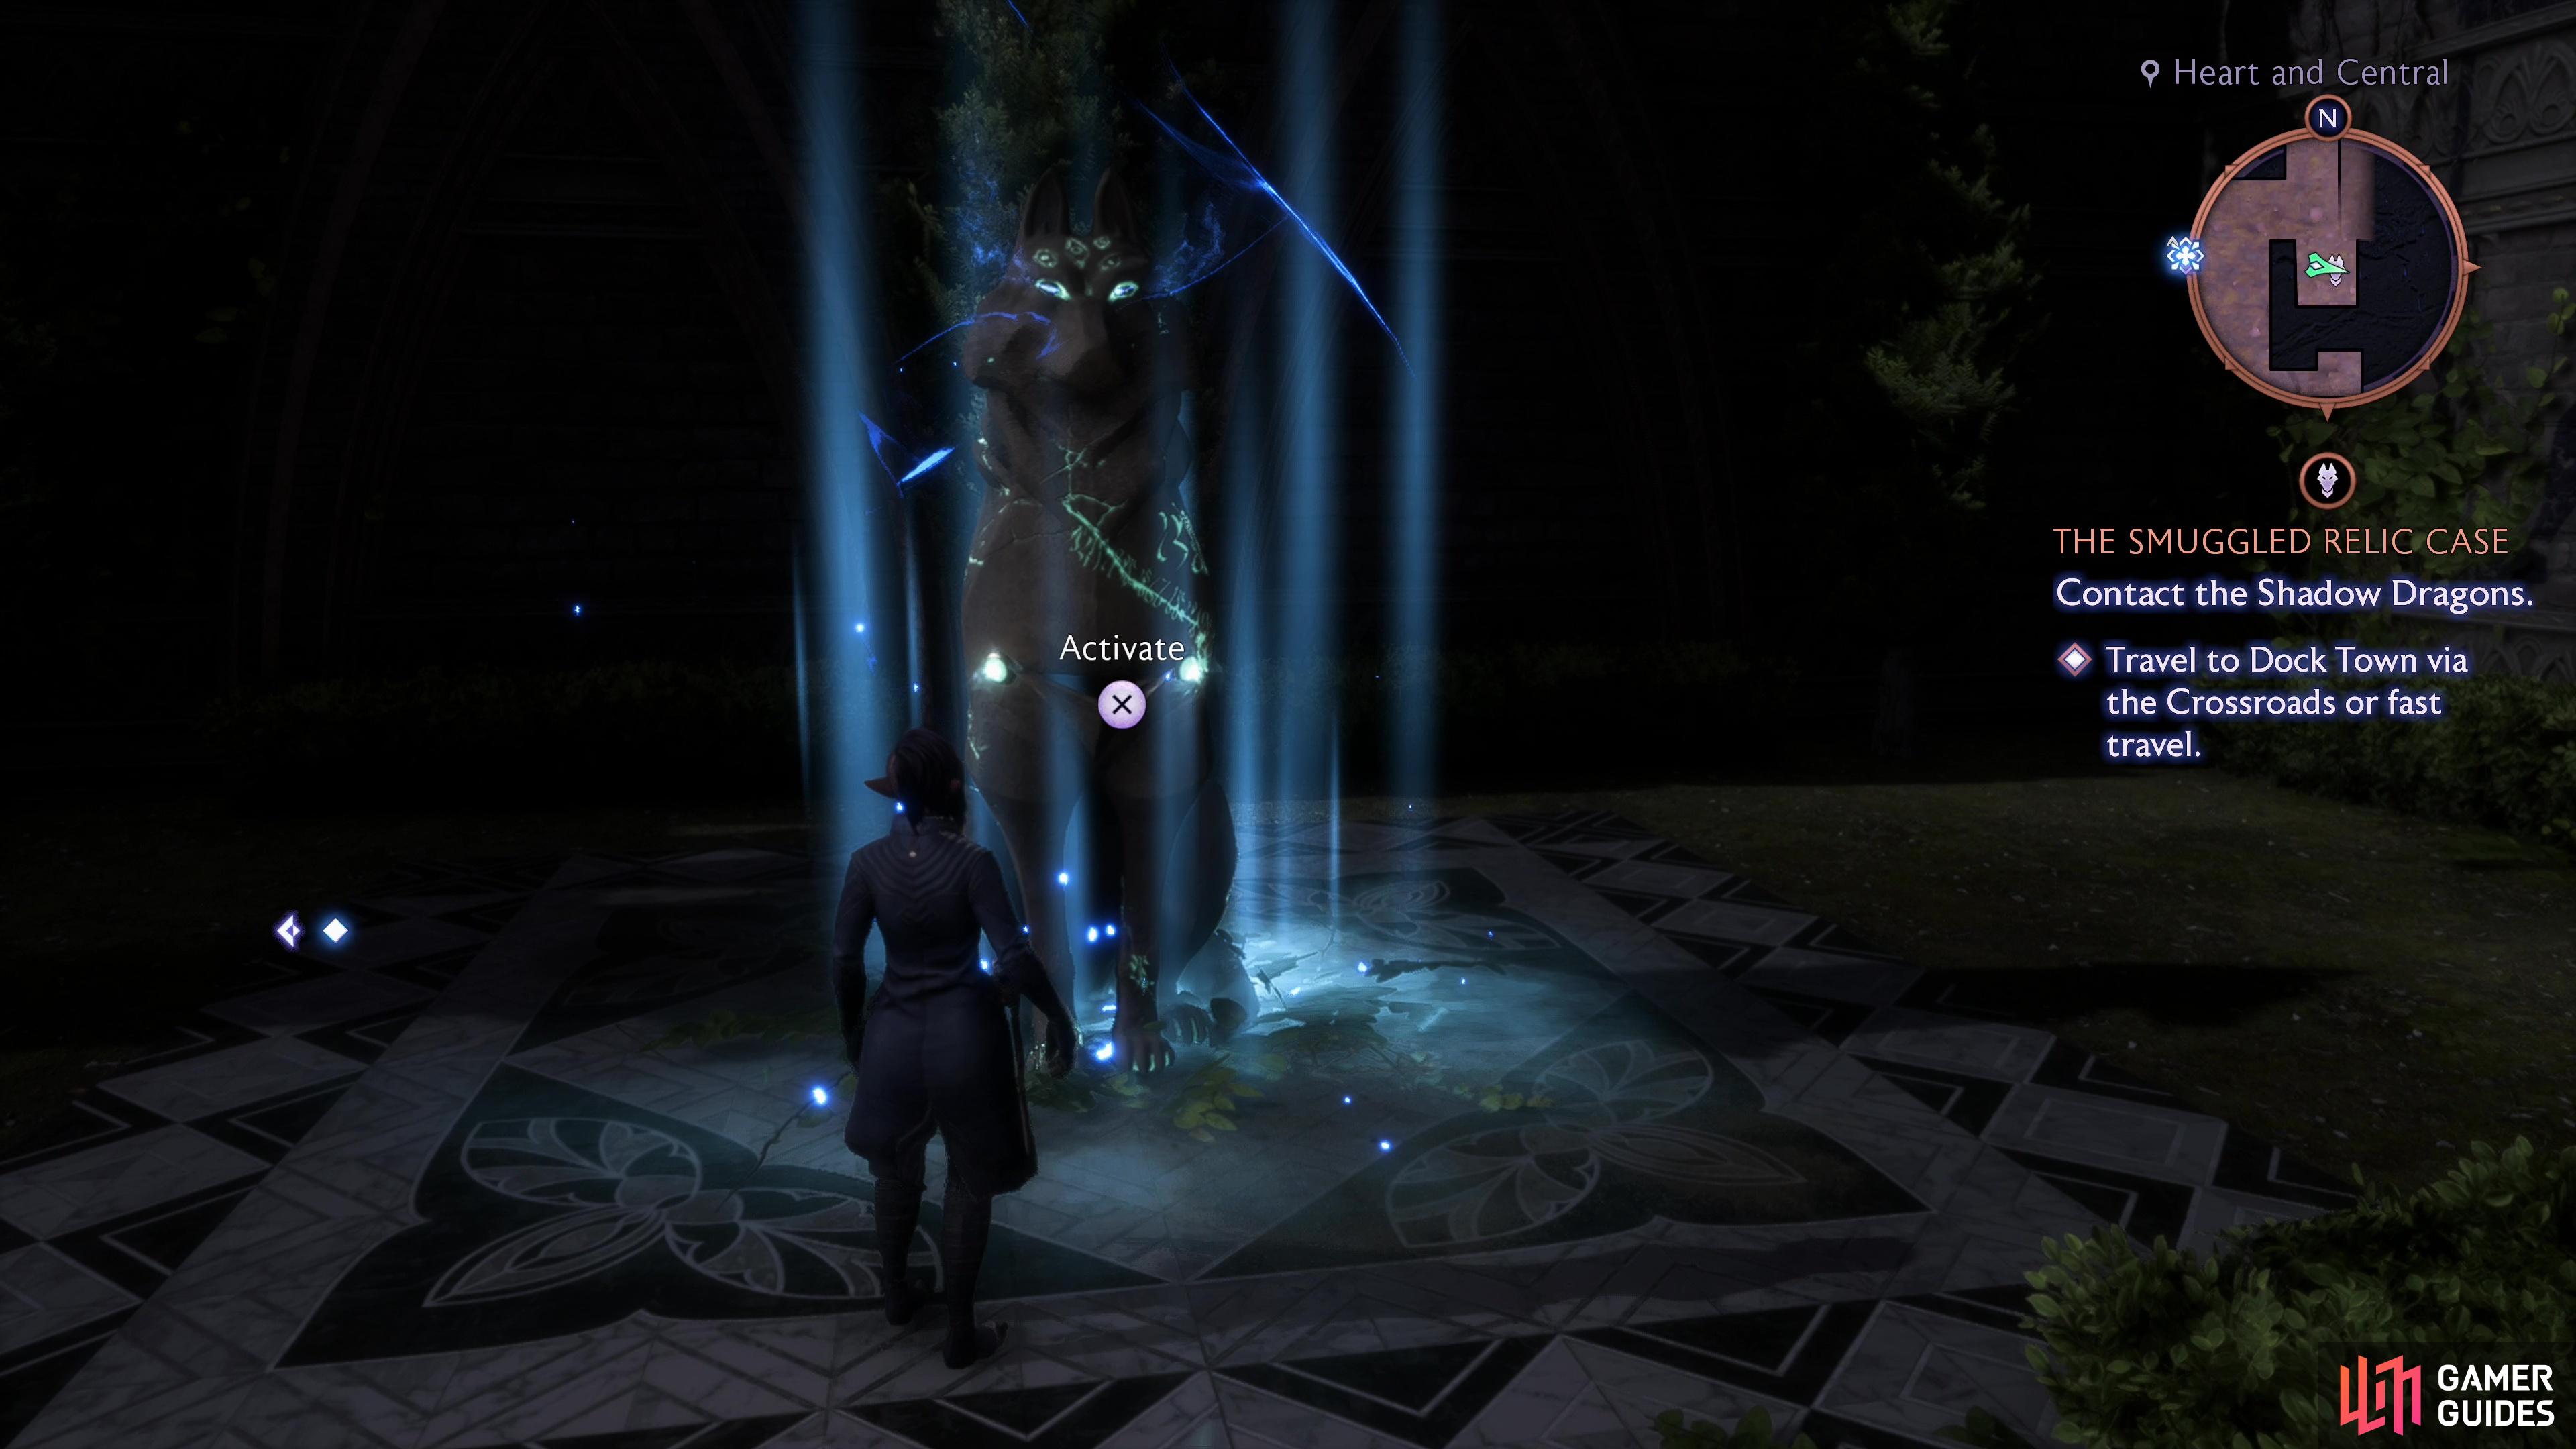
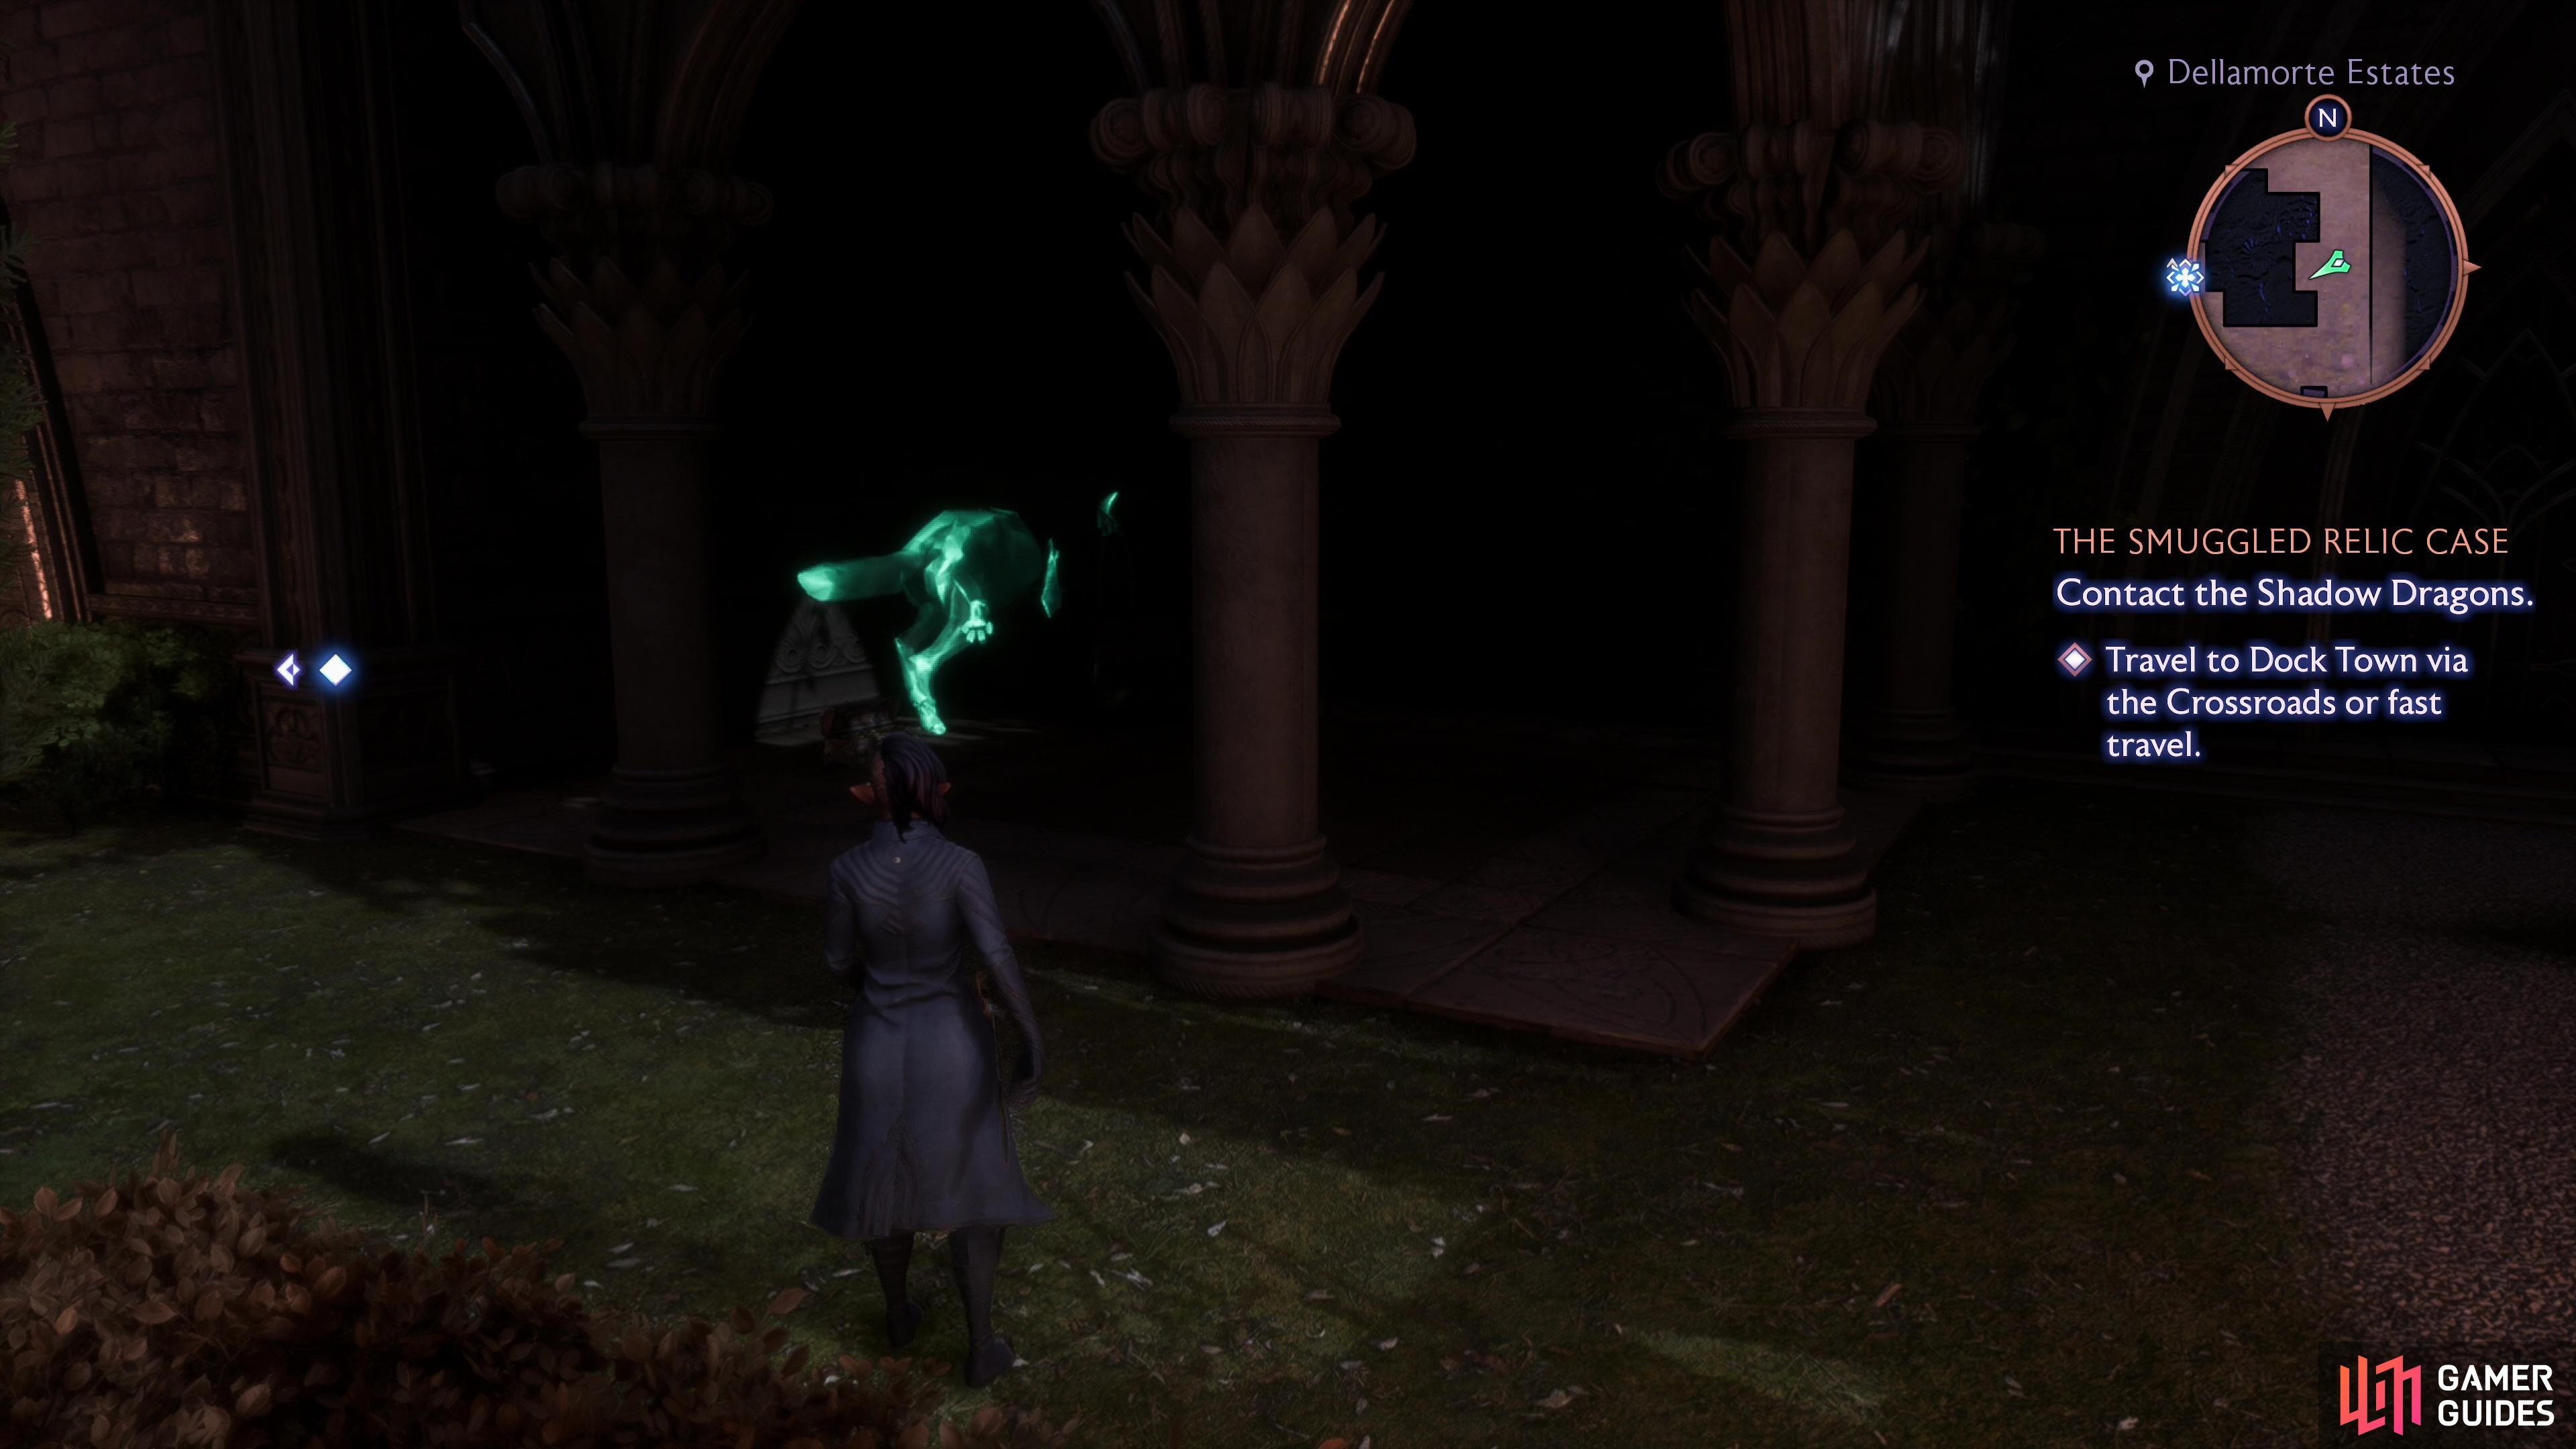
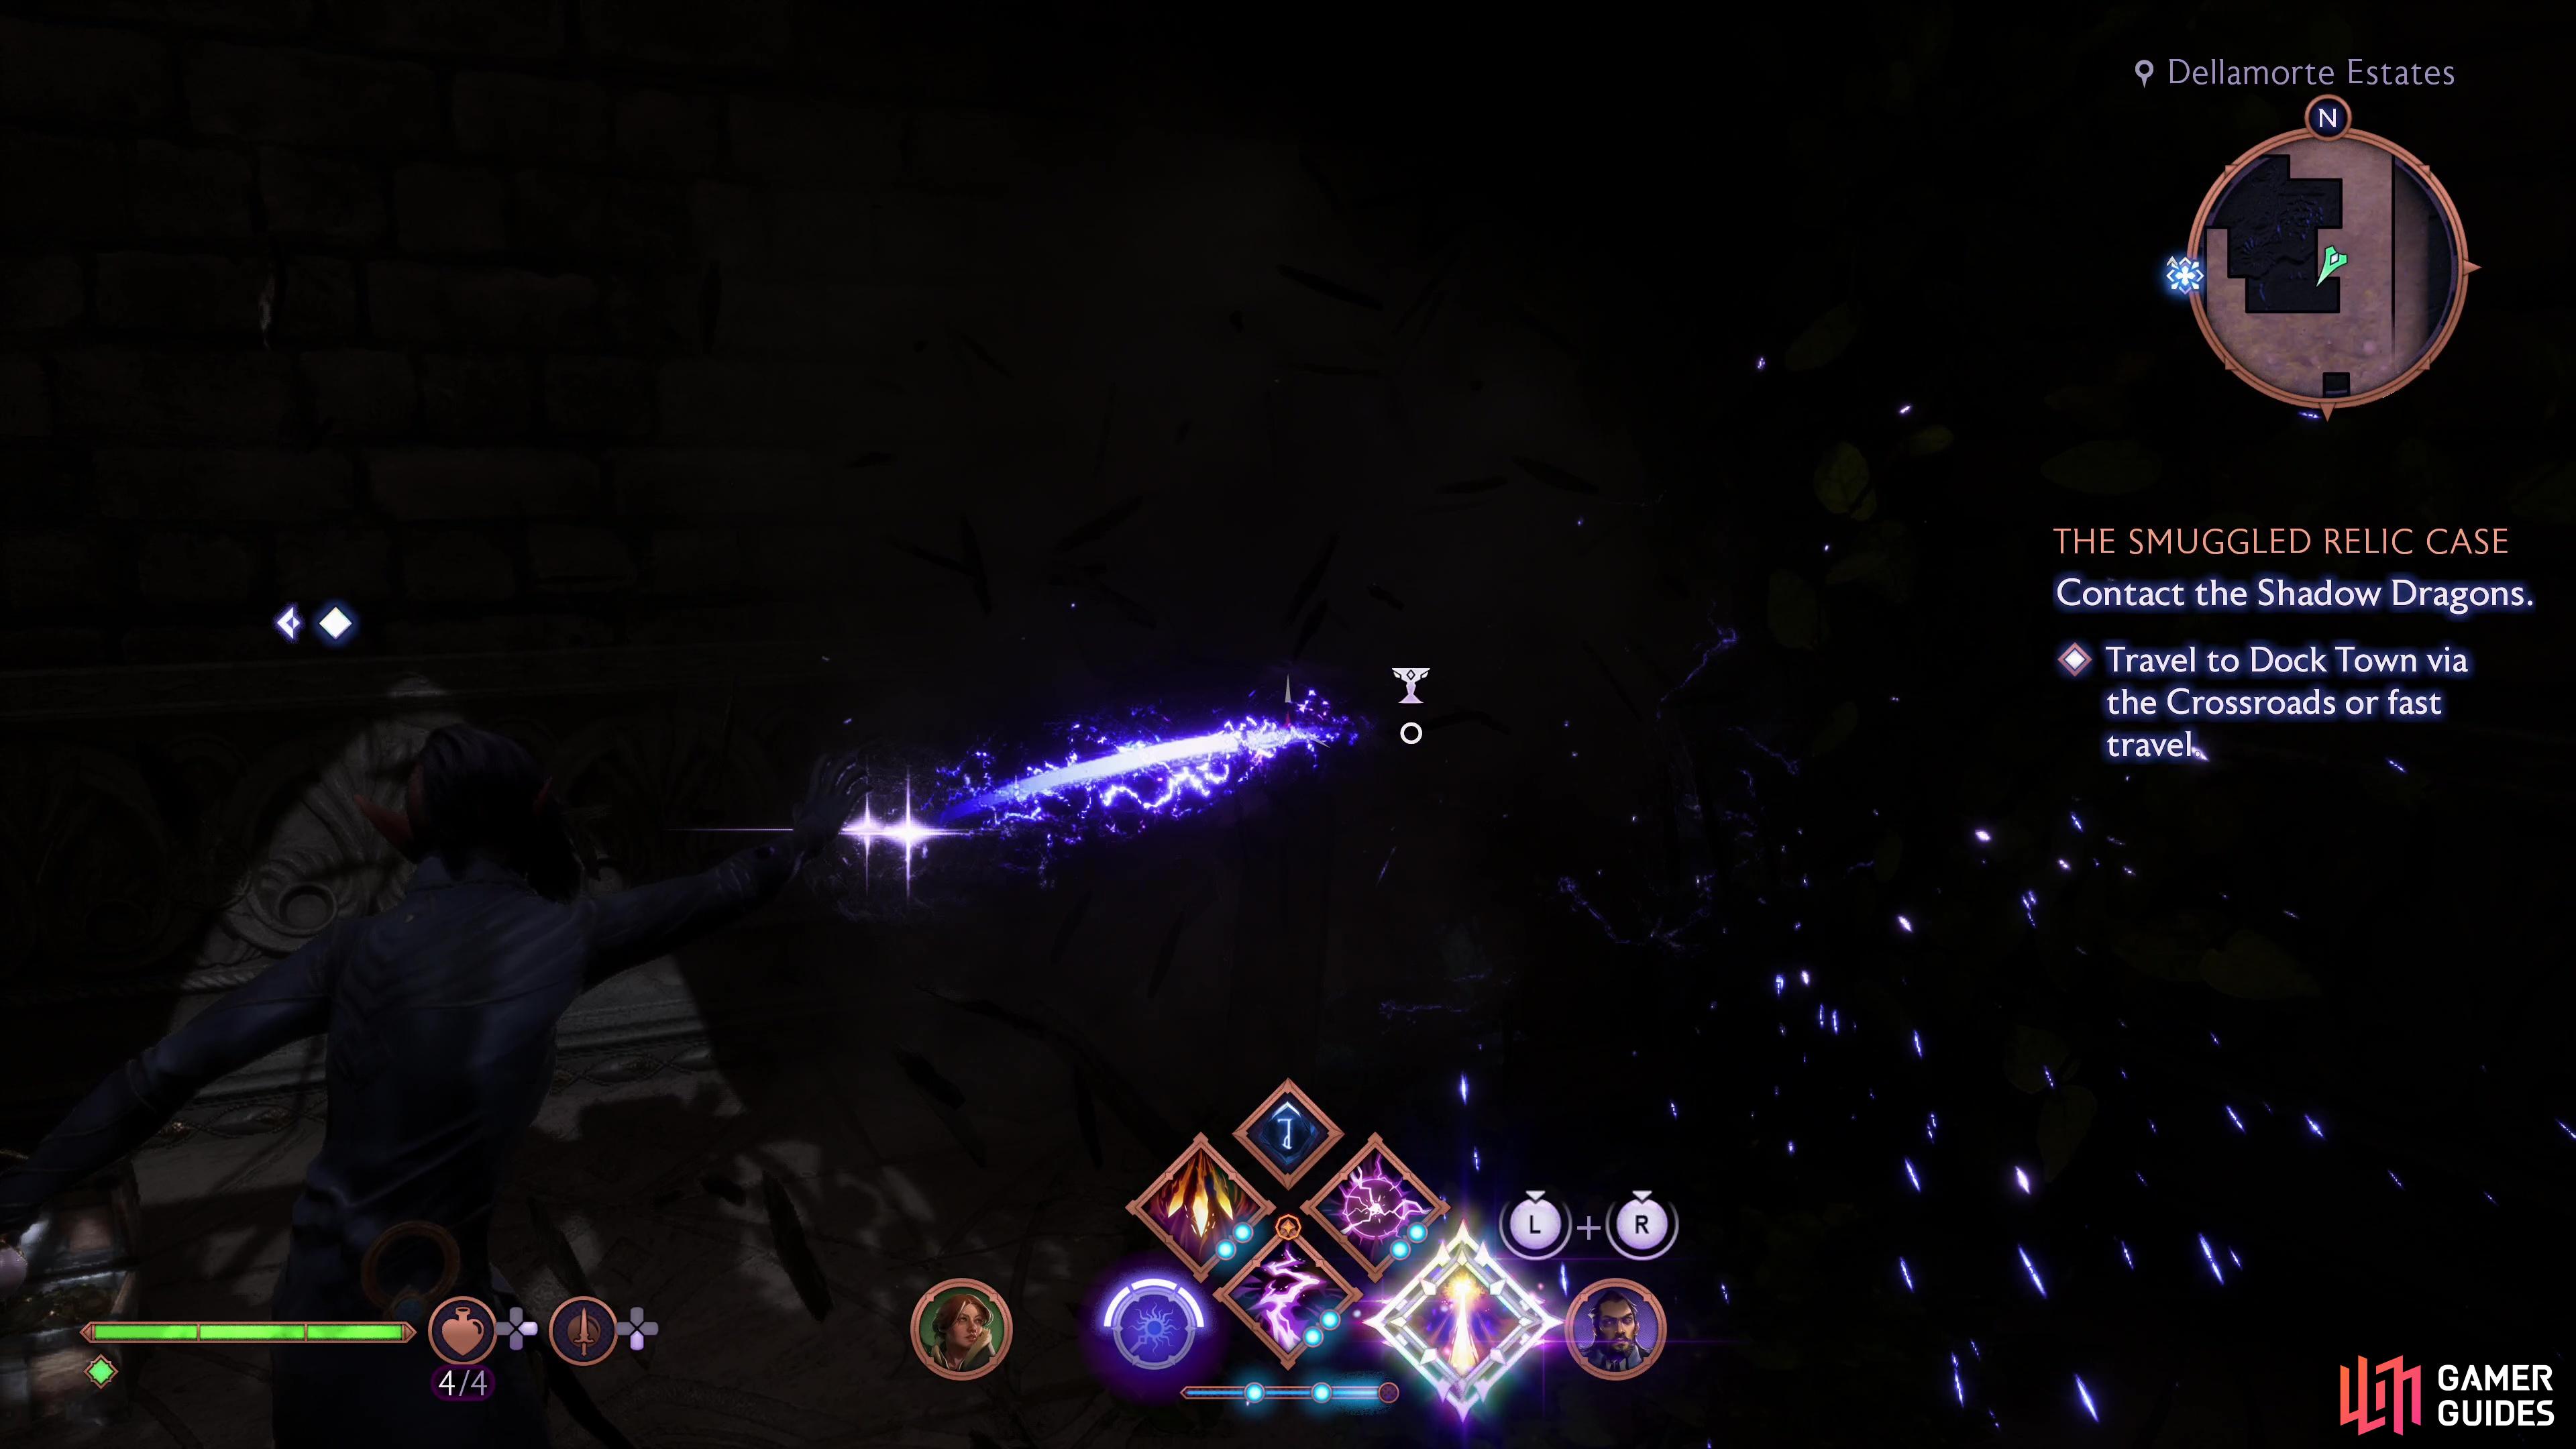
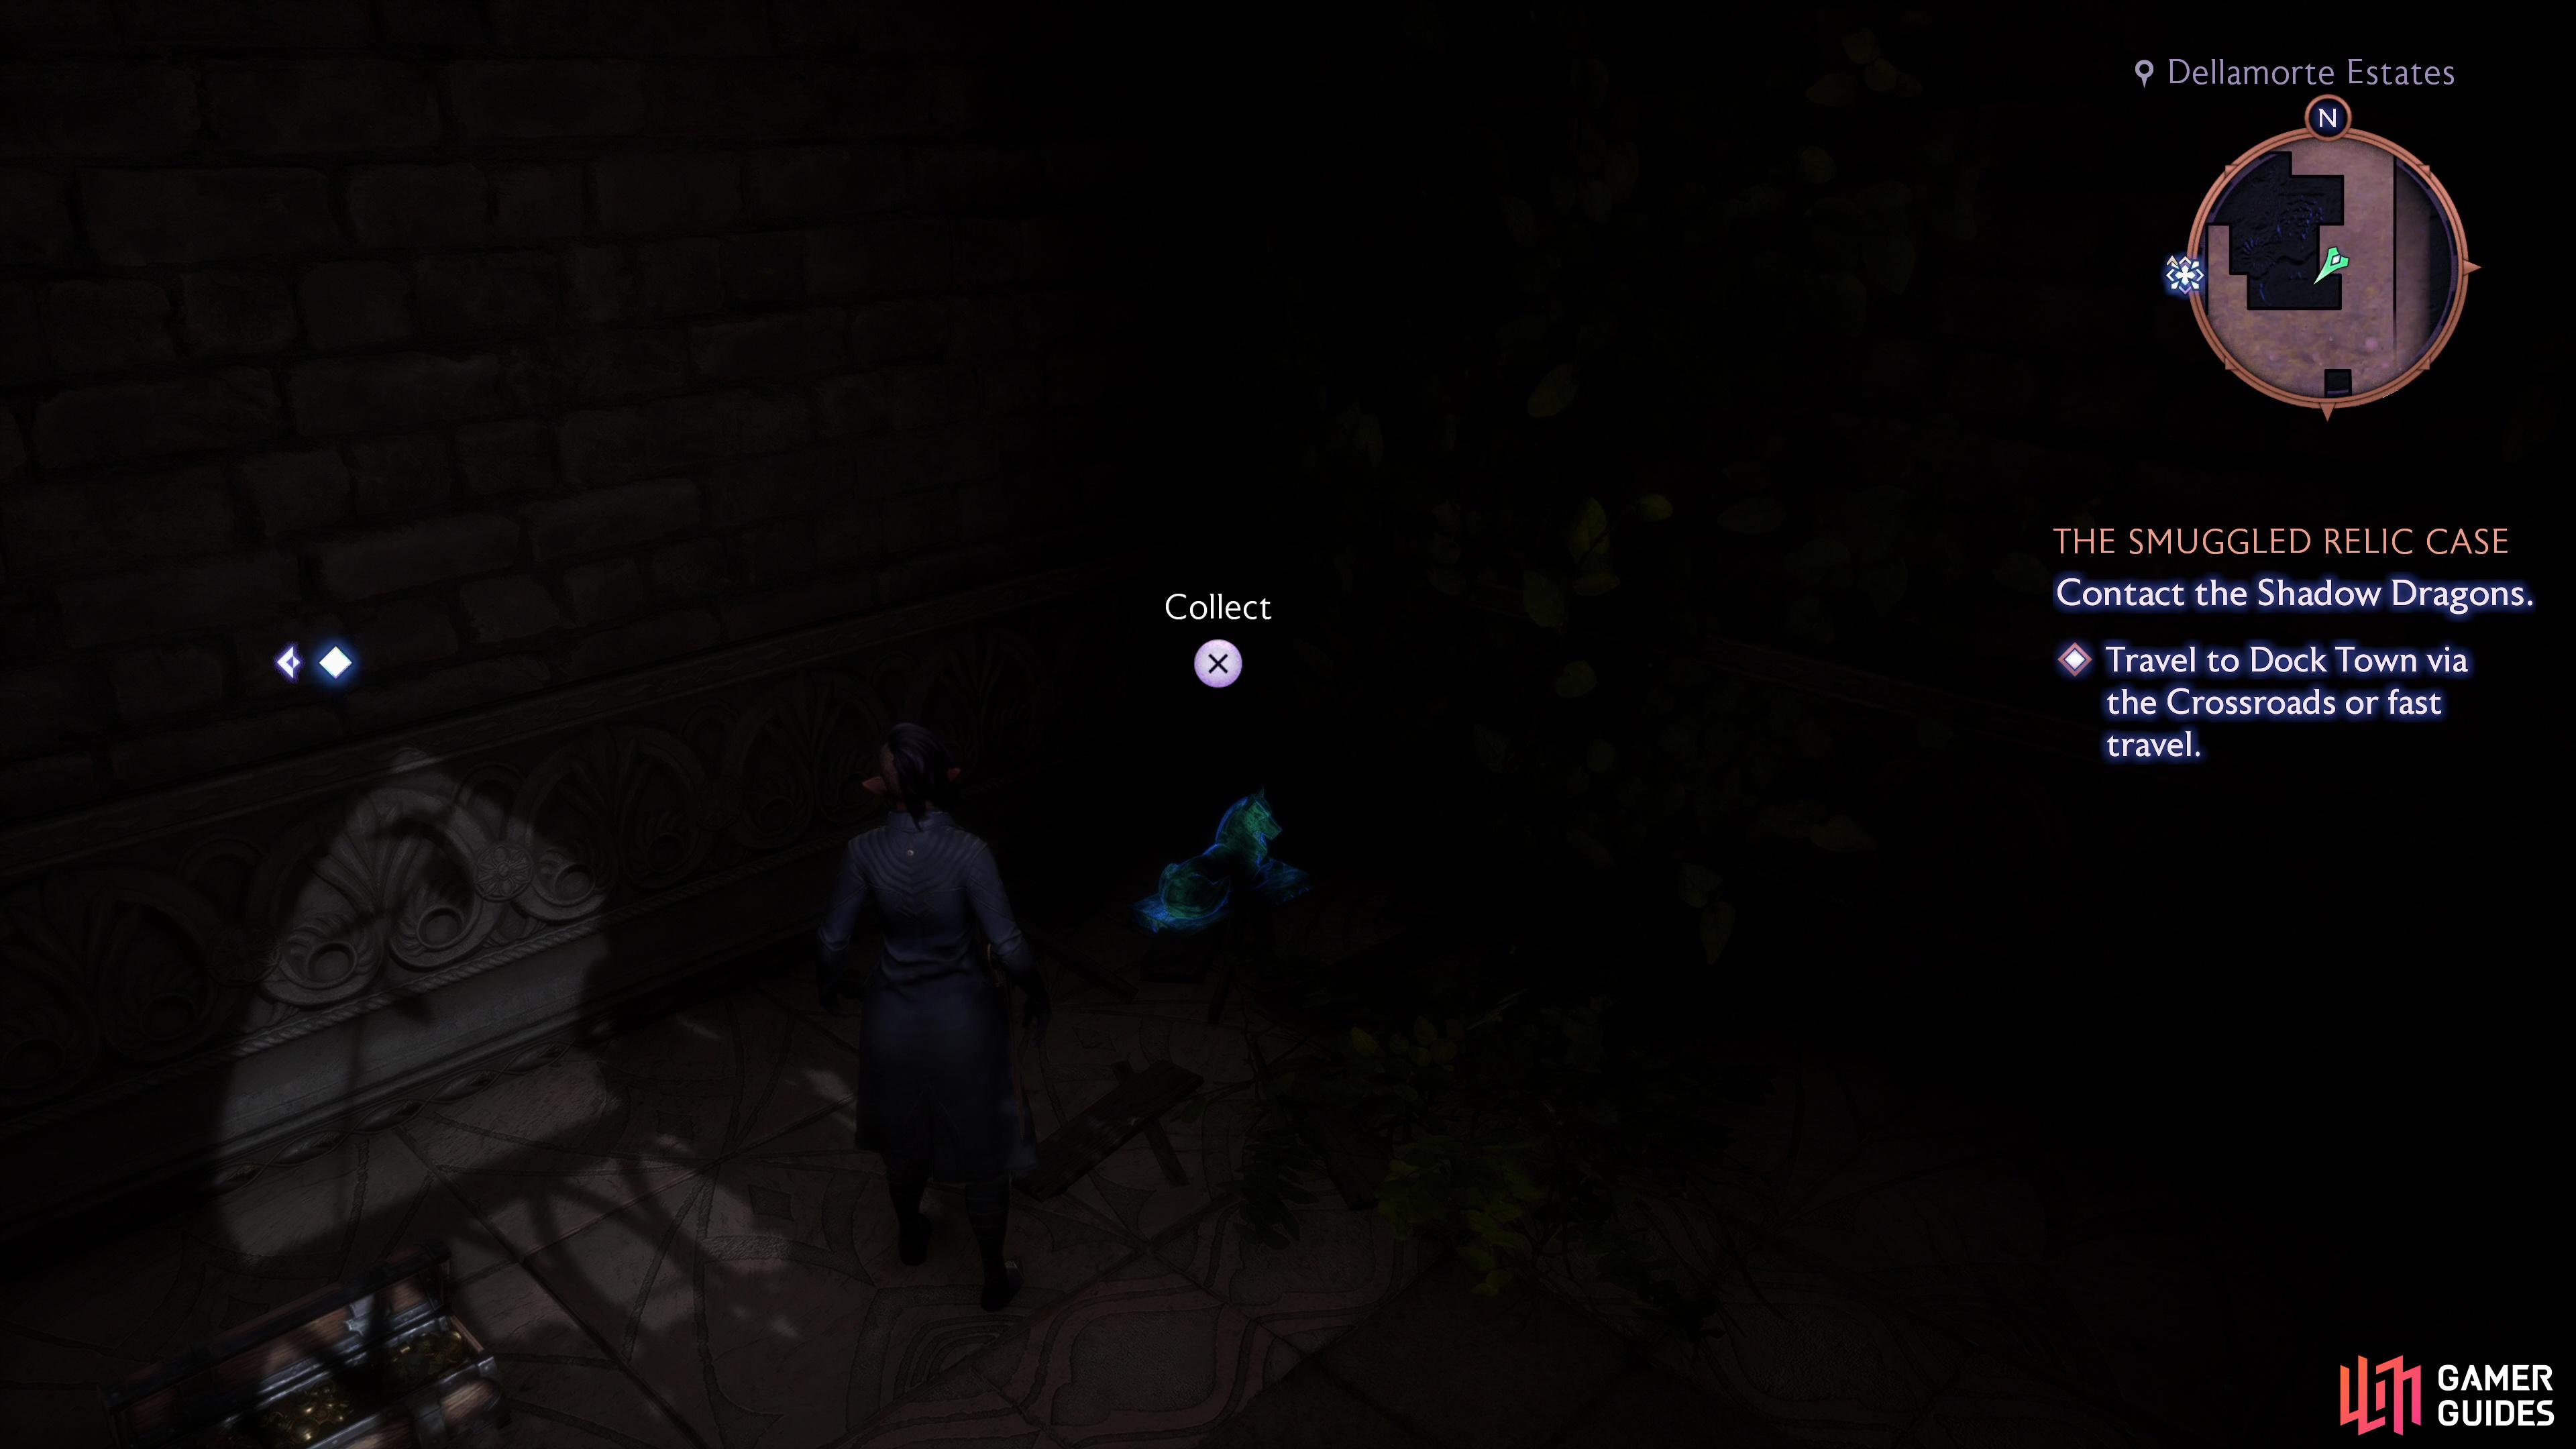
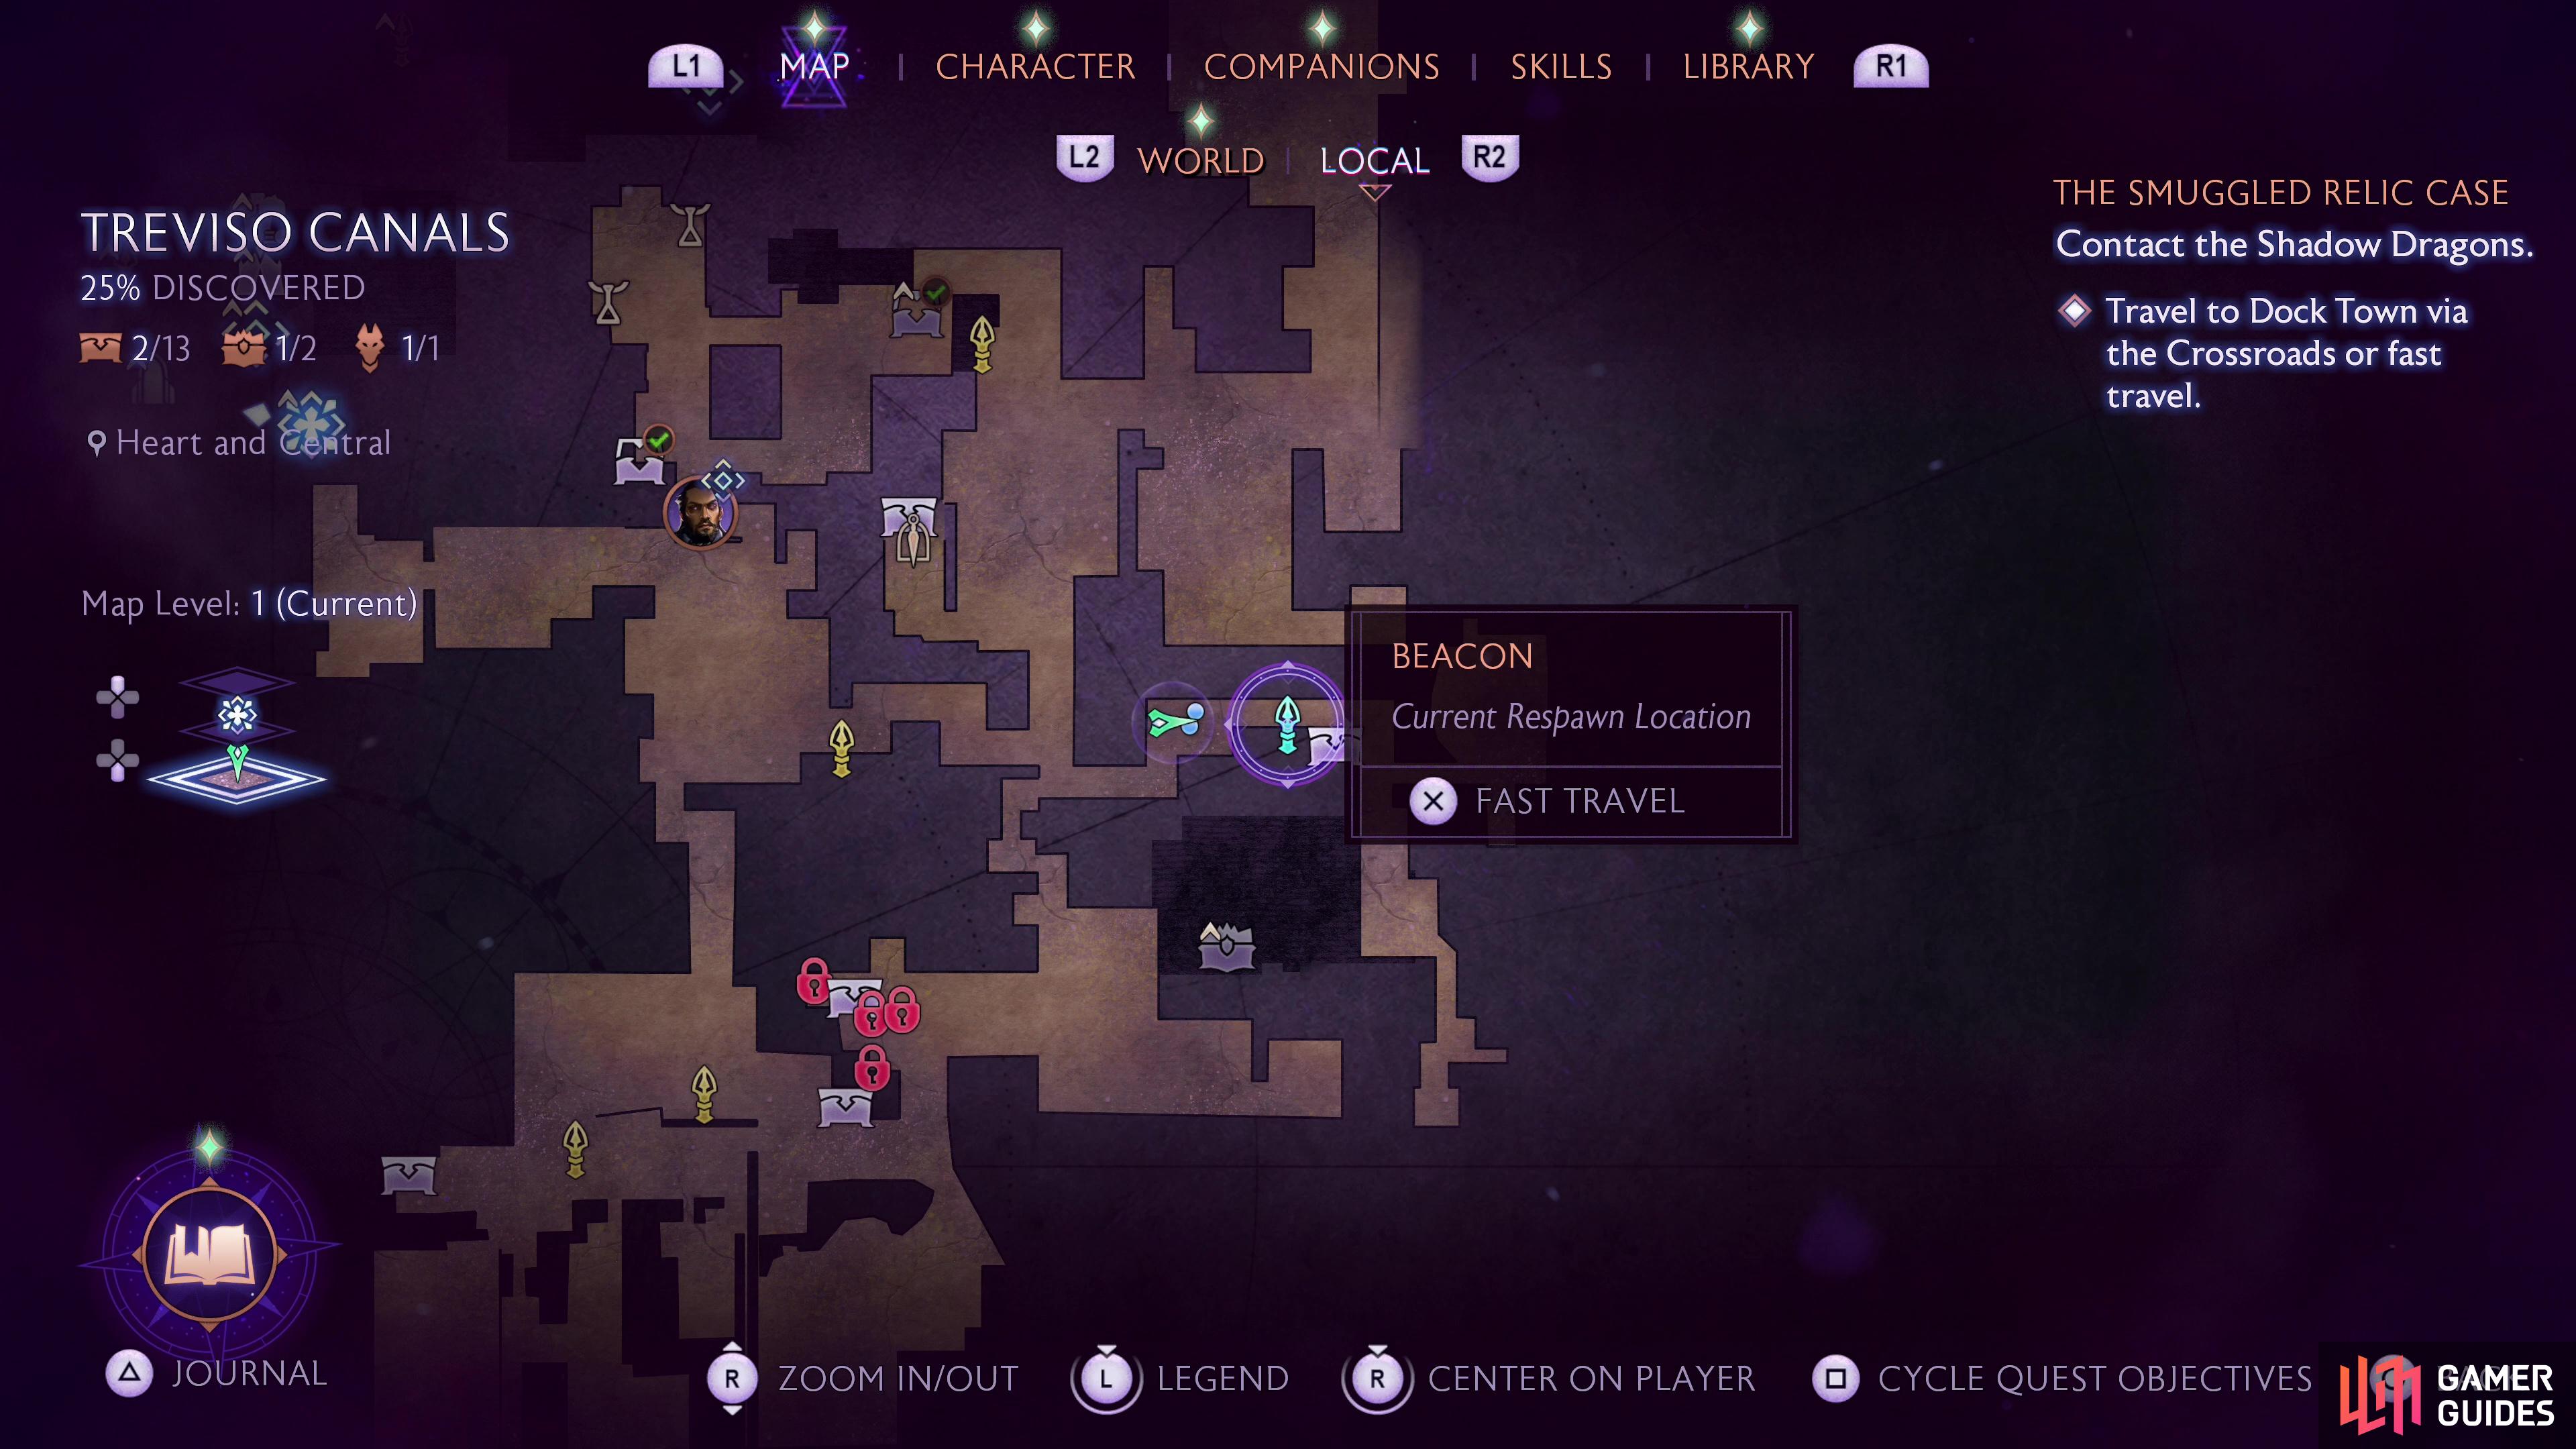
Treviso’s one and only statue is technically located in the Heart and Central district (1F), but it’s just south of the Dellamorte Estates in the northeastern corner of the map - you’ll certainly see it en route to pursuing the unique chest (above). At the fork that leads to the Dellamorte Estates, turn south to find the statue and when you interact with it the statue will turn northeast. Follow the road north into the Dellamorte Estates but don’t pass through the gate ahead. Instead, keep your eyes to the west to spot some columns supporting a balcony. The Fen’Harel ghost should be under this balcony - approach, then smash some barrels and crates in the corner to reveal the Fen’Harel statue. Claim it to score +1 Skill Point.
Chest 3: Streets of Coin Financials 1F
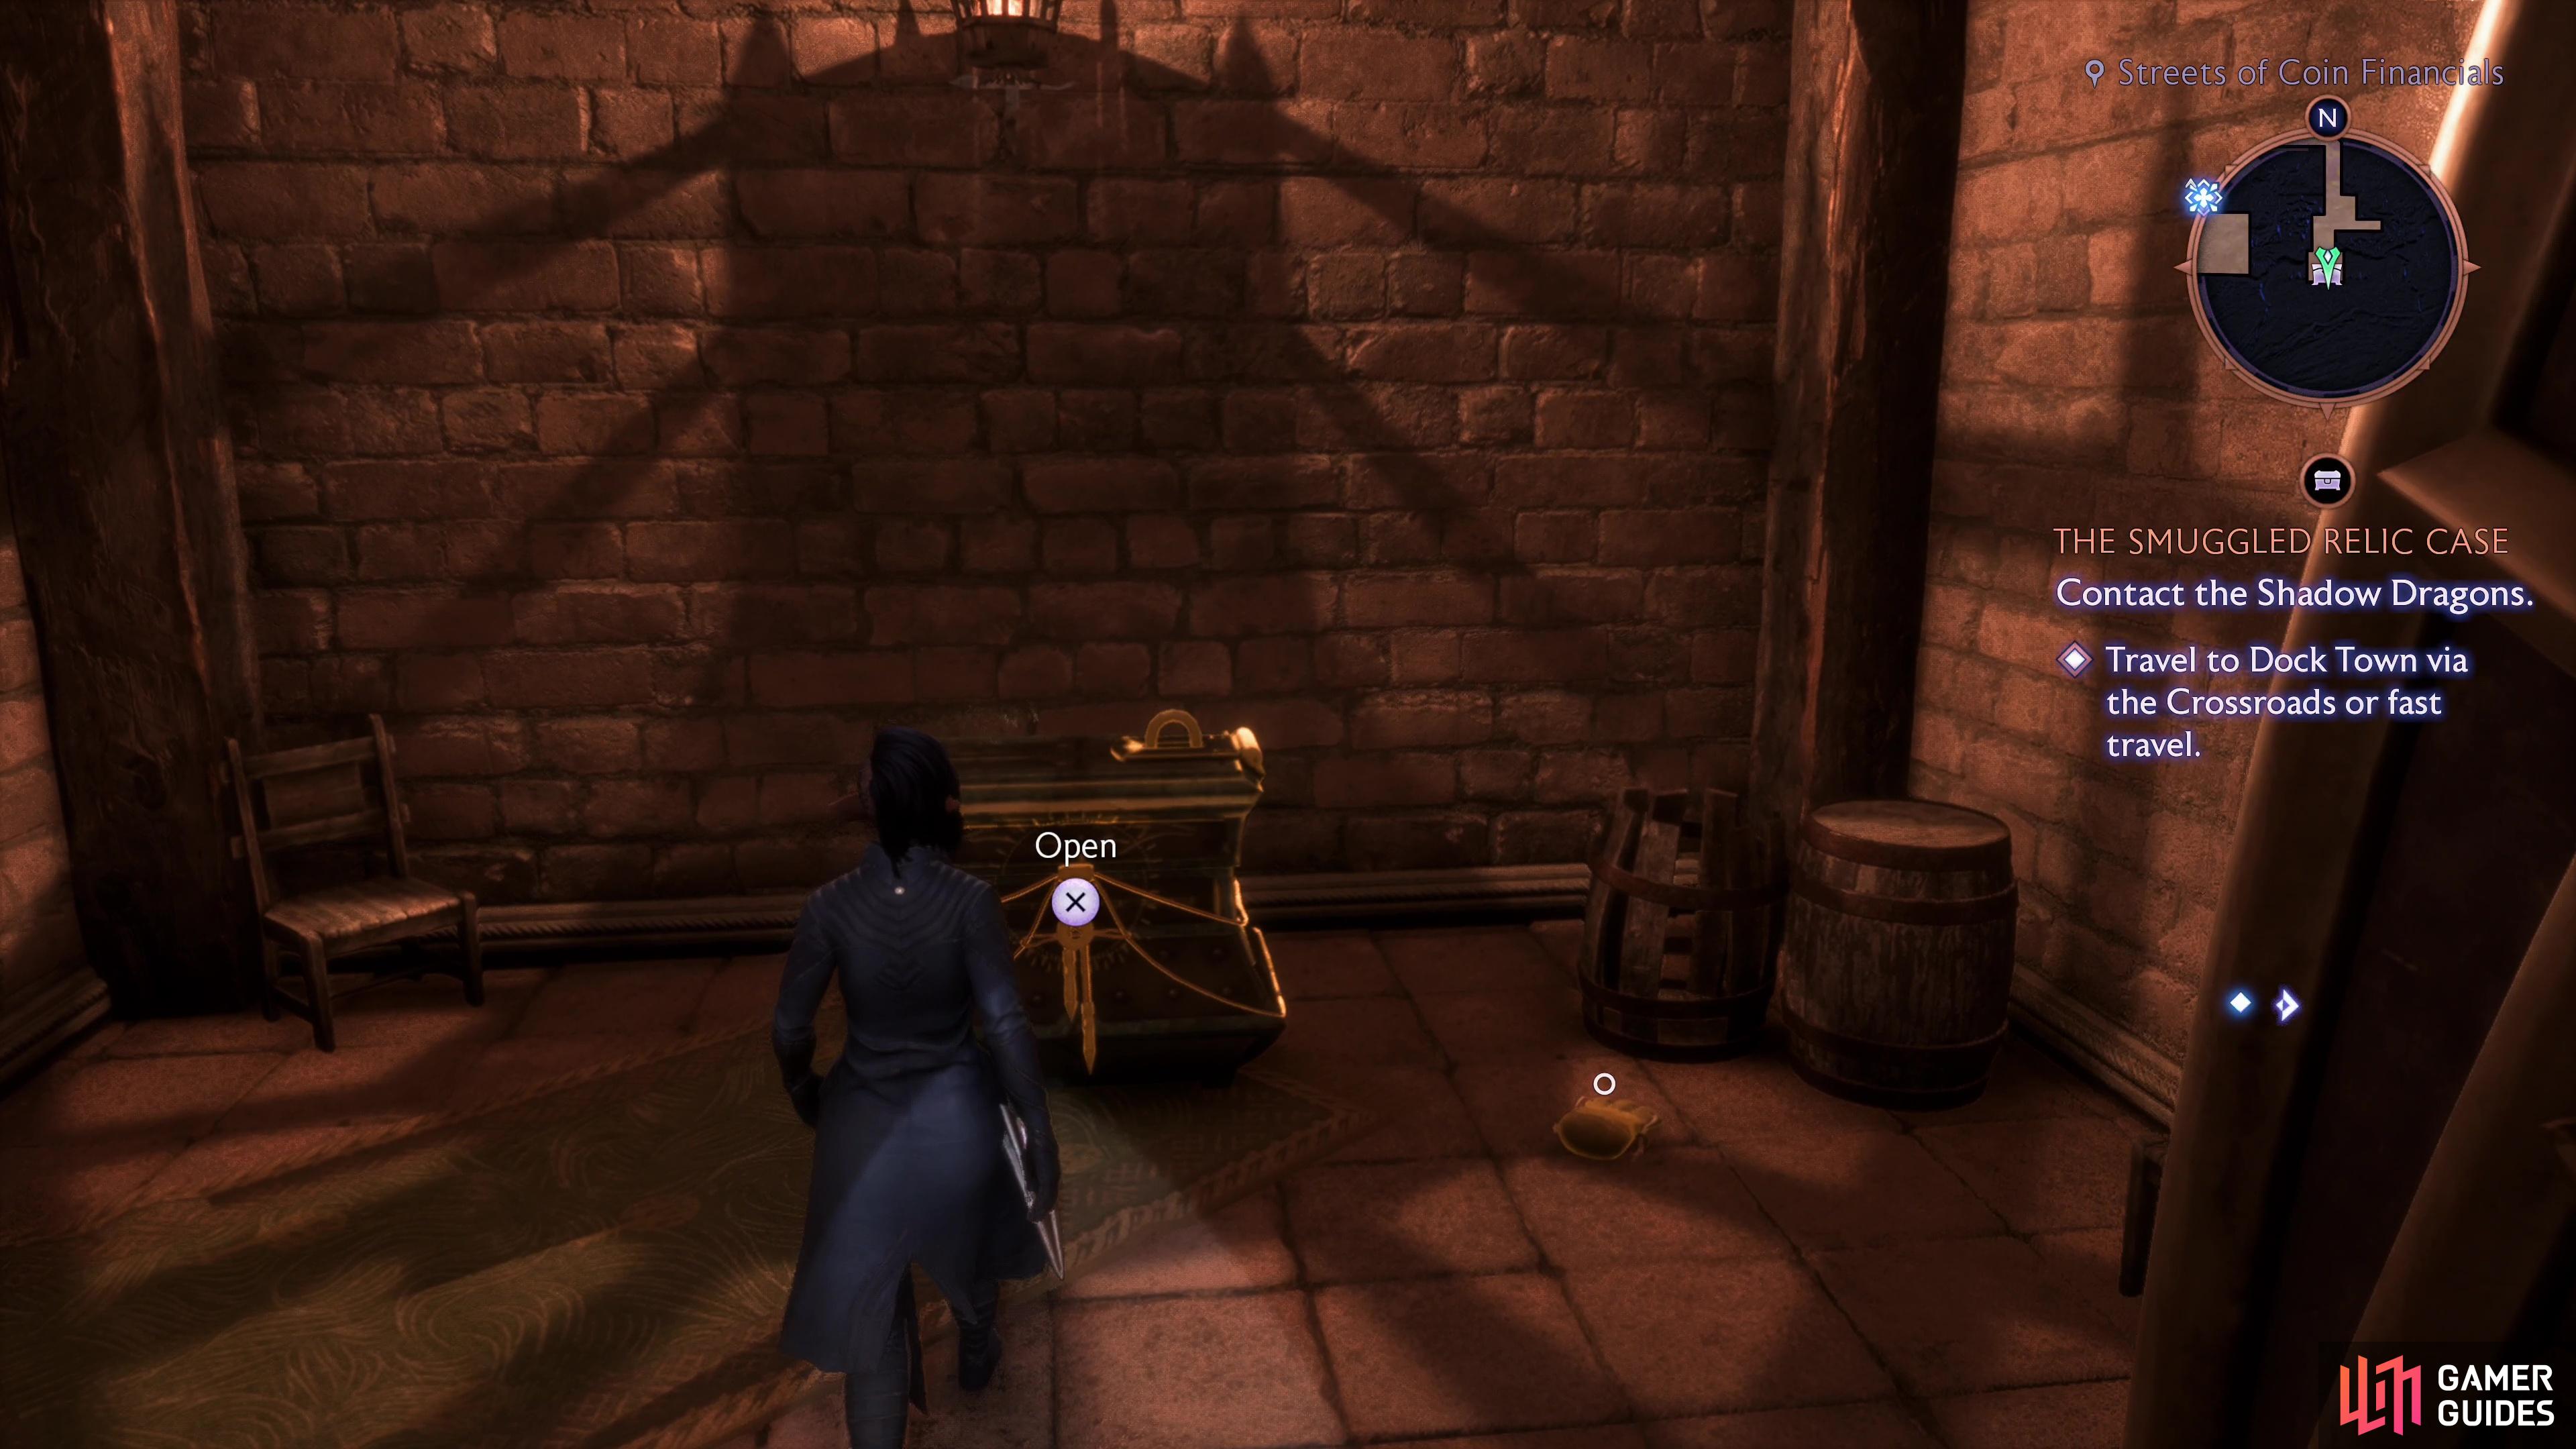
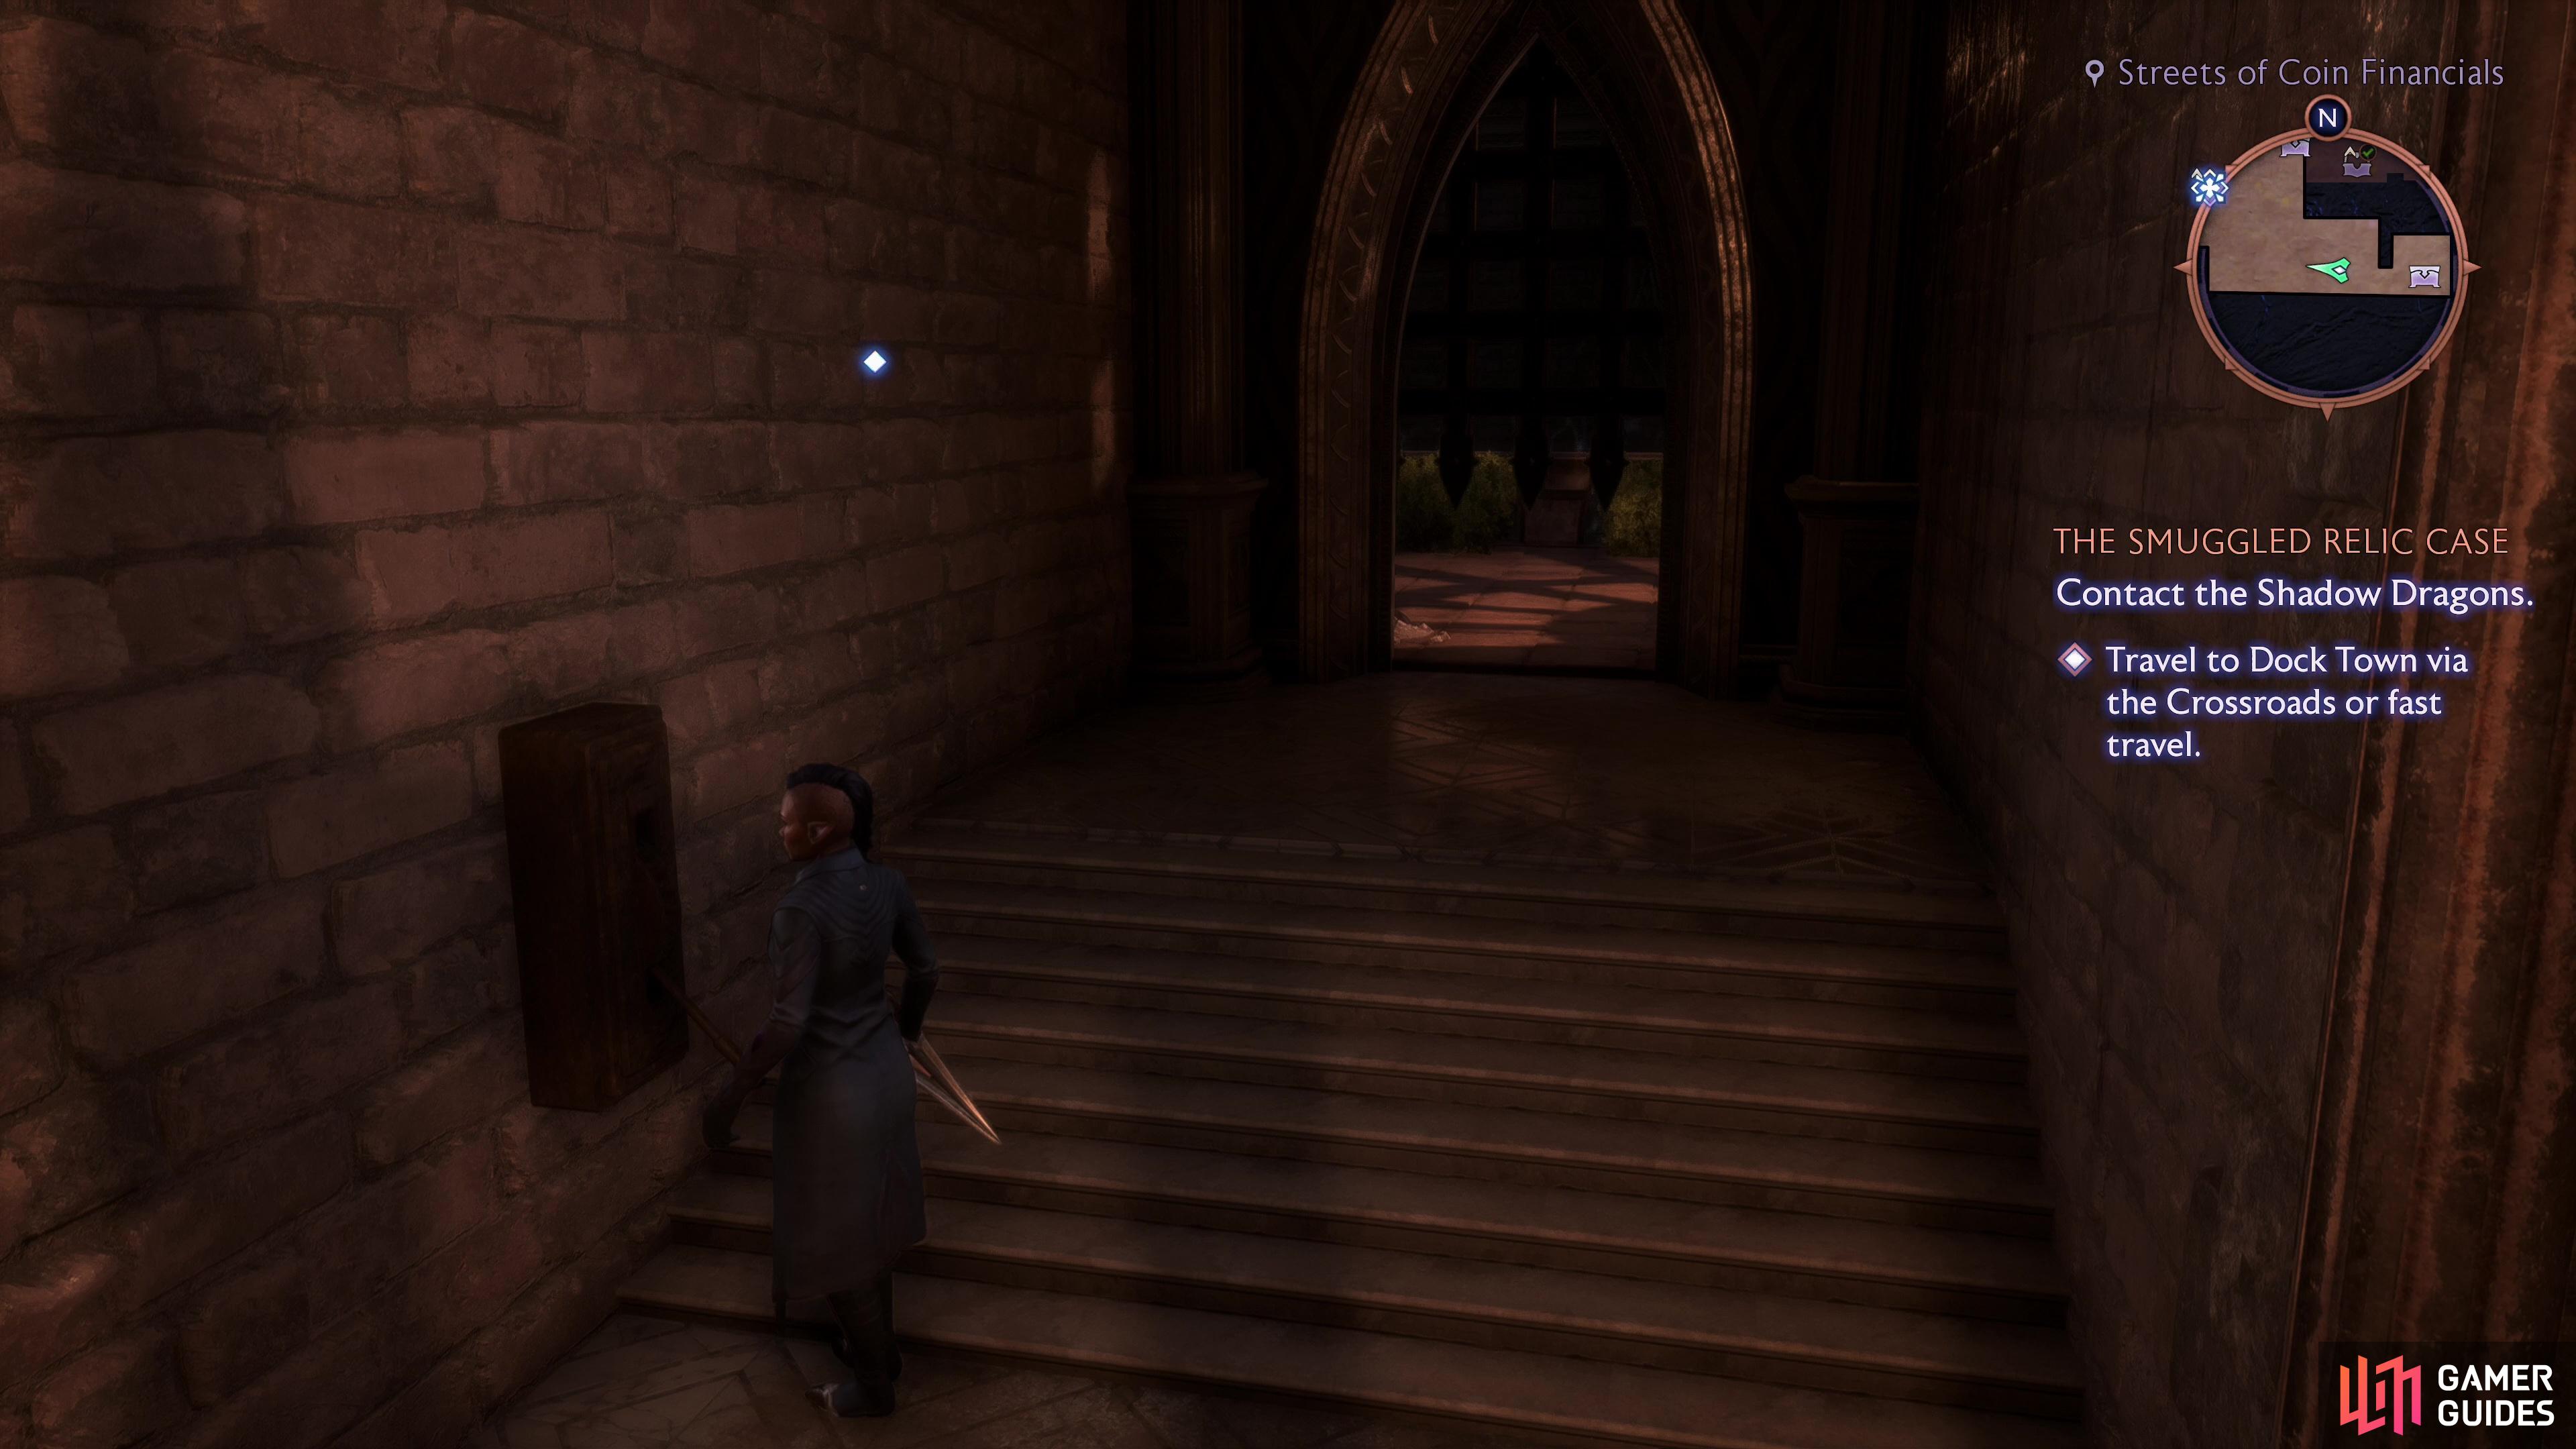
The Heart and Central Beacon has been the hub of the last few chests, but now it’s time to move on. From the Heart and Central Beacon head south and east to find the Streets of Coin Financials Beacon along the eastern edge of Treviso. From this beacon, take a few steps east and look south to find a door. Open it and inside the building beyond you’ll find this chest.
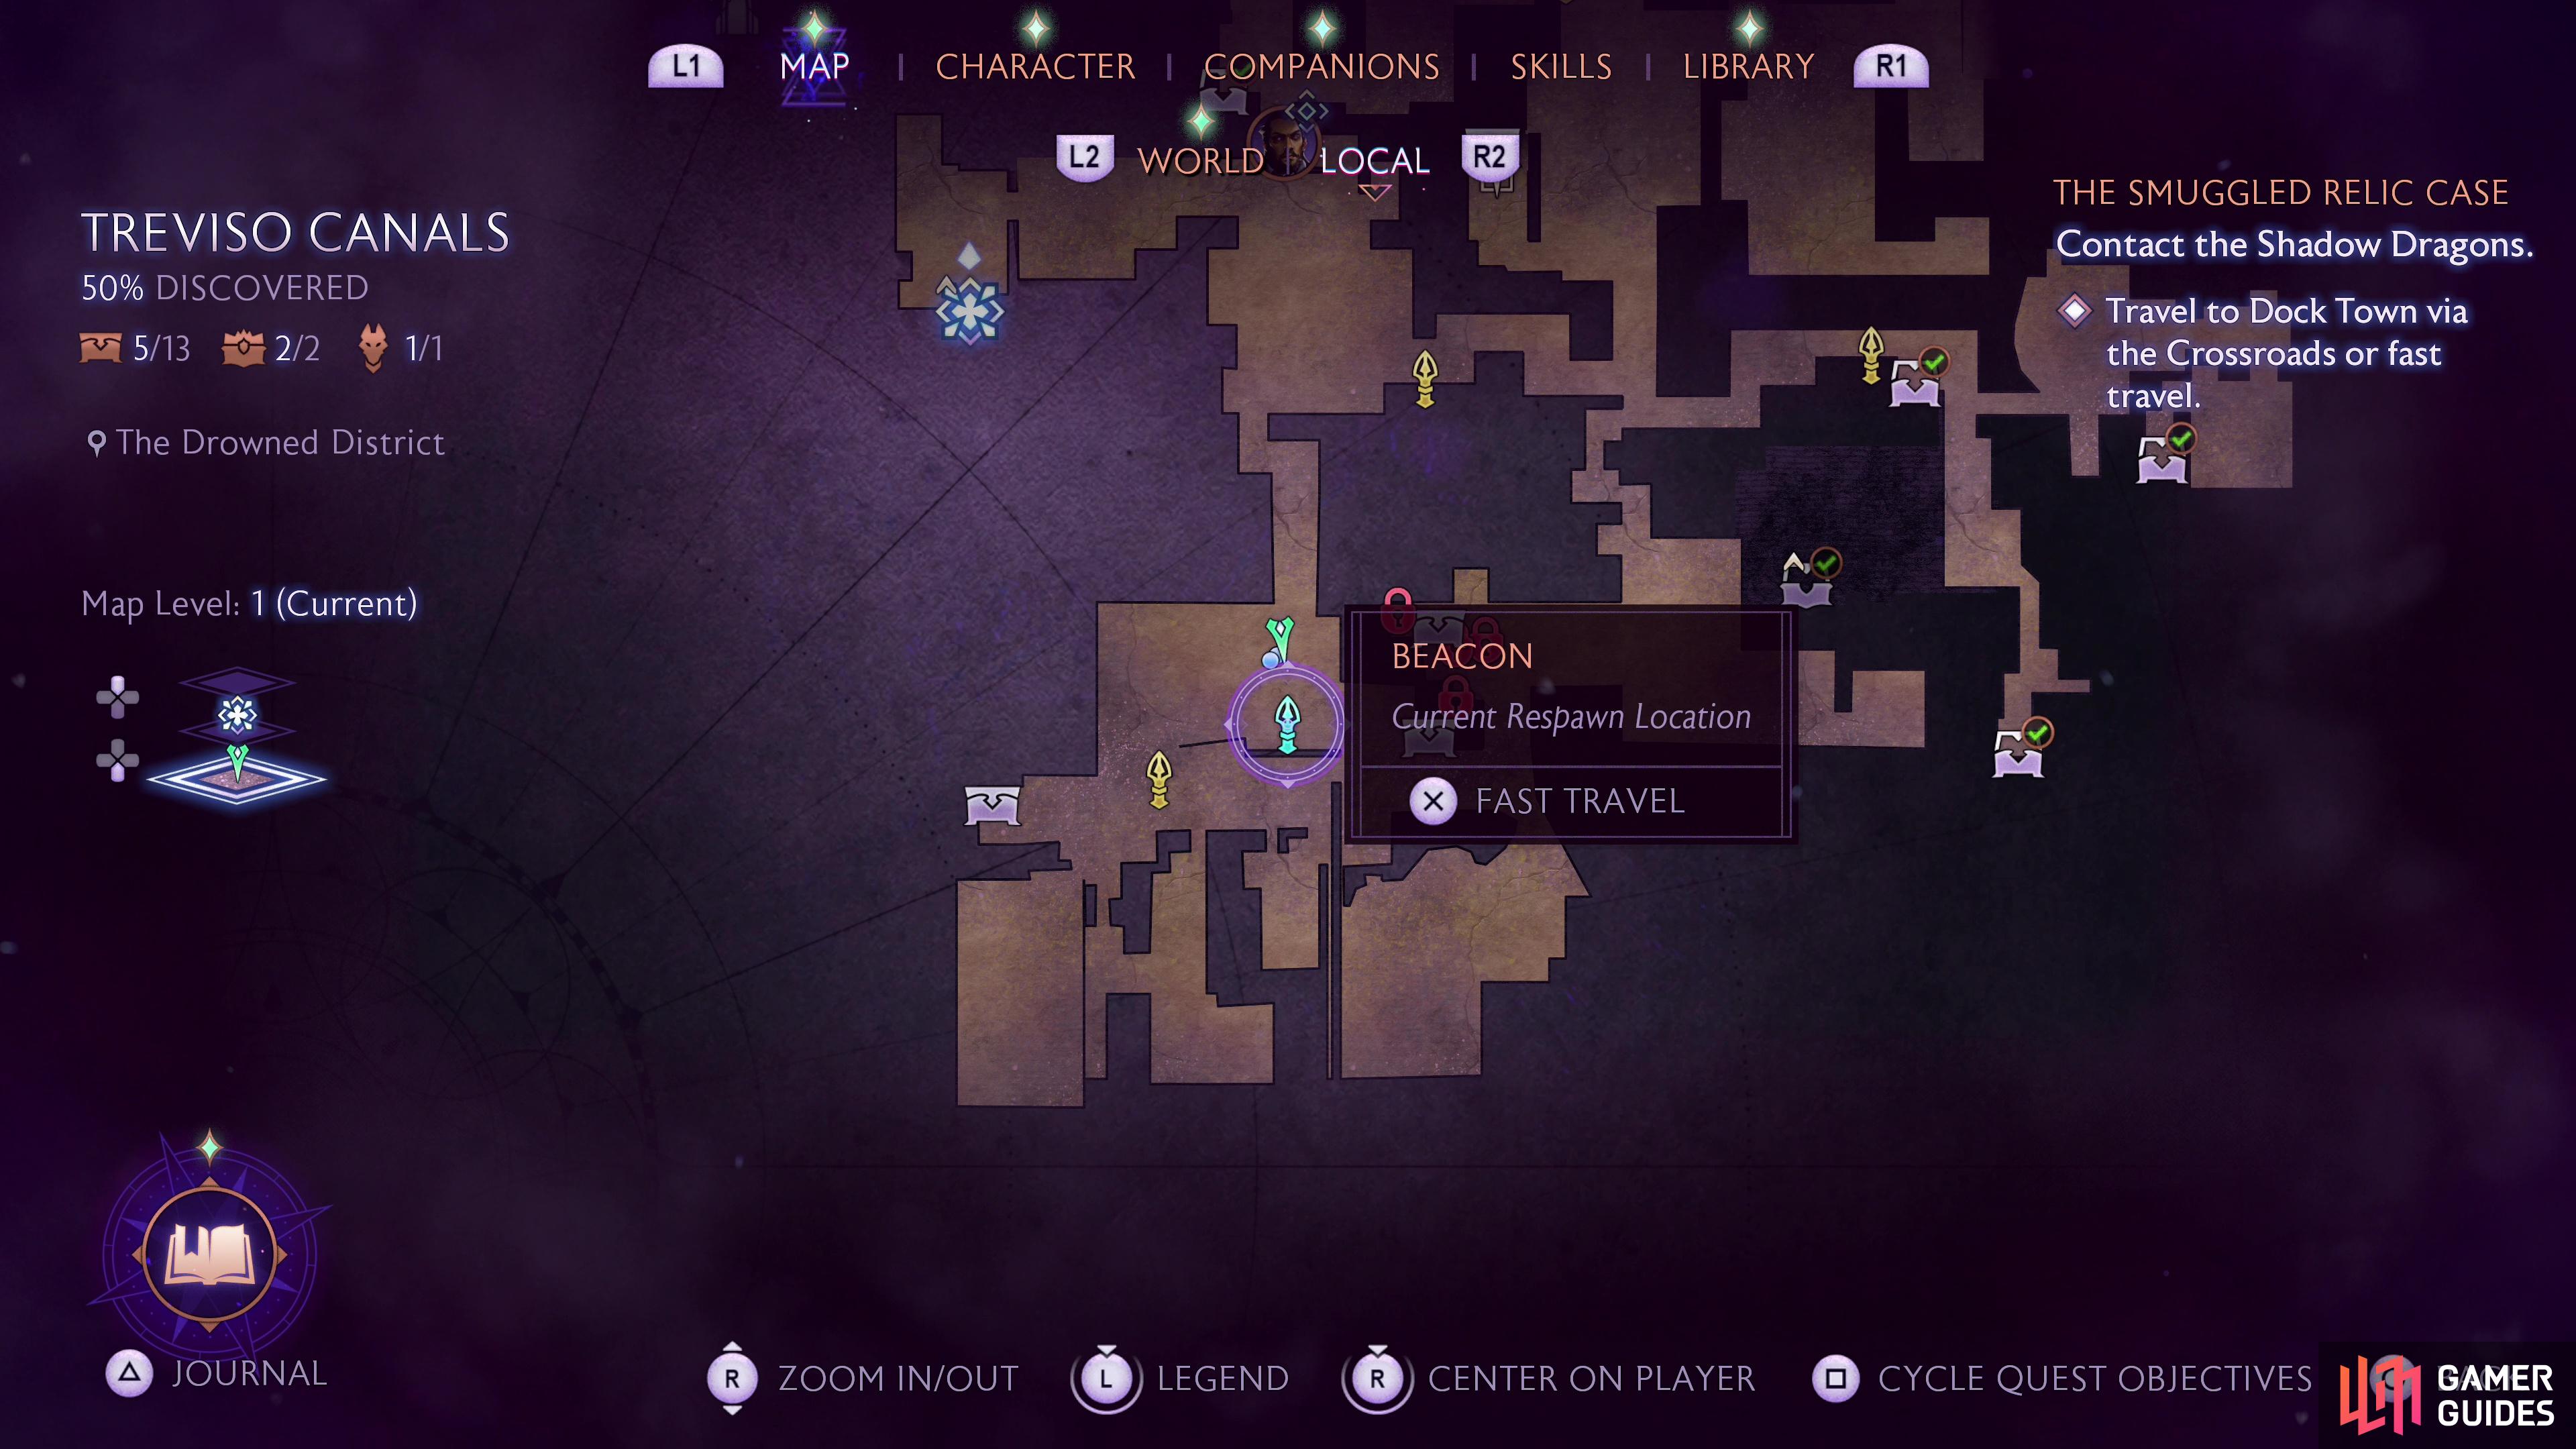
(1 of 3) The Streets of Coin Financials Beacon on the map.
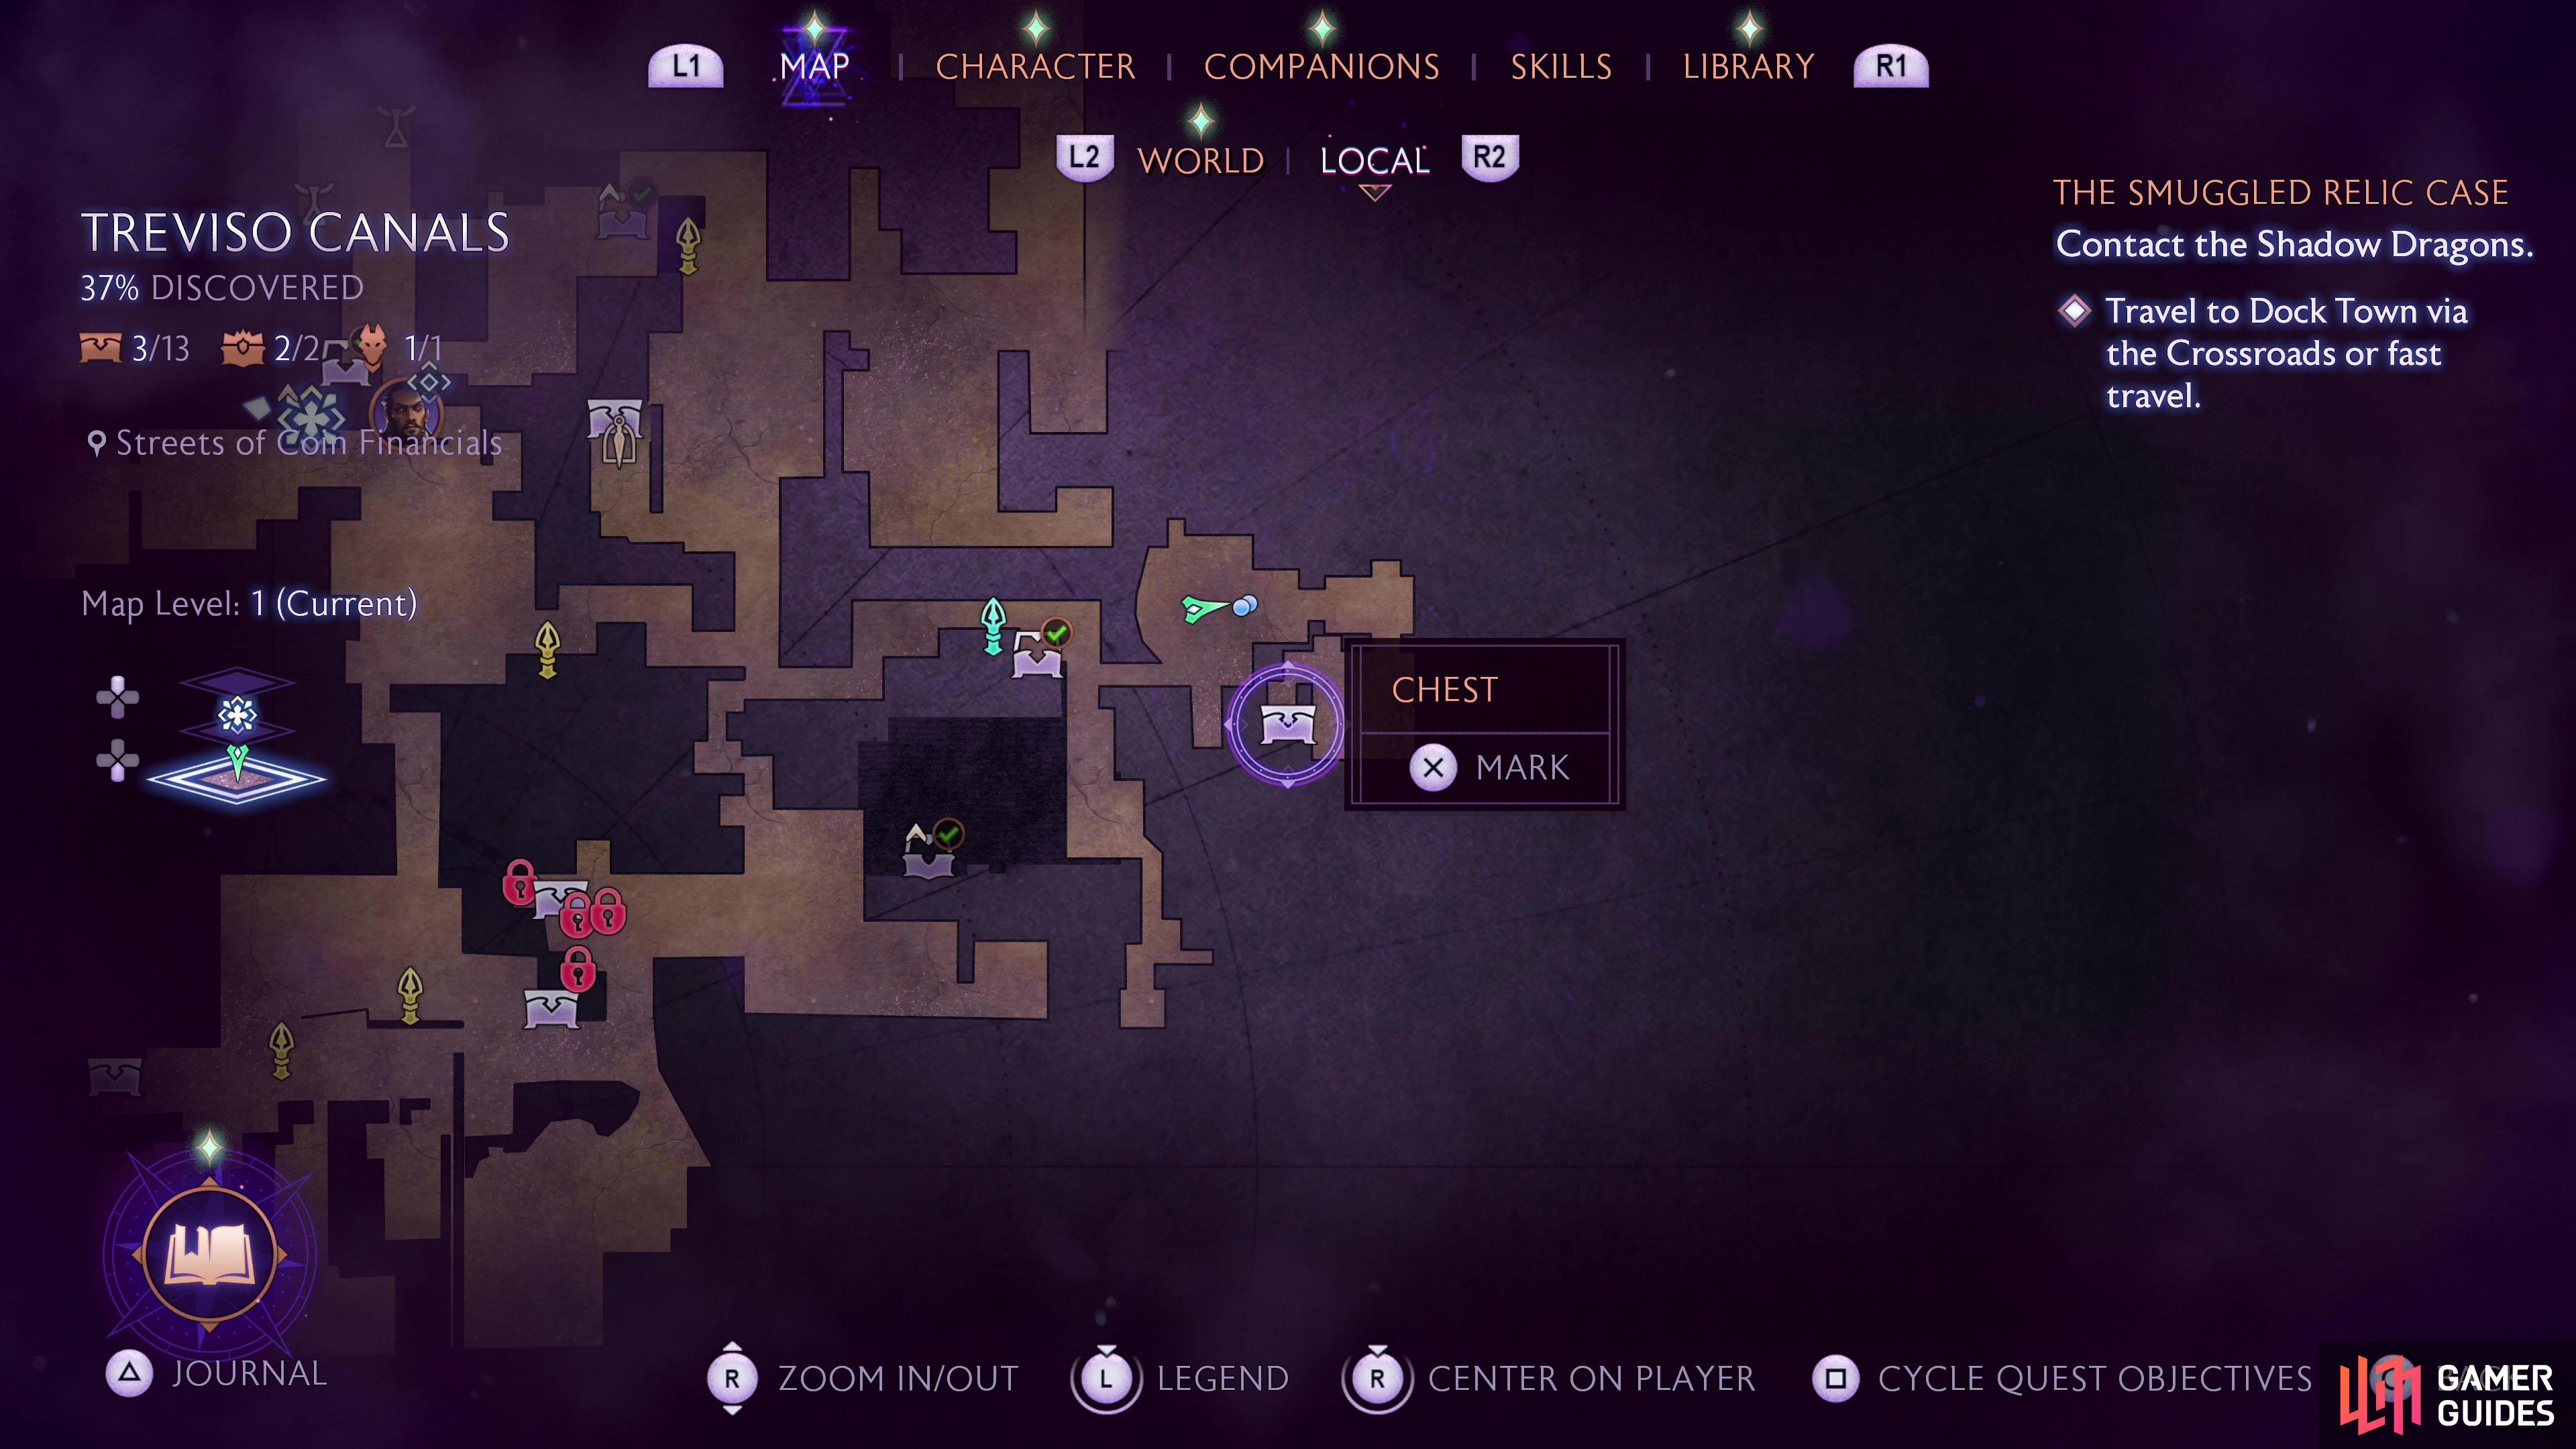
Unique Chest 2: Streets of Coin Financials 2F
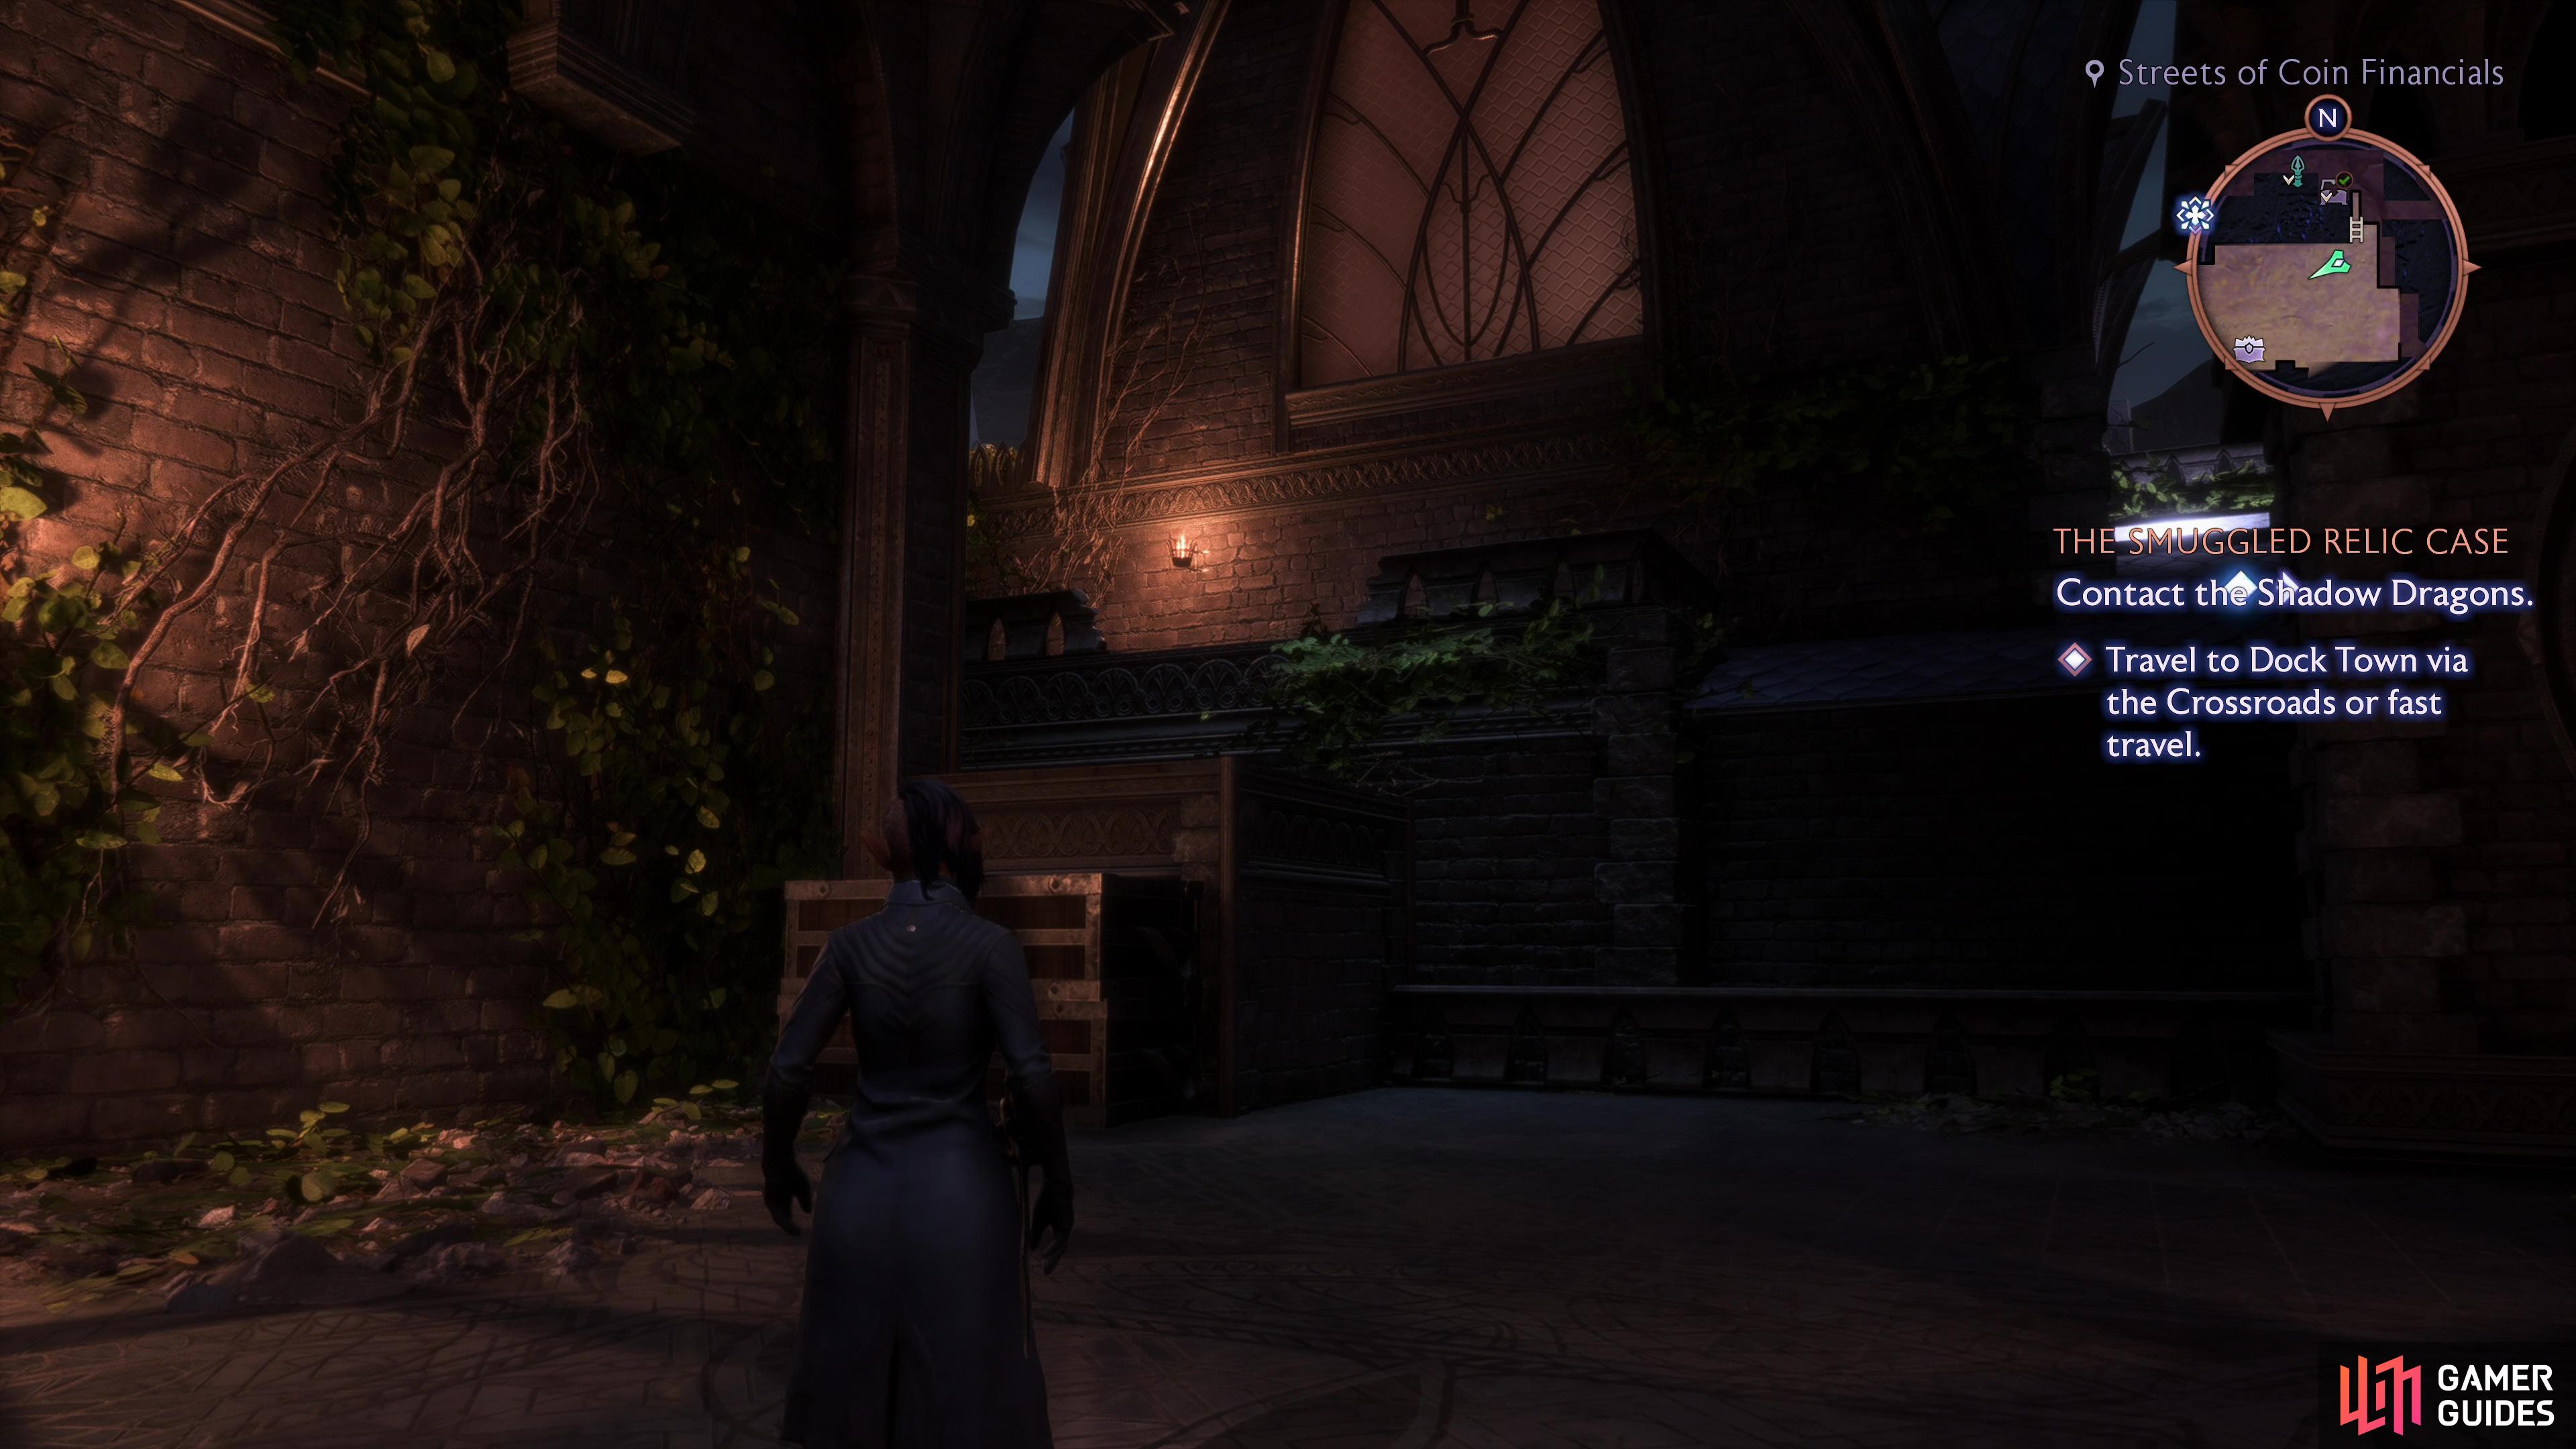
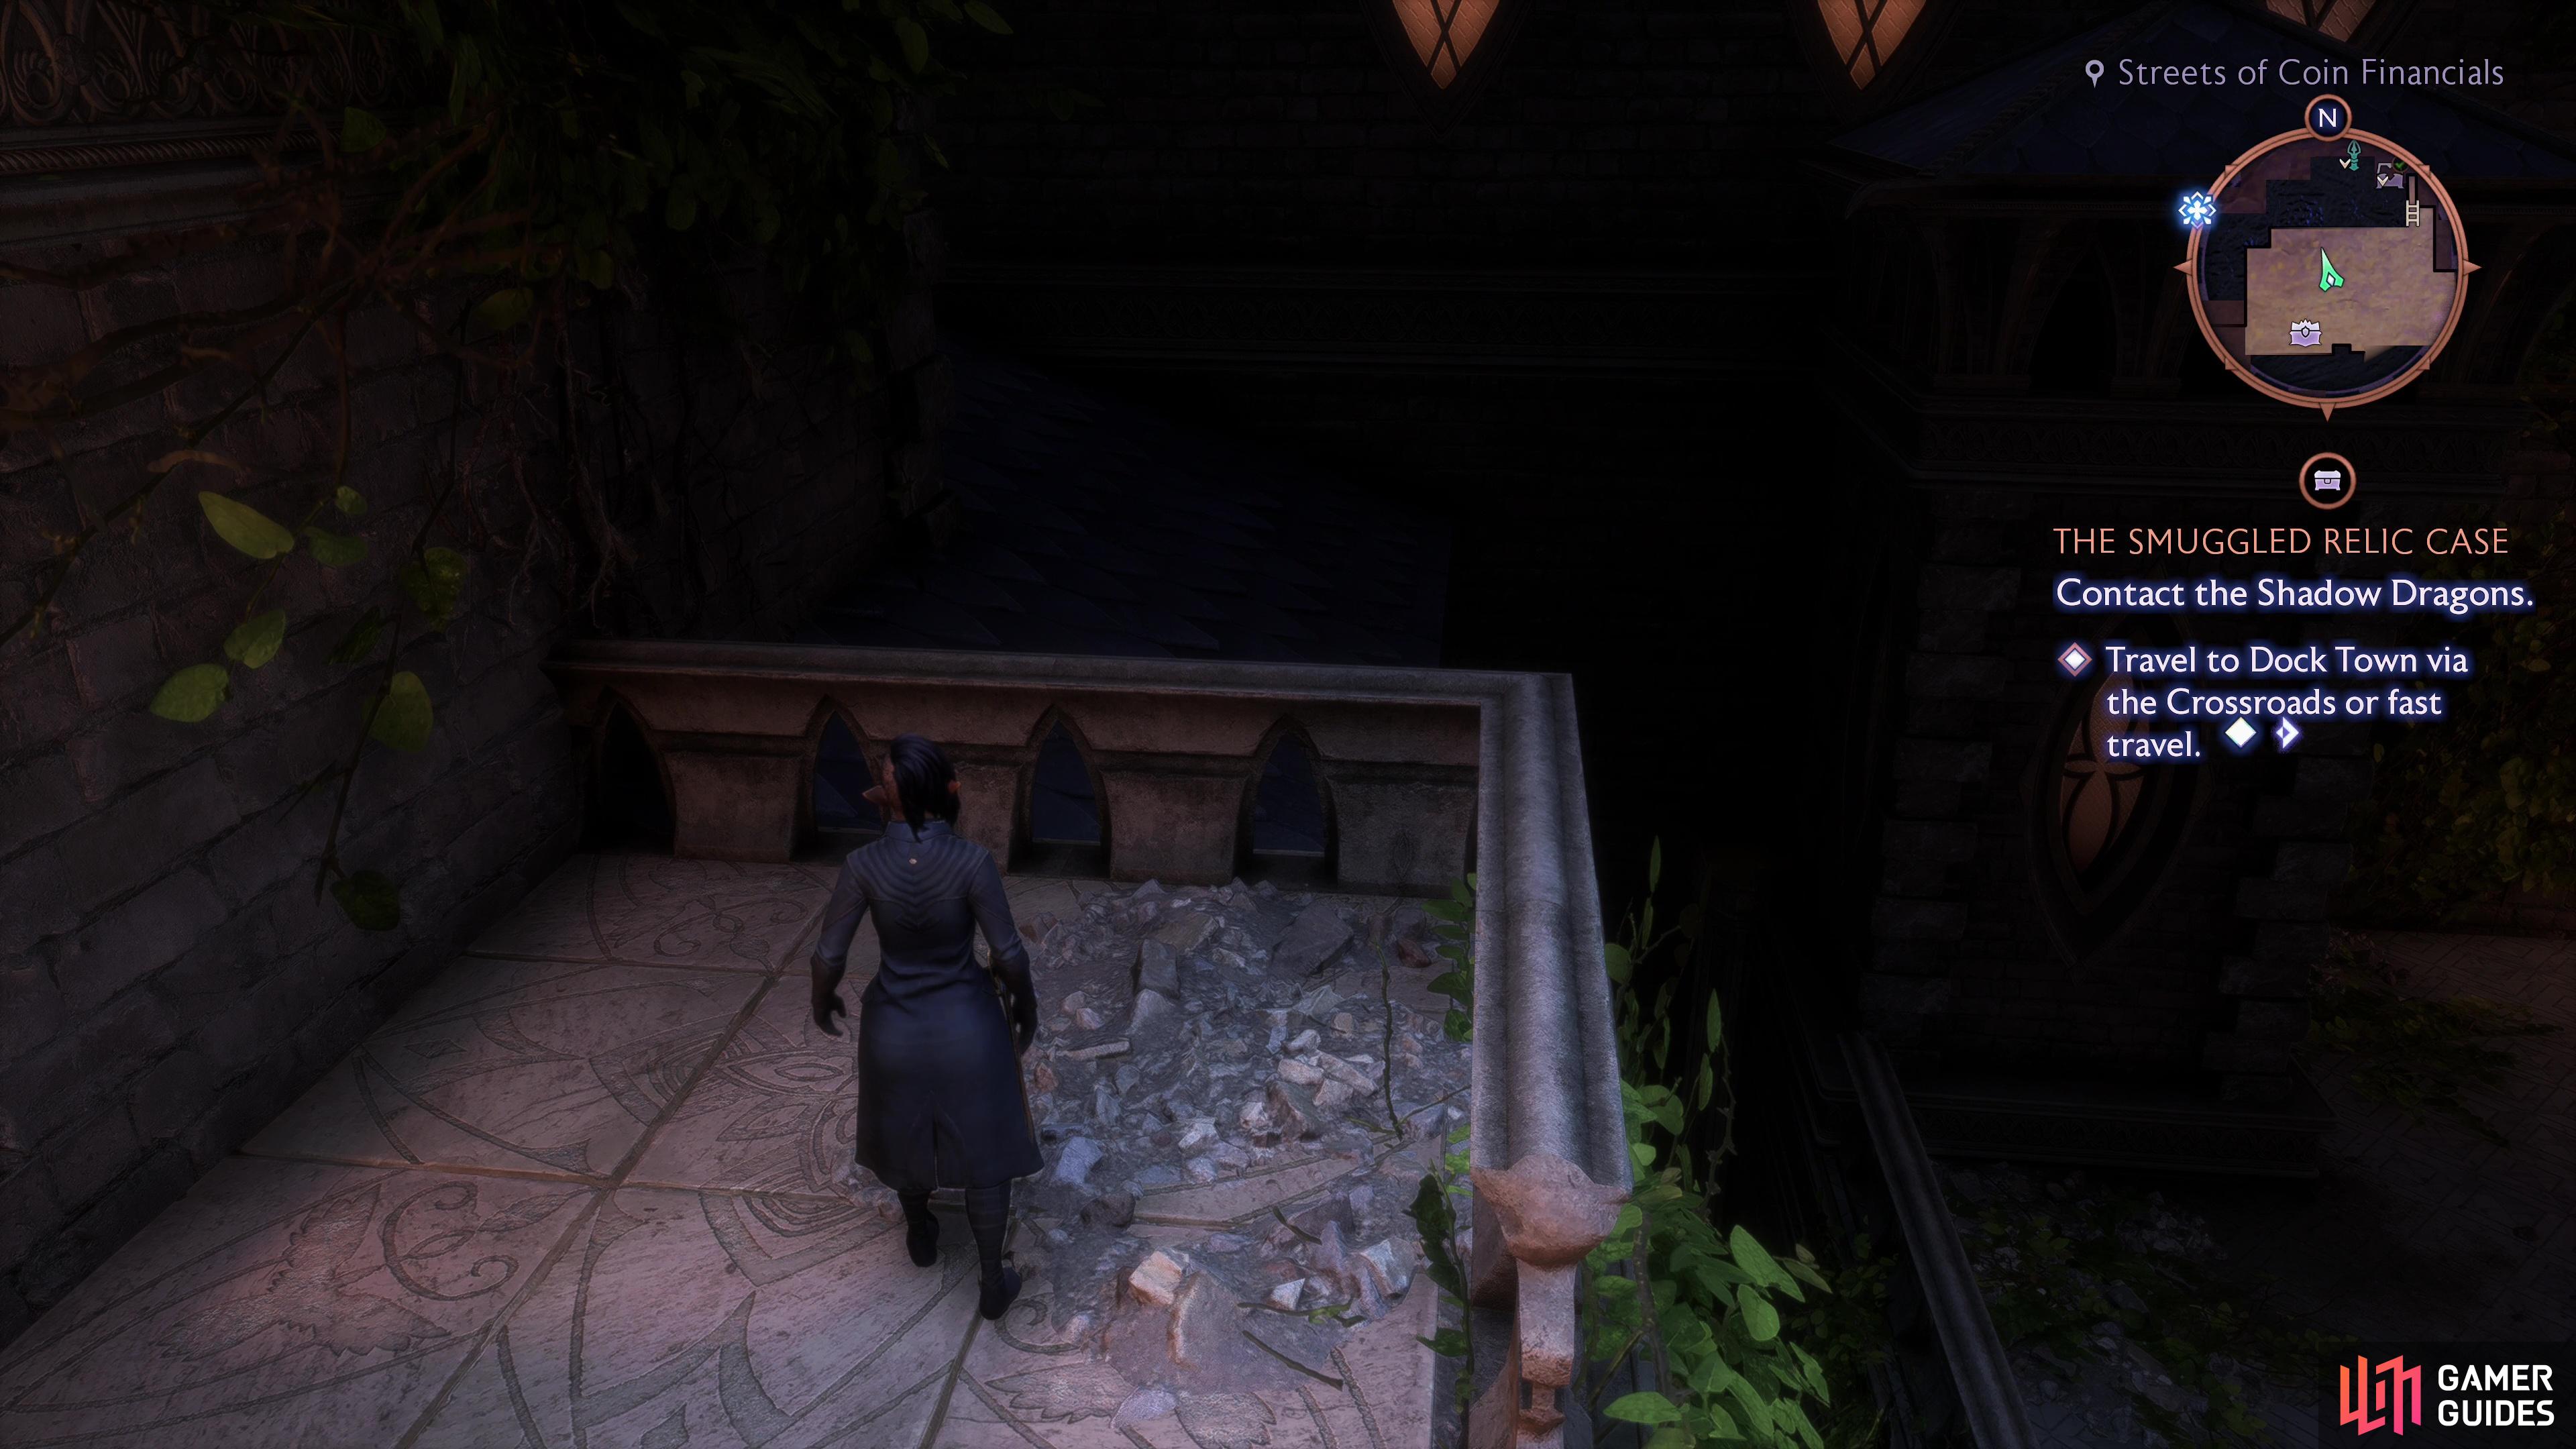
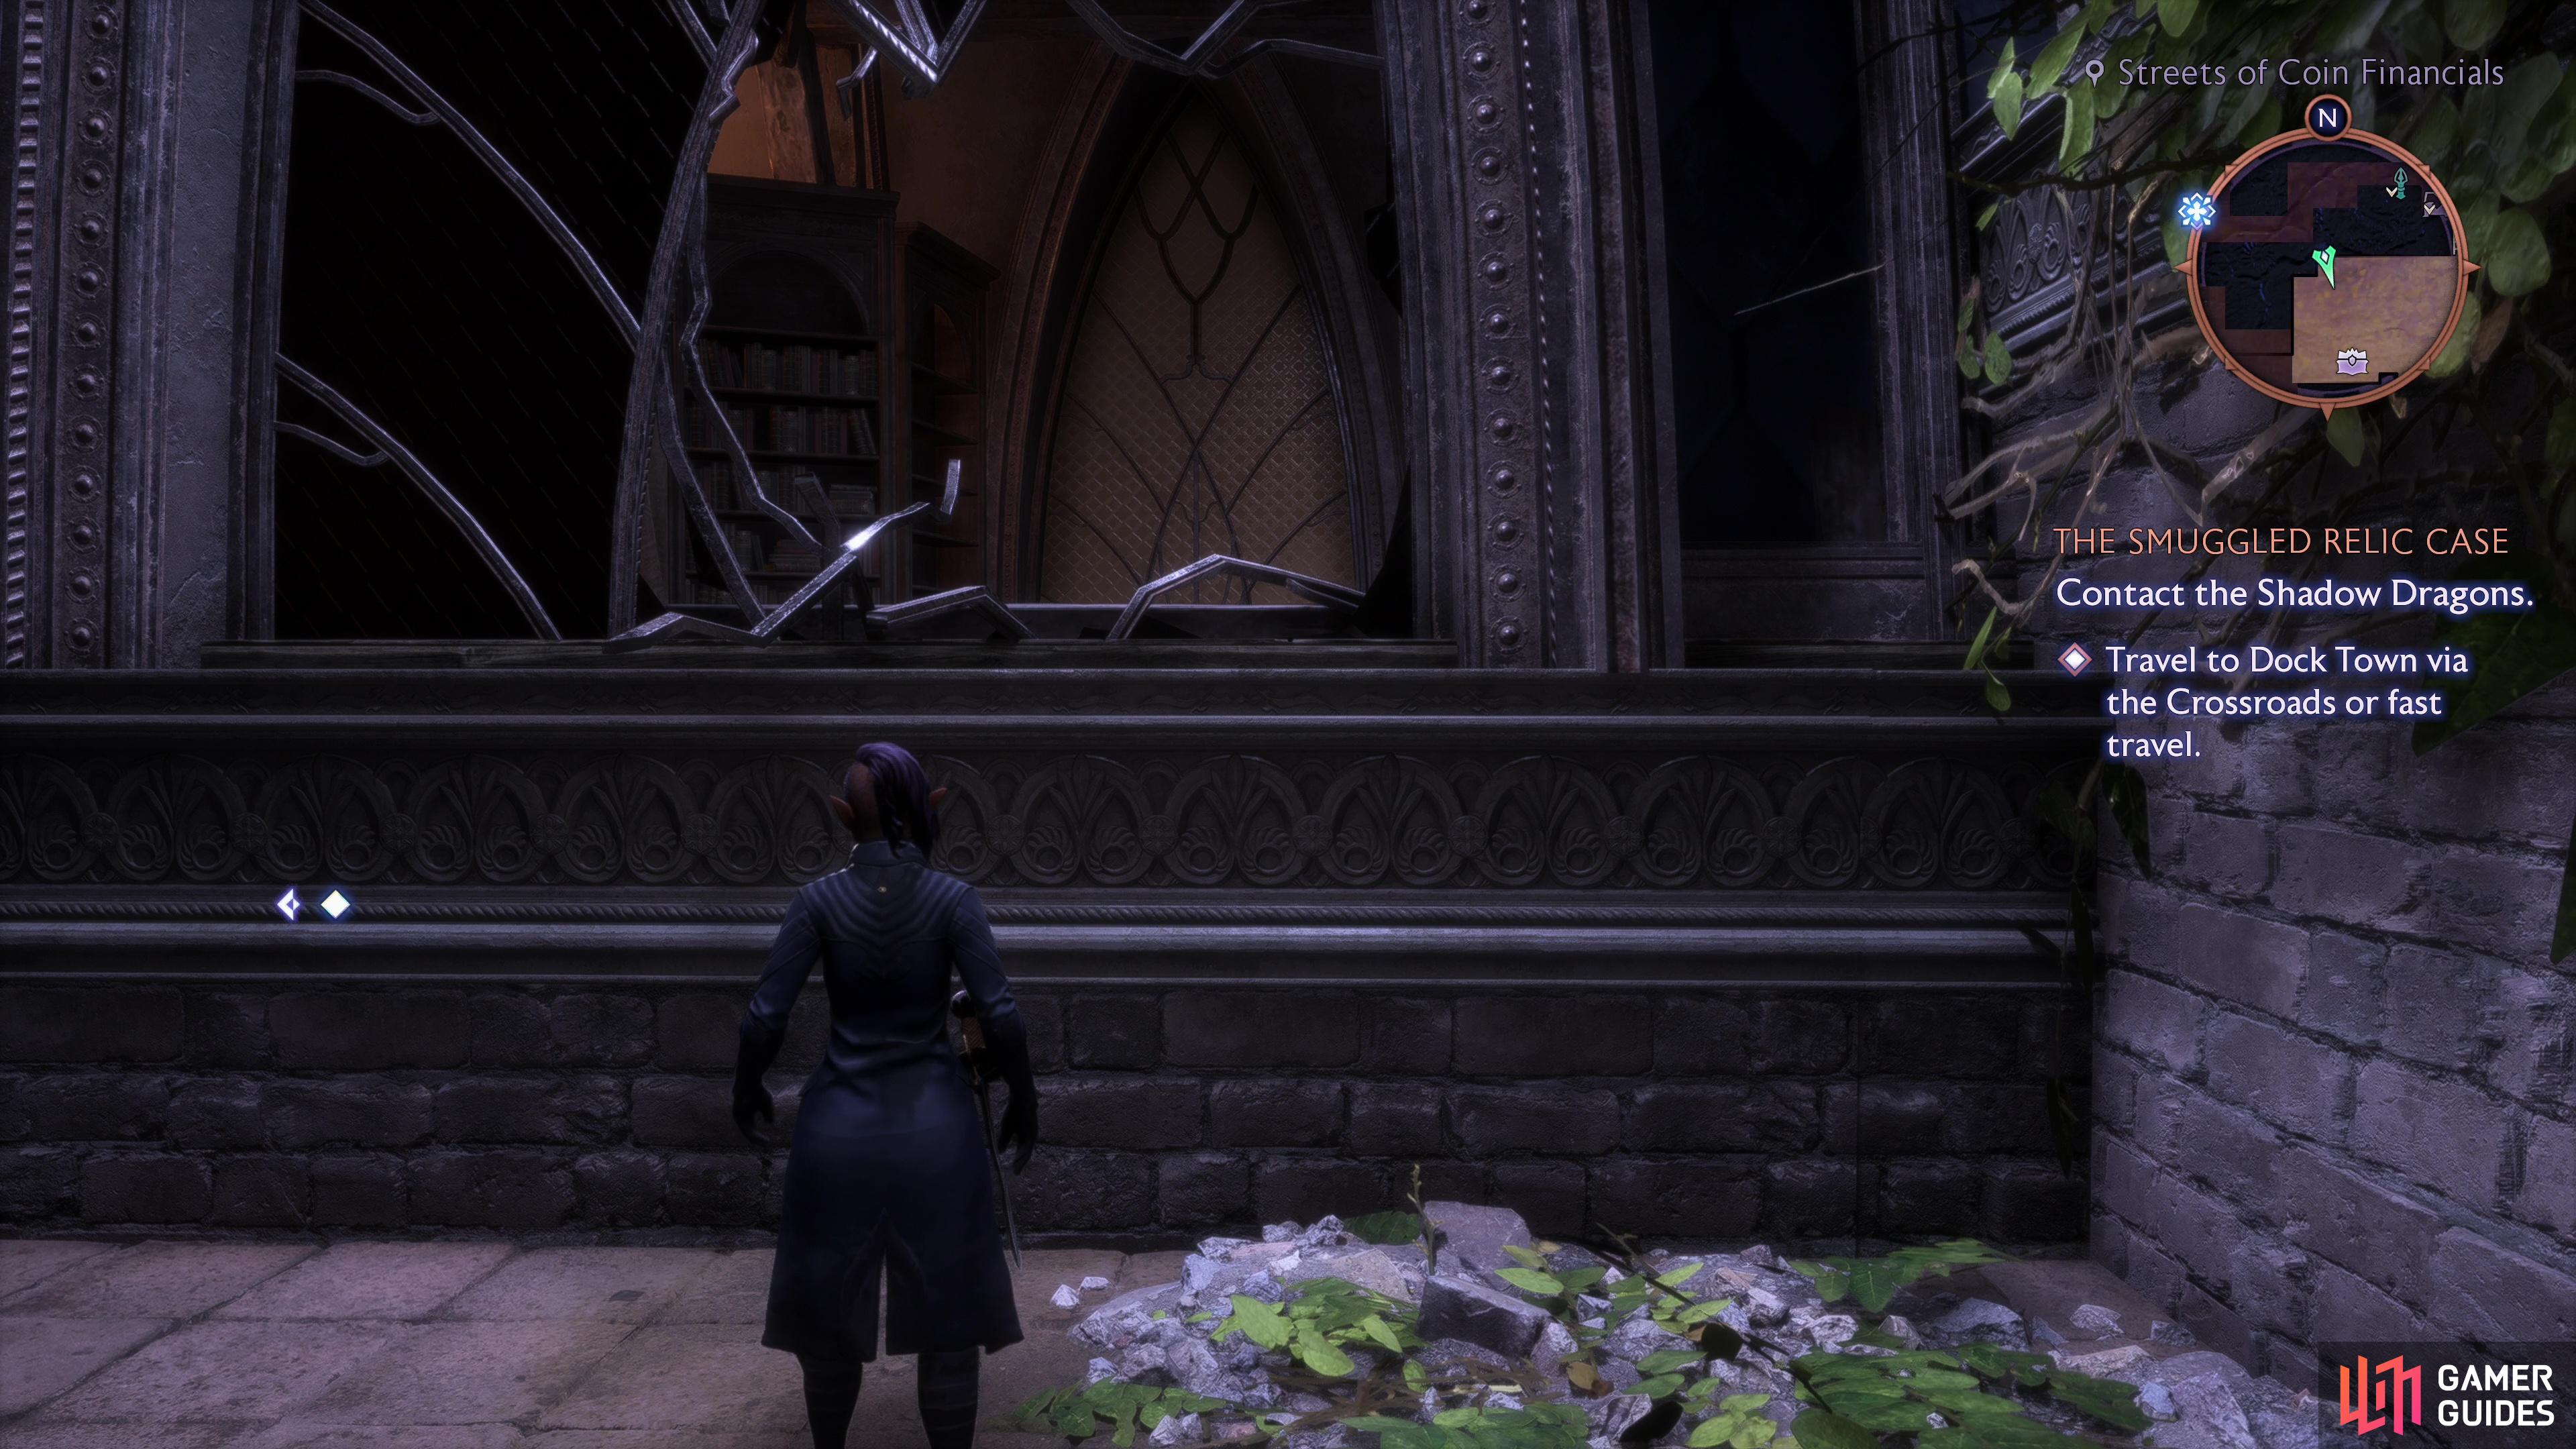
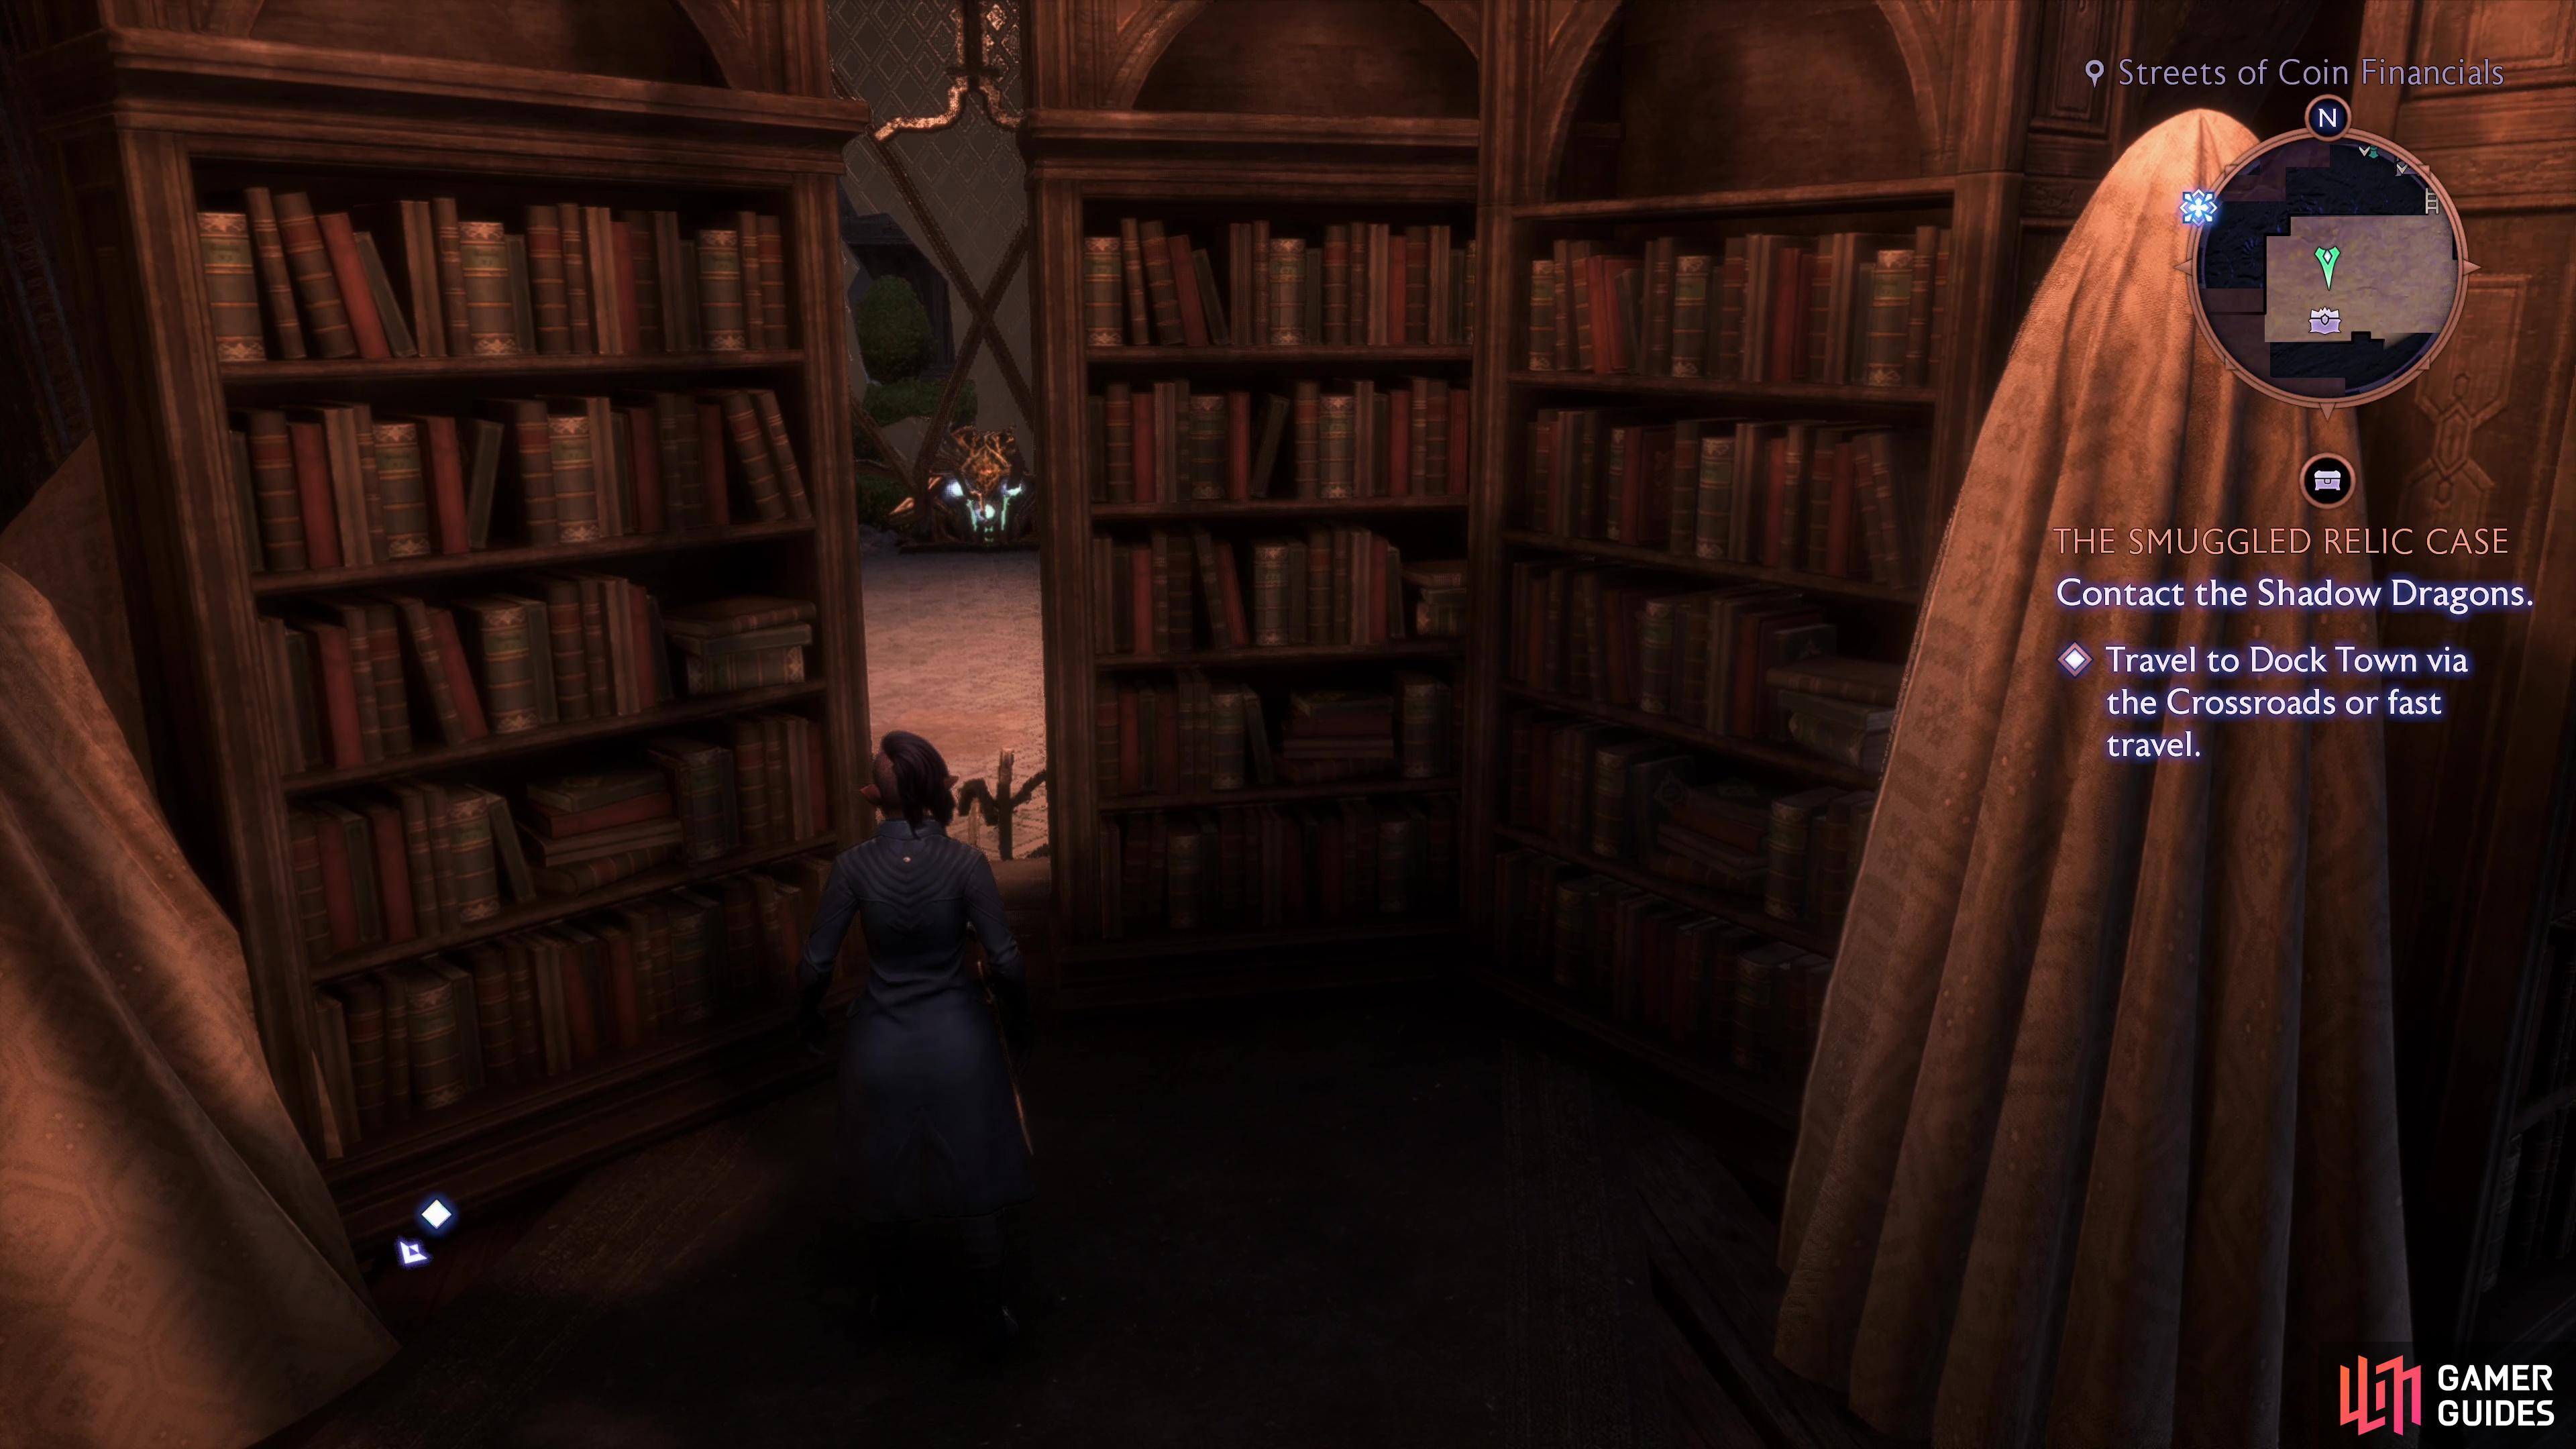
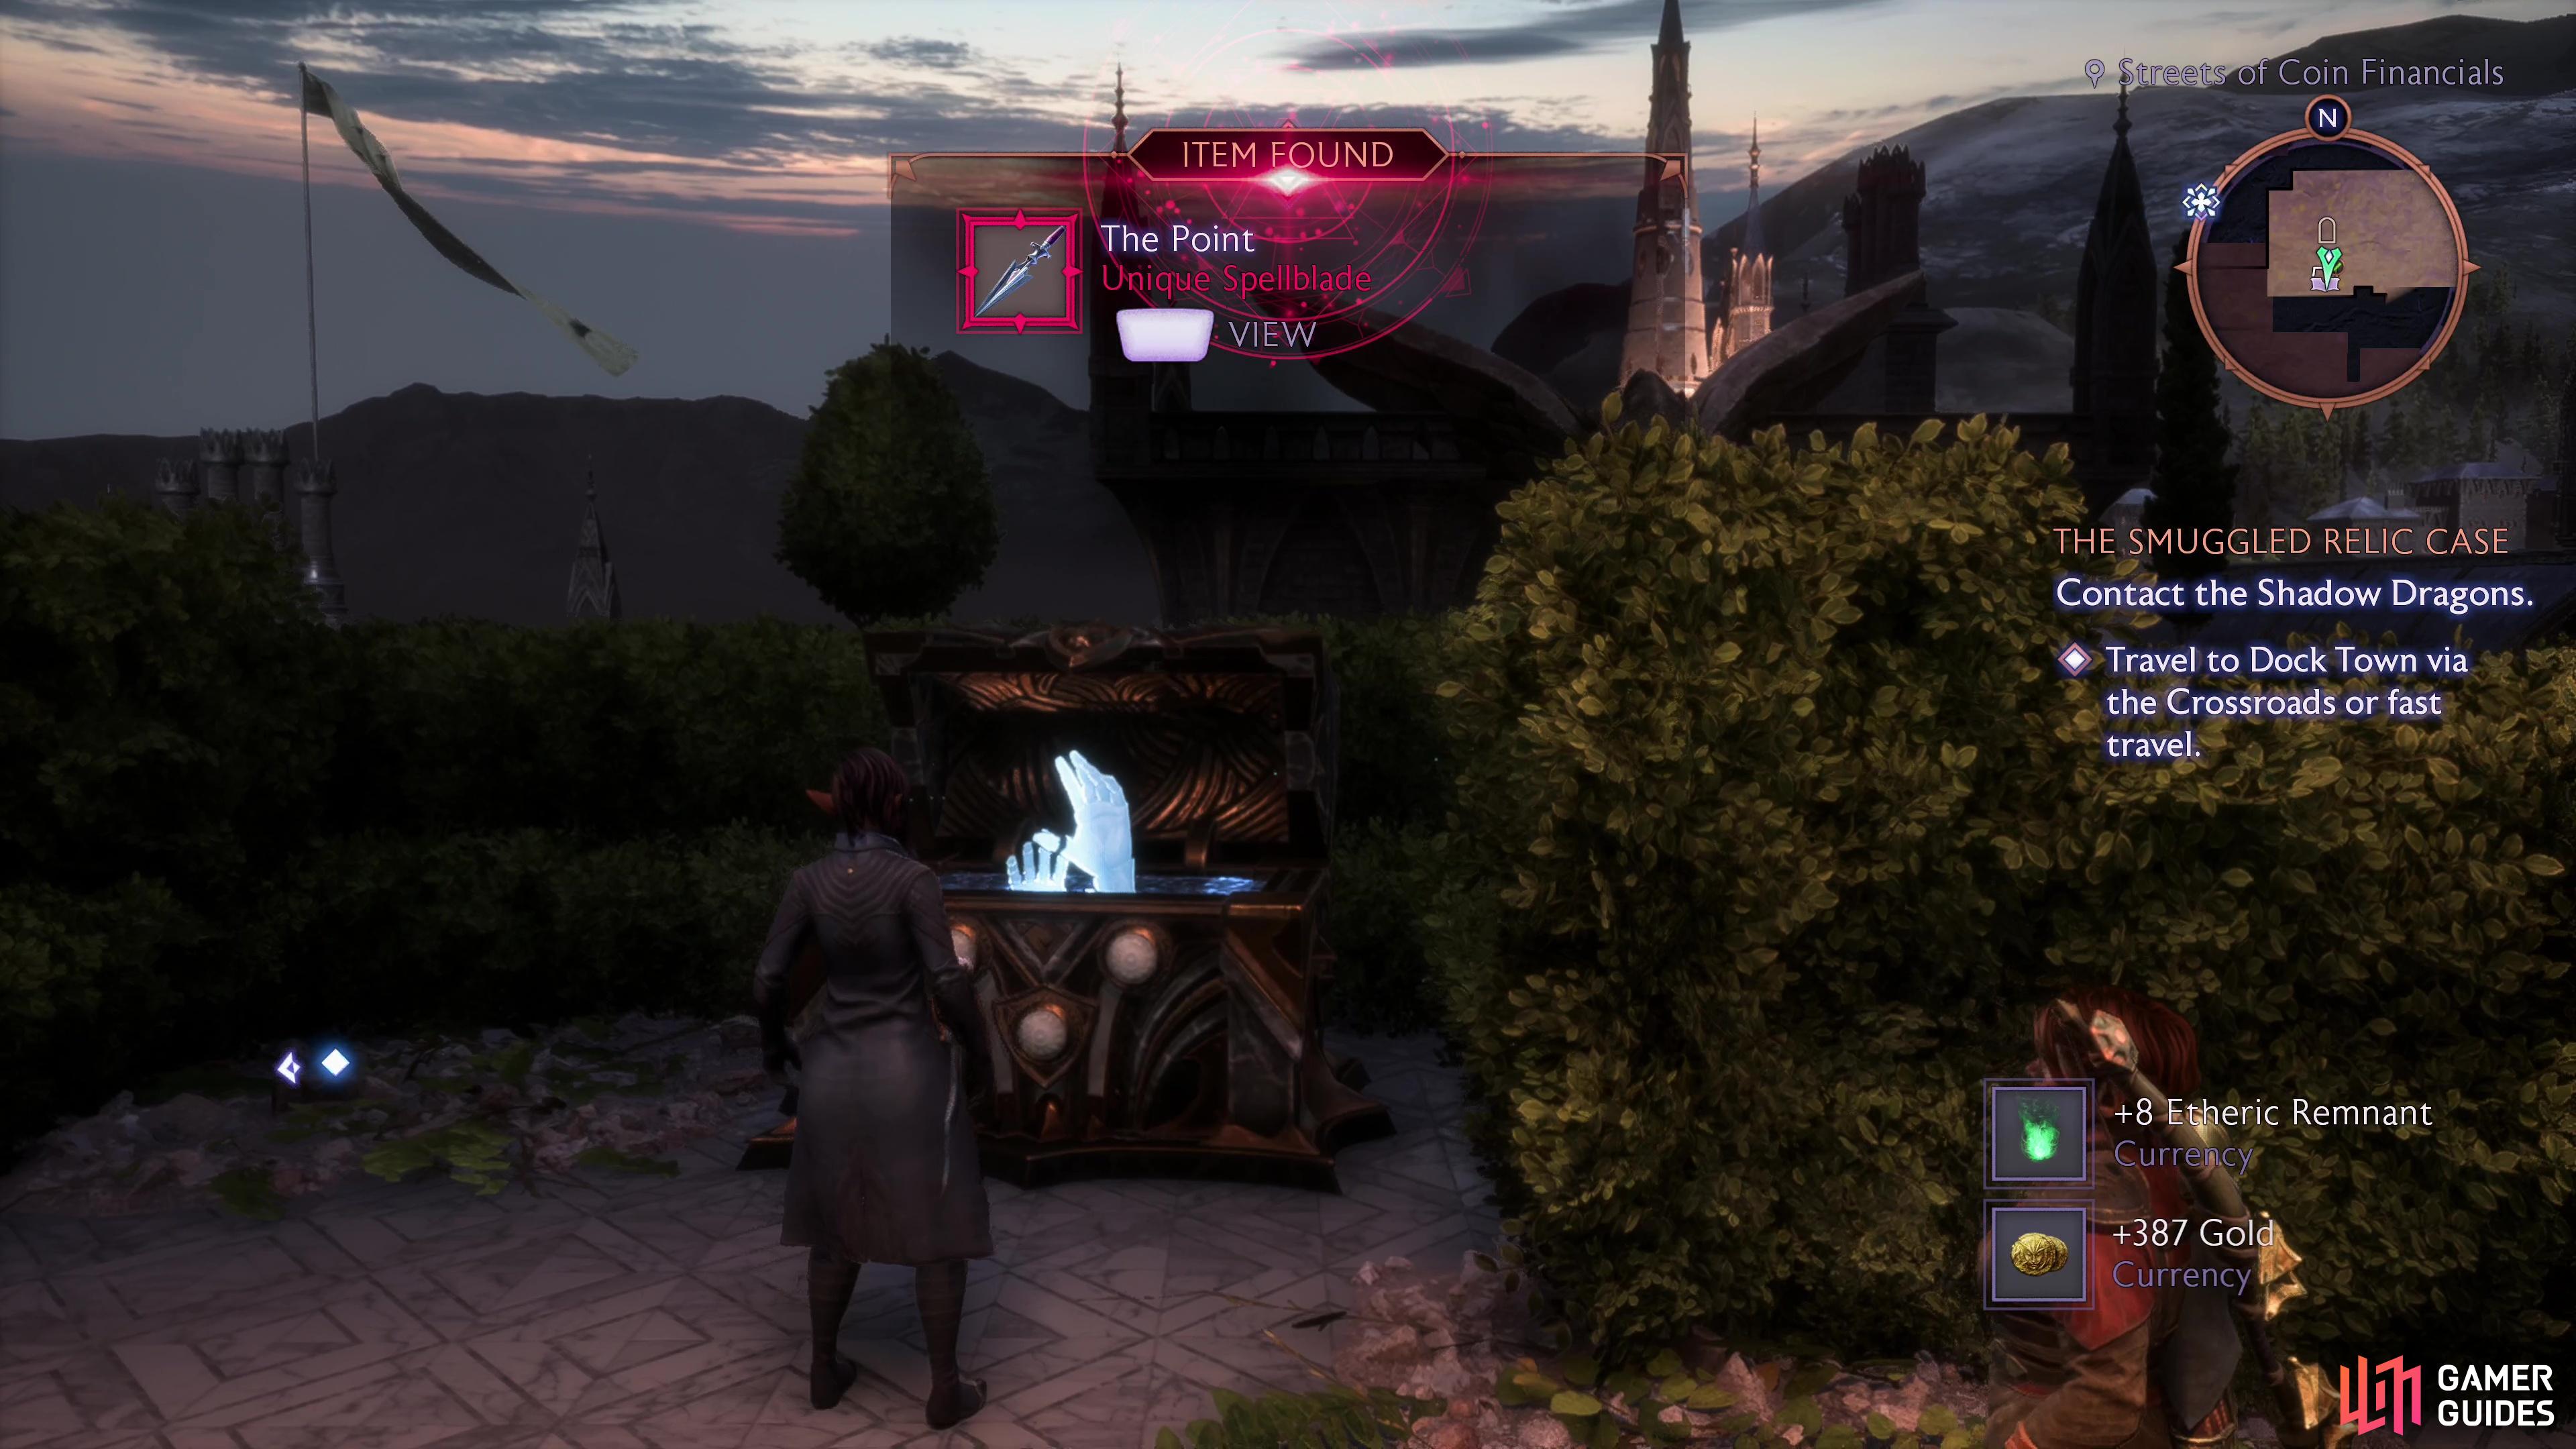
From the Heart and Central Beacon head east and a few steps past the door that leads to the last chest turn south around a corner to find a lattice you can climb. Do so, then climb a ladder ahead of you to reach a roof. Head south to reach flat ground, then turn west and climb some crates and jump west over to another section of roof where the railing has broken away. Once up here turn north to spot a sloped roof beyond the railing - vault over said railing onto the roof, then work your way around to the west, then turn south and jump through a broken window. Turn southeast to find some bookshelves and interact with them to open a secret passage, through which you’ll find this unique chest.
Chest 4: Streets of Coin Financials 1F
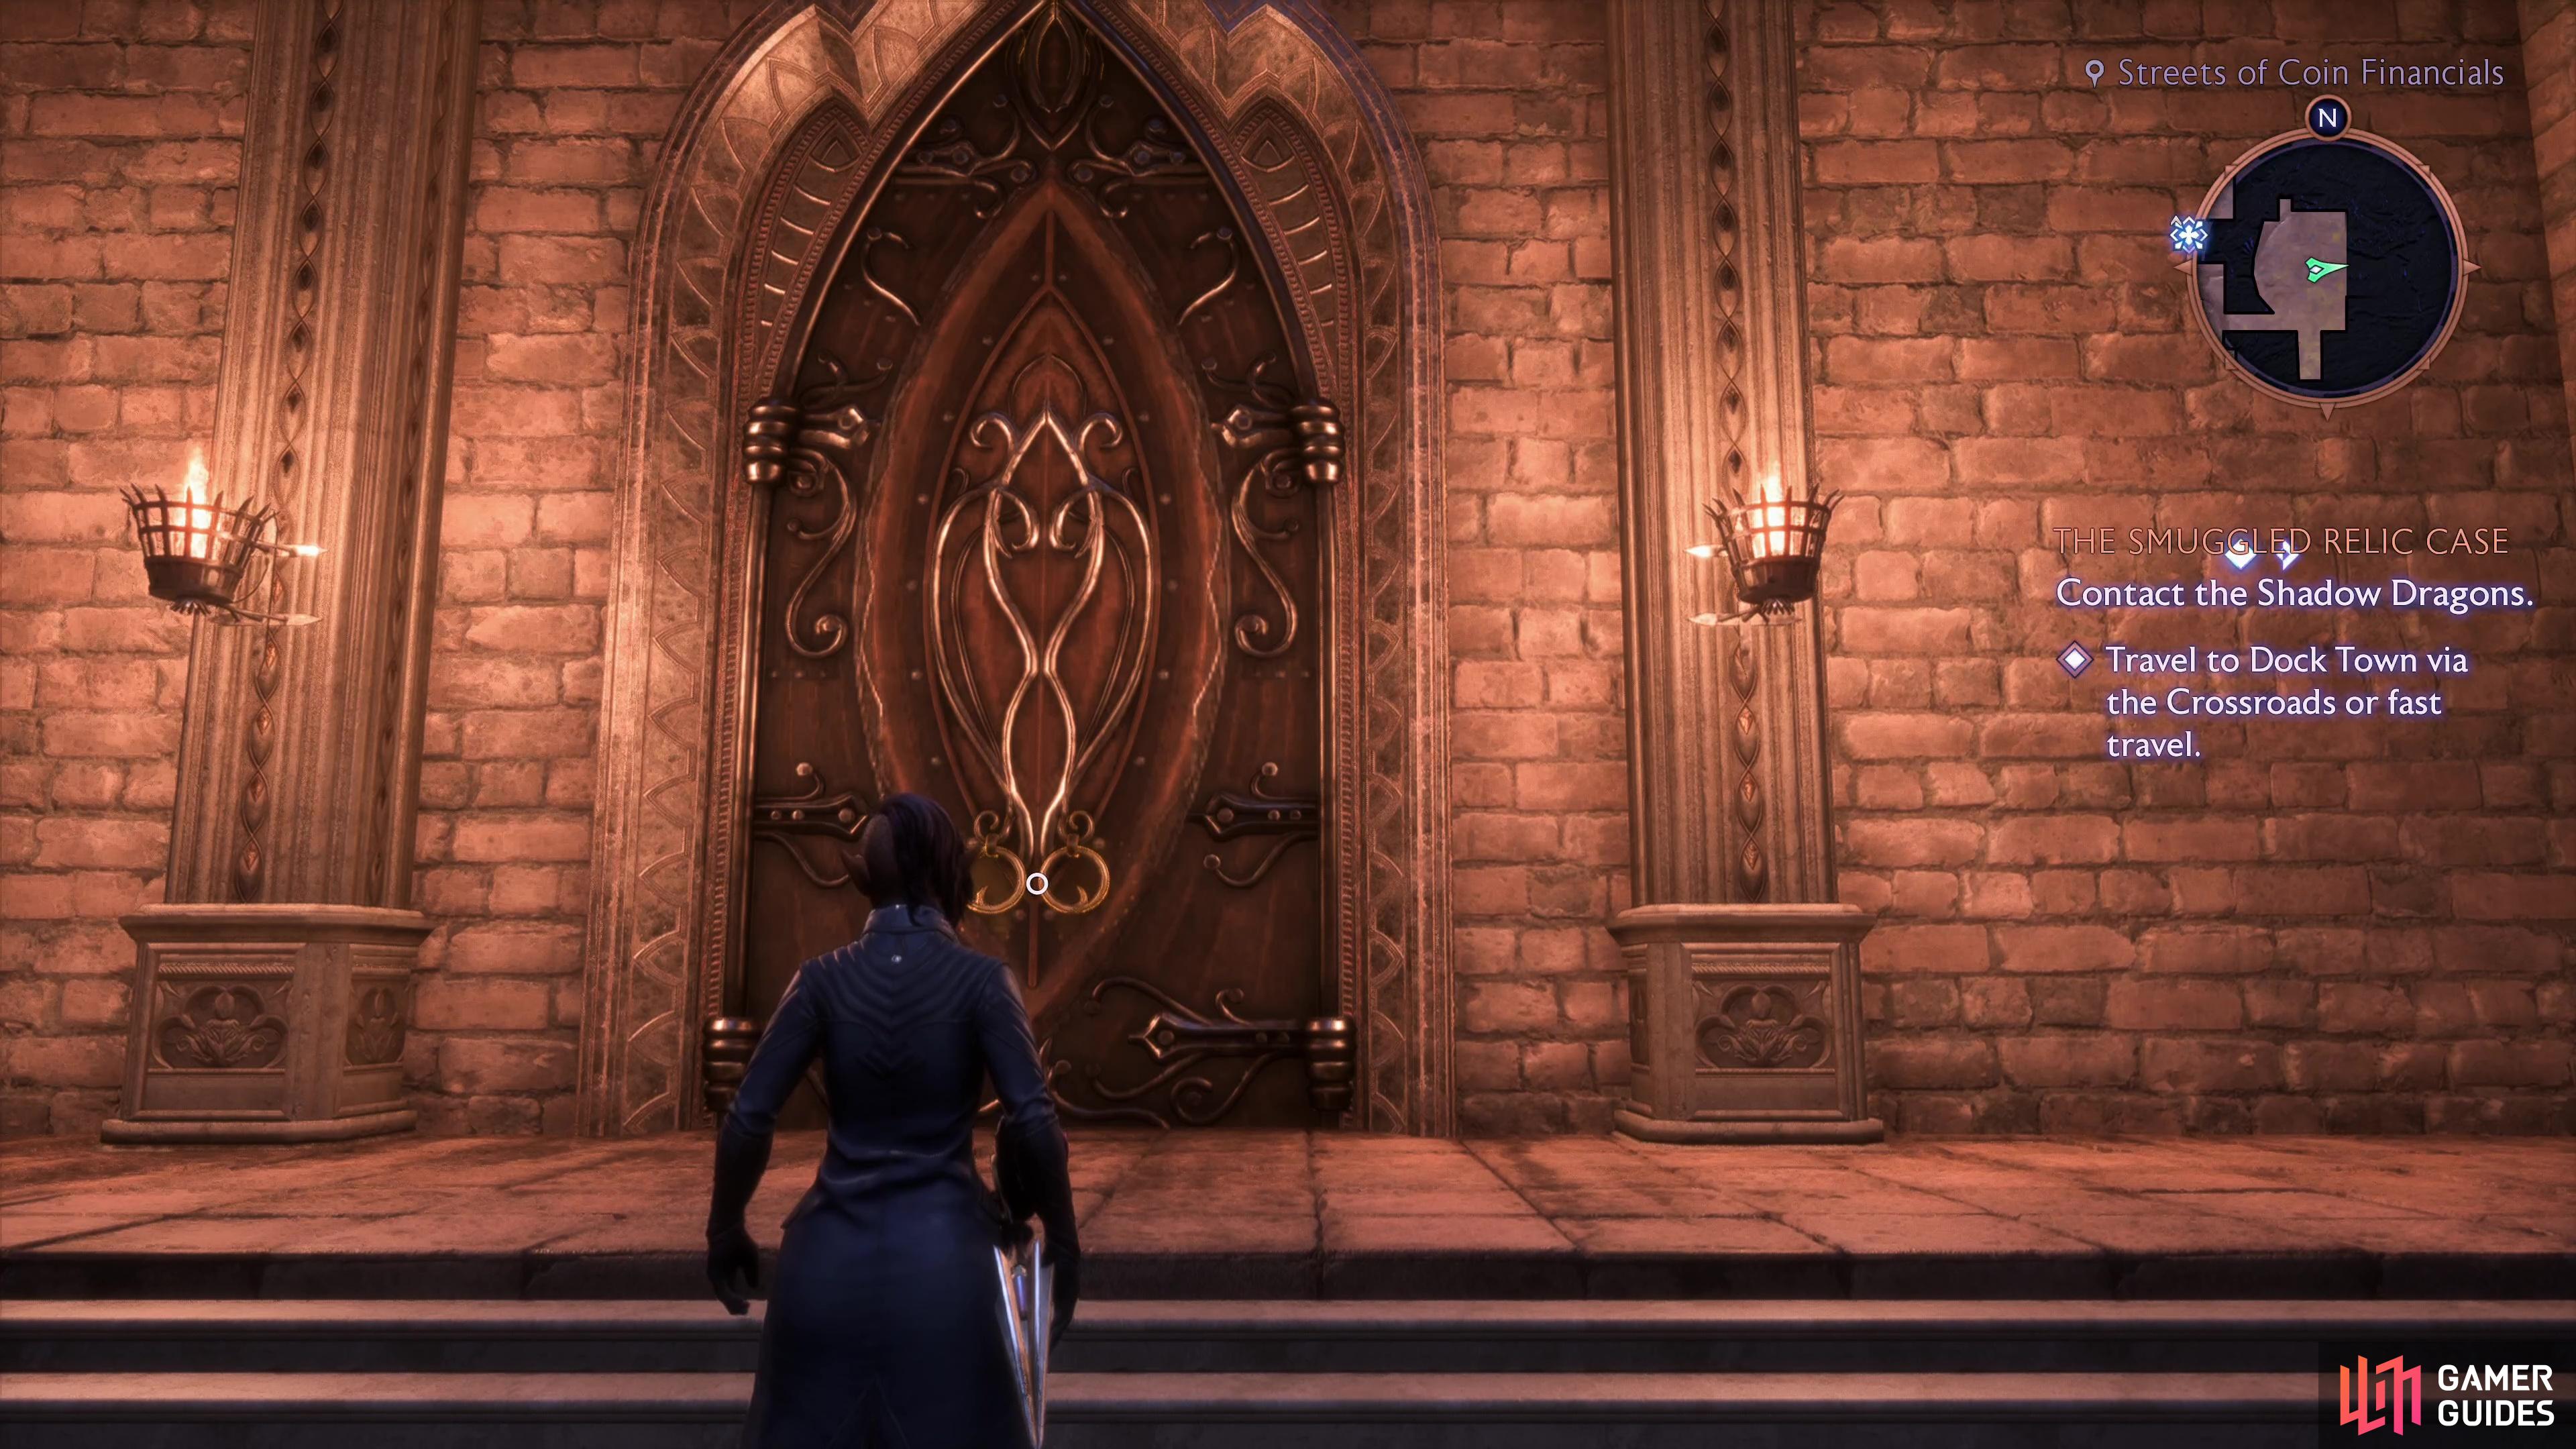
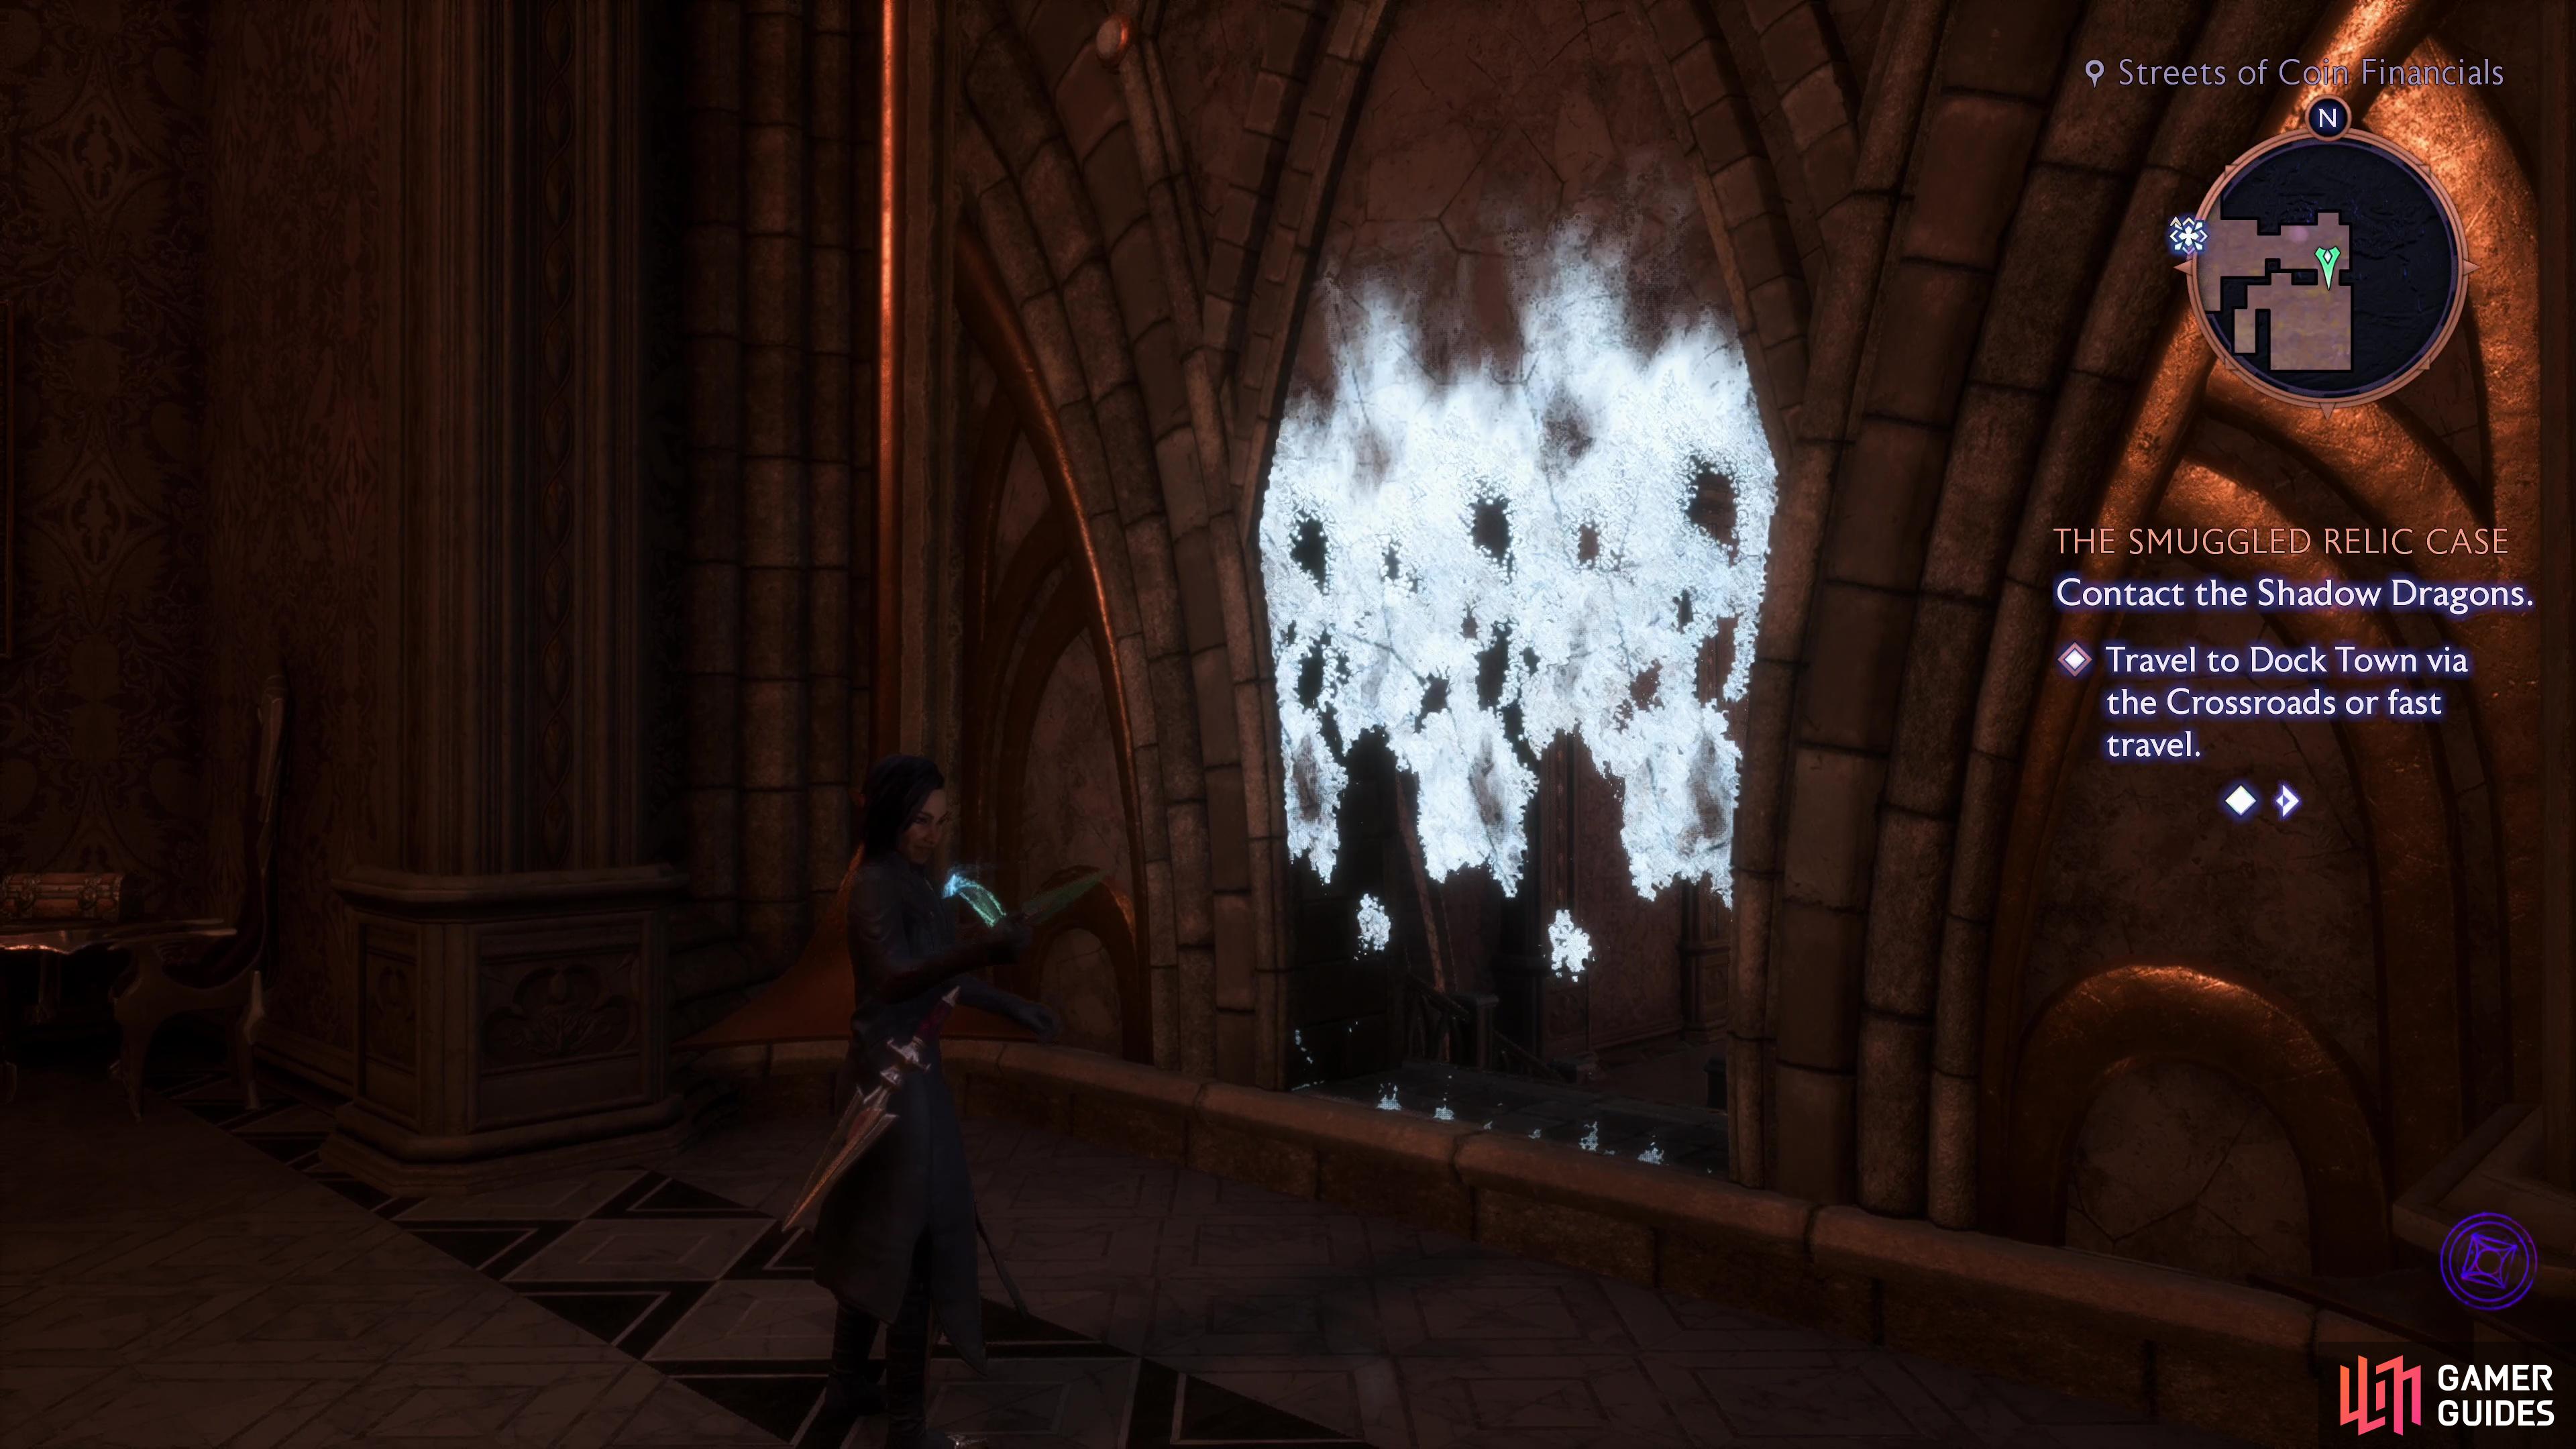
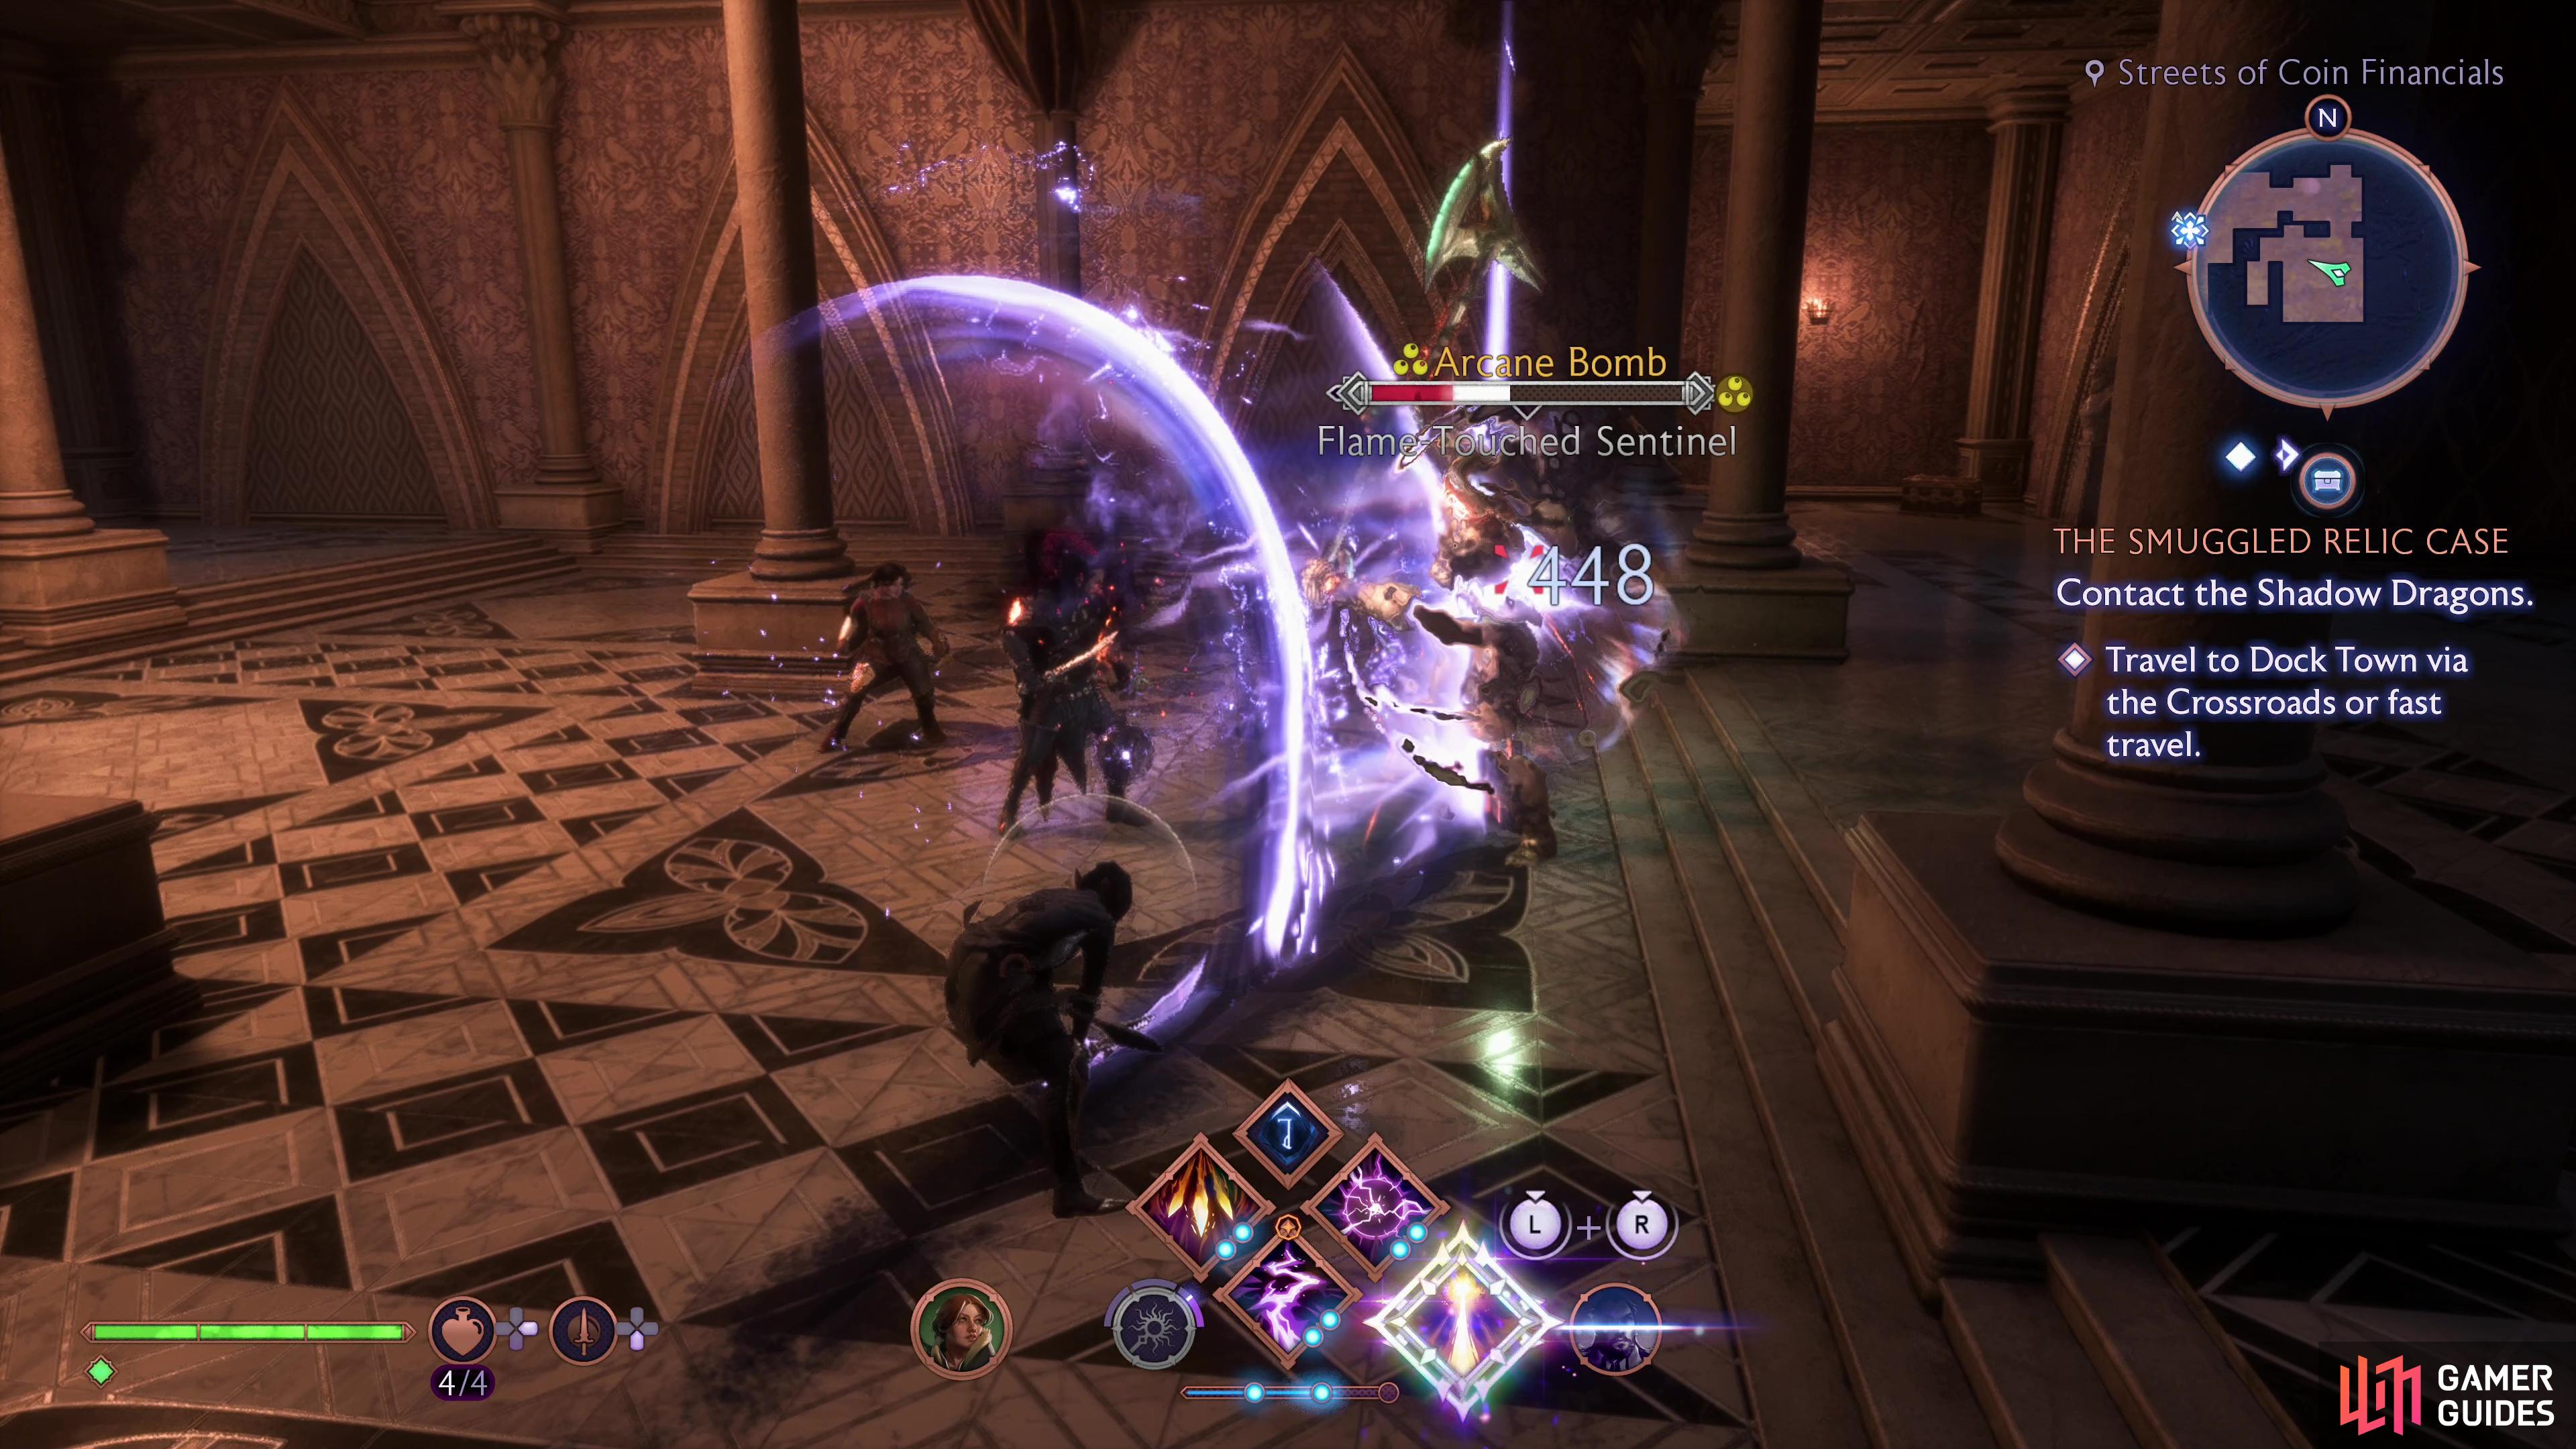
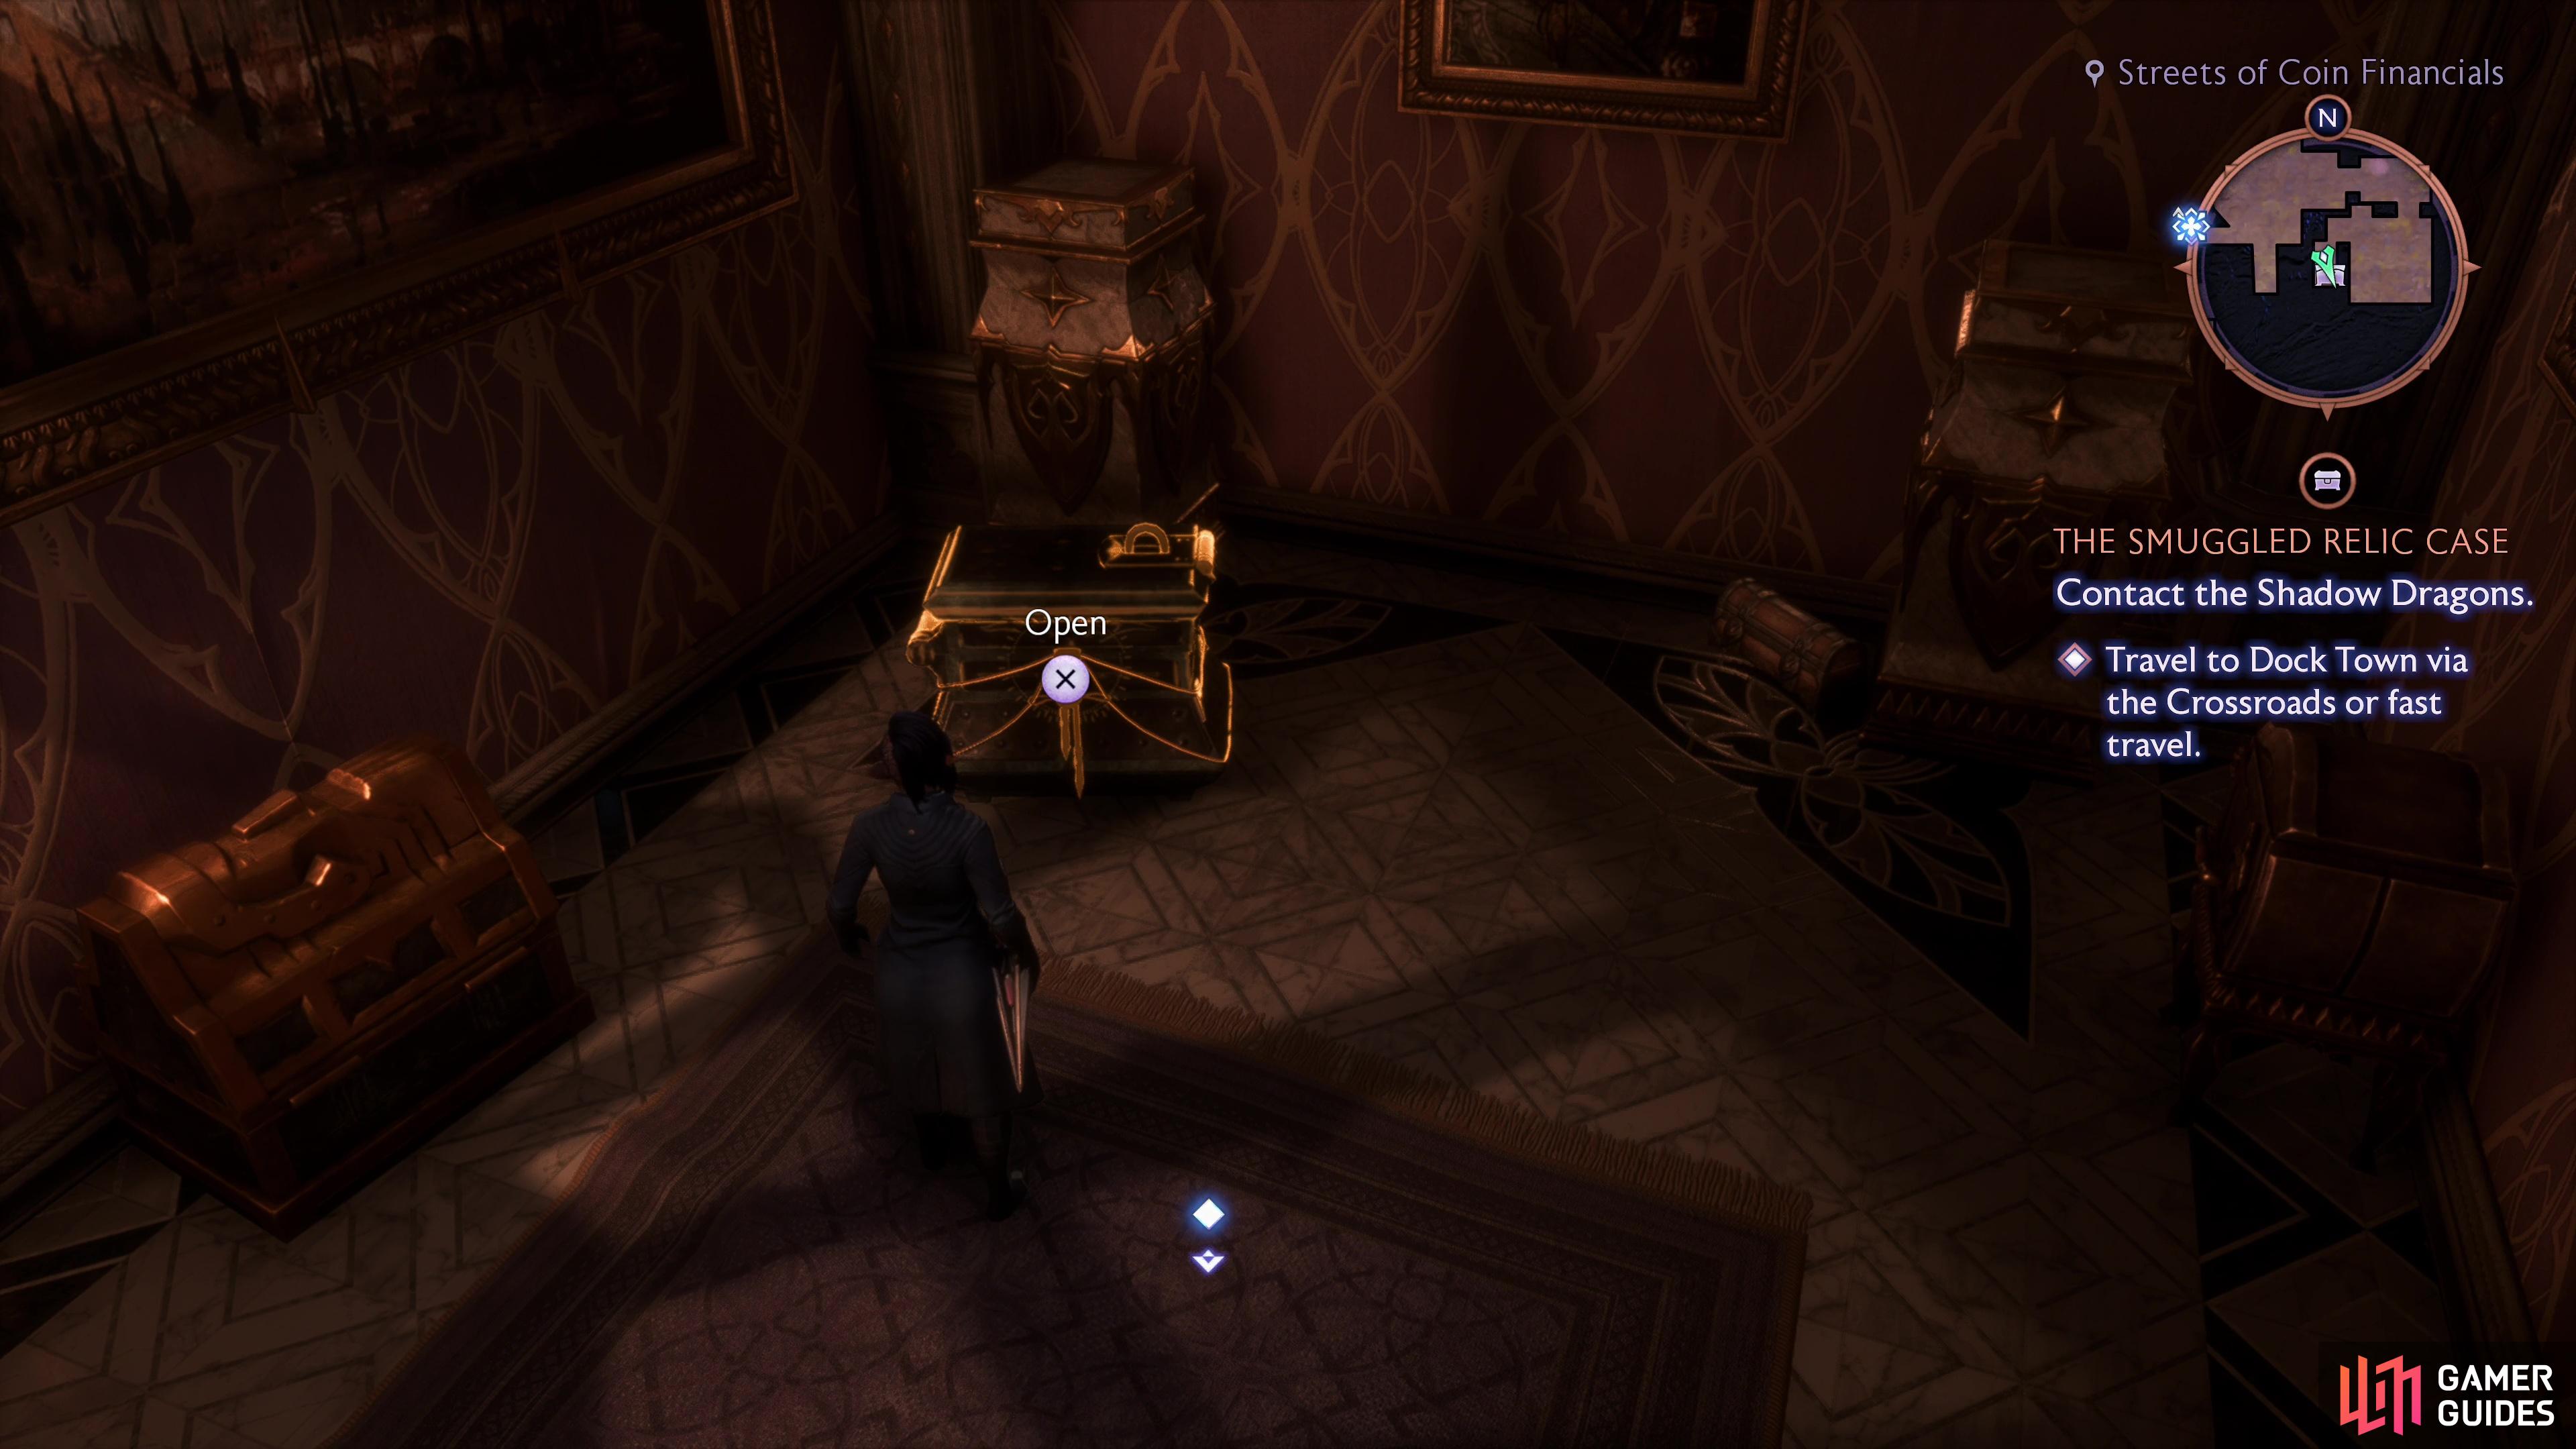
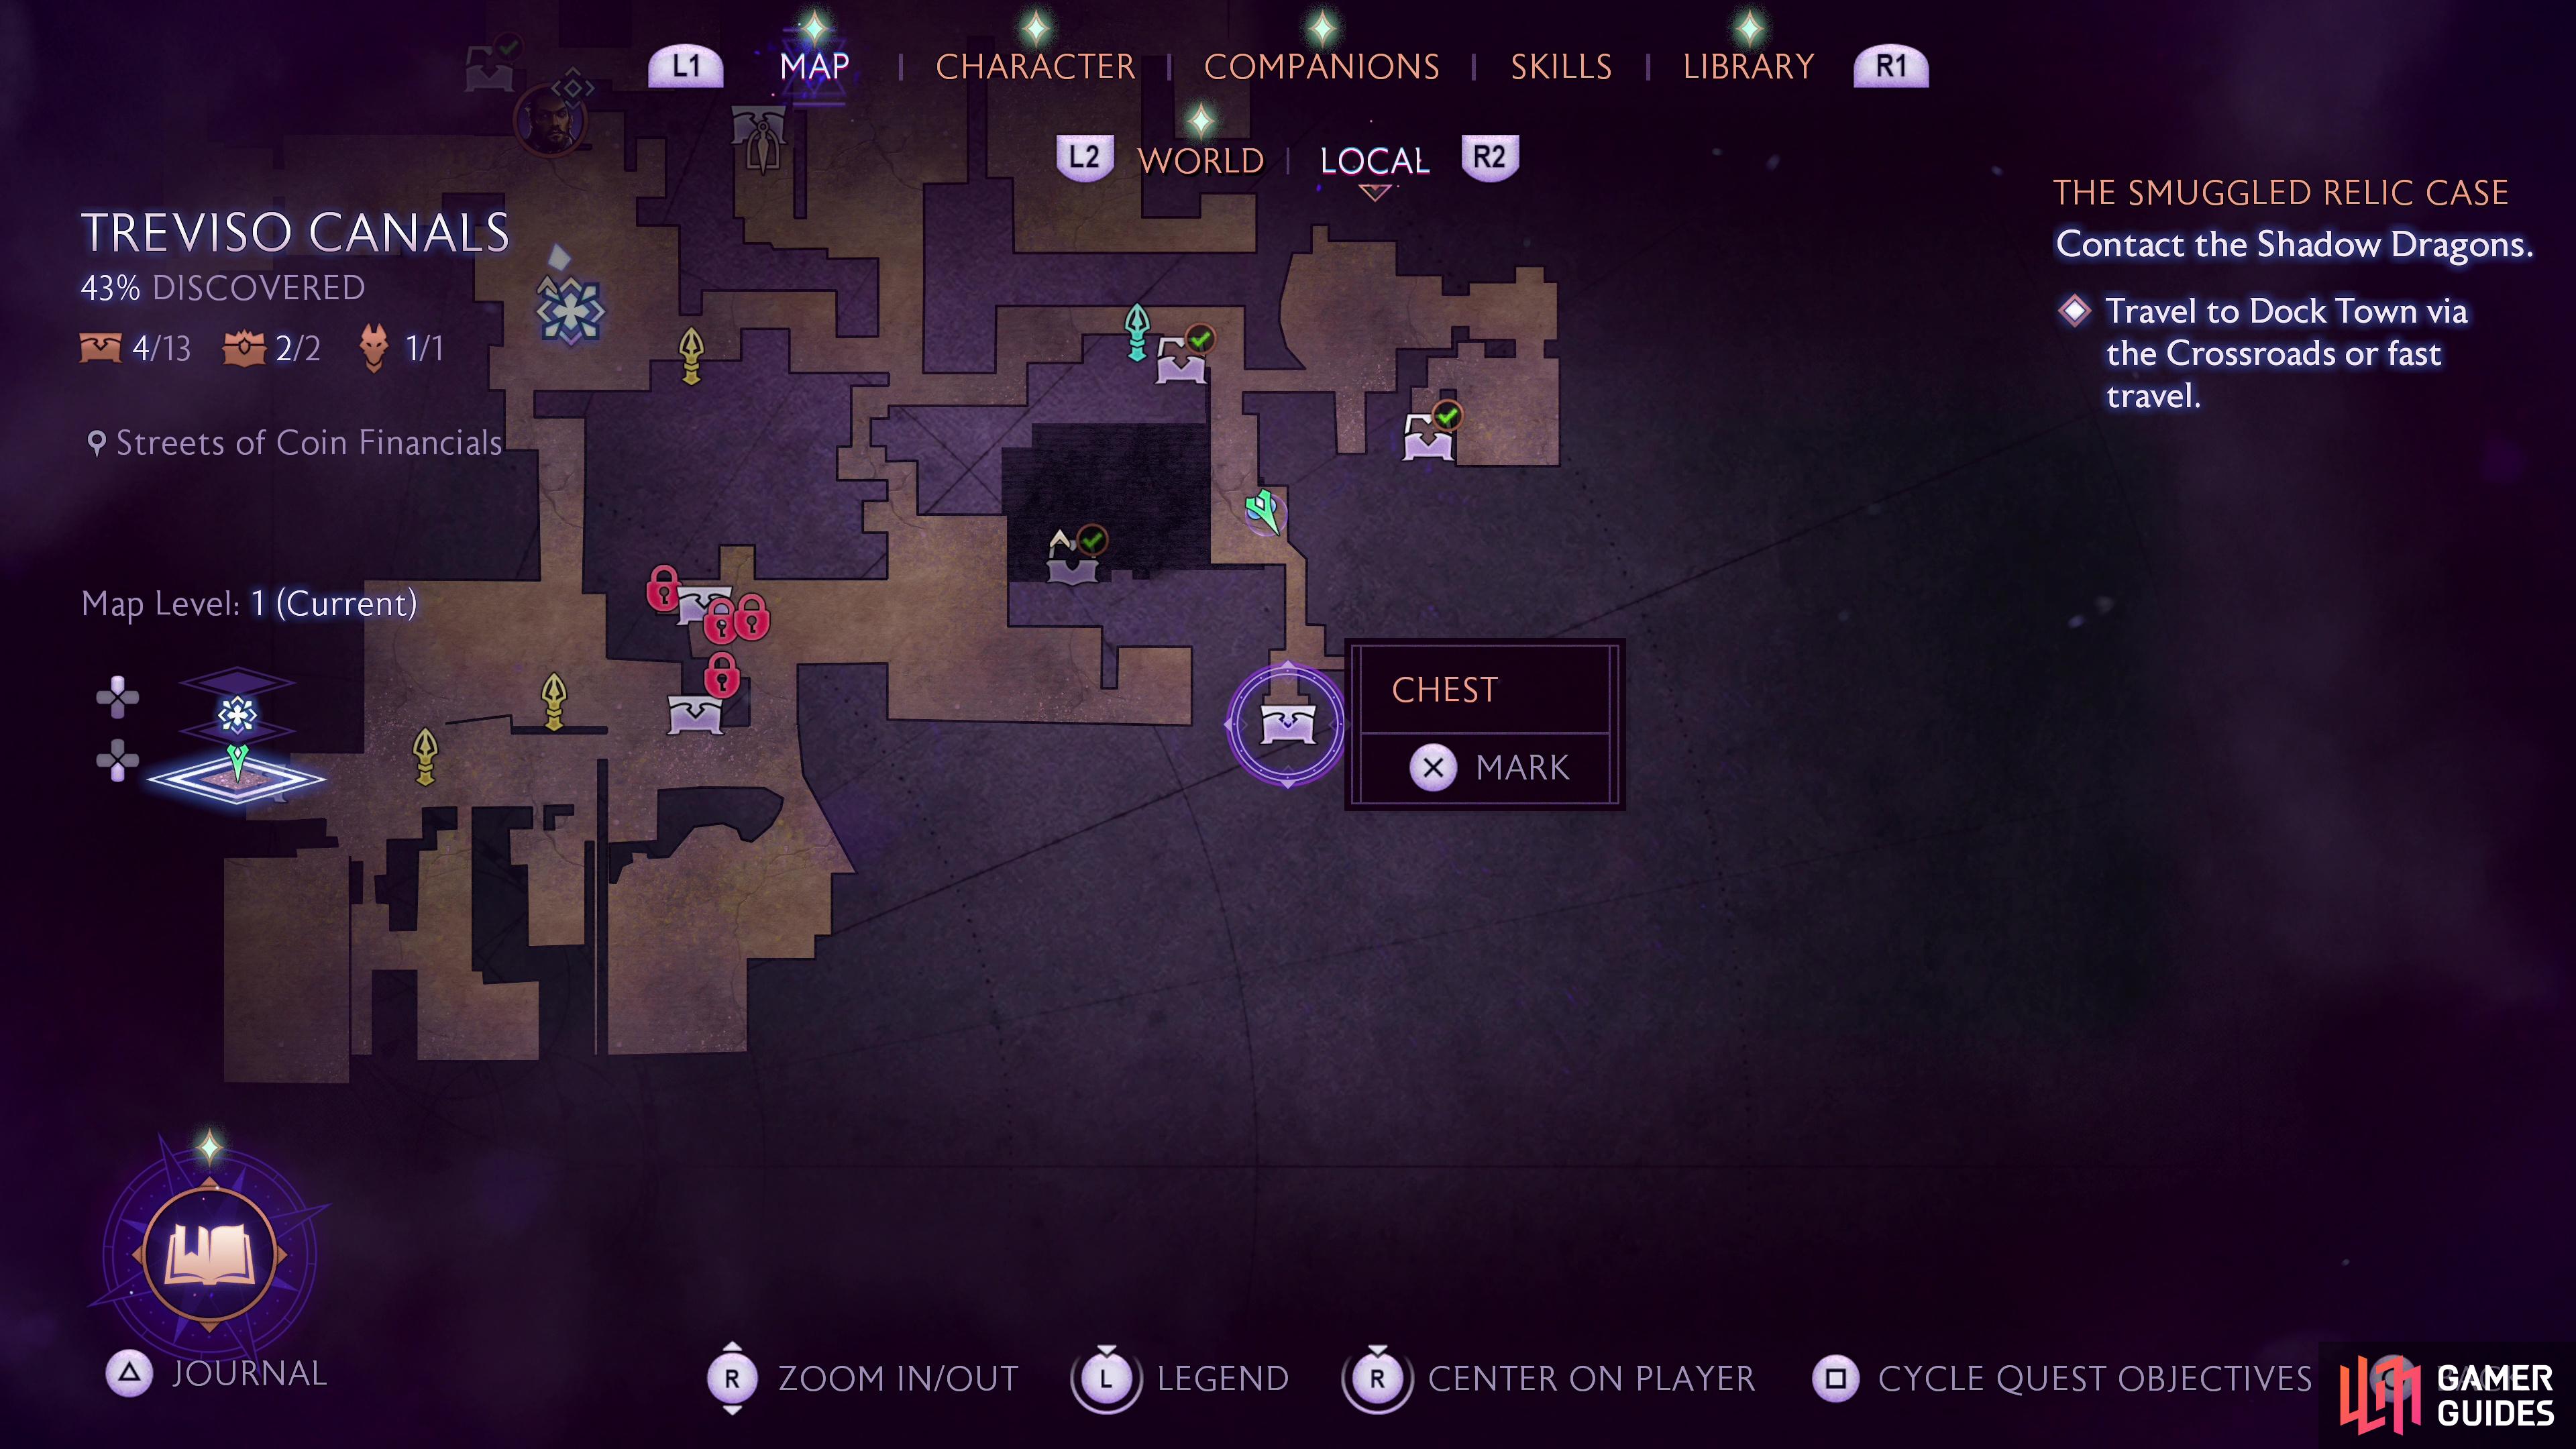
Make your way east from the Streets of Coin Financials and cross a bridge to the east to reach a rather swanky building. Climb some stairs, go through the door to enter a mansion. Continue up some stairs to the east to reach a room with a robed statue in the middle, then turn south and examine the wall to dispel it. Beyond you’ll find a large marble-clad chamber guarded by a Flame-Touched Sentinel. Kill it, then search a small side room to the west to find this chest.
Chest 5: Streets of Coin Financials 1F
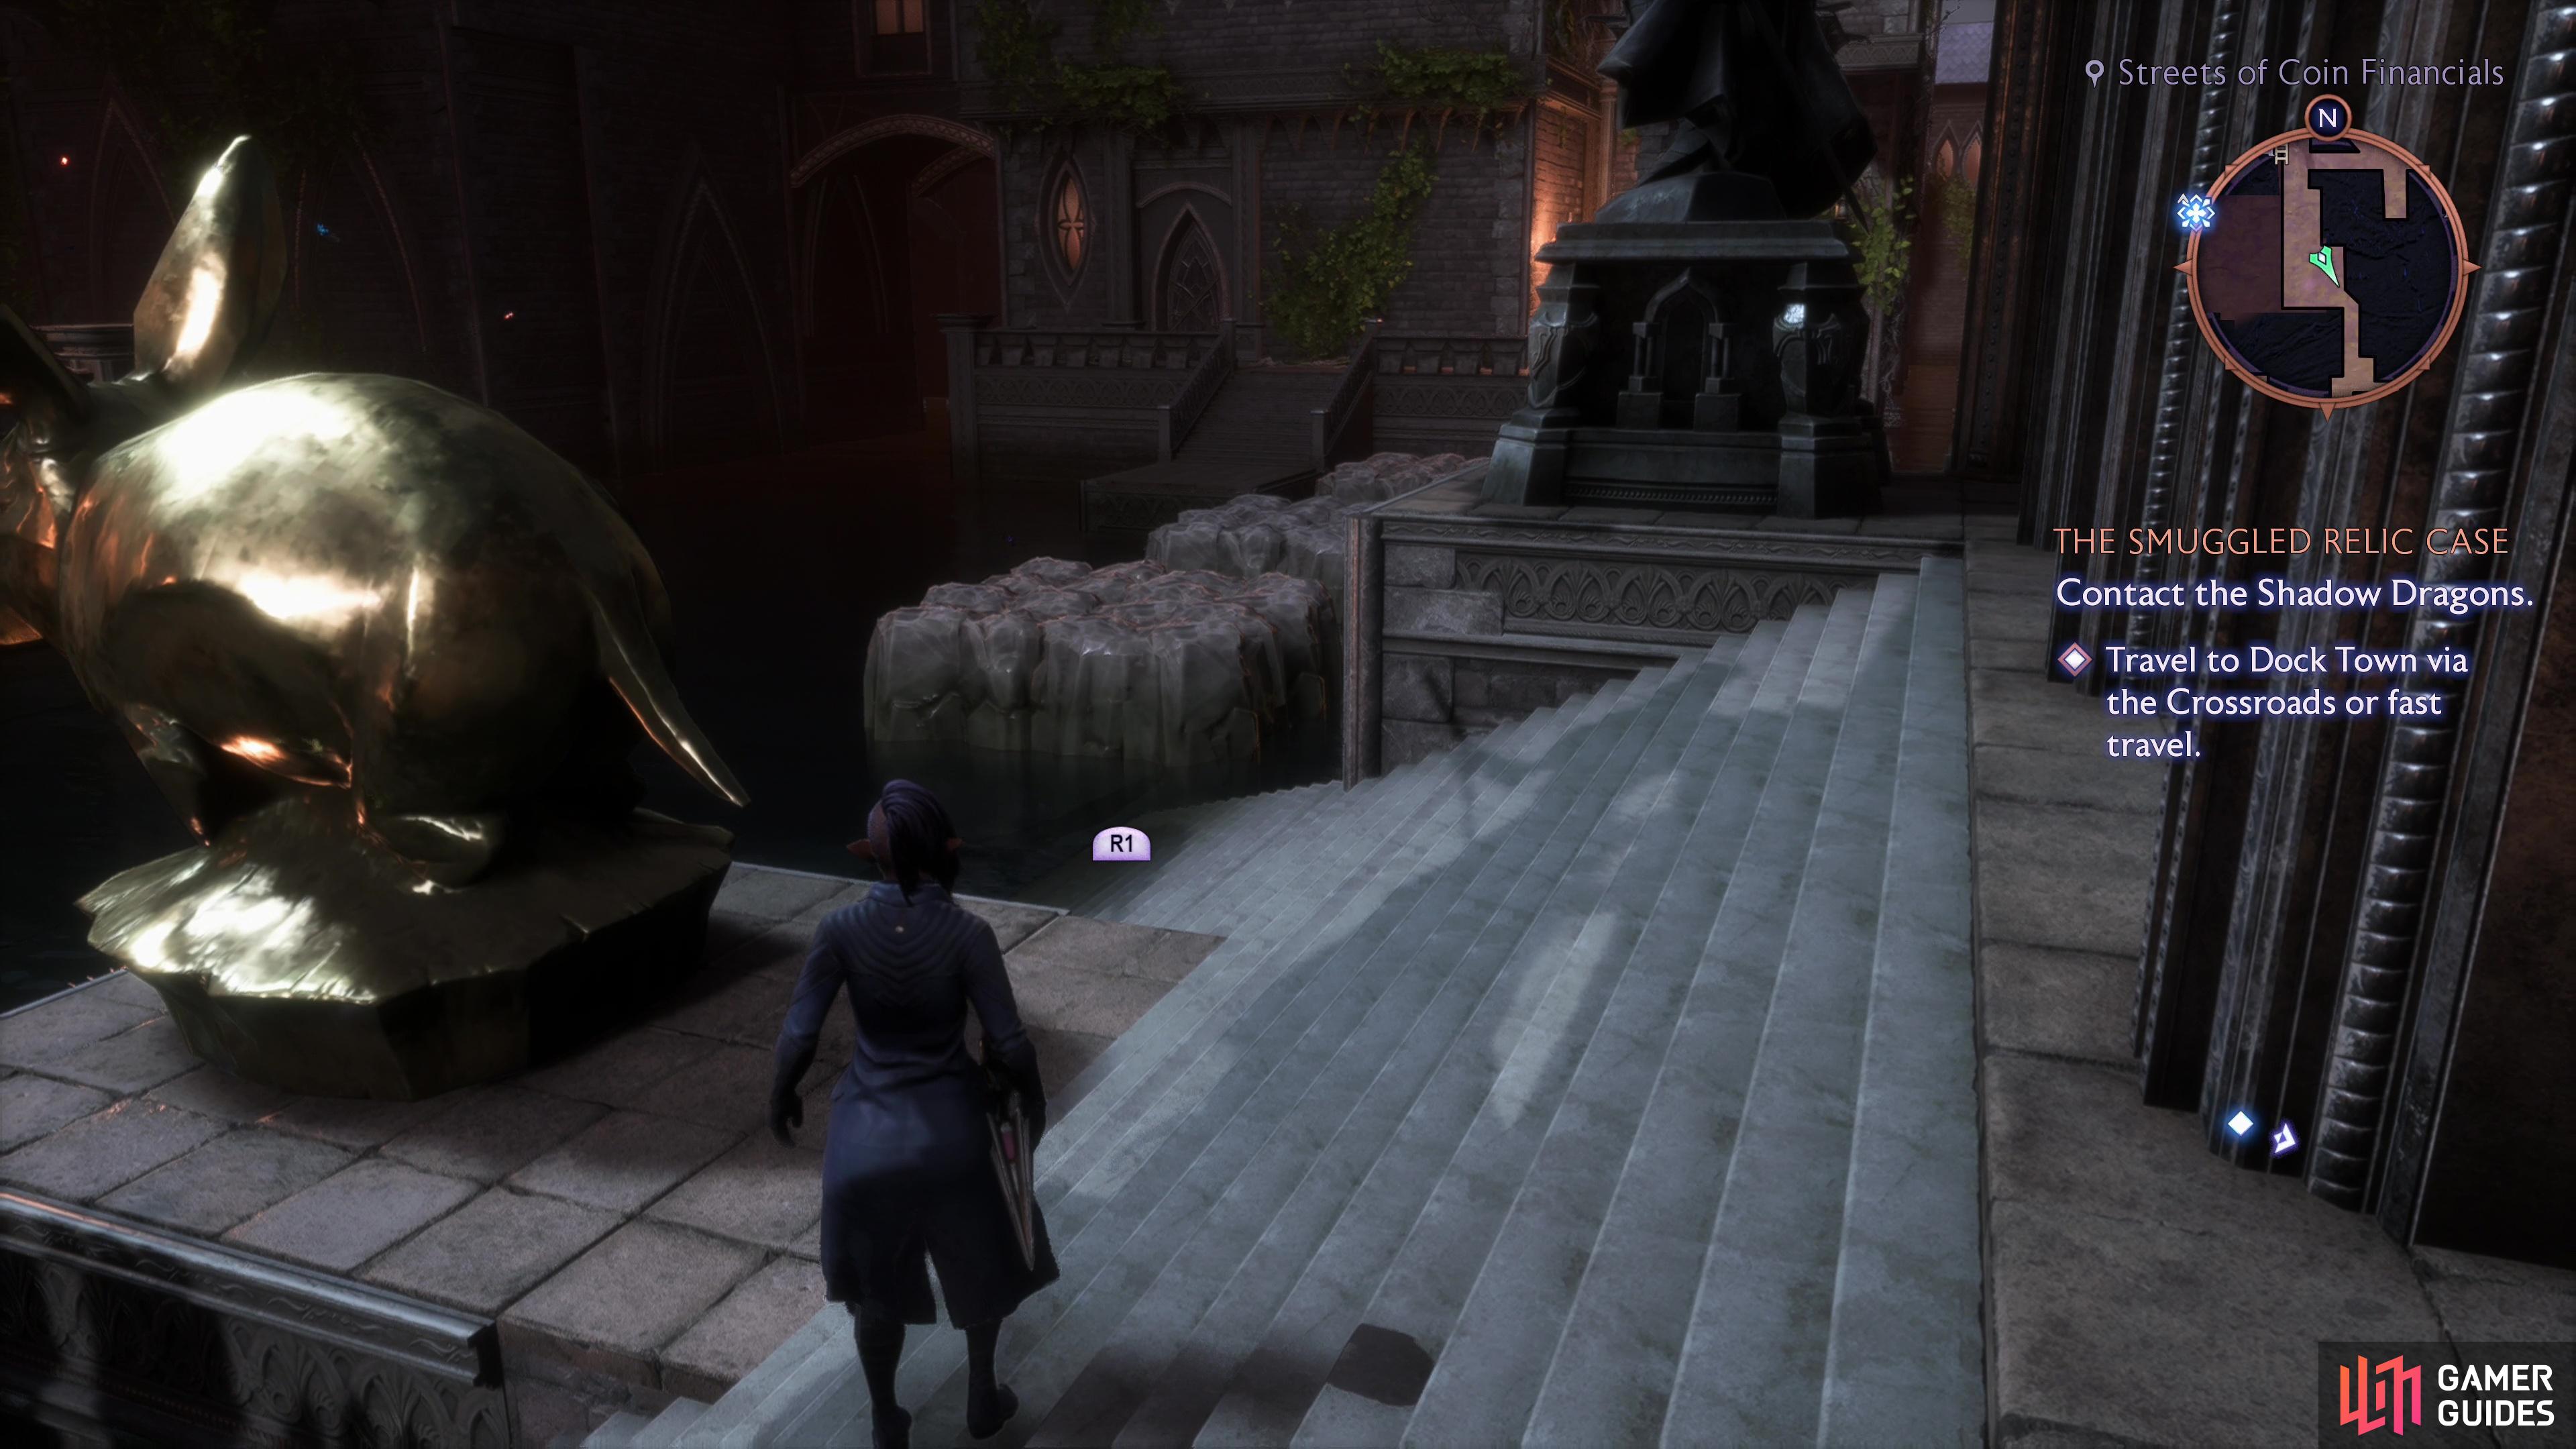
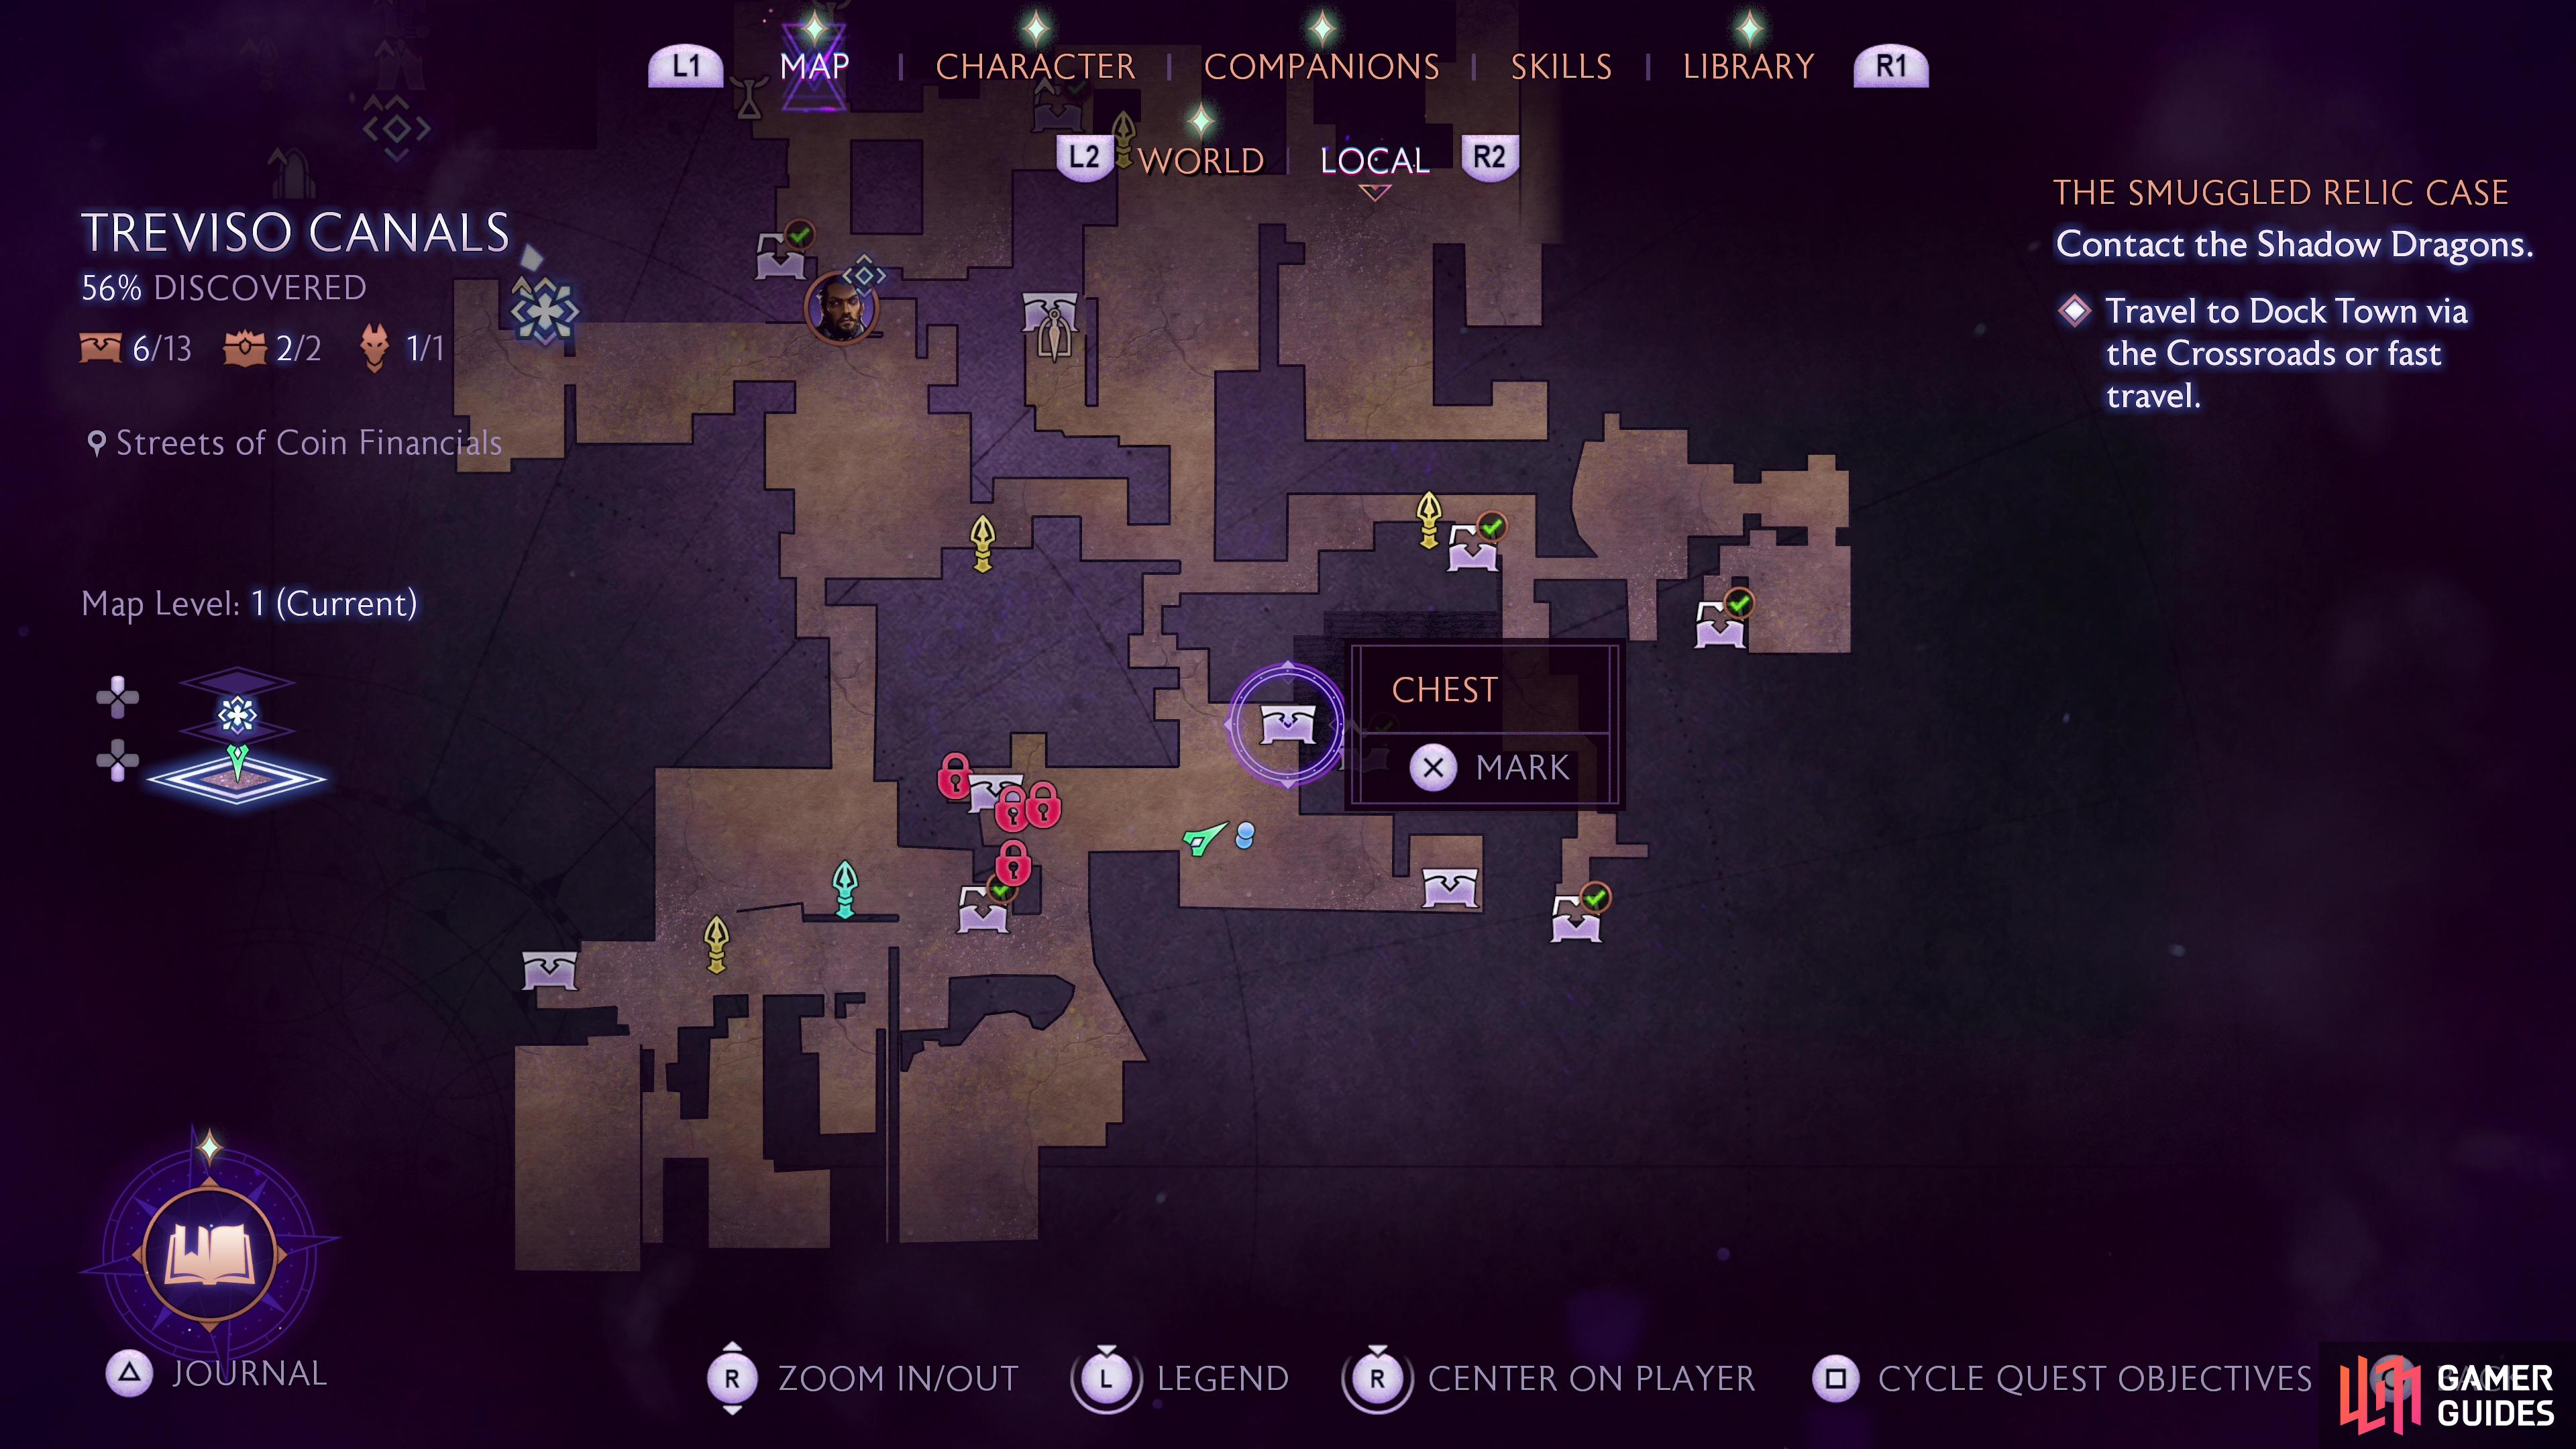
From the Heart and Central Beacon head east, then south until you pass through a doorway, at which point turn east again to find a golden statue of a nug near the waterfront. Kinda weird, but a good landmark. Look out southeast into the canal and you’ll find some stone platforms under the surface of the water - use Harding’s Eternal Hymn to raise them, then jump across to reach a landing to the south. Go upstairs, turn east then south and go through a doorway to find this chest.
(1 of 3) The location of chest #5 on the map.
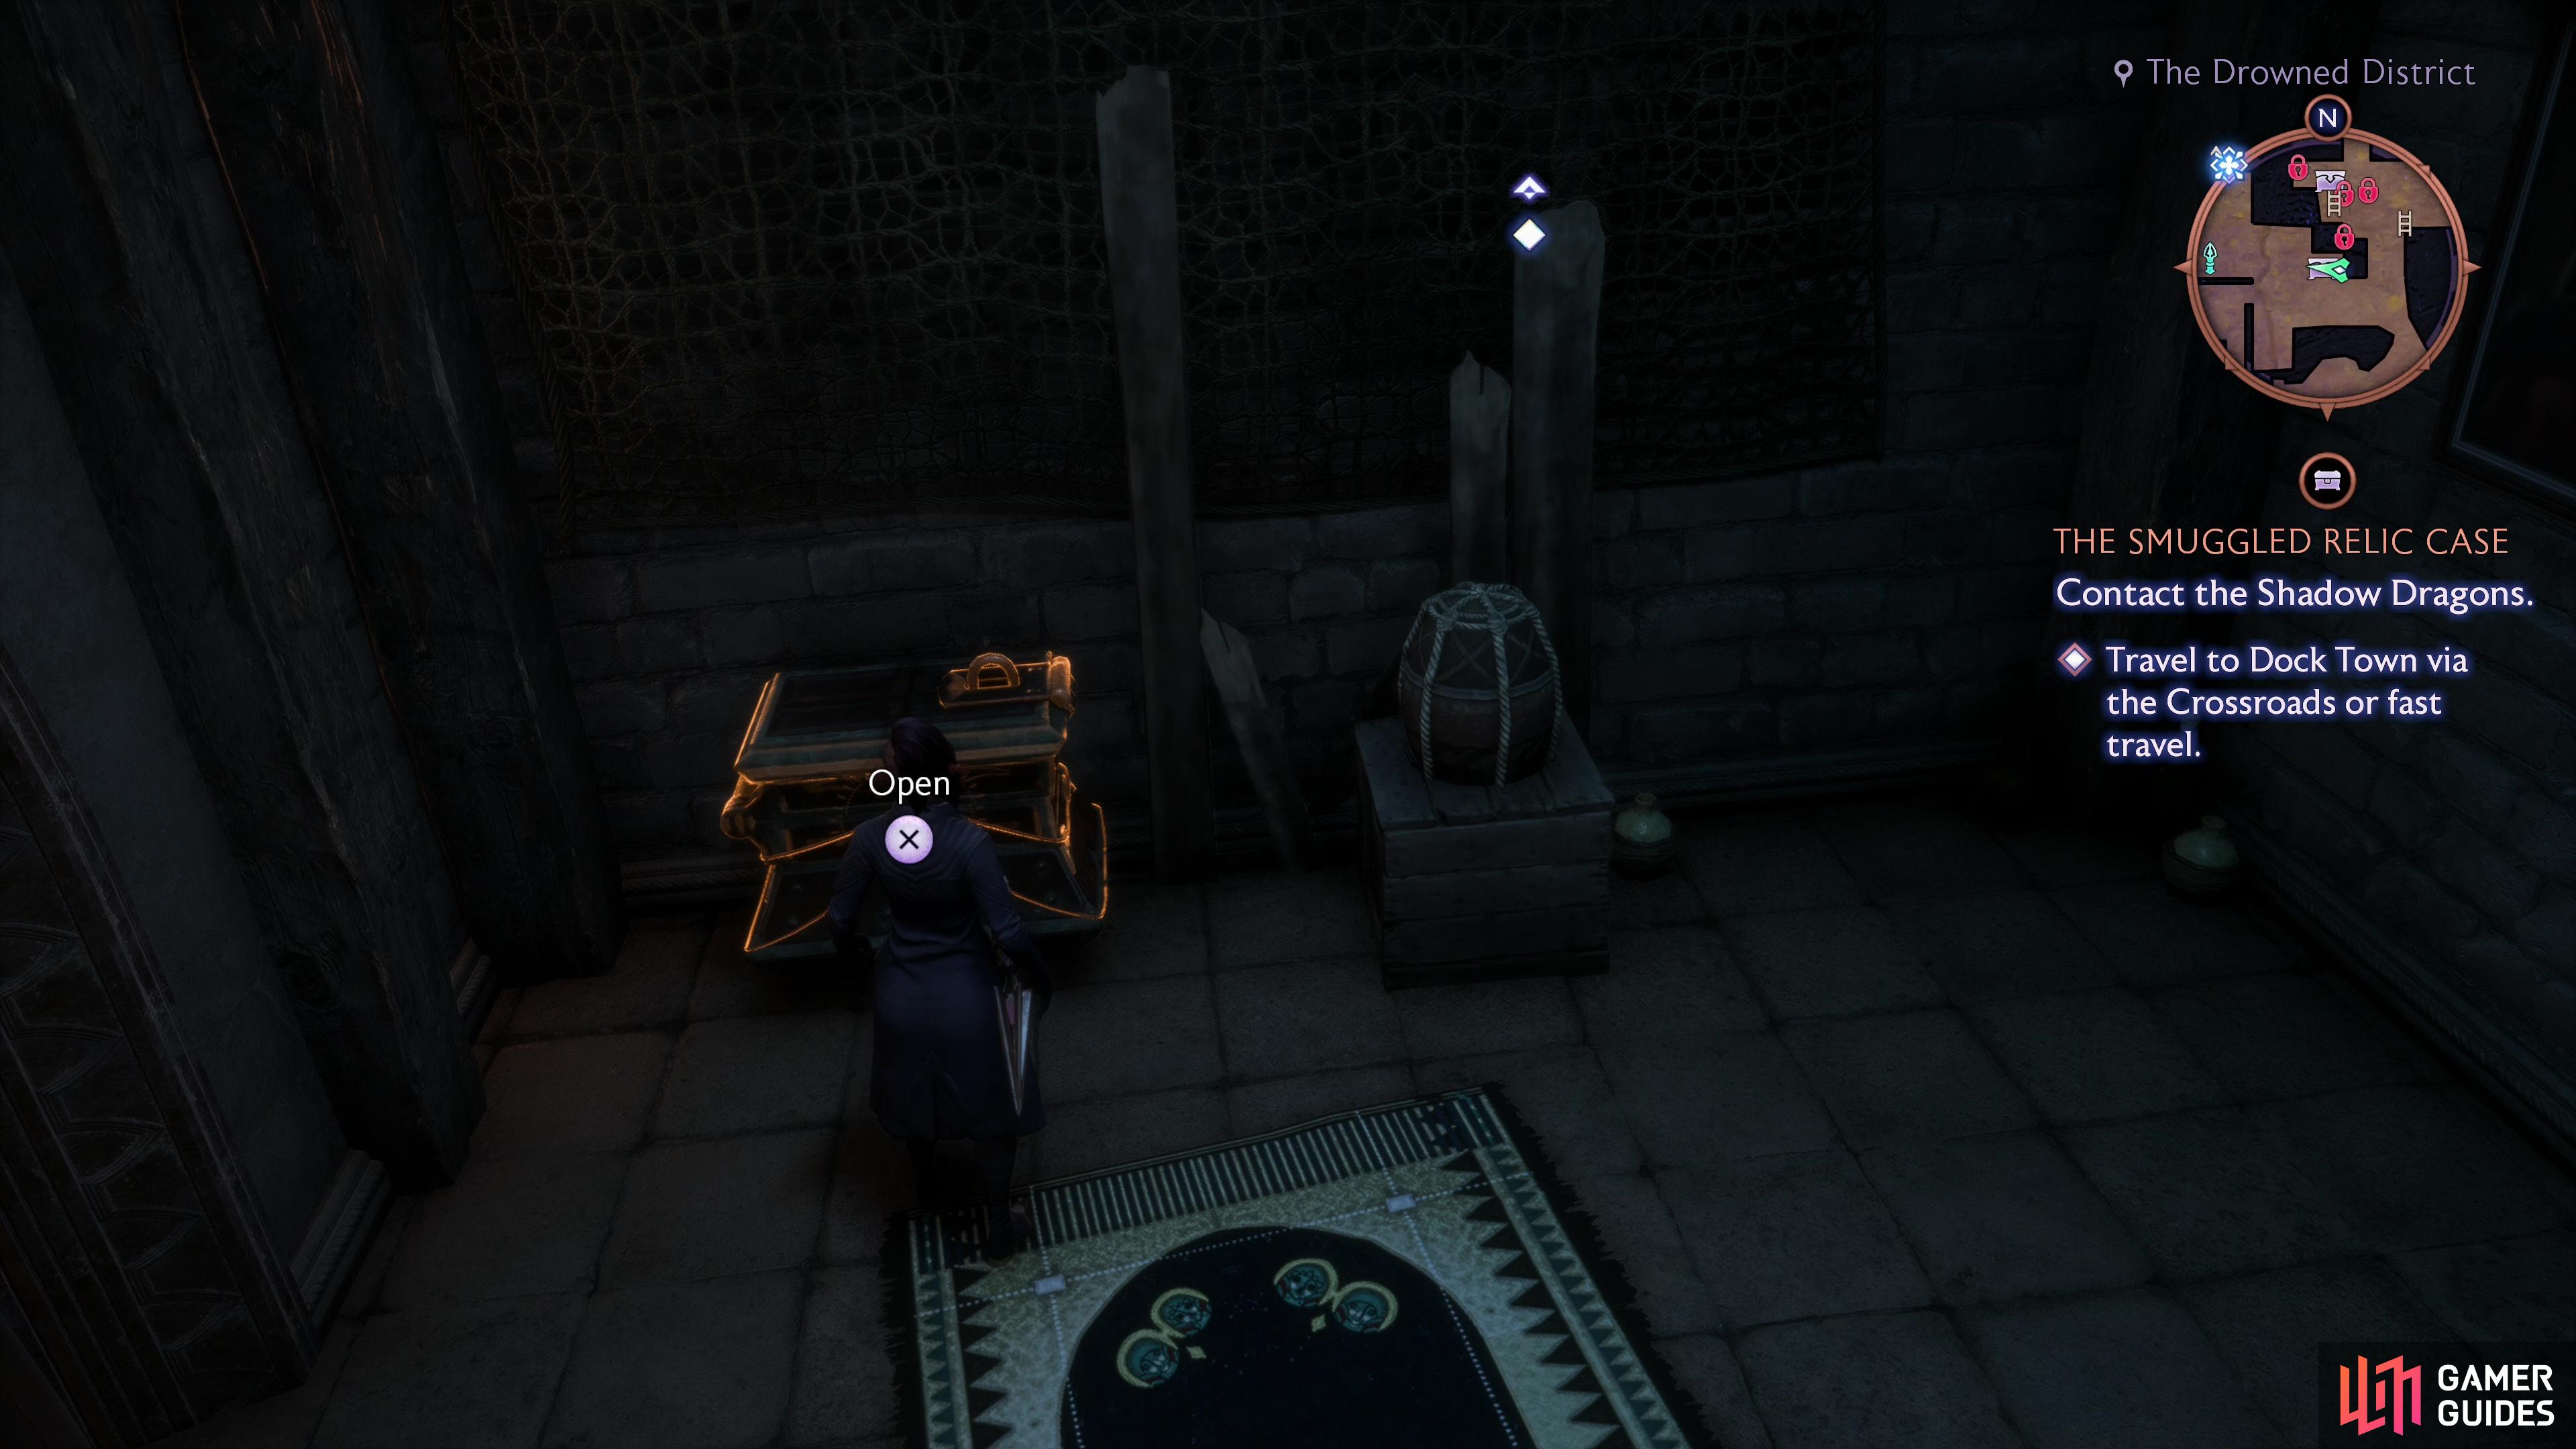
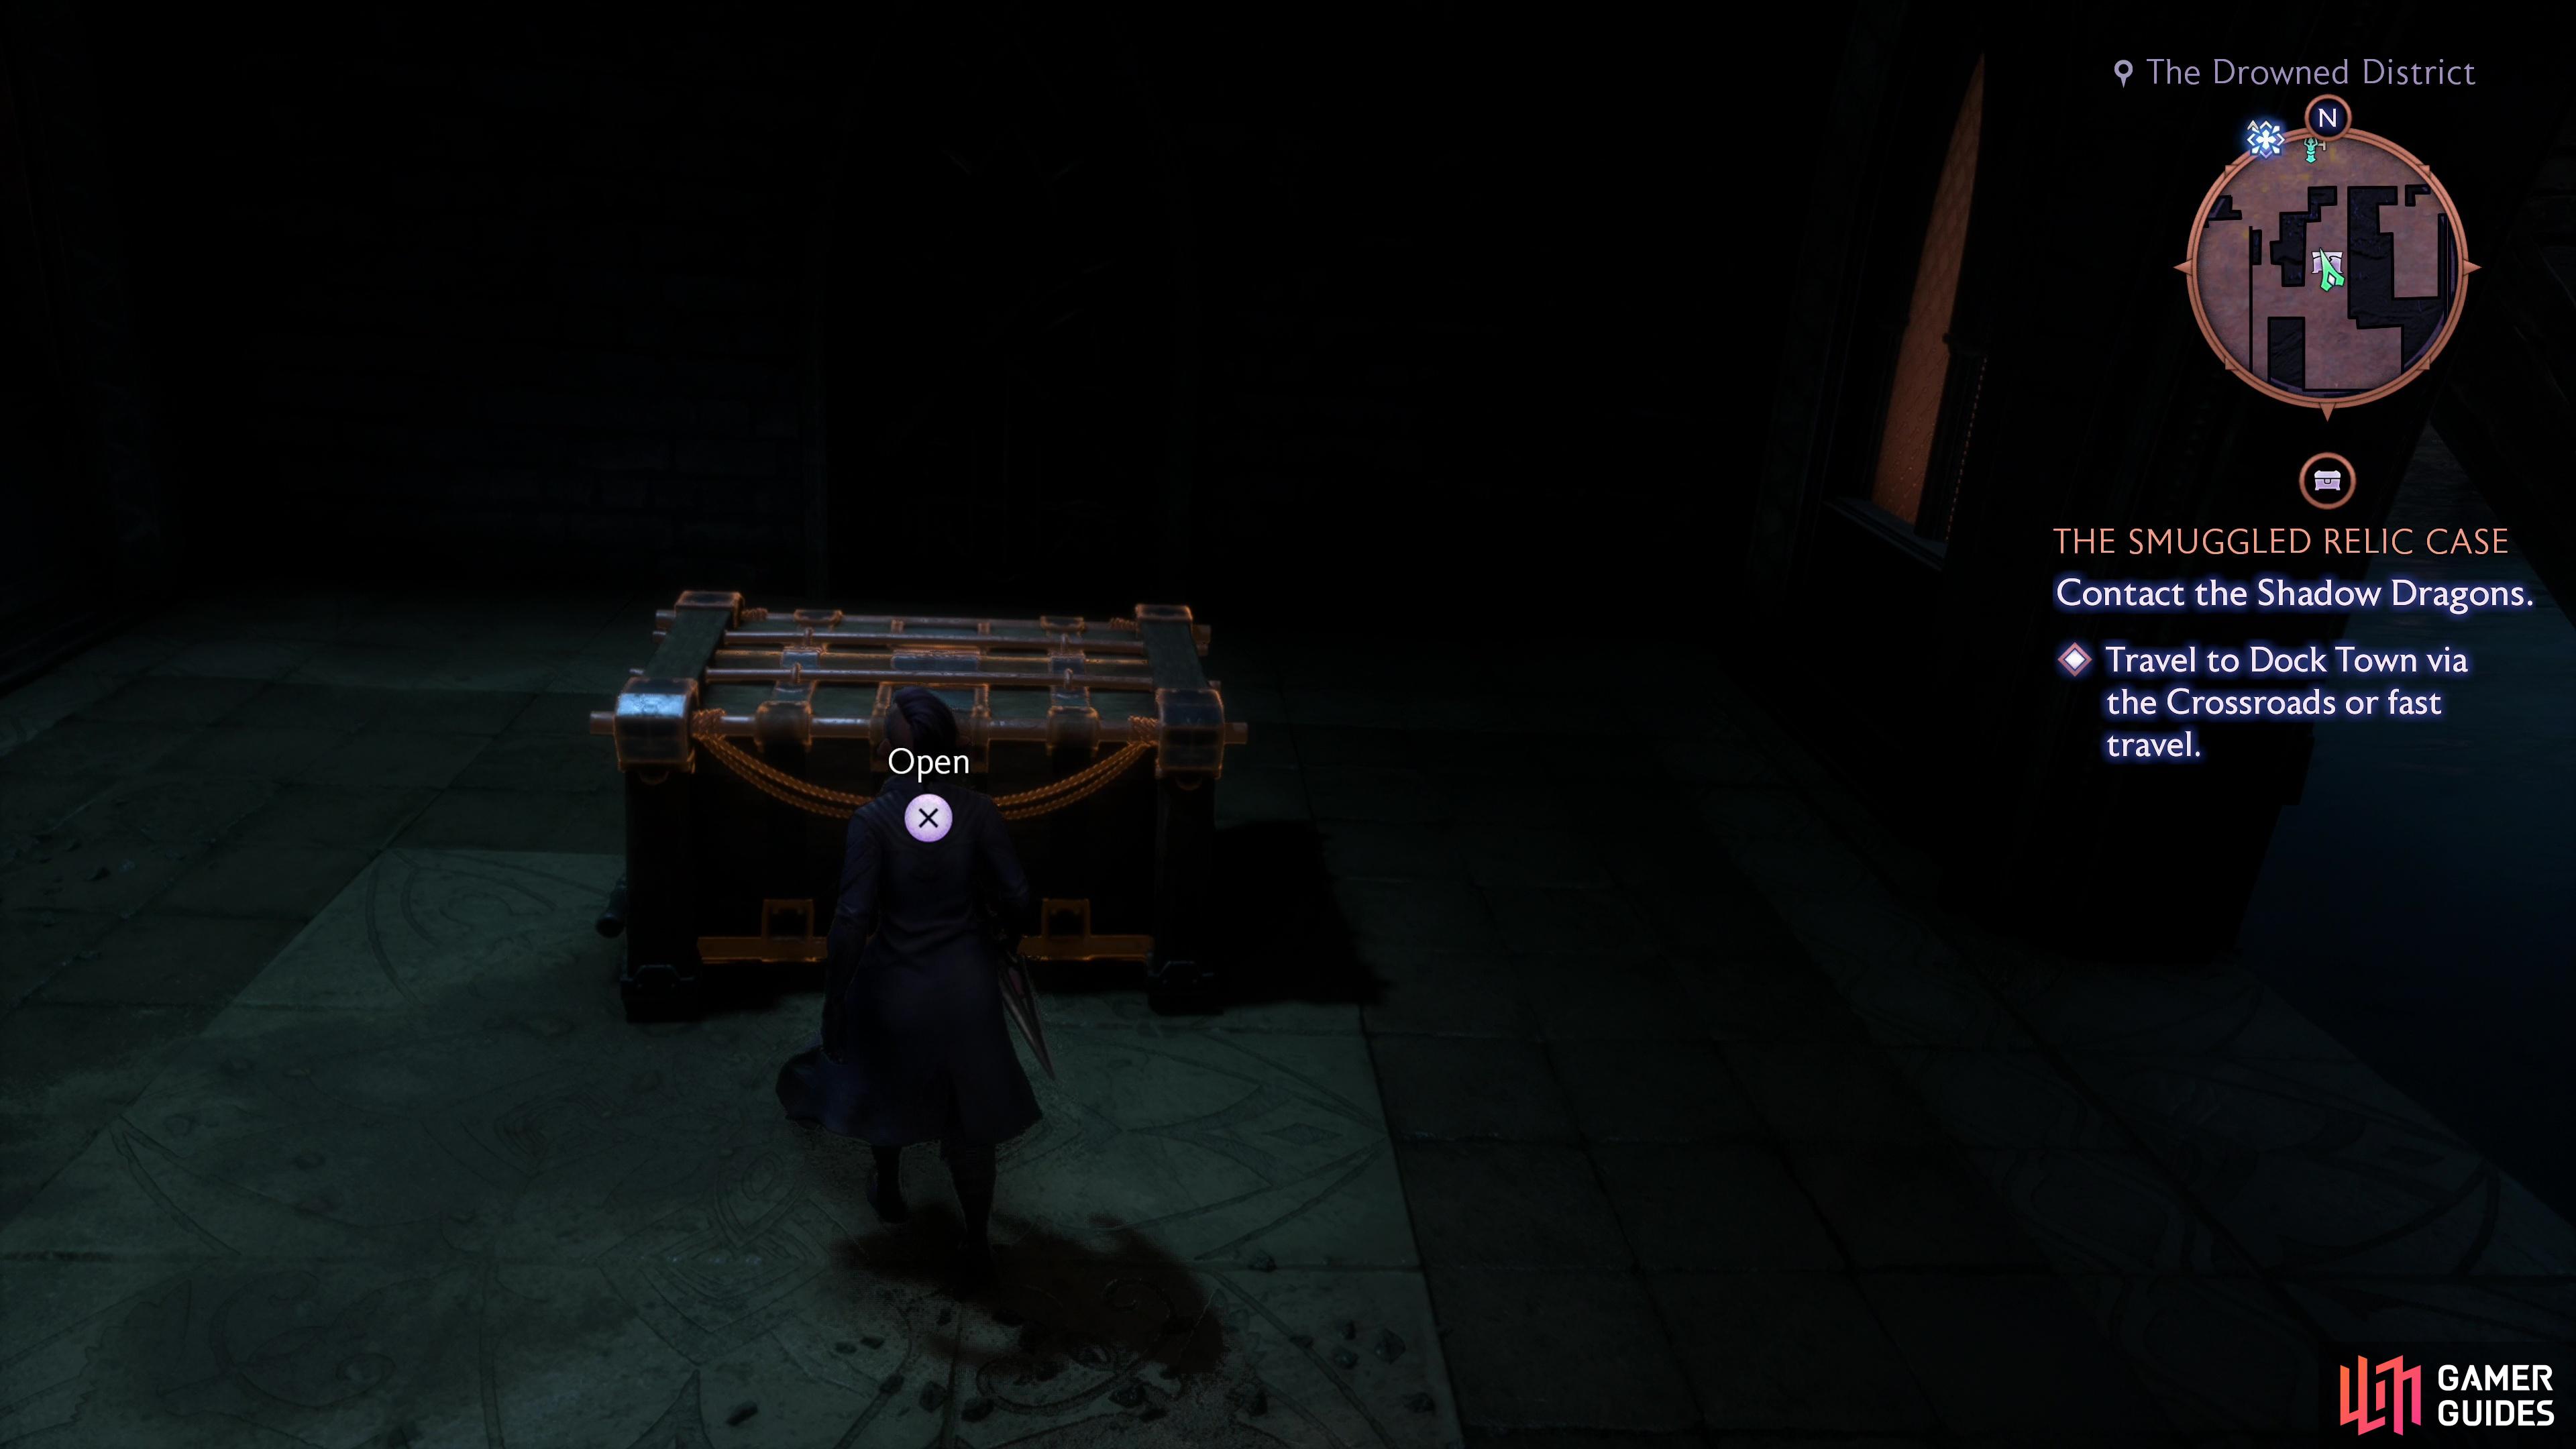
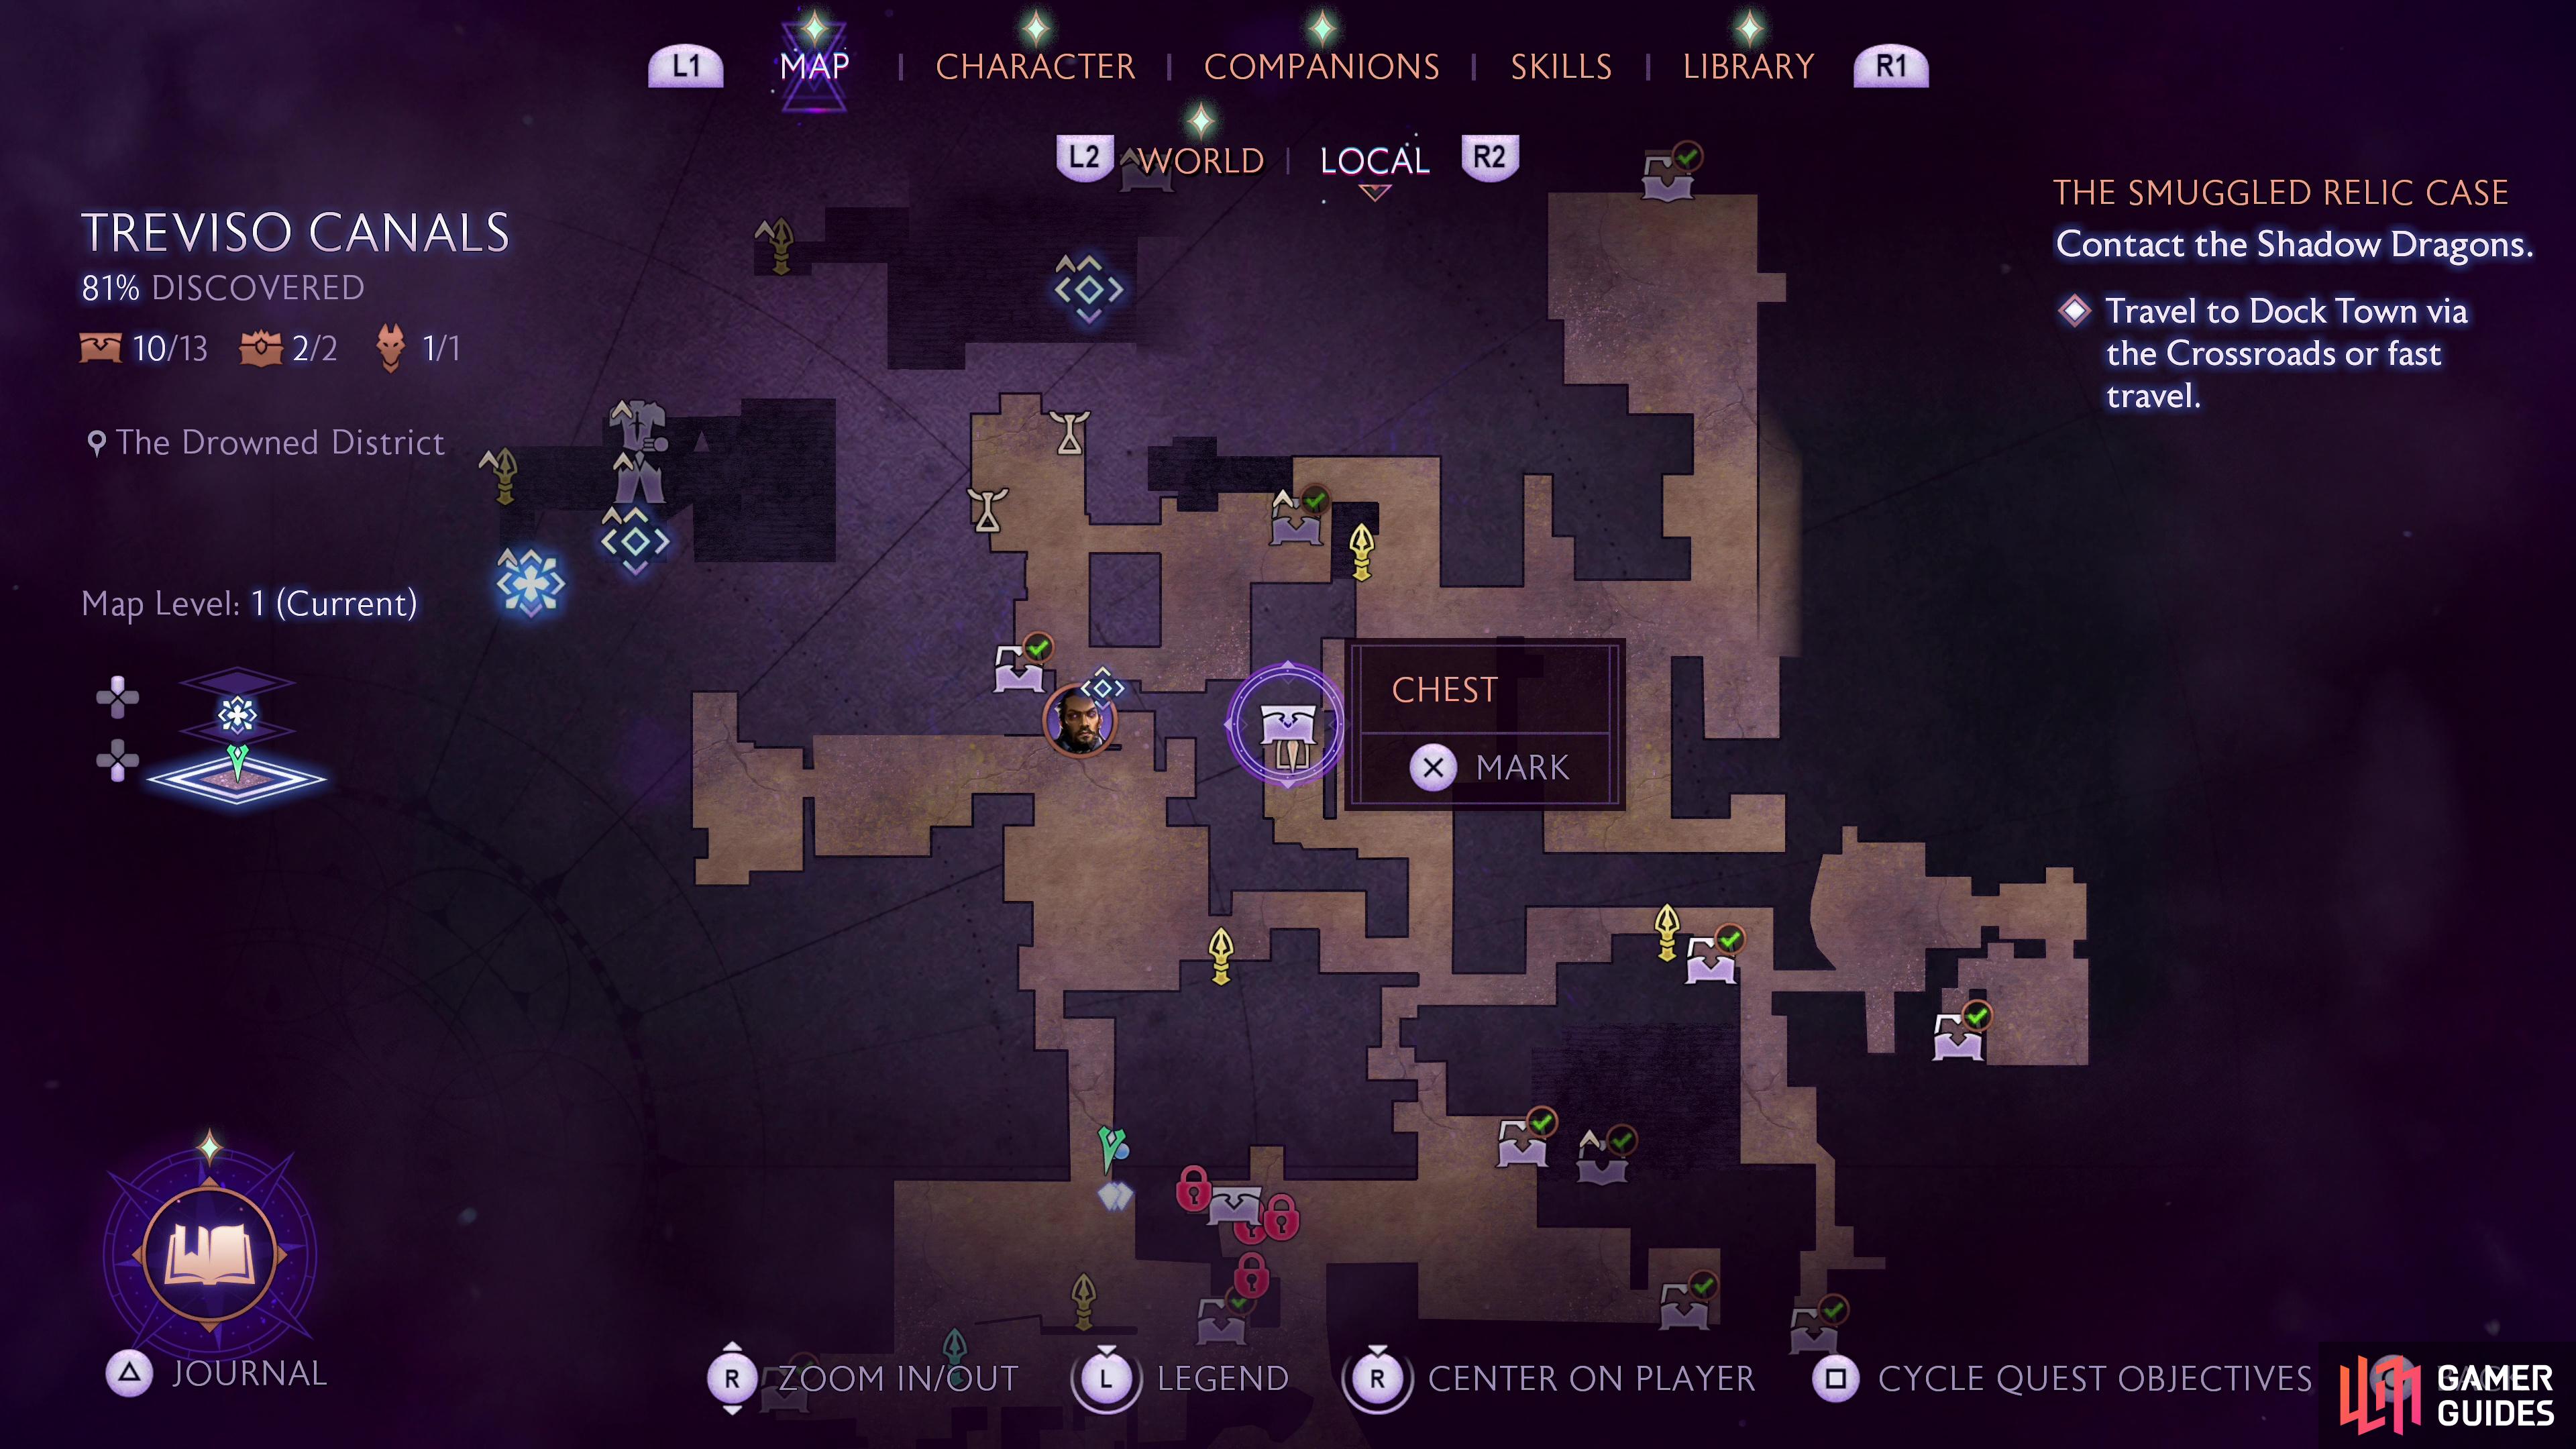
Chest 6: Drowned District 1F
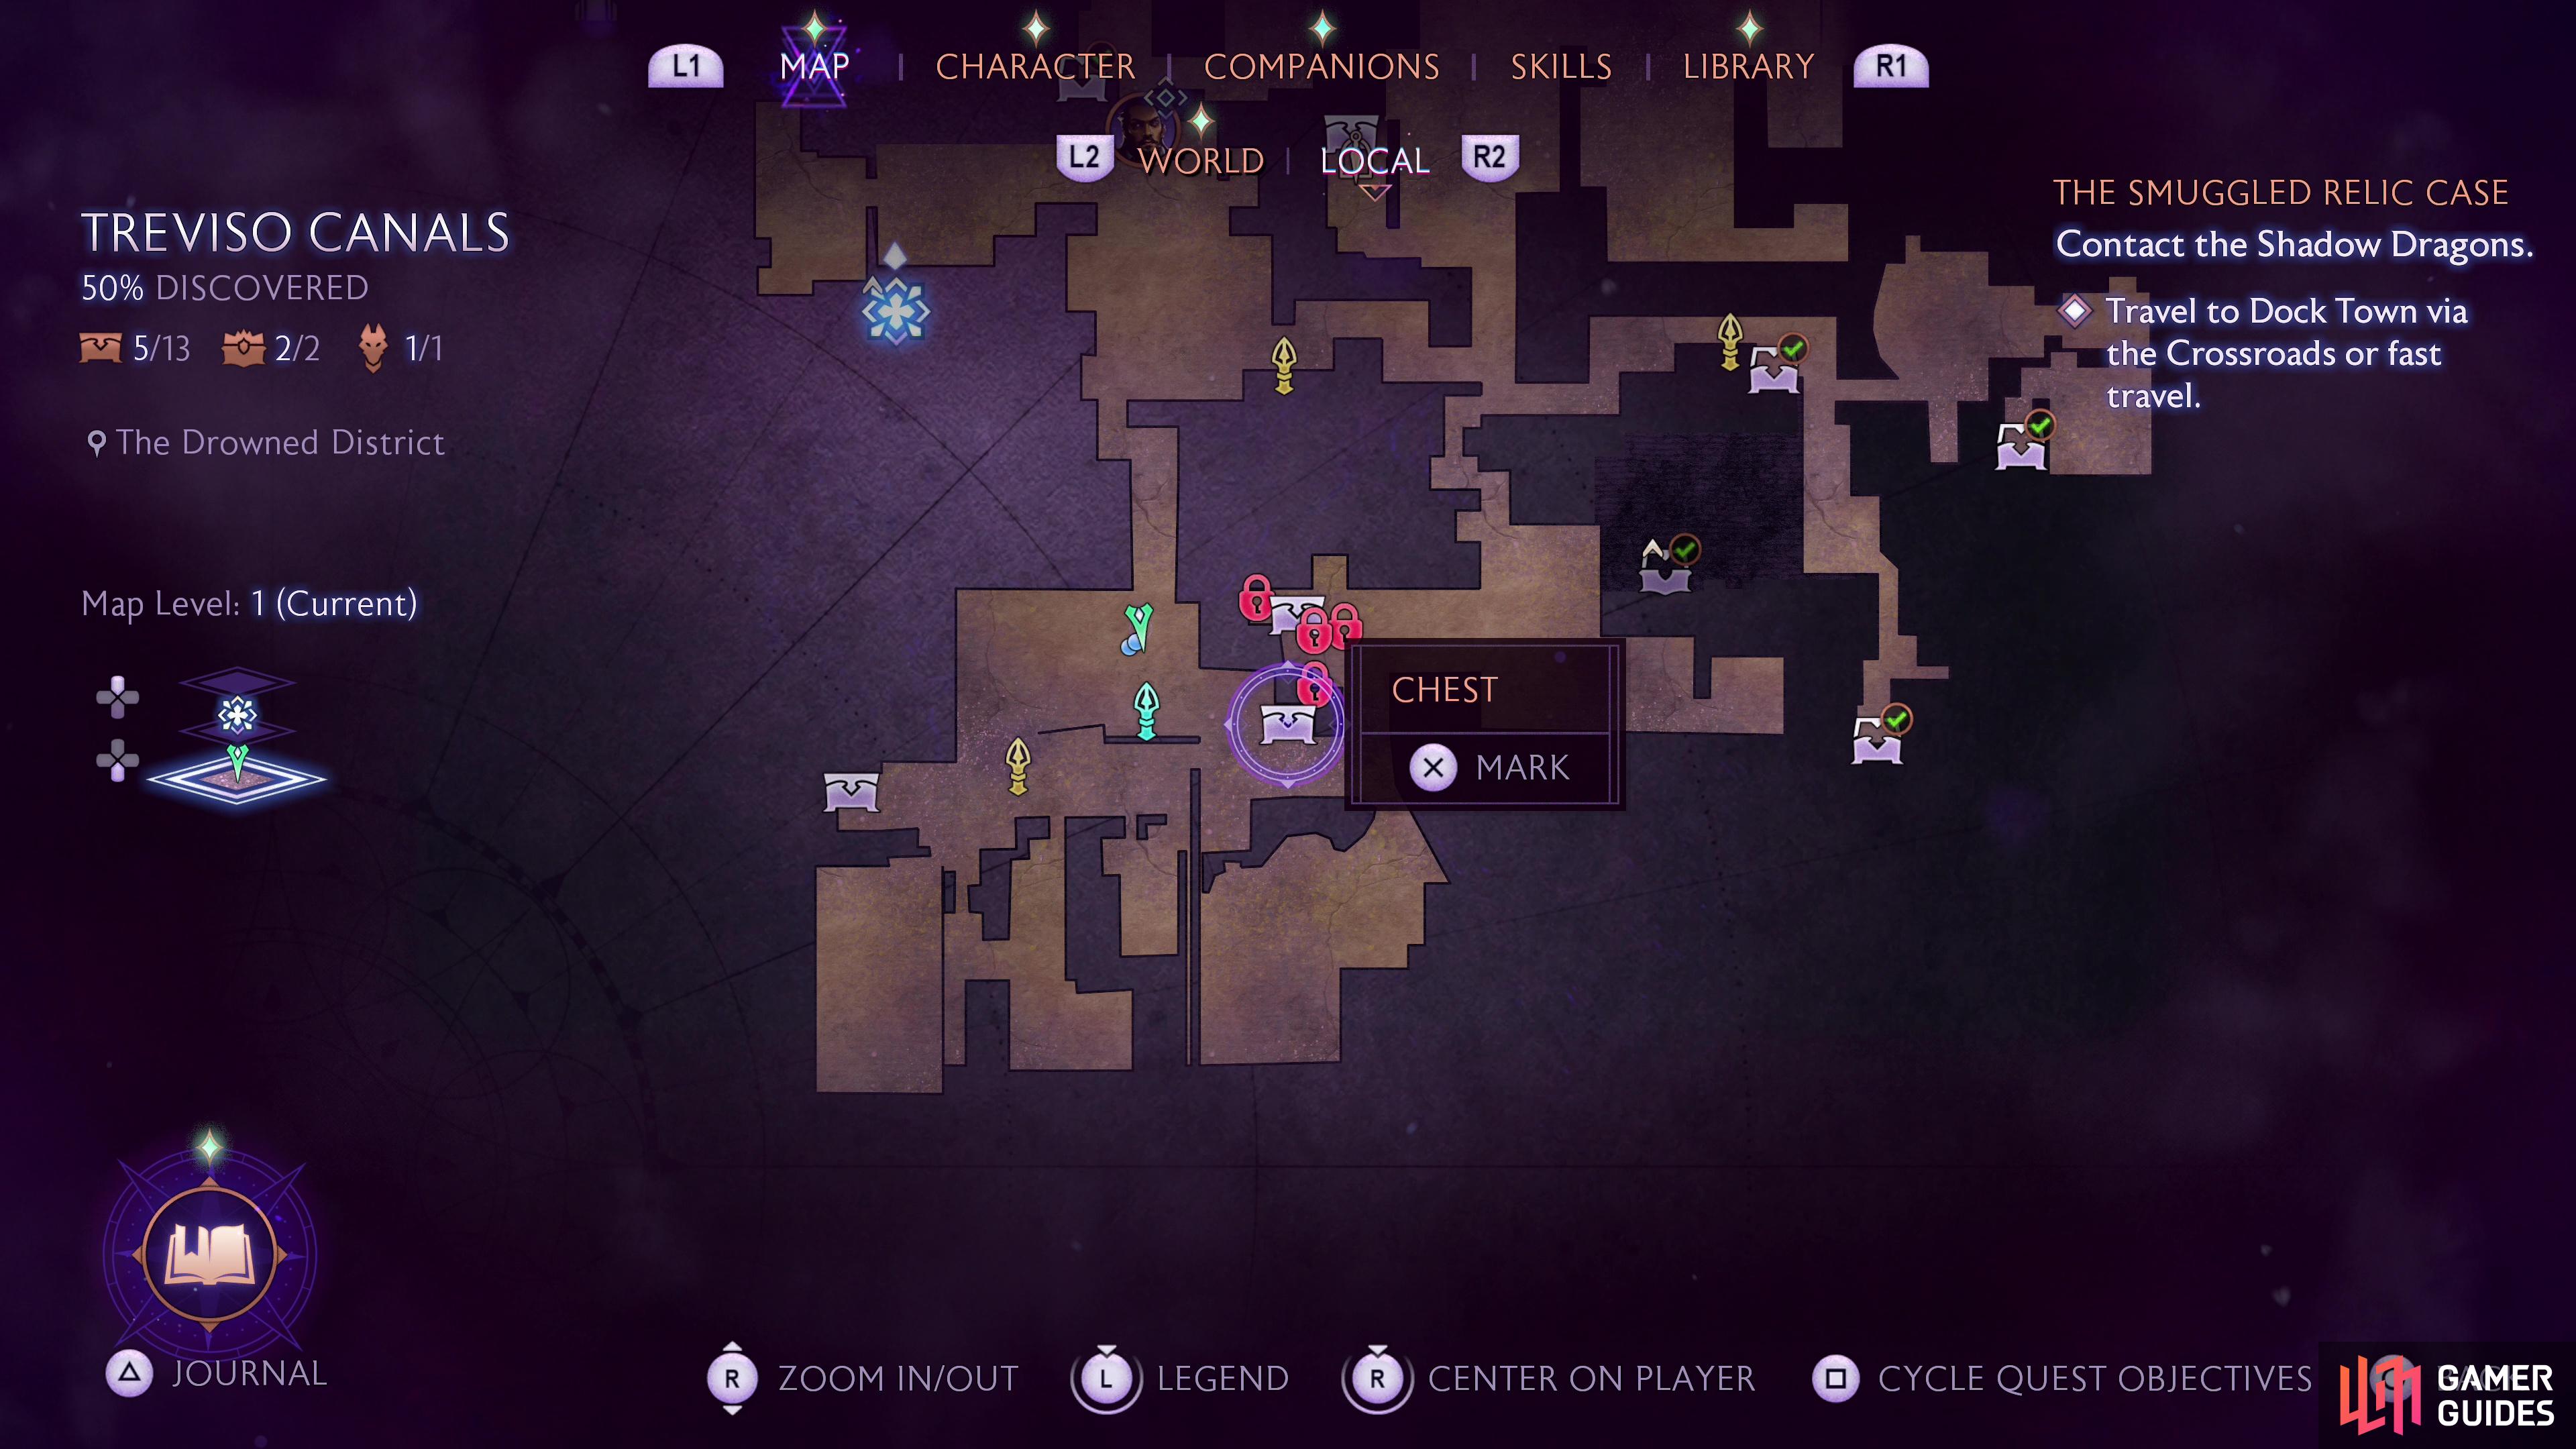
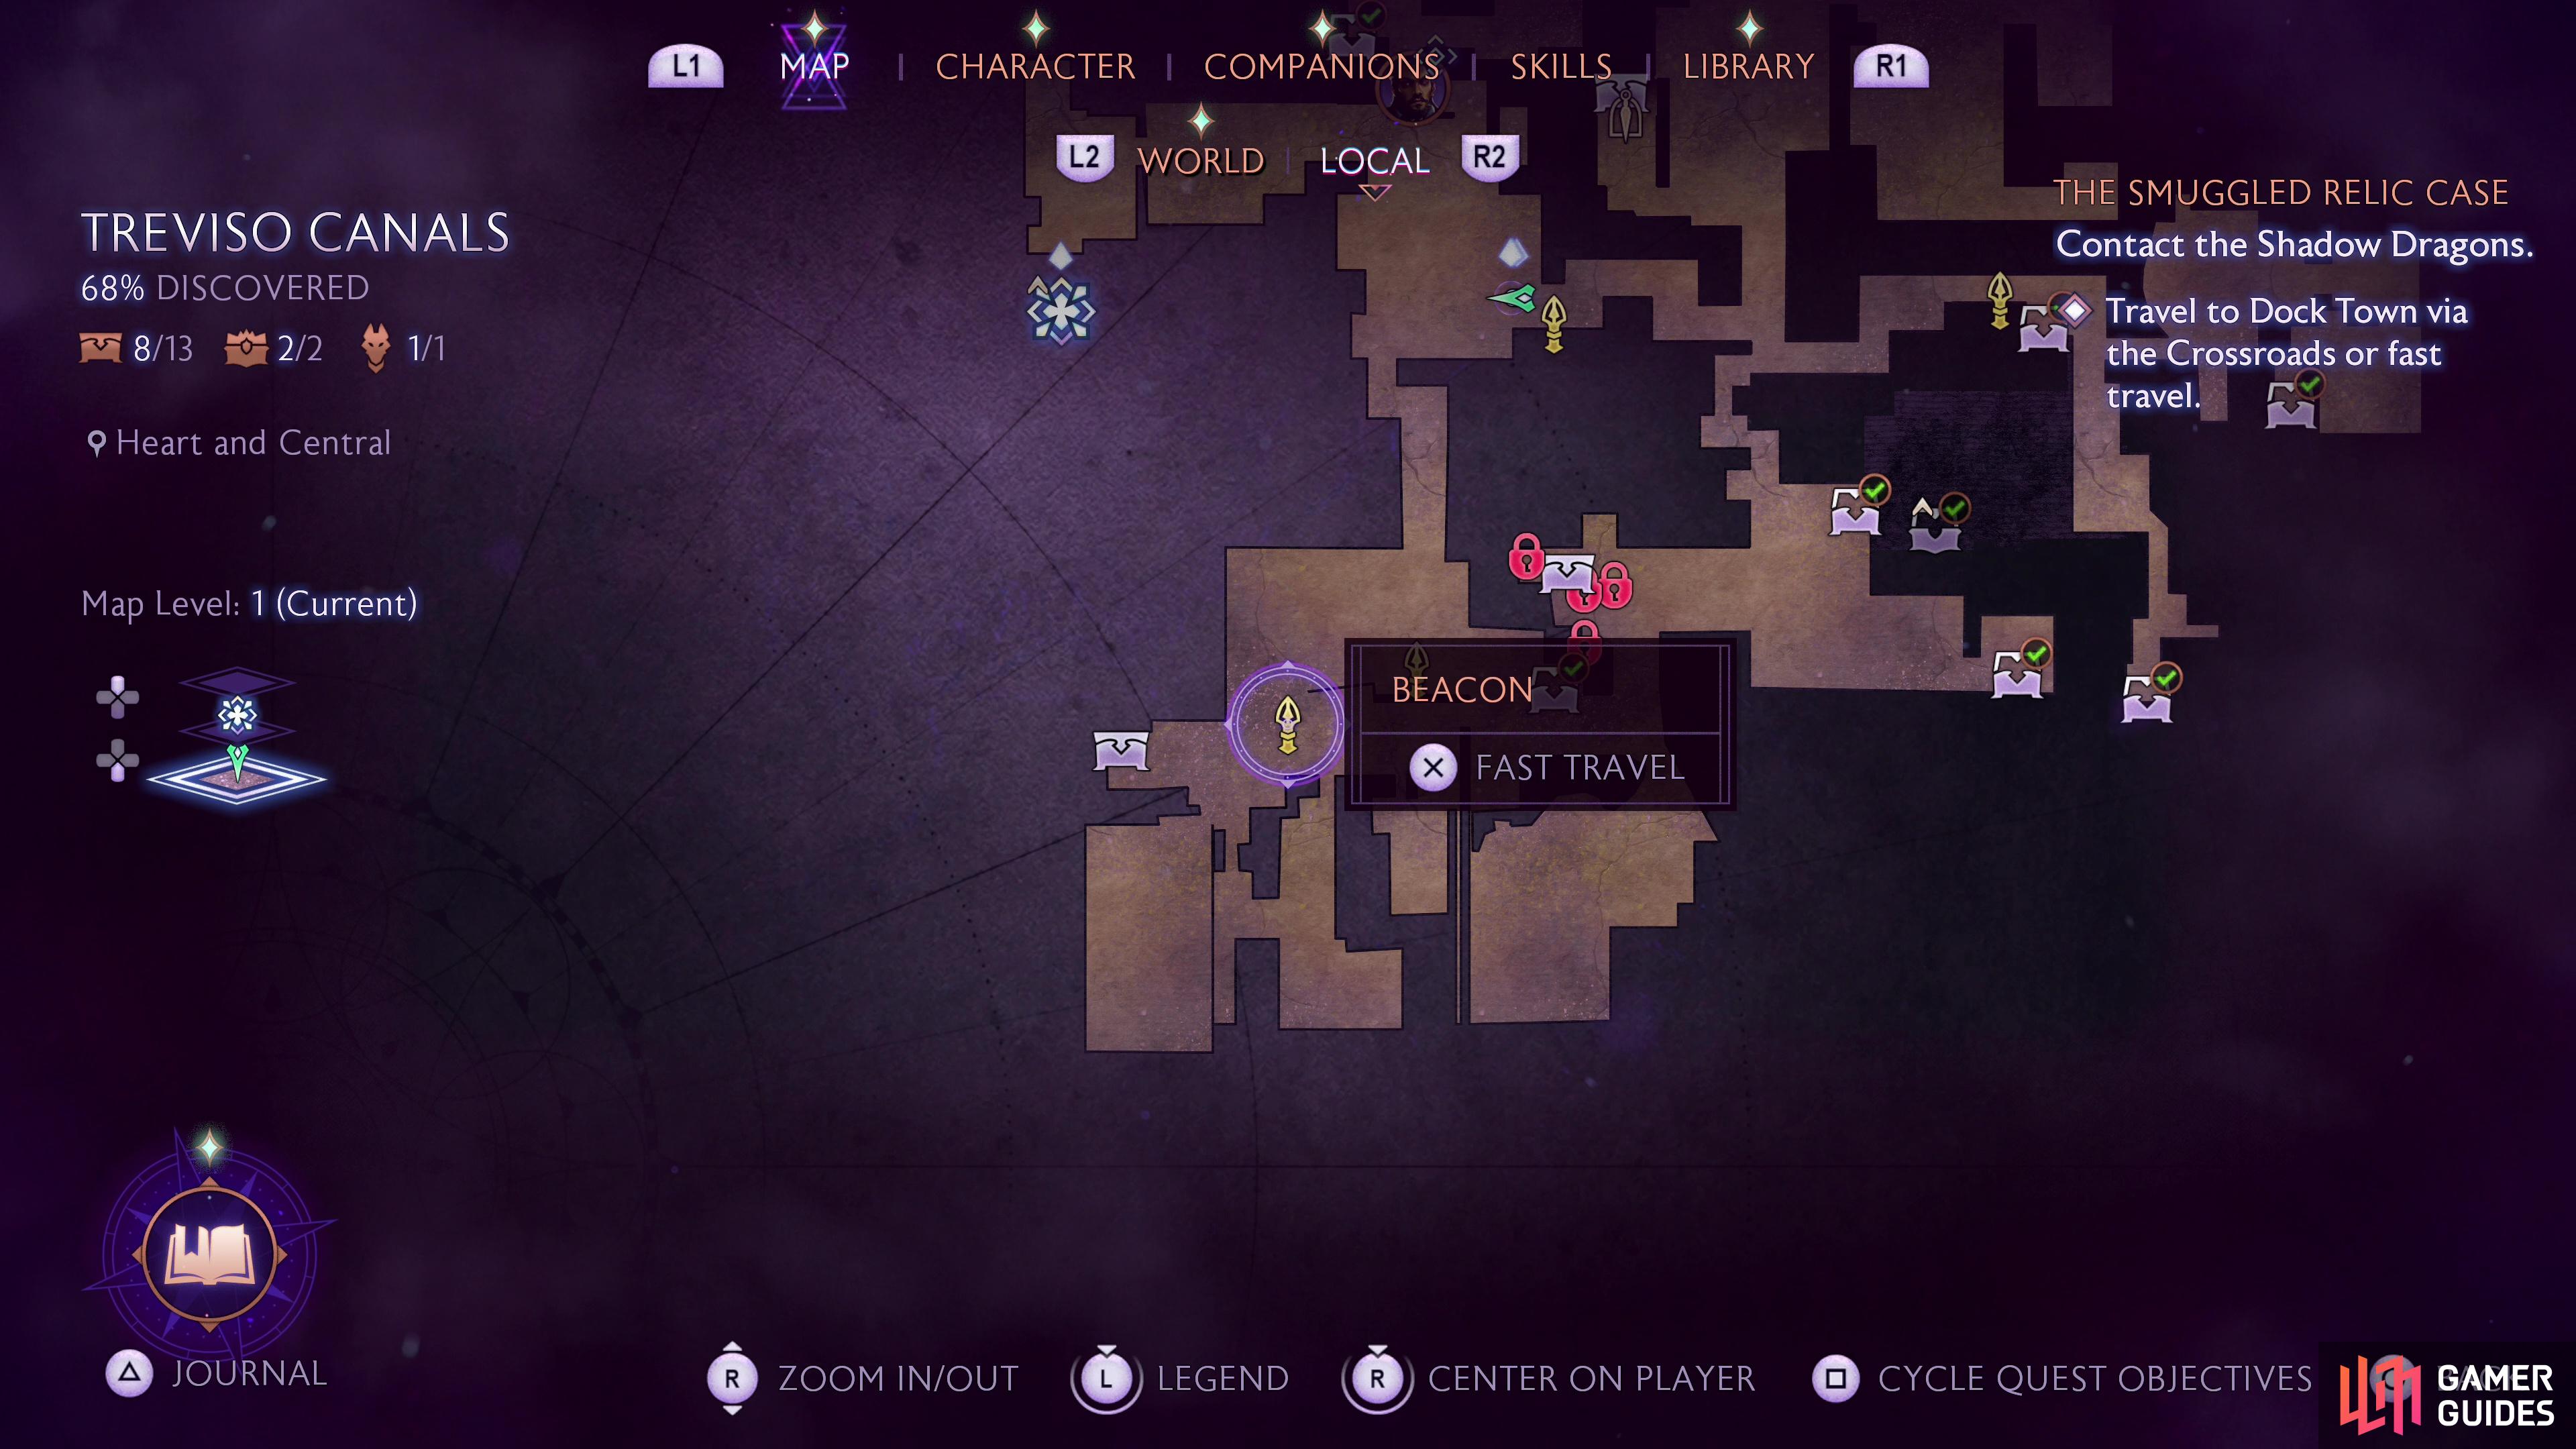
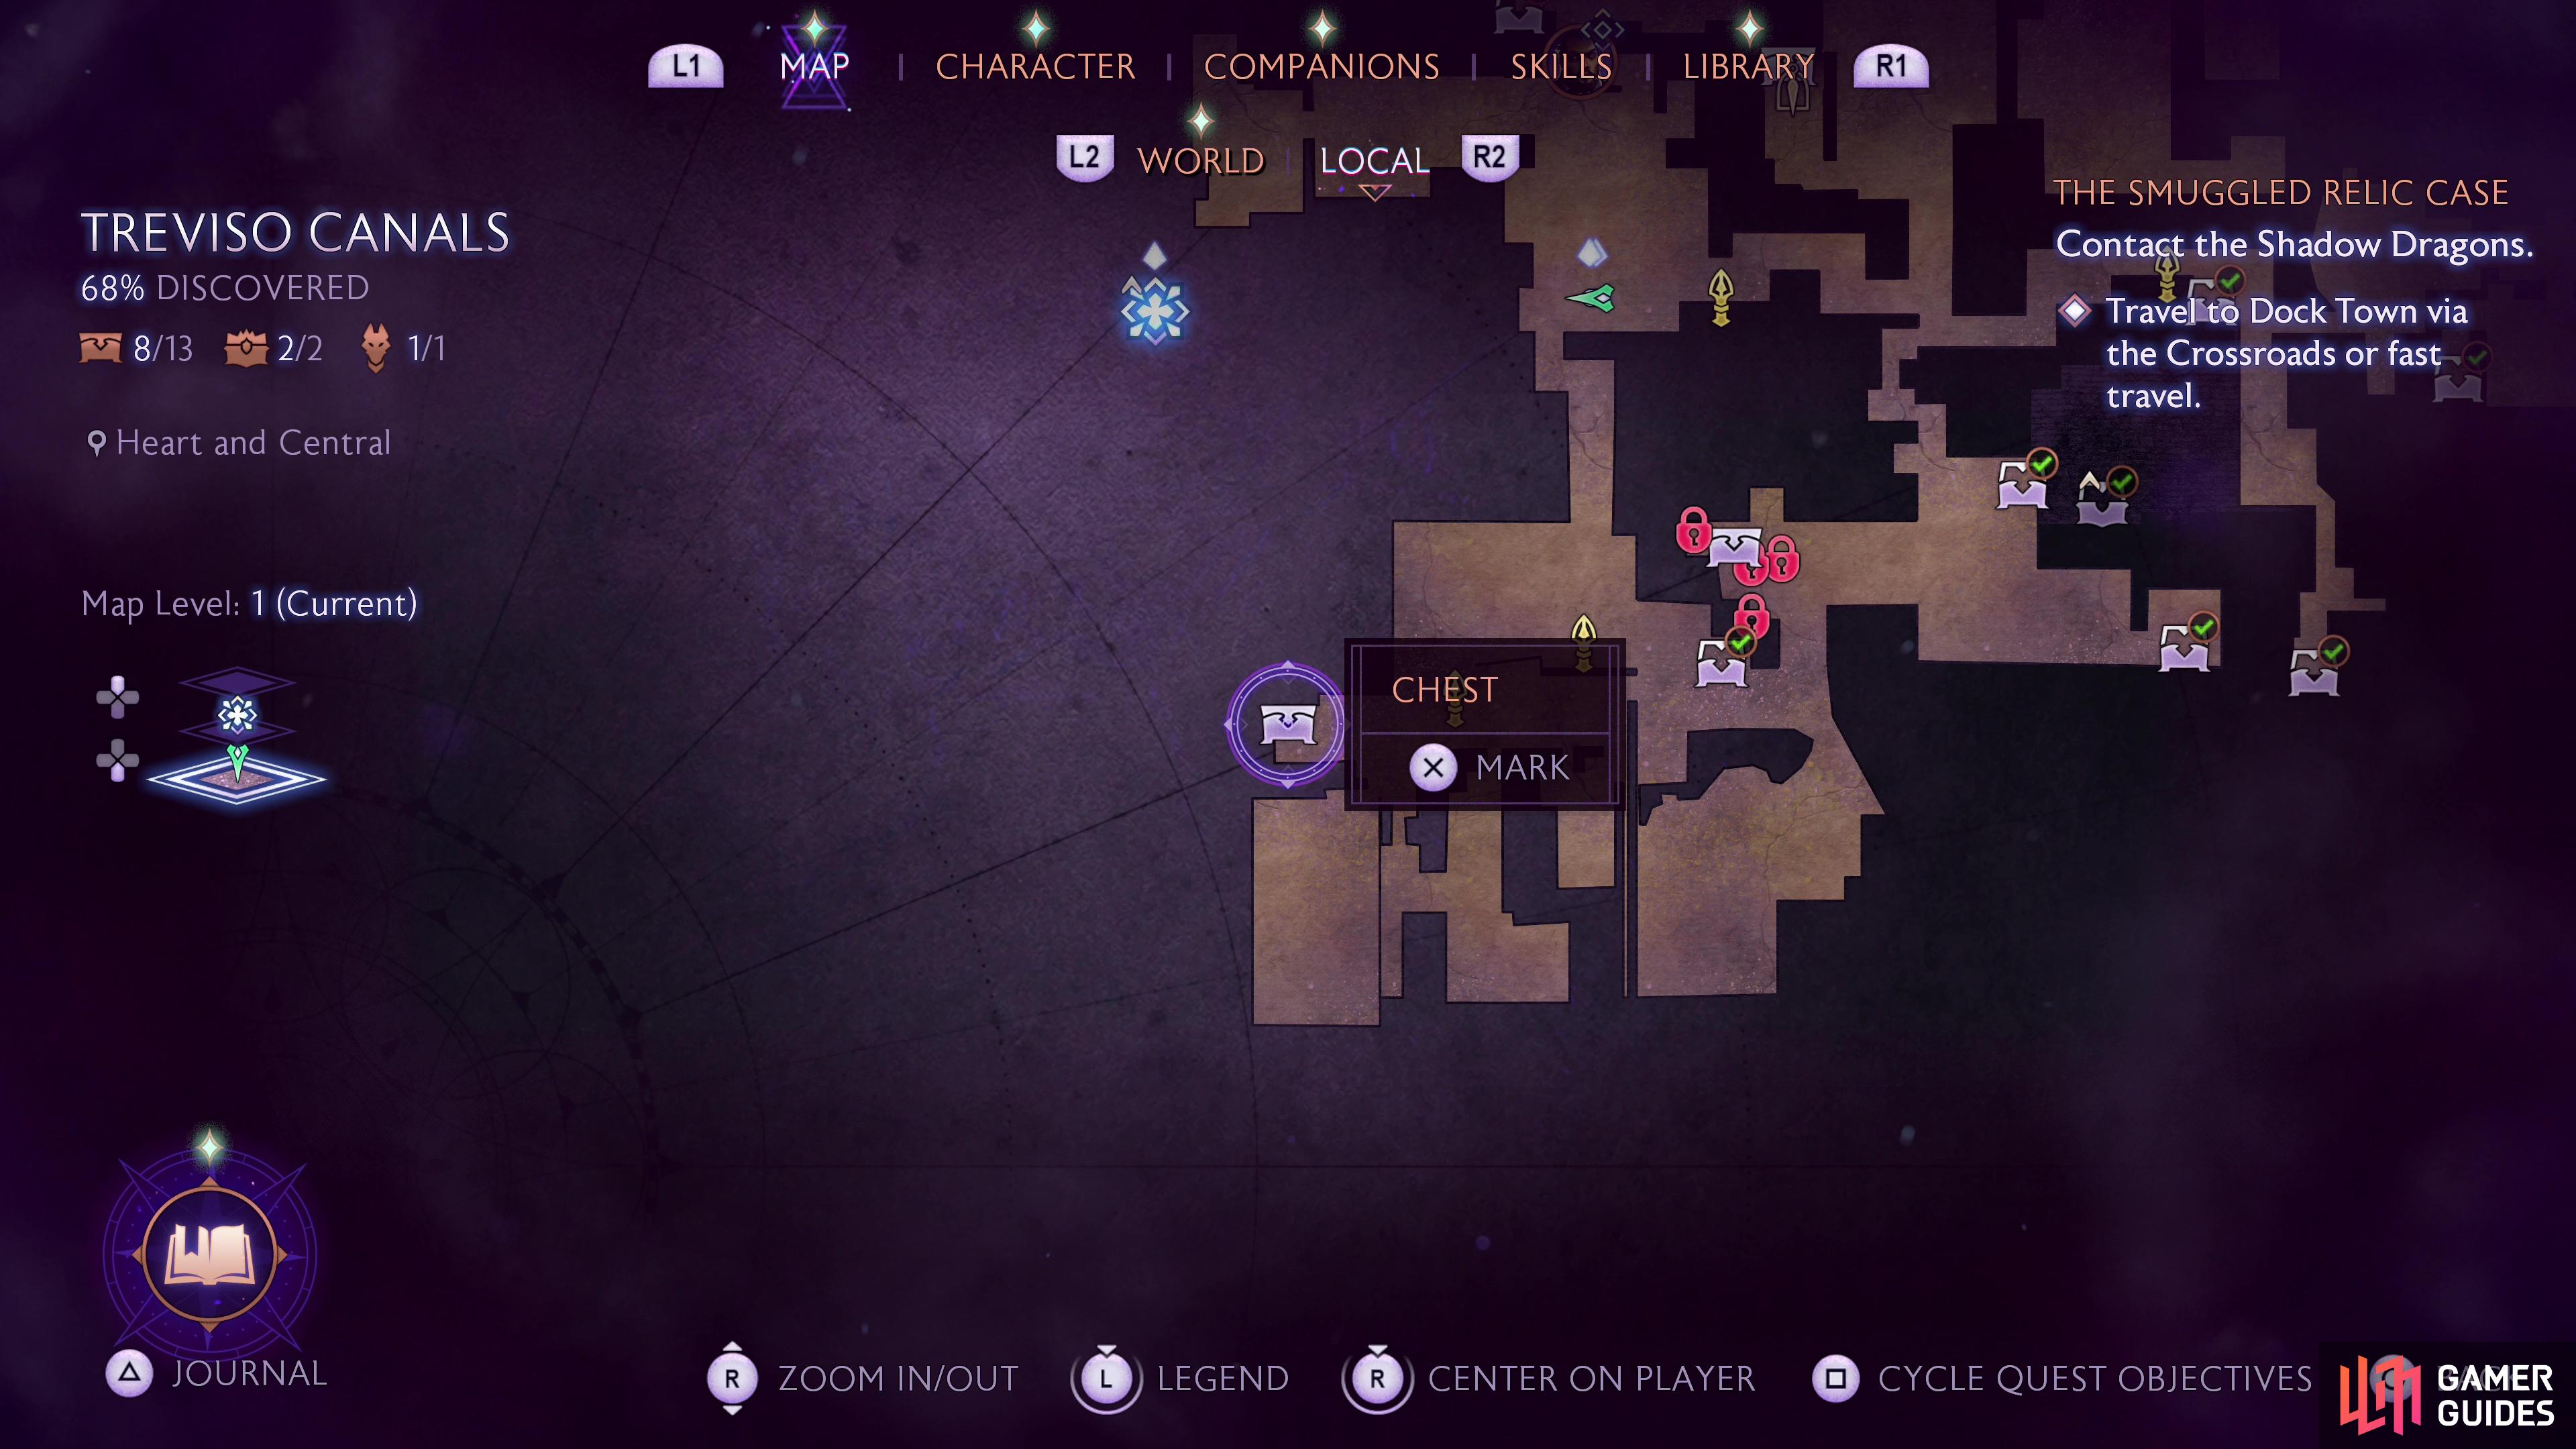
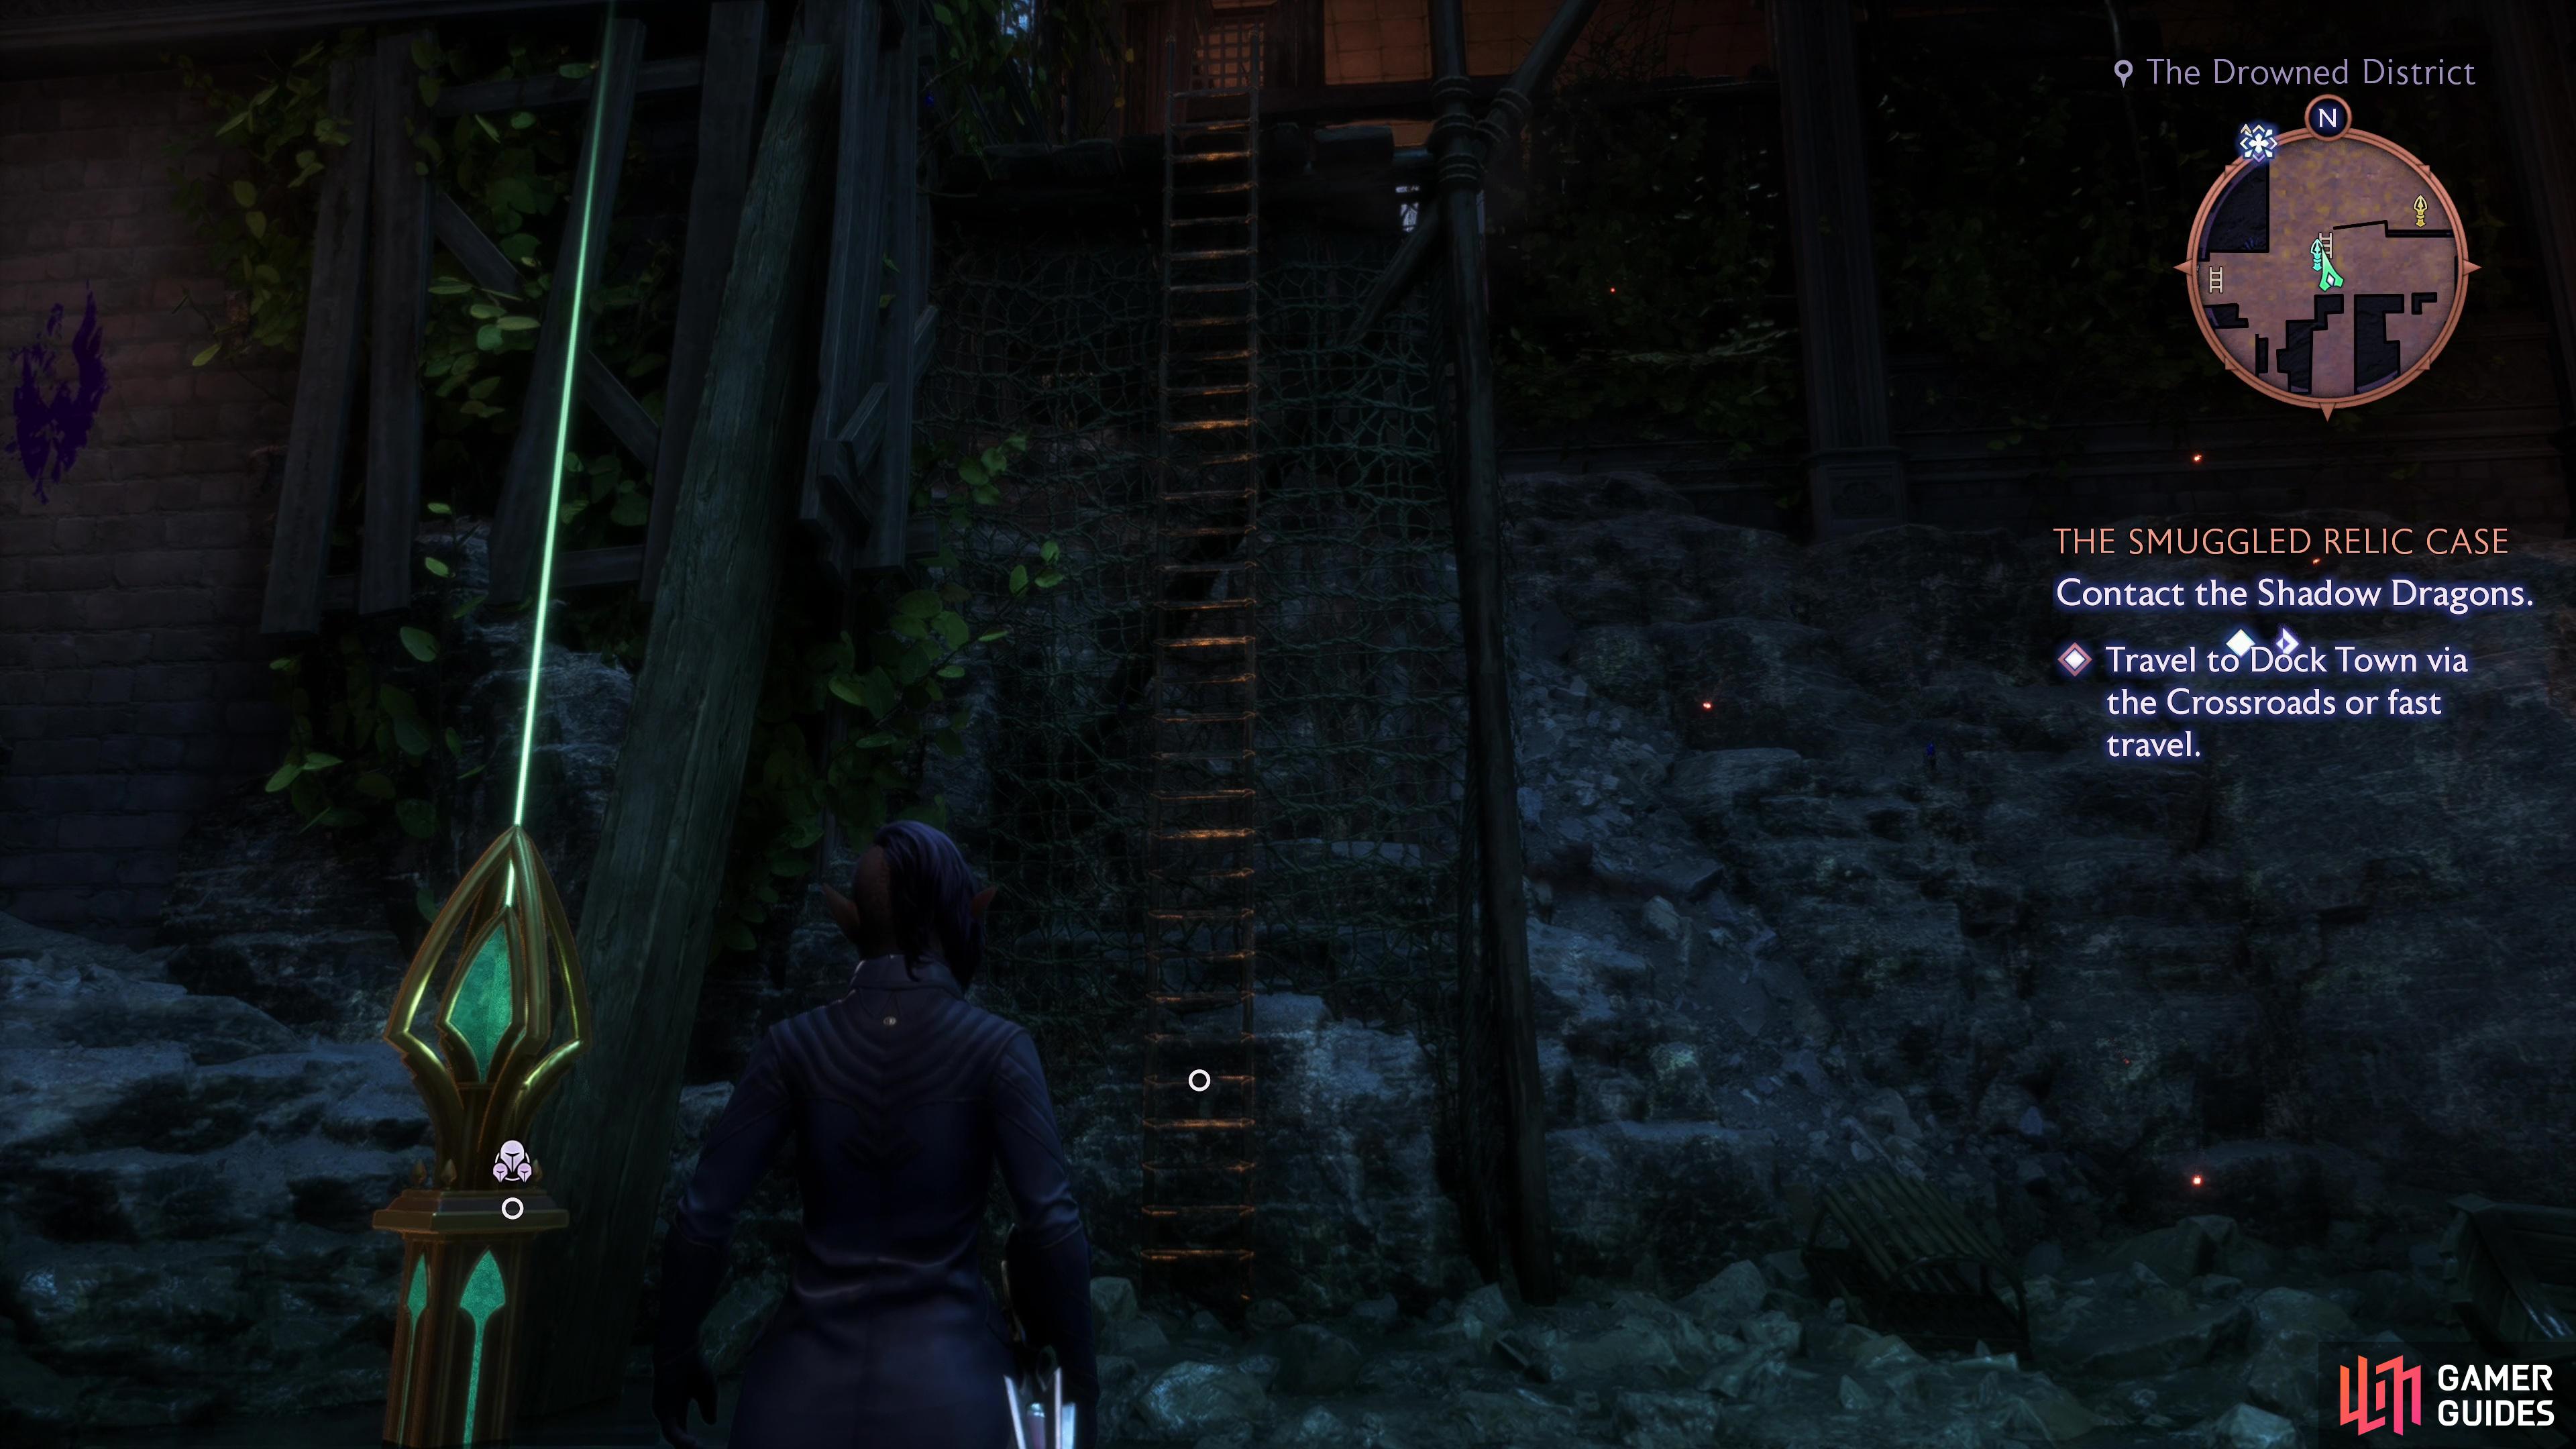
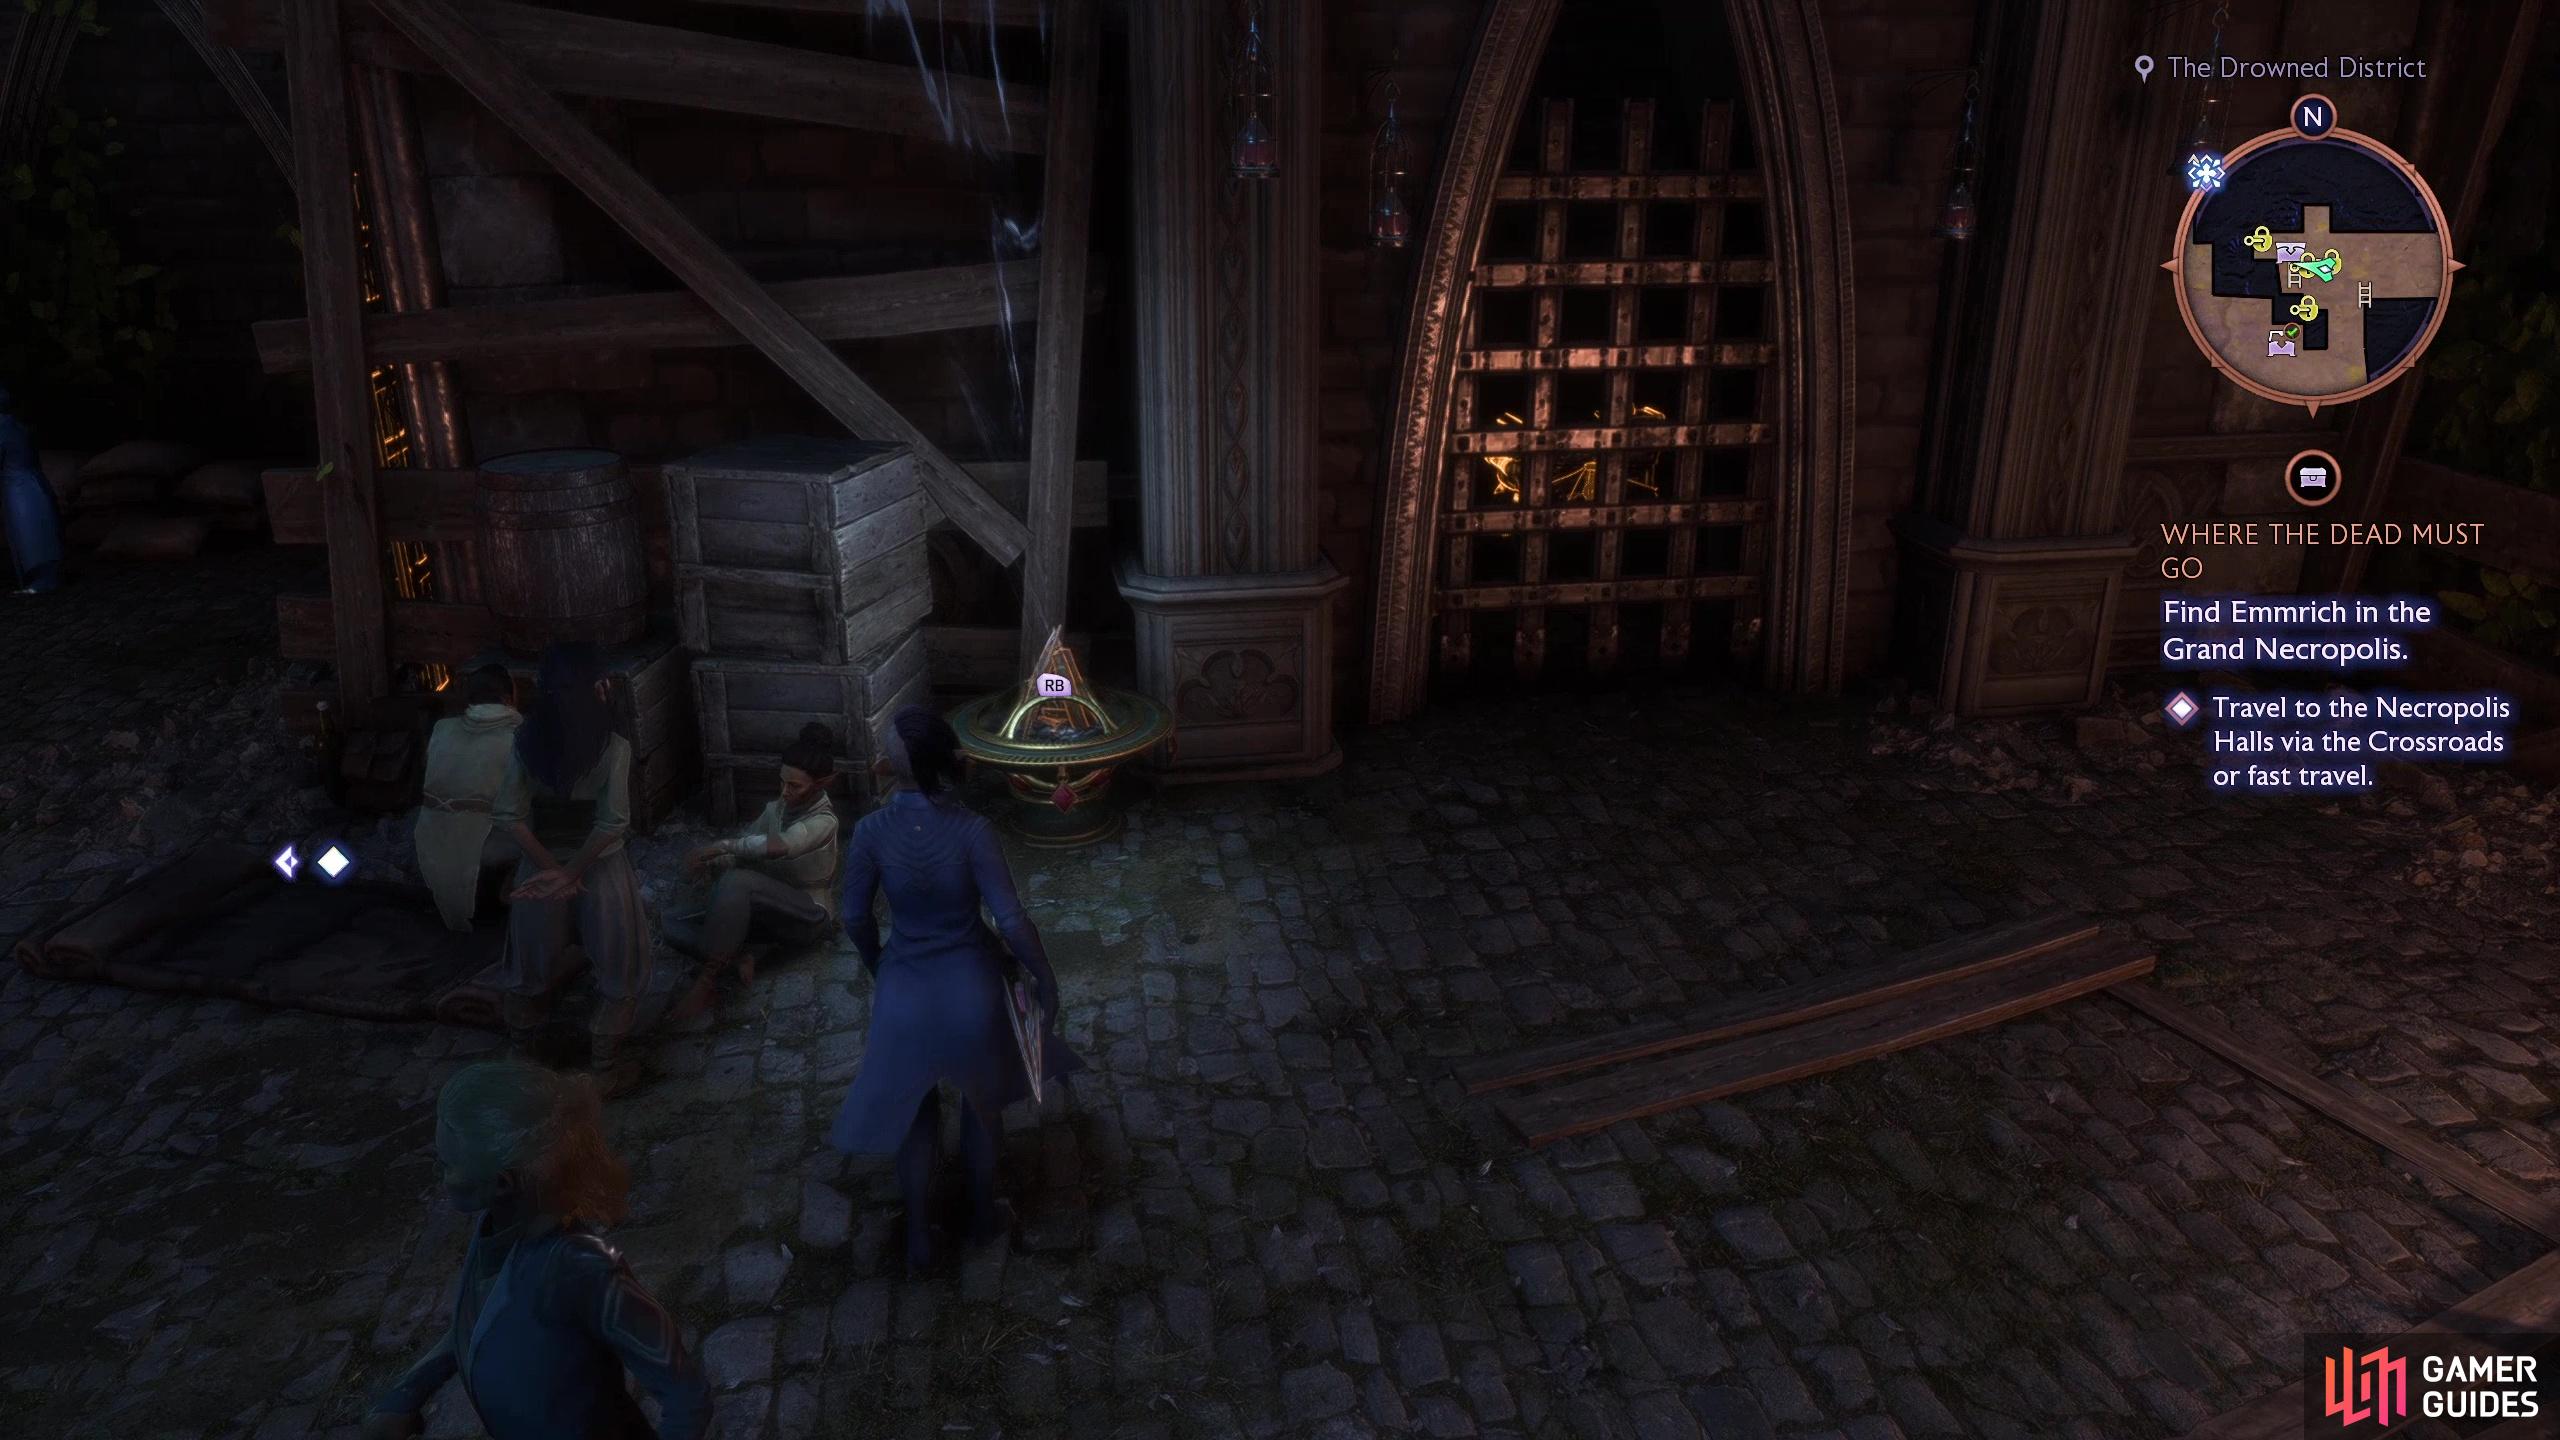
The Streets of Coin Financials district has been kind to us, but it’s time to bid farewell and seek out richer pastures. From the northwestern edge of Heart and Center head south until you reach the Grande Markets. Lots of goodies to pick up here, but nothing for free, so keep going south to reach the Drowned District along the southern end of Treviso. Find the northernmost of two beacons in this area - it’ll be right in front of a crow statue, which the Antaam seem to have taken great offense to, placing one of their totems in front of it and roping it down.
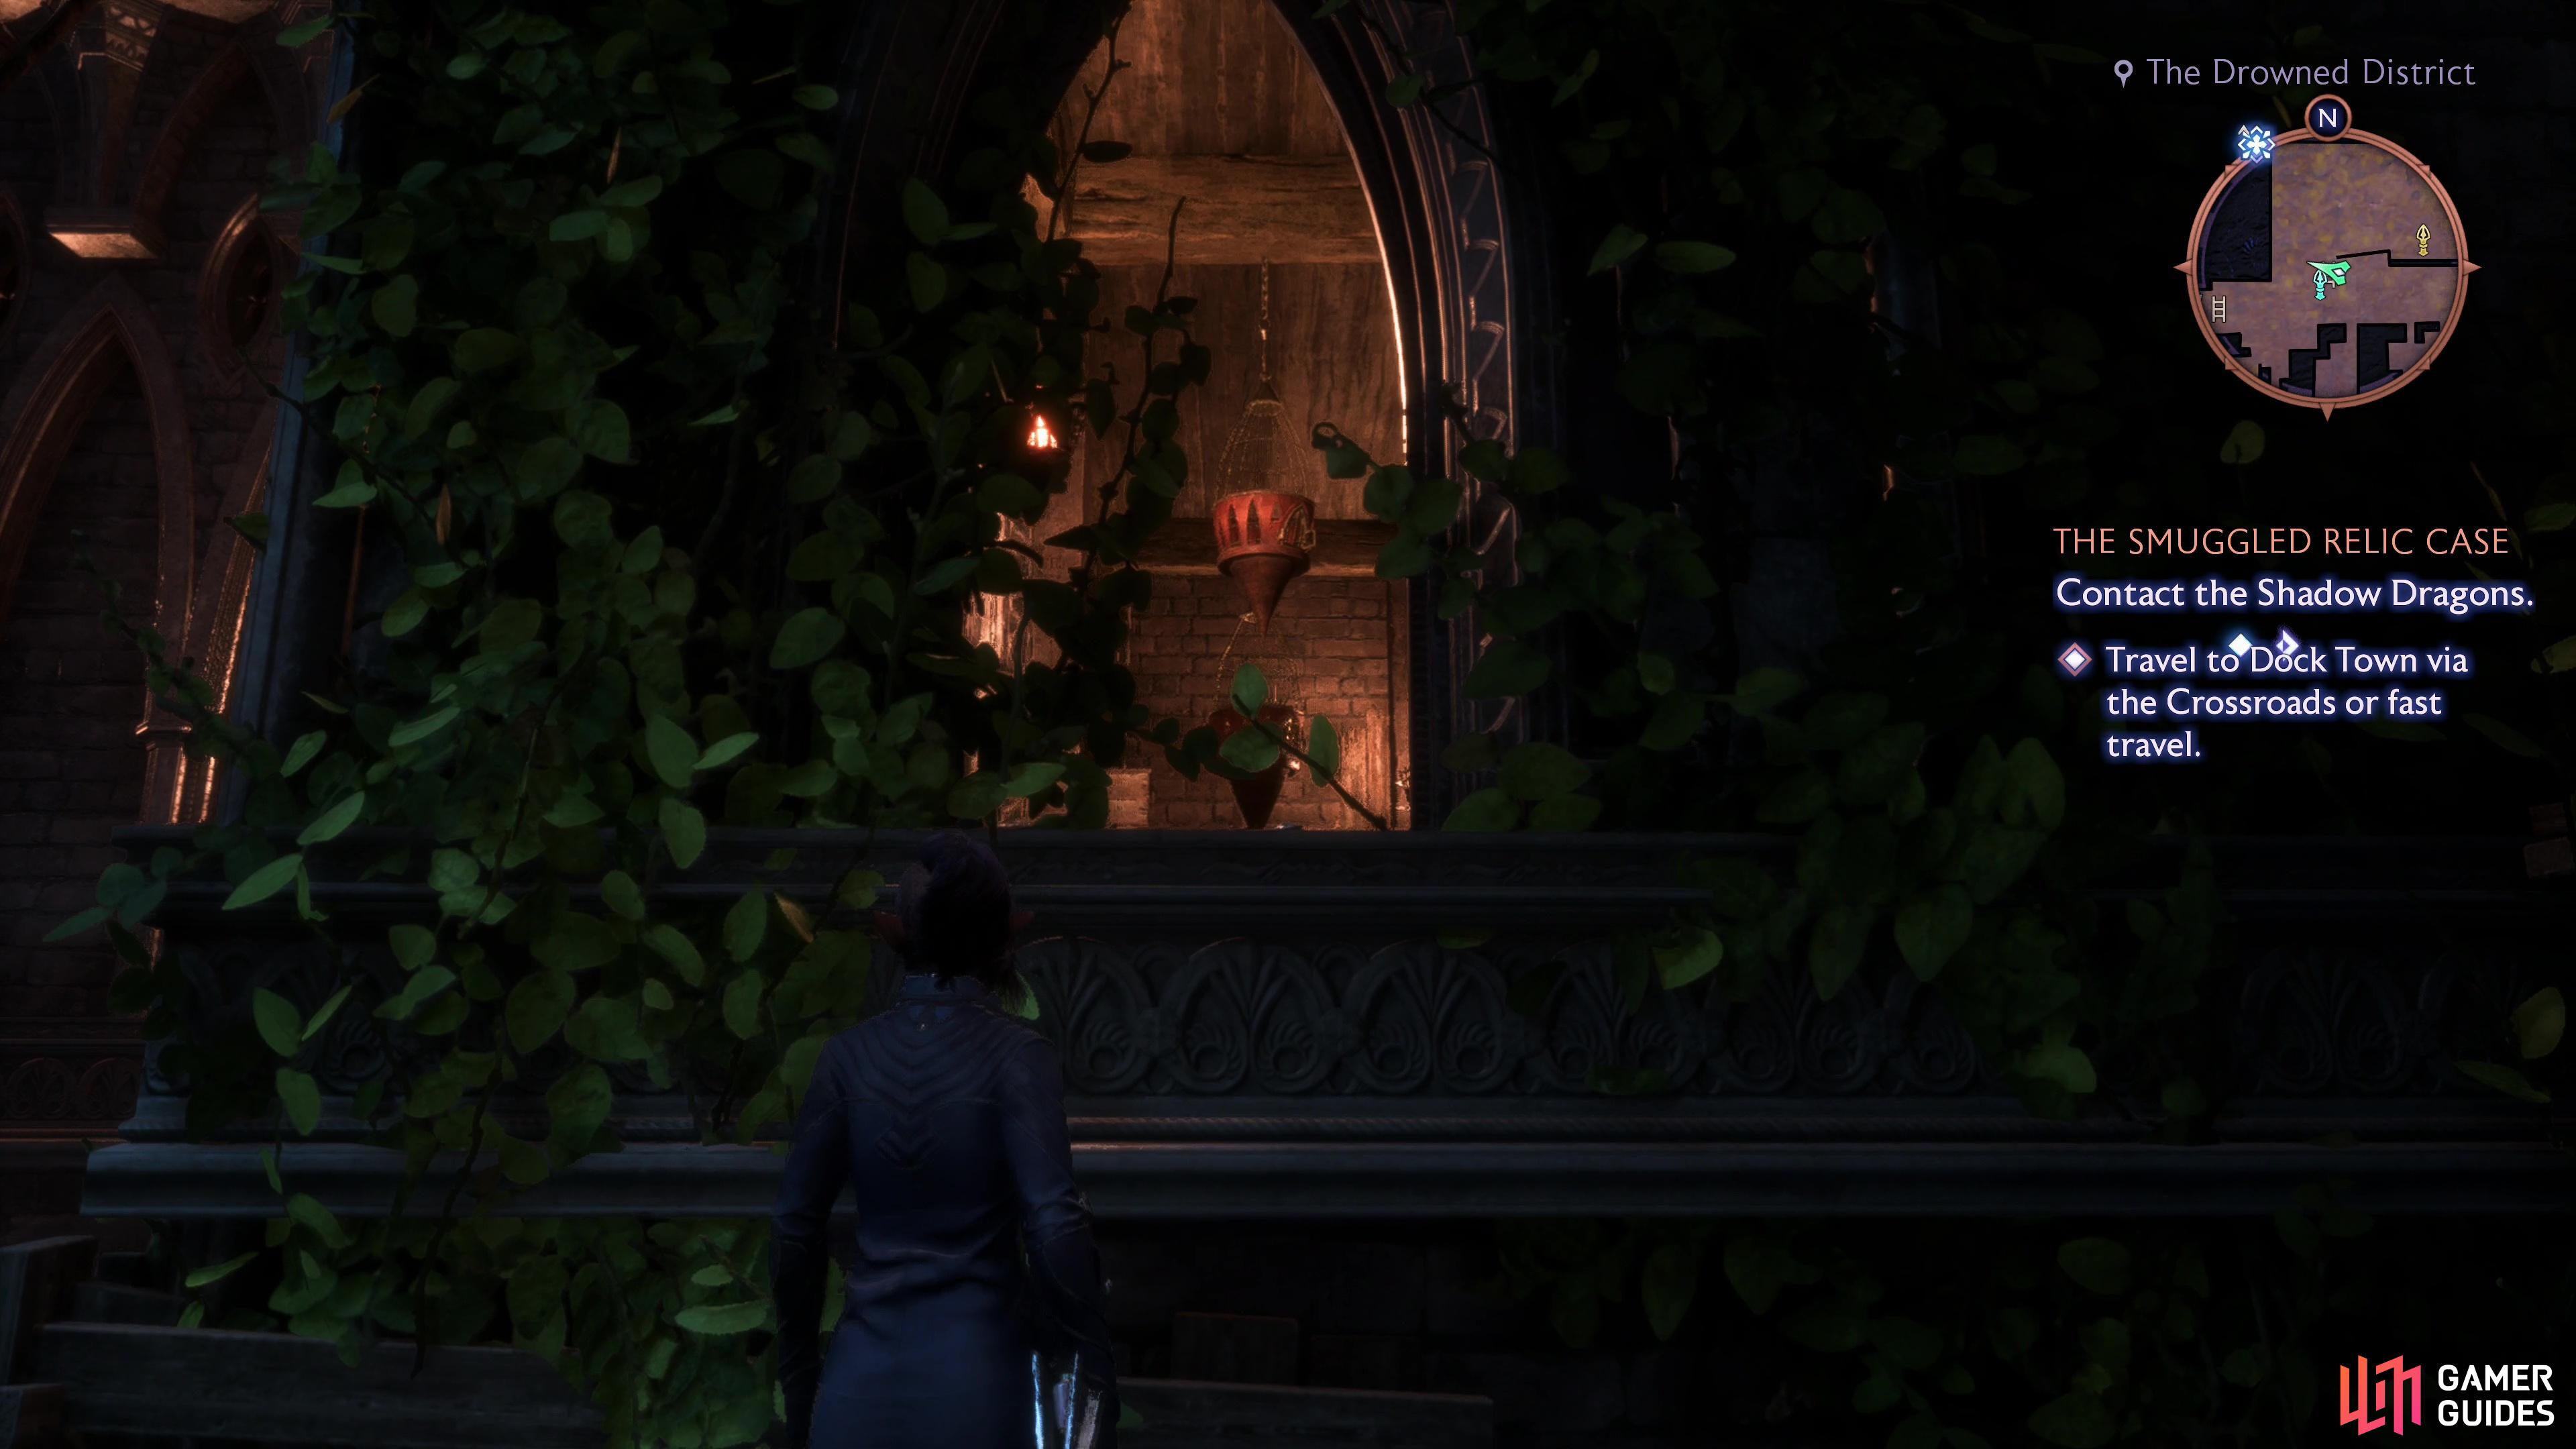
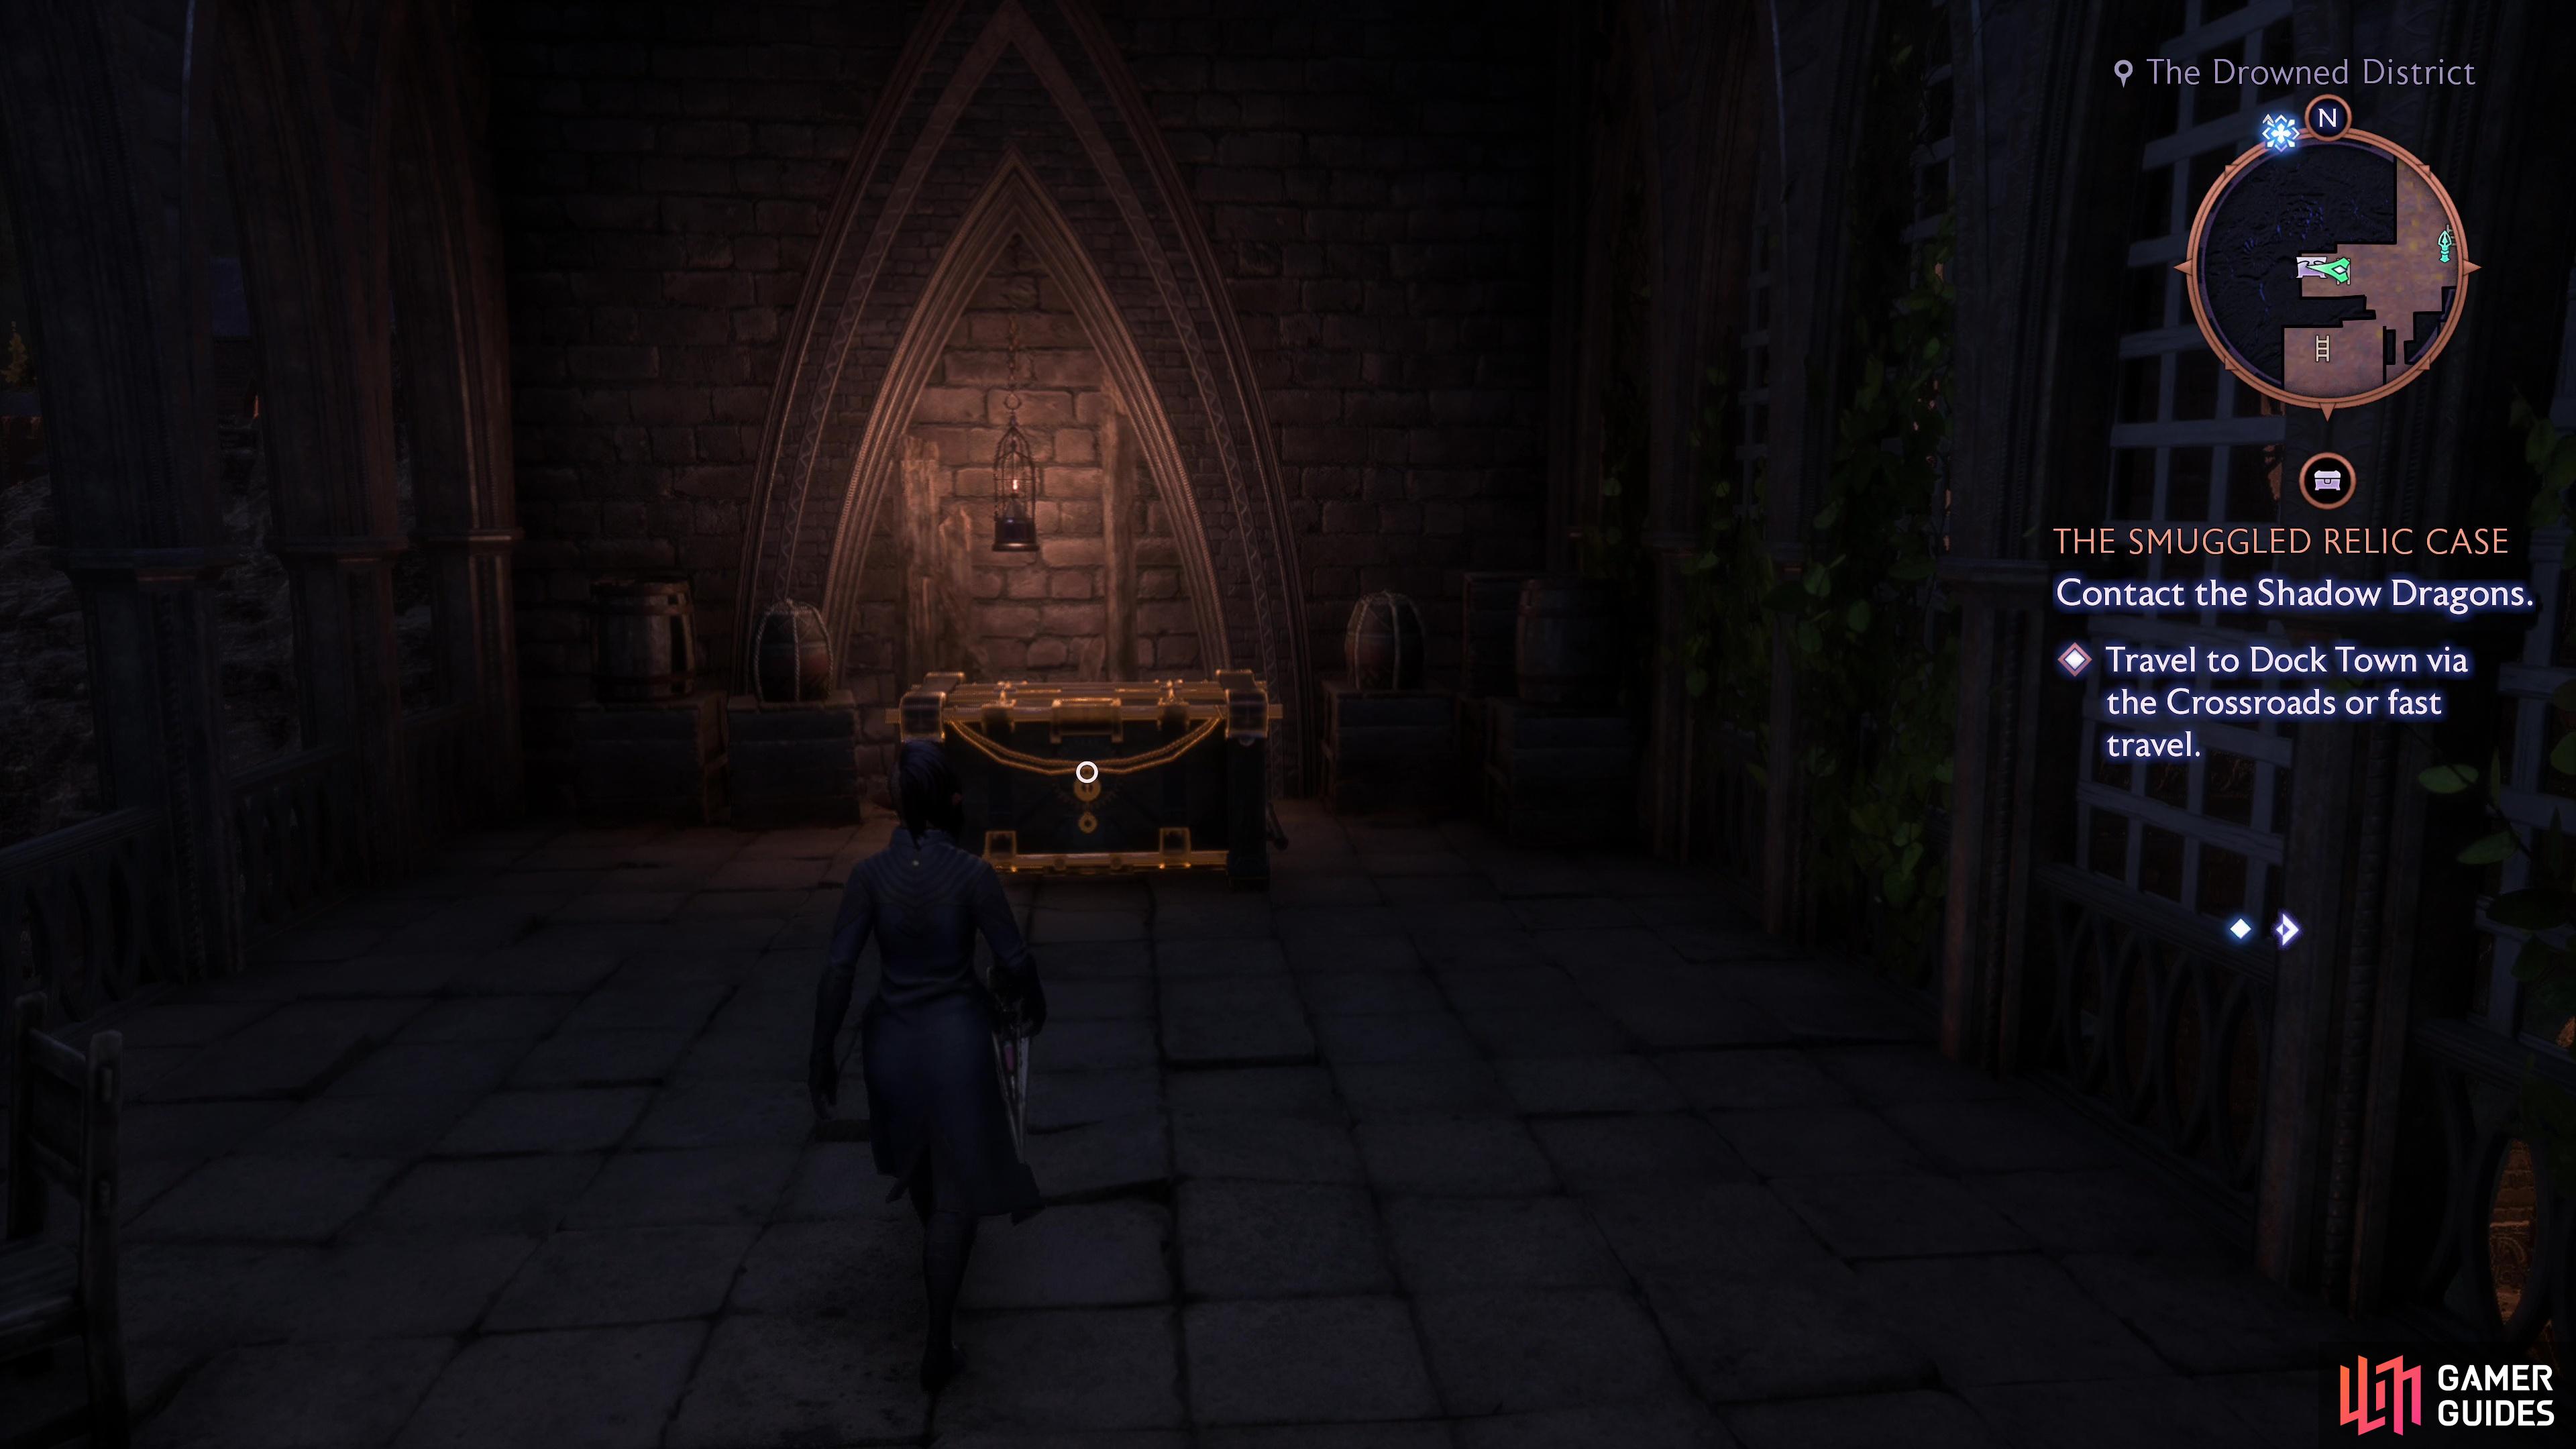
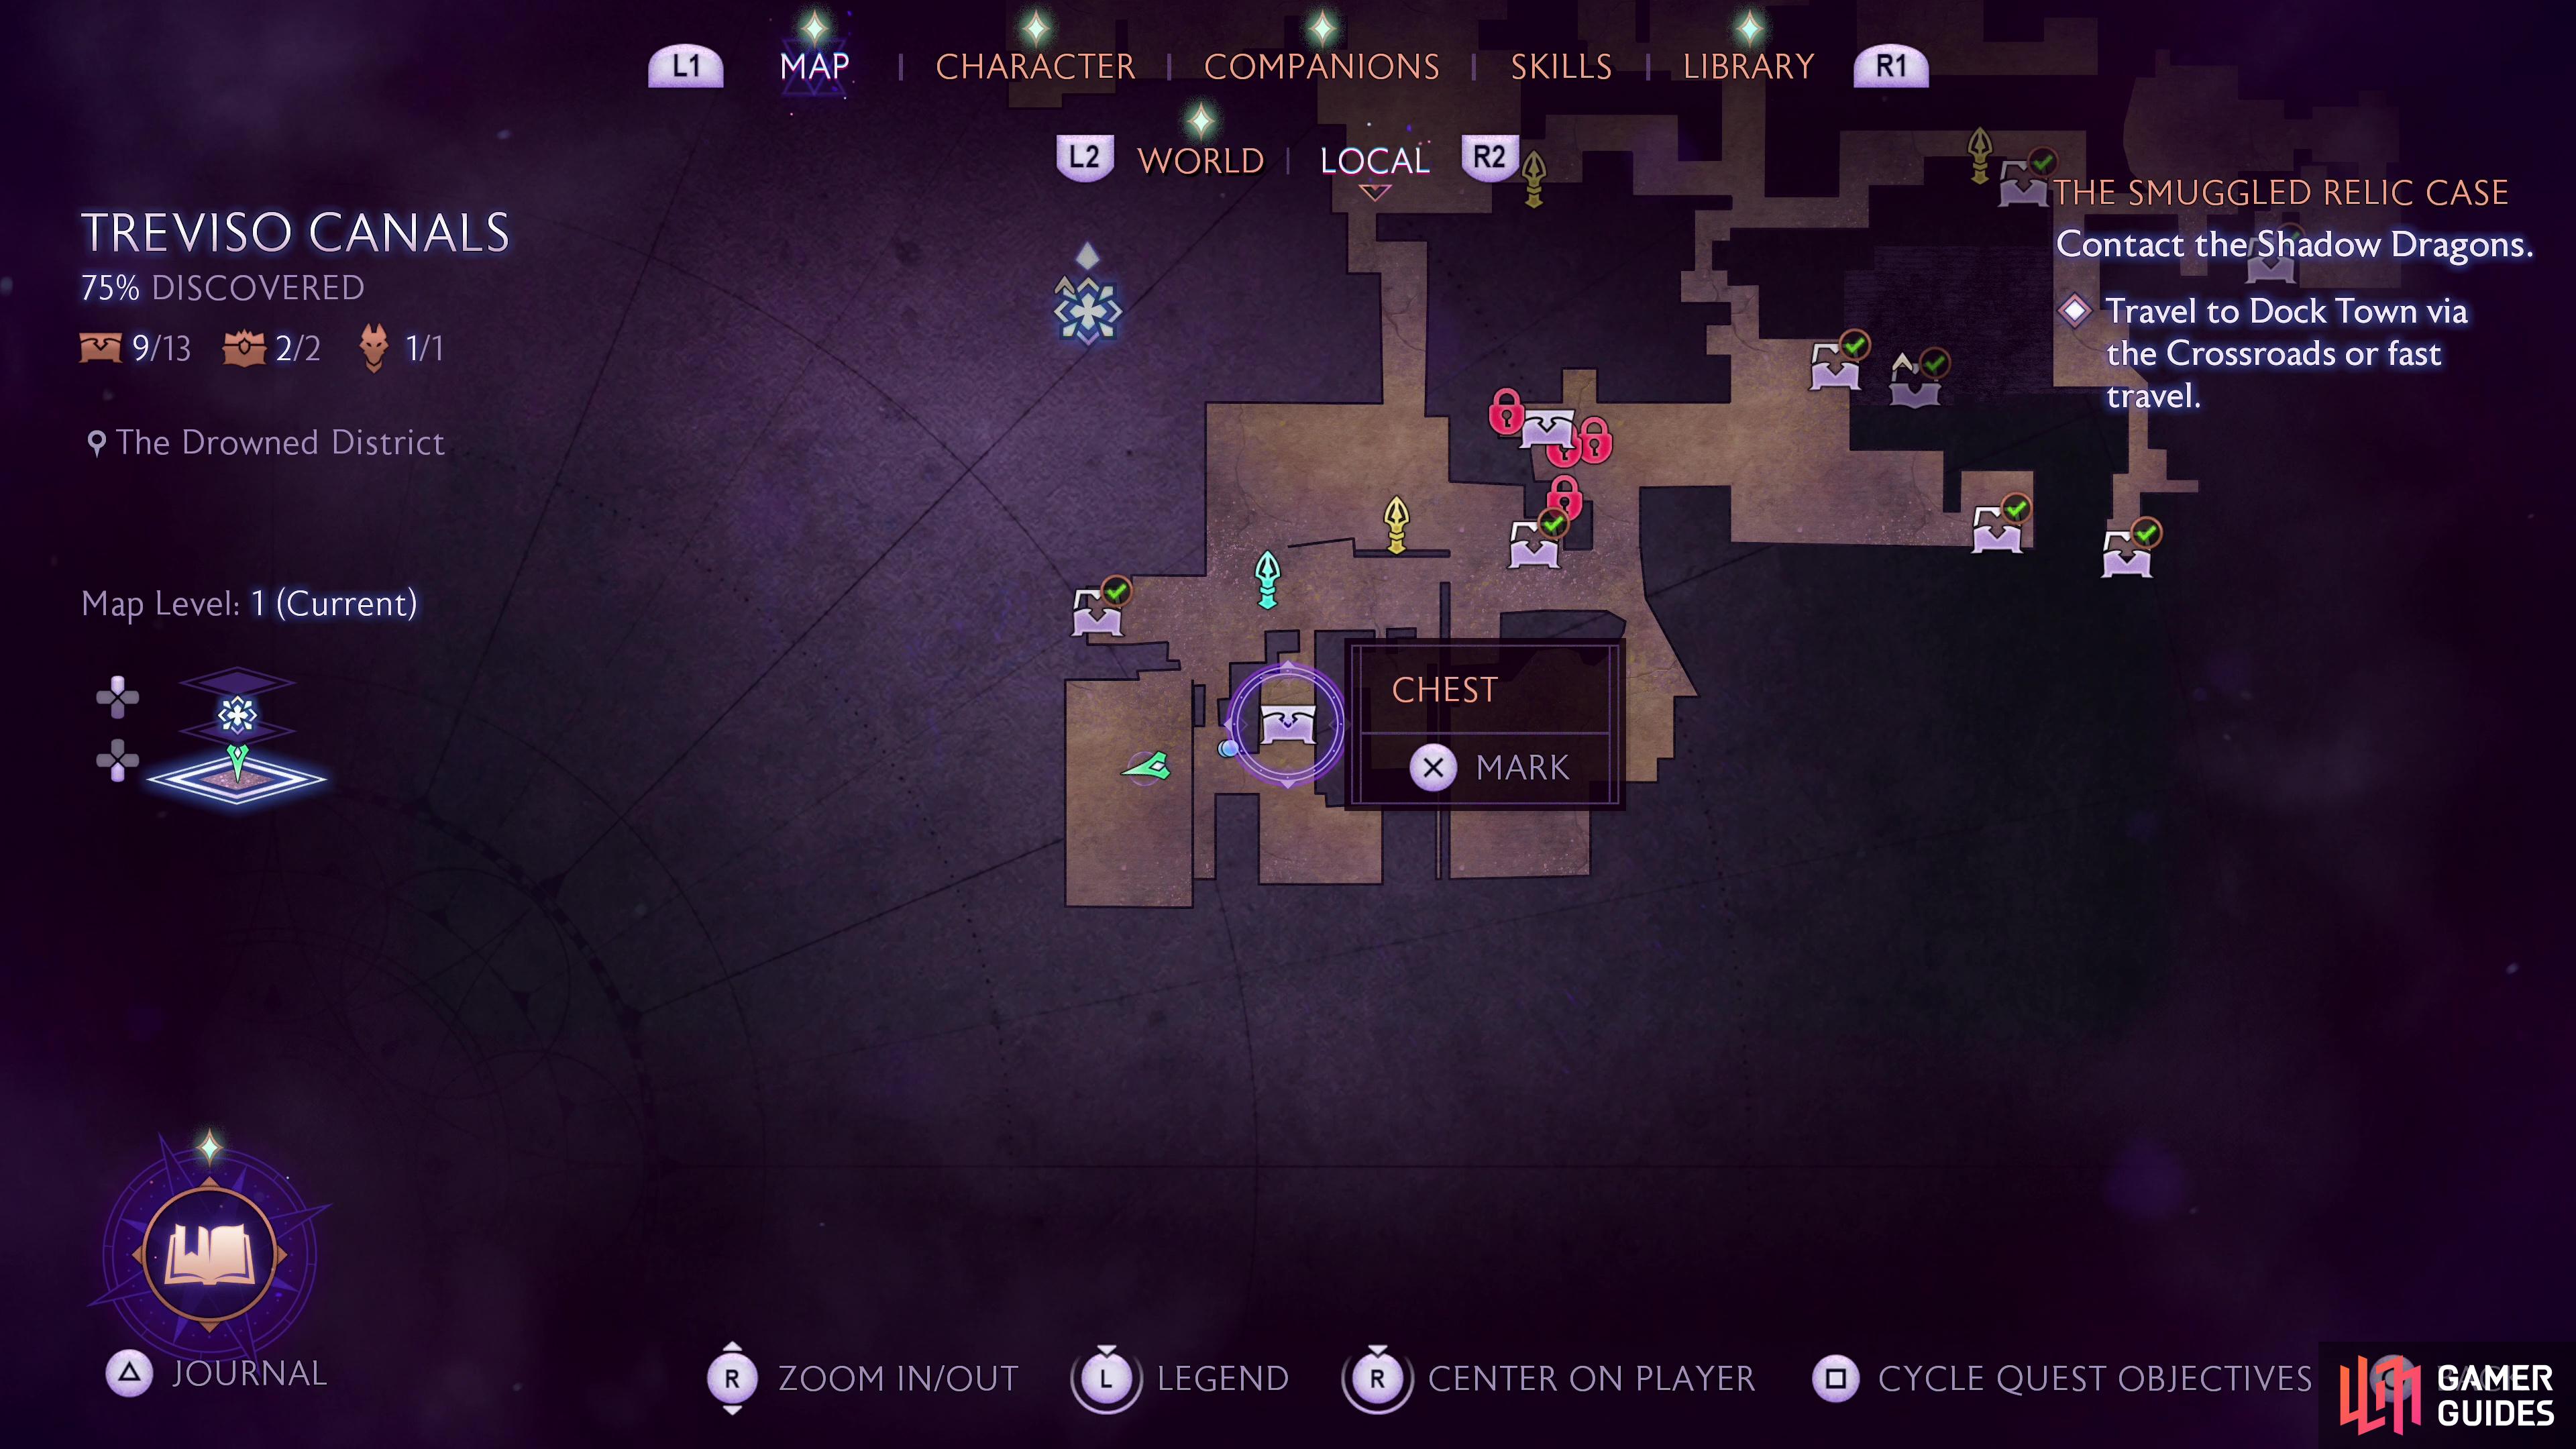
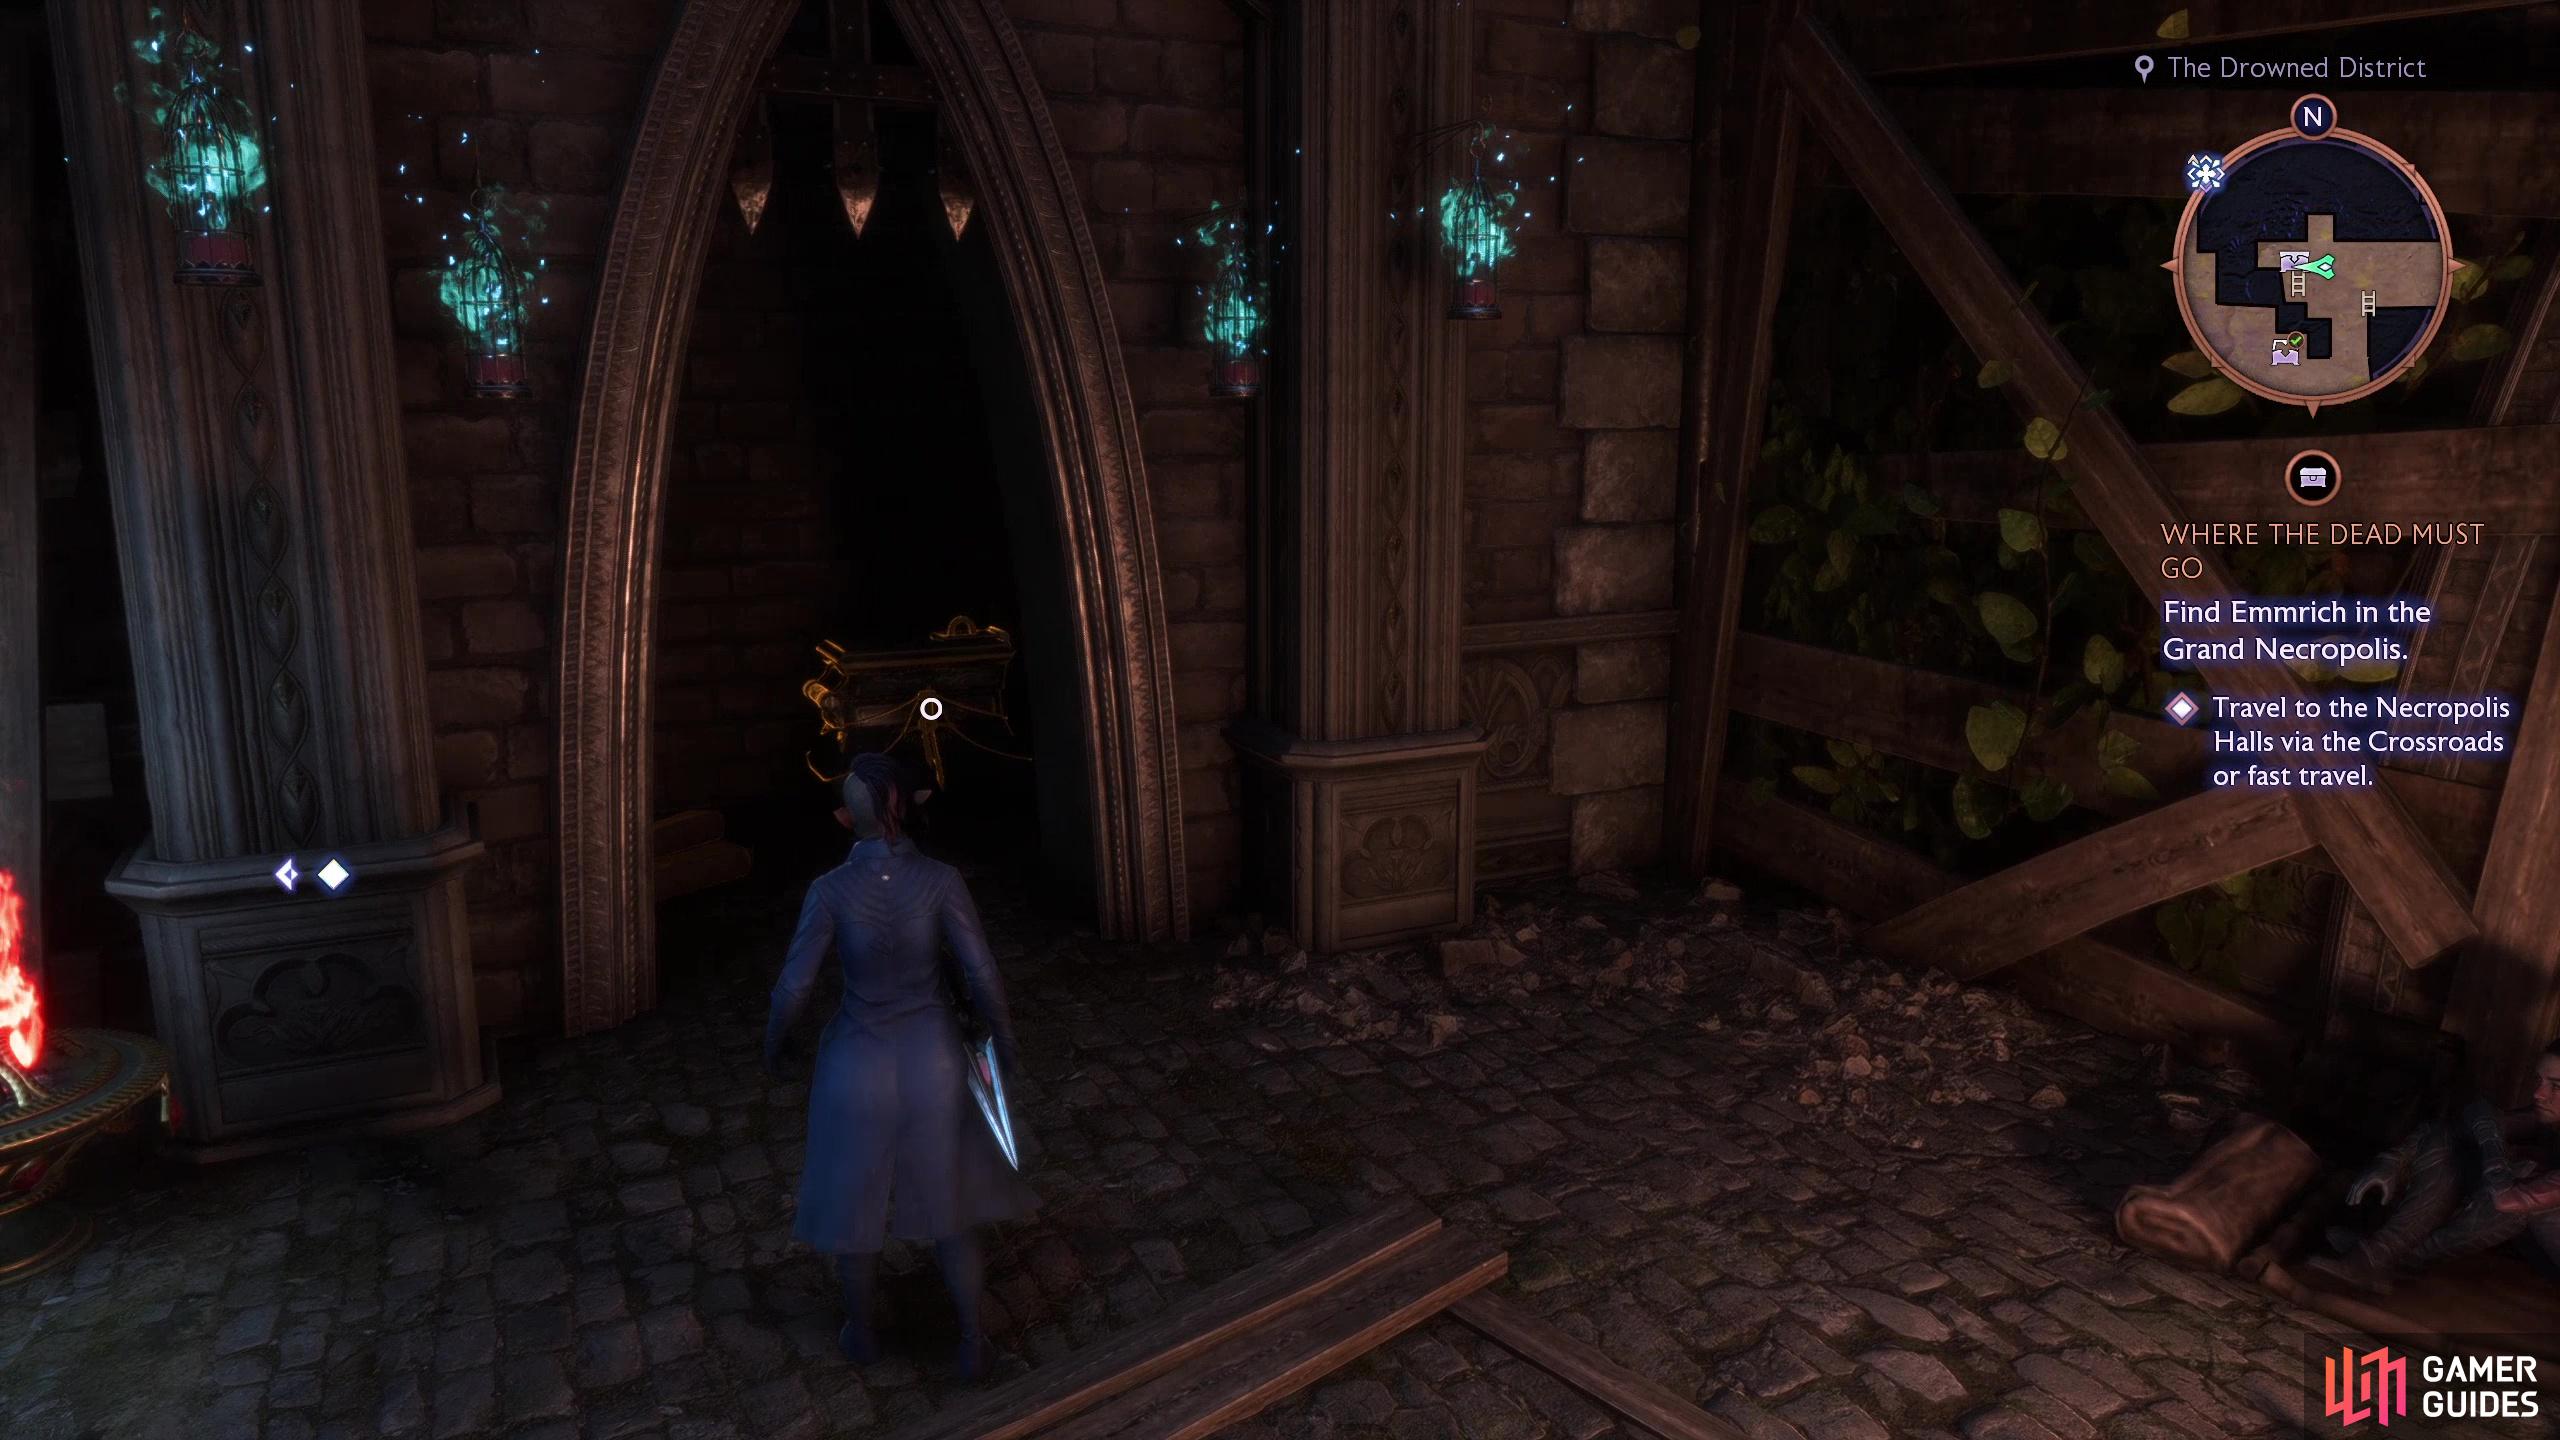
From this beacon head east until you find some stairs leading south. Descend them and after the second flight turn east to find a portico. Enter the doorway beyond the columns and youll find this chest inside a building.
(1 of 4) Head to the northern of the two Drowned District Beacons.
Chest 7: Streets of Coin Financials 1F
To profit from the future we must return to the past - that’s right, the next two chests technically are located back in the Streets of Coin Financials district. To get there you can backtrack to the Streets of Coin Financials Beacon and from there head west until you cross a arching bridge, past which is a doorway to the west that will ultimately take you south, and once you exit through another doorway continue going south until you find an outdoor bar in the southwestern corner.
If you prefer to get there from the last chest, however, just exit the building that chest was in and head up some stairs to the east, then turn north through two doorways. Note the gate to the northwest - a chest lies beyond it, but it can’t be looted until you recruit Taash. Instead turn east to find a closed door which can only be opened from this side. Open it and continue east to find yourself just north of the aforementioned corner bar.
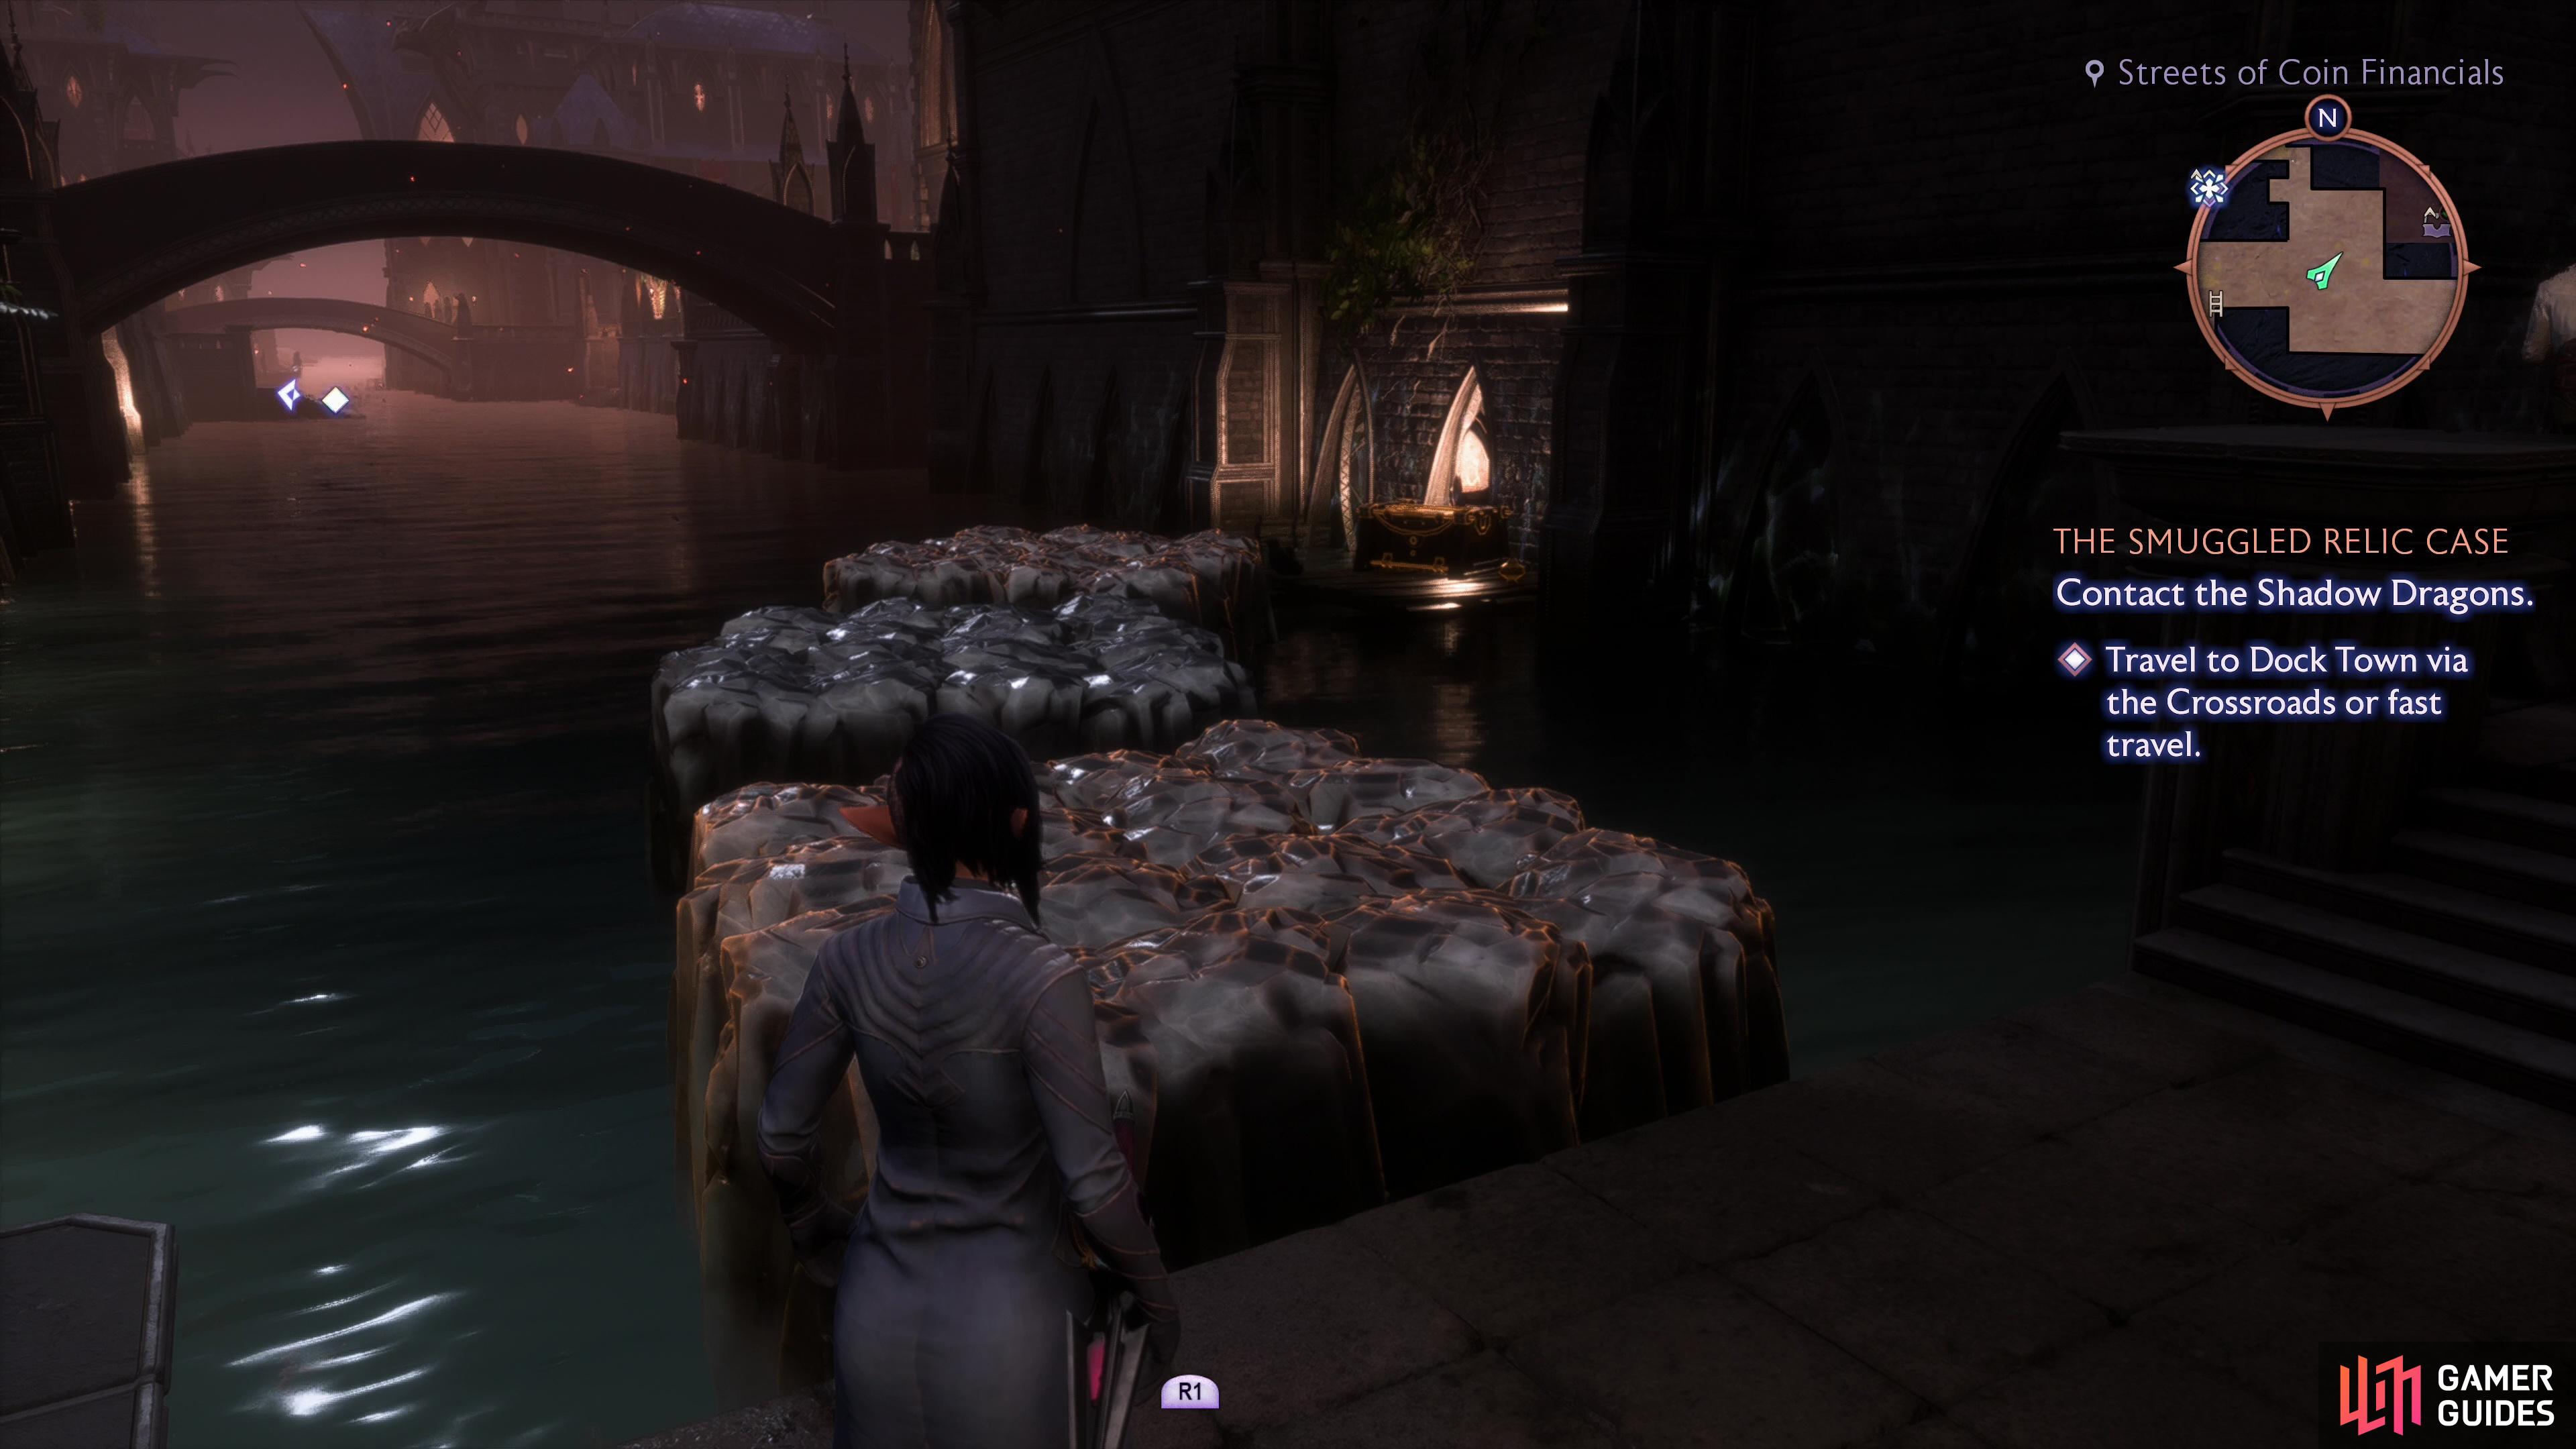
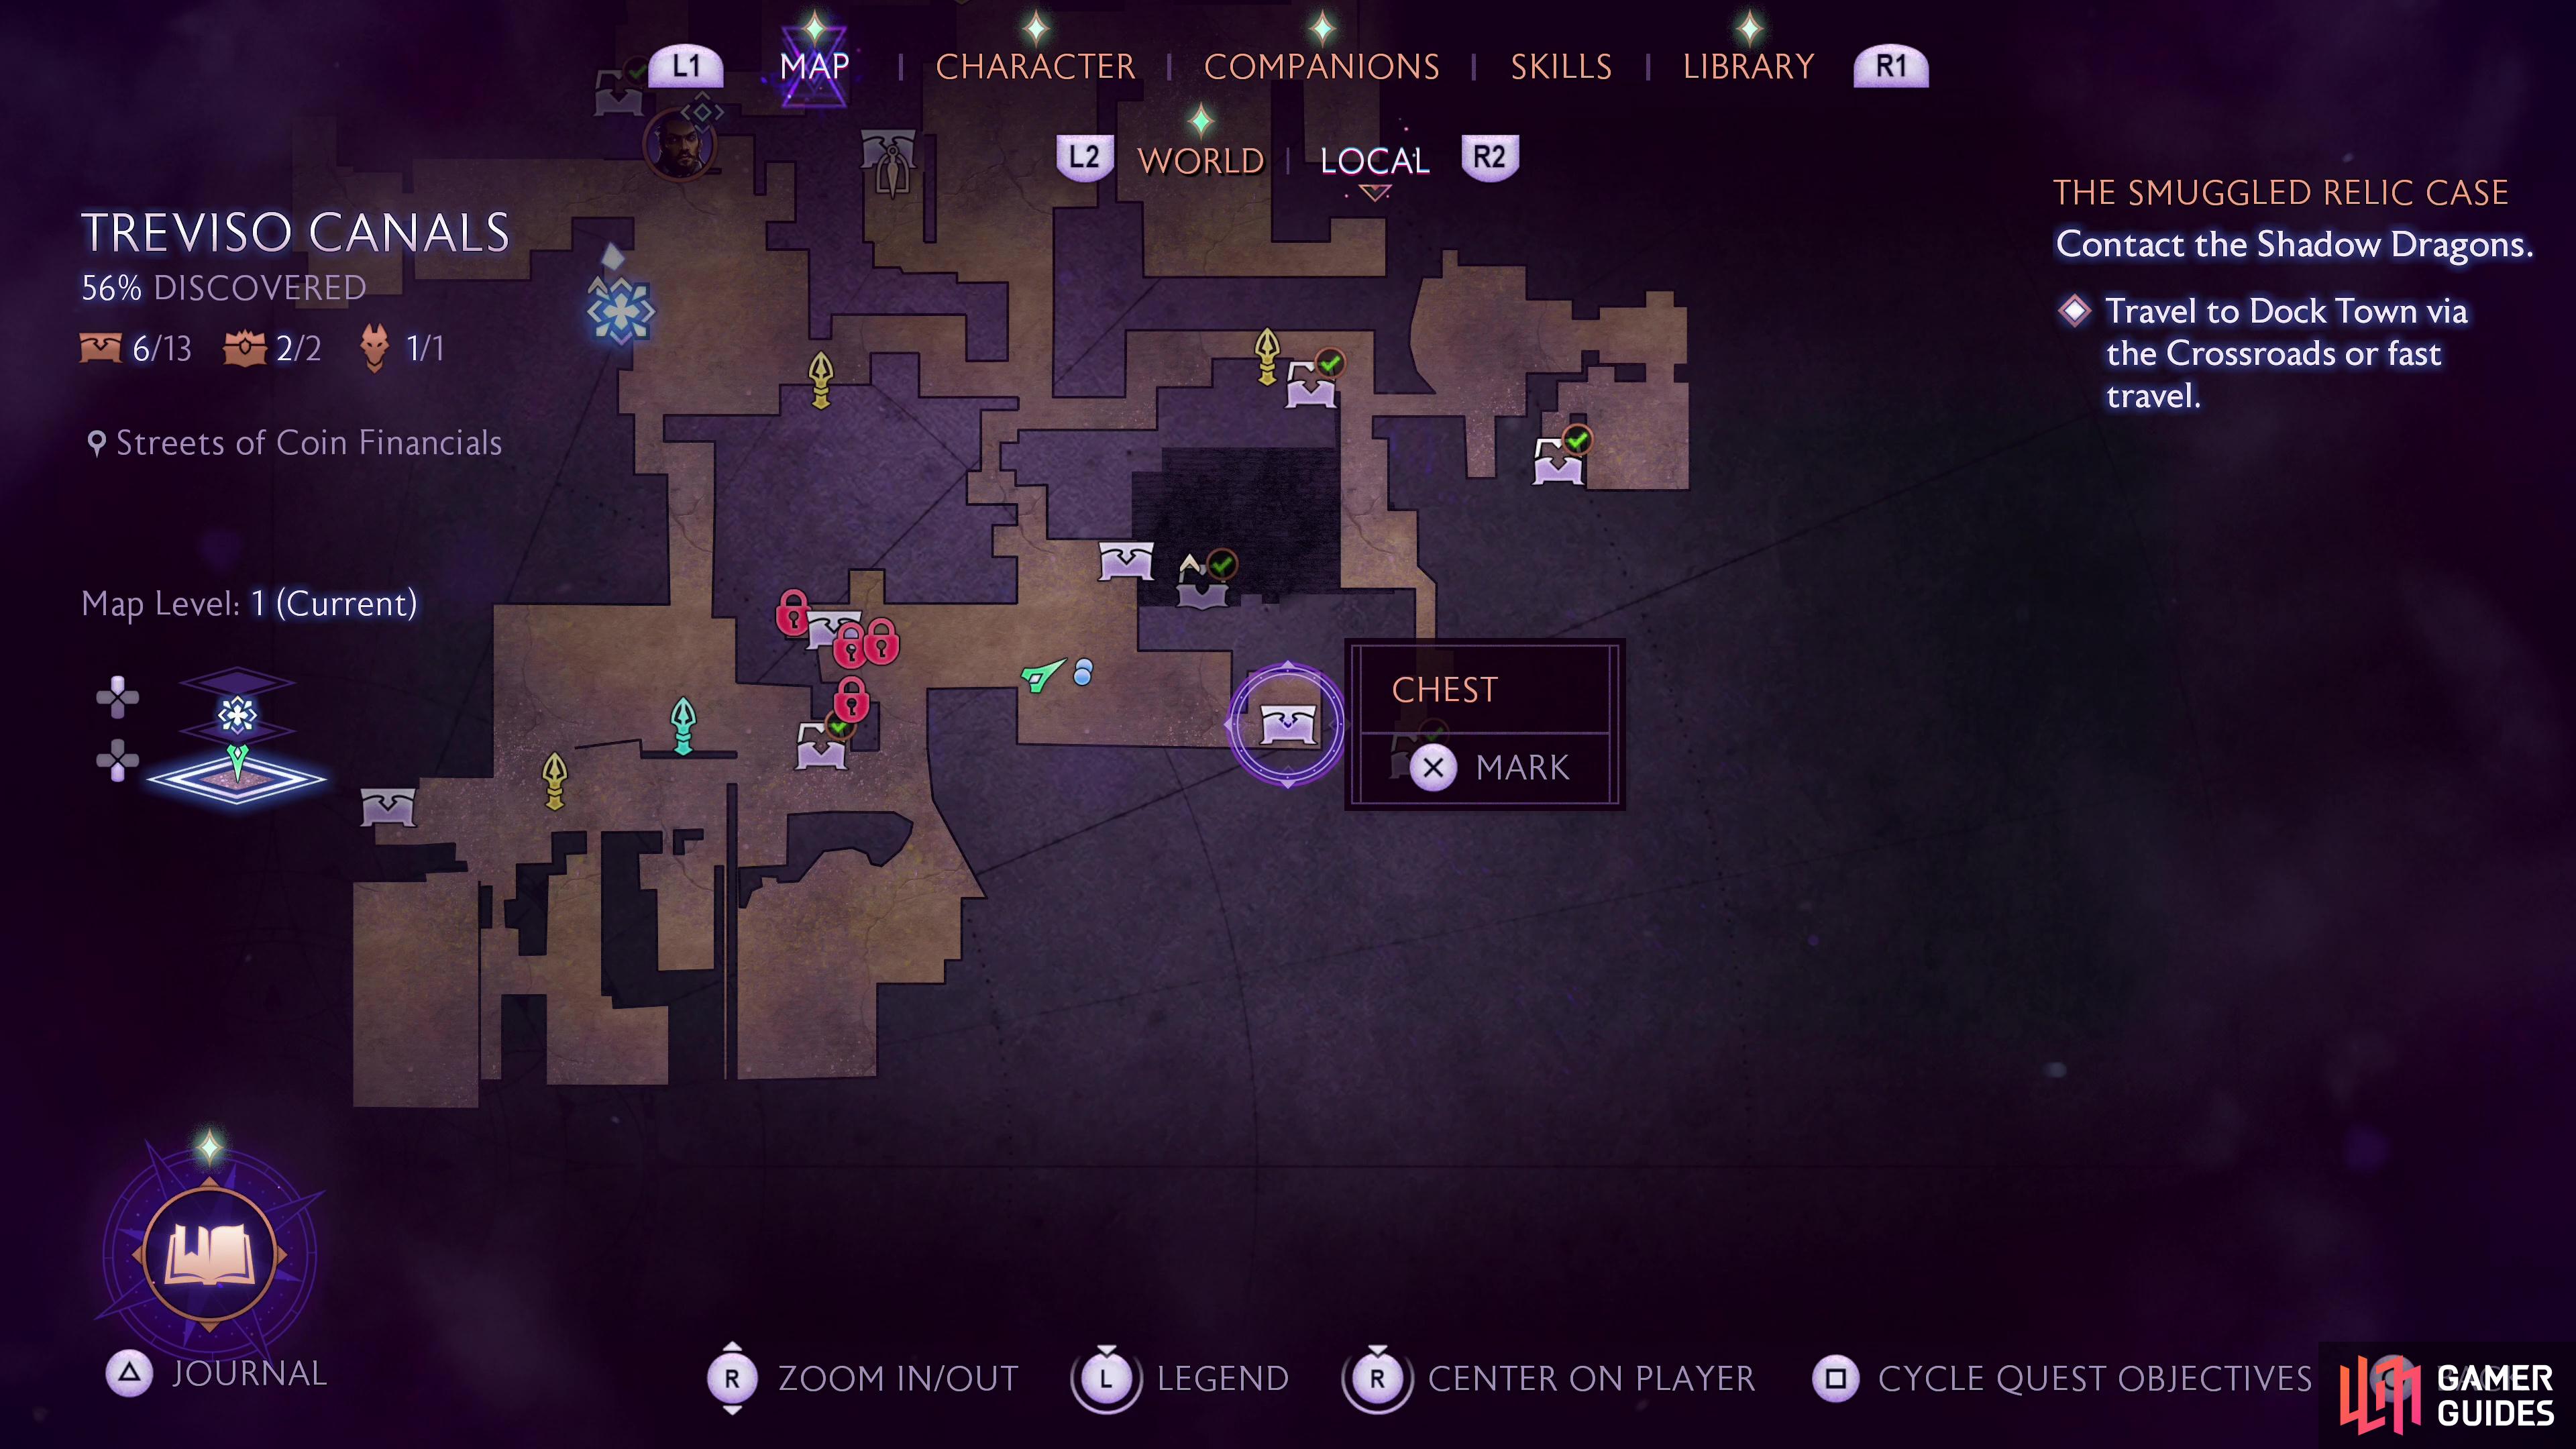
From this corner bar, head down the street to the east until you find some stairs leading down to the canal to the north. Descend them and use Harding’s Eternal Hymn ability to raise some submerged stone platforms. Jump across them to reach a ledge to the northeast whereupon you’ll find this chest.
(1 of 3) The location of chest #7 on the map.
Chest 8: Streets of Coin Financials 1F
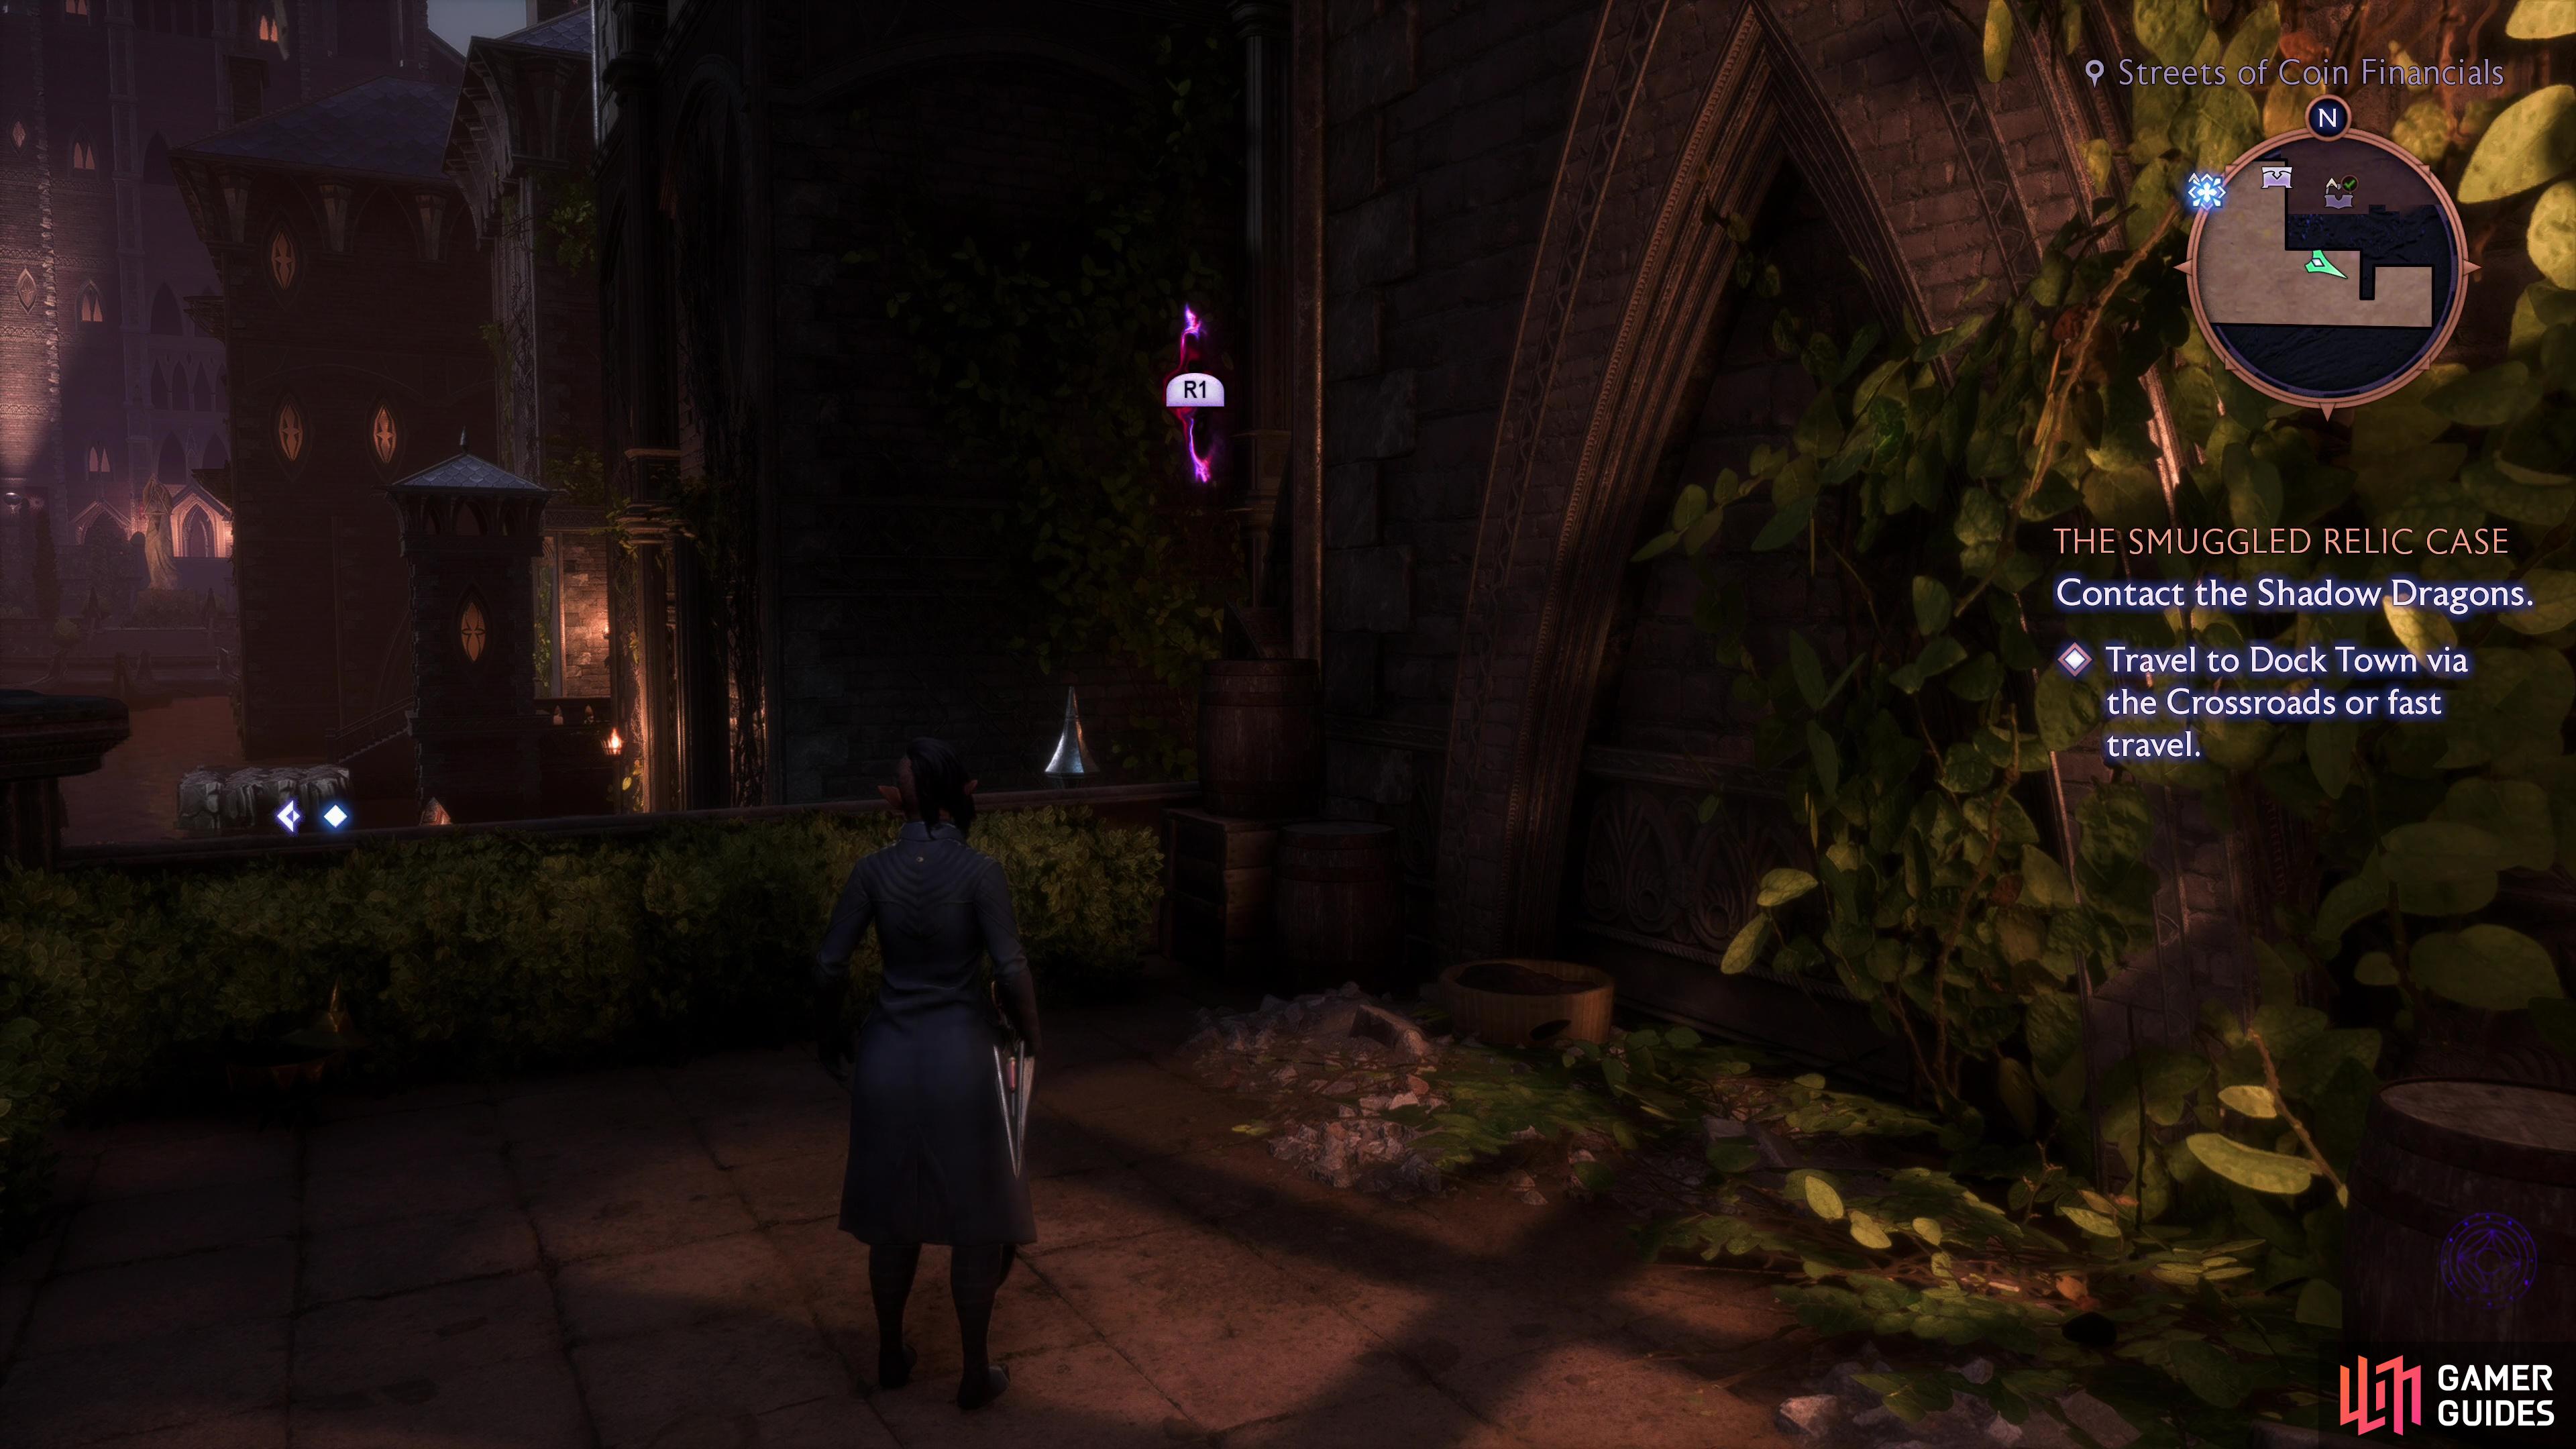
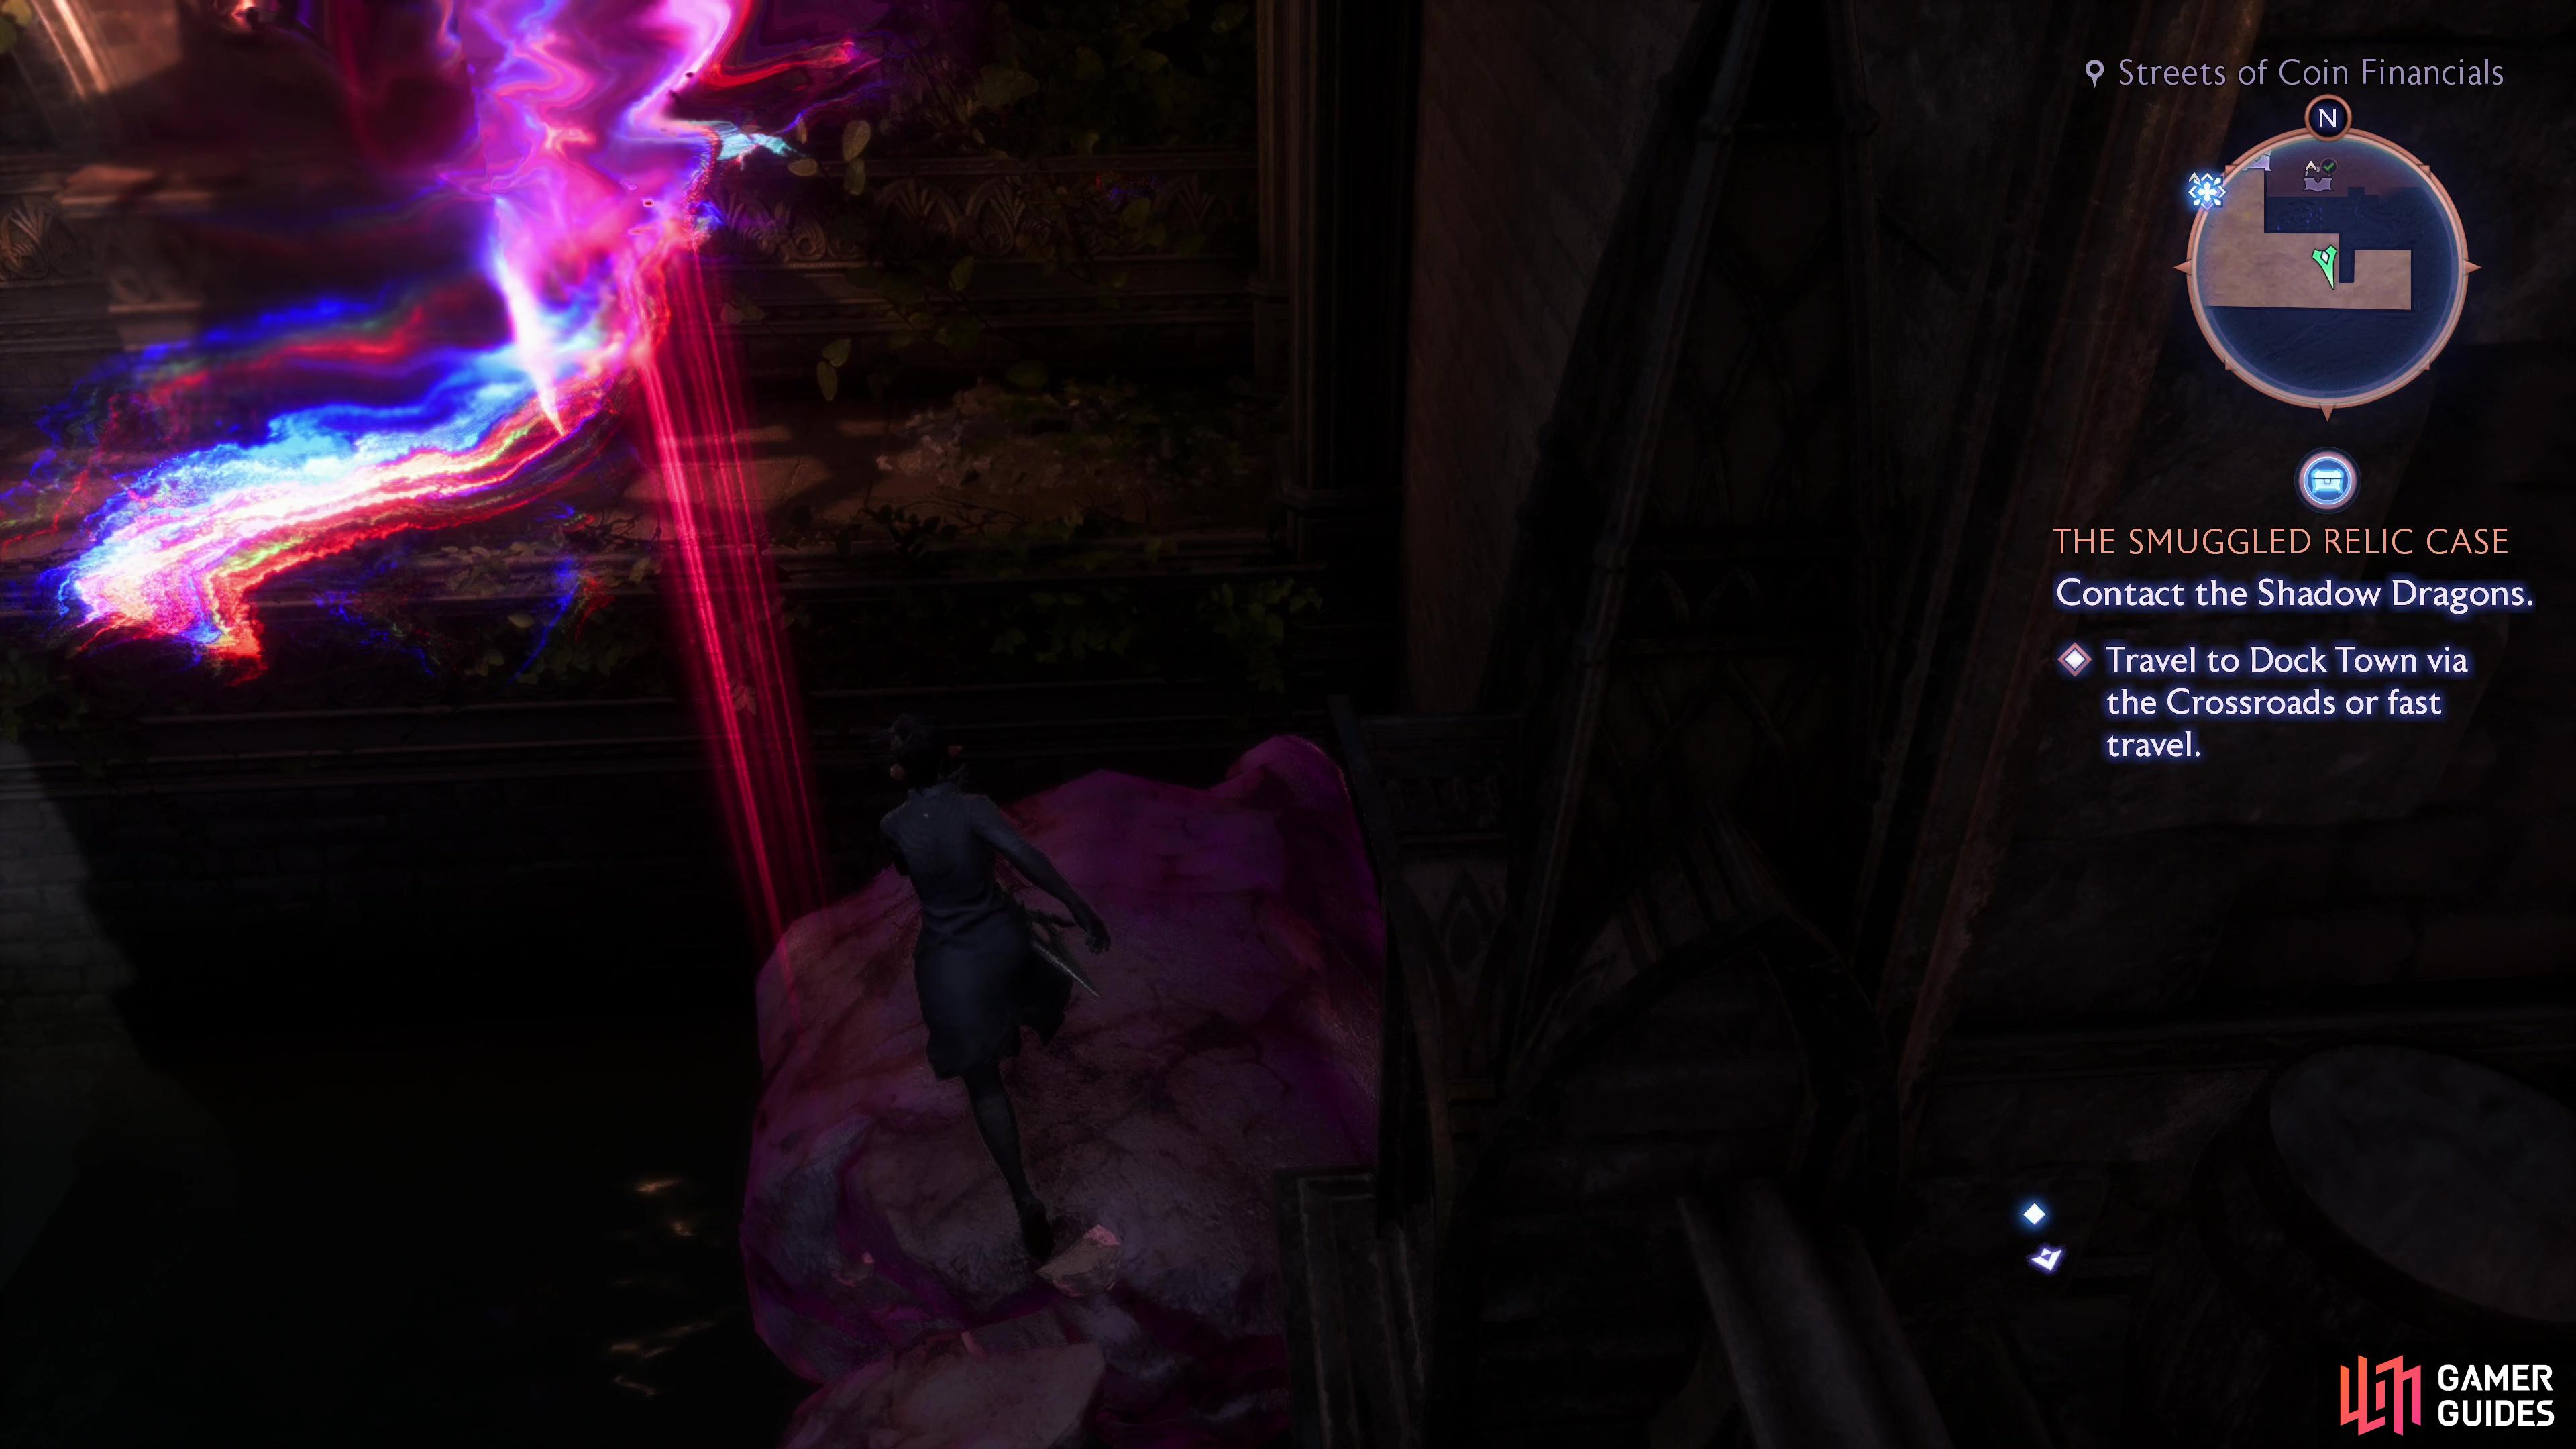
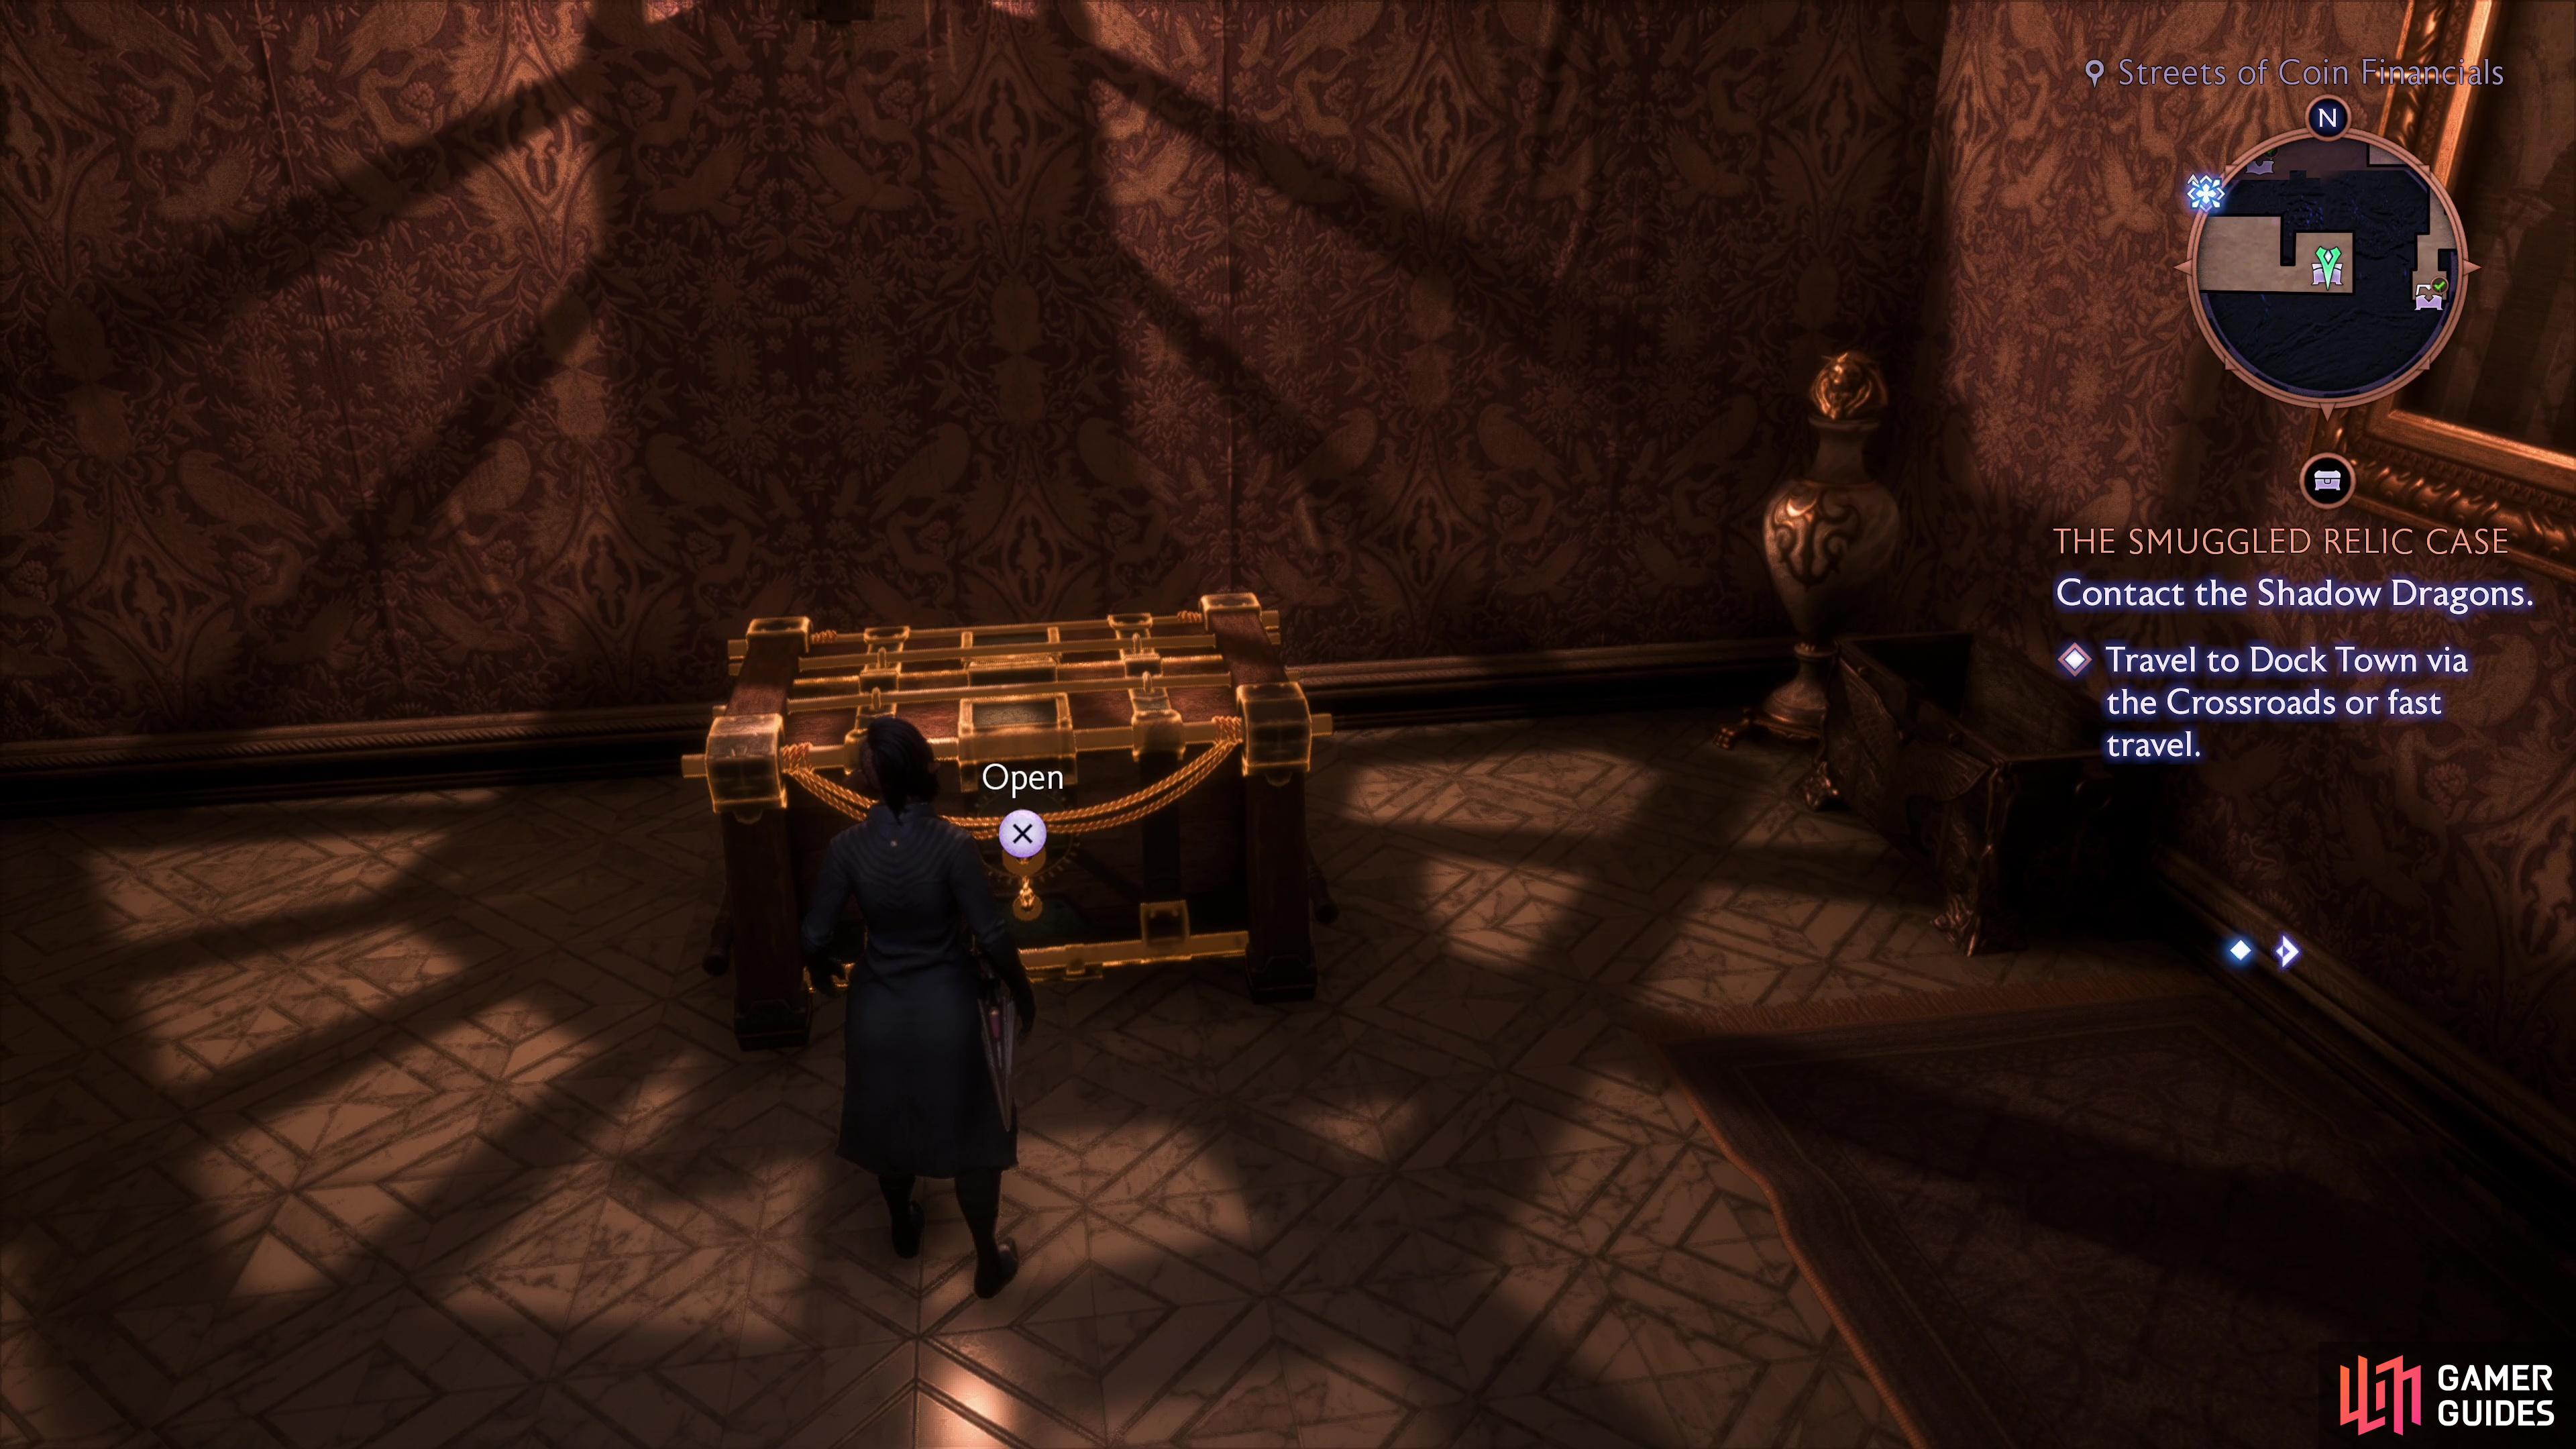
You’ll find this chest near the last one, so we’ll use the corner bar as our starting point again. From this bar head down the street to the east until you reach the end of the road. Look off in the sky to the southeast to find a fade distortion, which can be targeted by Lucanis’s Veil Instability power to summon an arm from the fade, which you can use as a platform to reach a ledge to the south. Jump over the railing after summoning the fade hand, cross to the south, and once you’re on this ledge turn east and work your way downstairs to find a door to the south, beyond which you’ll find this chest.
Once you’ve looted this chest backtrack west, go through a doorway, and pull a lever on the wall to open a gate, providing you a convenient shortcut back to the street east of the corner bar.
Chest 9: Drowned District 1F
For the last two chests we can find at this point in time, it’s back to the Drowned District. From the northernmost Drowned District Beacons, head back north up some stairs, then turn west up another flight of stairs. Once up this second flight of stairs turn south and head through a doorway, drop down a ledge, then descend a ladder to find the southern of the two Drowned District Beacons. This will be our starting point for the next two chests.
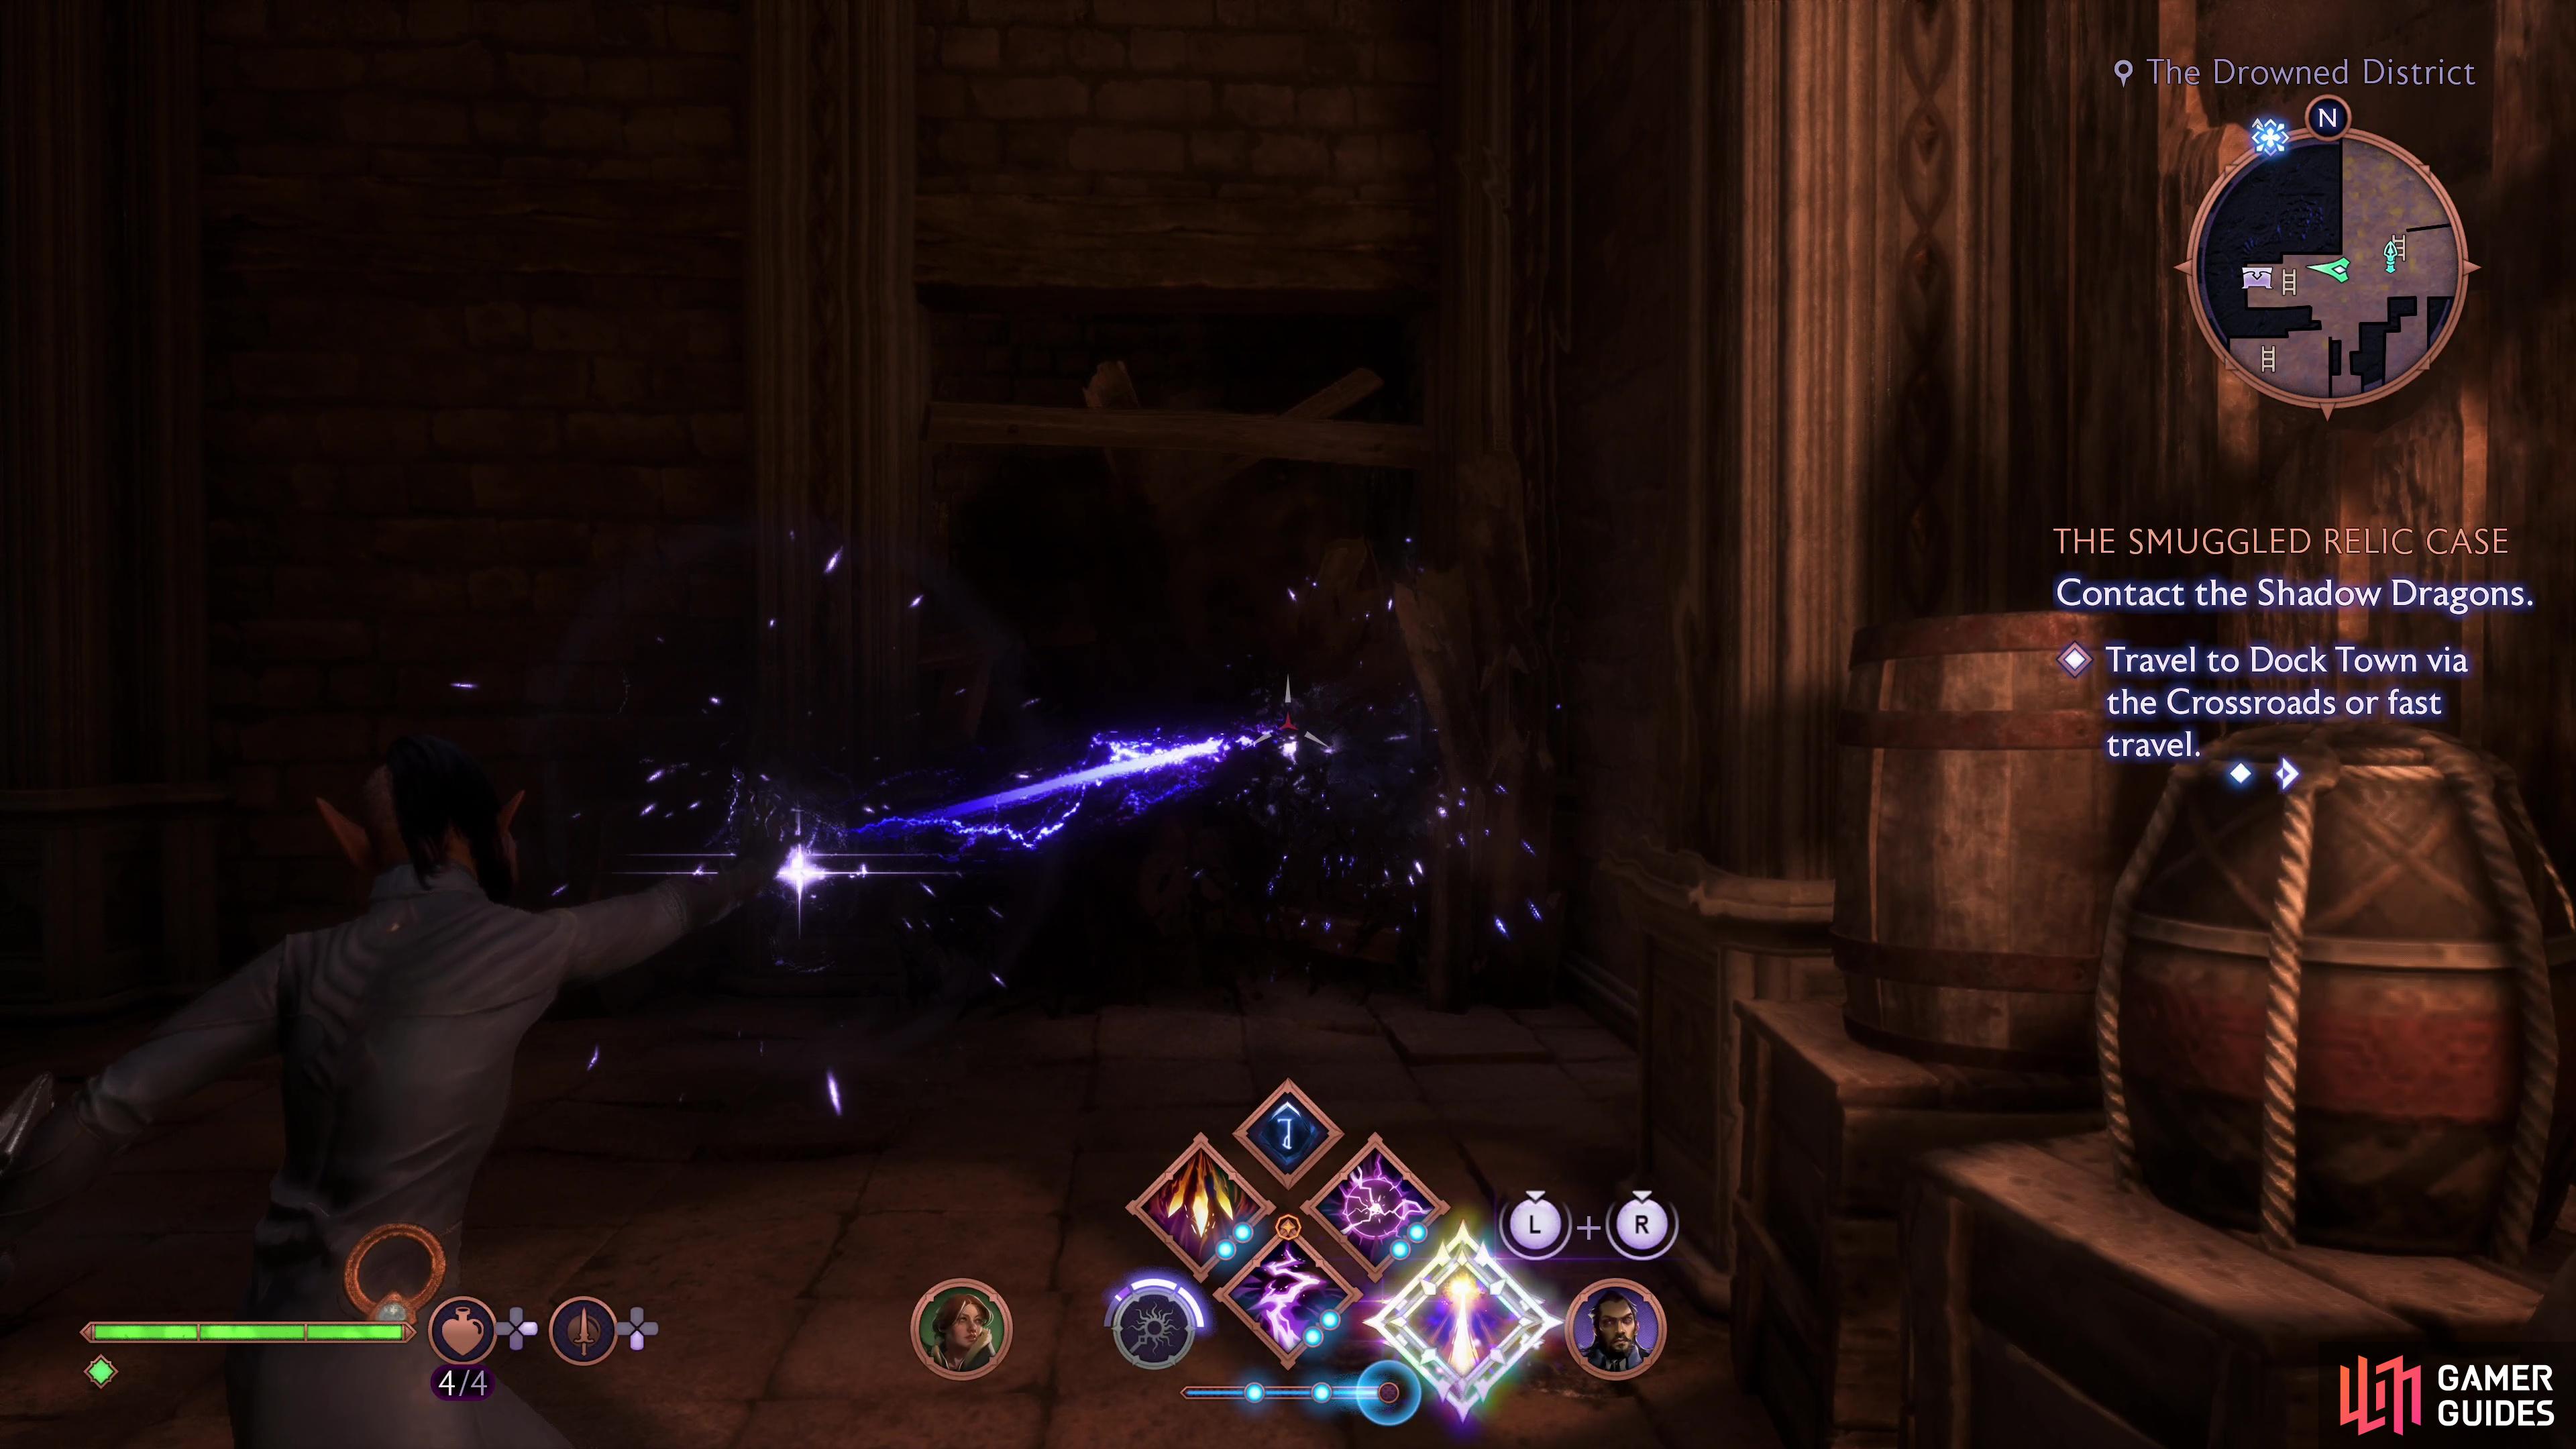
From this beacon, turn back north and climb the ladder you just descended, then turn left and climb through a window. Inside this building, work your way west, south, then west again, and when you see some boards blocking a doorway smash them and continue through. Climb a ladder in this room to find this chest.
Chest 10: Drowned District 1F
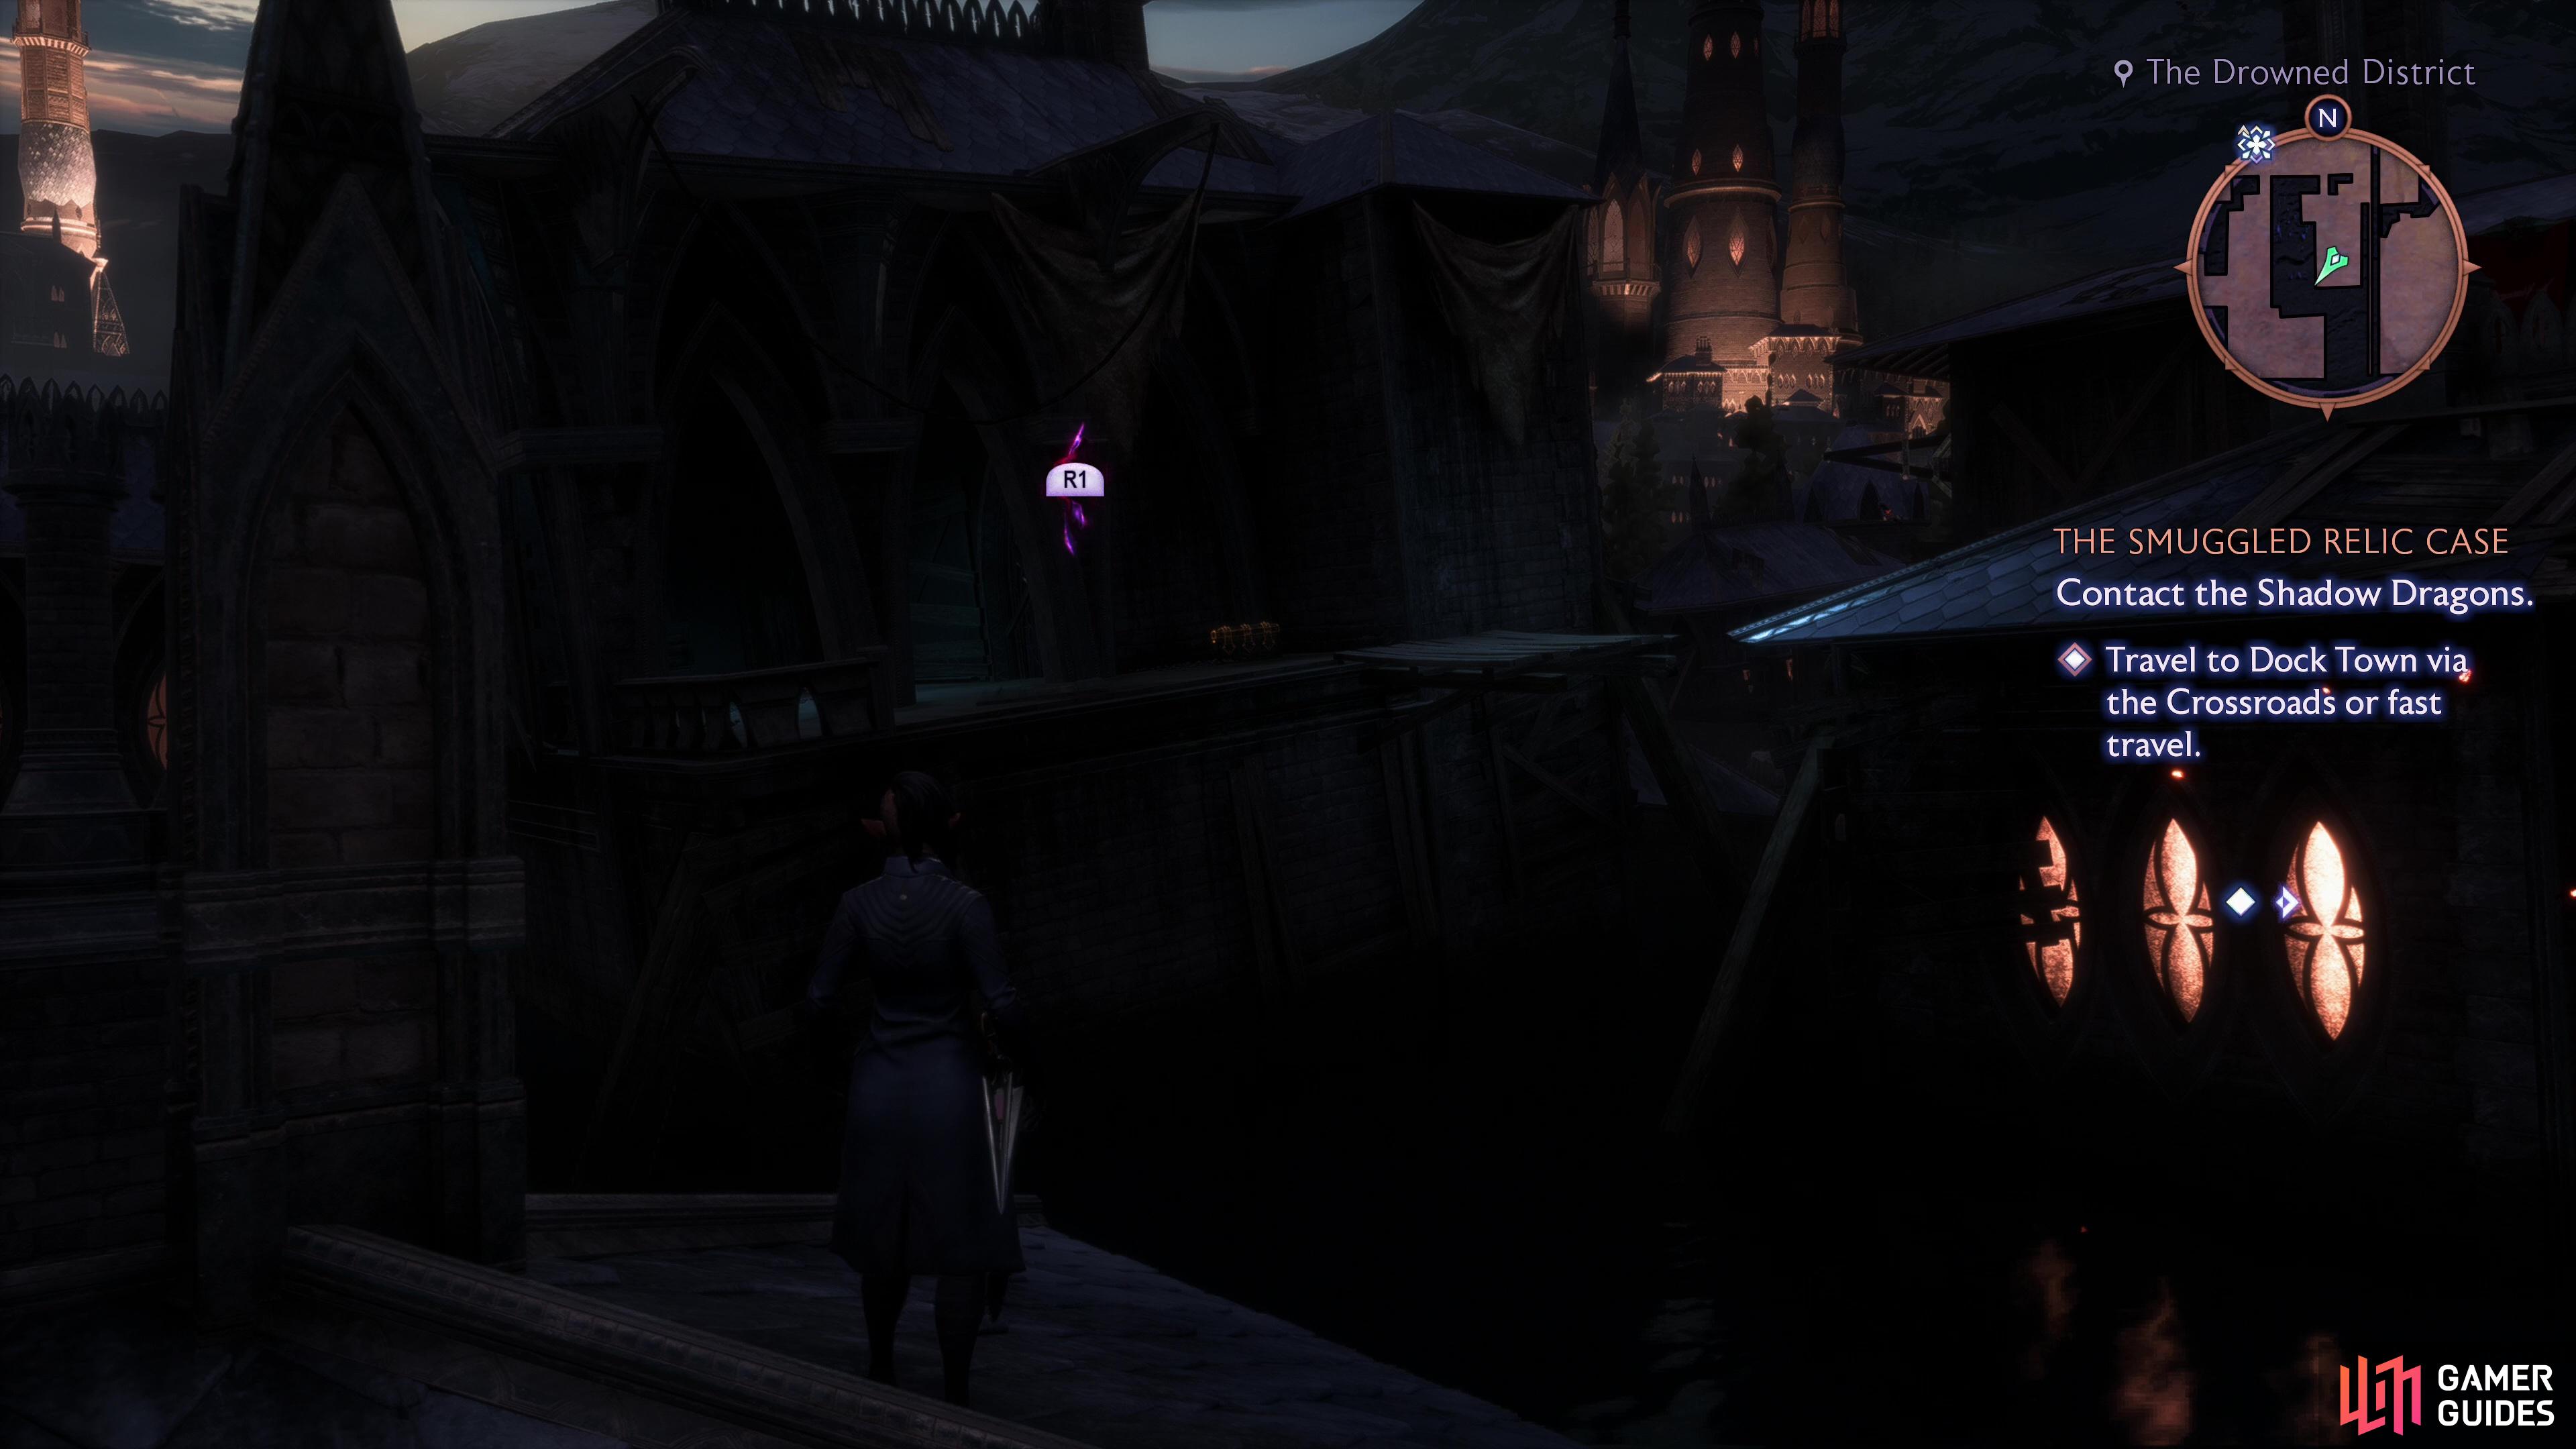
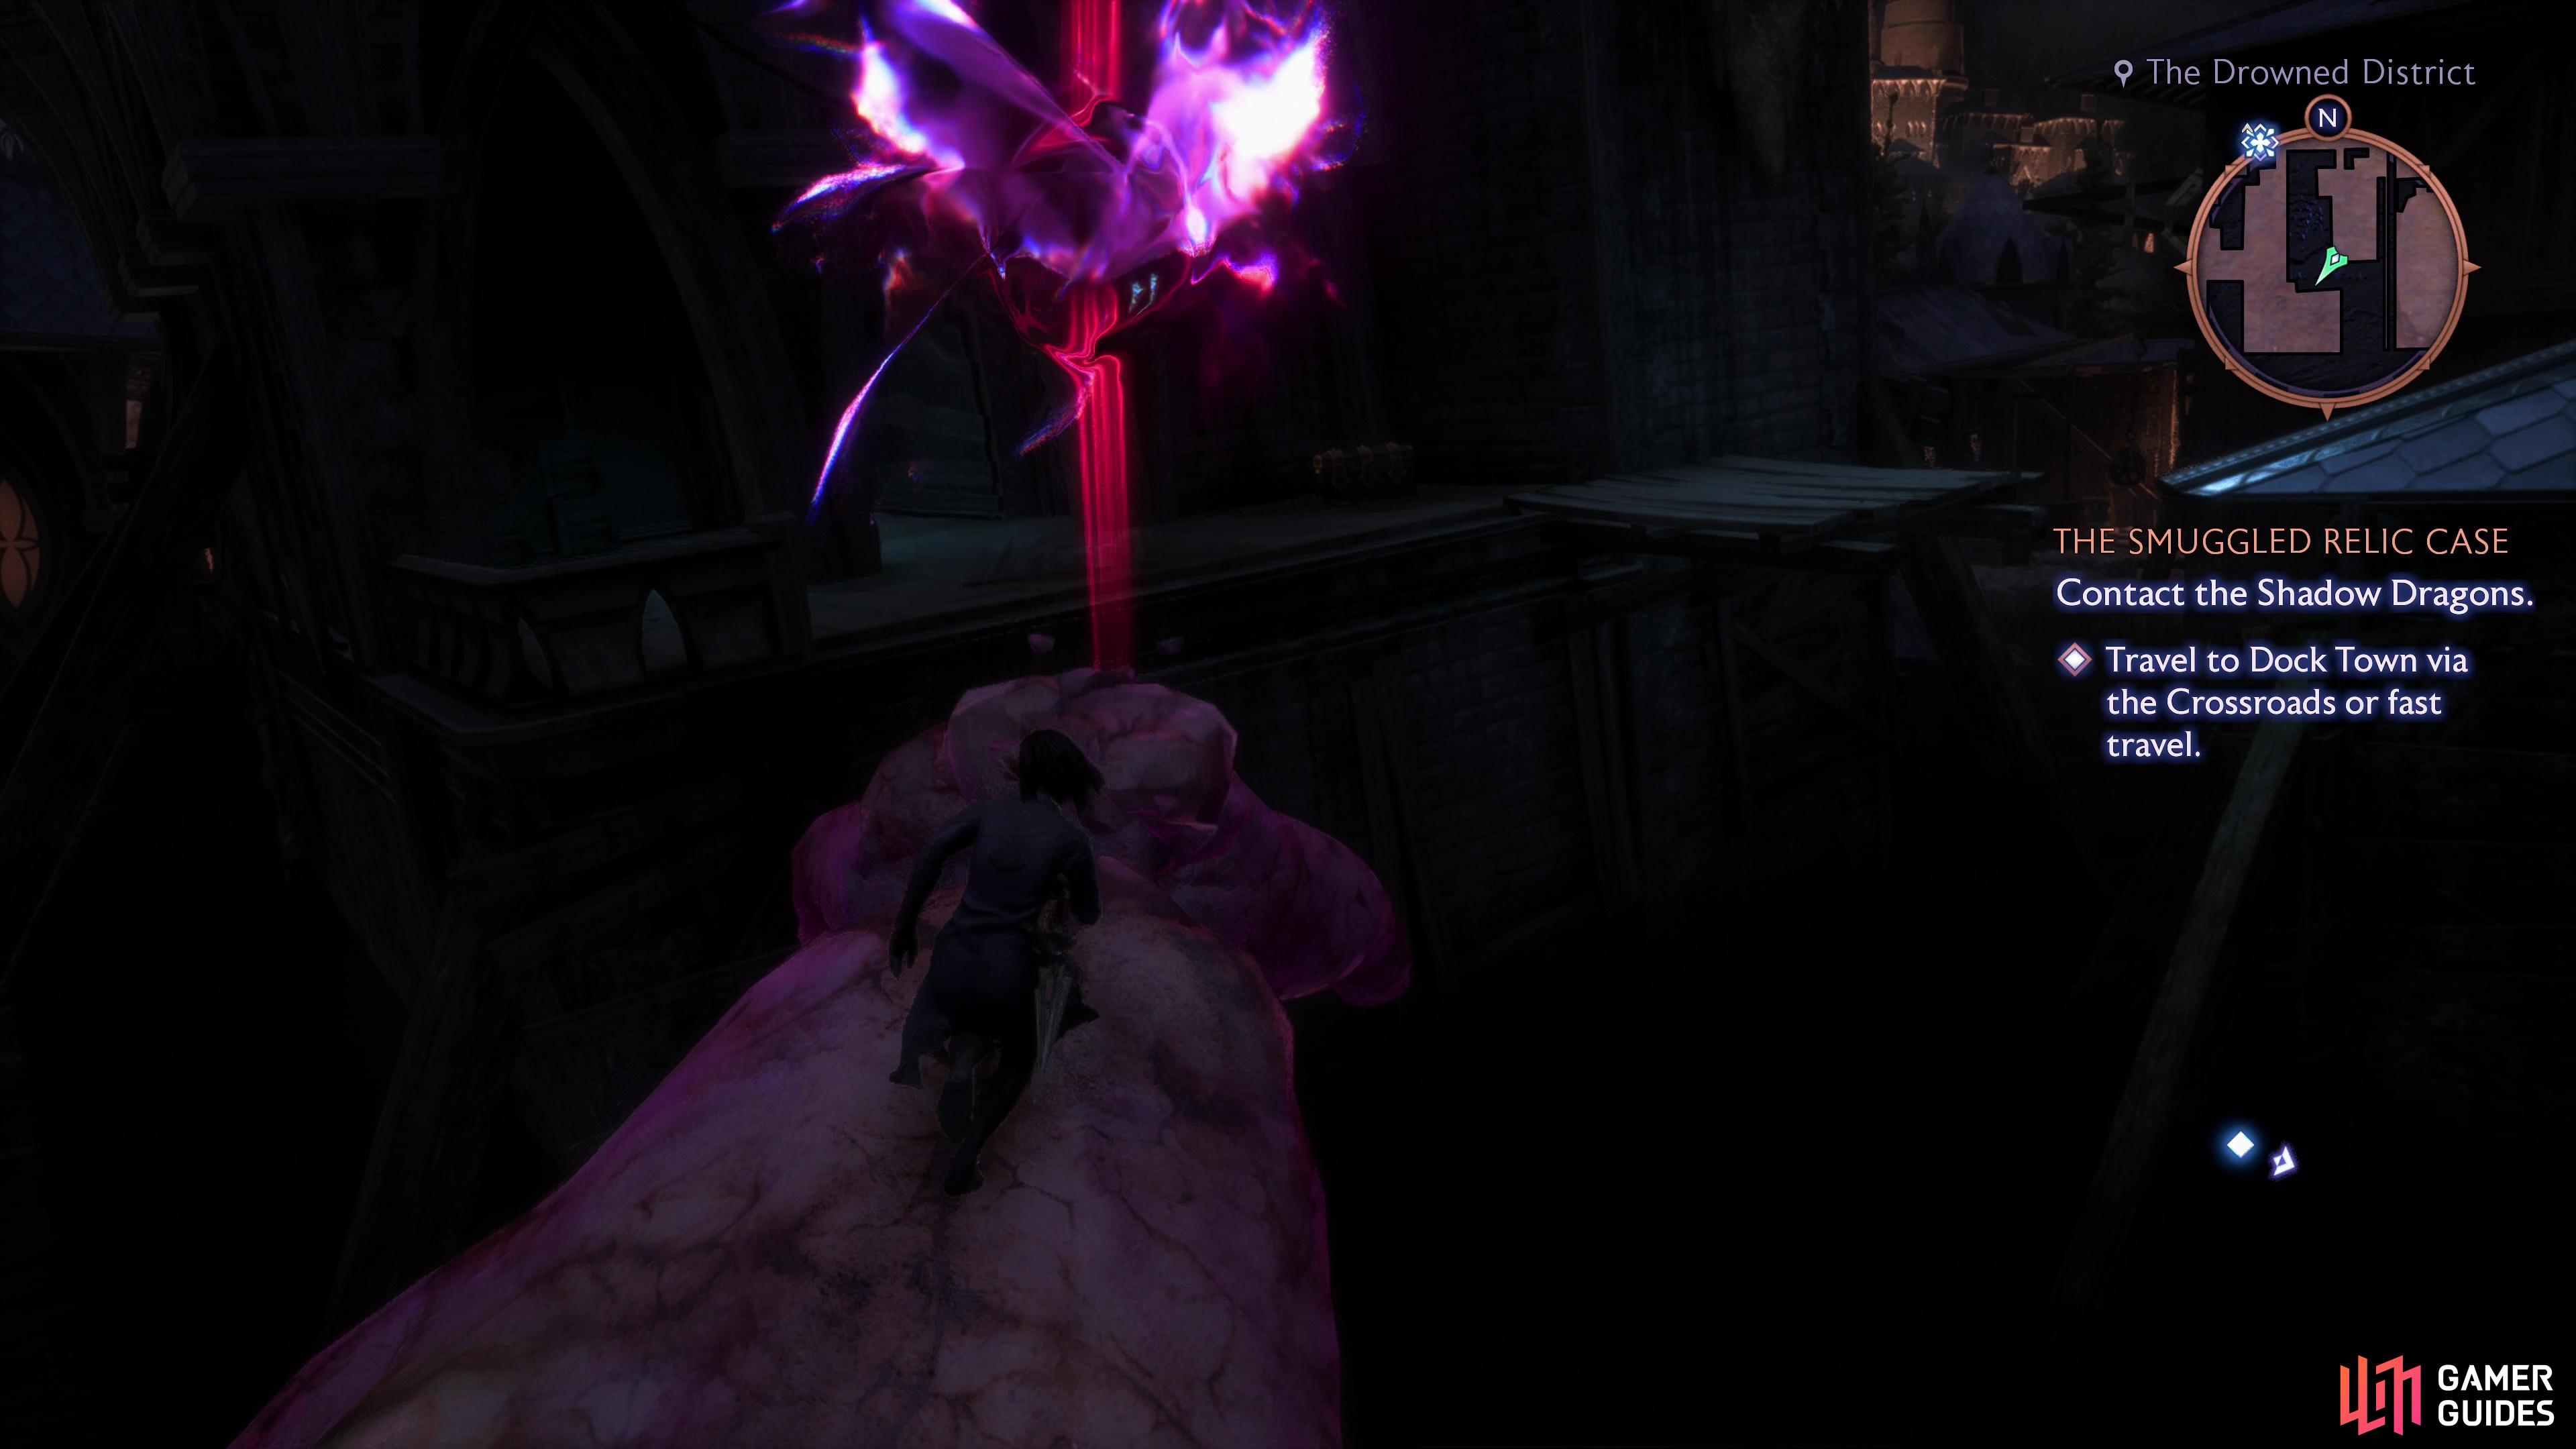
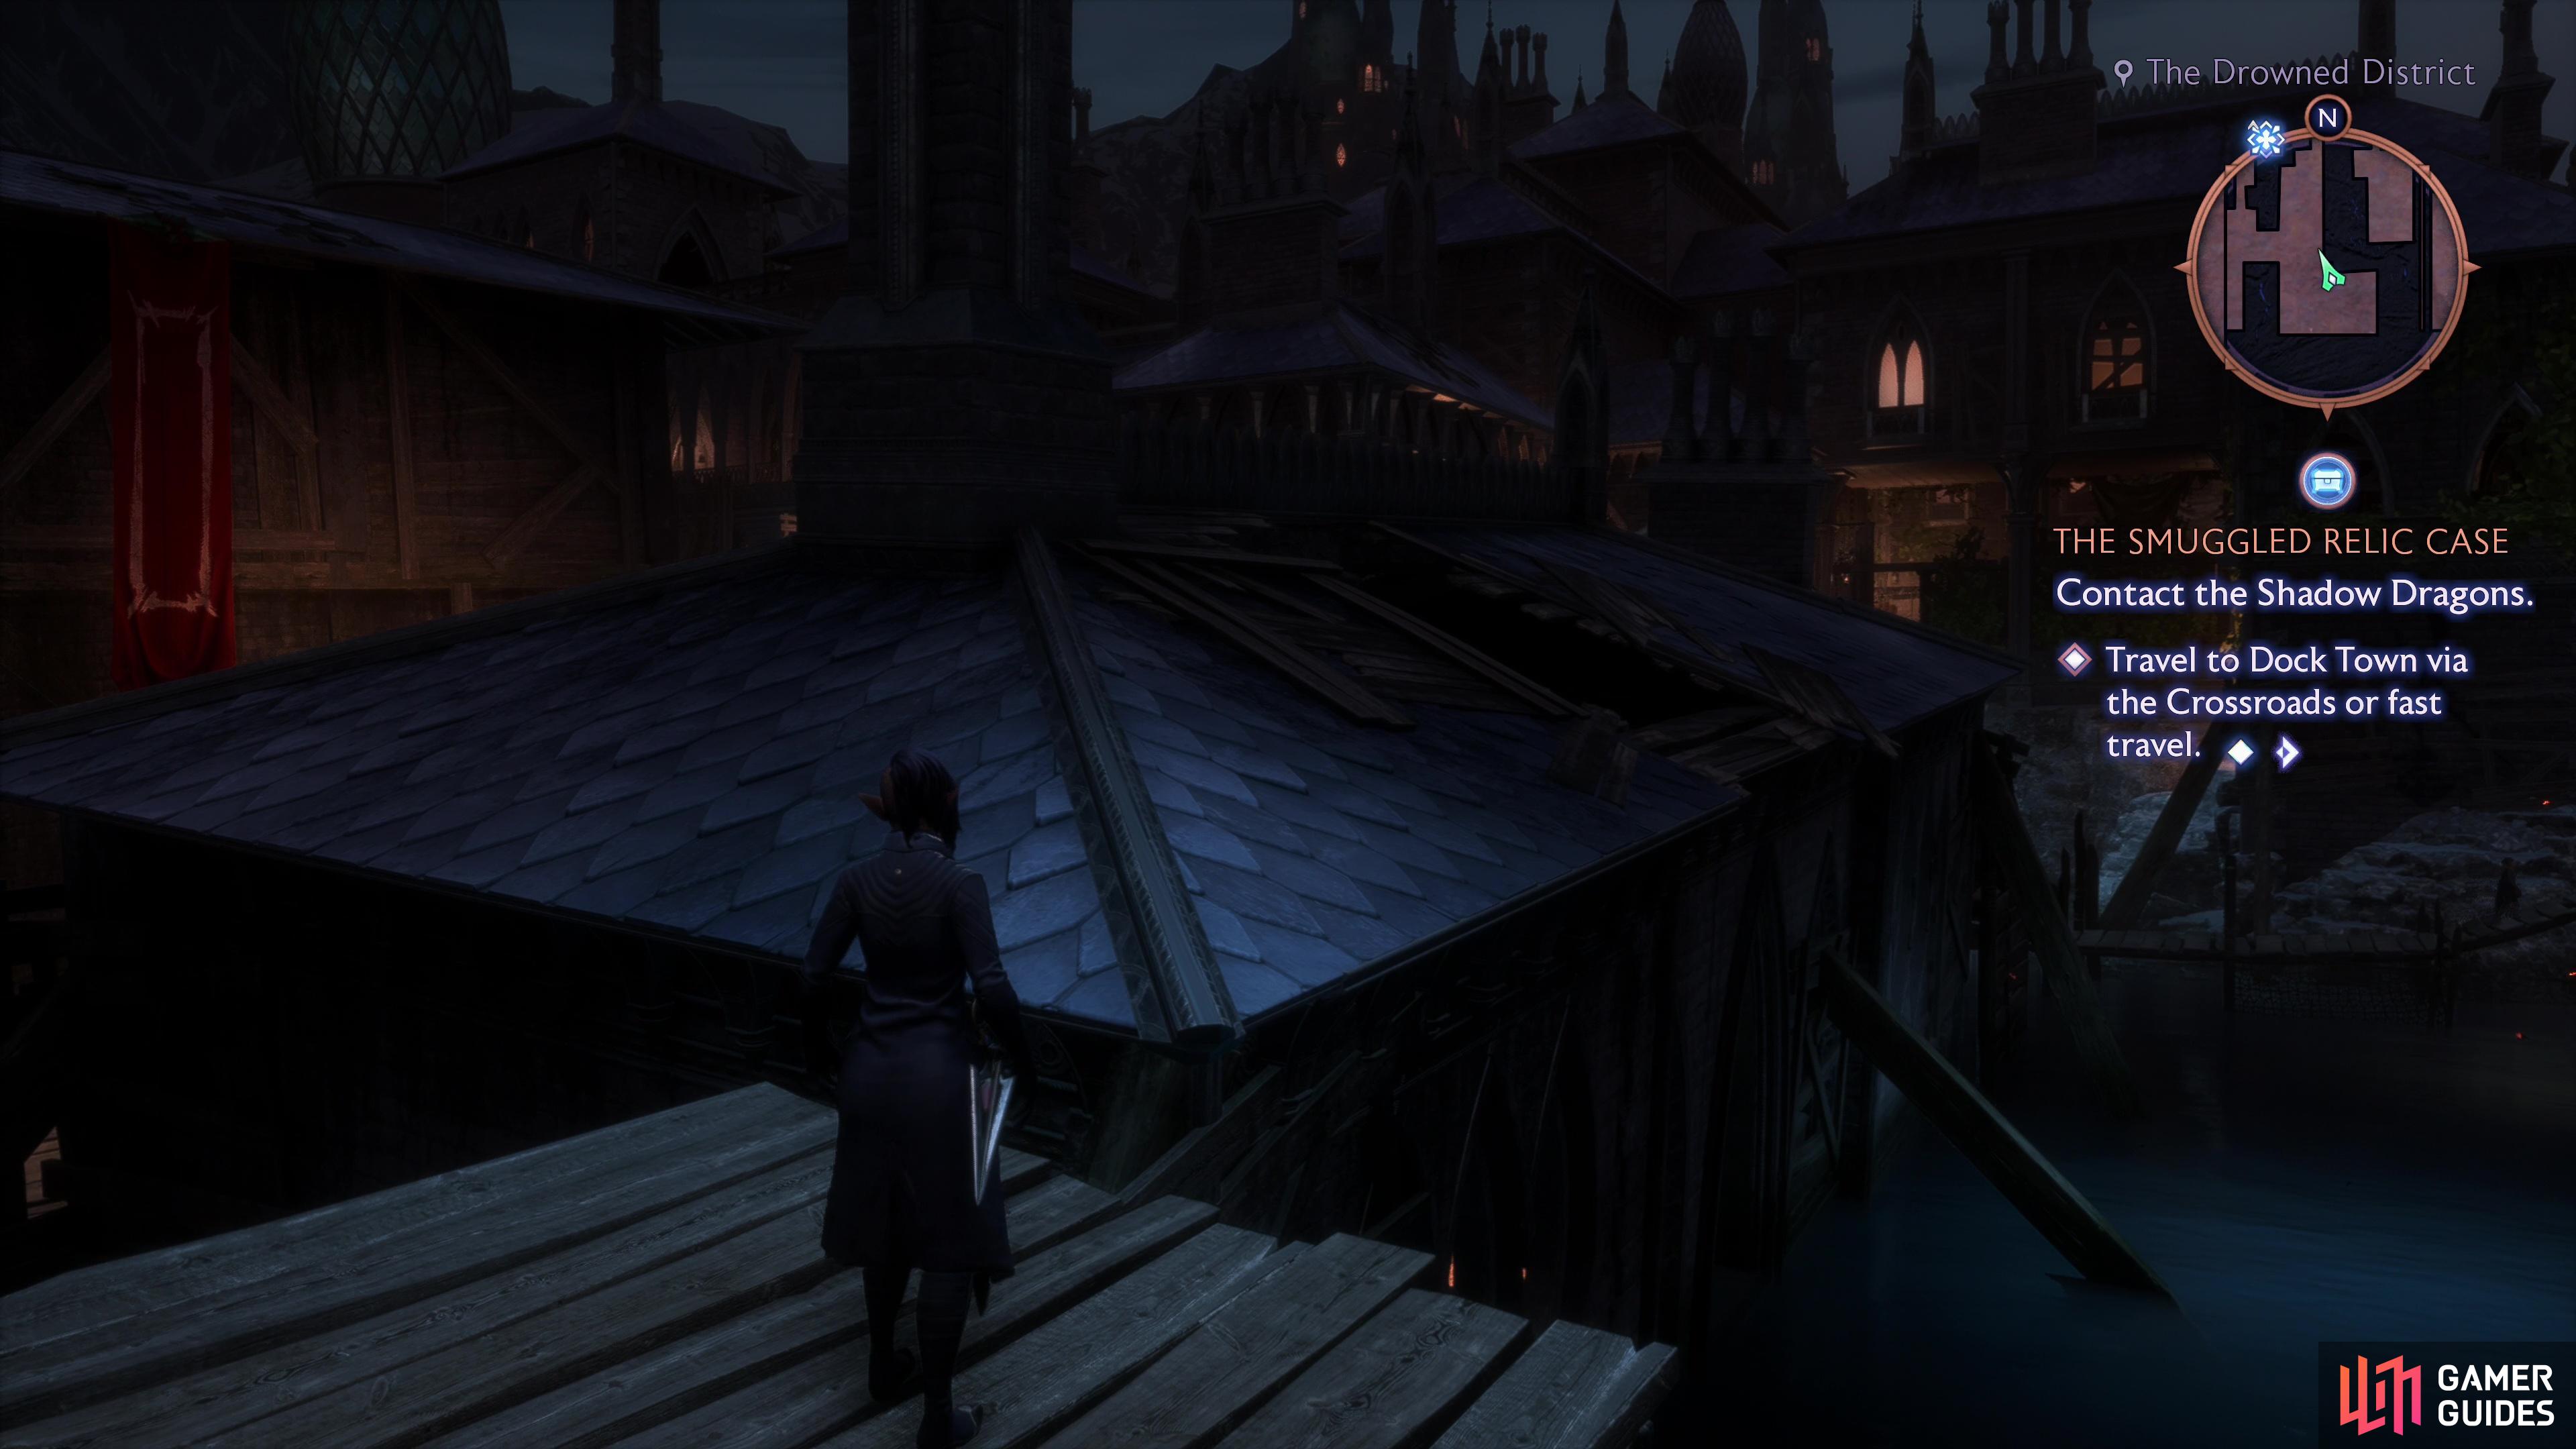
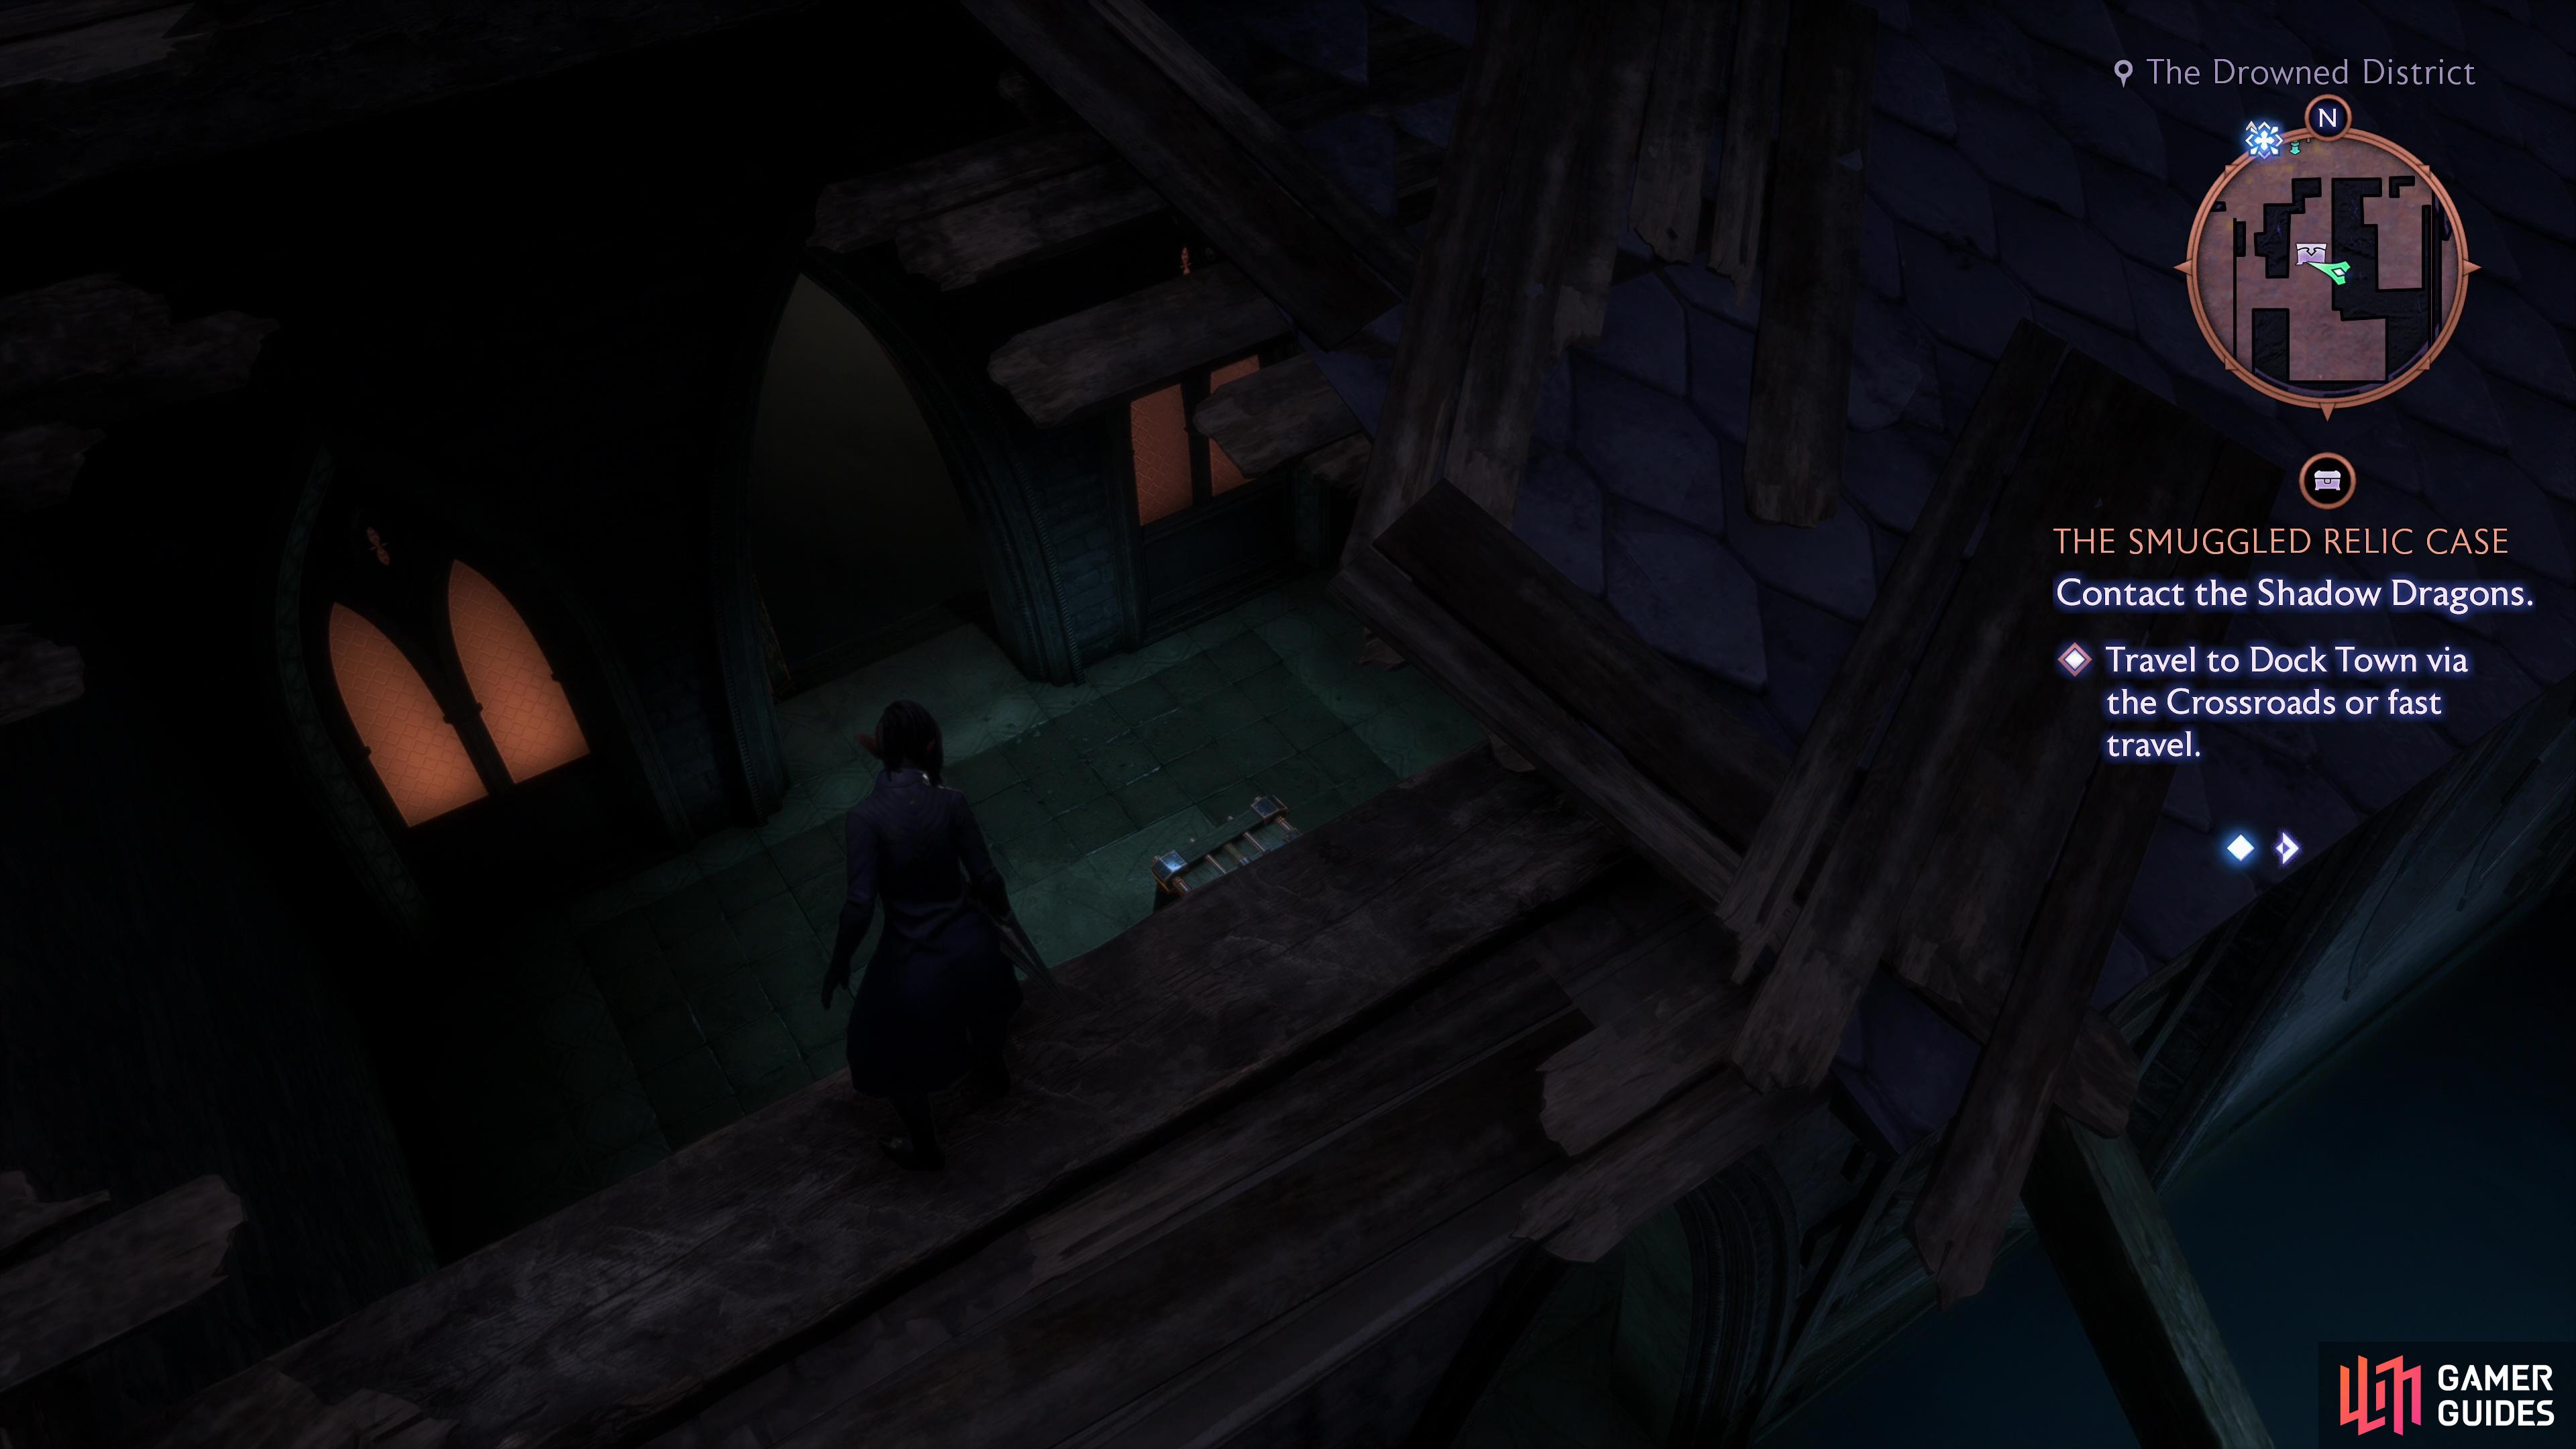
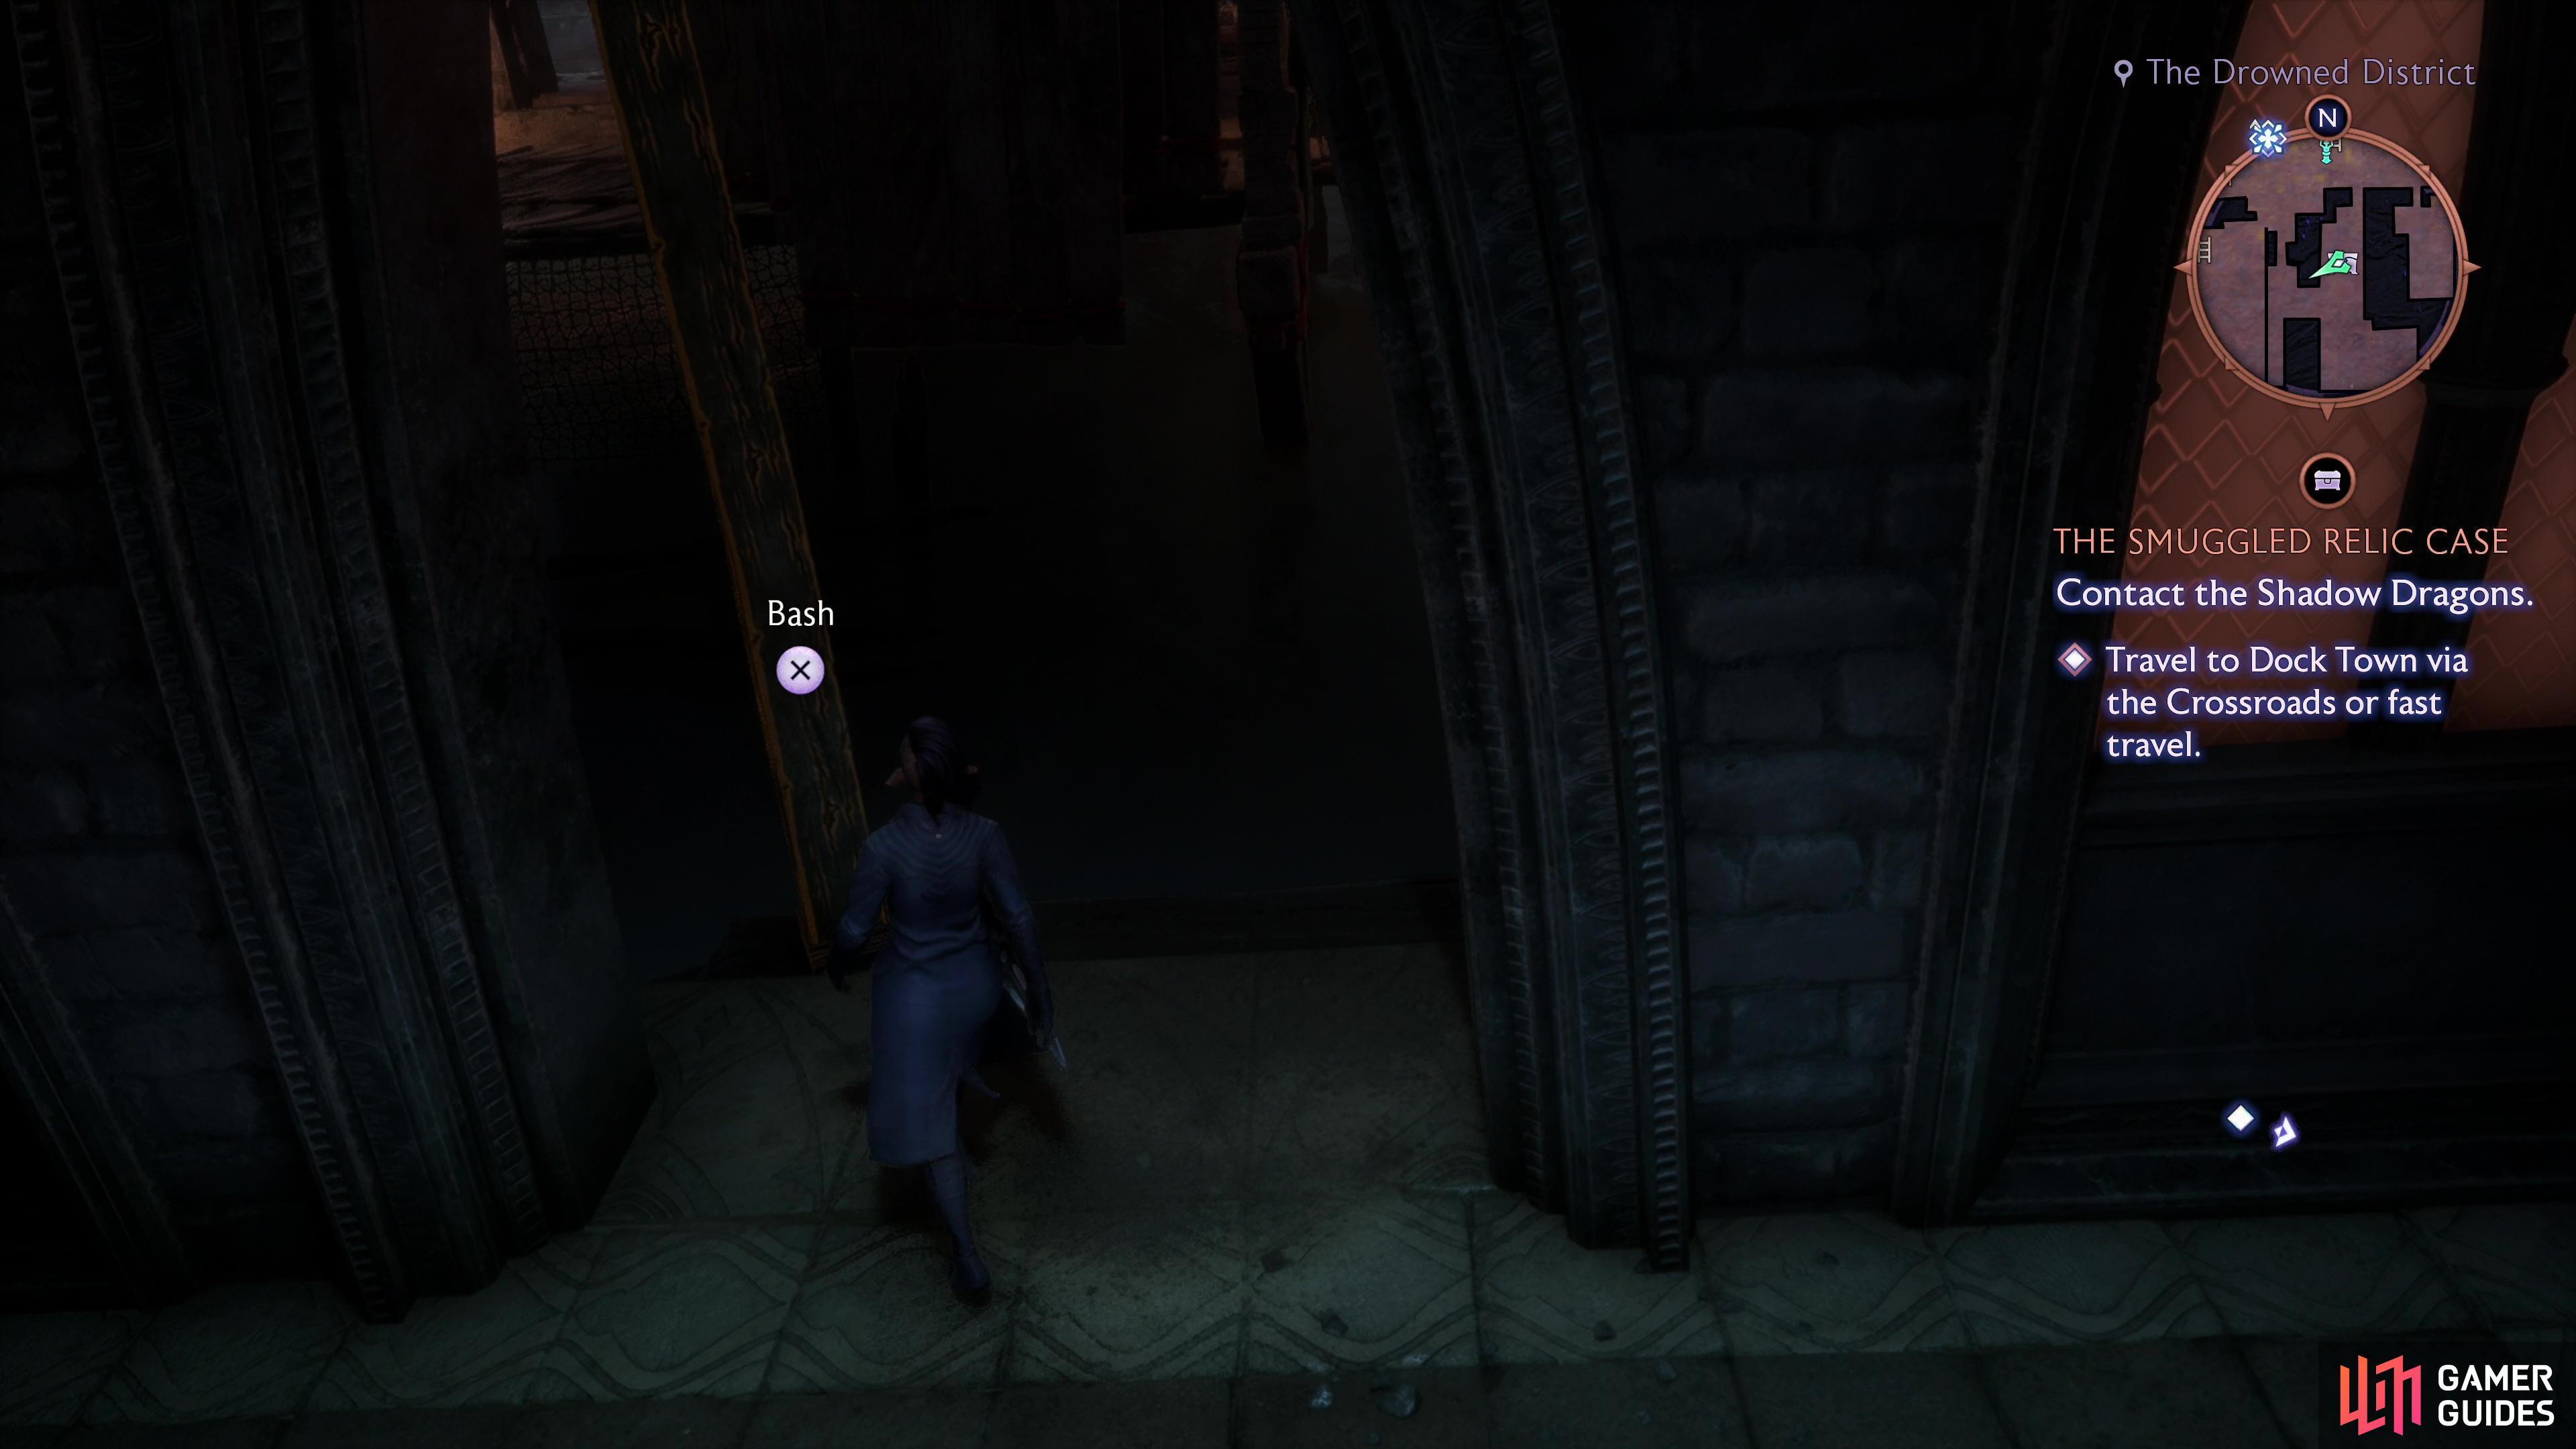
Return to the southernmost Drowned District Beacon and from there head up a wooden ramp to reach a wooden walkway. Turn east and follow the walkway, ignoring the first ramp to the south but taking the second to reach a ramshackle house built over the water. Climb onto the roof, then jump across to the roof of another building to the south. From this roof look southwest over the water, where you’ll find a fade distortion. Use Lucanis’s Veil Instability ability to create some fade hands you can run across to reach the upper story of a sinking building to the south. Turn northwest to find another large building and jump onto its roof, then find a hole in the roof you can drop down into. The chest you’re after is in this building. When you’ve looted it, turn west and kick down a beam, creating a shortcut back to the docks.
Chest 11: Statuary, Fine Art and Antaam
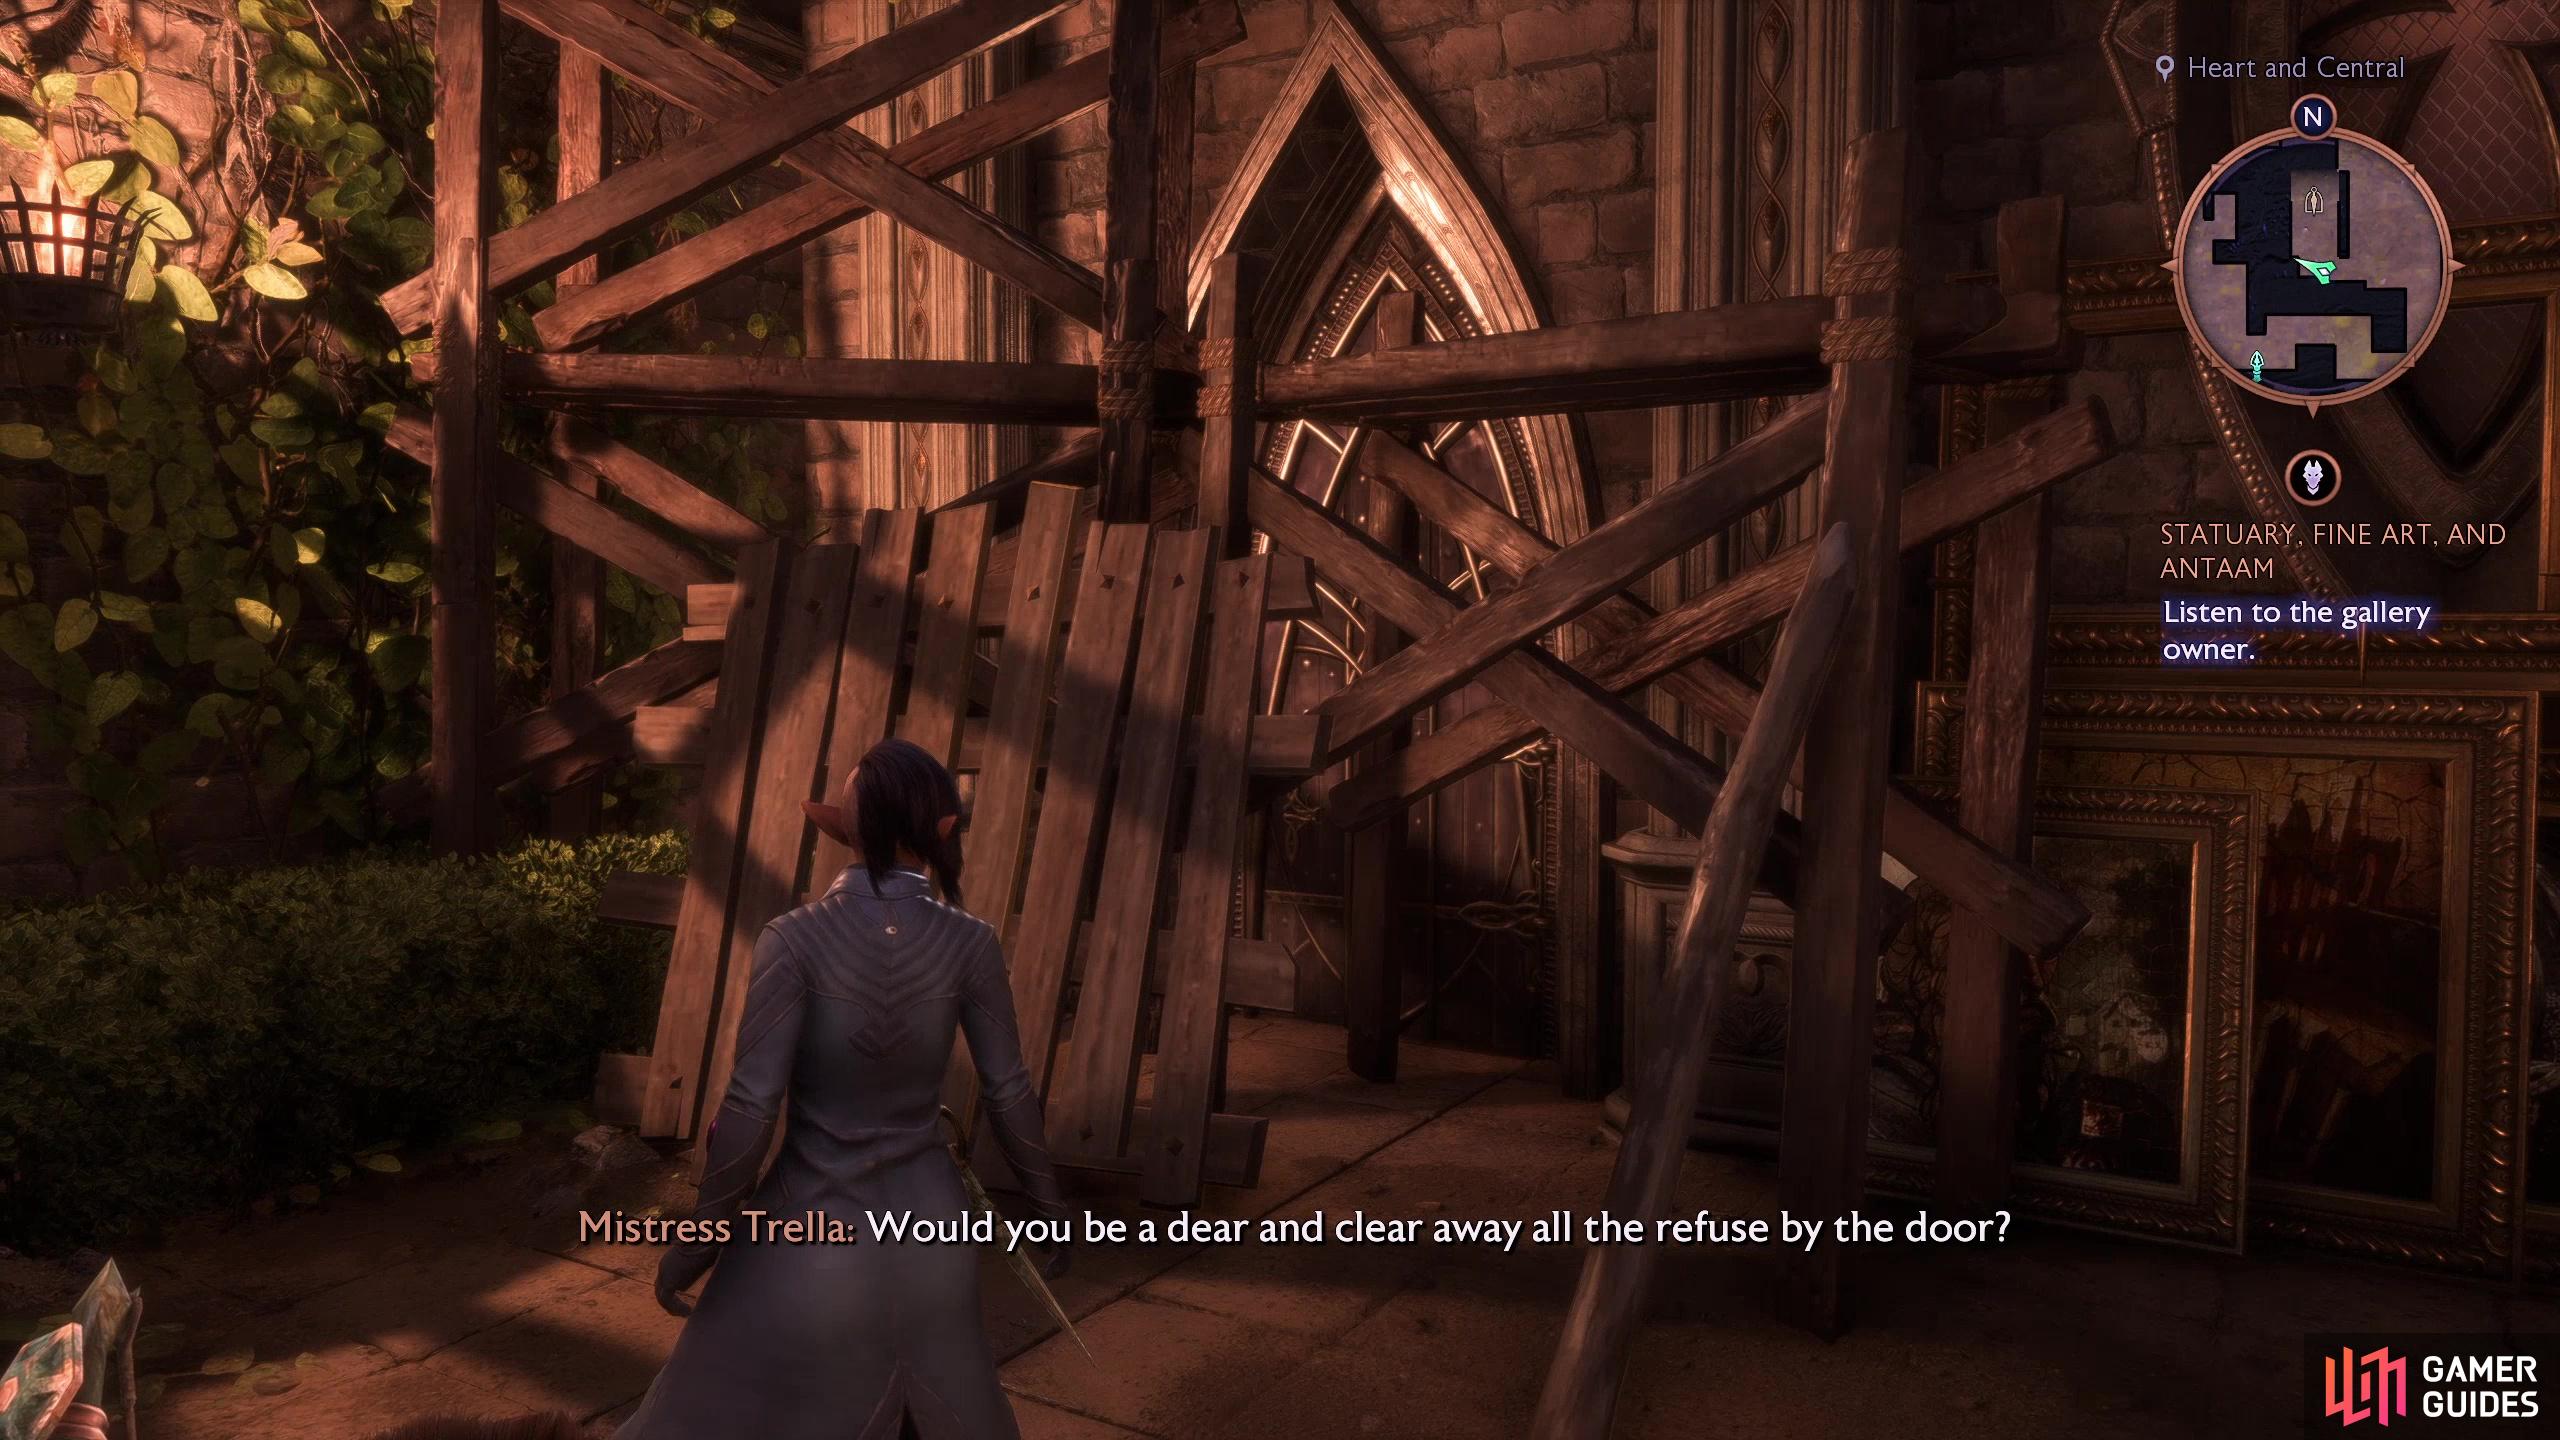
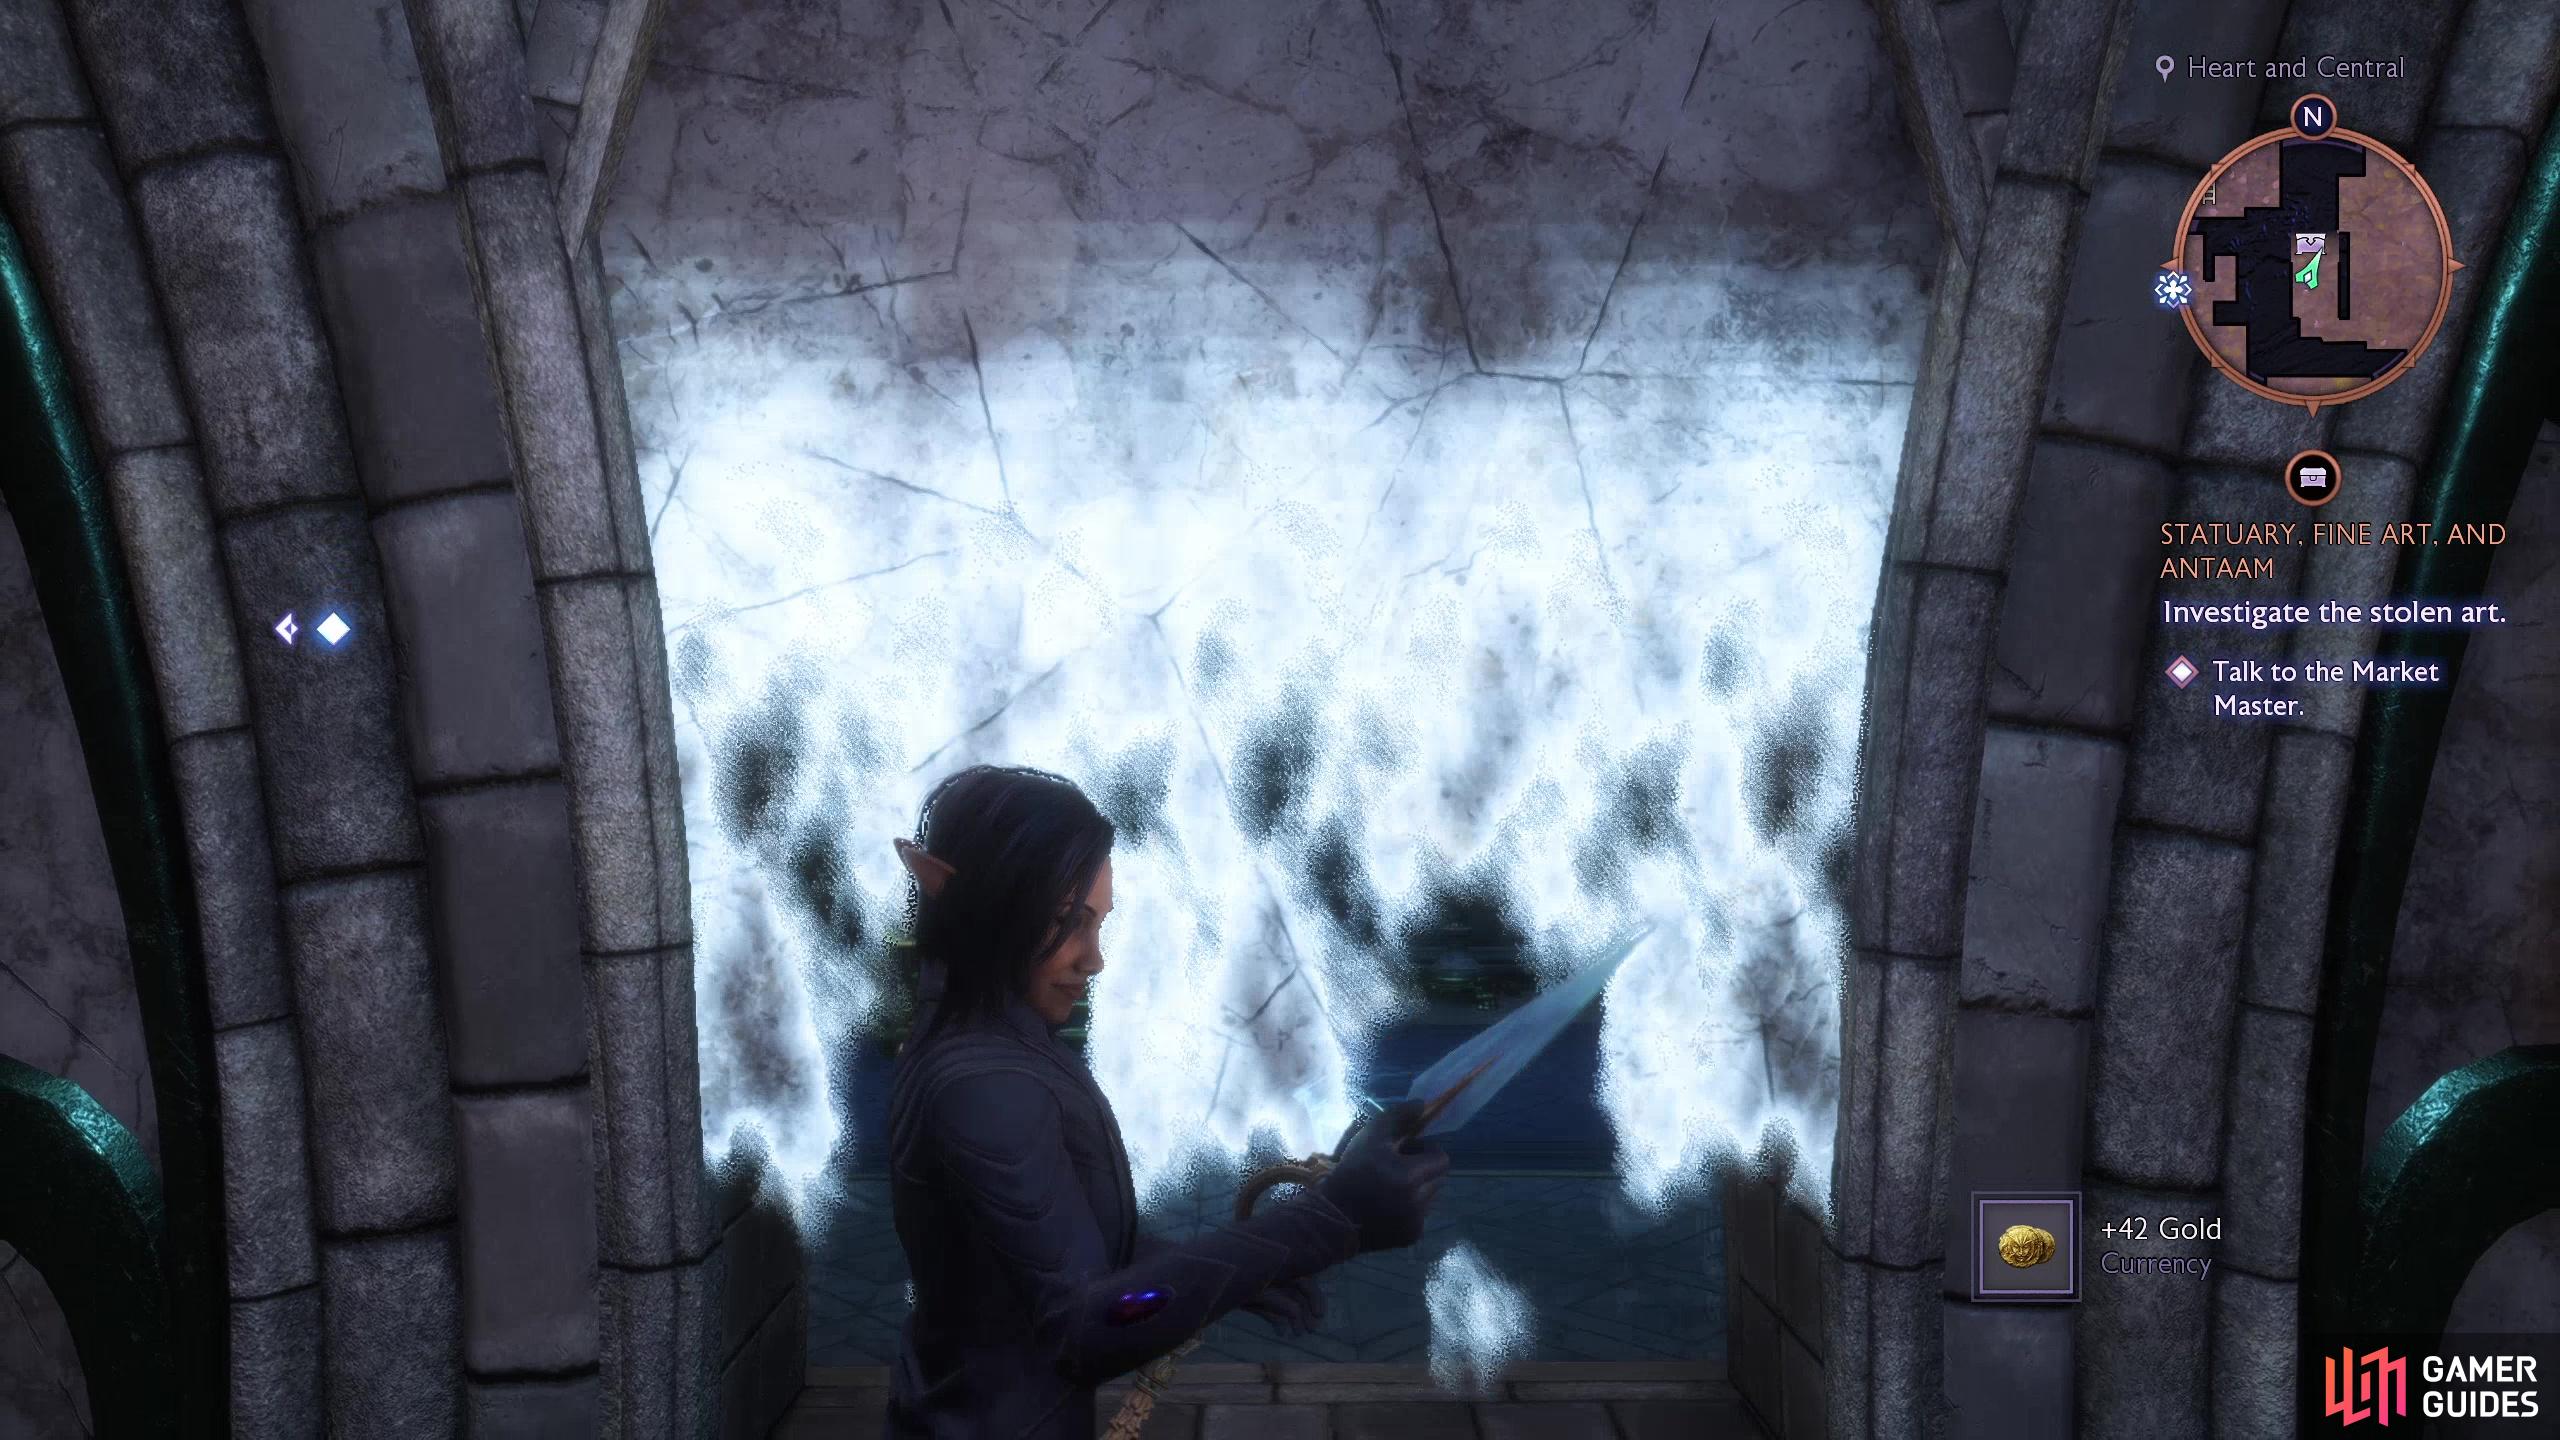
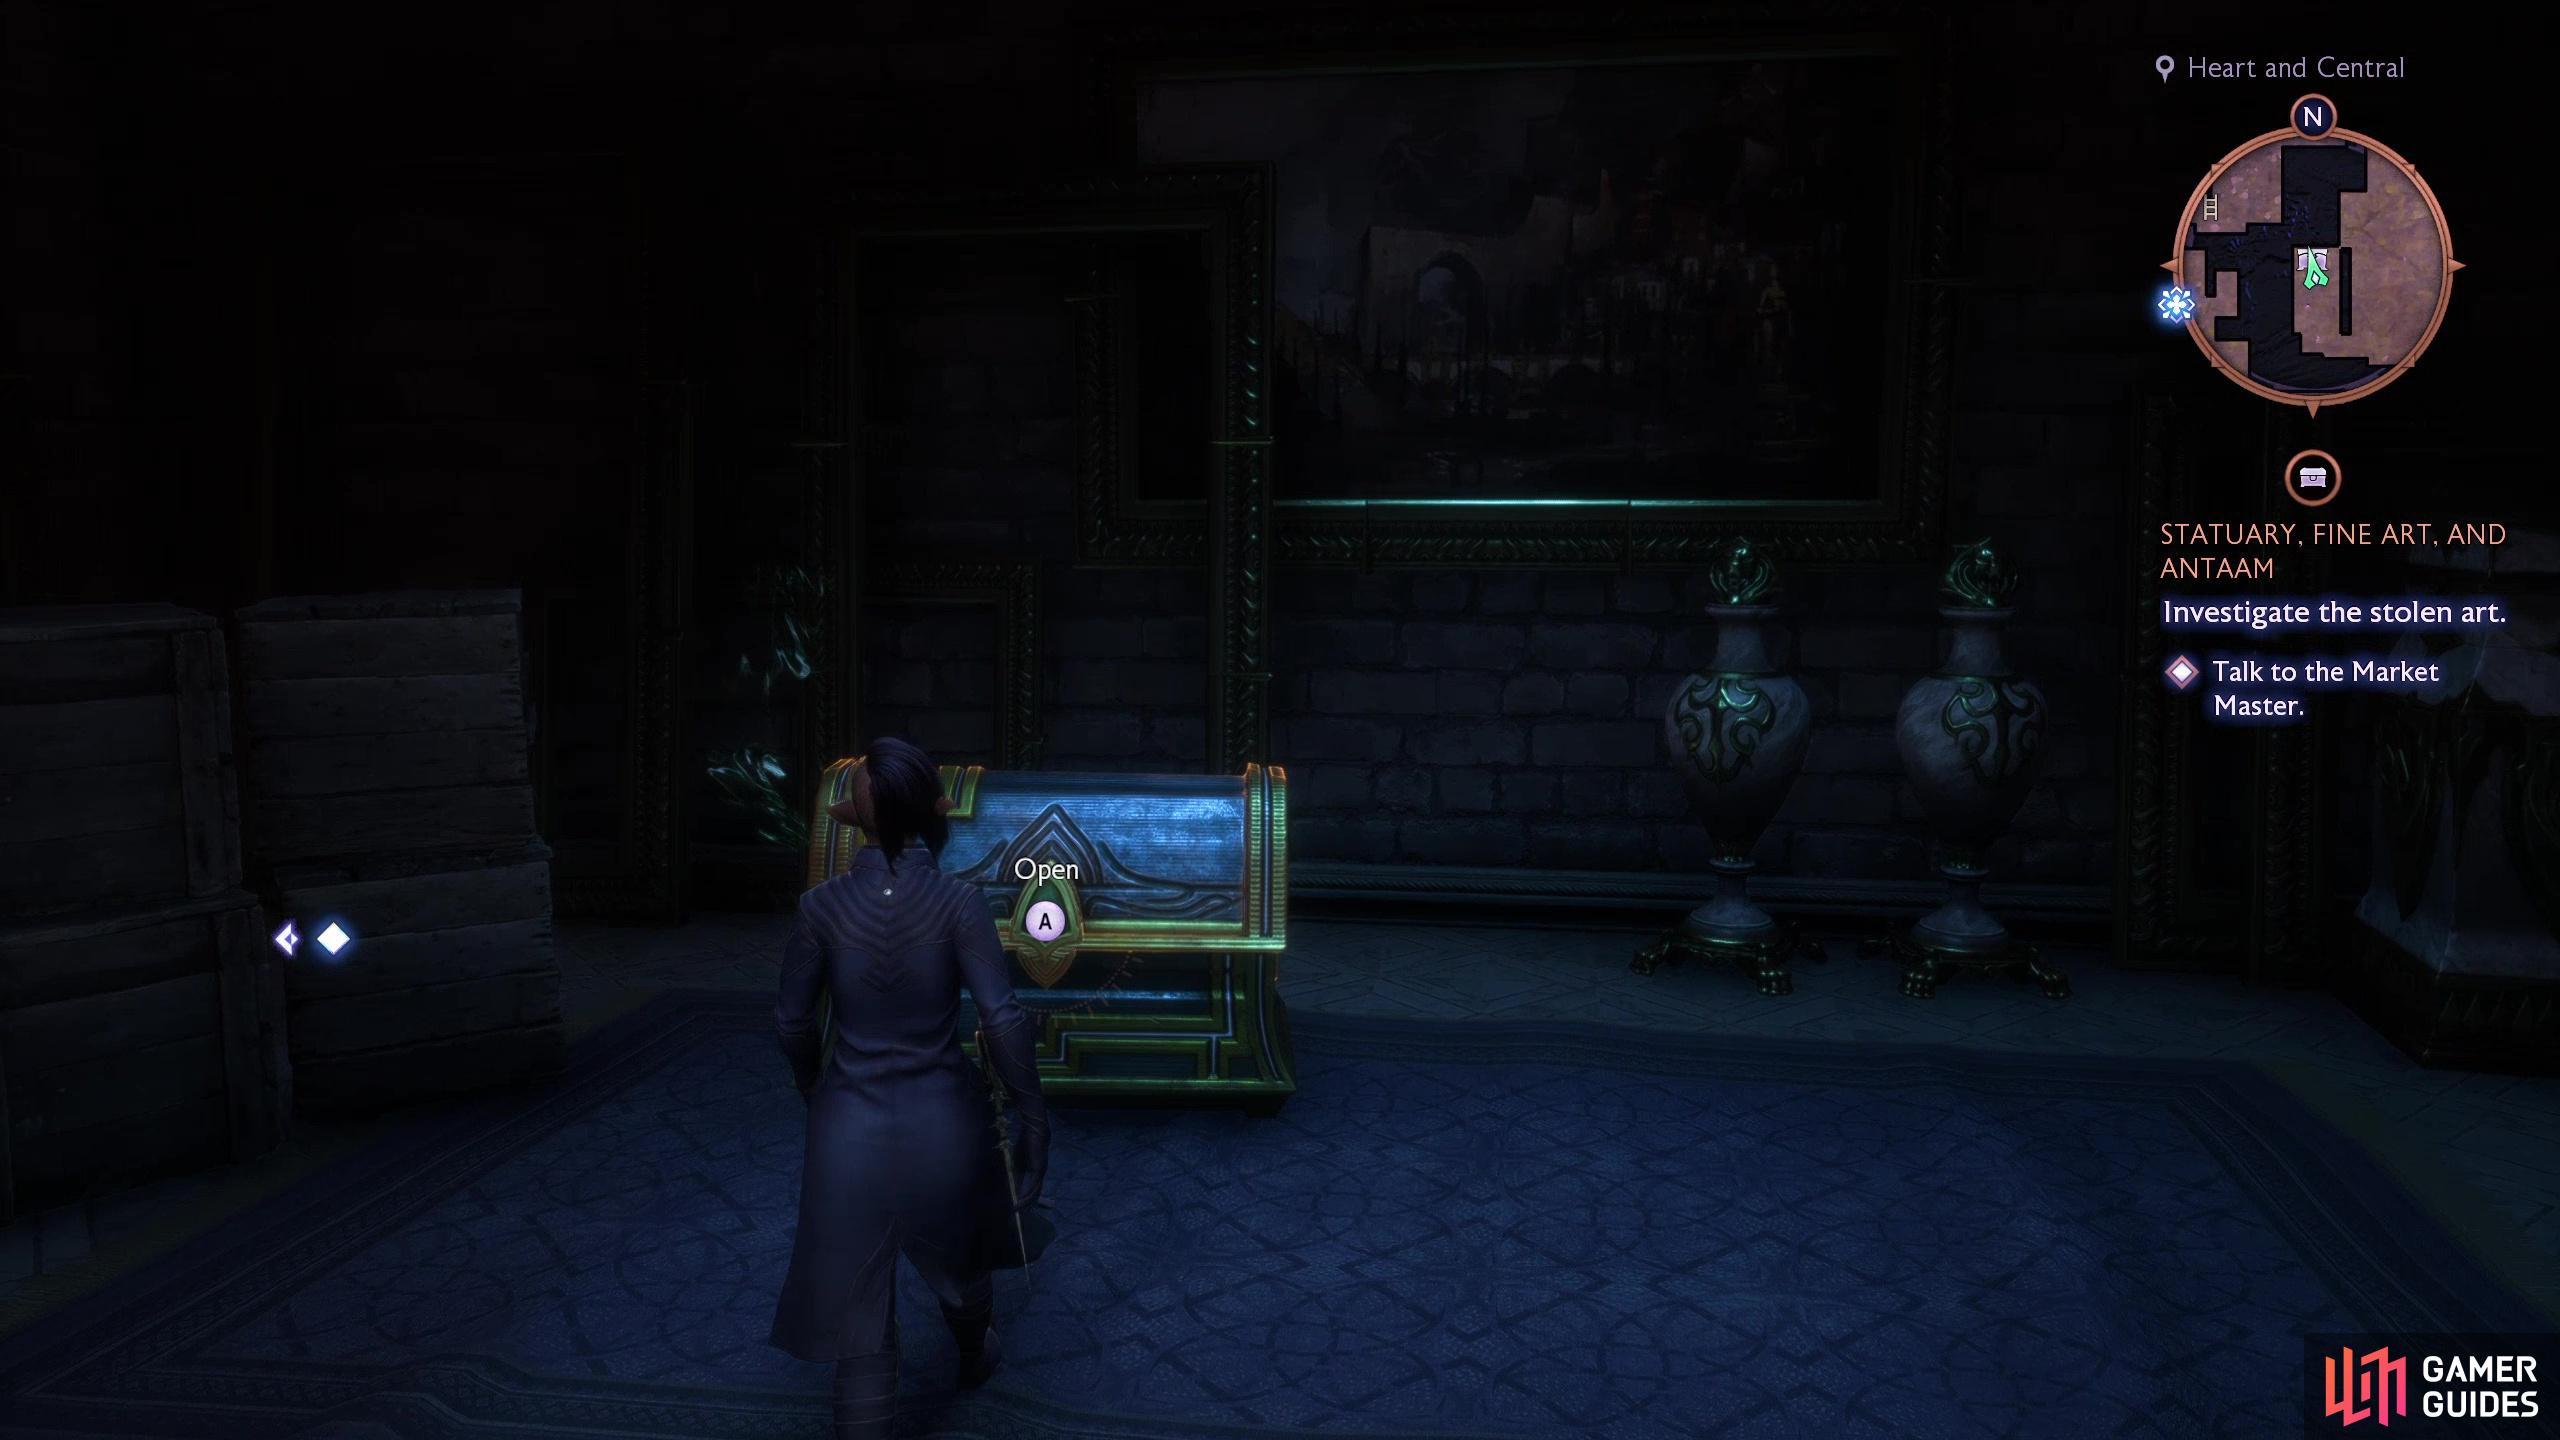
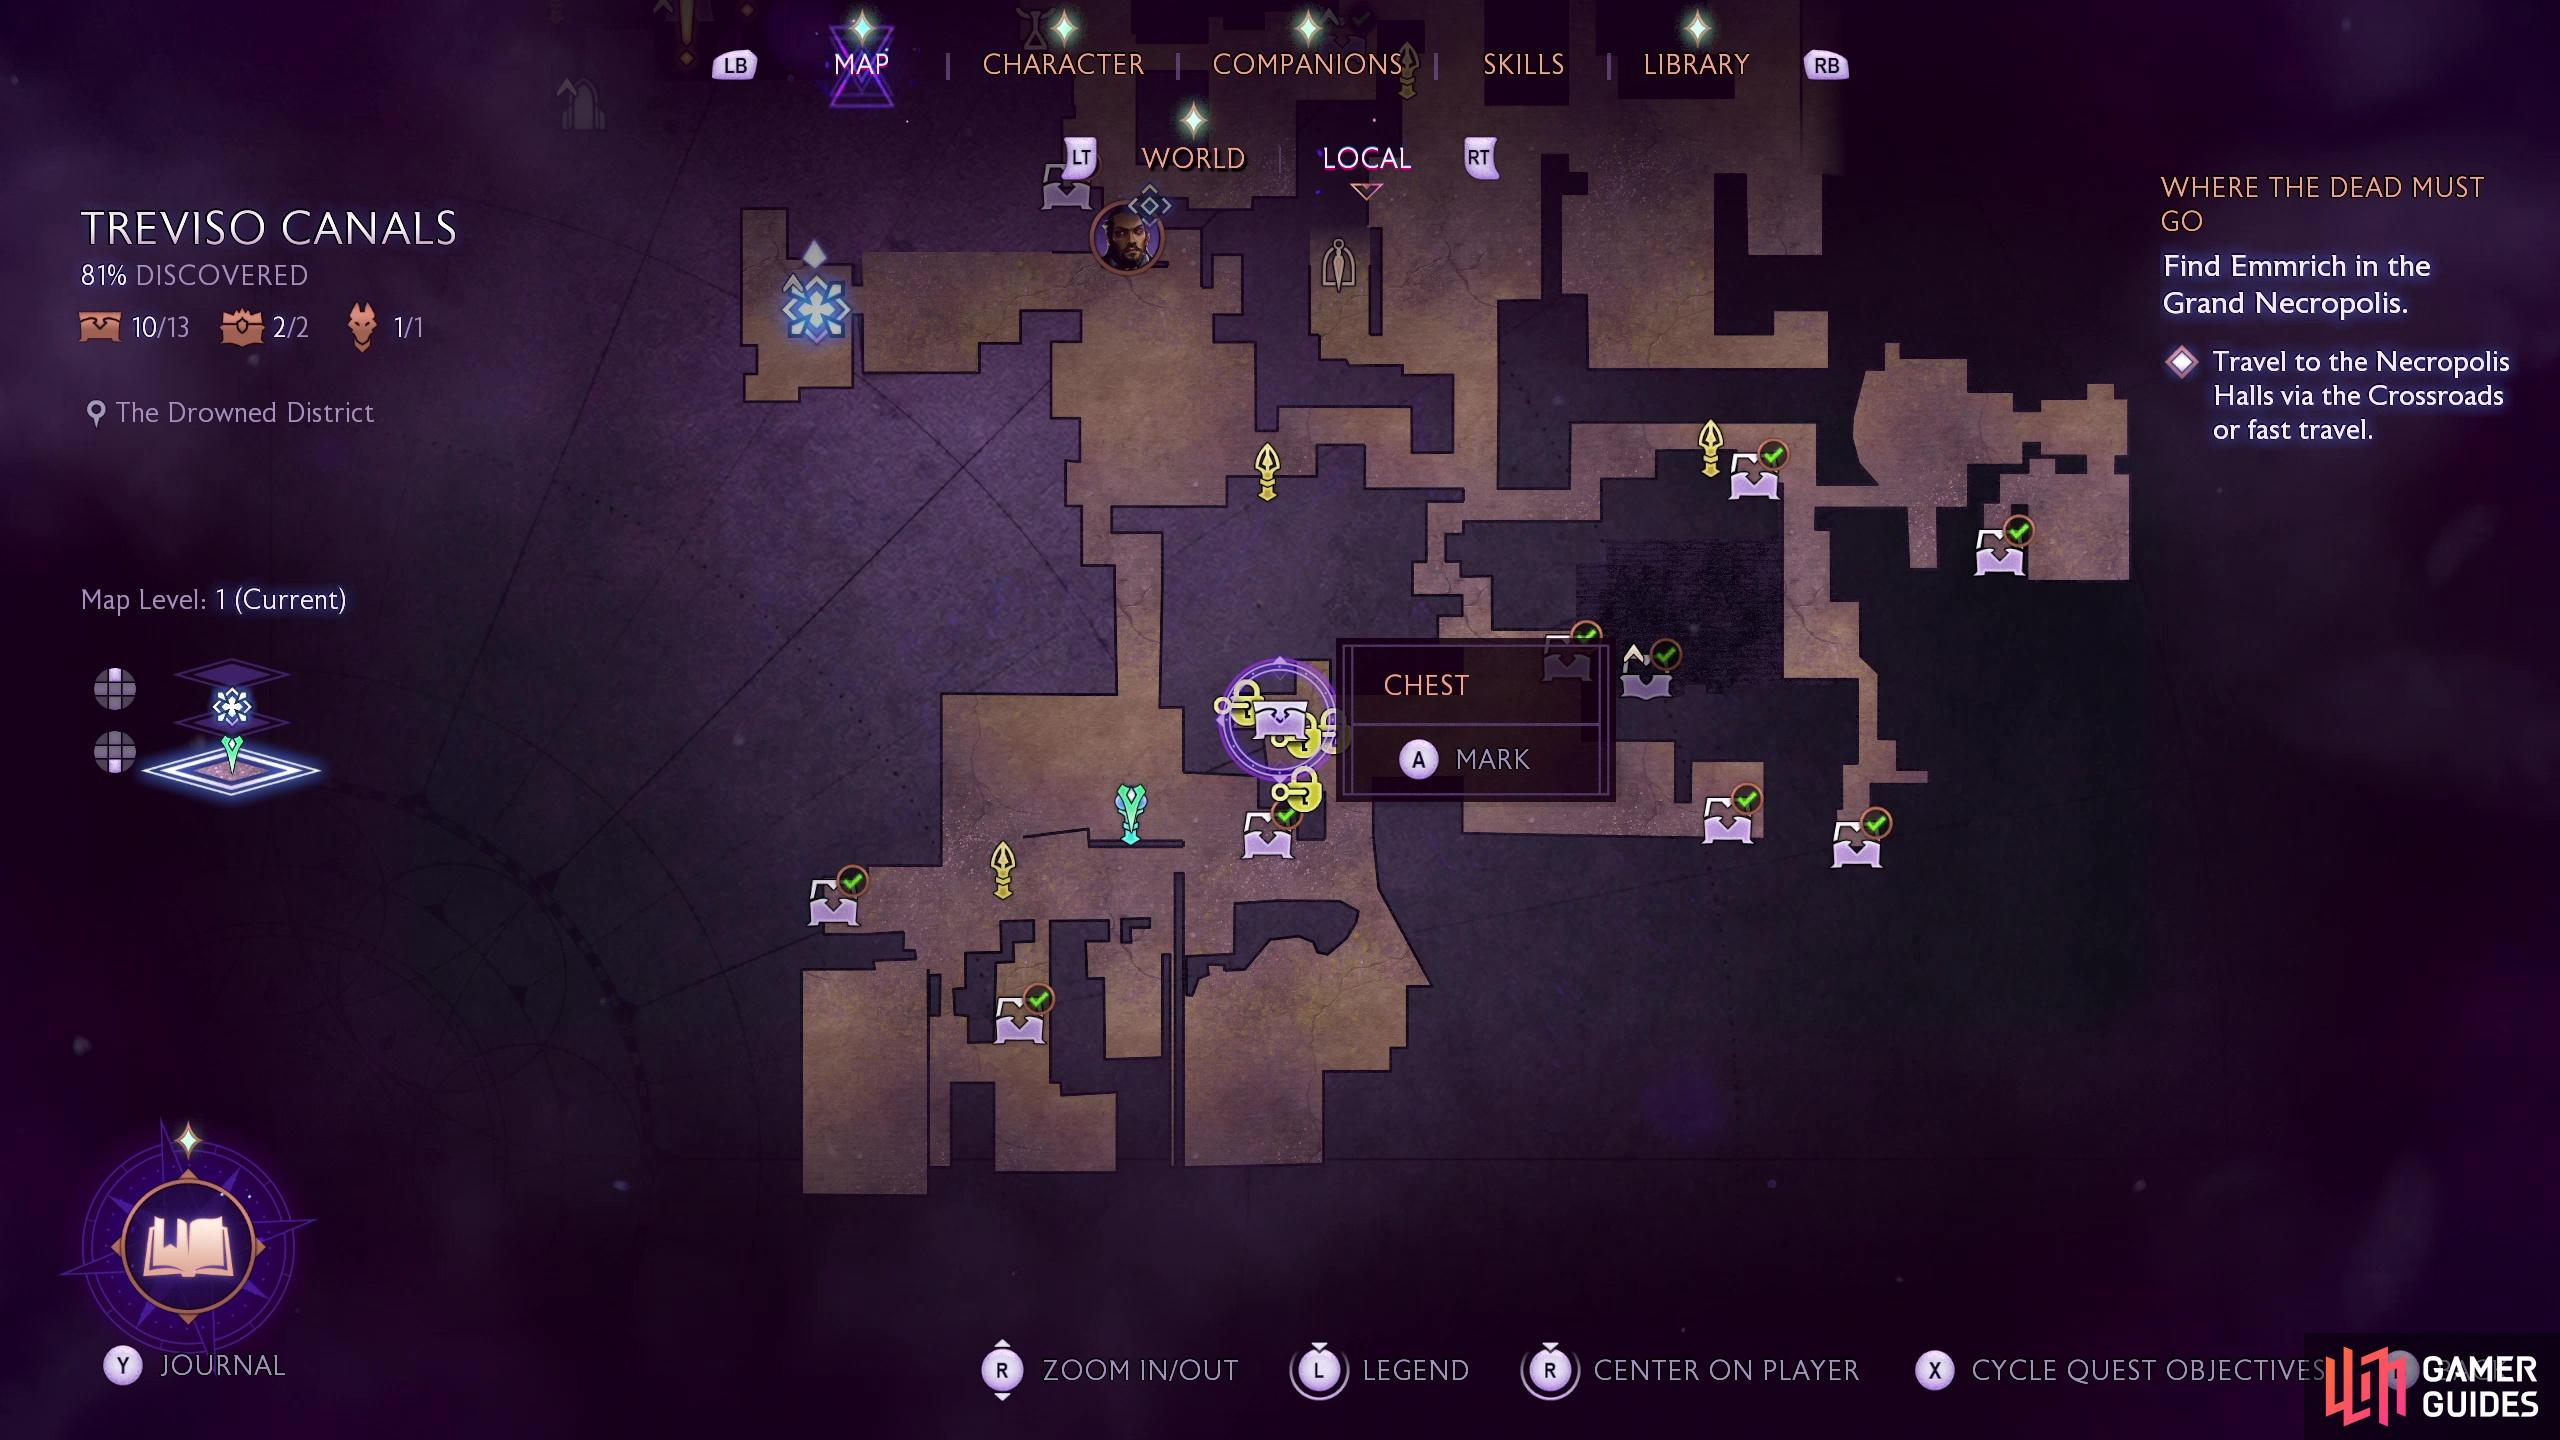
To get this chest you must start the quest [Statuary, Fine Art and Antaam] then go talk to the art dealer, Mistress Trella, in her home in the Heart and Center district. You’ll find that she’s been barricaded inside, prompting you to break in. Do so and after some face-to-face chatter with Mistress Trella, examine the wall to the north to find that it’s an illusion, and subsequently dispel it with the Lyrium Dagger. This chest lies beyond the illusory doorway.
(1 of 4) The location of chest #11 on the map.
Chest 12: Taash Ignite
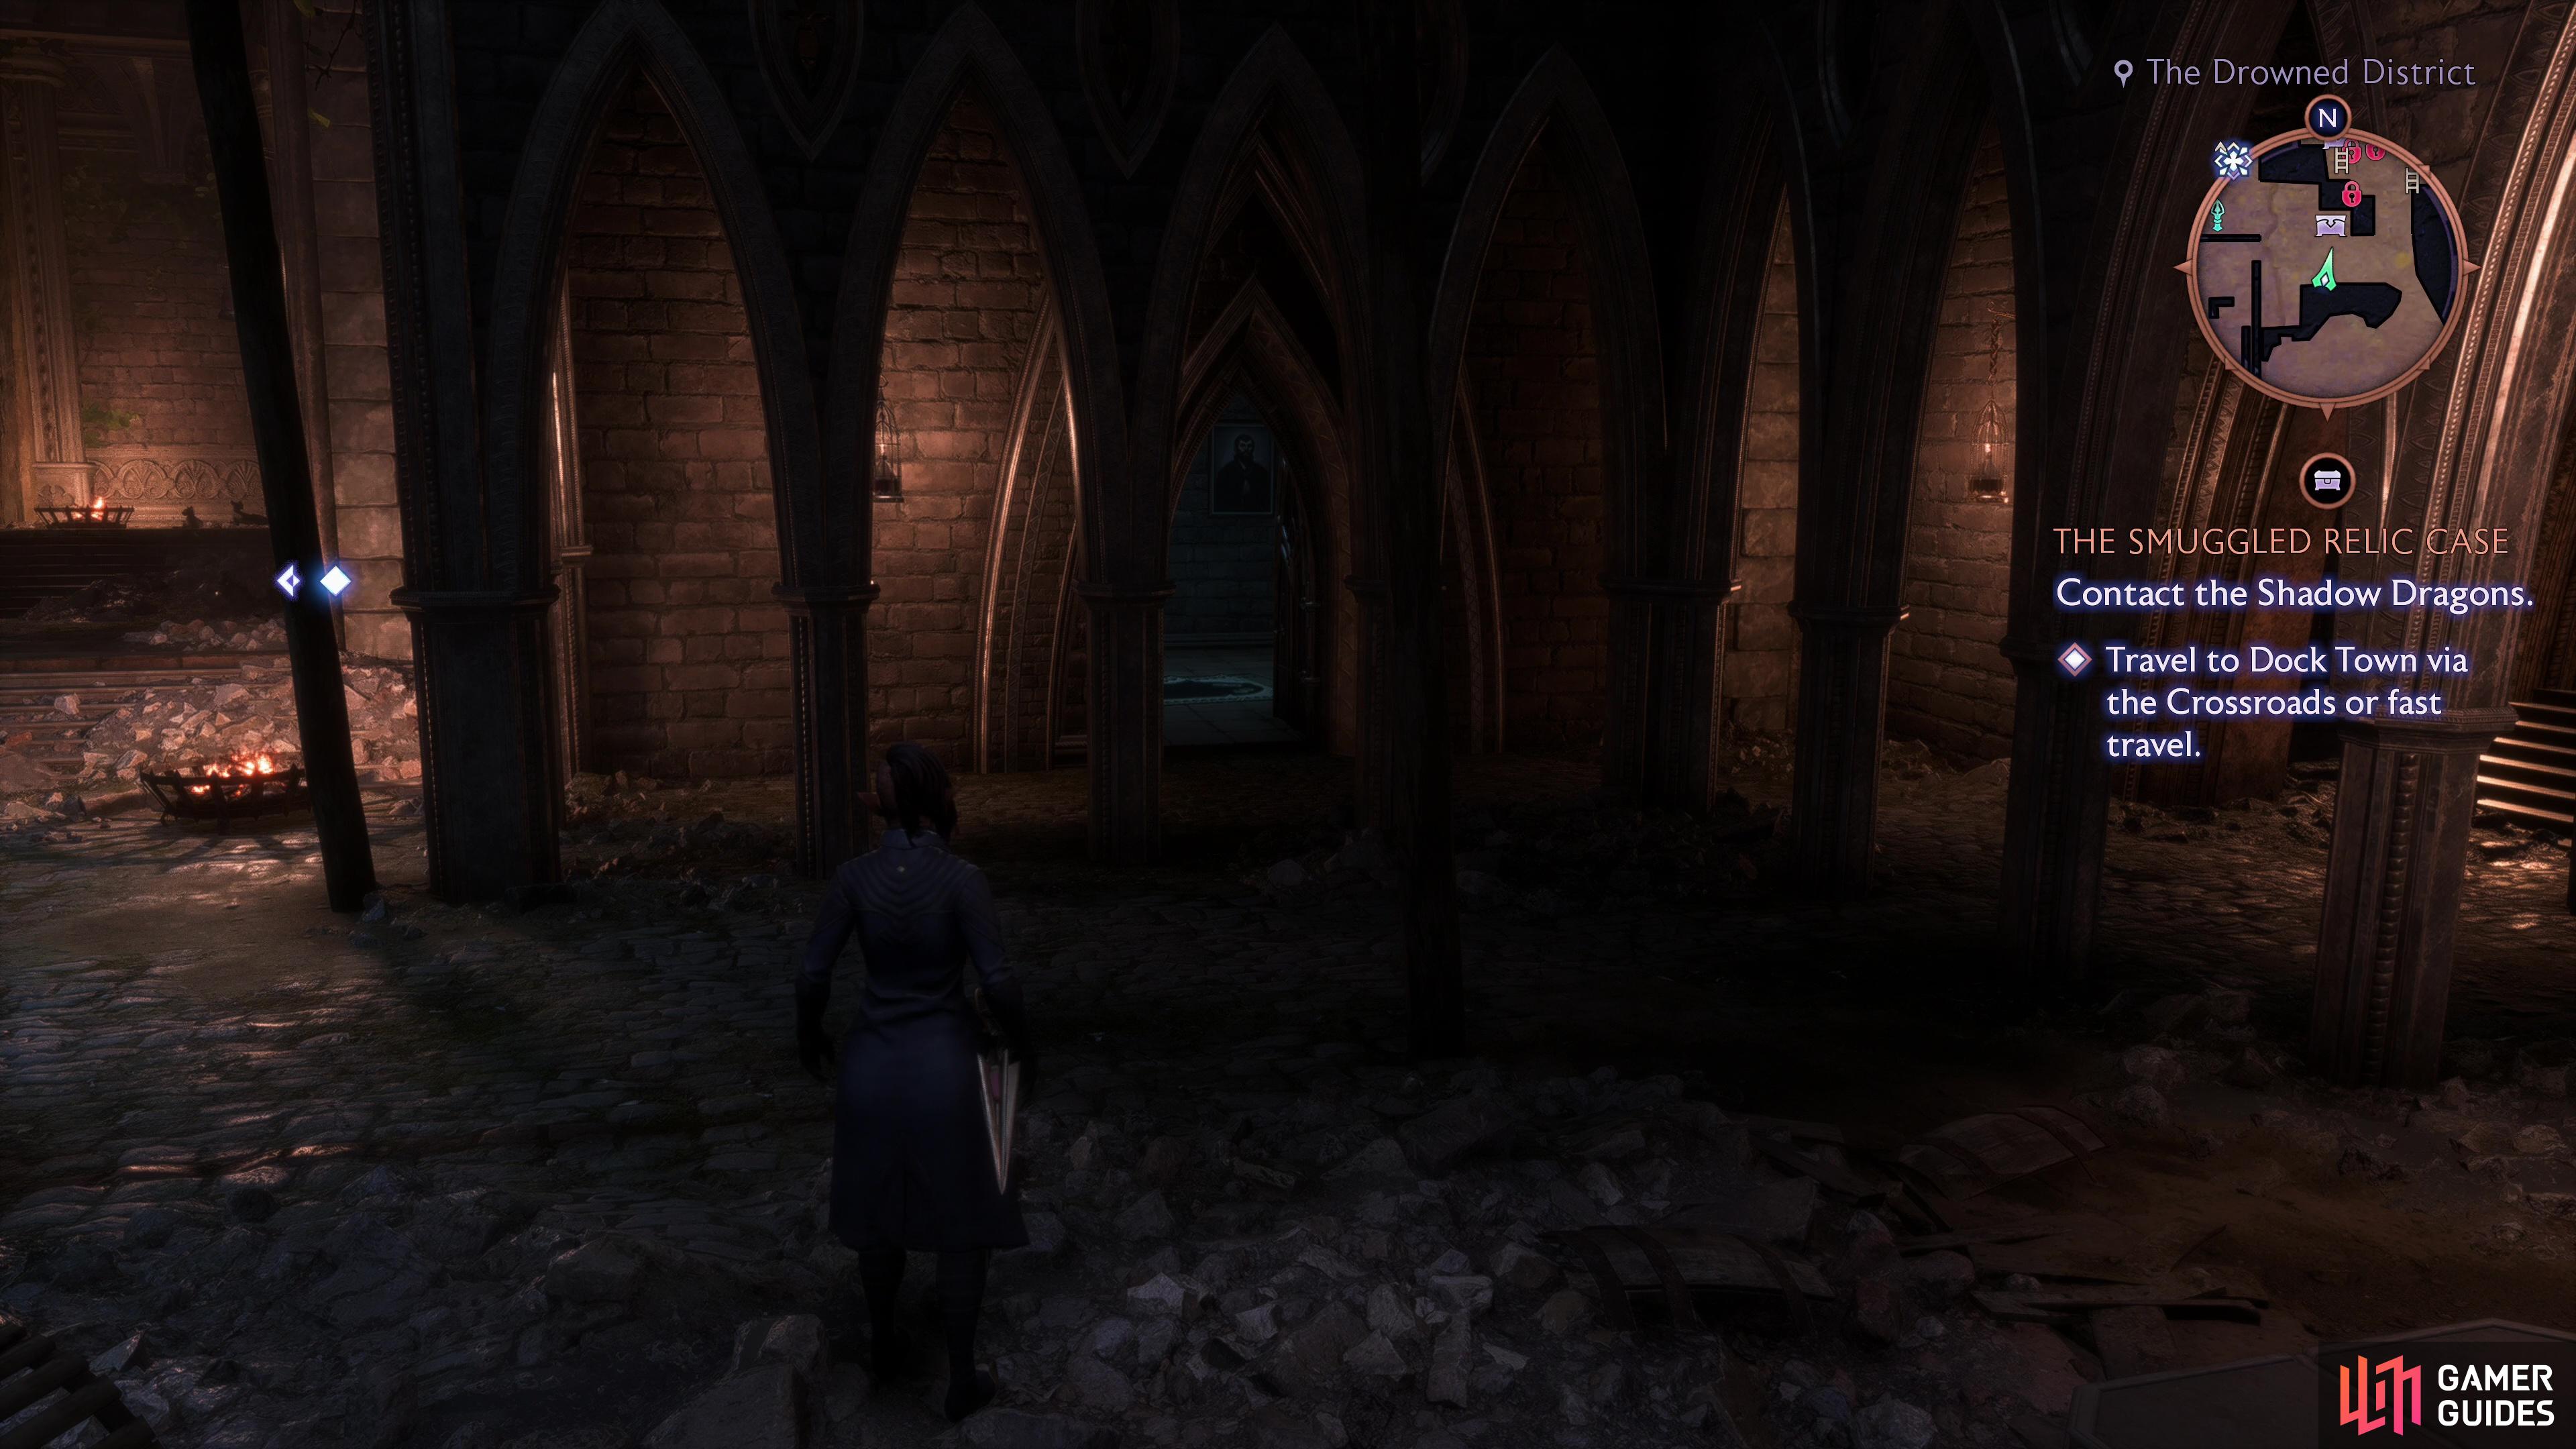
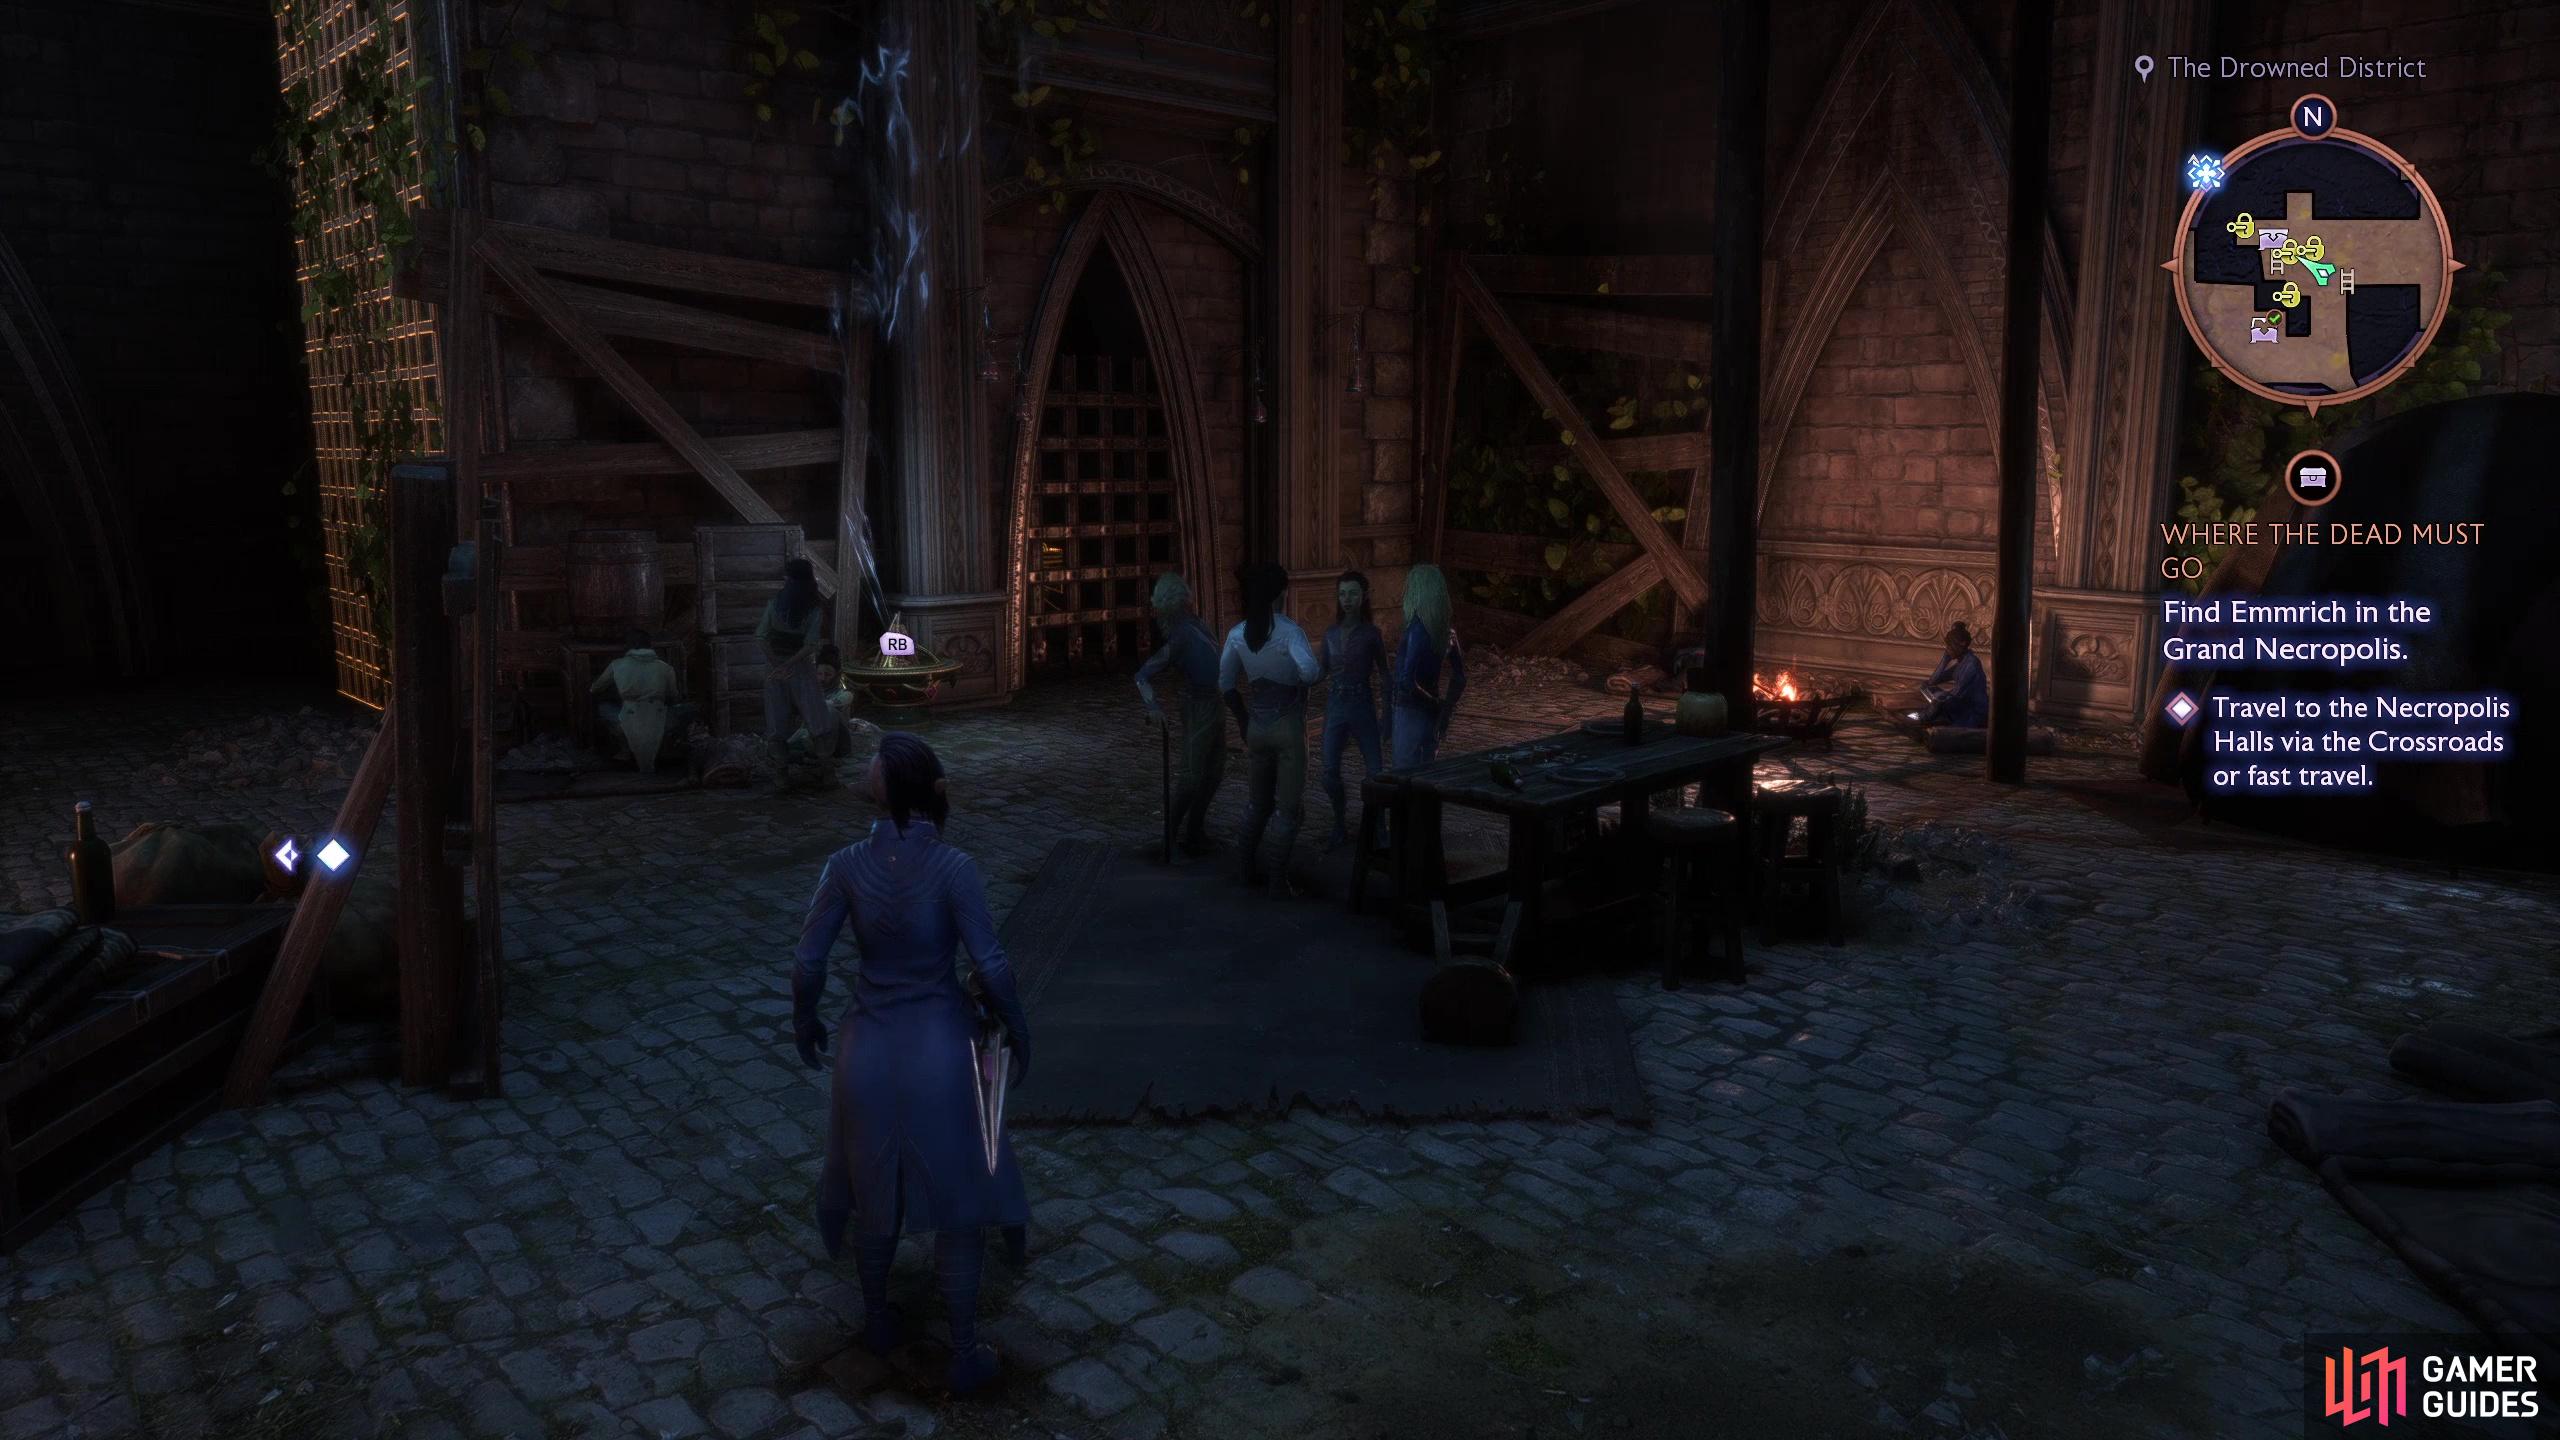
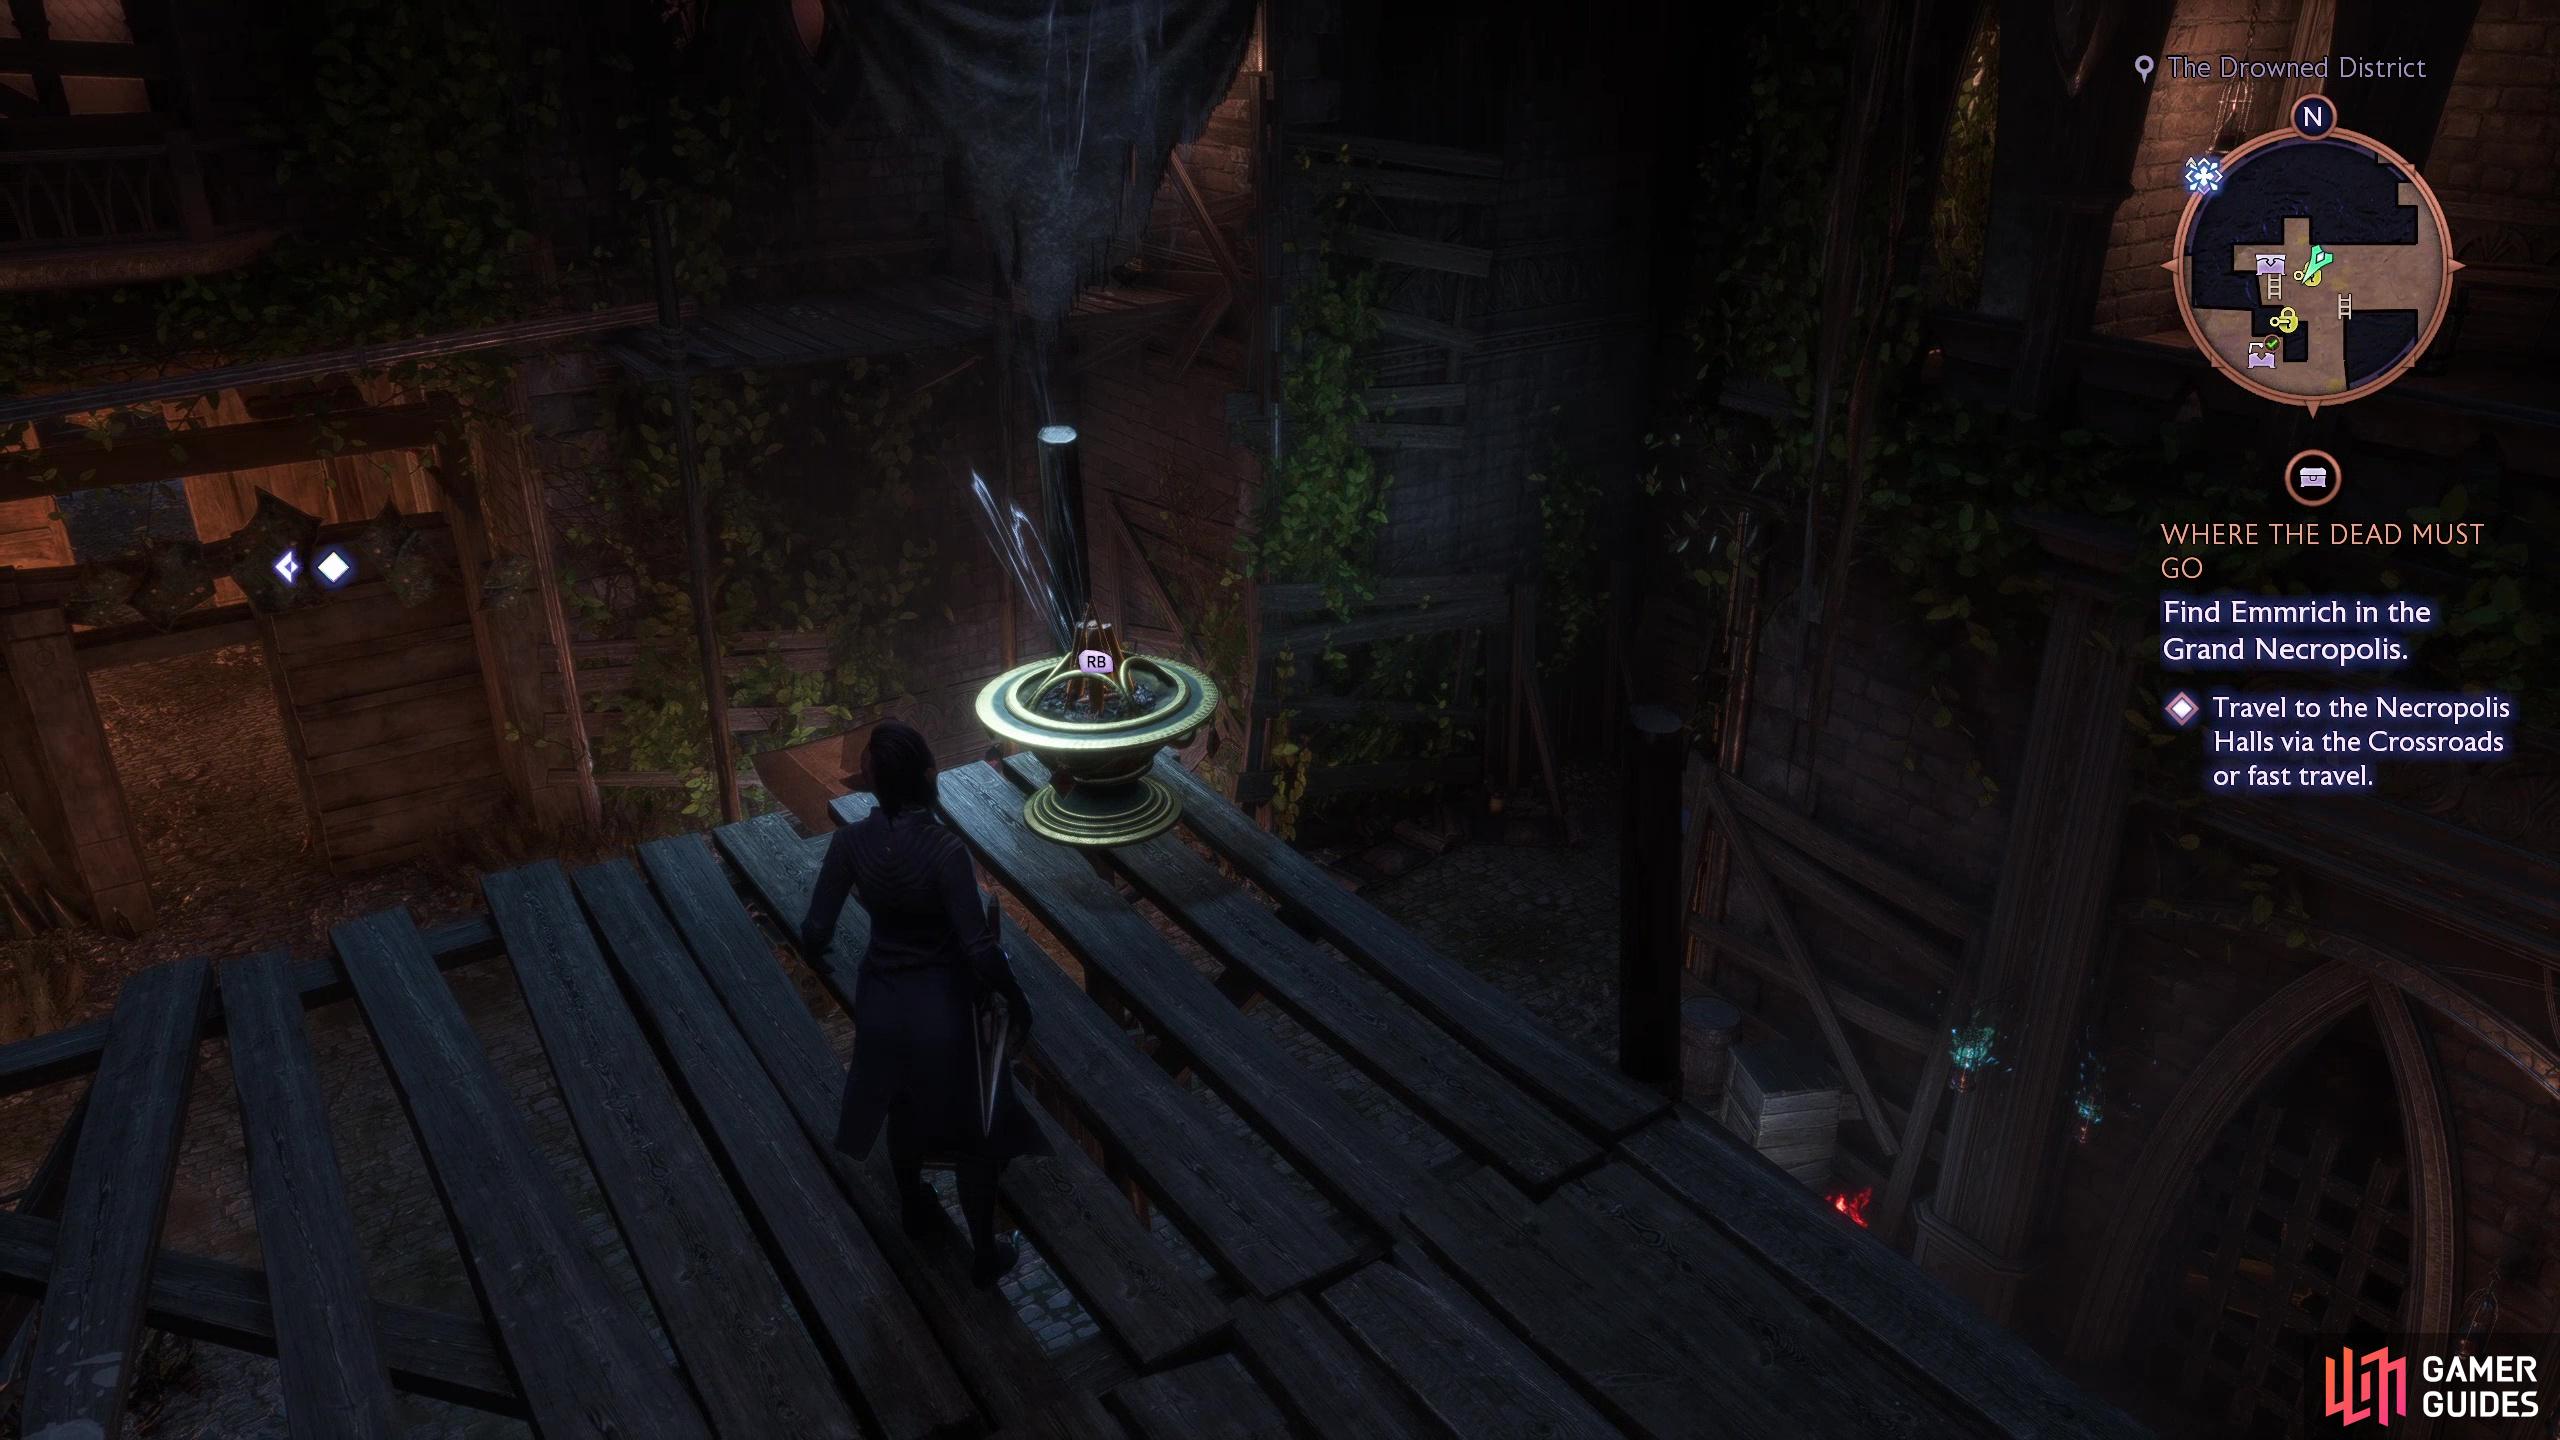
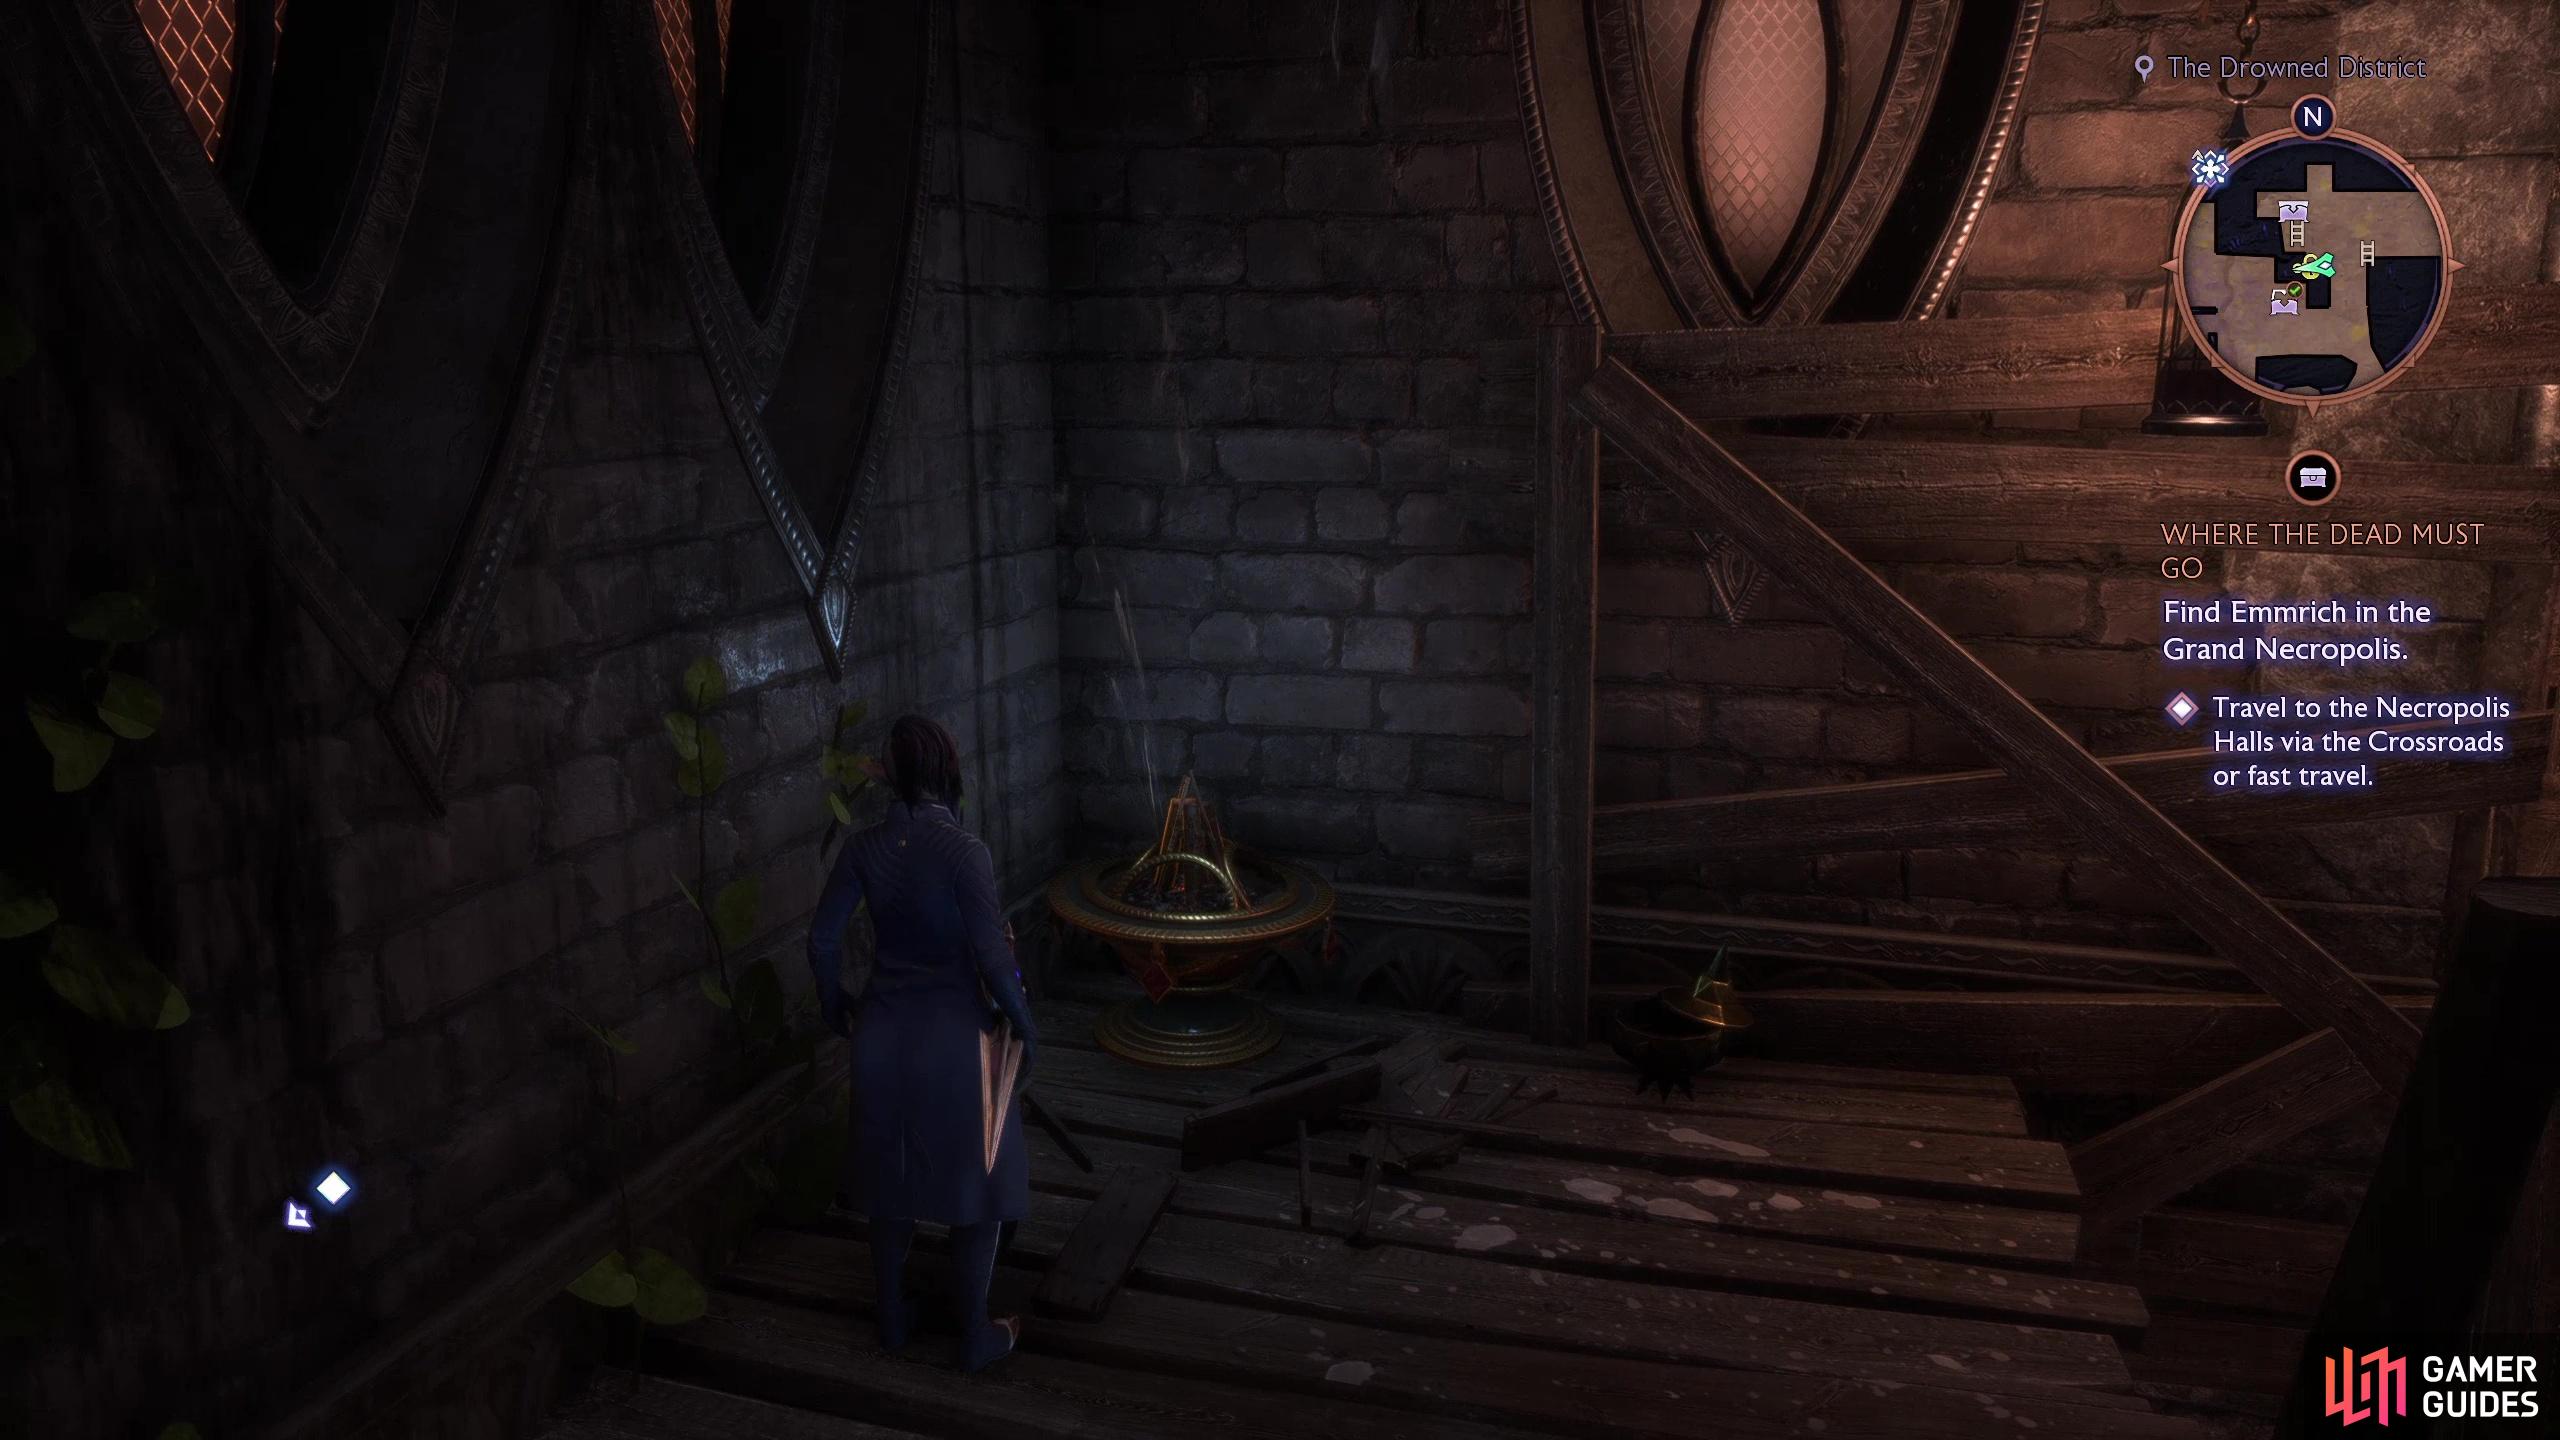
For this chest you’ll need Taash in your squad, which means completing the quest [![]() The Dragon Slayer]. Once done head to Treviso (Taash being around isn’t actually required - as long as she’s joined up and you have access to her traversal ability, you’re fine) and fast travel to the northernmost Drowned District Beacon. From here head east and north until you reach the enclosed area with the gate you couldn’t open earlier. There are four braziers scattered around this area, and once you ignite them all the gate will open, allowing you to get the treasure.
The Dragon Slayer]. Once done head to Treviso (Taash being around isn’t actually required - as long as she’s joined up and you have access to her traversal ability, you’re fine) and fast travel to the northernmost Drowned District Beacon. From here head east and north until you reach the enclosed area with the gate you couldn’t open earlier. There are four braziers scattered around this area, and once you ignite them all the gate will open, allowing you to get the treasure.
The first brazier is right next to the gate. Easy-peasy. For the next one, climb a lattice to the west of the gate and destroy some boards to the west to find a doorway, then smash some junk in the northwestern corner to reveal the second brazier. Exit this room and follow the walkway around clockwise until you reach a wooden platform, whereupon the third brazier sits. Jump a gap to the east, turn south, then cross a beam to the west and destroy some more junk to reveal the fourth and final brazier. Drop down to the ground floor and pass through the now-open gate to claim your prize.
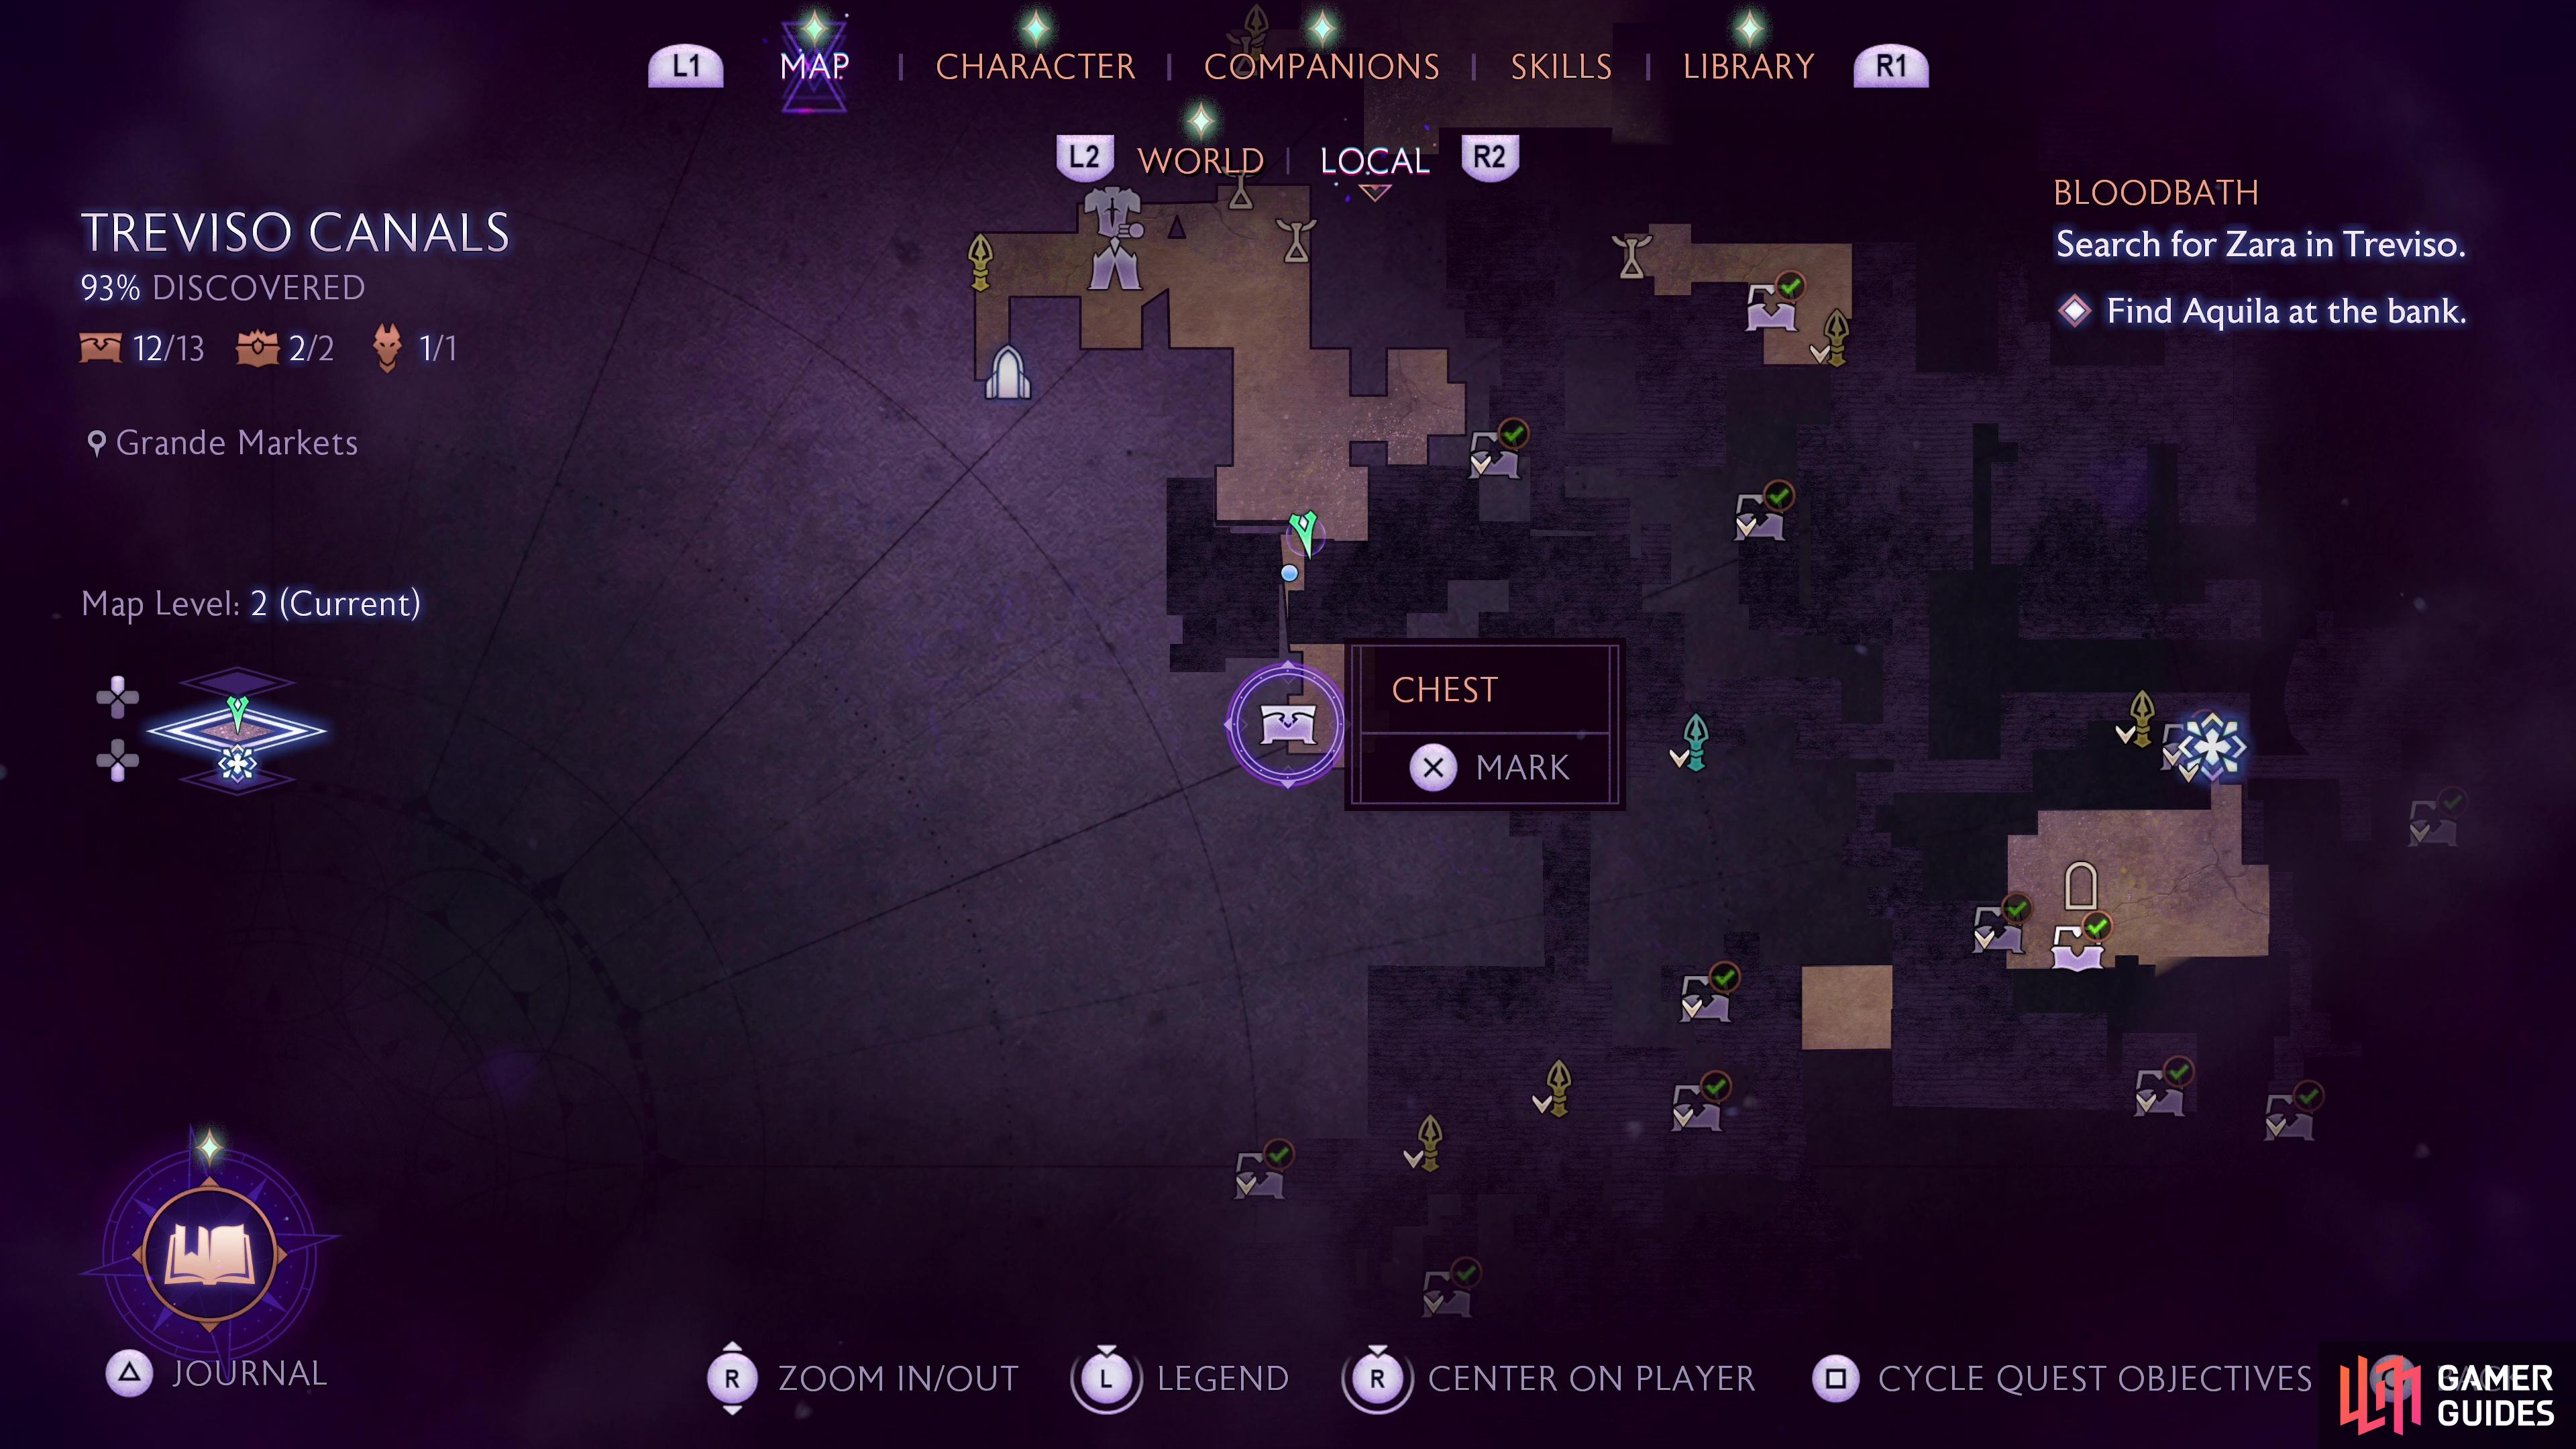
Chest 13: Bloodlust
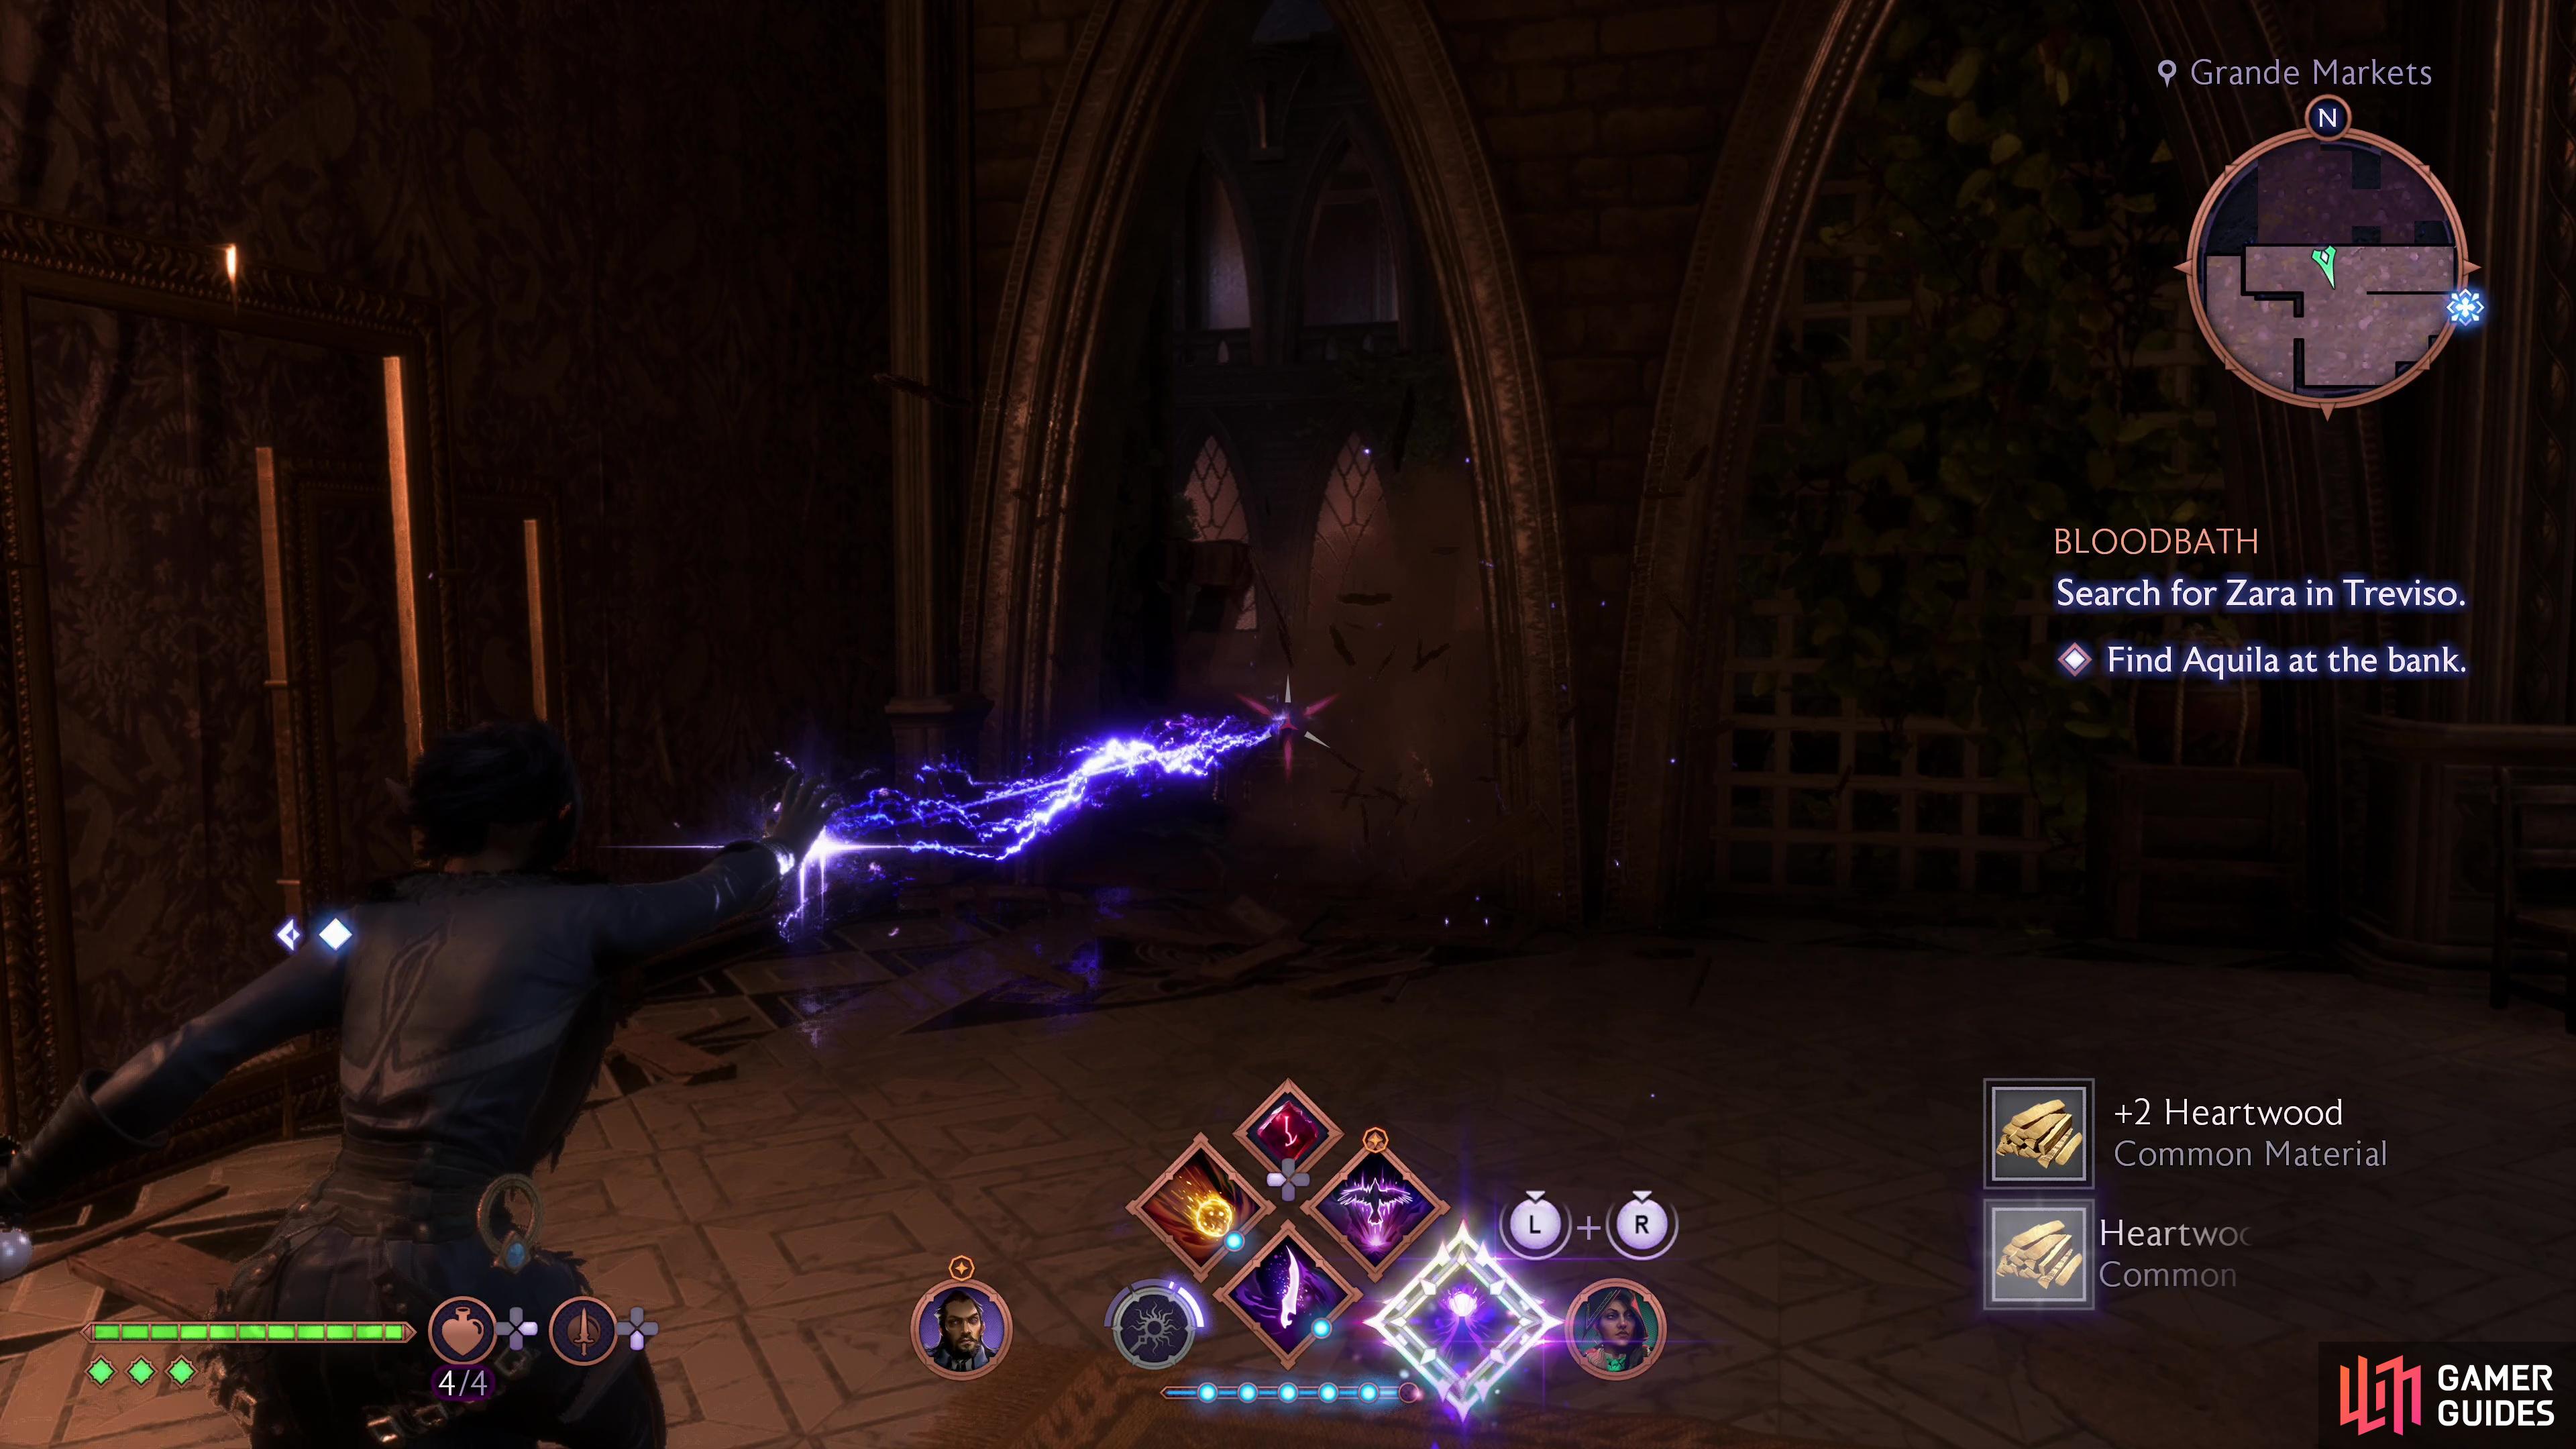
The last chest you can obtain, chronologically, you’ll have to wait until you unlock Lucanis’s quest [![]() Bloodbath]. During this quest you’ll infiltrate a Venatori hideout near the cafe in the Grande Market, and during your exploration you’ll reach an area where you need to jump across a canal using a suspended wooden platform to defeat some Venatori - these will be the first enemies you encounter during this quest, so it should be pretty hard to miss. After the Venatori are dead, climb a lattice to reach a roof, then jump across to the north and open a door to create a shortcut back to The Cantori Diamond. Or rather, the rooftops nearby with ziplines that’ll take you north and east to other parts of Treviso.
Bloodbath]. During this quest you’ll infiltrate a Venatori hideout near the cafe in the Grande Market, and during your exploration you’ll reach an area where you need to jump across a canal using a suspended wooden platform to defeat some Venatori - these will be the first enemies you encounter during this quest, so it should be pretty hard to miss. After the Venatori are dead, climb a lattice to reach a roof, then jump across to the north and open a door to create a shortcut back to The Cantori Diamond. Or rather, the rooftops nearby with ziplines that’ll take you north and east to other parts of Treviso.
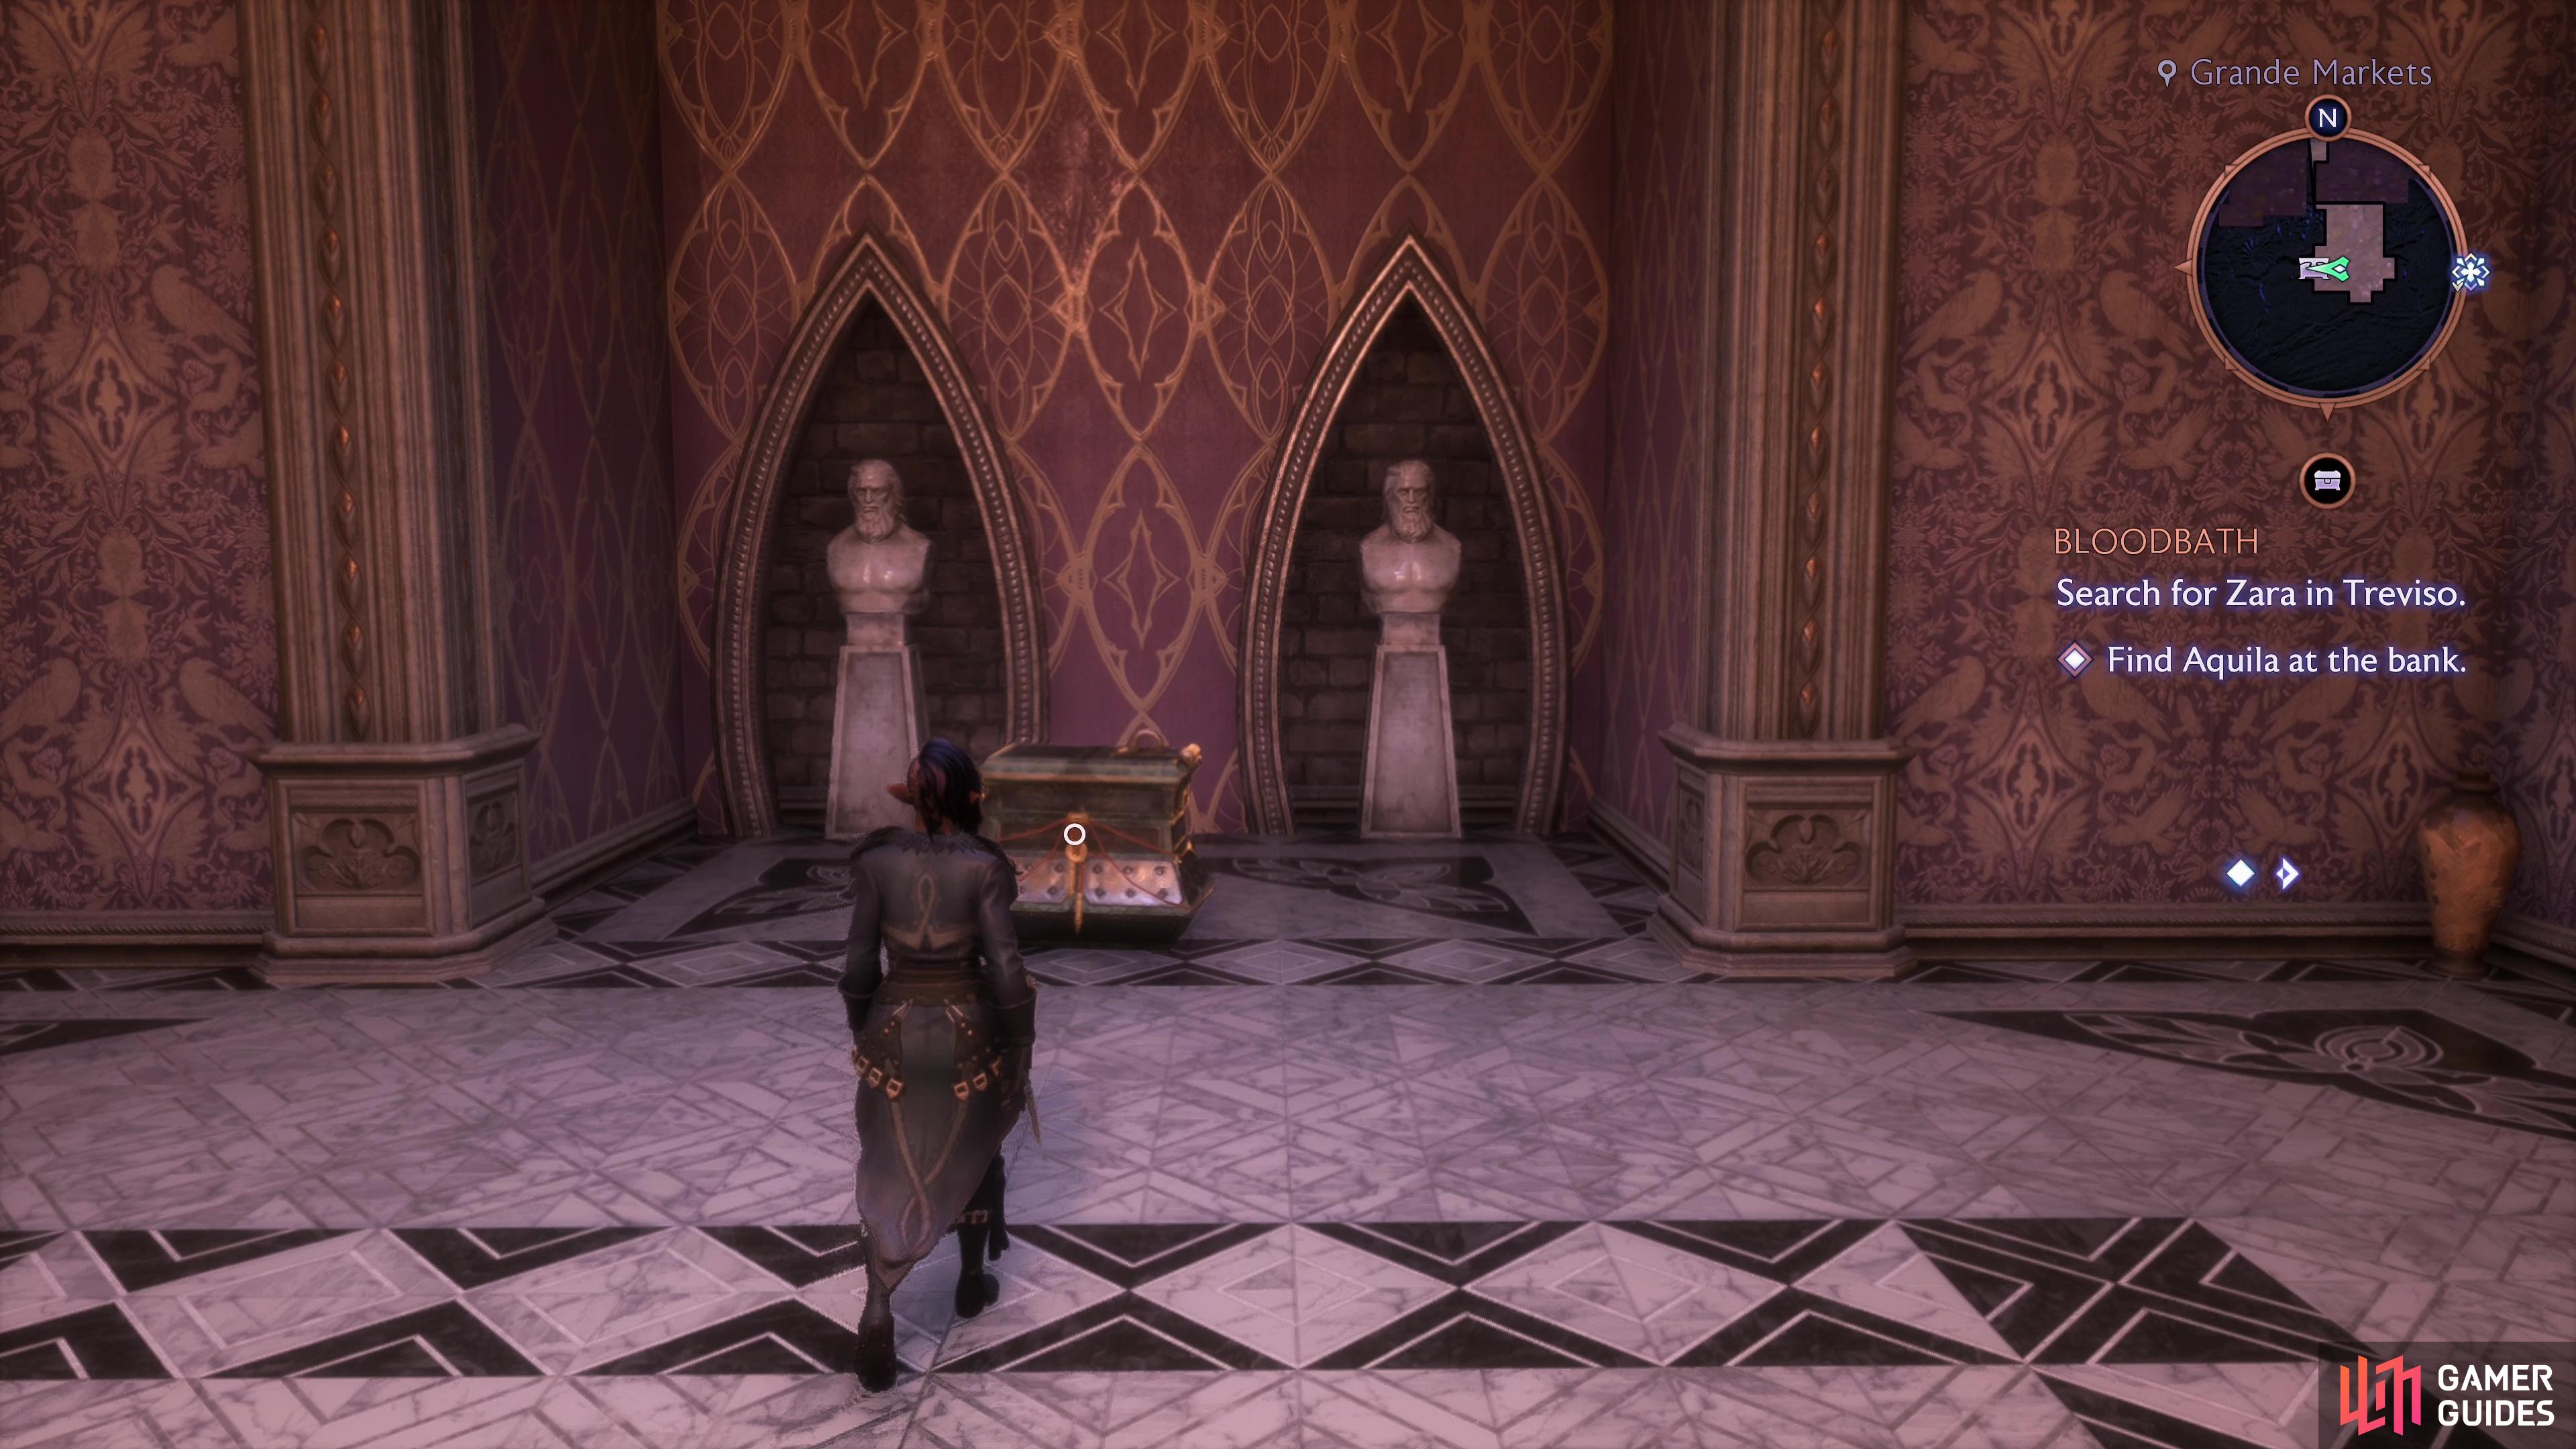
Now that you’ve got this shortcut unlocked and hopefully have your bearings, head back south through the doorway, jump across to the roof atop the lattice, then turn southeast, cross another lattice and enter a building via a broken guardrail. Drop down to a lower floor to the west, then destroy some wooden crates in the southeastern corner of the room to reveal a doorway. Pass through and loot a chest - but not the chest we’re looking for - then turn east and south. Climb several flight of stairs to reach a swanky room, go through some doors to the south, then turn right (west) to find this chest.
(1 of 3) The location of chest #13 on the map. You cannot reach this chest until you’ve started the companion quest “Bloodbath”.
With that you should be well on your way to collecting all the noteworthy loot in Treviso!

 Sign up
No Comments